Fresh-picked raspberry and peach crumble

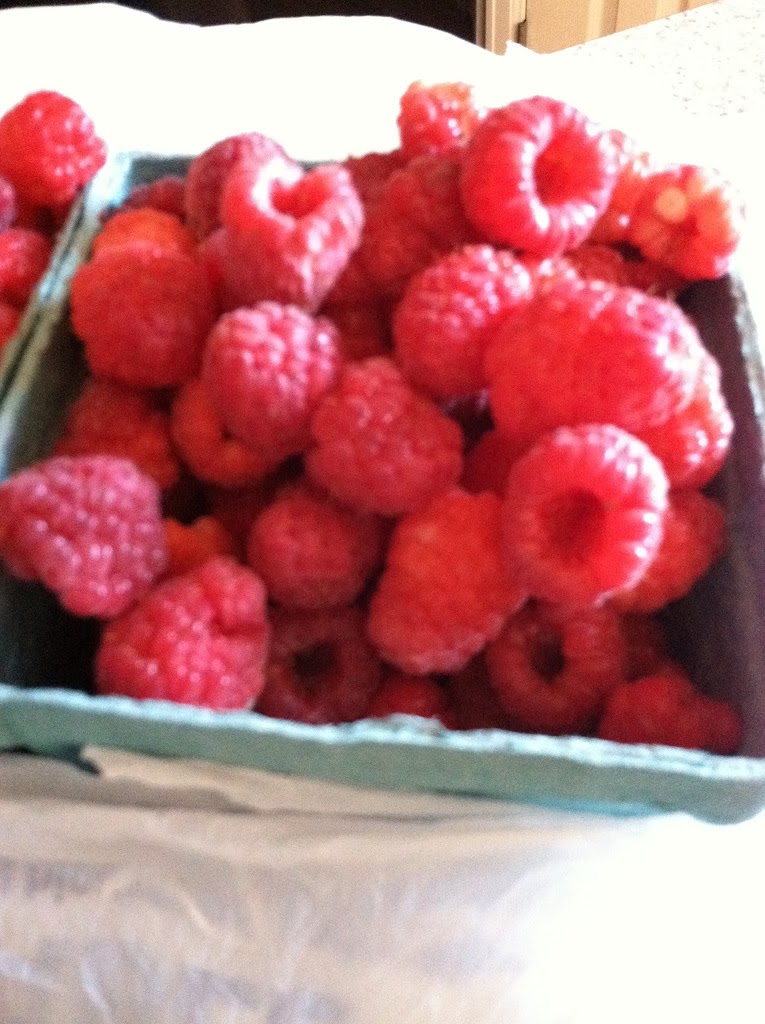
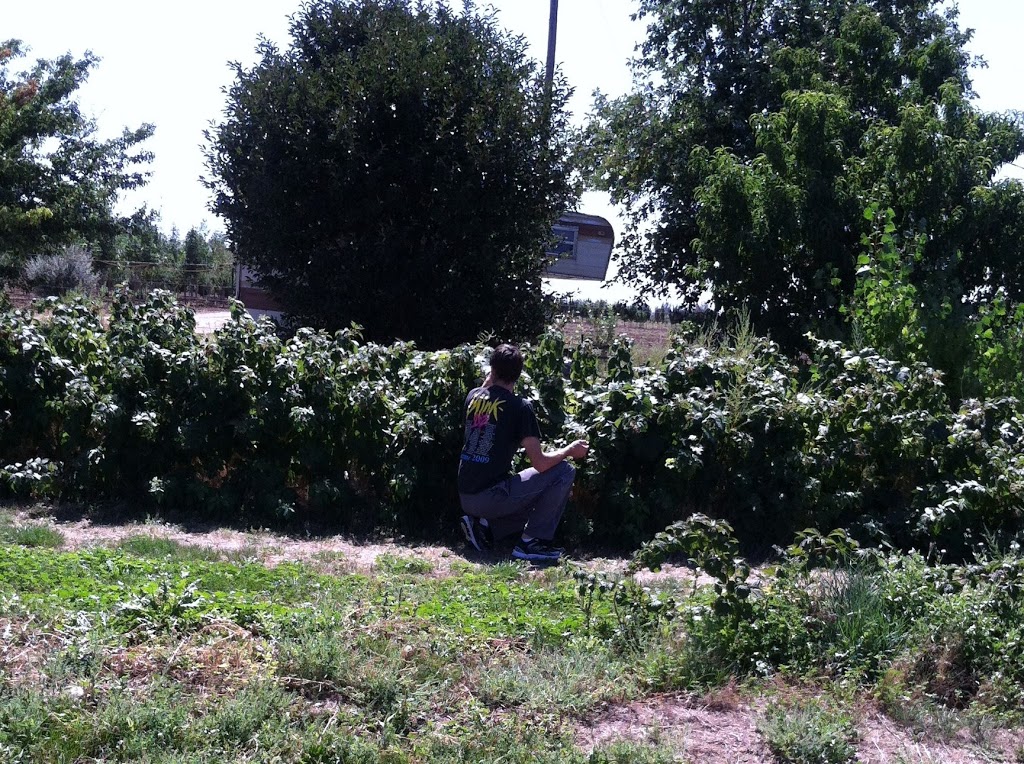
There is a farm near me where you can pick your own berries. They vary by season and demand from blueberries and strawberries to raspberries and even apples. There is also a small market where they sell farm-grown produce, pastured chicken eggs and meat. Needless to say I’ve found a little patch of heaven. So I took advantage of a beautiful Saturday morning to go berry picking with my oh so patient boyfriend, and came home with two gorgeous pints of raspberries. I had one more pie crust I’d picked up cheaply last month, so naturally I made a pie with them.

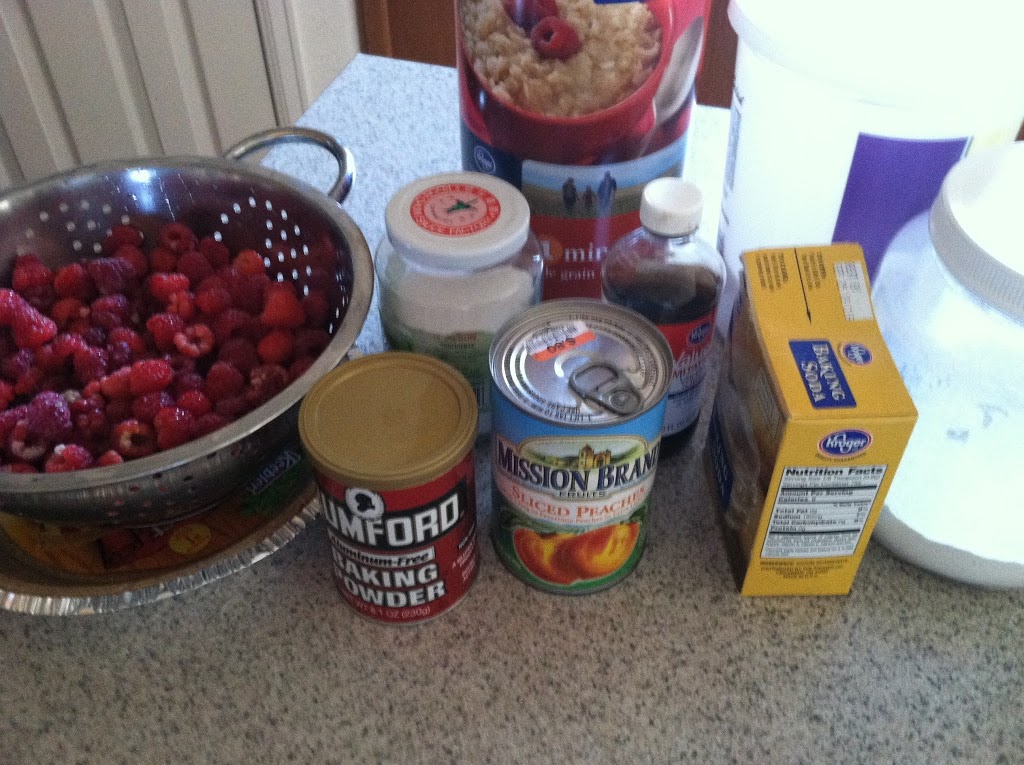
Ingredients:
1 pint rinsed raspberries
1 can peaches
1 pie crust

1 cup flour + 2 tbsp
1 cup sugar + 1 tbsp
1/4 cup butter
1/2 cup oats
1 tbsp vanilla
1 tsp baking soda
1 tsp baking powder
Pinch of salt
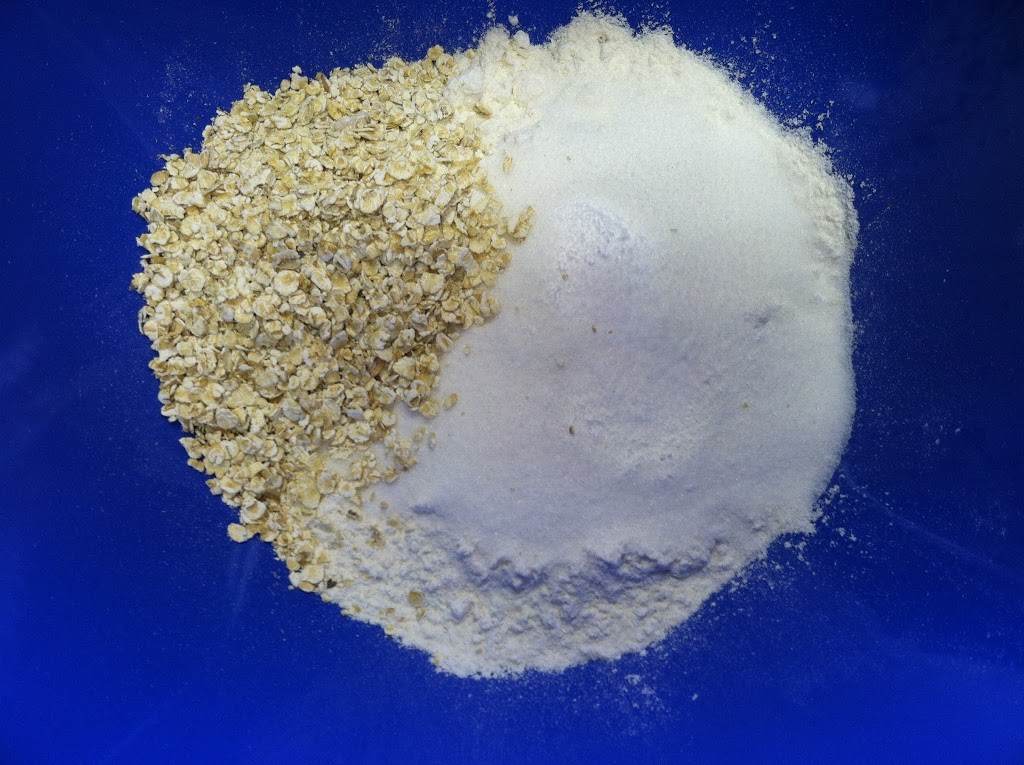
Step 1: Mix the dry ingredients – flour, sugar, oats, baking soda and powder,  and a pinch of salt.
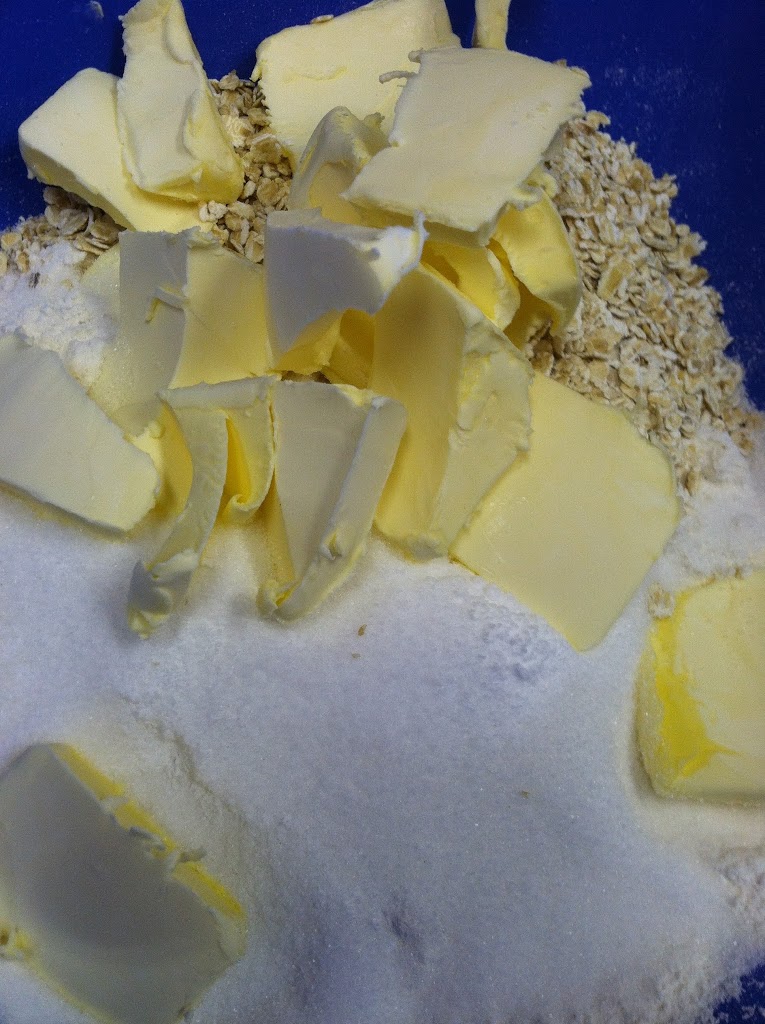
 Step 2: Add the cold butter in chunks, mix well. I’m not cool enough to have a pastry cutter, so I just squished it all together with my hands until well mixed. It should be a crumbly, tasty mess.
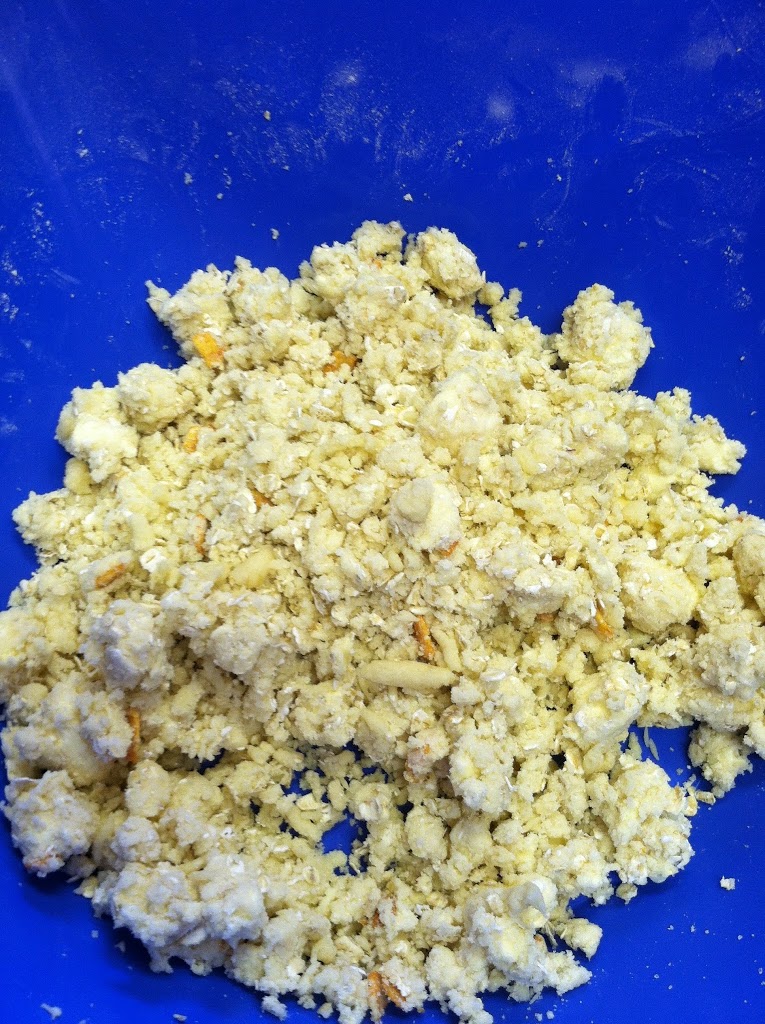
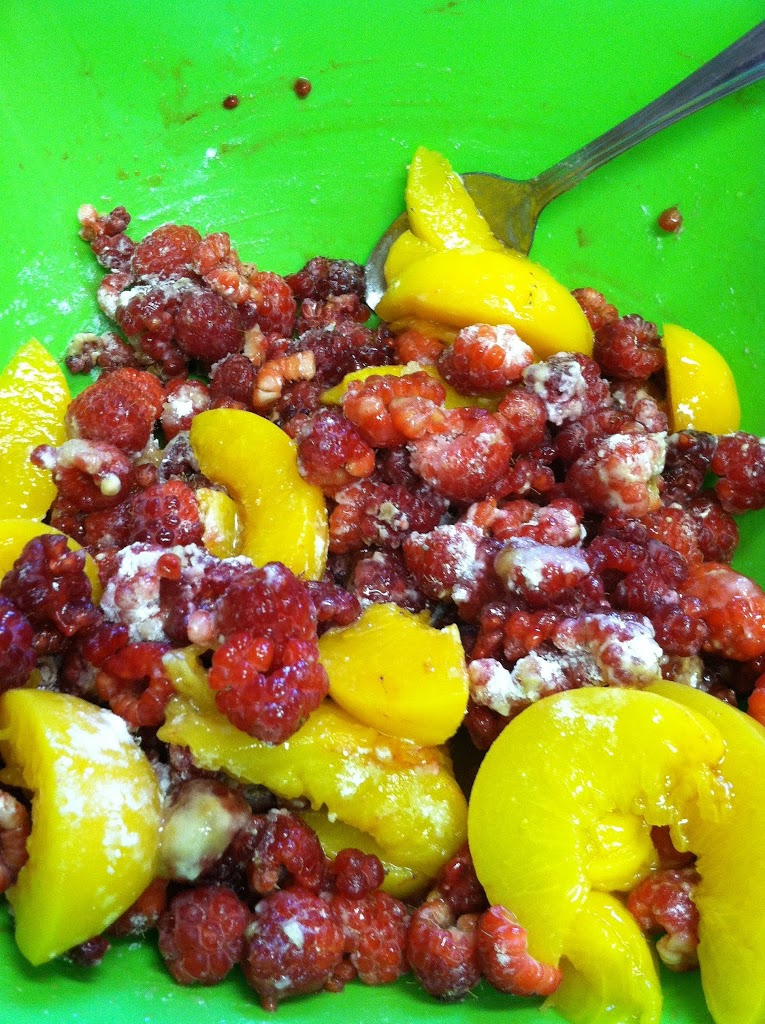
Step 3: Drain the peaches, place in a bowl with the raspberries. Sprinkle on 1 tbsp vanilla, 2 tbsp flour and 1 tbsp salt, mix.
Step 4: Pour the fruit mix into the pie crust and cover with the crumble mixture.
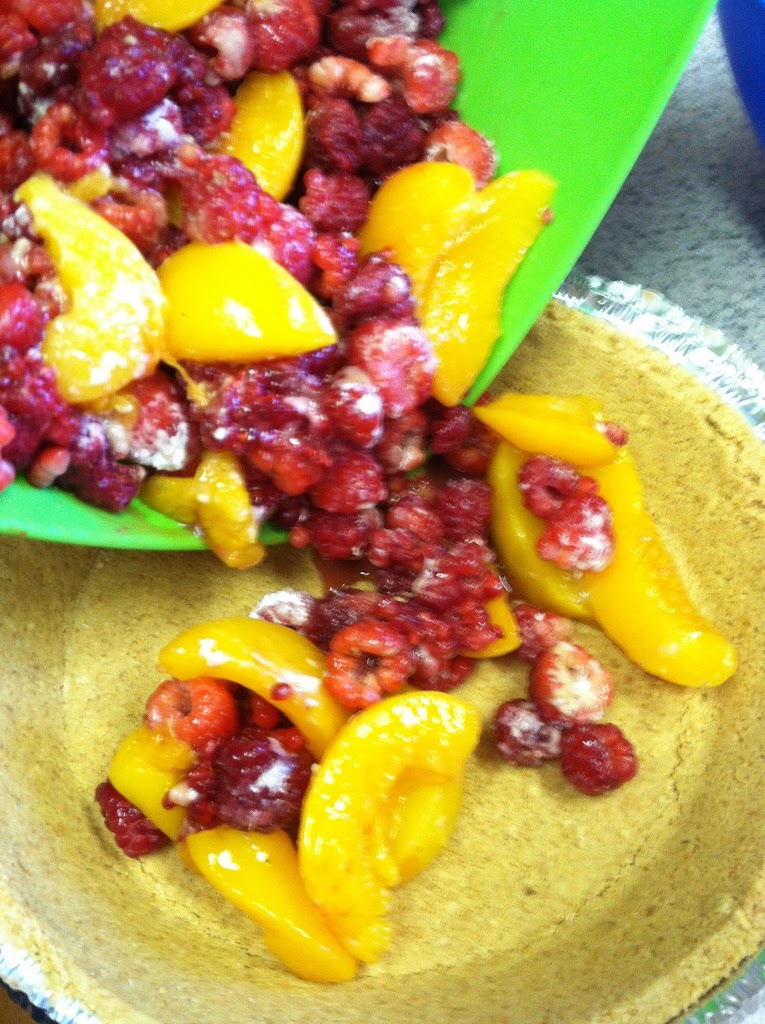
This is what it looks like just before going in the oven. Drool.

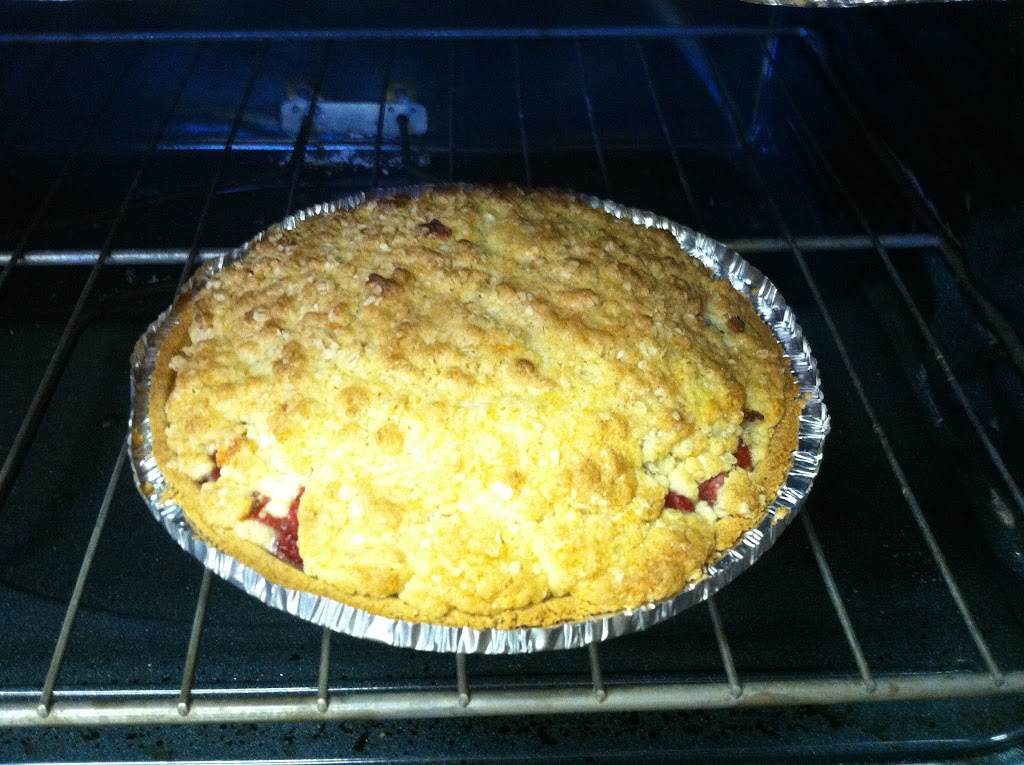
 Step 5: Bake at 375 for 20 minutes, until crisp is browned and fruits are bubbly.
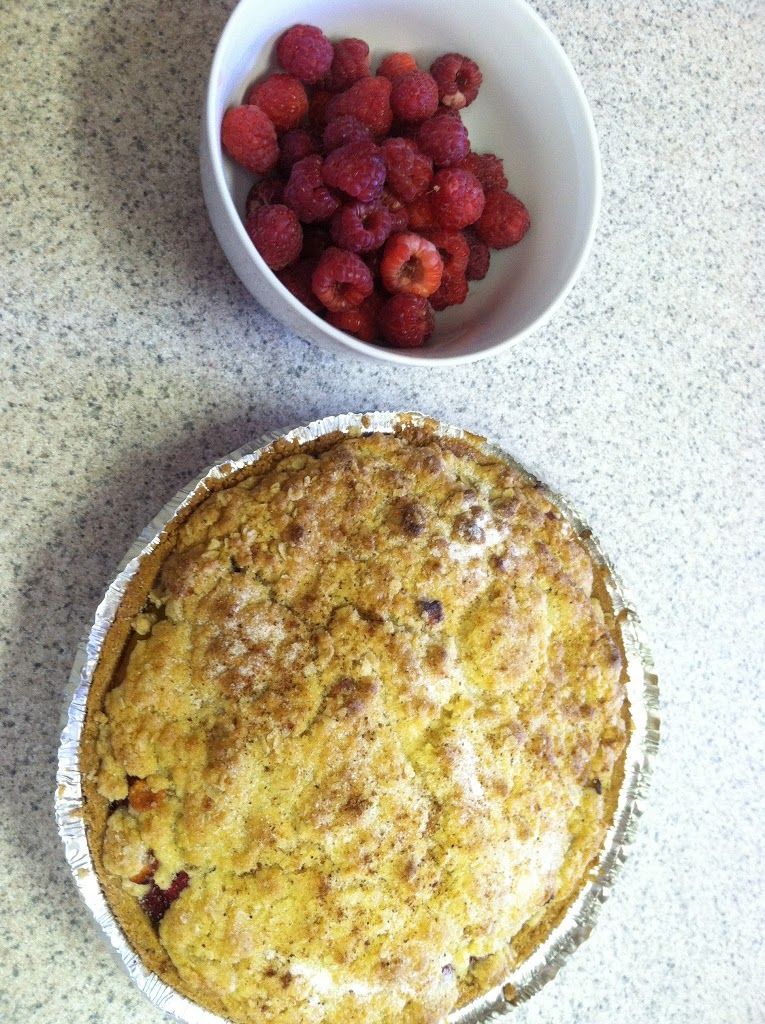
 YES PLEASE.

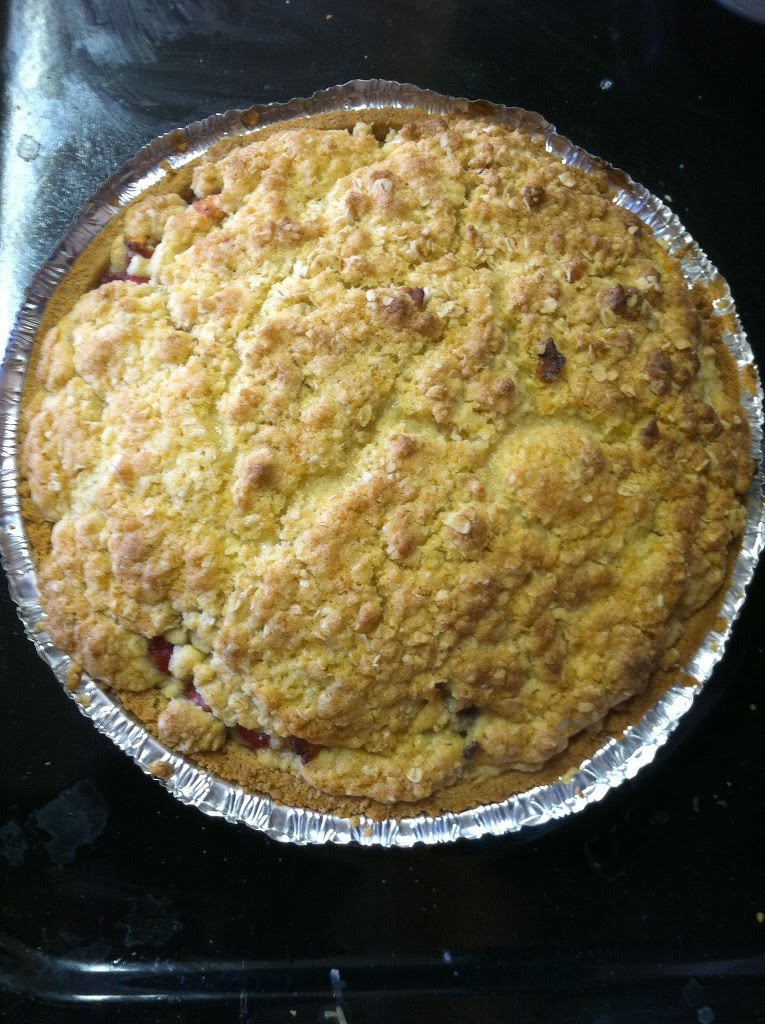
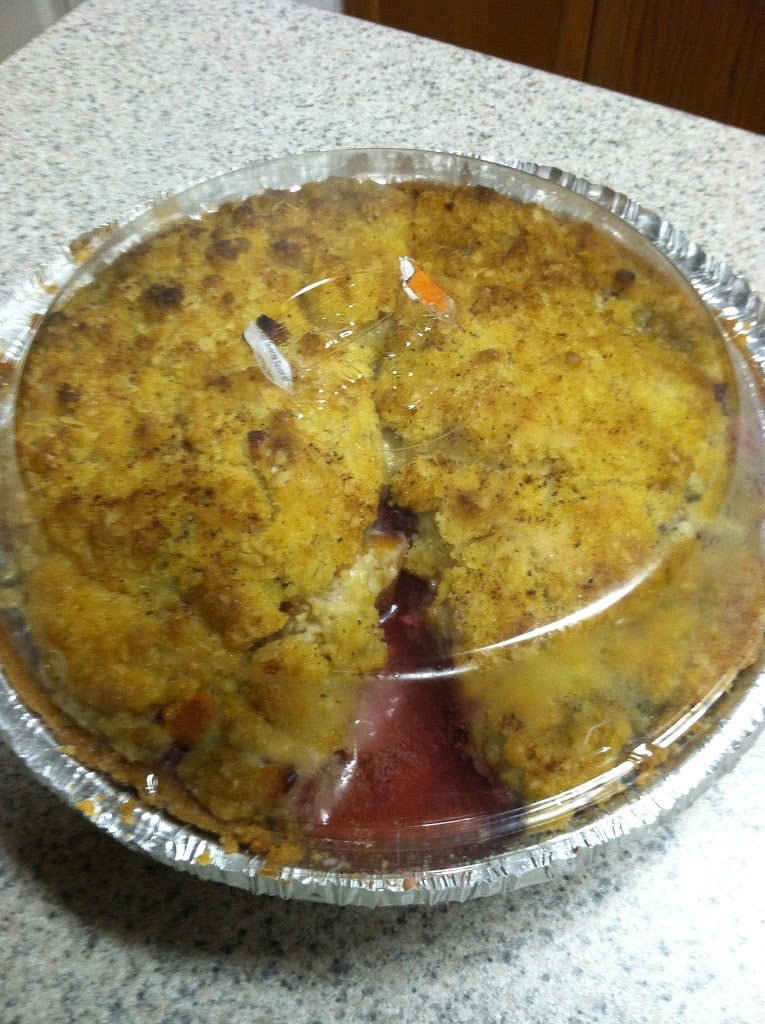
 The pie crust cover conveniently doubled as a lid. The day after, the berry juices start to pool. Anyone know how to avoid this, besides cornstarch?
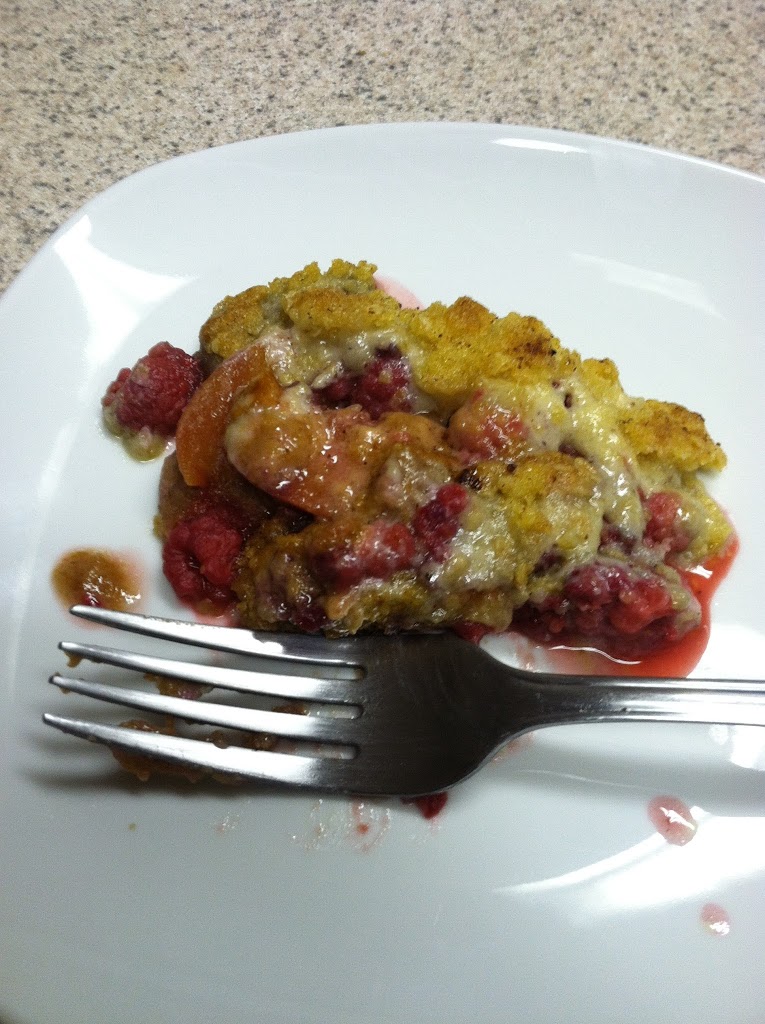
This would be simply amazing served warm over french vanilla ice cream. In fact, I’ll be going to the store later today…
Cracker-breaded baked pork chops & roasted vegetables

Pork chops are one of the cheaper meats these days, and I’ve previously professed my love of oven-roasted vegetables. Roasting any veggie in the oven makes it softer, sweeter, and more delicious in my opinion. You can’t go wrong with several cups of veggie chunks and olive oil at 350 for 25 minutes…

Ingredients:
1/2 cup crushed butter crackers
2 tbsp garlic salt and black pepper
2 eggs, lightly beaten
2-4 pork chops
2 cups diced onion, potato and carrot
2 tbsp olive oil

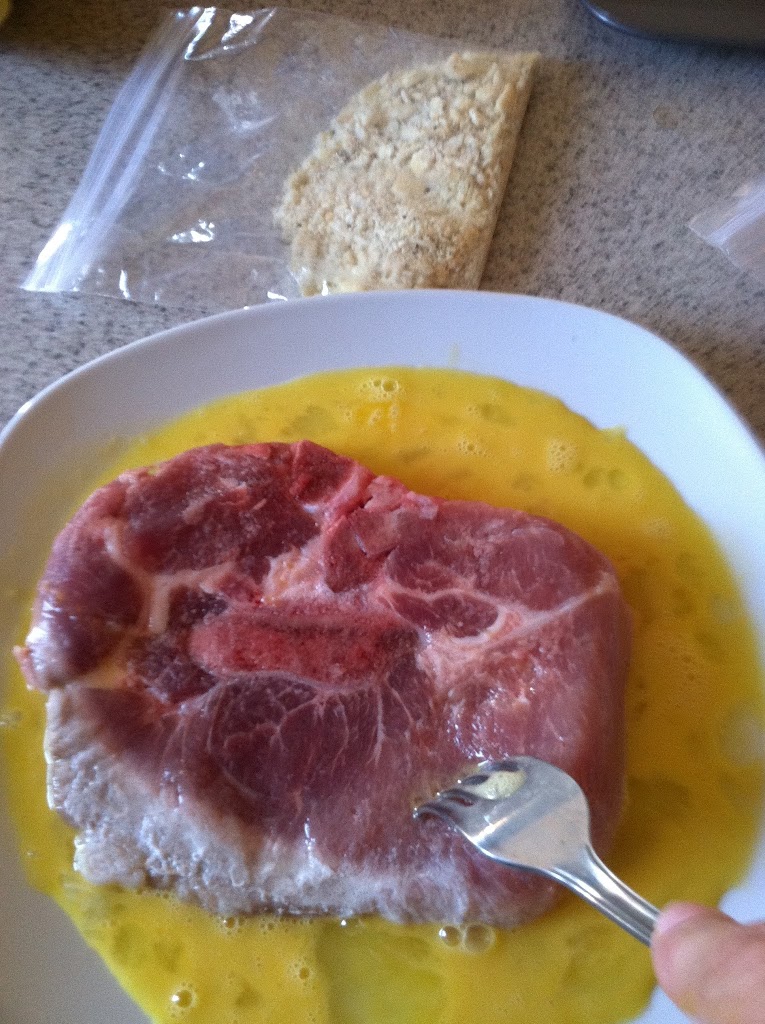
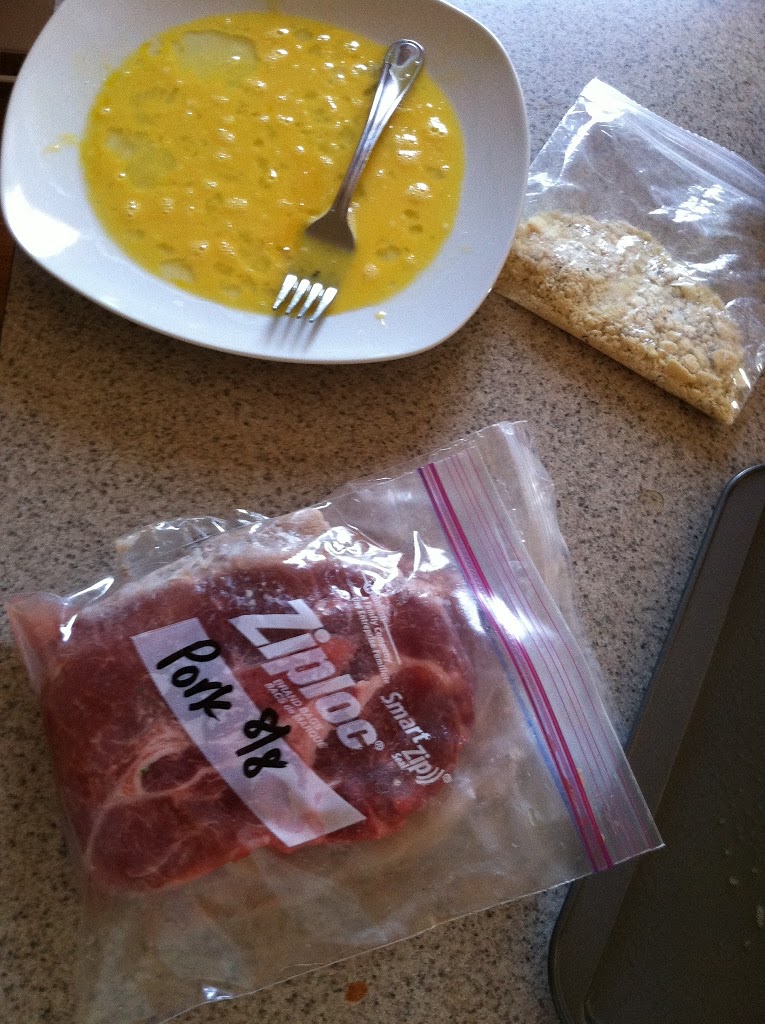
 Step 1: Coat the chops in egg on both sides. A shallow plate is best for this.

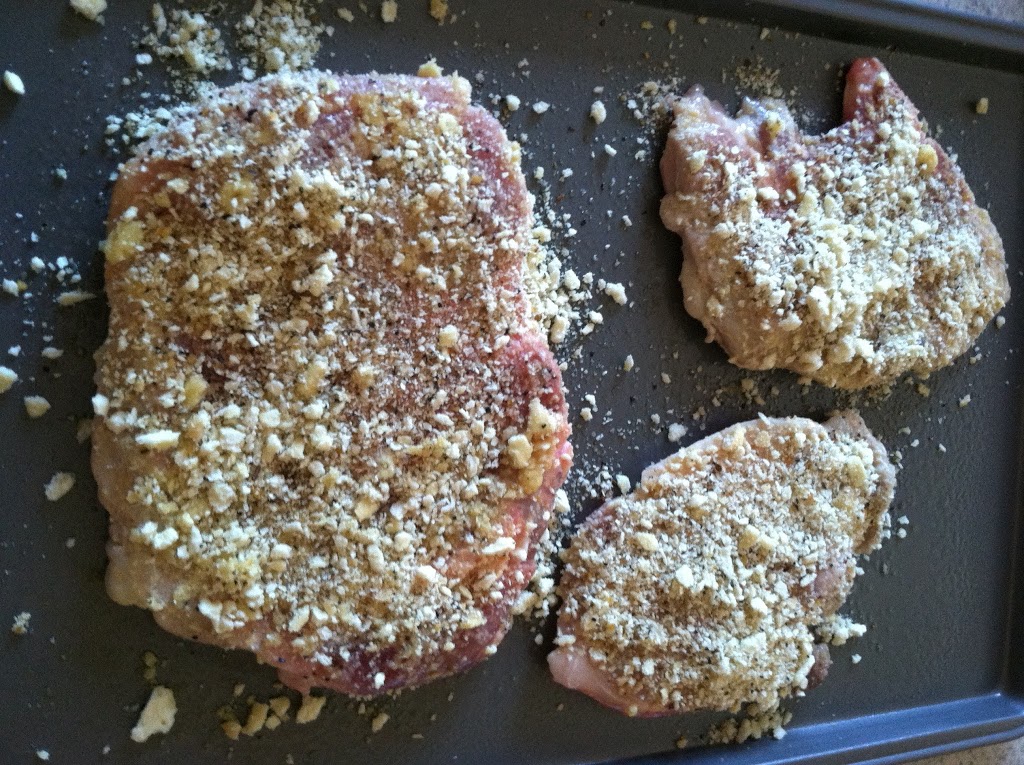
 Step 2: Butter crackers really make this crust tasty! Smash up about a cup in a plastic baggie. I then added some garlic salt and black pepper too. Coat both side of the chops and place on a sprayed baking pan.

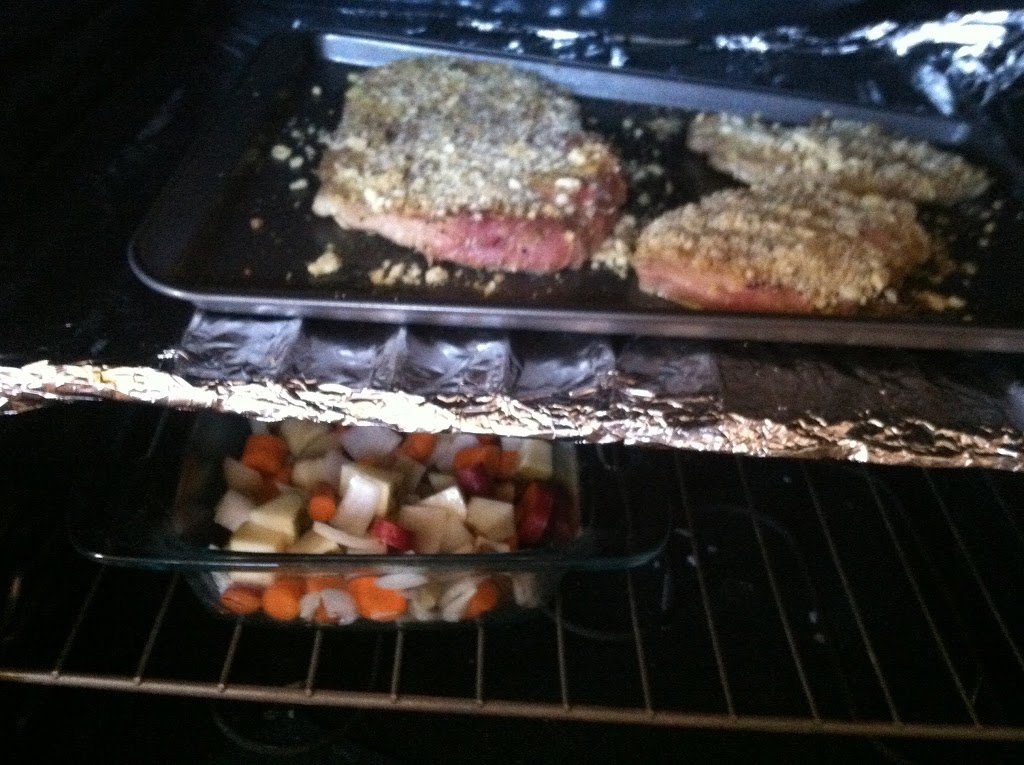
 Step 3: Put the pork in the oven at 375 and set a timer to 45 minutes. While they bake, dice up your veggies.


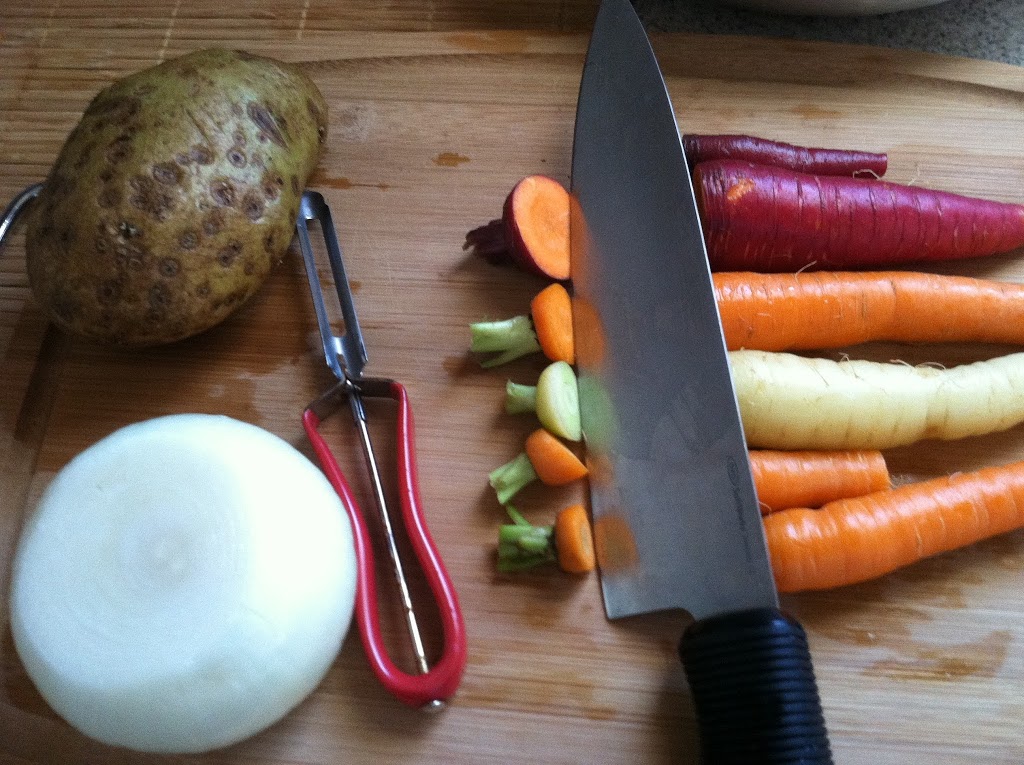
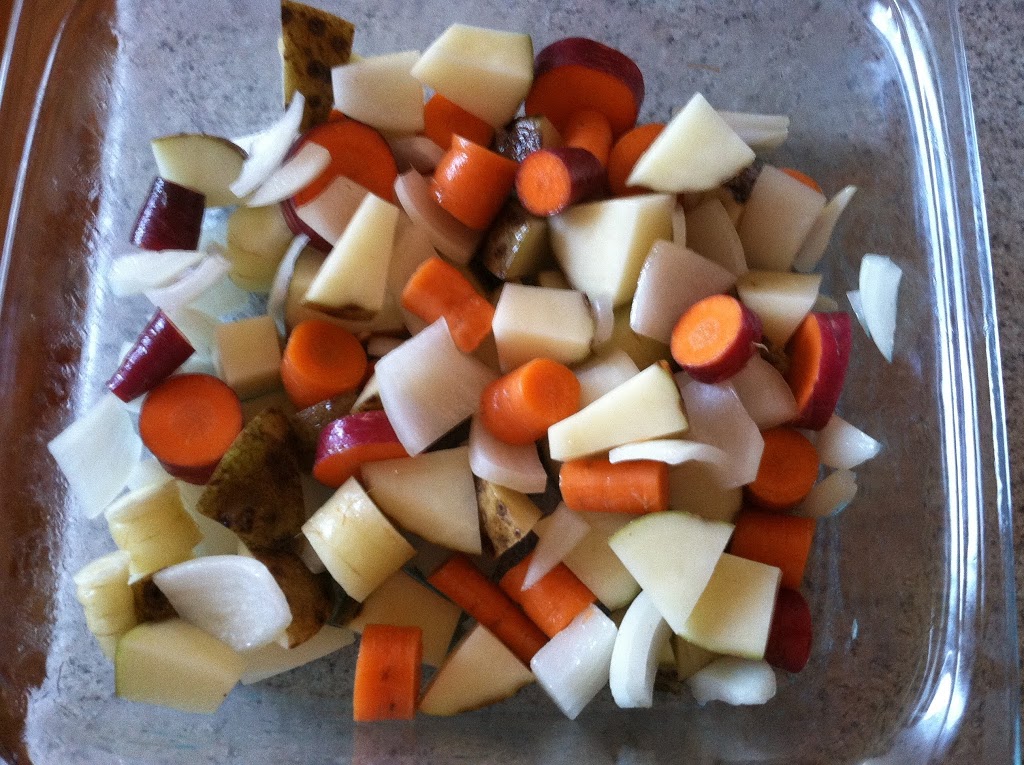
 I had recently gone to a farm market and they had heirloom colored carrots, so of COURSE I had to buy some. Purple carrots, turns out on the inside they are still orange. Disappointing but ok. The white ones really were white though. I added half an onion and one large russet potato.

 Step 4: Place diced veggies in an oven-safe pan, mix in 2 tbsp vegetable oil and sprinkle with salt. When the timer reads 30 minutes, put the veggies in the oven too. Cover with foil if you want, I didn’t this time.

 Halfway through cooking (at about 15-20 mins left) flip the chops and mix the vegetables around.

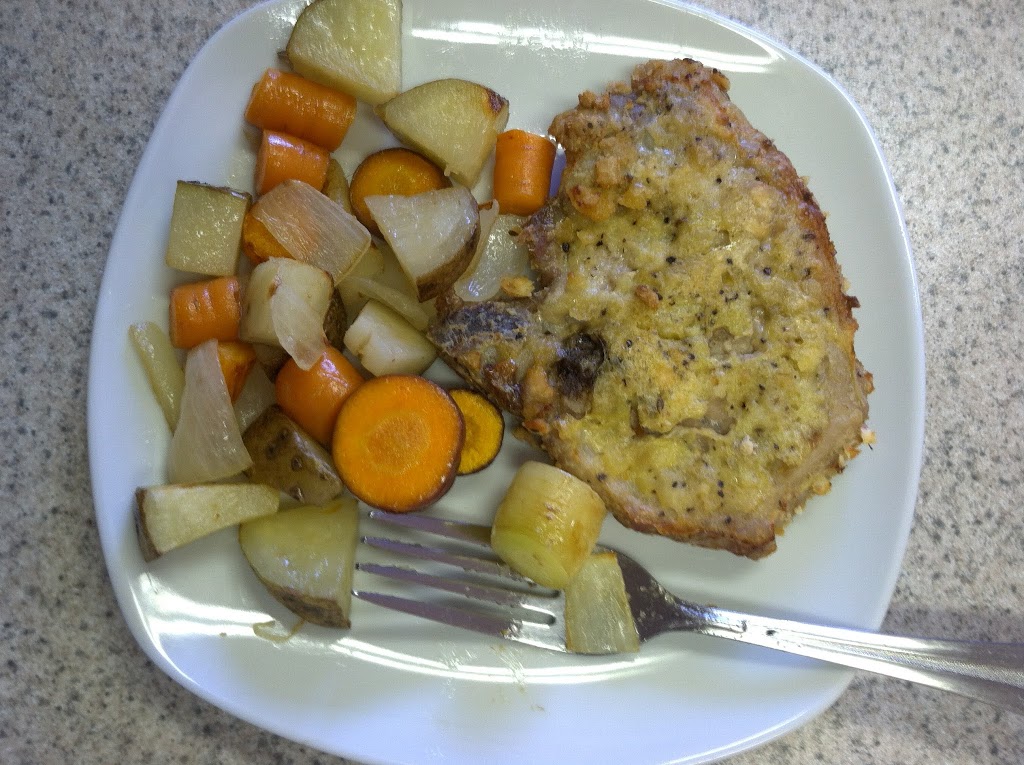
Then enjoy! The cracker crust is buttery, salty and delicious. A perfect compliment to the hearty pork, sweet carmelized onions and carrots and earthy potatoes. Yum!

Faster breakfast skillet: Corned beef hash & eggs

This is the short-cut version of my breakfast skillet recipe. Because sometimes we have an extra 10 minutes in the morning, but not 30. By using canned beef & potatoes you eliminate the time needed to dice up and pre-cook the potato.

Ingredients:
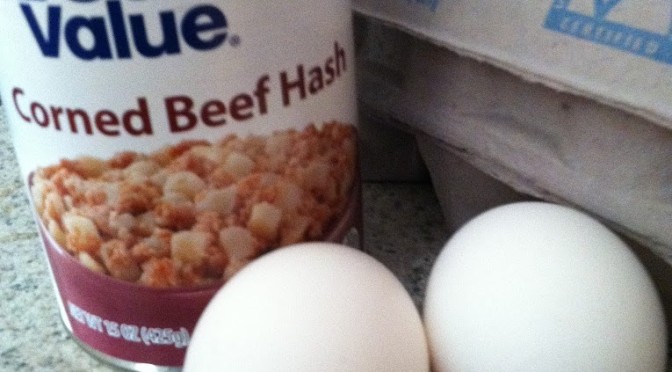
1 can corned beef hash
2 eggs

sprinkle shredded cheese

 Step 1: Open the can and put it in a frying pan. Doesn’t that look tempting? Haha… but we will eat it anyways!

 Cook the beef and potatoes about 5 minutes, until the potatoes start to crisp and turn brown. Put half the mixture into a bowl and save the other half.

 Step 2: In the same pan, spray with cooking spray and crack 2 eggs. Cook a minute until the whites harden. Flip the eggs and cook on the other side. If you like runny yolks, you can cook just a minute and place on top of your beef hash. I like my yolks cooked through so I left it in the pan about 5 minutes total.

 Step 3: Slide the eggs on top of the hash and sprinkle on some cheese if you like.

I’m sure the health level of this is questionable at best, but you can’t beat it for a hearty, stick-to-your-ribs breakfast in only 10 minutes!

Picnic favorite: 9-layer Taco Dip


I’m going to a park to play volleyball with some friends, and we will grill and have a picnic afterwards. Everyone brings something to share. I wanted to make something different from your typical hot dogs and chips type food, and anything taco-related is always a hit, so this is what I came up with. Since I already had the majority of ingredients, only needed to buy the lettuce and tomato, this was super cheap. Even if I had to re-buy everything, for a party of 10 or so people this is a cheap side/dip. It is nearly filling enough to count as a meal!

Ingredients.
1 pound ground beef
1/4 cup taco seasoning
8 oz cream cheese
8 oz sour cream
1 can refried beans
1/4 cup salsa
1/2 cup shredded cheese
1/2 ripe tomato
1/4 head of lettuce, shredded (about 1 cup)
1/4 cup sliced black olives

Step 1: Brown the ground beef in a skillet. While cooking, layer the cream cheese on the bottom of an 8×8 pan with a spoon.

Step 2: Spread the sour cream on top of the cream cheese. Now you have 2 layers of cheesy goodness to build your mexi-masterpiece on top of.

Step 3: Open the refried beans and mix it up in the can. You can heat this first, I just scooped it right out of the can and layered it on.

That’s 3 if you’re counting.

Step 3: Once beef is cooked, add the taco seasoning and 1/4 cup water and cook until the water boils off. The beef should now smell tangy and reminiscent of Taco Bell. Pour that over the beans and spread evenly.

Step 4: Add as much salsa as you like on top of the beef. I just put about 1/4 cup since I’m adding real tomato as well.

Step 5: Add a healthy handful of shredded cheddar or whatever type of cheese you like. We’re up to 6 layers now…

Step 6: Cut the lettuce into small strips and cover the cheese with crunchy green goodness.

Step 7: Dice up a big fresh red tomato into small chunks and add those on top.

Step 8: Sprinkle the sliced black olives on top to complete the pretty picture.

And there you have it, 9 layers of tasty chip-ready dip! You can of course omit any layers you don’t particularly like, and it’s also an option to toss this in the oven or microwave for a few minutes after the cheese layer to warm up the meat/beans/cheeses before topping with the fresh veggies if you like it warm.