‘Merican fish and chips

Fish and chips is a beloved dish in many countires, most notably Britain. As most common and popular dishes do, it has a long and debated-over history. The potato was said to have been brought over to England from the New World in the 17th century. It quickly became a cheap staple food. It is believed that frying the potato into chips originated in France. Obviously potatoes were hugely popular in Ireland as well. Being near a coast, fish was a popular poor fisherman’s food. Fried fish was introduced in London’s East End in the 1800s. The Charles Dickens novel Oliver Twist even refers to a ‘fried fish warehouse’. The Historic UK website says that both Lancashire and London claim to be the first to put these two together into the iconic meal. For a more thorough history of the dish check out the BBC’s history of fish & chips article one and article two.

The “chips” referred to in this dish are what Americans would call “French fries”, not the flat Lay’s type chips we know. Typically the fish is a white fish such as cod or haddock, coated in a thick batter and deep fried. Not the most healthful of meals, it nonetheless meets all working class requirements: it’s cheap, filling, easy to eat out of a newspaper while walking home from the pub, and warms you on a chilly night. Common ways to eat it include sprinkling with salt and/or vinegar, mayonnaise, tartar sauce, ketchup, or plain naked. About.com’s page for British Food gives statistics on nutrition as well as the claim that fish & chips is the nation’s most popular take-away food, four times more popular than Indian curry. I think in America, nothing can overtake the pizza, but who am I to say?

My version of fish & chips is baked rather than deep fried, making it more waistline friendly. It takes minutes to prepare, then you must be patient while it cooks. Go read a book, do some laundry, take a bath, whatever. Then sit down to a hot and crispy meal you can feel good about.

Ingredients:
2-3 large potatoes, diced
2-3 fillets white fish
1 egg, lightly beaten
1/2 cup crackers, crushed
Italian spices, garlic salt
Spray oil

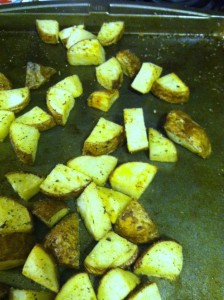
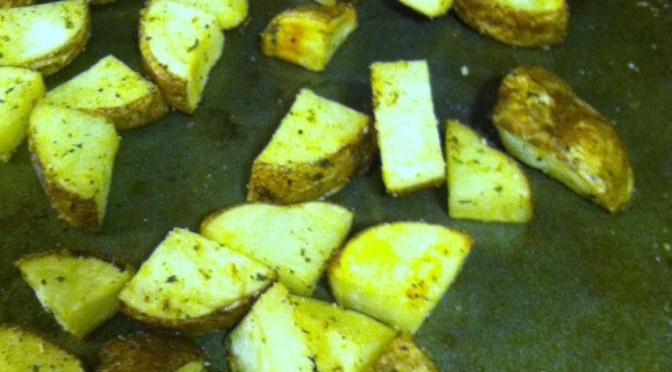
Step 1: Spray a pan with oil, spread out the potatoes, and spray them. Sprinkle the spices over them. Put in the oven at 350 for ~35 minutes. Make sure to mix them up once or twice to cook on all sides.

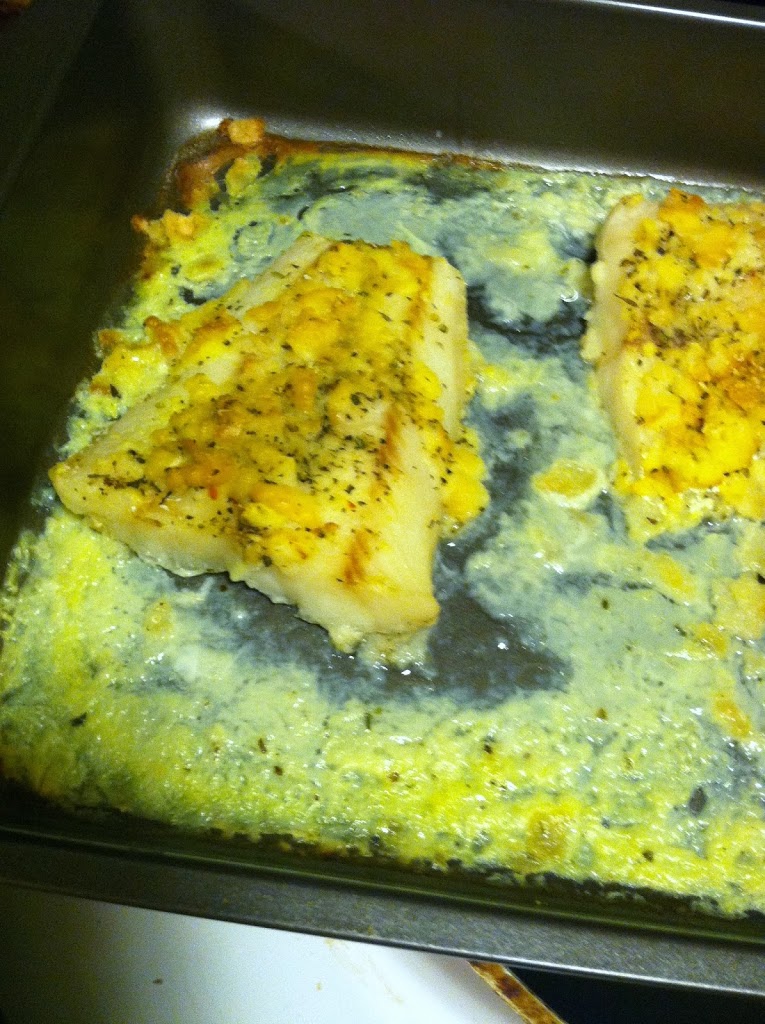
Step 2: In a shallow bowl beat the egg. Coat the fish on both sides, then roll in the crushed crackers. Sprinkle with spices and place on a sprayed pan. Bake at 350 for 20-25 minutes, turning once.

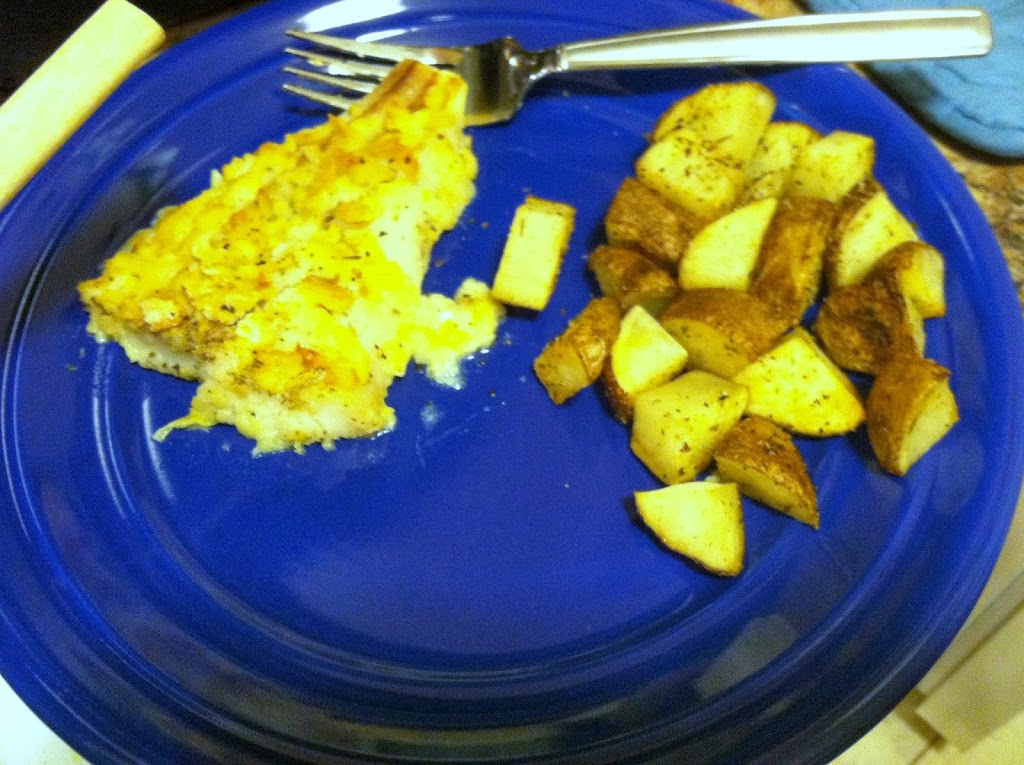
Once the fish flakes easily and the potatoes are soft when poked with a fork, remove and place on a plate. Because this is not fried there is far less fat content, if you eat the equivalent of one whole potato (these little cubes are seriously addictive, I know I could!) there are about 10 grams of fat. The fish and chips combined have about 480 calories, 47 g carbohydrate, and 48 g protein per serving. Not to mention tons of vitamins and trace minerals. {Nutrition info calculated on SparkRecipes recipe calculator}. Add a baked veggie if you like to round out the meal.

What’s you favorite way to eat fish?

Grapefruitcello

History of Limoncello

Limoncello is a traditional liquor of Italy, with competing areas laying claim to its origin, including Sorrentini, Amalfitani, and Capresi. Production began sometime in the 1900s, but the businessman Massimo Canale first trademarked the name “Limoncello” in 1988 (source: Taste of Sorrento).

There are many other competing stories, such as limoncello being used in coastal towns to fight the morning chill, or its use among monks in monasteries to keep them cheerful between prayers. 

Limoncello has been growing in popularity as people begin trying their hands at home-brewing all types of alcohols, from wine and beer to whiskey and kahlua. The beauty of this type is that there are only four ingredients: citrus peels, alcohol, sugar, and water.

It does not depend on a specific type of alcohol, rum will work just as well as vodka. It also can vary between which type of citrus peel you use. The steeping time is typically at minimum one month, but I’ve read up to a year. 

By soaking the peels in the alcohol, you are sucking out all the depth of flavor and aroma from the peel’s essential oils into the liquid. This infusion is what can then bring flavor to other beverages. It is claimed that limoncello as an aperitif before or after a meal is a great digestive aid, and it is also sometimes enjoyed when mixed with champagne.

Typical Recipes

Limoncello is made by soaking the peel only of citrus fruits, most often lemons, in liquor for an amount of time. It is then strained and to it is added sugar dissolved in water. The liquid is then cured a little longer. It is then ready to be drunk as an aperitif or added to cocktails.

According to Discover Italian Foods, the traditional recipe calls for: 13 Sorrento or Amalfi lemons, 2 L good quality alcohol (type not specified), 650 g sugar (2 & 3/4 cups), and 1 L pure water. Soak the peels in the alcohol in a cool, dark place for one month. Filter, then make the syrup by boiling the sugar and water. Mix and store in the freezer.

Keep in mind that all of these recipes calling for limoncello can also use any steeped liquor using citrus peels. You can make this with oranges, lemons, limes, tangelos, or grapefruit. As long as you make sure to only take the peel and not the pithy white inside, you’re good to go!

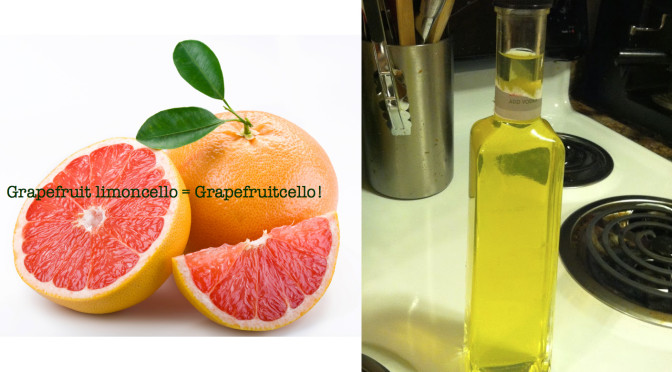
I decided to start small, and as I only had one gigantic grapefruit, that is what I started with. I scaled back the average recipe and made just one bottle of grapefruitcello.

Ingredients:

  • 1 large grapefruit
  • 1 cup plain vodka
  • 1 cup sugar
  • 1 cup water
  • ~time~

Step 1: Peel 1 large grapefruit and place peels in a glass jar. Pour the vodka over it and cover. Let sit in a cool, dark place. Mine only sat for 2 weeks rather than the traditional month or longer.

Step 2: Prepare the simple syrup by mixing the sugar and water and bring to a boil. Strain the liquor to remove the peels. Let syrup cool, then add to the filtered infusion.

Step 3: I’m storing this is the refrigerator for now. It probably won’t last too long!

This made about 150 mL of grapefruitcello. The taster shots were darn good, I can’t wait to mix up some tangy cocktails using this!

Limoncello cocktails

Limoncello can be drunk cold by itself between courses or after meals, you can use it in baking, or it can be added into cocktails for depth of flavor. This post from The Vintage Mixer is right up my alley in determining how to mix a cocktail.

Simply take 1 ounce limoncello, add 2-3 oz any complimentary liquid (juices, club soda, tea), add an additional liquor if you desire (1 oz gin, whiskey, rum), and garnish with something pretty! The website Limoncello Quest also has a massive list of creative drinks which use limoncello. 

I’m going to try a variation on a vodka cranberry and a lemon drop martini. Since I used grapefruit to make the grapefruitcello, I don’t need grapefruit juice. 

Ingredients:

  • 1 oz grapefruitcello
  • 1 oz vanilla vodka
  • 2 tbsp lime juice
  • 1/2 cup cran-cherry juice (or whatever kind you like & have)
  • Top off with sparkling water

Step 1: I had frozen lime juice cubes so I threw one of those in, as well as some re-freezable ice cubes so it didn’t get watered down. Add 1 shot (1 oz) of the grapefruitcello and 1 shot of vanilla vodka (bought pre-flavored or make your own by adding vanilla beans to plain vodka). Add in about 1/2 cup juice, and top it off with sparkling water.

I added a slice of lime wedge and a pretty stir stick, and my new signature cocktail is complete! Pretty and delicious. And with under 200 calories, about 15 g of sugar, and no fat, you can justify another one!
  

Have you made any homemade liquors? 
Chicken Liver Pasta


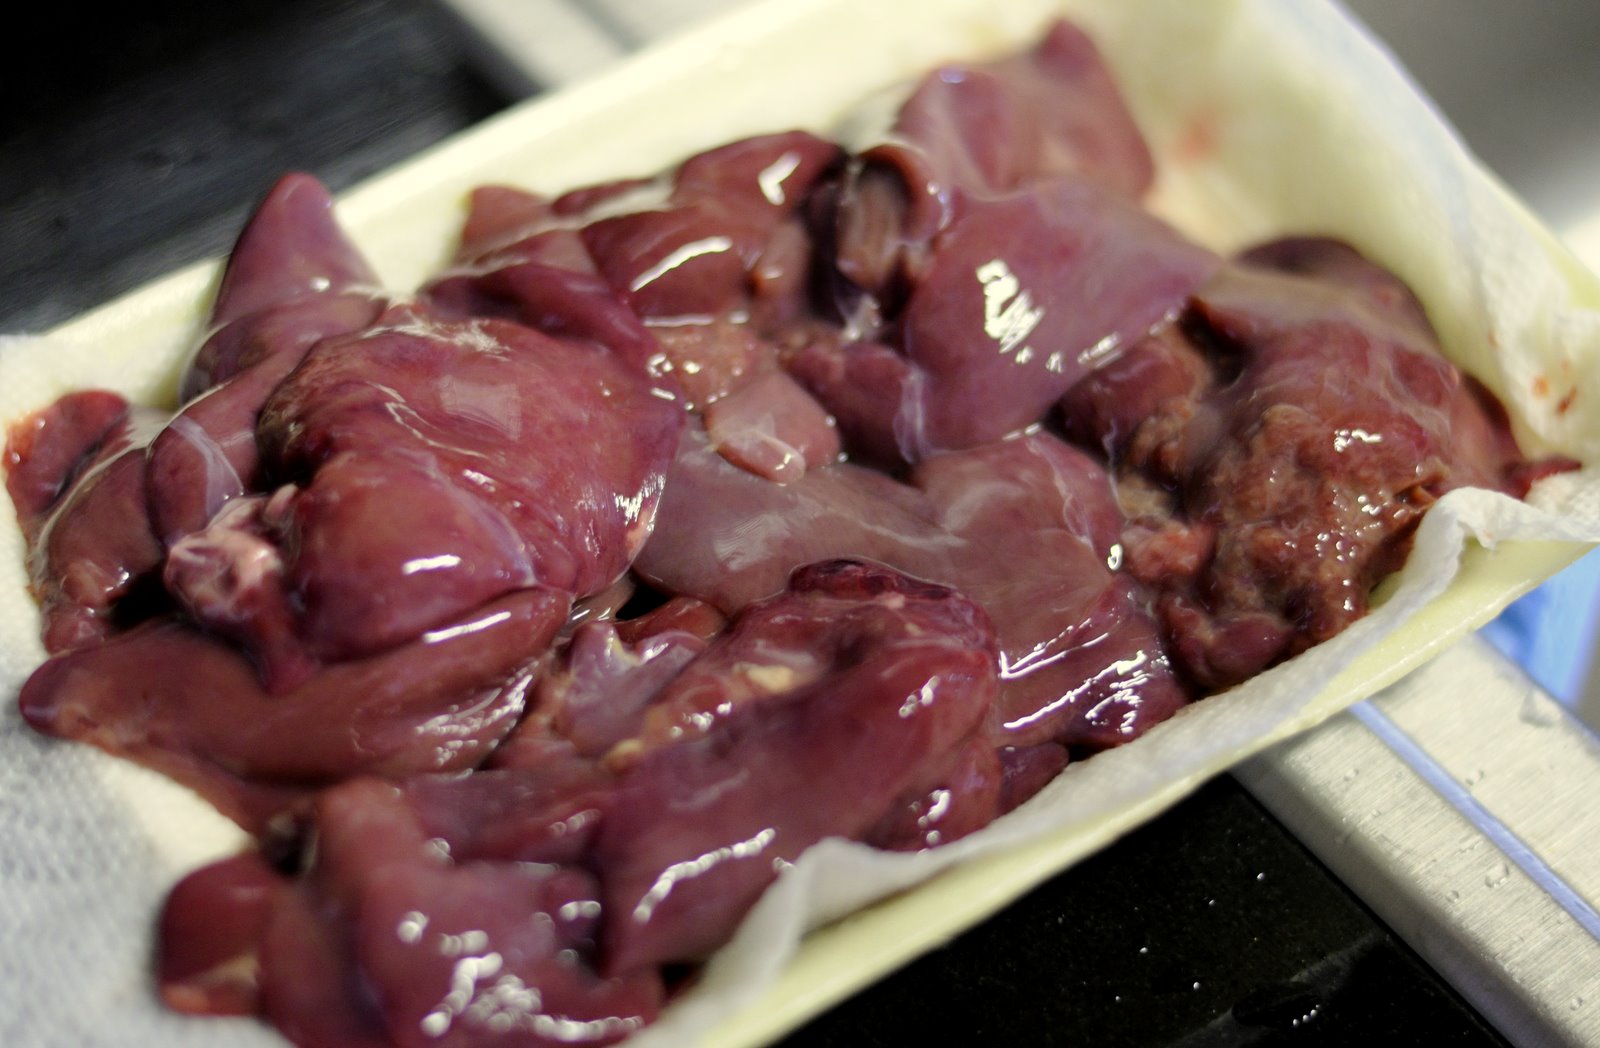
Now I may have lost many of you on the title alone. But trust me. Have I ever steered you wrong? If you hate liver & onions, that’s ok. If you’ve never had liver, then you can’t say you don’t like it!

Liver is an extremely inexpensive meat per pound, because most people don’t know what to do with it, or don’t like it. Their loss is my gain. And yours.

IMG_6428

Beef liver is what liver & onions is typically made from, because it is much larger. Chicken livers are a lot smaller, and are perfect for this recipe which requires blending them into a sauce. They cook up quickly, and easily fit in the blender. It is up to you, I imagine beef liver would taste similar.

Organ meats (offal) were traditionally a large part of many cultures. However it seems they are not thought of much and even spurned in today’s society; where we can all basically afford whatever cut we want. But every animal killed for a steak, wing, or ham contains edible parts like the liver, kidney, and even heart.

Some avoid liver because they are concerned that it stores toxins, since the liver’s main job is to detoxify chemicals and drugs in the body. Chris Kesser sets the record straight: “While it is true that one of the liver’s role is to neutralize toxins (such as drugs, chemical agents and poisons), it does not store these toxins. Toxins the body cannot eliminate are likely to accumulate in the body’s fatty tissues and nervous systems.”

So eating liver will not cause you to ingest a bunch of toxins. It will cause you to ingest large amounts of all kinds of vitamins and micronutrients though. Gram for gram, liver has more copper, iron, vitamins A, C, D, and E, B vitamins, and P, K, Mg than apples, carrots, or lean red meat in most cases combined.  Of course, where the liver comes from is important. A grass-fed, naturally raised cow’s liver is much healthier than a CAFO animal fed antibiotics, growth hormones, corn, and packed in too tight to lie down.

If you are lucky enough to already like liver, rock on! Keep eating that superfood. And hopefully you will love this recipe, as a new and exciting way beyond the typical onions or pate to enjoy liver. If you don’t like liver, give this a try anyways and see what you think. Blended up with other veggies and pasta, you may not even notice. Look for it in the frozen section if you can’t find it in the meat aisle.

Ingredients:

  • 1 pound pasta (I used bowtie)
  • 1 pound chicken livers
  • 1/4 cup cream or milk
  • 1 can diced tomatoes
  • Handful chopped kale or spinach
  • Garlic salt
  • Grated Parmesan cheese

IMG_6427

Step 1: Boil the pasta for 7-9 minutes. While that’s boiling, cook the livers over medium heat until only slightly pink, then turn heat off. Drain pasta and put in a large fry pan.

IMG_6431

Step 2: In a blender, combine cooked livers, milk, and garlic salt to taste. Blend well and coat pasta. Add in can of diced tomatoes and greens. Cook another 10-15 minutes, until greens are wilted and everything is heated through.

IMG_6429

Serve with a sprinkle of Parmesan cheese on top. That last tiny hit of saltiness really makes this sing. It is a bit gamey, but I absolutely loved it! Which is good, because it made about four meals’ worth for me.


Do you ever eat liver? If so how do you cook it?

World’s Easiest Peanut Butter Fudge

History

The exact origins and first creator of the confection known today as fudge is widely debated, though by most accounts it was invented in the U.S. over 100 years ago. The most popular theory is that it resulted from a batch of caramels gone wrong, or “fudged”, hence the name and the grandmotherly curse “Oh, fudge!”. For two possible stories of how this came about check out the BBGees “History of Fudge Explained“. 


Ingredients

For most candies and caramel, you do not cause crystallization. However, for fudge crystallization is required. The crystals are small enough that there is no grainy texture. Original recipes call for boiling mixtures of milk, cream, and sugar. They were also famously touchy; one had to use precise measuring, accurate temperatures, and constant stirring to achieve that perfect soft texture. Since not everyone has a candy thermometer, the recipes were adapted for home cooking to make the results easier and more reliable. Corn syrup, marshmallows, marshmallow cream, peanut butter, nuts, and sweetened condensed milk, among other ingredients, are included in various fudge recipes. The Nibble has a great article on the history and original fudge recipes.

Process

Almost all fudge recipes call for sugar, cream, and butter to be heated to the “soft ball” stage. This term, according to Exploratorium: The Science of Cooking, refers to how the mixture reacts when dropped into cold water, it will form a soft ball. This happens at 235-240F (110-116C) degrees. Other stages, determined by the highest heat the liquid reaches before cooling, include the Thread, Firm Ball, Hard Ball, Soft Crack, and Hard Crack stages.

In case you haven’t had enough sweets during December, I discovered the world’s easiest fudge recipe while at home. Now when you have that irresistible craving for the creamy sweet stuff, you don’t have to run out to a store. Just pull two simple ingredients from the pantry and within minutes you have a gooey batch of the sweet stuff.

Recipe

Ready?
Ingredients:

1 jar peanut butter
1 jar icing (vanilla is best, but what the heck, go wild and try chocolate, or cream cheese)

Mix well. Microwave 2 minutes. Refrigerate until solid and cut into squares.