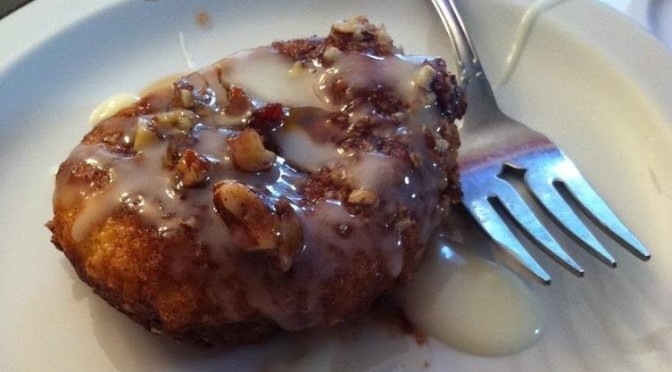
Mascarpone Stuffed Cinnamon Rolls


With Mother’s Day just around the corner, you may be asking yourself what is a good way to show your mom just how special she is. You could buy a Hallmark card, but that’s just an over-priced poem someone else wrote. You could take her out to brunch, that’s always nice. But how about you one-up that and make something special for her yourself!?

I know, you may not think you have the time. But why not ask if she’d like to be included in the baking? We all know no one cooks just the way mom does. And baking is a great way to bring family together. “So Much Good Happens When We Bake.”

This post is part of the Culinary Content Network’s “Celebrating Mom” series, sponsored by Shedd’s Spread Country Crock.
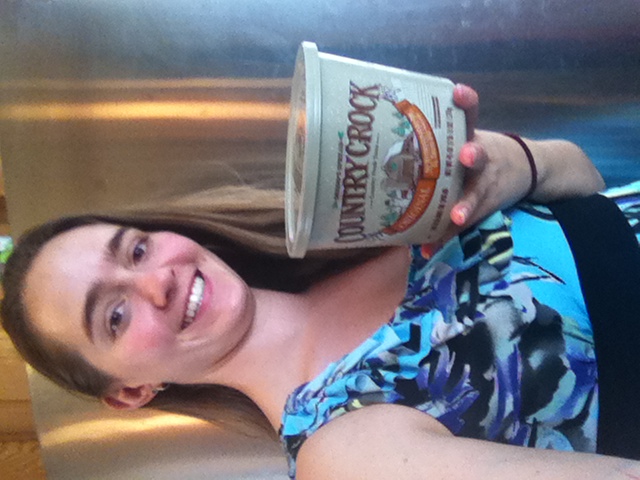
photo 1
This recipe became a fast favorite in our house since mom saw a recipe from Pillsbury online last Christmas.

photo 2

Now we make it our own with a variety of fillings and toppings. Feel free to experiment yourself. Try ricotta, cream cheese, cottage cheese, or goat cheese. Use any dried fruits, jams, honey, or maple syrup. As long as there are biscuits, sugar, Country Crock, and love, they are sure to delight!

Ingredients:

Step 1: Heat the oven to 350 degrees, and grease a round pan or 8×8 square pan. Mix any nuts and/or fruits you are using in a small bowl.

Step 2: Lay out two shallow bowls or plates, one with the melted Country Crock and one with the cinnamon & sugar.

Step 3: Put about 1/2 tbsp of mascarpone cheese in the center of one biscuit round, sprinkle in a pinch of nuts & dried fruit, and pinch the sides up all around it. Roll it into a ball, making sure the cheese is completely covered.

Step 4: Roll each biscuit ball in the melted Country Crock, and then in the cinnamon & sugar. Place seam-side down in the greased pan. Once all biscuits are stuffed, spread the remaining Country Crock over them and sprinkle with remaining walnuts & cranberries.


Step 5: Bake at 350 for 25-35 minutes, until biscuits are nice and brown. Mix 1 cup powdered sugar and 2 tbsp milk into a thick glaze. Drizzle over warm rolls right as you take them out of the oven.

 
These things are simply incredible. Warm, gooey, sweet, and irresistible.
Who wouldn’t want to wake up to these?? Make them anytime really. Maybe every day, if you’re also a marathon runner…

What will you do for Mother’s Day?

[amd-zlrecipe-recipe:21]

This post contains affiliate links. If you buy products using these links, the price you pay is not affected yet a portion of the proceeds help to maintain this blog. Thank you.

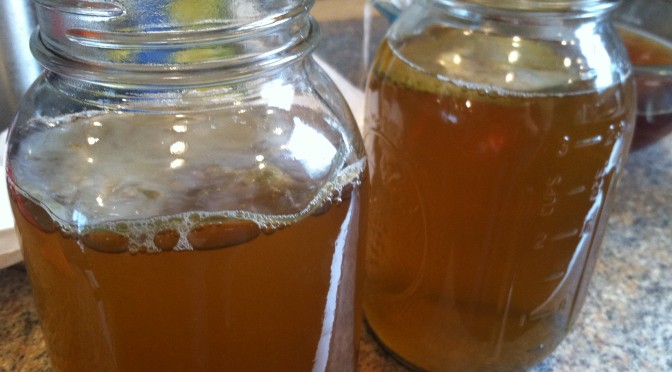
Homemade Kombucha Part 2


I had to wait a week for my second batch, you only had to wait 2 days! No fair. =)

If you didn’t get a chance, go check out my post on Homemade Kombucha Part 1 for the intro on what kombucha is, and how to start making your own at home.

After your first batch has fermented for as long as you wish, you are ready to transfer your SCOBY to your next batch. It is the same process as previously, only now you have your baby SCOBY ready to go to ferment this fresh sweet tea.

IMG_9195

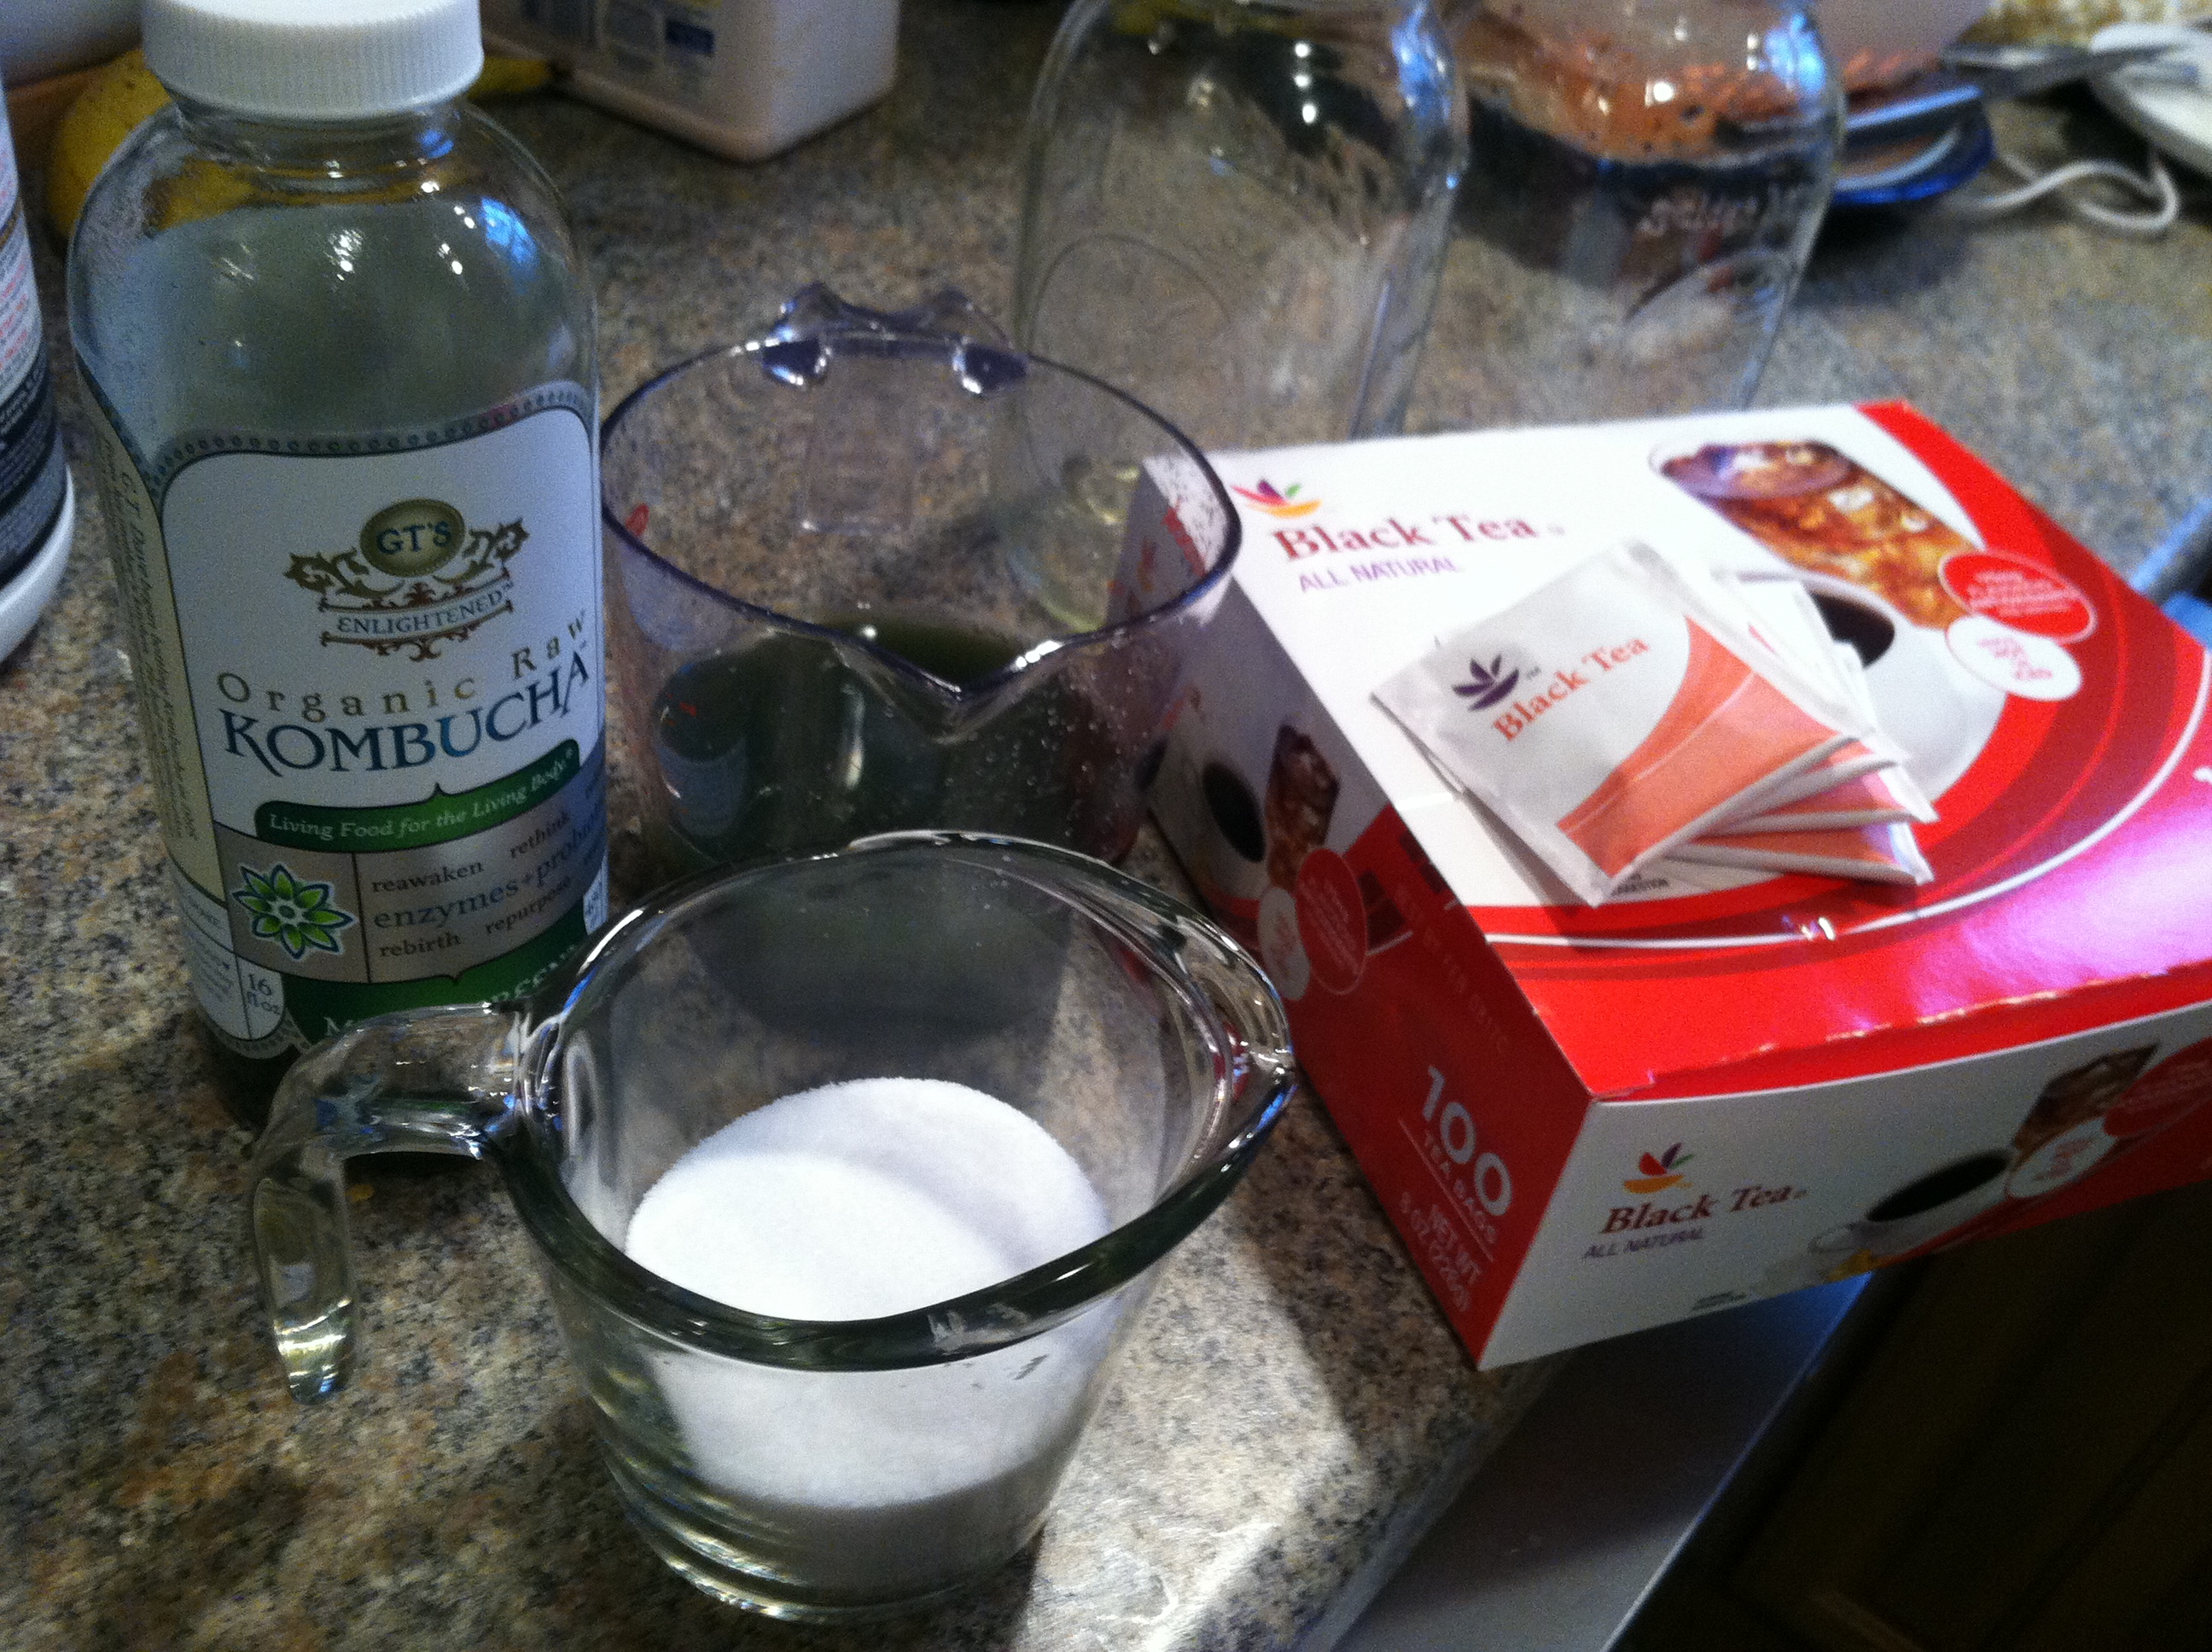
Ingredients:

IMG_9196

Step 1: Boil the water, mix in the sugar, and add the tea bags. Let steep and cool to room temperature. You cannot add a SCOBY to hot or even warm tea, or it may kill the bacteria & yeast.

IMG_9197

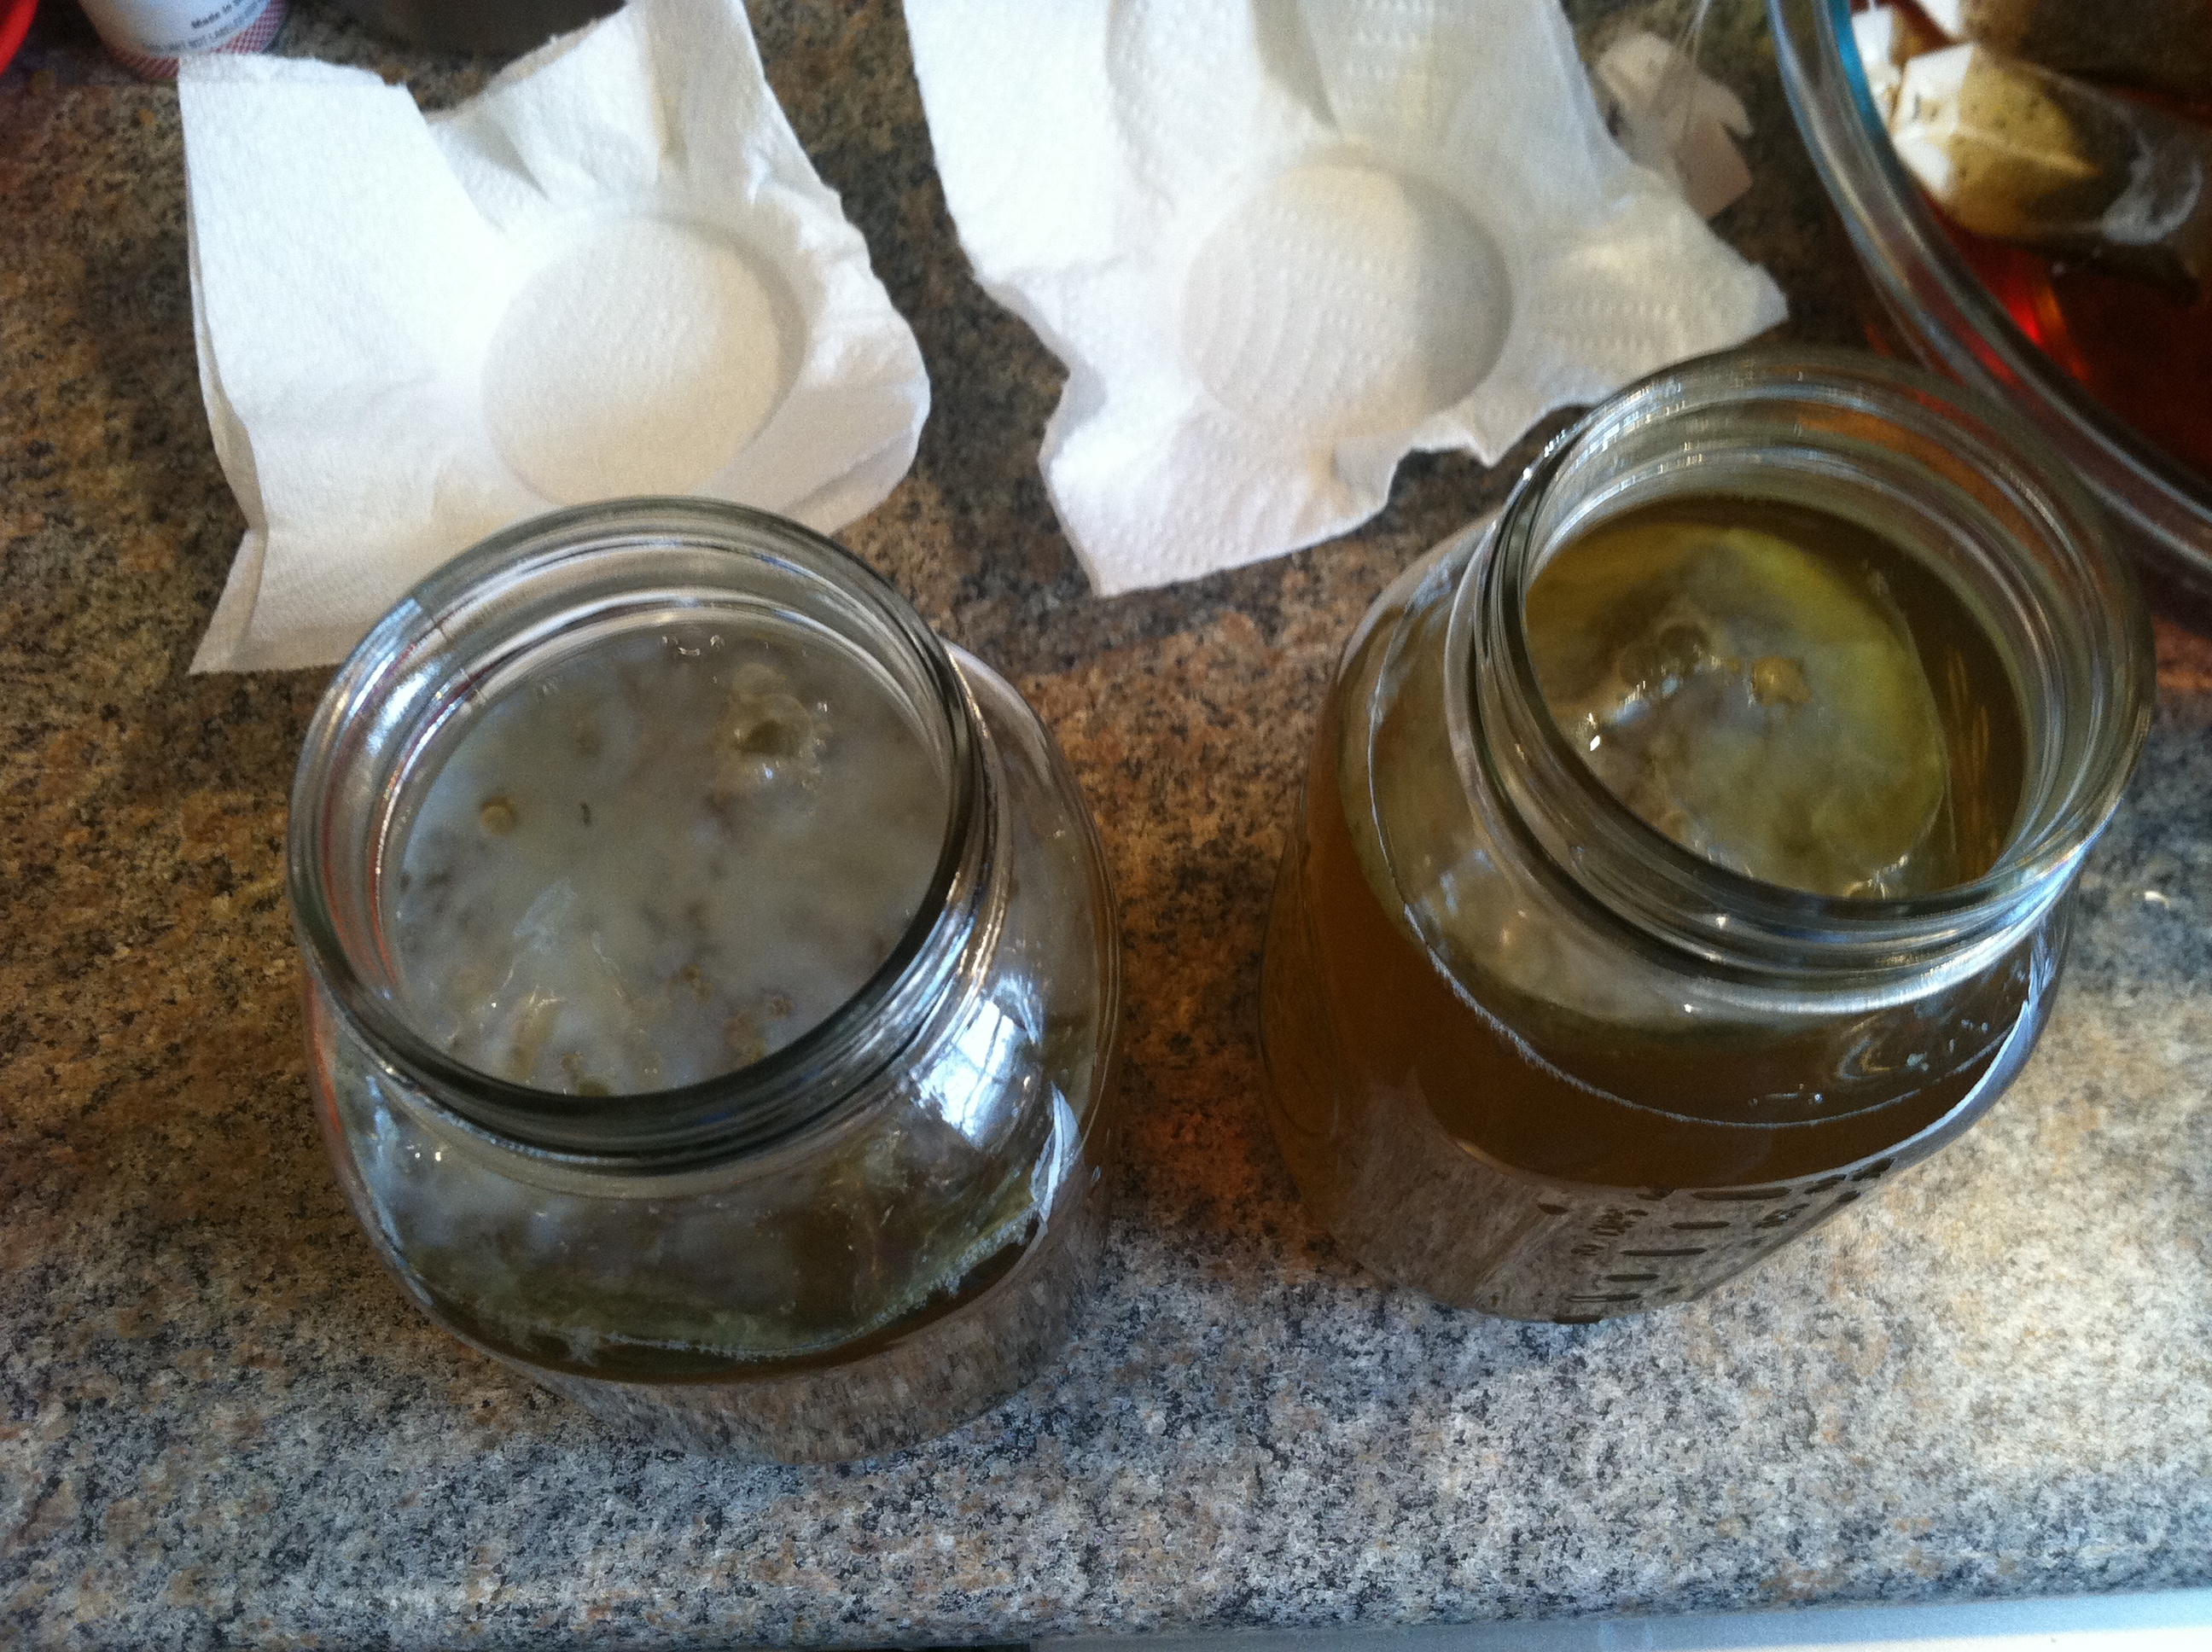
Step 2: Once cool, add the cup of starter kombucha liquid and pour the sweet tea into your clean, sterile containers. Take the SCOBY out of your first jars, it is ok to use your hands, as long as you’ve washed them first! This is what a baby SCOBY may look like if you used a green tea/spirulina starter kombucha…

IMG_9199

You can see how thin this first culture is, and that is ok. It will thicken with each batch of kombucha brewed. And, once it becomes very thick, it is actually recommended that you remove the bottom layer(s) and give to a friend to start a new batch or throw it out. Kombucha cultures can outlive their usefulness.

IMG_9201

Step 3: Carefully place the SCOBY on top of your fresh sweet tea. It may float along the top, or it may sink to the bottom, it may even float around sideways. Those are all fine, a new culture will form along the top if your first SCOBY does not float.

Also, any size SCOBY can ferment any size container, the culture will grow to fit the size of the jar. Larger batches may take longer when transferring a smaller SCOBY to the larger container.

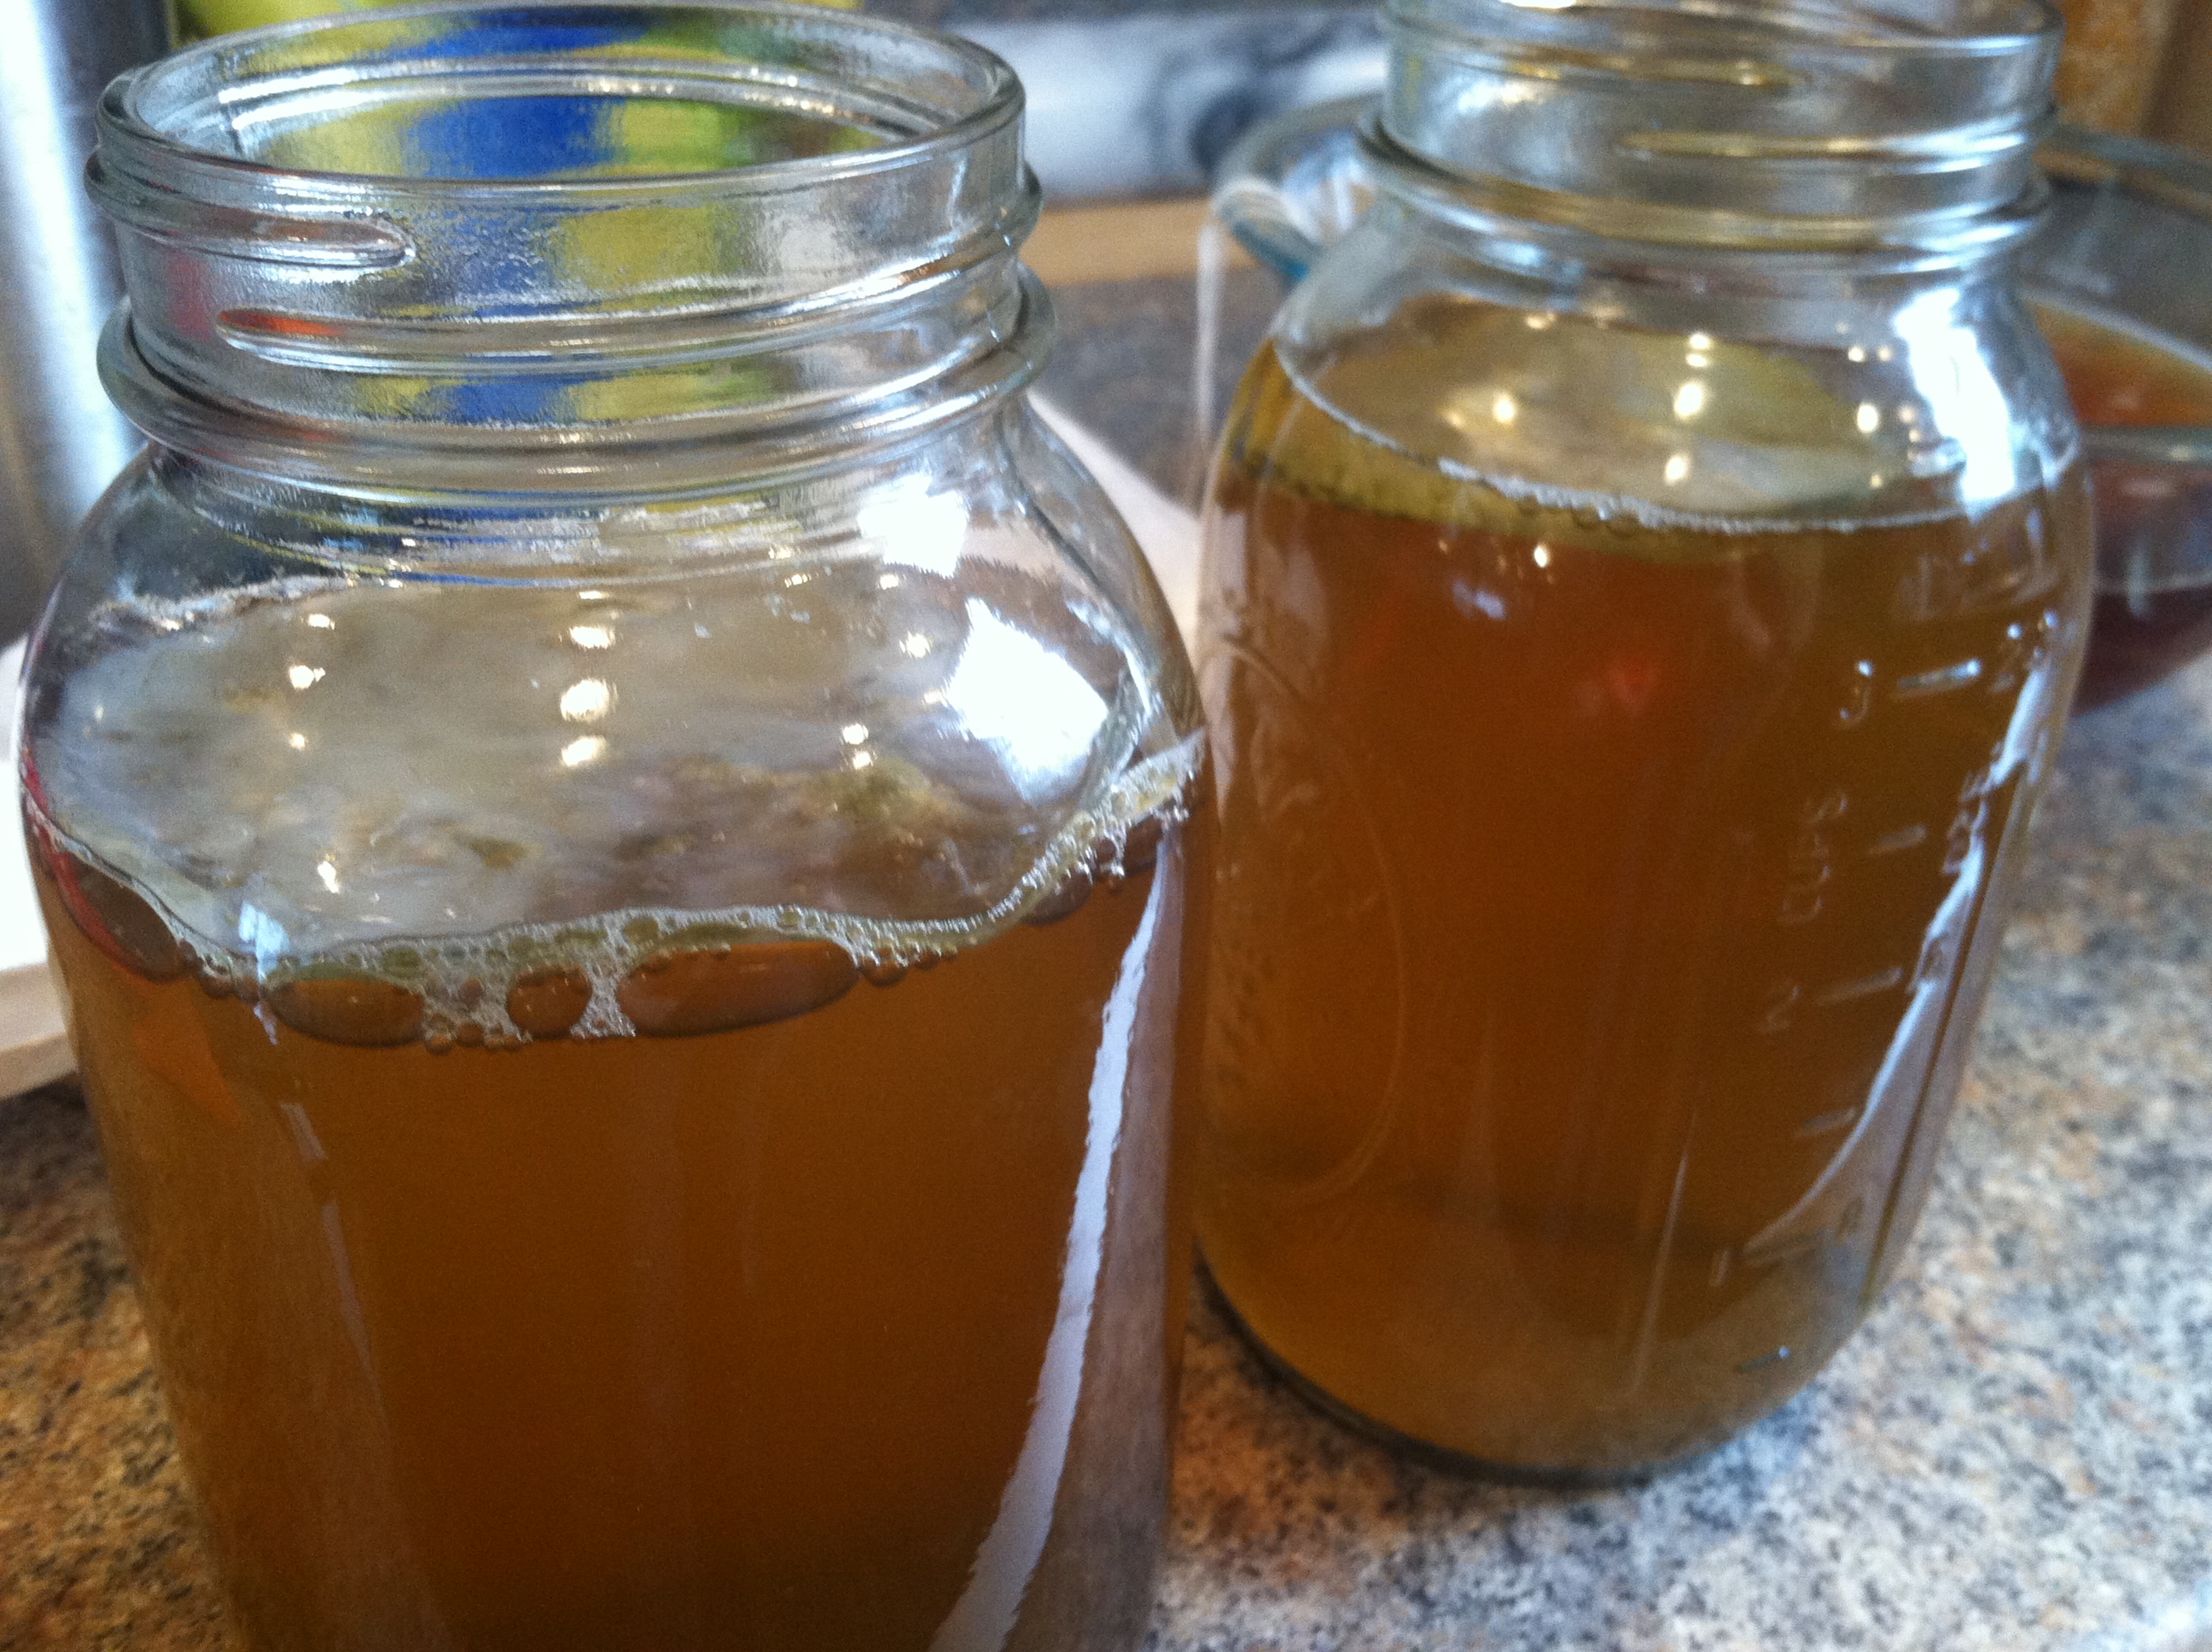
Step 4: Once the SCOBY is removed from the tea, you can now enjoy your kombucha! You can drink it as is, or refrigerate it for a week or so. If you’d like it more carbonated, simply close the jar, and leave in a cool dark place undisturbed for another 2-3 days. The probiotics inside will continue fermenting, and carbonate your drink.

And that’s all there is to it! Once you get used to the process, you can switch out your SCOBY and have fresh jars of kombucha ready to drink in about 10 minutes once a week. Once you have a thriving, healthy culture, you can continue propagating to as many batches as you please, or give some to a friend to try.

Since I’m still somewhat new to this homebrew kombucha, I haven’t had a chance to experiment much. But you know with me, there is some serious experimentation in my future! I’m going to let my culture get nice and strong, then branch out to green and maybe white tea. It is not a good idea to use any tea with oils in it, like earl grey or bergamot. Also if you do try different mixes, make sure to throw in a black tea batch in between so the SCOBY gets all the nutrients it needs to keep producing.

Then there are so many infusion possibilities! Once the kombucha tea base is made, I want to try adding lemon, lavender, strawberries, and rosemary. Maybe some raspberries or blackberries or mint. This project will keep me dreaming all summer long I’m sure!

What do you think? Is kombucha making something you’d like to try or have tried? Feel free to tell us your experiences in the comments!

Homemade Kombucha Part 1


For those who have not yet heard of this drink, kombucha (pronounced kom-boo-ch-ahhh) is a fermented sweet black tea made using a SCOBY – symbiotic culture of yeast & bacteria. This beverage has been around for a very long time, and is said to have originated in China. Because the drink is made by microorganisms, it contains the buzzworthy “probiotics”.

Probiotics basically means live bacteria or yeasts that are good for your health. Probiotics are great for your digestive health, immune system, liver, kidneys, and overall health. The beneficial bacteria and yeast in kombucha live together in a cellulose raft on top of the kombucha, and work together to cause a special type of fermentation. This uses up the sugar and caffeine in the beginning tea mixture, so the resulting drink is tart, carbonated, and relatively caffeine-free. There is a trace amount of alcohol; not enough to cause a noticeable effect, but in case you avoid alcohol that is important to note.

To make kombucha at home, you only need containers (preferably glass, wide-mouth mason jars), water, tea, sugar, and a starter SCOBY or culture. You can buy a starter SCOBY online, get one from a friend who makes kombucha, or do as I did and buy a bottle of raw, unpasteurized kombucha from the store. I show you how to do this all step by step in my awesome Homemade Kombucha video! (Also at the bottom of this post)

This recipe makes 2 quarts of kombucha each 7-10 days.

IMG_8998

Ingredients:

IMG_8999

Step 1: Get 7 cups of water boiling, and add your tea. Mix in the sugar so it dissolves. Let that sit and cool to room temperature. To speed up cooling, you can place the container with the tea into a larger container filled with ice or ice water.

IMG_9190

Step 2: Once cooled, add the cup of starter tea. If using store-bought, make sure it is an organic brand, and that it is raw and unpasteurized. If it has been pasteurized, there may not be any more live bacteria or yeast in there to start your new SCOBY. If using a mother from a friend or online, or a culture, stir that into the tea.

IMG_9191

Step 3: Fill your jars up to an inch or so from the rims. Place a clean paper towel or cloth over the opening, and rubber band, tie, or otherwise hold it in place. Now leave your jars in a cool, dark place where they won’t be disturbed for at least 7 days, and as long as you like.

IMG_9192

The first time you brew kombucha, your SCOBY may take longer than a week to get growing. Colder temperatures also make them grow more slowly. Don’t worry, let it ferment up to a month. If after 4 weeks nothing has happened, you may not have had enough active probiotics to make a culture. Just start over with fresh tea and fresh starter culture.

IMG_9193

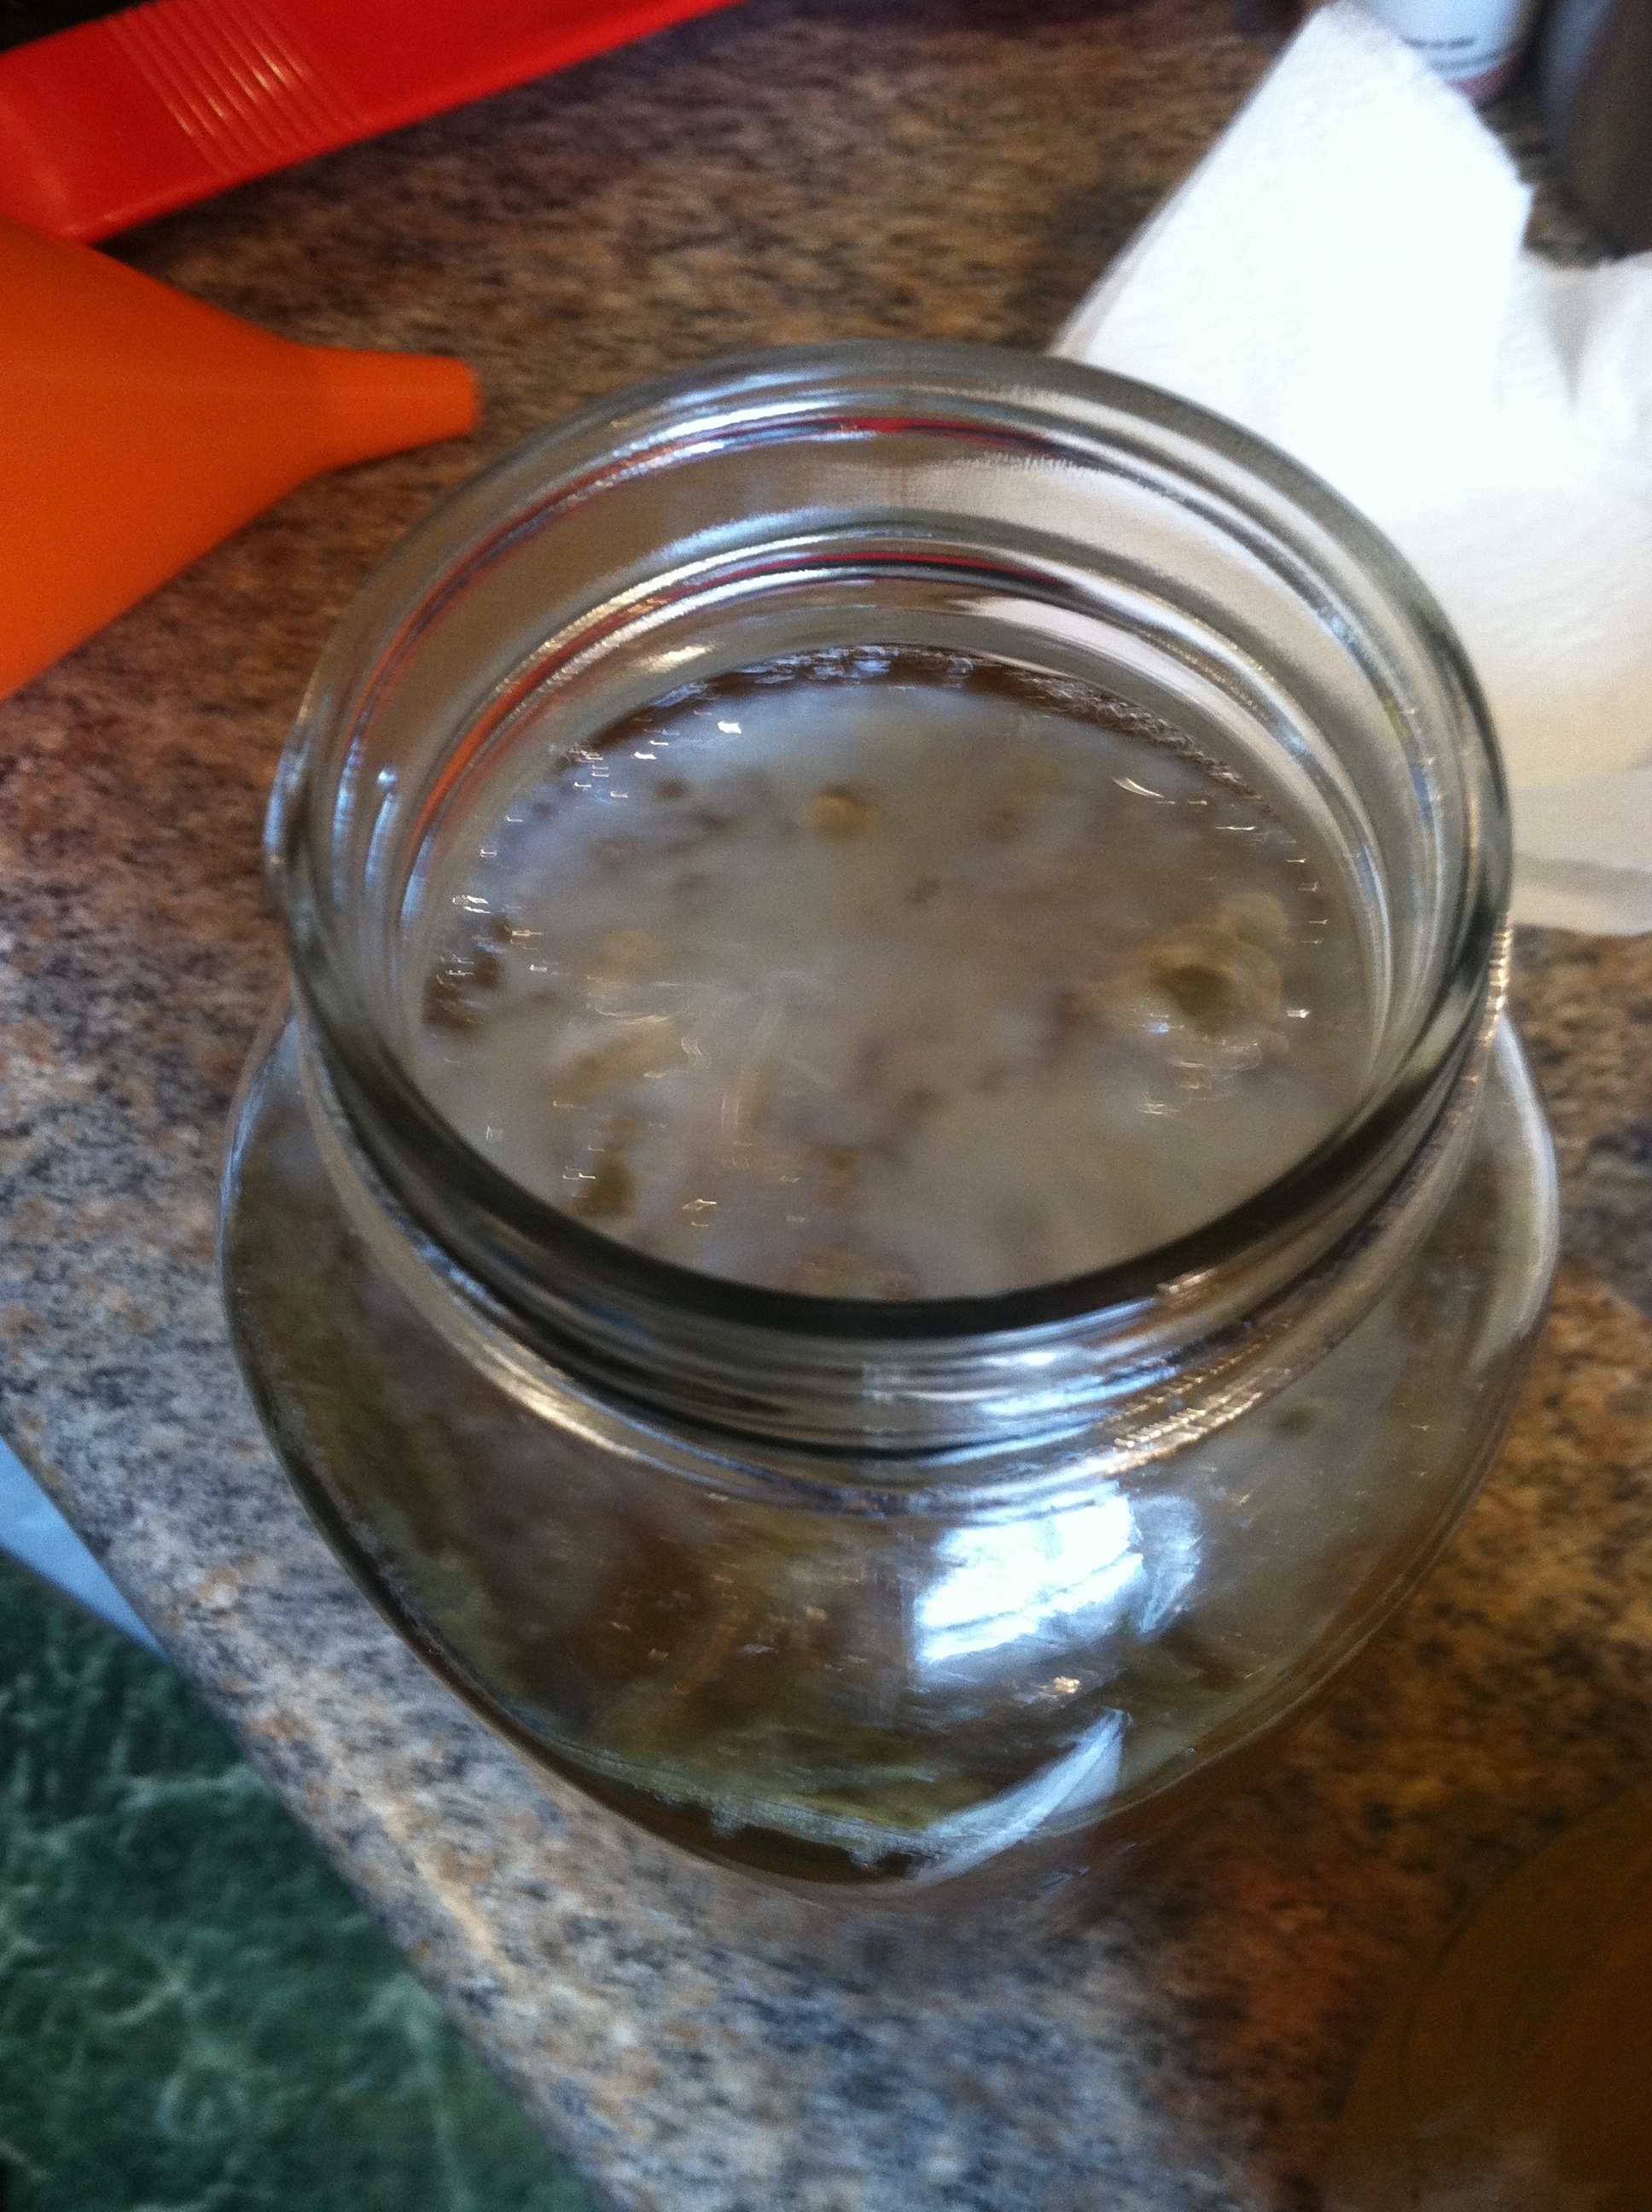
After a day or two, you may start to see flecks on the surface of the kombucha, or bubbles. This is a great sign! After a few more days, you will see a thin film start to develop on top of the liquid. This is the beginning of your symbiotic colony. This layer will thicken over time with successive batches of kombucha.

IMG_9194

If your first SCOBY seems wavy, has holes or air bubbles, or differences in color, that is ok. But if you smell anything rancid, like mold or cheese, or see red or green or white fuzz growing, your kombucha has been infected with something you don’t want to drink,  and you should throw that batch out and start over.

This first batch may end up being too vinegary to drink, but you may also like the acidity. You can discard the batch, keeping the SCOBY you worked so hard to grow, or drink round one. I’ll show you how to transfer your brand new SCOBY into future batches in my next post!


Part 2 of how to make homemade kombucha is out! Once you have your SCOBY, here’s how to propagate it for future batches of fresh delicious tea.

With video! https://youtu.be/o5peIHOvKrY


More sources: