Category Archives: Healthy

The Art of Ethiopian: Part 3 – Potatoes & Lentils


Welcome to part three of my four-part Art of Ethiopia Cuisine post series! If you’ve been following along, you already know how to make Minchet-Abesh Alicha, Doro Wat, Yasa Tibs, and know Injera is just around the corner!

The stars of this post were considered side dishes to us meat-eaters, but could easily stand alone in an all-vegetarian meal. This is all about the tubers and lentils.

Lentils for Lent, ha. That should be a thing too.

Lentil stew is called “Mesir Wat” (remember Wats?) and the recipe I based mine off of is HERE at A Spicy Perspective. The two potato stew starring both Yukon classics and sweet potatoes was of my own invention.

I had had something similar at the Nile, an Ethiopian restaurant near me, and was trying to replicate it. I think it’s pretty darn close. I made a small batch, but you could easily scale it up to however many potatoes you want to use.

The Art of Ethiopian Cuisine: Part 1 – Beef & Pork
The Art of Ethiopian Cuisine: Part 2 – Chicken & Fish
The Art of Ethiopian Cuisine: Part 3 – Potatoes & Lentils
The Art of Ethiopian Cuisine: Part 4 – Cheese, Greens, & Injera

Ingredients (2 Potato Stew):

  • 1 sweet potato
  • 2 large baking potatoes
  • 1 cup water/stock
  • Garlic salt
  • 1 tsp turmeric
  • 1 tbsp curry powder
  • 1 tbsp cornstarch

Step 1: Dice the potatoes into tiny pieces. The smaller the pieces, the faster they will cook. Just try to make the pieces uniform in size.


Step 2: I used my rice cooker for this. Because I’m in love with this appliance. You can use a small slow cooker too, or a small sauce pot on the stove. Put the potatoes in, and add the spices and liquid.

Cook on low for at least 30 minutes, or until ready to serve.

About 10 minutes prior to dinner, add the cornstarch. Make sure it mixes in well, no-one wants a cornstarch bomb. This will thicken the sauce, but is not absolutely required.


Ingredients (Mesir Wat):

  • 1 cup lentils (any color, I had brown)
  • 1.5 cups water/stock
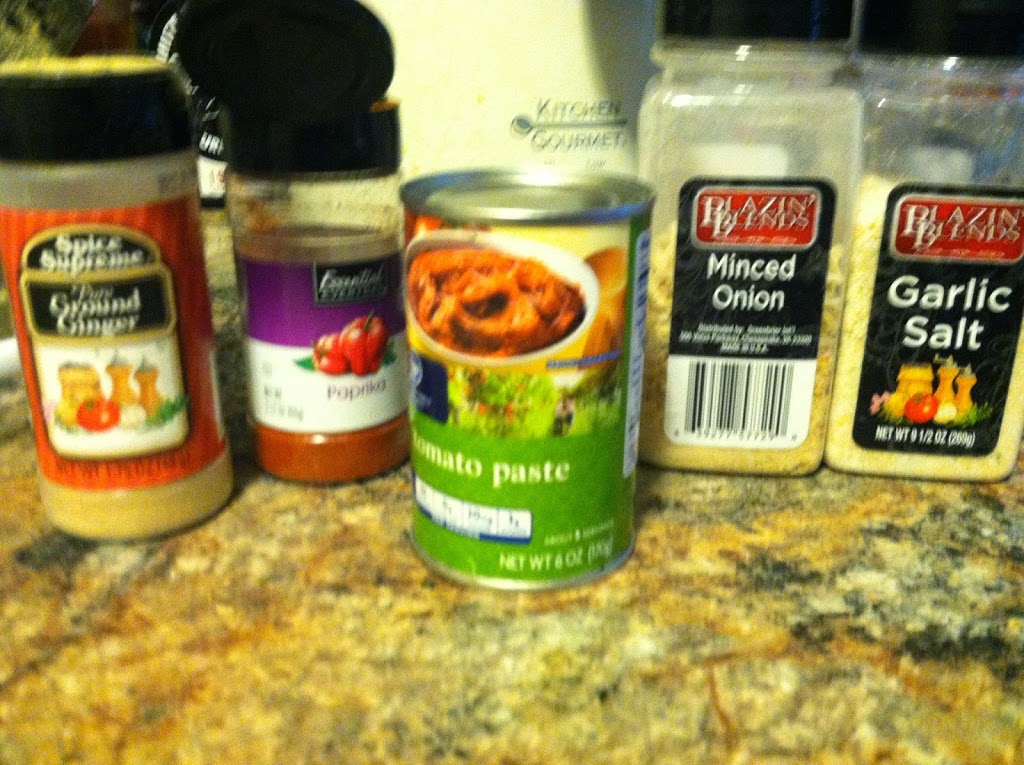
  • 1 small can tomato paste
  • 1 tsp ground ginger
  • 1 tbsp minced onion
  • 1 tsp garlic salt

Step 1: Combine all ingredients in a small slow cooker, or sauce pot on the stove.

Step 2: Cook over low heat, stirring occasionally, for at least 30-60 minutes, until lentils are soft and fully cooked.

You can leave them in there foreeeeeever, just keep stirring occasionally so they don’t stick and burn on the bottom, and add more liquid as needed.


These were really tasty, I liked the slight tomato and garlic flavor.

Thickened up nicely after about 1 hour in the crock pot. I like lentils a lot, and this would be tasty with some added veggies as a meal unto itself!

More to come: Cheese, Greens & Injera

The Art of Ethiopian: Part 2 – Chicken & Fish


This is part two of a four-part series on Ethiopian cooking, the American way. Since I am such an expert (I know someone from Ethiopia. Plus I’ve eaten it like… four times) I decided to share my versions of some of my favorites.

The recipes are fairly straightforward, you just need to obtain the spices, and be patient. All said, the cooking for this dinner party probably took about 6 hours. The dishes took twice that long. 😉

The Art of Ethiopian Cuisine: Part 1 – Beef & Pork

The Art of Ethiopian Cuisine: Part 2 – Chicken & Fish
The Art of Ethiopian Cuisine: Part 3 – Potatoes & Lentils
The Art of Ethiopian Cuisine: Part 4 – Cheese, Greens, & Injera

Part 2: Chicken and Fish

Sounds like the punchline of a bad Lent joke. Appropriate for April I guess. (Is April still when Lent happens?) But since the earlier post had already covered the ‘red’ meats of beef and pork, this one is for the “white meats”. Sorta.

Chicken stew in Ethiopian is called Doro Wat. I’ve figured that most things that say “Wat” mean meat stew, whereas “Tibs” means meat and vegetables stewed together. As in “Yasa Tibs” meaning my fish, tomato & spinach stew.

The recipe I based the Doro Wat from is found HERE from NomNomPaleo, while the inspiration for the fish is found at Allrecipes HERE. 


Ingredients (Doro Wat):

  • 3-4 pounds chicken (bone in will give you better flavor, I used a mix of 2 thighs and 2 boneless skinless breast)
  • 1/2 cup diced onion
  • 2 tbsp butter
  • 1 cup chicken stock
  • 2 tbsp turmeric
  • 1 tbsp garam masala
  • 1 tbsp ginger powder


Step 1: Add stock to chicken in a pan, and cook over low heat until no pink is left. Cut the breast into bite-sized cubes.


Step 2: In a separate pan, add butter and diced onions. Cook until the onions are soft and translucent. Add 1 cup diced onion to the chicken.


Step 3: Add the rest of the spices, and simmer for 30 minutes or until serving. Add more stock if liquid starts to evaporate.


Ingredients (Yasa Tibs):

  • 1-2 small tilapia (or other white fish) fillets
  • 1 cup fresh spinach leaves
  • 1 tbsp garam masala
  • 1 small can tomato paste
  • 1 tbsp olive oil
  • 1/4 cup fish sauce (or vinegar if you don’t have it)
  • 2 tbsp lemon juice
  • Garlic salt to taste
  • Squirt of Sriracha or Tabasco, if you like


Step 1: Cut the fish into bite-sized pieces. Cook in a pan with olive oil until white and flaky.

Step 2: Add all sauces, spices, and spinach. Simmer at least until spinach is wilted, until serving.

This one is delightfully salty and tangy from the fish sauce and acidic lemon juice. And probably the healthiest stew thus far, with little to no fat and a spinach nutrition boost.


Up next: 
Part 3 – Potatoes & Lentils

Crazy fast curried carrot soup

This dish happened because I had some squash that needed used up, and was in the mood for a thick winter vegetable stew. But I didn’t want just acorn squash soup, so I added bunches of carrots for color and lots of spices for flavor.

Ingredients:
1 acorn squash
1/2 cup milk
1 bag frozen carrots (or 1 bunch fresh)
Squirt of sriracha
2 tbsp garam masala
1 cup chicken broth

 
Step 1: Cut the squash in half and pull out seeds with a spoon. Put some water in the middle and microwave on high for five minutes. Flip upside-down and microwave another 5 minutes.
Step 2: The squash should be soft, remove the skin and smash in a bowl. It looks a bit like applesauce at this point.

Step 3: Put the squash in a blender with the milk, stock, spices, and carrots. If using fresh carrots, boil them or microwave for 10 minutes first so they are softened. Blend it all together.

There you have it, a simple thick stew with TONS of vitamins, fiber, and beta-carotene. Enjoy with a winter greens salad or some fresh bread.


Curry curious

Ever since I did my master’s degree with a Taiwanese adviser, I have been what I call ‘curry curious’. She would occasionally bring homemade Thai food for the lab, and it was always divine. I love ethnic food because they use so many spices which are usually not found in the typical American palate.

But contrary to popular belief, being spice-ed doesn’t have to mean spice-y (as in too spicy to eat, mouth on fire, tears running down your face). Wikipedia actually has quite an extensive list of curries from various cultures, the cooking methods, ingredients, and spice mixtures if you’re interested.

I think the most interesting tidbit is that the “curry powder” spice mixture, popular in the West, dates to the 18th century and is thought to have been prepared by Indian spice merchants to sell to the members of the British government and soldiers.

I have attempted Green Curry Chicken, and it turned out amazing. I began experimenting with different cuisines and techniques, like the Crock Pot Indian Chicken Curry and then more Thai with pineapple Peanut Chicken Curry. Clearly I need to try something other than chicken in my curries… anyhow.

All have been unique and delicious. I love the punch of spices, and the ease of a crock pot lends itself to long, slow cooking these curries taste best with.  I definitely will keep curries as part of my regular meals.

Especially because they are so easily customizable. Whatever meat is around, literally any vegetable, and some standard sauces (yogurt, coconut milk, stock, and/or tomato base) plus the combination of spices and I have a thick, complex stew to serve over rice or noodles.

Also, thought it seems like quite an investment, the spices are worth it. You don’t need to use much, so they will last a long time. Without further ado, enjoy my latest curry creation.

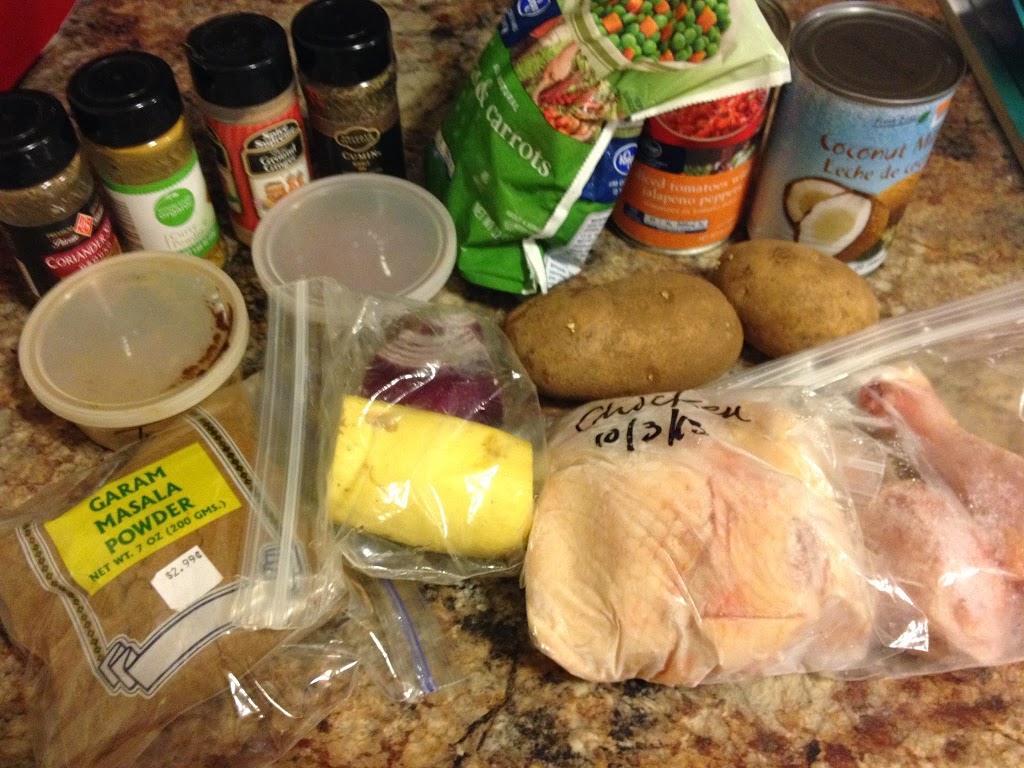
Ingredients:

  • ~6 pounds chicken (I used 2 thigh, 2 breast, and 2 drumsticks)
  • 1 can coconut milk
  • 1 can diced tomatoes with chilis
  • 2 potatoes, peeled and diced
  • 1/2 yellow squash, diced
  • 1/2 red onion, diced
  • 1/2 cup peas and carrots
  • 2 tbsp garam masala (Indian spice mixture)
  • 1 tsp cumin
  • 1 tsp coriander
  • 1 tsp ginger
  • 1 tsp curry powder
  • 1 tsp turmeric

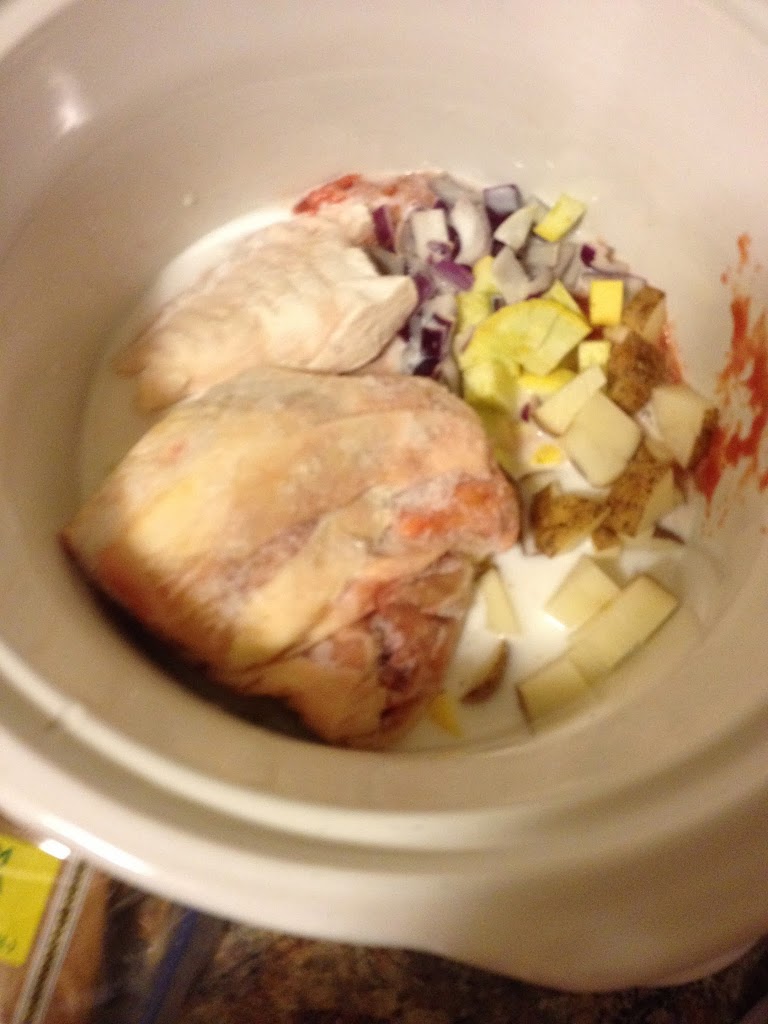
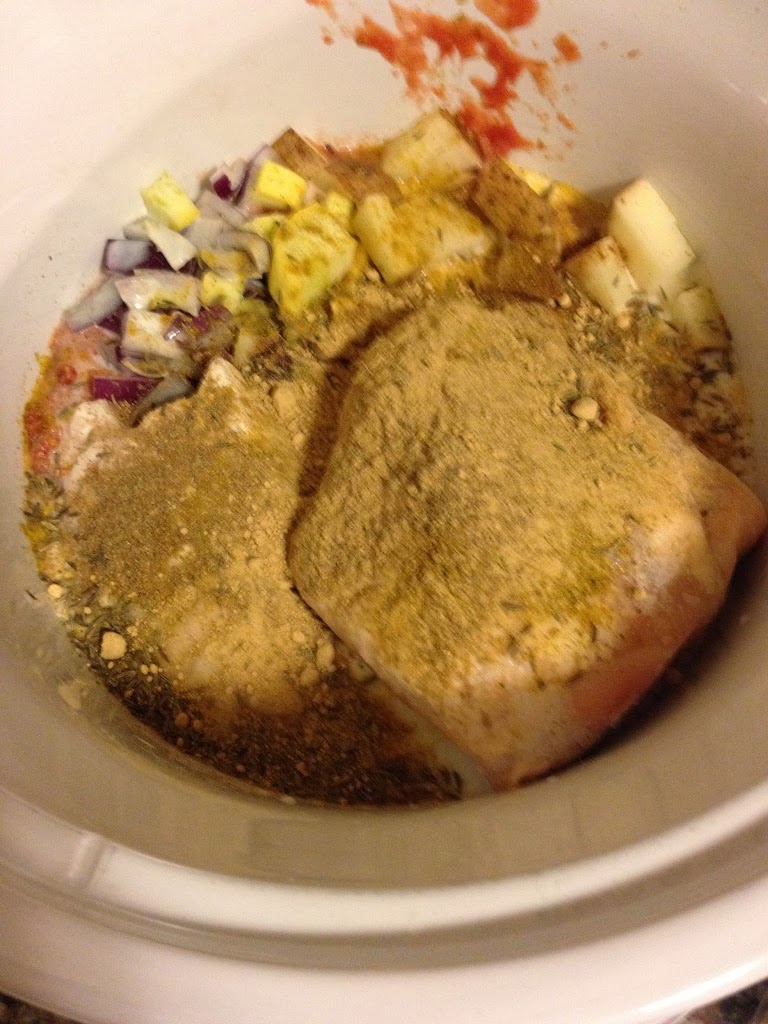
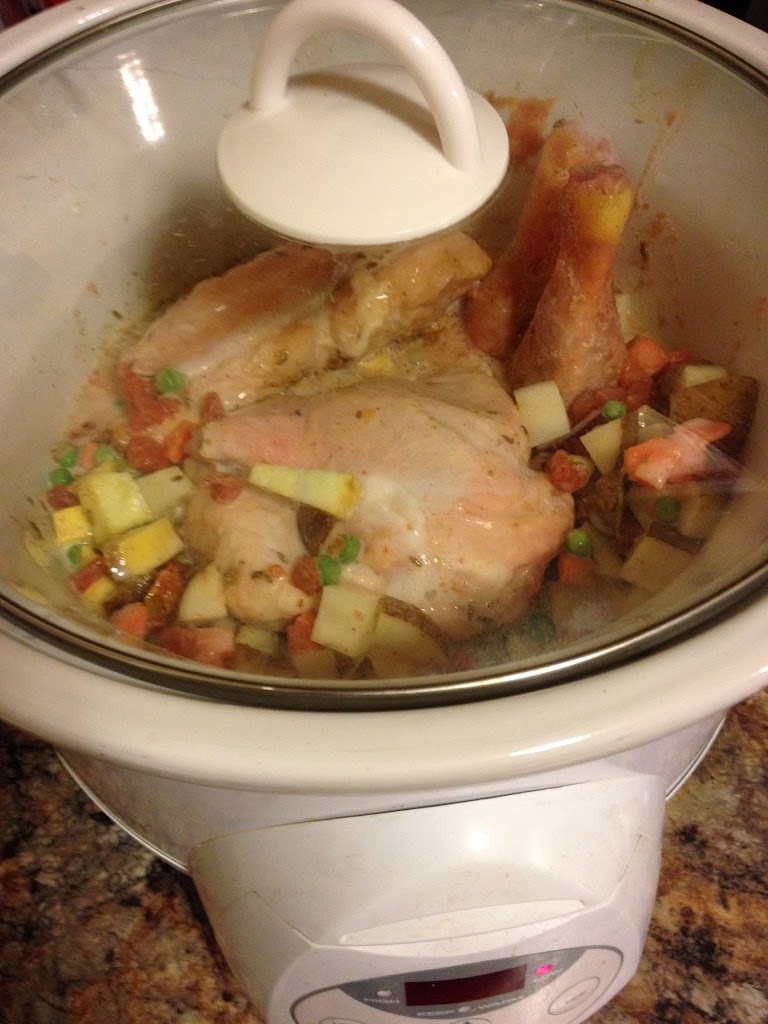
Step 1: Spray a crock pot. Add the coconut milk and diced tomatoes. Then add the chicken and all your diced vegetables.

Step 2: Douse it all in the spices you’re using. Give it a stir.

Step 3: Cook on low 4-6 hours, mixing a few times if possible.

Serve over rice, noodles, or bread. Enjoy!


Do you have a favorite ethnic recipe?


Simple sauteed power greens

.
One of the things I like best about growing up is changing tastes. When I was little, I had an on-off relationships with most vegetables, notably mushrooms. I loved them one week, and hated them the next. With growing up comes changing ideas of what tastes good, and I love it. I can be more creative, try different ingredients and recipes, and cook things that are good for me at which I would have turned up my nose years ago.
.
One of those things is kale. Since I worked on a CSA farm and tried Kale Chips for the first time, I have been looking for more ways to use this power green more often. One excellent option is in soup, like the Olive Garden copycat of Zuppa Toscana I made. Delicious and packed with healthy ingredients.
.
So as I had recently purchased more kale at Sprouts Farmers Market, along with some golden beets and fresh garlic heads, I decided to try another kale classic: Italian Sauteed Greens. I’m sure this is yet another popular side dish with a long and debated over past. But basically it’s garlic and olive oil with various greens sauteed lightly, and usually a tangy dressing like vinegar or lemon juice added. Also it is sometimes spicy, but since I’m a wuss I did not add hot peppers or hot pepper flakes. Feel free to if you love heartburn.
.
Ingredients:
1 bunch kale, cut into small strips
1 bunch beet leaves, in small strips
3-4 cloves garlic, diced
2 tbsp good quality olive oil
1/4 cup sour liquid (I used banana pepper liquid and 3 tbsp lemon juice, you can also use any type of vinegar)
Sprinkle of sea salt
3-4 banana pepper or hot pepper rings

Step 1: Dice up your garlic into bits. You can use a garlic press or chopper if you want.

Step 2: Saute the garlic in 2 tbsp olive oil 4-5 minutes, you should be able to smell it.

Step 3: Cut the greens into thin strips. Add to the pan, and cover tightly. Let it steam in the garlic oil for 10-15 minutes, or until fully wilted.

These greens were so vibrant and lovely even before cooking! All that heart-healthy nutrient-packed deliciousness…

Step 4: Add your sour notes, lemon juice and banana peppers. Stir, cover, and saute another 5-10 minutes.

Banana pepper rings are a new love of mine. I put them on tuna sandwiches, on pizza, into my greens… they’re awesome. And lemon juice is a necessity for life.

Step 5: Once wilted and everything is combined, move to plate and garnish as you like.

I added a little sprinkle of fresh Parmesan cheese and some sea salt. It was the most perfect balance, and the tart juices took away a lot of the harsh bitterness most people don’t like about greens.

These greens were tangy and delicious, and if you enjoy spicy food would go great with some hot peppers.  I also had some cottage cheese on the side, to complete a whole, light lunch. It’s filling without feeling stuffed, and ridiculously good for you.

Mmmmmm…

What’s your favorite way to cook greens?

Tropical Shrimp Tacos

Since the weather has been chilly and snowy, I’m feeling the urge for all things tropical. Dreams of sunshine, beaches, pineapples, little umbrella drinks, and fresh produce keep me going through the seemingly endless winter months. Pineapple is one of my favorite fruits and always makes me think tropical, so I decided to make something with a pineapple marinade. A quick check of the freezer showed me I had a bag of shrimp, so shrimp tacos it is. Toppings included my perfect refried beans and the marinade was nearly the same as the perfect pancake syrup, with a few additions.


Ingredients:
1 pound shrimp
Tropical Shrimp Marinade (below)
Toppings of your choice: rice, beans, coleslaw, onions, peppers, fruit compote, avocados, salsa, ranch, go crazy!

Tropical Shrimp Marinade:
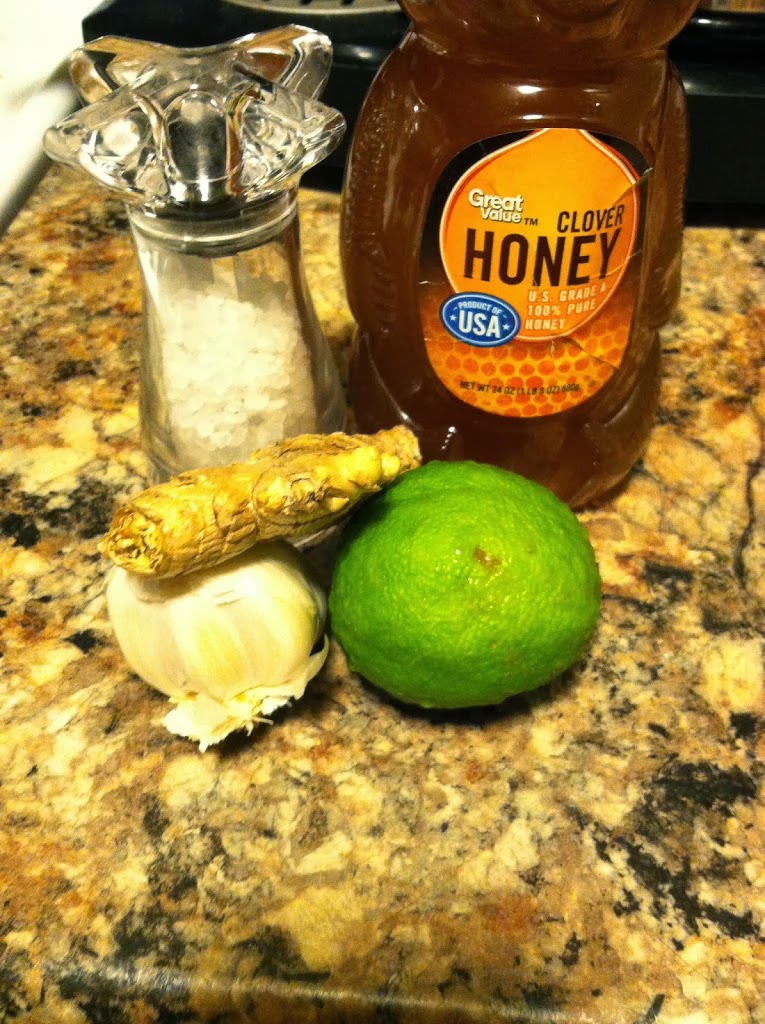
Juice of 1 lime
1 inch fresh ginger, peeled and chopped
3 cloves garlic, chopped
1/4 cup honey
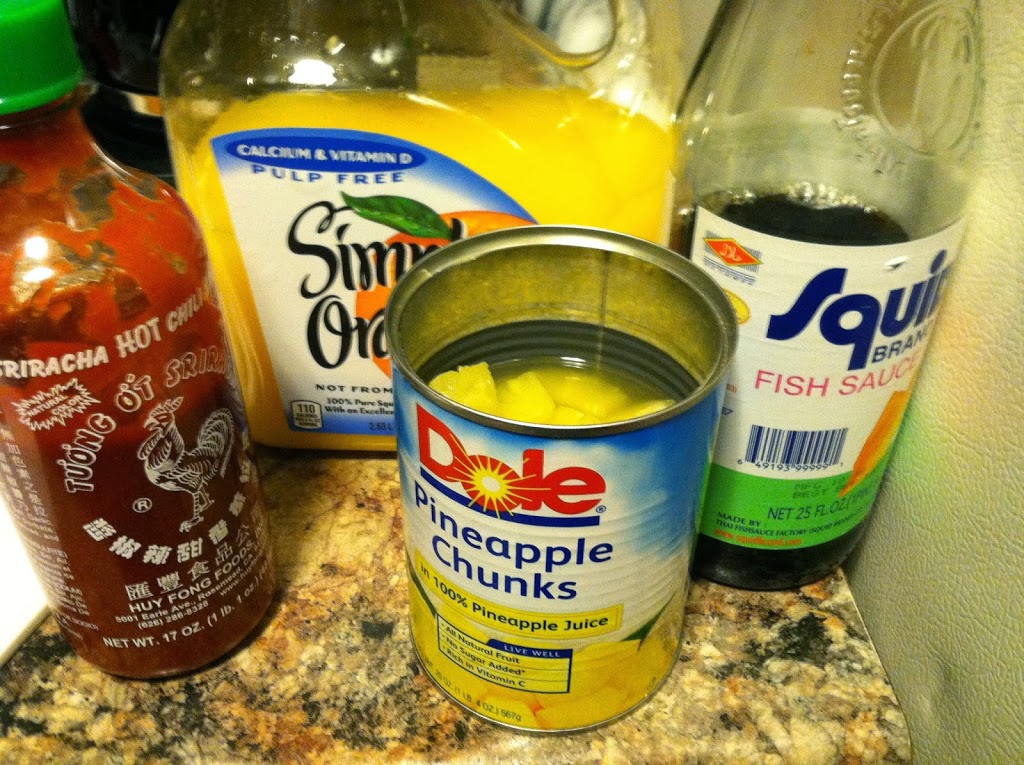
4 tbsp fish sauce (or soy sauce)
1/2 cup orange juice
1/2 can of pineapple chunks plus juice
Squirt of sriracha

Step 1: Mix all your ingredients in a small bowl.

If you don’t have a garlic press (like me) you can just use a fork to smash the garlic.

Give the marinade a whisk to incorporate the honey and Sriracha and mix everything together. (PS, you can save the marinade to use it one more time. I put a pair of pork chops in for the next day, and they were also delightful! Served over some extra rice I made. Efficiency.)

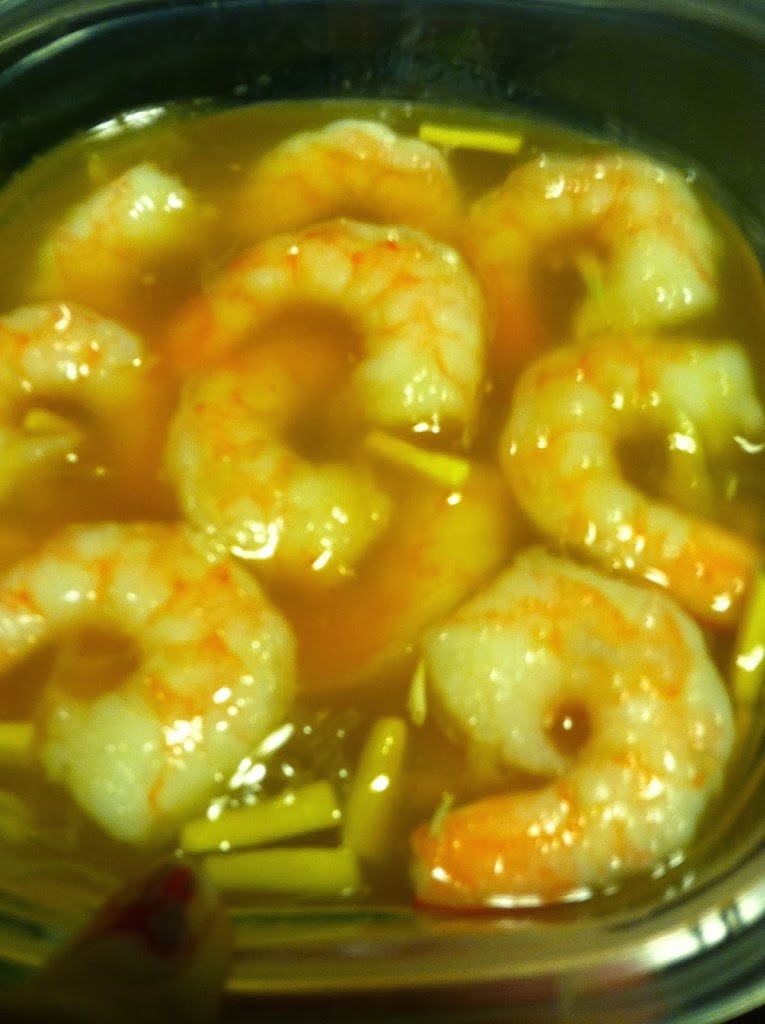
Step 2: Peel off the tails and let the shrimp marinate overnight or during the day, at least 4-6 hours.

Step 3: In a frying pan, cook the shrimp over medium heat on one side until it begins to get brown and crispy. Flip and cook another 5-10 minutes.

You want that gorgeous color and crunchy covering. I stir fried bell peppers, onions, corn, and the rest of the can of pineapple chunks to go with the shrimp. I also made some plain rice, and my Perfect Refried Beans to round out the meal.

Layer all your toppings in, and enjoy! I loved the sweetness of the pineapple, and the shrimp don’t have a fishy taste at all. If I had cabbage I would have made coleslaw and a chipotle ranch sauce, but I guess I’ll save that for another time.

 
What’s your favorite thing to do with shrimp?

Soups for the Super Bowl


Happy Super Bowl Sunday, world! 
Today the Denver Broncos meet the Seattle Seahawks at MetLife stadium in New Jersey, far from either team’s hometown. And in case you missed it, yes, both teams are from state which have recently legalized marijuanna. However, the game is not being played in a state which has that legalized, so fans beware. Also, I’ve never heard it being accused of enhancing performance in sports, so anyone who thinks that is unfair clearly doesn’t know its effects.

Photo from the Up & Under Pub website
 

Regardless of who you are rooting for, you are likely either at home with a huge buffet of finger foods, or going to a pub/bar with copious amounts of burgers, chicken wings, beer, and french fries. And, may I say, I am jealous. Since I will be home, working on a midterm exam for my neuroscience course. Nonetheless, as a Denver transplant, I think I’m legally obligated to say, Go Broncos! 
.
Once the game is over, and the dreaded Monday rolls back around, all the office gossip will be who caught what pass, how many touchdowns were scored, and which commercials were the funniest/best/worst. And it’s likely many will have a bar food/beer/ buffet hangover.

The Big News!

Not to worry, just in time for the Super Bowl I’ve rolled out my first ever e-cookbook, and this one’s on the house! Seven Souper Soups, packed with recipes like my spicy Mexican-inspired Chicken Tortilla, the classic winter Butternut Squash Soup, hearty yet healthy Sausage and Kale, thick & creamy Baked Potato and more! Including a bonus Peach dessert soup, and cover drawing by Mike over at WebDonuts comics.

So if you would like a copy of 7 Souper Soups for your very own, I’ve added it to my Google Docs and made it public for anyone to view and comment on: 

You can also email me at BudgetEpicurean (at) gmail.com and I will send you the PDF as an attachment. I hope you enjoy these favorite recipes of mine and share with family & friends. Enjoy today’s festivities, and keep coming back for more! There are several projects in the works, so keep an eye out.

Perfect refried beans – low-fat, high protein!

Refried beans, known as frijoles refritos, are a staple in Mexican and Mex-inspired cuisine. It translates into “well-fried beans”, which is an accurate description. Most often pinto beans are used, though sometimes pink or red kidney beans can be used as well.

The beans are fully cooked, and any water or broth is drained from them. Then they are mashed well, and put into a frying pan to be cooked again over low heat. Refried beans tend to be made with bacon grease and/or lard and/or bacon added, which sure boosts the flavor, but also may boost your hip size.

It’s super simple to make your own at home with only three ingredients, and no added fat.

Ingredients:

  • 1 can pinto beans, drained (use no added sodium kinds if you can find it. you can also make your own from dried)
  • 2-3 bay leaves
  • 1 tbsp cumin

Step 1: Drain the beans. Rinse them as well if not low-sodium to remove some excess sodium. 

*Side note: bean cooking water is apparently awesome for watering gardens
or house plants. So if you cook beans from raw, keep that in mind!

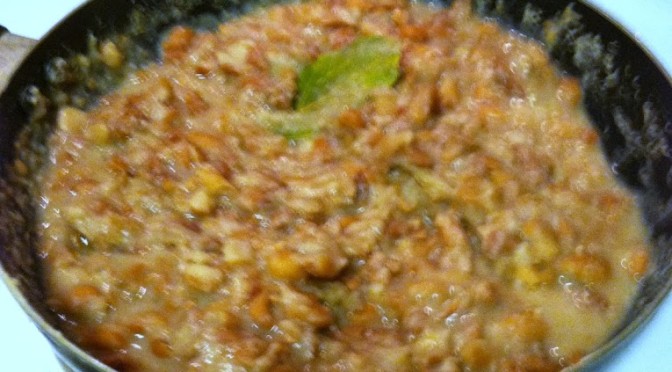
 Step 2: Pour the beans into a frying pan. Add about 1/4 cup water, and cook on low until the water bubbles and beans are heated through. Mash with a fork or potato mashed until mostly soft and creamy. 

Step 3: Add bay leaves and cumin. You can also add salt and pepper if you like. Mix well, continue to cook on low heat for 10 minutes to an hour. Add more water periodically if they seem to dry out too much. Enjoy as a side dish, on tacos or burritos, or with eggs at breakfast.


Think Geek has more in-depth info on how they are prepared and when to eat them, Food Timeline has a neat comparison of various historical accounts of what refried beans are and when they originated, and Wikipedia covers why the mistranslation into “refried” is wrong on two counts.

What is your favorite way to cook beans?

Vegan acorn squash & potato gnocchi

Acorn squash is a cheap, healthful, tasty, nutrient-packed way to get your fiber. It stores for pretty much forever on a shelf or in a cellar. The most common variety is deep green with an occasional orange spot on one side, though yellow, white, and variegated varieties have been bred. According to Wikipedia, though it is considered a winter squash it is in the same family of summer squash which includes zucchini and yellow squash. 

According to SELFNutritionData, one 4 inch squash has only 172 calories, a mere 4 of those are from fat. Zero cholesterol, and nearly no sodium as well. A single squash has a quarter of your daily recommended fiber, 30 percent of vitamin A, and nearly 80 percent of vitamin C. And as if that weren’t enough, it is mildly anti-inflammatory, gluten-free, and extremely low glycemic index. If I haven’t yet convinced you of what a super food acorn squash is, check out more Healthy Facts About Acorn Squash from the Healthy Eating website.

I had picked several squash a few months back at a local farm where for $30 you get to keep anything you can fit in a little red wagon. With some creative pyramid skills, I and some friends split quite a haul. I still had three acorns left, so I was trying to come up with something to do with it besides oven roasted with butter and brown sugar. Not that I don’t love it like that, I do, but I’d had that twice already in the past month. My mom suggested a recipe out of the blue for acorn squash gnocchi. As a good Slovak/Polish girl, I had grown up loving all types of pasta, gnocchi especially. The chewy, thick texture is completely unique.

She didn’t remember where the recipe came from so rather than try to remember it all, she told me to just Google it. My favorite current verb, “to Google”. I wish I could invent something so widely famous that the name becomes a verb. Anywho… The most intriguing recipe I found came from the blog the Girl in the Little Red Kitchen. This is someone who thinks like me, working in a very tiny place, using what she’s learned and instinct and creativity to come up with new and inventive recipes. Based mostly on that but with my own spin (mostly since I’m out of eggs currently), I present to you my Vegan Acorn Squash and Potato Gnocchi recipe.

Vegan Acorn Squash and Potato Gnocchi 

Ingredients:
1 acorn squash
3 medium potatoes
1 1/2 cup flour (plus extra)
2 tbsp water
1 tbsp oil
2 tbsp baking powder
1 tbsp salt

Sauce:
1 jar pasta sauce
1 can chickpeas
2 carrots
1/2 bunch celery


1. Cut the acorn squash in half and scoop out the seeds. If you like, you can rinse the seeds and save them for roasting at 350 for 15 minutes as a light snack.

2. Put the squash in the microwave cut side up with some water in the hole, microwave 5 minutes. Pour out the water, place cut side down and microwave another 5 minutes, then another 5 minutes for 15 minutes total. Squash should be soft when poked with a fork. Remove and set aside to cool.

3. Rinse three potatoes and stick on all sides with a fork. Microwave in 3 minute bursts for a total of 9 minutes.

4. Peel the squash and mash the insides in a large bowl. The peel should slip right off using your fingers, you can use a fork to help lift the squash out.

5. Peel the potatoes as well. If you grab it in both hands and twist, the peel should slide off easily if fully cooked. Mash them into the squash. Get a large pot of salted water to boiling.

6. In a small bowl, mix 2 tbsp water, 2 tbsp baking powder and 1 tbsp oil. This replaces one egg, so you can use one egg instead. But this is what makes the dough vegan. It should bubble a bit. Add to the squash/potato mixture, as well as the flour (which, if you’re gluten intolerant, you should use gluten-free flour), and mix well. Your hands work best, dough will be slightly sticky.

7. Flour your work surface and take a handful of dough. Roll it with your hands into a 1-2 inch thick log.

8. Cut the log into small, 1 inch cubes. You can try to shape them with a fork but I just tossed them in the pot like so.

9. Boil the pasta for 3-5 minutes. They should begin floating to the top of the water when fully cooked. Boil in batches. Don’t leave them in longer than about ten minutes or they will become mush. Remove to a strainer to let drain. Meanwhile you can start the sauce.

10. Open the chickpeas and drain. Add to blender along with the pasta sauce and puree until completely liquid, adding some water to thin if needed. If you have a juicer, juice the carrots and celery to add. If not you can simply omit them, or boil them for 20 minutes then add to the blender. I also added in a dash of Italian seasonings.

The gnocchi are chewy and salty, just how I like it. This pasta dough could probably be used to create any kind of pasta, with varying degrees of success. I ended up adding quite a bit more flour to help it stay together and be less sticky. It still ended up a little slimier than I would like, but I will try again.

My boyfriend is a hard-core carnivore, so I added some ground beef to the sauce. I didn’t tell him what it was before he tried it (bless his heart he will try anything once if I made it), and he said he actually liked it and would eat it again! Trust me, that’s a stellar review! These have all the taste and texture of traditional gnocchi with an added dose of fiber and vitamins. Why not?

Nutrition Information

For the gnocchi alone, SparkRecipes nutrition info:

  • Servings Per Recipe: 4
  • Amount Per Serving
  • Calories: 345.1
  • Total Fat: 2.9 g
  • Cholesterol: 0.0 mg
  • Sodium: 2,017.5 mg
  • Total Carbs: 72.8 g
  • Dietary Fiber: 6.7 g
  • Protein: 8.4 g


For the pasta sauce (minus ground beef), SparkPeople nutrition info:

  • Servings Per Recipe: 8
  • Amount Per Serving
  • Calories: 90.5
  • Total Fat: 0.6 g
  • Cholesterol: 0.0 mg
  • Sodium: 357.0 mg
  • Total Carbs: 18.3 g
  • Dietary Fiber: 3.9 g
  • Protein: 3.5 g


Therefore a 1-cup serving of pasta with 1 cup of sauce is only 435 calories and yet 10.6 grams of fiber and nearly 12 grams of protein!


Do you have a favorite way to cook squash?

What to Do With Vegetable Scraps

With one big cooking holiday down (Thanksgiving) and another mammoth of a food-waster coming up quick (Christmas!) most households probably have a lot of food and vegetable waste.

What should you do with leftover vegetable scraps?

You know, the butt of carrots, potato peels, mushy tomatoes. If you throw it into the trash can and send it down to the curb, it’s out of your house, but then what?

Channel4 in the UK wrote an article about visiting a landfill, a common feature of pretty much every country in the world by now. It’s something we don’t think about too much in our hectic, fast-paced, self-centered world these days. 

According to an article by the Huffington Post, Americans throw away nearly half the food we buy each year.

This is a waste of good food, a waste of hard earned money, and a waste of valuable and diminishing space on this planet.

But if something in the back of your mind nags you every time you replace the trash bag, then this is one small step in the right direction for you.

We can all try to reduce the amount of food we buy at one time, plan properly to use the food we do buy each week, eat leftovers and creatively use leftover food, and find uses for even the most seemingly unusable scraps.

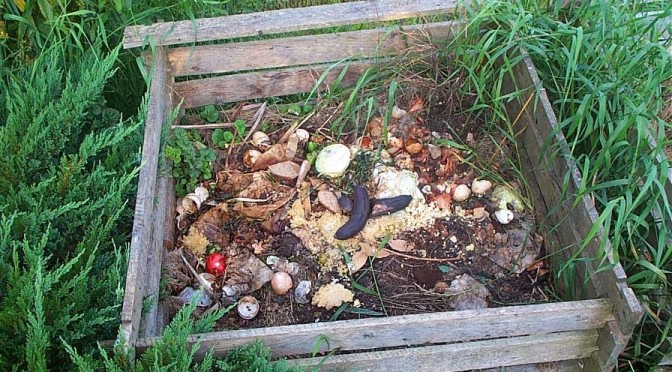
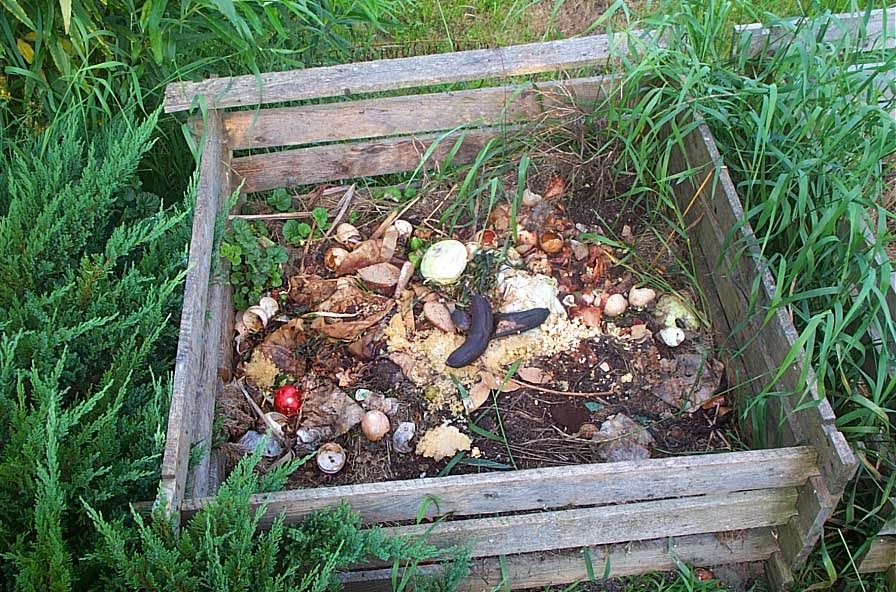
1. Compost
If you’re lucky enough to have a yard, then there isn’t much excuse to not have a compost pile.

Even if you ‘don’t have time’ or ‘don’t have space’ or ‘don’t have energy’ to have a garden, composting just makes sense, and you can spread it around trees or in flower beds or even give it away on Craigslist once made.

If done right it doesn’t smell bad, and merely requires occasional turning to aerate. There are certain things that are great for compose and others not so much. NEVER put meat or animal bones or fat into compost because they will attract wild animals and cause unwanted reactions.

For more information about how to build a proper pile see here.

Photo from I Dream of Eden.

2. Muffins
This of course depends on the type of food scraps you have.

Carrot peels or leftover sweet potato can become carrot cake muffins, or be added to homemade coleslaw. If you have veggie pulp because of using a juicer, you can substitute that for part of the wet ingredients in a muffin mix.

Pay attention to what was in the pulp you juiced though. I think cucumber/grapefruit/kale muffins might be a little weird.

But who knows.


3. Vegetable stock
This is by far my favorite option, since I live in an apartment and don’t have composting access yet.

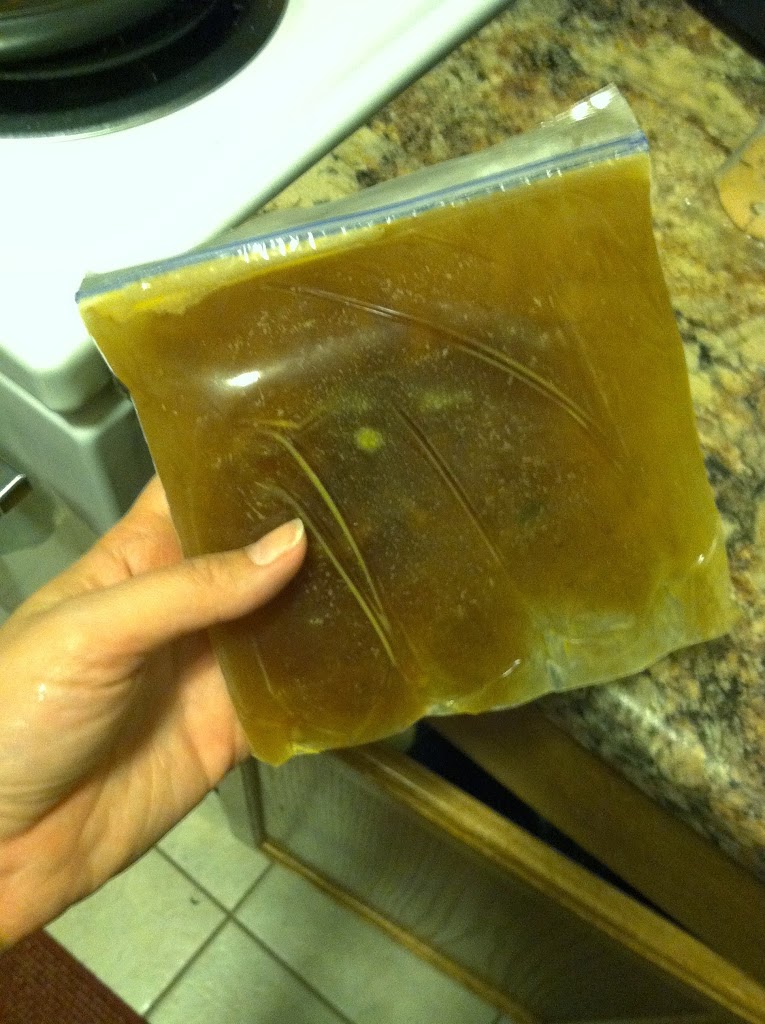
What I do is store all the scraps in a bag in the freezer as I make recipes. Potato peels, slightly brown pieces, ends of veggies, etc.

Once I have a full bag I put it in the Crock Pot and cover it with water, adding any other herbs and spices that sound good. Then just leave it on low overnight or all day, usually at least 8 hours.

The nutrients and flavors will boil out of the veggies and create a beautiful, healthy, salt-free stock you can then use in future recipes. The best part? It’s totally free!

Just freeze the stock in plastic bags laid flat in the freezer, or in ice cube trays to make little cubes.

You can then pop these into soups, stews, flavor rice, or in whatever you normally use stock. This same theory works for meat as well.

If you’ve made a lovely roast chicken and have the carcass left over, toss it in the slow cooker with some water for several hours. If you have shrimp tails, a bone-in pork roast, corn cobs, or some T-bones, do the same for some flavorful bases to use in the future.


If you know of a way to use leftover scraps not mentioned here, please share with us!