Category Archives: Snacks

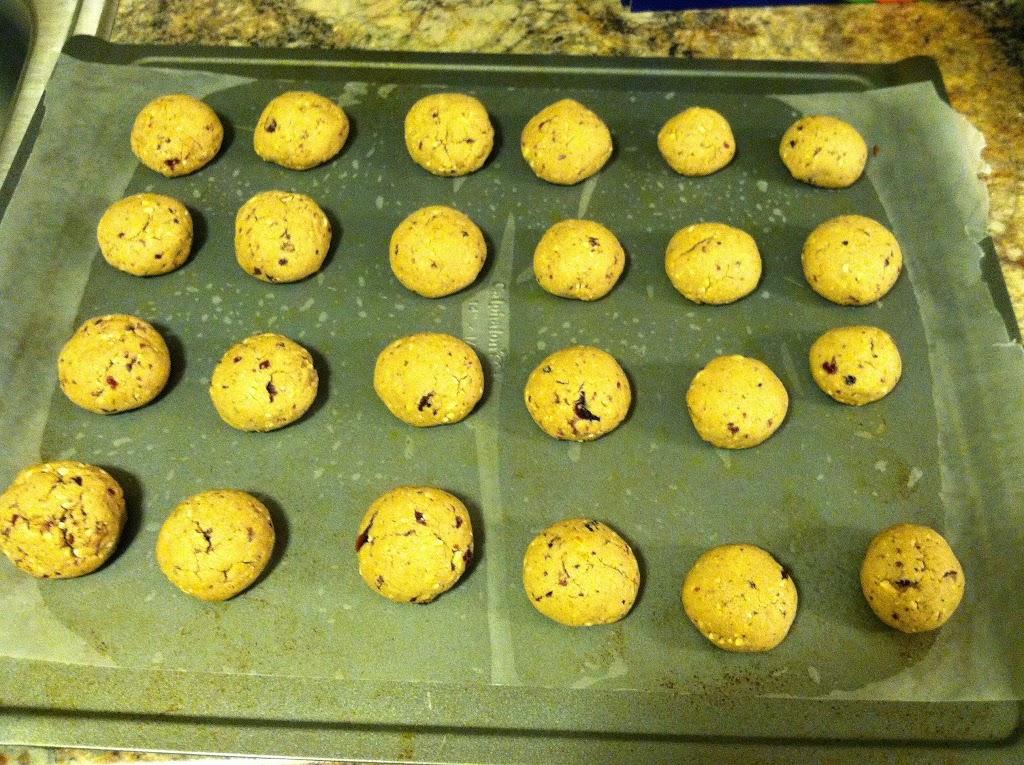
Featured Cookie: Cranberry Nut Sugar Balls

As I was researching easy recipes for an earlier post, I came across several cookie recpies I wanted to try. However, I don’t have the time, money, or calorie allowance to try them all. So only 2 or 3 will get chosen and featured in December.

This one came up repeatedly with variations, and I had most of the ingredients already, so I decided to try my own version. 

Ingredients:

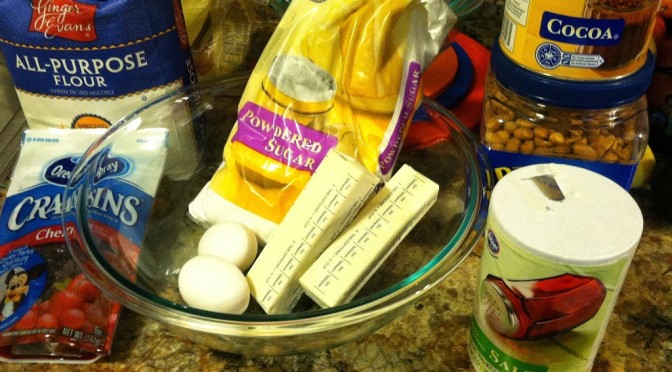
  • 1 cup powder sugar (+ extra)
  • 2 sticks of butter, melted
  • 2 egg yolks
  • 1 cup nuts
  • 1/2 cup dried cranberries
  • 1 tbsp cocoa powder
  • 1 tbsp vanilla
  • 2 cups flour
  • 1 tsp salt

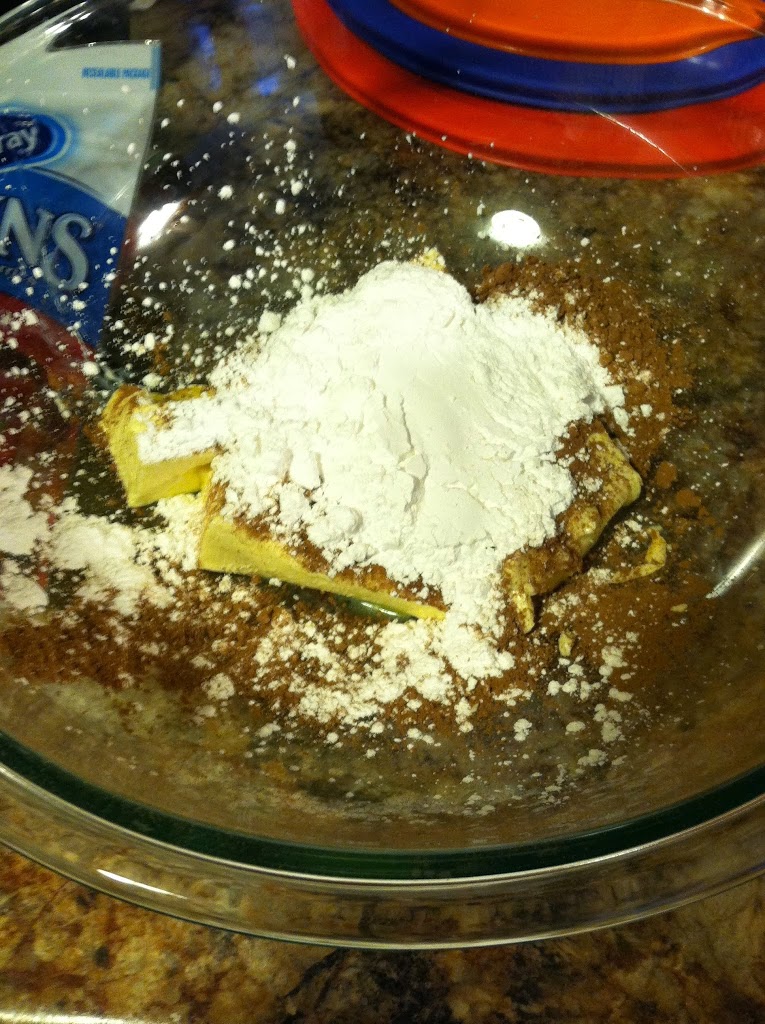
Step 1: In a large bowl, beat the powder sugar, butter, and cocoa powder until smooth and creamy.

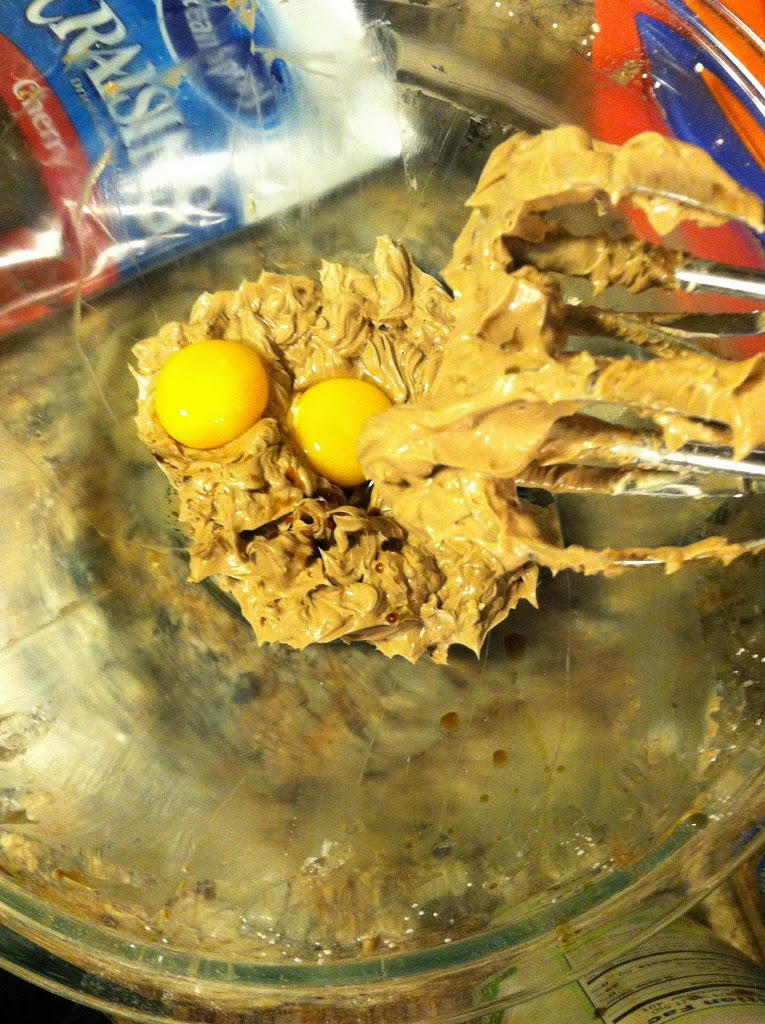
Step 2: Use a spatula to scrape down the sides. Add the egg yolks and 1 tbsp vanilla and mix again. I saved the whites for the next day’s breakfast.

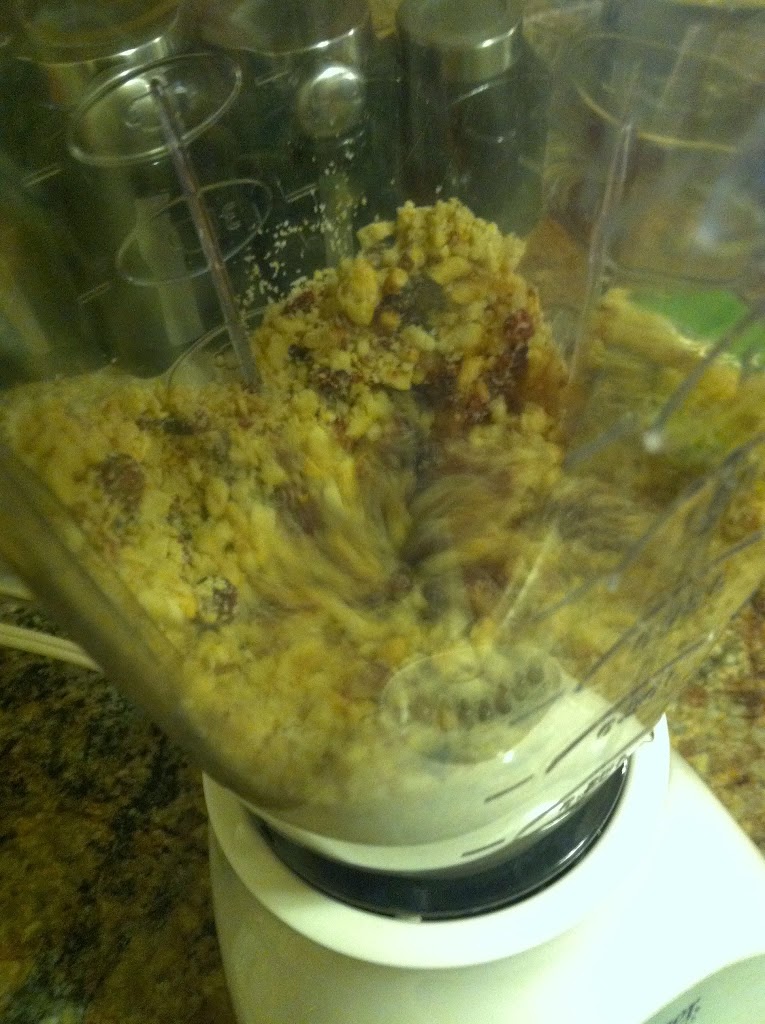
Step 3: In a blender, combine the nuts and cranberry and pulse until you get a paste-like mixture. You can use whatever kinds of nut you like, I had cashews and almonds.

Step 4: Mix the nut/berry and flour into the chocolate/ sugar/ butter mixture. The dough will be sticky and very thick. Refrigerate for 30-60 minutes.

Step 5: Drop by teaspoons onto a cookie sheet lined with wax paper. Bake at 350 for about 40 minutes, or until solid.  

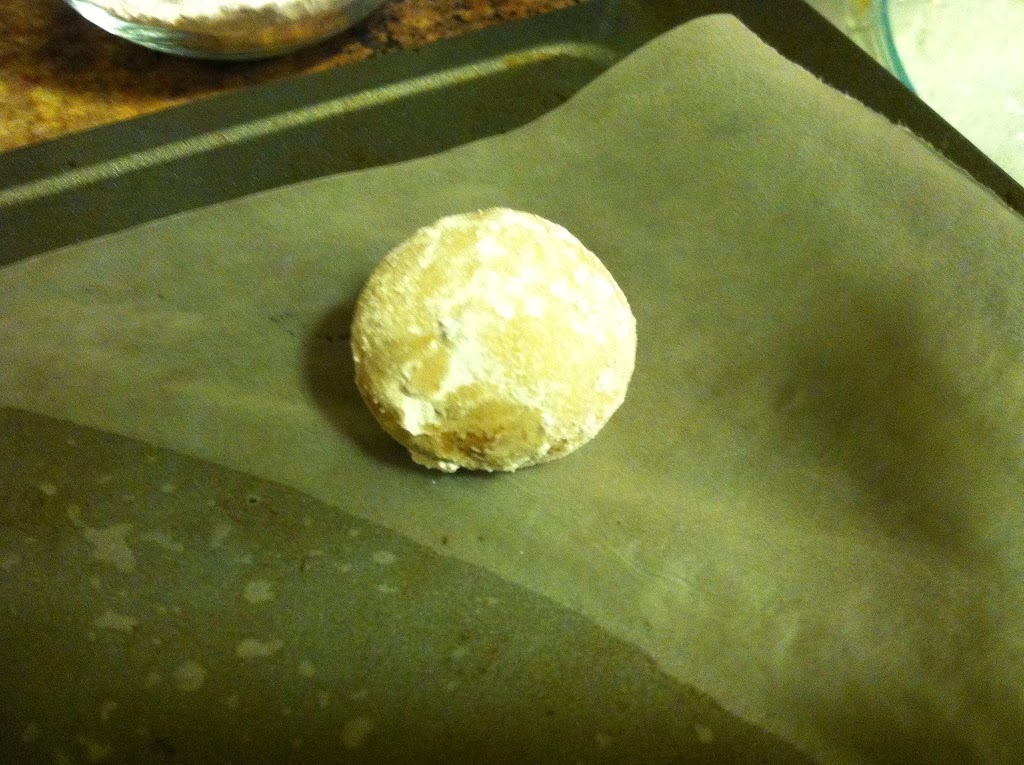
Step 6: Let cool completely, then roll in powdered sugar.


These light little sugar balls are mostly solid but a little crumbly. The cranberry’s tartness is enhanced by the nuttiness, subtle cocoa flavor, and sweet, smooth powdered sugar.

They are the perfect size to pop in your mouth, try to keep track of how many handfuls you’ve had!


Do you have any favorite cookie recipes to share?

Easy Halloween Themed Treats (no tricks!)


Halloween is easily one of my favorite holidays. I love to dress up, I love cooking and eating, I love candy (who doesn’t?!?) and I love throwing parties. And I have a confession: I’m in my mid-twenties, and I went trick-or-treating last year. Don’t judge just because you’re jealous. Never say no to free candy (unless given to you by a creepy stranger. Wait a minute…)

This year I decided to throw a Halloween party for some friends, and began planning far in advance. I love cute themed dishes, and picked some of the simplest sounding ones. I made a big list of what I thought was the best ideas, and didn’t really keep any recipes, I just made it like I thought it should be made. But if you’re the type who wants a list and steps to follow, then continue reading below and enjoy! If you have a favorite Halloween or fall-themed dish, please share in the comments! (Or email me with “Halloween treat” in the subject heading). The one I think sounds tastiest may appear on a future post!

Mystery Shots
These were test tubes filled with all sorts of delicious and terrifying ingredients! I had coffee, soy sauce, sriracha, dish soap, eggnog, orange juice, apple juice, grape juice, cranberry juice, water, rum, vodka, juiced carrot, cabbage or bell pepper. Obviously if the party involves kids don’t use alcohol and maybe not as many gross ones. But get creative, you can put in whatever you want! And use food coloring to hide the natural color of things, it keep them guessing.

Blood & Guts Potato Skins
Wash as many potatoes as you’ll have guests and cut potatoes in half. Spray a baking pan and bake cut-side down at 350 for about an hour. Scoop out the cooked insides and place in a bowl. Add a can of tomato sauce and salsa until stuffing is reddish and goopy. The salsa is supposed to make it look like chunks of gore. Re-fill the skins and bake another 10-15 minutes, serve. I added some refried beans to some, thinking it looked kind of like mud.

String Cheese Severed Fingers
Cut string cheese in half, use a knife to carve knuckles about halfway down. Make a slice half an inch from the edge, and insert a slivered almond as the ‘nail’.

Mummy Dogs
By far the most adorable thing, and likely the only way I’ll ever make pigs in a blanket from now on. Cut hot dogs in half. Unroll a tube of crescent dough and make half inch slices. Wrap a small piece around the top, and a larger piece around the bottom 2/3. Bake at 350 for 10-15 minutes, until golden brown. Use mustard or ketchup to draw eyes.

Monster Wedges
Cut unpeeled, washed apples into quarters such that they can still stand alone. Remove the seeds and stem. Cut another small wedge halfway down, insert slivered almonds randomly for teeth. Use whatever candy and either syrup or cream cheese or peanut butter to stick on eyes.

Severed Hand ice cubes
For these, you need some gloves and some time. Fill gloves with water and tie well, put in freezer for several hours. When it’s floating in your beverage, they look like severed hands. I used cranberry juice to make a red, ‘bloody’ one, you can use food coloring in the water for any color.

On the topic of beverages, dry ice is definitely worth investing in! It was only $1.29 per pound at my local grocery store, and 5 pounds was plenty to last the whole night, throwing in small pieces as they evaporated. It bubbles and smokes, and causes real ‘cauldron’ noises! People of all ages are guaranteed to be fascinated by this.

Orange and Black Fruit Kebabs with Toffee Dip
Alternate chopped cantaloupe with blackberries and blueberries to create colorful skewers. The dip is 1 package cream cheese, softened at room temperature, 1 tsp cinnamon and nutmeg, 1/4 cup coffee creamer in some holiday flavor (caramel, apple, toffee, pumpkin, etc) and 3/4 cup brown sugar. Mix well, and sprinkle toffee bits over top. You could also drizzle on caramel, mix in a tub of whipped cream, or mix toffee or chocolate into the dip. Party-goers said this should be eaten with a spoon!

Dirt Cake
Make a package or 2 of chocolate pudding and refrigerate. Crush up a handful of Oreos in a plastic bag with a rolling pin or your fist and sprinkle on top as the ‘dirt’. Add gummy worms and viola! A dessert no kid (or grown-up) can resist. You can get creative and add mini tombstones, trees, ghosts etc to look like a real graveyard too.

Doritos Pumpkin Cheese Ball
Unfortunately I didn’t get a picture of this, but trust me when I say it is adorable! Mix 2 packs cream cheese, softened, with onion soup mix or dried onion, 1/4 cup sour cream and 2 tbsp ranch dressing. Make it into a ball, roll it in mashed-up doritos chips, wrap in plastic and refrigerate at least an hour before serving. Use the stem of a green bell pepper as the pumpkin top.

 Have a spook-tacular Halloween!

Pumpkin seed makeovers

One of my favorite parts of fall is carving pumpkins and roasting the seeds. Salty, crunchy, the perfect snack. A friend of mine decided to try branching out and putting weird things on the seeds we roasted. Here are our concoctions and my humble opinions thereof.

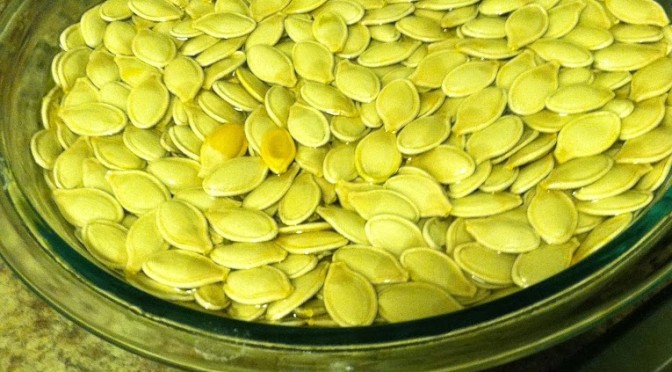
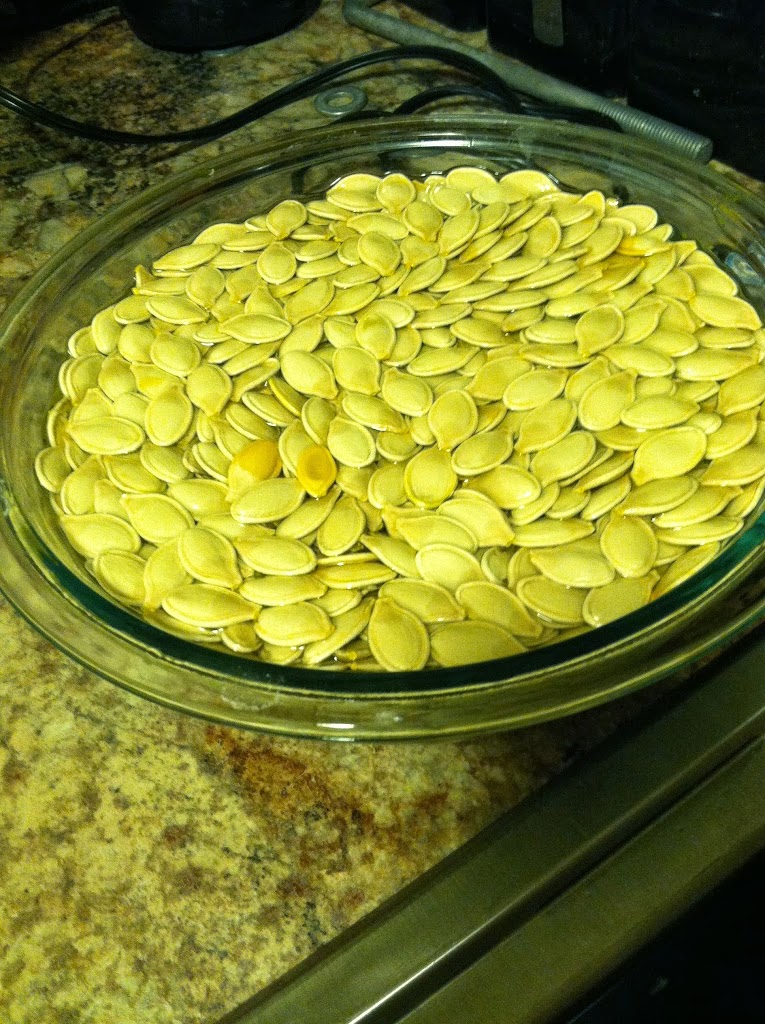
 This is the batch I made the day before, soaked overnight in salt water. They were simply roasted with olive oil and sea salt. My favorite, the old classic.

Indian spices: turmeric, curry powder & coriander
Brown sugar and cinnamon sweetness
Chili powder and chipotle pepper
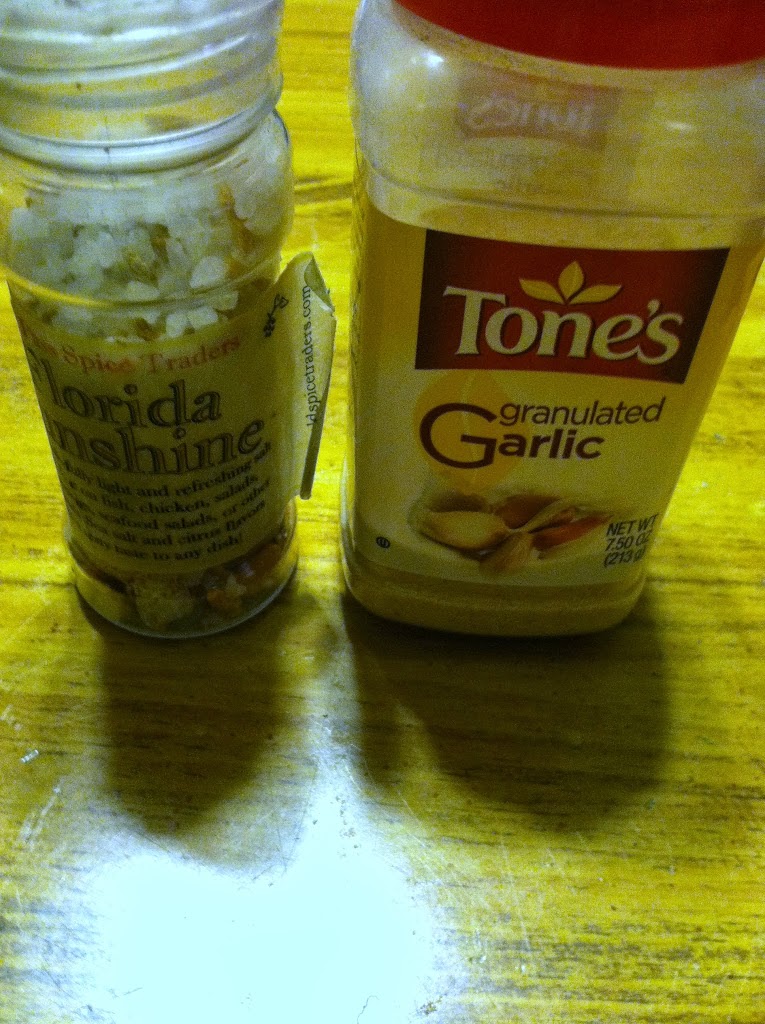
Garlic and salt, a classic combo

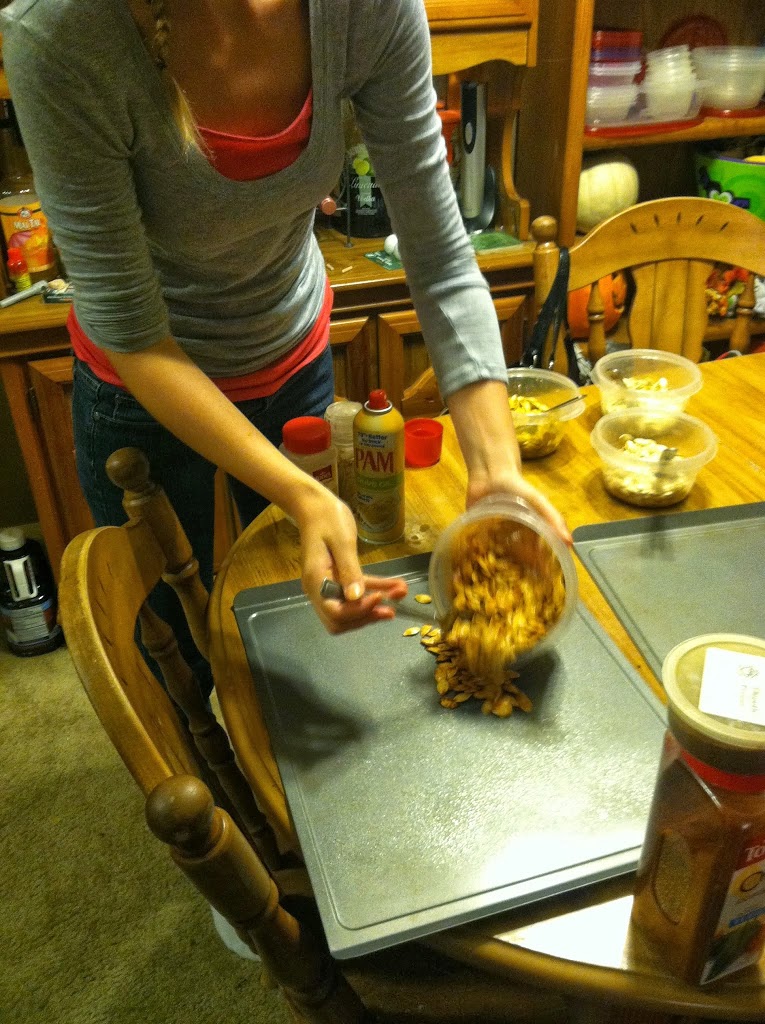
All four batches of seeds, mixed with oil and a bit of salt each

Step 1: Mix seasonings, 2 tbsp oil and some salt into each batch.
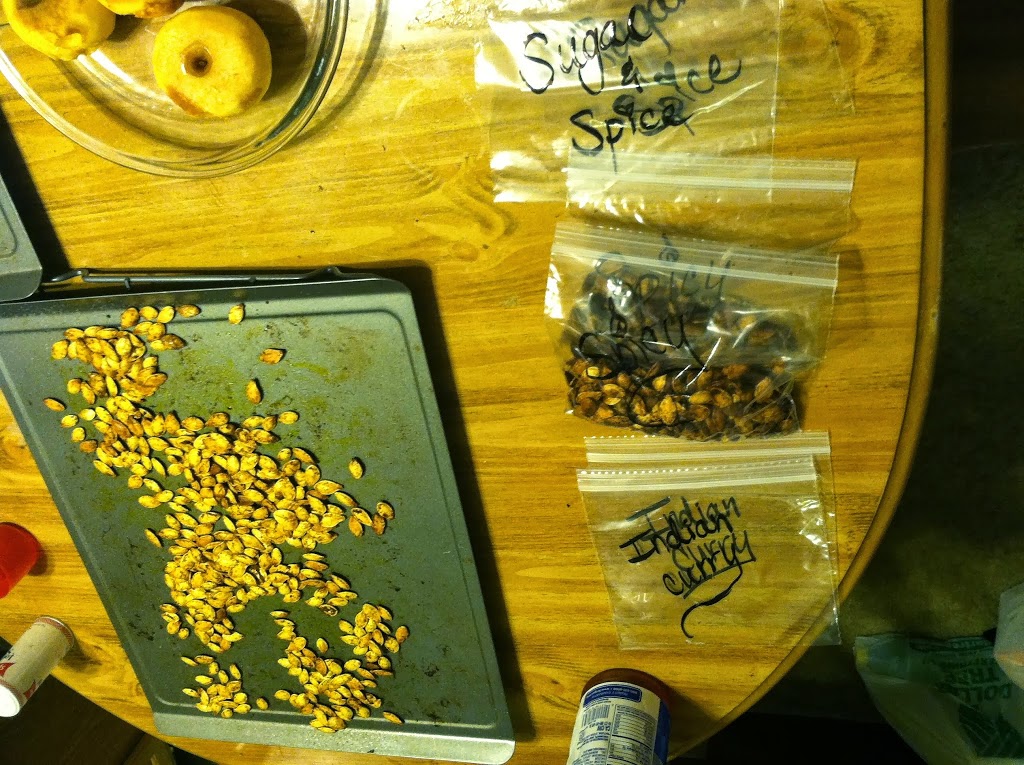
Step 2: Spread the seeds in a single layer over a cookie sheet.
Step 3: Bake at 350 for 10 minutes, mix around so nothing burns, bake another 10 minutes.

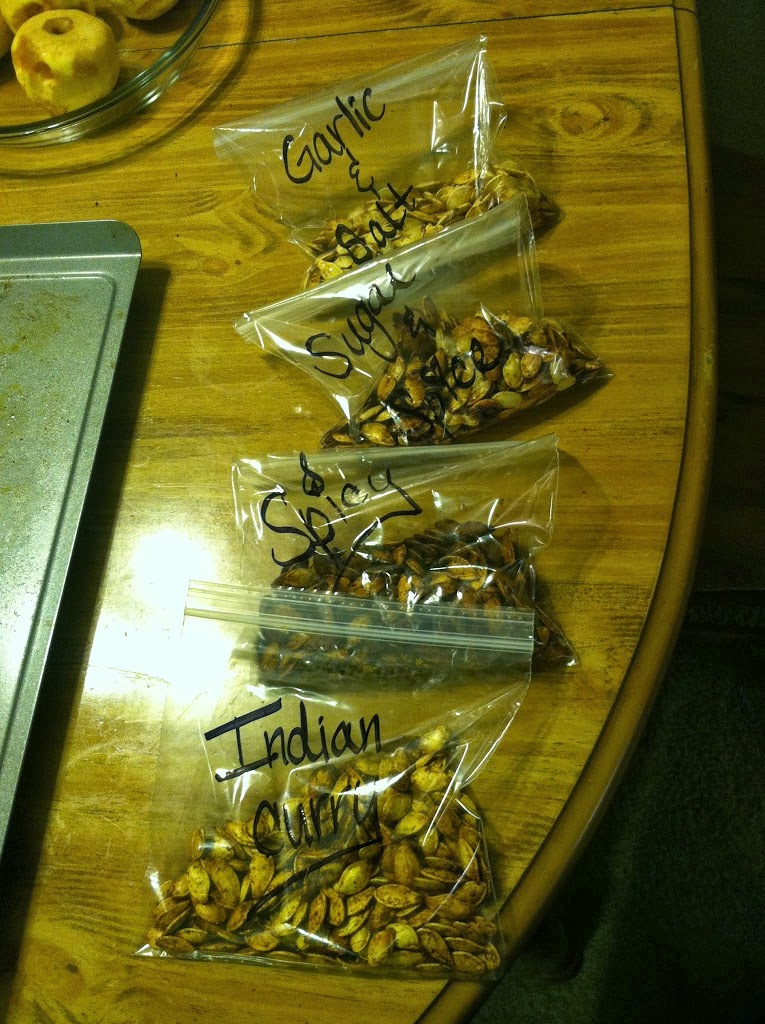
 Each batch was put into its own labeled baggie.

The garlic salt was good, like original with garlic. The curry had a strange aftertaste. The spicy ones were nearly too much for me but tolerable. And the sugar ones caramelized and burnt into clumps… so as much fun as it was, I’ll stick with the classics. But now you know.

Homemade granola bars + Make your own vanilla extract

As a simple on-the-go breakfast, post-workout snack, or get-you-through-the-afternoon munchie, I love granola bars! Endlessly varied in terms of type of nuts, berries, chocolate, flavors in them, they are always in my pantry in multitudes.

Usually I buy whatever is on sale, say $1-2 for a box. I have a rotation and favorites, but am not brand loyal by any means. But even at $1 for a box of 6, it can get expensive. So I figured, I already have lots of different types of nuts and dried fruits, and oats. It can’t be hard to make my own.

After googling a bit, I found this recipe for home made granola bars, which is close to what I had on hand. But I didn’t want the chocolate part (shocking, I know!) because I’d be storing them in my book bag and gym bag and don’t want to deal with melty chocolate all over my workout shoes or laptop. So as usual, I took the framework of the recipe and made it my own with what was on hand and the pan size I was working with. The results were splendid!

Ingredients:
3 cups oats
1/4 cup raisins
1/4 cup craisins (dried cranberries)
1/4 cup smashed pistachios (I shelled them, put them in a ziplock baggie and smashed them up with a spoon. For reals.)
1/2 cup smashed up candied peanut halves (also ziplock pulverized)
1/4 cup chia seeds (bought a few months ago and had no idea what to do with them… perfect.)
1/4 cup vegetable oil
1/2 cup honey
4 tbsp butter
1/4 cup brown sugar
1 tbsp vanilla extract

Step 1: Mash up the nuts, then mix together oats, dried fruit, nuts, seeds and olive oil. Stir to coat well, then bake in a flat oven safe pan at 350 for about 10 minutes, to make everything brown and toasty.

Step 2: In a pan over medium heat, stir together butter, brown sugar, honey and vanilla. Bring to a boil, then remove from heat. Pour over the granola mixture, and stir well to coat everything. Bake at 300 for 25-30 minutes, until warm and brown. Remove from the oven and let cool or stick in the refrigerator for a little while. Cut into bars the size you like.

I used a 9×13 pan, and as such I got 16 bars. They are very soft, so I put them in the fridge for about an hour before I cut them up.

I individually wrapped each bar in a plastic baggie, and am storing them in my pantry. They are delicious! The honey makes it so sweet, I don’t think you’d need chocolate anyway. Probably could even have done without the extra brown sugar.

I love these because I can use whatever dried fruits or nuts/seeds I have available. The next batch will include dried apricots and plums. You better believe sometime into the fall I will be making some bars with pumpkin seeds in them! I think I’m going to try experimenting with peanut butter in the honey instead of just butter too.

These are vegetarian, and could easily be made vegan as well. If you go easy on the oil/honey they are quite healthy and filling. And very inexpensive! Buy whatever fruits/nuts/seeds you like on sale, oats are cheap in bulk. This batch probably cost me $5 total?


Speaking of  inexpensive baking, did you know you can make your own vanilla extract from just vanilla beans and vodka? Seriously, that’s it.

A bottle of vodka on sale was about $7, the beans were a bit pricey at $4 for 2. But that’s $11 for about a gallon of vanilla that I can use pretty much forever. If I invested a bit more I could even jar it myself and give it as gifts or sell some. When you get low you just add more vodka and maybe after a year another bean or two. Jackpot.

Kale chips really are good!

.
I am working on a CSA farm this summer, and we have begun harvesting and distribution. This week the take-home was:
  • 1 bag mixed lettuces.
  • 1 bag kale.
  • 1 carton snow peas.
  • 1 bunch radishes.
  • 1 bunch turnips.
  • 1 bunch pak choi.
  • Handful broccoli .
  • Herbs – spearmint, pineapple mint, oregano, thyme, farrow
I have been hearing so many people and blogs talk about how kale is bitter and hard to cook, but kale chips seem to be wildly popular. And they are amazingly easy to make! Then when searching recipes for turnips, I kept “turning up” (haha) mashed potatoes and turnips recipes. The pak choi lends itself well to stir-frying, add in some extra veggies and you’ve got yourself a meal! So my good (brave) friend and I embarked upon a cooking adventure to use up most of the farm food.
.
Mashed Potatoes & Turnips:
2 large potatoes, diced
3-4 turnips, diced
1/2 cup milk
1/4 cup butter/margerine
1/4 cup cream cheese or sour cream
Garlic powder
Step 1: Thoroughly wash veggies. Dice potatoes and turnips into small pieces. The smaller the pieces the faster they cook.
Step 2: Put the potatoes and turnips into a pot and cover with water. Get to a rolling boil, then boil for 20 minutes or until soft.
Step 3: When soft, drain and place in a large bowl. Break big chunks with a fork.
Step 4: Add wet ingredients, and blend well. Add as much garlic as you like!
The turnips have a soft taste to compliment the starchy potatoes, and of course you can experiment with other milk products and butter and spices or salt. But honestly, after you get used to the first few bites, mashed vegetables au natural tastes like nothing else! And it is delicious. We both had seconds.
.
Pak Choi Stir Fry:
1 bunch pak choi
1 large carrot
~2 cups snow peas
1/2 cup broccoli
2 tbsp olive oil
Step 1: Thoroughly wash all veggies. Dice the carrots and broccoli into bite-sized pieces. Put the oil into the pan and put on medium heat.
Step 2: Add veggies in order of firmness, carrots and broccoli first, then snow peas, then pak choi for the last 5 minutes. Stir and keep covered throughout.
About 10 calories per serving, mostly from the oil! You can also steam the veggies.
.
Kale Chips:
1 head kale
2 tbsp olive oil
~2 tbsp sea salt
Optional seasonings – we did one batch with chili powder to spice it up
Step 1: Tear the kale leaves from the main stem, and tear into bite size pieces.
Step 2: Place in a bowl and drizzle olive oil, in small amounts. Toss until just coated.

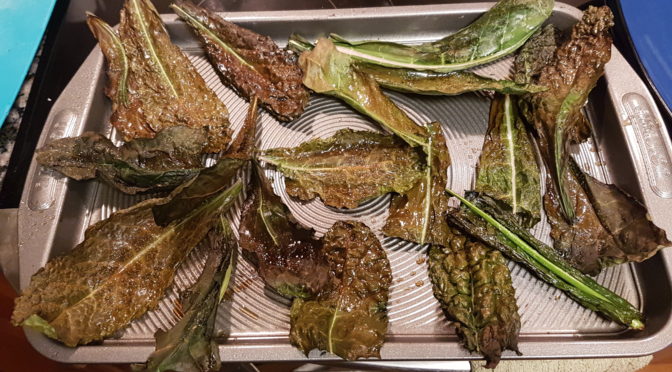
Step 3: Lay in single layer on a cookie sheet. Bake at 300 for ~20 minutes, tossing once. When chips are just beginning to turn brown and are crispy to the touch, they’re ready.

Crispy, healthy Kale chips!

These chips are light and airy, but totally delicious. It’s a strange sensation your first bite, but I guarantee it won’t be your last!

Dinner fresh from the farm!

Parmesan popcorn

.
I am a huge popcorn addict, I can literally eat about five microwave bags in one night. But stovetop popcorn is the best! It’s healthier, cheaper, and you get to decide how much to make. There is nothing else like it. Toppings can kick the popcorn up a notch, and cheese is always super delicious! Best part, it is pretty healthy overall.

Ingredients:

  • 1/4 cup vegetable oil
  • 1 cup popcorn kernels
  • 2 tbsp butter flavored salt
  • 1 cup grated parmesan cheese

Step 1: Put the oil, kernels and salt in a pan (one you don’t mind ruining…) and put the heat on high. Make sure you shake and swirl the pan often, especially once the kernels start popping.

Step 2: Once the kernels slow down and you count 3-4 seconds between pops, turn the heat off. Wait until you don’t hear any more popping, and pour into a large bowl.

Step 3: Coat the popcorn with 1/2 cup of the cheese, and proceed to inhale it.

Once you get about halfway through, add more cheese and shake to cover. The picture is what was left after 20 minutes of devouring, I wanted a picture for this blog before demolishing the rest! A great movie night snack. I imagine other types of grated cheese would also be delicious, and I have heard that adding spices like garlic or cayenne is tasty too.