Slow cooker chicken soup: “Just like grandma used to make”

When I was younger, Sunday was always early dinner, and almost always chicken noodle soup. Grandma or mom would put a pot of soup on to simmer, we would go off to church or on a Sunday drive around town, and come home to a house that smelled delicious and a pot full of warm delight. I like continuing that on my own, though I use the modern miracle of the crock pot so I don’t have to worry about it burning on the stove (that’s a hilarious story for another time…).

Since I had recently roasted a chicken, naturally I made soup from what wasn’t eaten the first day. We had eaten the legs and drums, so I cut off and saved the whole breasts for sandwiches for lunch the next day. The rest of the bird plus a few extras was made into a huge crock pot full of chilly weather goodness. There is nothing like coming home to the smell of homemade chicken soup!

Ingredients:
1 chicken carcass
3 large carrots, sliced
2 potatoes, diced
1 whole onion, sliced
3 stalks celery, chopped
1/2 pint fresh mushrooms
1 cup barley
1 tbsp butter
Water
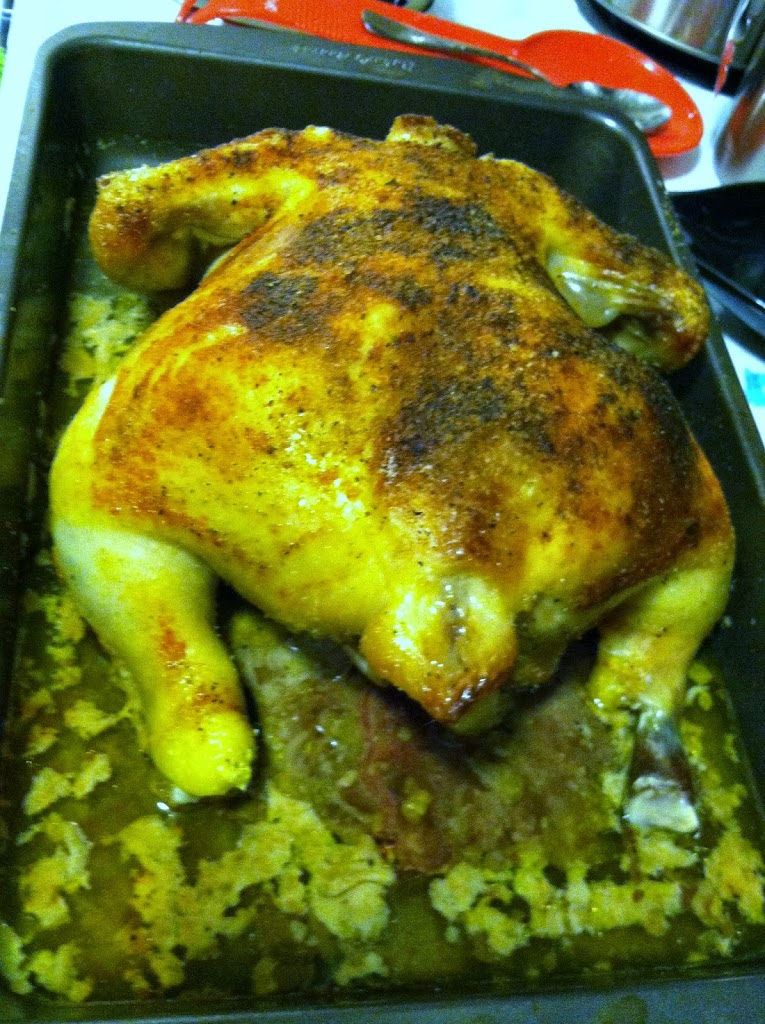
Step 1: That gorgeous roasted chicken had a tray full of juices and spices that I added into the crock pot first. Waste not want not, and that’s some powerful flavor I don’t want to waste.
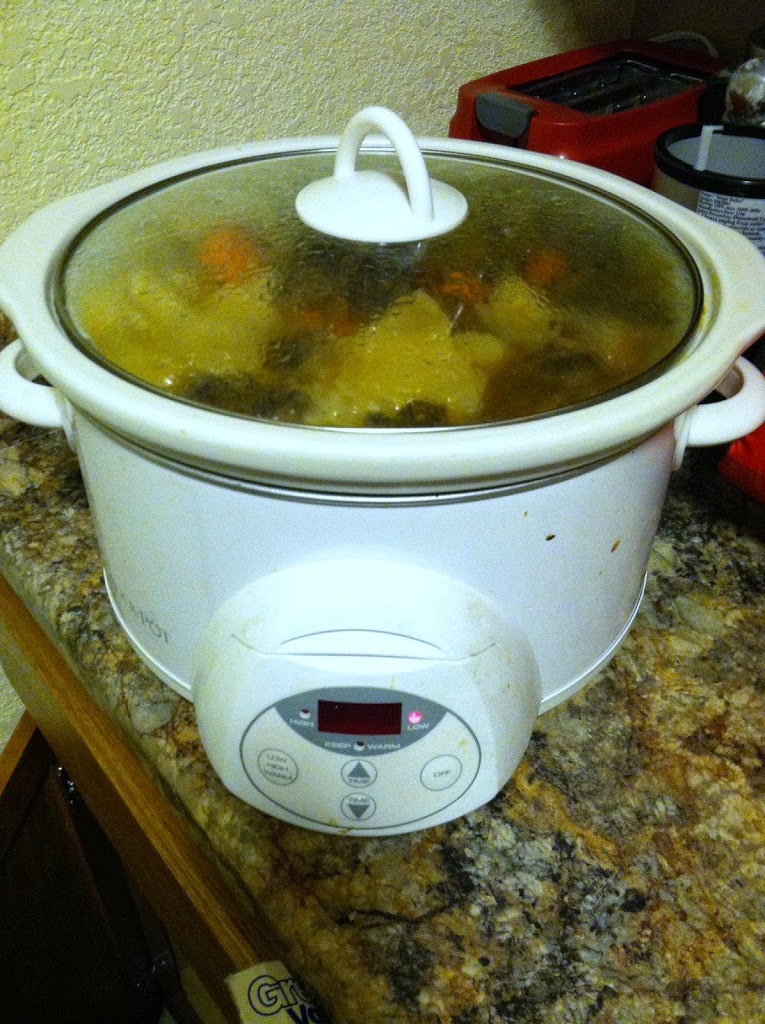
 Step 2: I diced up all the assorted veggies and added them and the chicken (skin, bones, extra meat and all) into the crock pot. I added water all the way to the top and put it on low all day (about 8 hours).

When I came home, the house just smelled amazing. The chicken had been brined in all that lovely salt and sugar and pepper and spices, so I didn’t even really need to add anything to the broth.

Step 4: I boiled 1 cup of barley in 1 1/2 cups of water with 1 tbsp butter for 45 minutes. 
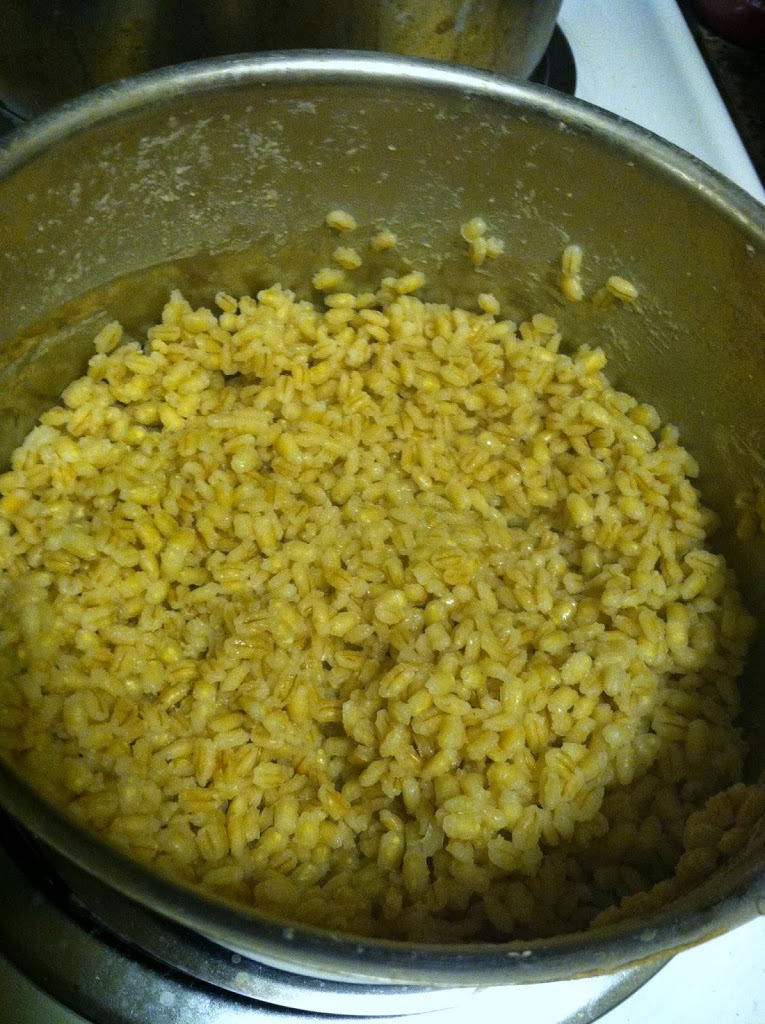
Barley is a bit chewy, and I added some of the broth after 40 minutes to let the flavor soak in for the last 5 minutes. Maybe a 1/2 cup.


Just look at all those gorgeous veggies! And the sheen on the surface, that’s from the natural chicken fat that dissolved into the broth. Sure it isn’t the healthiest thing in the world for you, but boy howdy does it taste great! And you can let it cool in the fridge then skim the extra fat off the top.

The barley was surprisingly perfect for this soup. Normally I use egg noodles but didn’t have any on hand. The flavors blend so well and are perfect for nippy fall nights. It is so easy to make, and you will have leftovers for days (unless you share). I guarantee* you won’t get sick, or if you already are you will immediately feel better.

*Guarantee based only on personal experience, not actually backed by anything or redeemable for anything. But other experiences and comments are welcome to be shared. =)

Broccoli cheddar rice

Everyone has days when they just don’t know what to make with dinner. Maybe you have a perfect roast in the crock pot, or stopped on the way home for burger meat but don’t know what to go with it. This is a recipe for one of my go-to side dishes, broccoli cheddar rice. A while back I posted on how to make it in a slow cooker, now I’ll tell you it can also be done in the oven! This was perfect because I had a whole chicken roasting in the oven, so I just whipped this up and popped it in there with it. Super simple, filling and tasty.

Ingredients:
1 cup rice
1 cup milk
1 cup water
1/2 cup shredded cheese
1 cup broccoli florets
About 3 tbsp butter/margerine
Garlic salt

I don’t know why it won’t let me flip the photo. I tried uploading it four times…

Step 1: Into an oven-safe dish (small-ish, or double/triple the recipe and use larger) pour 1 cup water, 1 cup milk and 1 cup rice. Mix it up well. Add a few tbsp margarine, broccoli and cheese on top.

 Step 2: Pop it in the oven at 350-375 for about 20-30 minutes (depends on the temp. I had it at 375 for the chicken so it only needed about 21 minutes to cook fully).

Full meal with the chicken, broccoli cheddar rice and candied carrots.

Candied Carrots

Everyone knows how hard it is sometimes to get kids to eat their vegetables. Heck, it’s hard to get adults to eat their vegetables! But my mom knew all the tricks and I remember several vegetable side dishes that we all actually enjoyed as kids. Candied carrots was always one of my favorites. Not only to carrots already have a naturally sweet-ish taste, but then you add butter and brown sugar, and it’s almost like dessert with dinner! Not exactly the healthiest thing in the world, but at least it will get some vitamin A and beta-carotene into your diet.

Ingredients:
3 large whole carrots, cut into 1/4 inch slices
1/2 cup brown sugar
1/2 cup butter (1 stick?)

 Step 1: Slice all the carrots (peel if you want, sometimes I do and sometimes I don’t. Always wash them first though) and place in a saucepot.
Step 2: Add the butter and brown sugar. Bring to a simmer, and cook, covered, for about 20 minutes, until the carrots are soft when poked with a fork.

That’s really all there is to it! They are soft and sweet and a perfect side dish for just about anything. If you have a favorite side dish from your childhood, or a way to cook vegetables such that kids and family members don’t complain, feel free to comment and share!

Oven Roasted Whole Chicken


When I moved into my new apartment, I went on a stock-up grocery trip as I always do. One thing that was on sale was whole chicken (90 cents a pound or something). Since I had already brined and roasted a whole pheasant, I figured a whole chicken shouldn’t be much more difficult. So I got one and stuck it in the freezer.

Then one day I decided it was starting to get cold enough to count as fall, and chicken soup is great fall weather food! Of course, I roasted the meat and just enjoyed some tasty baked chicken meat first. The carcass is in the crock pot today to make stock for chicken soup.

I took out the bird, made a nice brine*, and roasted it the next day. And it turned out tender and amazing!

*If you don’t want to brine it overnight first, don’t worry about it. Skip right to the roasting part.

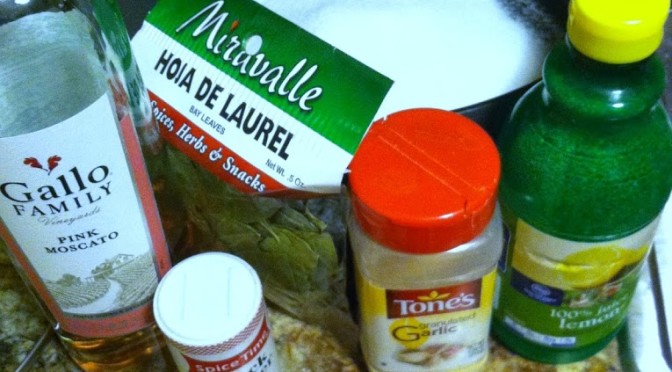
Ingredients for brine:

  • 1 cup salt
  • 1 cup white sugar
  • 1/4 cup lemon juice
  • 1 cup pink moscato (because I had no open white wines)
  • 5 bay leaves
  • sprinkle garlic, sprinkle black pepper
  • About a gallon of water

Step 1: Mix all ingredients in a pot large enough to hold the whole bird. Add water to the top (once bird is added, not before, or you’ll spill everywhere. Not that I’ve ever done that…).

Step 2: Stick it in the refrigerator overnight (or at least for 4 hours. You can put it in there in the morning, head off to work and finish roasting it later that night too). I had to put my milk sideways on the bottom shelf to make room for a day, but I feel it is well worth the space-hogging.

Ingredients for the bird:

  • 1 whole frozen chicken, thawed overnight
  • Several gobs of margerine or butter
  • 1 whole apple, lemon, orange, and/or onion cut into quarters (I used one whole Gala apple)
  • Salt, pepper, and paprika

Step 3*: Take the bird out of the liquid, and pour the brine down the sink. Wipe off any moisture with a paper towel and place in a large baking pan. Rub it down all over with margarine. I despise raw chicken, so this part is super disgusting for me, but it is a necessary evil of epicuriosity. (*IF you skip brining, this is where to start)

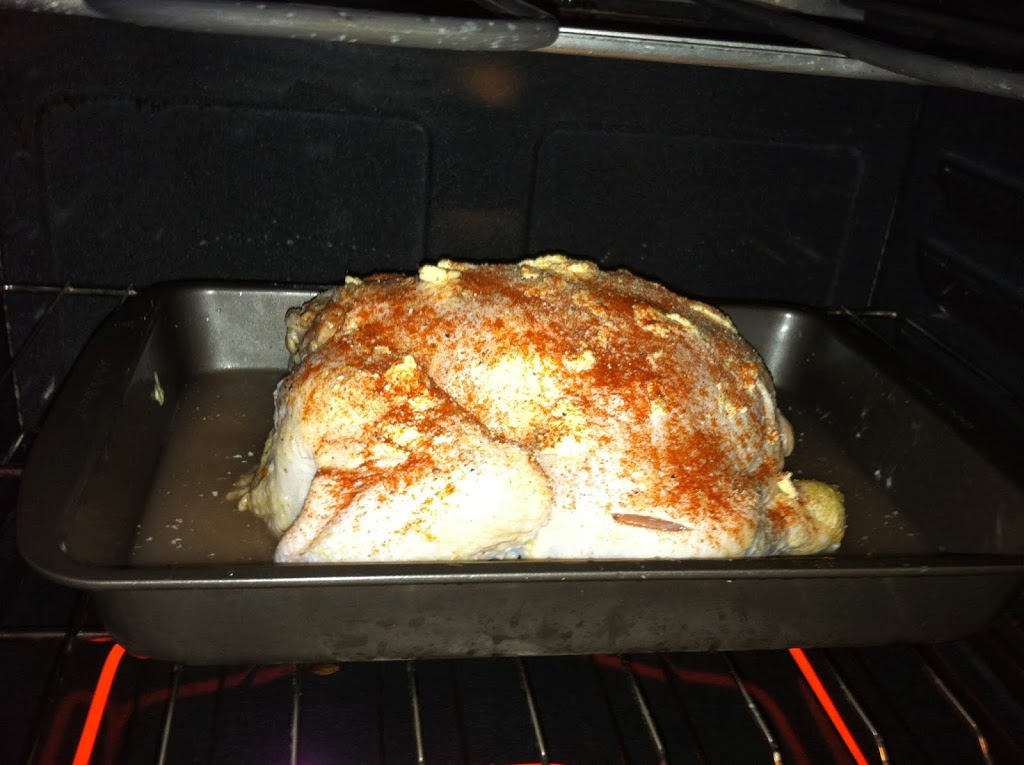
Shove some butter chunks under the skin if you can too. If there are bits and pieces inside the cavity, take those out and dispose of or cook separately. Then sprinkle it all over with spices, and shove the aromatics (apple, onion, lemon) up the butt. Sorry, inside the cavity…


Step 4: Put the bird breast-side down into an oven at 425 for 15-20 minutes covered with aluminum foil. Flip it over, take the foil off, and roast uncovered for another 10-15 minutes. This will lead to a nice crispy outside skin. Then lower the heat to 375 for about another hour, or until the temperature is at least 165 F.


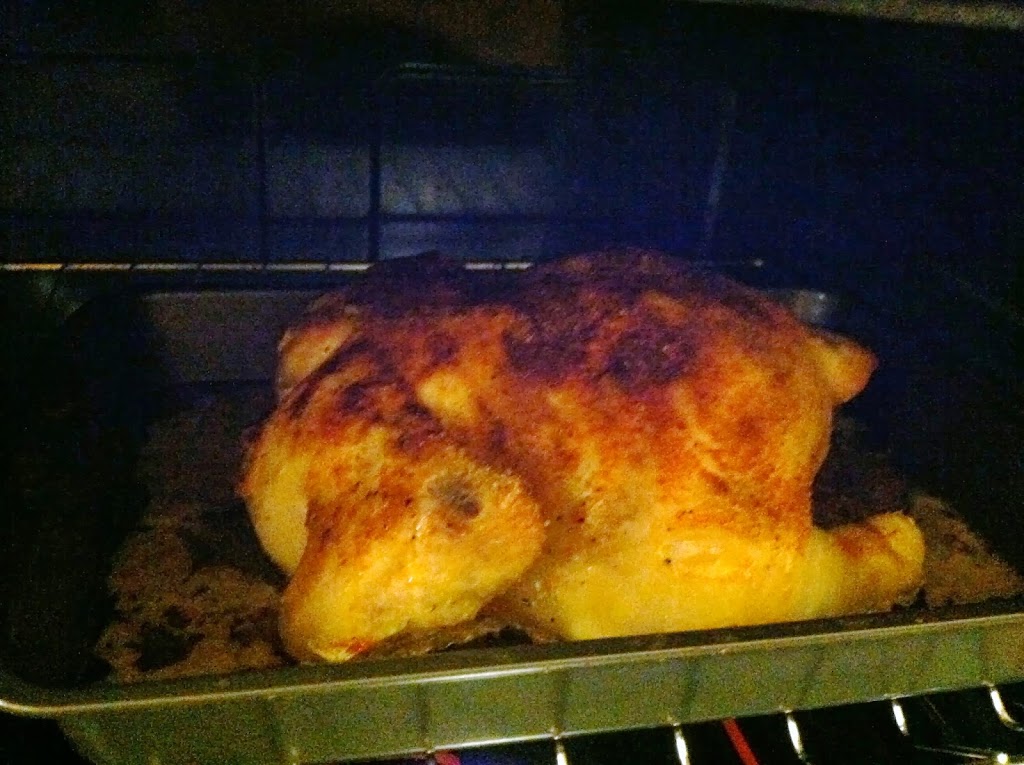
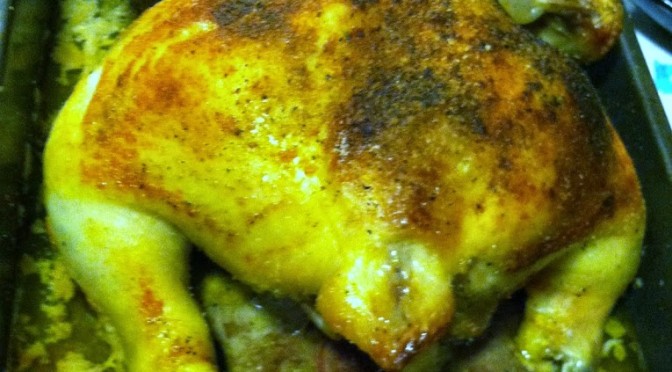
Once it’s all nicely browned and roasted, it looks and smells divine!


Take the aromatics you stuffed it with out and discard (or compost it). Use the meat any way you like! It is tender and moist and super flavorful. Not bad for $5 a bird.


I served it with broccoli cheddar rice and candied carrots on the side. Perfection.

Now I think I also need to work on learning how to properly carve the thing rather than just stabbing and sawing until a piece falls off…

Hearty Quinoa with Peppers, Corn & Black olives

Quinoa is one of my newer food obsessions. As you may be able to tell, I’m quite the avid reader of food blogs, magazines, articles, TV shows, recipe swapping, etc. If it has to do with food and cooking, I’m interested. I love learning new ways of cooking, new foods I’ve not yet heard of or tried, new spices. Since coming to Colorado I met someone from Ethiopia who introduced me to Injera and all sorts of new and exciting foods, meaning a post on those will likely be coming soon! Anyhow, when I find one I like enough, it becomes a part of my food routines. Thus is the case with quinoa. It is tiny grains like rice, with a nuttier flavor that pairs well with nearly anything. But it can be a bit bland if you don’t add things to it.
If you recall from earlier posts, I moved recently and set about a mission to use up as much food from the pantry as I could so that I didn’t have to cart it with me to the next place. In the final week before moving, I discovered a box of quick-cook quinoa I didn’t realize I had. I decided that I would add as many canned items as I thought would go well together and make one heck of a side dish. For vegetarians and vegans, this could also be a main dish. Once it was all mixed together, it turned out super tasty! And it makes a ton, so be aware of that. Maybe 8 cups worth?

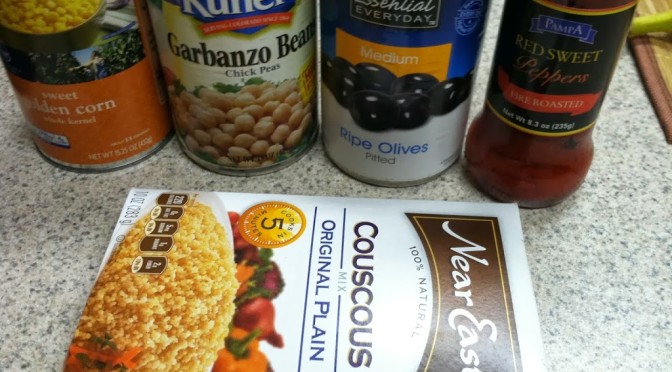
Ingredients:
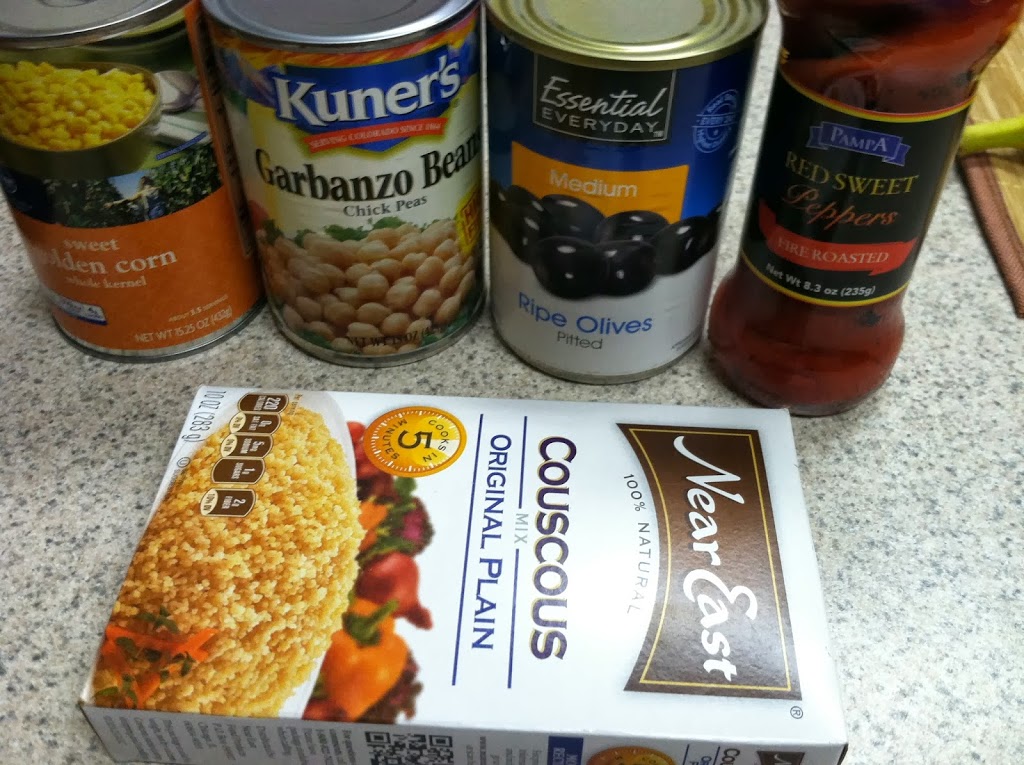
1 box couscous (maybe 2 cups uncooked)
1 can corn
1 can beans (I had garbanzo)
1 can black olived
1 jar roasted red peppers


Step 1: Open and drain the corn, beans and olives. Pour into a pot and add a full can of water each and set to boil. Dice the black olives and red peppers into small pieces. Add the peppers to the pot.

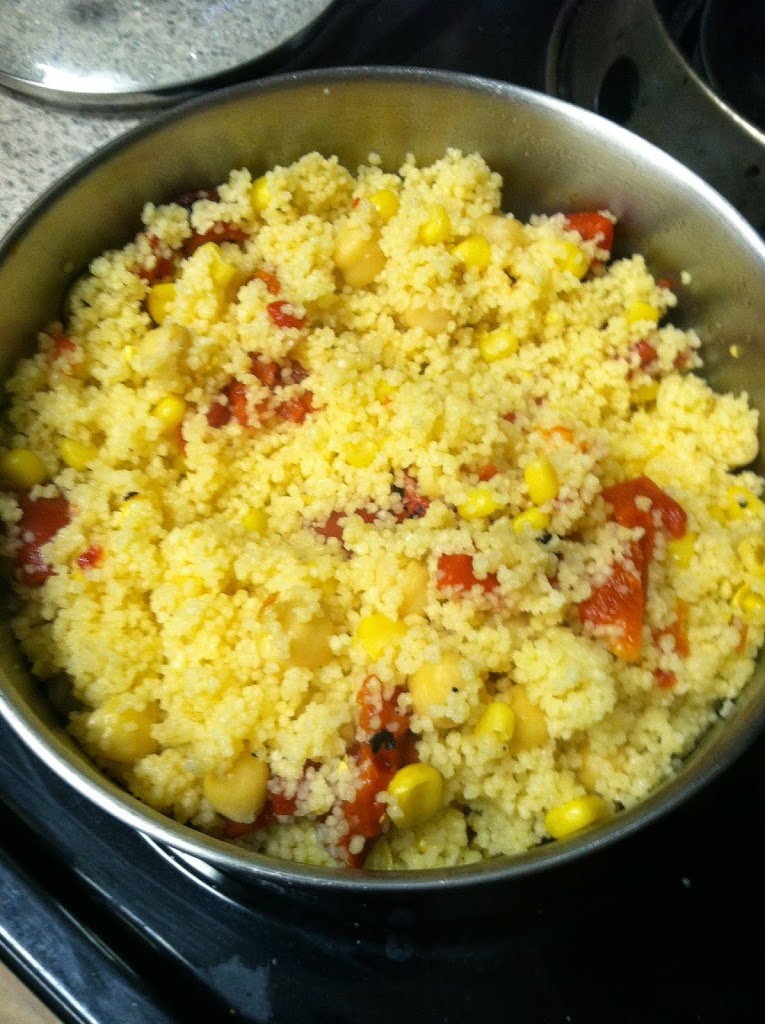
The mixed up canned goods looks like soup.

Step 2: Once it boils, pour in the couscous and mix. Let it simmer for about 20 minutes covered.

 Step 3: Once all the liquid is absorbed, fluff it up with a fork. You now have healthy veggie and protein packed side dishes for about 8-10 people or meals!

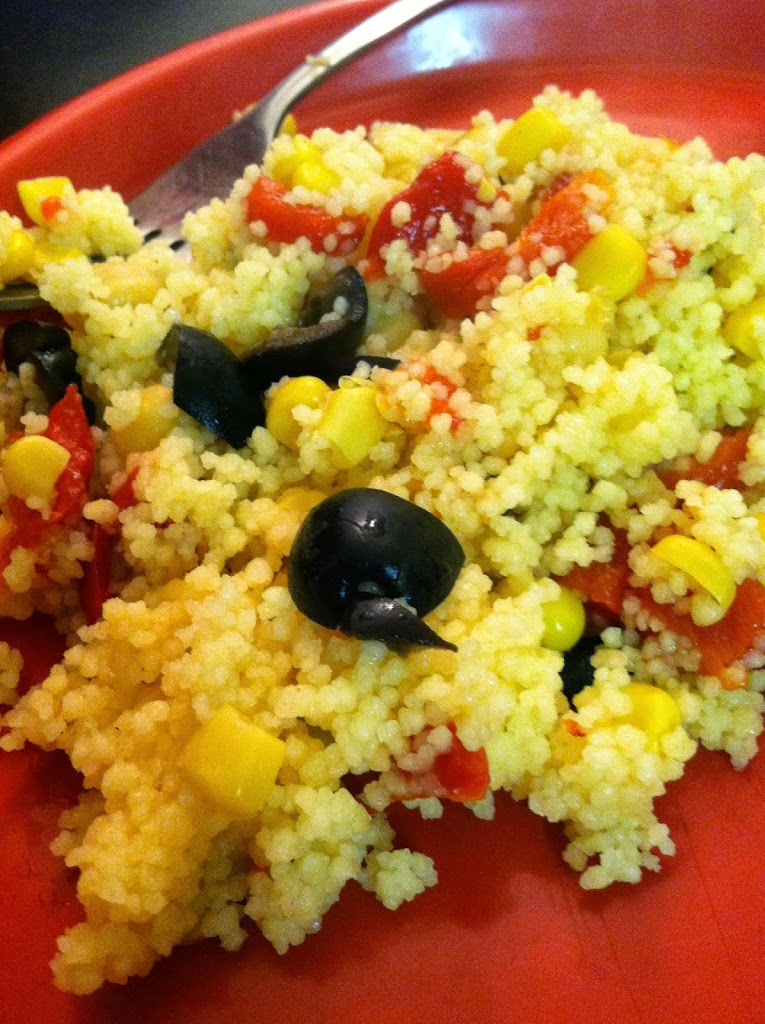
 The flavors and colors worked together nicely. As I said, this could be a full meal in its own right. You can also experiment with adding other vegetables, meats or cheeses too.

Served with steak and a side salad. Perfect.

Steak & Eggs 2 ways

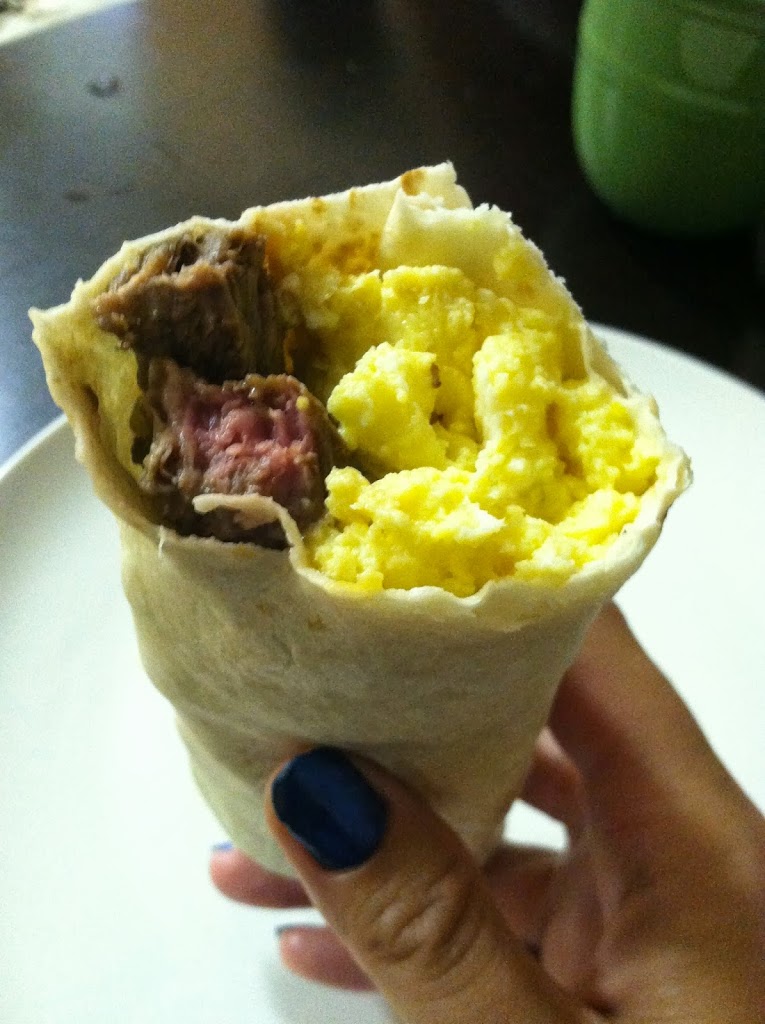
Men everywhere be jealous… I was moving and had 4 packs of frozen steaks I needed to use, so I had steak at every meal for 3 days straight. =) With baked potatoes and caramelized onions, in fajitas, and for breakfast, it was a very beefy few days and I loved it. Unfortunately I forgot to take pictures of the dinners, but trust me in that they were good enough to repeat sometime, so they may show up at a later date. Here are my 2 favorite breakfasts with marinated cow muscle…
Ingredients:
2 thin steaks
4 eggs
2 slices cheese (or 1/4 cup shredded)
2 tbsp worchestershire sauce
2 tbsp soy sauce
2 tbsp balsamic vinegar
(optional: 1 tbsp hot sauce and/or fish sauce)

Day 2: add a tortilla

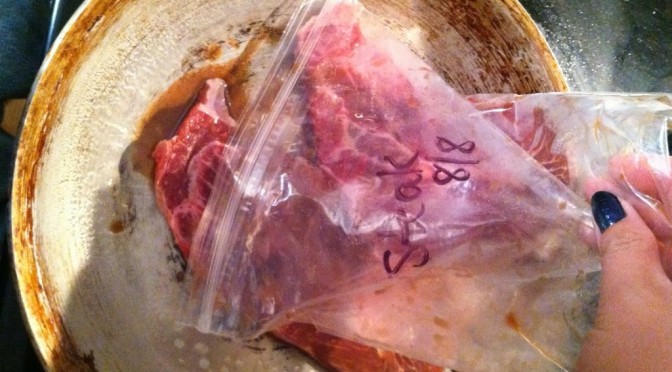
 Step 1: Marinate the steaks in worchestershire, soy sauce, fish sauce and vinegar overnight.

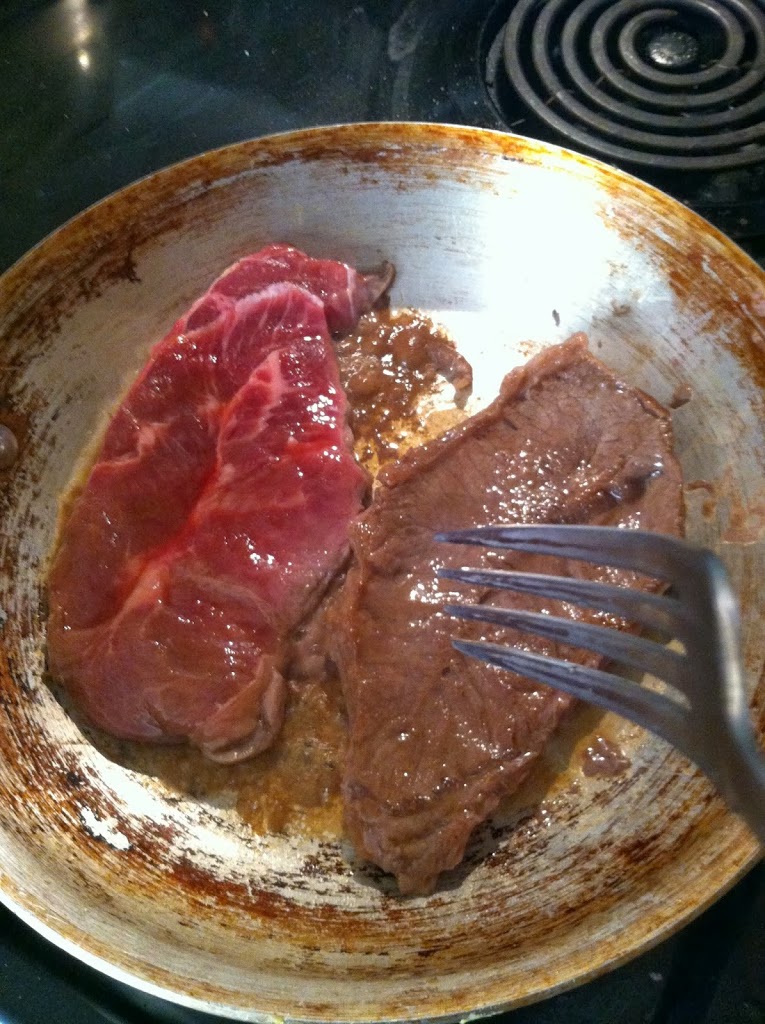
 Step 2: Place steaks in a sprayed frying pan over medium heat. Cook about 5 minutes, until browned, then flip and cook another 2-3 minutes.

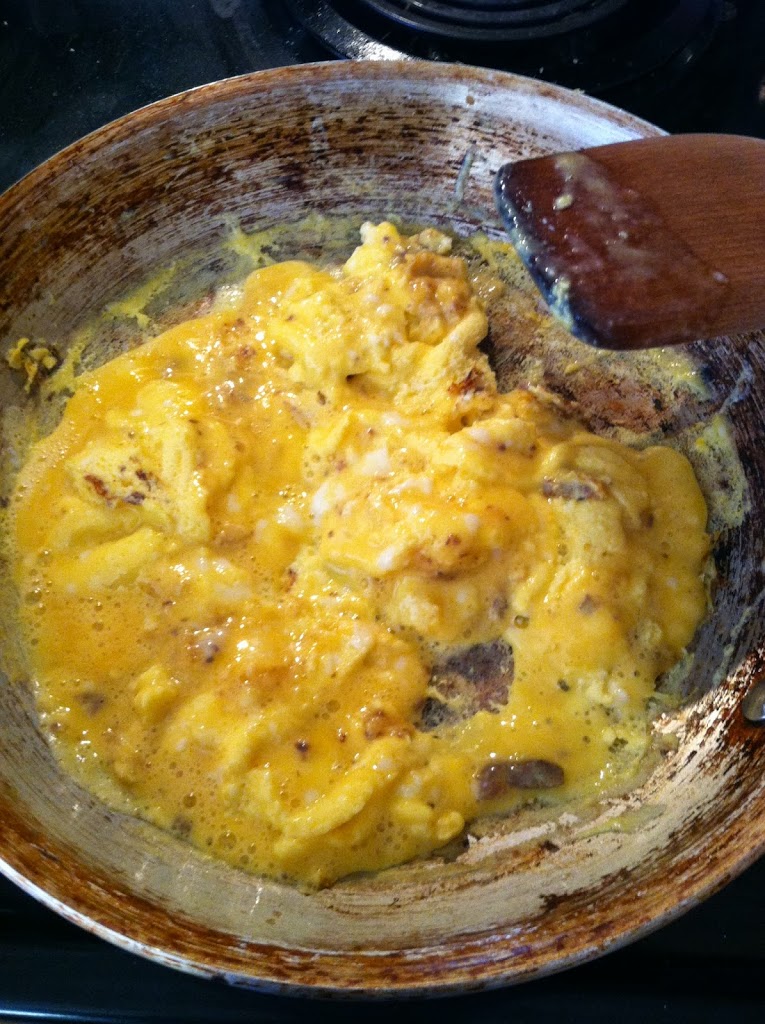
 Step 3: Beat the eggs in a separate bowl, and add the cheese. Remove the steaks from the frying pan and add the eggs. Cook the scrambled eggs, stirring often, until the consistency you like.

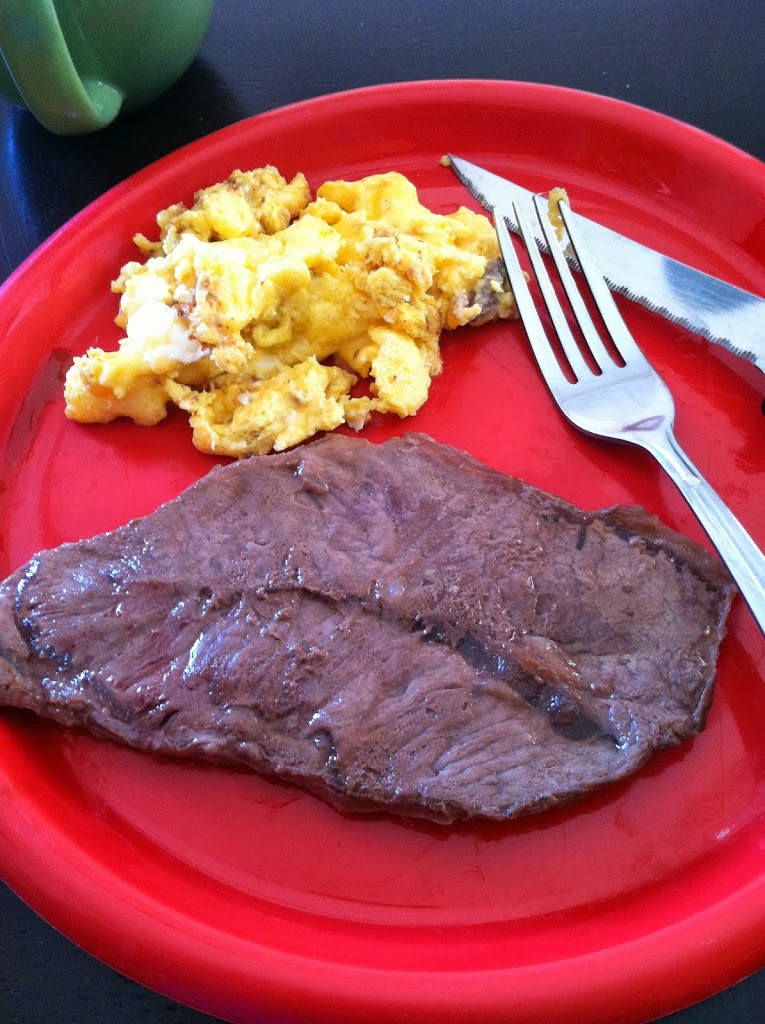
 Day 1: A steak separate from the eggs to enjoy one bite at a time.

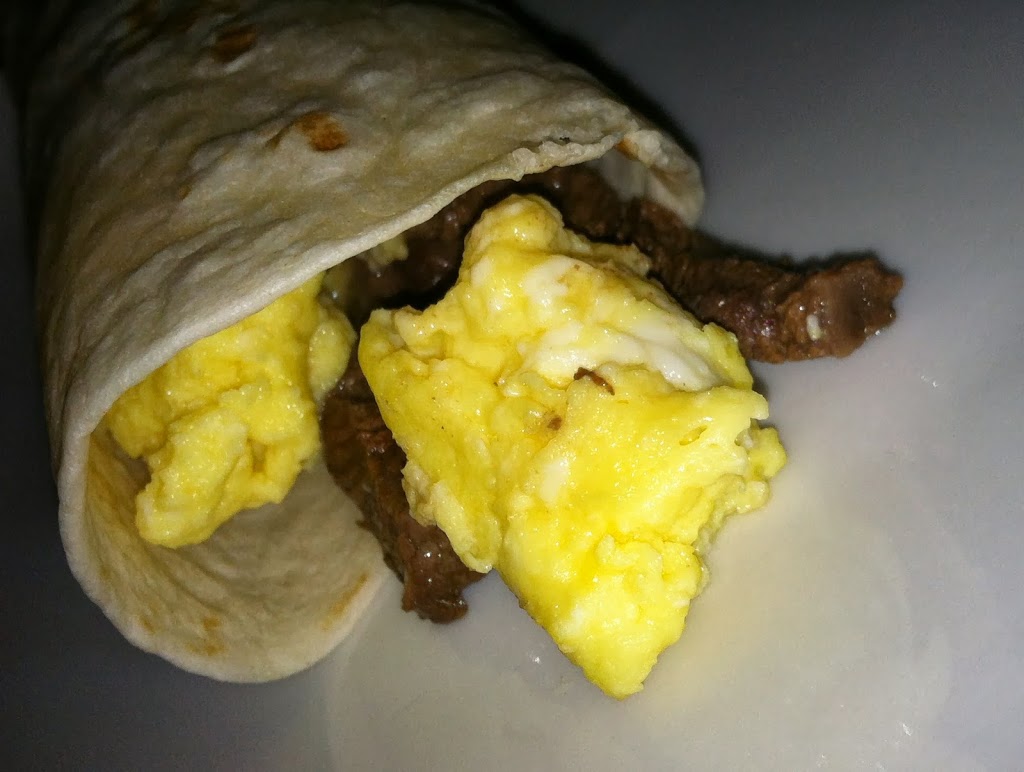
Day 2: Cut the steak into slices before cooking. Wrap the steak and eggs in a tortilla and sprinkle the cheese on top. 

Both ways are delicious, the tortilla has the added benefit of being slightly portable. The marinade is simple yet delicious and compliments steak well. Both a delightful protein-packed ways to make your taste buds feel pampered at breakfast. Or any time of day really. I wouldn’t be mad about this at dinner time.

Cheeseburger Mac

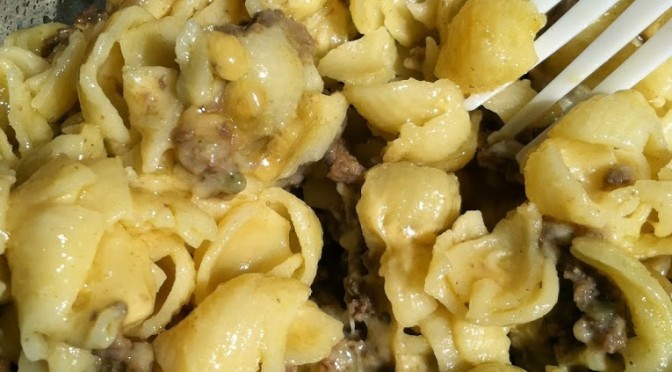
This classic student-loved recipe is still delicious as an “adult”, though you can fancy it up with different cheeses and noodle shapes if you want. Super simple to make yet very filling. It’s like macaroni & cheese only beefier.

Ingredients:
1 pound of macaroni
2 cups of cheese (any kind, shredded or cubed)
1 pound of ground beef
1 cup of milk

Step 1: Boil the macaroni for about 7 minutes, until al dente. Meanwhile, brown the ground beef and drain the fat.

 Step 2: Drain the pasta, add it back to the pan. Add in the cheese and milk, heat until the cheese melts, stirring often so the cheese doesn’t burn to the bottom of the pan. Add the beef back in, mix well.

I used half cheddar and half pepper jack cheese, so it was a little tangy. I’d recommend trying it. You can use any kind of cheese and noodle shape you want, and even add veggies if you’re feeling crazy.

Slow cooker ham & corn rice casserole

This is another creation born of needing to use up items left in the pantry. You’ll notice two themes in most recipes from times where I am either very busy (being a student) or in a state of flux (like moving), I use the slow cooker a lot, and recipes get a little weird.

I prefer the term “creative” but let’s not argue semantics.

Anyhow, the best template for any meal in a rush is “meat + carb + vegetable/fruit + liquid”, and I use it a lot.

You can have literally endless variations, and in fact nearly every meal ever is based on this formula.

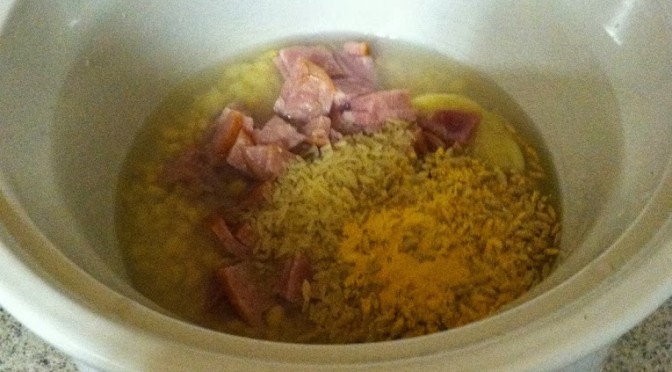
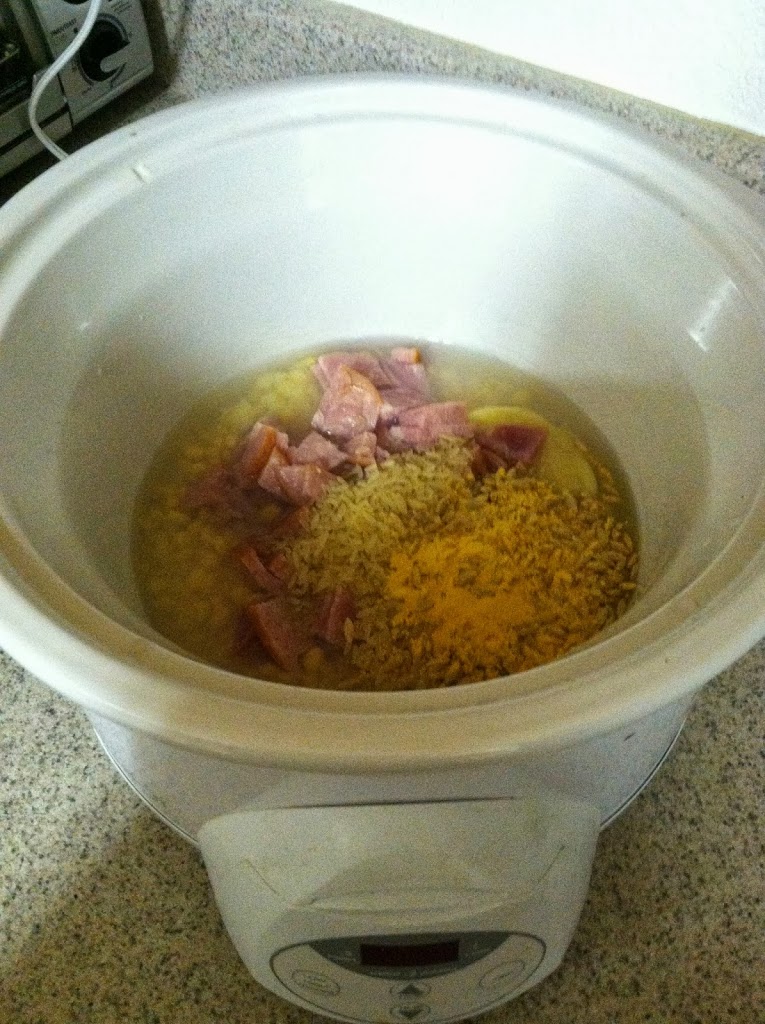
For this recipe, I simply checked my food box and freezer to see what was left, then followed the formula with things I thought might go well together. This is what ended up happening.

Ingredients:

  • 1 cup cubed ham
  • 1 box rice pilaf with seasoning packet
  • 1 can corn with liquid
  • 1 can cream of chicken soup
  • 1 cup water

Step 1: Mix all ingredients in the slow cooker. Set on low for at least 4 hours; I left it for about 9 all day.

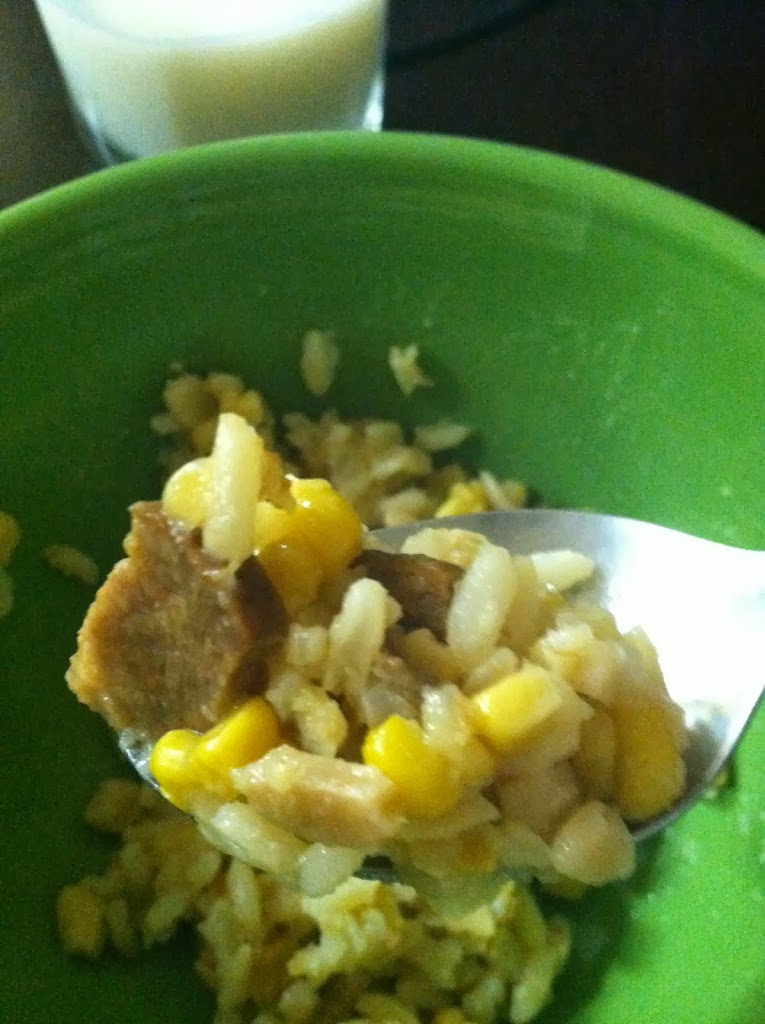
The rice didn’t end up being overly mushy, which I worried about, and the corn gave it a nice sweet flavor. Ham paired with this well, though I think chicken would’ve been even better based on past experience with the flavor of rice pilaf and the fact that I used cream of chicken soup rather than mushroom or celery.

But overall it was tasty, couldn’t be easier, used up a box and two cans from the pantry, and lasted for about 6 servings, so I call that a success.

Breakfast Pitas

A friend had bought several wheat pitas and didn’t want them all so she gave me a few. Being that I was moving in three days and didn’t have much food left in the fridge, I used up the rest of my eggs to make breakfast pitas! So between this post, my breakfast strata, country-style skillet and short cut, you have no excuse to not be well-fed in the mornings!

Ingredients:
1 wheat pita
2 eggs
1 tbsp sriracha
1/4 cup shredded cheese

Step 1: Break the eggs into a sprayed frying pan and cook until whites harden. Flip and cook on the other side another 2 minutes.
Step 2: Cut one half of the pita open to create a pocket. Stuff the cheese into it, and then the cooked egg on top.
Step 3: Squeeze on a little bit of sriracha (or Tabasco, or salsa, whatever). Then fold one open end over, rolling the pita into a little football-shaped taco. Enjoy!

The nice thing about pitas is that they are portable, and more spill-proof than burritos, which tend to leak out the end.

Breakfast Strata

This breakfast strata is filling, delicious, cheap and surprisingly easy and customizable. All your typical breakfast favorites make an appearance: eggs, milk, bread, cheese. Then you add in some breakfast meats if that’s your thing (bacon, sausage, ham) and/or some vegetables if you like that sorta stuff (spinach, onion, peppers, asparagus), bake it up nice and warm and gooey and enjoy! Whatever you like and have on hand can be mixed in. This turned out divine!

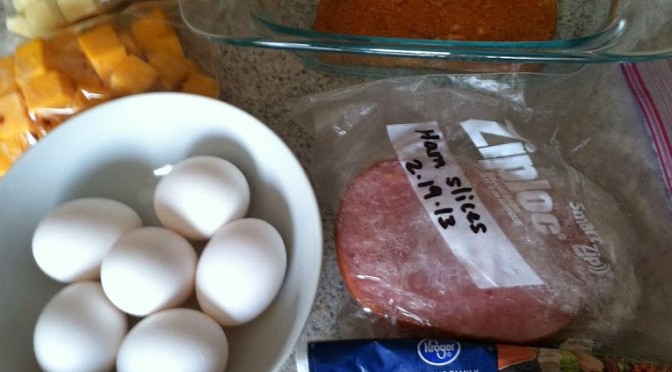
Ingredients:
6-8 eggs, lightly beaten
2 slices bread
1-2 cups cheese (cubed, sliced or shredded)
1/4 cup milk
4 slices ham (or bacon or crumbled sausage)
1/2 cup chopped spinach

Step 1: Beat the eggs and add the milk, mix well. Lay the bread in a sprayed 8×8 oven safe pan.

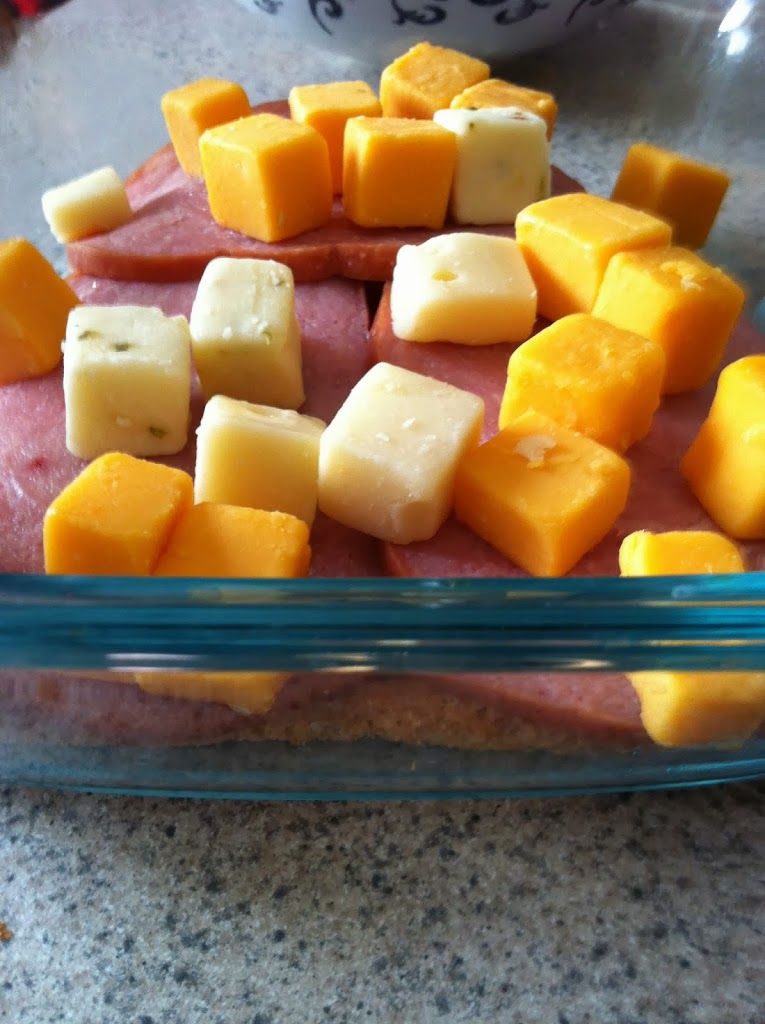
Step 2: Layer the meat, veggies and cheese on top of the bread.

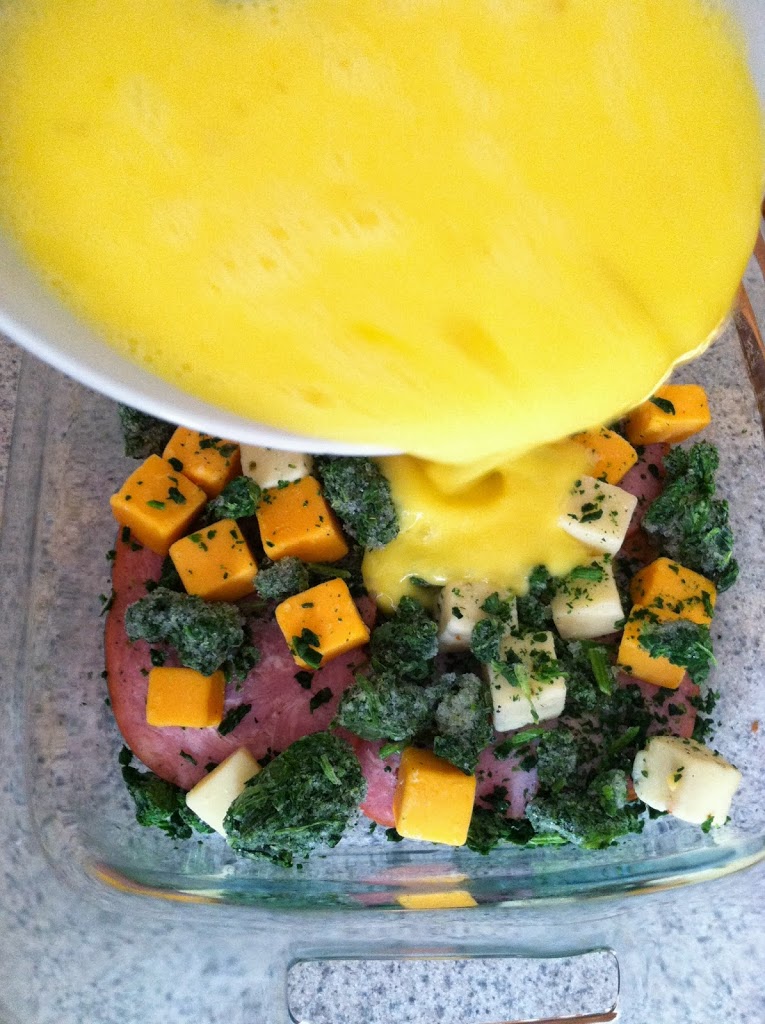
Step 3: Pour the eggs over top.

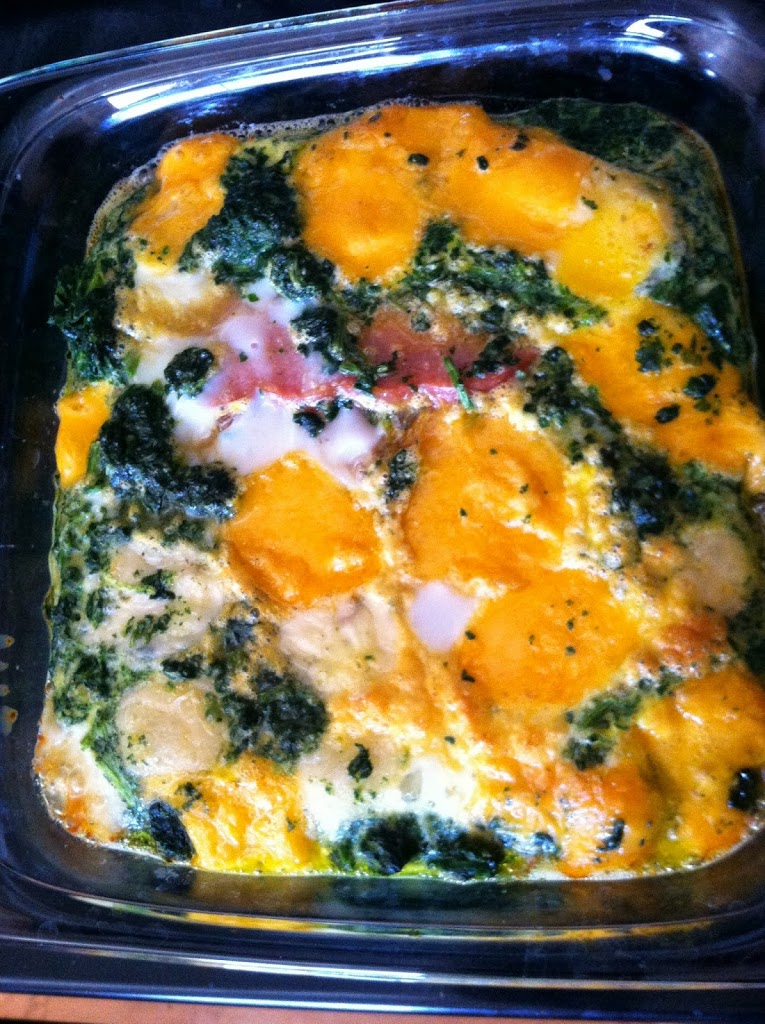
Step 4: Bake at 350 for about 40 minutes, until the eggs are fully cooked. Let it cool a few minutes, cut into pieces and enjoy!

Tastes even better than it looks, which is pretty darn good!

The bread is slightly mushy but holds texture, and the flavor combination was just perfect. This can easily be vegetarian, but it’s just not the same without eggs so I’m not sure if it can be vegan. Maybe a tofu egg substitute? I’ll have to dabble more in vegan cooking in the future.

The fusion of food, fun, frugality, and curiosity.