Tag Archives: Vegan

Less than 5: Honey Sweet Potato Snack

.

Happy almost 4th of July! Whether you are having a small family get-together, a backyard BBQ, or going out to a picnic-and-fireworks party, enjoy our independence from the Crown and be safe! I’m sure there are overwhelming amounts of recipes involving burgers, apple pie, and anything red white or blue flooding the internet. So I went another way: to highlight a simple, humble veggie that I think doesn’t get enough attention.

Little bright orange jewels, so good for your health, sweet potatoes are more than a Thanksgiving side dish. Any time of the year, they can add nutrients and fiber to your diet and become an easy side dish or snack, even a main dish or dessert.

sweet_potatoes_570

Sweet potatoes are one of nature’s best sources of beta-carotene, the provitamin-A carotenoid. And an adequate supply of Vitamin A ensures  proper growth and development, immune system function, and healthy eyesight. Vitamin A deficiency is estimated to affect roughly 1/3 of children under the age of 5 worldwide, leading to developmental problems, eyesight deficiencies, and blindness. However Vitamin A is fat-soluble, not water-soluble, which makes it harder for your body to get rid of excess, leading to the possibility of toxicity if over-supplemented. Always ask a doctor or physician before starting a supplement regimen.

Not all sweet potatoes are orange, they can also be purple due to anthocyanin pigments. These molecules have important antioxidant properties and anti-inflammatory properties. World’s Healthiest Foods states: “Particularly when passing through our digestive tract, they may be able to lower the potential health risk posed by heavy metals and oxygen radicals.”

They also clear up the common confusion: sweet potato vs. yam. They can be very similar in terms of size, shapes, and skin colors, though they both come in a variety of flesh colors. Turns out, sweet potatoes are FAR more common in the US than are yams, so at a store it is pretty safe to assume you are buying a sweet potato, even if a sign says “yams”.

Anywho, sweet potatoes were on sale, and I wanted to incorporate more into my diet, so I bought a few. Luckily they keep for a long time so I could figure out what to do with it. Turns out, these can be the simplest snack ever. Simply take one to work with you, and whenever you need a tide-me-over between lunch and quittin time, or breakfast and end-of-board-meeting, pop it in the microwave, top as you please, and you have a filling, healthy snack. This is a sweet treat, though you could go savory instead with, say, goat cheese.

Ingredients:

  • 1 small-med sweet potato
  • 2 tbsp honey
  • -or- 1 tbsp sugar + 1 tsp cinnamon

So simple, just stab the potato a few times with a fork to let steam escape. Microwave the potato for 8-10 minutes, until soft. Break it open, drizzle on some honey, and enjoy! With about 100 calories per cup, this is a super healthy choice all around.

Try using sweet potatoes anywhere you would use regular potatoes for extra fiber and vitamins. Make sweet potato chips, roast chunks in the oven as a side dish, boil and mash them with some brown sugar and butter (just be careful of amounts, it’s easy to overwhelm the health benefits with sugar and fat!), throw some into soups, stews, and curries. See how you can creatively add some sweet potatoes into your 4th of July festivities!

[subscribe2]

Less than 5: Spanish Rice

This Less Than Five post will be the all-around qualifier: it takes less than 5 ingredients, less than $5, and less than 5 minutes (if you don’t count inactive cook time). 

When I have an idea for the main dish but need a quick side, rice is always my first thought. Rice is so versatile, you can put almost anything in it and it will taste great. And since I got my new rice cooker, I eat rice at least 3 days a week because it is so easy!

Even if you don’t have a rice cooker, rice is super simple to make. 

Stove top: Put 1/2 cup rice and 1 1/2 cup liquid in a pan, heat to boiling. You could use water, broth, tomato sauce, juice, whatever you want. Add any fresh or frozen vegetables too. Lower to simmer, and simmer covered for 20 minutes. Fluff with a fork and enjoy!
Microwave: Put 1/2 cup rice and 1 1/2 cup liquid in a microwave-safe bowl with plenty of room for the rice to boil. You could use water, broth, tomato sauce, juice, whatever you want. Add any fresh or frozen vegetables too. Microwave for 15-20 minutes on high, stirring every 5 minutes or so. Fluff and enjoy!

Now, for this spanish rice I cheated a little and used a boxed mix because it was on sale for $0.73. You could also use a tbsp chili powder and a small can of tomato sauce for about the same price and taste.

Rice: Bought on sale with spices included. = $0.73
Can of corn: On sale 2 for $1, one for $0.50. = $0.50
Can of diced tomatoes: Usual price is $0.69. = $0.69
Total: $1.92 for about 5 servings = $0.38 per serving!

Ingredients:
1 box Spanish Rice mix
(Or 1 cup rice, 1 small can tomato sauce, 1 tbsp chili powder)
1 can of corn
1 can of diced tomato
1 cup water

Step 1: Spray the rice pot lining, combine all ingredients. Don’t drain the corn or tomatoes, the juice adds extra flavor.

Step 2: Turn the rice cooker on and let cook for ~20 minutes. Or use one of the above cooking methods.

Step 3: Serve and enjoy. I made chicken legs to go with my rice. But this would be delightful in a taco or burrito, as a side to enchiladas, baked into a frittata, or on its own as a vegetarian meal.


What’s your favorite easy side dish?


True Stories of Juicing

.

Raw Juice: what’s fact and what’s hype?
 
For several years now I’ve been dabbling in “healthy stuff” like juicing. As most things do, it began as just a curiosity, what’s it all about. I read articles and books and opinions of people who have tried juicing in various ways and for various amounts of time. There are some super-intense proponents of juicing, like this guy. His name is Joe Cross, and he claims juicing saved his life. He has a documentary on Netflix and free online called “Fat Sick and Nearly Dead” as well as a blog. Before you think “ok, crazy extremists who make these claims just want us to buy their juicer”, let me say that recognized sources like WebMD and even Dr. Oz tout the benefits of juicing while giving adequate attention to the possible drawbacks.

Fruit and vegetable juices retain most of the chemicals which make them so good for us in the first place, like chlorophyll, anthocyanins, antioxidants and flavonoids. It is important to note that although adding juice to a well rounded, healthy diet is an excellent idea, beware falling into thinking that juicing is the only or best way to be healthy, or that only juices are good for you and you should avoid whole foods. That is not at all what I’m saying. Juicing also takes out all the fiber from these wonder foods, fiber that your body needs for its normal digestive process. For a list of nearly 50 more fascinating raw food juice facts, check this out.

Now, before you rush out and buy a $300 juicer, consider your needs. Are you just beginning to dabble in this juicing craze? Do you just want a healthy beverage now and then, as well as pulp to put into soup and muffins? Are you already a hard-core health nut ready to begin adding daily juices to your diet? There are two types of juicers, a centrifugal juicer or a masticating juicer. Centrifugal machines work by chopping the food into tiny pieces and spinning it to separate the juices. They are typically smaller and less expensive. You won’t get as much of the nutrients, but they do the job. Masticating juicers work by mashing and grinding the food, producing a thicker, pulpier juice with the majority of the nutrients. They are typically larger and more expensive. You can check out a wide array on Amazon (not an affiliate link. I will get no benefit if you look or buy). 

Funny story, my juicer was actually free. I’m a member of an online community called SparkPeople which has nutrition and exercise trackers, recipes, articles, community boards and much more. I highly recommend it if you want a simple, informative website to keep track of your health stats. Anyways, there was a forum about juicing, and I posted in it that I was curious about juicing. It lead to several conversations about types of juicers, uses, etc. A fellow member sent me a personal message saying that she had just gotten a newer, larger juicer as a gift and had an old one she didn’t need anymore. Of course I was skeptical, but sure enough two weeks later a gorgeous little blue and white juicer showed up! 

My gorgeous gift, courtesy of a kind fellow Spark-er!


I was thrilled, and thanked her profusely. Since then I’ve dabbled on and off with various types of fruits and vegetables and recipes, and learned a little along the way. Following is a list of rules I’ve determined for myself. They may not all work for you, but enjoy learning from my experience.


Jen’s Five Juicing Rules: 

1. Take the time to cut off the peels. Seriously, juicing the peels too gives the final juice a bitter, sour taste that is not really pleasant, regardless of what other goodies are in there.Of course, mine is a centrifugal juicer, not meant for large pieces of whole fruit. If you have a masticating one, it might be ok.

2. Know the limits of your machine. If you have one of the huge, fancy juicers you can pretty much throw a whole watermelon into, good for you! Most likely you do not, so know how large of a piece of food your machine can handle at a time, and if you’re doing a large batch clean it a few times throughout to keep it from clogging up.

3. Wash your juicer immediately once finished. Dried on fruit and vegetable bits are gross, start to smell, and are much harder to scrape off the inside of a fruit chute than fresh.  I promise the chlorophyll and phytochemicals in your juice won’t fall apart in the time it takes to give it a quick rinse.

4. Always throw in a little something sweet. Even the most hard-core purist who drinks three glasses of green juice a day has to admit kale, spinach and carrots alone don’t taste super great. Especially if you’re just starting out with juicing, give yourself some slack and add some apple juice or berries to everything.  

5. Don’t be afraid to try new things. I juiced anything I could get my hands on for a while. Sure I made some mistakes (see the list at the end of things that are HORRIBLE juiced) but I also found a lot of new fruits and veggies I didn’t know I liked. 

Prepping for juicing: lots of fresh fruits and veggies
This will become many tasty beverages for the week.
Mmmm green juice, that’s the best way to start the day.

Things that are seriously gross when juiced:
Cabbage
Potatoes
Mushrooms
Garlic – maybe for cooking, but holy cow this stuff is strong! Gag-inducing, even in small amounts.


Things that will overwhelm the taste (use small amounts only):
Grapefruit
Ginger
Lemons
Limes

Best things for juicing:
Apples
Carrots
Celery
Cucumber
Spinach
Oranges
Pears
Berries (most of them)
Pineapple
Lemon/lime/grapefruit


Now that you know the facts, go ahead and find yourself a juicer (Amazon, Ebay, Walmart, Christmas present, Craigslist…) and get to creating! The Beginner’s Guide to Juicing is a great article full of helpful information, reviews of different types of juicers and blenders, and includes more recipe ideas.

Some recipes to get you started:

Citrus Refresher
~2 oranges, peels cut off
~2 apples
~2 large carrots
~1 lemon and/or lime

Green Machine
~1 large handful spinach or kale
~4 stalks celery
~1 large cucumber
~1 apple
~1 lime

Cold Crusher
~2 oranges
~1/2 a grapefruit
~1 apple
~1″ chunk ginger
~1 lemon

If you have any juicing stories, advice or recipes, please share!

Save

Ratatouille niçoise

There are several recipes or types of food which I’ve heard of, tried, or seen but have not yet tried to cook myself. One of those is ratatouille. The 2007 Disney movie brought the dish into the main stream consciousness with its adorable main character, Remy, a rat who just wanted to be a great chef. Ever since then it’s been in the back of my mind as a ‘make this someday’ dish.

Ratatouille the dish is traditionally a French dish consisting of stewed vegetables. It originated in the French province of Nice, and comes from the Occitan language “ratatolha” and the French word “touiller” meaning to toss food. There are similar dishes in many other cuisines, including the Catalan samfaina, the Majorcan tombet, the Spanish pisto, the Italian caponata, Greek tourloú, and Filipino pinkabet. French chef Michel Guérard came up with a new version called Confit byaldi for the Disney movie. It can be served as a side dish, or made a whole meal when served over rice.

In my version, I pulled together several variations, and used what I had available in my kitchen. I had planned on a potato leek soup sometime this week, but silly me had only bought one leek, so into the ratatouille it went. While I’m at it, I’ll throw the potato in there too. Oh, and a single turnip I had bought for who knows what reason. Also I had no fresh tomatoes, but my pantry is never without a can of diced tomatoes.


Ingredients:
3 zucchini (I just happened to have three different colors, so at least it’ll look pretty)
1 turnip
1 potato
1 leek
1/2 red onion
3 large bulbs garlic
1 leek
1 can diced tomatoes
2 tbsp butter or margarine
1/4 green bell pepper, sliced

Step 1: Slice the onion into thin strips, dice up the garlic, and slice the leek. Add them and the bell pepper to a frying pan on low with the butter and cover.

Let that cook and caramelize, stirring occasionally, while you preheat the oven to 350 and proceed to the next step. 

Step 2: Slice the zucchini into thin coins. Peel and slice the potato and turnip as well.

 Step 3: Layer the potato, turnip, and zucchini in a casserole pan.

Step 3: To the pan add the can of diced tomatoes. Bring to a boil, then pour over the vegetables in the casserole dish.

Step 4: Cover in foil and bake at 350 for 45 min to an hour. You’ll know it’s ready when the slices are soft when poked with a fork.

I also took the foil off after 45 minutes and let it bake another 15 minutes to evaporate some of the juices. You can now serve it over rice or couscous, with fresh crusty bread, and/or sprinkle on some mozzarella. Deliciously vegetarian and very low fat and low calorie. Bake up a batch, put on the Ratatouille movie or some classic Julia Child and enjoy!

If you have a favorite French recipe, anecdote of your trip Paris or first year of chef school, or a story of attempting a French recipe that ended unfortunately, please share here!

Homemade granola bars + Make your own vanilla extract

As a simple on-the-go breakfast, post-workout snack, or get-you-through-the-afternoon munchie, I love granola bars! Endlessly varied in terms of type of nuts, berries, chocolate, flavors in them, they are always in my pantry in multitudes.

Usually I buy whatever is on sale, say $1-2 for a box. I have a rotation and favorites, but am not brand loyal by any means. But even at $1 for a box of 6, it can get expensive. So I figured, I already have lots of different types of nuts and dried fruits, and oats. It can’t be hard to make my own.

After googling a bit, I found this recipe for home made granola bars, which is close to what I had on hand. But I didn’t want the chocolate part (shocking, I know!) because I’d be storing them in my book bag and gym bag and don’t want to deal with melty chocolate all over my workout shoes or laptop. So as usual, I took the framework of the recipe and made it my own with what was on hand and the pan size I was working with. The results were splendid!

Ingredients:
3 cups oats
1/4 cup raisins
1/4 cup craisins (dried cranberries)
1/4 cup smashed pistachios (I shelled them, put them in a ziplock baggie and smashed them up with a spoon. For reals.)
1/2 cup smashed up candied peanut halves (also ziplock pulverized)
1/4 cup chia seeds (bought a few months ago and had no idea what to do with them… perfect.)
1/4 cup vegetable oil
1/2 cup honey
4 tbsp butter
1/4 cup brown sugar
1 tbsp vanilla extract

Step 1: Mash up the nuts, then mix together oats, dried fruit, nuts, seeds and olive oil. Stir to coat well, then bake in a flat oven safe pan at 350 for about 10 minutes, to make everything brown and toasty.

Step 2: In a pan over medium heat, stir together butter, brown sugar, honey and vanilla. Bring to a boil, then remove from heat. Pour over the granola mixture, and stir well to coat everything. Bake at 300 for 25-30 minutes, until warm and brown. Remove from the oven and let cool or stick in the refrigerator for a little while. Cut into bars the size you like.

I used a 9×13 pan, and as such I got 16 bars. They are very soft, so I put them in the fridge for about an hour before I cut them up.

I individually wrapped each bar in a plastic baggie, and am storing them in my pantry. They are delicious! The honey makes it so sweet, I don’t think you’d need chocolate anyway. Probably could even have done without the extra brown sugar.

I love these because I can use whatever dried fruits or nuts/seeds I have available. The next batch will include dried apricots and plums. You better believe sometime into the fall I will be making some bars with pumpkin seeds in them! I think I’m going to try experimenting with peanut butter in the honey instead of just butter too.

These are vegetarian, and could easily be made vegan as well. If you go easy on the oil/honey they are quite healthy and filling. And very inexpensive! Buy whatever fruits/nuts/seeds you like on sale, oats are cheap in bulk. This batch probably cost me $5 total?


Speaking of  inexpensive baking, did you know you can make your own vanilla extract from just vanilla beans and vodka? Seriously, that’s it.

A bottle of vodka on sale was about $7, the beans were a bit pricey at $4 for 2. But that’s $11 for about a gallon of vanilla that I can use pretty much forever. If I invested a bit more I could even jar it myself and give it as gifts or sell some. When you get low you just add more vodka and maybe after a year another bean or two. Jackpot.

Spaghetti squash ‘pasta’ with Turkey Meatballs and Tomato-Chickpea Sauce

.

I had bought a spaghetti squash a few days ago, and finally got around to making it. I was not sure what to make with it, so I went with the “spaghetti” theme and made turkey meatballs and a tomato-chickpea sauce. Like real pasta only tons more fiber and quite delicious!

Ingredients:
Spaghetti squash

Sauce:
1 can chickpeas, drained
1 can diced tomatoes
2 garlic cloves, diced
Italian seasonings
1 1/2 cups water/chicken stock

Meatballs:
1 pound ground turkey
1/4 cup bread crumbs
3 cloves garlic, diced
1/4 onion, grated
1/4 cup ketchup
1 egg
1/4 cup blue cheese/parmesan cheese

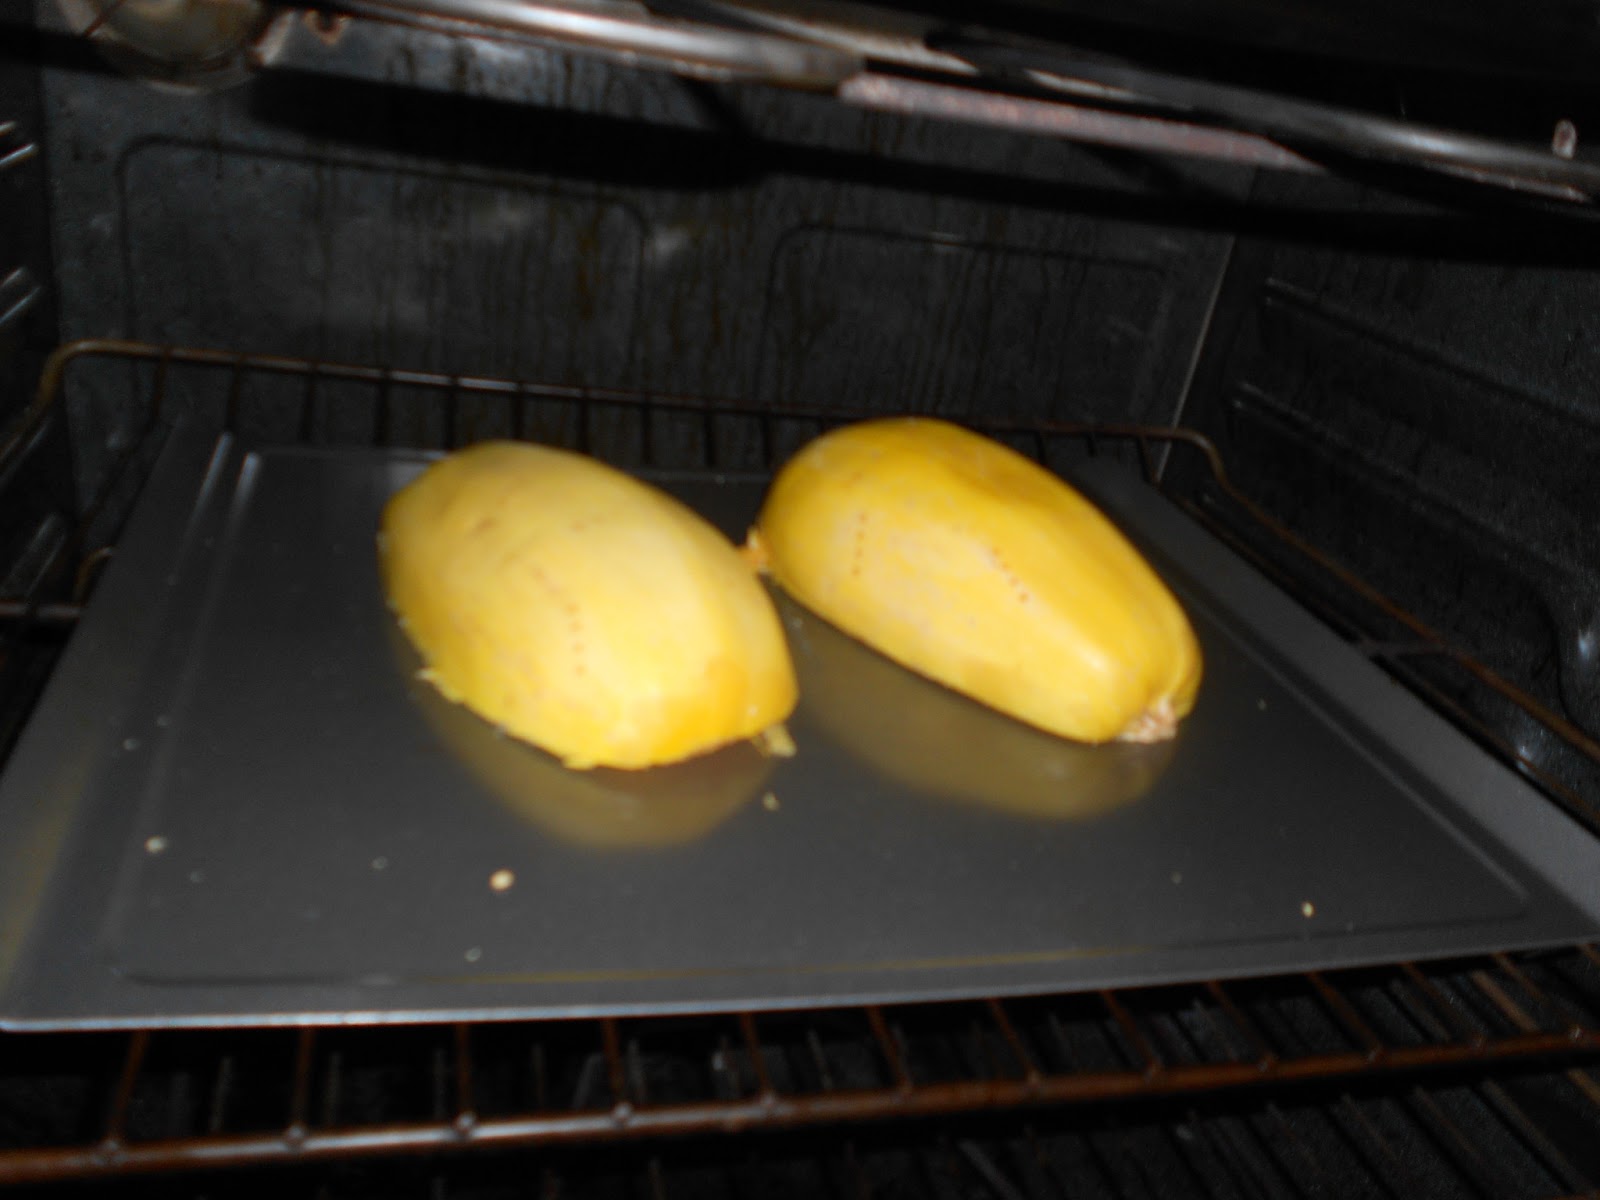
Step 1: Bake the spaghetti squash face-down for 1 hour at 375 or microwave 10 minutes then bake for 30.

Step 2: Mix all meatball ingredients in a bowl.

Step 3: Cook the chickpeas in a sauce pot for ~5 minutes. Then add the diced tomatoes, water, and seasonings and simmer.

 Step 4: Roll the meatball mix into 1-inch balls and bake on a sprayed cookie sheet for ~10 minutes at 350, or until brown and cooked through. Then add to the simmering sauce.


Step 5: When the squash cools, use a fork to pull the strands out.

In a bowl, add the squash, a meatball or two, and pour on some sauce. Enjoy!

Asian tofu/cabbage soup

.
This is a spin-off of a soup a friend of mine made that was fabulous. I had most of the ingredients and another friend wanted to go to the Asian specialty store where I could get the rest of the ingredients. It’s so simple, but it is delicious!
.
Ingredients:
1/2 Napa cabbage
1 package tofu
1 package mushrooms
2 large carrots, diced
4 cups water/stock
Optional: 3-4 pounds chicken/duck/beef

Step 1: Dice the cabbage, mushrooms, tofu and carrots.

Step 2: Cook the veggies in order of hardness, carrots first, then cabbage, then mushrooms. Add the stock and any seasonings you like. I used veggie stock and put some extra chicken stock and black pepper in for spice.

The broth is simple but complex. You should try it first, then add salt or other spices to taste. The tofu adds a punch of protein, making this a perfect well-rounded meal for a vegetarian or vegan.

Strawberry, avocado & feta salad

.

I am always trying to get more veggies into my diet, and salads are a great way to do so. But no one likes a bowlful of lettuce leaves with just a splash of dressing for flavor. I like to add extras to make my salads more interesting. Since I had just bought a fresh head of lettuce, I used the fruits/veggies I had on hand, and it turned out great!

The lettuce was $1 and I will probably get at least 5 salads from it. The avocado was also $1, as were the strawberries. The feta was left from a while ago (and you can omit the cheese or use whatever kind you like/have) as was the dressing. So for 5 salads worth, the cost per serving is only $0.60! Plus it’s good for you, and a great side to just about anything.


Ingredients:
1 cup torn lettuce leaves
3 large strawberries, quartered
1/4 Haas avocado, diced
1 tbsp feta cheese
1 tbsp balsamic vinaigrette

Simply toss and enjoy!

Easy side dish: Oven-Roasted Vegetables

.
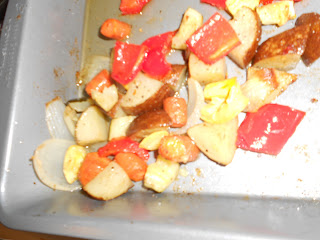
This is seriously one of the best side dishes ever! You can use literally any vegetable you have on hand, it takes only a few minutes, and it is super healthy AND tasty. I could eat oven-roasted veggies with every meal and not get tired of it.
.
Ingredients:
1 baking potato, diced
1/2 onion, cut into strips
1/2 red bell pepper, diced
1 large carrot, diced
1/2 zucchini, diced
1/2 yellow squash, diced
3 tbsp olive oil
Nature’s Seasoning
Garlic salt
 .
Step 1: Dice up your veggies. This is the only work you have to do.
.
Step 2: Coat your veggies in olive oil, put into an oven-safe pan.
.
Step 3: Sprinkle with seasonings. Bake at 350 for ~20 minutes or until potatoes are fork-tender.
You could use any kind of potato here, add broccoli, cauliflower, turnips, parsnips, bok choi, kale, mushrooms, eggplant, the list goes on and on. Enjoy!

[subscribe2]
Mashed potato & cauliflower

.
I have read about mashed cauliflower several times and never had tried it. Since my grocery store had cauliflower on sale this week, I decided to give it a go. Cauliflower has far less calories than potatoes, and aren’t starchy. So you can eat more of this when you mix half and half, and not feel guilty!
.
Ingredients:
3 small potatoes
1 large head cauliflower, cut into florets
3 tbsp butter or margarine
1/4 cup milk
Optional: 2-3 green onions
Garlic salt
Large pot of water
Salt
.
Step 1: Put several cups of water on the stove to boil, adding salt to make it boil faster. Rinse and dice the potatoes (you can peel them if you don’t like the taste, but the peel is where most of the nutrients are so I left mine on.)  Cut up the cauliflower.
.
Step 2: Boil the potatoes and cauliflower together for 10-15 minutes, until both are easily smashed with a fork.
.
Step 3: Using a spoon or a mixer, mash the potatoes and cauliflower together. Level of smoothness vs. chunkiness is personal preference, I made mine pretty smooth. Mix in butter or margerine and milk. Add garlic salt to taste.
.
Step 4: Optional – slice green onions thinly and add for crunch and flavor.

These taste almost exactly like simple potatoes, so if you don’t tell I won’t! 😉


[subscribe2]