All posts by BudgetEpicurean

Souppa like Zuppa Toscana

I still had some sausage left over from my sausage gravy & biscuits, plus half a bunch of kale that hadn’t been made into kale chips. (If you’ve never tried kale chips, I definitely recommend it! Kale is super good for you but can be bitter, and this is a super simple way to get your leafy greens). A quick internet search for “sausage and kale” quickly showed a trend towards this “Zuppa Toscana” that Olive Garden makes (don’t sue me please!) that lots of people claim to mimic.

Well as any loyal reader knows, I’m not a ‘by-the-book’ recipe follower, so I just took the general idea and ran with it. What happened was a simple, delicious soup that quite frankly surprised me with how tasty it was. With really only 4 ingredients and 30 minutes, a warm, filling and complex soup for dinner can be yours!

Ingredients:
1/2 pound sausage
1/2 bunch kale, shredded
2-3 large potatoes, diced
6 cups water
4 chicken bouillon cubes
3 tbsp cornstarch
Italian seasonings

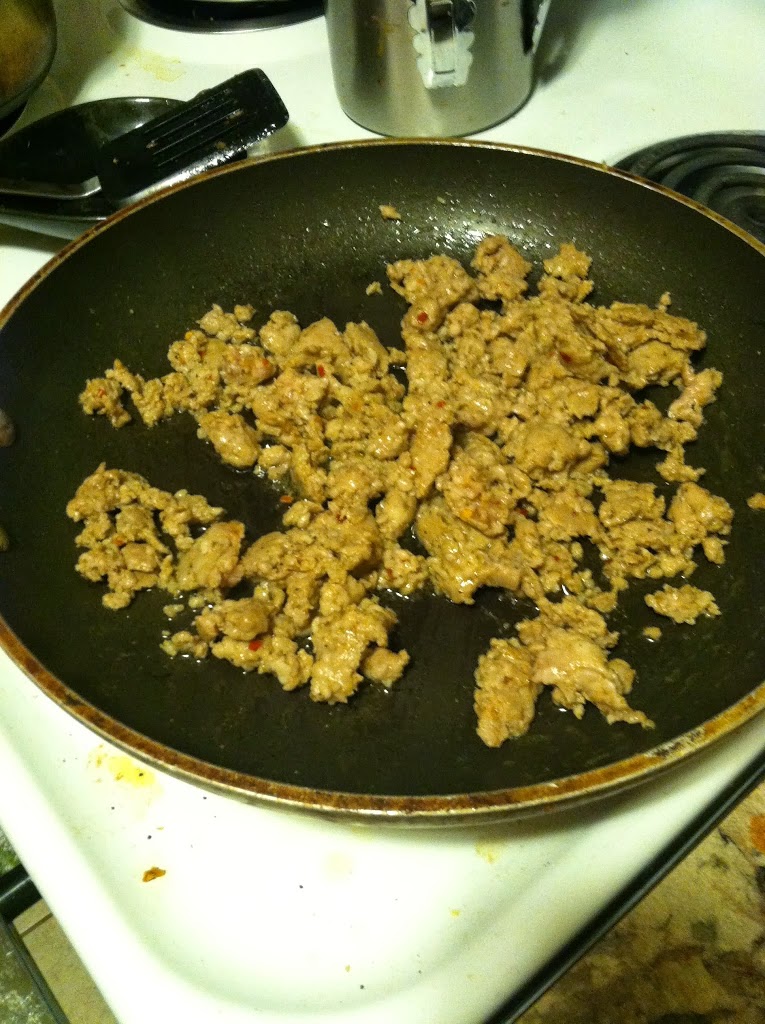
Step 1: Brown the sausage in a frying pan. Drain most of the fat and set aside.

Step 2: Dice the potatoes into thin wedges. There’s no right or wrong way really. Most copy-cat recipes use redskins but I only have russet so those will do. Drop them into a pot with enough water to cover and bring to a boil. Cook for about 8-10 minutes, until soft when poked with a fork.

Step 3: While the potatoes boil, rip the kale into bite sized pieces, discarding the stems. When the potatoes are soft, drain and put back into the pot.

Step 4: Add water, bouillon, seasoning, kale and sausage. If you’re on a super budget the spices and bouillon aren’t required, just kicks up the flavor a notch. If you’re flush with cash, try adding half heavy cream and half chicken stock to make a creamier base soup. Of course, if you’re rolling in Benjamins you could also just go out to Olive Garden for dinner tonight…and we should be friends. Email me k?

Step 5: Bring to a boil and then simmer for about 20 minutes. In a cup, combine some hot soup water and the cornstarch and mix. Once it’s all dissolved add it to the pot. This will help it to thicken. Also not completely required, but I like a little body. You could use flour for the same purpose.

The flavors combine beautifully into a rich soup that I thoroughly enjoyed. I would definitely make this again. If only I had some salad and bread sticks to go with it.

Butternut Squash Soup

I recently had a dinner party, and in the spirit of the season (fall) I decided to make butternut squash soup as one of my main dishes. Earlier I posted about butternut squash macaroni & cheese, if you have one and soup just isn’t your thing. No reason not to enjoy the bounties of fall, regardless of texture preferences.
So as per usual, I googled around and pulled from several recipes and what I had in the house to come up with this. It received universally positive reviews! I made a large amount since I was feeding 6, you can cut everything in half for a smaller number of people.
Ingredients:
2 squash, halved and seeded
2 carrots
2 celery sticks
1 small chunk peeled raw ginger (about 1 inch)
1 white onion
4 chicken bouillon cubes
5 cups water
1 package cream cheese
Cinnamon, nutmeg and coriander seasoning

Step 1: Place halved squash on a baking pan with a little water. Bake at 350 for 35-45 minutes, until soft when poked with a fork.

Step 2: While the squash are baking, boil the carrots, celery, onion and ginger in chicken water until tender.

Step 3: Scoop the squash out of the skin and blend in a blender. There’s a surprisingly large amount of flesh in there, I had to do it in three batches. Add hot water from the pot to thin it out. Blend in the cream cheese, the vegetables and chicken stock as well, put it all back into a large stock pot.

Step 4: Add a healthy dose of cinnamon, nutmeg and/or coriander, adjusting to your tastes. Bring to just a simmer, and enjoy.

This is a great taste of fall, good on its own or I’m sure you could pair it with any number of dishes. You could probably mix and match too, if you wanted to try pumpkin or acorn squash instead. You could add milk or half and half to make it creamier, or omit the cream cheese & chicken bouillon to make it vegan.

Sausage gravy & biscuits


If you asked my family if ever they thought they’d see the day where I not only willingly ate sausage gravy and biscuits, yet alone cooked it myself, they would call you crazy.

For the longest time I was very against sausage in any form; ground, patties, links. Well, I’m living proof that tastes change over time. The more times I tried sausage gravy & biscuits, the more I liked it. However, I am also aware that commercial gravy is horrific for you. I had a can of biscuits in the fridge and sausage was on sale $3/pound at my farmer’s market.

I couldn’t resist buying a nice, fresh ground pound of sausage and trying my hand at this artery-clogging breakfast favorite. Turns out, it is actually quite easy. I did cheat and use canned biscuits rather than make my own. But the gravy is more art than science, use your own judgment and tastes when adding milk and flour to make it the consistency you want. You could also use cornstarch to thicken it rather than flour for a gluten-free option.

Pro tip: this sausage gravy would be great over just about any meat or grain, like chicken and mashed potatoes, or ham and rice.

Ingredients:

  • 1 pound sausage
  • 1 can biscuits
  • 1 cup milk
  • 4 tbsp flour
  • Salt & pepper

Step 1: Brown the sausage in a frying pan. Once fully cooked, remove the sausage, drain the fat and set aside.

Step 2: Bake the biscuits in a 350 oven for 10-12 minutes.

Step 3: Add the flour to the pan you cooked the sausage in, slowly whisk in the milk. Add all the milk, and bring to a simmer. Add salt and pepper to taste.

Step 4: Add the cooked sausage back in and mix well. Pour over warm biscuits and enjoy!

[amd-zlrecipe-recipe:16]
I can feel my taste buds cheering, and my arteries crying…

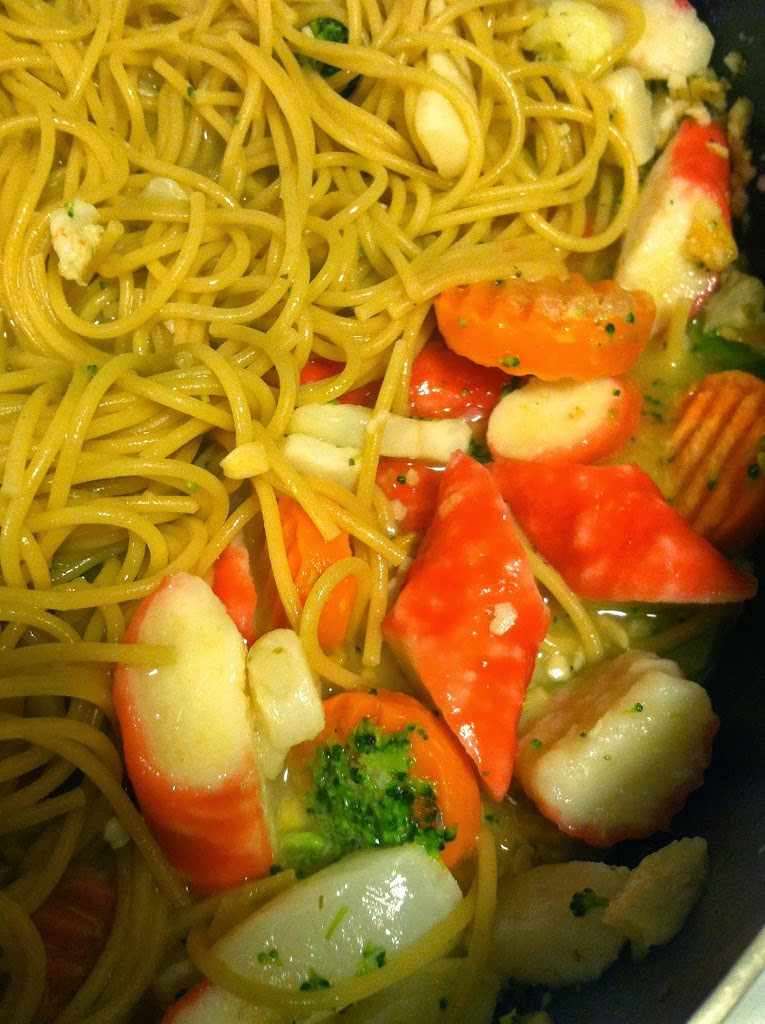
Mixed seafood linguini in lemon-butter sauce

I’m very thankful that I have the ability, when I’m at the grocery store and see a bag of mixed seafood on sale, I can just throw it in my cart and think nothing of it. That’s exactly what happened last week. I saw the mixed seafood on sale, and decided seafood linguini was for dinner that night.

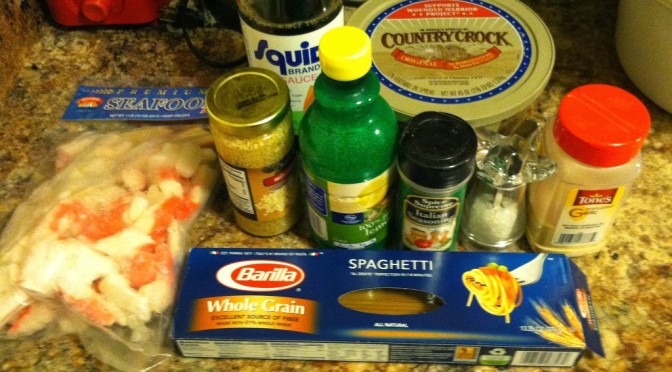
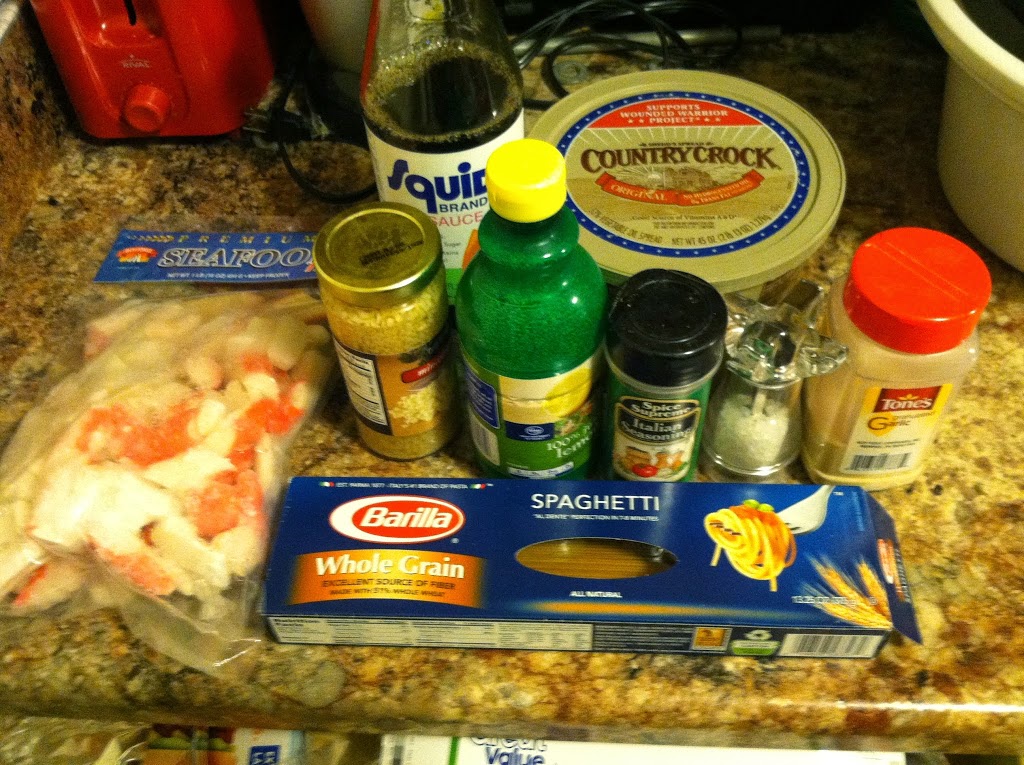
Ingredients:
1/2 lb pasta
1 lb bag mixed seafood
1/2 bag frozen mixed vegetables
1 tbsp garlic
1/3 cup butter/margerine
1/3 cup lemon juice
Sprinkles of garlic, italian seasoning and sea salt
(I added a few squirts of fish sauce because I have that. Because I’m weird. But it’s salty and goes great with seafood.)

 
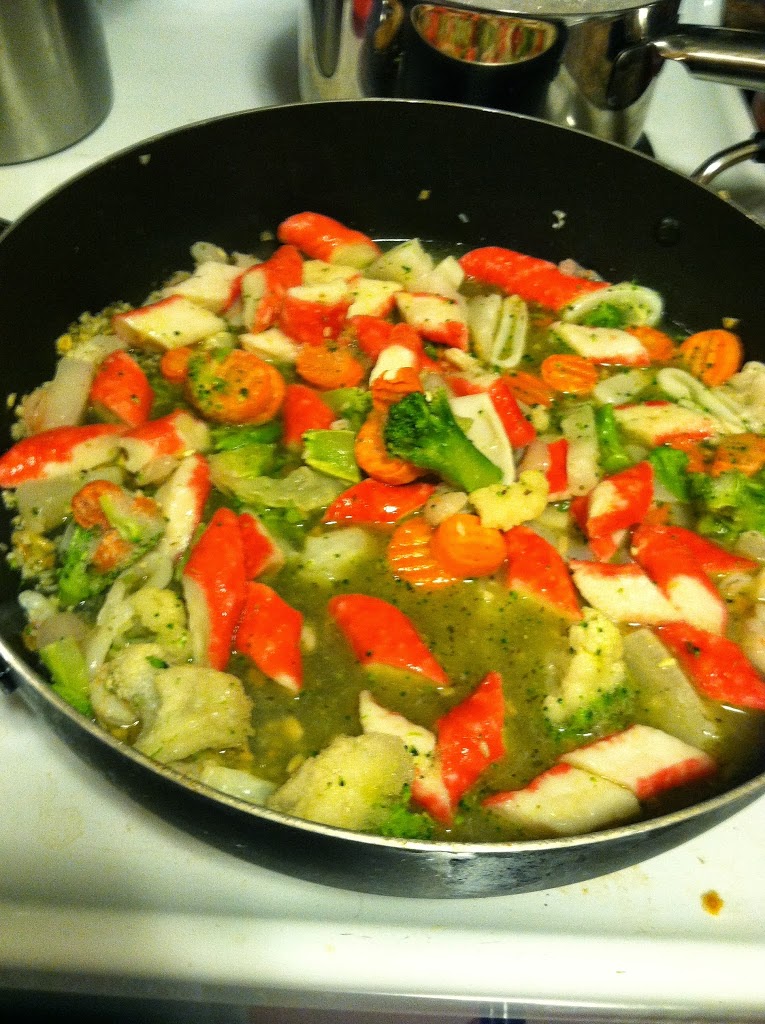
Step 1: Boil the pasta. While it’s boiling, throw all the other ingredients into a pot. The lemon, butter and spices will coat the seafood and veggies. Simmer with a lid for about 5 minutes, then without a lid for another 10 or so. 
 

 Step 2: Once the pasta is done (~7/8 minutes) throw that in the pan to coat with sauce. You can adjust by adding butter, oil, lemon juice, or white wine as needed. Cornstarch or flour can thicken the sauce too.

 Once the seafood is soft, and the vegetables give when poked with a fork, or you’re hungry, it’s done!

Pumpkin seed makeovers

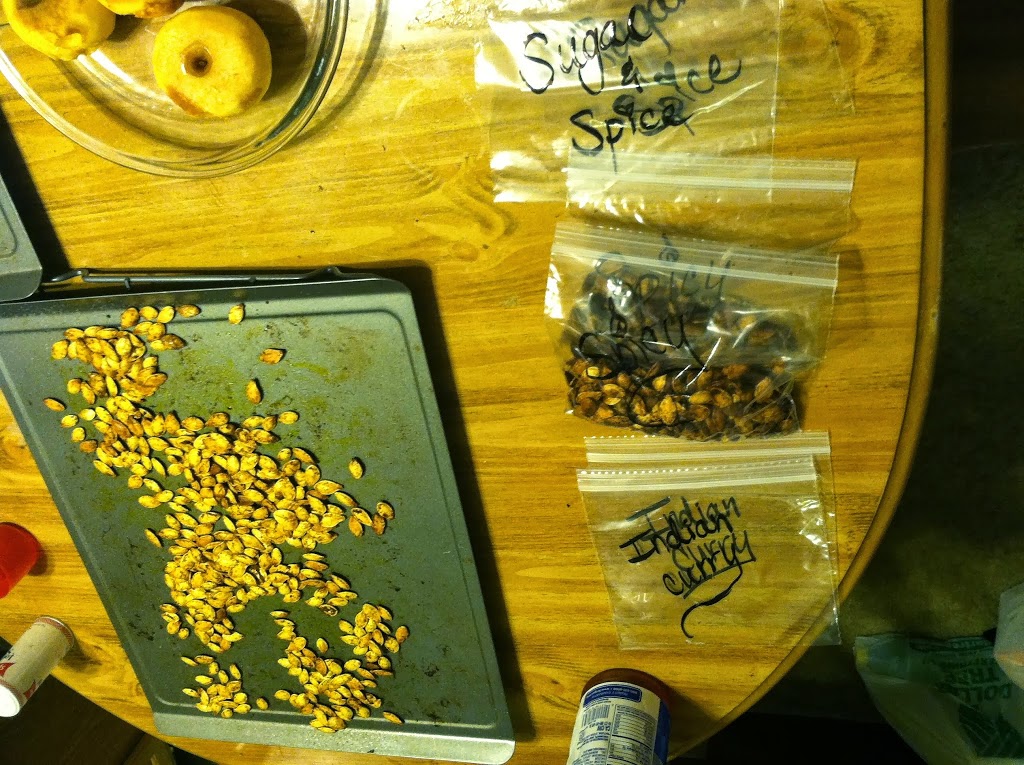
One of my favorite parts of fall is carving pumpkins and roasting the seeds. Salty, crunchy, the perfect snack. A friend of mine decided to try branching out and putting weird things on the seeds we roasted. Here are our concoctions and my humble opinions thereof.

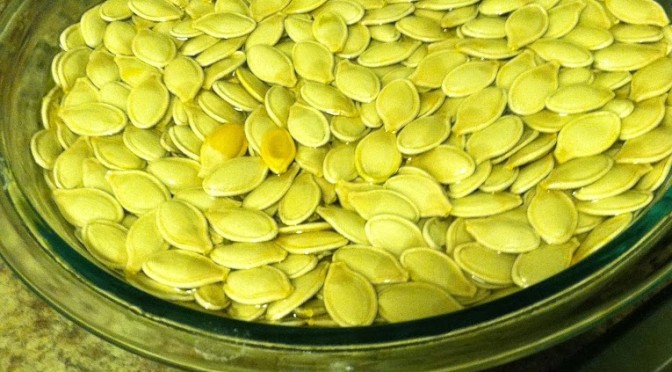
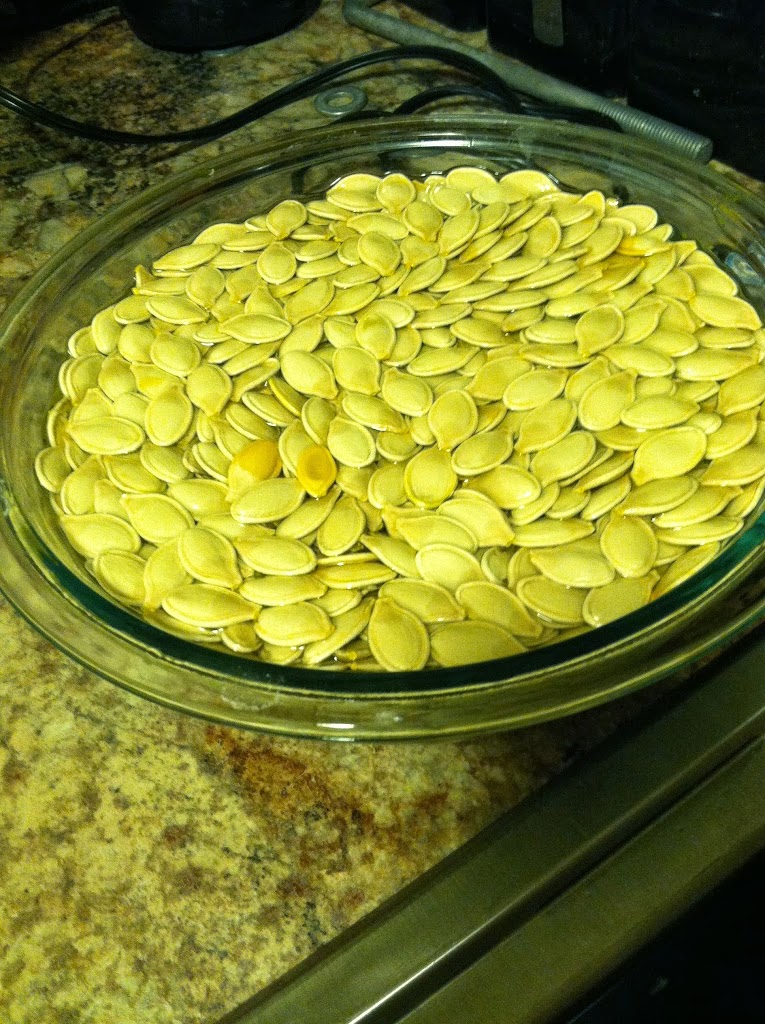
 This is the batch I made the day before, soaked overnight in salt water. They were simply roasted with olive oil and sea salt. My favorite, the old classic.

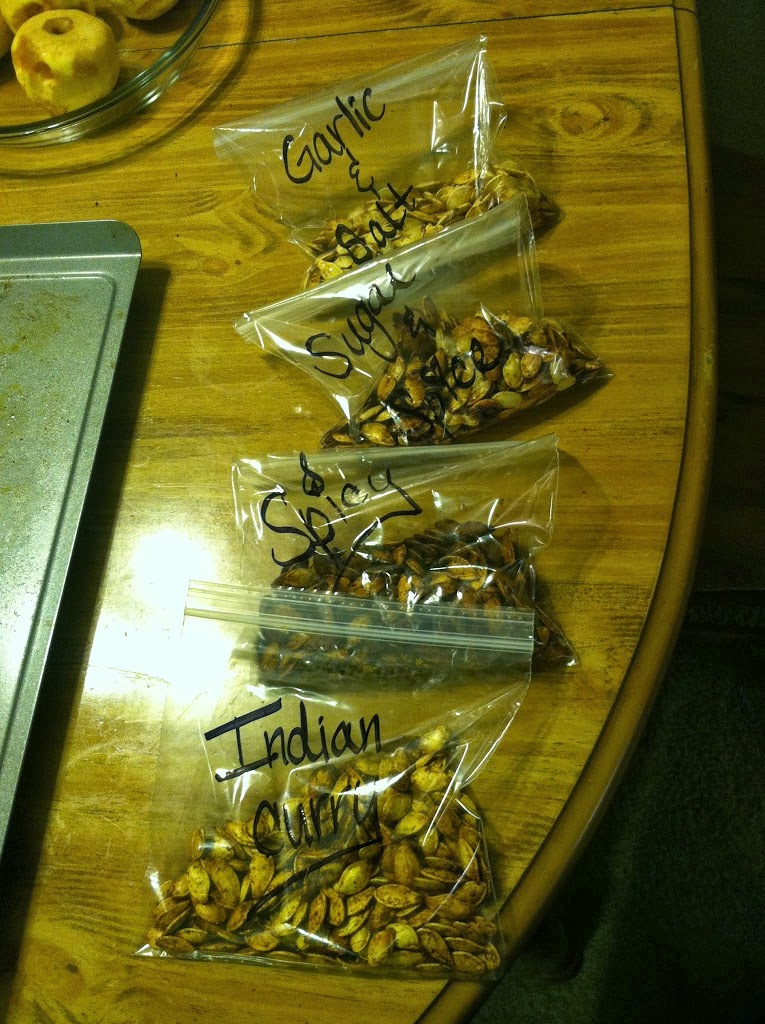
Indian spices: turmeric, curry powder & coriander
Brown sugar and cinnamon sweetness
Chili powder and chipotle pepper
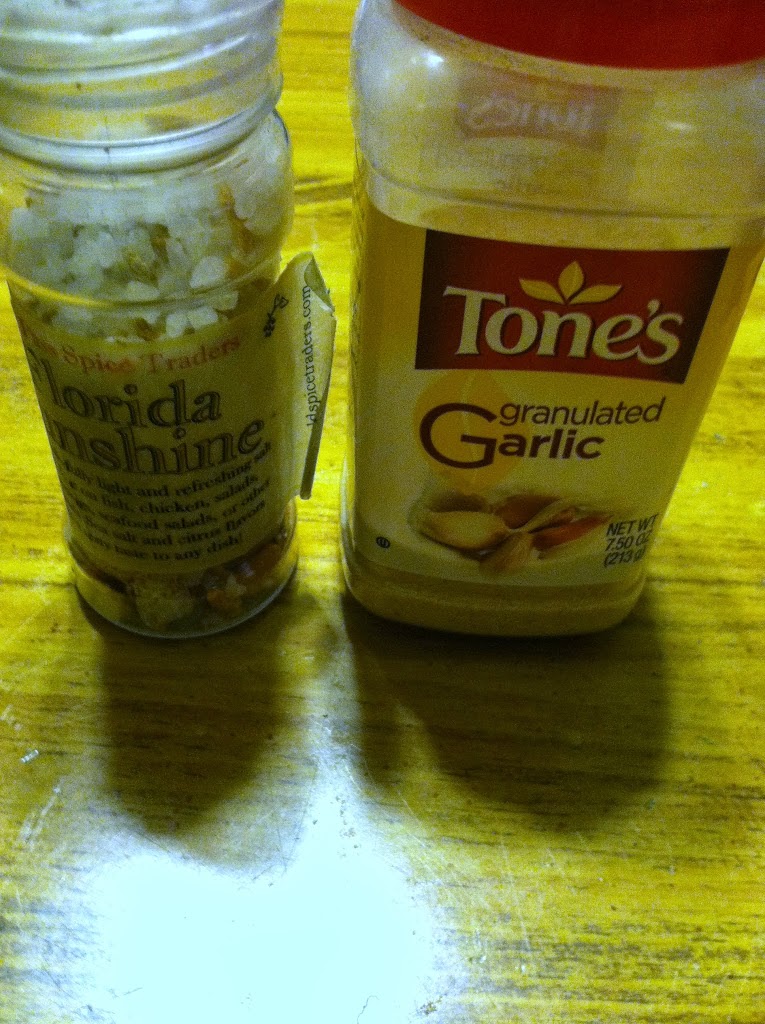
Garlic and salt, a classic combo

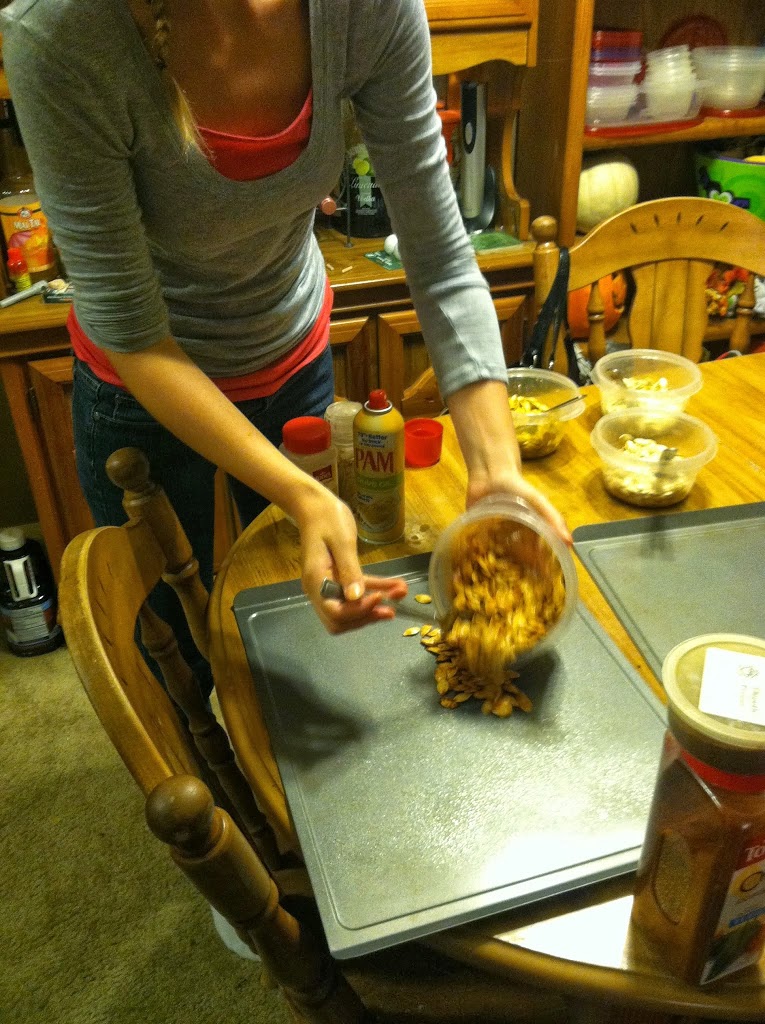
All four batches of seeds, mixed with oil and a bit of salt each

Step 1: Mix seasonings, 2 tbsp oil and some salt into each batch.
Step 2: Spread the seeds in a single layer over a cookie sheet.
Step 3: Bake at 350 for 10 minutes, mix around so nothing burns, bake another 10 minutes.

 Each batch was put into its own labeled baggie.

The garlic salt was good, like original with garlic. The curry had a strange aftertaste. The spicy ones were nearly too much for me but tolerable. And the sugar ones caramelized and burnt into clumps… so as much fun as it was, I’ll stick with the classics. But now you know.

Everything bagel with lox & cream cheese

Since I was first introduced to lox during my undergraduate studies I’ve been in love. Lately I’ve been noticing that it’s more and more popular in restaurants, which makes me happy. Unfortunately it is rather more expensive for smoked salmon than an egg. Therefore, any chance I get to make it myself I jump at. Last week salmon went on sale at the grocery store, and that was my cue. I was a happy camper for almost a week of breakfasts.
The fanciest of places also have capers, lemon, and tomato and onion slices. I’m not terribly fancy though.

Ingredients:
1 everything bagel (or whatever kind you like. Onion, wheat, regular.)
2 tbsp cream cheese
1 oz or so smoked salmon (also known as lox)

Step 1: Spread the cream cheese over the bagel.
Step 2: Rip pieces of salmon and place it around the bagel. See if you can hold yourself to only an ounce… I did but only because I wanted it to last.
Step 3: I also sprinkled lemon juice and sea salt over each half.

Slow cooker chicken soup: “Just like grandma used to make”

When I was younger, Sunday was always early dinner, and almost always chicken noodle soup. Grandma or mom would put a pot of soup on to simmer, we would go off to church or on a Sunday drive around town, and come home to a house that smelled delicious and a pot full of warm delight. I like continuing that on my own, though I use the modern miracle of the crock pot so I don’t have to worry about it burning on the stove (that’s a hilarious story for another time…).

Since I had recently roasted a chicken, naturally I made soup from what wasn’t eaten the first day. We had eaten the legs and drums, so I cut off and saved the whole breasts for sandwiches for lunch the next day. The rest of the bird plus a few extras was made into a huge crock pot full of chilly weather goodness. There is nothing like coming home to the smell of homemade chicken soup!

Ingredients:
1 chicken carcass
3 large carrots, sliced
2 potatoes, diced
1 whole onion, sliced
3 stalks celery, chopped
1/2 pint fresh mushrooms
1 cup barley
1 tbsp butter
Water

Step 1: That gorgeous roasted chicken had a tray full of juices and spices that I added into the crock pot first. Waste not want not, and that’s some powerful flavor I don’t want to waste.

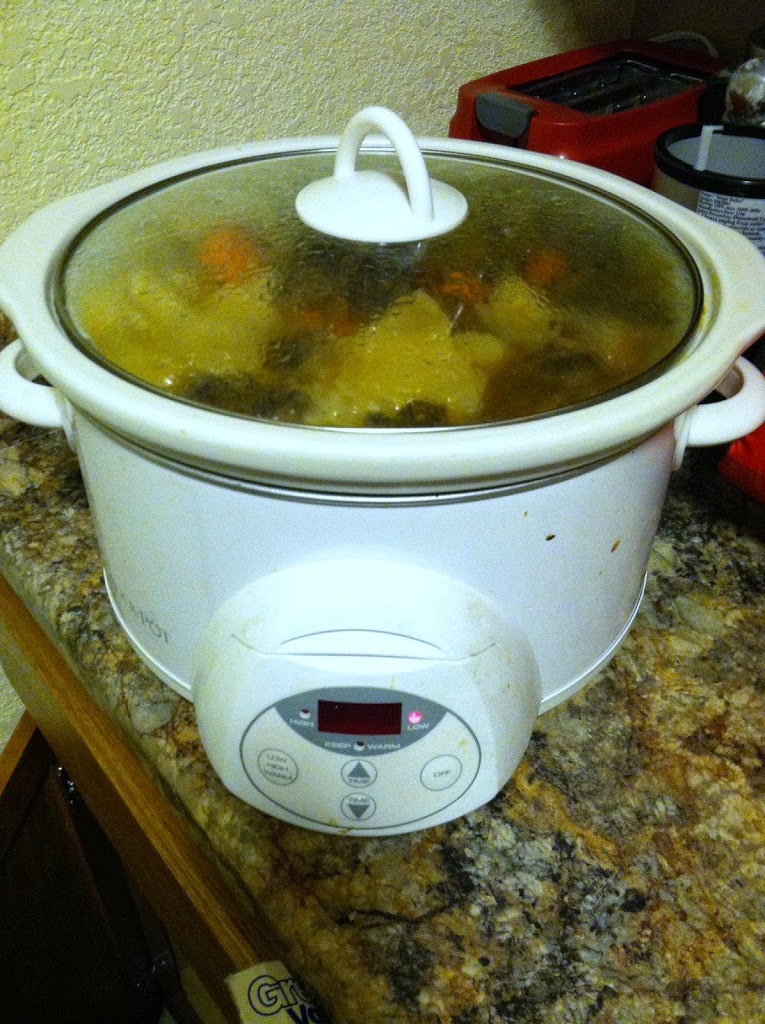
 Step 2: I diced up all the assorted veggies and added them and the chicken (skin, bones, extra meat and all) into the crock pot. I added water all the way to the top and put it on low all day (about 8 hours).

When I came home, the house just smelled amazing. The chicken had been brined in all that lovely salt and sugar and pepper and spices, so I didn’t even really need to add anything to the broth.

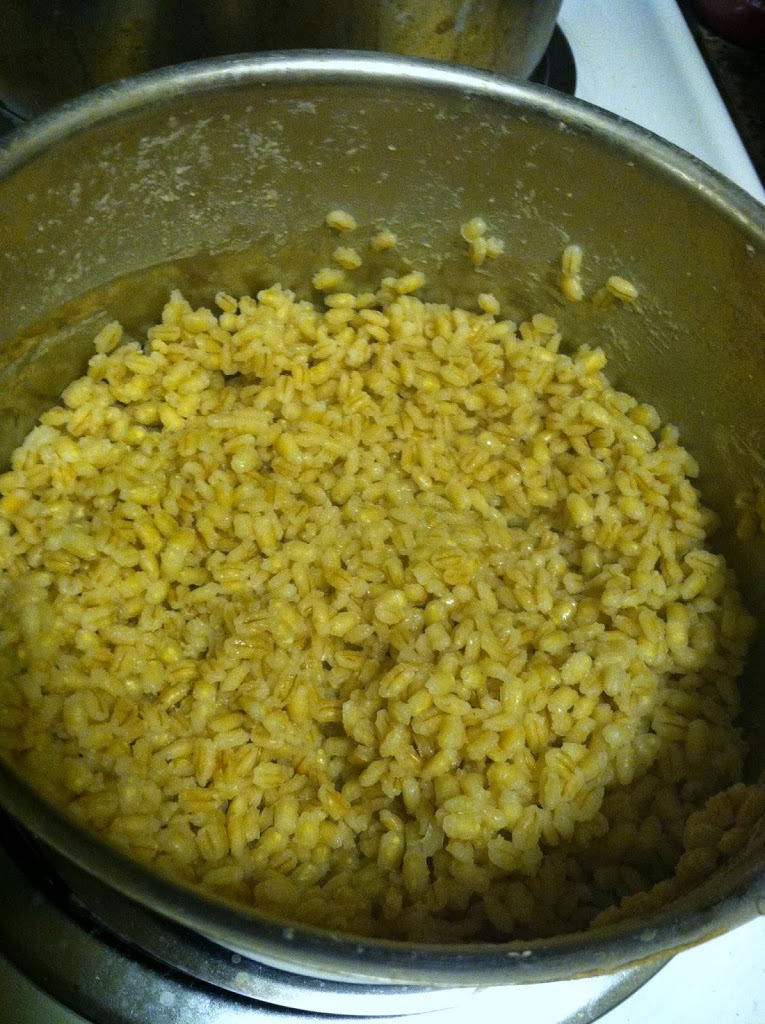
Step 4: I boiled 1 cup of barley in 1 1/2 cups of water with 1 tbsp butter for 45 minutes. 

Barley is a bit chewy, and I added some of the broth after 40 minutes to let the flavor soak in for the last 5 minutes. Maybe a 1/2 cup.


Just look at all those gorgeous veggies! And the sheen on the surface, that’s from the natural chicken fat that dissolved into the broth. Sure it isn’t the healthiest thing in the world for you, but boy howdy does it taste great! And you can let it cool in the fridge then skim the extra fat off the top.

The barley was surprisingly perfect for this soup. Normally I use egg noodles but didn’t have any on hand. The flavors blend so well and are perfect for nippy fall nights. It is so easy to make, and you will have leftovers for days (unless you share). I guarantee* you won’t get sick, or if you already are you will immediately feel better.

*Guarantee based only on personal experience, not actually backed by anything or redeemable for anything. But other experiences and comments are welcome to be shared. =)

Broccoli cheddar rice

Everyone has days when they just don’t know what to make with dinner. Maybe you have a perfect roast in the crock pot, or stopped on the way home for burger meat but don’t know what to go with it. This is a recipe for one of my go-to side dishes, broccoli cheddar rice. A while back I posted on how to make it in a slow cooker, now I’ll tell you it can also be done in the oven! This was perfect because I had a whole chicken roasting in the oven, so I just whipped this up and popped it in there with it. Super simple, filling and tasty.
Ingredients:
1 cup rice
1 cup milk
1 cup water
1/2 cup shredded cheese
1 cup broccoli florets
About 3 tbsp butter/margerine
Garlic salt

I don’t know why it won’t let me flip the photo. I tried uploading it four times…

Step 1: Into an oven-safe dish (small-ish, or double/triple the recipe and use larger) pour 1 cup water, 1 cup milk and 1 cup rice. Mix it up well. Add a few tbsp margarine, broccoli and cheese on top.

 Step 2: Pop it in the oven at 350-375 for about 20-30 minutes (depends on the temp. I had it at 375 for the chicken so it only needed about 21 minutes to cook fully).

Full meal with the chicken, broccoli cheddar rice and candied carrots.

Candied Carrots

Everyone knows how hard it is sometimes to get kids to eat their vegetables. Heck, it’s hard to get adults to eat their vegetables! But my mom knew all the tricks and I remember several vegetable side dishes that we all actually enjoyed as kids. Candied carrots was always one of my favorites. Not only to carrots already have a naturally sweet-ish taste, but then you add butter and brown sugar, and it’s almost like dessert with dinner! Not exactly the healthiest thing in the world, but at least it will get some vitamin A and beta-carotene into your diet.

Ingredients:
3 large whole carrots, cut into 1/4 inch slices
1/2 cup brown sugar
1/2 cup butter (1 stick?)

 Step 1: Slice all the carrots (peel if you want, sometimes I do and sometimes I don’t. Always wash them first though) and place in a saucepot.
Step 2: Add the butter and brown sugar. Bring to a simmer, and cook, covered, for about 20 minutes, until the carrots are soft when poked with a fork.

That’s really all there is to it! They are soft and sweet and a perfect side dish for just about anything. If you have a favorite side dish from your childhood, or a way to cook vegetables such that kids and family members don’t complain, feel free to comment and share!

Oven Roasted Whole Chicken


When I moved into my new apartment, I went on a stock-up grocery trip as I always do. One thing that was on sale was whole chicken (90 cents a pound or something). Since I had already brined and roasted a whole pheasant, I figured a whole chicken shouldn’t be much more difficult. So I got one and stuck it in the freezer.

Then one day I decided it was starting to get cold enough to count as fall, and chicken soup is great fall weather food! Of course, I roasted the meat and just enjoyed some tasty baked chicken meat first. The carcass is in the crock pot today to make stock for chicken soup.

I took out the bird, made a nice brine*, and roasted it the next day. And it turned out tender and amazing!

*If you don’t want to brine it overnight first, don’t worry about it. Skip right to the roasting part.

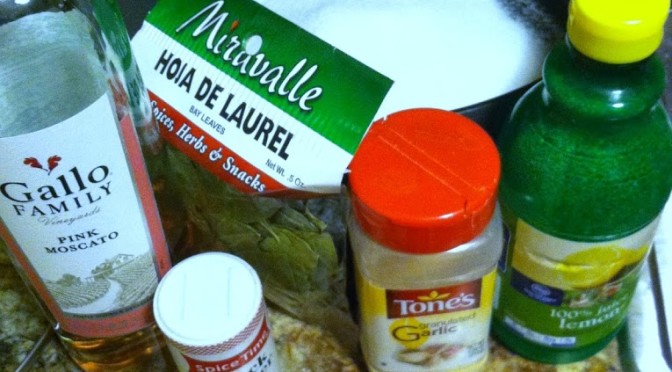
Ingredients for brine:

  • 1 cup salt
  • 1 cup white sugar
  • 1/4 cup lemon juice
  • 1 cup pink moscato (because I had no open white wines)
  • 5 bay leaves
  • sprinkle garlic, sprinkle black pepper
  • About a gallon of water

Step 1: Mix all ingredients in a pot large enough to hold the whole bird. Add water to the top (once bird is added, not before, or you’ll spill everywhere. Not that I’ve ever done that…).

Step 2: Stick it in the refrigerator overnight (or at least for 4 hours. You can put it in there in the morning, head off to work and finish roasting it later that night too). I had to put my milk sideways on the bottom shelf to make room for a day, but I feel it is well worth the space-hogging.

Ingredients for the bird:

  • 1 whole frozen chicken, thawed overnight
  • Several gobs of margerine or butter
  • 1 whole apple, lemon, orange, and/or onion cut into quarters (I used one whole Gala apple)
  • Salt, pepper, and paprika

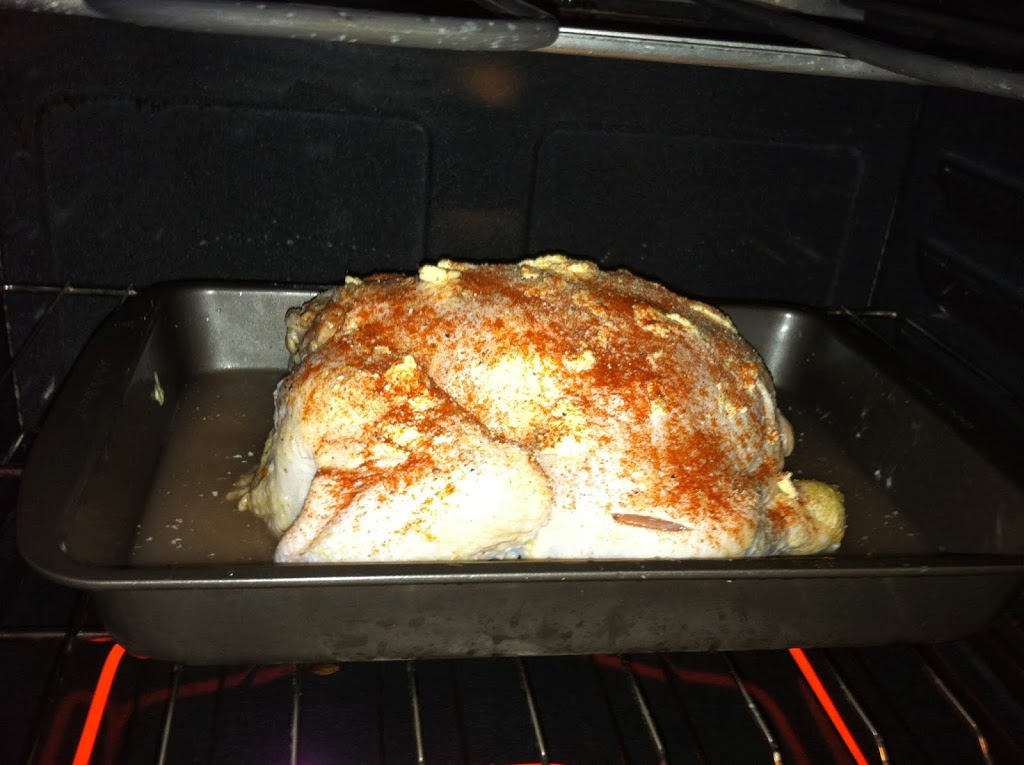
Step 3*: Take the bird out of the liquid, and pour the brine down the sink. Wipe off any moisture with a paper towel and place in a large baking pan. Rub it down all over with margarine. I despise raw chicken, so this part is super disgusting for me, but it is a necessary evil of epicuriosity. (*IF you skip brining, this is where to start)

Shove some butter chunks under the skin if you can too. If there are bits and pieces inside the cavity, take those out and dispose of or cook separately. Then sprinkle it all over with spices, and shove the aromatics (apple, onion, lemon) up the butt. Sorry, inside the cavity…


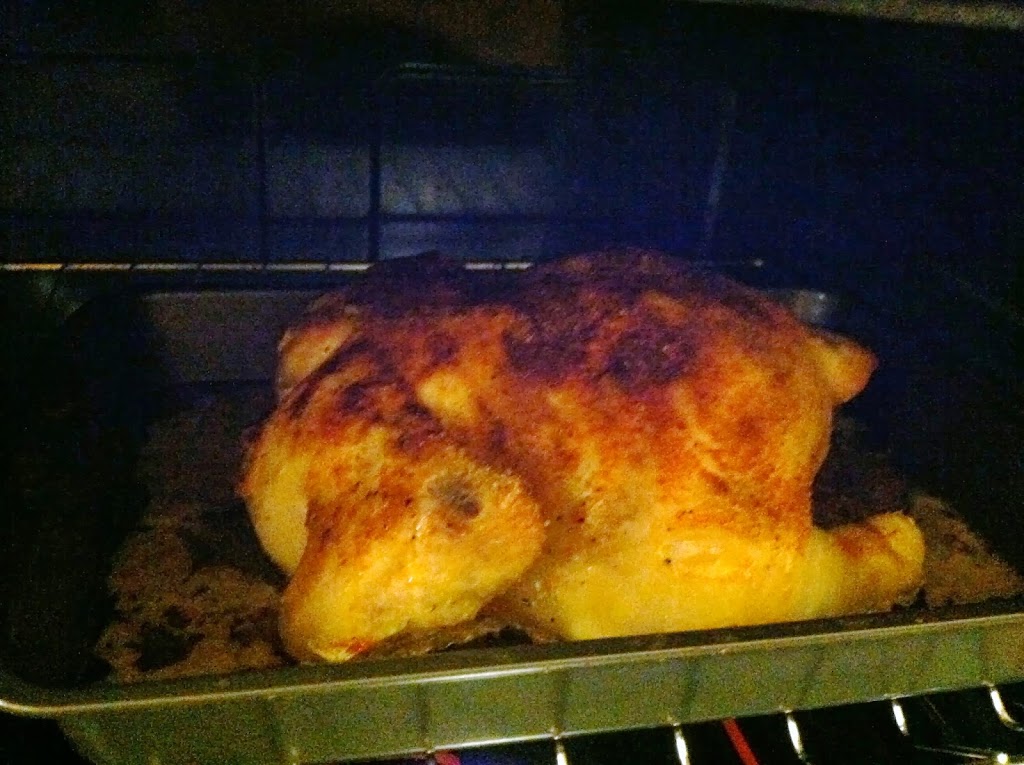
Step 4: Put the bird breast-side down into an oven at 425 for 15-20 minutes covered with aluminum foil. Flip it over, take the foil off, and roast uncovered for another 10-15 minutes. This will lead to a nice crispy outside skin. Then lower the heat to 375 for about another hour, or until the temperature is at least 165 F.


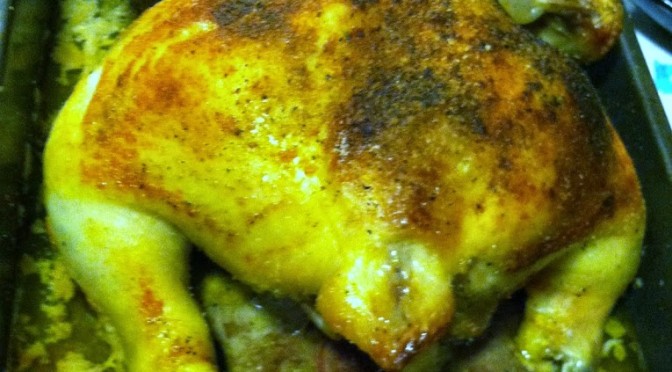
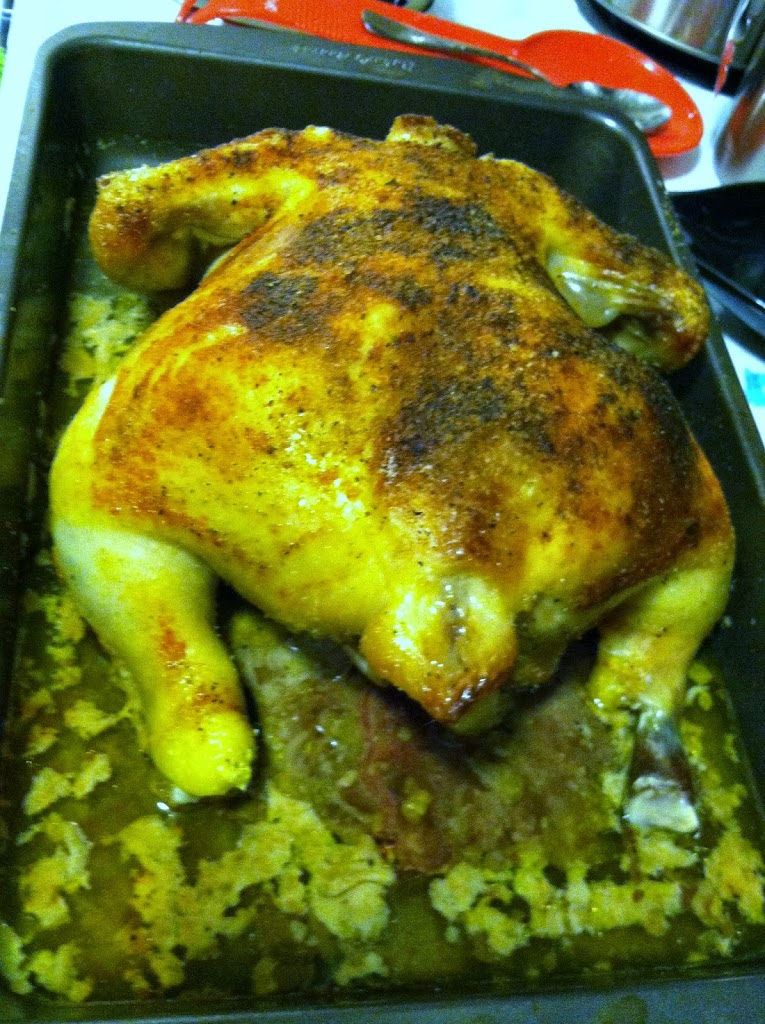
Once it’s all nicely browned and roasted, it looks and smells divine!


Take the aromatics you stuffed it with out and discard (or compost it). Use the meat any way you like! It is tender and moist and super flavorful. Not bad for $5 a bird.


I served it with broccoli cheddar rice and candied carrots on the side. Perfection.

Now I think I also need to work on learning how to properly carve the thing rather than just stabbing and sawing until a piece falls off…