All posts by BudgetEpicurean

Balsamic pork and potato wedges – dinner in under 30 minutes

For a simple, quick weeknight meal, I keep packages of pork chops in the freezer. I buy them in bulk when they are on sale, on of the many ways I mentioned in my post on how to save money on groceries. So I know there are packs of 2 pork chops in the freezer, ready to be thawed and made into a meal in under 30 minutes. Just add a side or two, and dinner is served. This meal is one of my favorites, I love the soft inside and crispy outside of homemade potato wedges, and balsamic vinegar is one of the best marinades for meat.

Ingredients:
2 pork chops
1 tbsp olive oil
~4 tbsp balsamic vinegar
Garlic salt
2 small potatoes, cut into wedges
1 cup frozen or fresh veggies
2 tbsp butter

Step 1: Heat the oven to 350, and spray a baking pan with oil. Put the potato wedges on, and sprinkle on some salt and pepper. Bake them for about 20 minutes, turning at least once to crisp on all sides.

Step 2: While potatoes are in the oven, put olive oil and vinegar in a frying pan. Add the pork chops and cover. Cook on medium heat for 10-20 minutes, turning at least once. Cut through to make sure there is no pink in the center.

Step 3: For the final few minutes of cooking, add in 1-2 cups frozen vegetables. I used broccoli and carrots. Cover again, and let cook until the vegetables are thawed, warmed through, and soft to the touch. Sprinkle everything with some garlic salt, and serve.

The potatoes baking takes the longest amount of time, so if you use a different starch, like minute rice or frozen fries that you just microwave, you could get this on the table in 20 minutes. The balsamic is tangy yet umami, and pairs perfectly with pork. And I am always a fan of meat & potatoes, with enough vegetables to balance everything out. 

What’s you favorite go-to weeknight meal?


How to: Soothe a burn with Aloe vera

.
If you spend much time in the kitchen, odds are you will experience a burn at some point. Whether you grab a hot pan without an oven mitt, misplace your palm on a lit burner, or have issues lighting a grill, cooking is fraught with hot objects which have the potential to come into contact with skin. You could spend money on burn treatments sold in stores, or you could have one of my favorite houseplants: the aloe vera. It is an attractive succulent, easy to care for and proliferative if taken care of, and it has practical use.
.
First recognized by the Egyptians for its healing properties, there are several species of aloe vera. There are several hundred species alone in the genus “Aloe”. The “Aloe vera” is of course the most commonly known houseplant variety. The Aloe vera is actually only existant in cultivation, having no known native wild locations. There are some closely related species in Africa. Many many species of Aloe exist, with varied colors, temperaments, and locations, which you can purchase online or read more about here.
.
Most aloe species produce two natural products, a gel and latex. The gel is the sticky, gooey substance that “leaks” from cut leaves. Aloe latex comes from just under the skin of the leaves, and is yellow in color.  It is typically the aloe gel that is used to treat sunburn and other minor skin irritations. WebMD states: “Some chemicals in aloe gel seem to be able to increase circulation in the tiny blood vessels in the skin, as well as kill bacteria. “
.
The scientific evidence of aloe as an anti-inflammatory and anti-bacterial agent has been mixed. A pair of articles in the NYTimes summarizes some recent studies and their mixed results. Nonetheless, many generations of housewives have vouched for the faster healing times of minor burns and cuts due to heat, friction, or electricity by using the aloe gel. Since I always keep an aloe or three around the house, I am a strong believer in the “why not” philosophy. It certainly can’t make the burn take longer to heal. 
.
So get yourself an aloe (they are cheap at garden centers, or ask a friend who has one for one of their sprouts next time their plant has a baby) and keep it around. Needing water only once a month or so, even the blackest of thumbs should be able to keep it alive. And next time you grab that cast iron pot handle after being on a burner…
 

My kitchen aloe plant

I burnt myself a little on my outside palm on a hot pan

Cut a piece of stem off, about 2-3 inches. Squeeze it, and some gel should ooze out.

Rub the aloe gel over the burn side to side, covering all of it generously.

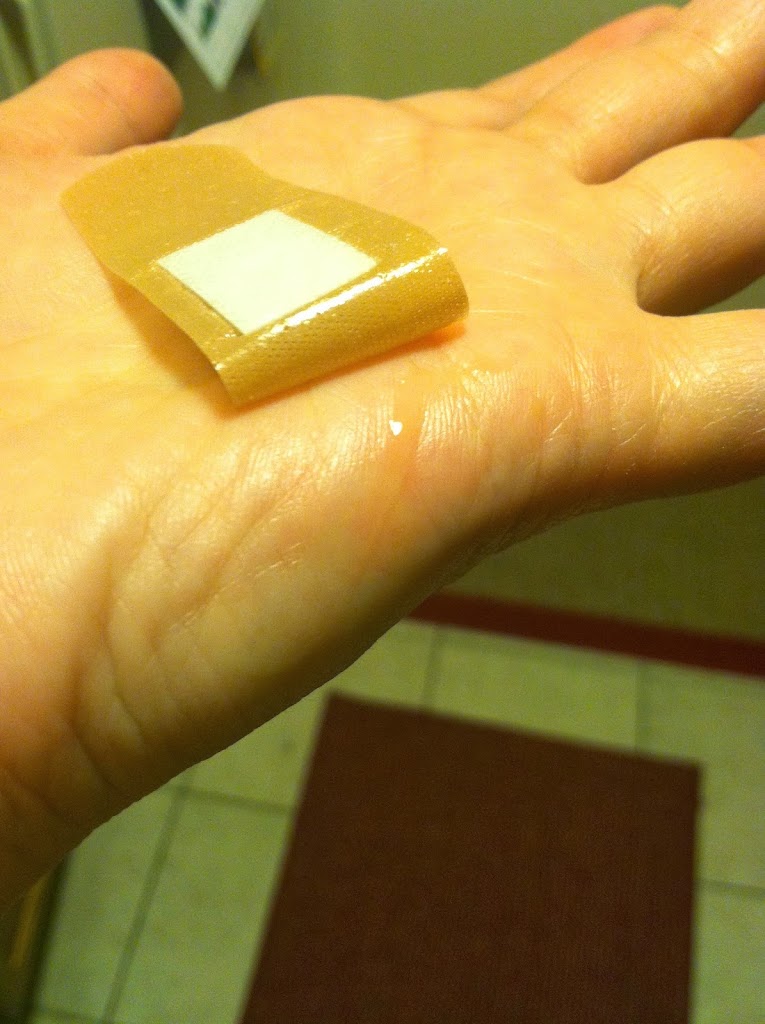
Cover the burned area with a bandage to keep out infections, and wait. This tiny burn was almost completely healed within 48 hours.

Barely a scratch. Since my alternative option would be to treat this burn with nothing, I am glad I had my trusty aloe plant. I’ve also tried beverages which have aloe in them, claiming to aid in digestion and be all healthy… it’s a little weird having chewy chunks of aloe in your water, but hey, maybe it works for you. I’m gonna stick with healing burns faster.

Angel Food Cake Roll with Vanilla Strawberry Filling

This is one of the few things I tried making for a Valentine’s Day bake-off competition. I chose my top three from a wide variety of online resources and did a test run. This one came out amazingly delicious, but it is harder than you might think to get it to roll up all pretty. So for aesthetic reasons this one didn’t make the cut. If you’re curious, the other of the top three were my Dark Chocolate Cherry Truffles, and my favorite, which did win the baking competition, were the I Choose You Pokeball red velvet cupcakes. Anywho, if you don’t care what it looks like, but only what it tastes like, or are an expert roller, then please try this! It was splendid.

Ingredients:
1 box angel food cake mix
Water
1 container whipped topping
1 box vanilla pudding mix
1 cup strawberry yogurt
Food coloring (optional)

Step 1: Mix the angel food cake and water (you can make an angel food cake from scratch, and bless your heart if you can!) and bake in a 9×13 pan. It was recommended that you line the pan with wax paper, and I really wish I had because that cake sticks.

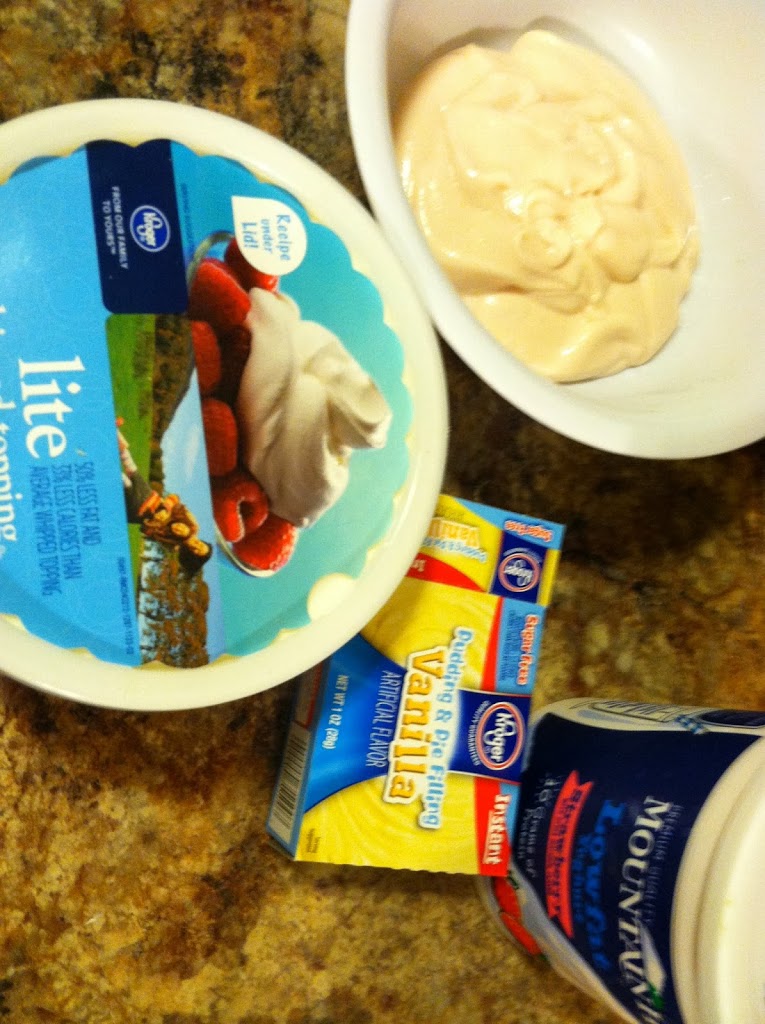
 Step 2: In a separate bowl, mix the pudding, whipped topping and yogurt. Add red food coloring if you want brighter pink filling.

Step 3: Let the cake cool a bit, rolled in a wax-paper-covered paper towel. Then unroll, and spread the filling over it. Sprinkle the wax paper with powdered sugar as well.

 Step 4: Roll it back up, and freeze for about 30 minutes. You can leave it in there, just thaw for a few minutes before cutting.

 The filling was just slightly strawberry, light and fluffy without being overly sweet. It was a perfect balance to the airy angel food cake.

I had one slice alone, then another with vanilla ice cream. It would also be delicious with cut up strawberries. I may pull this one out again in the summertime too.

mmmmmm….

Less than 5: Tuna Salad

I’m going to try a new thing, maybe twice a month, and call it “Less than 5”. In these posts, I will feature a recipe which takes less than five ingredients to make, and/or in less than five minutes. If these turn out to be popular, there’s a good chance another e-cookbook like my 7 Souper Soups will be in the making. 

For this post, I am highlighting a classic poor student lunch/dinner: tuna salad. Tuna in a can is often on sale for under $1, making it a great budget buy. There are several ways you can dress it up, depending on what you have available and how much time you have. My personal favorite is to dice up a hard boiled egg and mix in some Miracle Whip (which is FAR superior to “mayonnaise” in my opinion.) You can also go uber-easy and cheap, and just sprinkle in a tbsp or 2 of lemon juice and eat it over crackers. However, if you have relish in the house, I recommend trying this variation.

Ingredients:
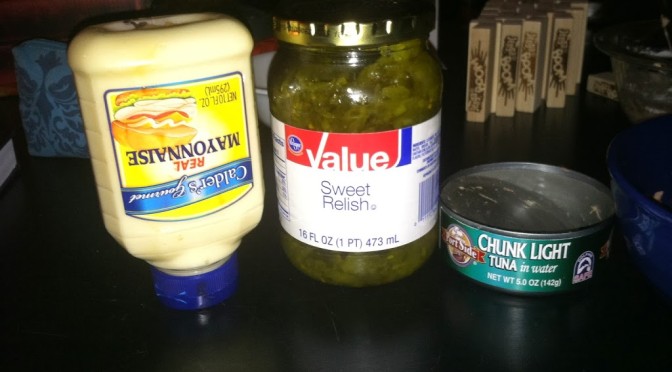
1 can tuna, drained
2 tbsp mayonnaise
2 tbsp sweet relish
2 pieces bread (or pita, tortilla, bun, crackers, etc)

Step 1: Drain the tuna water. Put it in a bowl with the relish and mayo and mix well.

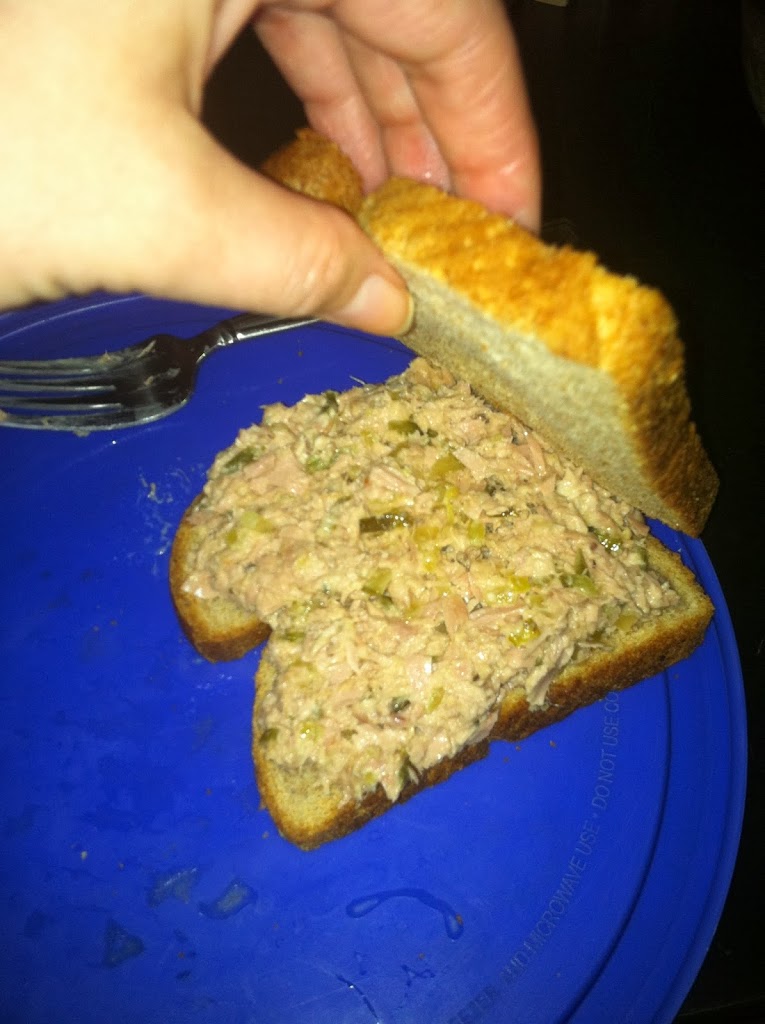
Step 2: Spread over the bread and enjoy! One can makes about 2 decent sized sandwiches. You could add toppings like sliced cheese, lettuce, or tomato too.

I don’t think I could count the times I’ve had tuna sandwiches throughout my childhood and school career, but this is definitely in the top three recipes for how to make it delicious!

What’s you favorite tuna recipe?

French Onion Soup

Soups have been around since fire was invented and we figured out water could be boiled. It is no surprise, since there are endless combinations and variations, and soup is the simplest method of cooking a filling, healthy meal in one pot. Onions have also long been a cooking staple: they grow well in most soils, they are easy to store long-term, they are cheap and filling and versatile. It was only a matter of time before onions in soup became popular, at least as early as the Roman Empire. The most popular version is a meat-broth-based soup with carmelized onions, most often topped with some sort of bread and melted cheese. It is rumored that the version of French Onion Soup as we know it was invented in the 18th century by King Louis VX of France. Hence the name “French” Onion Soup.

The most commonly accepted version involves carmelizing the onions in butter by cooking them for a long time to make them soft, translucent, and sweet. Then a broth is added, most often beef broth. A crusty bread, or ‘crouton’ is placed on top, and covered in cheese, most often gruyére. The soup is then gratineéd, meaning it is baked in a ramekin, then served immediately. However there are of course infinite variations, some add brandy or sherry or wine, some recipes use plain water rather than broth, the type of onion and amount may differ, you could use a Crock Pot all day rather than boiling on the stove, any type of bread or cheese may be used, or bread and/or cheese could be omitted entirely. This version is what I had handy and the flavors that I most wanted.


Legend has it that the first French Onion Soup was created by King Louis the XV of France when all that could be found in the pantry of his hunting party’s lodge was butter, onions and champagne.  It is said that he combined these ingredients to create the first French Onion Soup.  It is unclear if this story is myth of fact, but it is a good story none the less!
Onions have been a popular staple in preparing meals from at least as far back as the Roman Times.  Onions are easily grown in most soils they are cheap abundantly available and have a long shelf-life.  For this reason onions were seen as The Poor Man’s food.
The modern version of the soup has evolved from a basic recipe where onions were sliced, fried and then cooked in water and would typically be served with bread and capers.  It was only in the nineteenth century that cooks started adding flour, salt and pepper and topped the soup with cheeses such as Gruyere.
Today French Onion Soup Recipes is often made with caramelized onion in a meaty broth.  This is often served in individual ramekins and topped with grilled Gruyere cheese.  Try Chef Billy’s take on this time-honored dish – ideal for keeping the chills at bay on those cold winter nights!
– See more at: http://kitchen.net/blog/the-story-of-french-onion-soup/#sthash.4qSbyr89.dpuf


Ingredients:
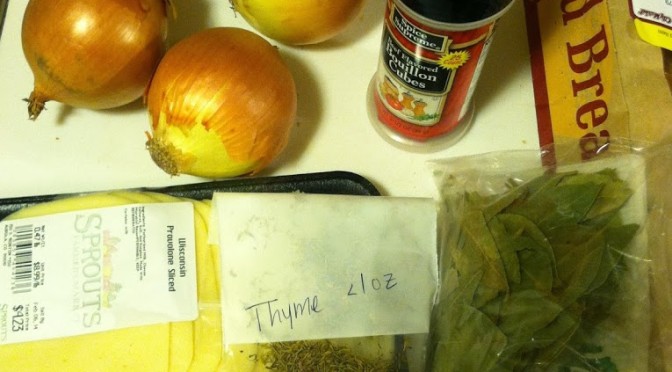
6 onions
8 cups water/stock
2 garlic cloves
1/4 cup Worchestershire 
Pinch of Thyme
Pinch of pepper
Pinch of sugar
2 bay leaves
Nice crusty French bread
Sliced Parmesan cheese

 Step 1: Cut up all the onion into thin slices. Melt the butter in a frying pan and add all the onions.

 Cook slowly over medium heat, stirring occasionally, for 30-60 minutes. The onions will become brown & carmelized, and smell wonderful.

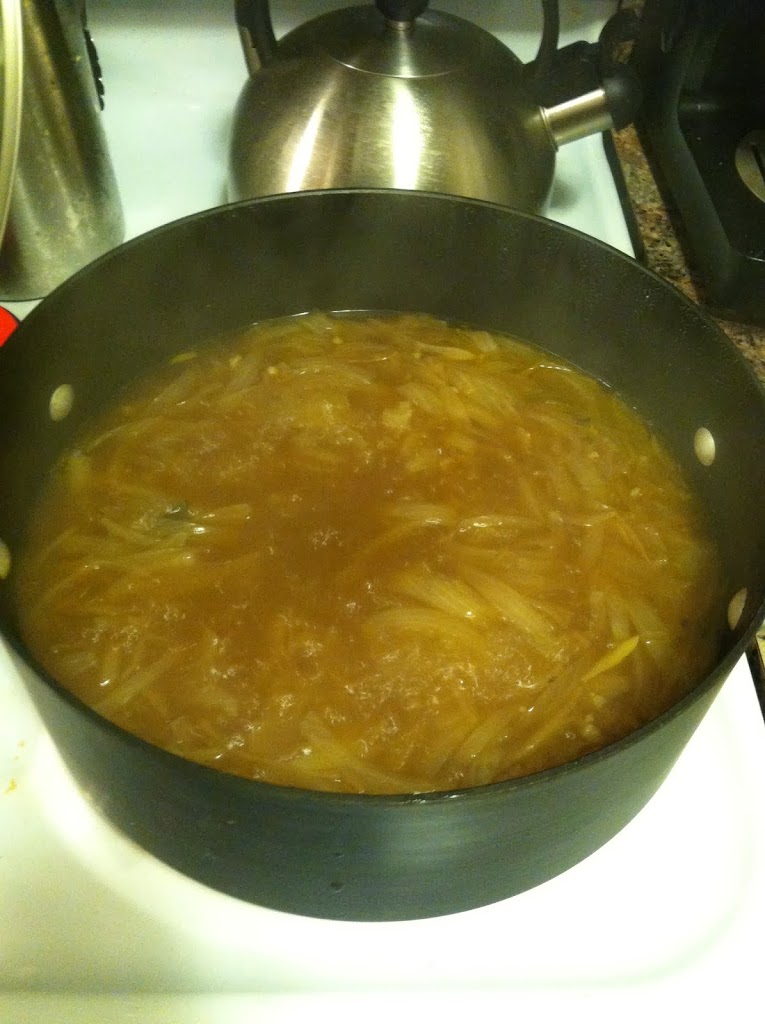
 Step 2: Add the water broth, bay leaves, sauce, sugar, and other seasonings. Bring to a boil, then simmer for 1-2 hours.

 This smells fantastic. At this point if you wanted to add some white or red wine, sherry, or brandy you could. You could also simmer for pretty much all day if you want the flavors to melt together more.

 Step 3: Put a slice (or 2 or 3) of crusty bread on top, and cover with cheese. If you have oven-safe ramekins, you can bake at 350 for 10-15 minutes, until cheese is brown and bubbly. I didn’t trust these bowls in the oven, so I just microwaved 30 seconds to get the melty-cheese effect.

This soup is complex, warm, and delicious, perfect on a cold night. Depending on what you want to add and how long you let it simmer, a hot, impressive dinner could be on the table within an hour.

Free e-Cookbook

Don’t forget to check out my ecookbook, 7 Souper Soups, and get your free copy! The next edition will have to include this recipe…

Curry curious

Ever since I did my master’s degree with a Taiwanese adviser, I have been what I call ‘curry curious’. She would occasionally bring homemade Thai food for the lab, and it was always divine. I love ethnic food because they use so many spices which are usually not found in the typical American palate.

But contrary to popular belief, being spice-ed doesn’t have to mean spice-y (as in too spicy to eat, mouth on fire, tears running down your face). Wikipedia actually has quite an extensive list of curries from various cultures, the cooking methods, ingredients, and spice mixtures if you’re interested.

I think the most interesting tidbit is that the “curry powder” spice mixture, popular in the West, dates to the 18th century and is thought to have been prepared by Indian spice merchants to sell to the members of the British government and soldiers.

I have attempted Green Curry Chicken, and it turned out amazing. I began experimenting with different cuisines and techniques, like the Crock Pot Indian Chicken Curry and then more Thai with pineapple Peanut Chicken Curry. Clearly I need to try something other than chicken in my curries… anyhow.

All have been unique and delicious. I love the punch of spices, and the ease of a crock pot lends itself to long, slow cooking these curries taste best with.  I definitely will keep curries as part of my regular meals.

Especially because they are so easily customizable. Whatever meat is around, literally any vegetable, and some standard sauces (yogurt, coconut milk, stock, and/or tomato base) plus the combination of spices and I have a thick, complex stew to serve over rice or noodles.

Also, thought it seems like quite an investment, the spices are worth it. You don’t need to use much, so they will last a long time. Without further ado, enjoy my latest curry creation.

Ingredients:

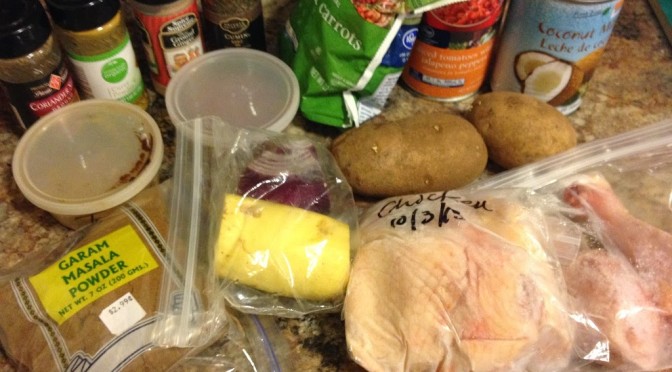
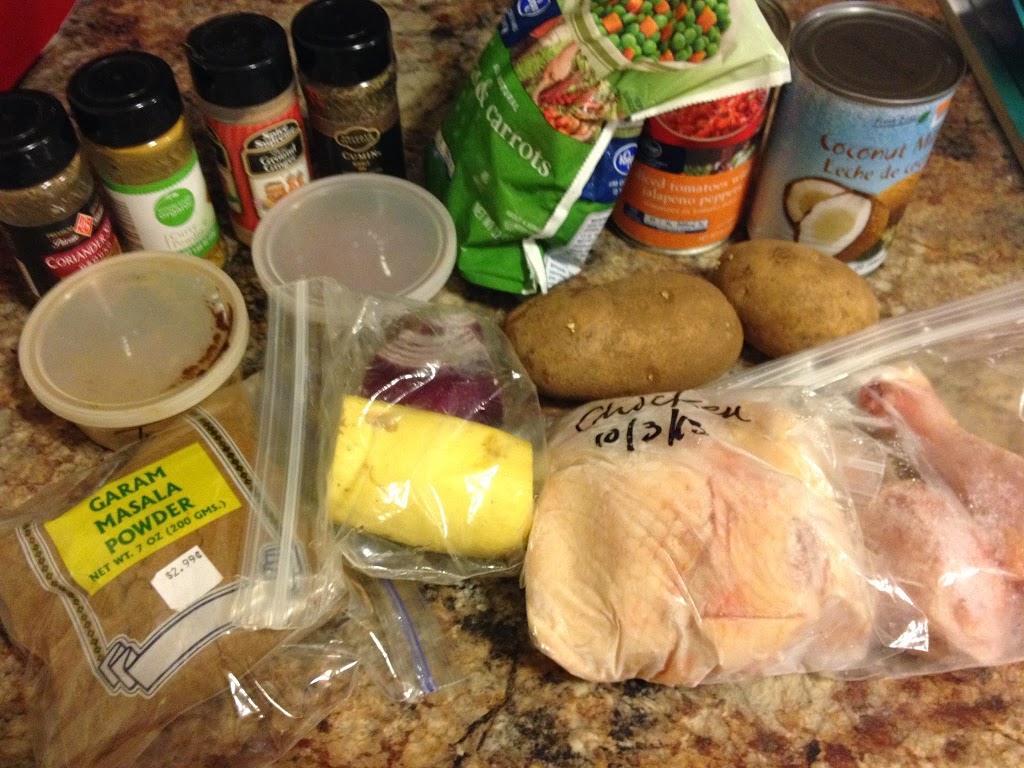
  • ~6 pounds chicken (I used 2 thigh, 2 breast, and 2 drumsticks)
  • 1 can coconut milk
  • 1 can diced tomatoes with chilis
  • 2 potatoes, peeled and diced
  • 1/2 yellow squash, diced
  • 1/2 red onion, diced
  • 1/2 cup peas and carrots
  • 2 tbsp garam masala (Indian spice mixture)
  • 1 tsp cumin
  • 1 tsp coriander
  • 1 tsp ginger
  • 1 tsp curry powder
  • 1 tsp turmeric

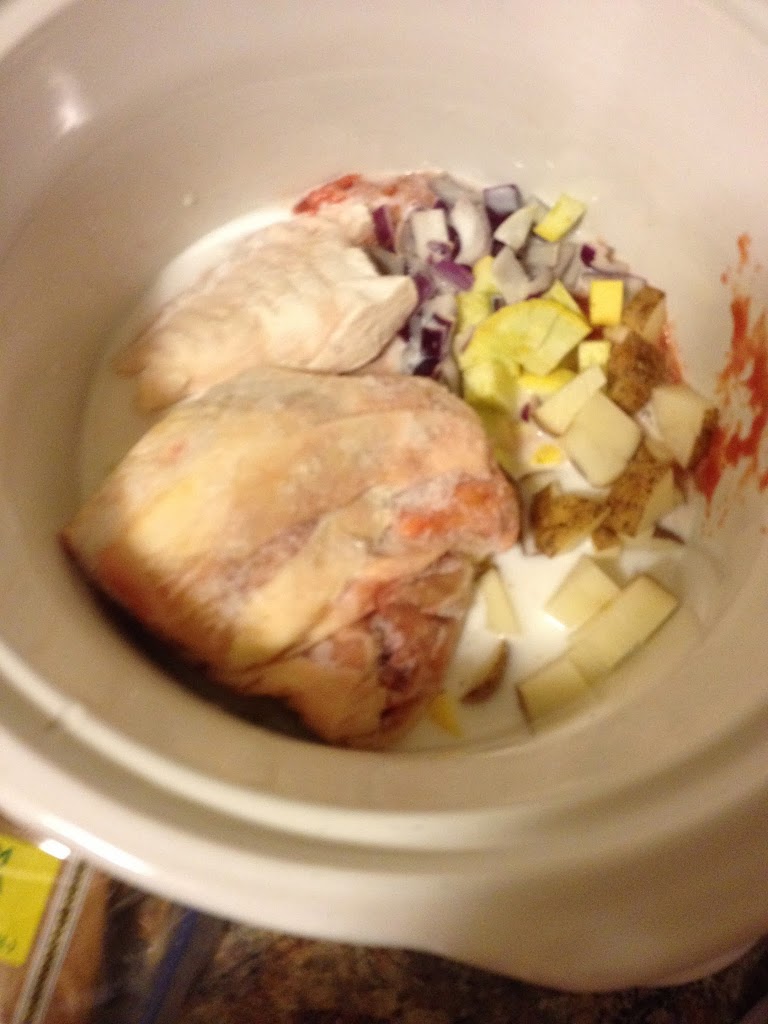
Step 1: Spray a crock pot. Add the coconut milk and diced tomatoes. Then add the chicken and all your diced vegetables.

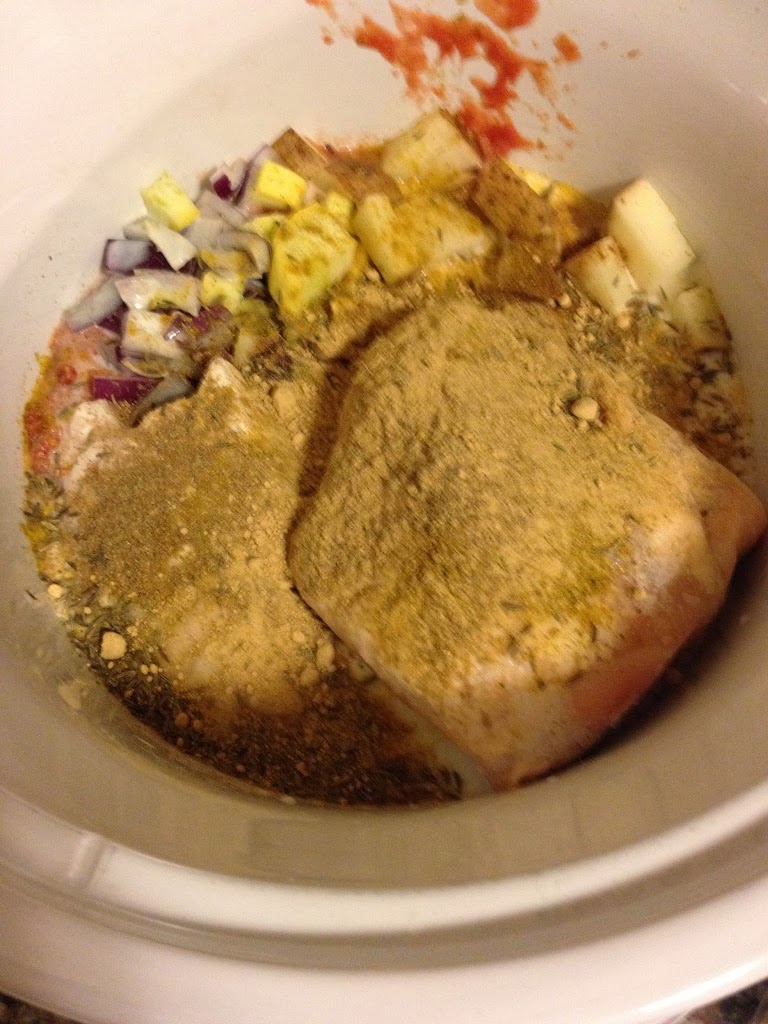
Step 2: Douse it all in the spices you’re using. Give it a stir.

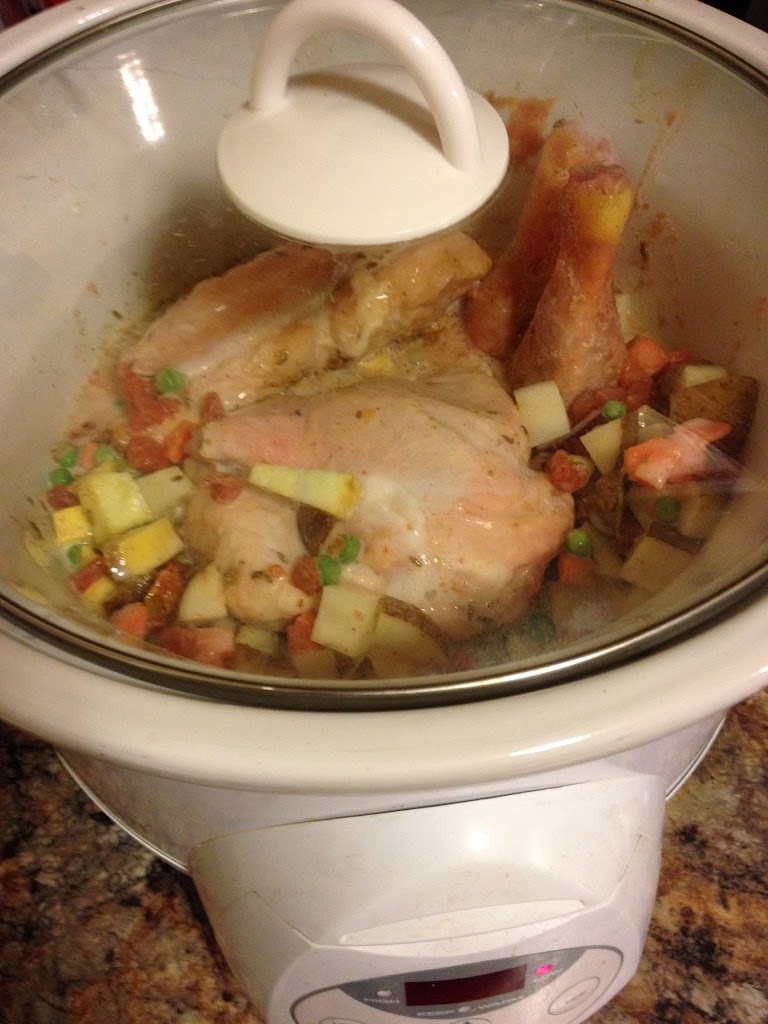
Step 3: Cook on low 4-6 hours, mixing a few times if possible.

Serve over rice, noodles, or bread. Enjoy!


Do you have a favorite ethnic recipe?


Crockpot White Bean Chicken Chili

Chili is definitely in my top ten favorite winter dishes. I suppose really all year, but especially in winter it’s nice to cook up a hot batch of thick, delicious chili to enjoy at the end of a chilly day. (See what I did there?)

There are also endless variations, from vegetarian chili, to Skyline chili like in southwest Ohio (go to Columbus or Cincinnati and have some if you don’t know what I’m talking about), chili over noodles, meatless chili, bean-less chili, sweet chili… you get the idea.

There are chili cook-offs all over the nation, there is even an International Chili Society. That’s how serious some people take this stuff. Their webpage explaining the history of chili is pretty fascinating.

Now, hardcore chili con carne people who believe beans have no place in chili and pasture raised longhorn beef is the only meat good enough to earn the name, will not like my laissez faire approach to chili. I’ve been known to throw in all manner of vegetables, use various preparations of tomatoes besides juice, and use all kinds of types of meat.

This version is a kind of white bean chicken chili, but it got a little Jen makeover, as most things coming through my kitchen do.

Ingredients:

  • 2 large boneless, skinless chicken breasts
  • 1 can diced tomatoes with chilies
  • 1 can corn
  • 1 can navy beans
  • 1 can kidney beans
  • Dash chili powder
  • Optional: 1/2 cup milk


Step 1: Spray the Crockpot and add the chicken breasts. Turn it on low.

Step 2: In a blender or food processor, liquefy the can of kidney beans (or any other type really. This just adds a thicker, creamier texture) after you drain the can. Add water or some milk if you need to.

Step 3: Add the liquid beans plus all the other cans, milk, and any spices you want. (Garlic, onion, hot sauce, etc)

Step 4: Cook on high 4 hours or low 4-6. Take the chicken breasts out and shred them with two forks. Put back into the chili, stir and let sit another hour or eat immediately.

Top with whatever you like. I used plain Greek yogurt and shredded cheese, but salsa, cornbread, or avocado would also be delicious.

This chili is such a perfect combination of creamy and light. It has just a hint of spice from the diced tomatoes with chilies, but you could kick it up a notch easily by adding jalapenos or other peppers, or sprinkling on some hot sauce.

You could also use two cans white beans, kidney, black beans, whatever you have in the pantry. I’d really recommend not skipping the pureeing though, it totally adds that little ‘something’. I had leftovers for three days, and was not upset about it!

What’s your favorite kind of chili?

How to: Save money on your grocery bill

.
Groceries are a fact of life. Unless you are one of a VERY small minority, you do not raise and/or grow all the food you eat. Also I’m sure there are people out there who never cook their own food, but rely on take-out and fast food for daily nutrition. That blows my mind of course, because I find such joy in cooking, creating, and enjoying homemade meals.
There aren’t many things more exciting to me than to bring home a big load of groceries for less than I intended to spend. Every time I go grocery shopping, I have a certain number in my head that I am allowing myself to spend. If I get everything I need for the week for less than that number, I am excited. If I go over that number, I just know I need to plan better, or have better impulse control, next time. 
 
My plan of attack when it comes to grocery shopping is always the same. It comes down to:
1. Knowing what you use most often
2. Paying attention to sales & in-season produce
3. Price comparing between a few stores
4. Buying generic or store brands
5. Making a budget and sticking to it

Know what you use most often

To know what you use most often, simply pay attention to what you run out of the most. What types of foods do you and/or your family want to eat often? Do you make a lot of pasta? Maybe cereal disappears within a day. Is there a tradition in the family like Taco Tuesdays? Noticing what you use often will help you plan around sales and stock up on staples. What I use most hasn’t changed much over the past few years: rice, canned diced tomatoes, canned beans, frozen mixed vegetables. These things make up the bulk of my weekly diet. I don’t know that I’ve ever gone a week without eating each of those things somehow.

Pay attention to sales & in-season produce

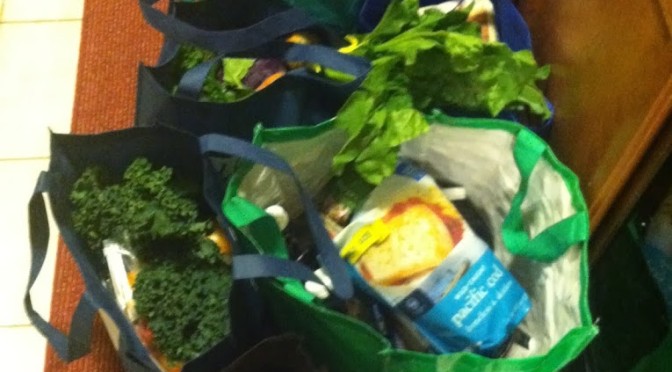
Sprouts Farmers Market is a place I go often because of their amazingly cheap produce. I get weekly salad greens, fresh fruits and vegetables there. Most staple items like bread, tortillas, canned goods, etc, comes from King Sooper or somewhere else. Which reminds me, if there is something or certain kinds of food you need a specialty store for, keep them in your rotation of ads to watch.

All this produce was under $30! And most of that is just their everyday low prices, not bargain sales. However, most grocery stores will greatly discount whatever produce is in season, because they have a lot of it and it needs to sell before it goes bad. Pay attention to what is in season, and maybe try a new fruit or vegetable you’ve never had that’s on sale. You may have found a cheap new favorite!

Price compare between stores

Every week I get ads from at least seven different stores. I have a few favorites that I pick out, the others I discard because they are too far from me or for some other reason I don’t shop there. Typically Sprouts Farmers Market, King Soopers, and Albertson’s ads get saved and looked through.

I will sit down and look through each ad quickly, circling items which I know are a good deal, or which I use often and are on sale. Then I compare amongst the three which has more deals that week. Sometimes I will go to all three if the deals are worth it, usually I end up going to only one or two with the most things I want to buy. 

When there is a really good sale, I mean one that you only see once or twice a year, I will stock up. For example Albertson’s sometimes has “buy one get two free” sales on meats, or King Soopers often has 10 for $10 sales. I know how quickly I go through my pantry items, so if kidney beans are 50 cents, I will be bringing at least a dozen home. Because they usually are 69 cents, which saves me 19 cents per can. That may not sound like much, but it’s little things like that, added up over years, that makes a big difference in bank account balances. 

Buy generic or store brands

If you are a loyal brand-centric consumer and you don’t trust generics, start small. Try the store brand of flour, or salt, and cook with it. When you can’t tell the difference, try some granola bars or oatmeal. Pretty soon you will see what items you can’t tell the brand name from generic and which items are really different in quality. By this point, the things I refuse to buy generic I could probably count on one hand, because there just isn’t enough of a difference in quality for me to justify the price difference. And that saves me hundreds every year!

Make a budget & stick to it

As mentioned earlier, I look at a budget as a game. It is a number I set in my head, based on how much I think I’ll buy, that I try to beat. If I find some deal or coupon that brings down my total, I have a better chance of winning. If I plan and price compare, I have a better chance of winning. The lower the total at the register, the higher the total in my checking account!

You can read more in my earlier article on making a budget & sticking to it, which includes how to add in all the things you spend money on monthly, not just food.


I have read tons of articles that advocate for making a weekly or monthly meal plan, stressing those items on sale that week, and then buying only those things you need to complete the plan. I am not quite that organized to pull that off yet. Instead, I have a rotation of meals that I know I love and can make quickly, which all use the same basic ingredients. Then I add in a few meals I’ve found recently that I want to try making, or if there is an event coming up, I’ll add any items I need for those things to the list. 

If I’m feeling extra over-achieving, I will even split the list into types, like “dairy”, “carbs”, “produce”, etc.  to make navigating the store easier. But if I don’t get around to it, I don’t beat myself up. And almost every week for several months, I get more than enough groceries for under $100. I’m sure I could pare that down to half or less, but I also enjoy cooking new and more expensive foods now and then, and experimenting with things for this blog. 

Anyhow, if you normally only grocery shop when there’s nothing left in the house but a can of spaghetti-os and some green sour cream, try these simple steps. Check around and price compare, make a list before you go, then pick up only those things on the list. Short, sweet, and you can be sure you’re saving yourself some cash. You can look over those grocery receipts and smile.


How often do you shop for food?

I CHOOSE YOU! Red Velvet PokeBall Cupcakes


When I saw these online somewhere, I knew they HAD to happen! I wish I’d kept the original website I saw these on. Anyway, anyone who grew up roughly in the 1990s-now knows all about Pokemon, and these aDORable poke ball cupcakes will bring back fond memories and warm fuzzies.

These would be perfect for a Valentine’s Day party or gift, or any kid’s birthday party who is obsessed with Pokemon, or Pokemon GO. Complete with “I choose YOU” accents, these would steal the heart of any geek! #GeekLove 

Ingredients:

  • 1 box red velvet cupcake mix (or whatever kind you like)
  • 1 egg
  • 1/4 cup oil
  • White frosting
  • Red food coloring
  • Marshmallows (mini)
  • Chocolate icing or black icing

Step 1: I cheated and used a box mix. Sorry, but a girl’s gotta pass classes. Make the cake mix, and pour into a greased muffin tin or use cupcake liners.

Step 2: Bake at 350 for 14-18 minutes, until cooked through and springy to the touch. Cool fully.
Step 3: Spread white icing all over the cupcakes. Then put a dot of red food coloring on one side, and smear it carefully over half of the icing to make the two-toned look. (This makes the red vibrant, if you mix it into the icing it will turn out more pink).

 Step 4: Put a mini marshmallow in the center, then pipe chocolate or black icing down each side to separate the white and red halves. There you have it, an edible, adorable PokeBall.


 You could also pipe the words “I choose you” onto a few to make sure the not-quite-as-geeky get it. Just put some icing in a ziplock bag, and cut a tiny corner off. No need for expensive pastry bags.

Seriously. Dying with the cuteness level of this.

These are competition-winning cupcakes too!

Happy Valentine’s Day!

Dark Chocolate Cherry Truffles


This is a recipe I tried in preparation for a Valentine’s Day baking contest. Everybody loves truffles, I know I do. And my boyfriend loves anything cherry. Therefore I decided to try making some chocolate cherry truffles to share. They were very simple to make, and I’m sure could be customize to whatever dried fruit or flavor you desire. Have fun, and make sure to make enough to share and to keep for yourself!

Ingredients:
1/2 cup dried cherries
1/2 cup vanilla vodka
12 oz dark chocolate (mixed kinds)
Powdered sugar
Cinnamon sugar

Step 1: Soak the cherries in the vodka for at least 30 minutes. They will absorb the flavor and the alcohol.

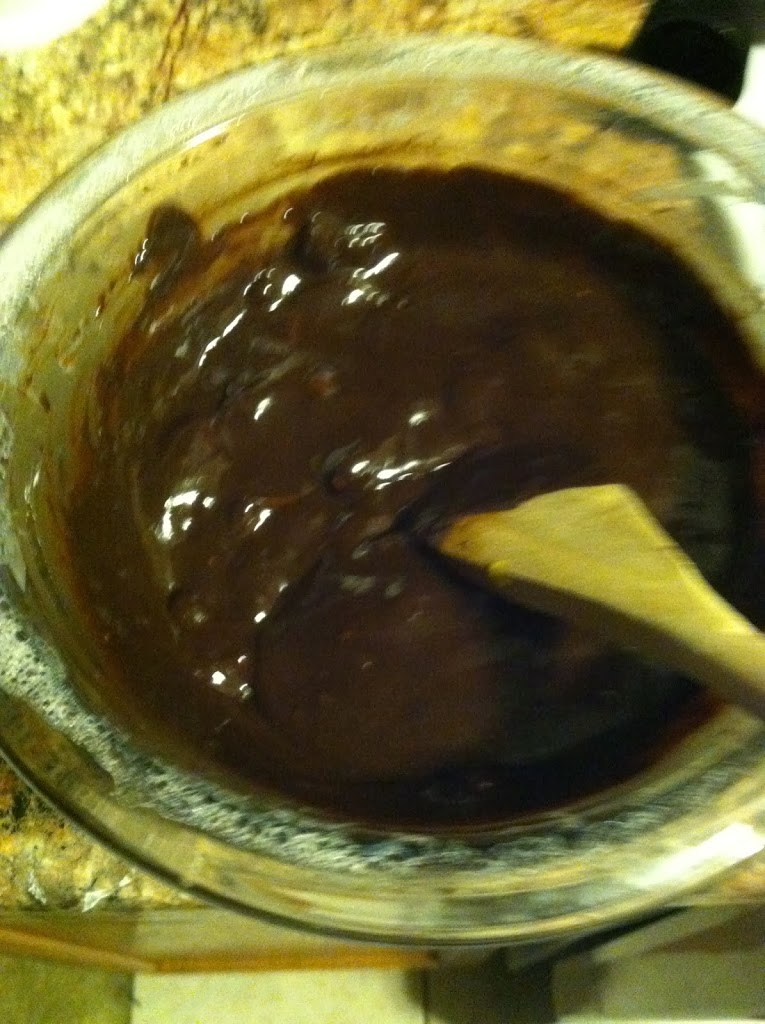
Step 2: In 30-second bursts, slowly melt the chocolate until smooth. Mix in the soaked cherries.

 Step 3: Form into 1 inch balls and refrigerate until solid. Roll in topping of your choice.

These would also be delicious and adorable if covered in milk chocolate or drizzled with colored white chocolate. In fact, truffles are great anytime, not just for a holiday. Share the love.

What is your favorite chocolate treat?