Category Archives: Appetizers

Fried Pickles with Sriracha Ranch Dip


For those who have not tried fried pickles, let me tell you something. They are awesome.

Can’t say something is gross until you try it, that was always my mom’s rule. Just try these, and then see if you can tell me “ew”. Frying makes anything better, so even if you don’t like pickles you will probably like these; and if you do like pickles you are in for a real treat!

IMG_4857

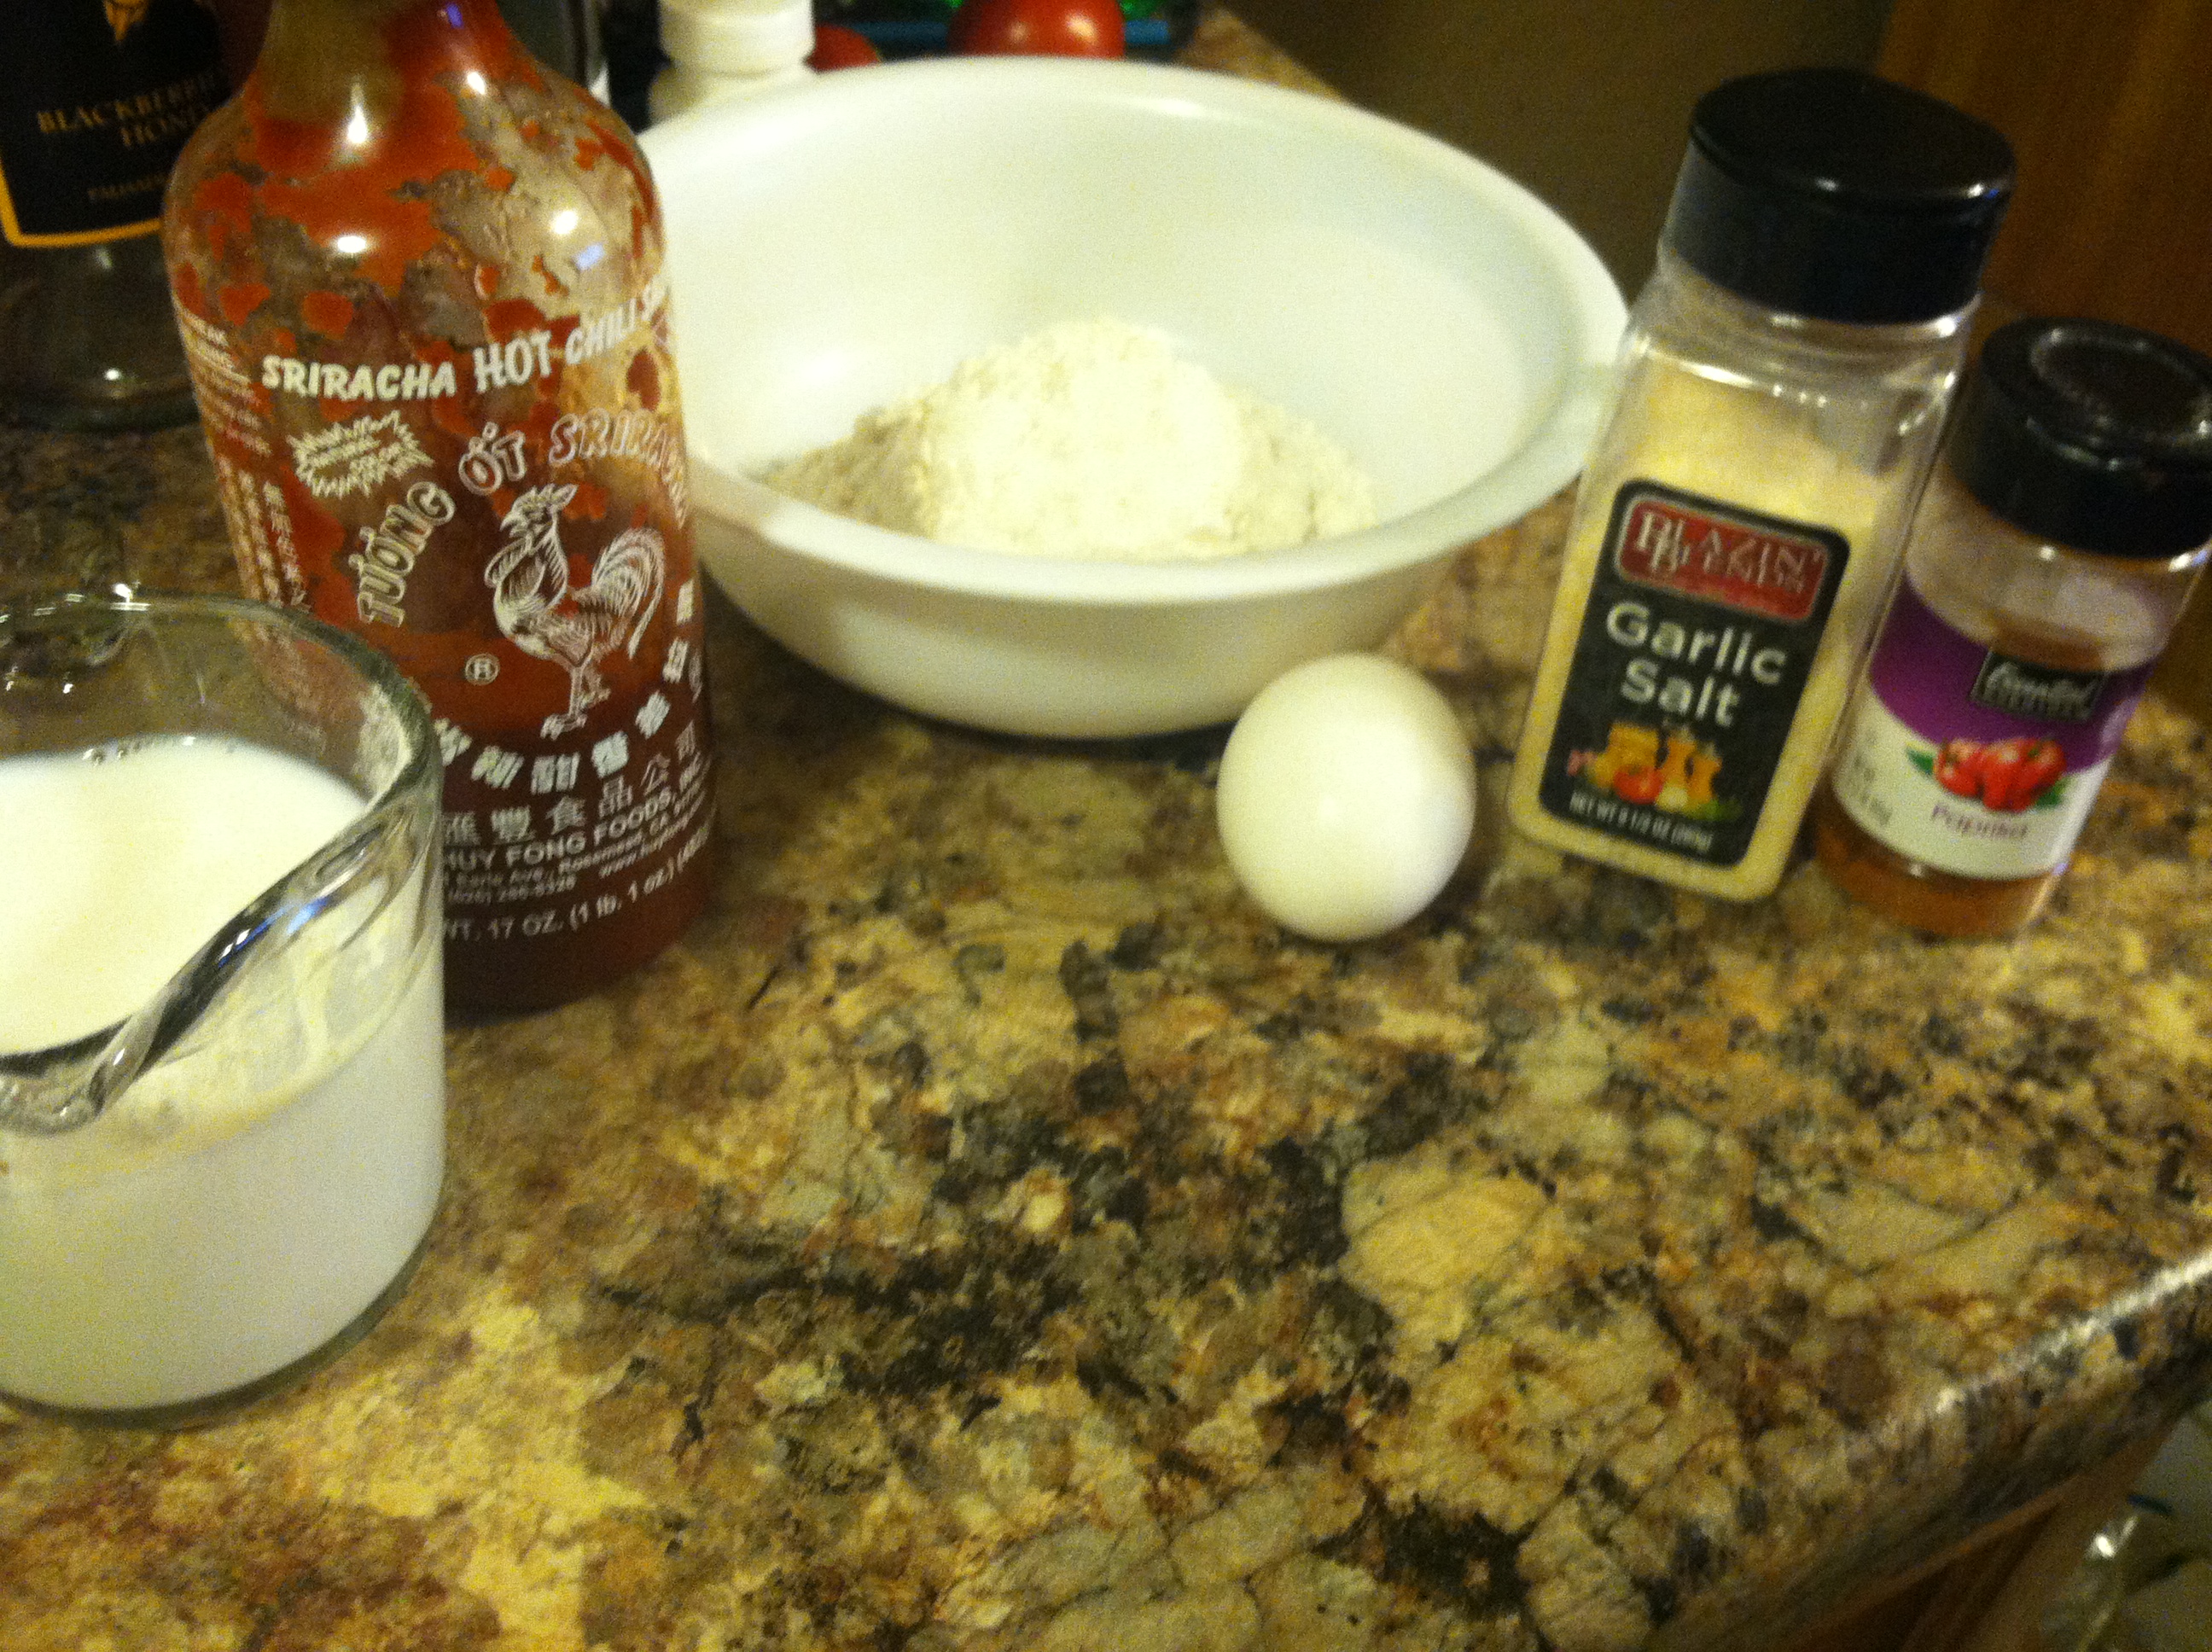
Ingredients:

  • Pickles (as many as you’re willing to cut up and fry)
  • 1 cup milk
  • 1 1/2 cups flour
  • 1 egg
  • 1/2 tbsp paprika
  • 1/2 tbsp garlic salt
  • 2-4 tbsp sriracha
  • 1/2 cup ranch dressing
  • 1-2 cups frying oil

IMG_4849

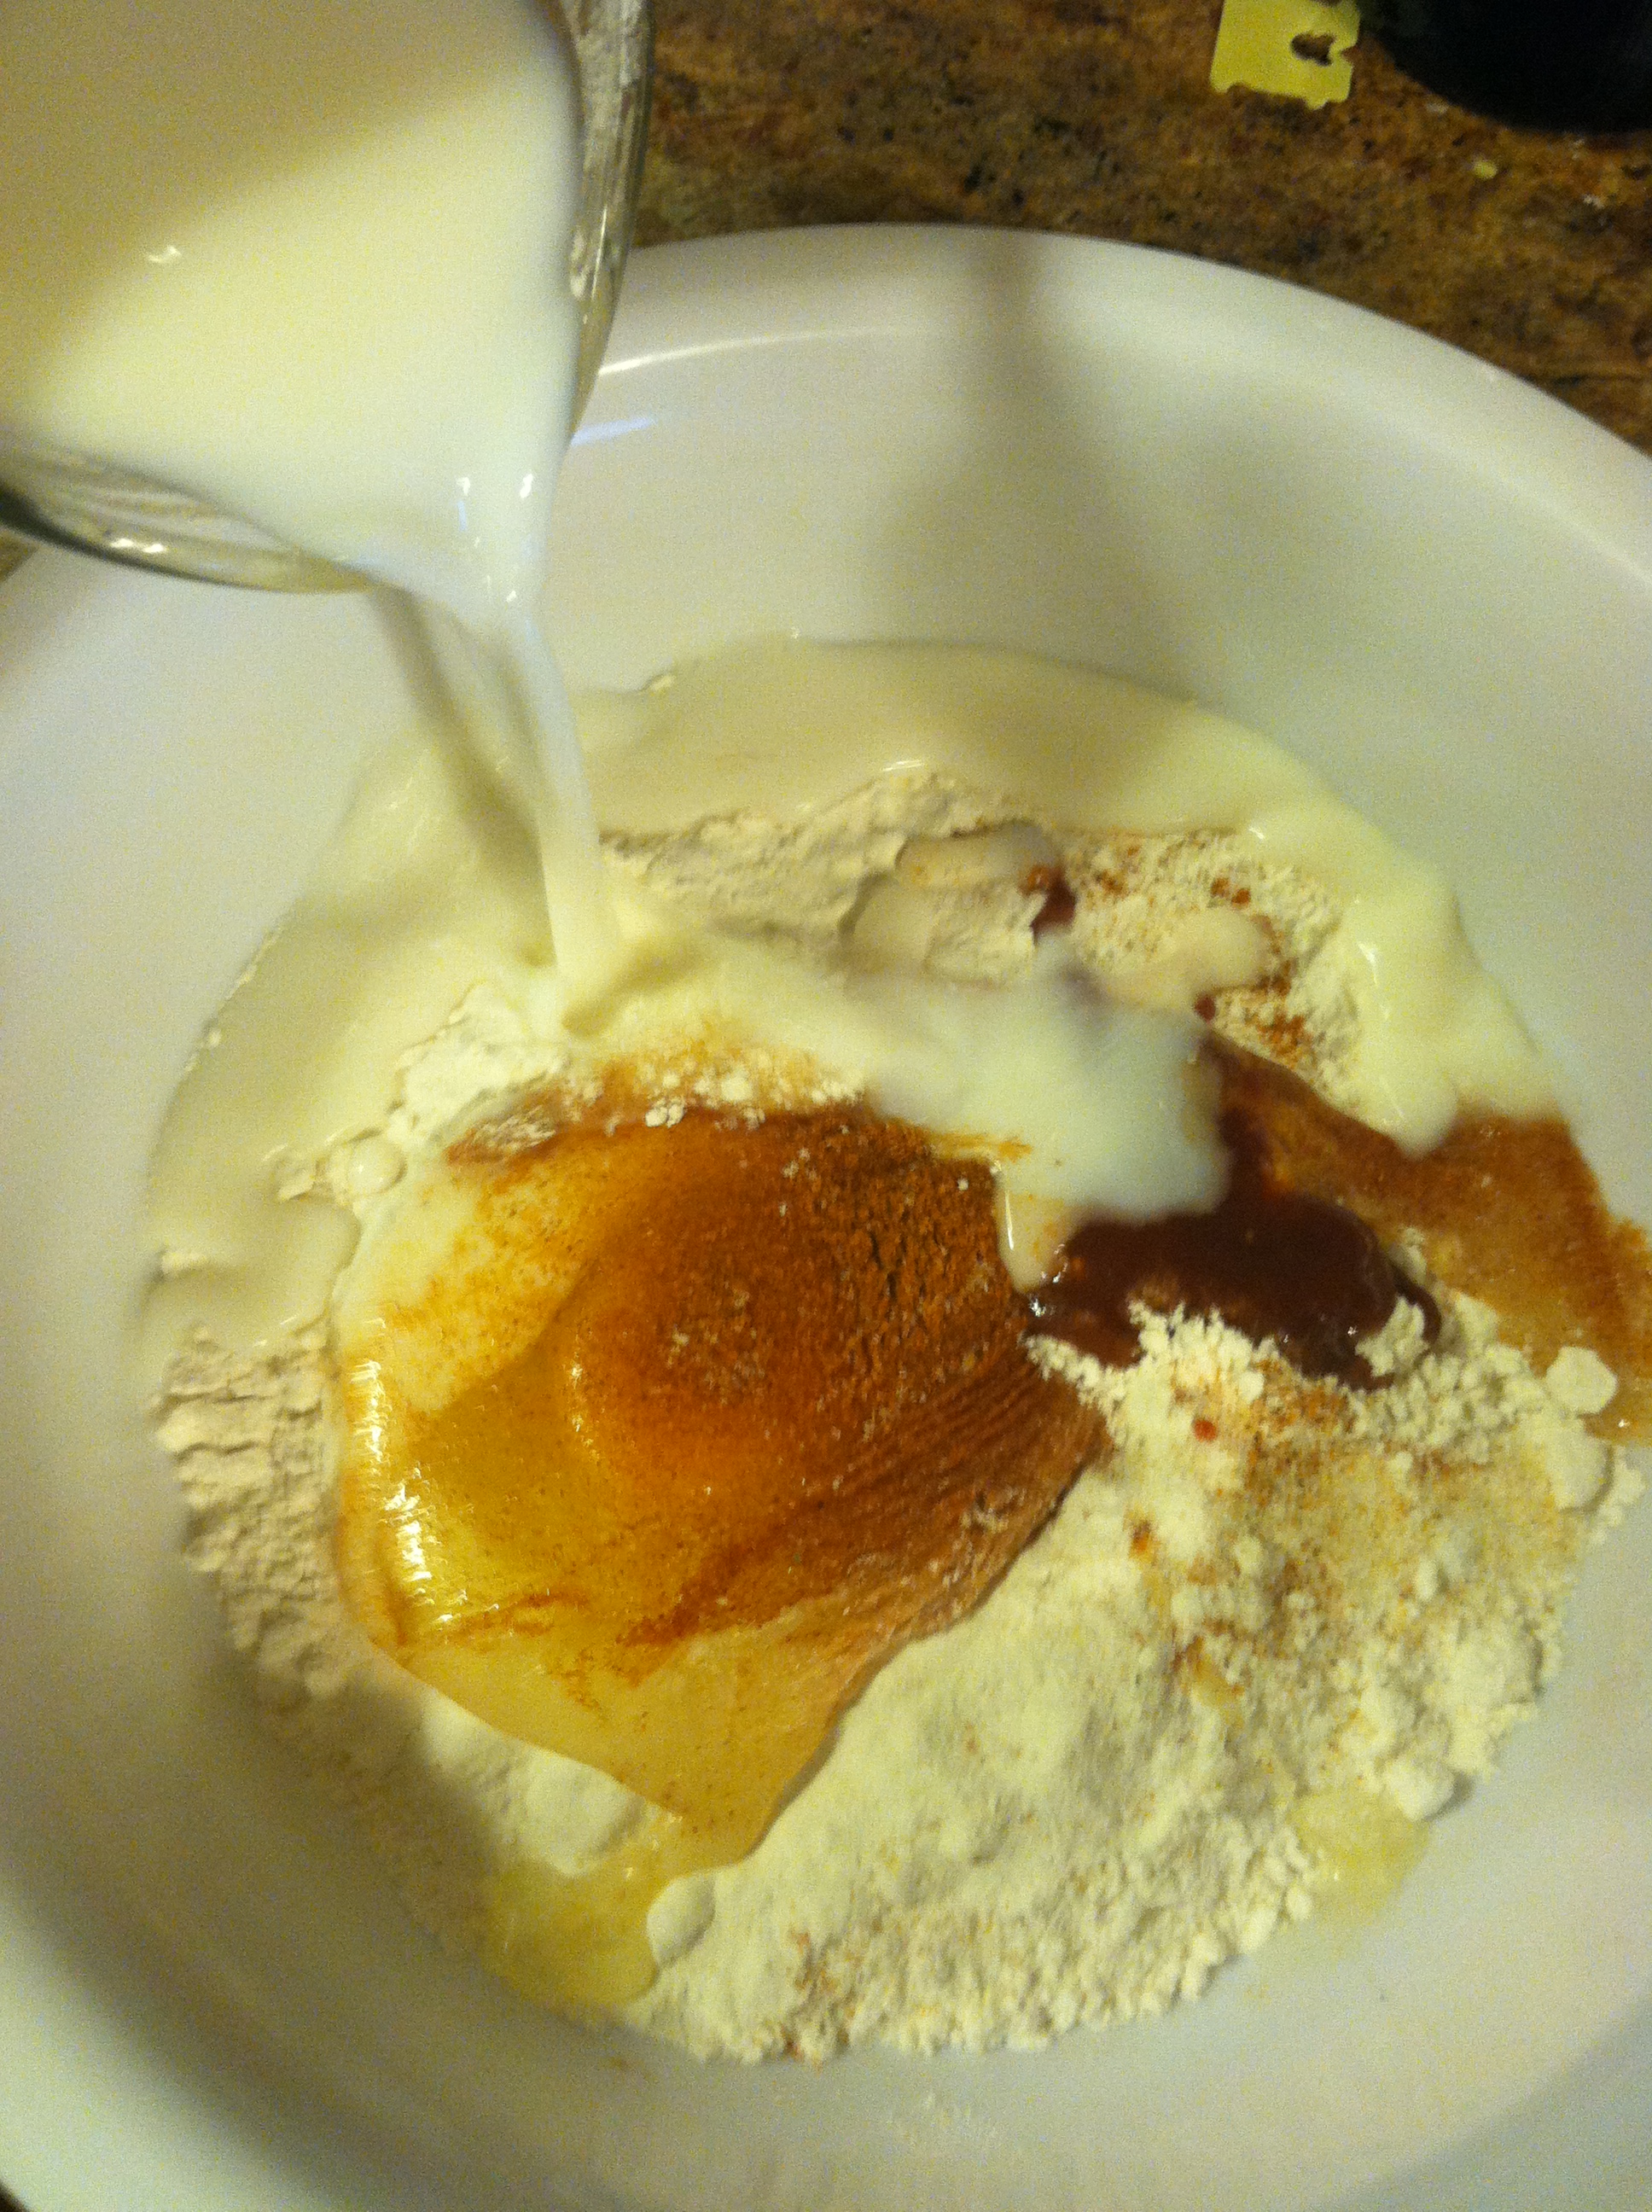
Step 1: In a bowl, whisk together the flour, milk, and egg. This is the base of the batter. Add the spices and mix well. You can even throw in some extra sriracha here if you want. Set the oil in a pan to medium-high.

IMG_4852

Step 2: Take the pickles, and either chop into circles, slices, or use a veggie peeler to make them really thin.

IMG_4850


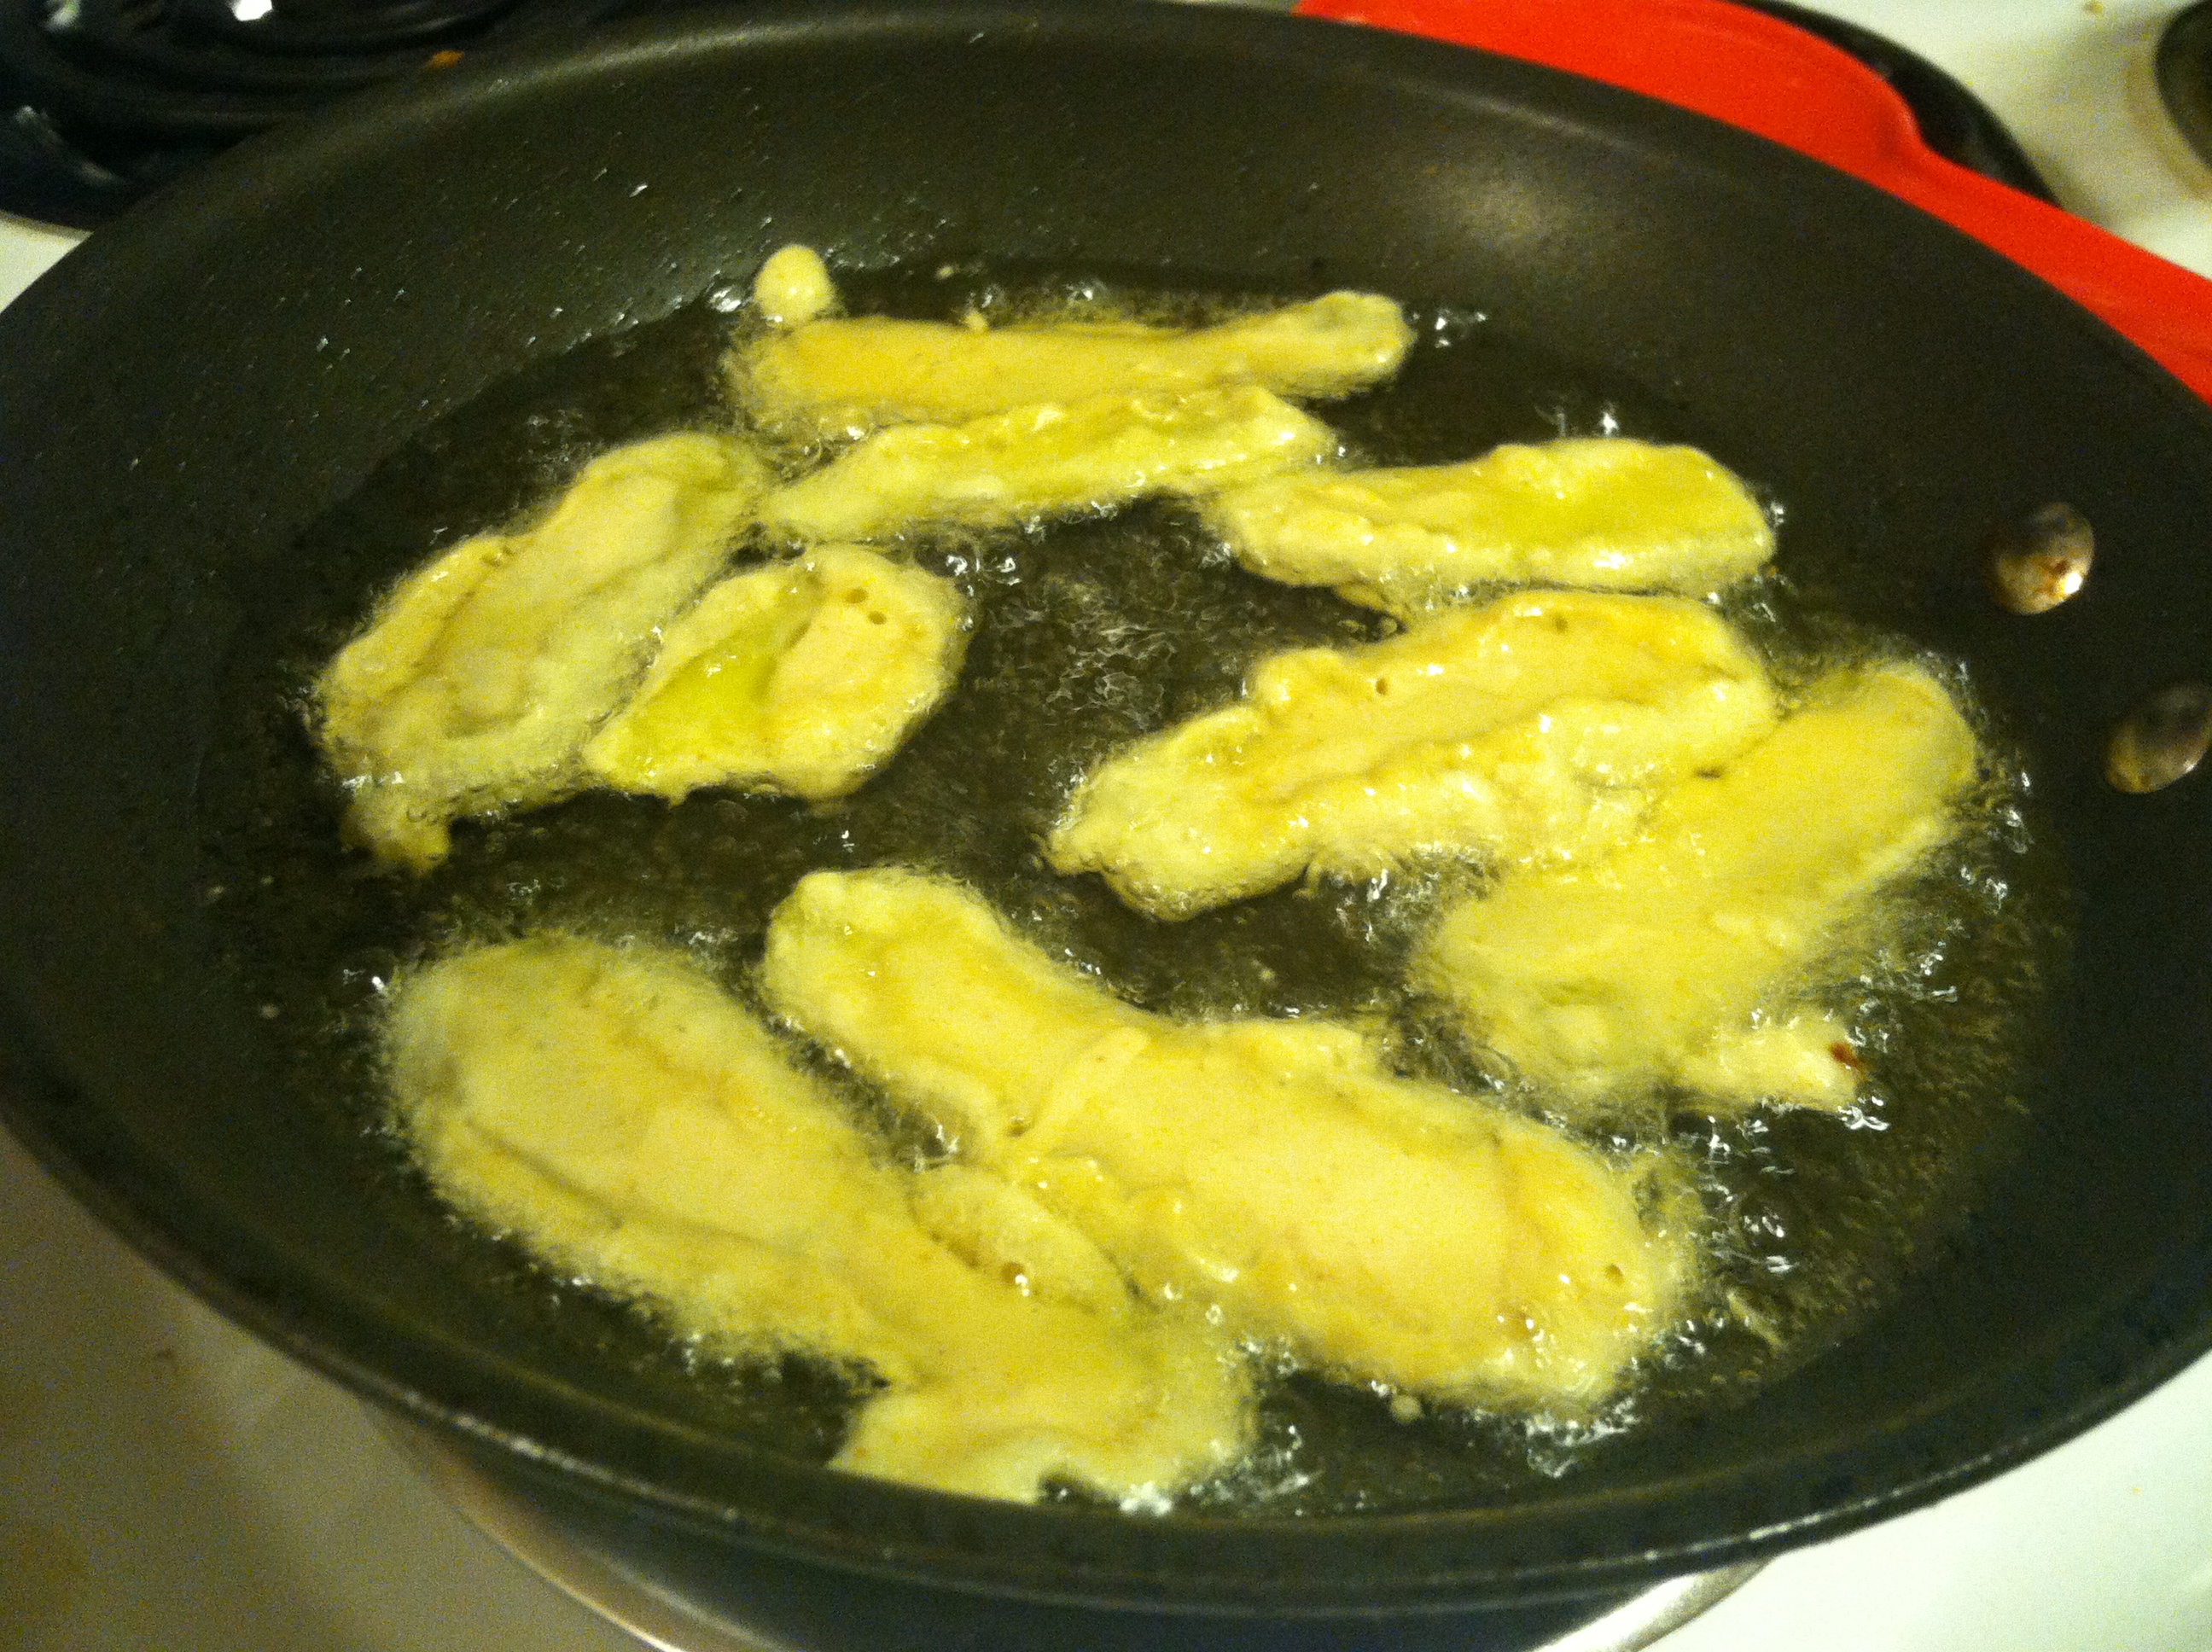
Step 3: Dredge the pickles in the batter, making sure all sides are well coated. Lay in a pan with about 2 inches of hot oil. You want it hot enough that it immediately starts bubbling and hissing when you put the pickles in, but turn it down immediately if it start smoking.

IMG_4853

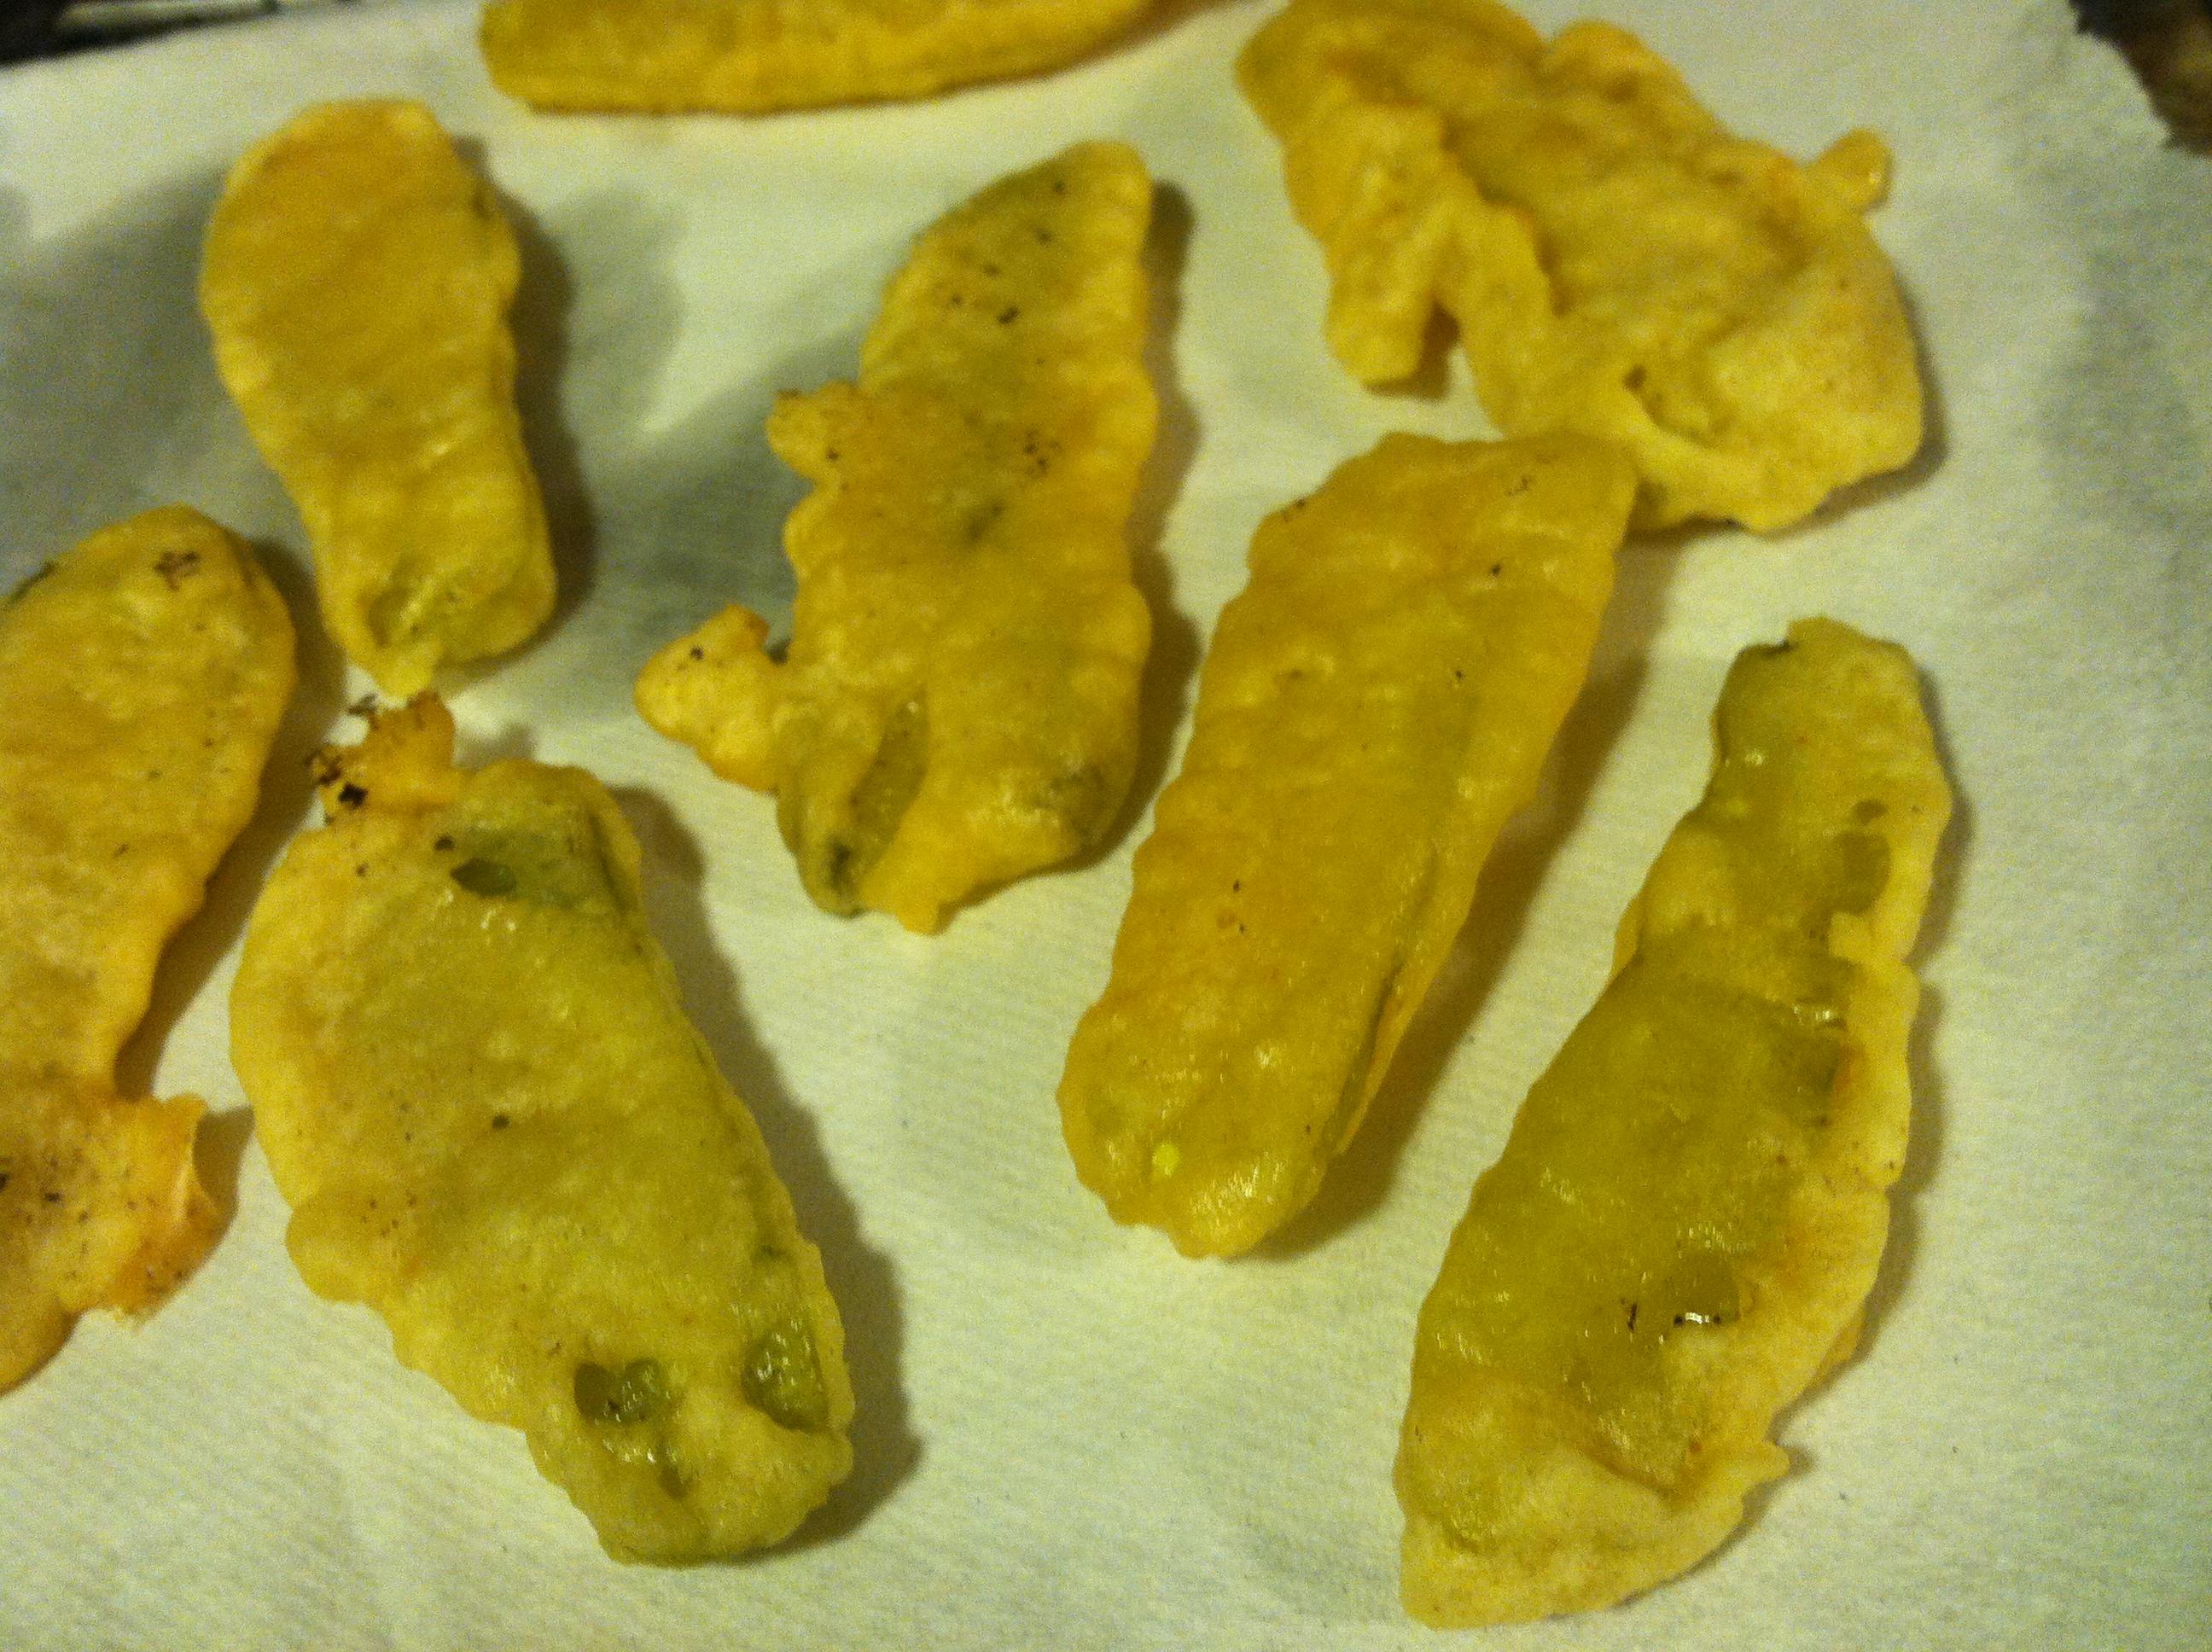
Step 4: Fry 2-5 minutes, then flip with a spatula or slotted spoon to fry on the other side. Remove the pickles to a plate covered in paper towels or a cooling rack to drain some of the oil and cool.

IMG_4854

Step 5: Take the ranch dressing, and mix in 1-2 tbsp sriracha (or other hot sauce).

IMG_4856

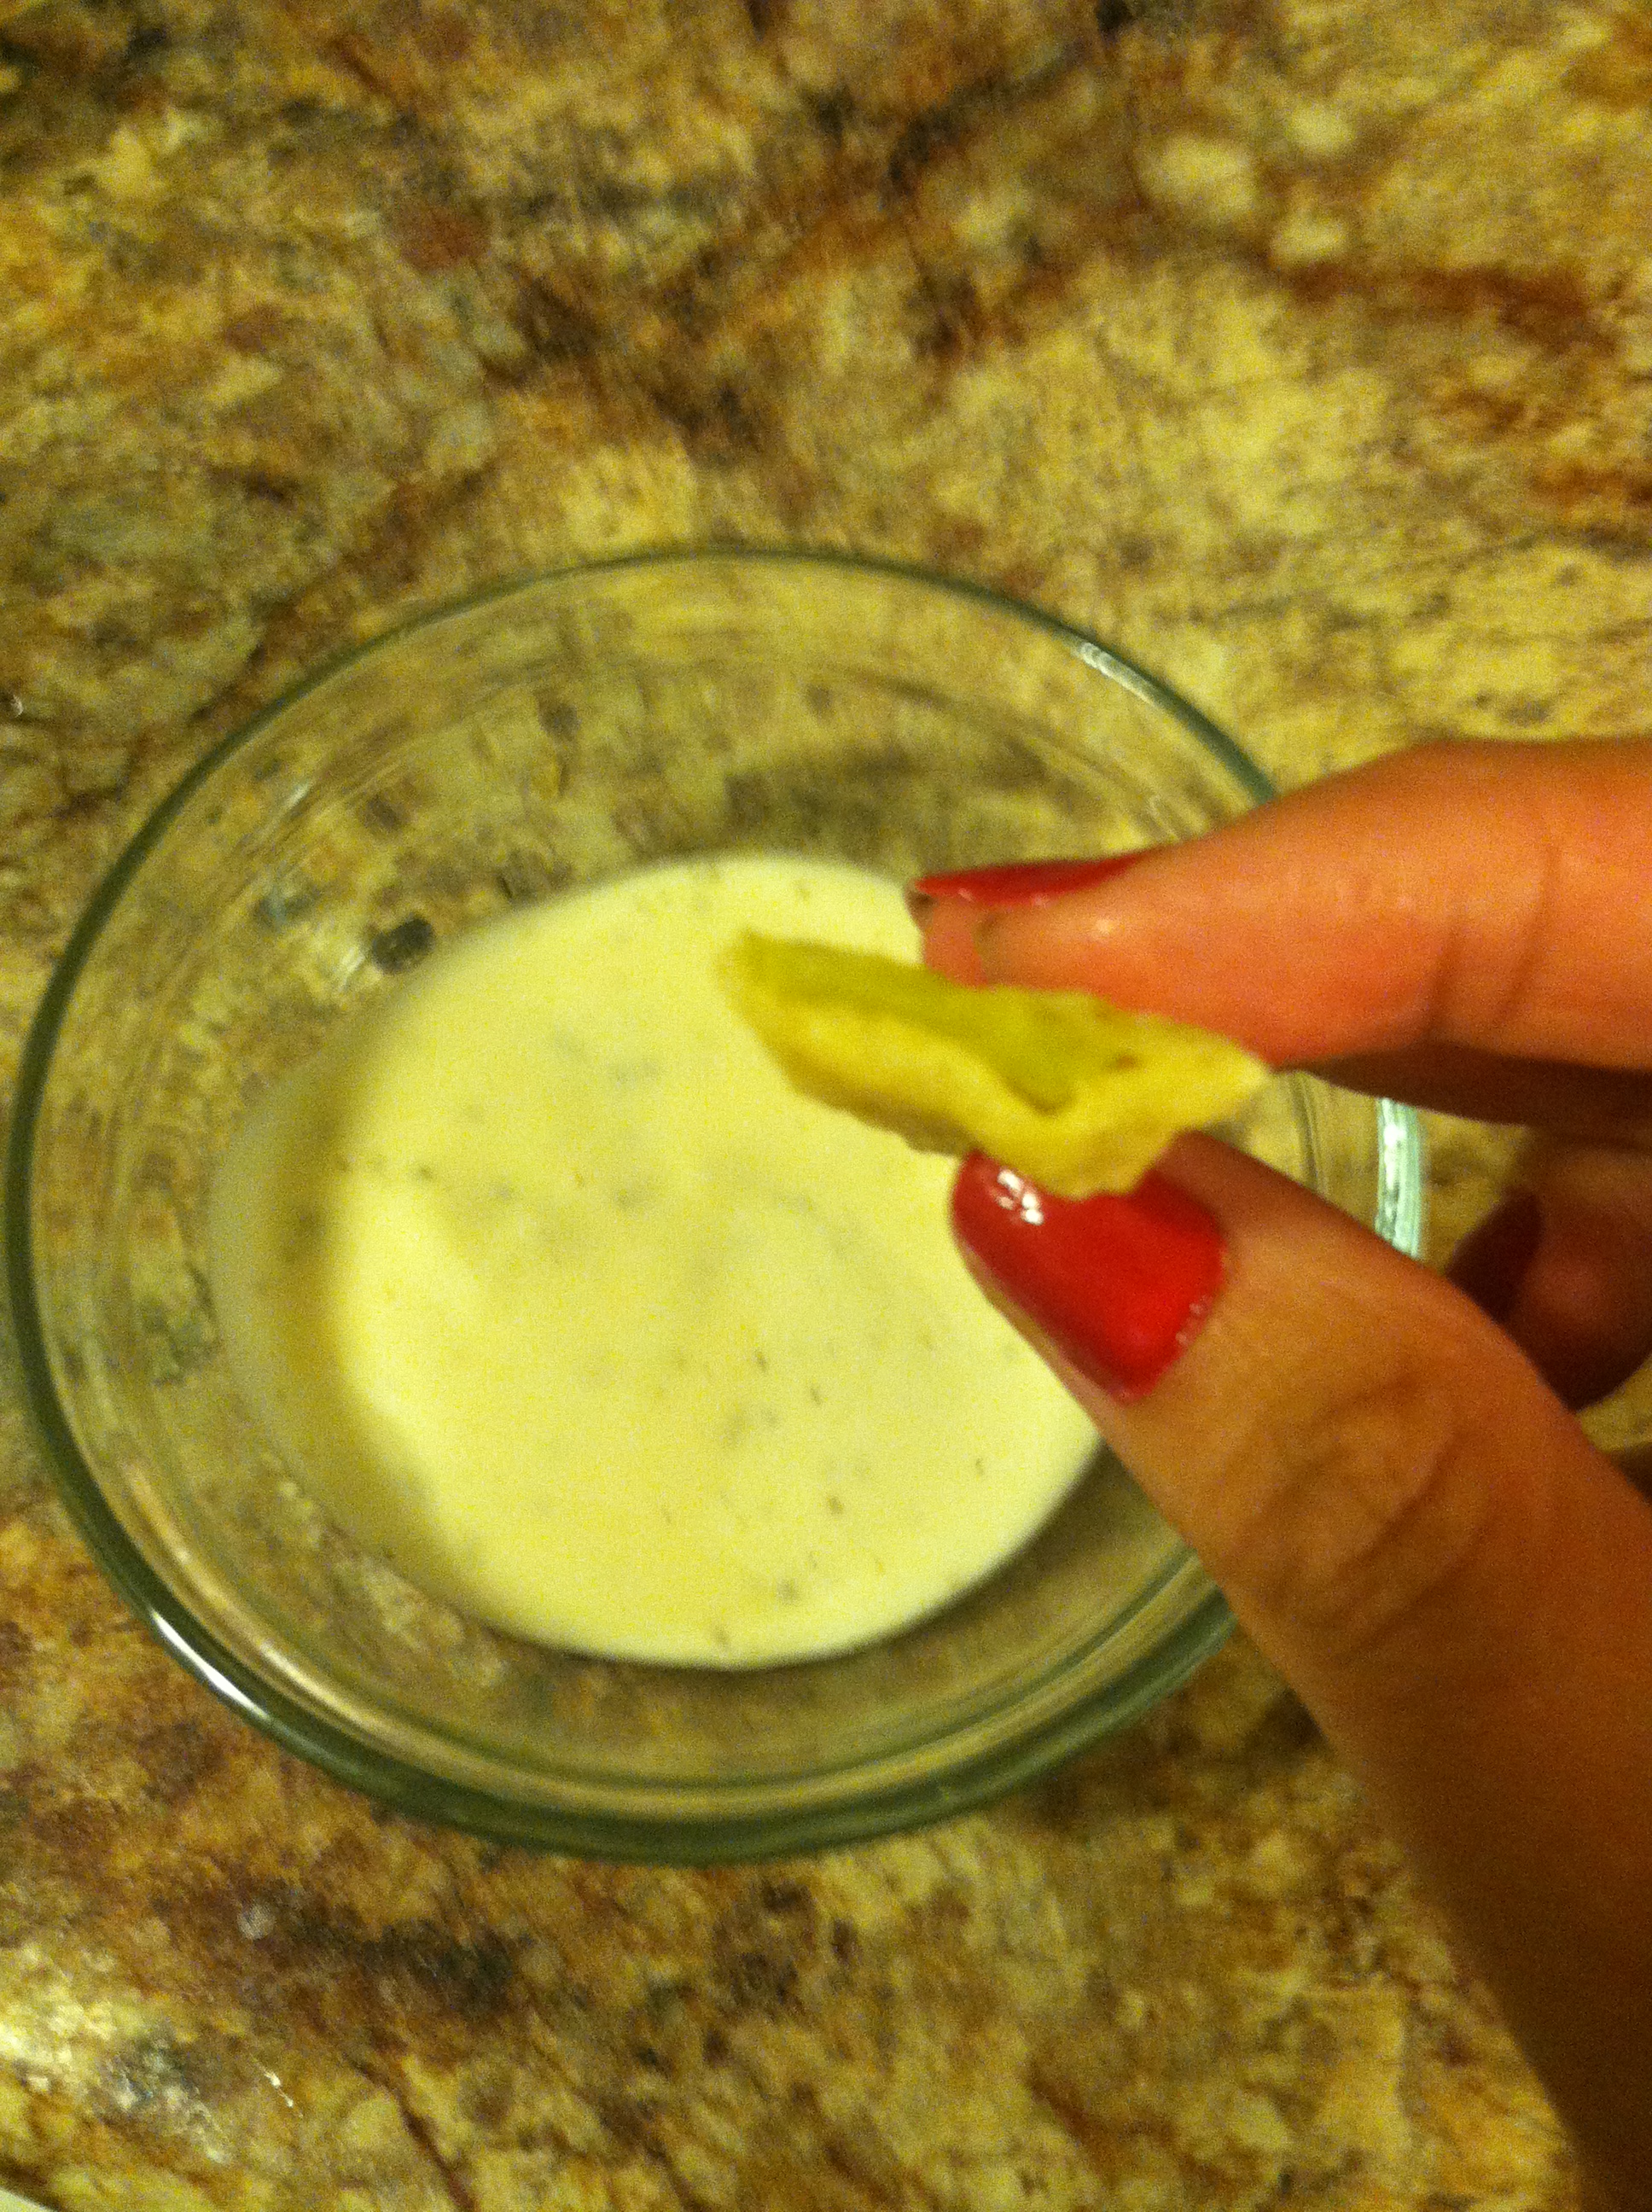
Step 6: Dip. Eat. Smile. Repeat.

IMG_4858

These are so good you might not want to share, but they are a great party appetizer. They are best served fresh and hot from the pan.

Less than 5: Tuna Salad Puffs

.
On nights when you just don’t have the energy or time to cook a whole meal from scratch, these “less than 5” meals are the perfect solution. For me to title a meal as “less than 5” it must require less than 5 ingredients, and it’s an extra bonus if it also takes less than 5 minutes to make.
.
For this recipe, I had several cans of tuna I had purchased during a great sale weeks prior. I didn’t want the usual tuna-salad-sandwich, or tuna noodle casserole. So I looked in the fridge, and saw I had a can of biscuits. Viola, dinner inspiration!
.
Ingredients:
1 can ready to bake biscuits (or croissants, any type of dough)
1 can tuna
2 tbsp mayonnaise
1 tbsp relish
Salt & pepper if you like
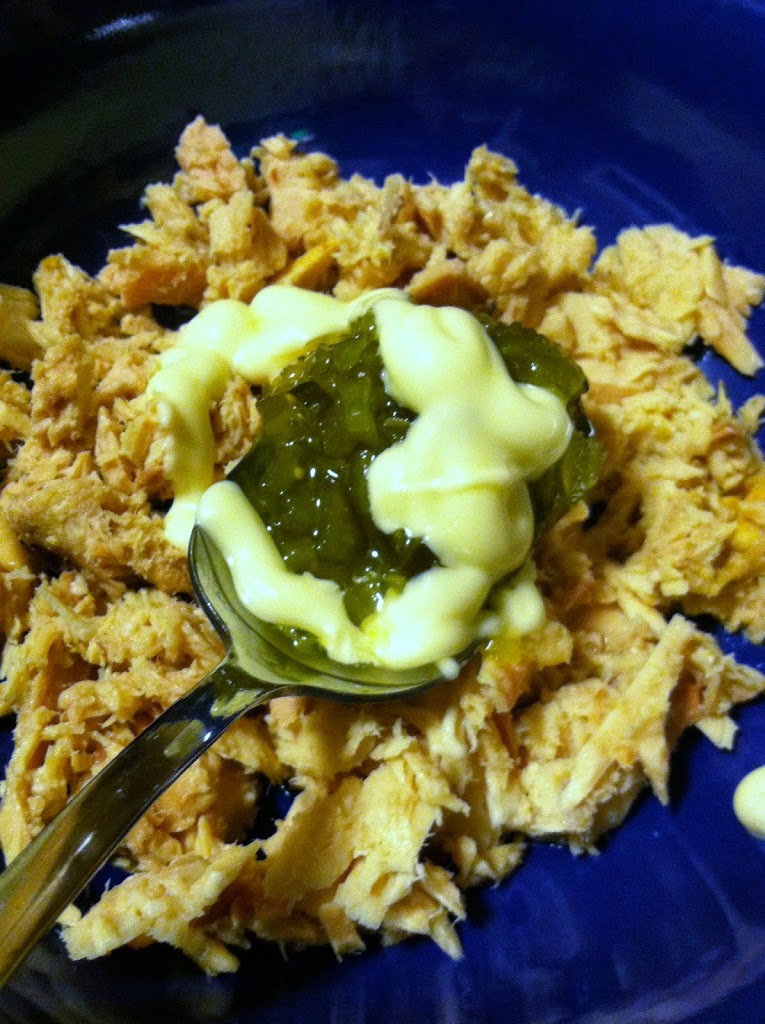
Step 1: Open and drain the tuna. In a bowl, combine the tuna, mayo, and relish. Mix well.
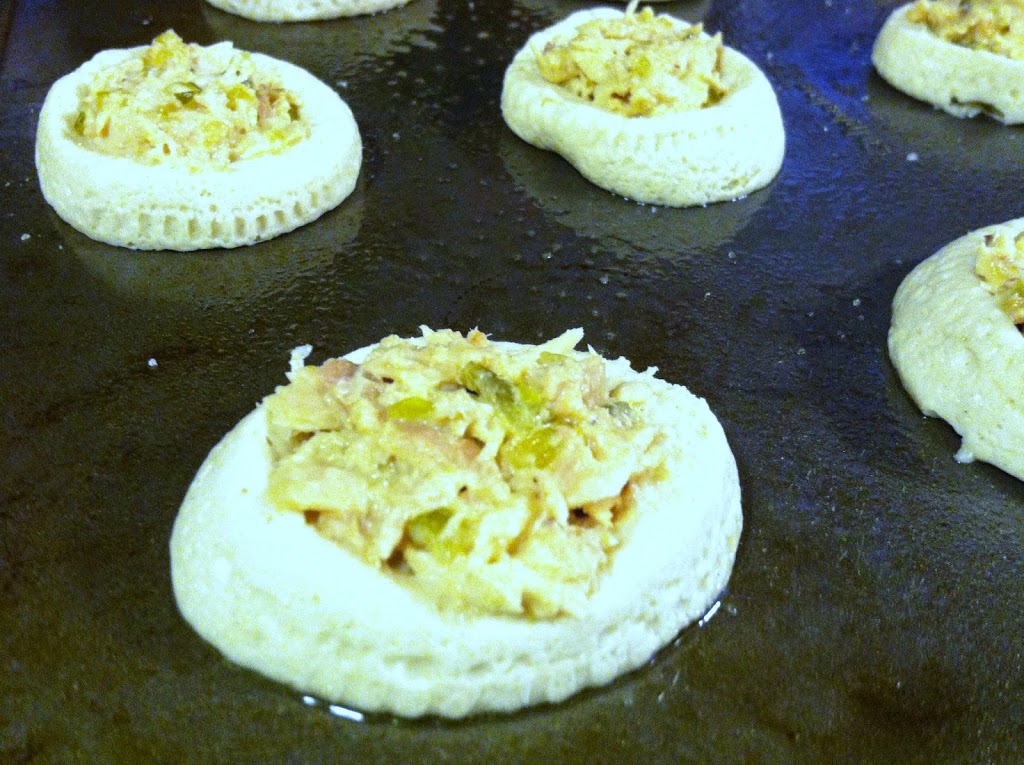
Step 2: On a sprayed baking sheet, place each biscuit about 1-2 inches apart. Tamp down a small depression with your fingers or a spoon. Fill with 1-2 tbsp tuna mixture.
Step 3: Bake at 350 for 10-15 minutes, until golden brown on top.
You can sprinkle these with whatever spices you have on hand, or a little bit of shredded cheese too.
They are great as appetizers, or eat several for a full meal! Feel free to add in other veggies to the tuna, like diced up cucumber or cooked egg, or lemon juice.

Mediterranean Stuffed Mushroom Caps


Mushrooms are an awesome alternative to meat, especially thick portobellos or stuffed caps. They have the same texture and flavor if cooked just right, and are endlessly adaptible to different recipes. You really can’t go wrong with stuffed mushrooms. Any combination of grains, vegetables, and/or meat will work.

These Mediterranean-inspired mushrooms happened when I noticed I had some goat cheese, kalamata &green olives, and produce I needed to use. You can use feta if you have it for the most authentic tastes. Or any other type of cheese you like. You can also sub in any other kind of olives, or omit them entirely. The choice is yous.

IMG_3615
Ingredients:
12 medium mushrooms (2-3 inch diameter)
2-3 oz cooked ground beef
1/2 cup cooked rice
1/4 cup cooked lentils (can omit)
1 green onion, diced
1 large tomato, diced
3-4 oz goat cheese (or cream cheese)
1/4 cup kalamata/green olives, diced

IMG_3613

Step 1: Remove the mushroom stems, dice up, cook, and add to a bowl. Place the caps flat in a sprayed baking dish.

IMG_3616

Step 2: In the bowl, mix the cooked rice, lentils, and beef. It’s easiest to add the cheese while still a little warm so it gets melty. Add the onion, tomato, and olives.

IMG_3618

Mix everything well, and stuff about 1 – 1 1/2 tbsp of mixture into each mushroom.

IMG_3620

Step 3: Bake at 350 degrees for 20-25 minutes, until juice starts to run. Serve hot.

IMG_3628

These little guys are absolutely delicious! If you use smaller caps, they are a bite-sized appetizer with meal-sized flavor. If you use larger caps, one or two can be a meal unto itself. Omit the ground beef, and you have a lovely vegetarian dish as well.

[subscribe2]

The Art of Ethiopian cuisine: Part 1 – Beef & Pork

Happy April! 

Spring has officially begun, and soon enough we will feel it every day in the weather. It’s time for snow melting, sunshine, green grass, boatloads of flowers, chickadees and bunny rabbits.

So ethnic food is a perfect fit! (Wait, what?) Uhhh yeah, you haven’t heard of Ethnic Food April?!? Totally a thing. I just made it so.

Since moving to Colorado, I’ve been exposed to new cuisines pretty often. I’ve become hooked on Ethiopian. A student in my year is from Ethiopia, and she has both shown us local restaurants and cooked a unique Ethiopian dinner in her home for us.

I recently decided to attempt to replicate a full Ethiopian meal at home! This will be a series of posts, all from a ginormous dinner party I threw. 

Also fittingly, this is my 200th blog post!

Wow, I didn’t know I had so many things to talk about. It seems like not too long ago I was excited about my 100th Post wherein I brined and baked a whole pheasant! (Not as hard to do as it sounds, but just as delicious as you might think).

My how time flies. Like pheasants. Anywho, sorry to sidetrack you, on to the Ethiopian!

The Food

Ethiopian cuisine, if you have never had it, mostly consist of various stews, eaten with your hands and the help of a unique flatbread called Injera. The bread is made from a unique grain called Teff, and fermented for several days. It is slightly sour, bubbly, and spongy. It is a very unique experience the first time you try it, but it becomes an addiction.

The stews vary from purely vegan (lentils, sweet potato, etc) through various types of meats (beef, lamb, pork) and mixtures. They lay the bread on a huge middle plate, then scoop piles of deliciously spiced concoctions onto it, which you then scoop up and eat with more pieces of injera and your hands.

If you’ve never tried it, I highly recommend it! It is even more fun as a social experience. 

The Art of Ethiopian Cuisine: Part 1 – Beef & Pork

The Art of Ethiopian Cuisine: Part 2 – Chicken & Fish
The Art of Ethiopian Cuisine: Part 3 – Potatoes & Lentils
The Art of Ethiopian Cuisine: Part 4 – Cheese, Greens, & Injera

Part 1: Beef and Pork

So the ground beef stew is called Minchet-Abesh Alicha. The recipe I used was based off the recipe HERE from Food.com.

Meanwhile, apparently pork stew isn’t really an Ethiopian thing (at least not that I could find much online) but the recipe I ended up sorta following can be found HERE from Thomas the Accidental Gourmet. As far as I can tell, they don’t eat pork in Ethiopia.

But in America we sure do. So I decided any meat can be stew-ified and went ahead.

Ingredients (Minchet-Abesh Alicha):

  • 1 pound ground beef
  • 1 can diced tomatoes
  • 1/2 cup diced onions
  • 2 tbsp butter
  • 1/2 cup chicken stock/water
  • Garlic salt
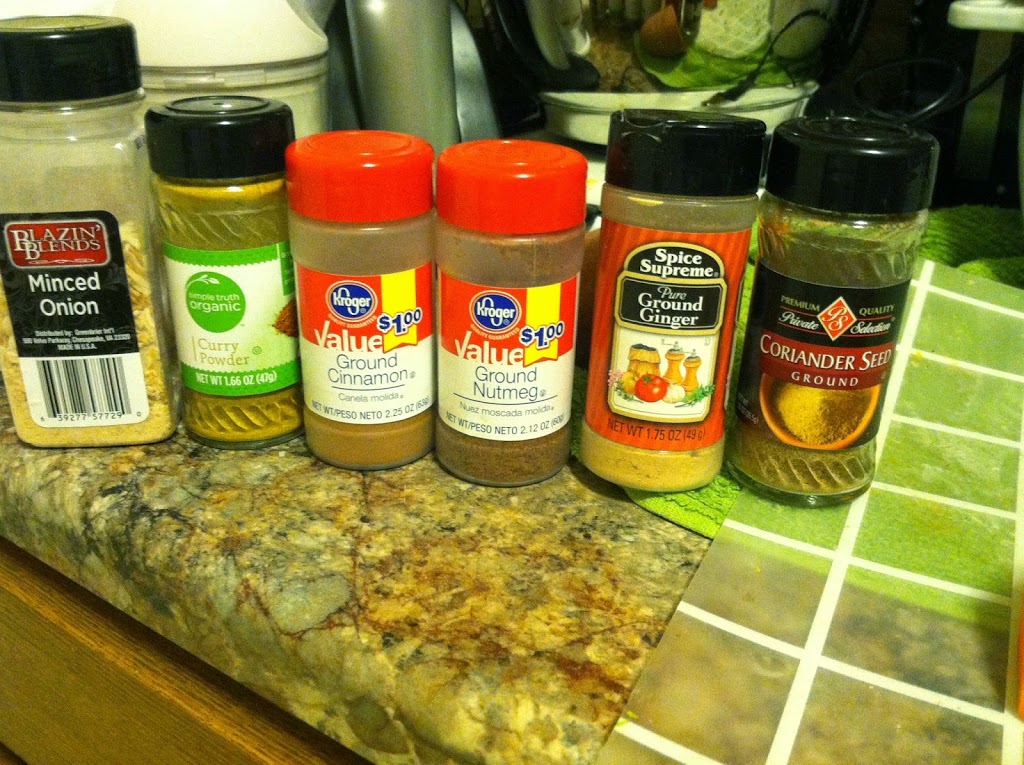
  • 2-3 tbsp chili powder
  • 2 tbsp garam masala
  • 1 tsp coriander
  • 1 tsp cumin
  • 1 tbsp nutmeg
  • 1/2 tbsp cinnamon


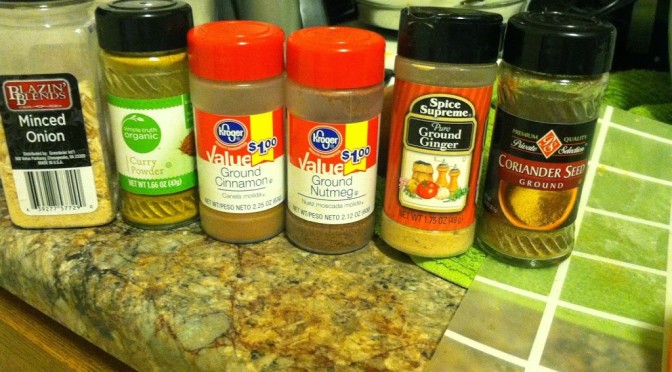
The spices really make the dishes shine. But there is plenty of room for substitution. If you don’t have some spices, or don’t want to shell out for them, don’t worry about it and use whatever spice mixture you like. It’s the bread that really makes the meal unique!


Step 1: Brown the ground beef and drain. (I actually used ground turkey, shhh don’t tell!) Add either 1/2 cup onions to butter and cook until translucent, or use dried onion flakes, about 2 tbsp. Mix with the ground beef. 

Step 2: Add all spices you are using, stock or water, and diced tomatoes. Simmer for at least 30 minutes, the longer the better. All the spices blend together and infuse the meat.

Your house/apartment will smell divine! This was probably the favorite of all the dishes cooked.

Ingredients (Pork Stew):

  • 4 pork chops (or 1 small roast) diced
  • 1/2 cup stock/water
  • 2 tbsp turmeric
  • 2 tbsp curry powder
  • 1/2 can diced tomatoes

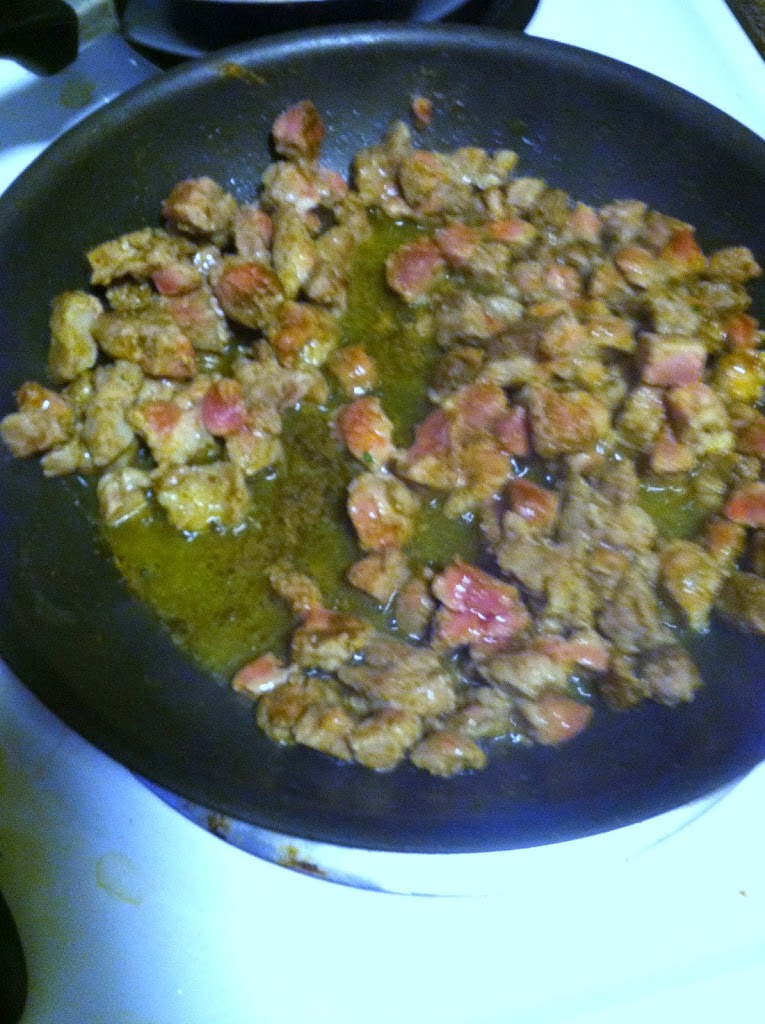
Step 1: Dice the pork, brown in a pan with the stock. Add in the spices and bring to a simmer.

Step 2: Add the diced tomatoes, or 1 small can tomato paste. Simmer another 10 minutes or until ready to serve.

This is what the finished meal looked like:


The ground beef stew is mid-left, pork is on the upper right. Wait until the injera post, where you get to learn how to make Ethiopian “pancakes”…

Up next: Chicken & Fish!

Easy-peasy mini pizzas

These adorable appetizers are sure to be a big hit with a crowd! They are also easy & quick enough for any weeknight dinner, and kids are sure to love them too. You could even build a “top-it-your-way” bar with various (quick-cooking or pre-cooked) toppings, veggies, and cheeses.
Ingredients: 
Bagel thins, cut in half
Jar of pasta, pizza, or marinara sauce
Fresh grated parmesan
*Any other toppings you want!

Step 1: My mom insists everything is better with some fresh grated Parmesan. I’m beginning to believe her.

Step 2: Spread the sauce on the bagel thins. Top with cheese (and/or veggies, pepperoni, sausage, etc) and pop into a toaster oven. You can also use a baking sheet in a real oven, or a toaster on its side.

Step 3: Arrange prettily and serve! Told you they are easy-peasy!


What do you put on your pizza?


Potato Skins

.
A game-day classic, potato skins are always a hit. A friend was having a football party, I had a 5 pound bag of potatoes, guess what I made! They are very simple, though time-consuming.
.
Ingredients:
6-12 potatoes, washed and cut in half
Butter/margerine
Sea salt
1/2 pound bacon or turkey bacon
Cheddar cheese
Sour cream
Salsa
Green onion/chives

Step 1: Rub potatoes with oil, and poke holes in them with a fork. Microwave potatoes on high for 10 minutes.

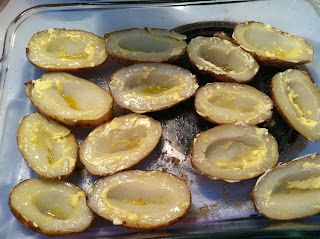
Step 2: Cut potatoes in half, cover outside and insidewith butter and sea salt. Bake at 350 for 20 minutes.

Step 3: Hollow out the potatoes. Flip upside down, bake for another 20 minutes. You can use the scooped-out part for mashed potatoes, soup, or just eat them because they’re warm and salty and delicious.

Step 4: Flip back over, brush with more butter and bake a final 20 minutes. You’re now ready to top them.

Step 5: Cook the bacon on both sides until brown. Drain on paper towels and break/cut into small pieces. Sprinkle a healthy tbsp into each potato skin. Cover with cheese, a dollop of sour cream, salsa and/or green onion.

Made in your own home and not deep-fried, these are healthier for you than if you ordered them from a bar or restaurant. Leave off the bacon for a vegetarian treat.

Quick & Easy App: Bruschetta

.
Bruschetta is one of my favorite appetizers, but it always irritates me how expensive 2 little pieces of bread with the equivalent on 1 tomato on it is. Since I had some homemade bread in the freezer and some tomatoes that needed used, I decided to make my own for cheap!
.
Ingredients:
1 long, thin loaf of homemade bread (or 1 loaf Italian or garlic bread)
2 roma tomatoes, diced small
1/4 onion, diced small
Italian seasonings
Garlic salt
1 tbsp lemon juice
2-3 tbsp Parmesan cheese
Nonstick cooking spray
.
Step 1: Slice the bread into small, thin pieces
.
Step2: Dice up tomatoes & onion very small. In a bowl, combine with seasonings and lemon juice.

Step 3: Sprinkle a healthy tablespoon of topping onto each piece.

Step 4: Bake at 350 for 10-15 minutes, until crispy on top. Sprinkle with parmesan cheese.

Serve warm, and try to keep from eating the whole loaf at once!

Radish, onion & herb cheese dip

.
Sadly I don’t remember where the inspiration for this dip came from, but I read on another blog about putting fresh raw radishes into a dip, and decided to make my own version based on what I had in my house.
.
Dip:
1 package cream cheese
1/4 cup sour cream
1/4 cup radishes, diced very small
1/4 cup red onion, diced small
1/4 cup chopped cilantro
1 tbsp garlic powder
1 tbsp dried onion
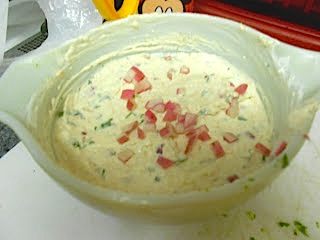
~1/2 tbsp sea salt

Step 1: Mix room temperature cream cheese and sour cream in a bowl until blended. The dip should be spreadable but a spoon could stand up in it.

Step 2: Add in all the other ingredients, and mix well. Serve with whatever crackers you like. This was a hit at a small gathering I had!

Addictive farm fresh dip!