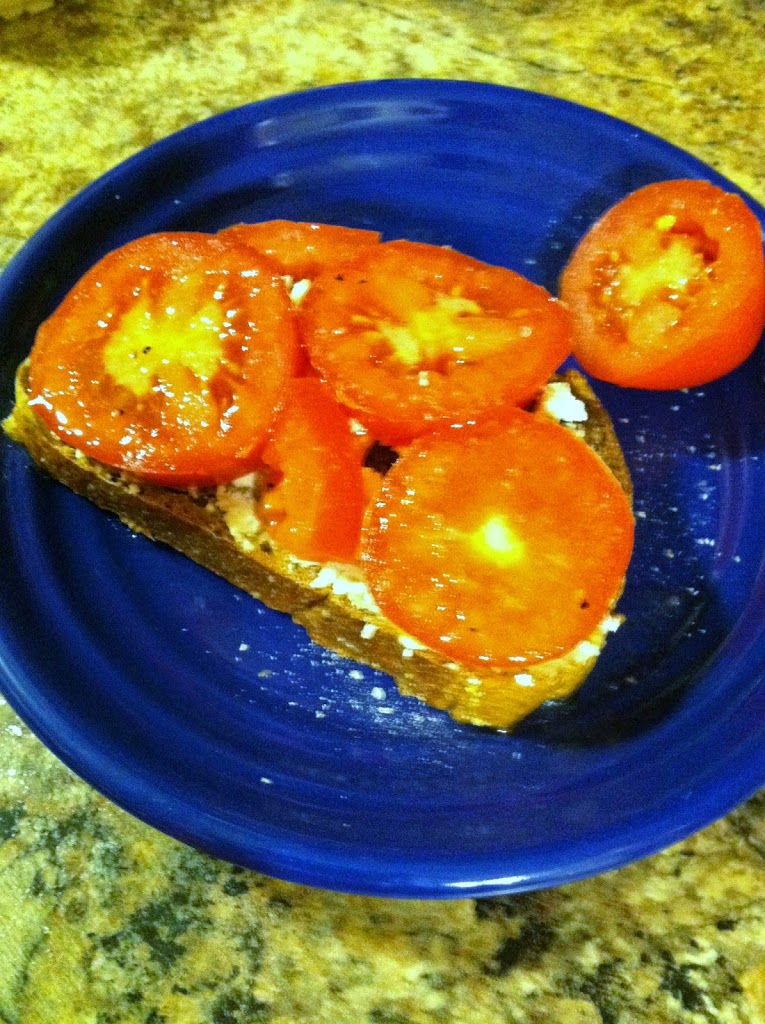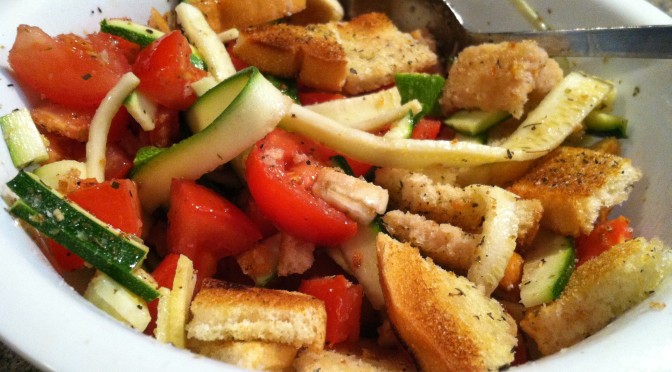
Category Archives: Appetizers

Tomato Zucchini Panzanella

.

As summer hits full speed, most people with gardens find themselves overwhelmed with tomatoes and/or zucchini. Prolific producers, these two are classic markers of the height of summer. This is also when tomatoes and zucchini are on sale at the grocery, and can be bought at the lowest price at farmer’s markets.

Once you have had your fill of eating tomatoes plain or with salt (the very best way, in my opinion), zucchini diced up in stir fry and as zoodles, and tomatoes on your salad, you may ask yourself, what else can I do with the twenty pounds I still have?

A good answer is: make this healthy, refreshing panzanella!

Panzanella, pronounced pan-za-nay-ya, is a Tuscan dish traditionally based on onions and stale bread. Some time in the 20th century tomatoes came into the picture and took center stage. Now most panzanella recipes are based on stale bread moistened with olive oil and vinegar, and tomatoes, with other ingredients like onion, basil, and garlic commonly added.
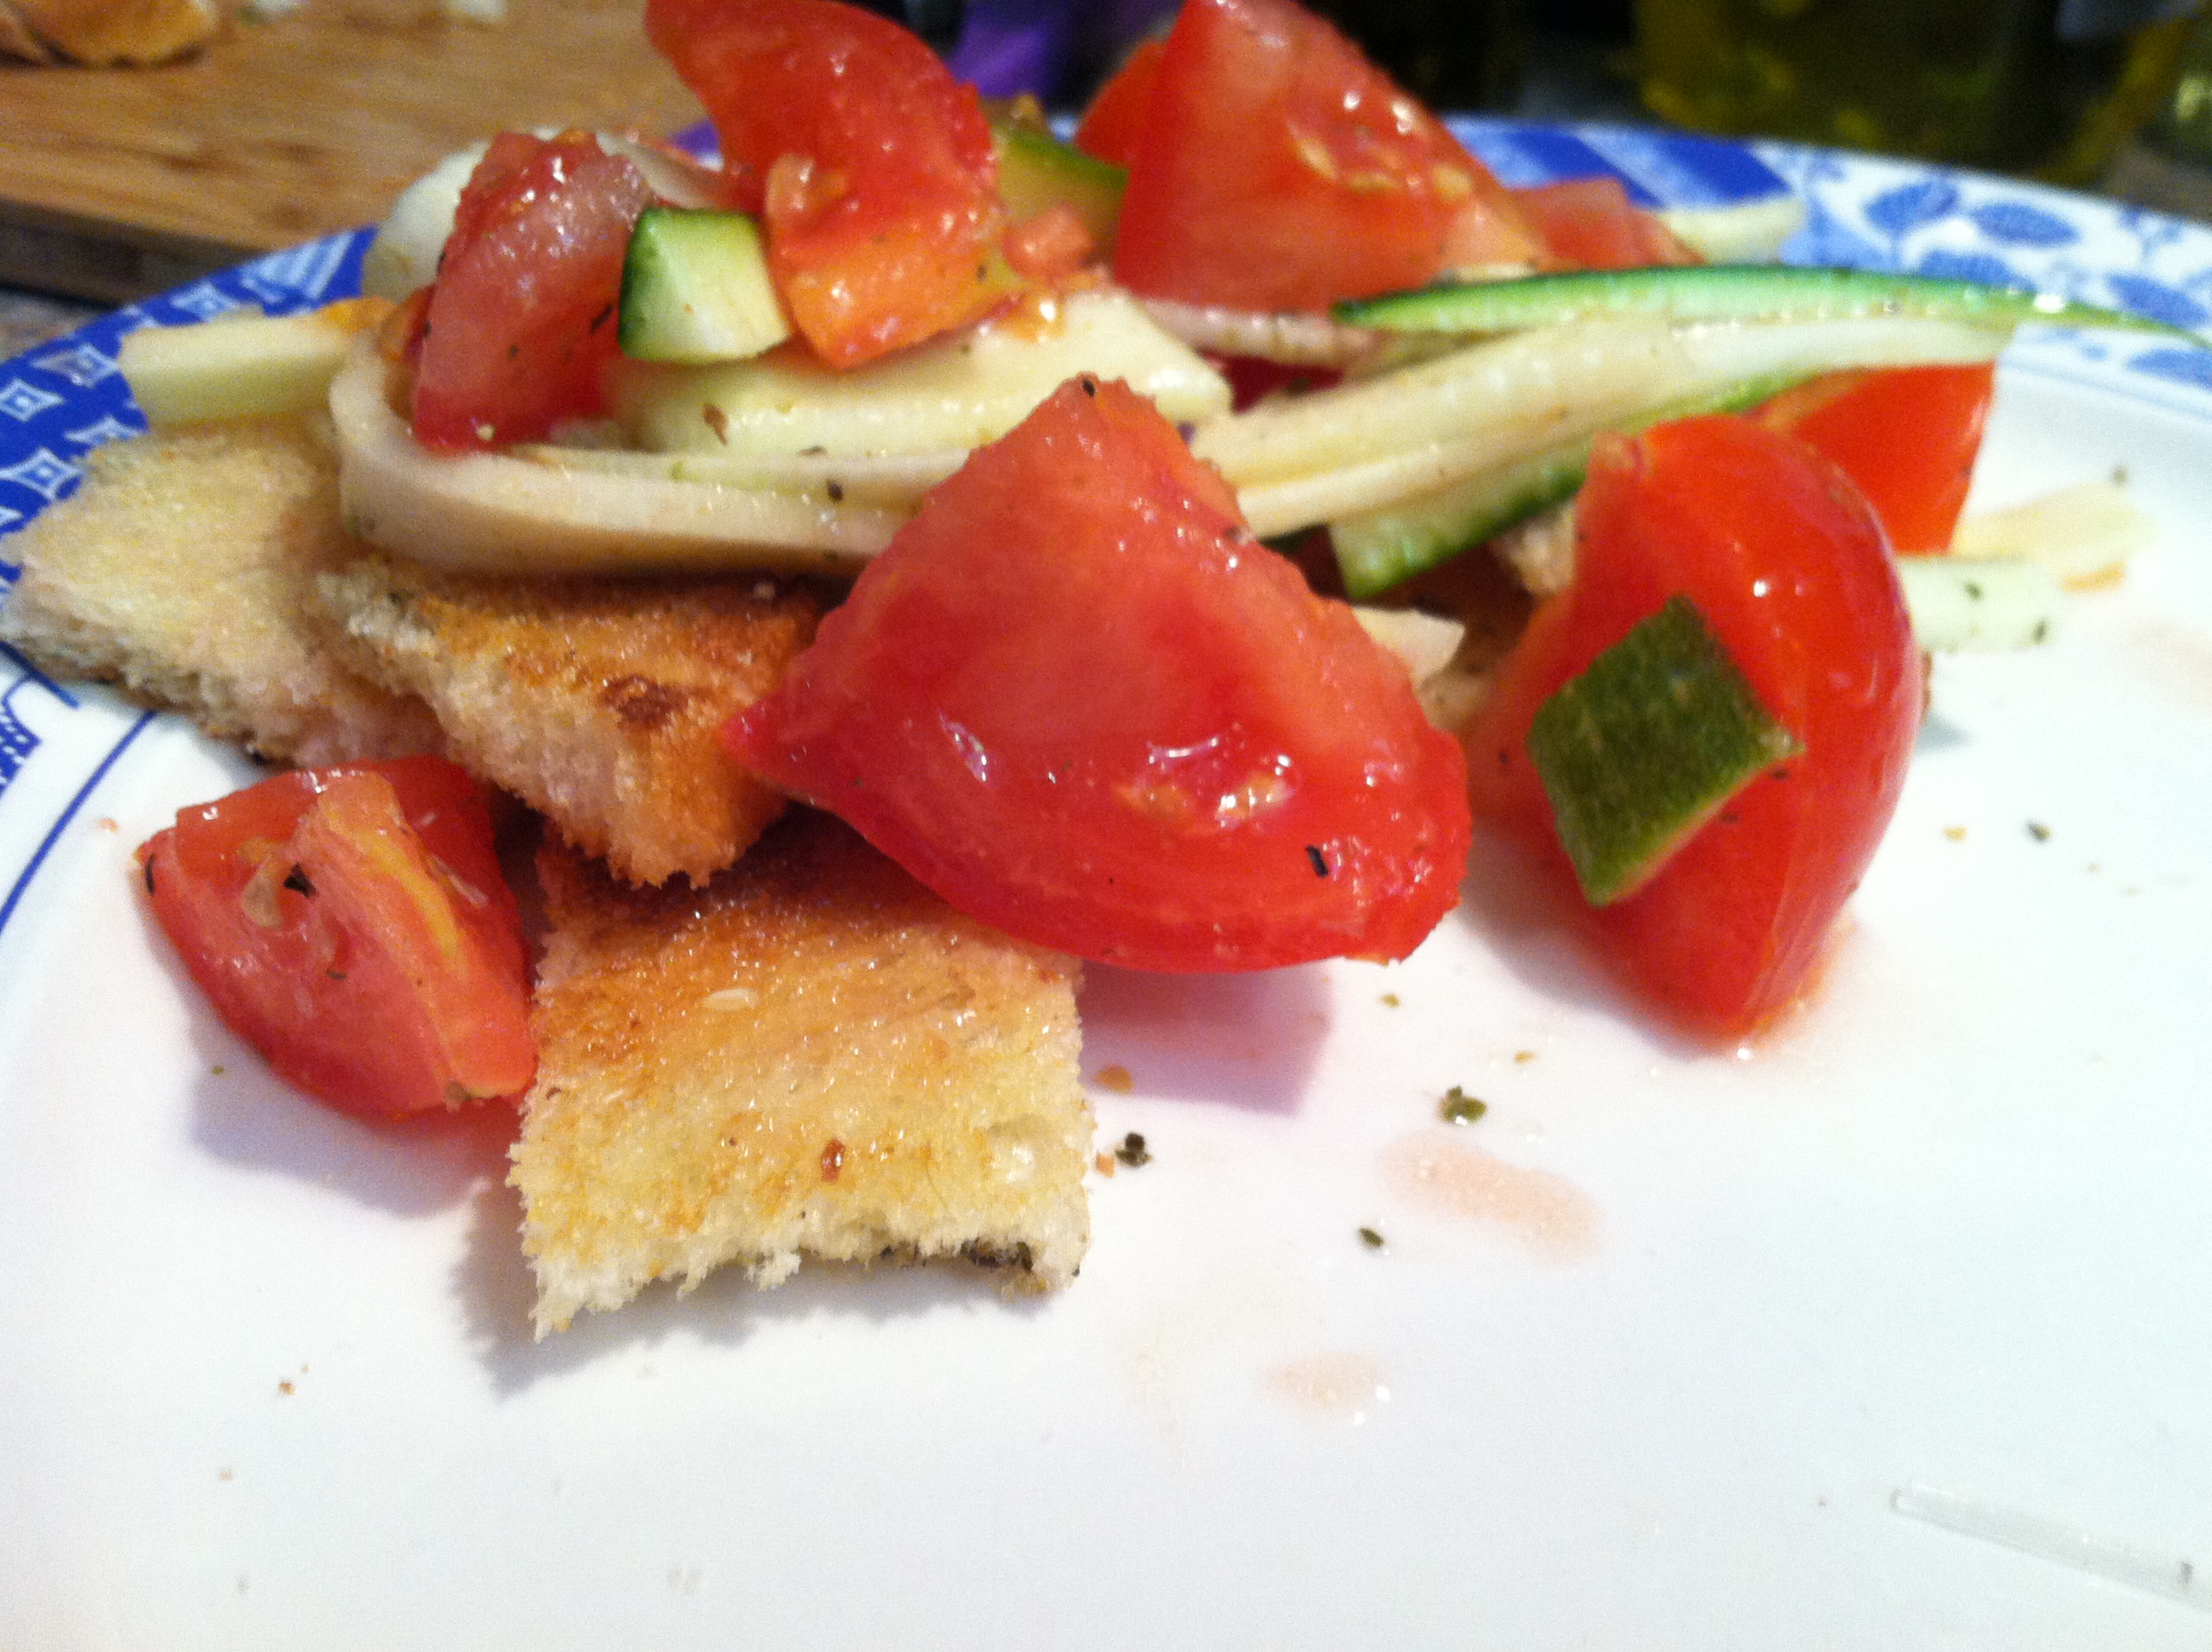
IMG_9525

This salad is a fantastic side dish or snack, and can even be a light main meal in the summer heat. It can take advantage of old bread which might otherwise be thrown away, or you can toast fresh bread to get the same texture.
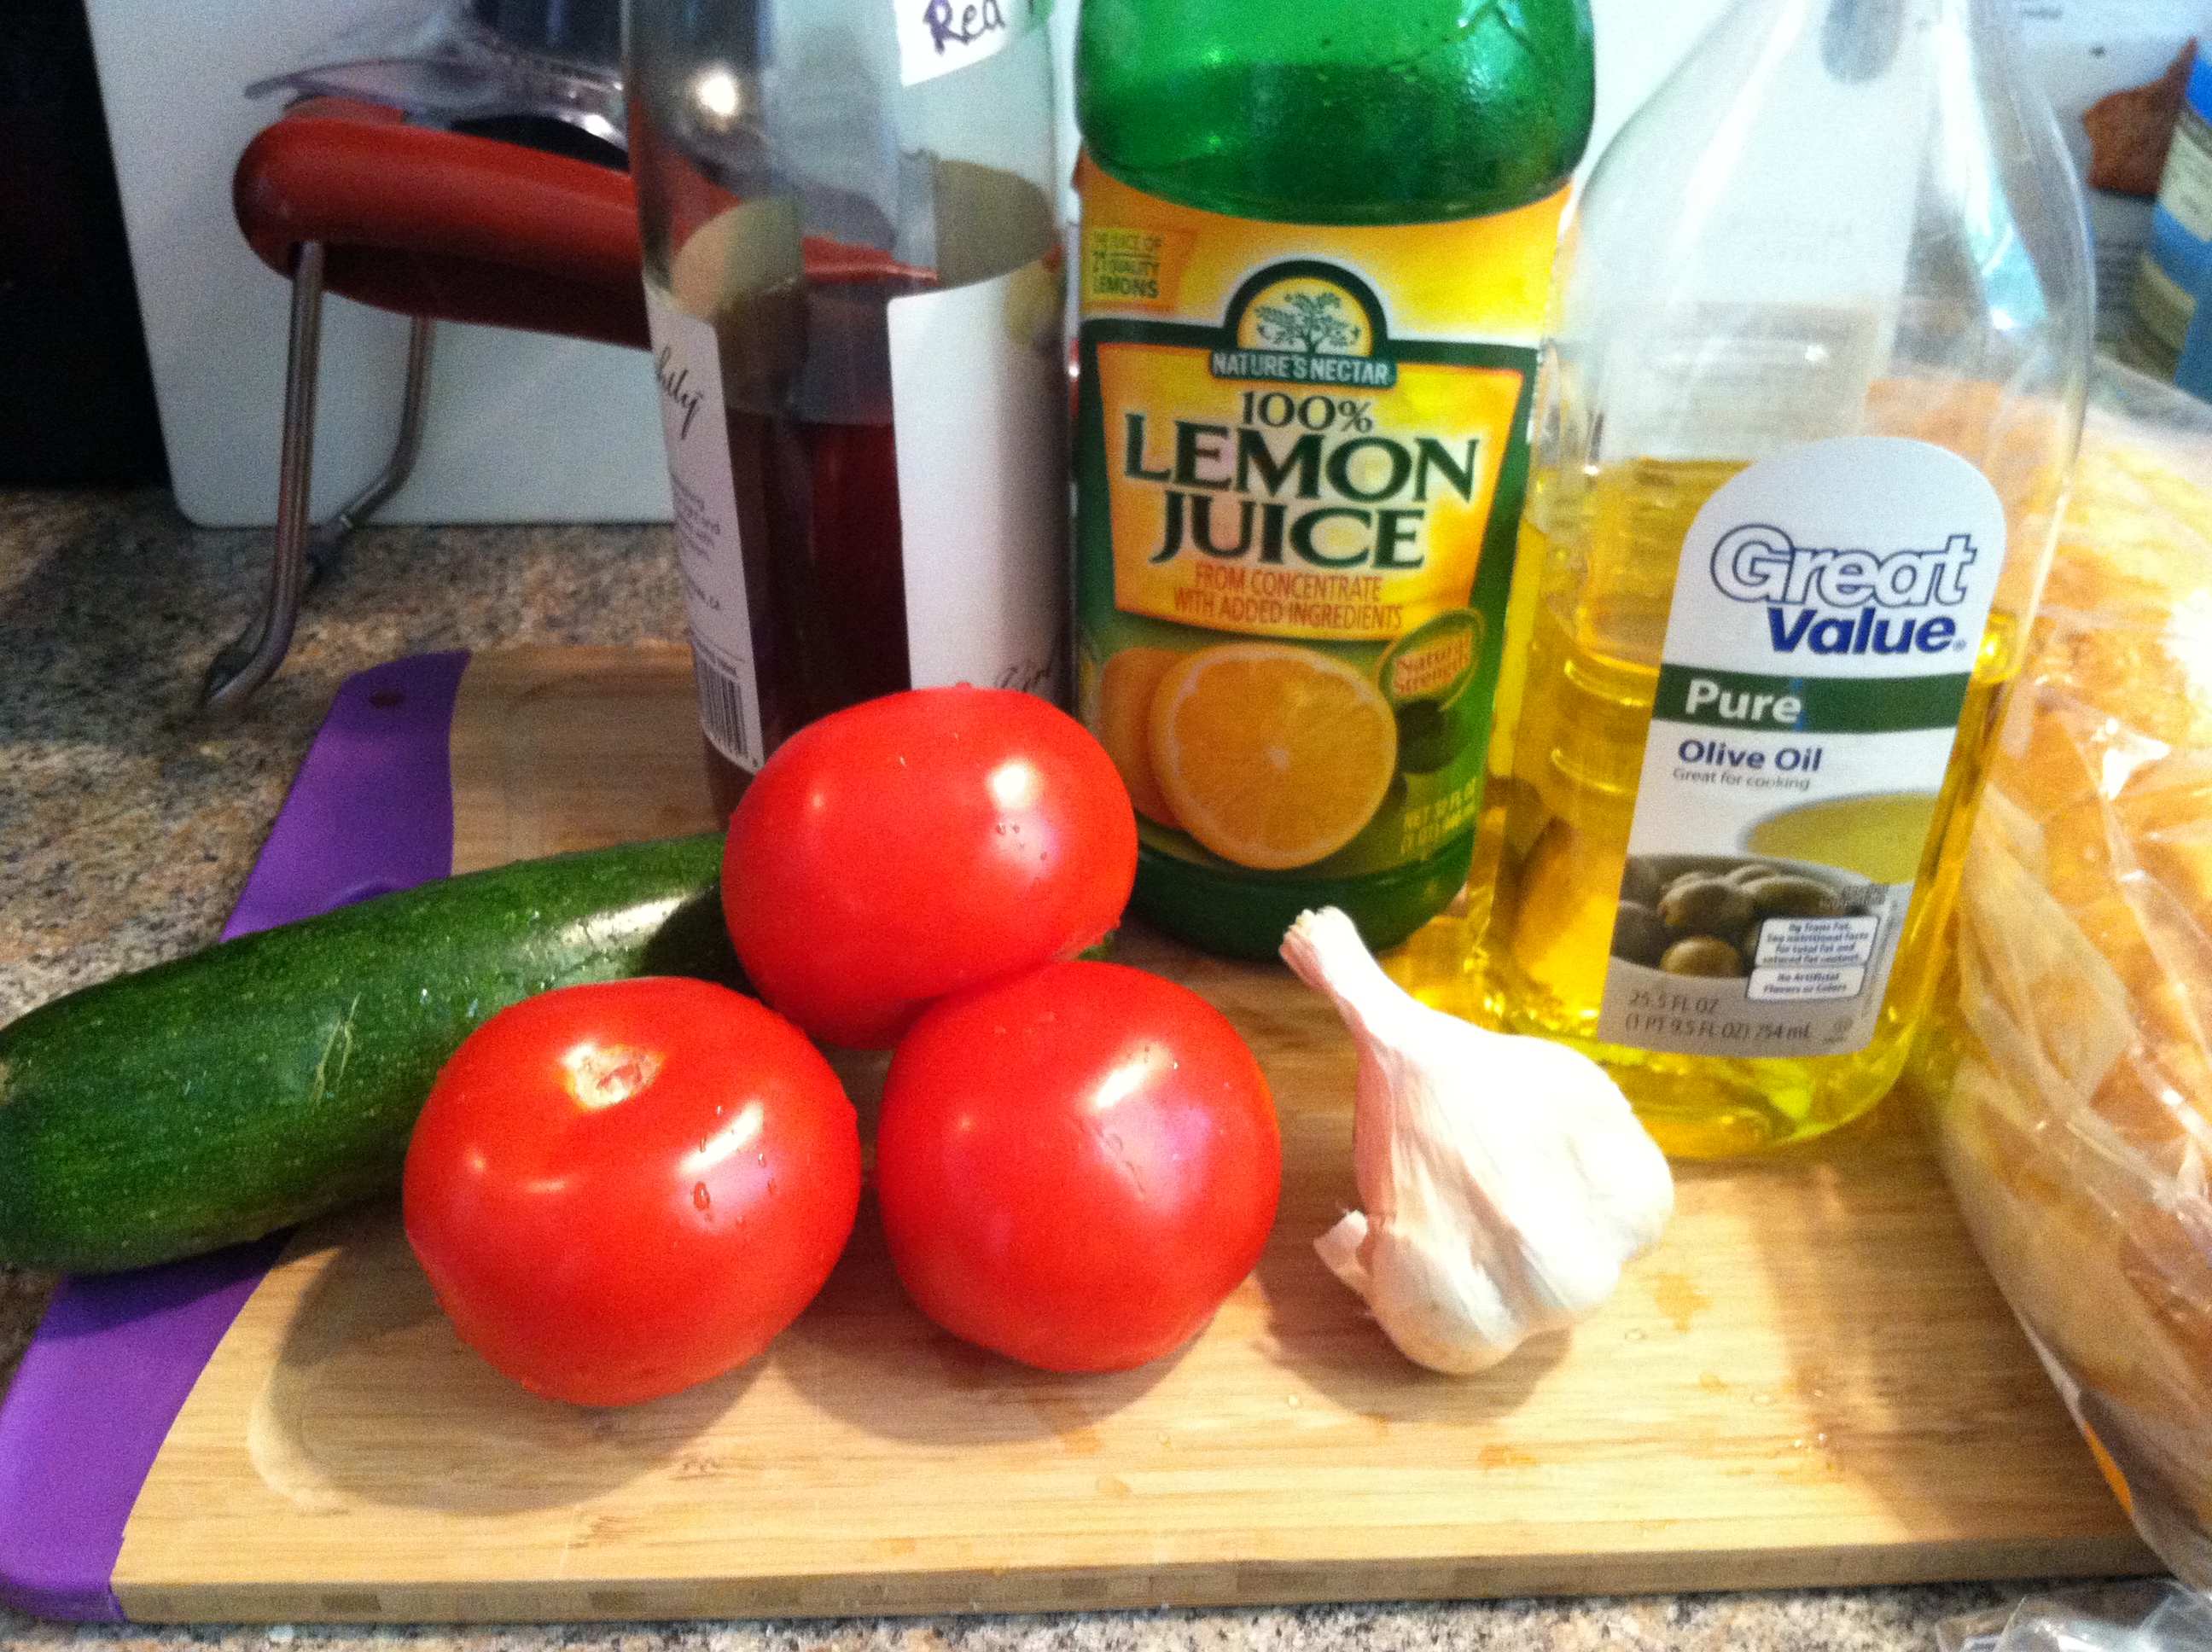
IMG_9513

Ingredients:

  • 3-4 ripe tomatoes
  • 1 small zucchini
  • 4 slices bread, toasted
  •  3-4 cloves fresh garlic
  • 3 tbsp lemon juice
  • 3 tbsp olive oil
  • 1/4 cup red wine vinegar
  • Salt & pepper

IMG_9517

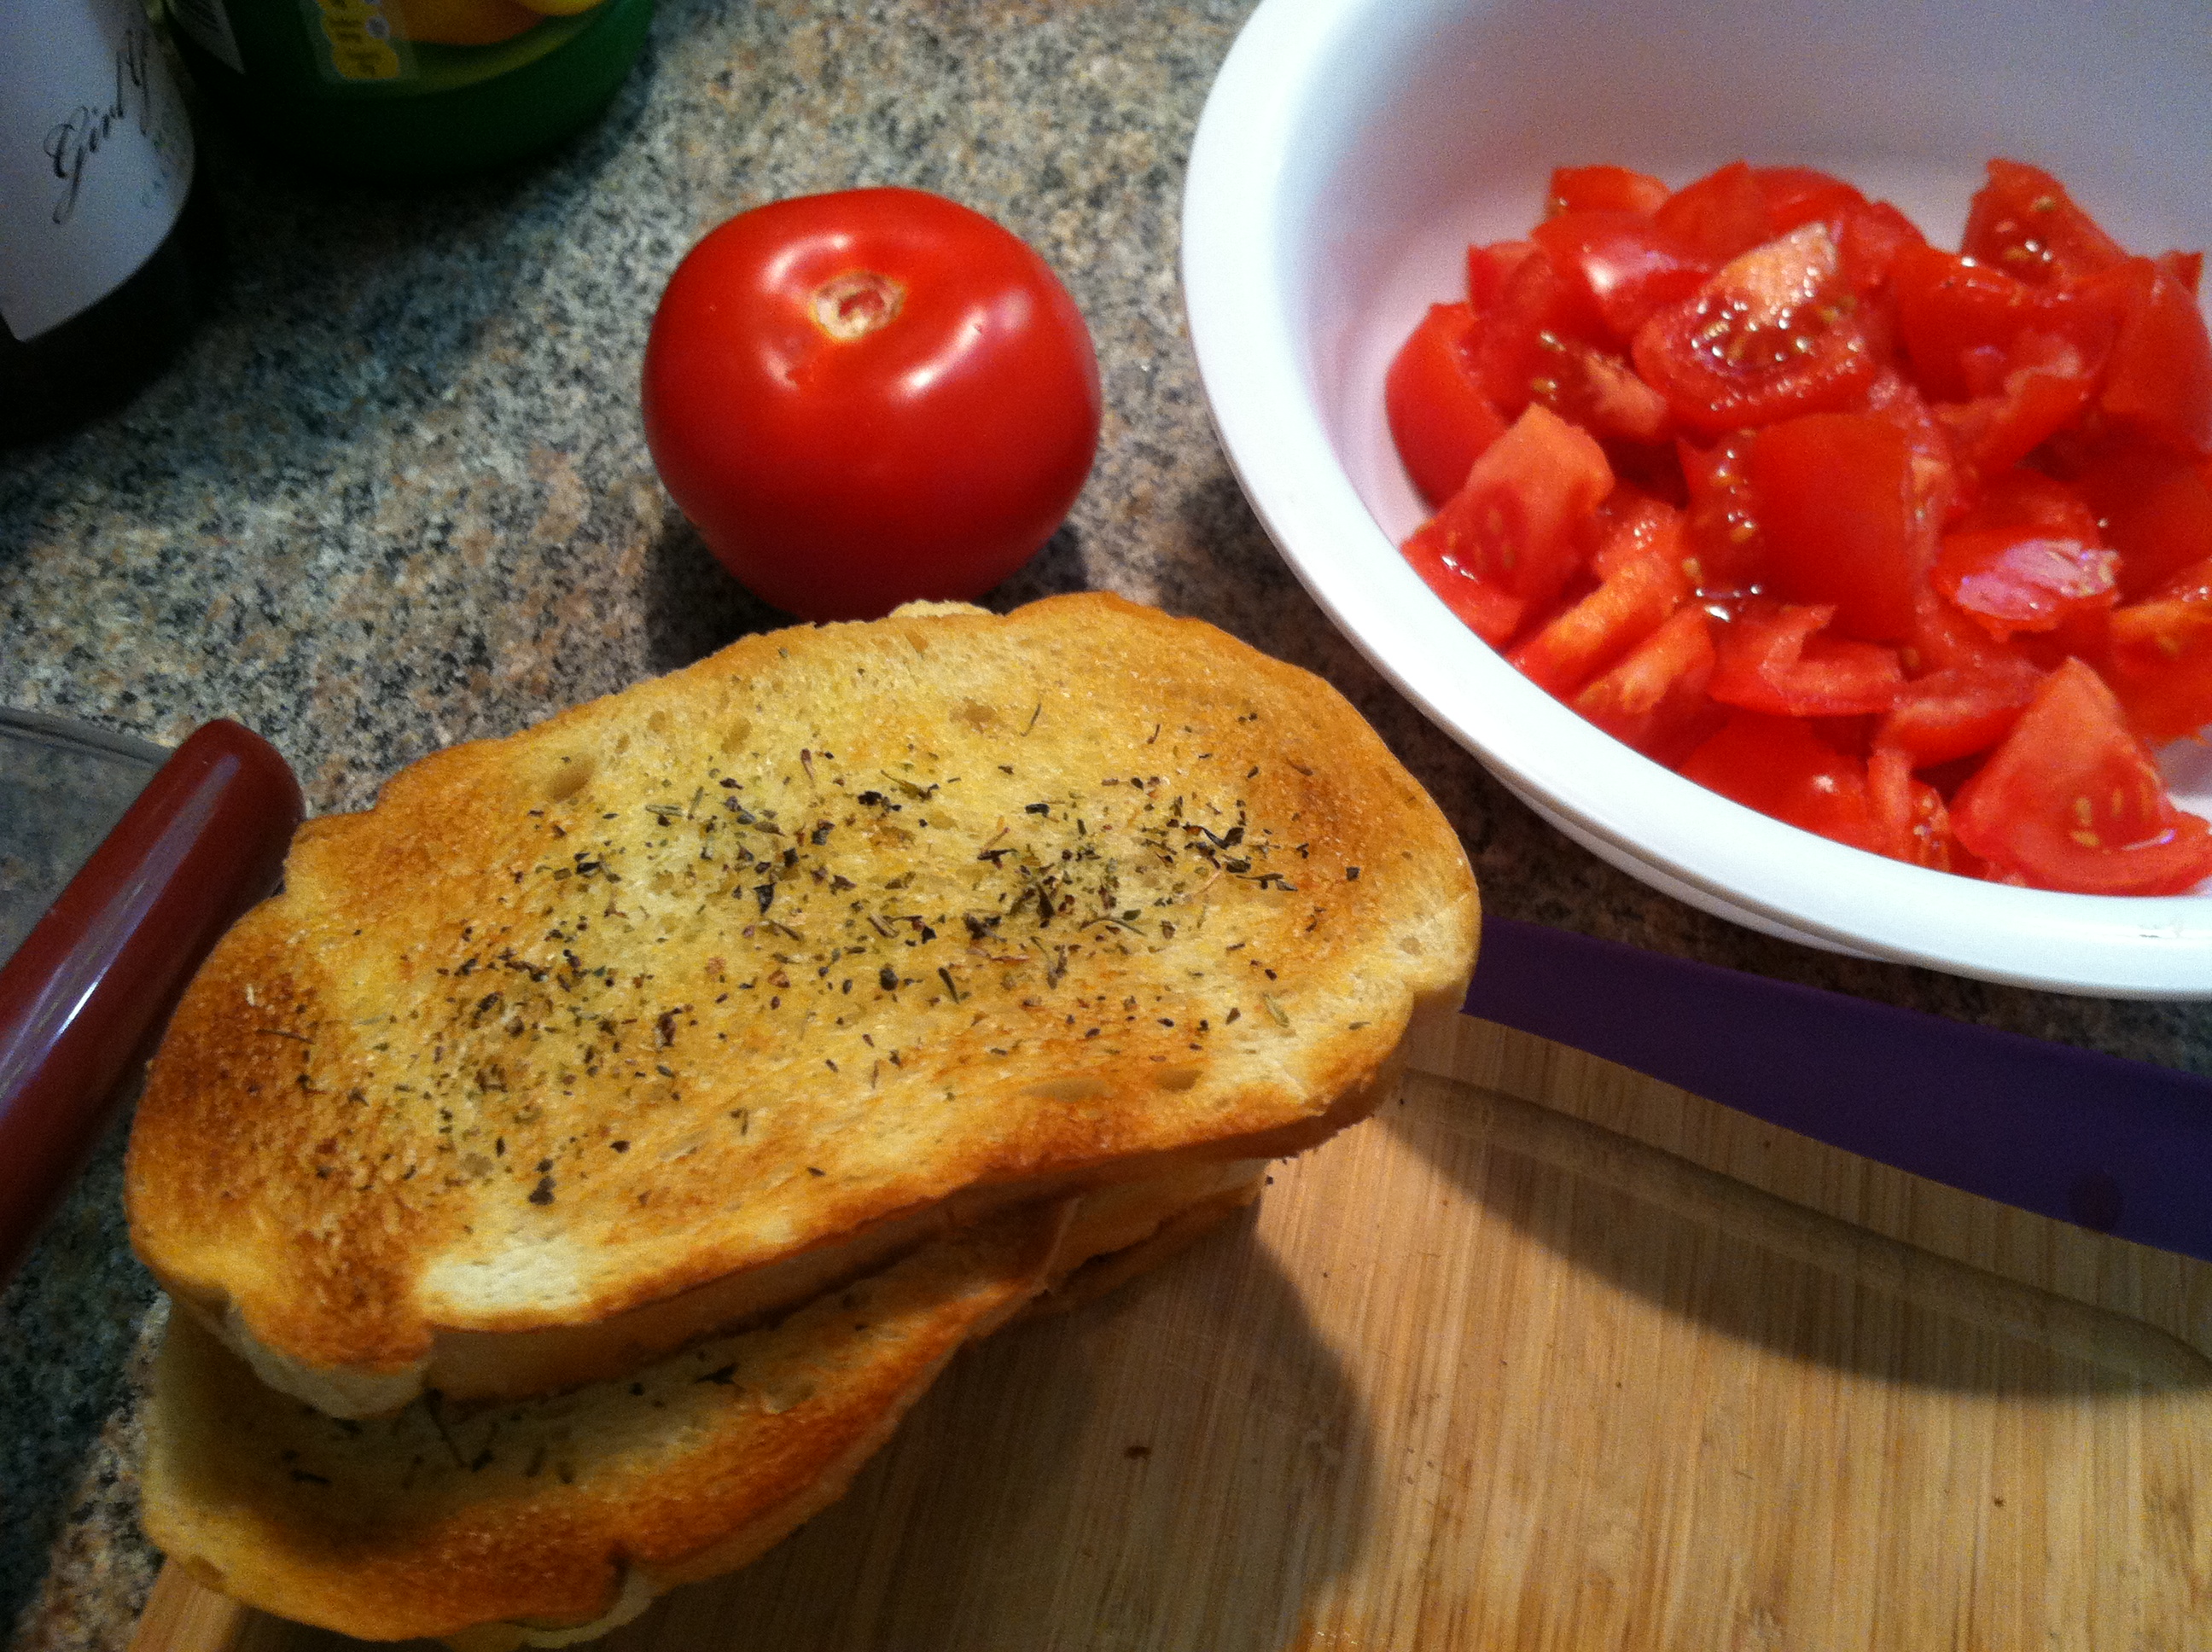
Step 1: Toast your bread, or use a few days’ old bread. I smeared a bit of butter and Italian seasonings on mine. You can use whatever type of bread you like.
IMG_9519

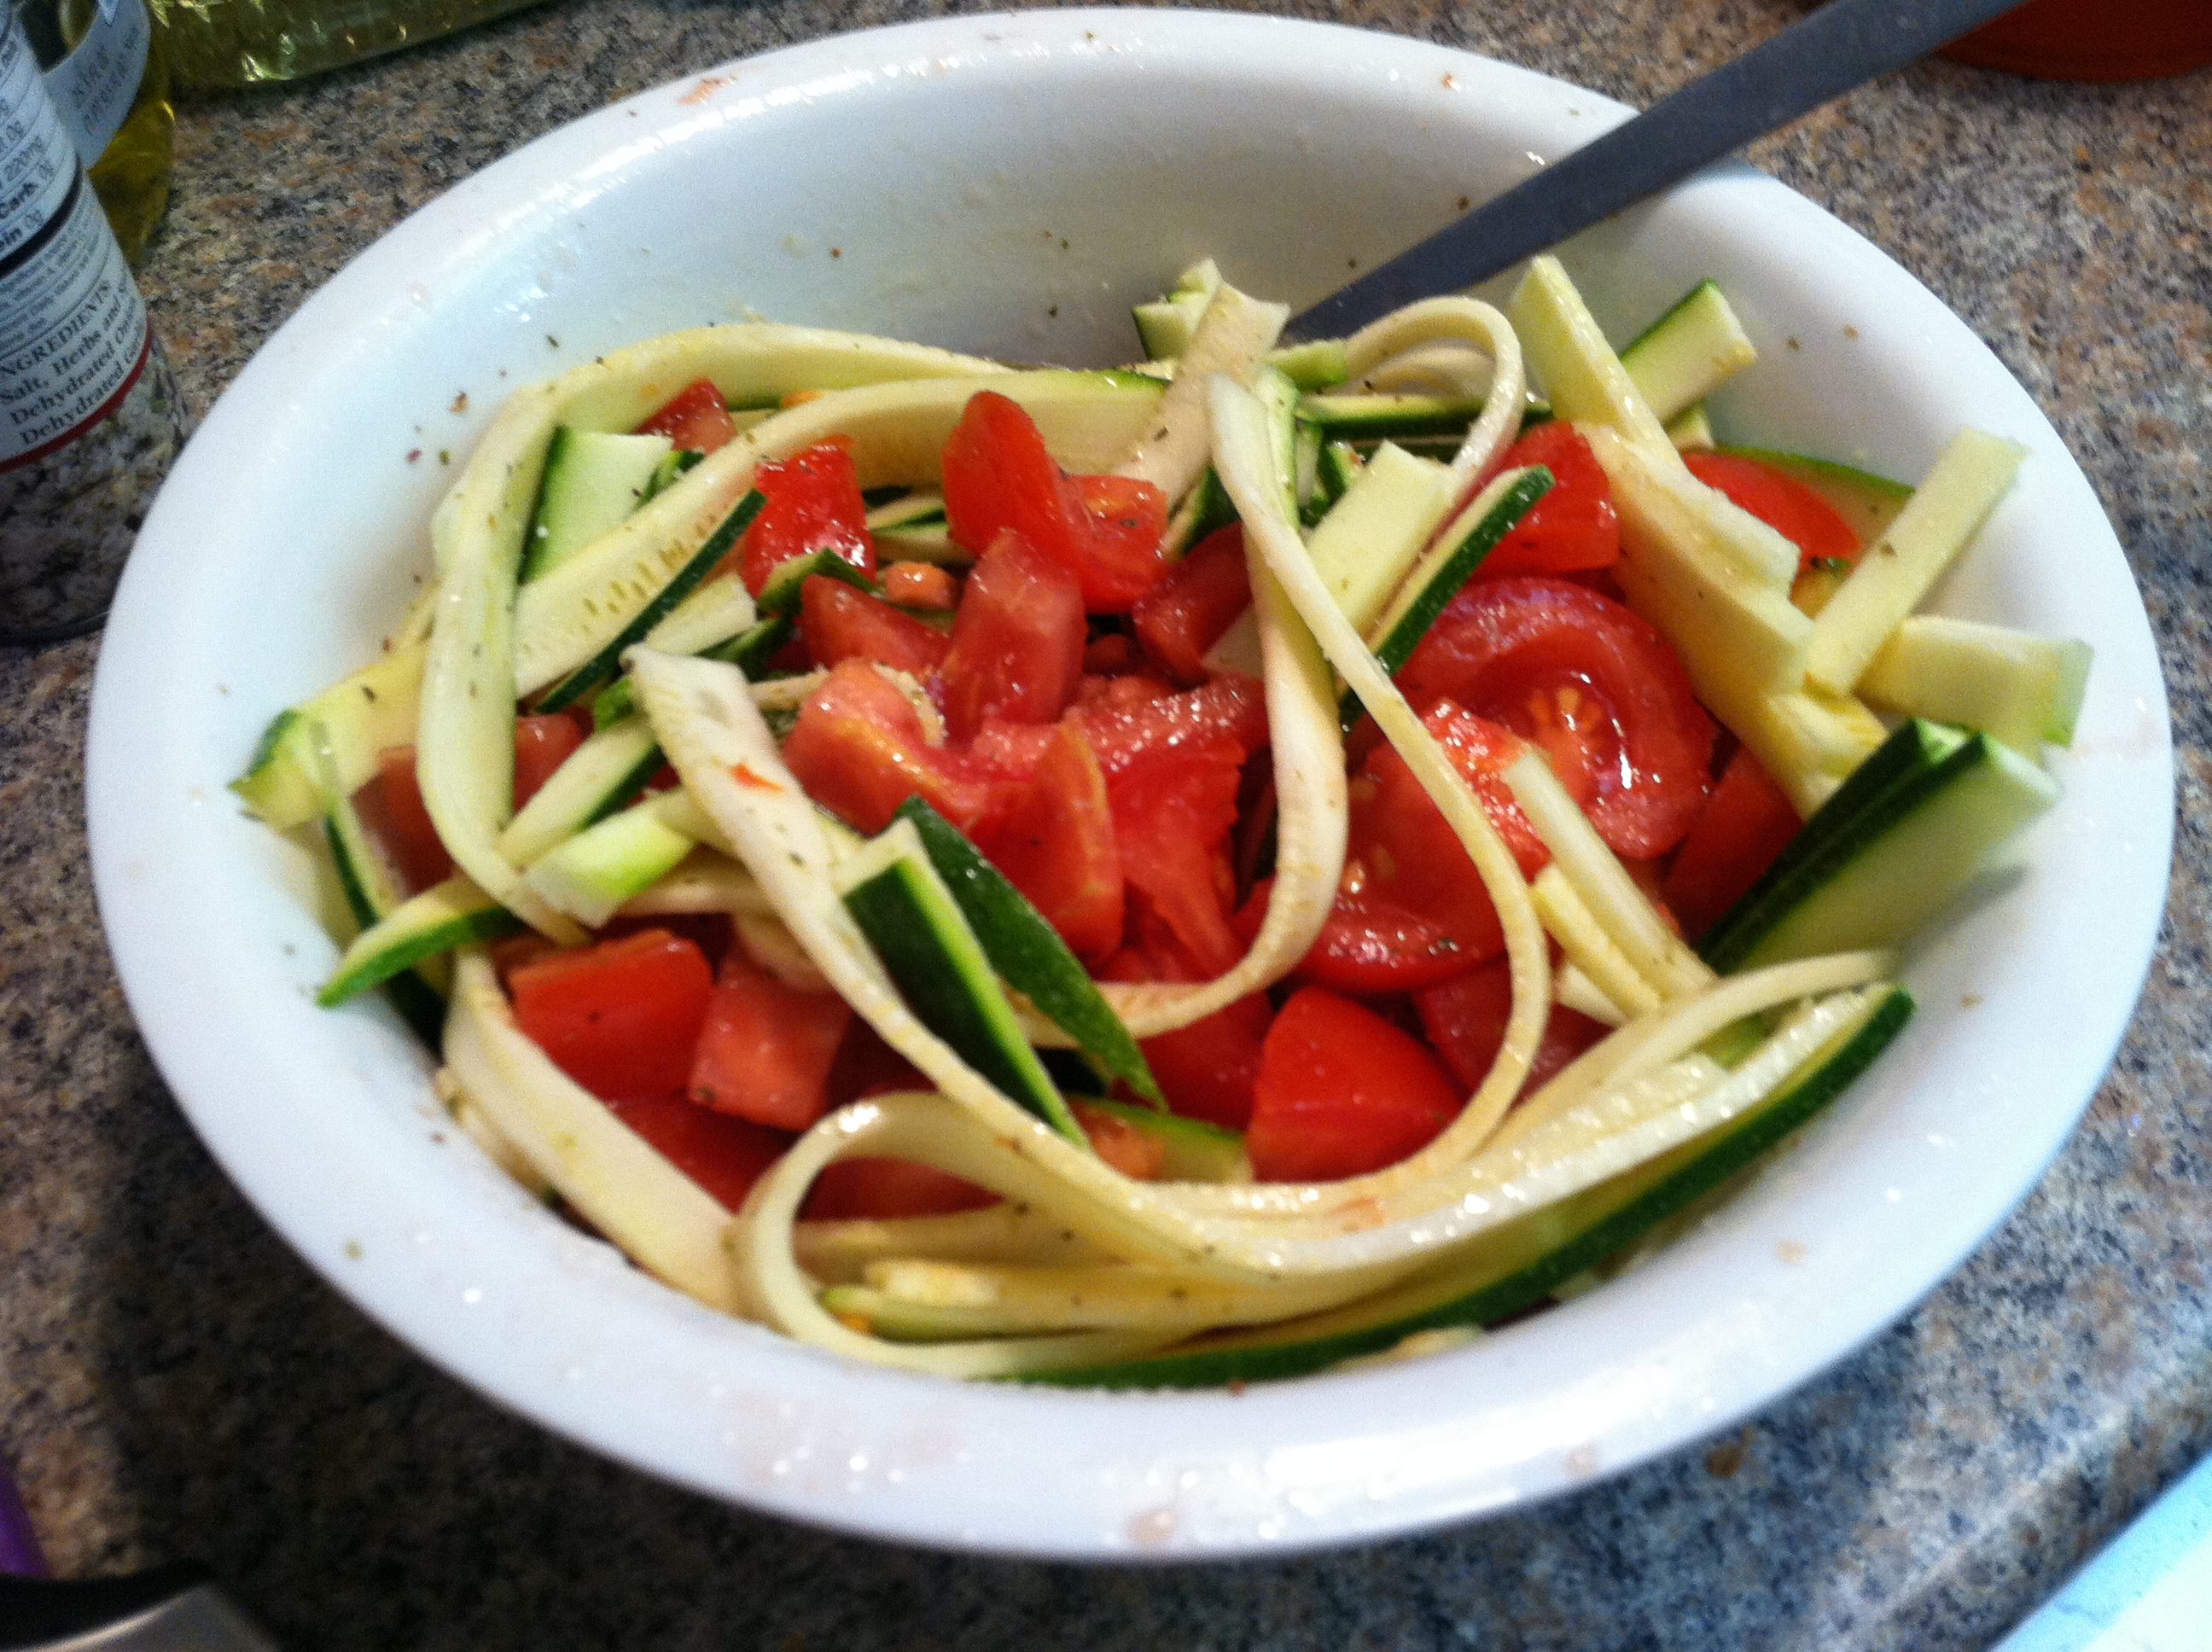
Step 2: Slice or shred your zucchini. I used my mandoline to make thin ribbons so they would take the marinade easier. Dice your tomatoes into cubes and chop the garlic. Mix in a bowl with the lemon juice, oil & vinegar.
IMG_9524

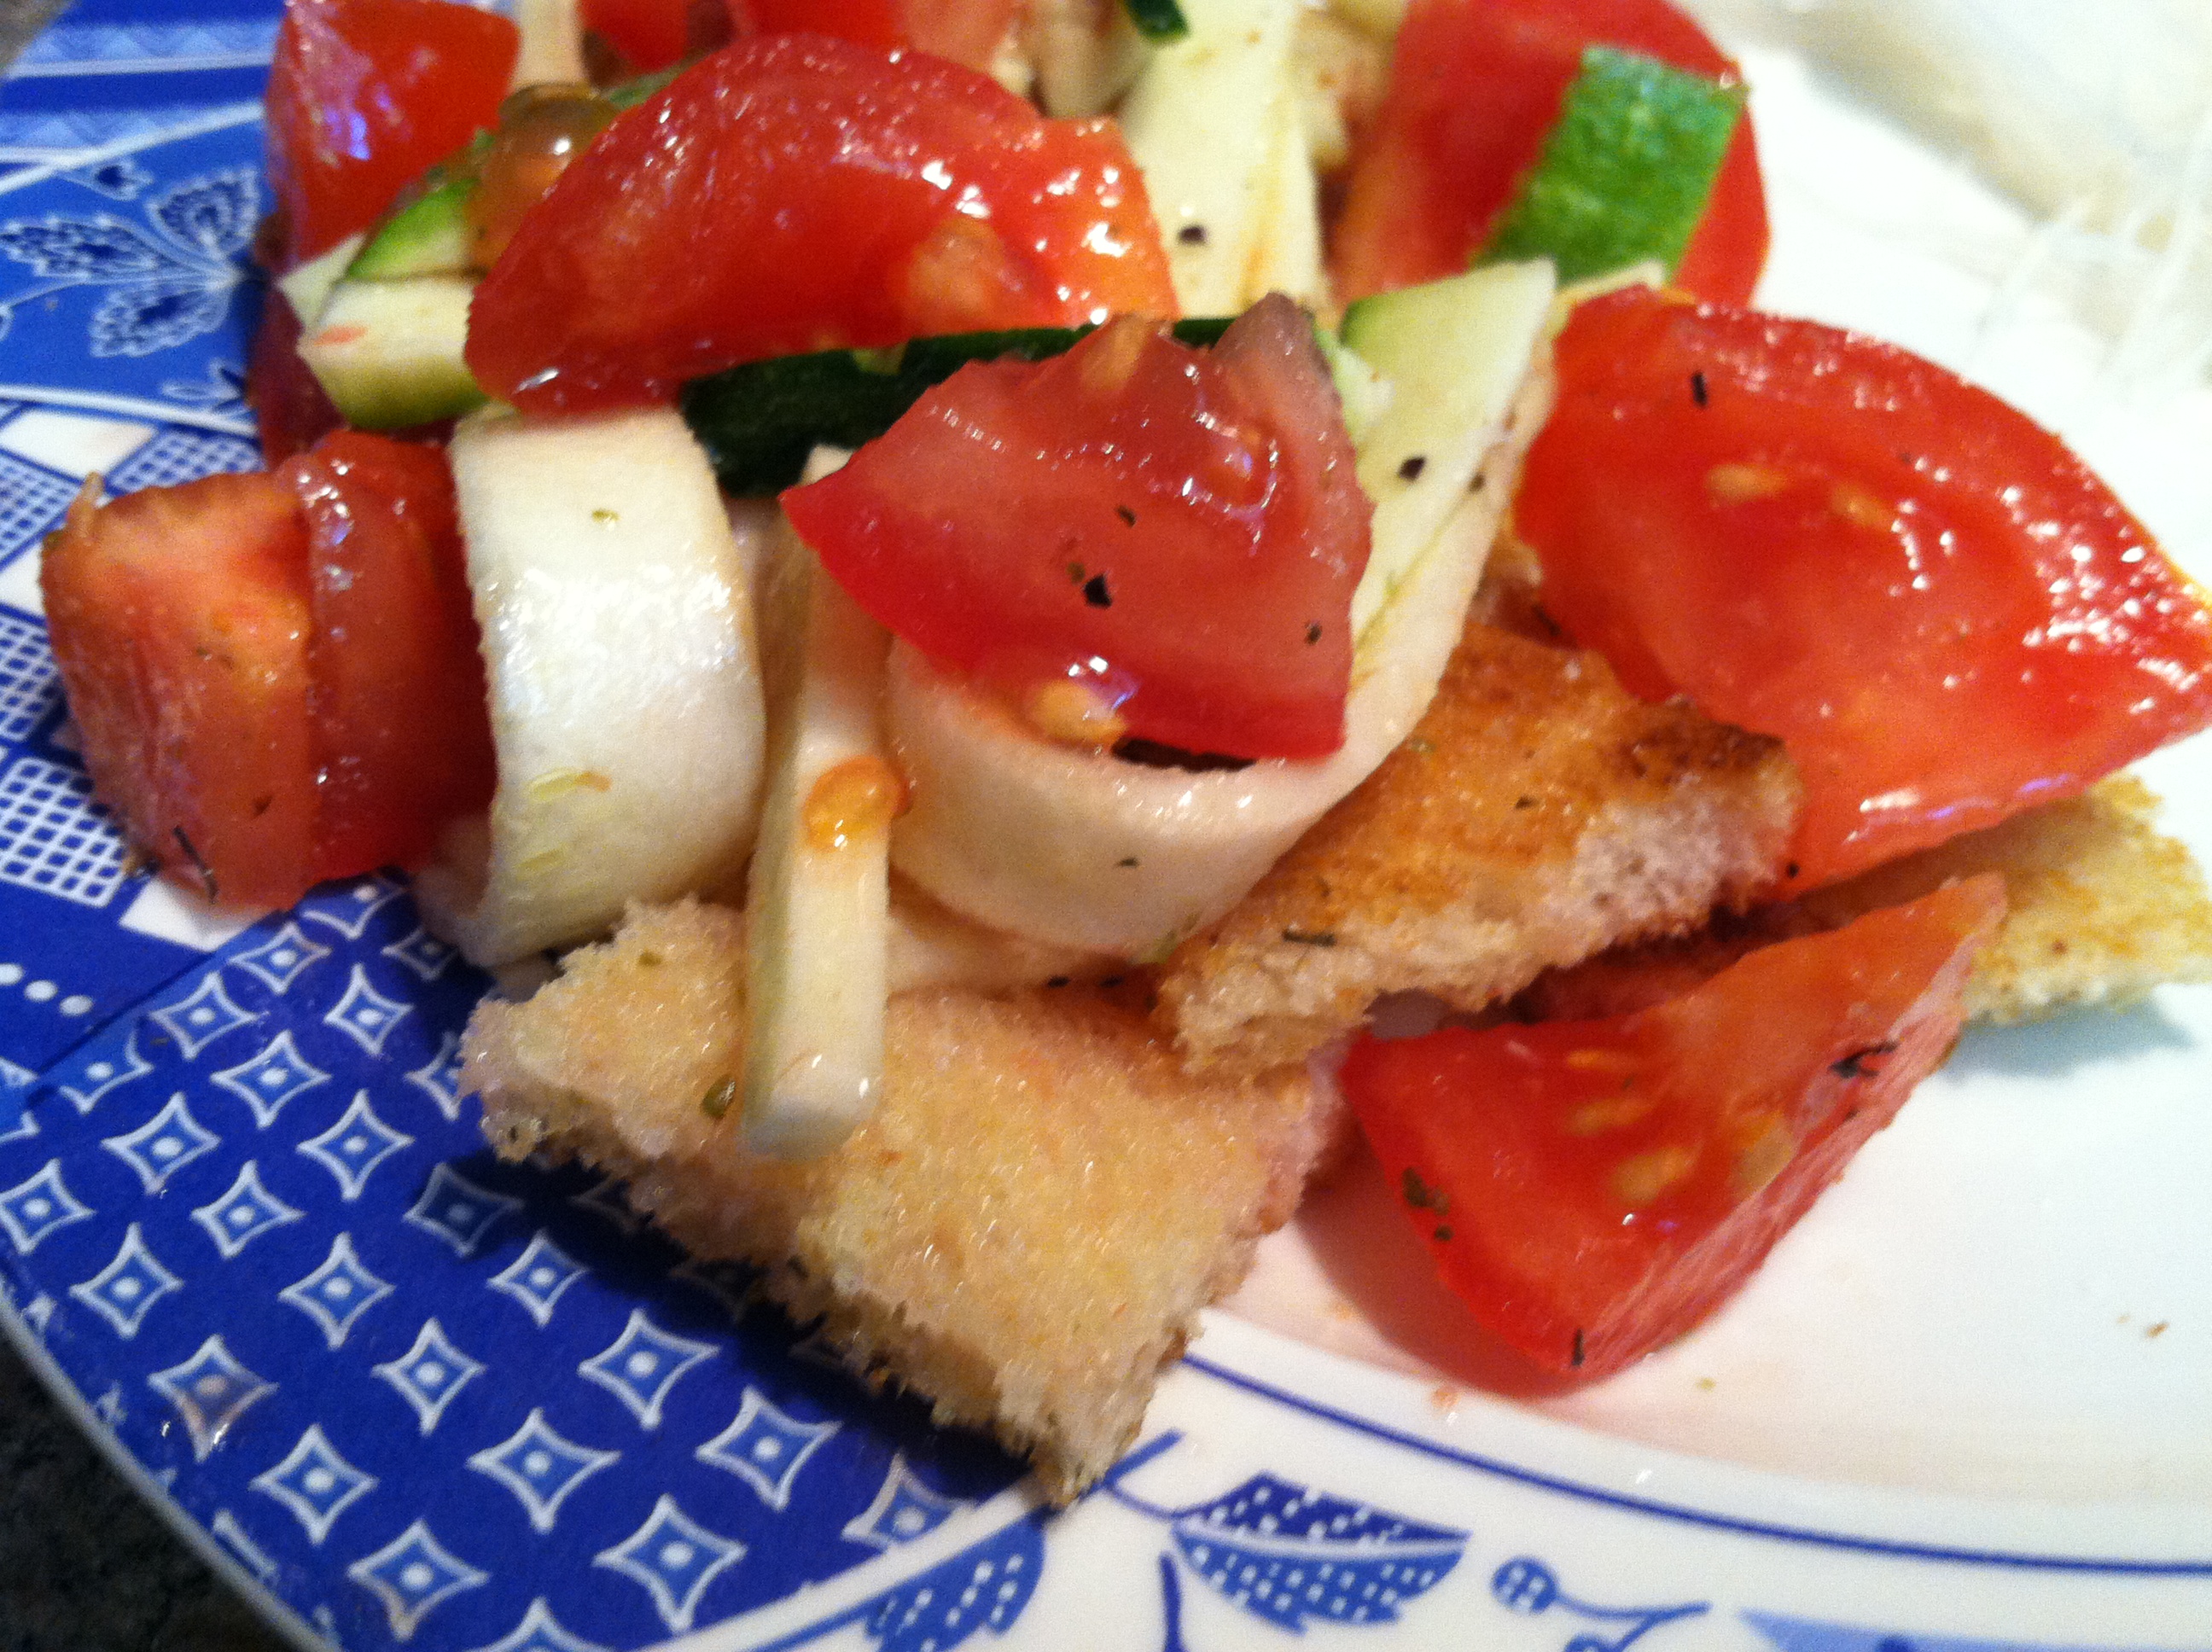
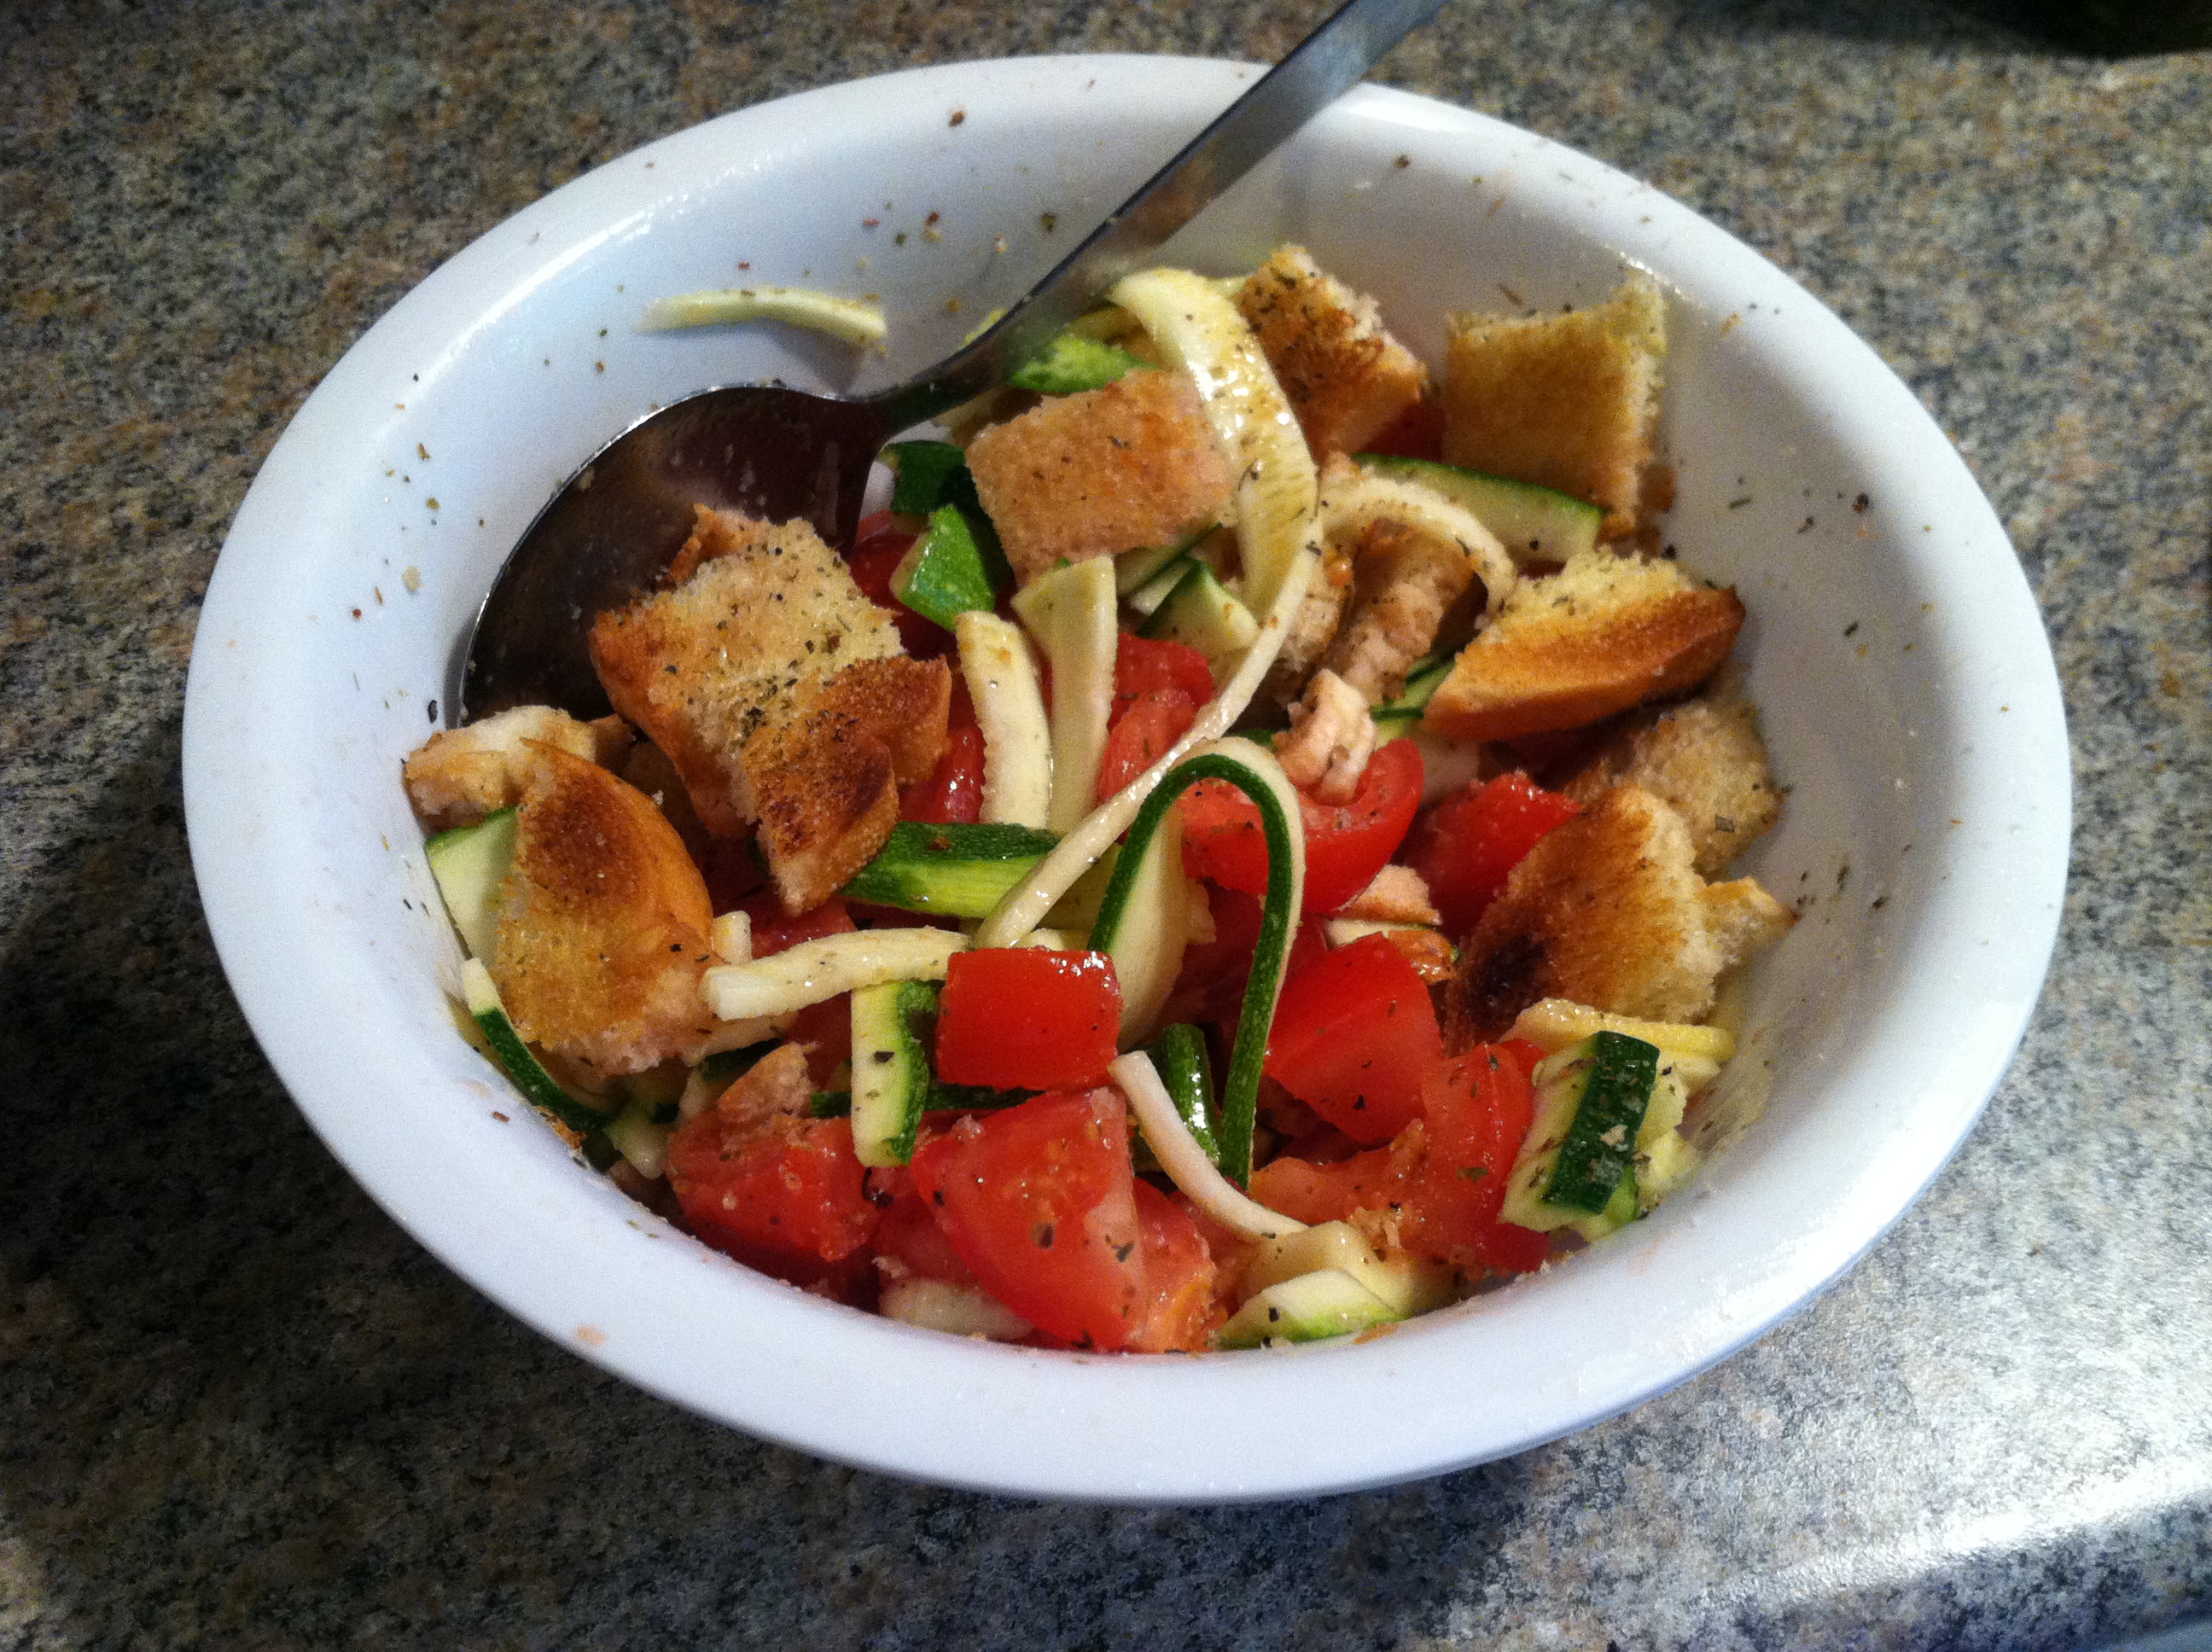
Step 3: Cut the bread into cubes, and mix everything together. You can leave this in the refrigerator for an hour or two to mix and meld the flavors, but don’t leave it too much longer than 1-2 hours or the bread goes from crisp but moist, to soggy.
IMG_9526

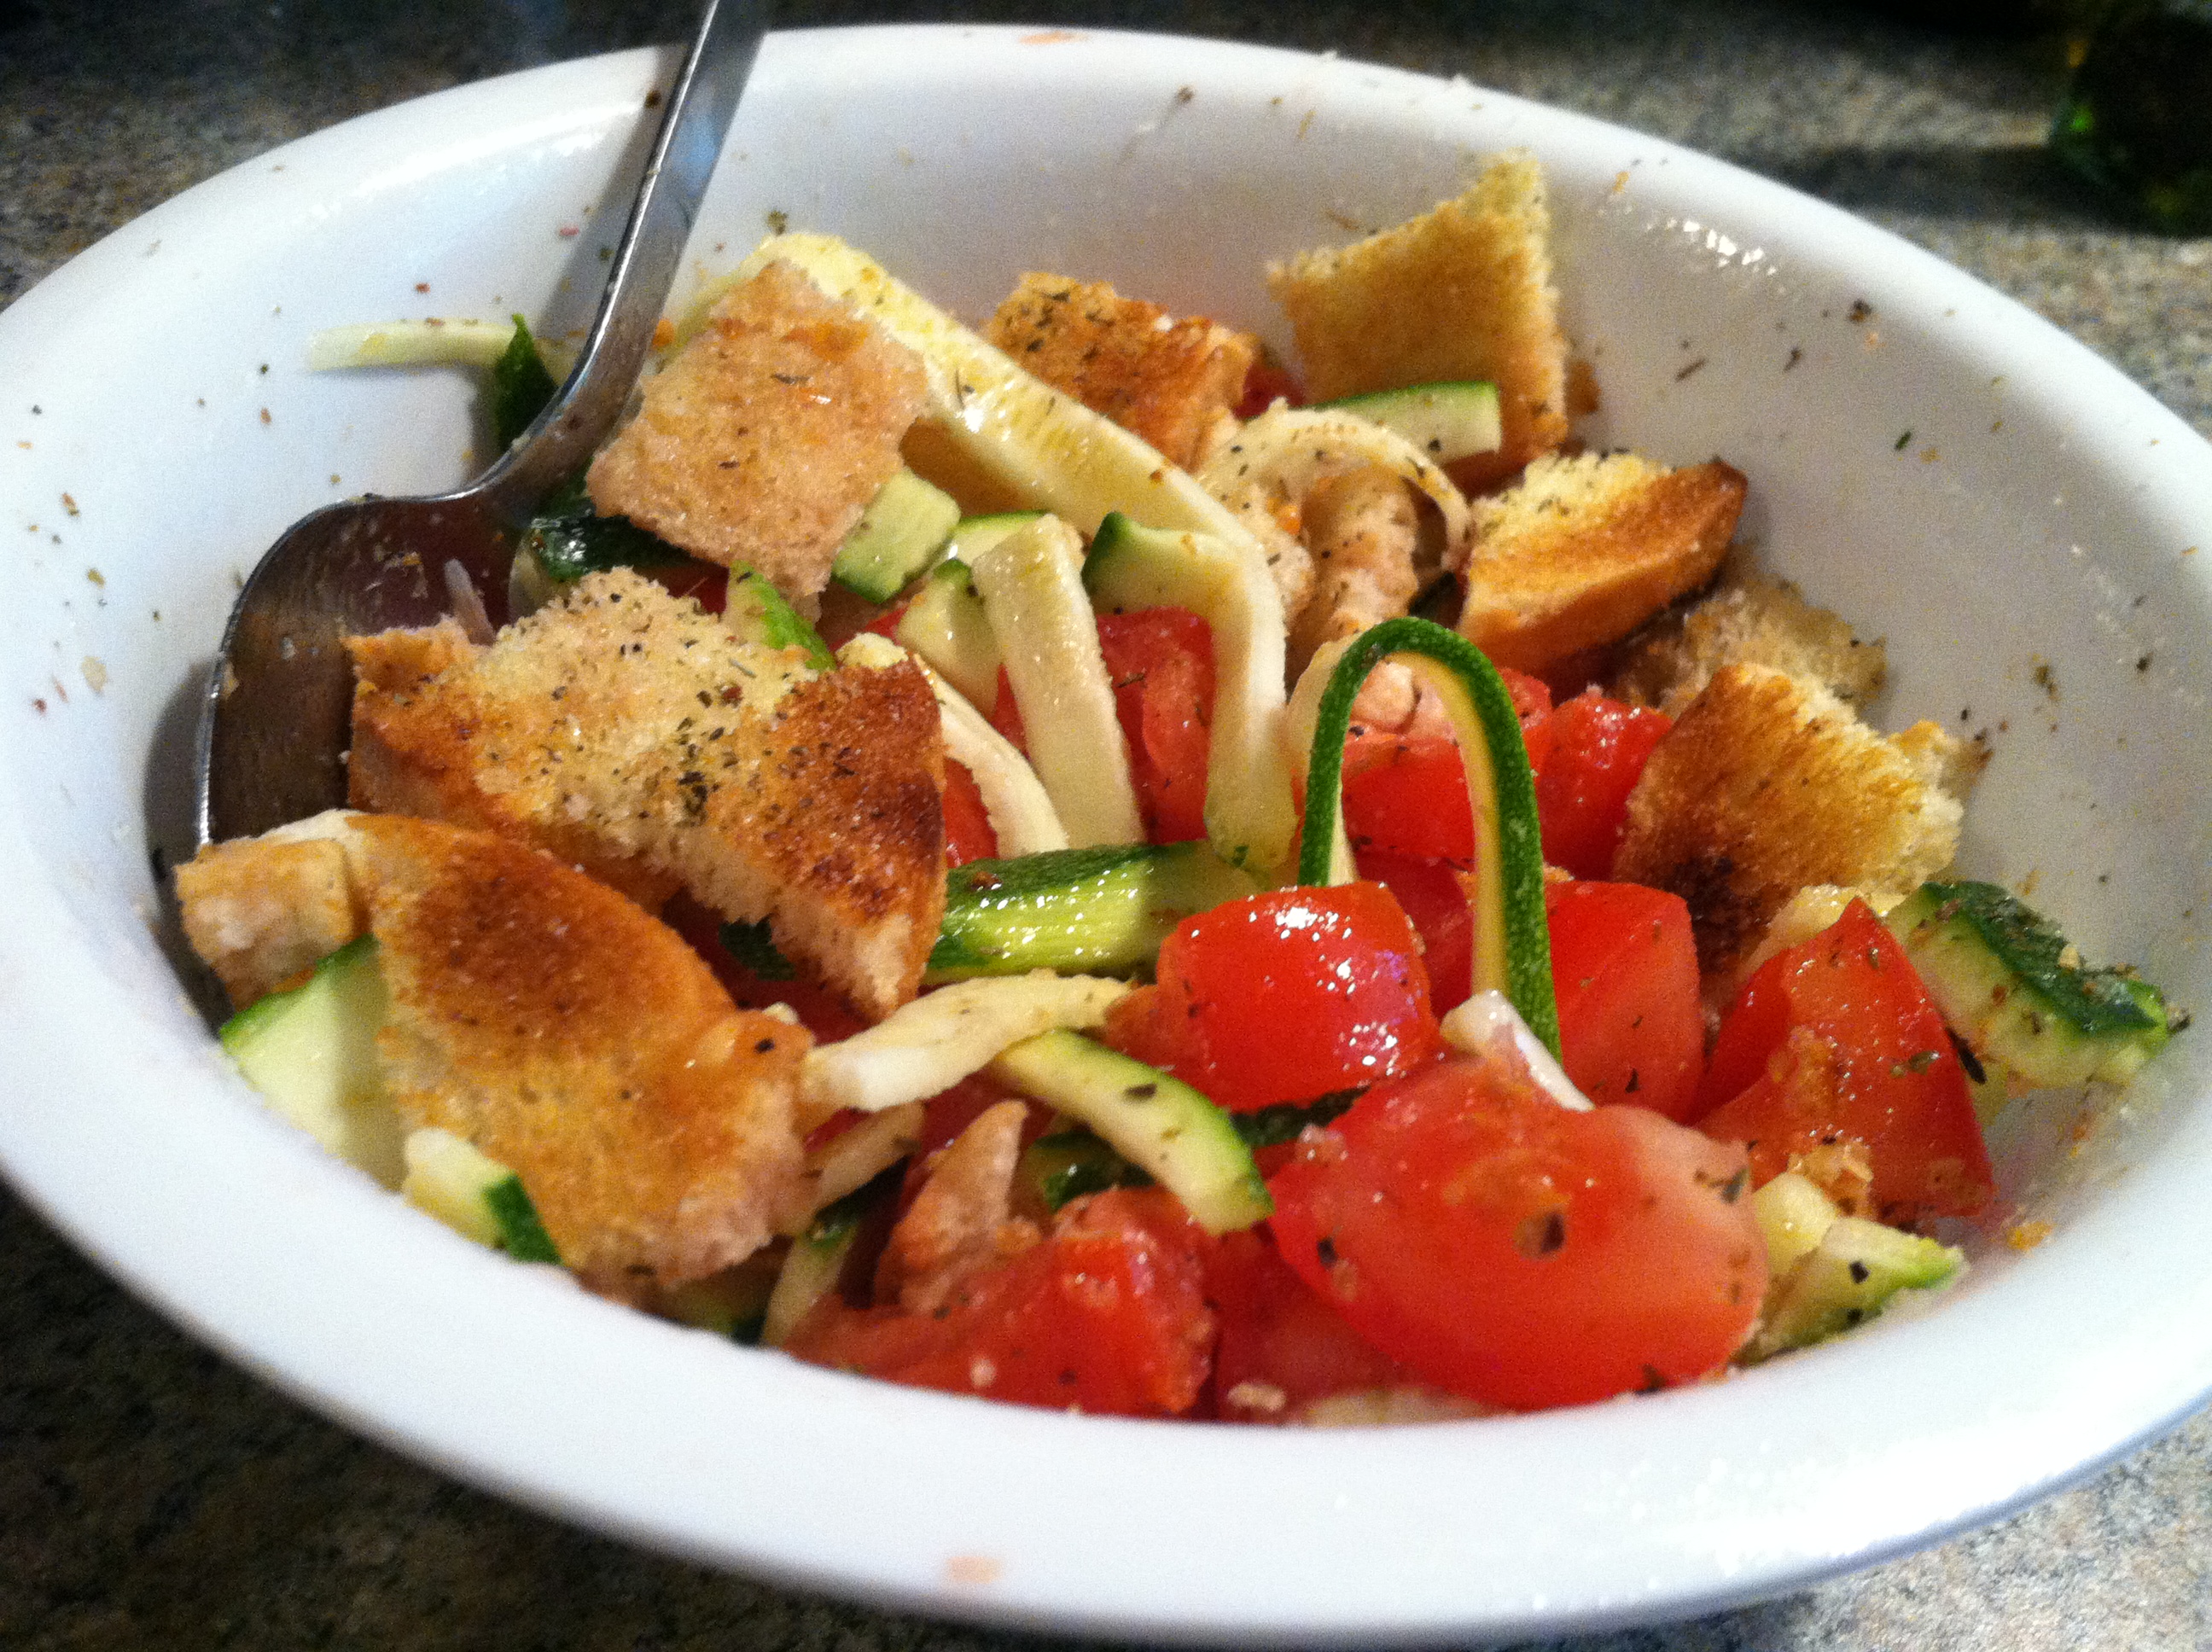
Add salt & pepper to taste, and enjoy!
IMG_9527


[amd-zlrecipe-recipe:28]


Creamy Chili Coleslaw


Summertime always calls for easy to make-ahead side dishes and toppings that you can keep on hand in the refrigerator for an impromptu get-together or picnic. For this reason we have created a whole host of pasta salads, potato salads, and other easy tossed side dishes able to be served hot, cold, or room temperature. One of my current favorites is coleslaw.

Coleslaw is a great choice because cabbage is a nutritious, fibrous food that’s readily available and affordable nearly all the time, and there are so many ways to dress it up. You can add shredded broccoli or other veggies, make it sweet, creamy, tangy, or spicy. In this recipe there’s a little bit of it all for a complex but versatile flavor.

Ingredients:

  • 1/2 head cabbage, shredded
  • 1 celery stalk, diced
  • 2 large carrots, shredded
  • 1/3 cup mayonnaise
  • 2 tbsp cider vinegar
  • 2 tbsp lemon juice
  • 2 tbsp olive oil
  • 1 tbsp mustard
  • 2 tsp cayenne pepper
  • Spices to taste
  • Optional: 2 tbsp raisins or dried cranberries, 2 tbsp sunflower seeds

IMG_9647

Step 1: Cut or shred your cabbage, carrots & celery.

IMG_9648

Step 2: In a bowl, combine all liquid ingredients & spices. Mix into the slaw.

IMG_9649

Step 3: For a sweet & crunchy taste, mix in raisins or dried cranberries & some sunflower seeds (or pumpkin seeds, crushed almonds, or pistachios).

Serve on top of your favorite burger, or on its own as a delicious refreshing summer side.

Blender Black Bean Hummus


As a food, hummus is enjoying more and more notice in North America. Long a staple of cuisines such as the Mediterranean, Egyptian, and Indian cultures, America has been slower to recognize its unique texture, taste, and health benefits. Luckily, this is changing as stores begin carrying national brands as well as their own store brands, and consumers are driving this change.

Hummus has a reputation as a ‘clean’ food, and it definitely deserves its healthy reputation. Each ingredient in hummus is a superfood in their own right: chickpeas, olive oil, tahini, garlic, and lemon juice. All these items have fabulous health benefits. Unfortunately, ‘Big Food’ can manage to take all these good things and ruin it with additives, chemicals, sweeteners, and preservatives.

The great news is, hummus is super easy to make! And the even better news is that it is so easy to create new hummus flavors and recipes based on what you enjoy. For a plain classic hummus recipe, check out this post, and for a different take, read my Feta and Red Pepper Hummus recipe. On the future try-it list: Beet hummus & edamame hummus. Keep an eye out for those posts.

IMG_9480

In this recipe, I show how you don’t have to stick to the expected ‘chickpea’ for the protein and texture. Any old bean type will do honestly, so be creative. If chickpeas don’t do it for you, try lima beans, or black eyed peas. As long as it is in the legume family it should work out texture wise.

Using dried beans makes this recipe incredibly cheap, but you could use canned beans to skip the cooking step; just add straight to the blender. Also if you don’t want to buy a whole can of tahini, you can use any nut butter like peanut butter or almond butter. All tahini is, is roasted and blended sunflower seeds.

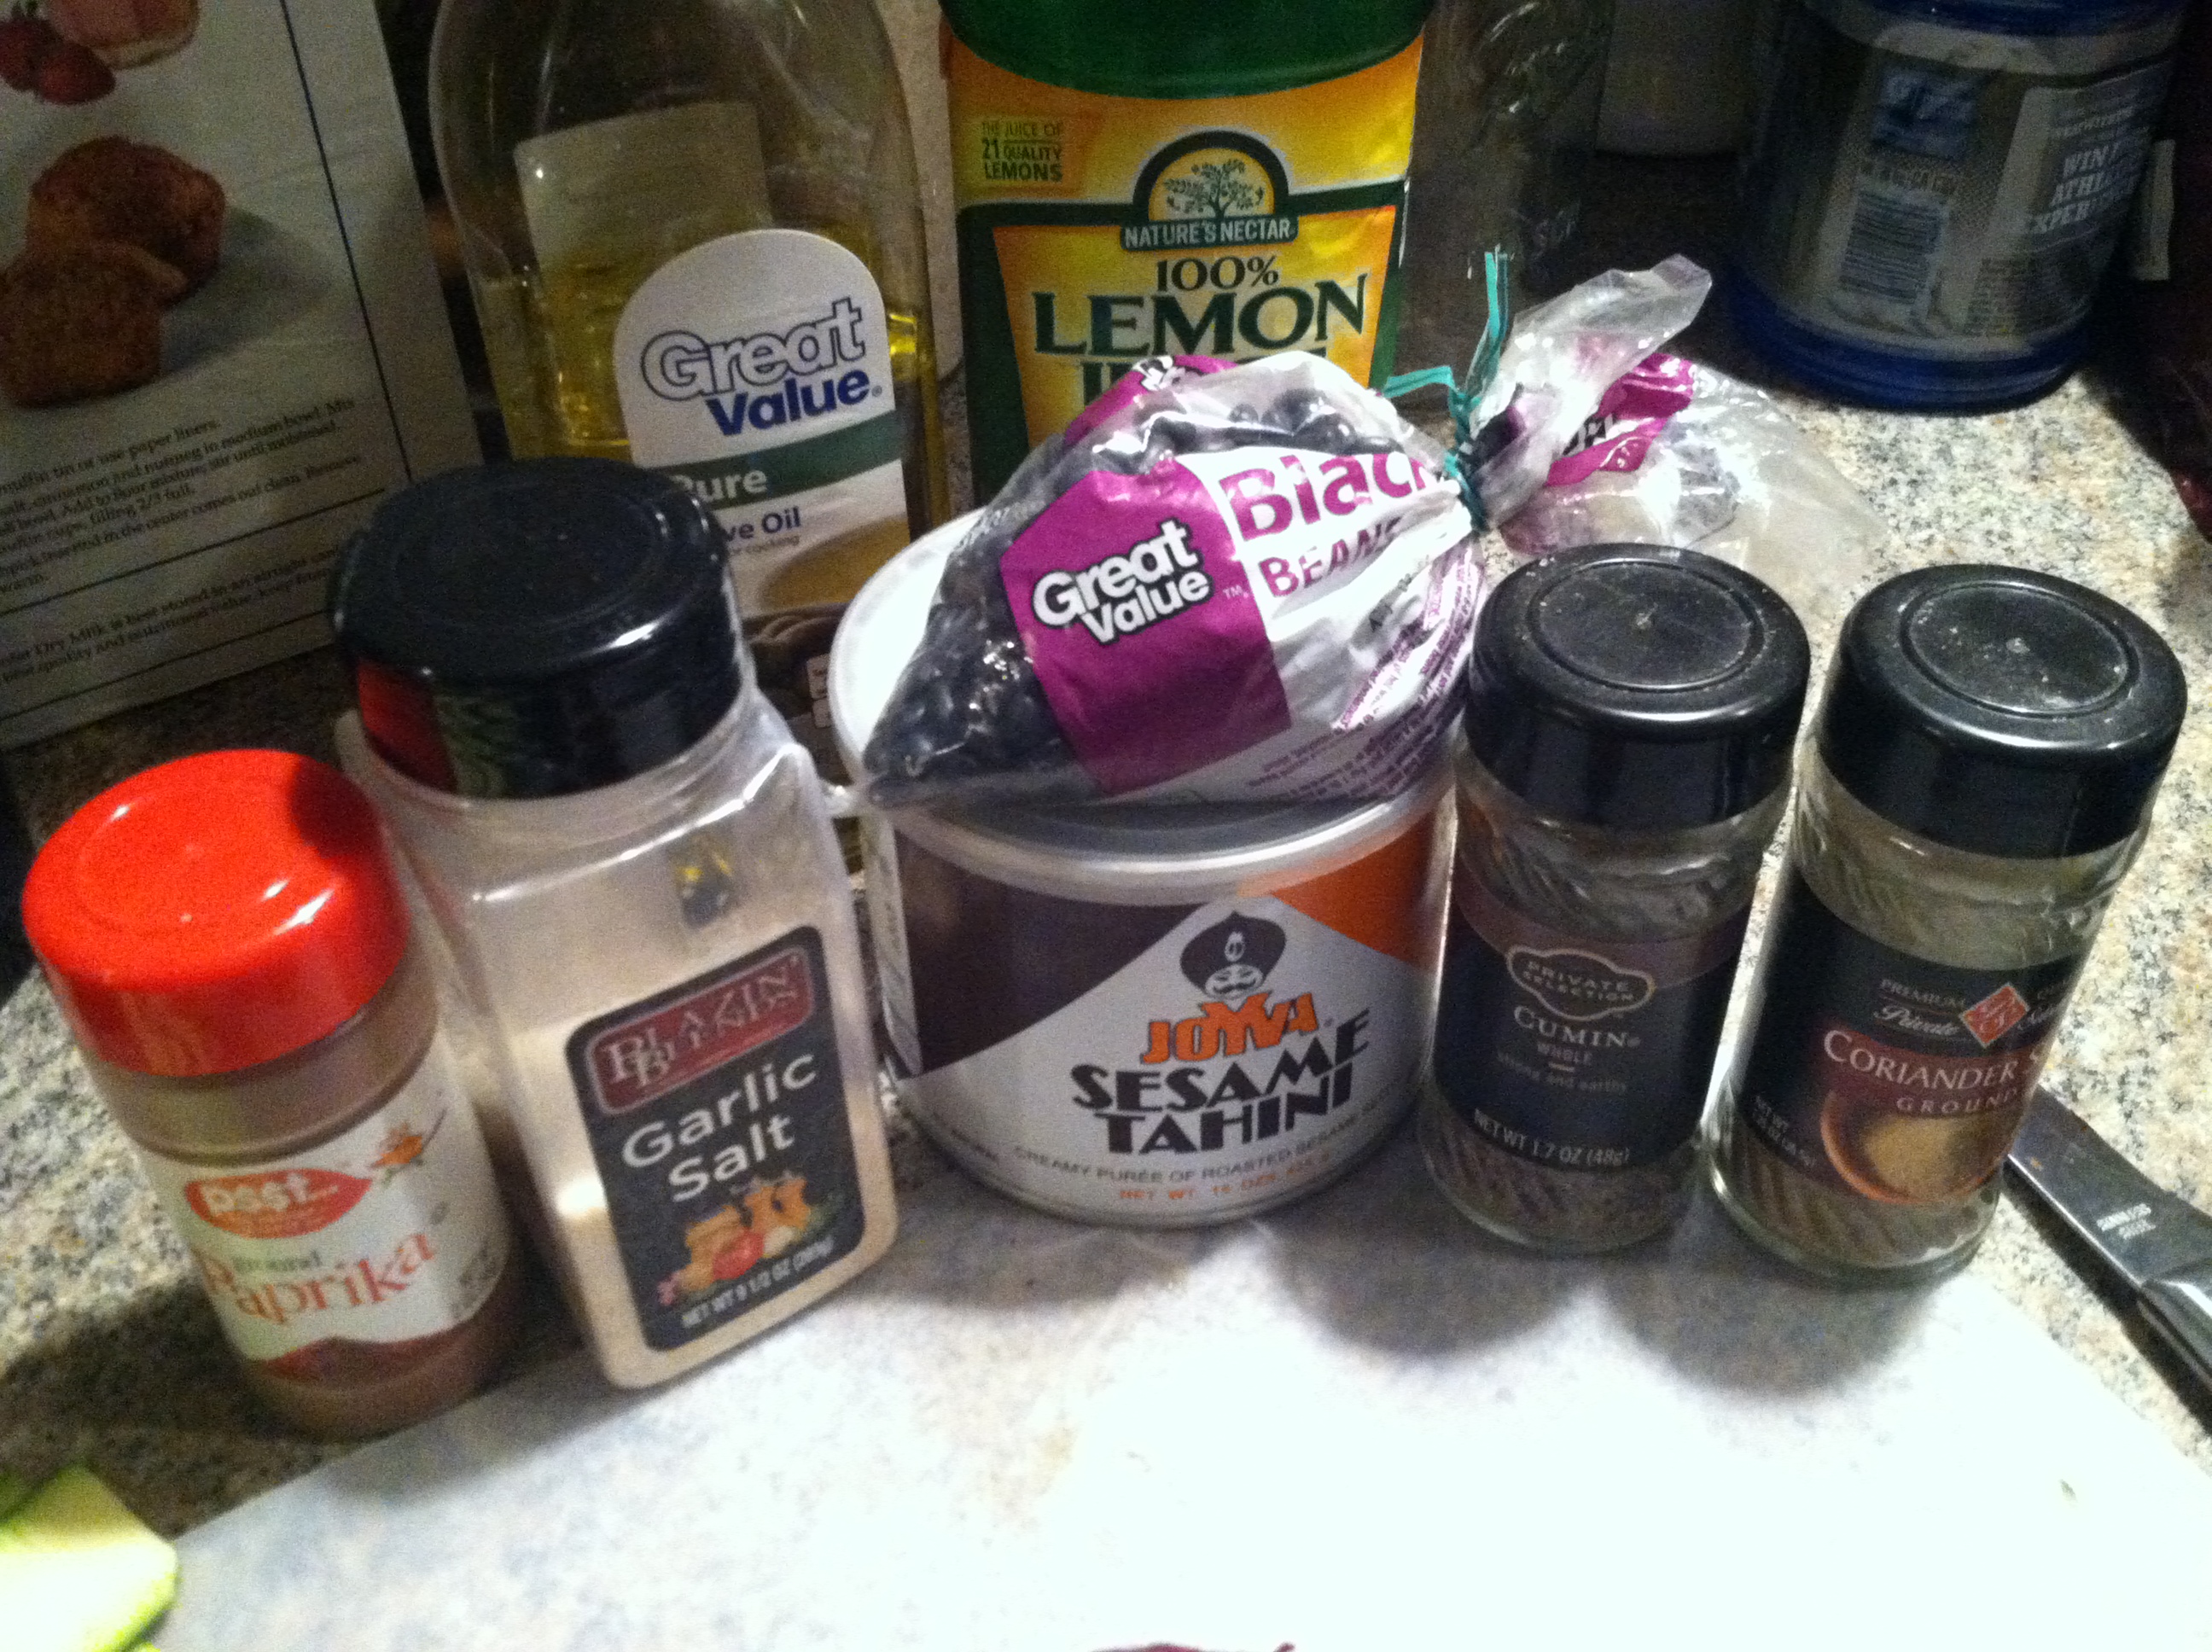
Ingredients:

  • 1 cup rinsed black beans
  • 2 tbsp olive oil
  • 2 tbsp tahini
  • 2 tbsp lemon juice
  • 1 tsp garlic salt
  • 1 tsp coriander
  • 1 tsp cumin
  • 1 tsp paprika

IMG_9477

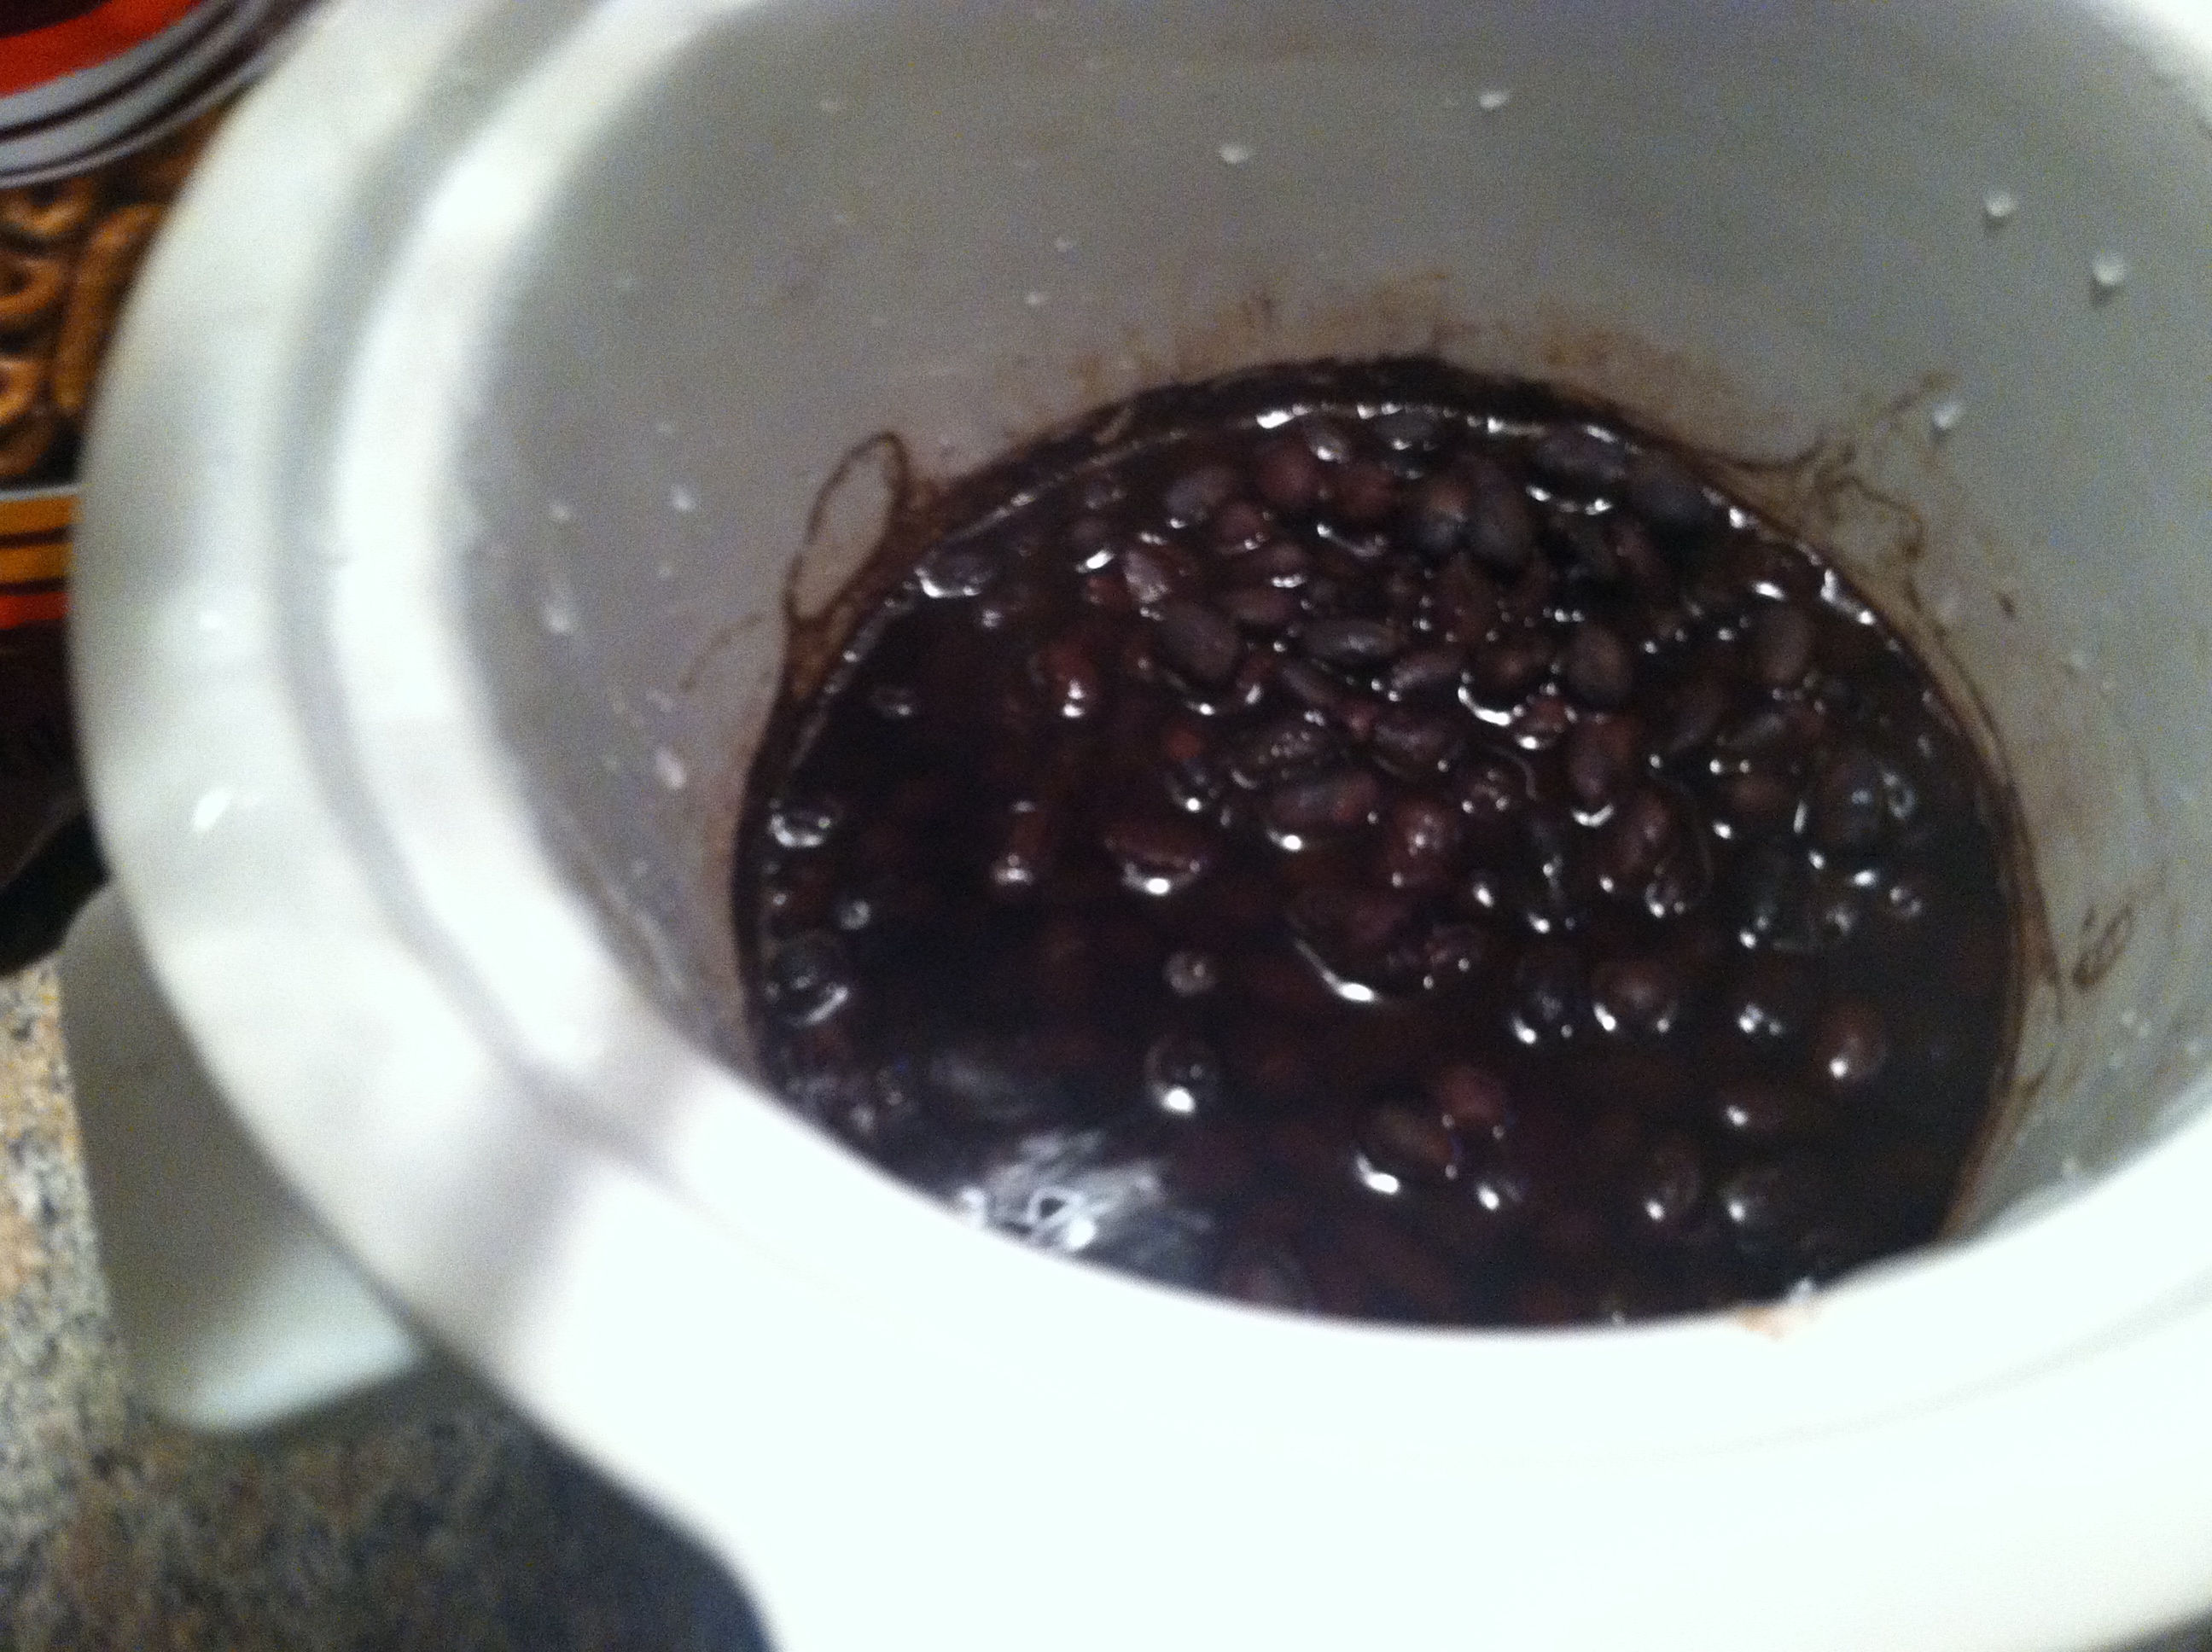
Step 1: Rinse the black beans & make sure there are no rocks/dirt/debris. Place in a crock pot with enough water to cover, and cook on low for 4-6 hours, until beans are soft.

IMG_9475

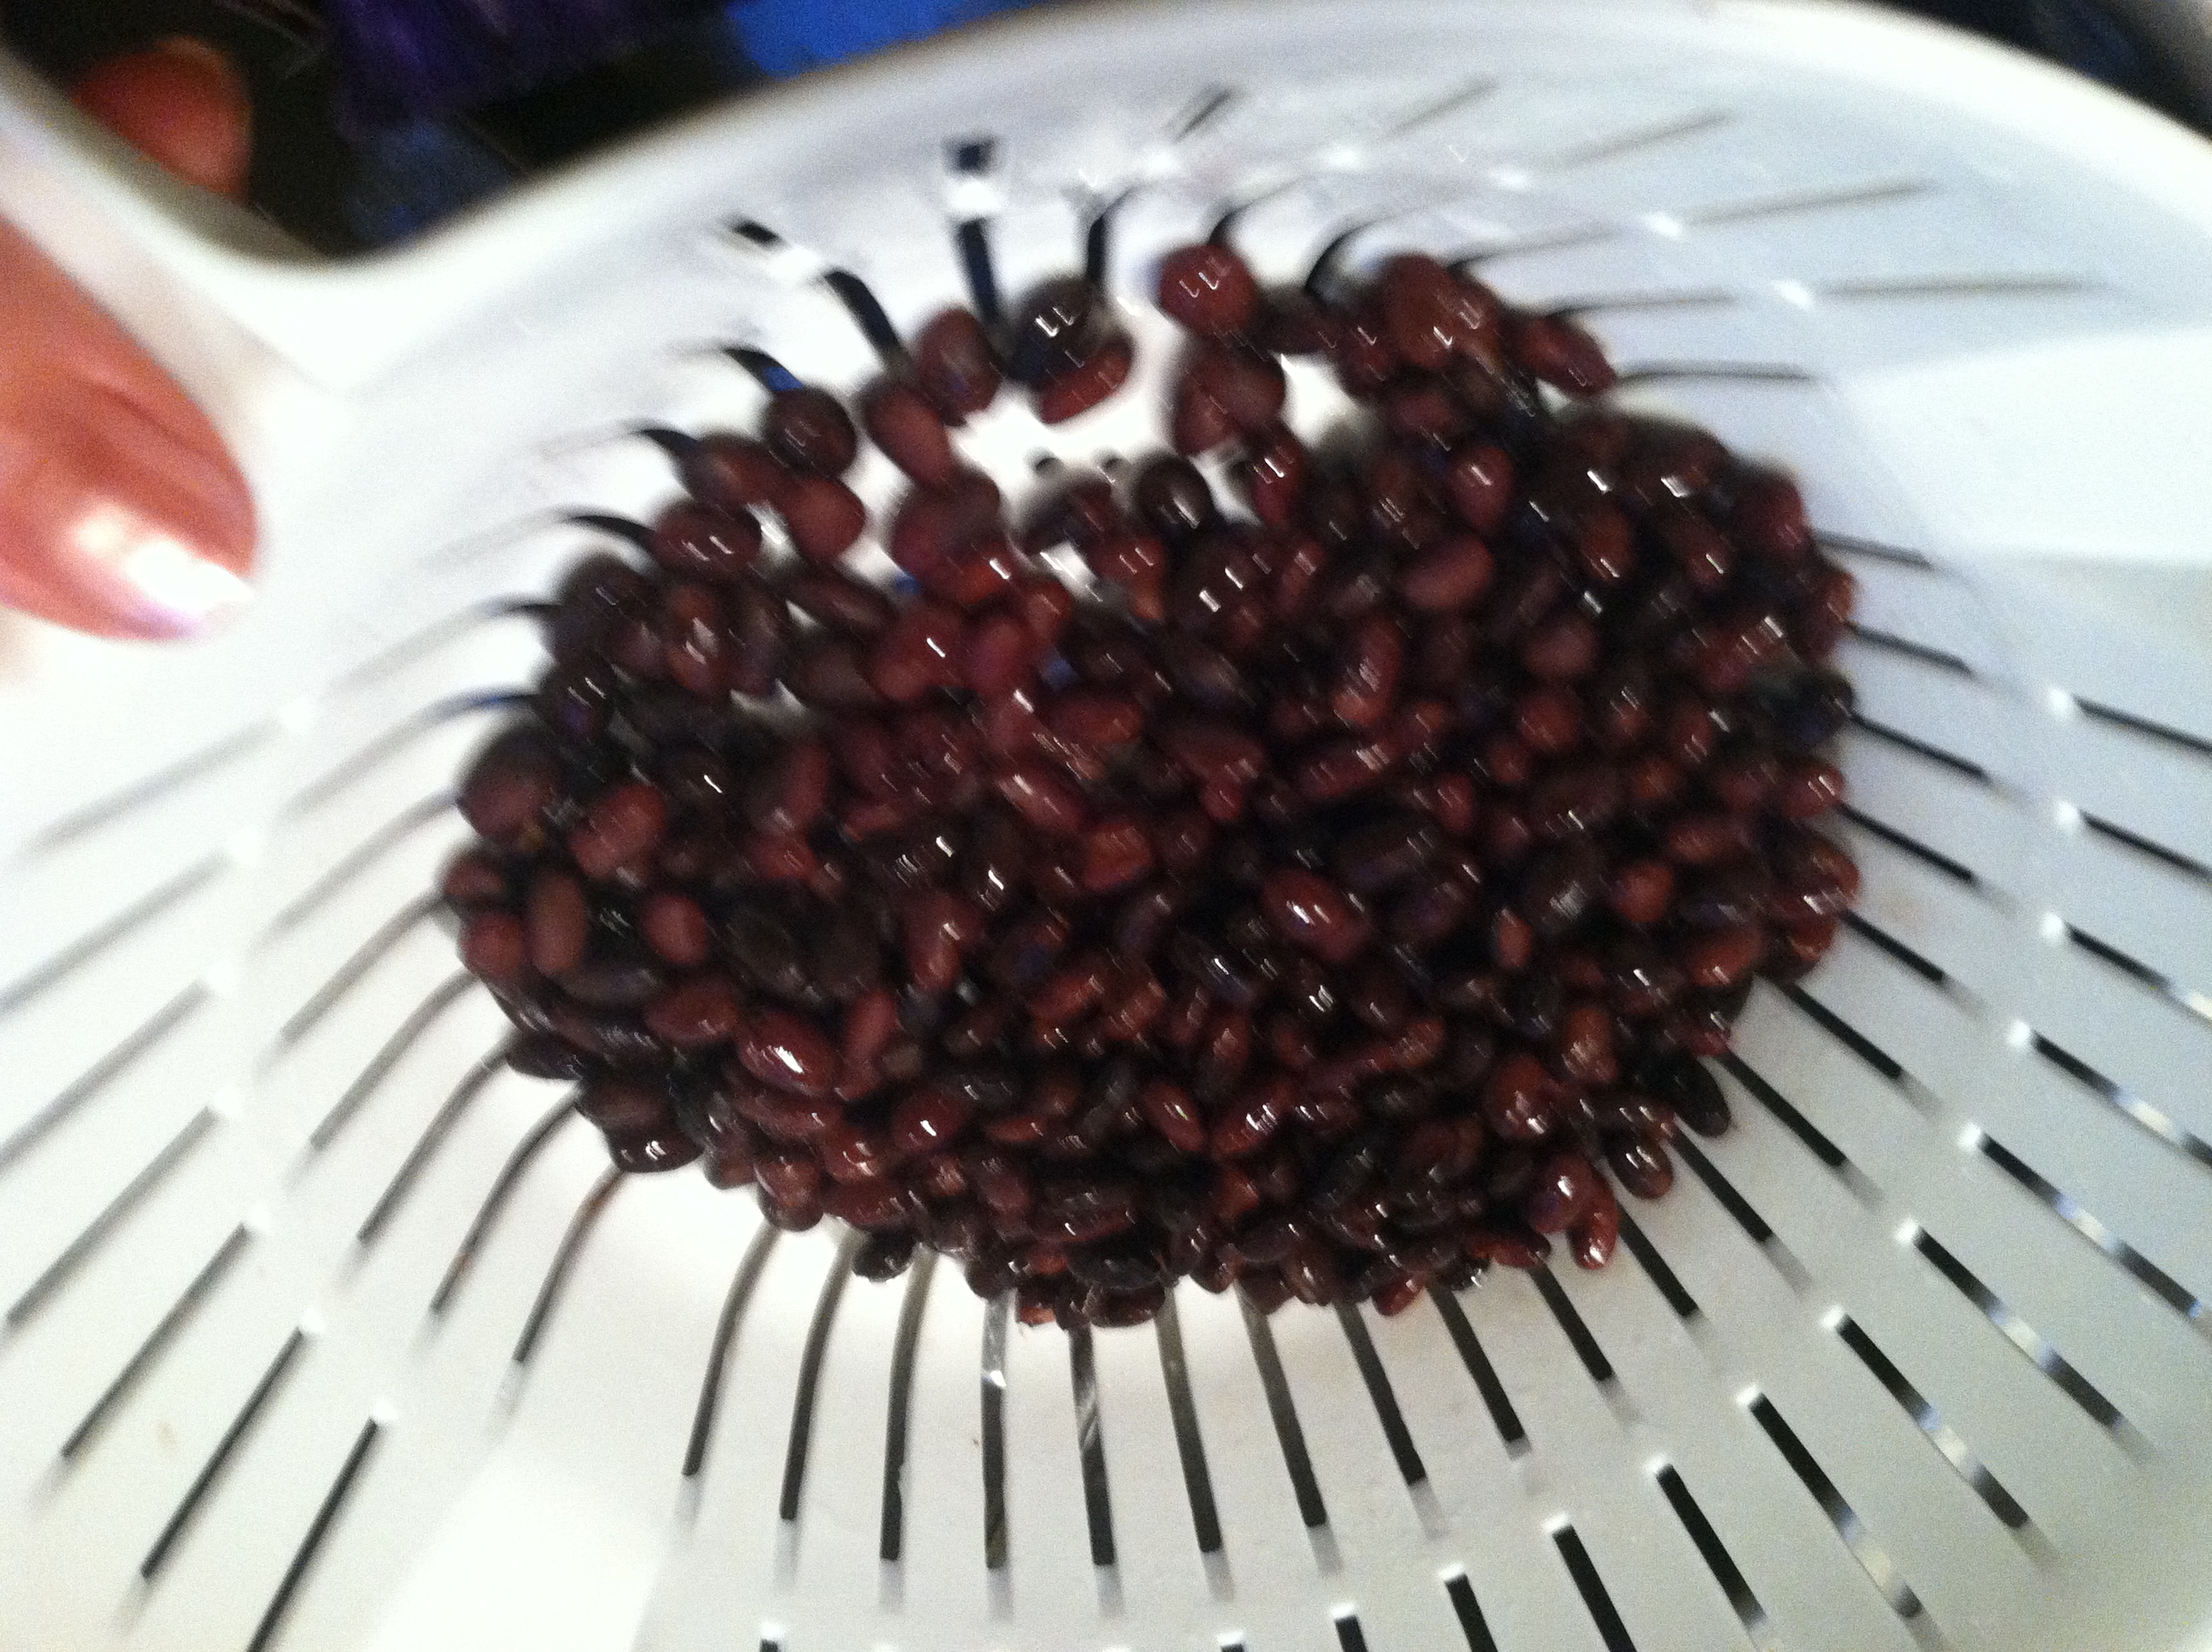
Step 2: If using canned beans, start here with rinsing. Rinse the beans under cool water until it runs clear.

IMG_9476

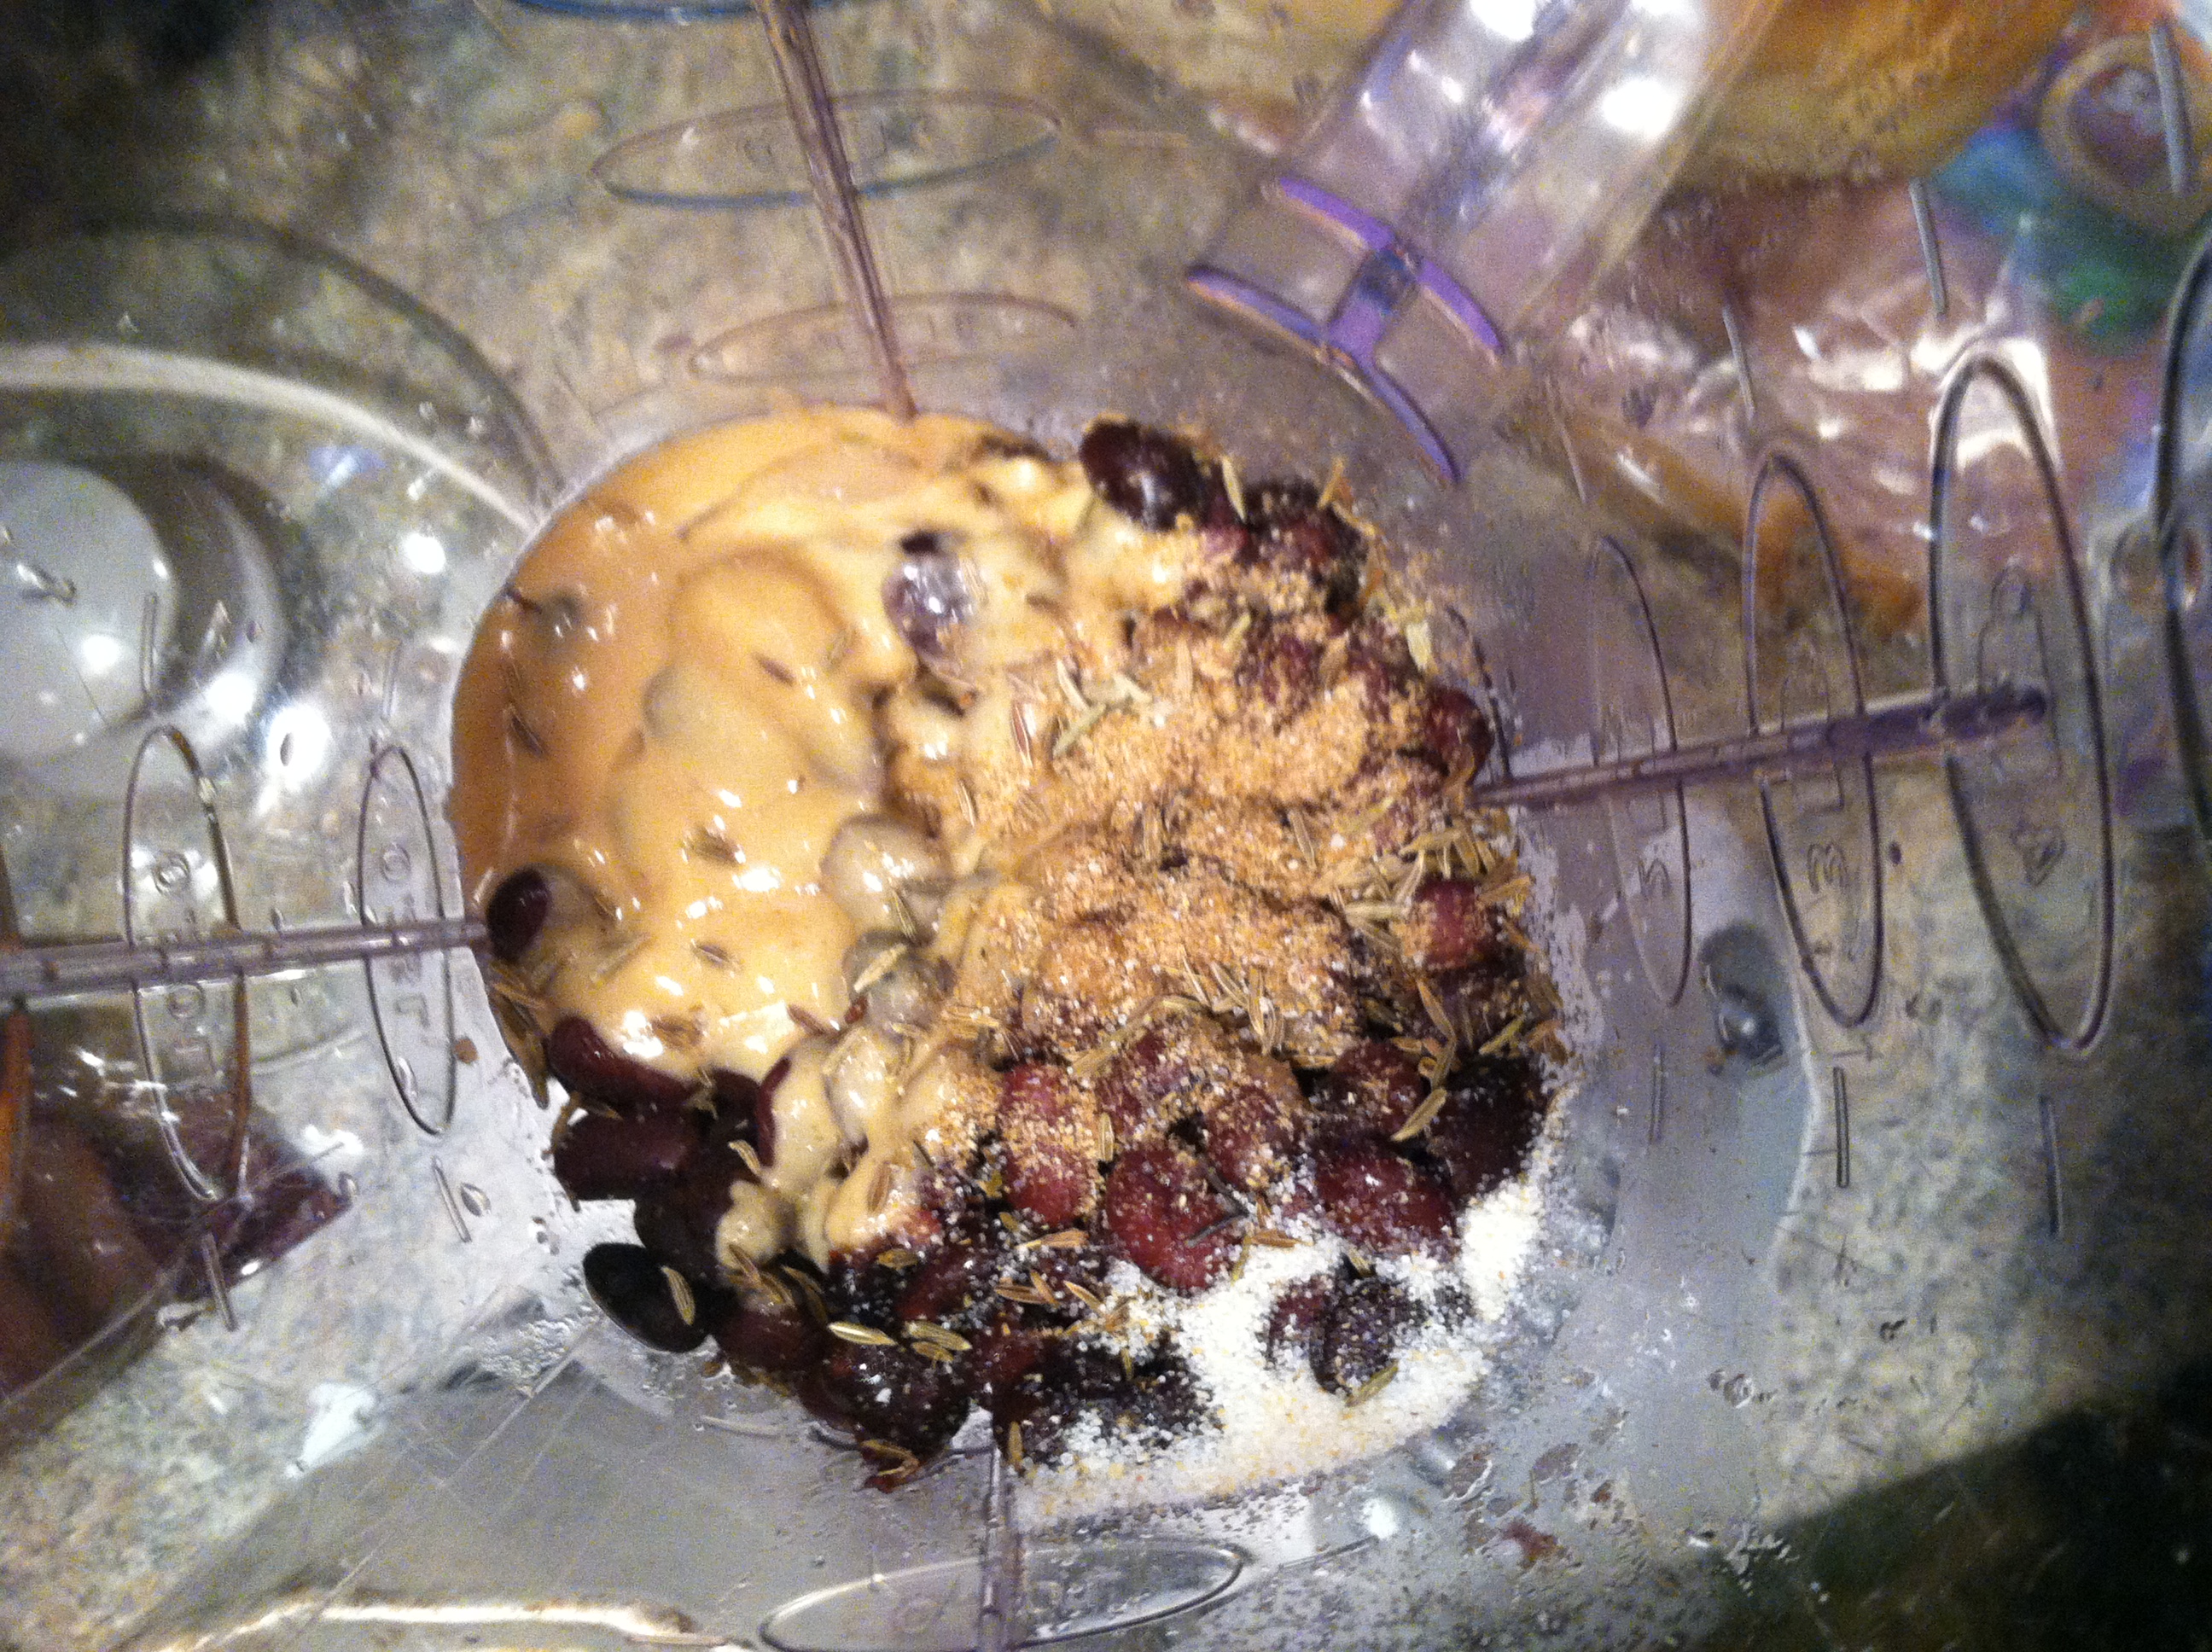
Step 3: Add the beans to the blender, along with the spices, tahini, and lemon juice.

IMG_9479

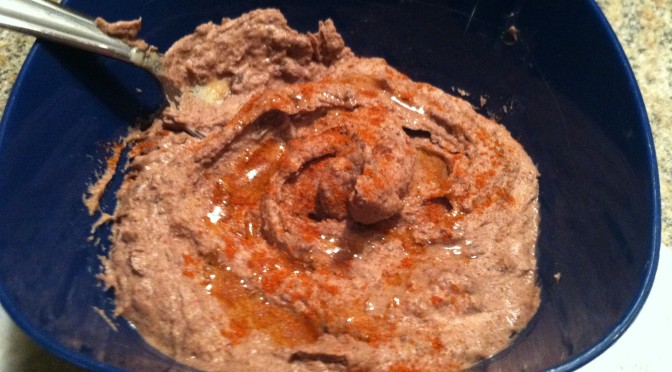
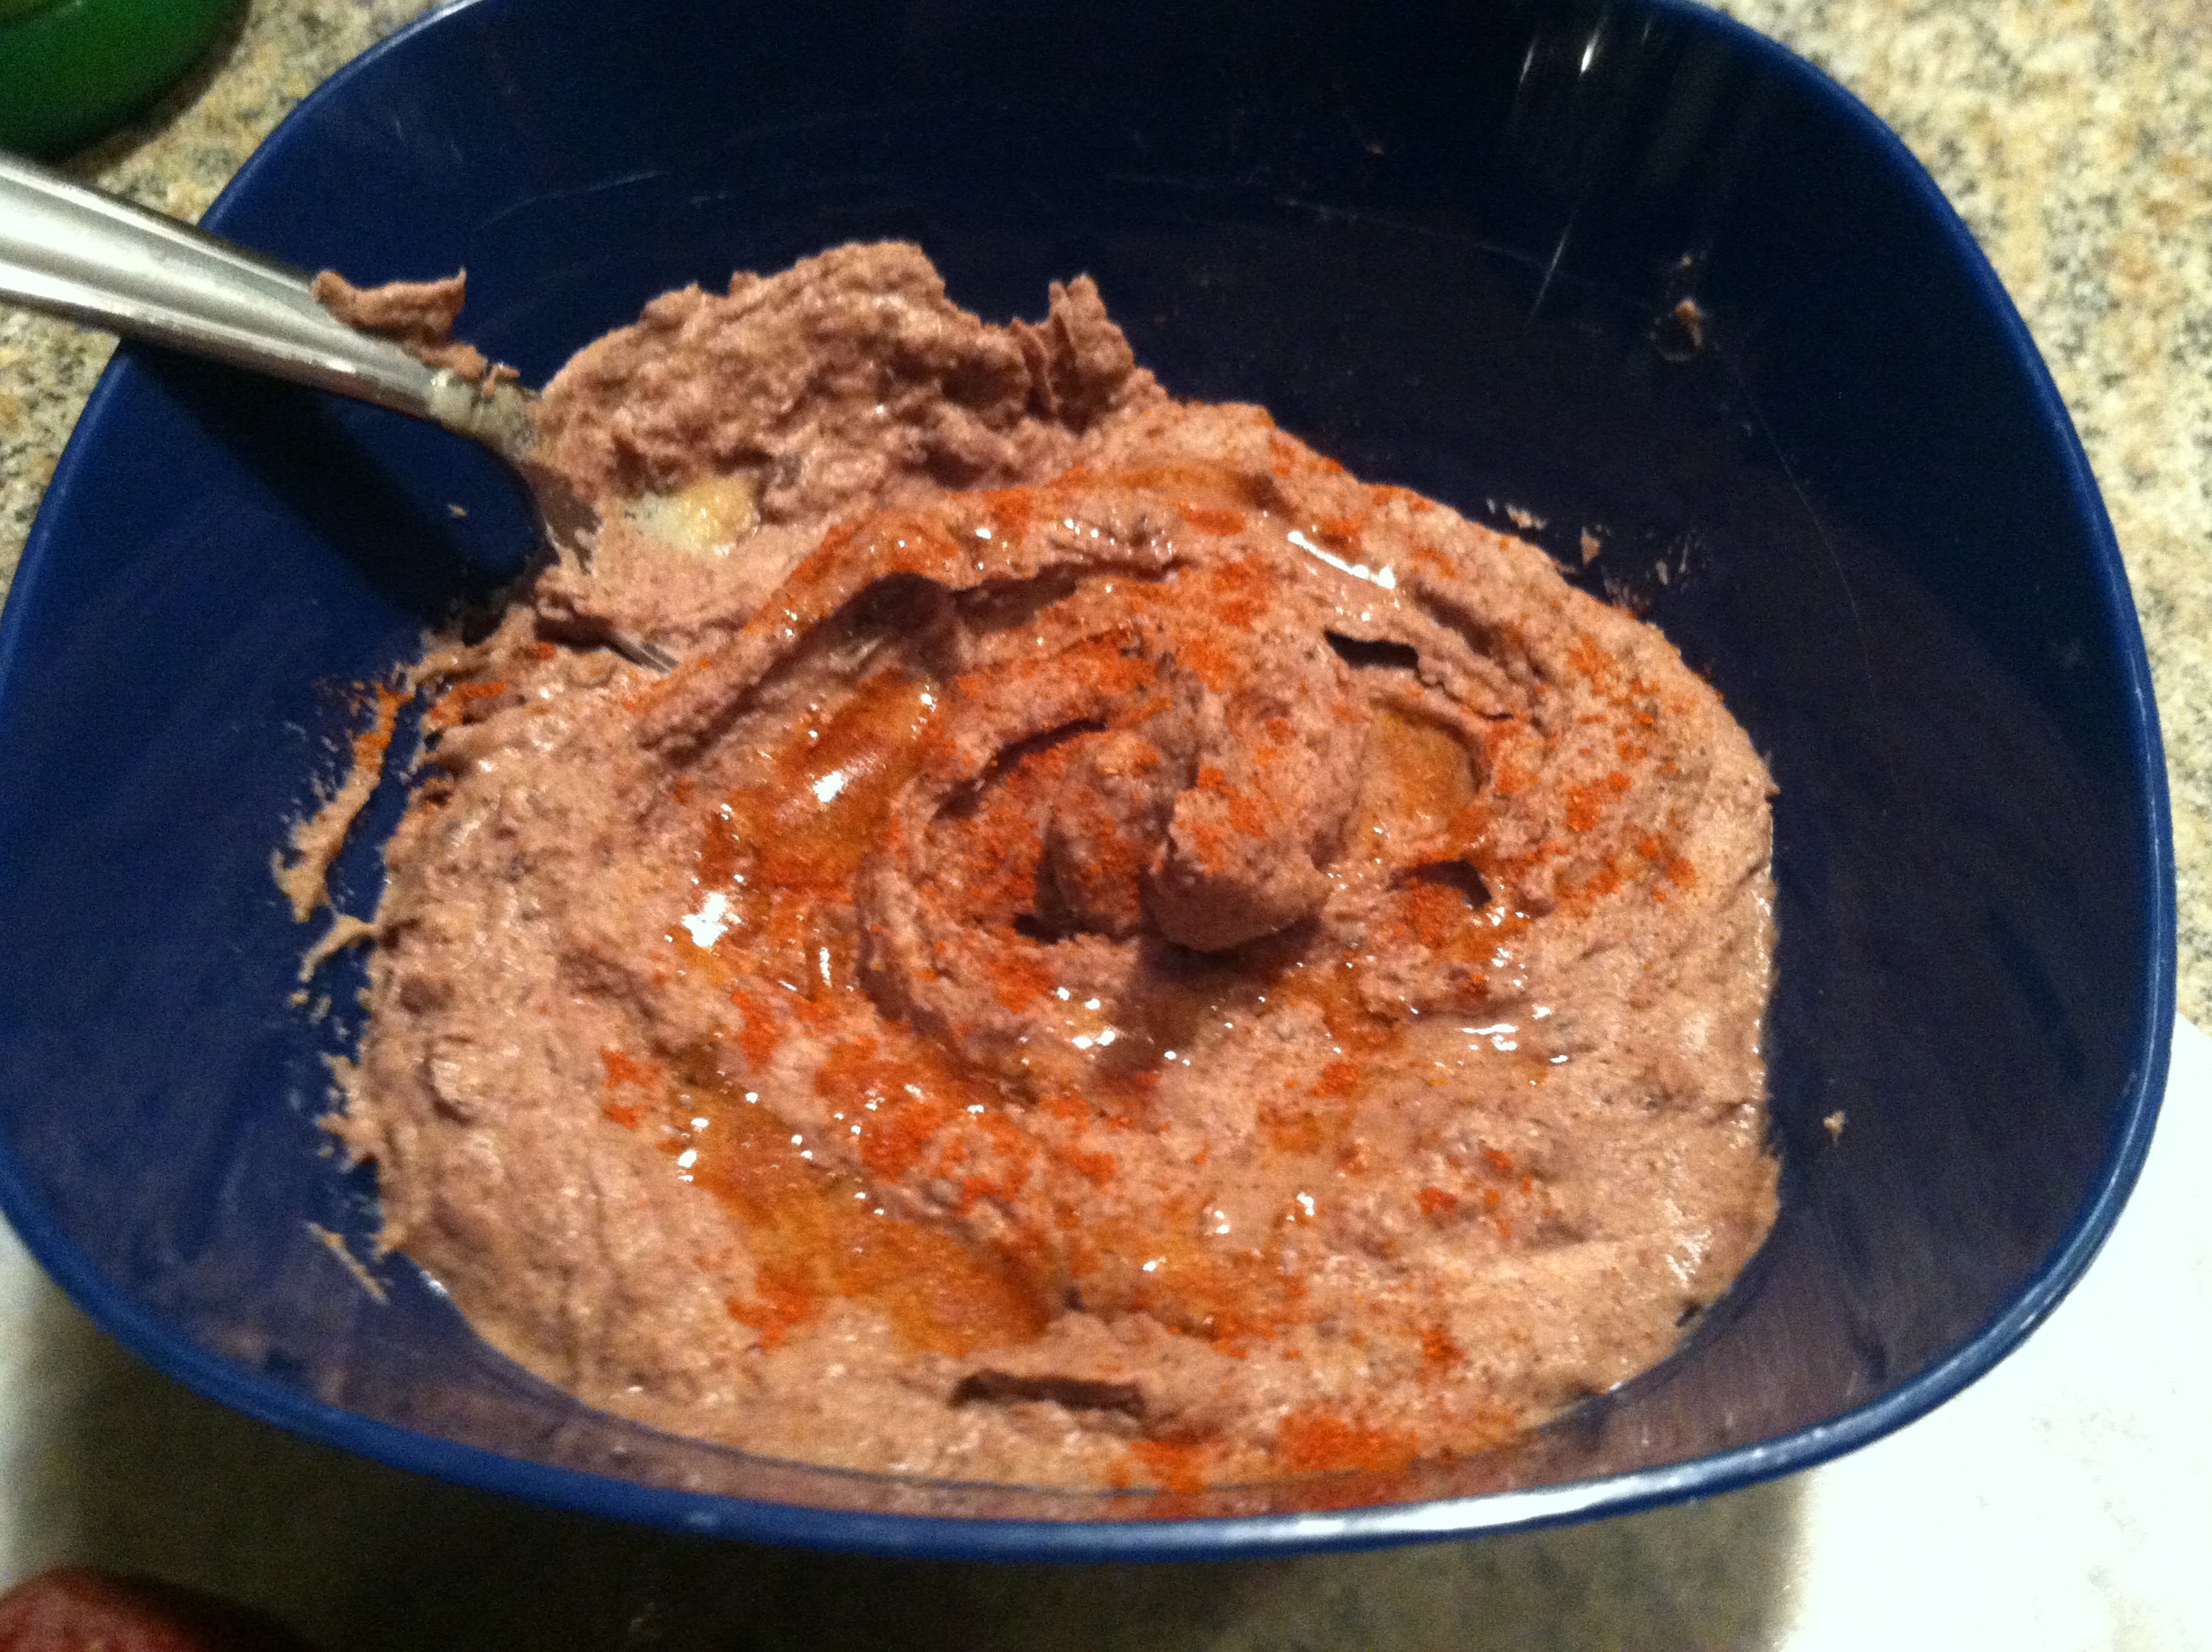
Step 4:  Turn the blender on, and drizzle in the olive oil. Scrape down the sides as needed. Once it reaches the desired consistency, just put in a bowl and you’re done! If it’s too thick, you can add a little more oil or lemon juice, or even warm water, until it’s how you like.

IMG_9481

Once you have your homemade hummus, there are so many options for how to enjoy it! For a nice presentation, drizzle on a little more oil, and sprinkle with paprika. It is a delicious dip for cut fresh veggies, spread it on any kind of sandwiches and wraps, bake your own chips to dip, or use it on pizza like a sauce.

Hummus has tons of plant protein and filling fiber, just try to restrain yourself from eating the whole batch at once.


[amd-zlrecipe-recipe:27]


Bacon Wrapped Asparagus


Summer is the time for delicious veggies, picnics and get-togethers, and grilling out. While I’m a huge fan of any vegetable on the grill, I also believe bacon makes everything better. Water chestnuts, shrimp, and yes, even pork can and should be wrapped in bacon.

But if you’re trying to sneak extra veggies and fiber in, without compromising your meat-eating standards, this recipe is just the ticket. It only takes 2 ingredients and 15 minutes on the grill or in the oven to have a crisp, irresistible appetizer or side dish. Make these and watch as everyone inhales their vegetables. Or go here to watch me make these.

IMG_9371

Ingredients:

  •  2 pounds asparagus
  • 1 pound of bacon (turkey bacon may work too)

IMG_9354

Step 1: Cut the bottom most inch or two off of the asparagus. This is the hardest, woodiest part and does not taste very good. Then take 2-4 stalks, and one slice of bacon. Wrap the bacon around the asparagus stems from the bottom up.

IMG_9355

Step 2: Repeat for all the asparagus. Place the bundles either on top of a baking rack with a baking sheet underneath or on the grill. You want the bacon grease to be able to drip off as it cooks.

IMG_9357

Step 3: Grill on medium-low heat, flipping once, until bacon is fully cooked and asparagus is wilted but still crisp. Or bake in an oven at 350, turning once, for 15 minutes.

IMG_9370

That’s all there is to it! Let them cool enough to handle, and then chow down.

IMG_9373


Click below to watch the step by step video:

Avocado Beet Wrap


As spring kicks into gear and temperatures climb, we start looking for lighter, cooling dishes. It’s tough to enjoy a beef stew or thick chili when it’s 95 and humid. Luckily spring and summer bring a rotating buffet of delicious seasonal vegetables and fruits.

One of my favorite ways to use fresh produce is in a wrap. You can only have a bowl of salad so many times before it gets old. This way you can still have all the greens and good toppings but in a portable, desk-friendly format. Wraps are easily adaptable to just about any veggie or dip (such as hummus, guacamole, or sriracha ranch).

This wrap packs the healthy fats of avocado, the anti-cancer and inflammation-fighting power of beets, the hydration of cucumber and greens in one fabulous lunch. But feel free to sub in another type of green (spinach, kale, beet greens) or other veggies you have on hand. On average, you should eat about 2 1/2 cups of veggies per day, and a wrap should contain approximately 1 cup.

Ingredients:

  • 1 tortilla
  • 1 whole roasted beet (4-5 slices)
  • 1/2 cucumber, skin on if organic
  • 1/2 avocado
  • 1/4 head of romaine (or 1/2 c greens)

IMG_8979

Step 1: Cut up your avocado, cucumber, & beets. Spread the greens on the tortilla, top with veggies. Roll up and enjoy!


*Some time saver tips:

  • Use canned beets for the slices
  • Pick up pre-cut cucumber from a salad bar
  • Use packaged guac instead of an avocado

Flatbread Flexibility


One of my favorite things to go on sale is biscuit mix. This is because the mix is so very flexible. You can of course whip up soft, flaky biscuits in ten minutes, but you can also do so much more. I’ve used it to make pizza bites, tuna pockets (more than once actually), and as a pie crust substitute.

But the best way to use biscuit mix, other than biscuits, is as a flatbread for pizzas! These are amazing because the toppings are only as limited as your creativity.

I was having a get-together, and had to make something to feed a crowd at the last minute. This was my mom’s idea, and it turned out to be brilliant. Everyone could try something different, and everyone was happy with the results.

Feel free to get creative with whatever you have in your kitchen.

Ingredients (per pizza):

  • 1 roll biscuit dough (or pizza dough)
  • Approx. 1 cup toppings
  • 1/3 cup sauce (marinara, ranch, BBQ…)

IMG_5673

This pizza included bacon, cooked chicken breast, spinach, shredded cheddar cheese, and ranch dressing.

IMG_5680

As you can see, you can make pizza pockets, in many different sizes. Just press the dough together and mold it to the size you need.

IMG_5683

The smaller the pizza pocket, the less time you need to cook. These all went in for about 12 minutes, and you can see the smaller pockets are a darker brown whereas the larger ones are slightly golden.

IMG_5687

We had some with mozzarella and pepperoni, some with red pepper and spinach, and some bacon BBQ. These would be great for birthday parties, cookouts, picnics, a casual weeknight, and more.

Fresh Caprese Salad


Ahhh the Caprese Salad. Trending for years in America, but traditionally know as “insalata caprese” for centuries in Italy. Typically served as an “antipasti” or appetizer, rather than a salad, the caprese salad all Italian home cooks know and love consists of homegrown or local tomatoes at the peak of freshness, young garden-grown basil, thick chunks of buffalo mozzarella, and the finest olive oil you can afford.

Be warned, the recipe I am about to share violates some of the Caprese purist rules, including using baby mozzarella and balsamic vinegar. My apologies. For a true, simple, Italian recipe, try In Italy.

But as they have pointed out, Americans rarely will accept a very simple dish as-is. Our culture demands experimentation, ostentation, and exaggeration. We want to feel special, trendy, unique. We want validation for spending ten times on a meal what the ingredients to make it at home would have cost.

Enough of my soap box. Here is my at-home version of insalata caprese, enough for one light lunch portion or an appetizer for two.

Best in late summer, when tomatoes are at their peak of season and basil is cheap (or flourishing on your window sill)

Ingredients:

  • 4 oz fresh mozzarella
  • 4 oz cubes fresh tomato
  • 1 oz fresh basil leaves
  • 1/2 oz olive oil
  • 1 oz balsamic vinegar
  • Garlic salt & Italian seasoning

IMG_5743

Better yet, grow your own basil! It’s an easy plant to tend, in a garden or a container, and is usually quite prolific. Then you can enjoy the fresh scent and taste of basil in sauces, pastas, and pesto year-round.

IMG_5744

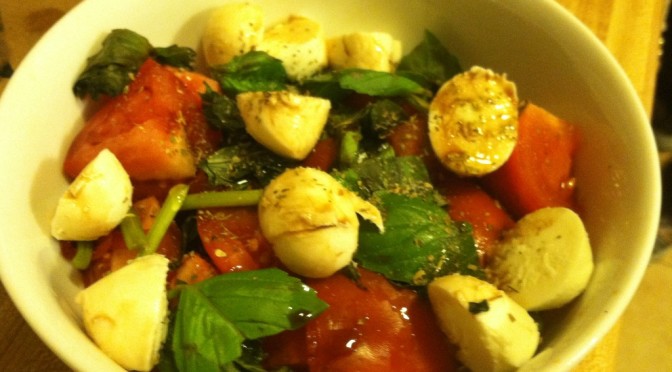
Step 1: Put a large handful of basil leaves into a bowl. Slice the mozzarella on top. Cut the tomatoes into chunks and add those. If you’re going for a nice presentation, use a larger ball of mozzarella and larger tomatoes, and slice into thick rounds. Layer these on a dish, alternating red-white-green. Like the Italian flag.

IMG_5746

Step 2: For the purists, at this point you should add some salt and pepper to taste, and just a drizzle of pure, high-grade olive oil. I also sprinkled on Italian seasoning (a little redundant to add dried basil to my fresh basil but hey, I love herbs!), garlic salt (because there isn’t anything that doesn’t taste better with garlic salt on it), and some balsamic vinegar.

IMG_5747

Dig in! That’s all there is to it. This flavor combination is absolutely heavenly. The classic is of course classic for a reason. However, if this isn’t enough to satisfy your curious taste buds, try one of these variations:

  • Caprese Pizza – use the same ingredients, just slice onto a pizza crust, drizzle with olive oil, and bake
  • Caprese Pasta – dice the mozzarella and tomatoes into cooked pasta, warm or cold, sprinkle slivered basil on top
  • Caprese Bruchetta – put the cheese, tomato, and basil on toasted bread or crostini, sprinkle with oil & vinegar & serve immediately
  • Zucchini slices in addition to tomato
  • Heirloom tomato slices in rainbow colors
  • Pesto, parsley, or mint leaves instead of basil


Recipe Review: Smashed Potatoes with Avocado Garlic Aioli from Oh She Glows


Vegetarianism and Veganism is consistently growing in popularity nationwide as society becomes aware of the health benefits of whole foods and the dangers of processed foods. Along with this awareness comes a rise in health-related blogs and recipes. I’m a big fan, as I’m always in search of new, fun combinations of food. Especially when it’s healthy foods.

Speaking of healthy foods, today the winner of a FREE copy of dietician Sharon Palmer’s book “Plant-Powered For Life” was Katy Dyer!! This book has over a hundred fabulous plant heavy recipes, as well as 52 tips for a year of healthy living habits. Incorporate one tip per week for a total life makeover. Congratulations!

One of my favorite discoveries in terms of new food blogs is the vegan goddess Angela at Oh She Glows. She has oodles of fabulous recipes, almost all of which I am antsy to try myself. Angela has a knack for combinations and substitutions that makes you say “Why didn’t I think of that! Sounds great!”

I reviewed her Chia Fresca last week, and found it to be a very strange beverage. However, it is surprisingly pleasing and a nice change if plain water bores you. In addition, chia seeds have a healthy dose of omega-3 fatty acids, especially useful if you are following a vegan or vegetarian diet and can’t get what you need from fish or eggs.

IMG_7871

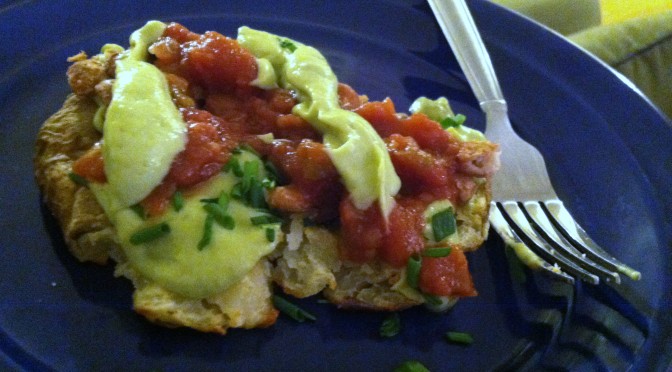
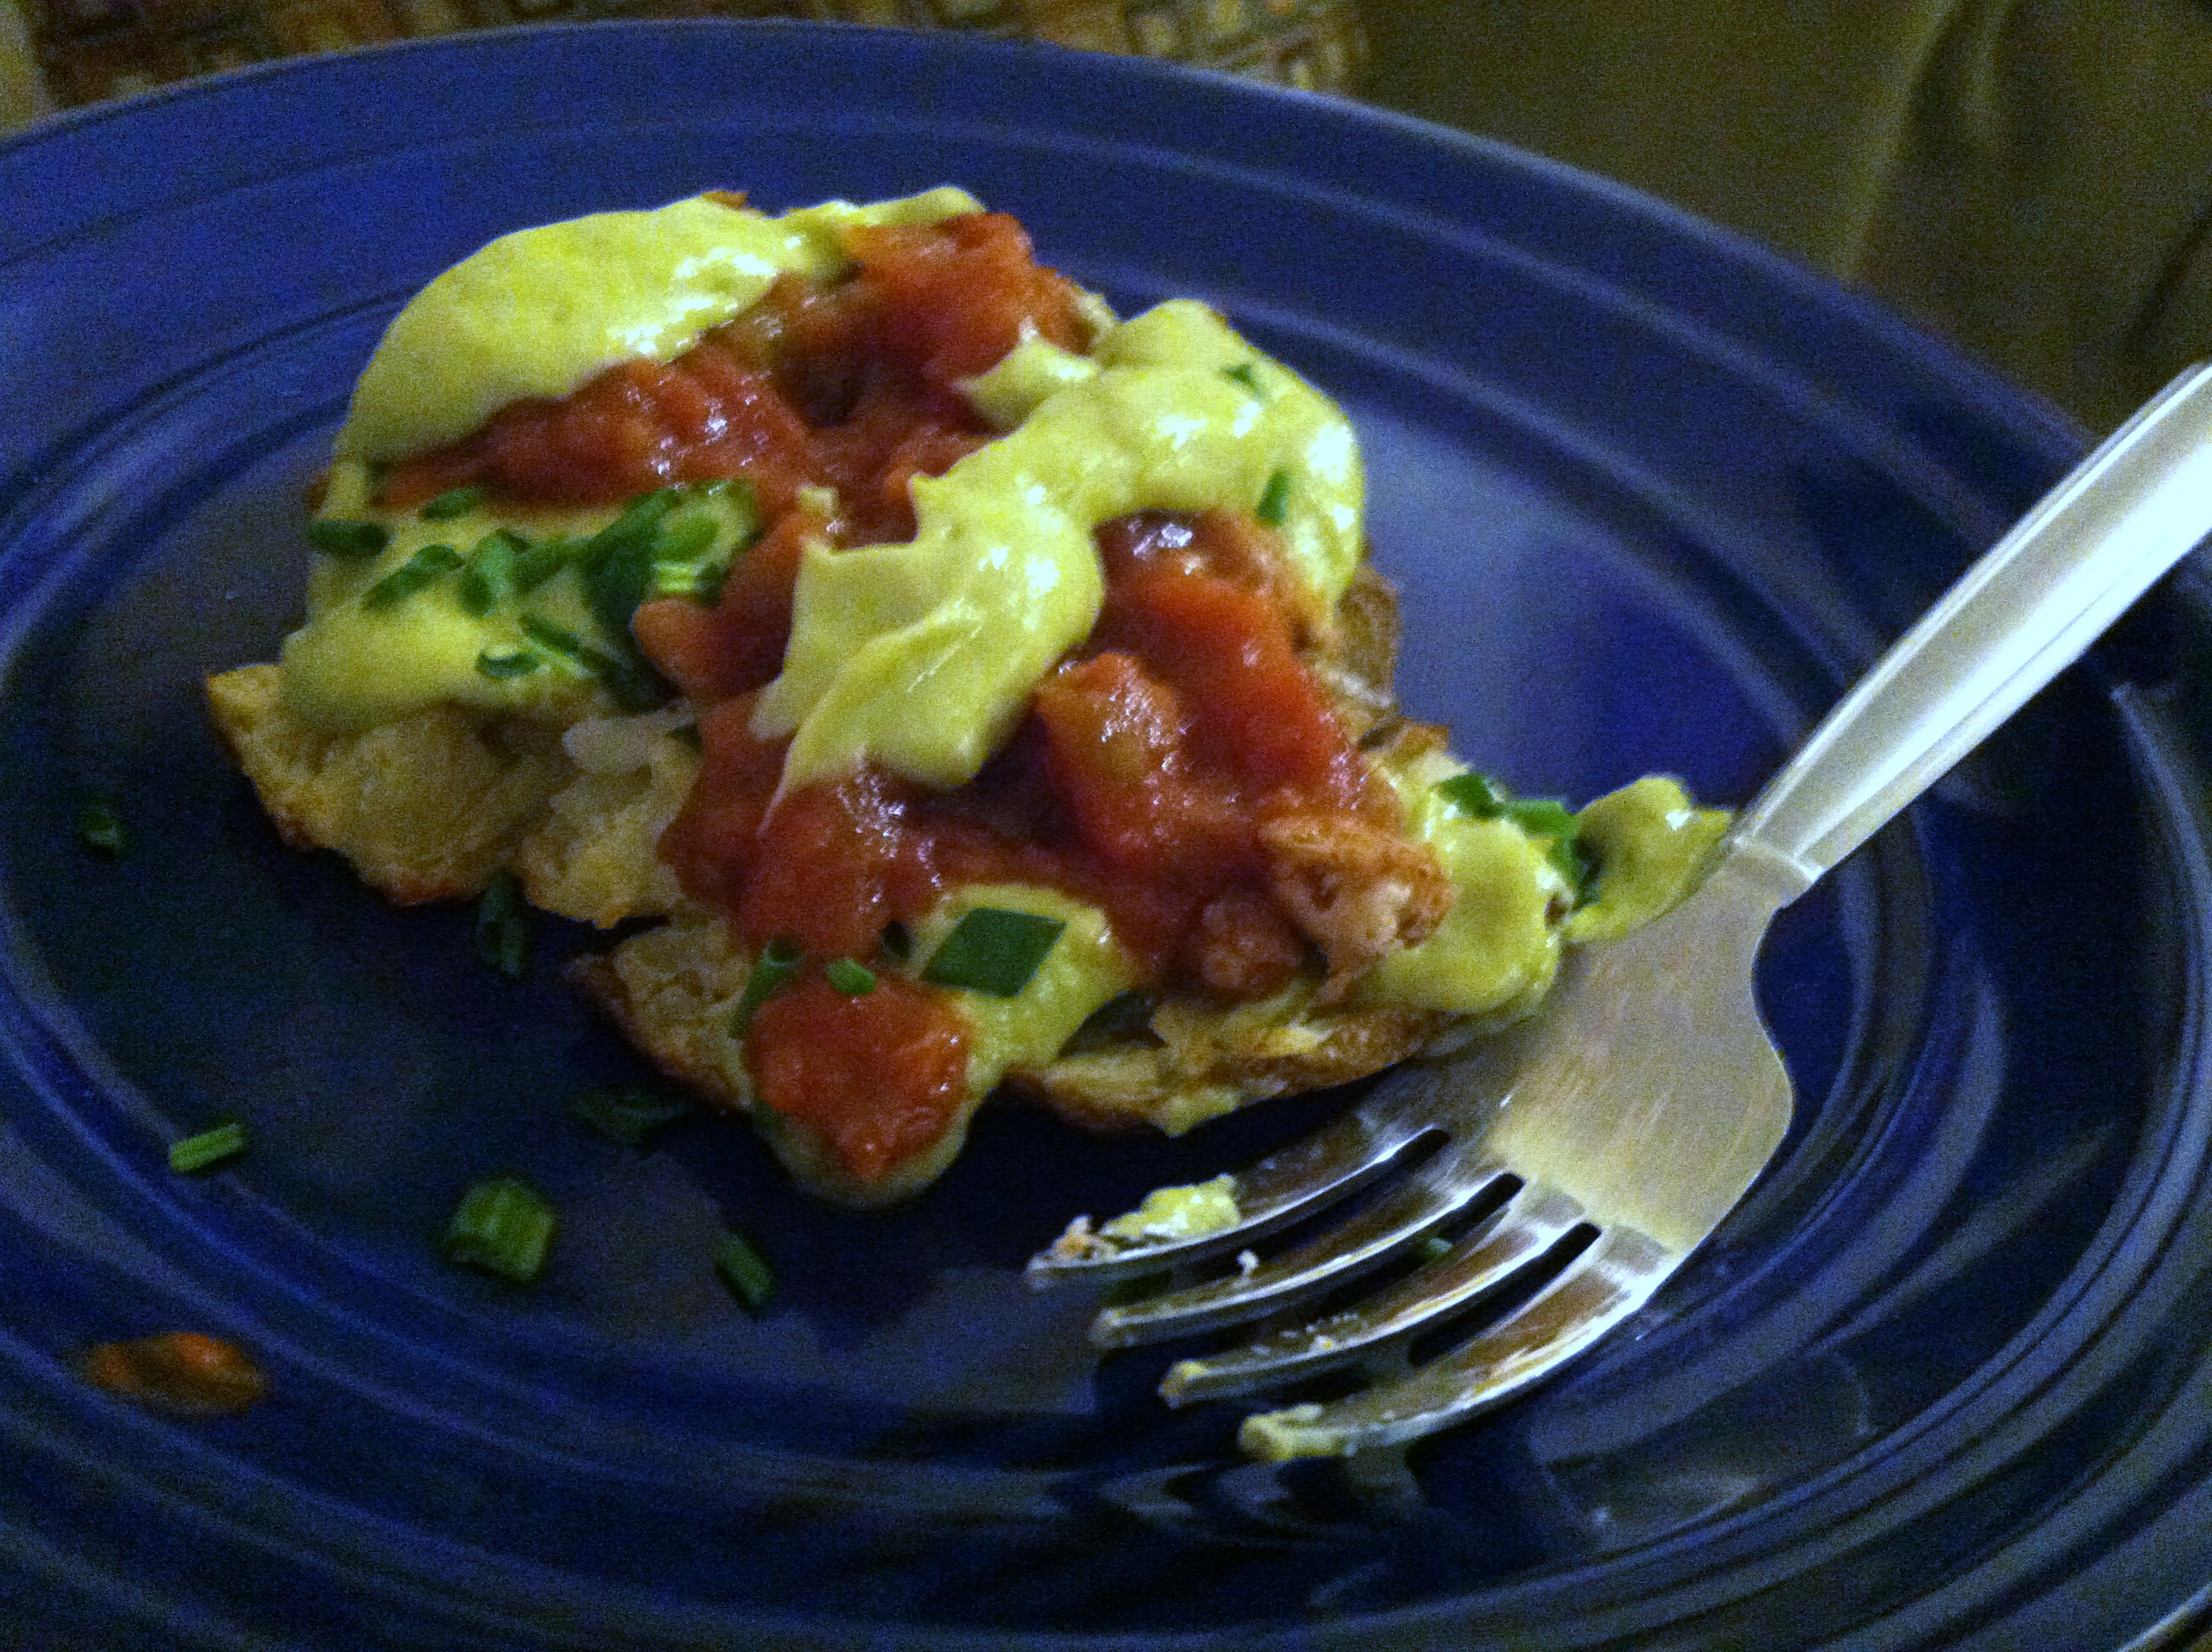
This review is my take on her Crispy Smashed Potatoes with Avocado Garlic Aioli.  It is totally vegan, but you would never know it if you weren’t told. Avocado is a fabulous substitute for many dairy products because of its creamy texture, especially when blended. When combined with salsa, it made a satisfying and healthy meal. You could also top with black beans, grilled onions and mushrooms, or steamed broccoli.

IMG_7862

Ingredients:

  • 4 medium potatoes
  • 1 avocado
  • 2 cloves of garlic
  • 1 tbsp lemon juice
  •  1 tbsp veganaise or plain yogurt
  • 1/2 cup salsa
  • Sea salt
  • Diced garnish: green onion, parsley, etc

IMG_7863

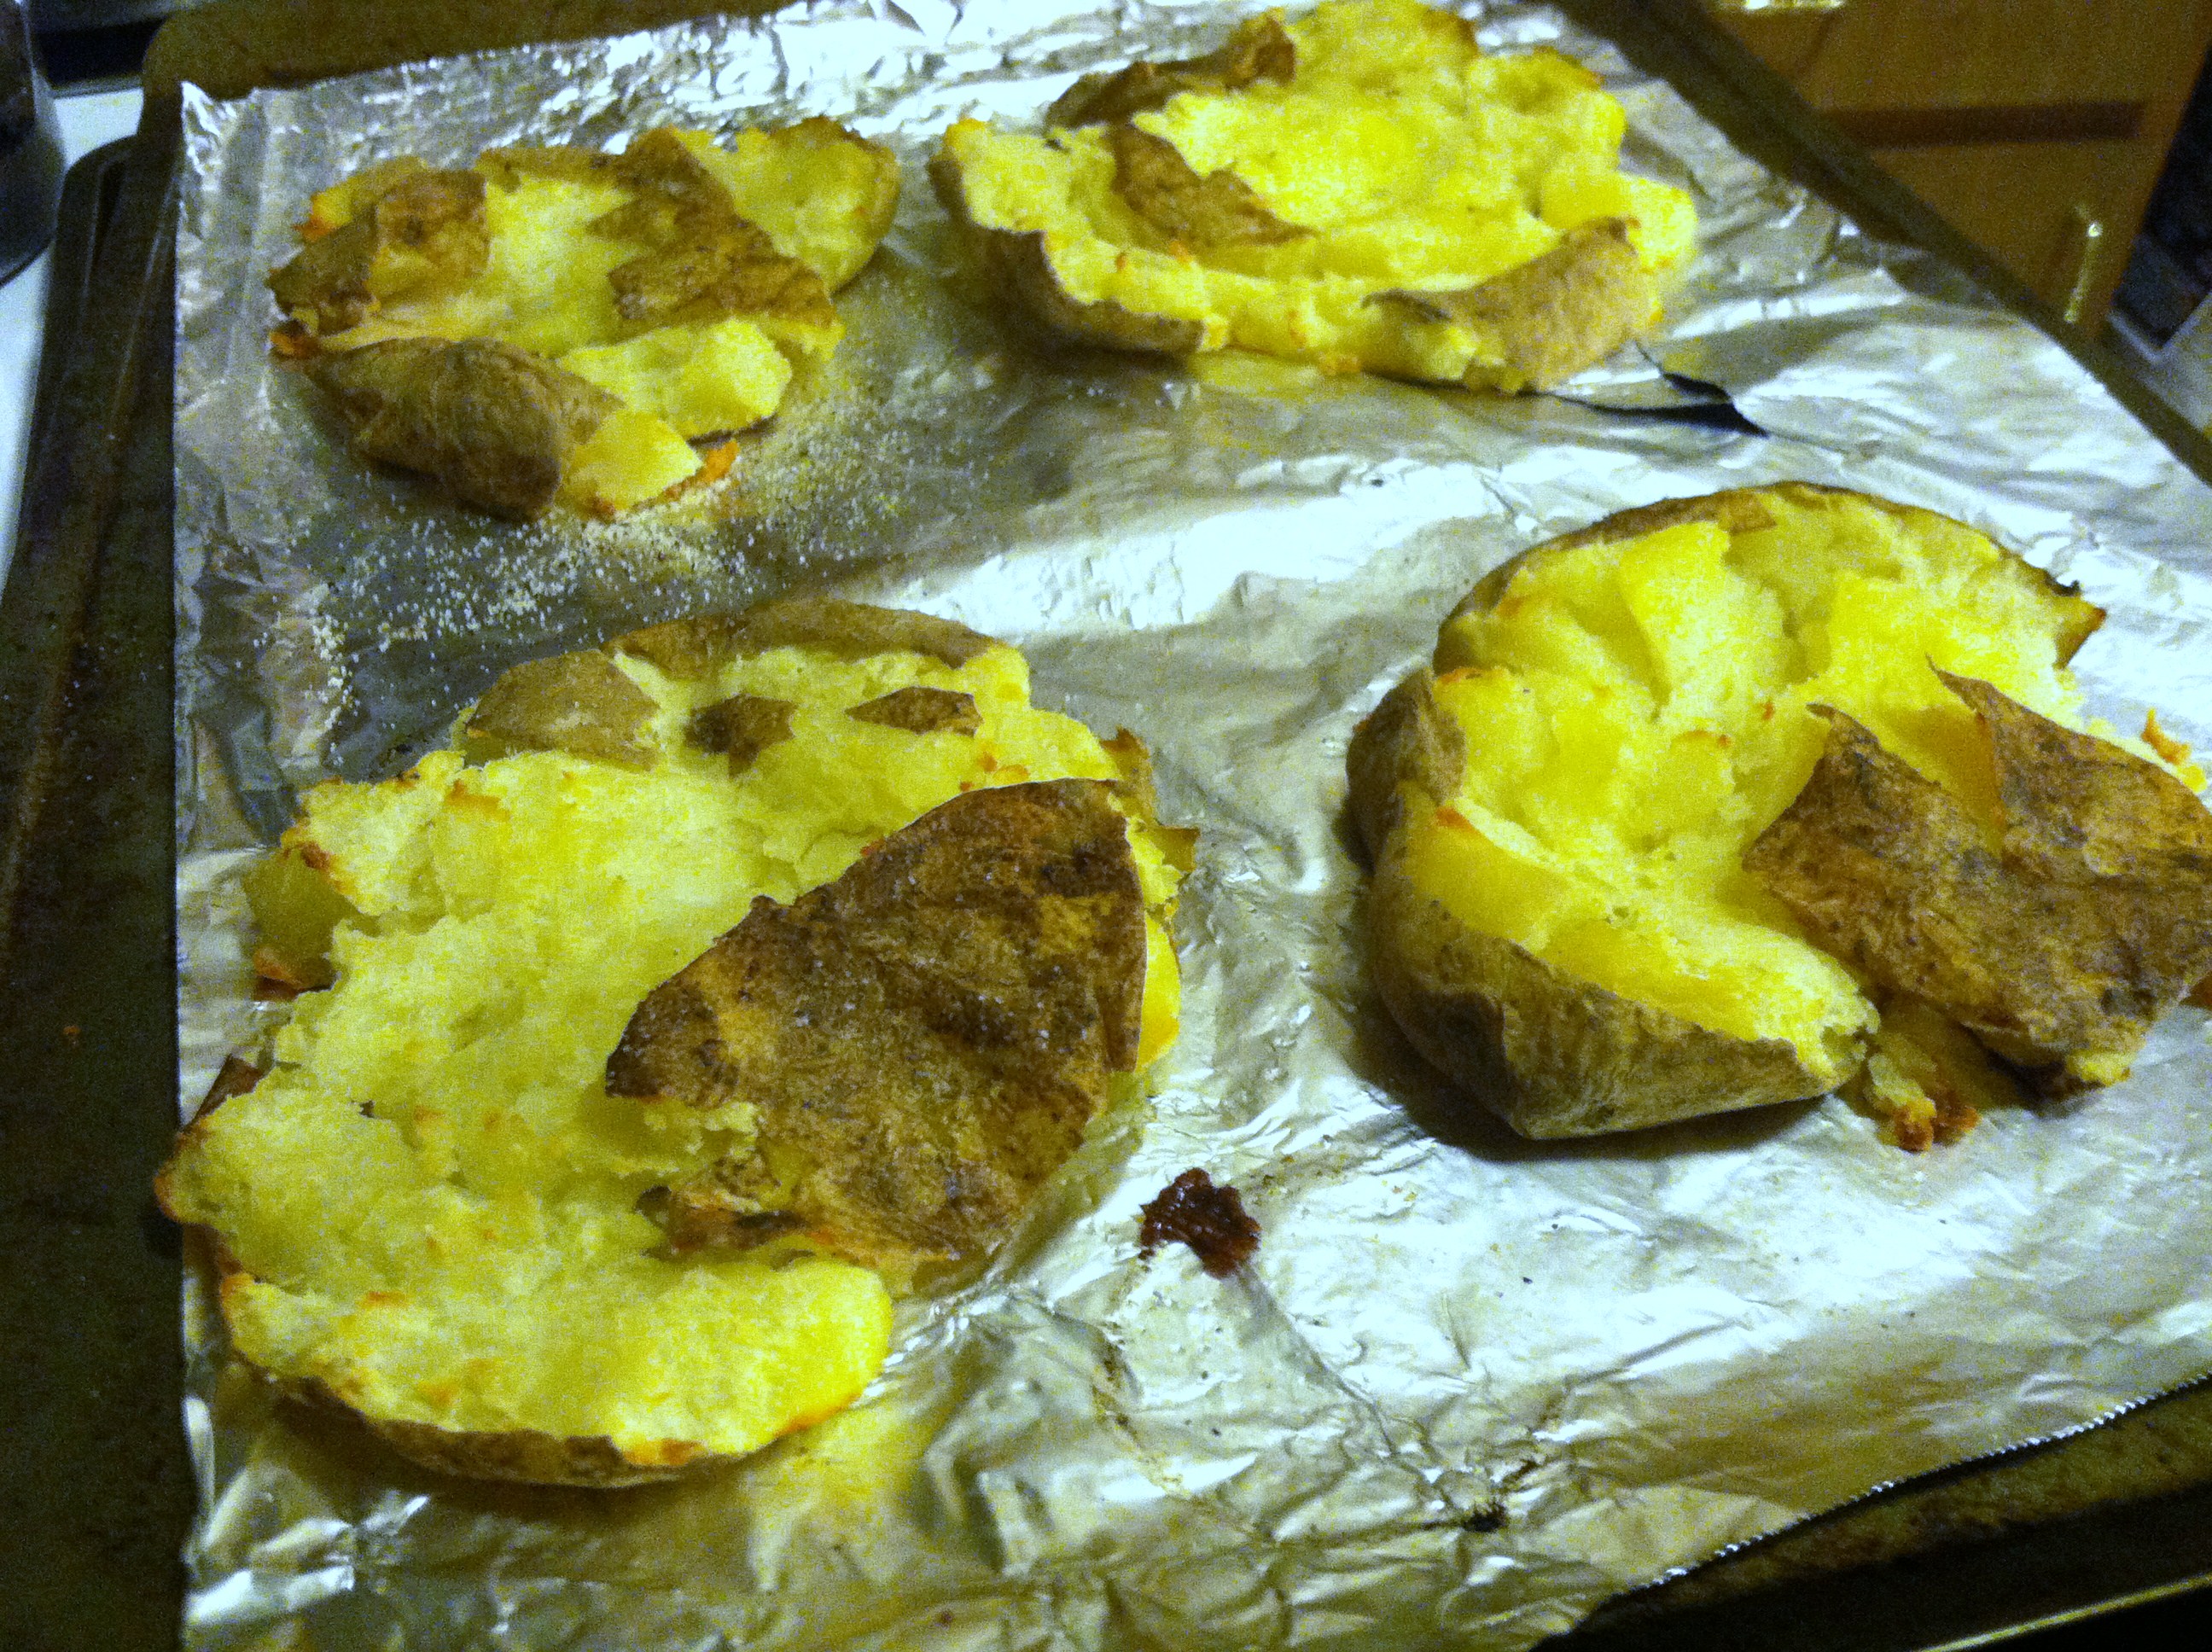
Step 1: Rinse the potatoes and poke a few holes with a fork. Bake at 350 for 25-30 minutes. Take them out and let cool a little, then smash them with a spoon or bottom of a glass.

IMG_7865

Step 2: In a blender, combine the veganaise, peeled and pitted avocado, lemon juice, and a sprinkle of sea salt. Blend well. If it is not smooth enough, add some  warm water, lemon juice, or olive oil to thin.

IMG_7870

Step 3: Pour 2 tbsp salsa and 2 tbsp avocado aioli over top, and sprinkle with garnish.

This combination is absolutely delightful. The avocado aioli is delicious on its own, and could probably be used anywhere aioli can be used. I loved the salsa, and think adding heated beans as well would perfectly round this out. This would also make a great side dish for many other main courses. Even the meat eater declared this a winner!

Chicken Nests Three Ways: Super Bowl Snacks brought to you by Tyson


Word on the street is that this super important football game is happening this weekend. News to me. Glad my mom cares as much as I do (read; not at all) since she is in town!

However, Tyson Crispy Chicken Strips is sponsoring a recipe contest, and of course when she is in town, we have to cook together! So this worked out great.

After much brainstorming and asking friends for ideas, we settled on one of the most versatile bases we know: biscuit cups. The base of all these following combinations is the humble buttermilk biscuit. Then they can be topped with all manner of mouth-watering concoctions.

IMG_8050

The top three: chicken-bacon-ranch, Buffalo chicken dip, and chicken-barbeque-tater tots.

IMG_8069

The Buffalo dip can be served on its own, it is so stinking addictive! Seriously people. Spoons.

Chicken Nests

Ingredients:

  • 1 can biscuits
  • 1/2-1 cups filling
  • Sprinkle of cheese

IMG_8038

Buffalo Chicken Dip

Ingredients:

  • 2 Tyson fully cooked chicken breasts
  • Biscuit dough
  • 1/2 c sour cream
  • 1/2 c cream cheese
  • 1/2 c ranch dressing
  • 1/2 c shredded cheddar
  • Hot sauce to taste

IMG_8039

Step 1: In a bowl, mix the sour cream, cream cheese, ranch, and hot sauce. Thaw and chop or shred the chicken breasts, and mix in.

IMG_8042

Step 2: Mix the cheese in well. Use later to fill biscuit cups. Alternatively, you can heat this dip in the microwave or the oven, and serve with chips. Or spoons.

IMG_8044

Step 3: Spread biscuit dough in the bottom of a sprayed muffin or tart tin.  Put about 1 mounded tablespoon into the center. Sprinkle a little cheddar on top.

IMG_8047

Step 4: Bake in a 400 degree oven for 8-11 minutes, until biscuit dough is puffed and slightly browned on top.


Chicken Bacon Ranch

Ingredients:

  • Biscuit dough
  • 1-2 Tyson fully cooked chicken breasts
  • 3-4 pieces bacon
  • 2-3 tablespoons Ranch dressing
  • Shredded cheddar cheese

IMG_8041

Step 1: Chop up or shred the chicken. Spread the biscuit dough in the bottom of a sprayed pan.

IMG_8048

Step 2: Cook and drain the bacon, and crunch it up. On top of the biscuit dough, add 1 tbsp chicken, 1 1/2 tsp ranch, and a sprinkle of bacon. Top with a pinch of cheddar.

IMG_8065

Step 3: Bake in a 400 degree oven for 8-11 minutes.


BBQ Chicken Tater Bites

Ingredients:

  • Biscuit dough
  • 1-2 Tyson fully cooked chicken breasts
  • 2-3 tbsp BBQ sauce
  • Handful of tater tots
  • Sprinkle of shredded cheddar cheese

IMG_8052

Step 1: Spread biscuit dough in the bottom of muffin or tart pans. Chop the chicken and layer 1 tbsp in the dough.

IMG_8053

Step 2: Pour 1 1/2 tsp BBQ sauce on top of the chicken. Plop a tater tot on top, and cover with shredded cheddar cheese.

IMG_8080

Step 3: Bake in a 400 degree oven for 8-11 minutes. If using a muffin tin rather than a tart tin, bake an extra 4-5 minutes.


IMG_8058

These are the muffin-tin sized cups, same recipes but add about three times as much of each filling. The size makes for a great dinner, especially if served with extra sauces on the side. These can also be frozen, and re-heated for lunches and snacks later.

IMG_8060
Muffin sized and tart sized


IMG_8063

These are the hot tarts right from the oven. Cheese is all bubbly, and they all smell amazing.

IMG_8068
Served on a vaguely football-shaped serving tray


IMG_8070 IMG_8071

I can’t even tell you how fantastic these things turn out!!!

IMG_8072

Every one of these flavor combinations is totally delightful.

IMG_8073

They are super delightful, and very customizable. You could top with just about any combination you prefer. Add spinach, or caramelized onions, use other meats or just cheeses.

IMG_8084

The larger muffin sized ones are very filling, with a larger filling-to-dough ratio if that’s what you’re looking for.

IMG_8087

They also make for a very nice presentation.

IMG_8089

Serve with extra dipping sauces. Ranch, BBQ sauce, and hot sauce.

IMG_8093

Add some carrots and celery to your ranch, or make some extra Buffalo Dip on the side as well. Great finger foods, I guarantee these will not last long!

IMG_8094

Diced tomatoes, olives, or green onions can also be a nice topper.


This post is sponsored by Tyson Crispy Chicken Strips and The Daily Meal.

Mock-Caprese Goat Cheese Bruschetta

….

Bruschetta is a classic Italian appetizer or snack, consisting of bread rubbed with garlic and topped with chopped tomato, olive oil, salt and pepper. Outside of Italy, bruschetta has become a word used for toast topped with just about anything. The most popular is diced tomato with olive oil and mozzarella or other cheese.

Caprese salad, or “insalata Caprese” is another Italian antipasto, or appetizer. Created to resemble the colors of the Italian flag, red, white and green, it consists of thick slices of tomato, fresh mozzarella cheese, and fresh basil leaves. Normally topped with olive oil and balsamic vinaigrette.

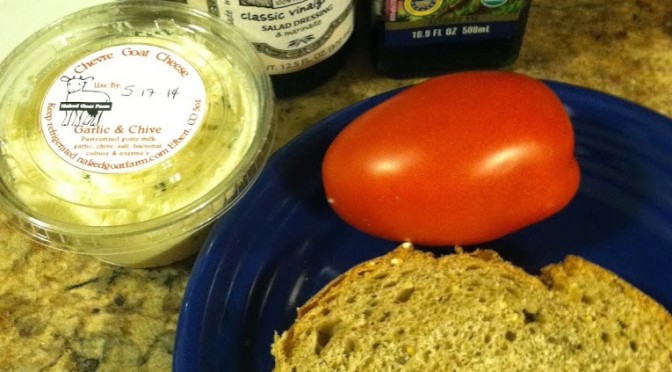
Since these are two of my favorite Italian appetizers, I decided to combine them into one delicious bite. However,  at the time I had no fresh mozzarella. Nor basil. Hence, the “mock-caprese”. However, you could use realistically any white cheese, and any fresh herb, and I’m sure it would be tasty.

Ingredients:

  • 1 thick slice farmhouse bread (or other whole wheat slice)
  • 1 fat, fresh Roma or beefsteak tomato
  • 2 tbsp garlic & chive goat cheese (or 1 thick slice mozzarella)
  • 1 tbsp olive oil
  • 1 tbsp balsamic vinegar
Step 1: Spread the goat cheese over the slice of bread, either with or without toasting it first.
Step 2: Slice the tomato into thick rings and put on top of the cheese.
Step 3: Drizzle with olive oil and balsamic. If using fresh herbs, layer them on top now.

You could easily scale this up for a lovely party appetizer, or make as few as will satisfy a snacking crave.