Sandwiches are always amazing. But you know what makes them even better? When they are hot. With melty cheese. And something spicy. Kind of like this one.
Ingredients:
1 large roll
4 slices bacon
1/4-1/2 lb ham
2 tbsp mayonnaise
1 tbsp sriracha
2 slices white American cheese
Step 1: Fry the bacon 5-7 minutes, until crisp, and place on a paper towel to drain. Wipe or pour most of the grease out, leaving a thin layer. Place the roll in the pan cut-side down to toast. Or, you could use a toaster. Or not toast the bread at all, your call.
Step 2: In a small bowl, or right on top of the bread, mix the sriracha and mayonnaise, and spread it around. Add cooked bacon on top. On the other slice of bread, layer on the ham and cheese.
Step 3: Smush the whole thing together, and toast in the frying pan another minute or two, until the cheese gets melty.
This sandwich would also work great with turkey or chicken, and you could use whatever type of cheese you prefer. I think softer breads are better for use here, because they have a chewy interior that contrasts so well with the crunchy toasted exterior while the white American cheese is creamy enough to tame the spicy sriracha.
A favorite of some, a mystery to others, the sweet potato is a nutritional powerhouse long under-appreciated by the mainstream. Sweet potatoes are an excellent source of beta-carotene, vitamin C, copper, and several B vitamins. They also contain digestive-health-promoting fiber, potassium, and phosphorus.
Luckily more and more people are getting on the sweet potato band wagon. While delicious on its own baked or steamed with a drizzle of cinnamon-sugar or maple syrup, there are many ways to use this delightful vegetable. Cook as you would a regular white potato and use instead for healthful results.
This recipe takes a classic comfort food and switches up the ingredients to create a new classic that’s far more nutritious and healthy. Small swaps can lead to big results, and can introduce your taste buds to whole new worlds. Starting small is a good way to slowly introduce someone (or yourself) to a new flavor without being overwhelming.
I use half white and half sweet potatoes for the topping here, and create my own creamy filling to keep the fat content in check. Stuffing as many extra veggies as possible in is also a great addition.
Ingredients:
2 sweet potatoes
2 regular potatoes
1 cup shredded cooked turkey or chicken
1 16oz bag of frozen mixed vegetables
1/2 cup soy/almond milk
1/2 cup sour cream or plain greek yogurt
Step 1: Dice your potatoes into small chunks. Bring a large pot of water to a boil, and simmer the potatoes for 10-15 minutes, until soft. Drain, and mash together.
Step 2: Spray an oven-safe pan, and add the frozen mixed vegetables. You could microwave and thaw them first if you have time. Add the milk, sour cream, and turkey and mix well. Leave the turkey out if you’d like a vegetarian dish.
Step 3: Cover the veggies with the mashed potatoes. Pop into the oven at 350 for 45-60 minutes. Cook longer if you didn’t thaw the veggies first, less time if using fresh chopped veggies that are dry.
Scoop out a helping and season as you wish. The sweet potatoes do live up to their name and will add a slight sweet taste to the dish. I think just about any mix of veggies would work here, but I especially liked the broccoli/cauliflower and zucchini. This dish has tons of healthy nutrients and minerals with very little fat.
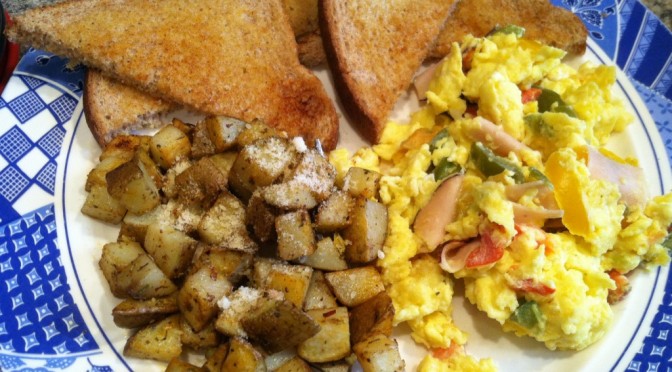
Whenever you go to a diner, you know the kind, with linoleum floors, a jukebox, and likely some kind of dated decor, you have to get the classics. Hashbrowns, scrambled eggs, and toast. Don’t forget the endless coffee.
While those are the classics, many people are intimidated by these simple breakfast favorites. Let me assure you, the perfect diner breakfast can be yours at home in under 20 minutes! If you really are unsure, just try one component at a time until you convince yourself that you really can do it all. Maybe start with toast 😉
This makes enough for two hearty servings. Coffee separate.
Ingredients:
3 eggs
Optional: veg/meat for the eggs, I used deli ham and chopped sweet bell peppers
2 medium potatoes
4 slices bread
2 tbsp oil
Salt & pepper to taste
Step 1: If using veggies or meats, cook those 5-7 minutes in a frying pan. You can also just leave the eggs plain, or fry them over-easy.
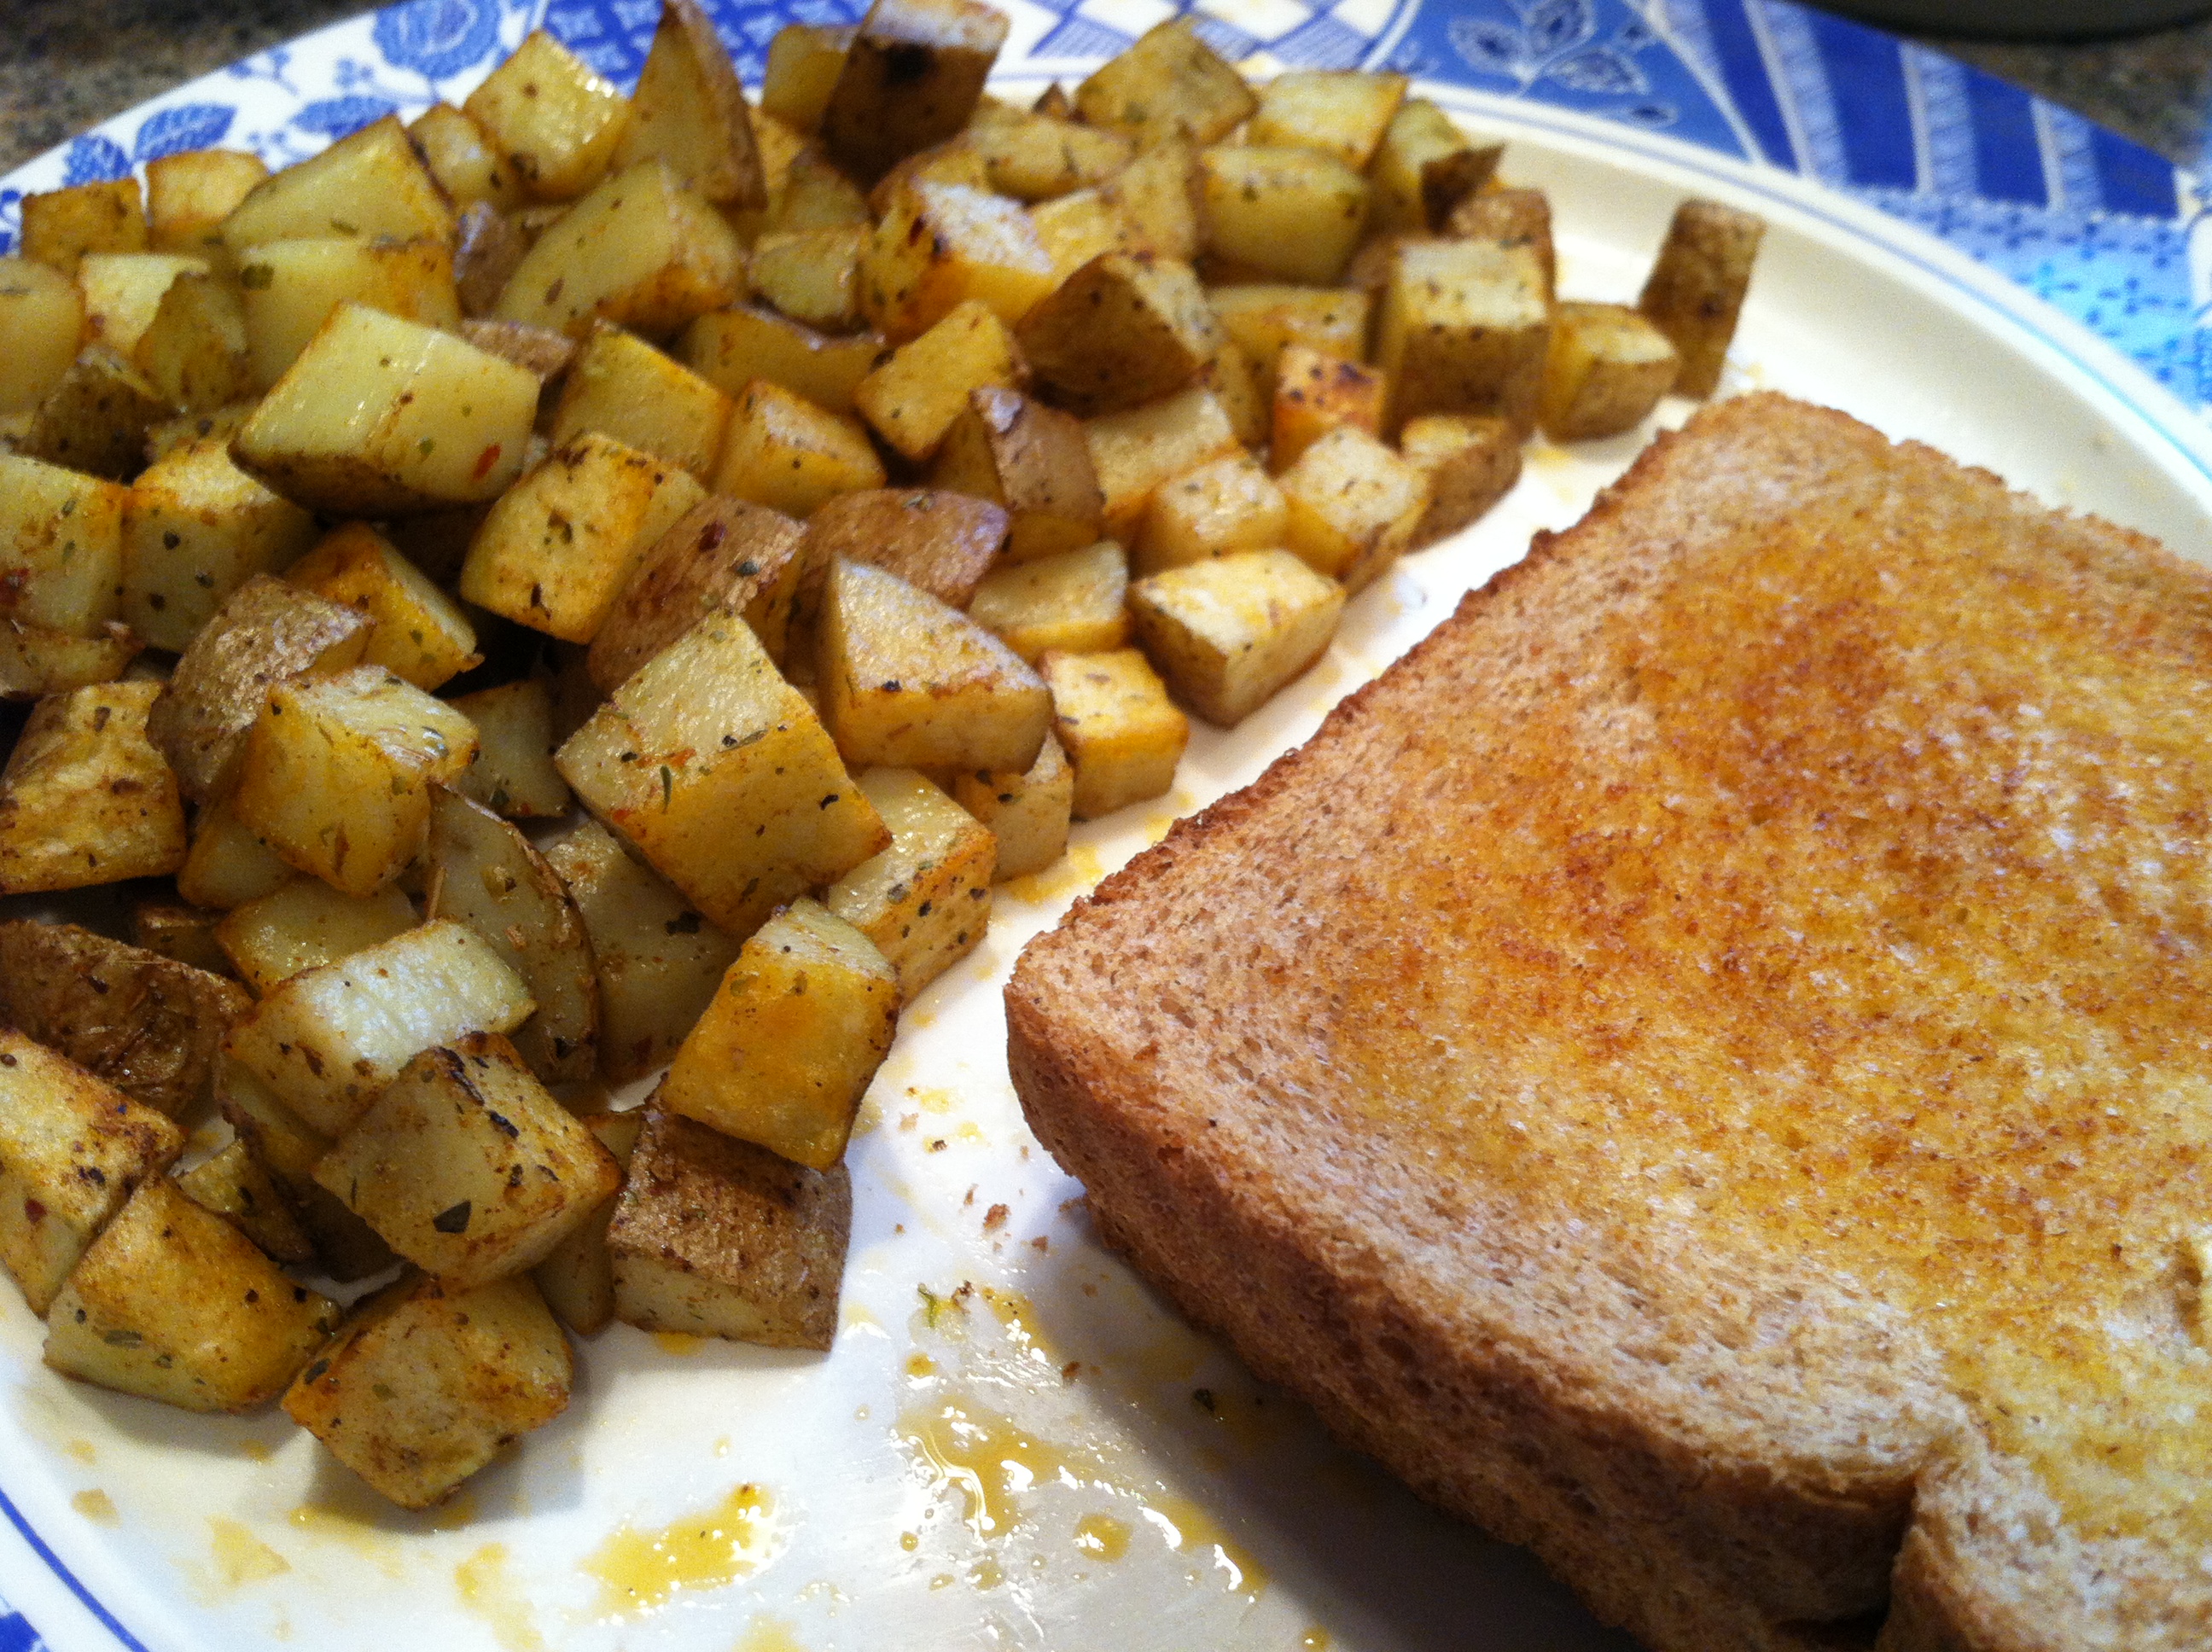
Step 2: Dice the potatoes into small cubes. To make it faster, microwave for 6-7 minutes. Heat the oil in a pan (you can use the same one from the eggs) and add the potatoes. Cook, covered, for 5 minutes. Stir and add seasonings, then cook another 5 minutes or until soft but crisp outside, stirring often.
Step 3: Toast the bread using a toaster or by buttering and placing in the frying pan for 1 minute per side.
Place all the components on a plate, and enjoy!
This looks very visually appealing, and tastes divine. Proof that you don’t need anything too fancy for a perfect and satisfying meal. Breakfast is also great any time of day, you can totally have breakfast for dinner. And breakfast foods tend to be cheap too, the cost of 3 eggs, 2 potatoes, and 4 slices of bread is likely under a dollar.
Since I live on the East Coast now, things like clam chowder are a given. But one day when I had a craving for it and called around, I found out it costs about $20 per quart to order from a restaurant. Of course my frugal self was all “say what?” I knew I could make something just as delicious for far less. Then one night the significant other, when asked what he’d like for dinner, said “something like soup, but thicker, to dip bread in”.
Challenge accepted.
I went to the pantry, and surprise, have not stocked anything with clams in it yet. A quick google search revealed that corn chowder and potato chowder are both popular options throughout the midwest and east coast. I love incorporating extra veggies into just about everything, so that sounded good.
But I still wanted that coastline-eqsue “fishy” taste. Not the “I hate salmon forever because this is gross” taste, just the salty, reminds you of the ocean flavor. Anyways.
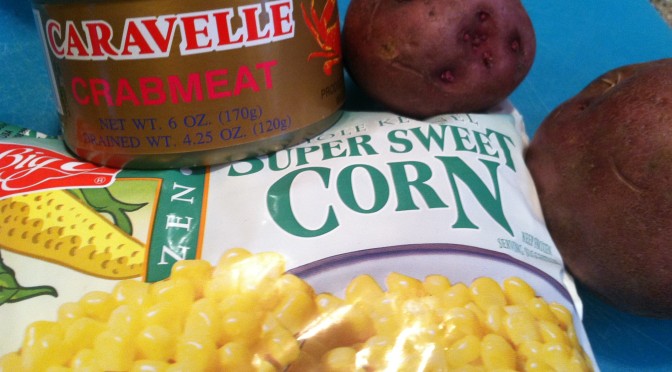
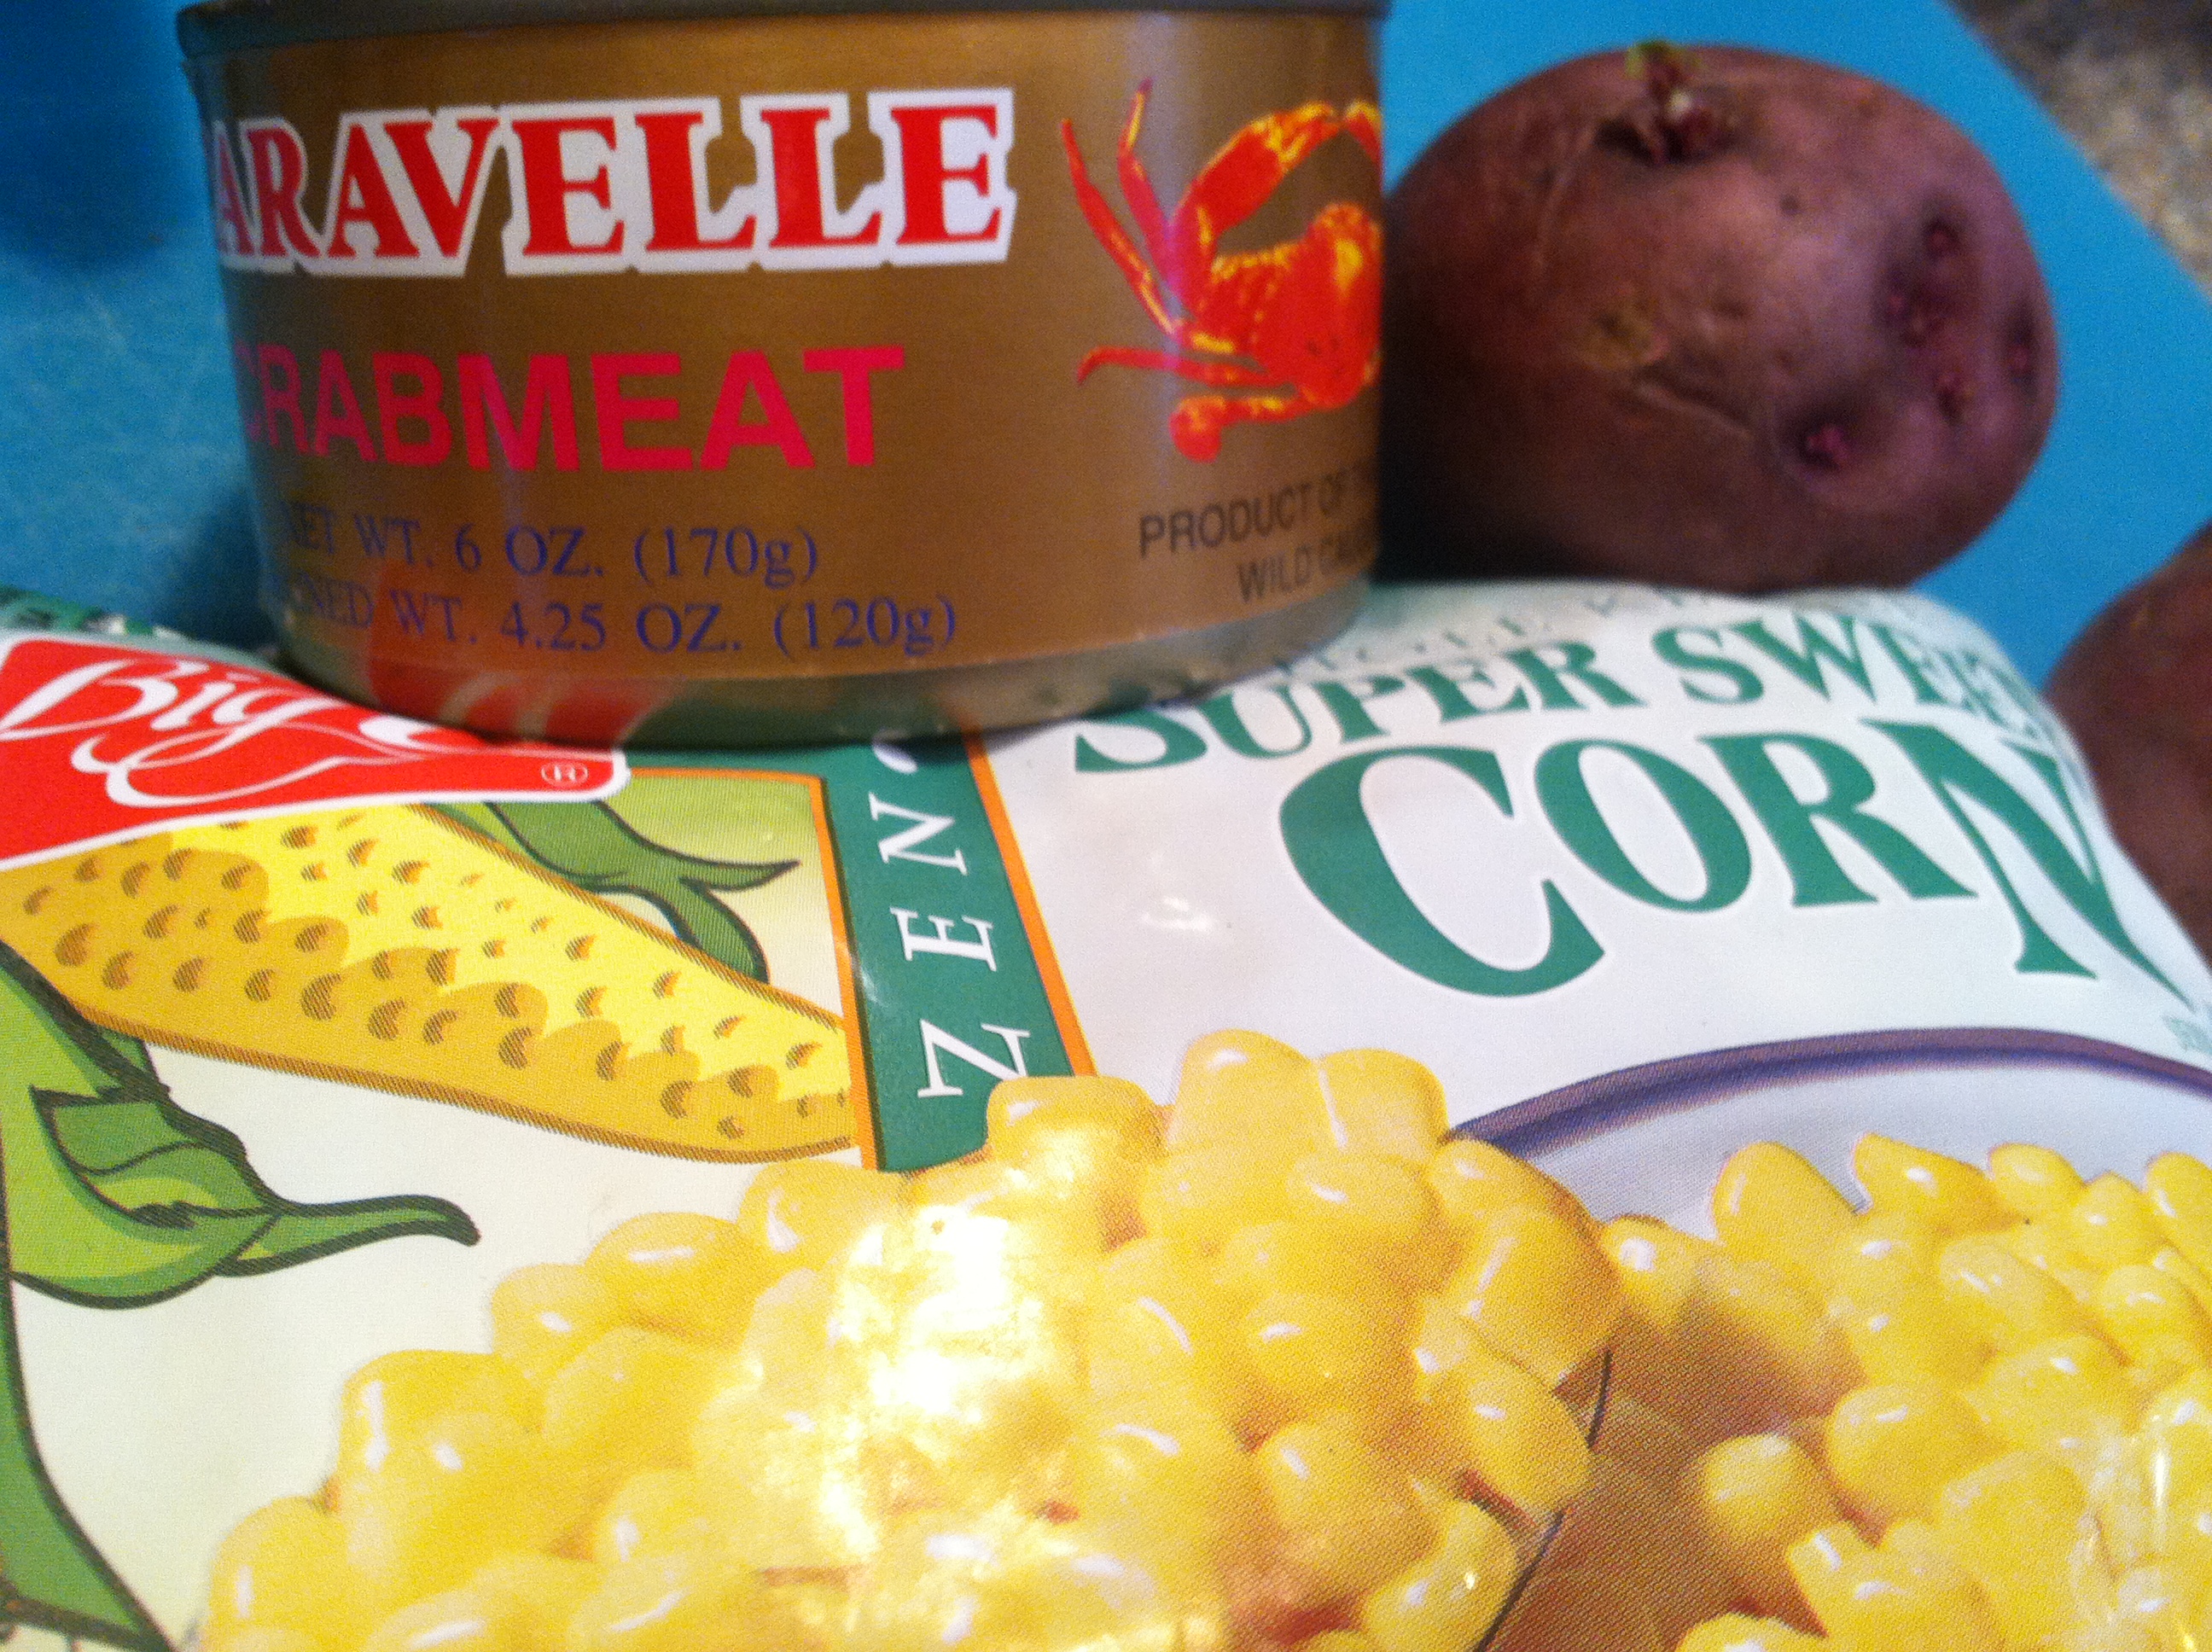
To my delight, I did have some canned crab meat on the shelf!
Jackpot. Combined with a teeny bit of fish sauce from my favorite Asian market, that should do the trick. A bit of creative dairy and thickening, and this turned out far superior to anything I’ve had in a restaurant. I was quite pleased, and it definitely satisfied the ‘soup-like but thicker’ and dipability requirements.
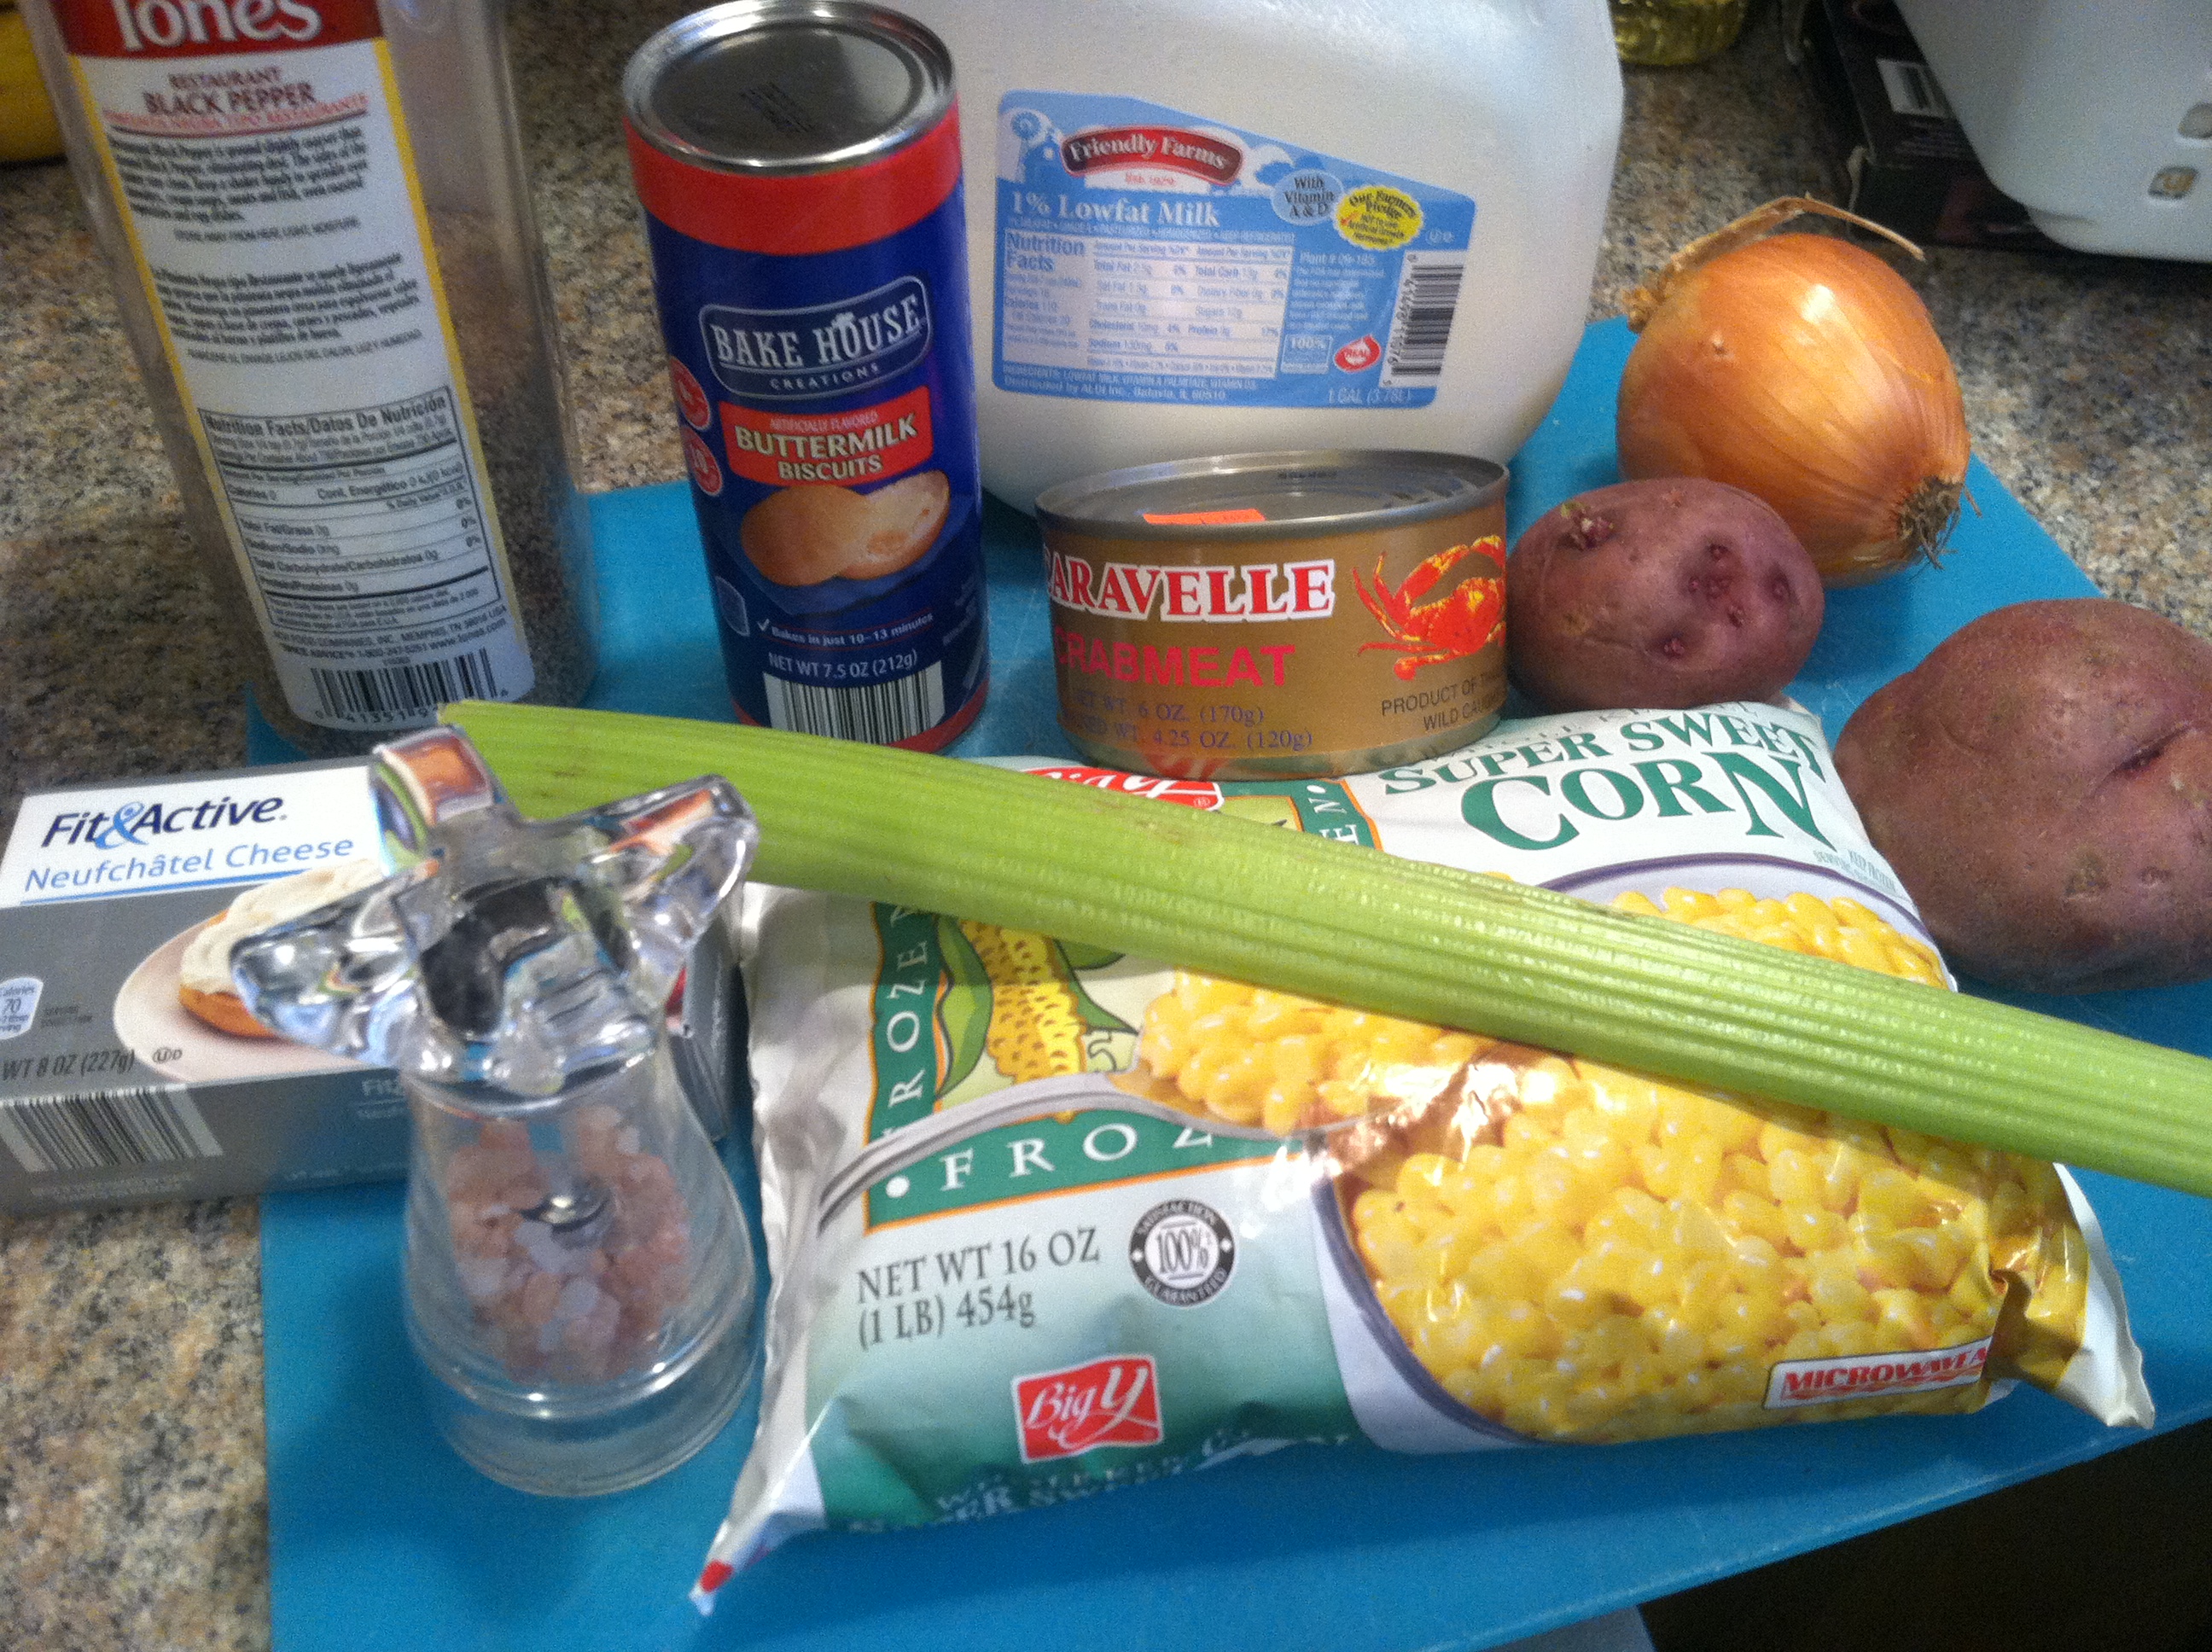
Ingredients:
1 can crab meat
1 bag frozen corn (or 2 cups fresh)
2 red potatoes, diced finely
2 celery stalks, diced
1 large yellow onion, diced
1 block of cream cheese
2/3 cup milk
2 tbsp olive oil
1/4 cup fish sauce
3 cups water
Salt & pepper to taste
Optional: biscuits for dipping, sharp white cheddar cheese to grate on top
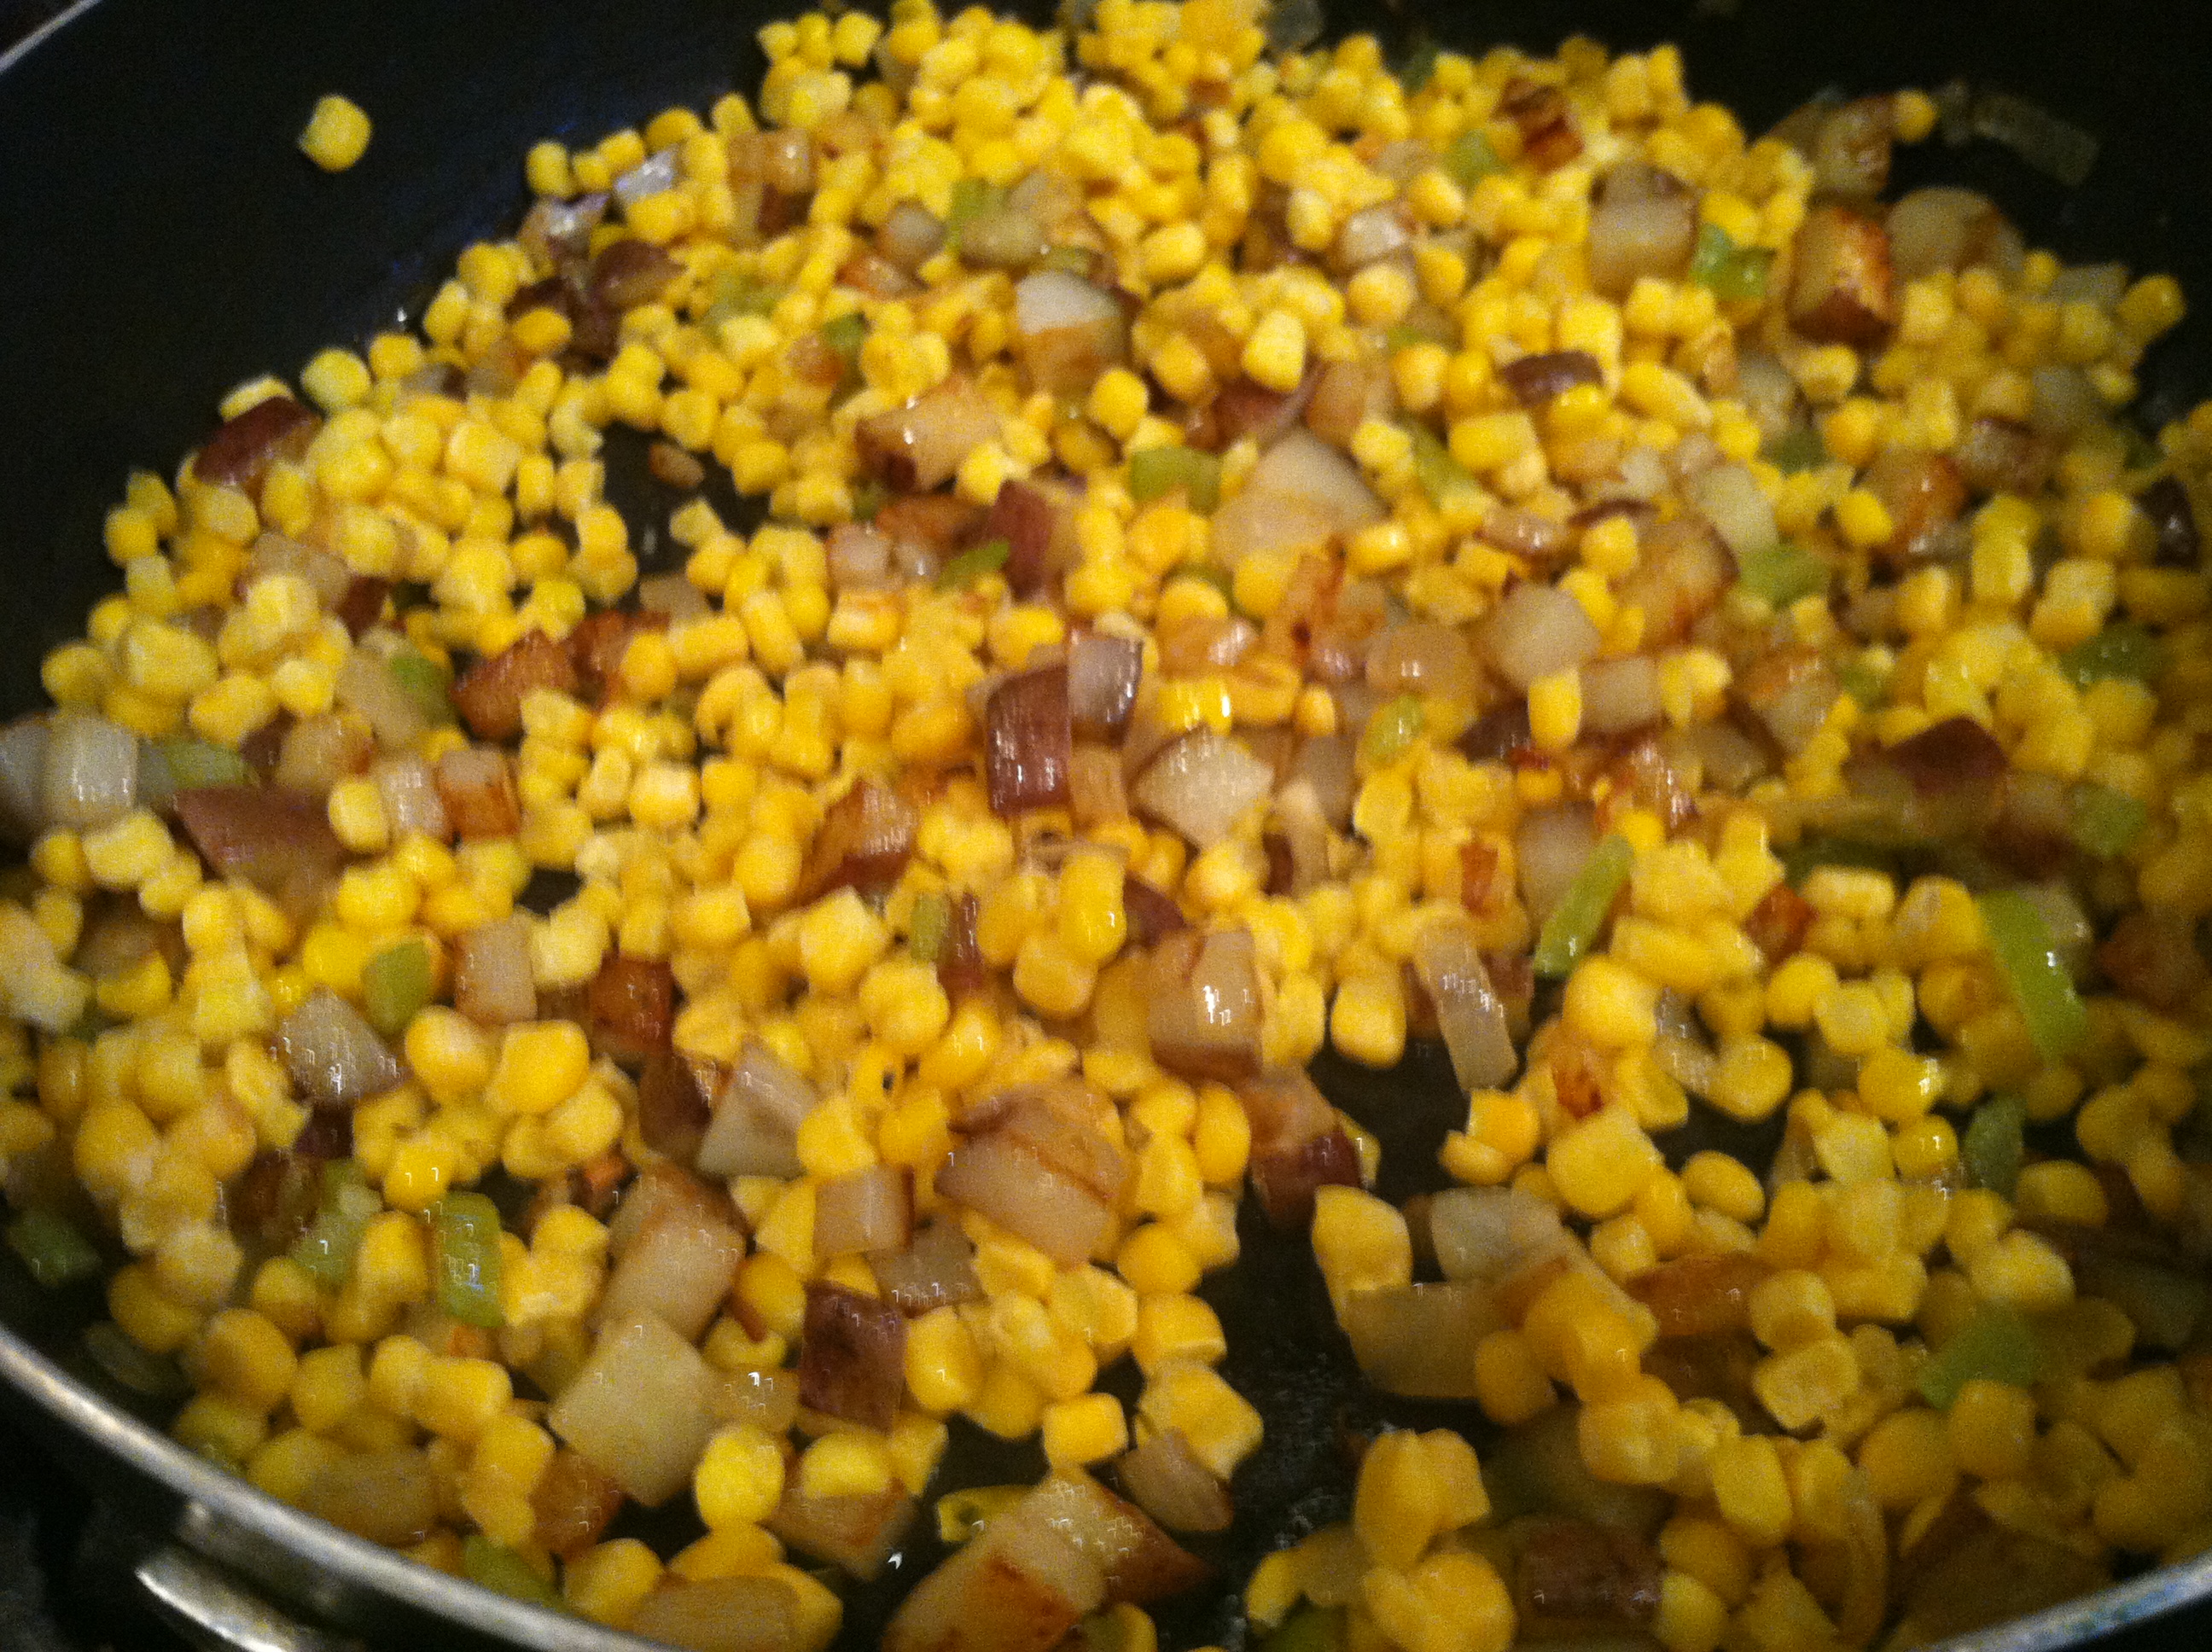
Step 1: In a large pan, add the oil, potatoes, celery & onion. Cover and cook for 5-7 minutes. Give it a good stir, then add in the corn and cook another 10 minutes, until everything is softened.
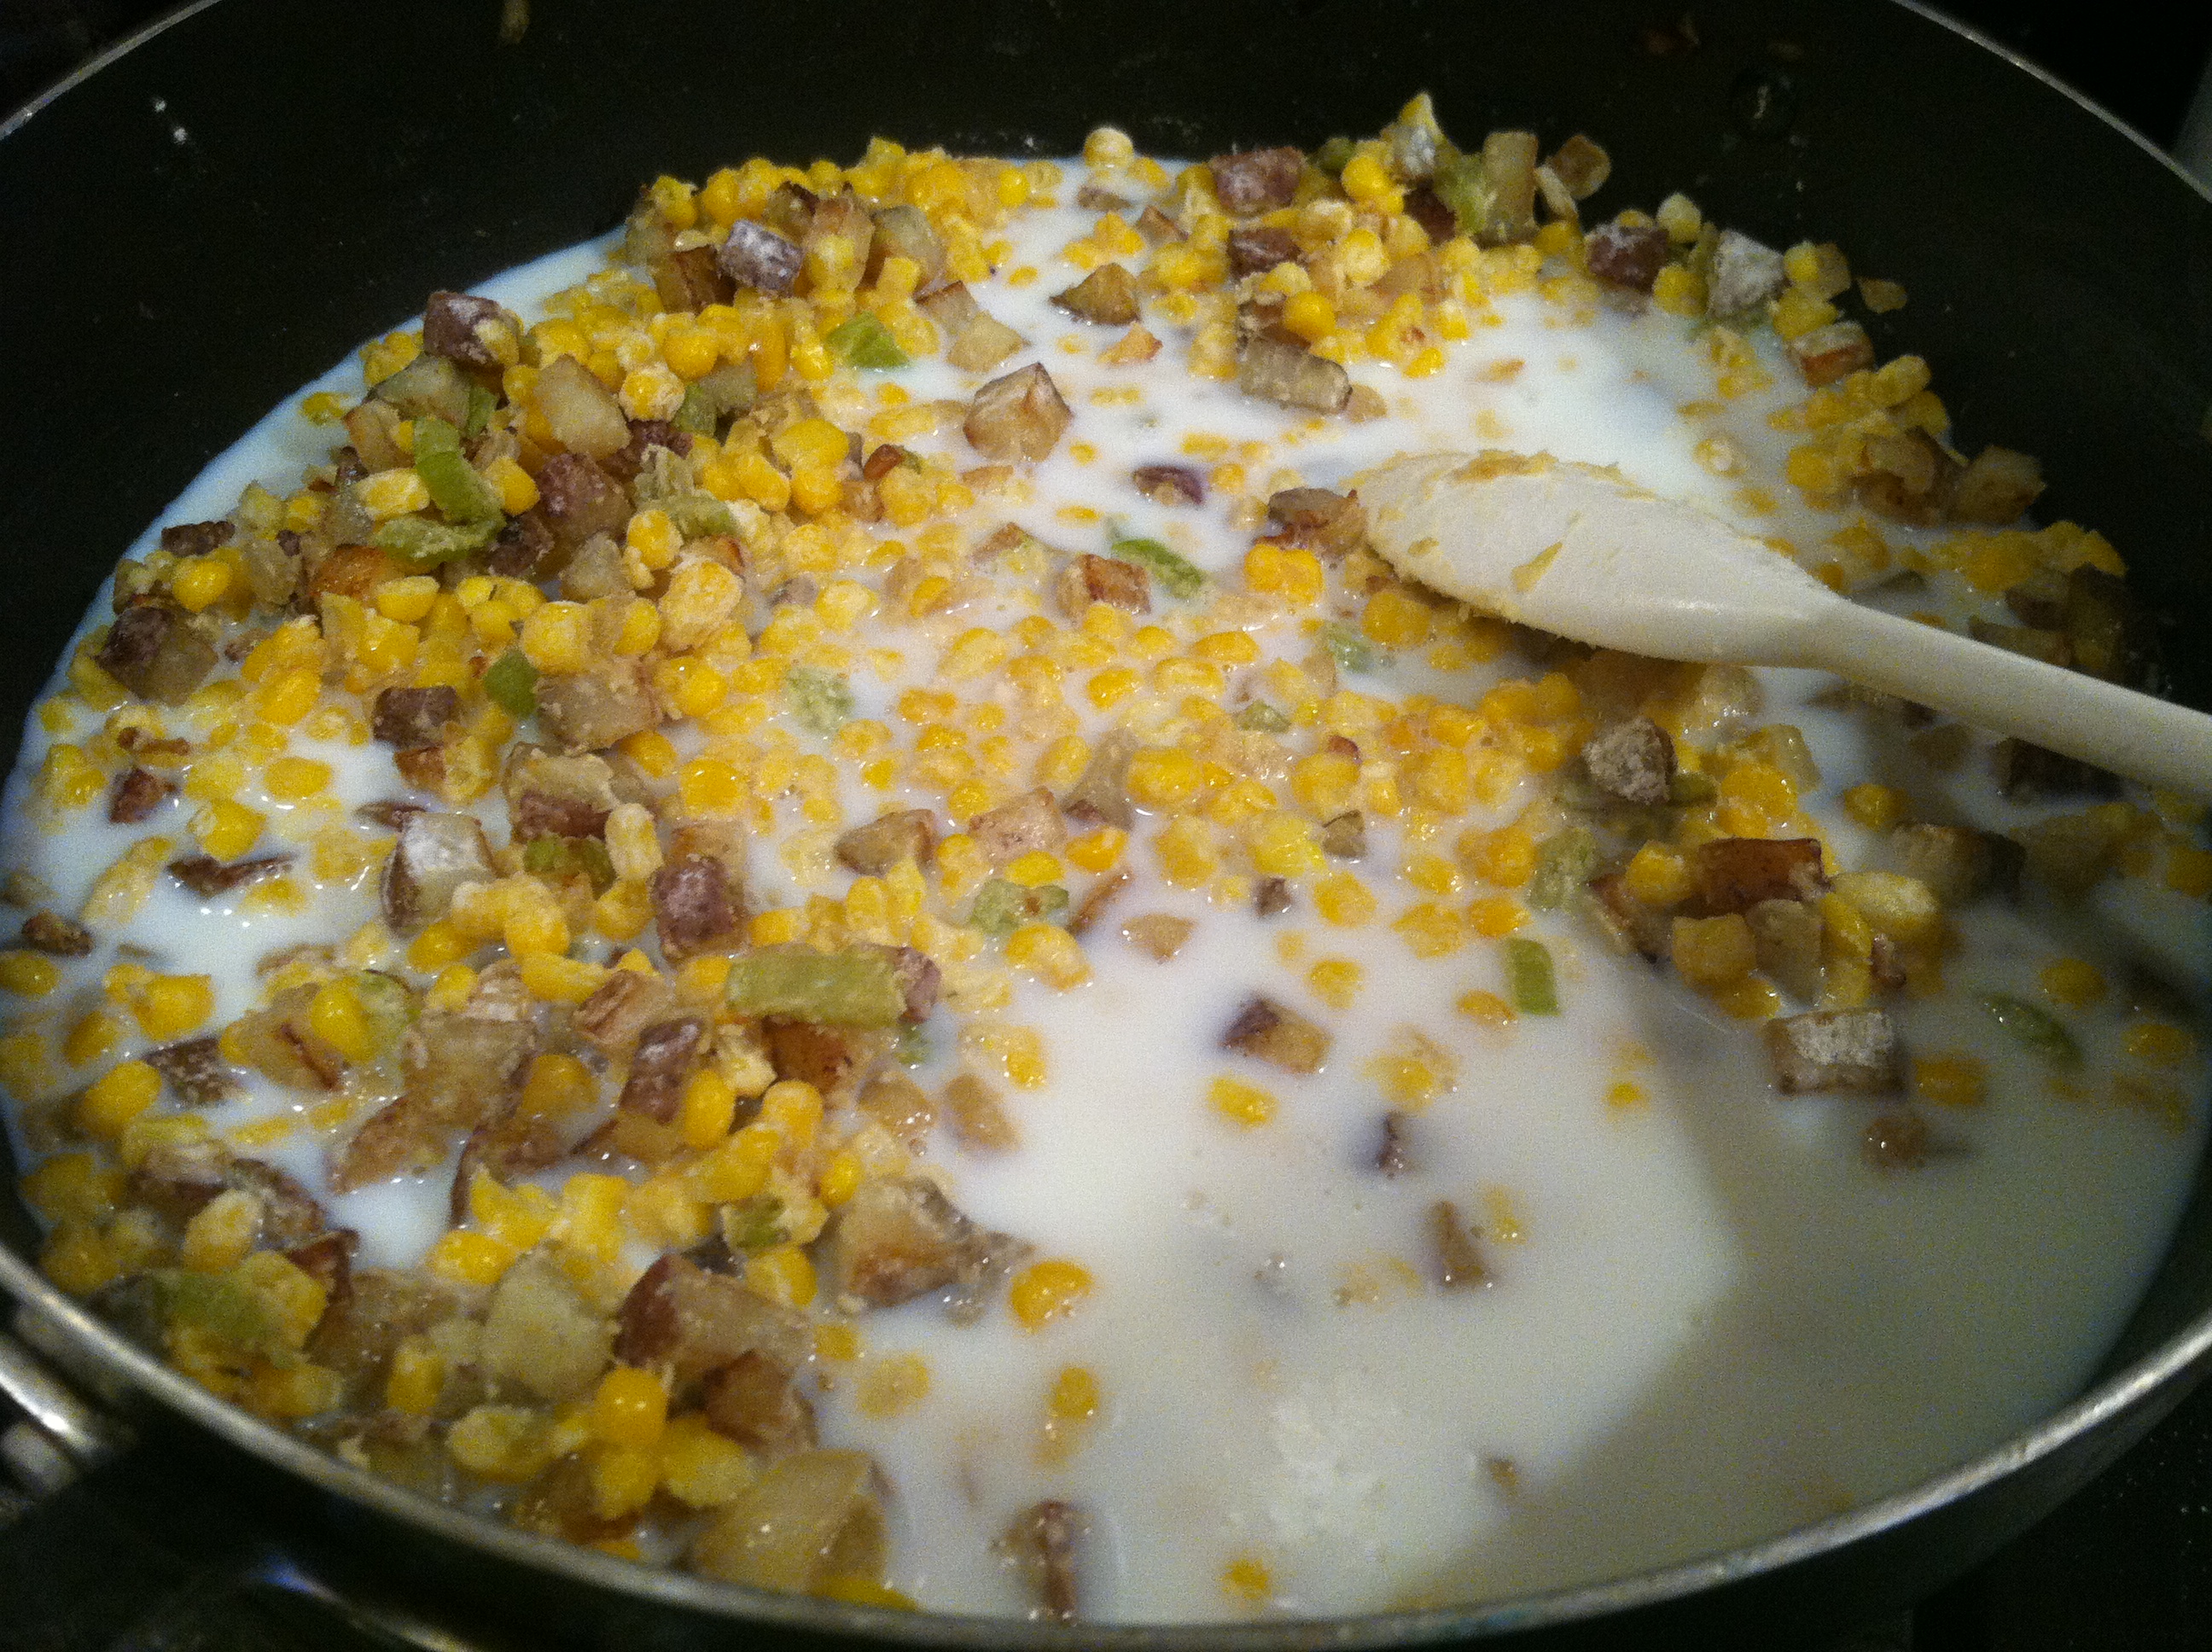
Step 2: Add in the water, fish sauce, and milk, adjusting to suit your tastes.
Step 3: Bring to just a simmer, and add in the cream cheese. Continue to stir as it dissolves.
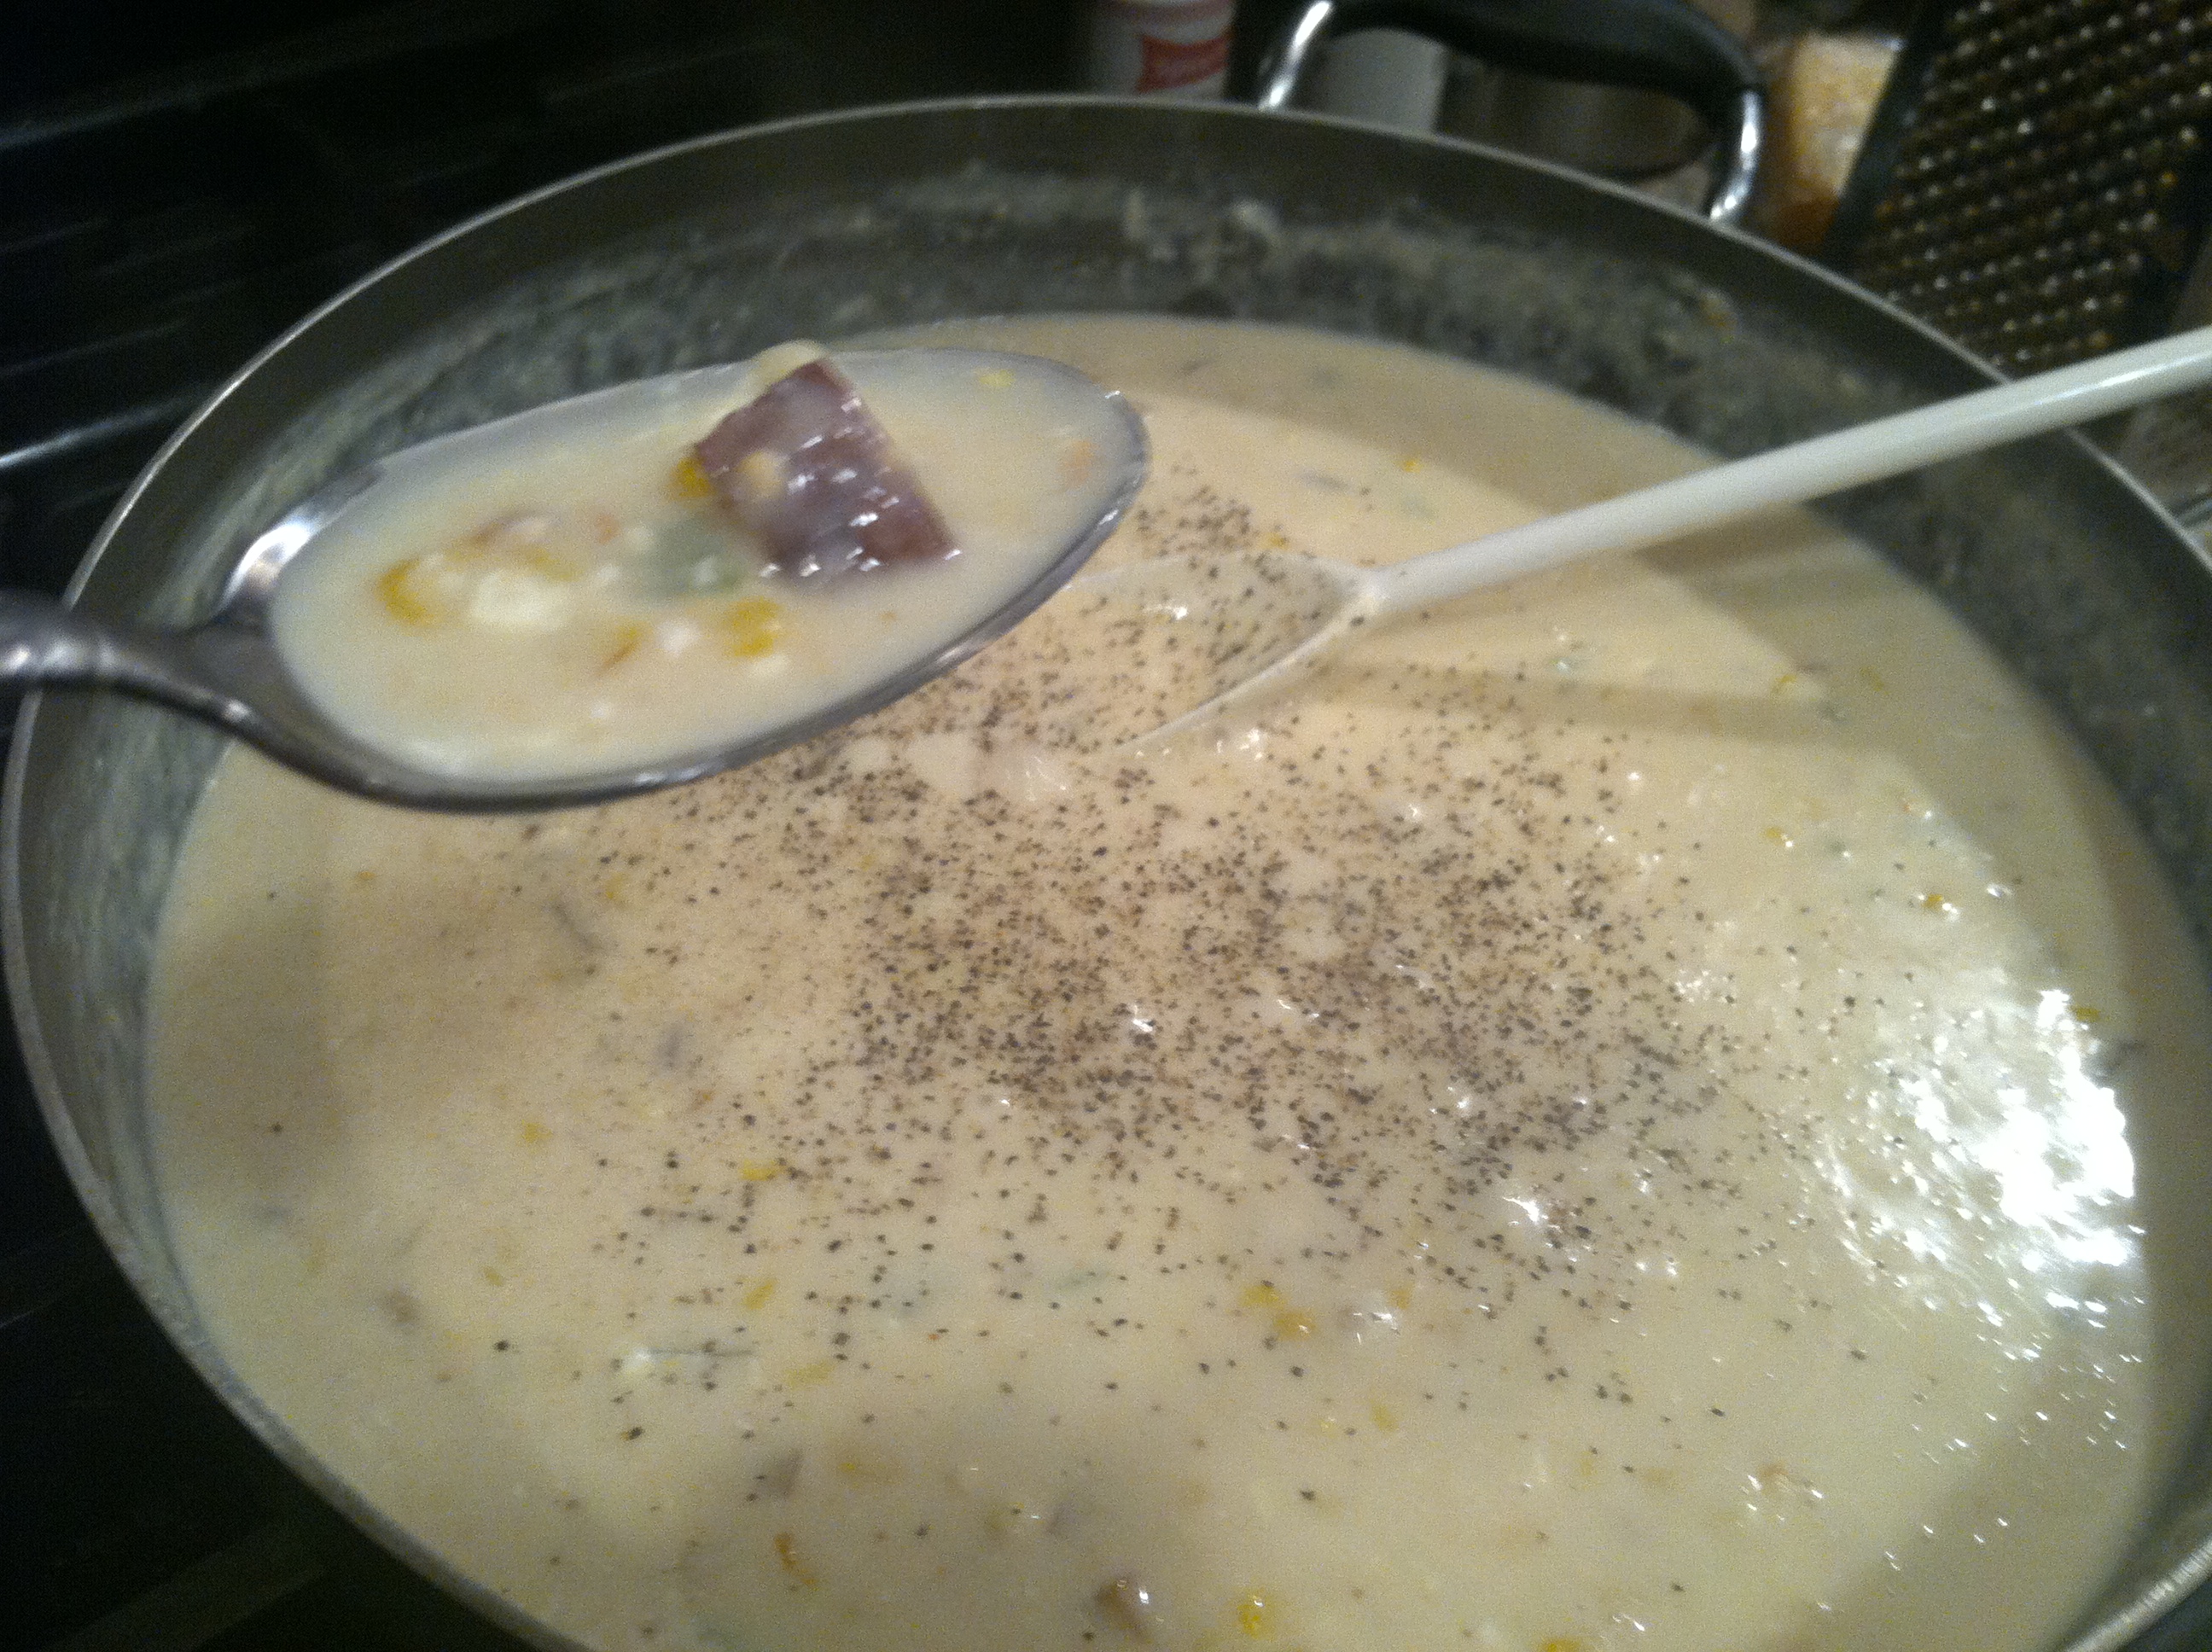
Step 4: Taste and add in the crab, black pepper, & salt. Let simmer until it reaches the desired thickness.
Step 5: If you made/bought biscuits to go along with it, place those in the bottom of a heavy bowl, and cover with a healthy scoop or two of the chowder. You could also use those little oyster crackers.
This stuff just smells divine, and is actually packed with tons of diced cooked veggies!
To thicken even more, you could add a few tbsp flour to the veggies after cooking, just before adding in the water and milk.
And if you don’t have skim milk, you could use any dairy really, half & half, whole milk, sour cream… Or just don’t use dairy & keep it vegetarian.
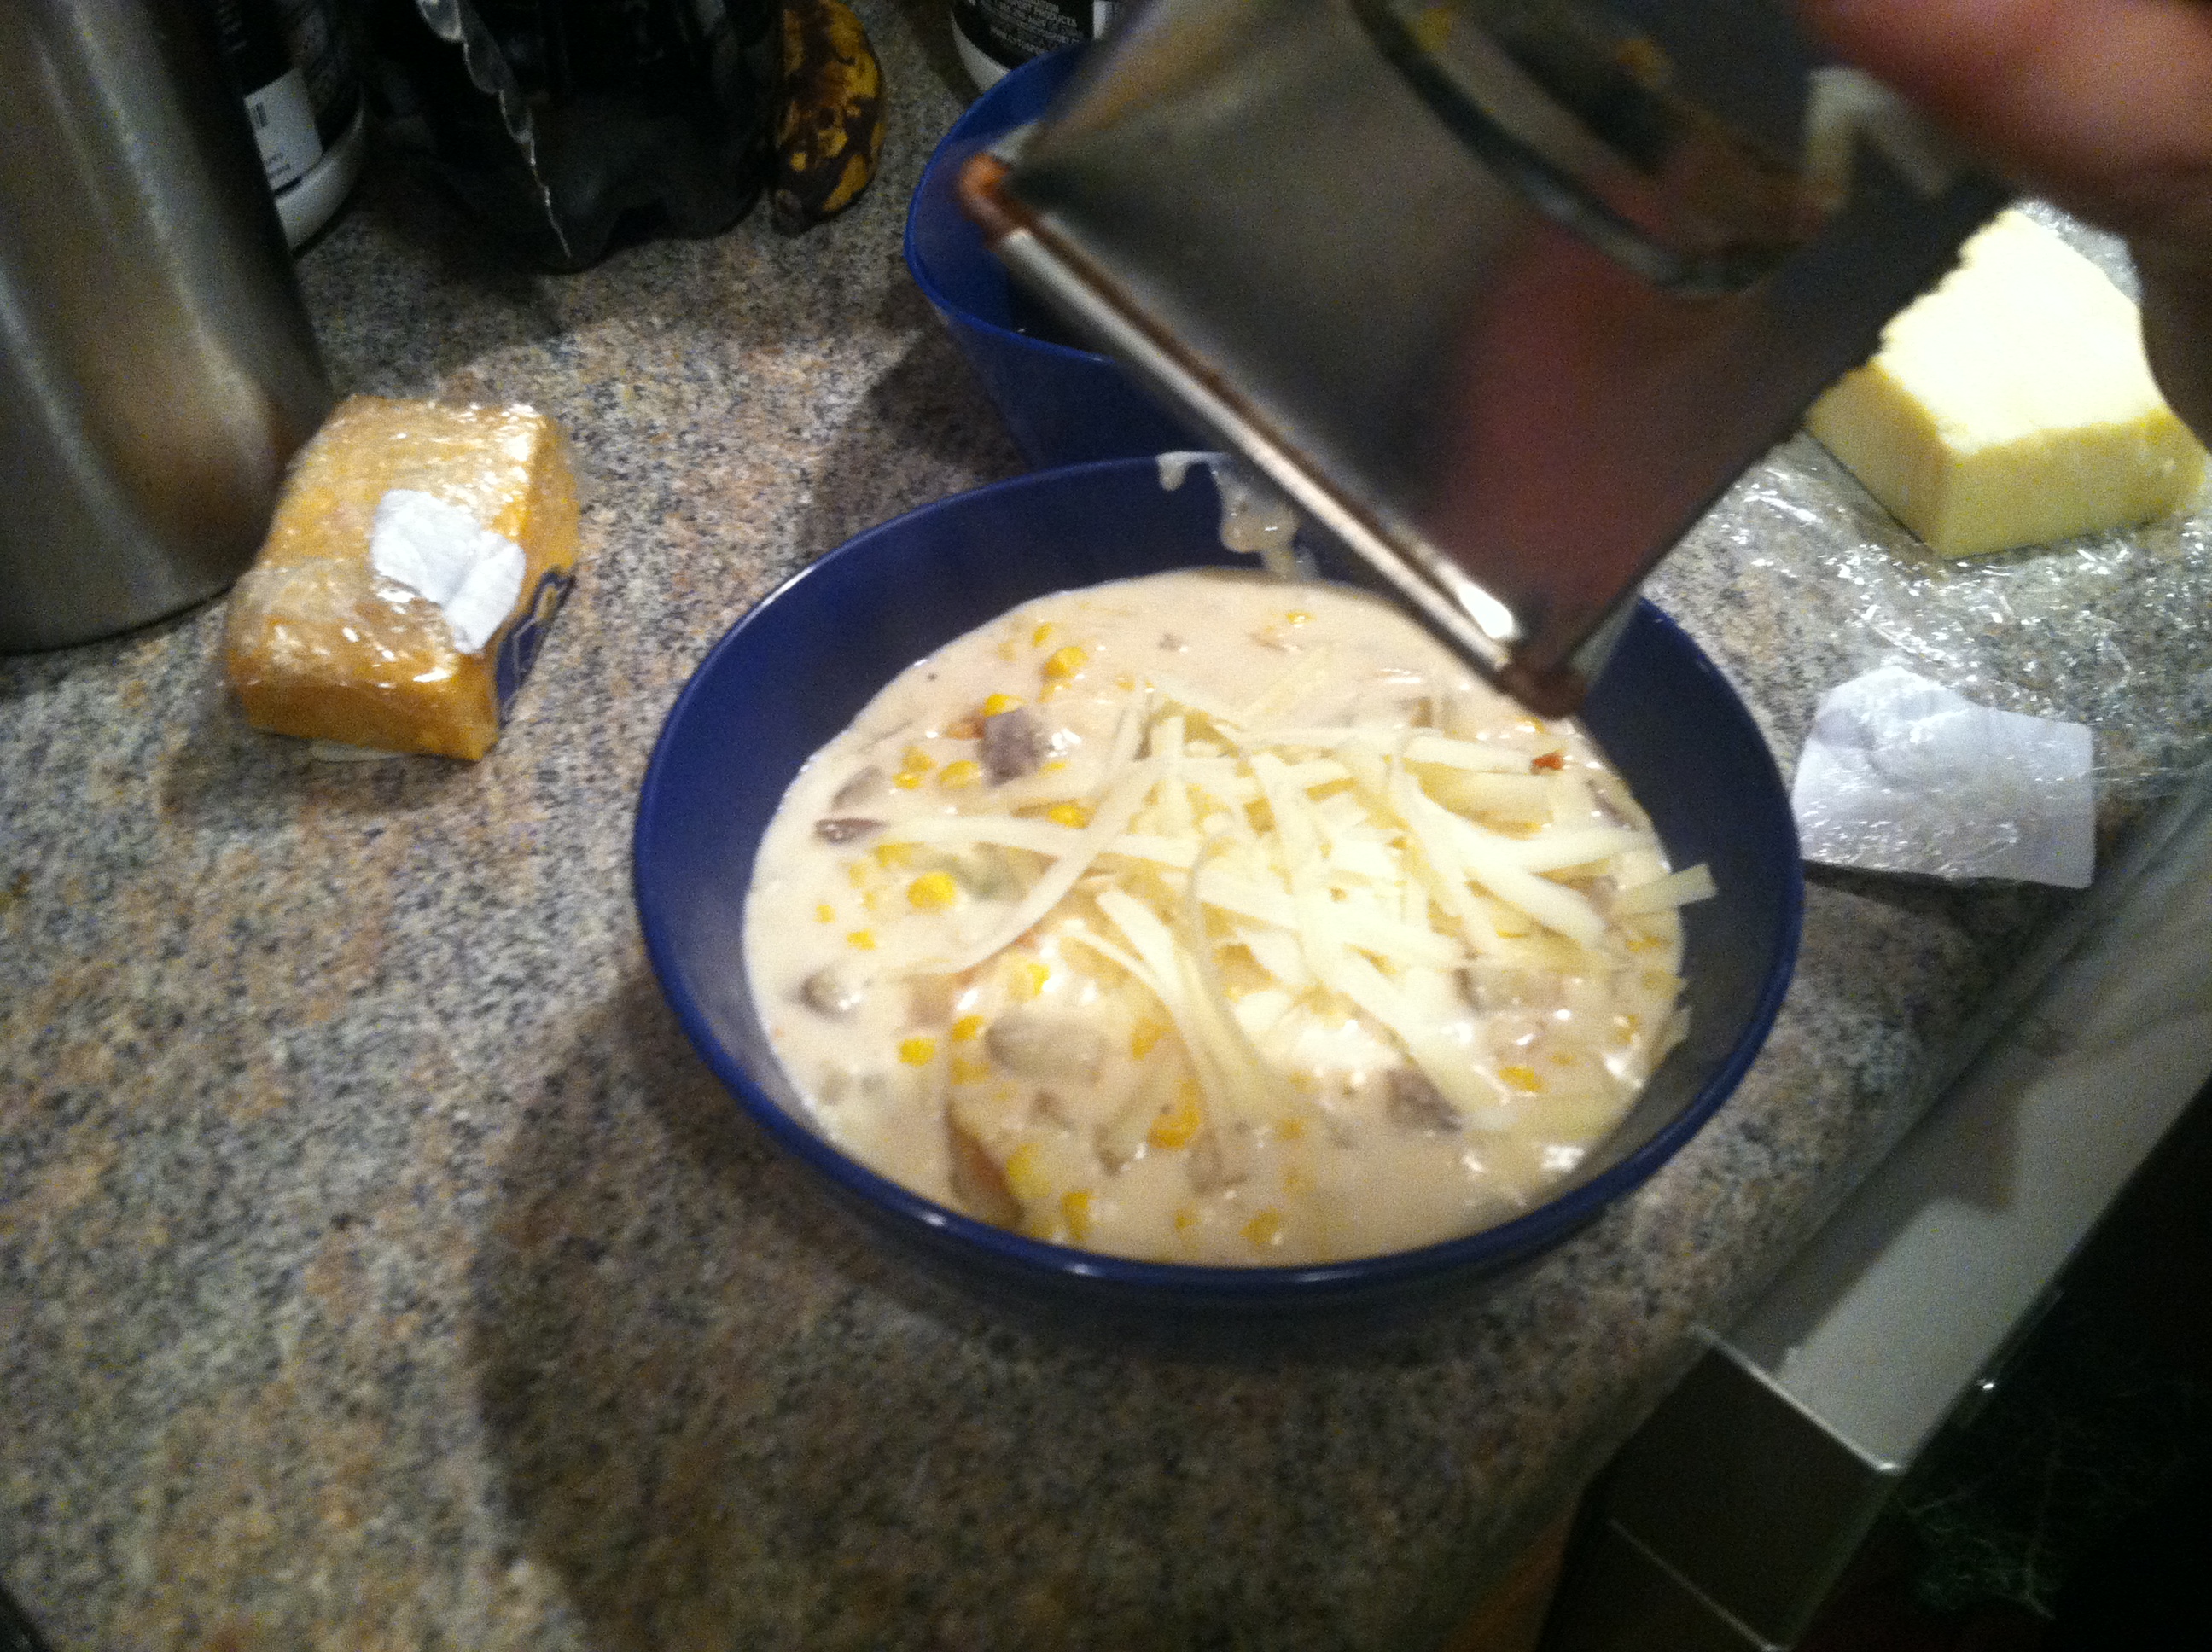
We grated some sharp white NY cheddar on top.
Absolutely delicious! And far healthier than restaurant versions as long as you control the dairy content.
For a cheap but filling meal, it’s hard to beat boxed macaroni & cheese. Ramen is really the only other college-type staple that comes to mind, and I’ve shown many ways you can jazz up that simple steaming bowl of chickeny salt water.
While I’m all for fancy-schmancy six-cheese homemade mac, and love health-ifying with butternut squash puree or acorn squash, sometimes you just crave that classic boxed taste. But if you’ve eaten it way too often, or just like some variety, I’ve got just the thing. Consider this recipe to be the even-more-broke cousin of my famous chili mac recipe.
If you look for a good sale, you can get store-brand mac n cheese for about 25-35 cents, hot dogs are on sale often for $1 per pack of eight, and beans, especially dried, are always affordable. It is likely you can create two servings or one huge serving for under $1. And with only three ingredients, there is just no excuse to not try it, no matter what your level of cooking knowledge (or lack thereof).
Ingredients:
1 hot dog
1/2 cup beans (dry cooked, or canned)
1 box macaroni & cheese
Optional: butter, milk (for mac n cheese)
Step 1: If using dried beans, bring 1 cup beans per 2 cups water to a boil, and simmer 2-4 hours, until tender. If using canned, simply drain and rinse. Cook the hot dog by either boiling for 10 minutes, grilling it, or microwaving for 1 minute 45 seconds.
Step 2: Boil the macaroni, following directions on the box. Cut the hot dog into slices, drain the macaroni. If using butter or milk in your mac, add those as well as the beans and hot dog. Mix together and enjoy!
Hot on the heels of my light, ultra-healthy, vegan Avocado Beet Wrap post Tuesday, I bring you this trifecta of meat-wich! Hey, that’s the definition of omnivore I guess. That and the significant other might walk out if all I ever fed him was veggies. Though I try…
This was of course his brain-child, since a craving for a giant dagwood-like club had hit a few days ago. So a quick trip to ALDI’s and about $20 later, I brought home enough goodies to make about 5-6 of these bad boys, rather than pay someone else the same amount for two.
These are delightful, not going to lie, and would certainly please the crowd at a picnic or BBQ. Unless of course, it’s the Vegans United of America BBQ. (I just made that group up, and if it’s a real thing I in no way intend to mock or upset anyone. Maybe someday I’ll even join)
Ingredients:
1 large roll Italian bread, cut in thirds (or several smaller individual rolls)
1/2 pound turkey
1/2 pound ham
1 pound bacon
6 slices white American cheese (or whatever kind you like)
1 large tomato
1/4 red onion, slivered
3 large Romaine leaves
1 cup sprouts
1 avocado
Handful of peppers
6 tbsp olive oil
6 tbsp red wine vinegar
salt & pepper
Other toppings: parmesan cheese, mustard, mayo, balsamic vinegar, pickles, etc.
Step 1: Fry the bacon in a frying pan, let drip dry on some paper towels. Cut up any veggies you are using.
Step 2: Cut open the rolls if they aren’t already cut. Pro-move: Heat in a buttered pan until slightly crispy, or microwave 30 seconds. Layer the turkey, ham, and bacon, top with oodles of toppings and cheese. Trust me, this last part is the key. Drizzle on 2 tbsp olive oil and red wine vinegar, and sprinkle on salt & pepper to taste.
Now laugh & take pictures of your friends and family as they try to fit their mouth around this monstrous delicacy you’ve created!
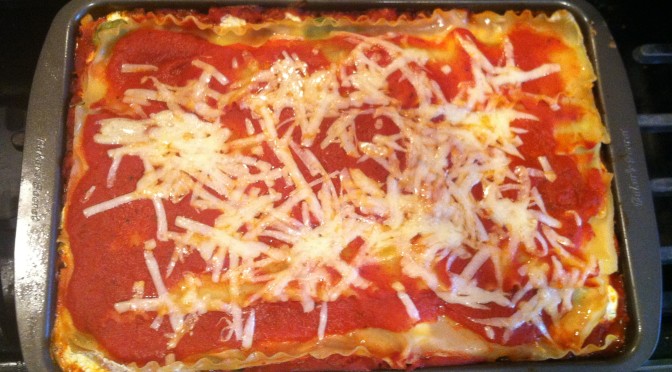
One thing every mom loves is having someone else make dinner for them once in a while. Whether your mom loves to bake, or is seldom seen near the stove, everyone loves lasagna. I don’t know about you, but I know in my house lasagna is always welcome. There is just something comforting and satisfying about a heaping plate of sauce, meat, and noodles. Some may argue that lasagna is just fancy pasta, but truly, layering it creates a whole different experience.
Several of the tricks I use in my lasagna I already have written about in my sneaky healthy lasagna post, and a few more I mention in my YouTube video. The video will show you how to assemble this recipe step by step, and is found by clicking this link, and is also at the end of this post.
For the cheese layer, I seldom am willing to pay a premium for cheese such as ricotta when I know cottage cheese works just as well and is far cheaper. I use a mixture of cottage cheese and sour cream here, and it is super tasty. But if you are a purist who only wants ricotta, or if you have some fancy type of cheese, feel free to switch it up.
For mother’s day, if you are lucky enough to live near your mom, and haven’t already made reservations somewhere, give this simple 30-minute recipe a try. Putting lasagna together is far easier than you may think, and it always impresses. Lasagna looks amazing and tastes even better. Impress your mom, date, siblings, friends, or coworkers. Heck, make a whole pan for yourself and it will last all week. Just give it a try!
Step 1: Bring a large pot of water to a boil. Add the noodles and olive oil (the oil helps keep the noodles from sticking as much) and simmer for about 10 minutes.
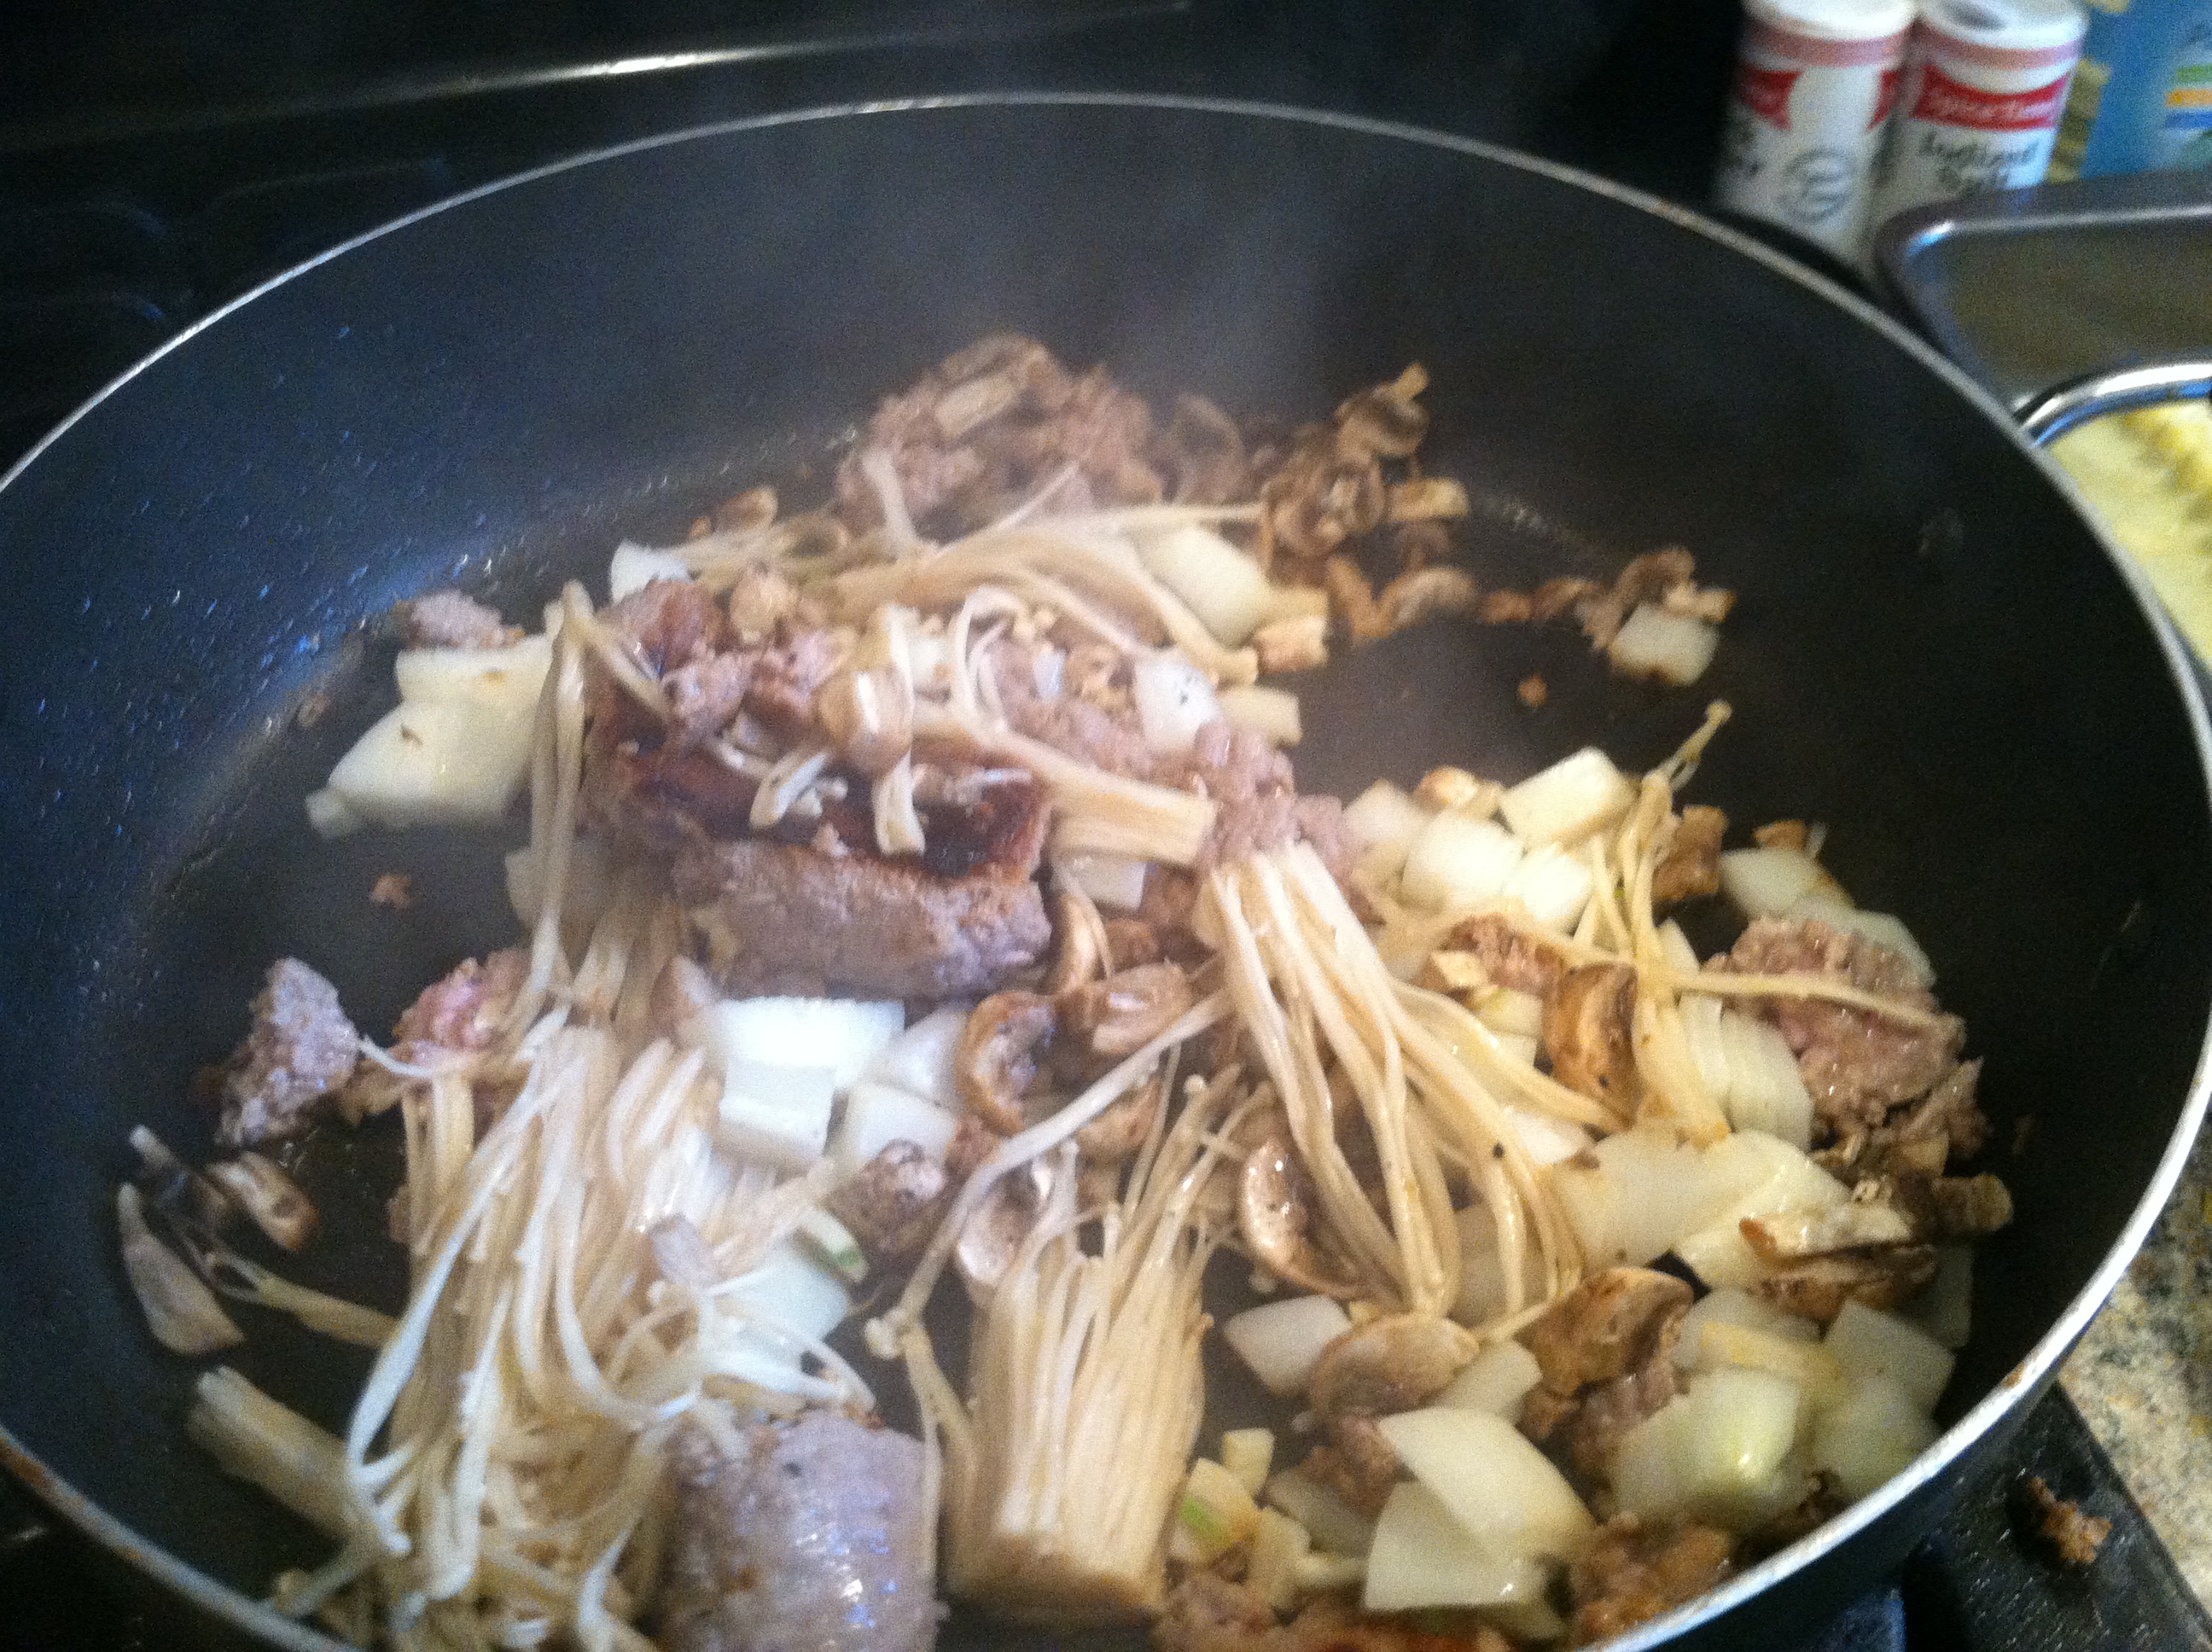
Step 2: Dice up your mushrooms, garlic, and onions. Add the ground turkey to a pan over medium heat, and cook until browned.
Add in the garlic, onion, & mushrooms, cover and cook another 5-10 minutes.
Step 3: In a large bowl, mix the cottage cheese and sour cream.
Step 4: Once the noodles are cooked and drained, layer a 9 x 13 baking pan with 4-5 noodles, overlapping the edges. Add half of your cooked meat mixture on top of the noodles. Pour 1/2 your sauce on top, followed by half of the cheese mixture. Lay down a layer of 1 cup spinach, and then another layer of 4-5 noodles, again overlapping. Repeat the layers, saving a small amount of sauce to pour on the top.
Step 5: If you want, shred a layer of sharp white cheddar cheese on top. Pop your lasagna in the oven for 30-45 minutes at 350 degrees.
That’s all there is to it! You could also make this in a disposable aluminum pan, cover with foil, and put in the freezer for a night you don’t feel like baking. Most likely, you will just make the house smell amazing and will devour the whole thing in one meal!
With the healthy protein from the turkey and cottage cheese, the extra tomatoes boosting your lycopene and vegetable intake, and a healthy layer of spinach, you don’t have to feel guilty about going back for seconds!
(Oh, and if you do make this for mom, super mega bonus points to do the dishes after!)
[amd-zlrecipe-recipe:22]
This post contains Amazon affiliate links. By clicking on these links and purchasing items, the price you pay is not affected yet a portion of proceeds go towards supporting this blog. Thank you!
With Mother’s Day just around the corner, you may be asking yourself what is a good way to show your mom just how special she is. You could buy a Hallmark card, but that’s just an over-priced poem someone else wrote. You could take her out to brunch, that’s always nice. But how about you one-up that and make something special for her yourself!?
I know, you may not think you have the time. But why not ask if she’d like to be included in the baking? We all know no one cooks just the way mom does. And baking is a great way to bring family together. “So Much Good Happens When We Bake.”
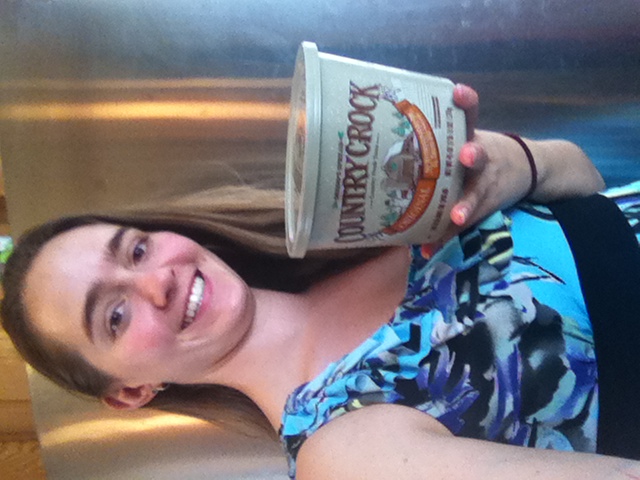
This post is part of the Culinary Content Network’s “Celebrating Mom” series, sponsored by Shedd’s Spread Country Crock.
This recipe became a fast favorite in our house since mom saw a recipe from Pillsbury online last Christmas.
Now we make it our own with a variety of fillings and toppings. Feel free to experiment yourself. Try ricotta, cream cheese, cottage cheese, or goat cheese. Use any dried fruits, jams, honey, or maple syrup. As long as there are biscuits, sugar, Country Crock, and love, they are sure to delight!
Step 1: Heat the oven to 350 degrees, and grease a round pan or 8×8 square pan. Mix any nuts and/or fruits you are using in a small bowl.
Step 2: Lay out two shallow bowls or plates, one with the melted Country Crock and one with the cinnamon & sugar.
Step 3: Put about 1/2 tbsp of mascarpone cheese in the center of one biscuit round, sprinkle in a pinch of nuts & dried fruit, and pinch the sides up all around it. Roll it into a ball, making sure the cheese is completely covered.
Step 4: Roll each biscuit ball in the melted Country Crock, and then in the cinnamon & sugar. Place seam-side down in the greased pan. Once all biscuits are stuffed, spread the remaining Country Crock over them and sprinkle with remaining walnuts & cranberries.
Step 5: Bake at 350 for 25-35 minutes, until biscuits are nice and brown. Mix 1 cup powdered sugar and 2 tbsp milk into a thick glaze. Drizzle over warm rolls right as you take them out of the oven.
These things are simply incredible. Warm, gooey, sweet, and irresistible.
Who wouldn’t want to wake up to these?? Make them anytime really. Maybe every day, if you’re also a marathon runner…
What will you do for Mother’s Day?
[amd-zlrecipe-recipe:21]
This post contains affiliate links. If you buy products using these links, the price you pay is not affected yet a portion of the proceeds help to maintain this blog. Thank you.
One of my favorite things to go on sale is biscuit mix. This is because the mix is so very flexible. You can of course whip up soft, flaky biscuits in ten minutes, but you can also do so much more. I’ve used it to make pizza bites, tuna pockets (more than once actually), and as a pie crust substitute.
But the best way to use biscuit mix, other than biscuits, is as a flatbread for pizzas! These are amazing because the toppings are only as limited as your creativity.
I was having a get-together, and had to make something to feed a crowd at the last minute. This was my mom’s idea, and it turned out to be brilliant. Everyone could try something different, and everyone was happy with the results.
Feel free to get creative with whatever you have in your kitchen.
Ingredients (per pizza):
1 roll biscuit dough (or pizza dough)
Approx. 1 cup toppings
1/3 cup sauce (marinara, ranch, BBQ…)
This pizza included bacon, cooked chicken breast, spinach, shredded cheddar cheese, and ranch dressing.
As you can see, you can make pizza pockets, in many different sizes. Just press the dough together and mold it to the size you need.
The smaller the pizza pocket, the less time you need to cook. These all went in for about 12 minutes, and you can see the smaller pockets are a darker brown whereas the larger ones are slightly golden.
We had some with mozzarella and pepperoni, some with red pepper and spinach, and some bacon BBQ. These would be great for birthday parties, cookouts, picnics, a casual weeknight, and more.
For those who have been to fancy restaurants and wondered what “au jus” meant, fear not, I have the answer! It is a French term meaning “in it’s (own) juices”. Therefore, any meat cooked and served with the cooking liquid is au jus.
The most popular au jus meat is of course beef. And the most popular way to serve it is of course as a dipping sauce with a roast beef sandwich. Though jus can be prepared separately from the main dish, for example by reducing beef stock to a slightly thicker sauce, it is best when made using the actual meat with which it is to be served.
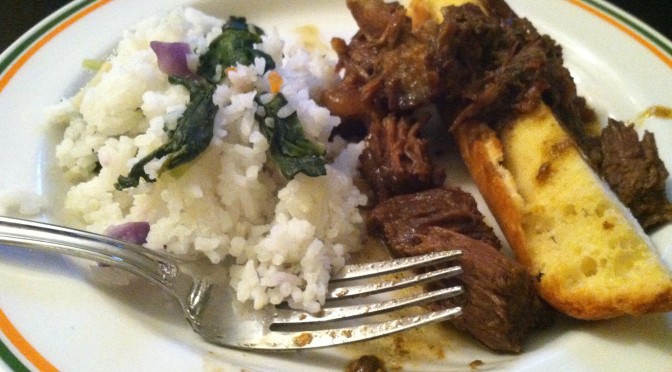
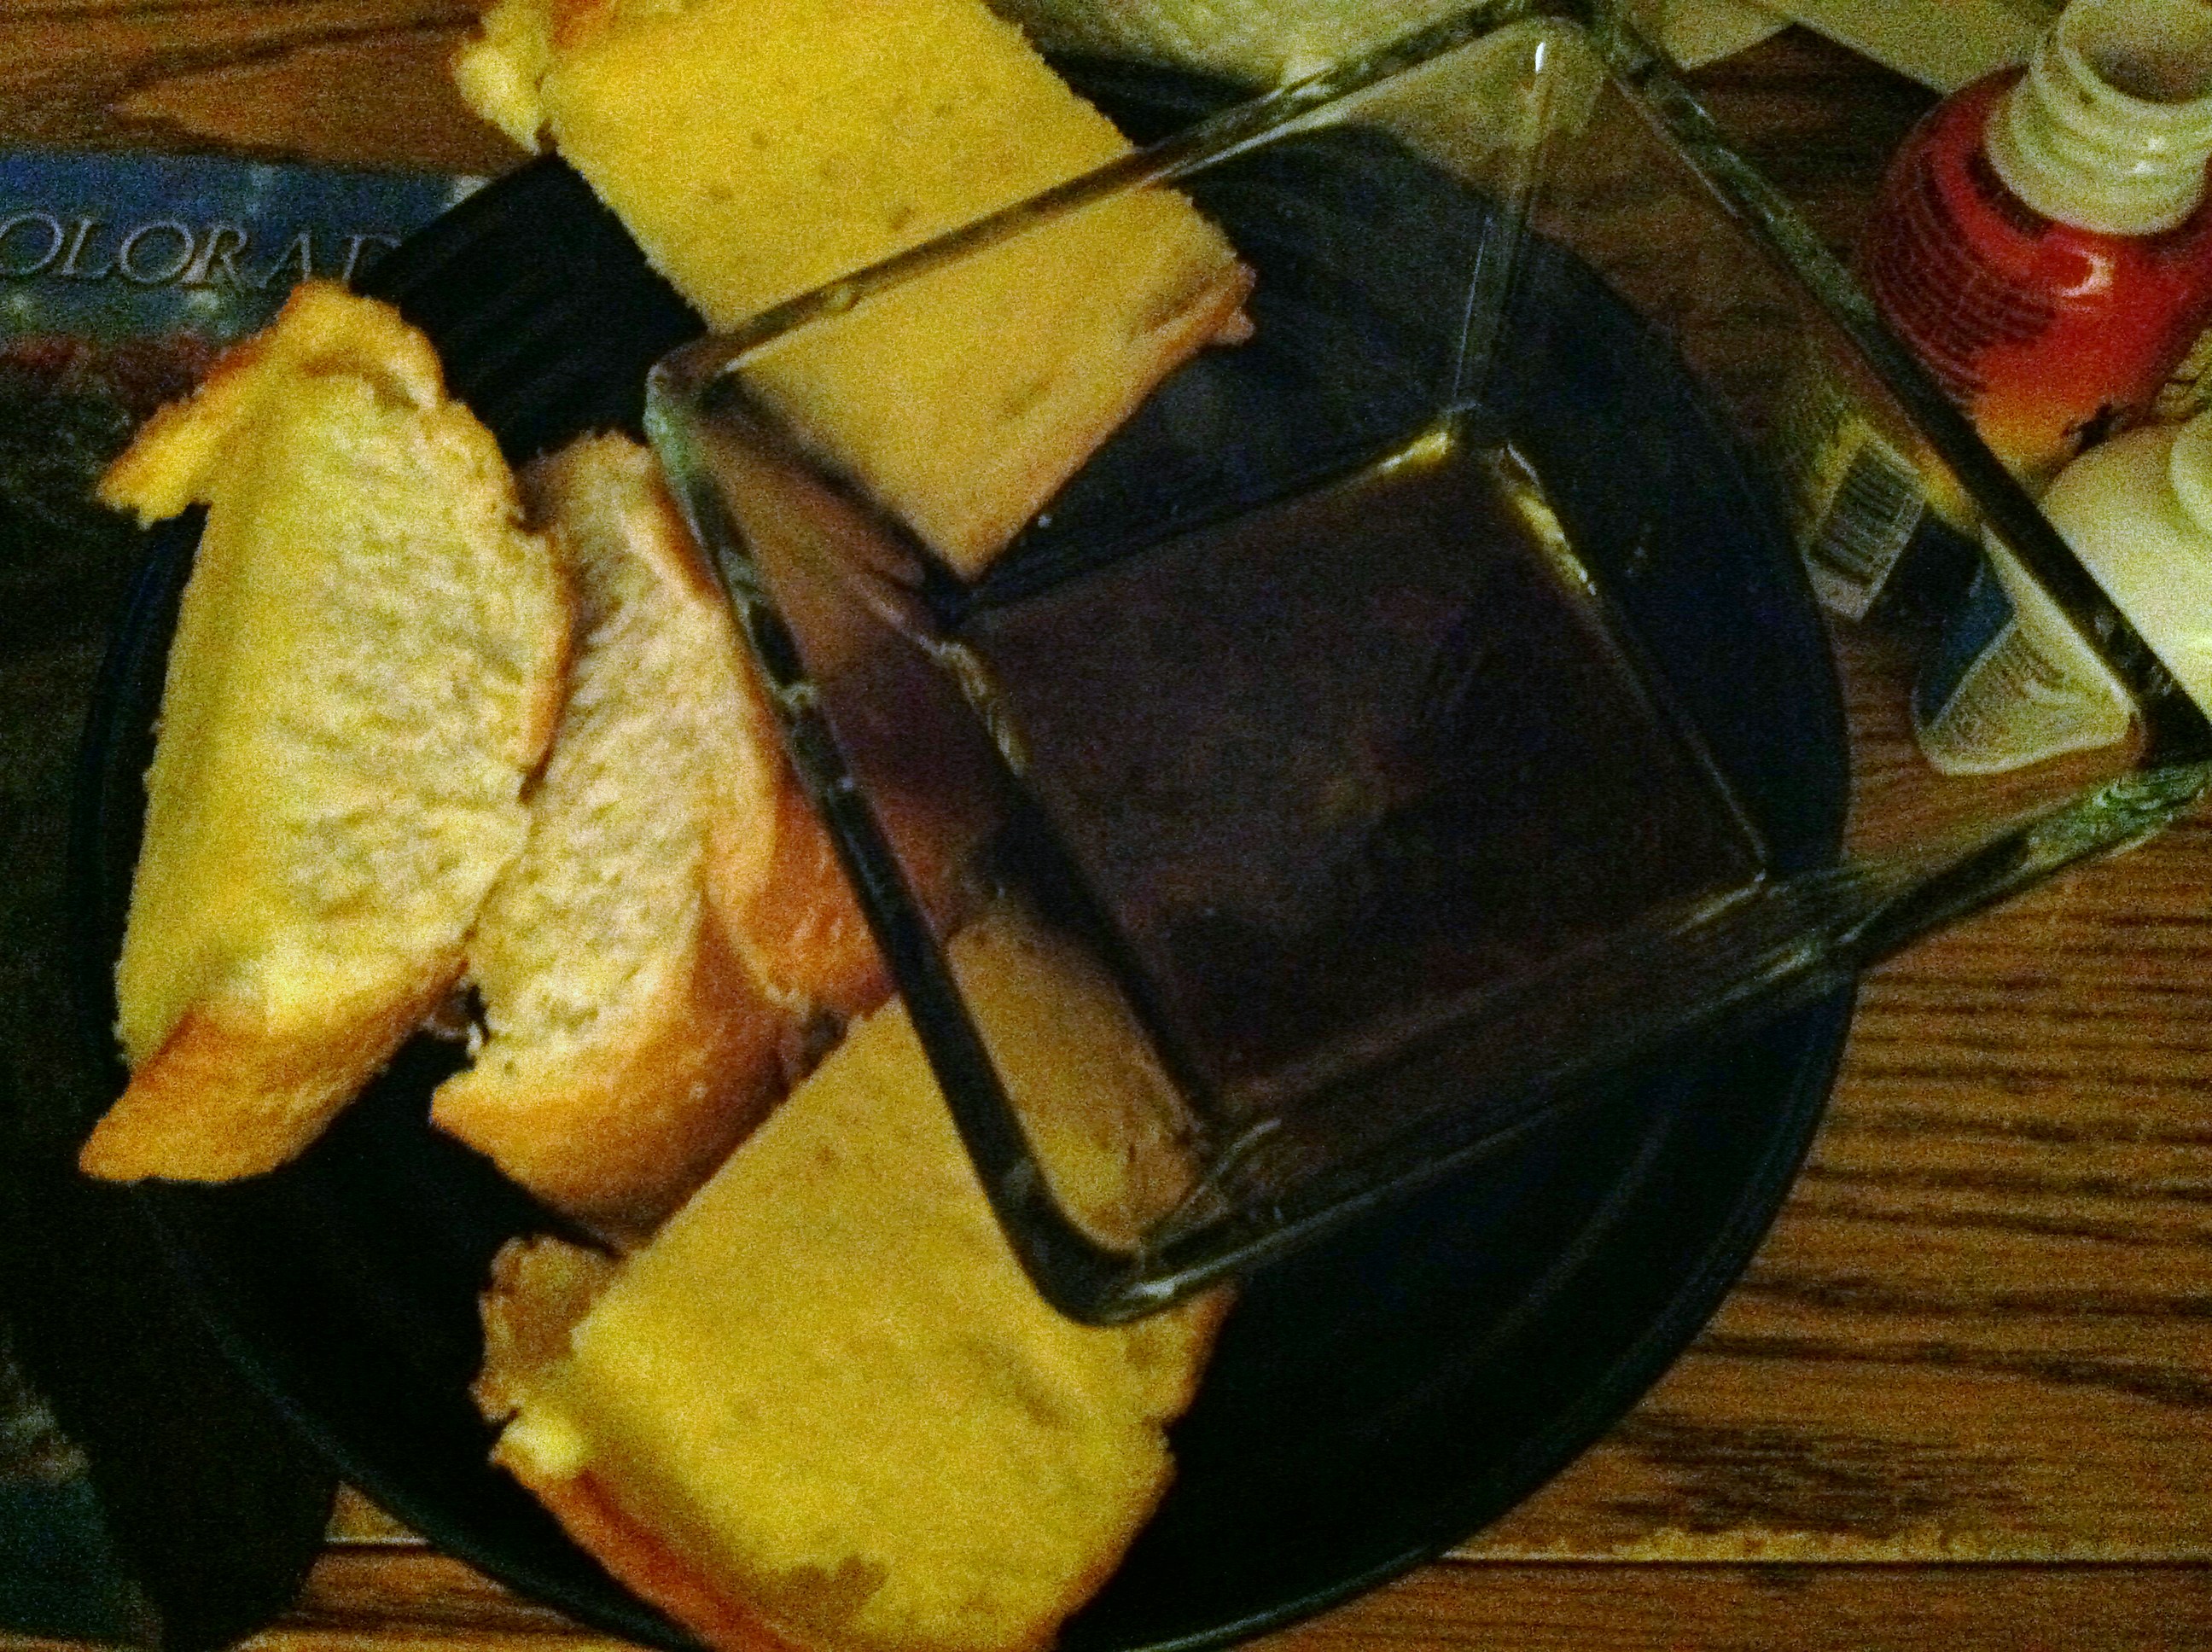
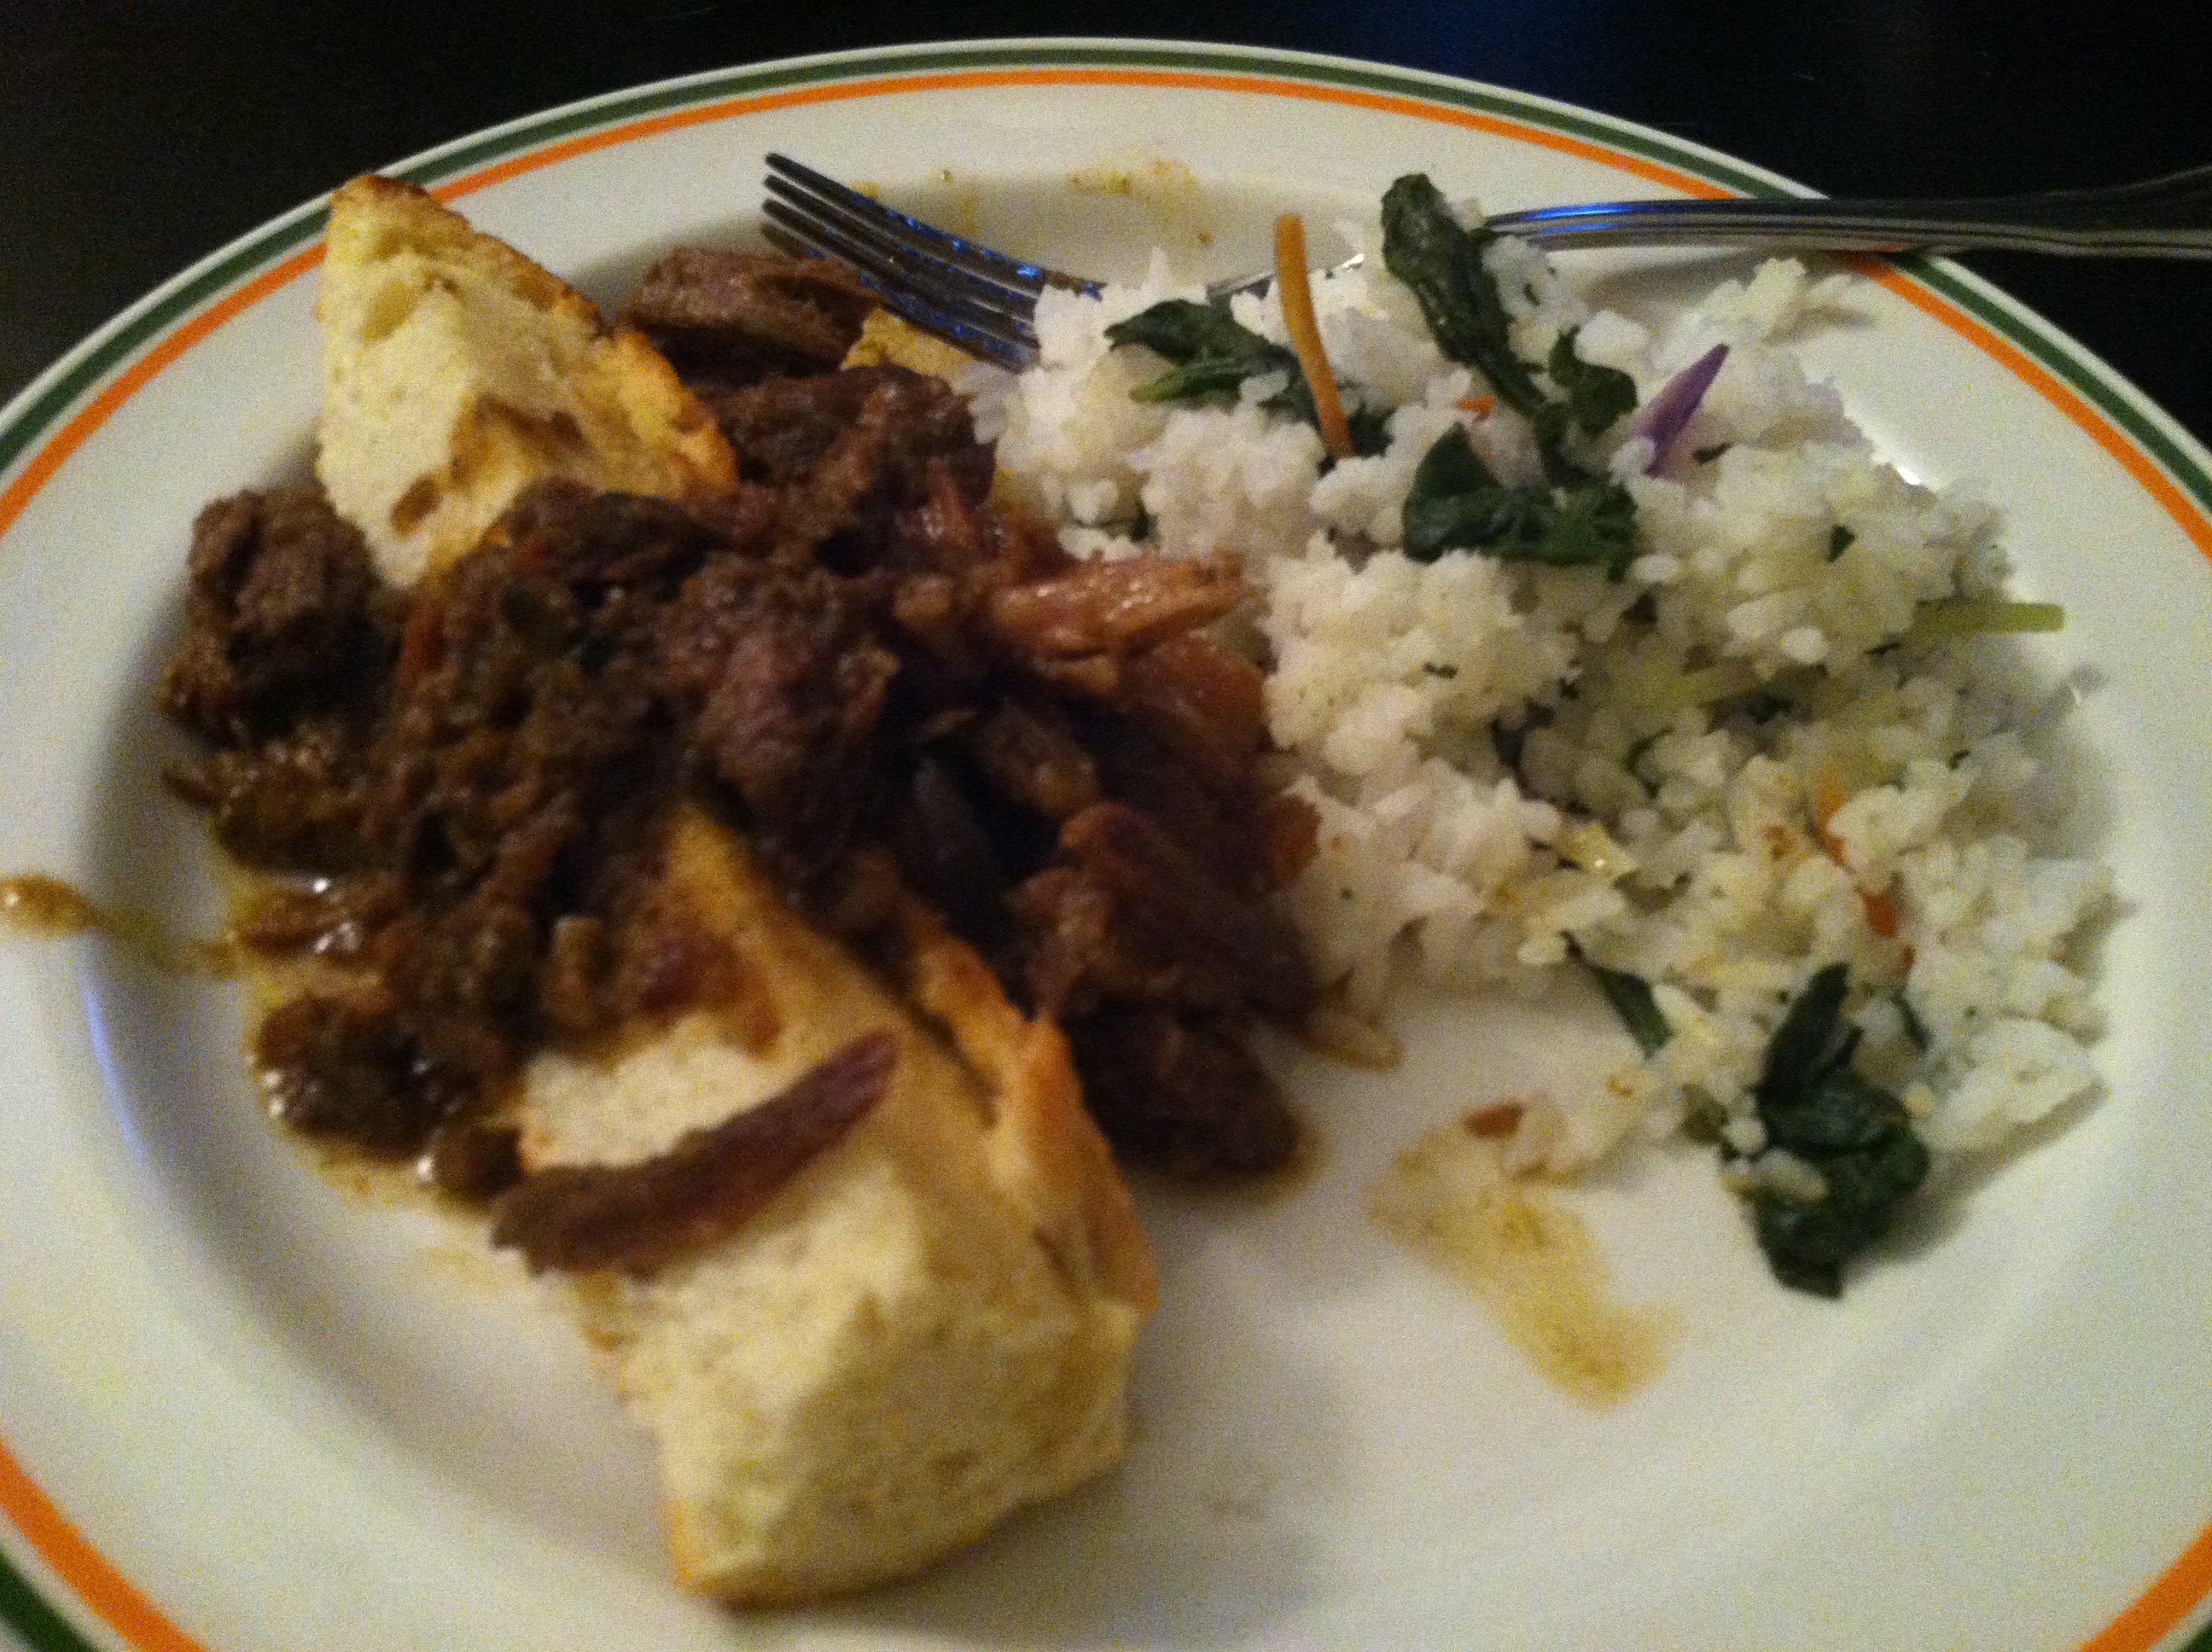
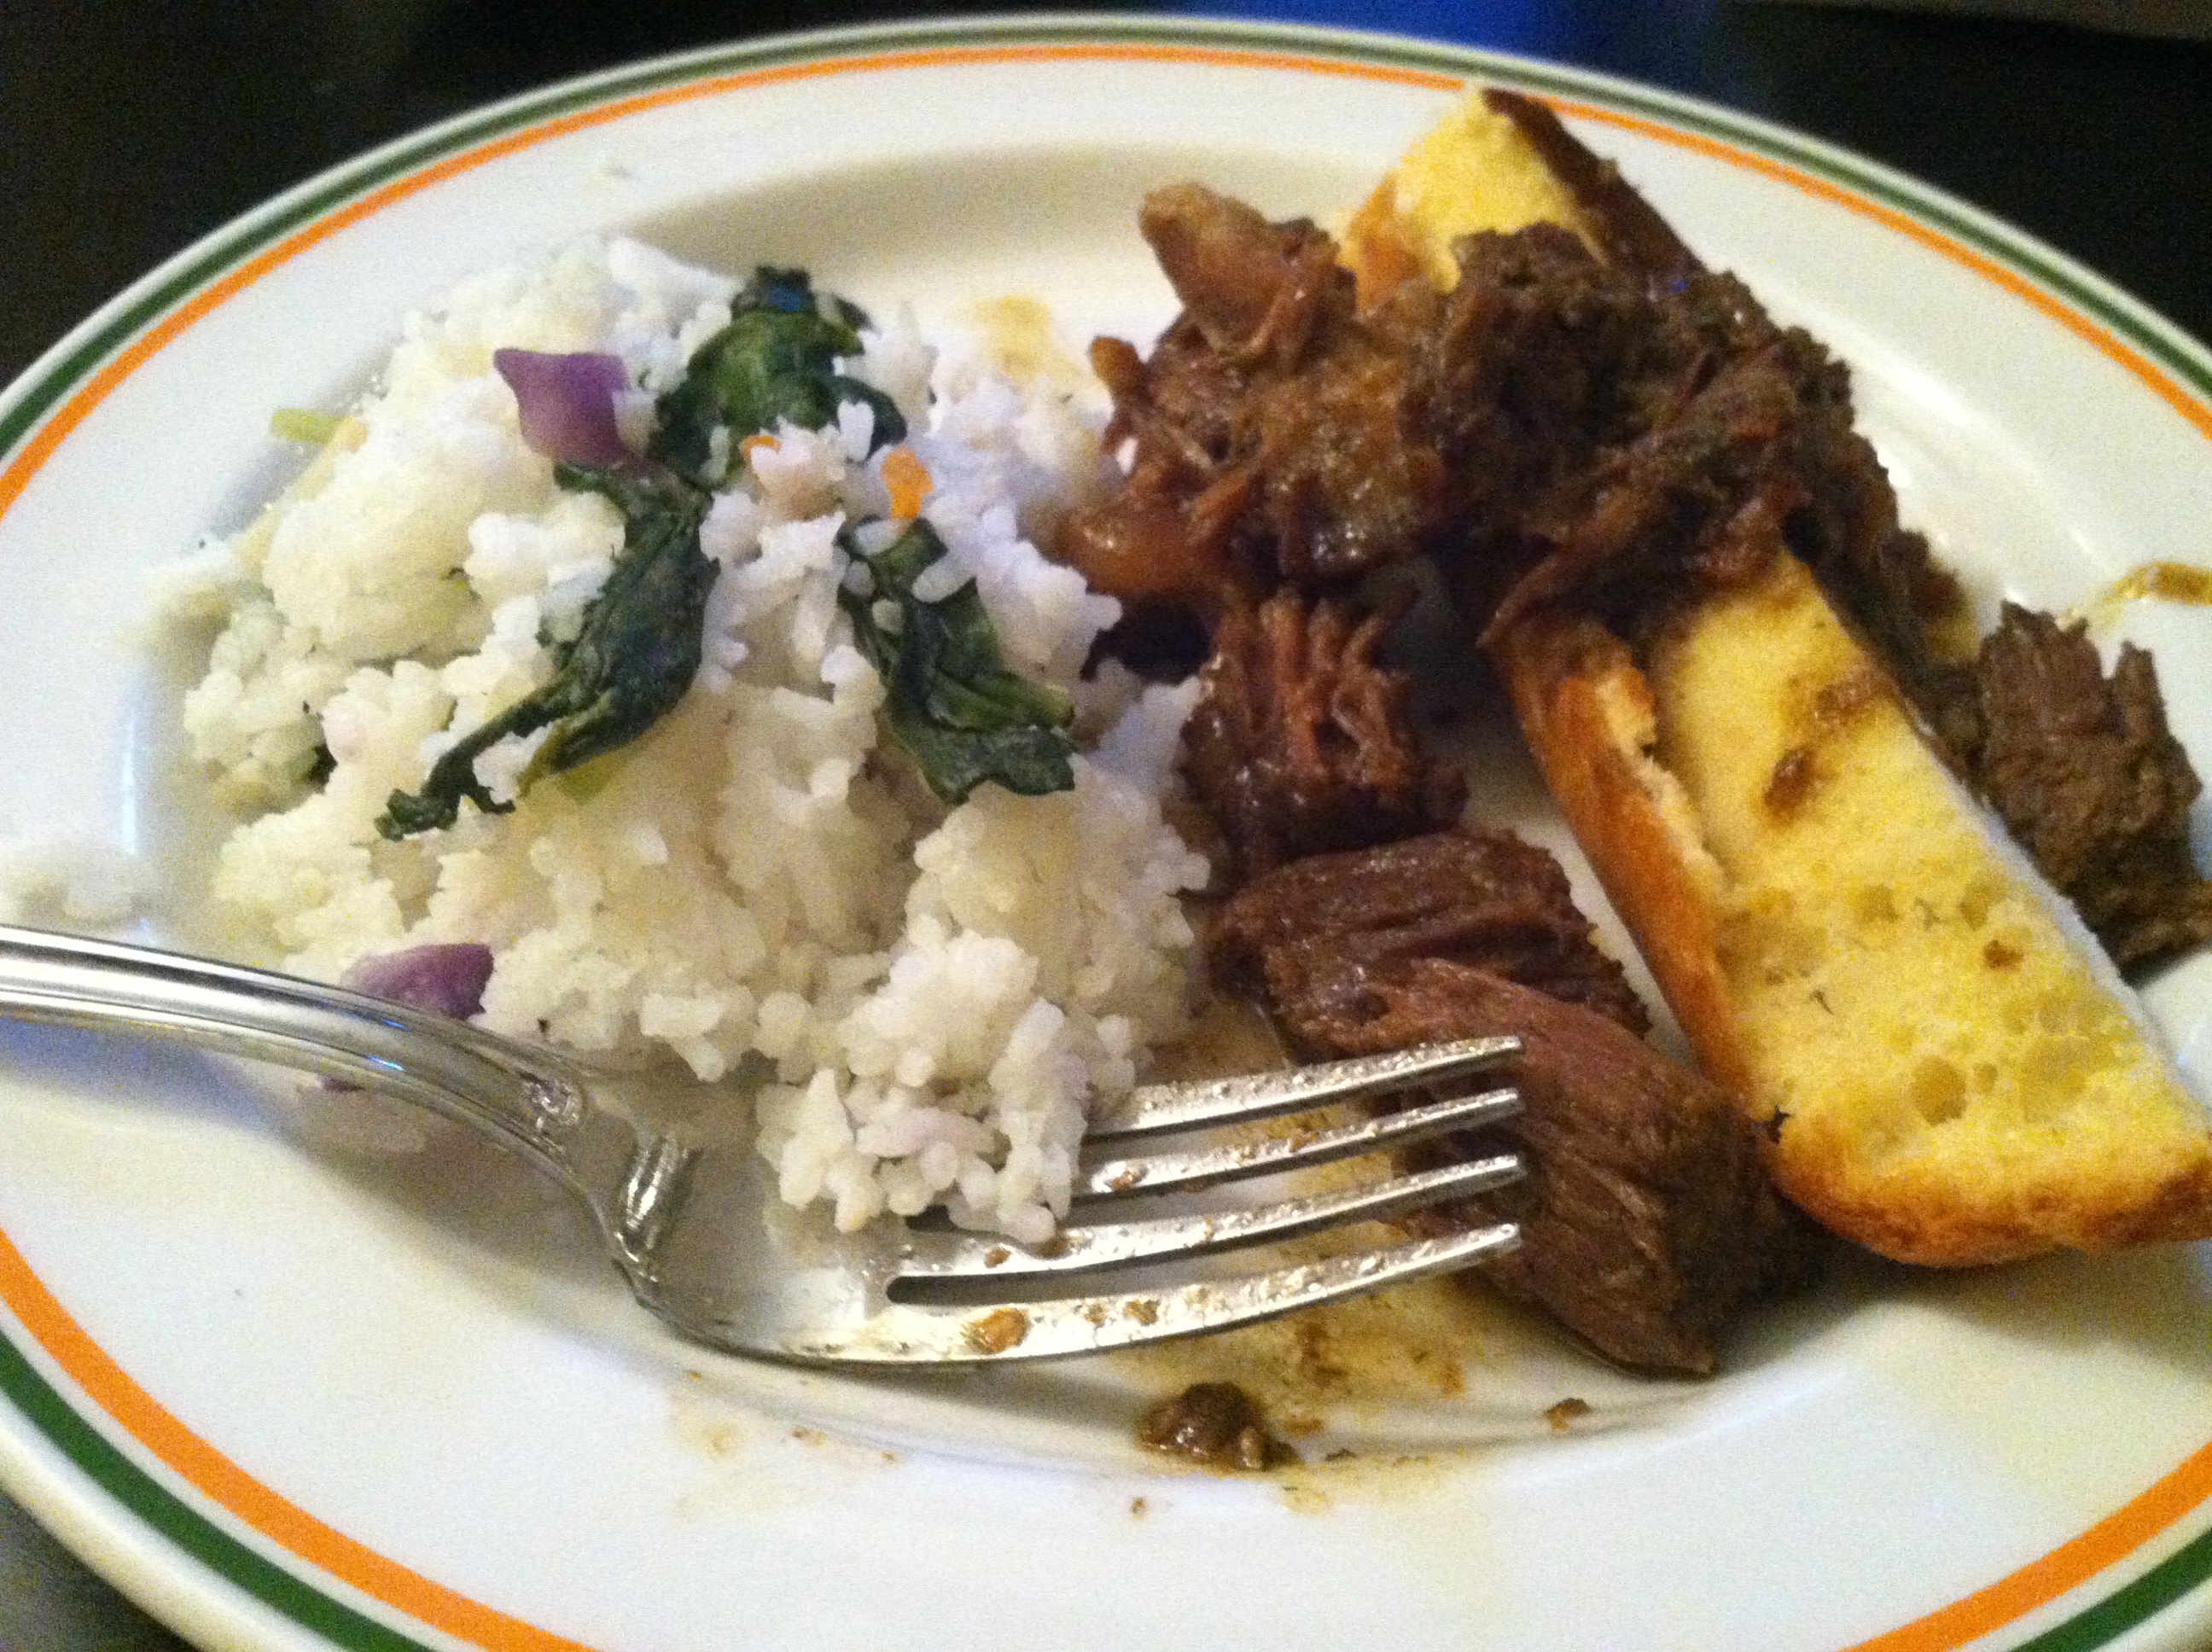
In this recipe, I made a beef rump roast which we ate for dinner day 1 with some roasted winter veggies. I saved the jus, and the following day served the leftover roast beef on thick garlic toast drizzled in the jus with some rice on the side. It is fall-apart tender with flavor to spare, and the jus packs a punch all its own. I’d recommend this double-day pleaser anytime.
Ingredients:
1 5-6 lb beef roast
1 plastic roast bag, or crock pot liner
1 packet roast seasonings; or
1 tsp black pepper
1 tsp garlic
1 tsp thyme
1 tsp rosemary
1-2 tsp sea salt
2 large potatoes, diced
2 celery stalks
1/2 cup brussels sprouts
2-3 large carrots, diced
1 cup water or beef stock
Step 1: Brown the roast in a frying pan over medium heat. Sear until dark brown on all sides, then set aside to cool. Place the meat, seasonings, veggies, and water into the steaming bag. Either cook on high in a crock pot for 2-4 hours, or in an oven set to 350 for 1 1/2 hours.
Step 2: Once the roast is fully cooked (brown all the way through or slightly pink) remove it and the vegetables to a dish. Strain the liquid with a metal strainer and/or cheesecloth into a container.
Step 3: If the jus is to your liking, serve immediately. Otherwise you can bring it to a simmer and reduce to your desired consistency. You can also add flour or cornstarch for a gravy instead.
Step 4: The following day, make a big loaf of garlic bread. Shred the remaining beef, and pour over the bread. You can also make it into a sandwich. Serve drizzled with jus, or on the side to dip.
This salty, tangy, tender beef is amazing with crunchy fresh garlic bread. The jus is delicious and flavorful, and could be used in many other ways, such as in soups, dressings, gravy, and more.
The fusion of food, fun, frugality, and curiosity.