Category Archives: Comfort food

Pork with Mushroom Gravy


This is a great recipe for using up extra mushrooms. It may not be a problem if you have fungus-lovers in your house, but my fiance does not think mushrooms are ‘fun’ in any way. I try to keep sneaking them in though, because they bring that lovely umami flavor to everything, and I personally love the things! This turned out really well, and he asked for seconds… so, vouched-for deliciousness.

IMG_9231

Ingredients:

  • 2 large pork chops or a small roast, about 6 ounces
  • 1 pint mushrooms (any kind, I used white and enoki)
  • 2 garlic cloves
  • 1/2 an onion
  • 4 tbsp plain Greek yogurt
  • 1/2 cup milk
  • 1/2 cup chicken broth or bouillon granules/cubes
  • 2 tbsp flour

IMG_9218

Step 1: Dice up your mushrooms, garlic, and onion. You can use any type of mushroom here, from white to bella to enoki to shiitake.

IMG_9224

Step 2: Cut the pork into bite-sized chunks and brown over medium heat. I served this over noodles, so I started them boiling at the same time. This would also be delicious served over rice or with a nice salad or green beans on the side.

IMG_9225

Step 3: Add the mushrooms, diced garlic, and onion to the pan. Cover and cook on medium heat 10-12 minutes, until onion becomes translucent and mushrooms soften.

IMG_9226

Step 4: Either remove everything to a plate and keep warm, or make the gravy right on top of it all. Mix in the flour, followed by the chicken broth, yogurt, and the milk.

IMG_9229

Step 5: Bring to a boil and then simmer until the gravy thickens. Keep stirring so that it doesn’t burn, and cook down until it is your desired thickness. Add more milk or water or flour as needed.

IMG_9230

Serve either alone or over noodles or rice. I sprinkled it with chopped chives from the back yard and a little garlic salt.


[amd-zlrecipe-recipe:42]


Creamy Tomato Basil Soup


For those who do not know, late summer is when the garden bounty is rolling in, including tomatoes and herbs like basil. Home gardeners are likely giving away baskets of fresh veggies and herbs to friends, family, and neighbors. Those who know how and have the time & inclination are putting up the excess for the long, cold winter ahead by canning, drying, and freezing.

basil (1)

I planted a few basil seeds in late April, and had no idea they would take off so well! They were tiny seedlings when I had them in a pot in the window, but when I put them outside they just flourished! Now I have a basil bush just outside my front door. It is wonderfully convenient to just run out and grab a few leaves.

This tomato soup recipe is stunningly simple. Don’t let its simplicity fool you though, it is also amazingly delicious. There is nothing quite so amazing as fresh, local produce simply prepared. Orange goo in a can doesn’t even come close.

With only 3 ingredients, this soup is so easy a five-year-old could probably make it. And, honestly, you don’t even need the basil, you can just make a simple creamy tomato soup by leaving it out. I added it because you can only eat so much pesto in one week. 🙂

tomato (2)

And the final bonus, it is both vegetarian and vegan, as well as gluten free! If you just blended it all, I bet it could be made raw too! It is very healthy, as well as Paleo and Mediterranean. There isn’t a diet I know of on which you cannot eat this soup. If you don’t have or don’t like coconut milk, you can omit it for a regular tomato soup, or use cows milk, almond milk, etc instead.

photo

Ingredients:

  • 1/2 can coconut milk (6-7 oz)
  • 4-5 large ripe tomatoes
  • Handful of basil leaves
  • Optional: olive oil, salt & pepper

photo 1

Step 1: Open the coconut milk and mix it up with a spoon. Pour half into a pot and begin heating. Dice up your tomatoes into quarters and add to the pot. Bring to a simmer, and cook for 10-12 minutes.

photo 2

Step 2: You can stop here if you don’t mind your soup a little chunky and don’t want to add basil, it has a nice rustic texture at this point. Would be great served with some whole-grain bread. But if you want it creamy and smooth, pop it into the blender and give it a whirl.

tomato (1)

Step 3: Add the handful of basil, and blend again.

tomato (4)

(Note: be sure to have the lid on the blender firmly. Otherwise, you end up with a hot, orange mess all over your stove. Not that I would know from experience…)

tomato (3)

Pour your hot, finished creamy tomato soup into 2 bowls, top with sea salt & black pepper and a drizzle of olive oil if you like. This makes a little less than 1 quart of soup, and can easily be doubled to use the whole can of coconut milk. Simply add more tomatoes.

Enjoy!

[amd-zlrecipe-recipe:37]

Double Burger with Creamy Chili Coleslaw


Happy September!

As we head into Labor Day weekend, we all have some reasons to be bittersweet. The summer ending is bound to be a little bit sad, as we bid adieu to extra-long days of sunshine, warmer temperatures, cookouts and backyard barbecues, possibly more free time and relaxation than usual, and quality family time if you have little ones.

Those of you that do entertain spawn over the summer months, are probably eagerly anticipating the return to school (or overjoyed that they are already gone!) And there are the many joys of autumn to look forward to as well, pumpkin-pie everything, leaves changing colors, brisk nights and cooler days, and many fun holidays.

As summer winds to a close, perhaps you are going to celebrate with a little outdoor grilling? I know I plan to! (Though for this or any burger recipe, you can also cook the patties inside in a frying pan or broil in the oven. In case the desire for grilling hits mid-December).

IMG_9663

For this burger, we went all-in, with a double-wide bun to accomodate two patties, as well as loads of yummy toppings and my fabulous creamy chile coleslaw! But feel free to top it however you want, and say sayonara to summer in style. This recipe makes 1 double-burger, and could be split into two singles.

Ingredients:

  • 1 large hoagie-style bun
  • 2 burger patties (frozen, fresh, or homemade)
  • 2 slices cheese of choice
  • 3-4 tbsp coleslaw
  • 1 large roma or 1 small beefsteak tomato
  • 3-4 slices of pickle

IMG_9654

Step 1: Clean & spray your grill with nonstick cooking oil.

IMG_9658

Step 2: Set the grill to medium heat, and cook burgers 3-4 minutes each side, until desired done-ness. (The tougher the burger feels when you poke it, the more done it is. Medium is about the feeling of your thumb muscle when lightly closing your fist)

IMG_9659

Step 3: Top patties with the cheese in the last 1 minute of cooking to melt it on. I used white American, but feel free to use whatever you like, or no cheese at all.

IMG_9660

Step 4: Put the patties on the bun, smear the coleslaw on the opposite side. Layer on other toppings.

IMG_9661

Step 5: Quickly flip the two sides together, trying not to lose all the slaw in the transaction. Smush it all together.

IMG_9665

Step 6: Nom it! These guys came out absolutely perfectly, the creamy yet tangy slaw was a perfect addition, along with the fresh tomato slices right out of the garden (ya’ll know its the height of tomato season!) and salty pickles.

Other topping ideas include: hummus, salsa, guacamole, crushed potato chips, onion rings, lettuce, and classic condiments like ketchup, mustard, and mayo.


Happy Labor Day weekend!


Buttery Garlic Mashed Potatoes


Ahhh, the humble potato. This starchy, much-maligned root vegetable that is a darling and then an outcast, depending on which way the media winds blow. The reason Ireland didn’t completely starve to death. The bearer of cream cheese, chives, and chili.

Potatoes are pretty cool.

Origins of the Potatovarieties of potatoes on a map

The potato is the world’s fourth largest food crop, following rice, wheat, and maize. There are many many different types, or cultivars, or potatoes, from blue to red to yellow to the hardy workhorse russet.

The highest potato yields are produced in the United States, in Oregon, Washington, and Idaho. Burbank Russet potato harvest begins in late August or early September and ends by the first of November. Idaho’s harvest begins in September after Labor Day and ends by the first of November. Available year round, November to late June Burbank Russet supplies come from storage potatoes.

The Inca Indians in Peru were the first to cultivate potatoes around 8,000 BC to 5,000 B.C. Then in 1536 Spanish Conquistadors conquered Peru, discovered the wonderous flavors of the potato, and carried them to Europe.  Before the end of the sixteenth century, families of  sailors began to cultivate potatoes along the  coast of northern Spain.  Sir Walter Raleigh introduced potatoes to Ireland in 1589 near Cork.

Eventually, Europeans found potatoes easier to grow and cultivate than other staple crops, such as wheat and oats. Most importantly, it became known that potatoes contained most of the vitamins needed for sustenance, and each acre of land cultivated could provide a year’s worth for nearly 10 people. Talk about an agricultural feat!

In the 1840s a major outbreak of potato blight swept through Europe, wiping out the potato crop in many countries. The Irish working class lived largely on potatoes, so when the blight reached Ireland, their main staple food disappeared. This famine left many poverty-stricken families with no choice but to struggle to survive, starve, or emigrate out of Ireland. Over the course of the multi-year famine, almost one million people in Ireland and Europe died from starvation or disease. Another one million people left Ireland, mostly for Canada and the United States.

IMG_9264

Potatoes arrived in the Colonies in 1621 when the Governor of Bermuda sent two large chests containing potatoes and other vegetables to Governor Francis Wyatt of Virginia at Jamestown.  The first permanent potato patches in North America were established in 1719 in New Hampshire.  From there, the crop spread across the country.

Idaho, the present-day largest producer of potatoes, did not begin growing potatoes until 1836, when missionaries moved west in an effort to teach the native tribes to grow crops instead of relying upon hunting and gathering methods.  However, it wasn’t until 1872 when the Russet Burbank variety was developed, that the Idaho potato industry began to flourish.

The original Russet Burbank potato clone was discovered in the 1870s by Luther Burbank and was called “Burbank’s Seedling”. It developed from a first generation seedling of an open-pollinated cultivar “Early Rose” in Massachusetts. In the late 1800s, he marketed this special seedling to Western states, under the name “Burbank”. The Russet Burbank potato became and still is the major cultivar grown in the USA, especially in the Pacific Northwest. – Read more here.

French Fries were introduced to the U.S. when Thomas Jefferson served them in the White House during his Presidency of 1801-1809.  Collinet, chef for French King Louis Phillipe unintentionally created soufflés (or puffed) potatoes by plunging already fried potatoes into extremely hot oil to reheat them when the King arrived late for dinner one night. To the chef’s surprise and the king’s delight, the potatoes puffed up like little balloons.

In 1853 railroad magnate Commodore Cornelius Vanderbilt complained that his potatoes were cut too thick and sent them back to the kitchen at a fashionable resort in Saratoga Springs, NY. To spite his haughty guest, Chef George Crum sliced some potatoes paper thin, fried them in hot oil, salted and served them. To everyone’s surprise, Vanderbilt loved his “Saratoga Crunch Chips,” and potato chips have been popular ever since.

The good historians at “potatogoodness.com” supplies this list of fun facts about the humble, yet oh-so-popular spud.

Did you know…

  • During the Alaskan Klondike gold rush, (1897-1898) potatoes were practically worth their weight in gold. Potatoes were valued for their vitamin C.  And gold, at that time, was more plentiful than nutritious foods!
  • In October 1995, the potato became the first vegetable to be grown in space. NASA and the University of Wisconsin, Madison, created the technology with the goal of feeding astronauts on long space voyages, and eventually, feeding future space colonies.

The Incas had many uses for potatoes other than dinner:

  • Placed raw slices on broken bones to promote healing
  • Carried them to prevent rheumatism
  • Ate with other foods to prevent indigestion.
  • Measured time: by correlating units of time by how long it took for potatoes to cook.
  • Various folk remedies recommend using potatoes:
  • Treat facial blemishes by washing you face daily with cool potato juice.
  • Treat frostbite or sunburn by applying raw grated potato or potato juice to the affected area.
  • Help a toothache by carrying a potato in your pocket.
  • Ease a sore throat by putting a slice of baked potato in a stocking and tying it around your throat.
  • Ease aches and pains by rubbing the affected area with the water potatoes have been boiled in

http://www.potatogoodness.com/all-about-potatoes/potato-fun-facts-history/

IMG_9265

Ingredients:

  • 4-5 large Russet potatoes
  • 4 tbsp butter
  • 4 tbsp sour cream
  • 1/2 cup milk
  • Garlic salt to taste
  • Shredded cheddar, optional

IMG_9272

Step 1: If you really want to, peel your potatoes. I just give them a good rinse, because the skin is where the gorgeous vitamins are most concentrated. Dice the potatoes, and boil them for 15-20 minutes. Drain and put back into the pan.

IMG_9273

Step 2: Using a fancy potato masher (or a simple spoon, fork, your hands, a wooden spoon…) mash up the potatoes. This part will take a little elbow grease, but think of how toned your bicep (at least, one of them) will be afterwards!

IMG_9293

Step 3: Add in the butter while the potatoes are still hot. Continue mashing, and add in the sour cream and milk. If you like your potatoes super runny, add more milk. If you like them thicker, use less. Mash until your desired consistency (I love just a little bit of chunks still left).

IMG_9294

Step 4: If using, sprinkle on some sharp cheddar cheese, and add garlic salt to taste. (Add some, mix it well, taste a little spoonful. Then add another 6 tablespoons, stir again, and taste…repeat as necessary)

IMG_9296

Your potatoes are ready to roll! Top with some fresh chives or herbs, more garlic salt, chili, gravy, sauce, whatever…

IMG_9302

These are an amazing, down-home side dish. Goes great with meatballs, meatloaf, ribs, steak… pretty much any meat thing. If you make a whole lot extra, you can use the leftovers to top shepherd’s pie, or use it as a filling in classic potato pierogi.


[amd-zlrecipe-recipe:36]


Crock Pot Chicken Enchiladas


A total workhorse in my kitchen, the humble Crock Pot (or slow cooker) is an absolute life-saver on weekdays when you just don’t have the time to cook, or to help prep ahead of time. There is something so satisfying about just tossing everything in the pot in the morning, then coming home after a long day to a house that smells like love.

(Food = Love, you see)

While the crock pot has certainly proven its worth time and time again with soups & stews like crock pot tortilla soup, chili, or red pozole with pork, and other favorites like apple sauce and cheddar broccoli rice, it is also awesome at making easy enchiladas!

IMG_8736

Enchiladas are a great one-pot meal, and can be made with any meat you like, or made vegetarian by using only beans, tofu, and/or cheese as the filling. This recipe adds a little spice to the meat mixture as well as using whole jalapenos for a kick. And I used regular old tomato sauce because I didn’t have any enchilada sauce.

So if you want to make enchiladas with no enchilada sauce, I got you.

Ingredients:

  • 12 10 inch tortillas (I used flour, but you can use corn too)
  • 1 boneless, skinless chicken breast, cooked & shredded
  • 1 can refried beans
  • about 1 cup salsa
  • 1/2 cup sliced jalapenos
  • about 1 cup shredded cheese

IMG_8729

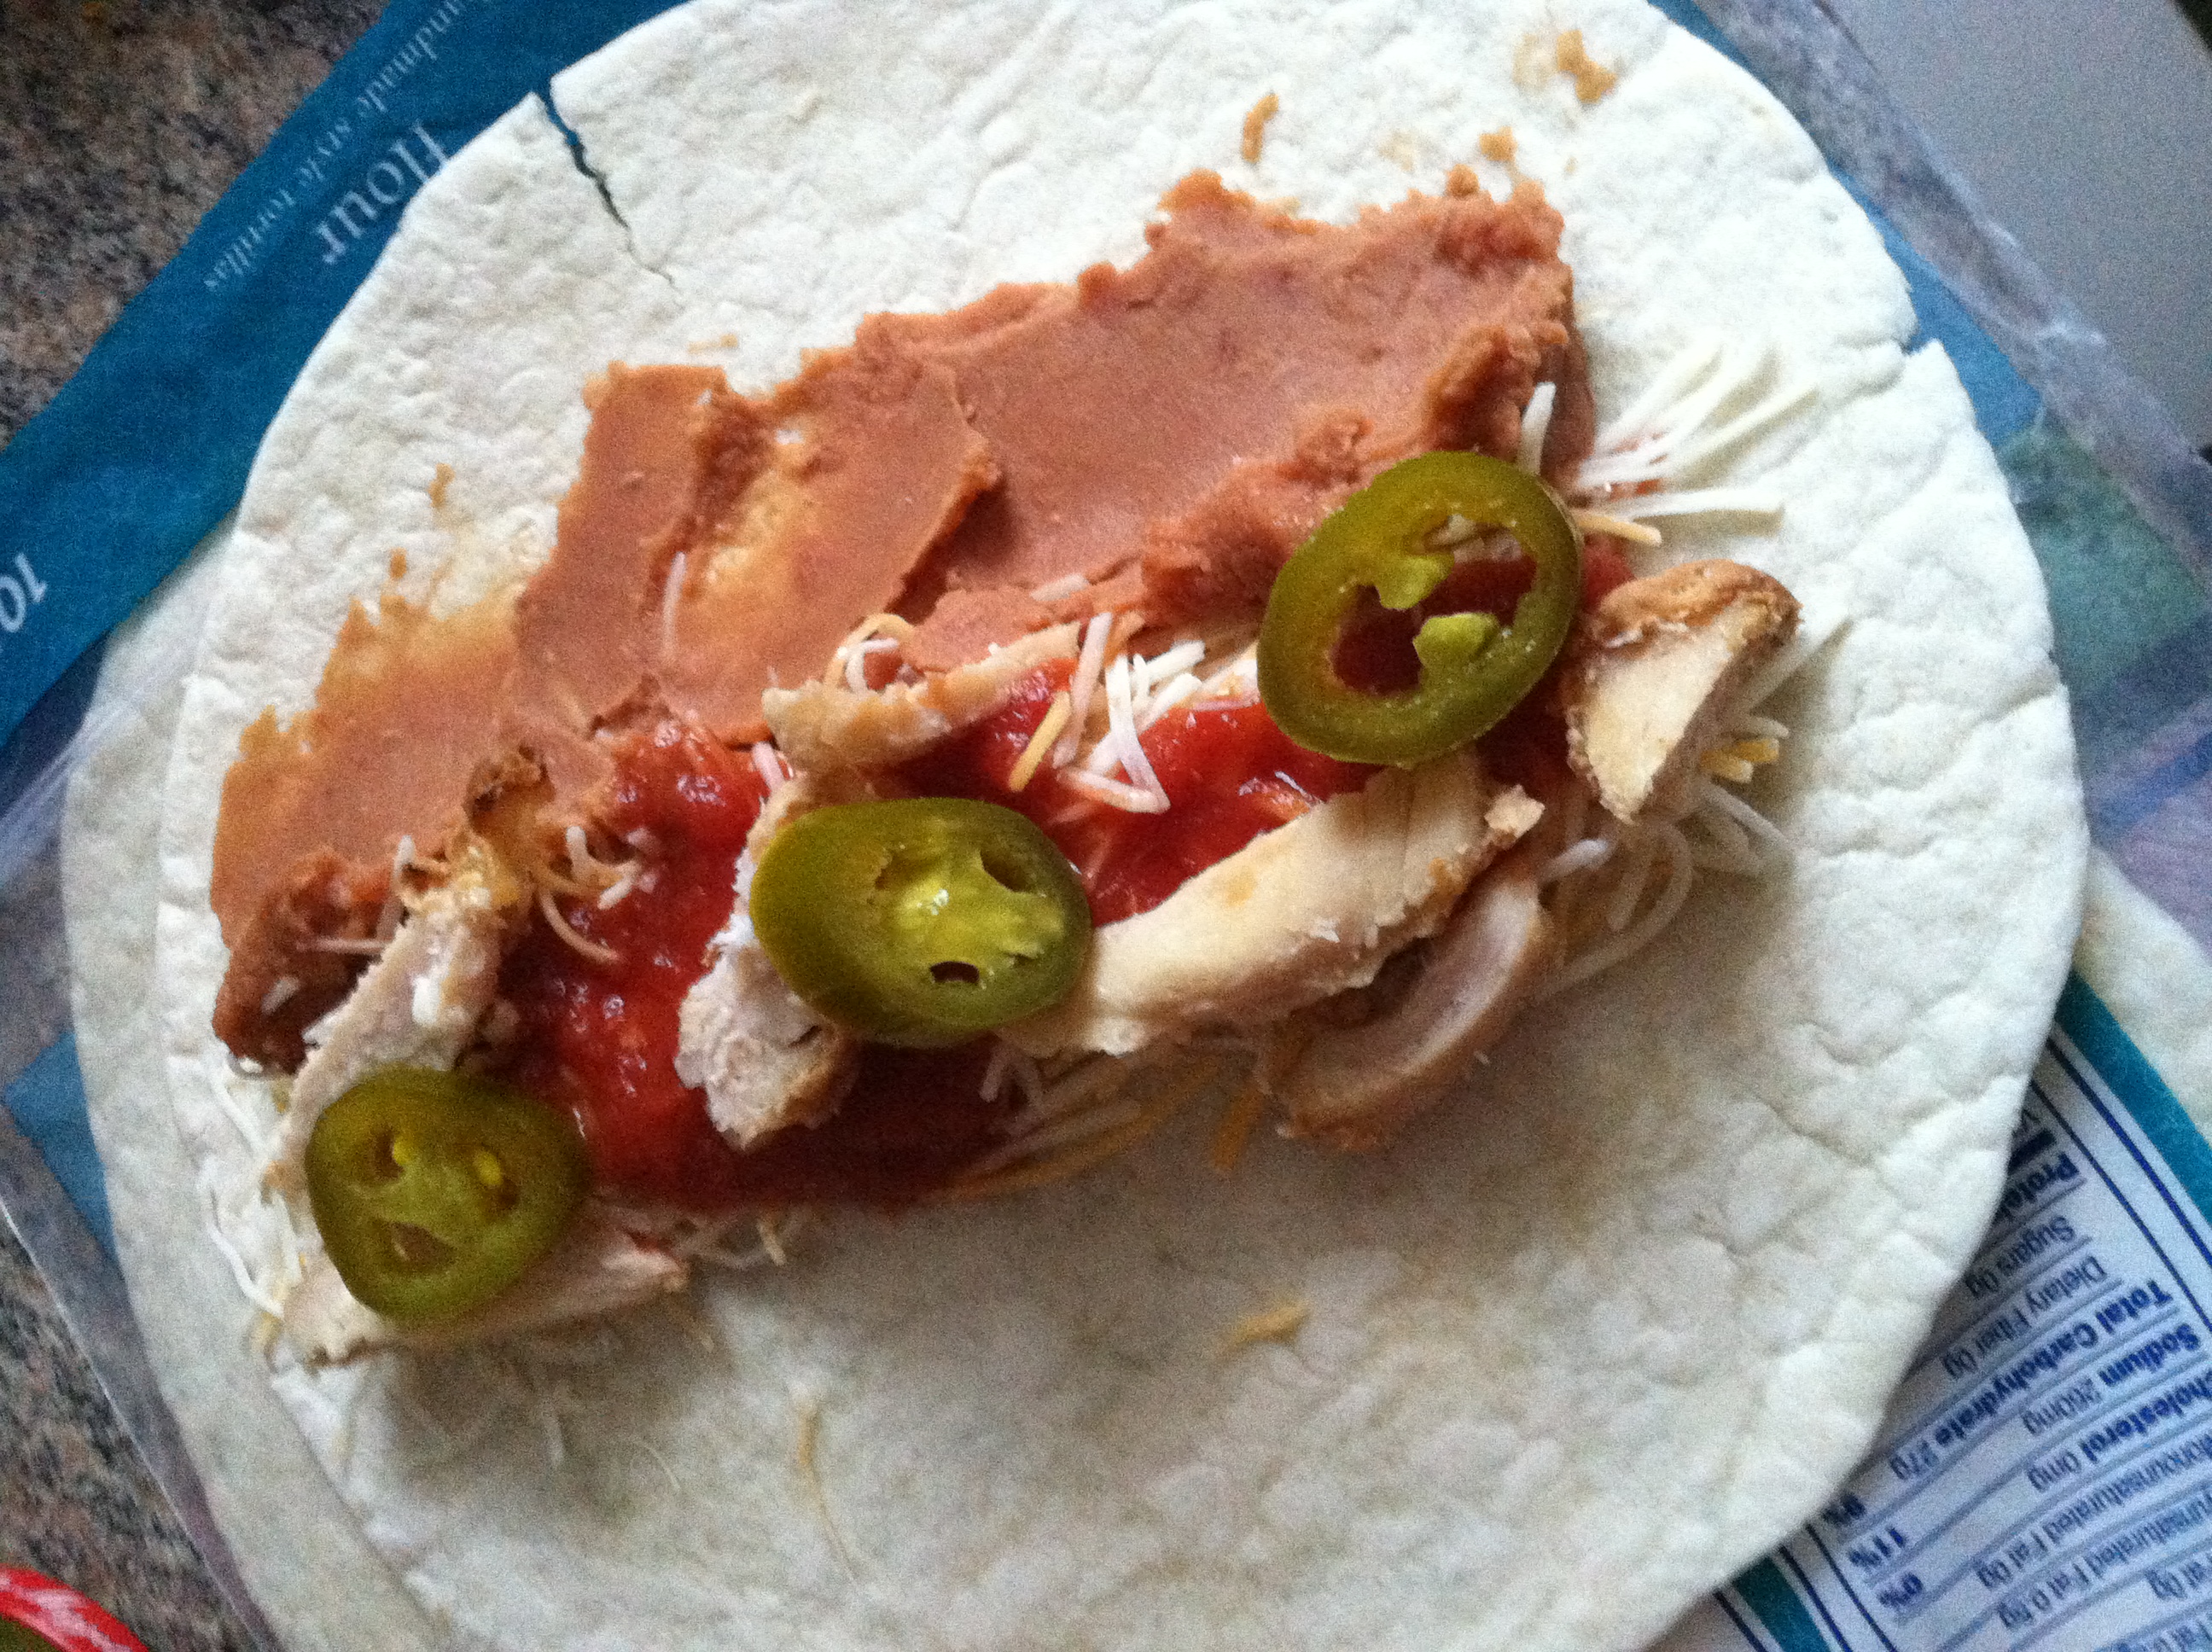
Step 1: Lay out your tortilla, and spread 1-2 tbsp of refried bean in the center. You can use regular canned beans of any kind as well.

IMG_8732

Step 2: Put a layer of shredded chicken on top of the beans, as well as some hot salsa, shredded cheese, and a few sliced jalapenos.

IMG_8733

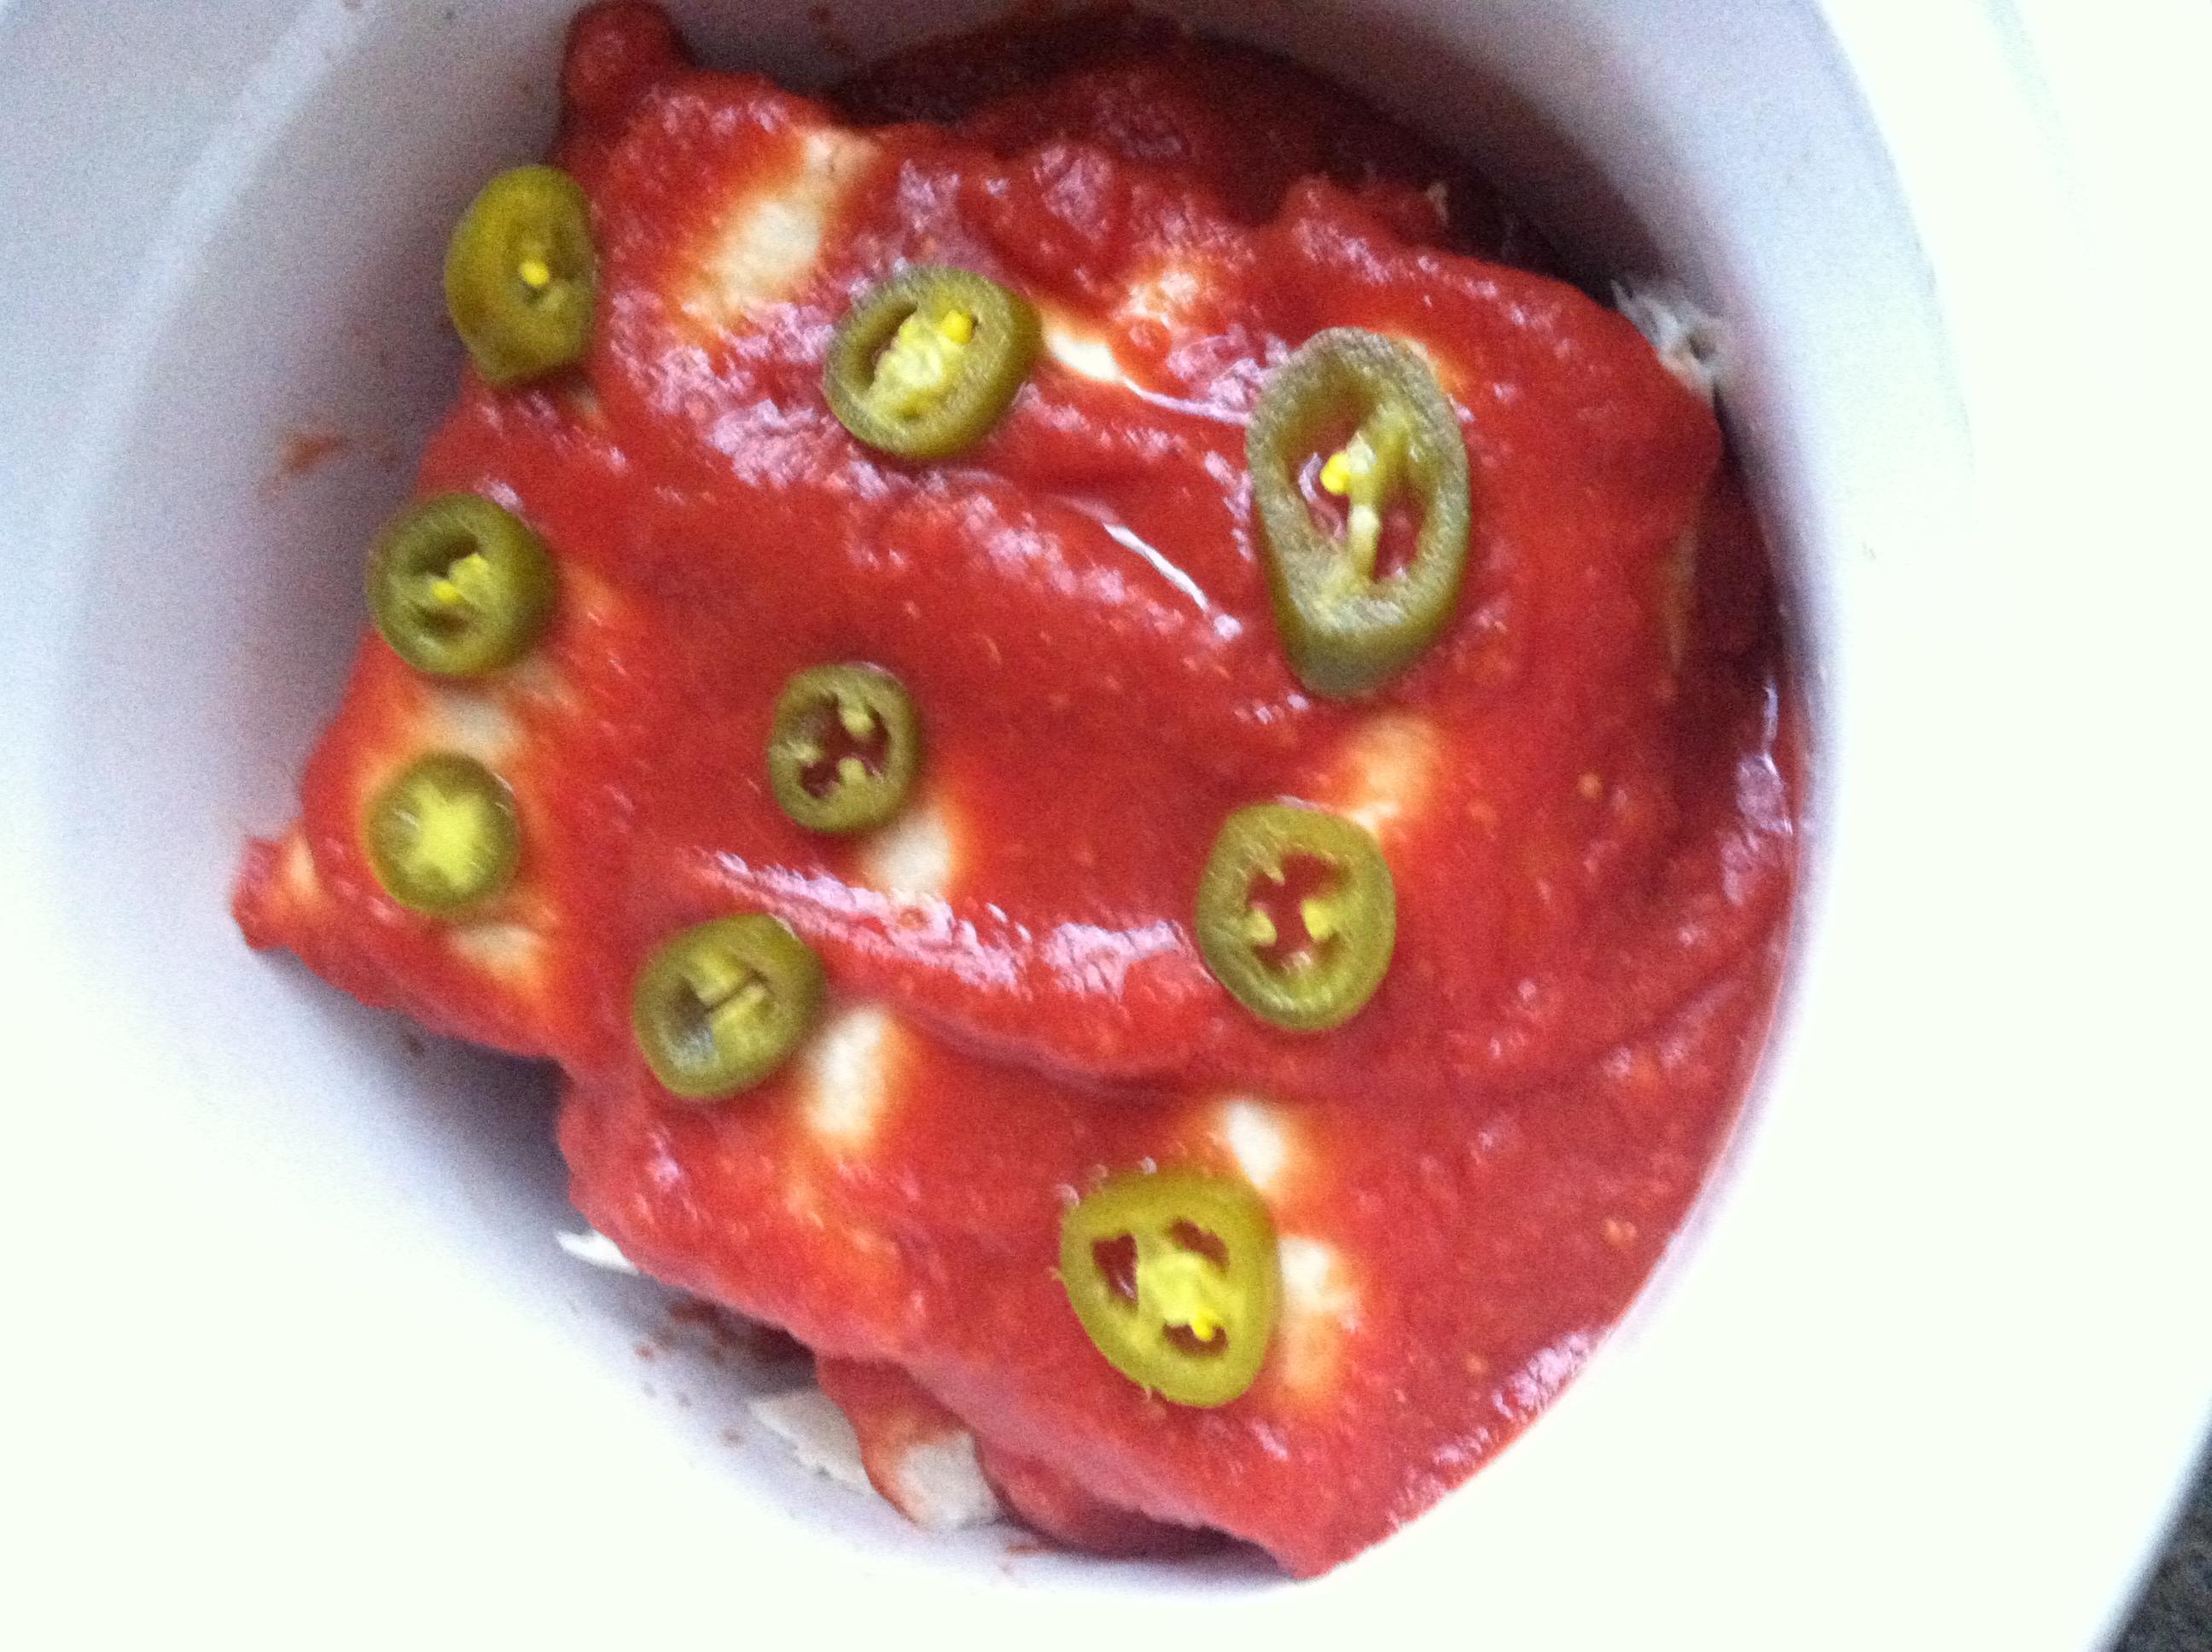
Step 3: Wrap the tortillas up like a burrito, and layer in a sprayed crock pot. Once you have a bottom layer of 2-3, pour on a few tbsp tomato sauce. Then layer on a few more. Repeat until you use up all the tortillas.

IMG_8734

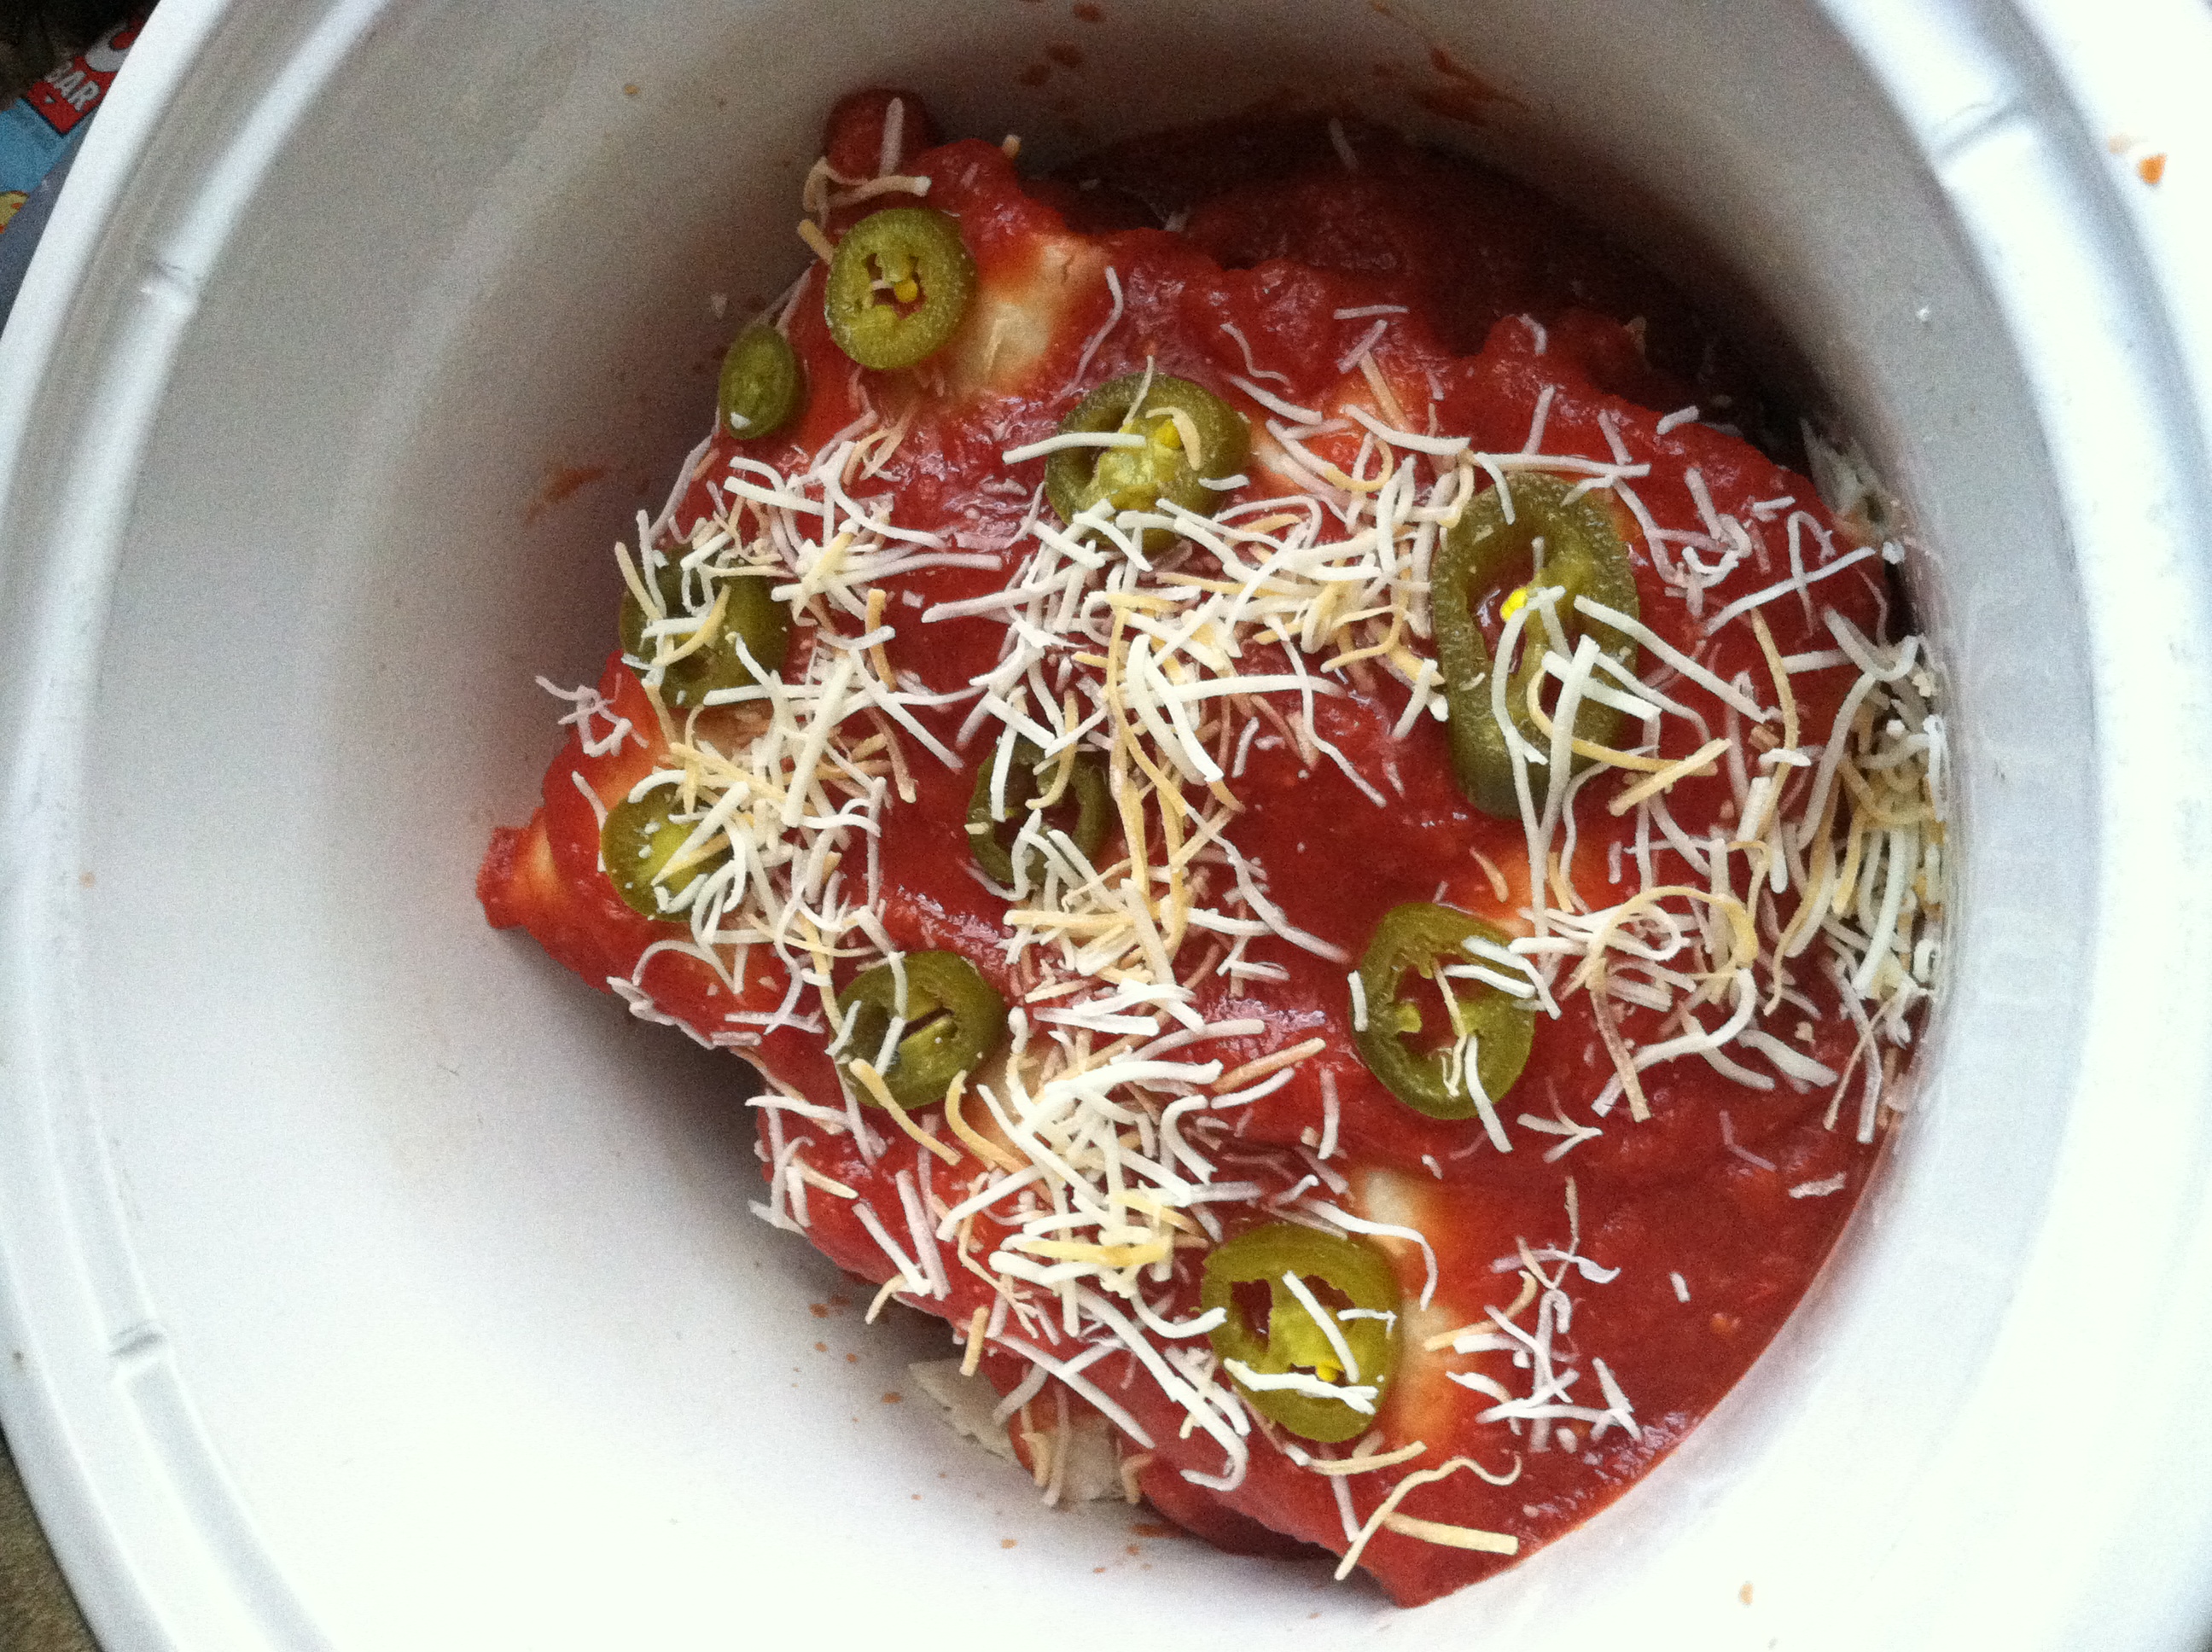
Step 4: Sprinkle the top layer with a little more cheese and some more jalapeno slices, then set the crock pot on low for 4-6 hours.

IMG_8735

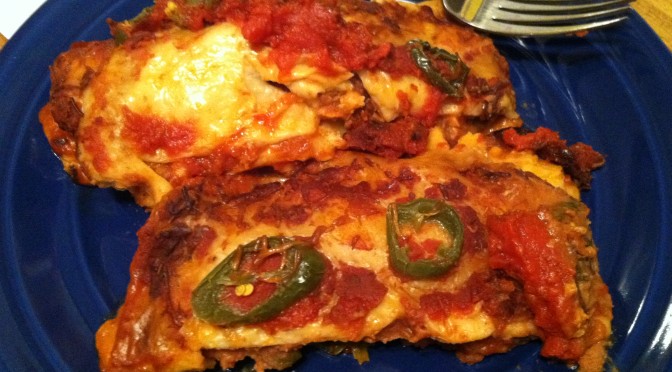
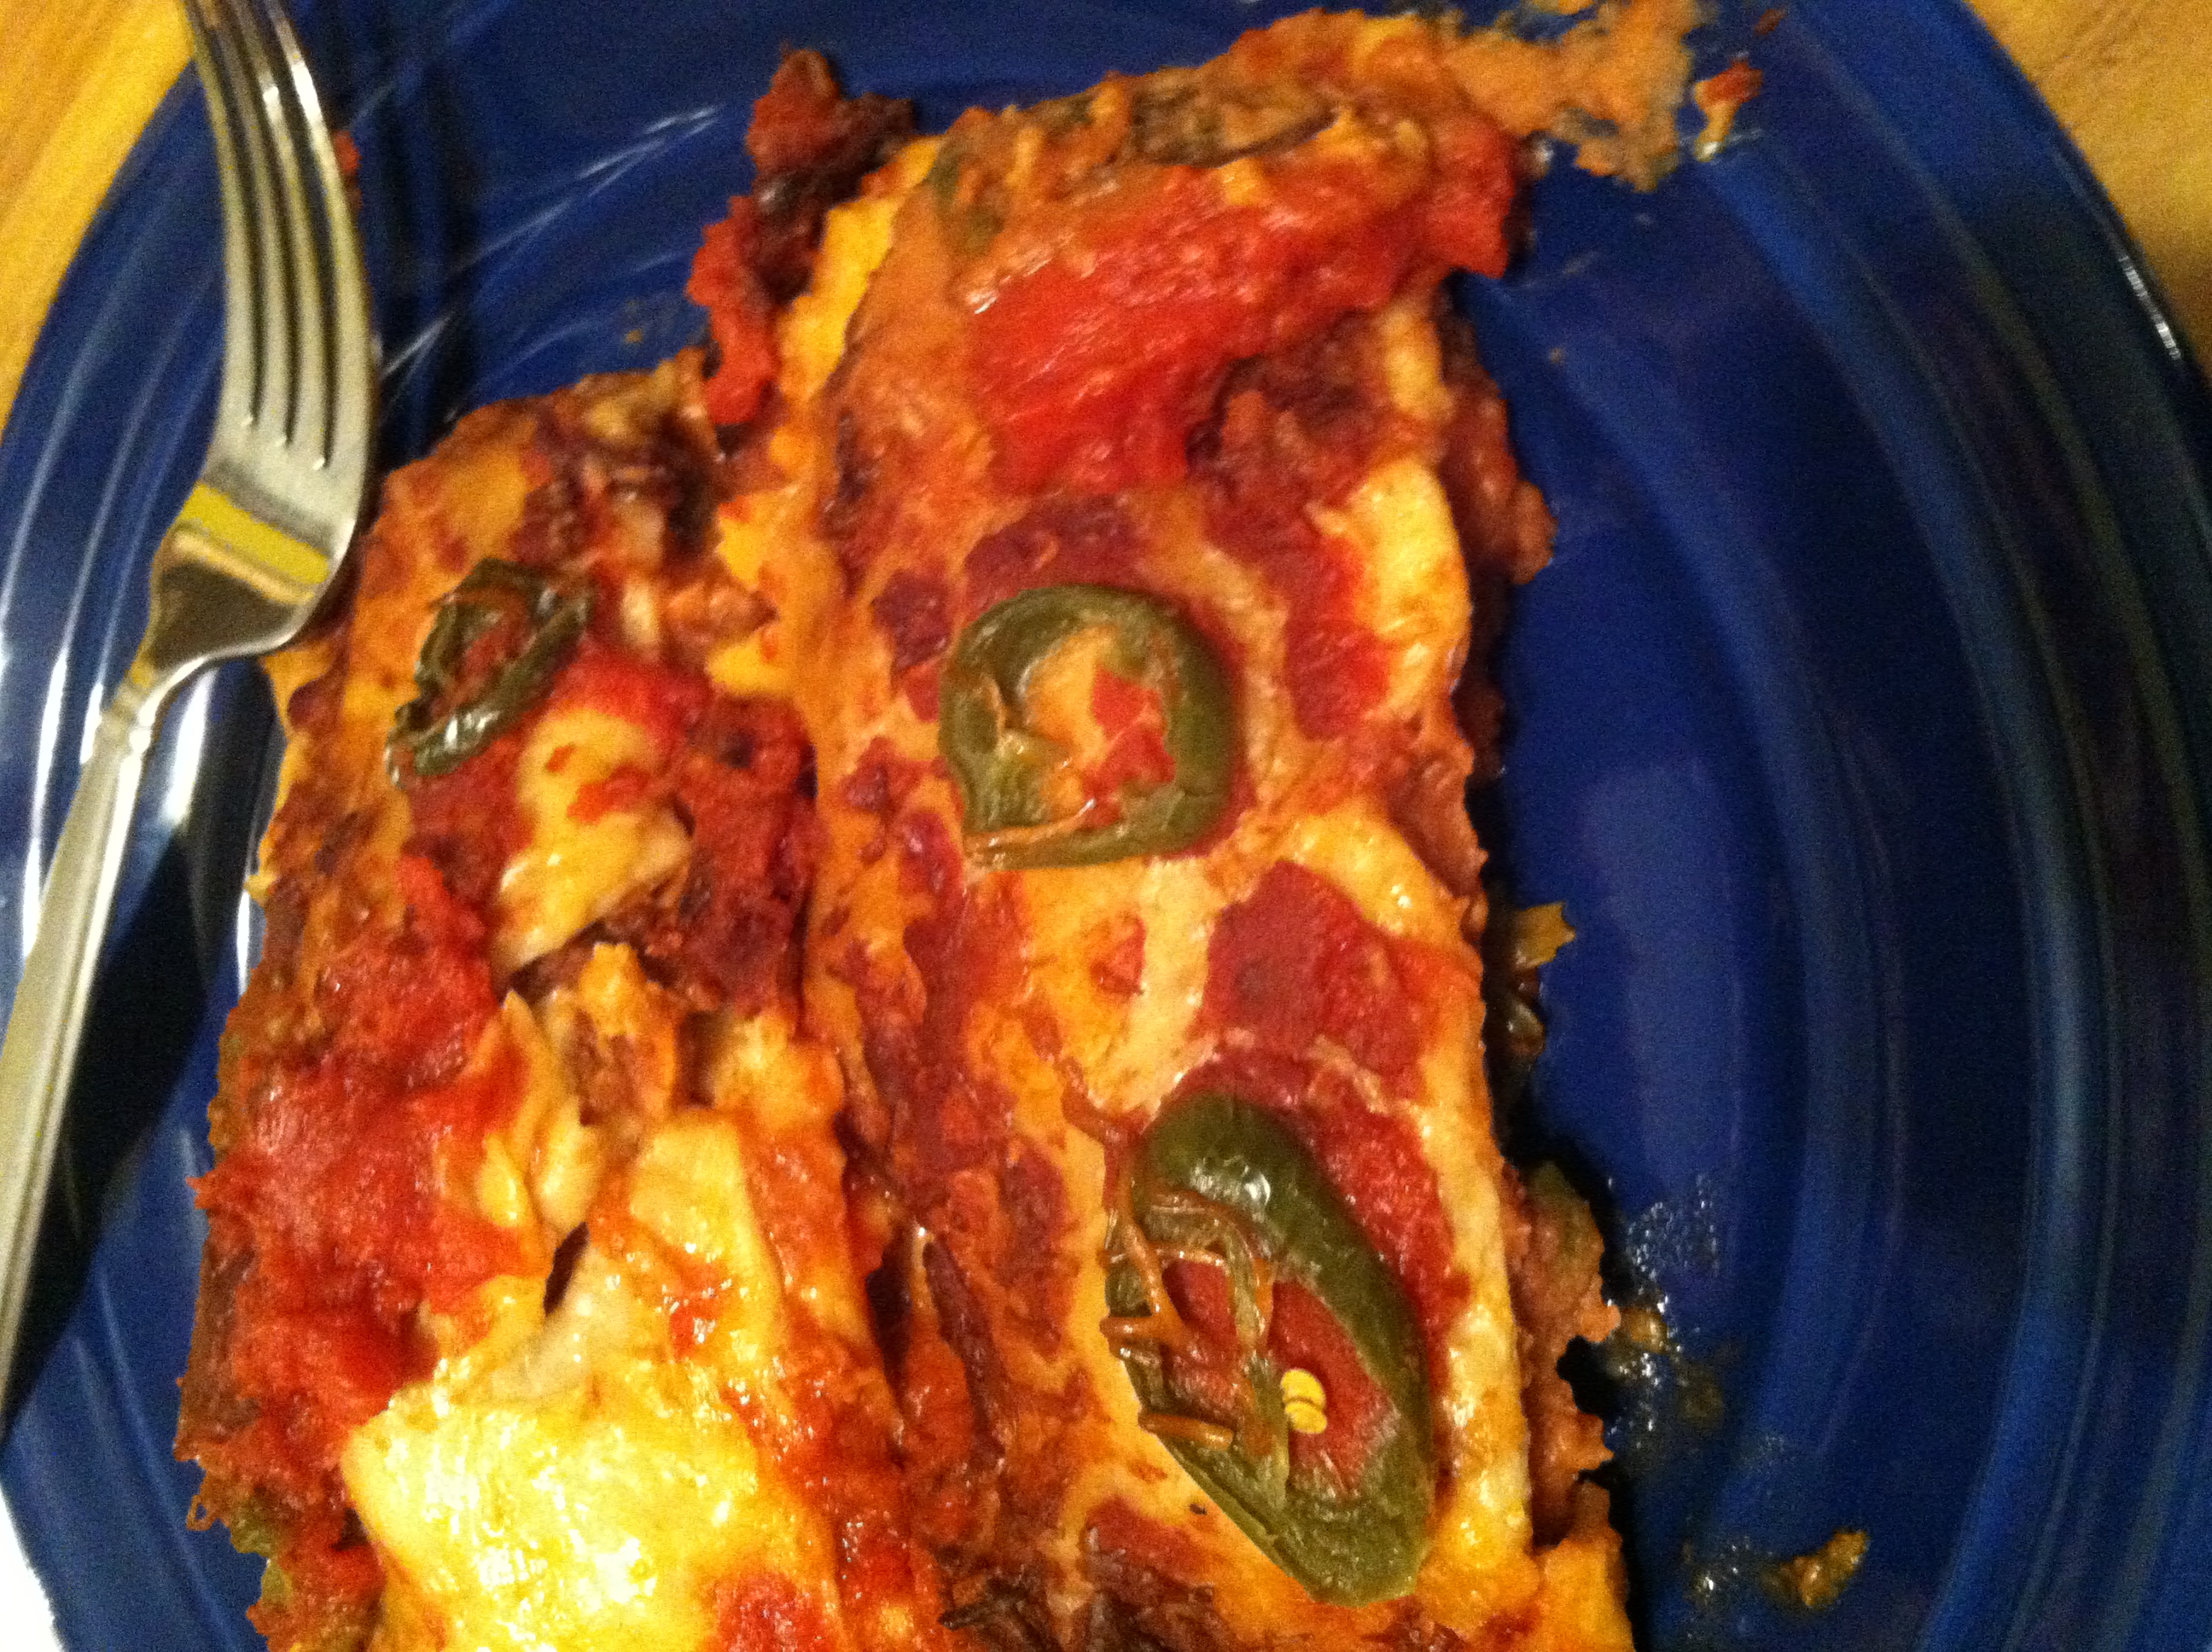
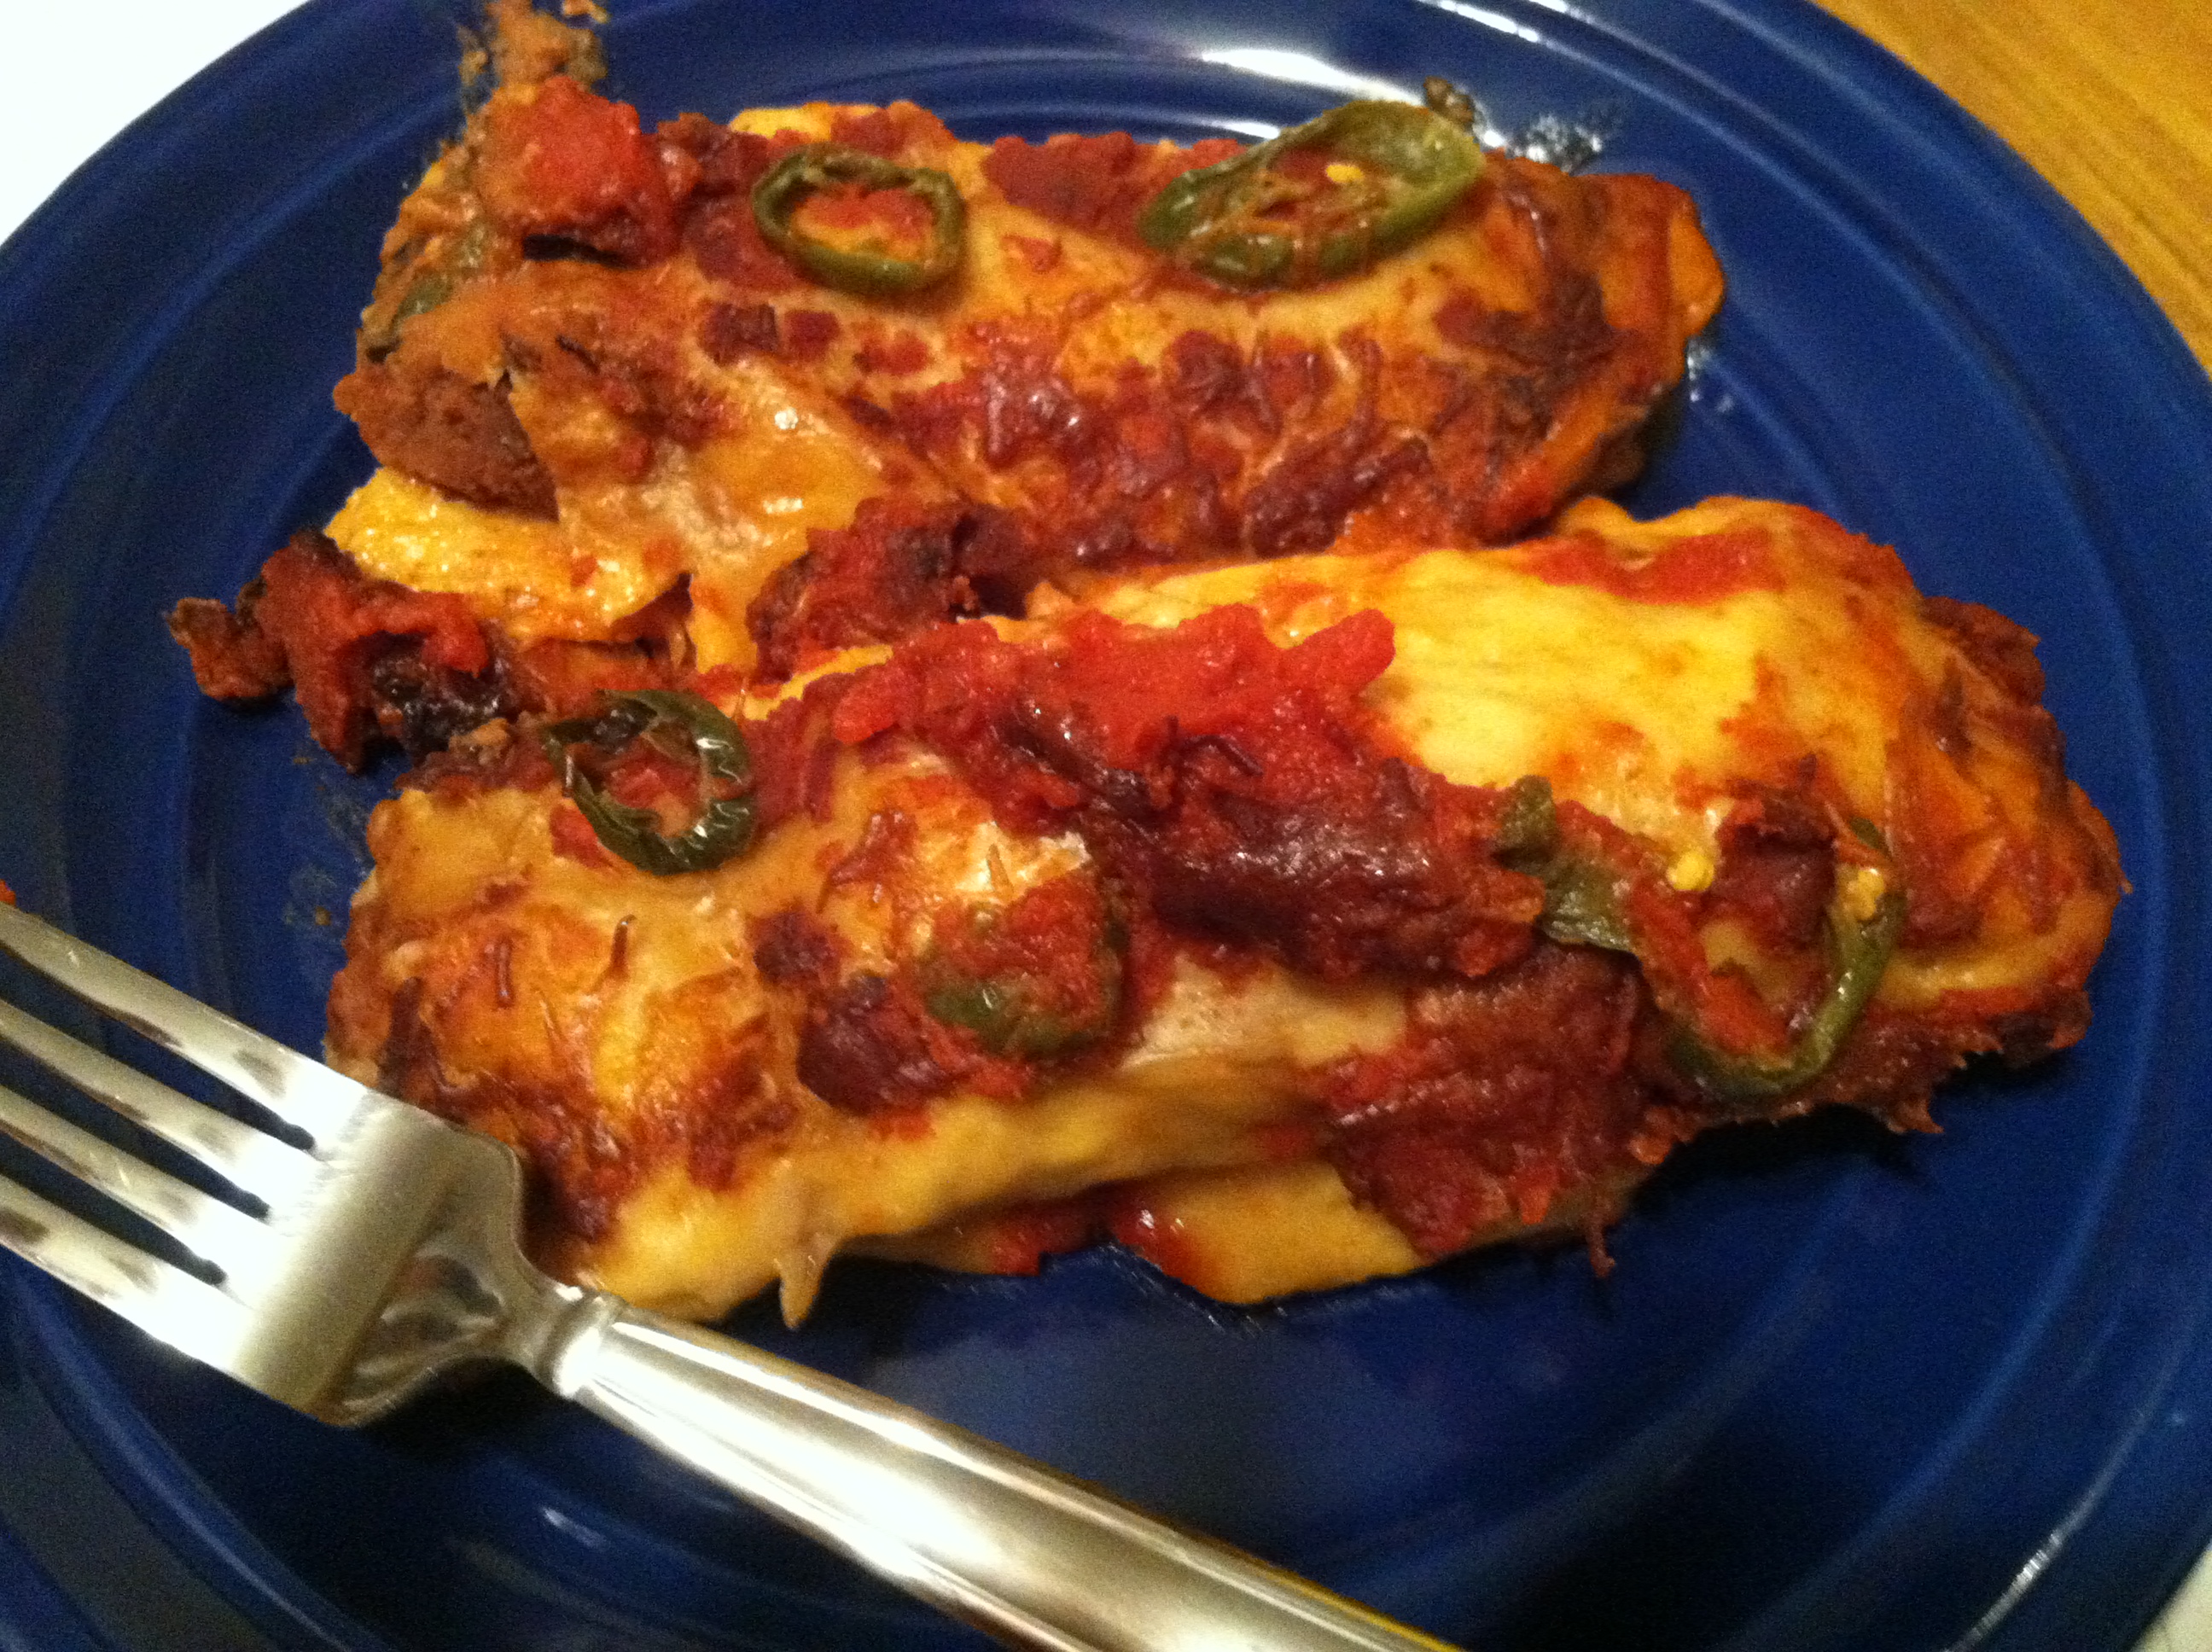
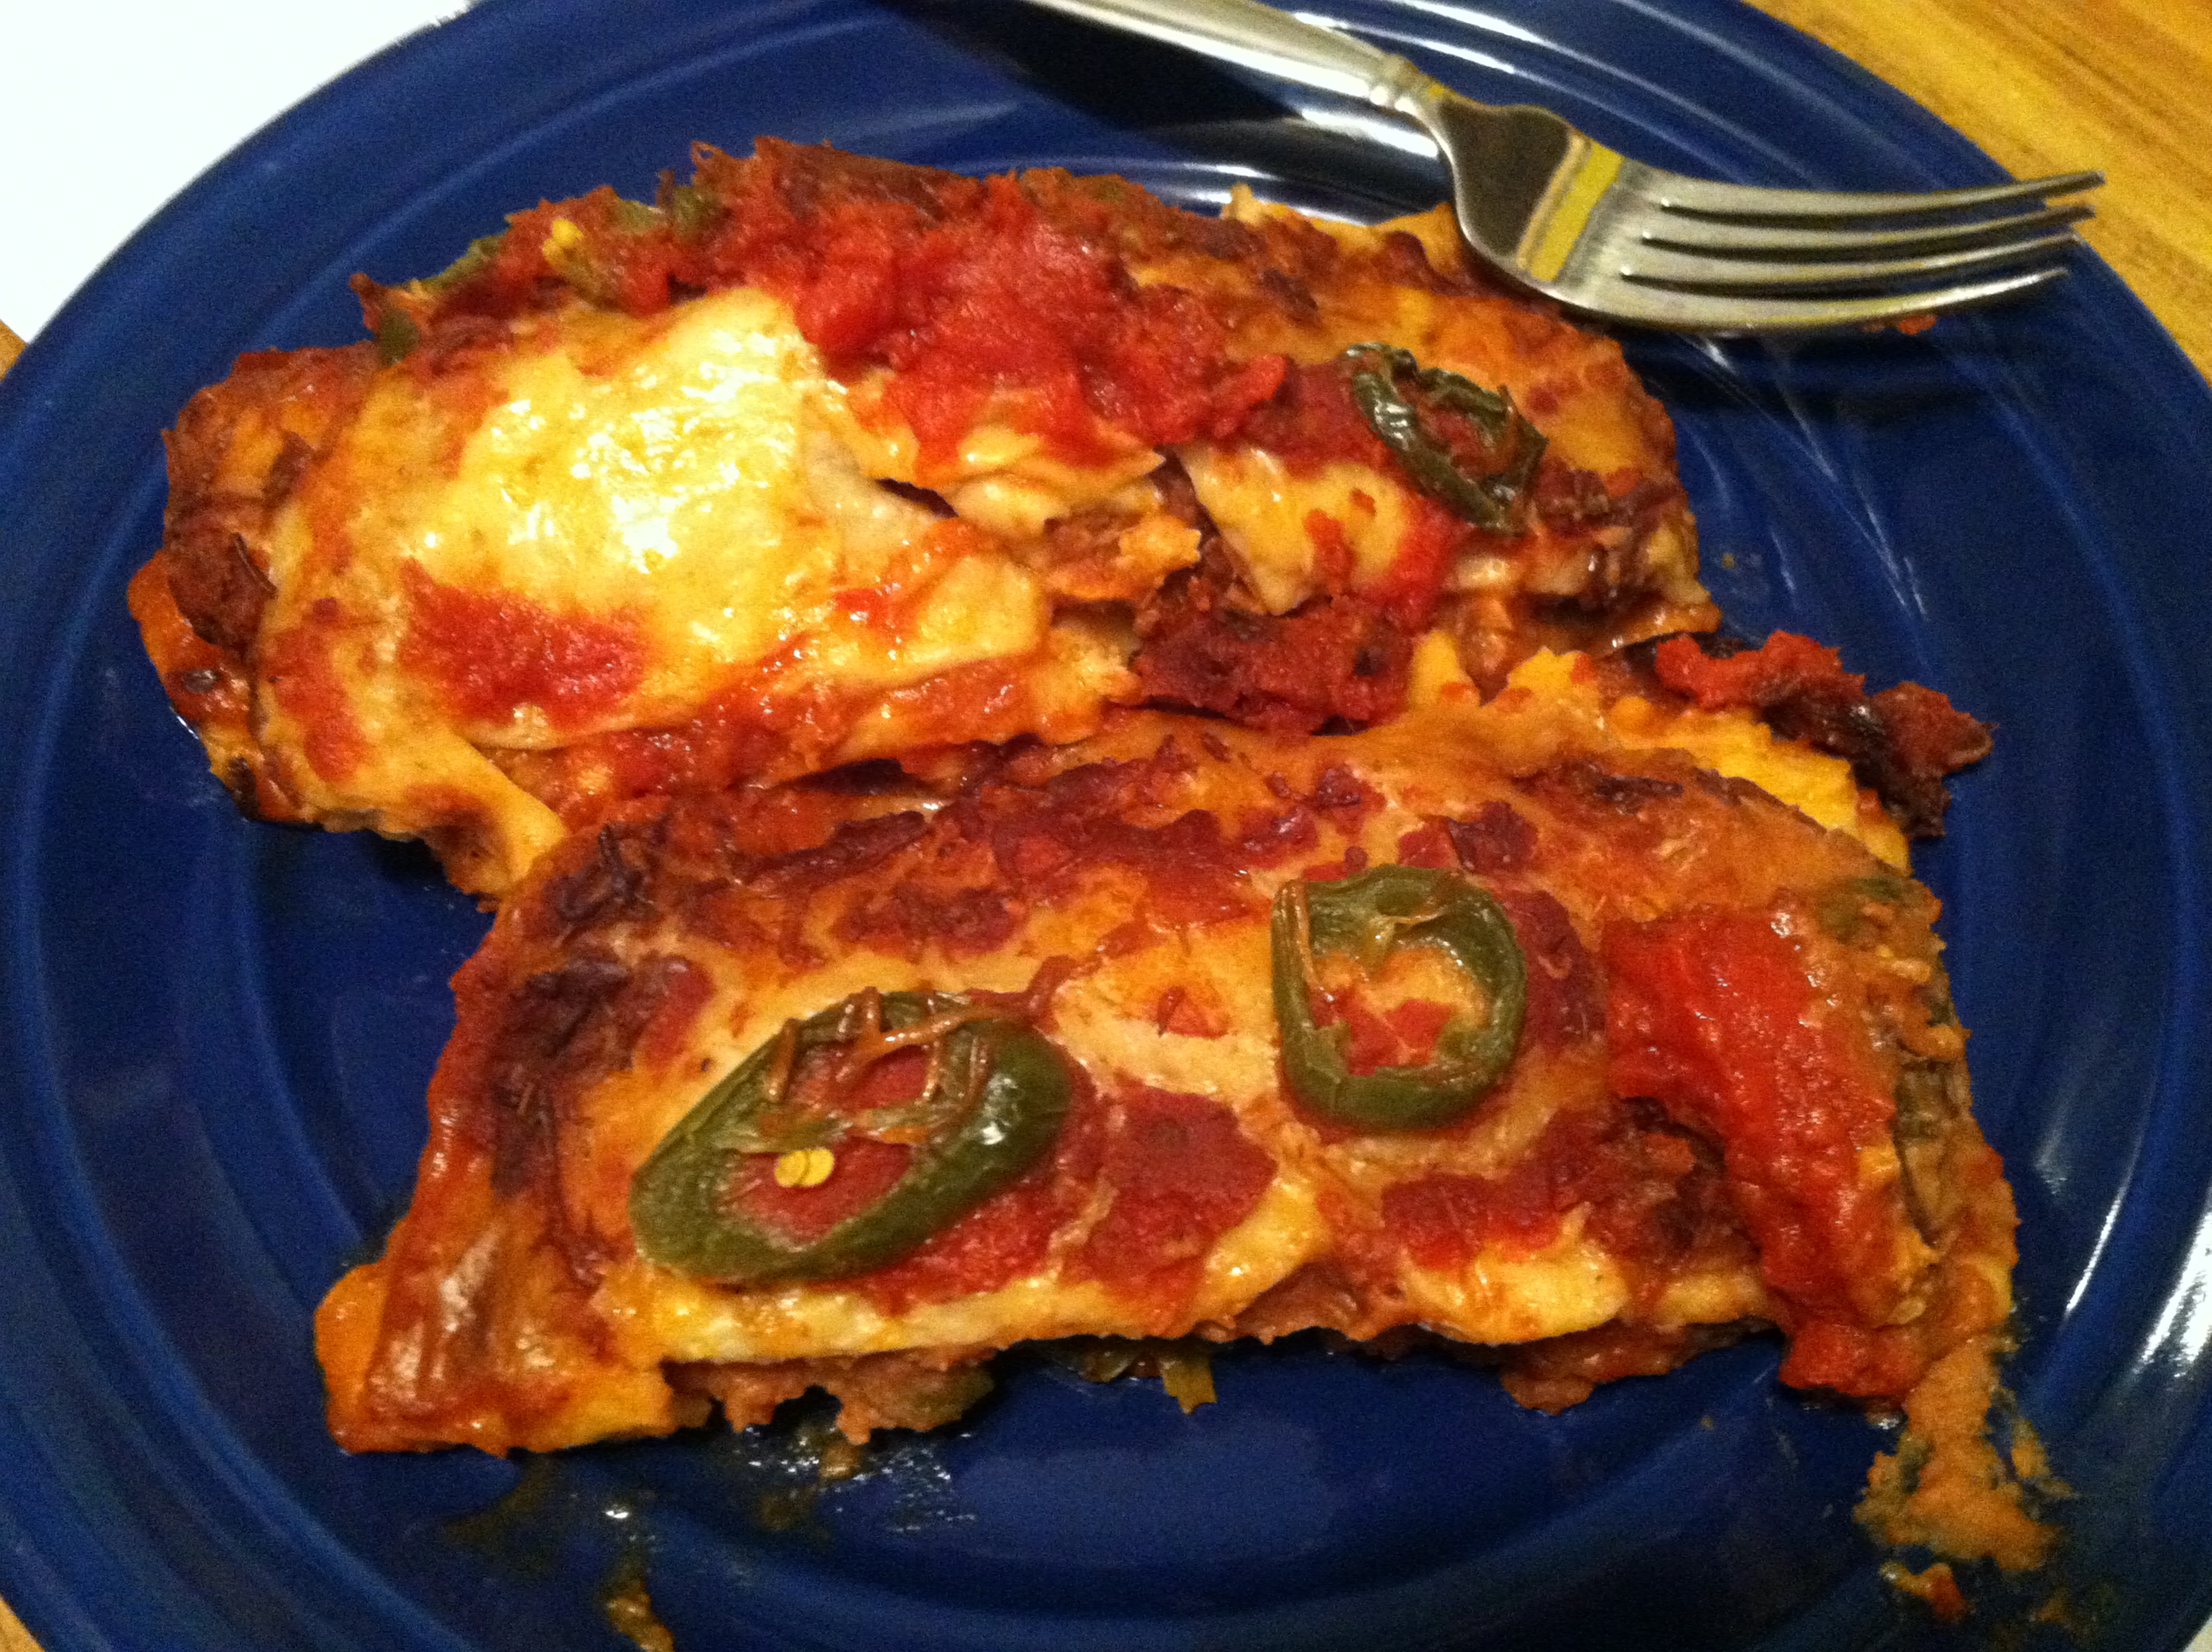
They bake up perfectly, soft on the inside with a little bit of crisp, and just the right amount of heat.

[amd-zlrecipe-recipe:32]
Pork Shepherd’s Pie


This is a super simple recipe I came up with when I had made pork chops and mashed potatoes, then had copious amounts of leftovers. It is so easy, and takes only 5-6 ingredients. To save even more time, you could use raw pork chunks, and store-bought mashed potatoes. If interested in other Shepherd’s Pie recipes, read my earlier posts.

Or even one step further, use dried potato flakes in the liquid. Then you will not have  a top layer, but will cut down on steps. You  can use whatever type of veggies you like, or not use them at all. I just like to try to stuff vegetables into anything and everything. Frozen mixed vegetables are a cheap and healthy way to pack in extra vitamins & filling fiber.

Ingredients:

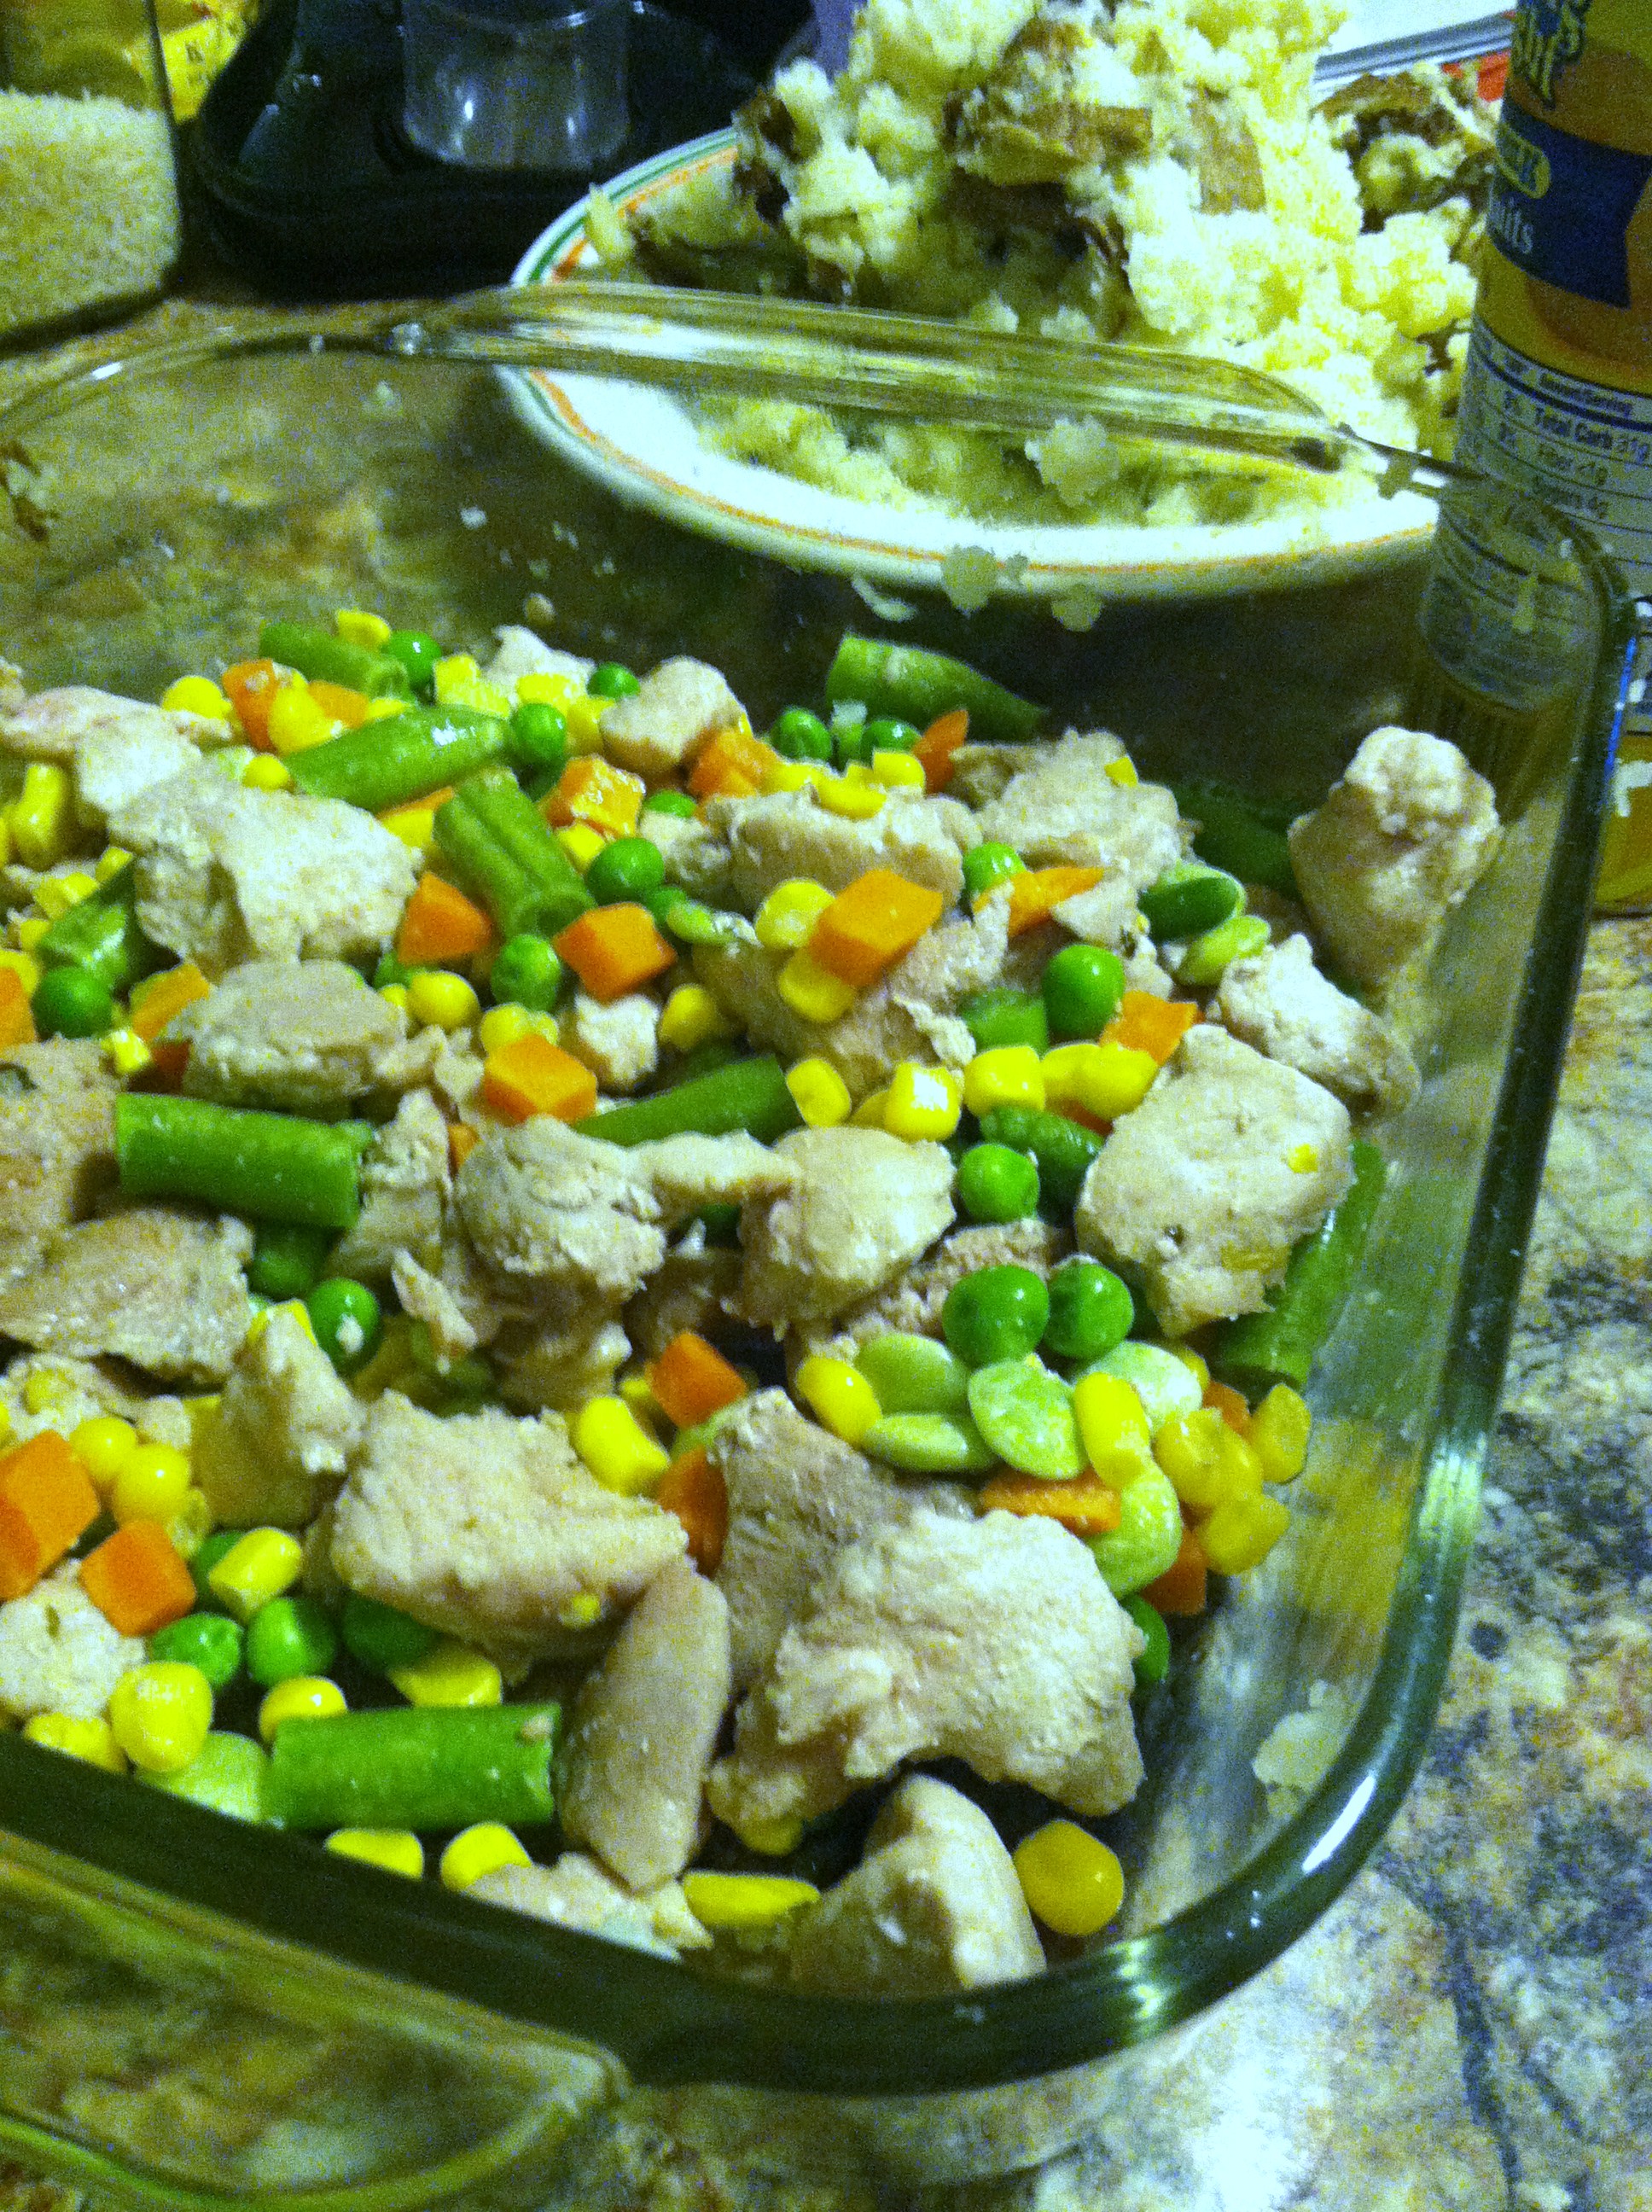
  • 2-3 small pork chops, diced
  • 1 cup frozen mixed vegetables
  • 1 can biscuit dough
  • 1 1/2 cups mashed potatoes
  • 1/2 cup milk
  • 2-3 tbsp flour (or 2-3 tbsp potato flakes)

IMG_4511

Step 1: If cooking the mashed potatoes, simple microwave on high 8-10 minutes, or cook in the oven at 350 for 15 minutes, until you can mash them with a fork. Cook the pork chops on medium heat in a skillet for 4-5 minutes, then turn and cook other side 2-3 minutes. Cut to make sure there is no pink inside.

IMG_4512

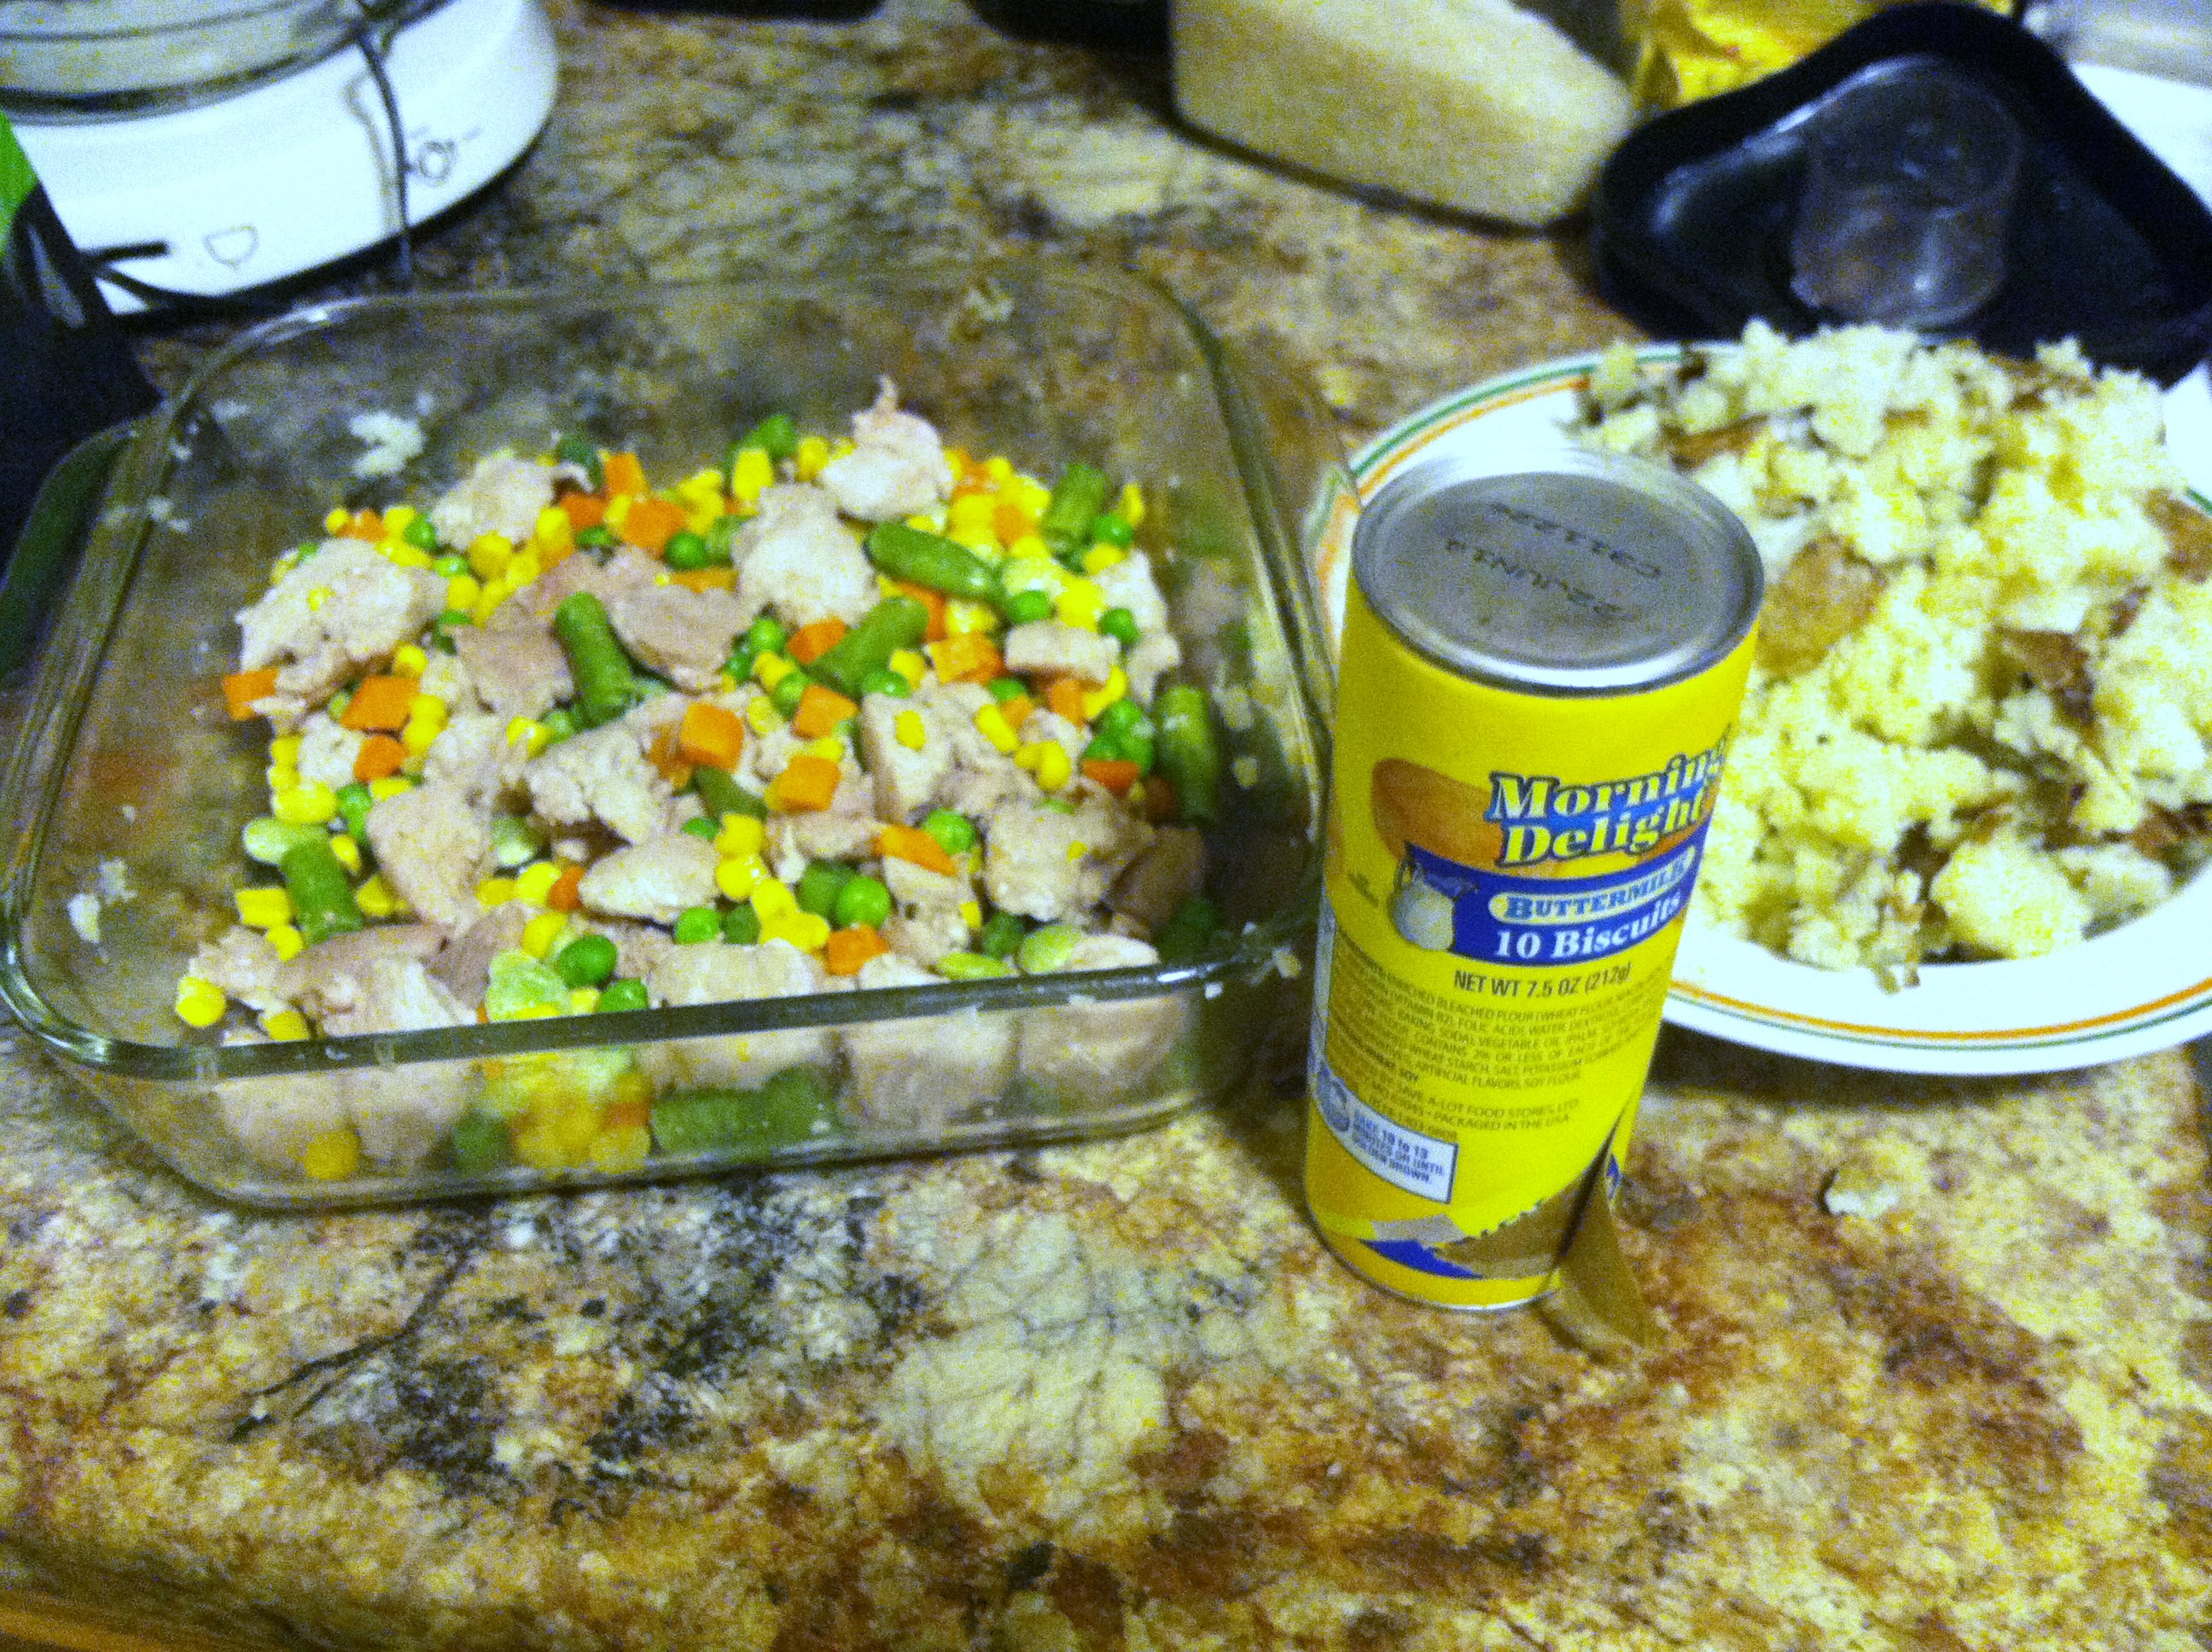
Step 2: Spray an oven-safe baking pan, and layer in the veggies and the pork chops. It is best to thaw the veggies, or you will end up with extra-watery pie as they thaw.

IMG_4514

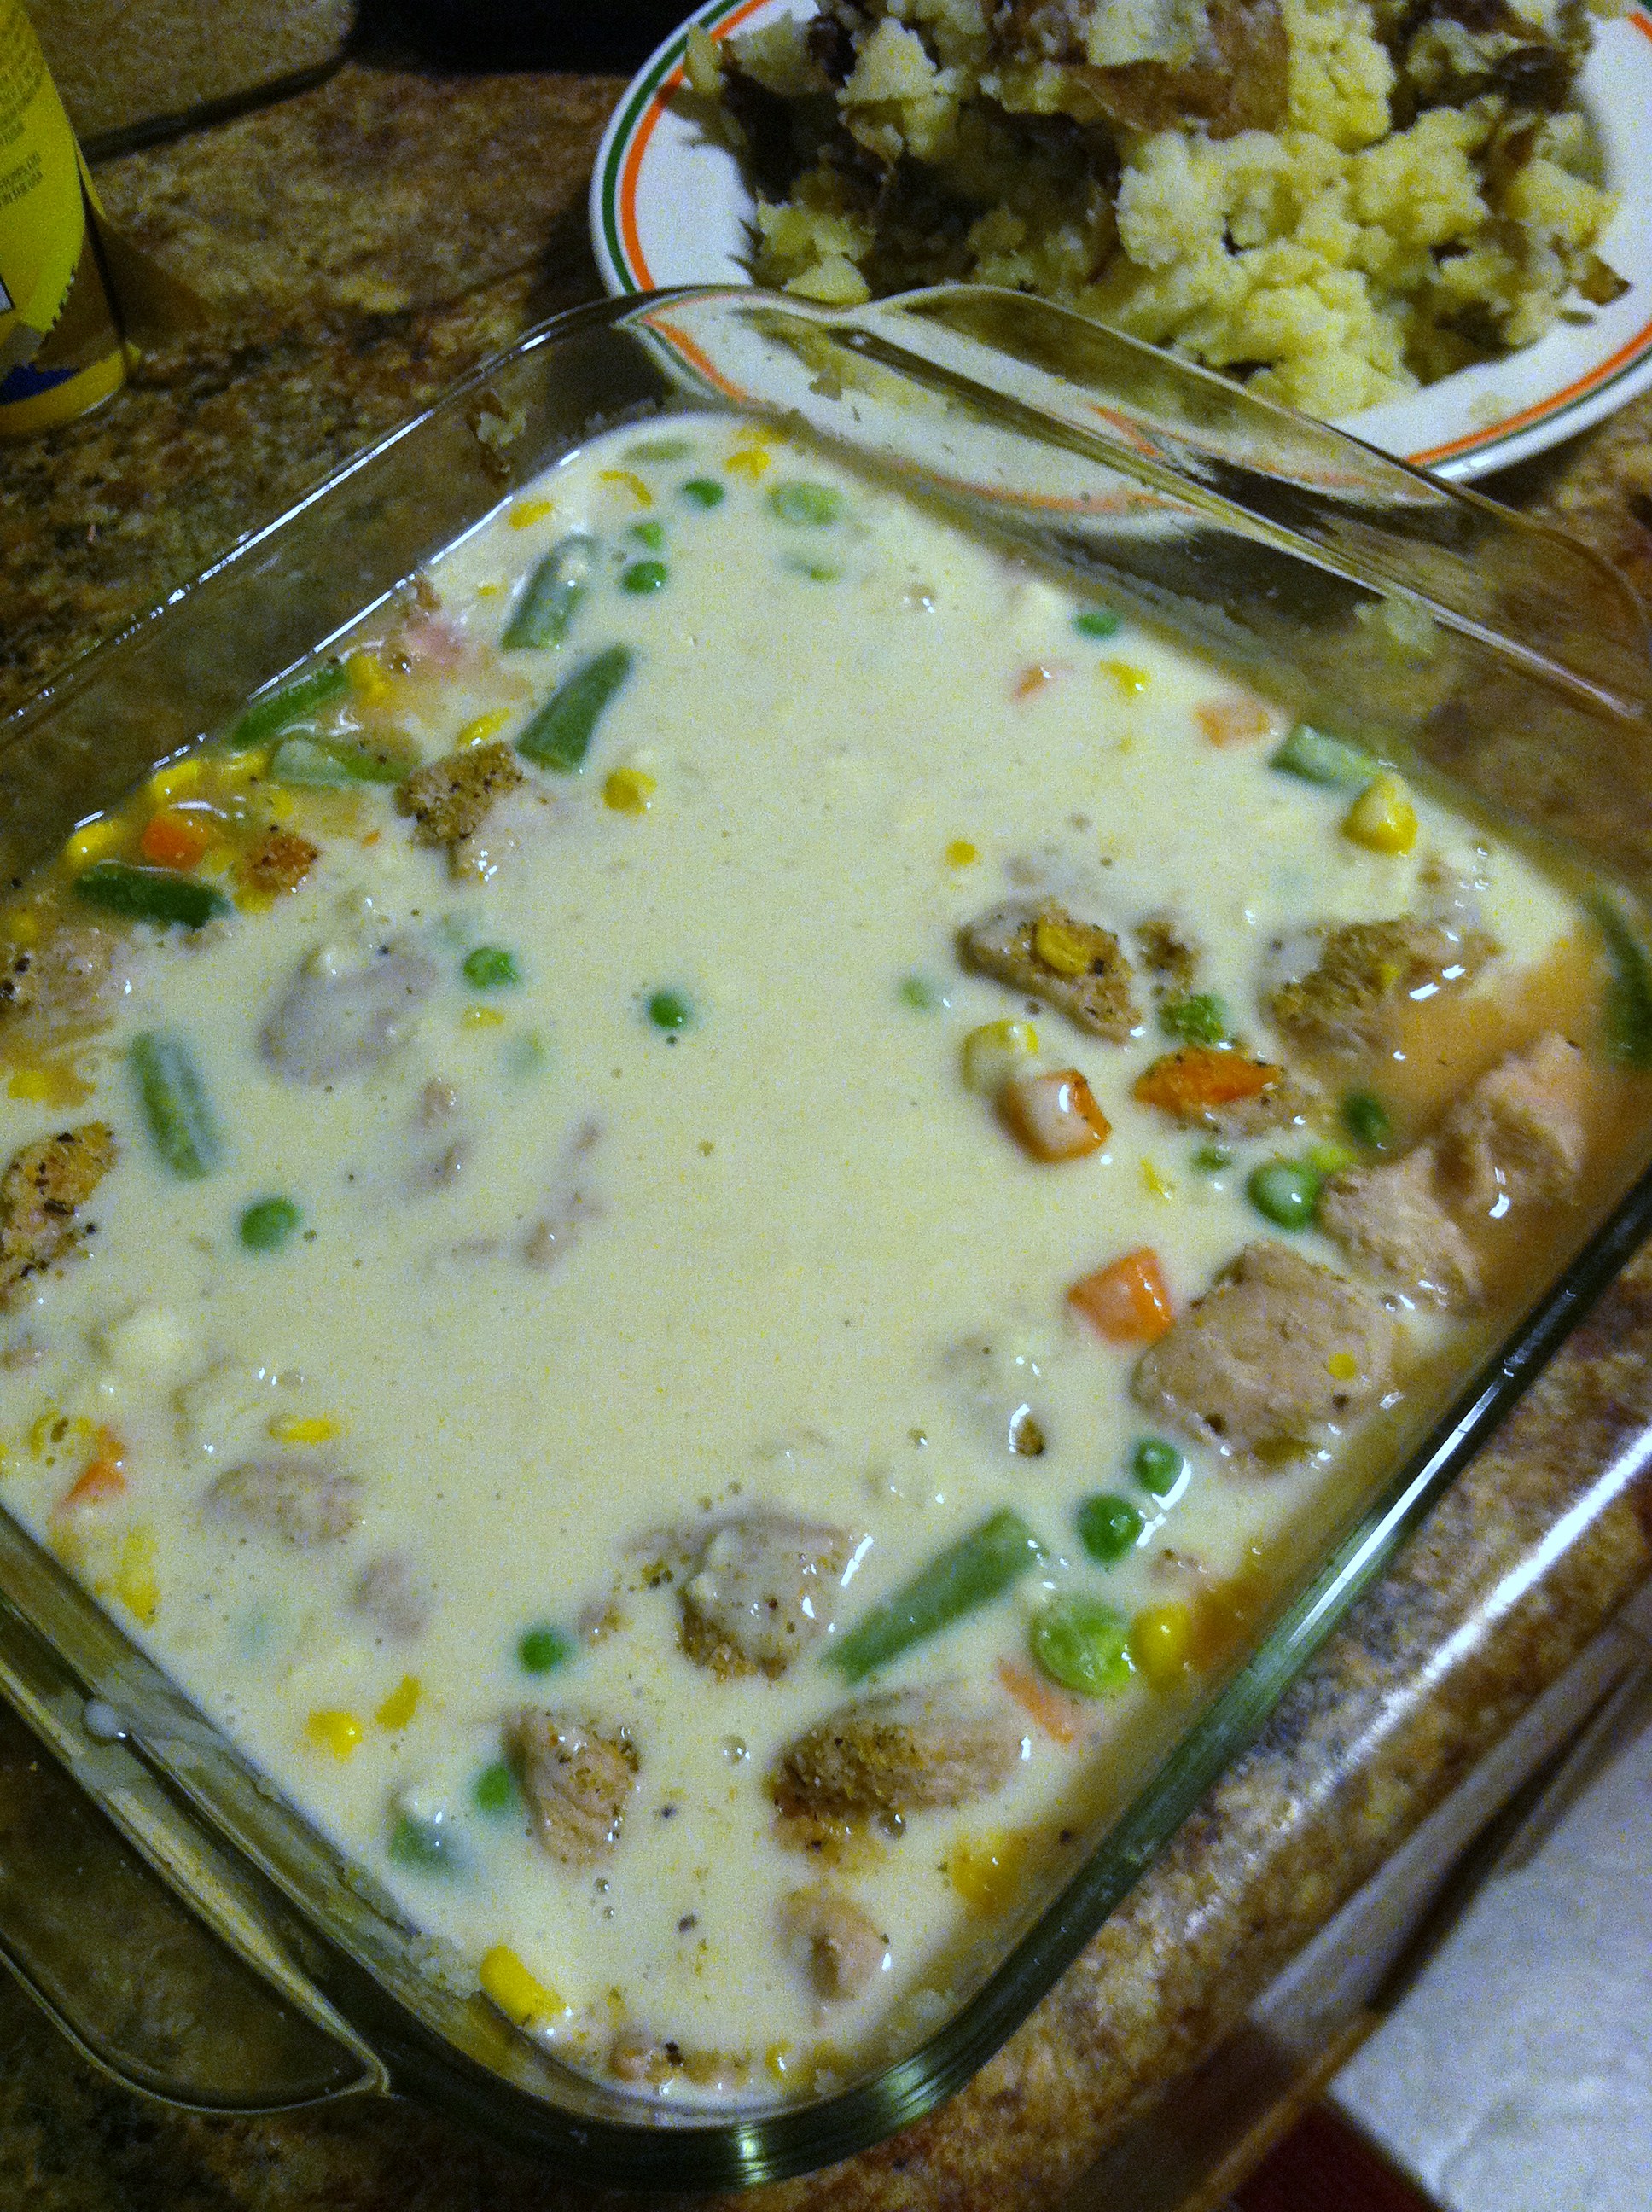
Step 3: In a pan, combine the milk and flour. Heat until just simmering, and ensure all flour dissolves. You could also use cornstarch, or dried potato flakes. Or cream of potato soup.

IMG_4515

Step 4: Pour the milk mixture over the veggies & pork.

IMG_4516

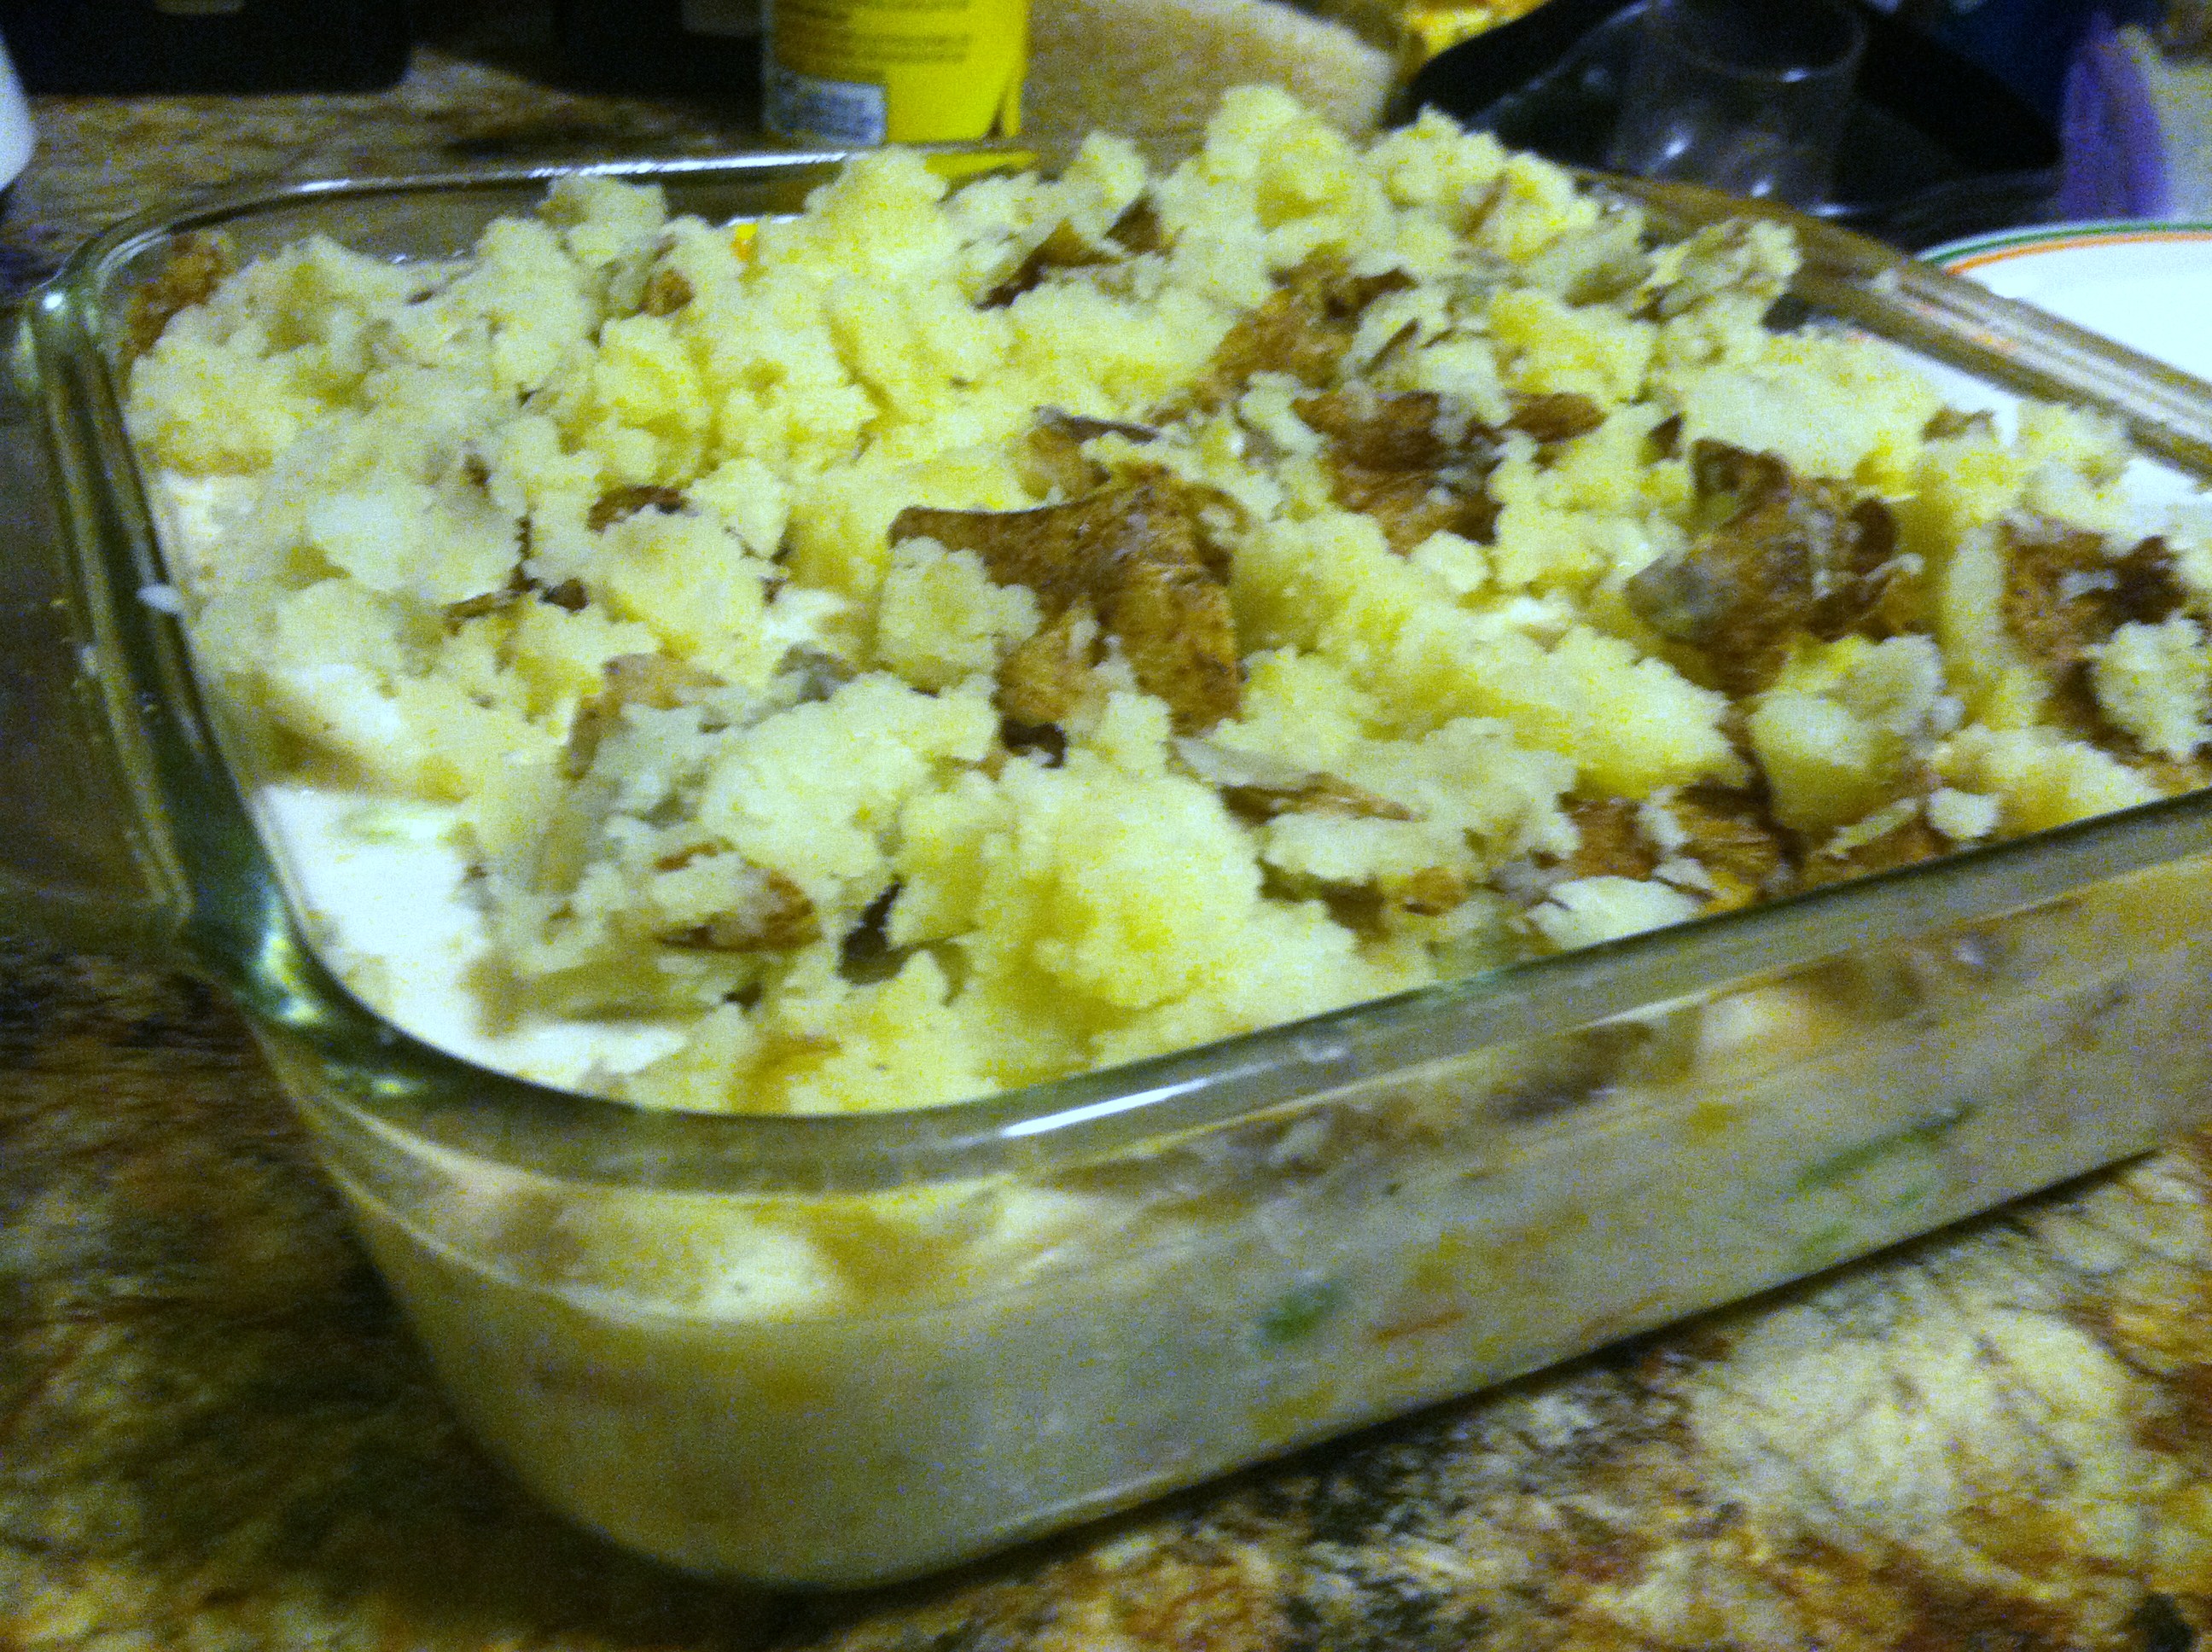
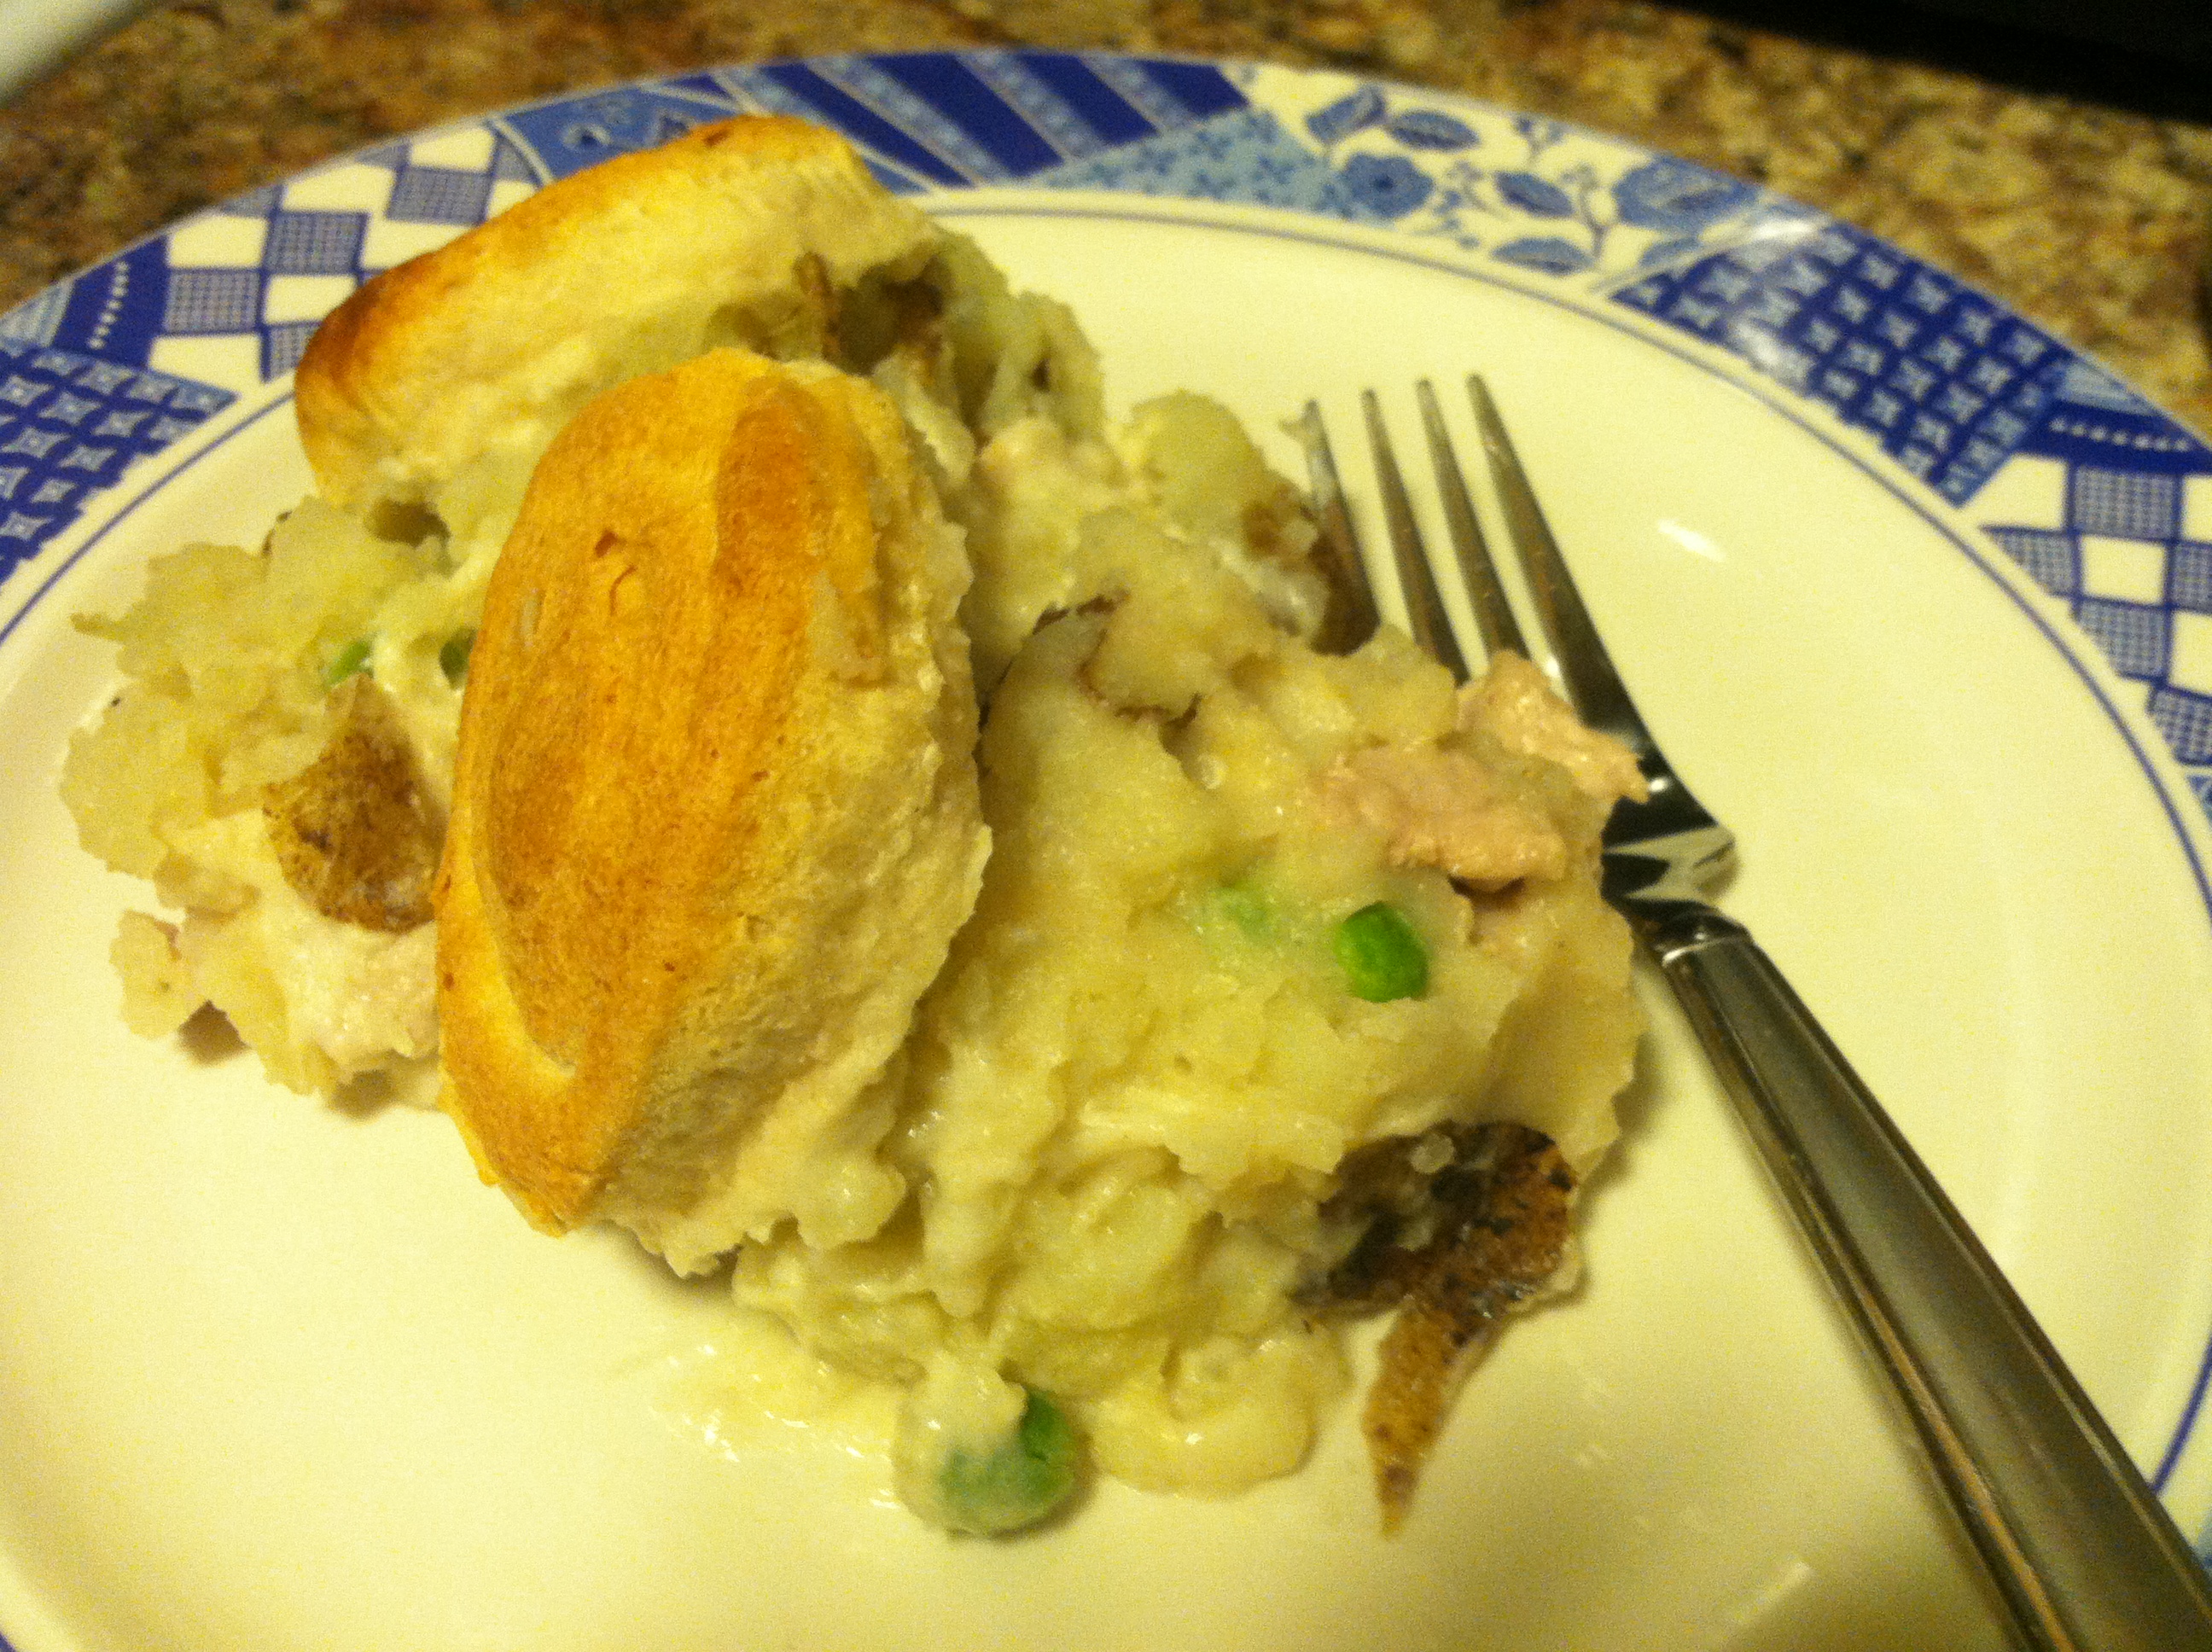
Step 5: Cover in a layer of mashed potato. Season with salt, pepper, garlic, onion powder, paprika, anything you like. Spread out the raw biscuits on top of the potato layer.

IMG_4522

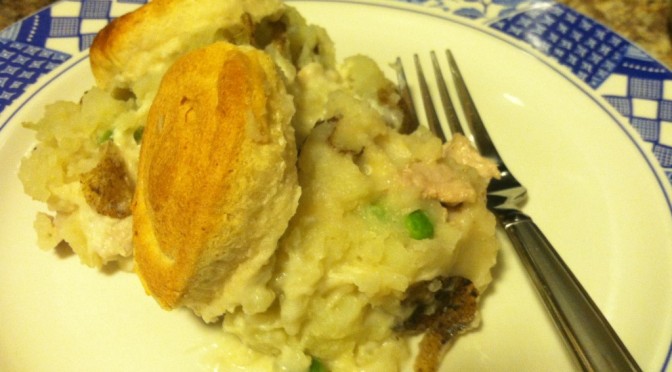
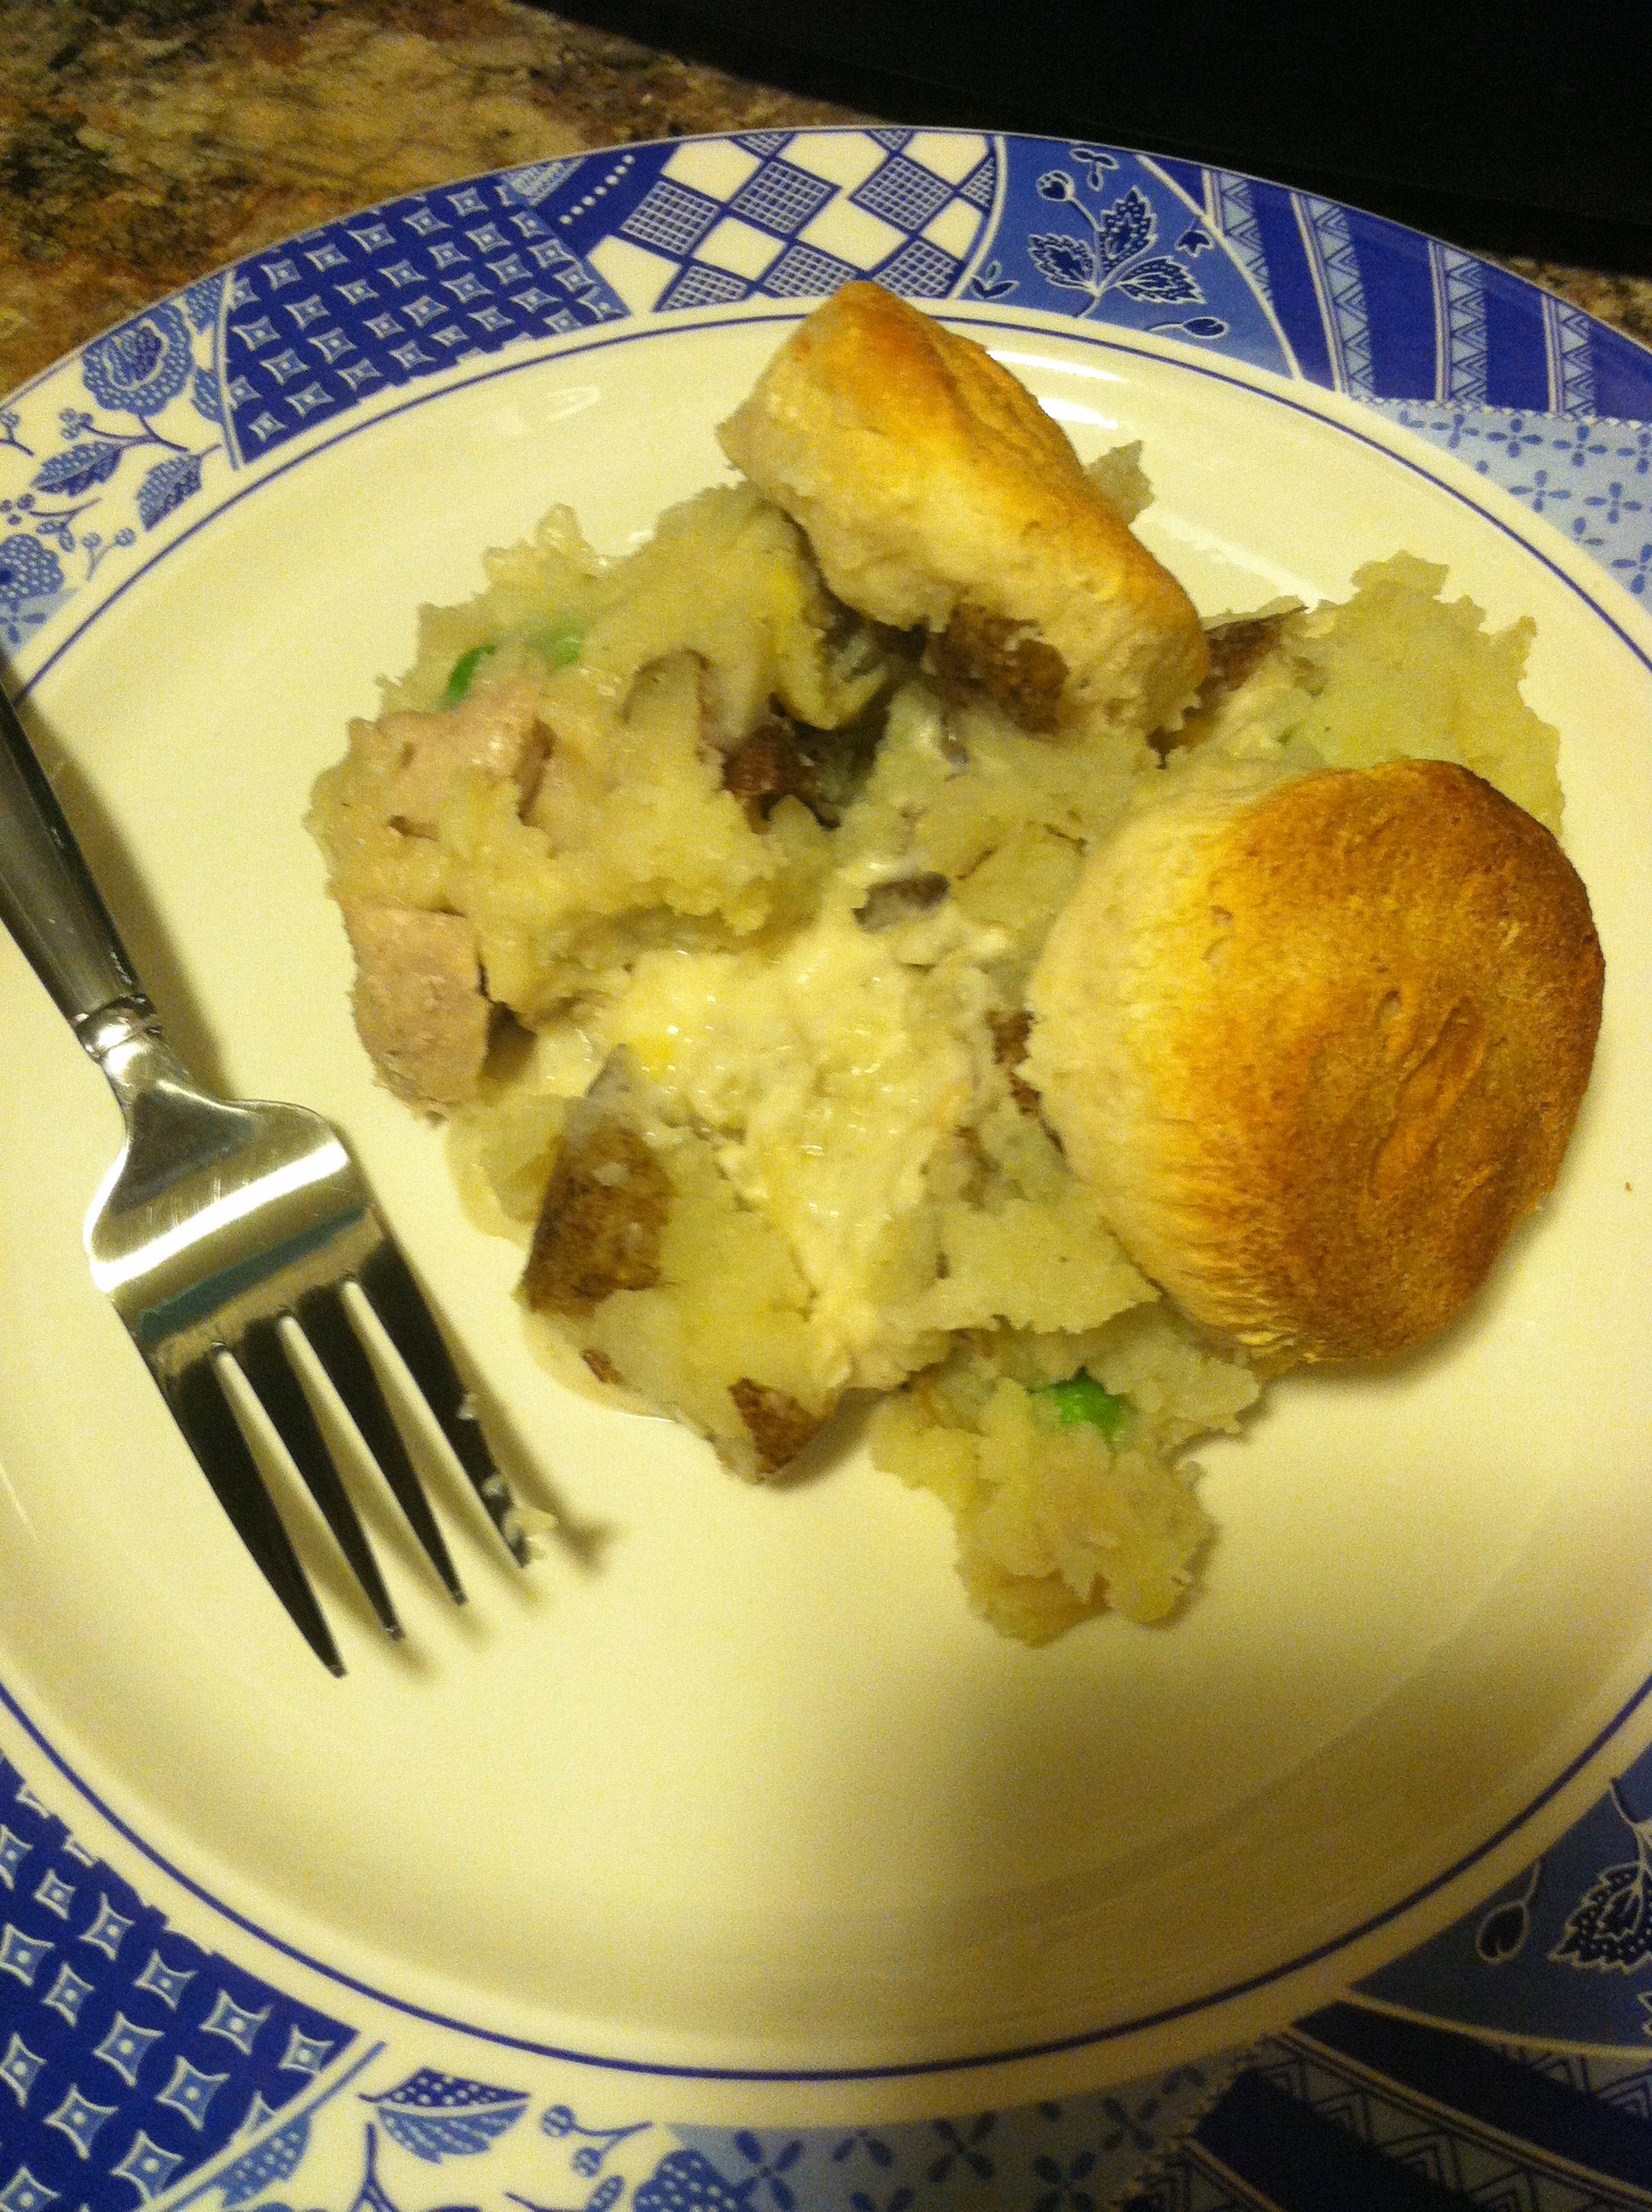
Step 6: Bake in the oven at 350 for 20-25 minutes.

IMG_4524

Review: Three Sheets


Tucked away on Elm Street in New Haven is a tiny unassuming “friendly neighborhood gastropub” called Three Sheets.

It has gone through many changes over the years, under different names and different locations, but today it is a cozy, welcoming dive bar with a creative atmosphere. I had happened upon it during  a ‘brunch and board games’ meeting. Always a fan of good food and new friends, I welcomed the opportunity to try some local flavor.

IMG_9388Open Monday to Thursday, 3 p.m. to 1 a.m.; Friday, 3 p.m. to 2 a.m.; Saturday, 11 a.m. to 2 a.m.; and Sunday, 11 a.m. to 1 a.m.

With typical dive-bar murkiness, this place was at once sketchy and friendly. Tattooed and pierced bartenders and servers abounded, and there were handfuls of clear regulars grouped around the bar and at tables, despite it being 1pm on a Saturday.

IMG_9382

The menu behind the bar immediately intrigued me. With plenty of good old bar-eat standbys like burgers and wings, they also have a ton of creative and unique choices, such as “Stuffies”, fried pickles, “Koolickles”, and a Banh Mi. They also offer oodles of tasty sounding sauces and toppings for anything your heart desires, like smoked catsup, remoulade, yellow BBQ, or kimchi. Plus rotating chef’s and drinks specials.

This is my kind of place.

Their Facebook page has periodic updates about what bands are playing (always NO cover and 21+) and what the daily house specials are. They say: “the following items which are all made IN HOUSE. Smoked clams, chicken pastrami, ham, bacon and pulled pork. Our jalapeno poppers are slow roasted and hand stuffed. We pickle our own vegetables and eggs. Our beef, breads, and clams are locally sourced… Oh, did I mention hand rolled sushi?”

Yes please.

I had to start the night (afternoon?) with a local craft beer. The bartender suggested Two Roads Hefeweizen, made right here in Stratford CT.

IMG_9381

The No Limits Hefeweizen was a nice, fruity wheat beer, perfectly refreshing for a hot summer day. I enjoyed the can, and the fact that they gave me a chilled glass to go along with it. I had tasted the Two Roads “Road Jam” previously as well, and it is even more powerfully berry flavored.

However, the “Lil Heaven IPA” is the opposite of my taste preferences, and I ended up tossing out half a six-pack because I just couldn’t drink it. Those who like extremely bitter beers would totally love this type. All the same, this brand is a great New England brewery, and I will keep trying their beers as long as I’m here.

The front area is the bar, right next to a cozy room containing several tables & chairs, and a tiny elevated stage area. I have not attended any free concerts here yet, but it is now on my New Haven to-do list. We played several games with a group of about 20, with multiple games on-going simultaneously.

IMG_9385

Through the hallway, you are led to a back room with more seating, a food-order area leading to the kitchen, pool tables, and a large chalkboard wall. There is plenty of chalk provided to indulge your creative side. I believe there is a back door, but we did not investigate if there was a porch area or not.

IMG_9386

It has that ‘dirty’ in a ‘gritty dive-bar’ way, but was well-kept. From what I could see through the kitchen window, everything was in fact being freshly prepared in house. Speaking of food…

While there were many tempting items on the menu, the Beet Reuben in particular called to me. Roasted beet slices on whole grain rye bread (which I believe is from another CT local, the tasty bread experts WholeG Bakery), with kimchi, thousand island dressing & Swiss cheese. I’m not a huge fan of swiss or 1000 island, but they are requisite for a proper reuben. And I adore kimchi.

IMG_9384

BEET REUBEN                                                                      $10

roasted beets sliced and served on whole g rye bread with kimchi, thousand island, and swiss.

The bartender took my order and told me ‘ok it will be out in a few minutes’. I don’t know if they are all just that good, or I got lucky & it was a slow day. But I sat down, played some games, and as I was halfway through enjoying my hefeweizen another waitress magically appeared and handed me a steaming plate.

The bread was perfectly crispy, everything was exactly the right temperature. The spicy kimchi mixed with the creamy tang of the thousand island, the sliced beets were soft and sweet like candy, and the whole thing made me look at Ruebens in a whole new light. I don’t think the usual roast beef & coleslaw combo will have quite the same magic anymore.

The fries were also the right amount of salty, and were so good that even though my fiance hadn’t wanted to order any food, after he tried one, he ended up eating almost the whole order! If I’d been more hungry, or not completely enthralled with my sandwich, I would have gotten a second order. As it was, this sandwich was more than enough to satisfy, and I had to stuff down the last bite. It was totally worth it.

All in all, this is a cute little gem that during the day is tame enough to bring the kids, but has it’s rough side too. The food prices vary in affordability, but are reasonable given the taste standard and the portion sizes. With entertainment, public events all the time, great drink specials and killer food, this is a gastropub I’d be happy to re-visit again and again.

  • Taste: 8.5
  • Atmosphere: 7
  • Value: 7

Resources & Further Reading:

New Haven Register Review
Three Sheets Website
Their Facebook Page

Address: 372 Elm St, New Haven, CT 06511

Roasted Veggie Pizza with White Bean Sauce


Pizza is always delicious, and this is a healthier, fresh take on making your own. If you use pre-made dough it is a super cinch, but you could also go all-in and make homemade pizza dough too.

The sauce gets a new makeover by using white bean puree & ranch dressing to make a creamy white sauce that’s packed with vitamins and fiber. Feel free to use whatever veggies you have laying around. I love using oven-roasted veggies for their caramely flavor.

You can of course add meats as well. This sauce goes great with just about anything. To keep it hard-core vegan, make sure your Ranch dressing doesn’t have anchovies in it.

Ingredients:

  • 1 roll pizza dough
  • 1 can white beans or 1 cup cooked beans
  • 4-6 tbsp Ranch dressing
  • 1 cup roasted veggies
  • 1 cup spinach
  • 1/2 cup grape tomatoes, cut in half

IMG_9401

Step 1: Spray a cookie sheet or pizza tin and roll out your dough. Place on the pan and preheat the oven to 400 F.

IMG_9402

Step 2: Blend the beans in a blender or food processor, adding a bit of olive oil or warm water if needed to make a sauce. Mix in the Ranch dressing and spread over the pizza.

IMG_9405

Step 3: Sprinkle the veggies around the pizza, then toss on the spinach and the tomatoes. Season as desired.

IMG_9406

Step 4: Bake at 400 for 20-25 minutes, until crust is browned and cooked through in the center.

IMG_9411

Pretty much all vegetables work here: broccoli, cauliflower, onions, peppers, mushrooms, potatoes, carrots, tomatoes, greens, and more. Get crazy! I just sprinkled on some garlic salt & black pepper, and it was absolutely perfect.


Country Style BBQ Ribs


What meat-eater doesn’t love ribs? I mean really, isn’t it just so satisfying to take a hunk of meat and bone and gnaw on it? Dripping BBQ sauce all over your hands and face and maybe other table mates, it is such a throwback to our caveman roots.

Summertime and grilling ribs go hand-in-hand. Unfortunately, ribs and my bank account staying full are not quite as cozy. A full rack of baby backs can run over $30, even at the grocery store. And if you order it already cooked in a restaurant with two people, the meal total can creep up towards triple digits.

While in the meat section of the grocery store, I came across a marked-down package marked “country style ribs”. Remembering these beauties from childhood, I decided to cook these up the way I remember them. My mom always cooked them this way, and they are fall-off-the-bone amazing. This lead me to question why there is such a disconnect between the different rib types.

IMG_9290

Thanks to AmazingRibs.com, I know more about pigs than I ever wanted to, and I even wrote an article about the different cuts of a pig before. The text following is from their website:

“Pigs have 14 rib bones. They are attached to the spine and are usually divided into four popular cuts: Baby back ribs, spareribs, St. Louis cut ribs, and rib tips. Starting at the top are the baby backs, closest to the backbone, nestled beneath the loin muscle. They are curved, round bones, close together, and most of the meat is on top of the bones, cut from the underside of loin muscle.

As you move further from the spine, the bones get larger, flatter, straighter, and wider apart with more meat between them. There is more fat marbling in the meat as you go further from the spine and closer to the belly. The front ribs are connected to the breast bone with a number of small bones and cartilage known as the rib tips. There are a number of other cuts, and they are all described below.”

pork cuts

As it turns out, Country-style ribs are not really ribs at all! They are actually pork chops, more meaty and less fatty than real ribs. They are cut from the front end of the baby backs near the shoulder. They respond well to brining before low and slow cooking. This is good news, because that is similar to how I cooked them.

Now, if you are thinking to yourself, “but I want ribs tonight, like now, I don’t want to have to wait to brine them!”

Have no fear! We skip the long 24-hour-brine and instead boil them in water with some vinegar added. This imitates the long brine in a much shorter time window. Finishing on the grill gives them the nice crispy outside char, and waiting to add sauce until the last minute ensures that the sauce is caramelized but not burnt.

Best of all, this is only 3 ingredients! (If you use store-bought sauce. I still think making your own is better, but that requires another 9-10 ingredients (which you probably have already)).

Ingredients:

  • 5-7 pounds country style ribs
  • 1-2 cups BBQ sauce (I recommend sweet & tangy homemade)
  • 1 gallon water
  • 1/2 cup white vinegar

IMG_9275

Step 1: Bring a large pot of water to a boil, and add the vinegar. Throw in the ribs, and boil about 15 minutes.

IMG_9276

Step 2: Drain the ribs, and fire up the grill. Once it’s nice and hot, line with aluminum foil (to prevent sticking, you can also spray the grill with oil before lighting and go right on the grate) and place the ribs on top. Close and cook 5-7 minutes, then flip and cook another 5-7 minutes.

IMG_9279

Step 3: Once nicely browned, coat thoroughly in sauce. Cover & cook again for just a few more minutes to caramelize the sugars.

IMG_9277

Let rest for a few minutes before serving. Then try to hold yourself back from eating a dozen at a time! Goes great with BBQ Bacon Baked Beans, mashed cauliflower potatoes, and Italian cucumber & tomato salad.

IMG_9299

Next time you have a picnic, party, or craving for something finger-lickin good, make up a few dozen of these and everyone is sure to be pleased.


BBQ Bacon Baked Beans


The quintessential summer side dish, barbeque baked beans are a staple of picnics and backyard BBQs. They are delicious on their own, and perfectly complement burgers, hot dogs, and ribs. Along with coleslaw and fresh corn on the cob, my summer memories are packed with these little tangy red jewels.

For a while in my life, I hated baked beans, for exactly the reason stated above: I had too much of a good thing. And I also had some bad experiences, wherein the beans were pure mush and tasted awful. It wasn’t until I began cooking in earnest, and made my own sauce, that I decided to give them another shot. And boy am I glad I did!

Homemade sauce, bacon, and beans elevates this humble side dish to a truly gastronomic experience. Try it yourself and you will see.

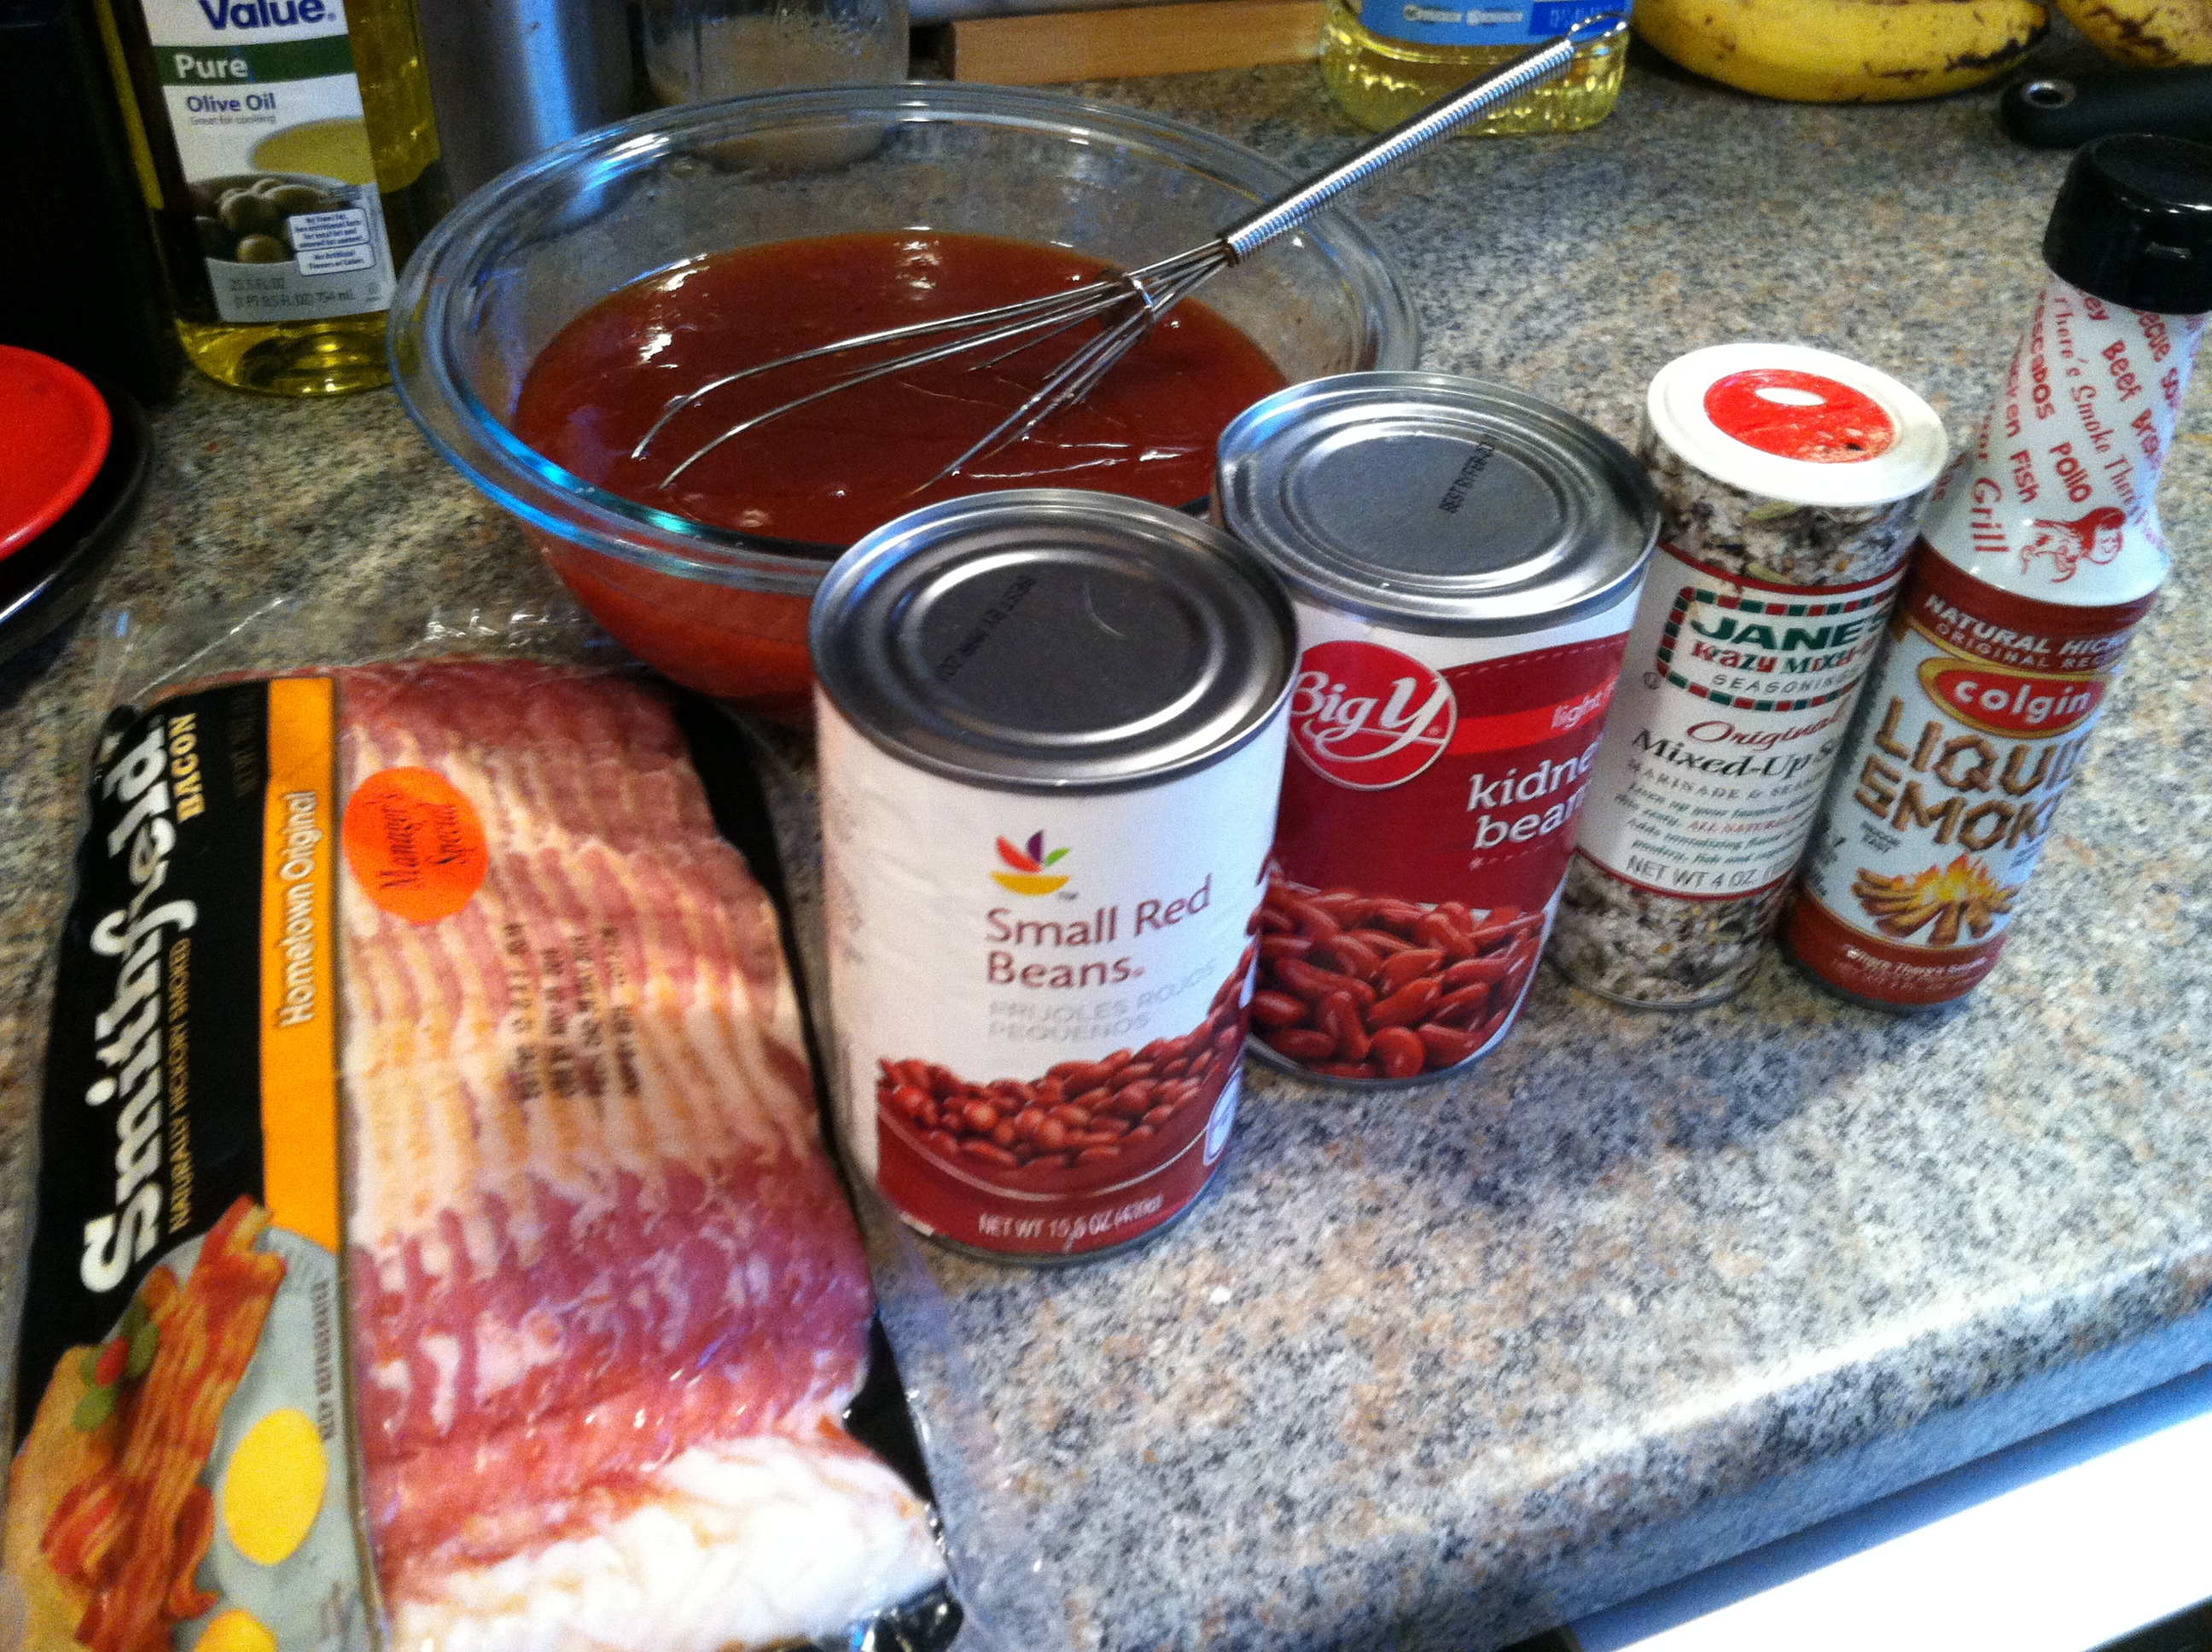
Ingredients:

  • 2 cans red beans, drained
  • (Or 1 cup dried, boiled for 2-3 hours)
  • 4 slices thick-cut bacon
  • 1/2 – 2/3 cups BBQ Sauce
  • 1-2 tsp liquid smoke
  • Seasoning salt to taste

IMG_9268

Step 1: Open the beans and drain them. Rinse to remove excess sodium. Alternatively, use 1-2 cups dried, and boil them for 2-3 hours, until soft.

IMG_9270

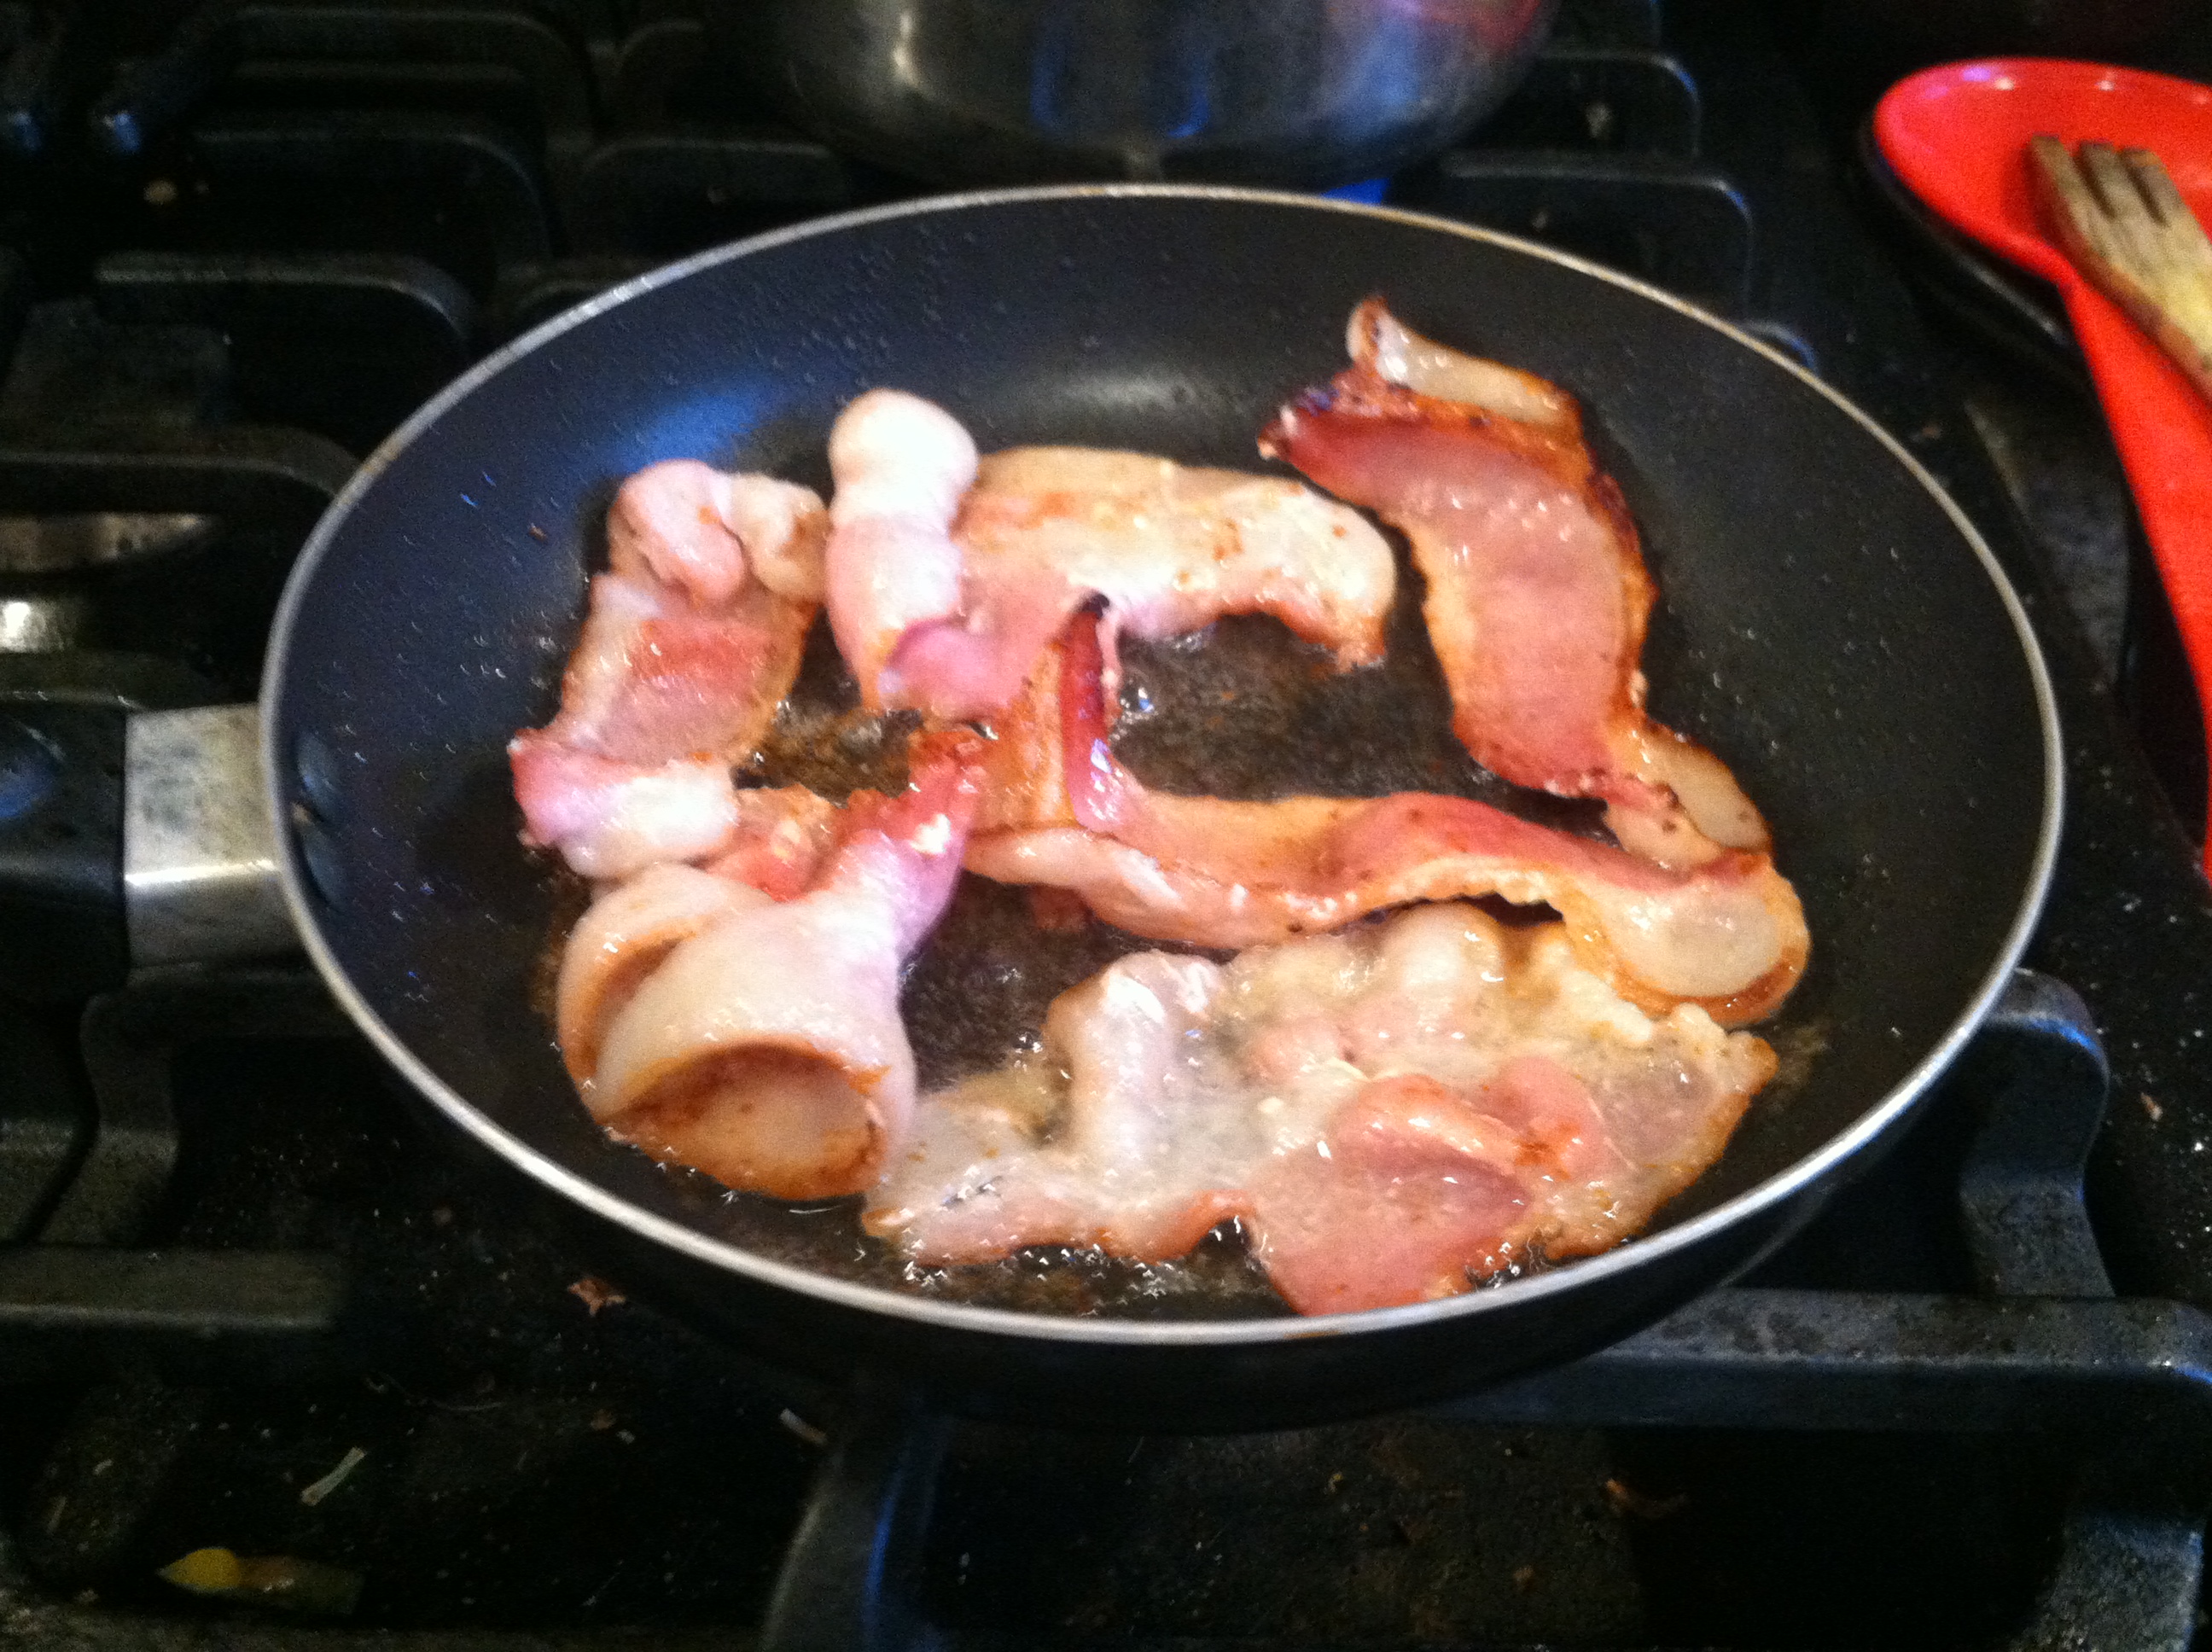
Step 2: Cook your bacon over med-low heat, until beginning to brown. You don’t want it too crispy. Lay on a stack of paper towels to drain.

IMG_9271

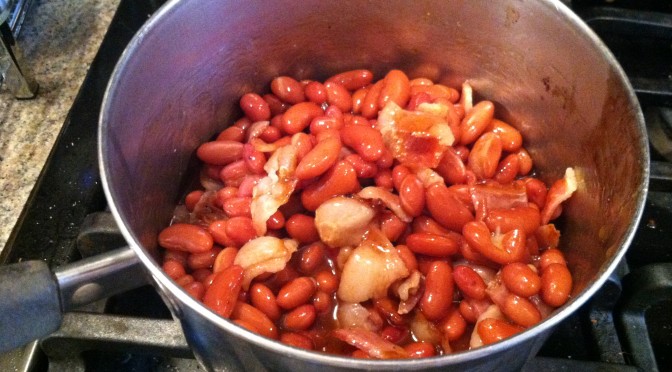
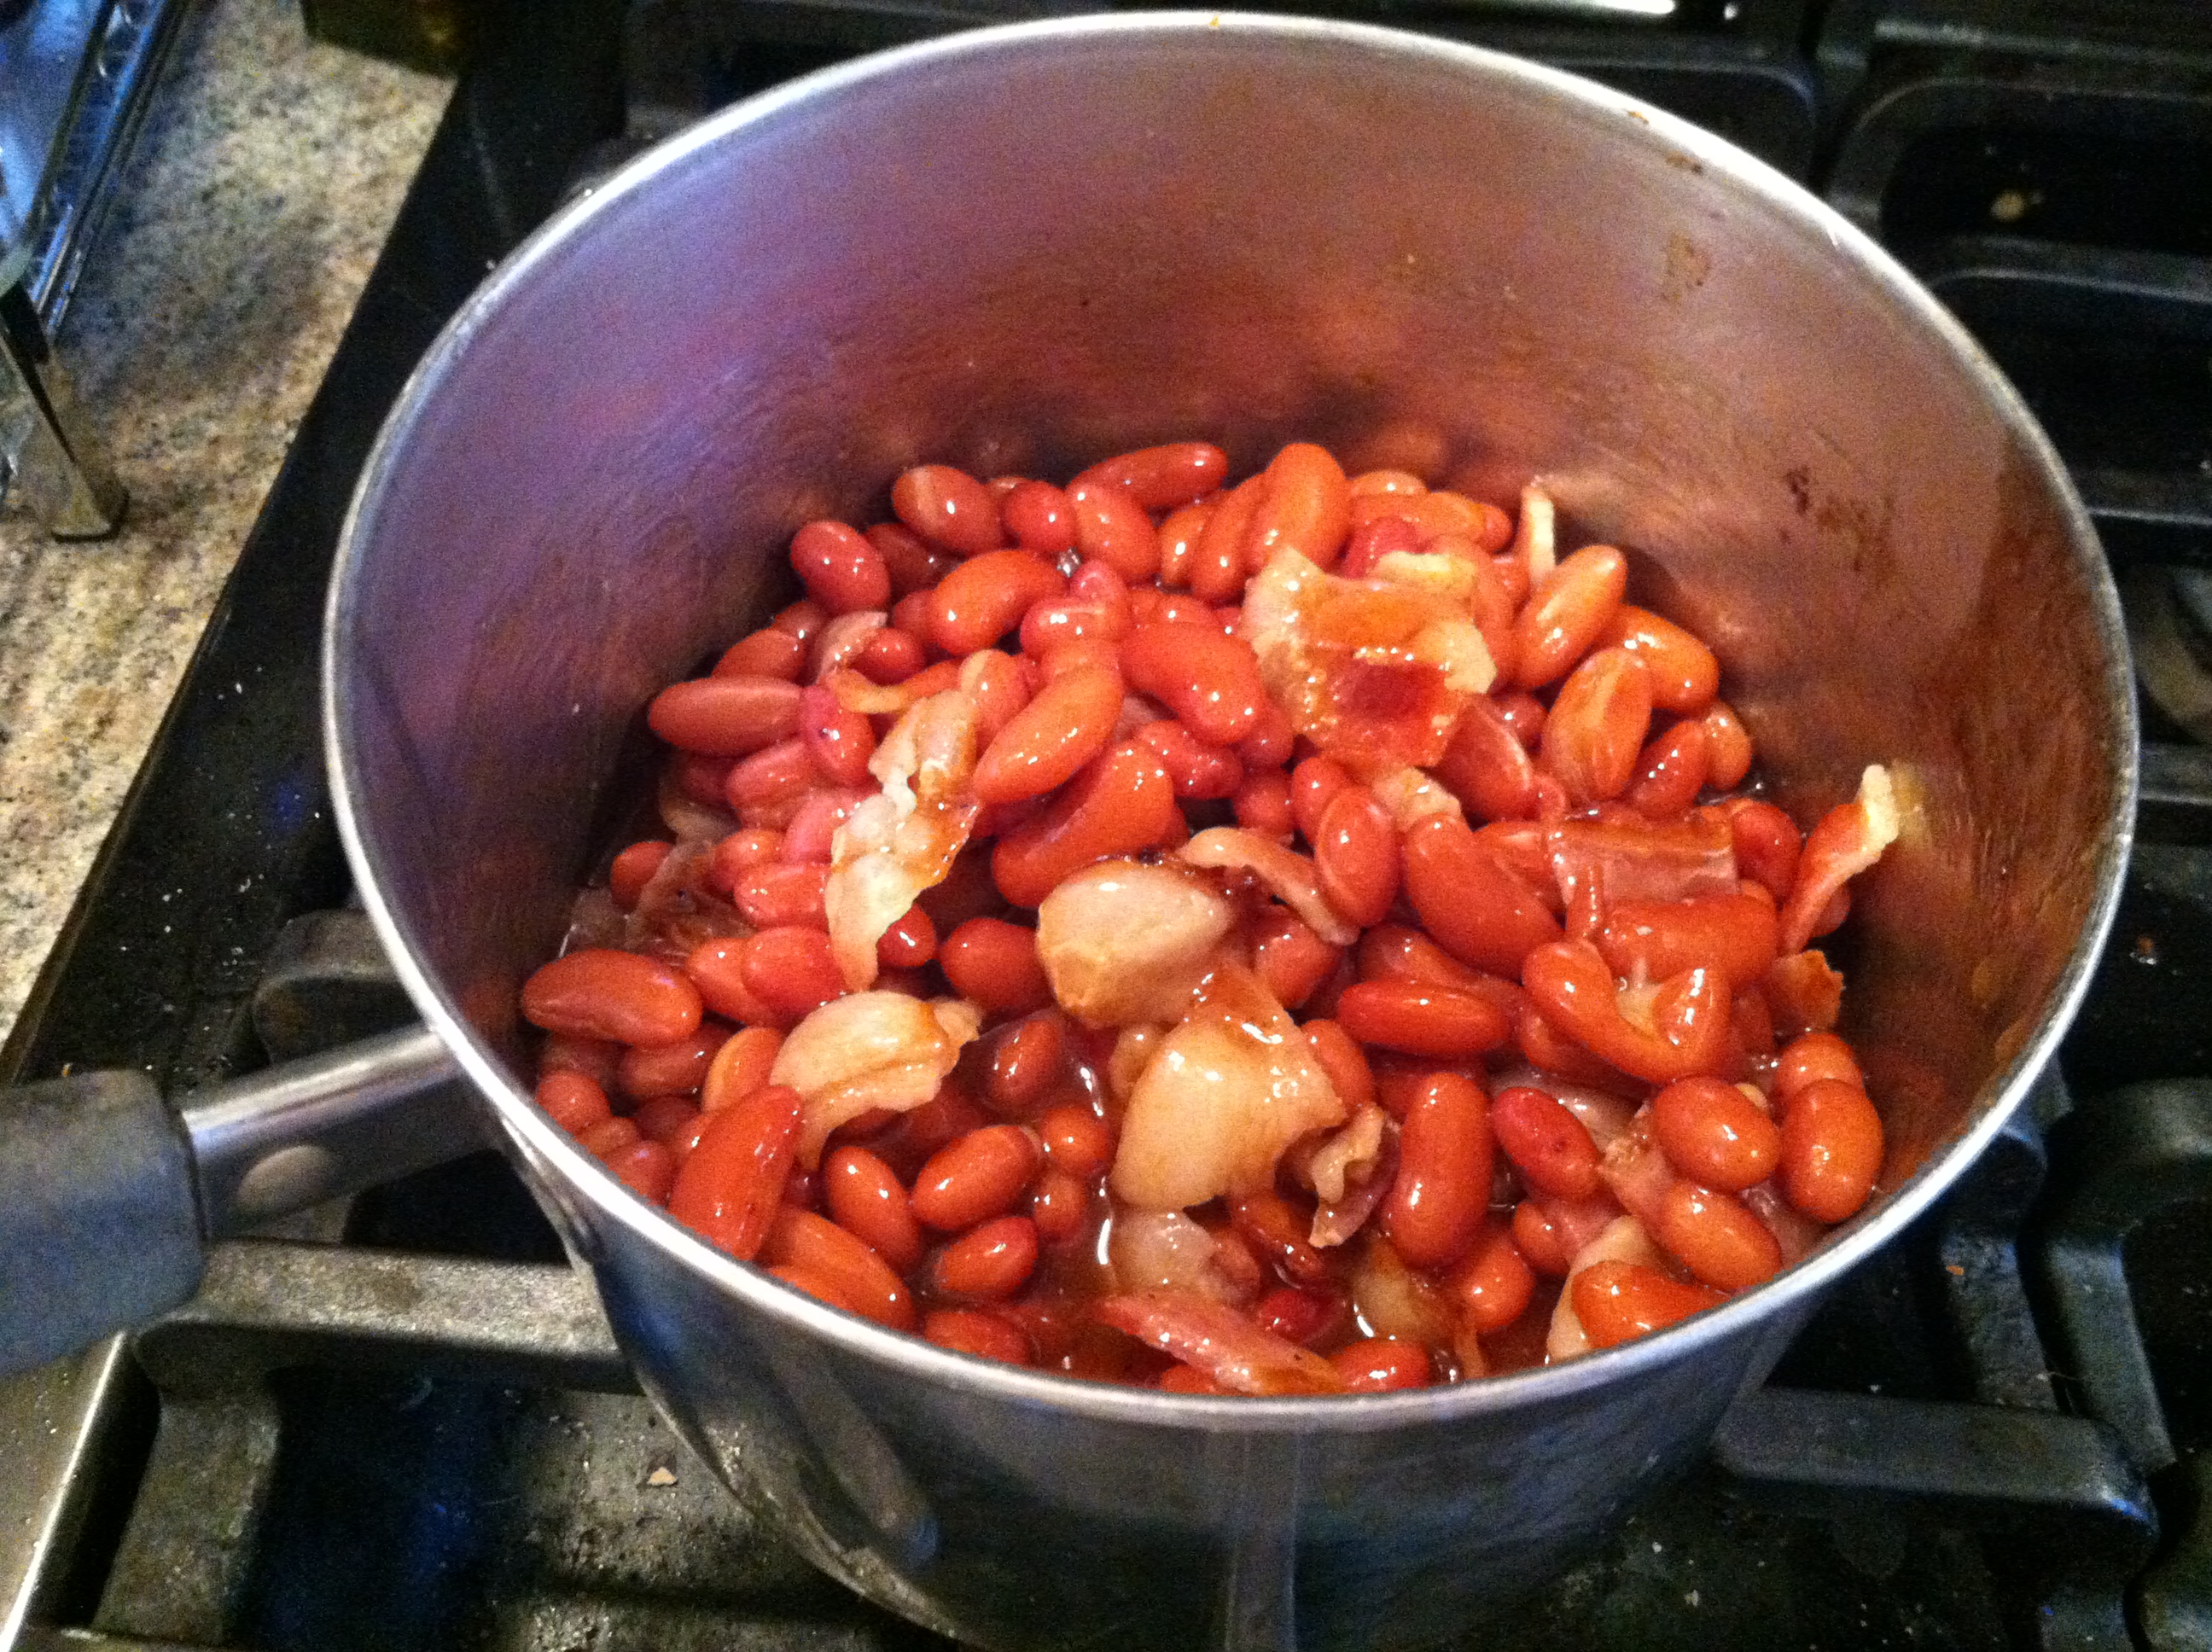
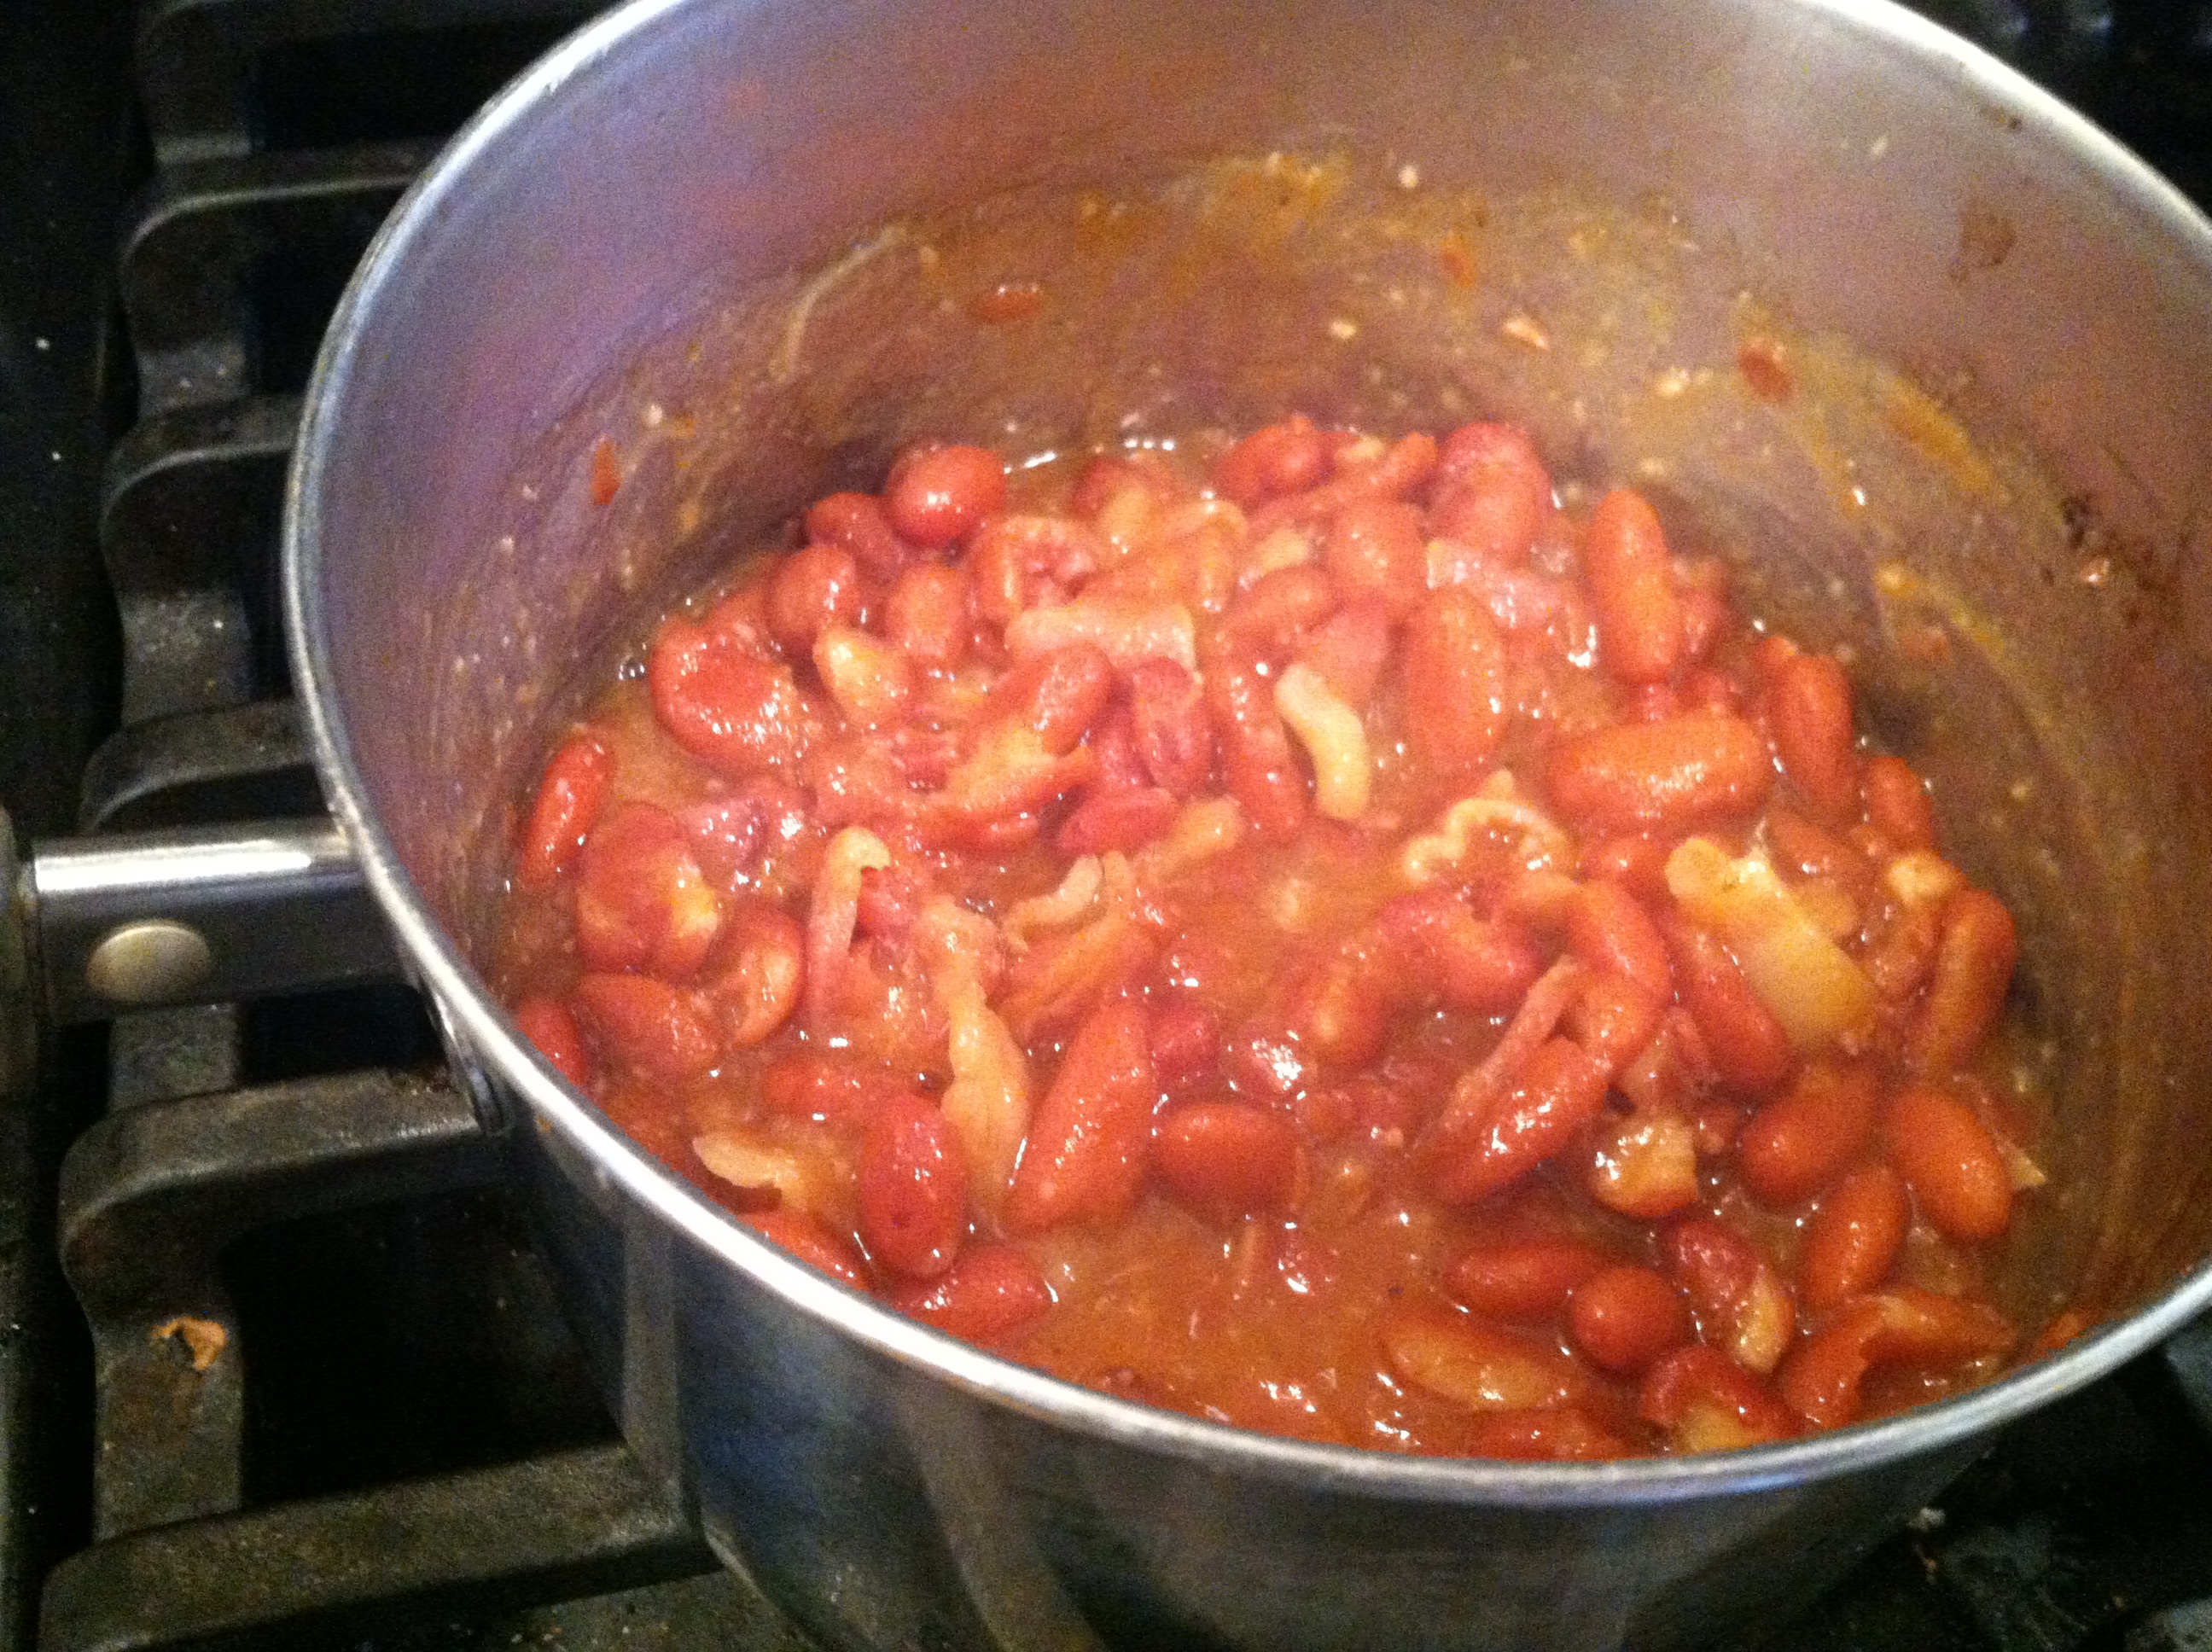
Step 3: Place beans in a pot, and add BBQ sauce and flavorings. Cut or chop the bacon into bite-sized pieces. Simmer it all together for 20-30 minutes to let flavors meld.

IMG_9274

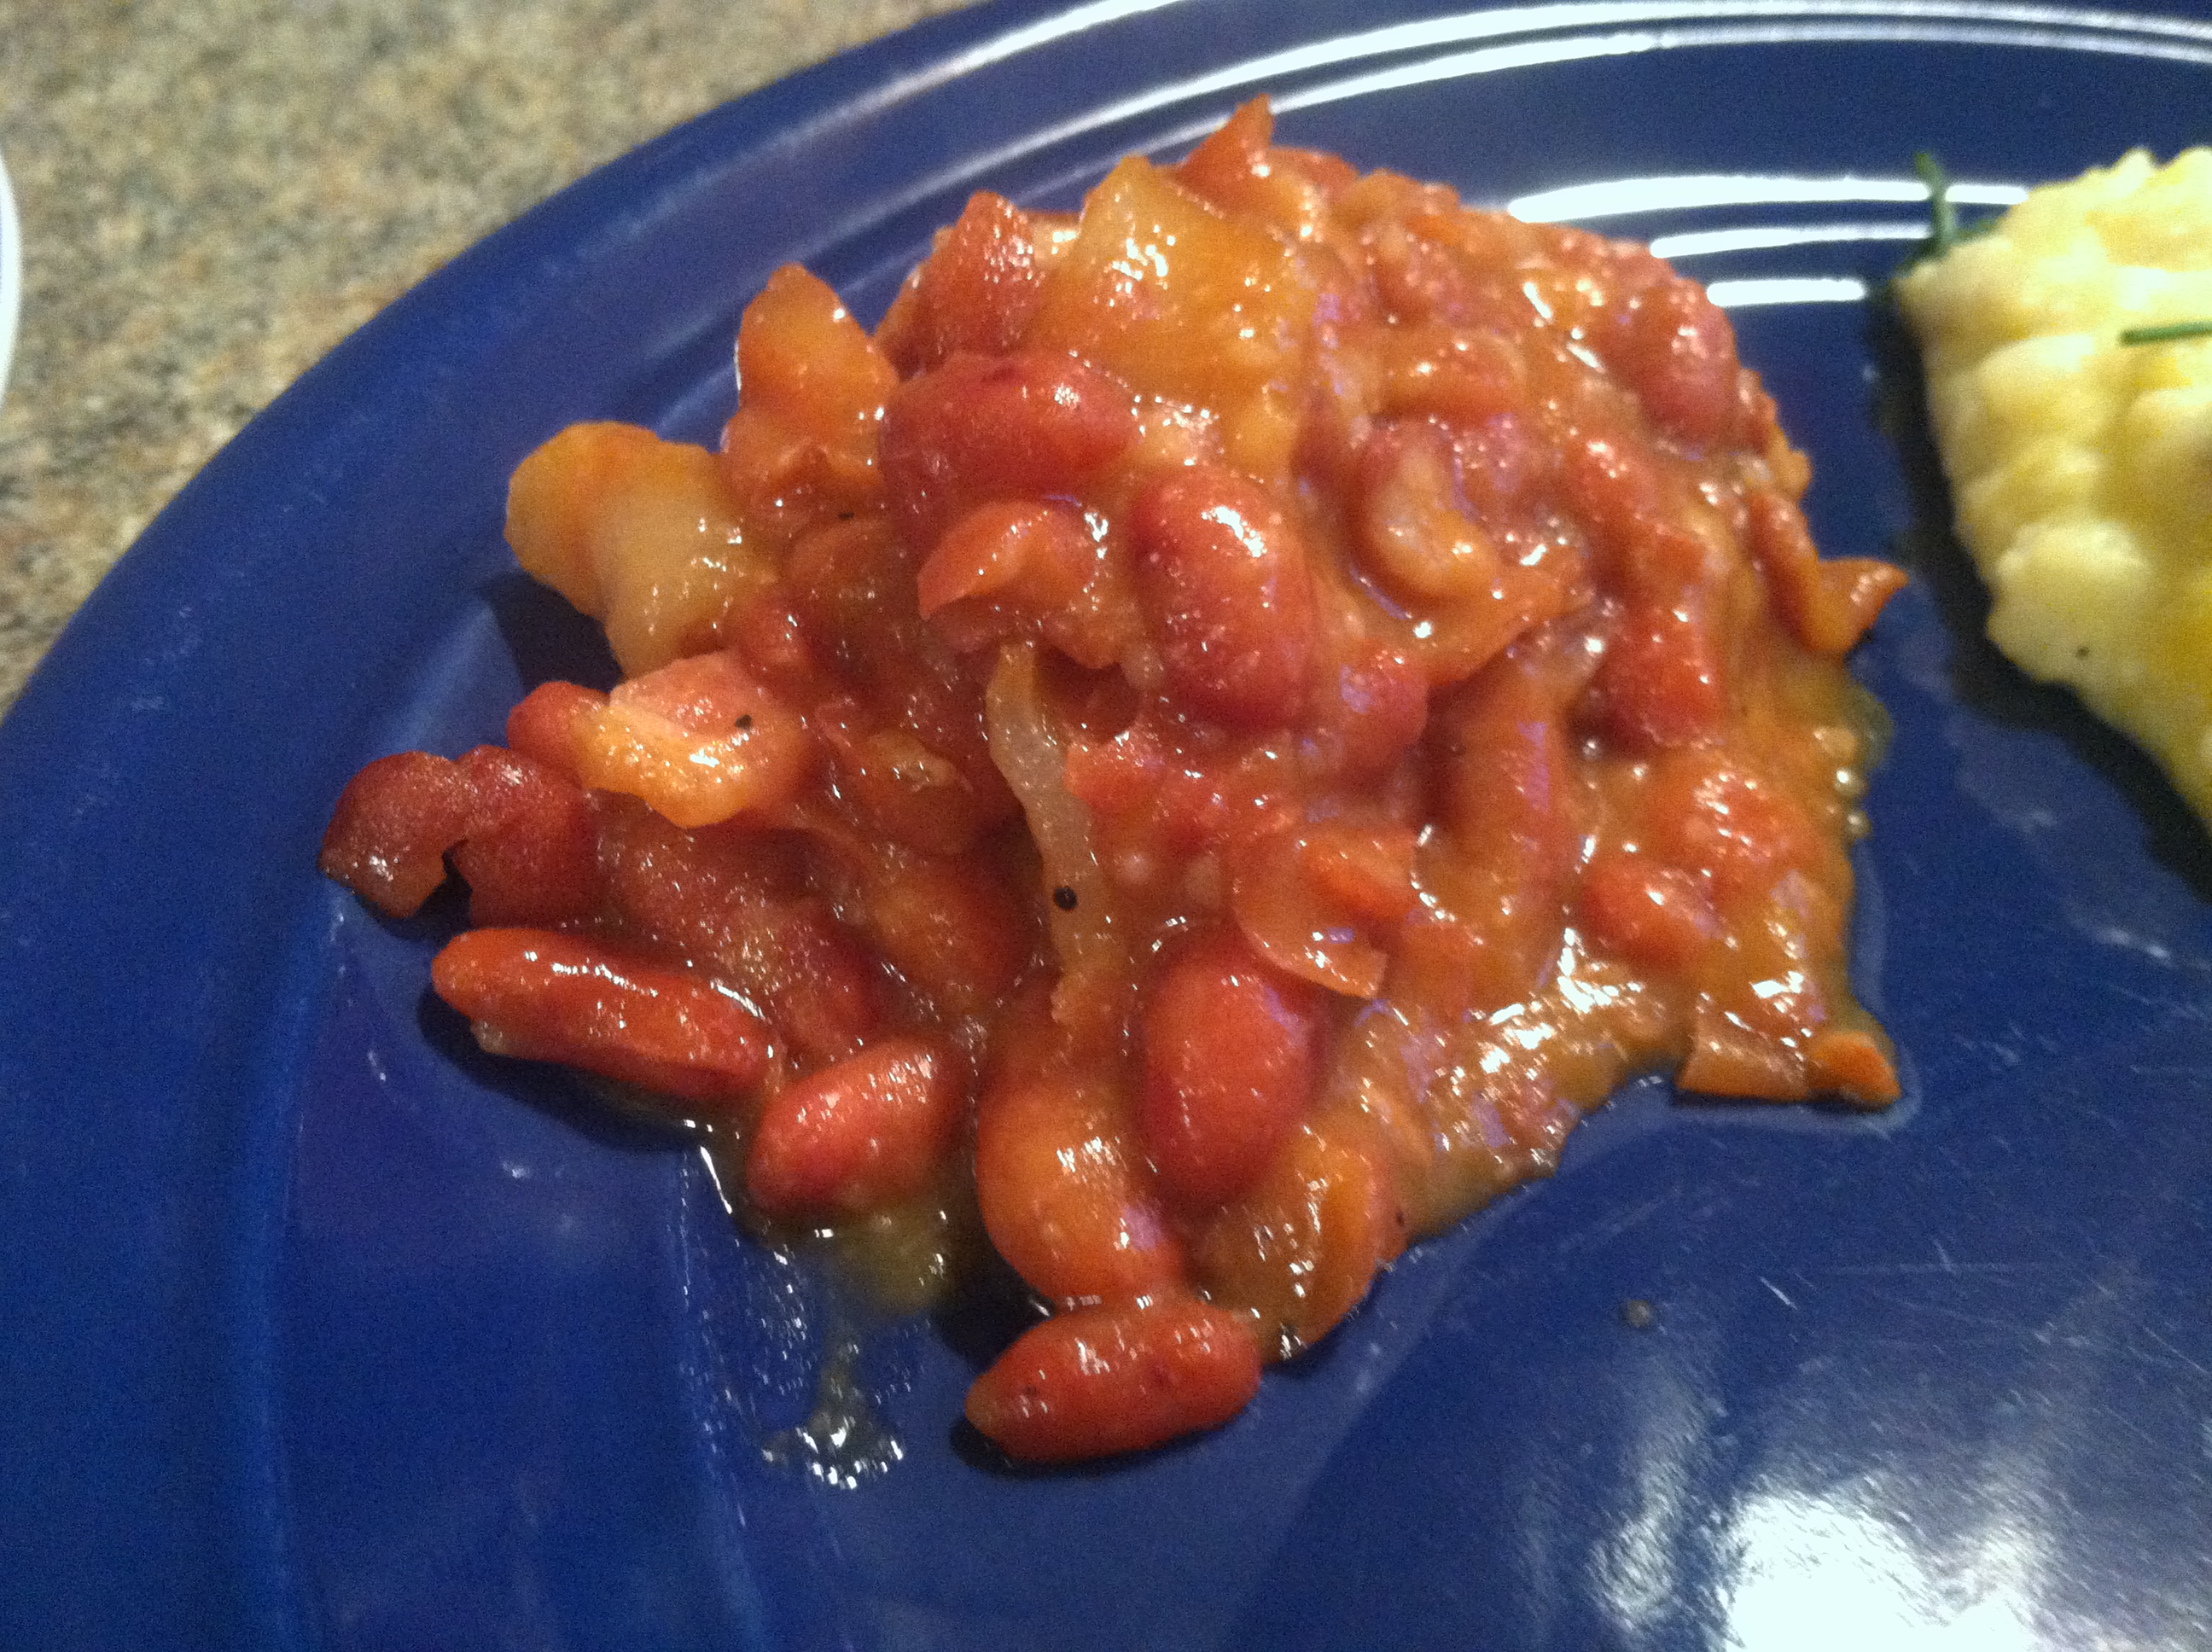
Then serve! Enjoy alongside whatever summer dishes you like, or in the dead of winter to remember these warm sunny days.

IMG_9297

The best part is that as long as you make the sauce yourself (can control the amount of salt, sugar, and fat added), and the beans too (how much sugar or salt or bacon is involved), this dish is healthier than you may think.

Typical store-bought baked beans come loaded with nitrates, stabilizers, preservatives, salt, sugar, and fat. This is to allow it to store on the shelf longer, and to taste addictively good.

Awesomely, you can create an even-better-tasting addictively good dish yourself with just a few minutes of active work, and a few minutes of unattended simmering. Whip this up for your next picnic or party and watch it disappear.