Category Archives: Healthy

Chicken Ranch Burgers


Spring and summer means it’s time for picnics and backyard BBQs. While the usual suspects, hot dogs and burgers, are tasty they are kind of old. (Hopefully not literally, you threw out the half-used pack from last summer right??)

I don’t know about you, but I like to experiment with “standard” foods to see if there is a way I can improve it and make it my own. With burgers there are so many options. You really just need a few fillers, spices, and something to bind it all together.

For the vegetarians and vegans, vegetable burgers are crazy easy to make and have so many customization options! My favorite way is to simply take about 1 cup of mashed beans and 1 cup of a whole grain (like couscous, quinoa, or oats) and some cooked vegetables, then bind it all with some oil and maybe flour. Kidney bean and quinoa burgers are my favorite so far.

For meat-eaters, try ground turkey, ground pork, or ground chicken for something other than beef. Or get really adventurous and try some ground elk, bison, or lamb. This recipe is one I tried for a picnic with friends, and everyone said it was an absolute winner, a great new, interesting flavor. With only four ingredients, you’ve got to try this out.

Ingredients:

*Note: You can substitute 2-3 tbsp of a Ranch seasoning mix instead of the dressing and other seasoning, then use 1 large egg to bind

IMG_5566

Step 1: In a large bowl, mix all of the ingredients. By hand is best.

IMG_5588

Step 2: Fire up the grill! You can also use a George Foreman style press, broil in the oven, or fry on the stove top.

IMG_5589

Step 3: Top how you like it and enjoy!

You can see we put american cheese slices on ours, but the topping possibilities are endless. Try coleslaw, fries, avocado, hummus, salsa, hot sauce, tomatoes, grilled onions, peppers, and/or mushrooms, arugula, spinach…

This is chicken, so you need to be a little more careful about ensuring it is completely cooked. The only way to be totally sure is to use a meat thermometer, and for chicken it should read 165 F. Worst case, poke it and make sure the juice is clear, or cut a piece off to make sure it isn’t pink still. If not, then it’s chow time!

[amd-zlrecipe-recipe:20]’


This post contains affiliate links. If you purchase items by clicking on these links, your purchase price is not affected but a portion of the profits go towards maintaining  this blog. Thank you.

Review: Asian Farmers Market


One of my big priorities when visiting or moving to a new place is finding the good grocery stores. I know, lots of people think I’m crazy but I LOVE grocery shopping! It’s so fun walking up and down the aisles looking at different foods and imagining what I could create with it.  I especially love any type of ethnic foods, foods I’ve not tried yet, strange spices and sauces, and fresh produce.

All this and more is what I found by accident one fine spring day in New Haven.

The original intent was to go to ALDI’s for a stock-up on basics. Those who know me know my love affair with ALDI runs deep. I wouldn’t have eaten nearly as well throughout college without their no-frills rock-bottom food prices. If you’ve never been or don’t have one in your area (like Colorado…) I am very sorry. You could always do what I did and move across the country to be near one.

Anyways, I arrived half an hour earlier than they opened. Silly me, thinking they have normal hours on a weekend. So rather than wait in the parking lot, I decided to explore further up the street since I had not driven east yet.

IMG_8996

To my surprise and intrigue a few blocks down was a large red sign proclaiming “Asian Farmers Market”. We all know I adore a good farmer’s market, so I just had to stop in and check it out.

I was immediately rewarded with a double shelf of fresh vegetables, roots, herbs, and fruits as I walked in the door. There were your typical bananas and oranges, but also dragonfruit and huge daikon radishes. Fresh bunches of Thai basil, lemongrass, and mint lined the shelves.

IMG_8995

Huge stacks of 15, 25, and 50 pound bags of Thai, jasmine, brown, and white rice lined the opposite wall. Baked goods of all types covered the table just inside the door, tempting you the minute you step inside.

As I wandered slowly, drooling over everything, a kind asian man approached and asked if I needed any help finding something. I explained that I just wanted to look around, and we ended up chatting about how I’d just moved from Colorado, and he said he has always wanted to move to Colorado. Funny how that happens. He gave me some advice on the area, and it turned out he was the owner of the store!

IMG_8994

The owner told me many of the items actually come from NYC China Town. Food goods are flown in from Asia, and once a week or so he drives down to pick up a big shipment. Isn’t it great that us smaller town folks can enjoy the big-city luxuries by living so close? I’m glad he will drive into the city so I don’t have to!

asian spices.sauces

As I wandered the aisles I found tons of great bargains. I snatched up a pack of fresh spring snow peas for $1.50, a hefty chunk of ginger root for stir fry and tea, as well as a bag of sprouts. I grabbed a pound of mung beans, so I can sprout my own at home over the next few months. Some rice noodles, chicken bouillon, fish sauce, and of course Sriracha made it into my cart.

I ended up nabbing the last bottle of Sriracha, just as another customer rounded the corner. I don’t know if they wanted the Sriracha or not, but I hugged my bottle and ran away. I very nearly grabbed a small green jar of the garlic sriracha too, but figured I can always come back. They even had a two gallon jug of Sriracha! I’m sure someone somewhere uses that quantity, but my taste buds cry at the very thought.

All in all, it was a very successful accidental shopping trip, and I am looking forward to many more great curries and stir fry meals now. This will become a regular spot on my weekly/monthly grocery route. For anyone looking for some exotic cooking ingredients or ideas, I would highly recommend checking it out. Located at 913 Foxon Road in New Haven, CT 06513, the Asian Farmers Market is a family-owned, friendly spot.


Raspberry Yogurt Parfait


As spring brings fresh berries to fruit, you may find yourself with a huge bounty and need ways to eat them all up before they go bad or the season ends (tear…).

Not to worry, I love berries and love to find ways to enjoy them. First of all, snap up deals now while you can. Don’t bother thinking you’ll buy too much, that’s not possible. Freeze any you can’t eat within a week in a single layer, then put into a freezer bag.

These frozen berries will last for months, and will be great mind-winter in a smoothie, a fruit crumble, on top of oatmeal, as ice cubes/garnish in cocktails, or in a pie. Try raspberries, blackberries, strawberries, and blueberries.

But while they are still fresh and at their best, my favorite way to eat them (other then just washed, by the handful) is in a yogurt parfait. The perfect start to the day, healthy snack at any time, or after-dinner treat, a parfait is just tasty.

And with fresh biotic-boosting yogurt, seasonal berries and fiber-rich granola, it is also a super healthy choice. Just steer clear of sugar-laden yogurts or granolas. Best to make it yourself, but if not choose organic, pasture-fed yogurt if you can, and granola with whole ingredients like oats.

Ingredients:

  • 1/3 cup fresh berries
  • 1/2 cup plain greek yogurt
  • 1/3 cup raw granola
  • 2 tbsp (local if possible) honey
Step 1: Add the yogurt to a bowl, and sprinkle berries on top. You could put it in a blender and pulse a few times if you want the berries incorporated.
Step 2: Sprinkle the granola on top. You can use plain raw oats too, or a healthy cereal.
Step 3: Drizzle your honey on top. You could also use agave nectar, maple syrup, or no sweetener at all.
Enjoy your bowl full of happiness!

Crock Pot Apple Sauce


Sure, fall is still a long time away, but now is the time to start stocking up on ideas for the bounty of apples coming our way soon! Last fall, a friend of mine had an apple tree that just went crazy. She gave me a huge bag of apples for free. I ate several as snacks, made some into apple crisp, had some on pancakes, some in oatmeal, and made some into muffins.

Now I have a half bag left… what do I do?

Once you’ve gotten all baked-out, may I recommend trying your hand at making your own applesauce? The jarred stuff at the super market is ok, if that is the only way to get fruits into your kids (or partners) diet, then I’m for it. But imagine knowing exactly what is in that stuff, no GMOs, preservatives, thickeners, emulsifiers, etc.

This is where your handy-dandy slow cooker saves the day yet again! Those things are worth their weight in gold, I swear. If you don’t have one, get on it. Try Goodwill, yard sales, or grandma’s basement if you can’t get one new.

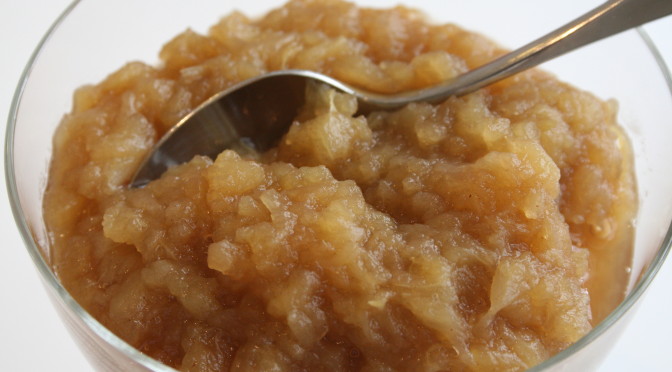
Applesauce is super easy to make, all it takes is a little time cutting up the apples, then you set it and forget it and come home to the lovely smell of apples and cinnamon, and a batch of ready-to-go applesauce.

Apples are naturally sweet, and slow cooking makes them even sweeter. But you can add honey, sugar, brown sugar, and/or maple syrup to taste to make it your own. You can also use cinnamon sticks rather than ground, just remove them before eating.

Ingredients:

  • ~4 cups chopped apples
  • 1 tbsp cinnamon
  • 1 tbsp nutmeg
  • Optional: 2-3 tbsp sugar, maple syrup, or honey

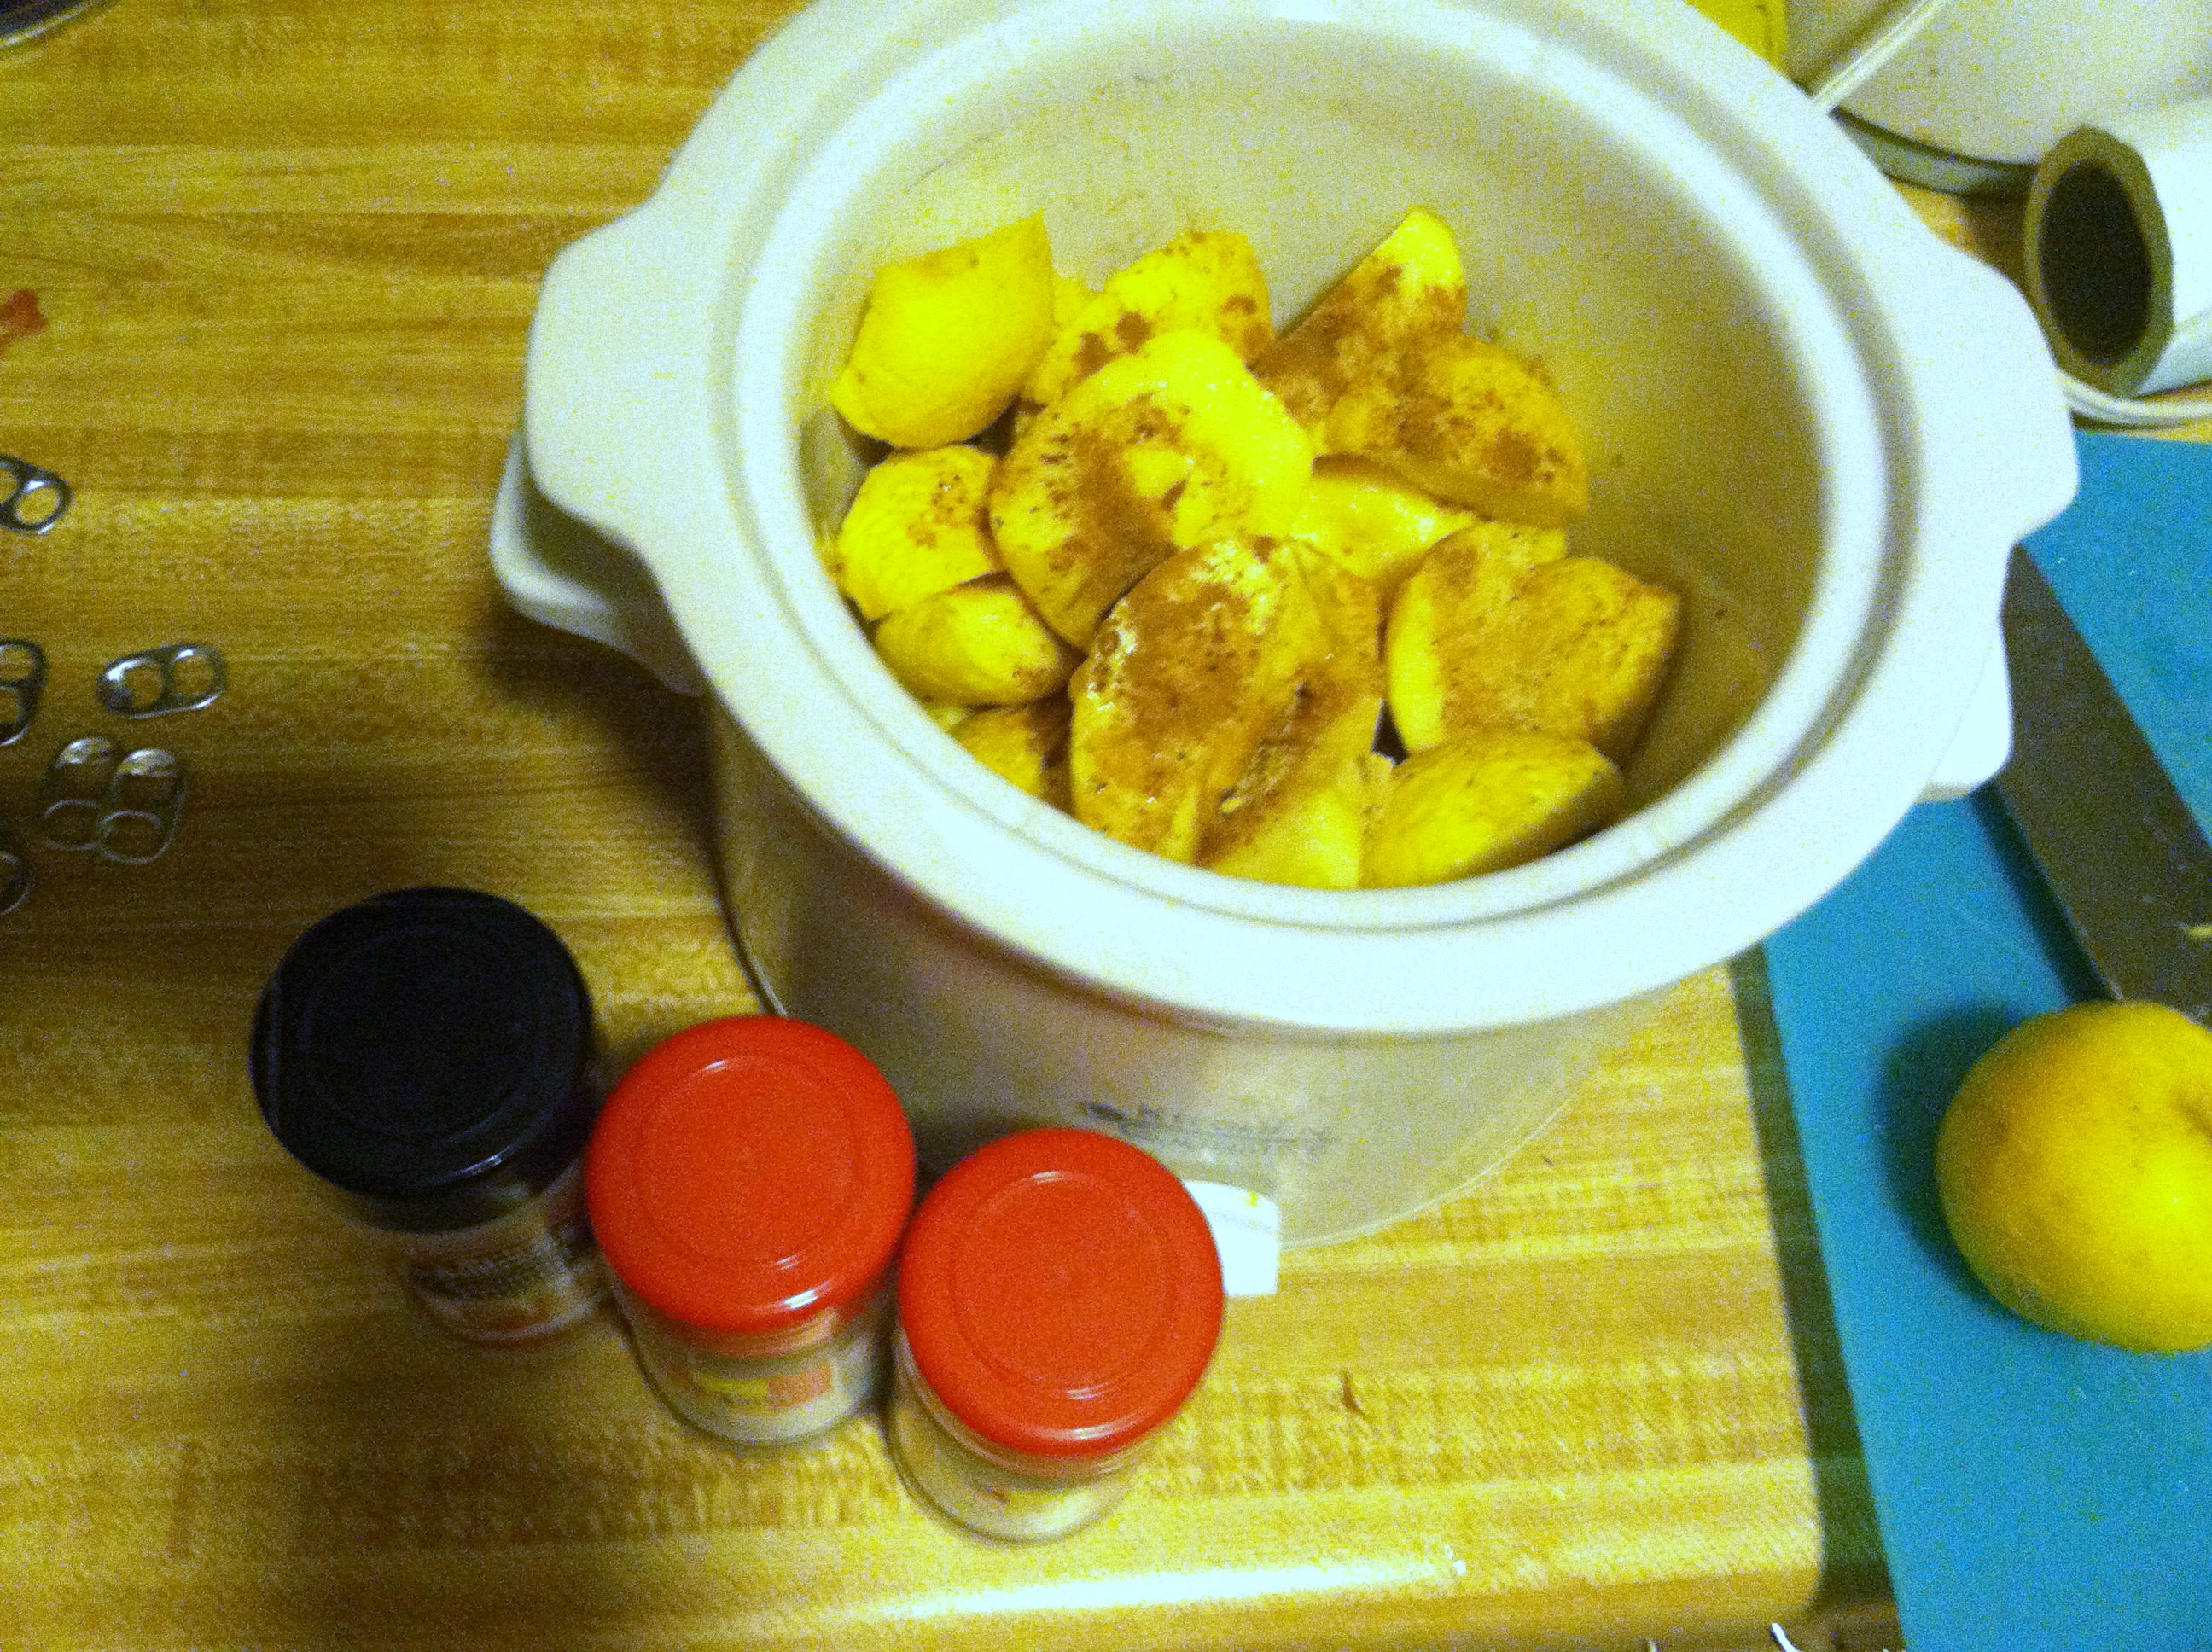
IMG_6592

Step 1: Chop your apples, removing the seeds, stem, and core. Peel them or don’t, your call.

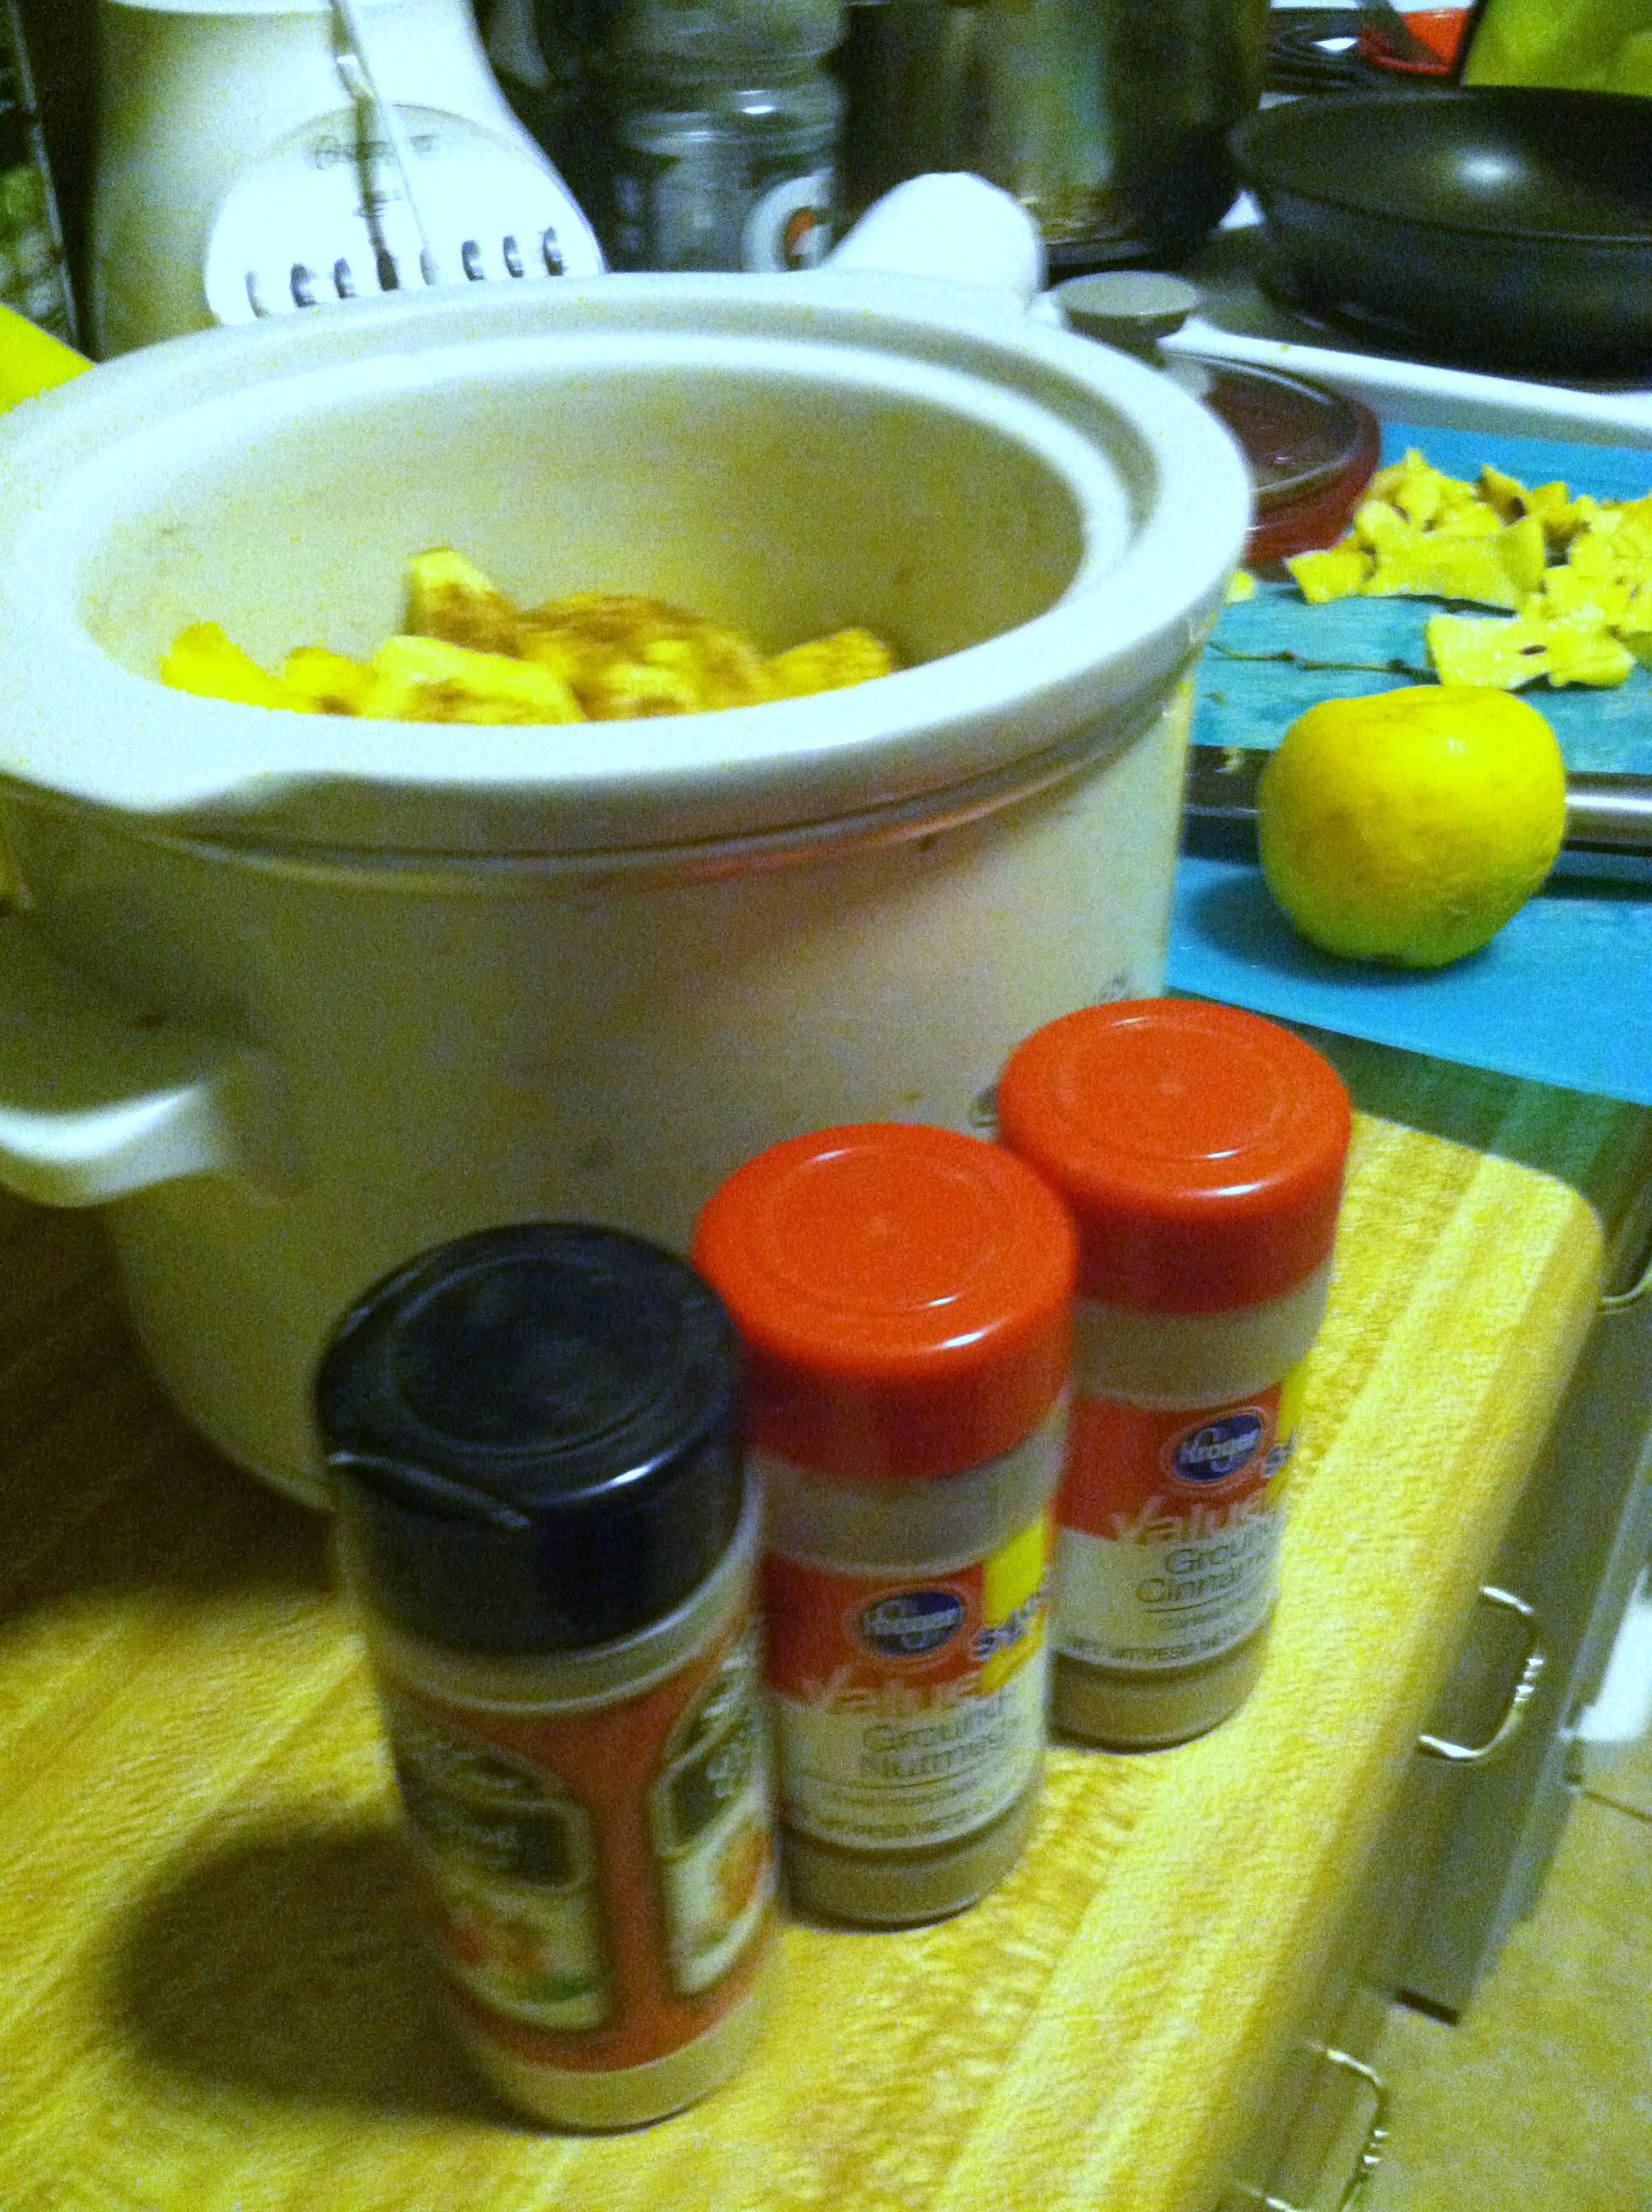
IMG_6593

Step 2: Add apples to the crock pot with the spices, cover and cook on low for 6-8 hours. That’s it!

Mash the apples up a little once they are done cooking, or puree in a blender for super smooth sauce. You can put into jars and keep in the refrigerator, or process in a pressure canner for longer term storage.

If you really have a lot of apples, or just want a larger batch, use a larger crock pot and triple the recipe or more.


Tofu Sofritas Lettuce Wraps


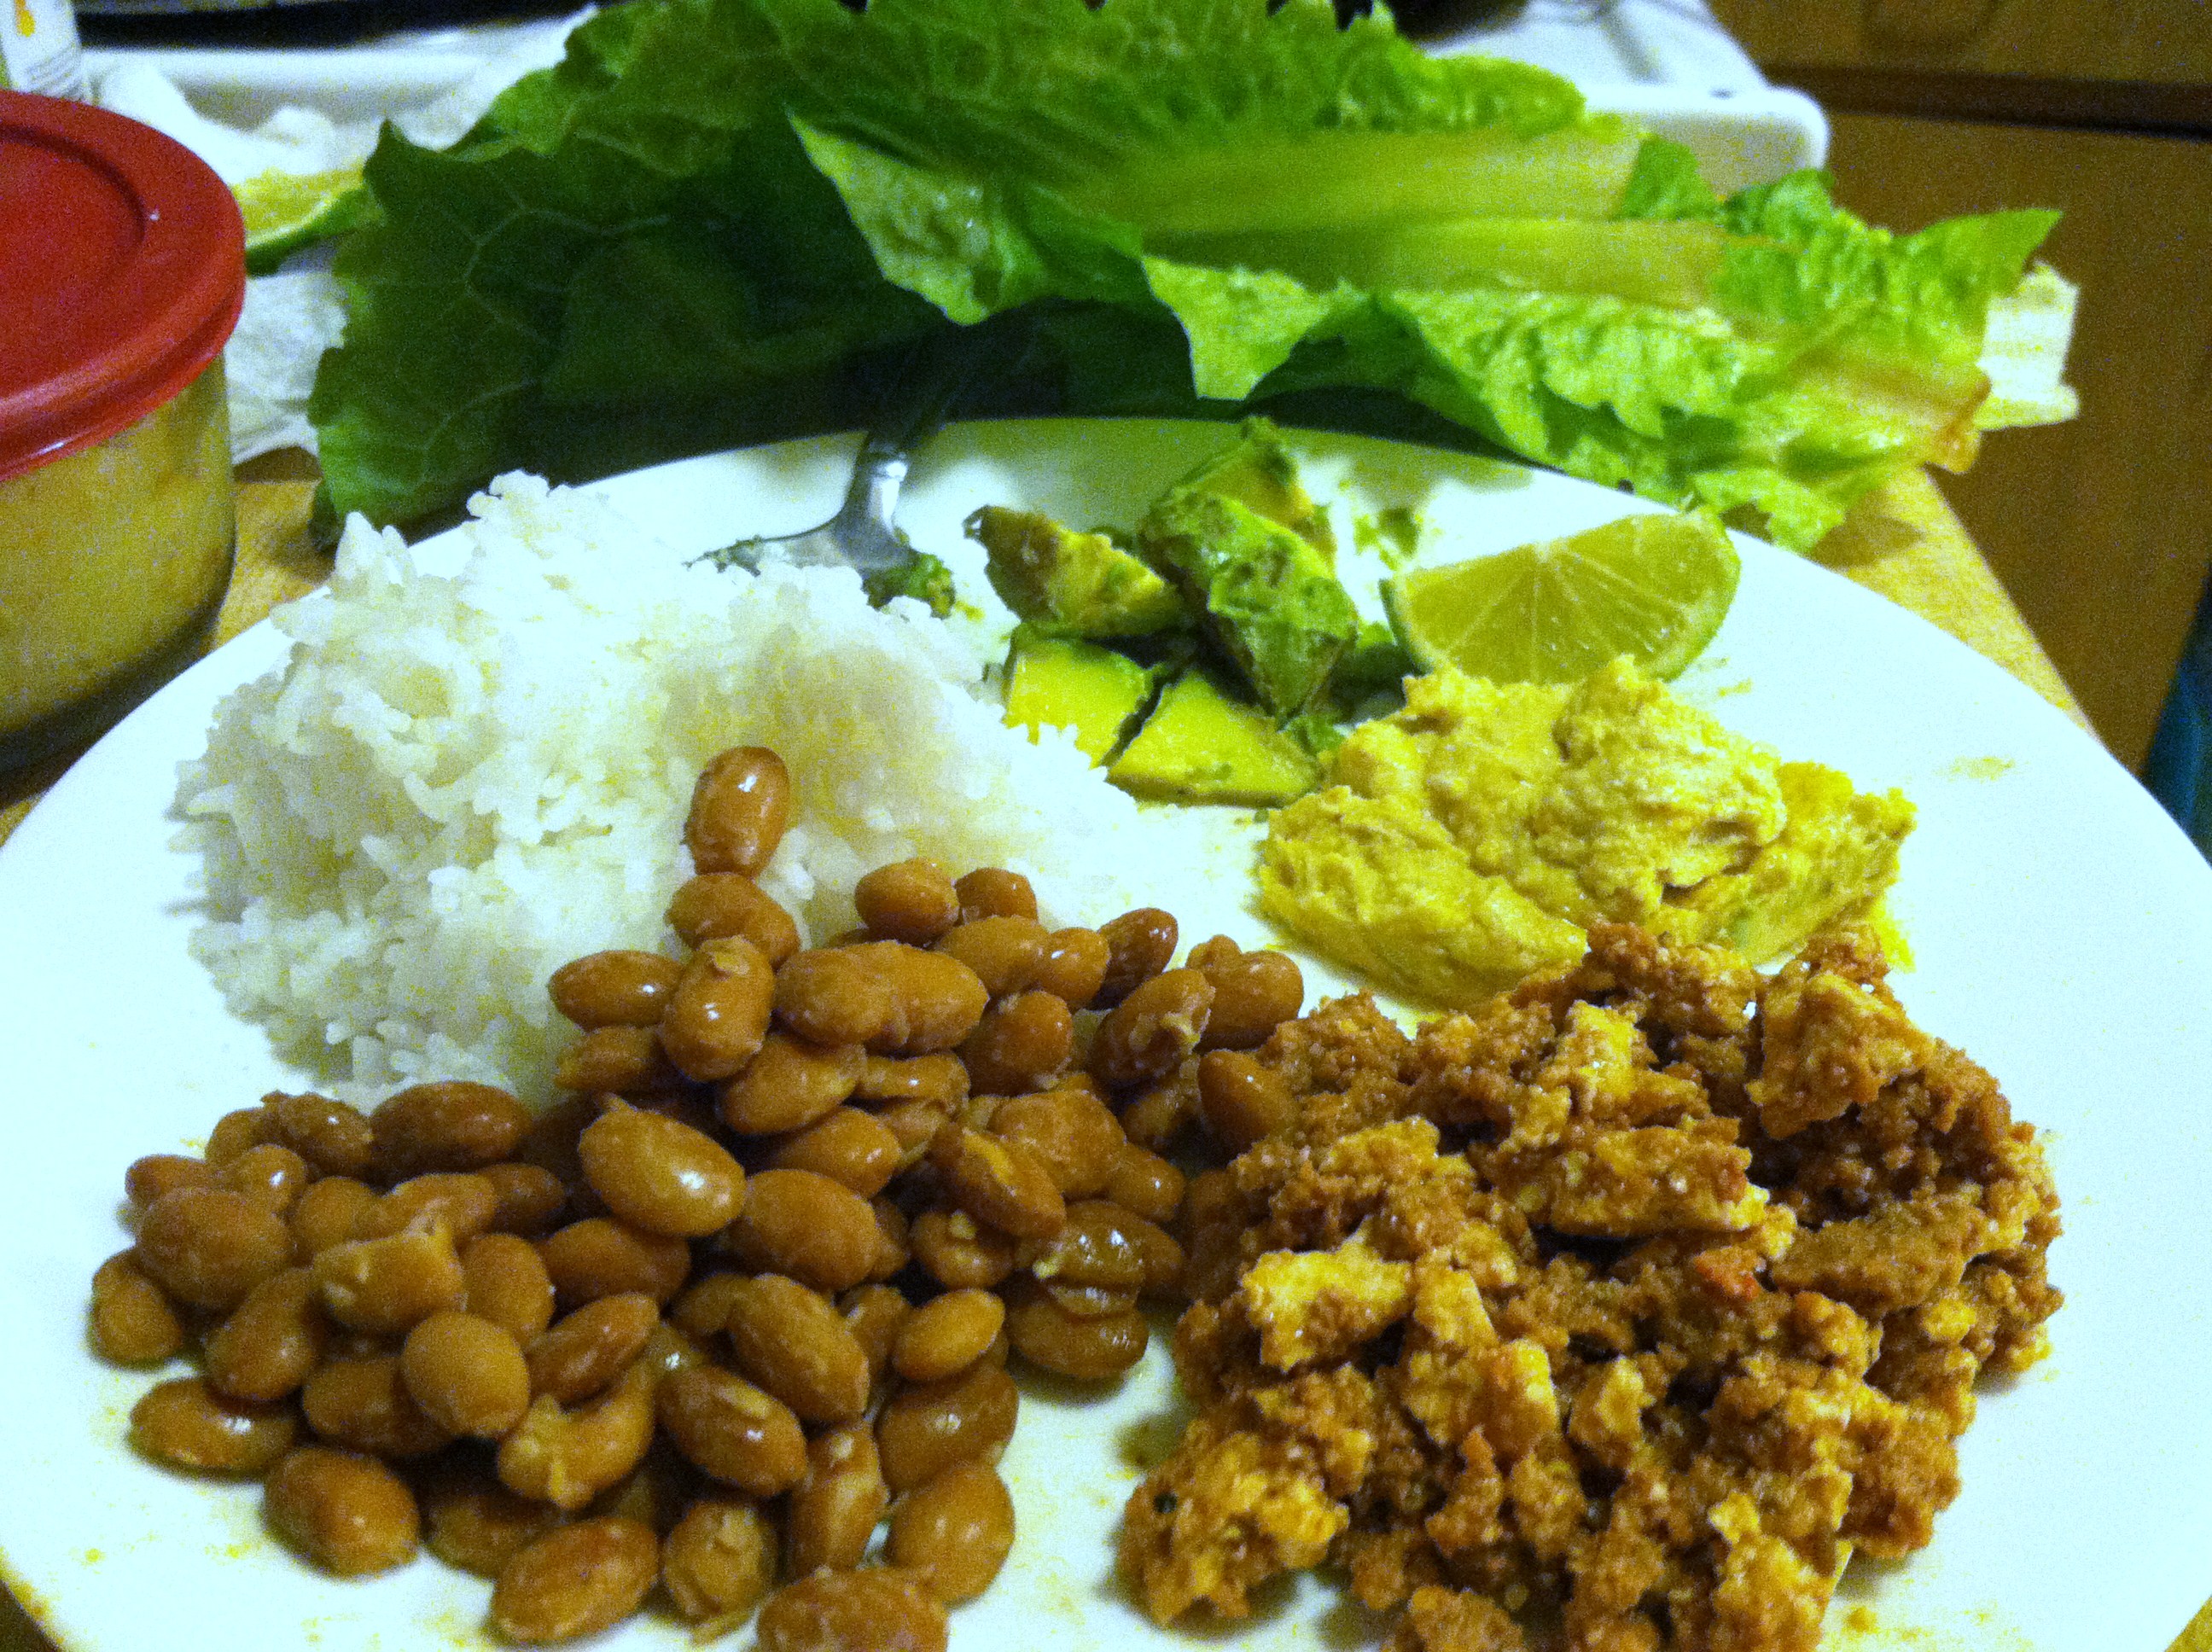
For those of you who don’t know, or don’t eat at Chipotle, the fast-casual Mexican chain, they have a new vegetarian/vegan option: the sofritas.

This option is shredded pressed tofu, marinaded in sofrito sauce and braised on the grill like their meats. There is debate as to whether it is worth the added cost (if you put guac on it too) over a plain no-meat burrito or bowl, but that choice is yours to make.

Sofrito, or refogado, is traditionally a sauce made from aromatics like garlic, onion, peppers, tomato, and paprika cooked in olive oil. Used in Brazilian, Spanish, and Portuguese cooking, the preparation varies as each cook makes theirs unique based on seasonal cuisine and local taste preferences.

Rather than shell out $8.50 + tax (or whatever a burrito runs in your neck of the woods) how about you make your very own at home for a larger batch at a much lower price? It’s super easy, even if you’ve never cooked tofu before. You don’t even have to press it first, as you usually do with tofu, because you will shred and fry it.

The other ingredients are the things I like in my bowl/taco. Feel free to improvise with whatever toppings you like and have. Try: coleslaw, salsa, tomatillos, hot sauce, jalapenos, beans of all kinds, onions, cilantro, sour cream, avocado, shredded cheese…

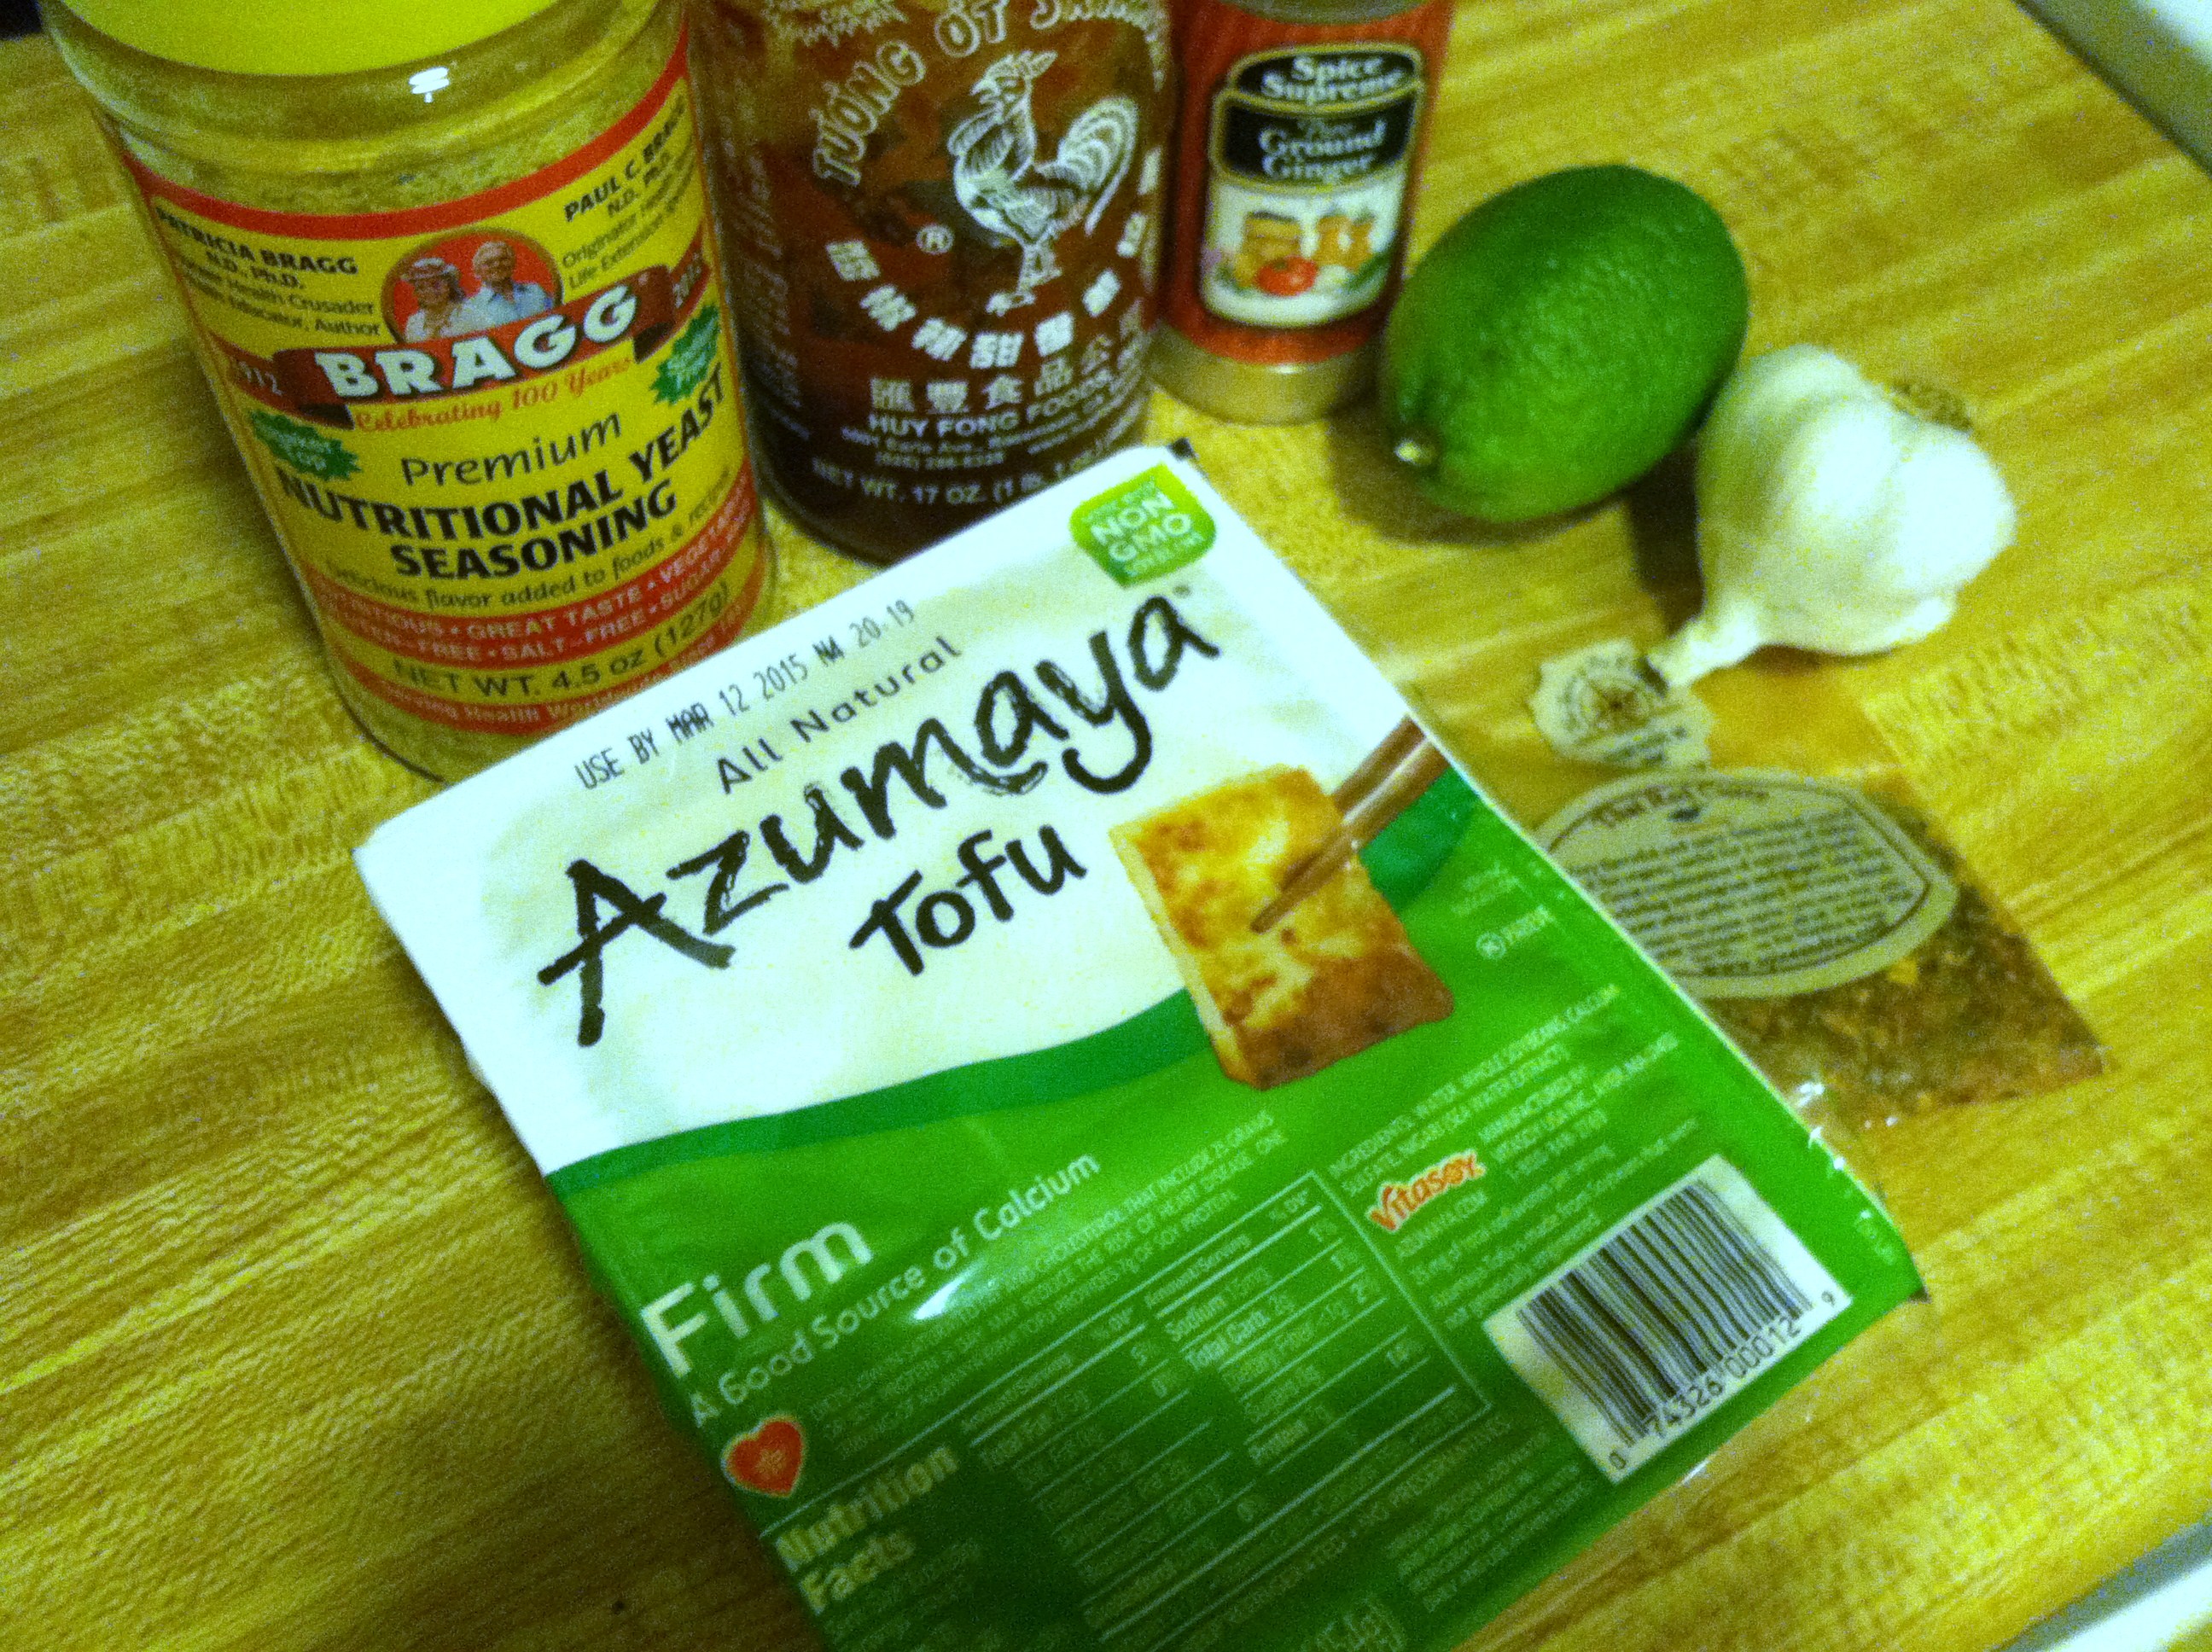
Ingredients:

Wrap Toppings:

  • 1 cup cooked rice
  • 1 cup cooked pinto beans
  • 2 tbsp hummus
  • Fresh diced tomato
  • 1 fresh avocado
  • 1 head romaine, outer leaves removed
  • Optional: use tortillas (or make your own)

IMG_7841

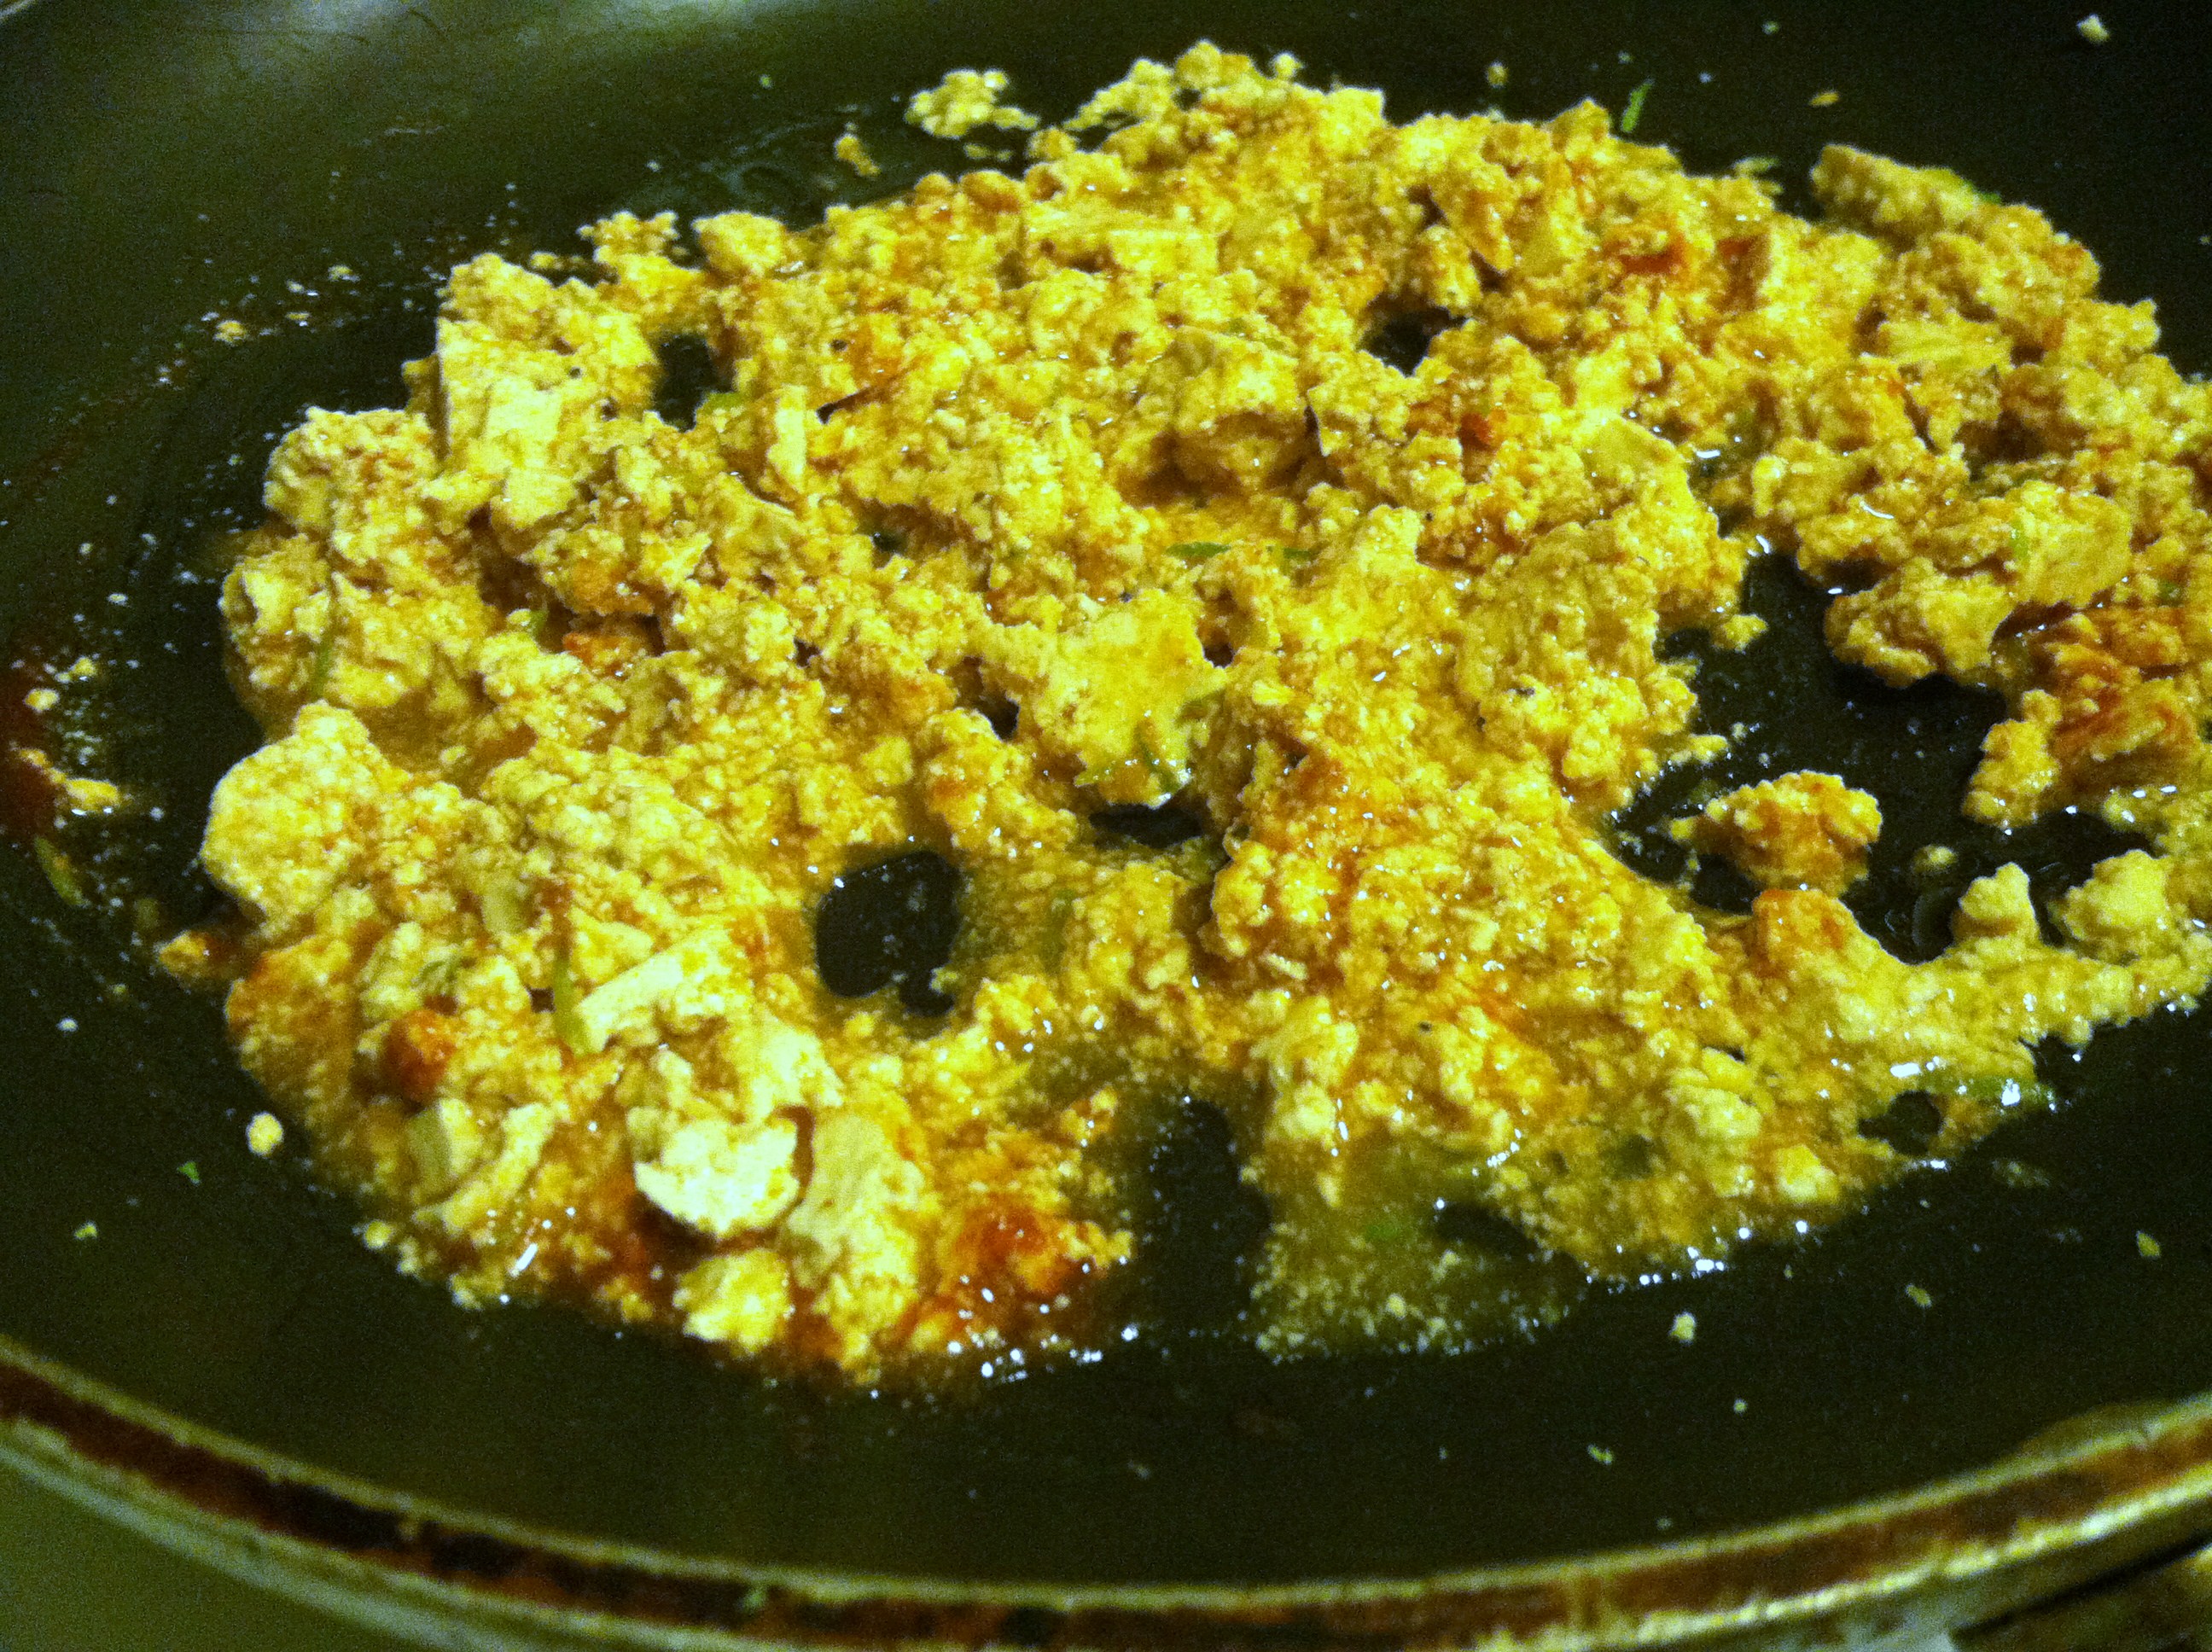
Step 1: Drain the tofu, and heat the oil in a pan. Using a fork or your hands, smash the tofu into crumbles.

IMG_7842

Step 2: Dice or crush the garlic, add to the oil until fragrant, then add the tofu. Pour on your hot sauce and spices.

IMG_7844

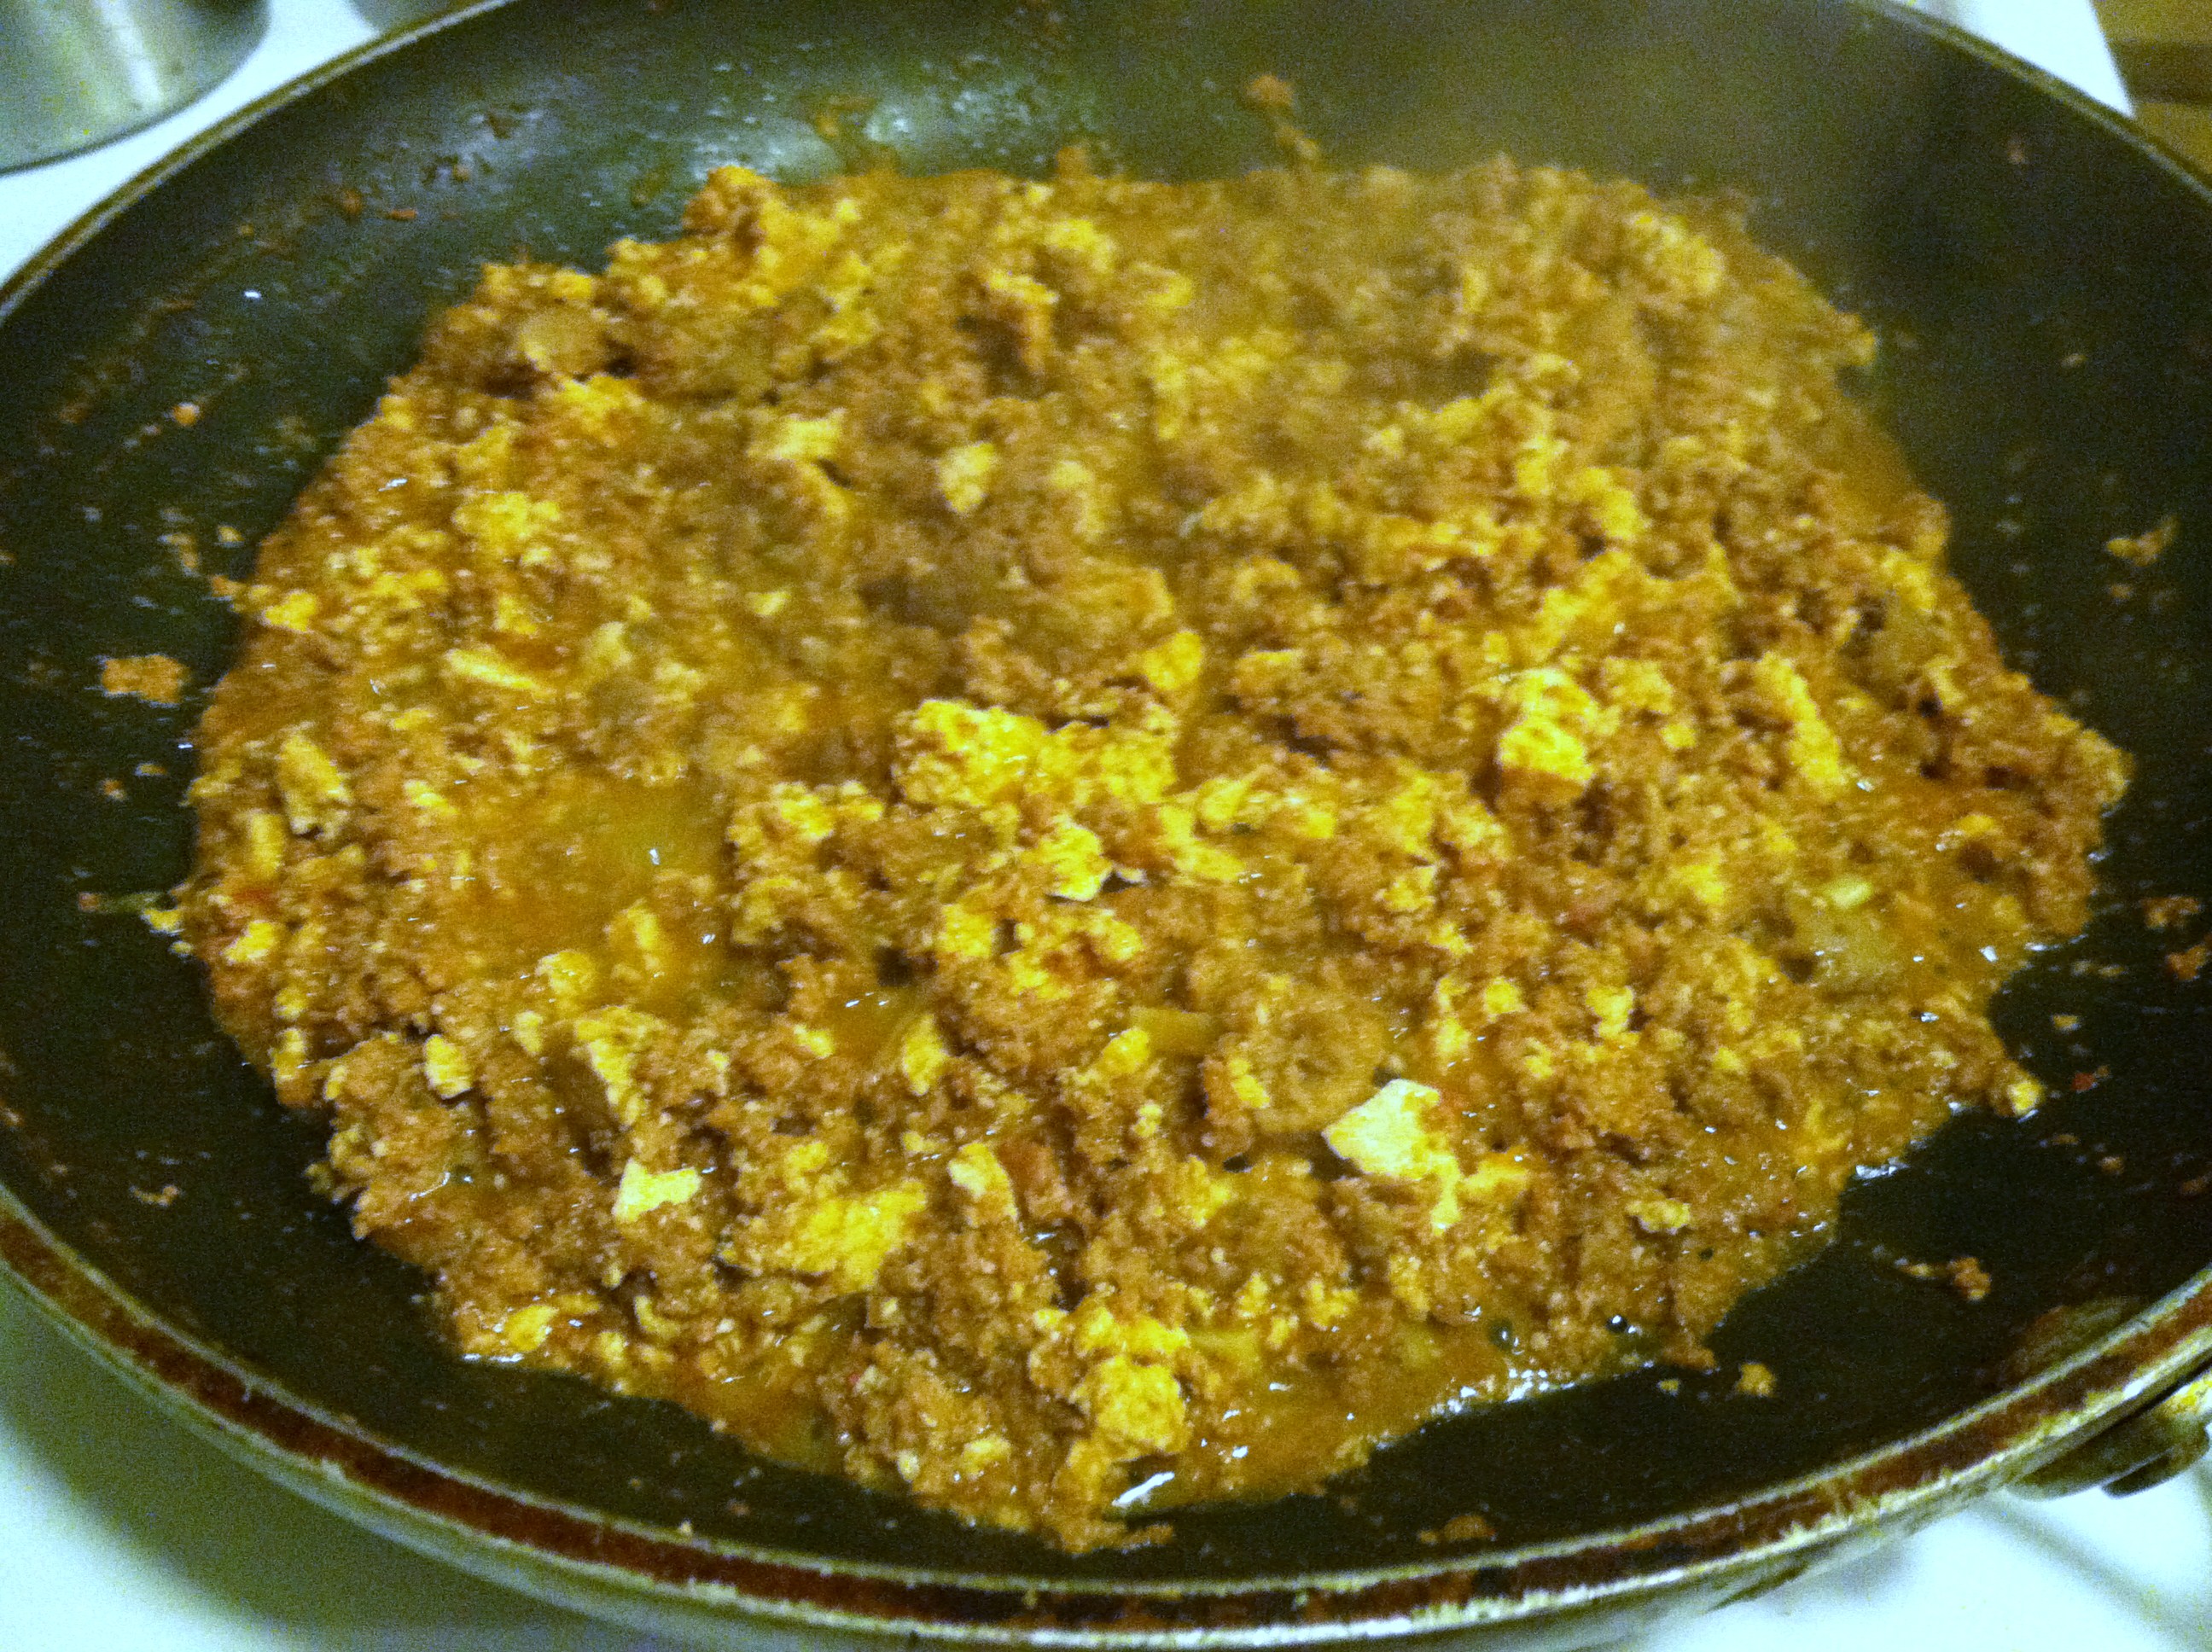
Because the meat-eater was joining me, I mixed tofu and ground turkey together. Keep it veg/vegan by not adding turkey, or slowly introduce tofu to someone this way.

IMG_7846

Step 3: Keep mixing until tofu develops a nice deep red/brown color, about 10-12 minutes.

IMG_7847

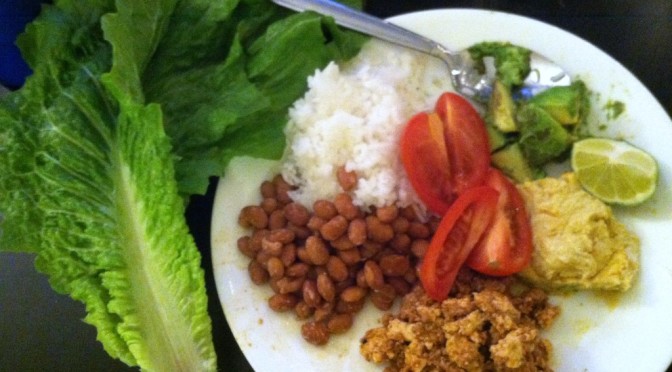
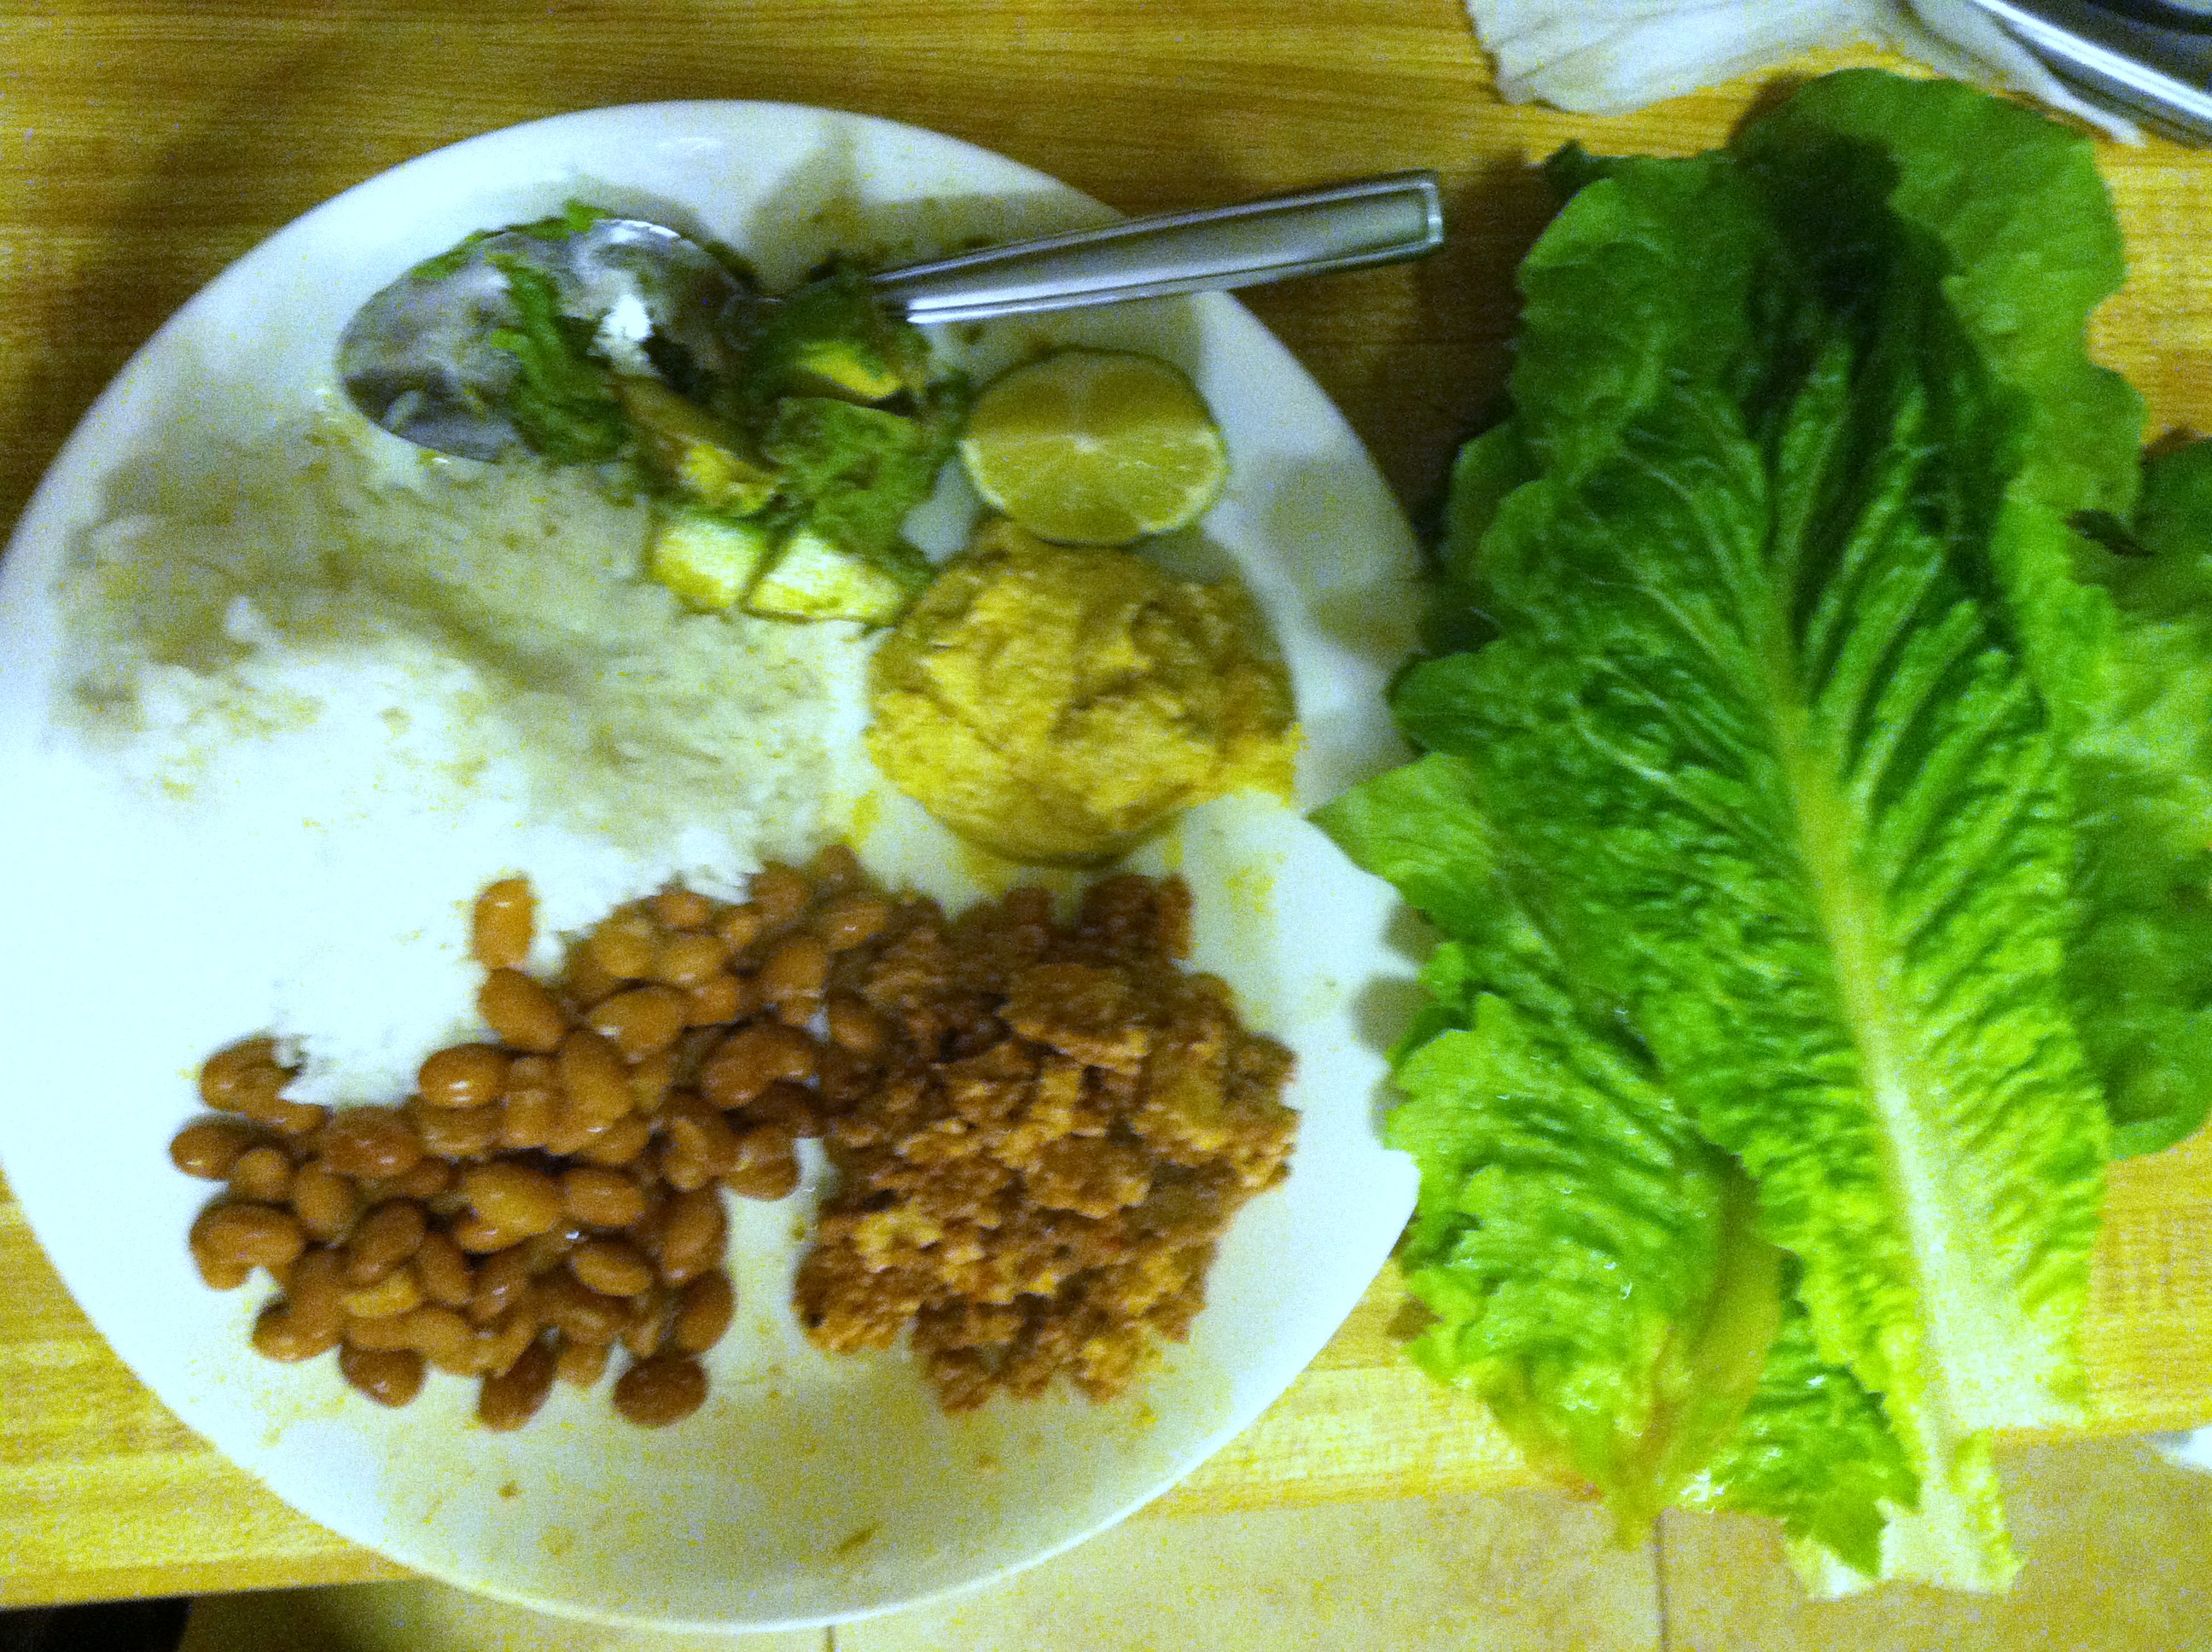
Step 4: Sprinkle the yeast into the tofu, and squeeze the lime juice over top. Take a large romaine leaf, and top with a heaping tbsp or two of sofritas.

IMG_7849

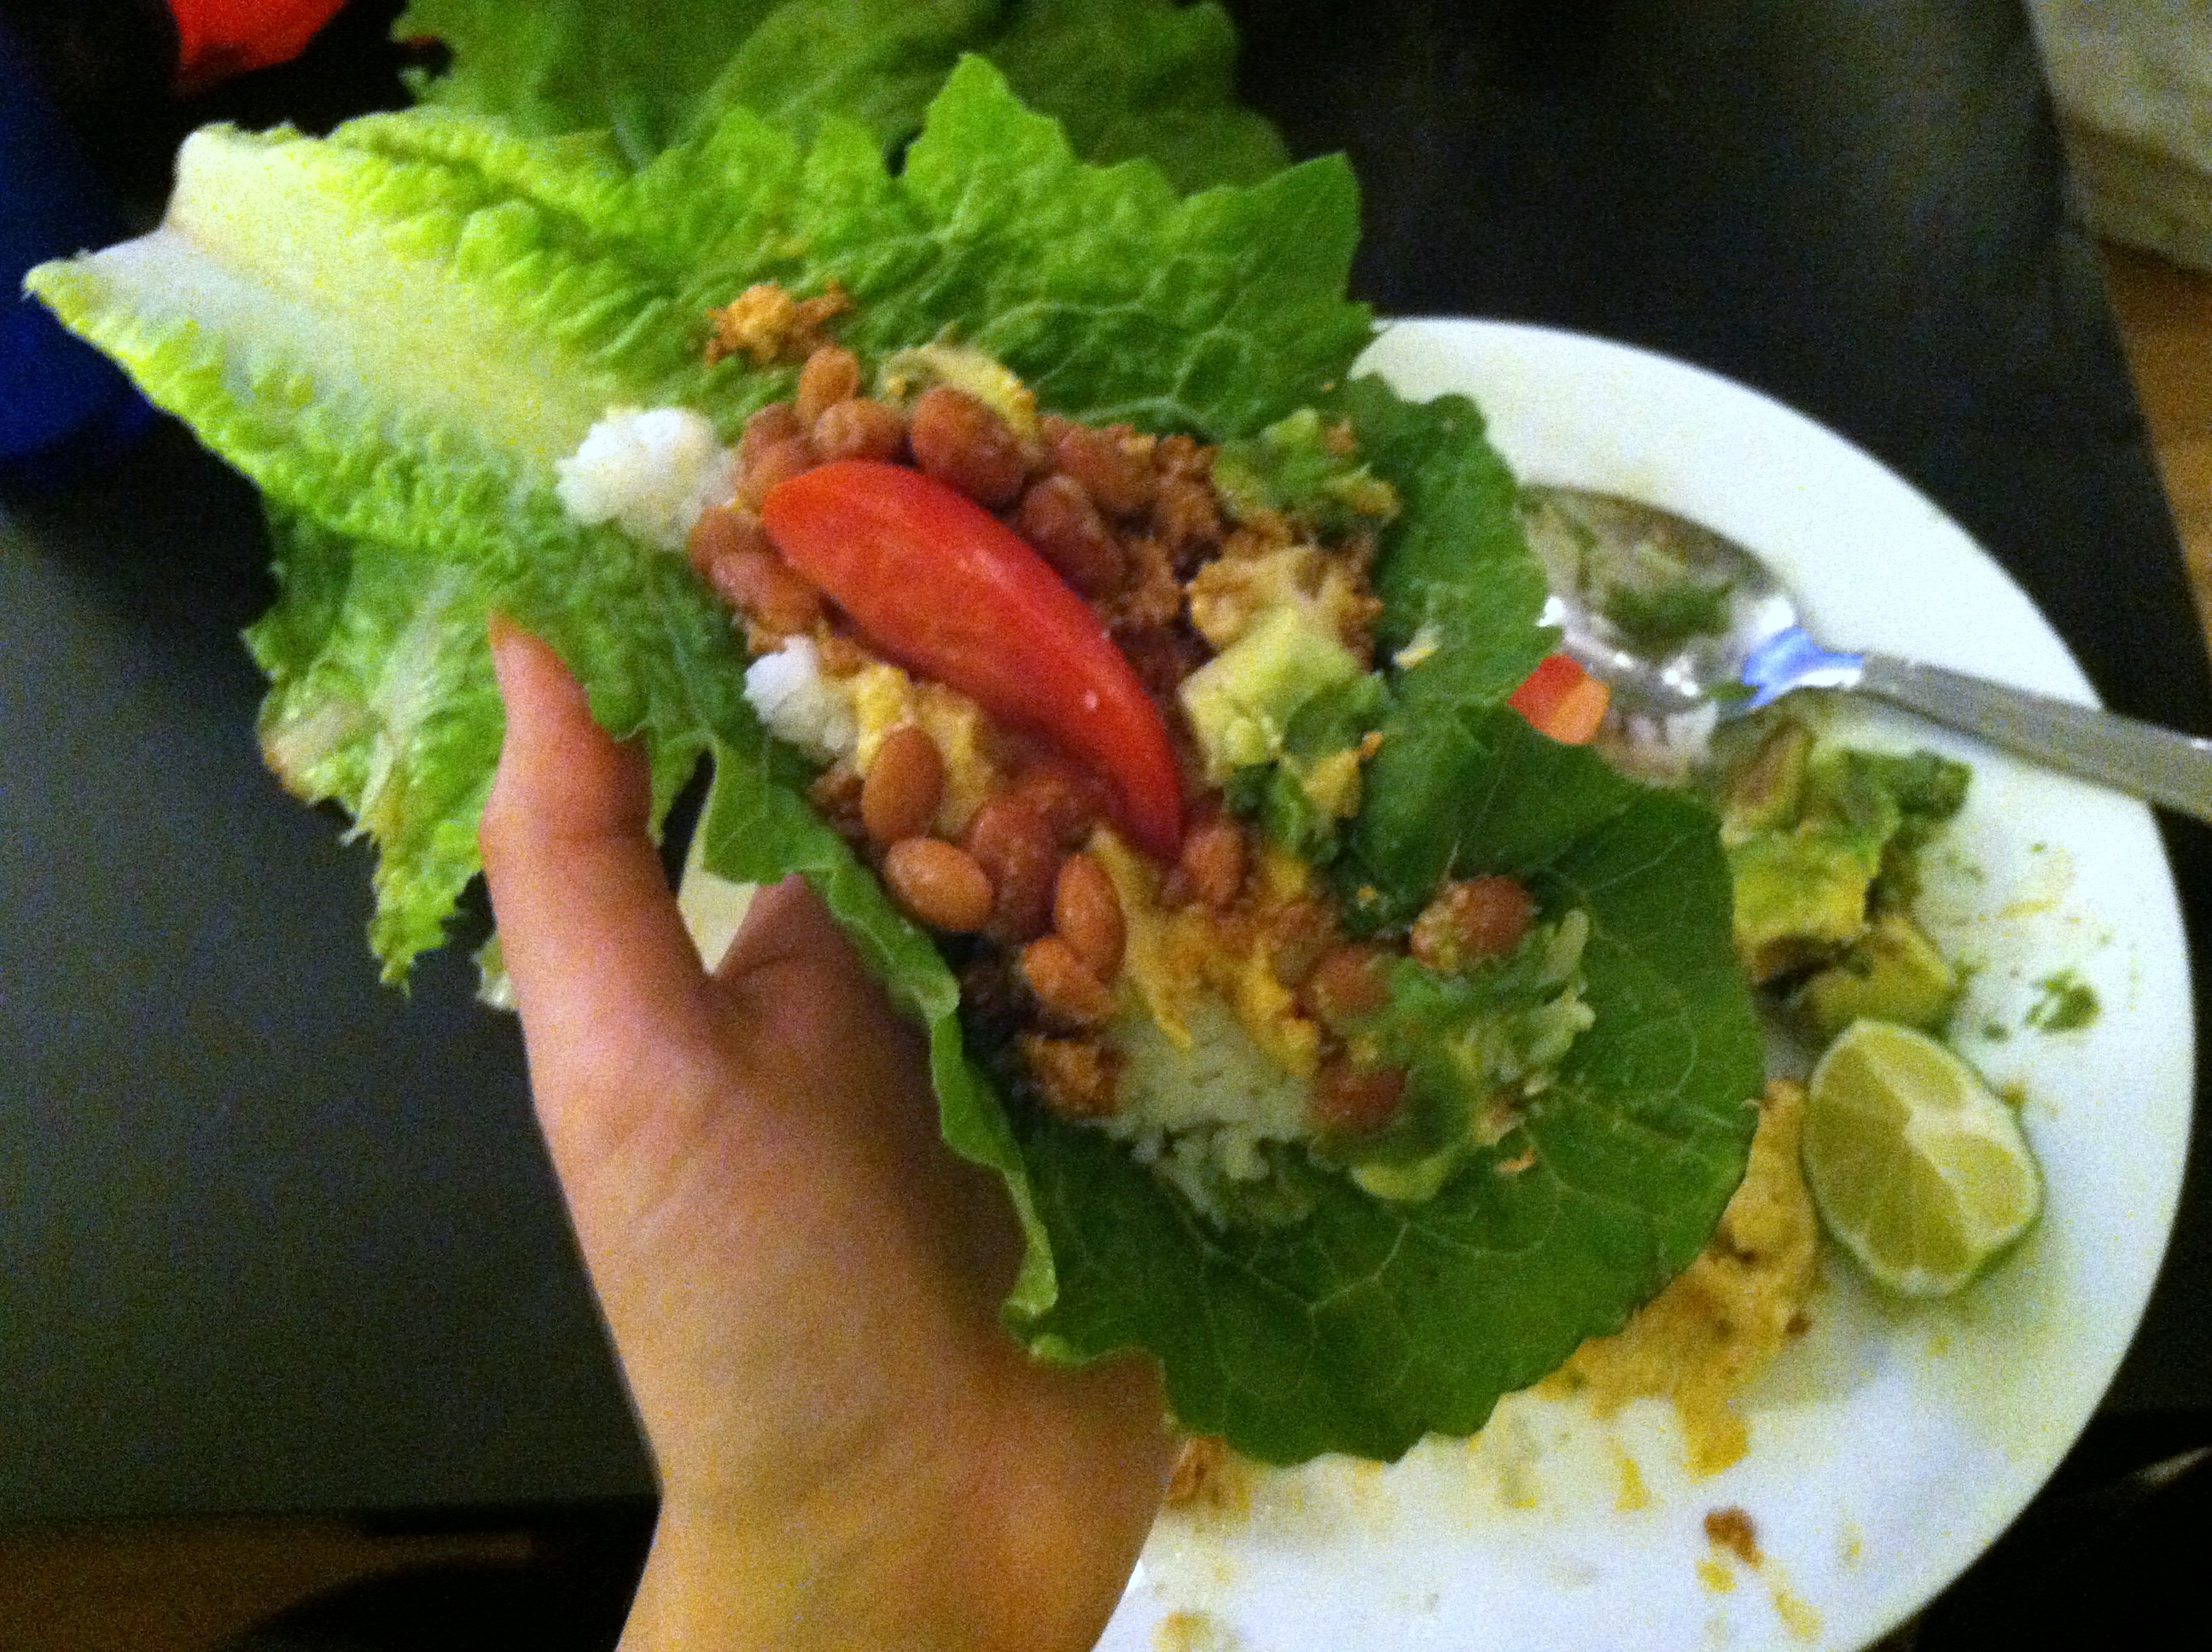
Add the other toppings you like, and wrap it all up.

IMG_7852

This makes a hearty and filling wrap, you can eat two or three and still have a very low total calorie count. If opposed to the lettuce, feel free to make it a bowl or use tortillas.

[amd-zlrecipe-recipe:19]

This post contains Amazon Affiliate links. By purchasing items through these links, the price you pay is not affected but a small percentage of proceeds go towards maintaining this blog. Thank you.

Kale & Wasabi Pea Caesar Salad


Are you getting in the spring of things? Have you begun a whirlwind of cleaning out rooms, old clutter, elbow greasing the bathroom, and sorting through wardrobes? Do you day dream about tender green baby lettuce, the first sweet juicy strawberry, or delicate spring peas that pop in your mouth? I know I am!

Spring is a time of freshness, rebirth, and growth. The world re-awakens after a long, cold, terrible winter.

Though it is hard to believe now, with the still-cold, hard earth brown and bare, soon rain will drench everything, sun will warm it again, and greenery will burst forth! Birds have begun singing, small furry animals are emerging from hibernation, and gardeners all over are just itching to get outside and play in some dirt!

Now might be a good time to assess your food preservation options. If you don’t have canning jars or could use some more, I recommend at least a case of pint jars (wide-mouth can fit more in easily, you can can or even freeze them), as well as a case of quart jars, and if you make lots of different flavored jams, jellies, or salsas, maybe a few tiny 4 oz jars too. These also make great gifts!

Don’t forget the lids, regular mouth lids and  wide-mouth lids. These cannot be reused (they lose their seal) but the rings you can reuse.

Even if you don’t have a garden yourself, canning is an excellent skill to begin learning. You can get steals and deals at the end of the day in farmer’s markets, pick-your-own bushels of fruits at an orchard, or on-sale in-season produce at the grocery store.

Canning is a great, non-electricity-using way to store these seasonal delicacies for the future dreary winter, that we don’t even want to think about yet. Read my earlier foray into canning beans for more information, directions, and especially important safety information to consider if this is your first time (or hundredth).

In honor of this season of green, here is a lovely salad recipe using fresh greens, wasabi peas, sunflower seeds, and other fresh veggies. Feel free to make it your own based on your tastes and what is currently in season near you.

Ingredients:

  • 2 cups assorted greens (romaine, kale, spinach used here. also try arugula, watercress, chard, or endive)
  • 1/2 cucumber, washed and sliced
  • 1/3 cup wasabi green peas (use fresh peas if you have them or don’t like wasabi spice/flavor)
  • 1/2 cup homemade croutons
  • 2-3 tbsp Caesar dressing (or Ranch)
  • 2 tbsp sunflower seeds
  • Optional: grated fresh Parmesan or Romano cheese

Step 1: To make croutons, cut 2 slices of old bread into cubes. Toss in 2-3 tbsp olive oil, and sprinkle on seasonings (I recommend Italian). Toast on a flat cookie sheet in an oven at 350 for 10-12 minutes, until golden. Or use store-bought, or omit entirely. Up to you.

IMG_7598

Step 2: Shred or slice the romaine, spinach, and kale, and pile on a plate. Top with cucumber slices, sprinkle on the seeds, peas, and croutons, and add dressing. Toss lightly to coat.

IMG_7600

I had this for lunch with an apple, a piece of homemade corn bread (with canned corn in it) and a big glass of water. Just a perfect amount of crunch and spring flavors to perk you right up. Now if only there was no more frost danger so I can set out my seedlings…

[amd-zlrecipe-recipe:18]


This post contains links from the Amazon Affiliates program. If you purchase these items through these links, the price you pay is not affected yet a portion of the proceeds go towards maintaining this blog (and my gardening addiction!). Thank you.
Mediterranean Chicken

“
Have you tried “diets” claiming to help you lose that last ten pounds just in time for summer, or a social event, or because you’re worth it? Have you taken diet pills, done crazy exercises, or eaten just one type of food (I’m looking at you, cabbage diet and grapefruit juice cleanse) for a set amount of time in the hopes of a miracle?
 .
Do you know what diet means? The primary definition is: “the kinds of food that a person, animal, or community habitually eats”. I’ve always been of the view that a “Diet” is just that, the things that you eat. A diet is not meant to be a 3-day or 2-week affair just to get you into your wedding dress or bikini then quickly discarded and replaced with drive-through lines. Diets of that sort never last and never give lasting results.
 .
Any diet which is high in whole foods and grains is bound to improve your health. Any diet which is heavy in processed foods with added sugars, sweeteners, salt, fat, and preservatives is bound to harm your health. The most successful dieters long-term also do not focus solely on food alone, but rather on the entire lifestyle.
The Mediterranean way of life, specifically the way of life in Greece, Spain, and other countries bordering the Mediterranean Sea, is just that. It focuses on staying active, eating whole foods that your body loves, lowering stress, increasing relationship bonds, and generally living as wholly and healthily as possible.
 .
If you haven’t heard yet, there is some evidence claiming the Mediterranean diet is the healthiest “fad” diet to ever come along.
 .
According to the Mayo Clinic website, a leading source for health information, “Research has shown that the traditional Mediterranean diet reduces the risk of heart disease…an analysis of more than 1.5 million healthy adults demonstrated that following a Mediterranean diet was associated with a reduced risk of death from heart disease and cancer, as well as a reduced incidence of Parkinson’s and Alzheimer’s diseases.”
 

The Mediterranean diet emphasizes:

  • Eating primarily plant-based foods, such as fruits and vegetables, whole grains, legumes and nuts
  • Replacing butter with healthy fats, such as olive oil
  • Using herbs and spices instead of salt to flavor foods
  • Limiting red meat to no more than a few times a month
  • Eating fish and poultry at least twice a week
  • Drinking red wine in moderation (optional)

The diet also recognizes the importance of being physically active, and enjoying meals with family and friends. Go for a walk after dinner, play with your kids or dog in the yard. Walk to the store, the grocery, the restaurant. Take a long bike ride on the weekend. Go up and down the steps seven times to finish the laundry. Tell stories, share food, love, and laughter.

IMG_0835If you follow this diet and lifestyle, you are sure to experience a plethora of health benefits. Your internal organs and skin will thank you for all the wonderful vitamins and minerals you are eating. The antioxidants in the vegetables, healthy fats, and red wine will help keep your body and brain young. And unwanted fat will have a harder time finding a resting place on your hips or gut if you are always in motion.

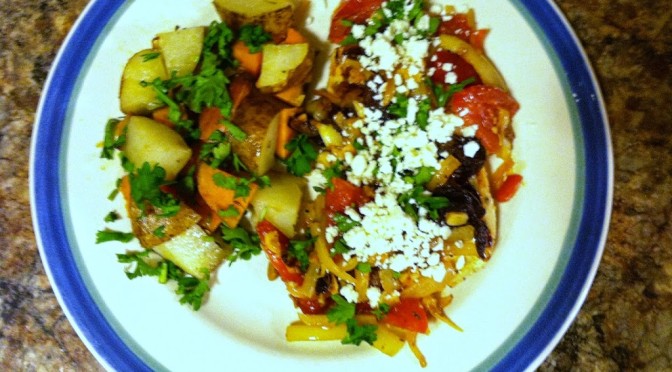
This is a simple recipe you can try to work extra Mediterranean-inspired flavors into your weekly meals. Start-to-finish only takes about 30 minutes, and dinner for four can be on the table. Serve with a healthy whole grain side like quinoa, couscous, or rice, or a potato medley and fresh green salad.

Ingredients:
  • 4 boneless, skinless chicken breasts or tenders
  • 1 whole yellow onion, slivered
  • 1 large beefsteak tomato (or 1 can diced, drained)
  • 1/2 cup diced red pepper
  • 2 tbsp olive oil
  • 3-5 garlic cloves
  • 1 cup chopped olives (try kalamata and/or pimiento)
  • Optional: 1/4 cup feta cheese, seasonings to taste
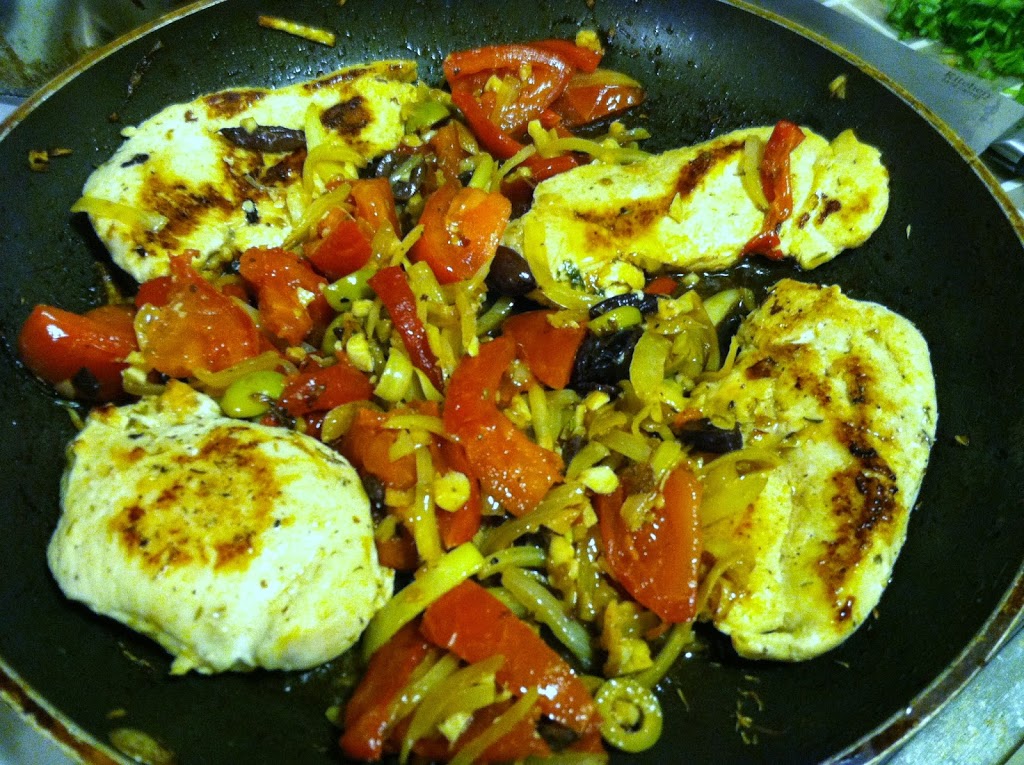
Step 1: In a frying pan on medium heat,  add the sliced onion and garlic cloves. Cook, stirring occasionally, about 7-10 minutes. Onions should become translucent and begin to caramelize and garlic becomes fragrant.
Step 2: Add the olives, sliced, and the tomato to the pan and continue to cook vegetables another 5-10 minutes, until tomatoes release their juice.
Step 3: Remove the vegetables to a separate plate and keep warm. Season the chicken, I used sea salt and white peppercorns. Cook the chicken breasts for 10-15 minutes on both sides, ensuring there is no more pink in the center.
Step 4: Add the veggies back into the skillet, and heat everything throughout.
Serve hot as is, or over your choice of grain or with a side dish. If you like, sprinkle with a tbsp or two of feta cheese or avocado. This dish could also be made with tempeh or pressed tofu instead of the chicken for a vegetarian/vegan option.
.
[amd-zlrecipe-recipe:17]

Fresh Caprese Salad


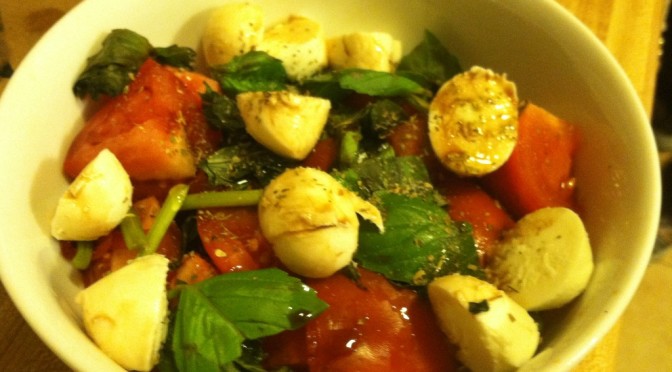
Ahhh the Caprese Salad. Trending for years in America, but traditionally know as “insalata caprese” for centuries in Italy. Typically served as an “antipasti” or appetizer, rather than a salad, the caprese salad all Italian home cooks know and love consists of homegrown or local tomatoes at the peak of freshness, young garden-grown basil, thick chunks of buffalo mozzarella, and the finest olive oil you can afford.

Be warned, the recipe I am about to share violates some of the Caprese purist rules, including using baby mozzarella and balsamic vinegar. My apologies. For a true, simple, Italian recipe, try In Italy.

But as they have pointed out, Americans rarely will accept a very simple dish as-is. Our culture demands experimentation, ostentation, and exaggeration. We want to feel special, trendy, unique. We want validation for spending ten times on a meal what the ingredients to make it at home would have cost.

Enough of my soap box. Here is my at-home version of insalata caprese, enough for one light lunch portion or an appetizer for two.

Best in late summer, when tomatoes are at their peak of season and basil is cheap (or flourishing on your window sill)

Ingredients:

  • 4 oz fresh mozzarella
  • 4 oz cubes fresh tomato
  • 1 oz fresh basil leaves
  • 1/2 oz olive oil
  • 1 oz balsamic vinegar
  • Garlic salt & Italian seasoning

IMG_5743

Better yet, grow your own basil! It’s an easy plant to tend, in a garden or a container, and is usually quite prolific. Then you can enjoy the fresh scent and taste of basil in sauces, pastas, and pesto year-round.

IMG_5744

Step 1: Put a large handful of basil leaves into a bowl. Slice the mozzarella on top. Cut the tomatoes into chunks and add those. If you’re going for a nice presentation, use a larger ball of mozzarella and larger tomatoes, and slice into thick rounds. Layer these on a dish, alternating red-white-green. Like the Italian flag.

IMG_5746

Step 2: For the purists, at this point you should add some salt and pepper to taste, and just a drizzle of pure, high-grade olive oil. I also sprinkled on Italian seasoning (a little redundant to add dried basil to my fresh basil but hey, I love herbs!), garlic salt (because there isn’t anything that doesn’t taste better with garlic salt on it), and some balsamic vinegar.

IMG_5747

Dig in! That’s all there is to it. This flavor combination is absolutely heavenly. The classic is of course classic for a reason. However, if this isn’t enough to satisfy your curious taste buds, try one of these variations:

  • Caprese Pizza – use the same ingredients, just slice onto a pizza crust, drizzle with olive oil, and bake
  • Caprese Pasta – dice the mozzarella and tomatoes into cooked pasta, warm or cold, sprinkle slivered basil on top
  • Caprese Bruchetta – put the cheese, tomato, and basil on toasted bread or crostini, sprinkle with oil & vinegar & serve immediately
  • Zucchini slices in addition to tomato
  • Heirloom tomato slices in rainbow colors
  • Pesto, parsley, or mint leaves instead of basil


Ham & Barley Soup


I don’t know about wherever you were in the world for April 20th, but happy first day of Spring! FINALLY! And… we got snow. About four inches of fluffy, wet snow. Eff you too Connecticut.

So rumor has it some big holiday thing is happening next week. As in, Easter is one week from today. WHO SAID IT COULD BE APRIL? Time needs to calm itself down, have a cup of tea, and stay awhile. Moving and starting new jobs doesn’t help, because you are insanely busy non-stop. Or so it feels like.

And once the weather remembers that it’s Spring now, it will just be crazier. Because I’ve got a window-full of happy sprouts just waiting for fresh tilled Earth! And so many new farmers markets to explore, restaurants to try, and seafood to enjoy!

Whether you celebrate the religious meanings behind Easter or just get excited about peeps and edible bunnies, it is just around the corner. And that means you are likely going to have the typical Easter ham. Even if not, you can take advantage of post-Easter sales and snap one up.

Ham & Barley Soup is a classic “dad recipe”. My dad is the expert, and has been making this for as far back as I can remember. As a kid I didn’t like it very much, but now that my tastes have matured it is one of my absolute favorite cold-weather dishes. Or anytime really. It’s so easy, and so flavorful! It is the perfect use for leftover ham and ham bones, will keep money in your wallet, and fill you up.

Ingredients:

  • Bones from one large ham shank
  • 12 oz pearled barley
  • 4-5 large carrots, cut into coins
  • 2-3 stalks celery, diced
  • 1 1/2 gallons water or stock
  • Optional: bunch fresh kale, torn, extra ham meat
  • Salt & pepper

IMG_6551

Step 1: For this simple dish, the magic is in the time. Simmering the ham bones in the water all day long brings out the depth of flavor. Put the water or stock in a large soup pot with any bones, and simmer for at least 1 hour, up to 12.

IMG_6553

Step 2: Add the carrots, celery, and barley. Simmer for another 30-40 minutes or longer, until everything is softened.

IMG_6555

Step 3: Season to your liking, add extra meat if you have it, or some spinach or kale.

IMG_6557

This soup is deceptively simple but addicting. It makes an awful lot, so be sure you will eat it over several days, are feeding a lot of people, or have some extra freezer space.

IMG_6586

This is the batch I added some kale to once it was cooked. I liked the extra greens, it gave some great color, extra nutrients, and tasted awesome all together. Give it a try, maybe next week!


[amd-zlrecipe-recipe:14]


This post contains links from the Amazon Affiliates program. By clicking on the links and making purchases from Amazon, a small portion of the profits goes to support this blog. Thank you!

Recipe Review: Overnight Oatmeal from Oh She Glows


We all know by now that eating breakfast is a good idea. It gets your metabolism going, and should help keep you from eating everything in sight by 11am. Now, in an ideal world we would all love cooking, be world-class chefs, have a kitchen and pantry stocked with nutritious foods, be able to dedicate an hour every morning to whipping up filling, healthy delicacies, and have a personal dish-washer and house cleaner afterwards.

This is not how the real world works.

Many of you are decidedly *not* morning people, and the thought of heating up a frying pan or dicing veggies before three cups of coffee is repulsive. Many of you have children, and the idea that you will have more than ten free seconds to yourself is laughable. And many just don’t enjoy cooking, don’t want to wake up 20 minutes early to make time to cook, or for whatever reason just don’t want to cook a hot breakfast.

That is totally fine. I have a solution that is far healthier and easier on your wallet than running through a drive through and wasting $8 on a carb-heavy bagel, fatty cream cheese, and overpriced coffee that will just leave you with a mid-morning slump.

At the risk of giving away the secret, I’ll tell you: oatmeal.

Ok, cat’s out of the bag. For those of you who just thought “ugh, I refuse to eat gruel for breakfast”, stay with me.

Oats are a powerhouse food, containing the highest amounts of beta-glucan, a beneficial type of fiber, in any known grain. Beta glucan helps slow digestion, and lowers levels of the ‘bad’ cholesterol. This fiber also helps you feel full longer, by eating fewer calories. They also contain a bundle of trace minerals our bodies need for all sorts of functions.

The FDA claims oats can help lower risk of heart disease, and many publications back up that claim. The only caution against oats is that, although they do not contain gluten, they are often grown in the same fields or near other crops such as wheat or barley. Thus those who truly are gluten-intolerant should be cautious.

Anywhoodles, in order to up your oat consumption without feeling like the little kid from Charles Dickens eating his gruel, there are so many things you can do to spruce up a bowl of oatmeal. And making it yourself at home can also save you tons of money and loads of added calories, sweeteners, preservatives, thickeners, etc. over pre-packaged microwave oatmeal options.

The time-saving factor comes in when you try the recommendation of “Oh She Glows” blogger: overnight oatmeal.

Anyone who has tried using real, raw oats rather than the “instant” or “minute” stuff knows, it takes a looooooong time to cook. So by soaking the oats overnight in the refrigerator, problem solved! The oats are soft and ready to go, you just need to give it a quick blast of heat, then add toppings as desired.

My first go, I followed the recipe exactly. Since then, I’ve experimented with oodles of different toppings. I’ll tell you my current fave at the end of the post!

Ingredients:

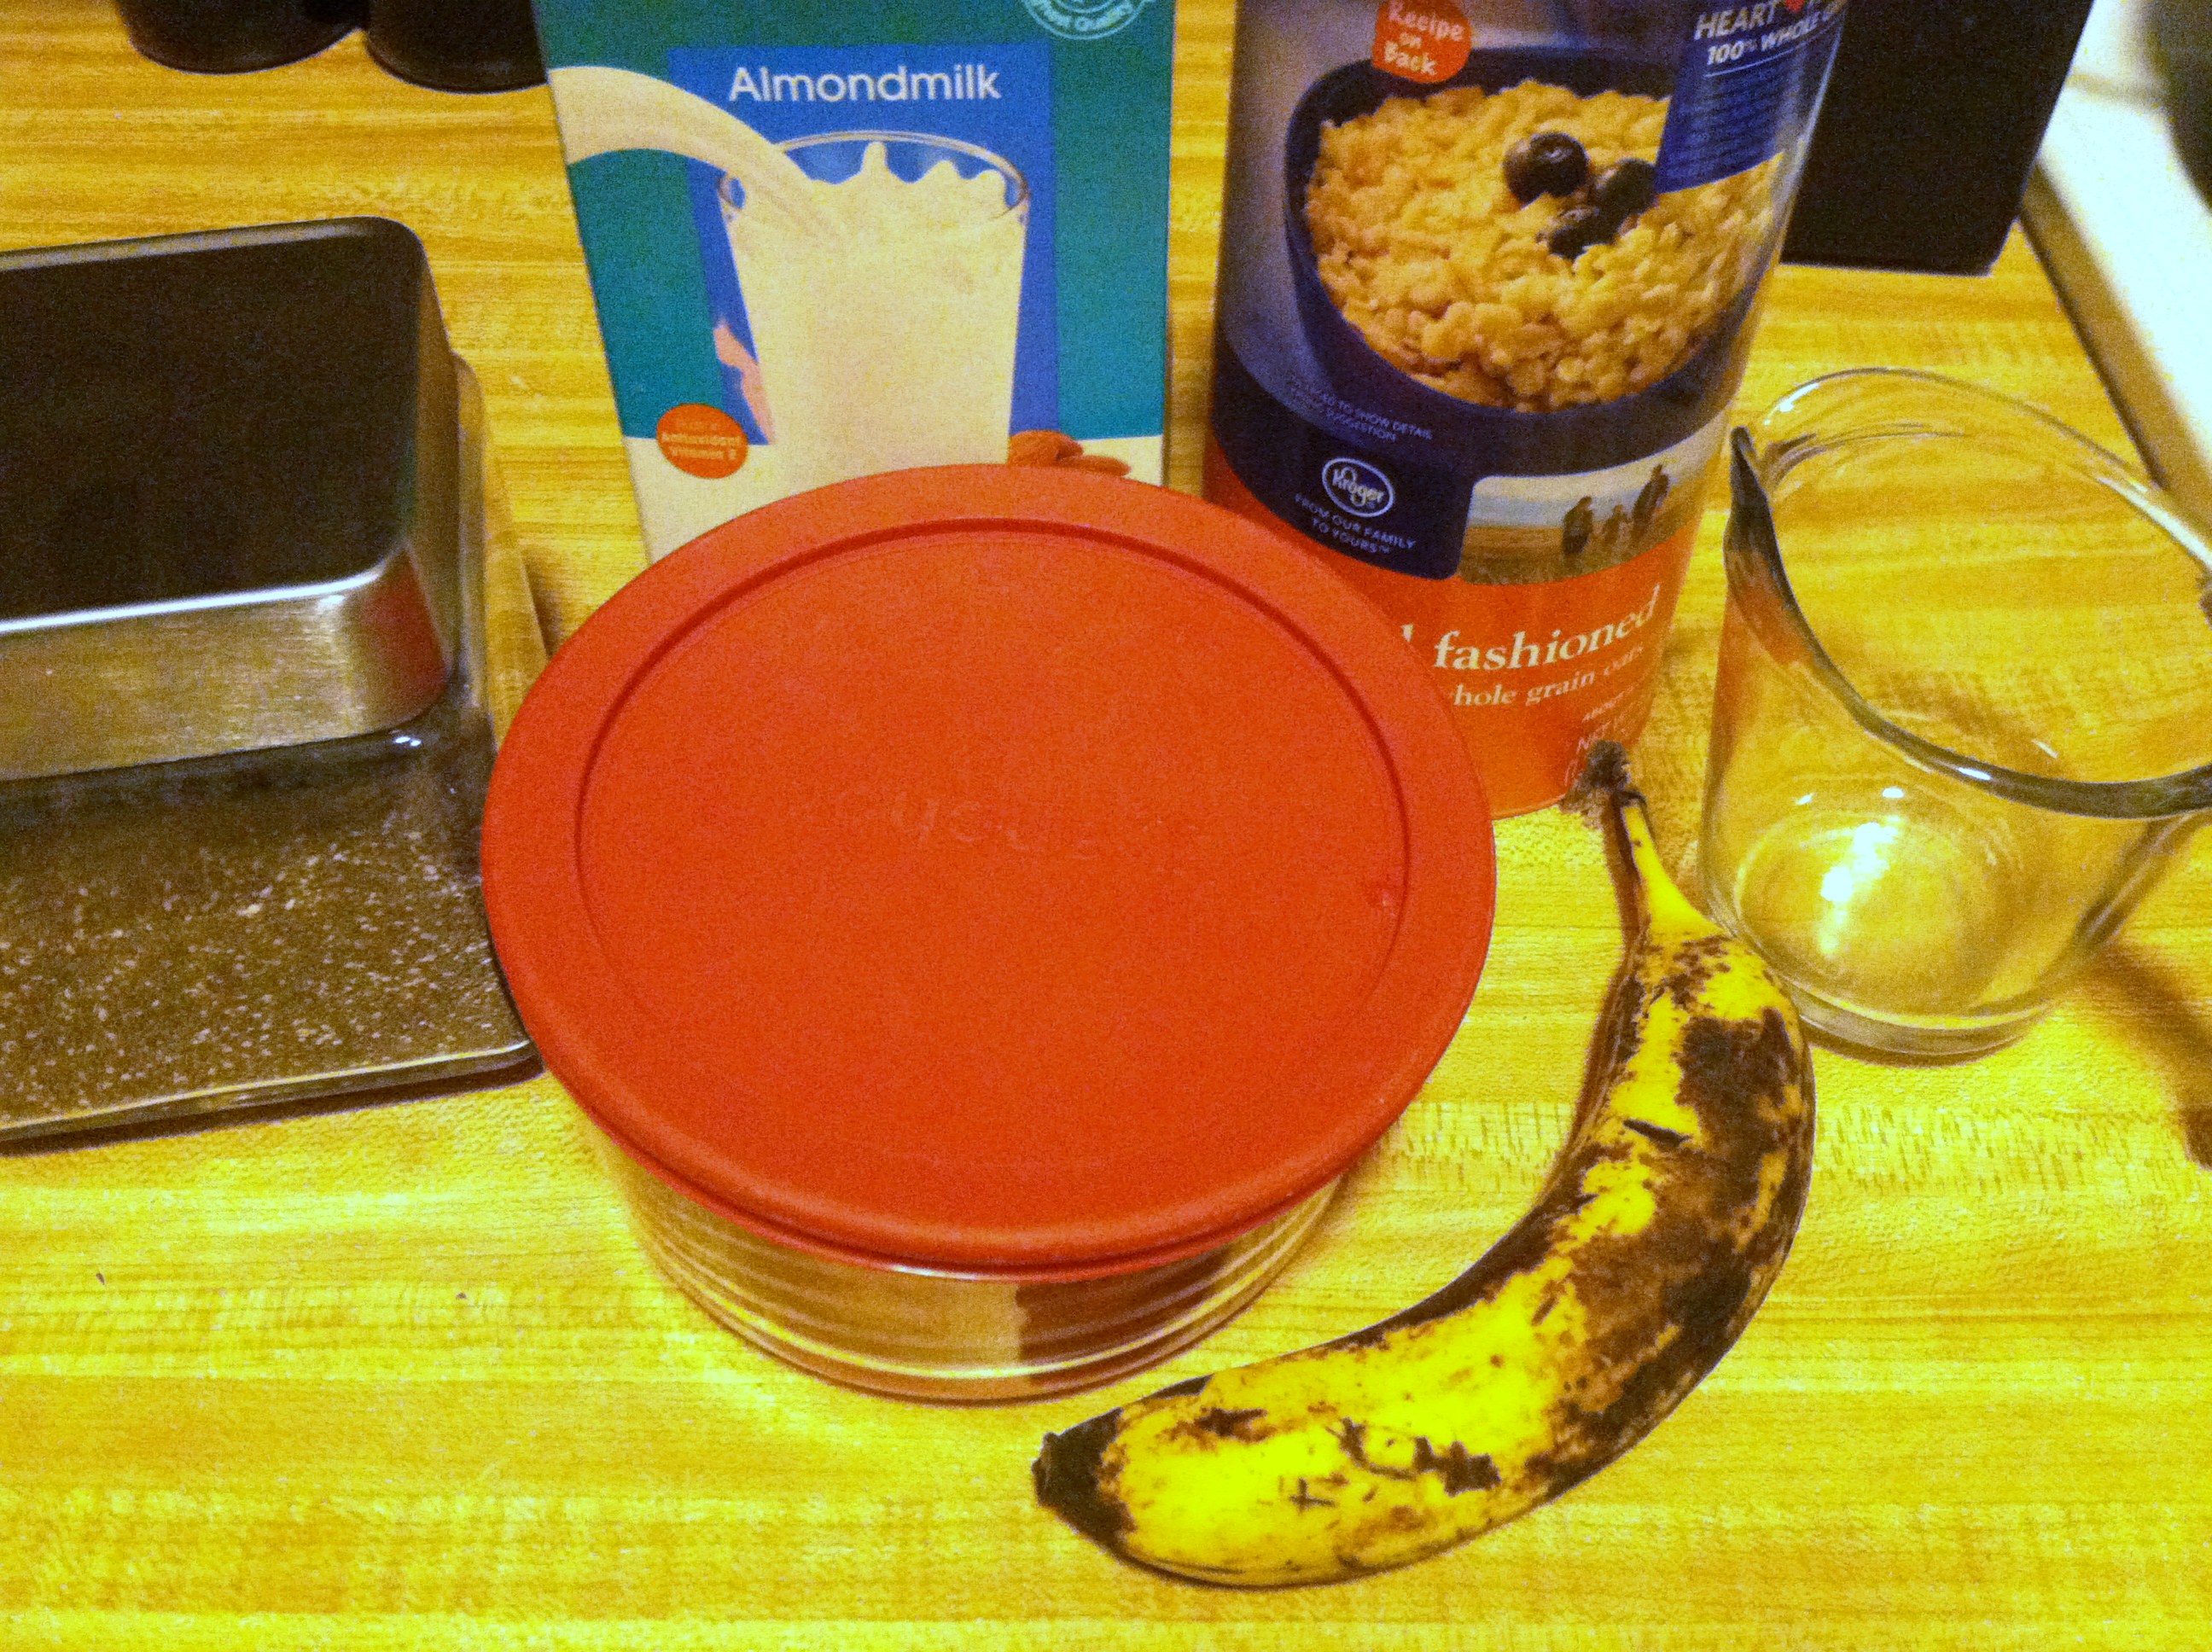
  • 1 ripe banana
  • 1-2 tbsp chia seeds
  • 1/3-1/2 cup rolled oats
  • 2/3 cup almond/soy milk
  • 1/2 cup water
  • 1 tbsp ground flax seed
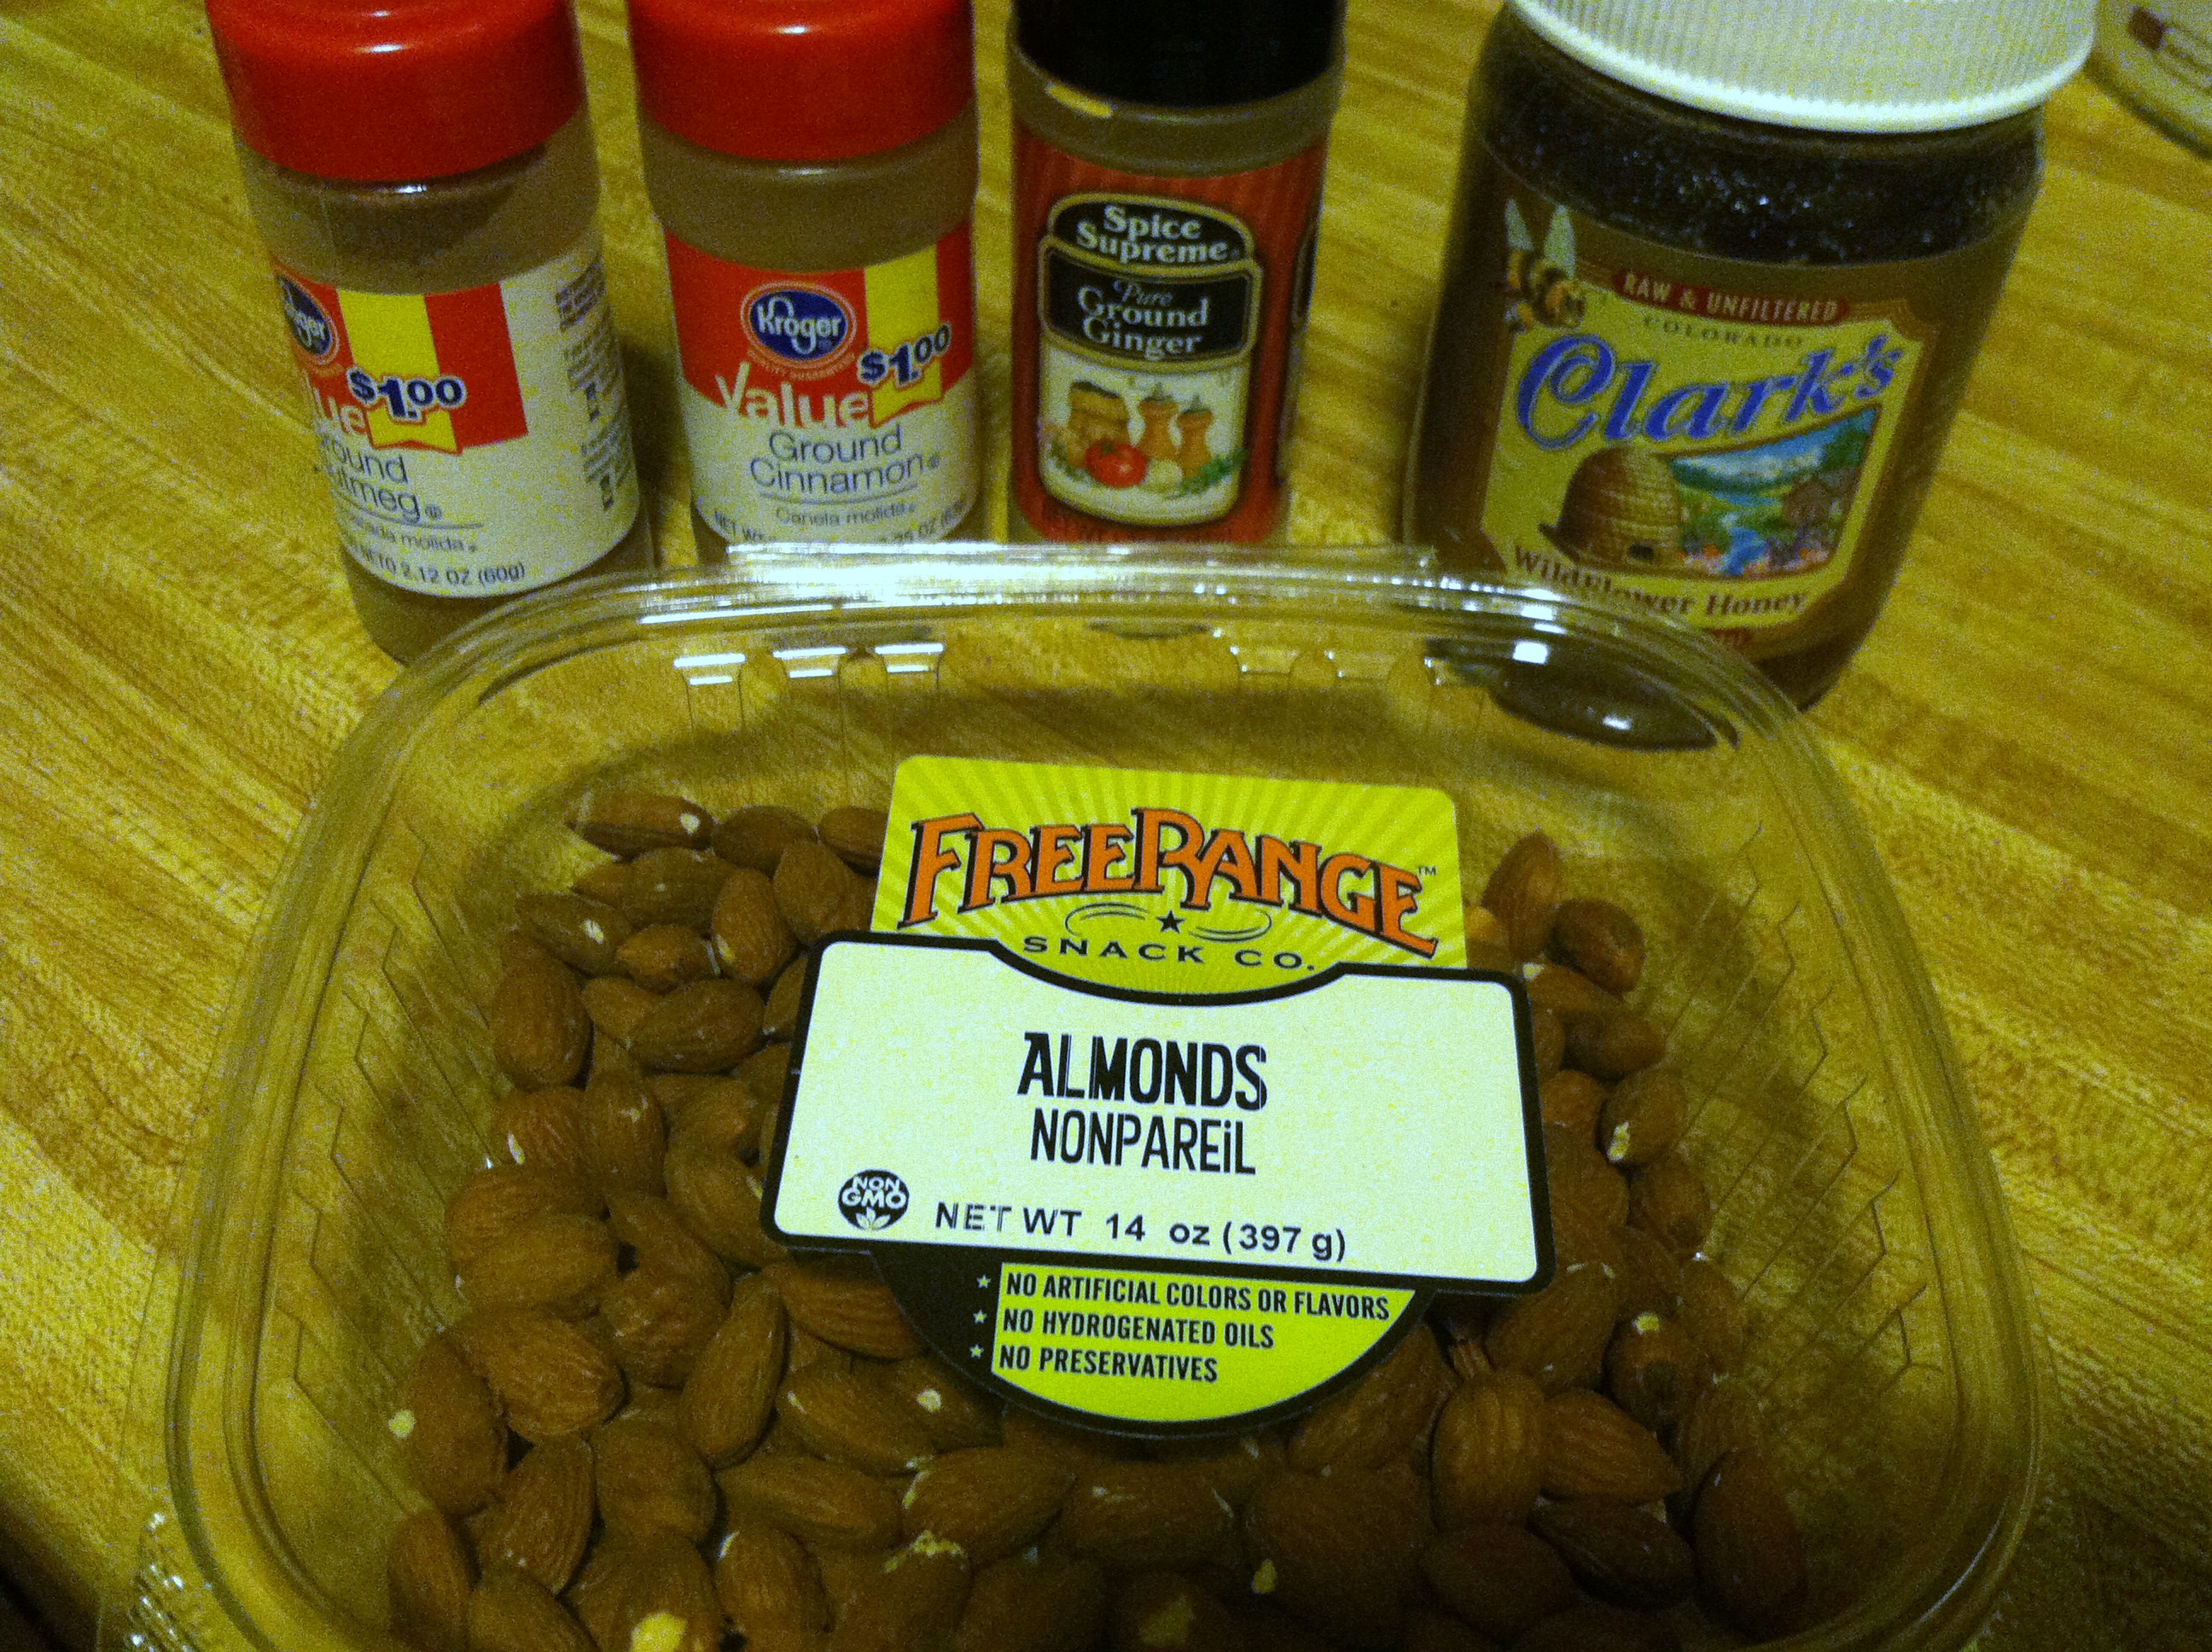
  • Optional: cinnamon, nutmeg, sugar, sea salt, nuts/seeds/dried fruit

IMG_7211

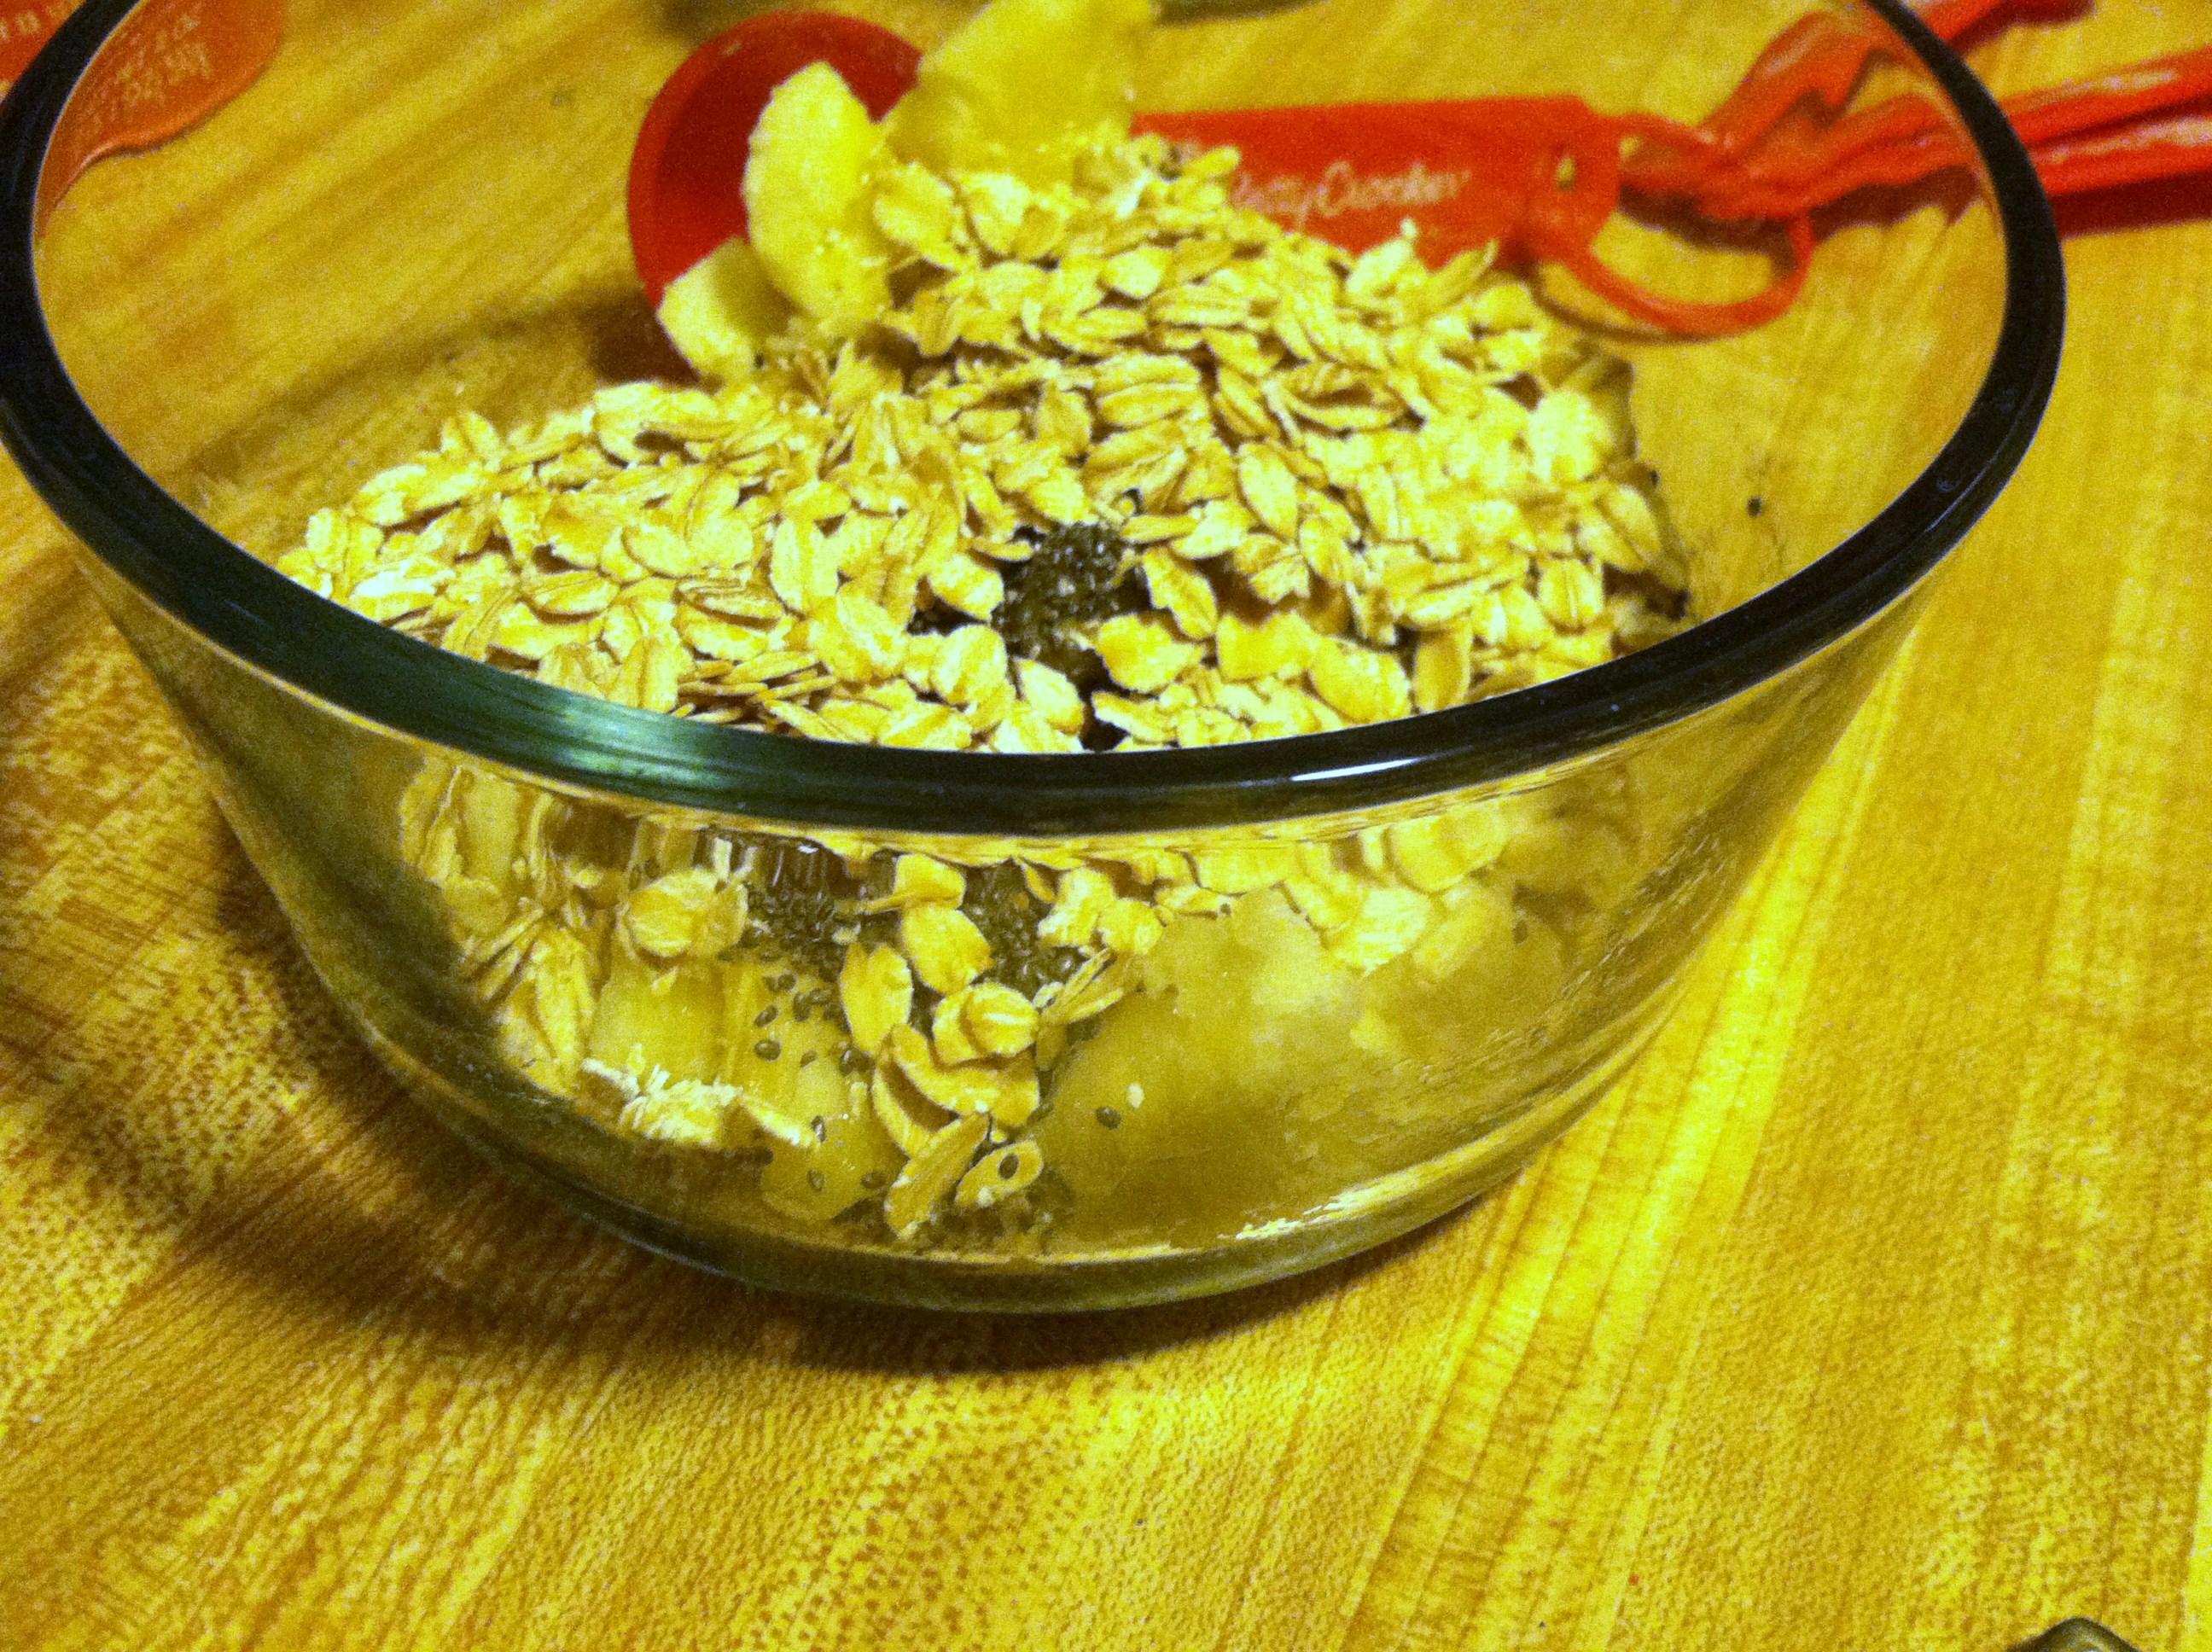
Step 1: Mash your banana into a glass bowl. Add the oats, flax, and chia. Sprinkle on whatever spices you’re using: I added some cinnamon, nutmeg, and ginger.

IMG_7212

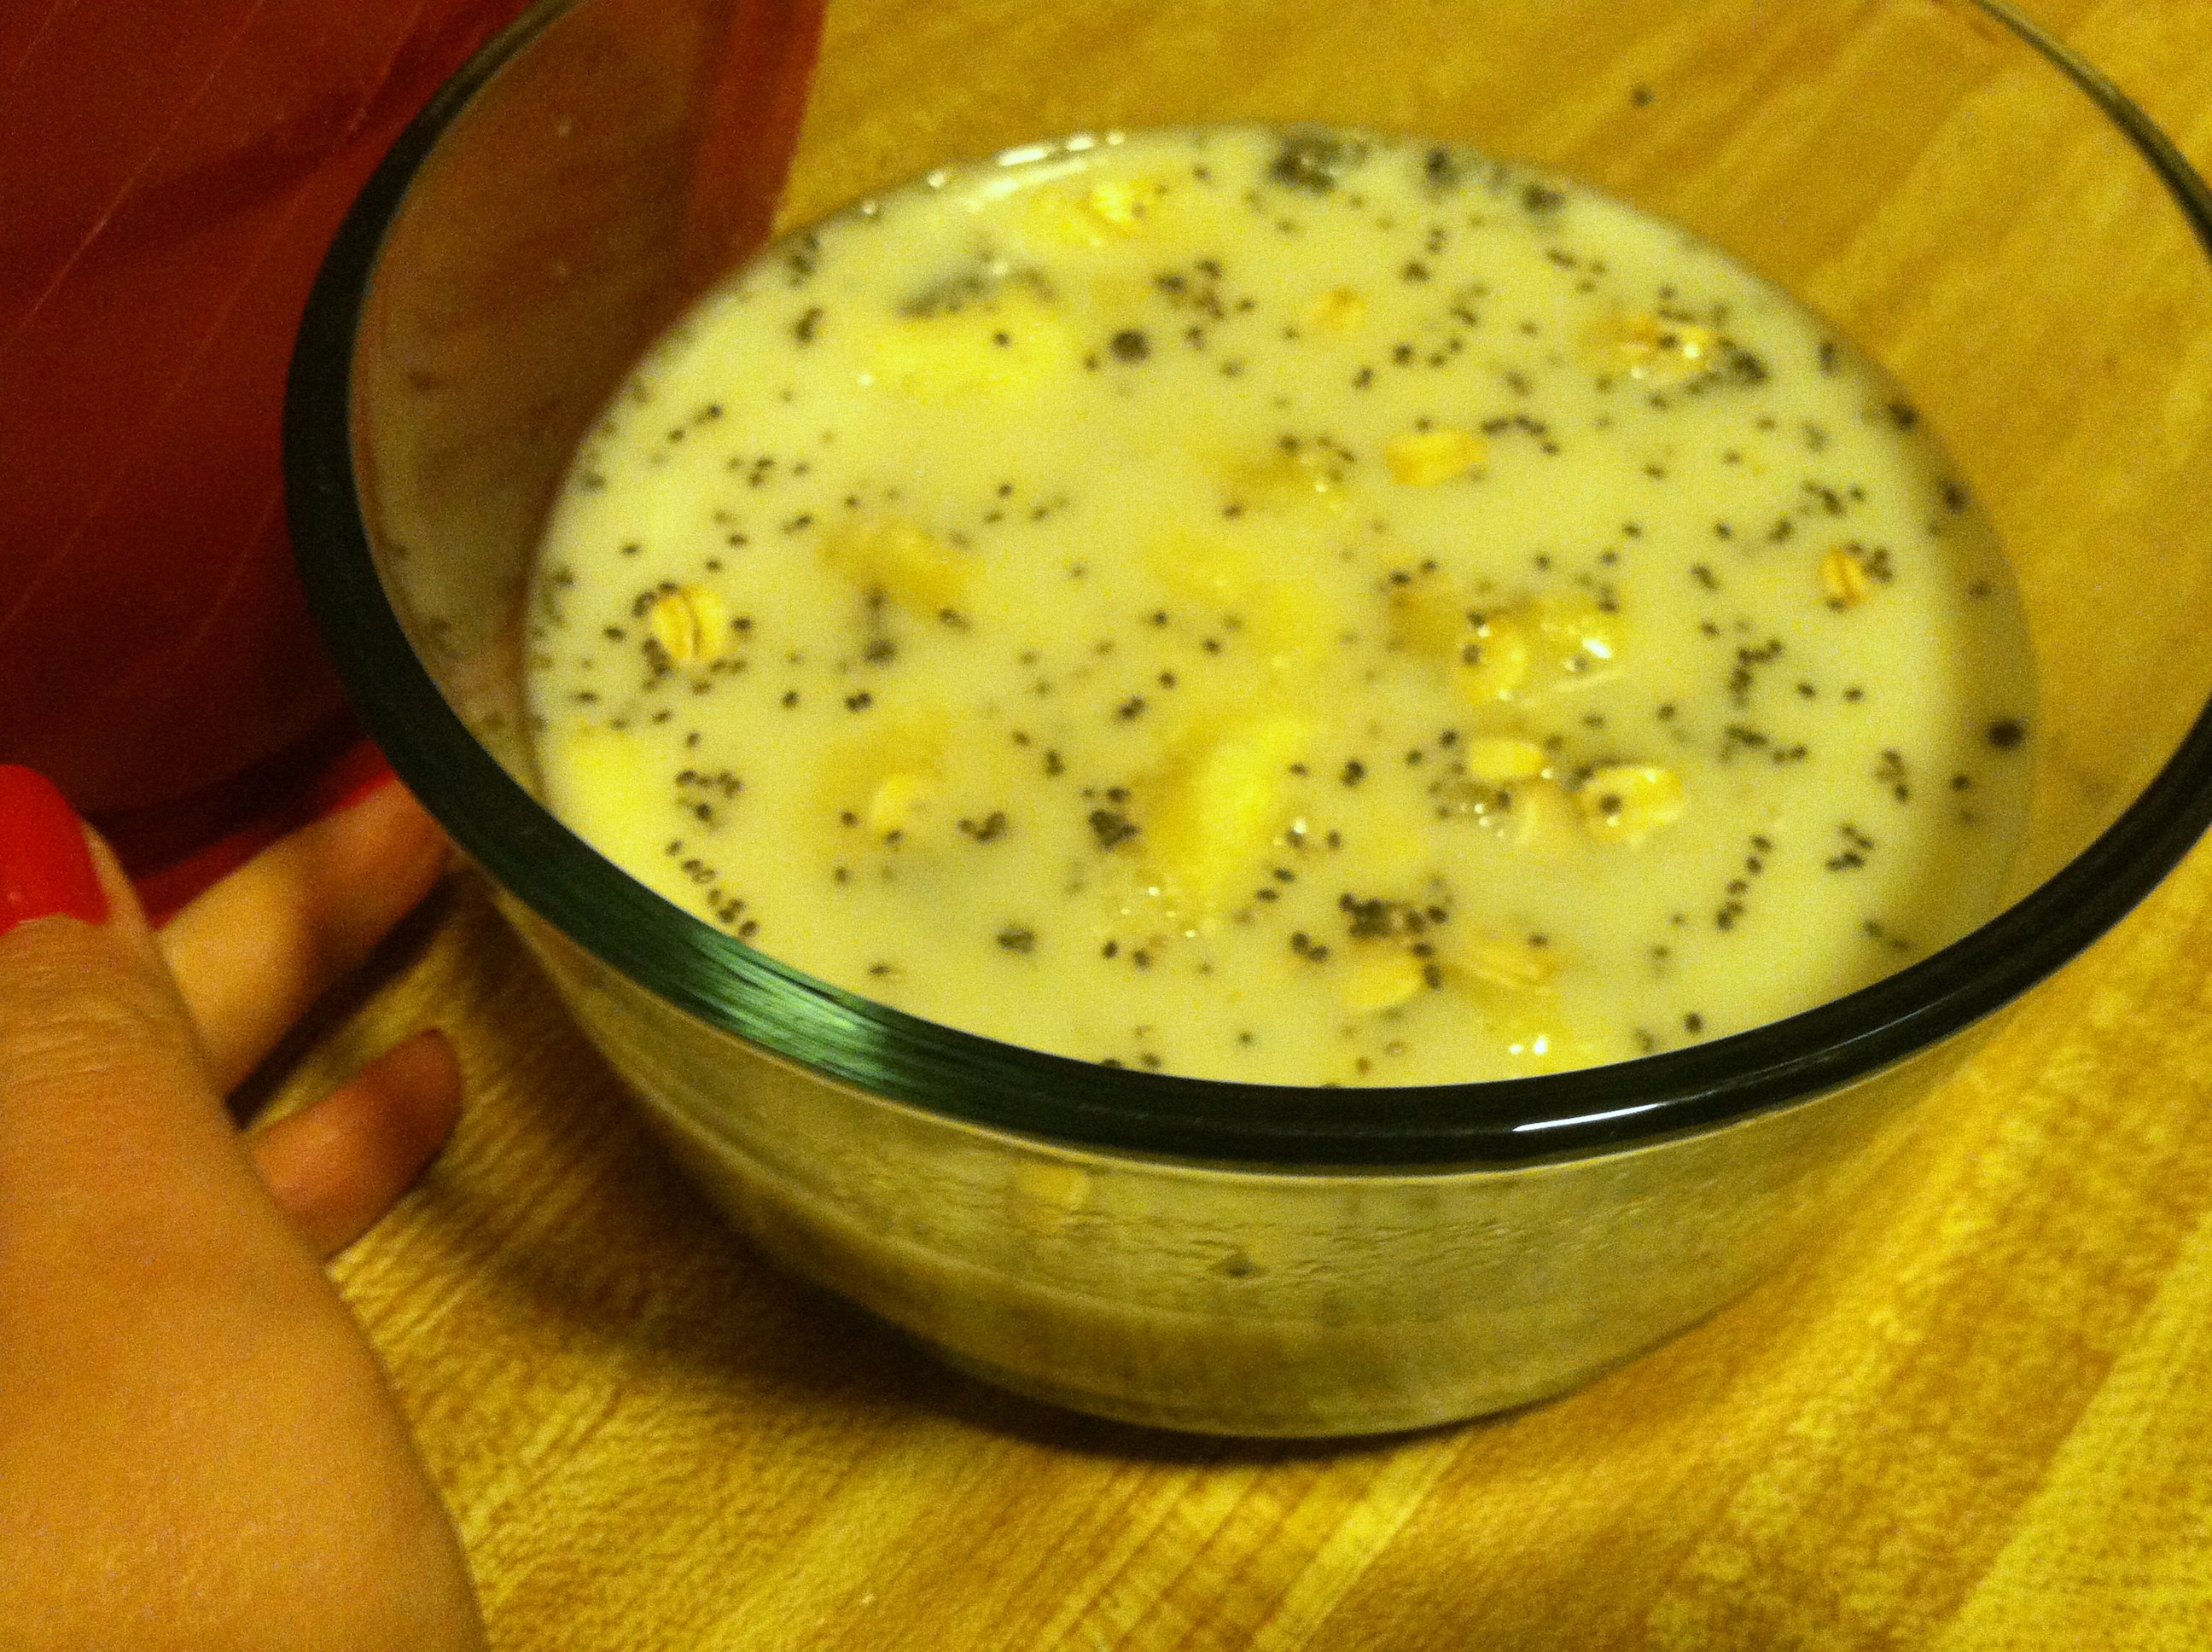
Step 2: Add the milk and water, and put it in the fridge overnight.

IMG_7213

Step 3: Now, while you sleep, the oats and chia are soaking up the moisture and getting nice and soft.

IMG_7214

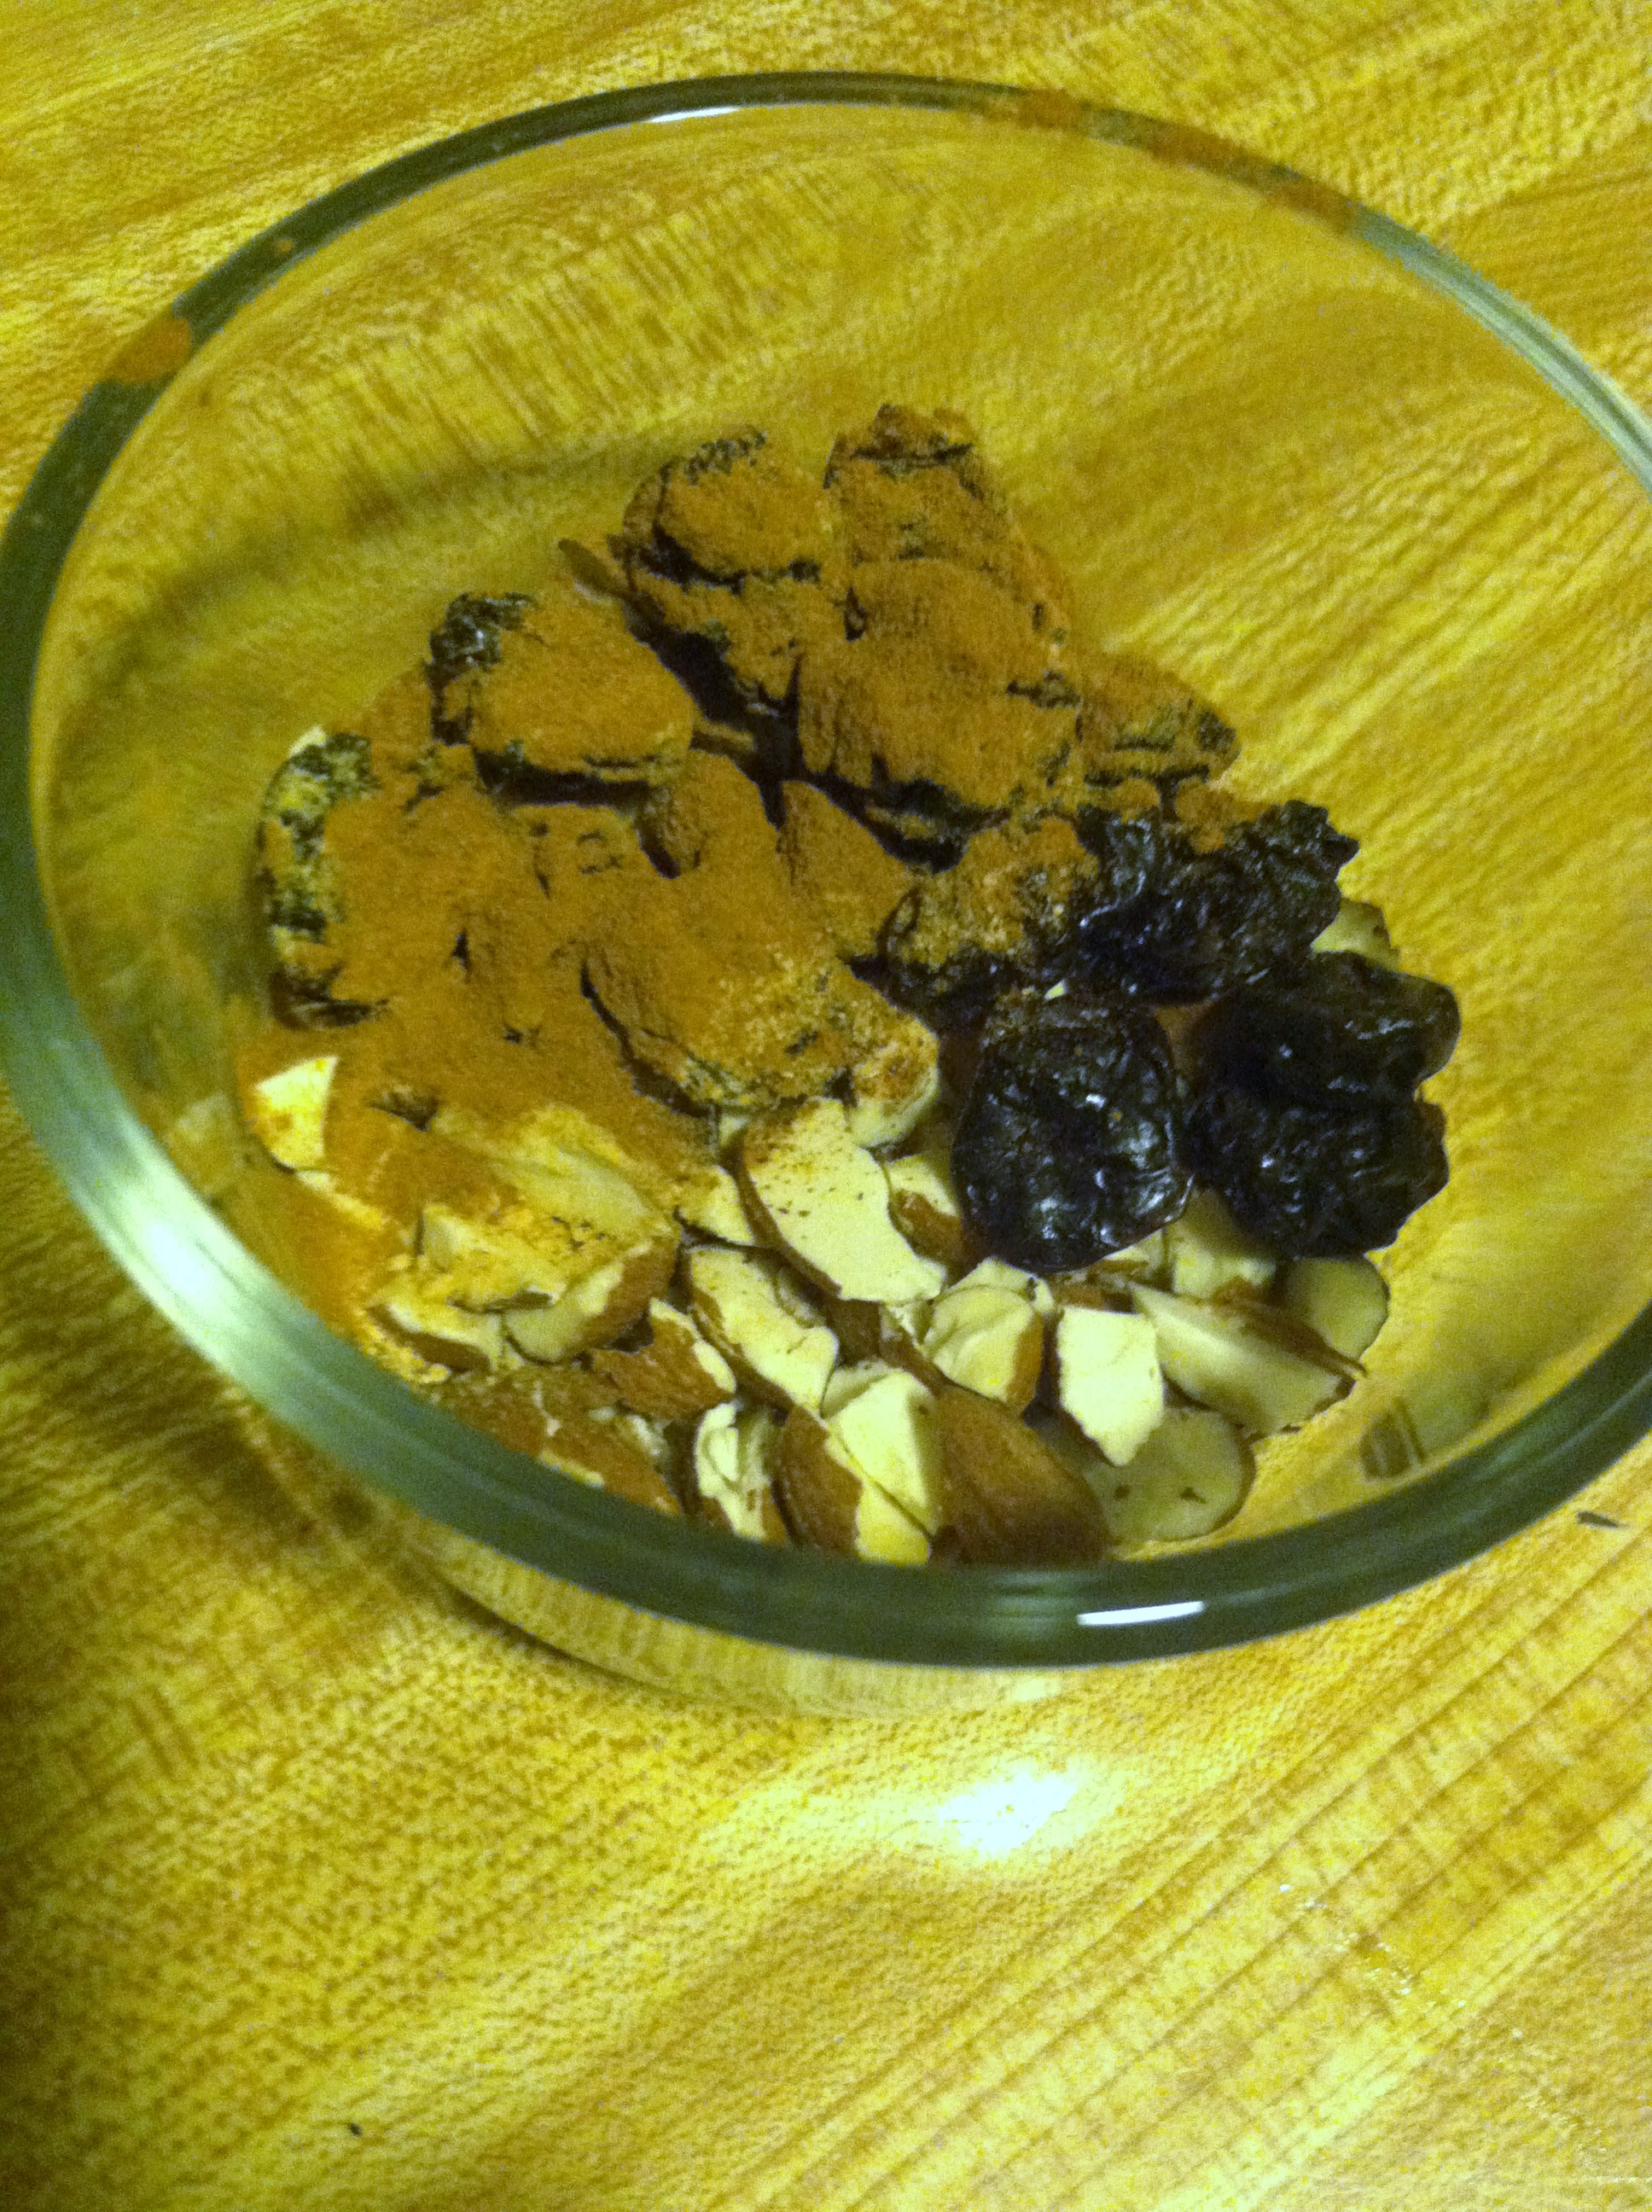
Step 4: In the morning, add any other toppings you didn’t want to get too mushy, like dried fruits, nuts, or honey.

IMG_7215

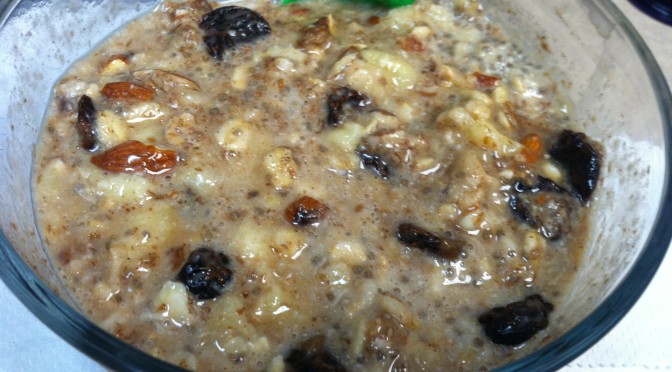
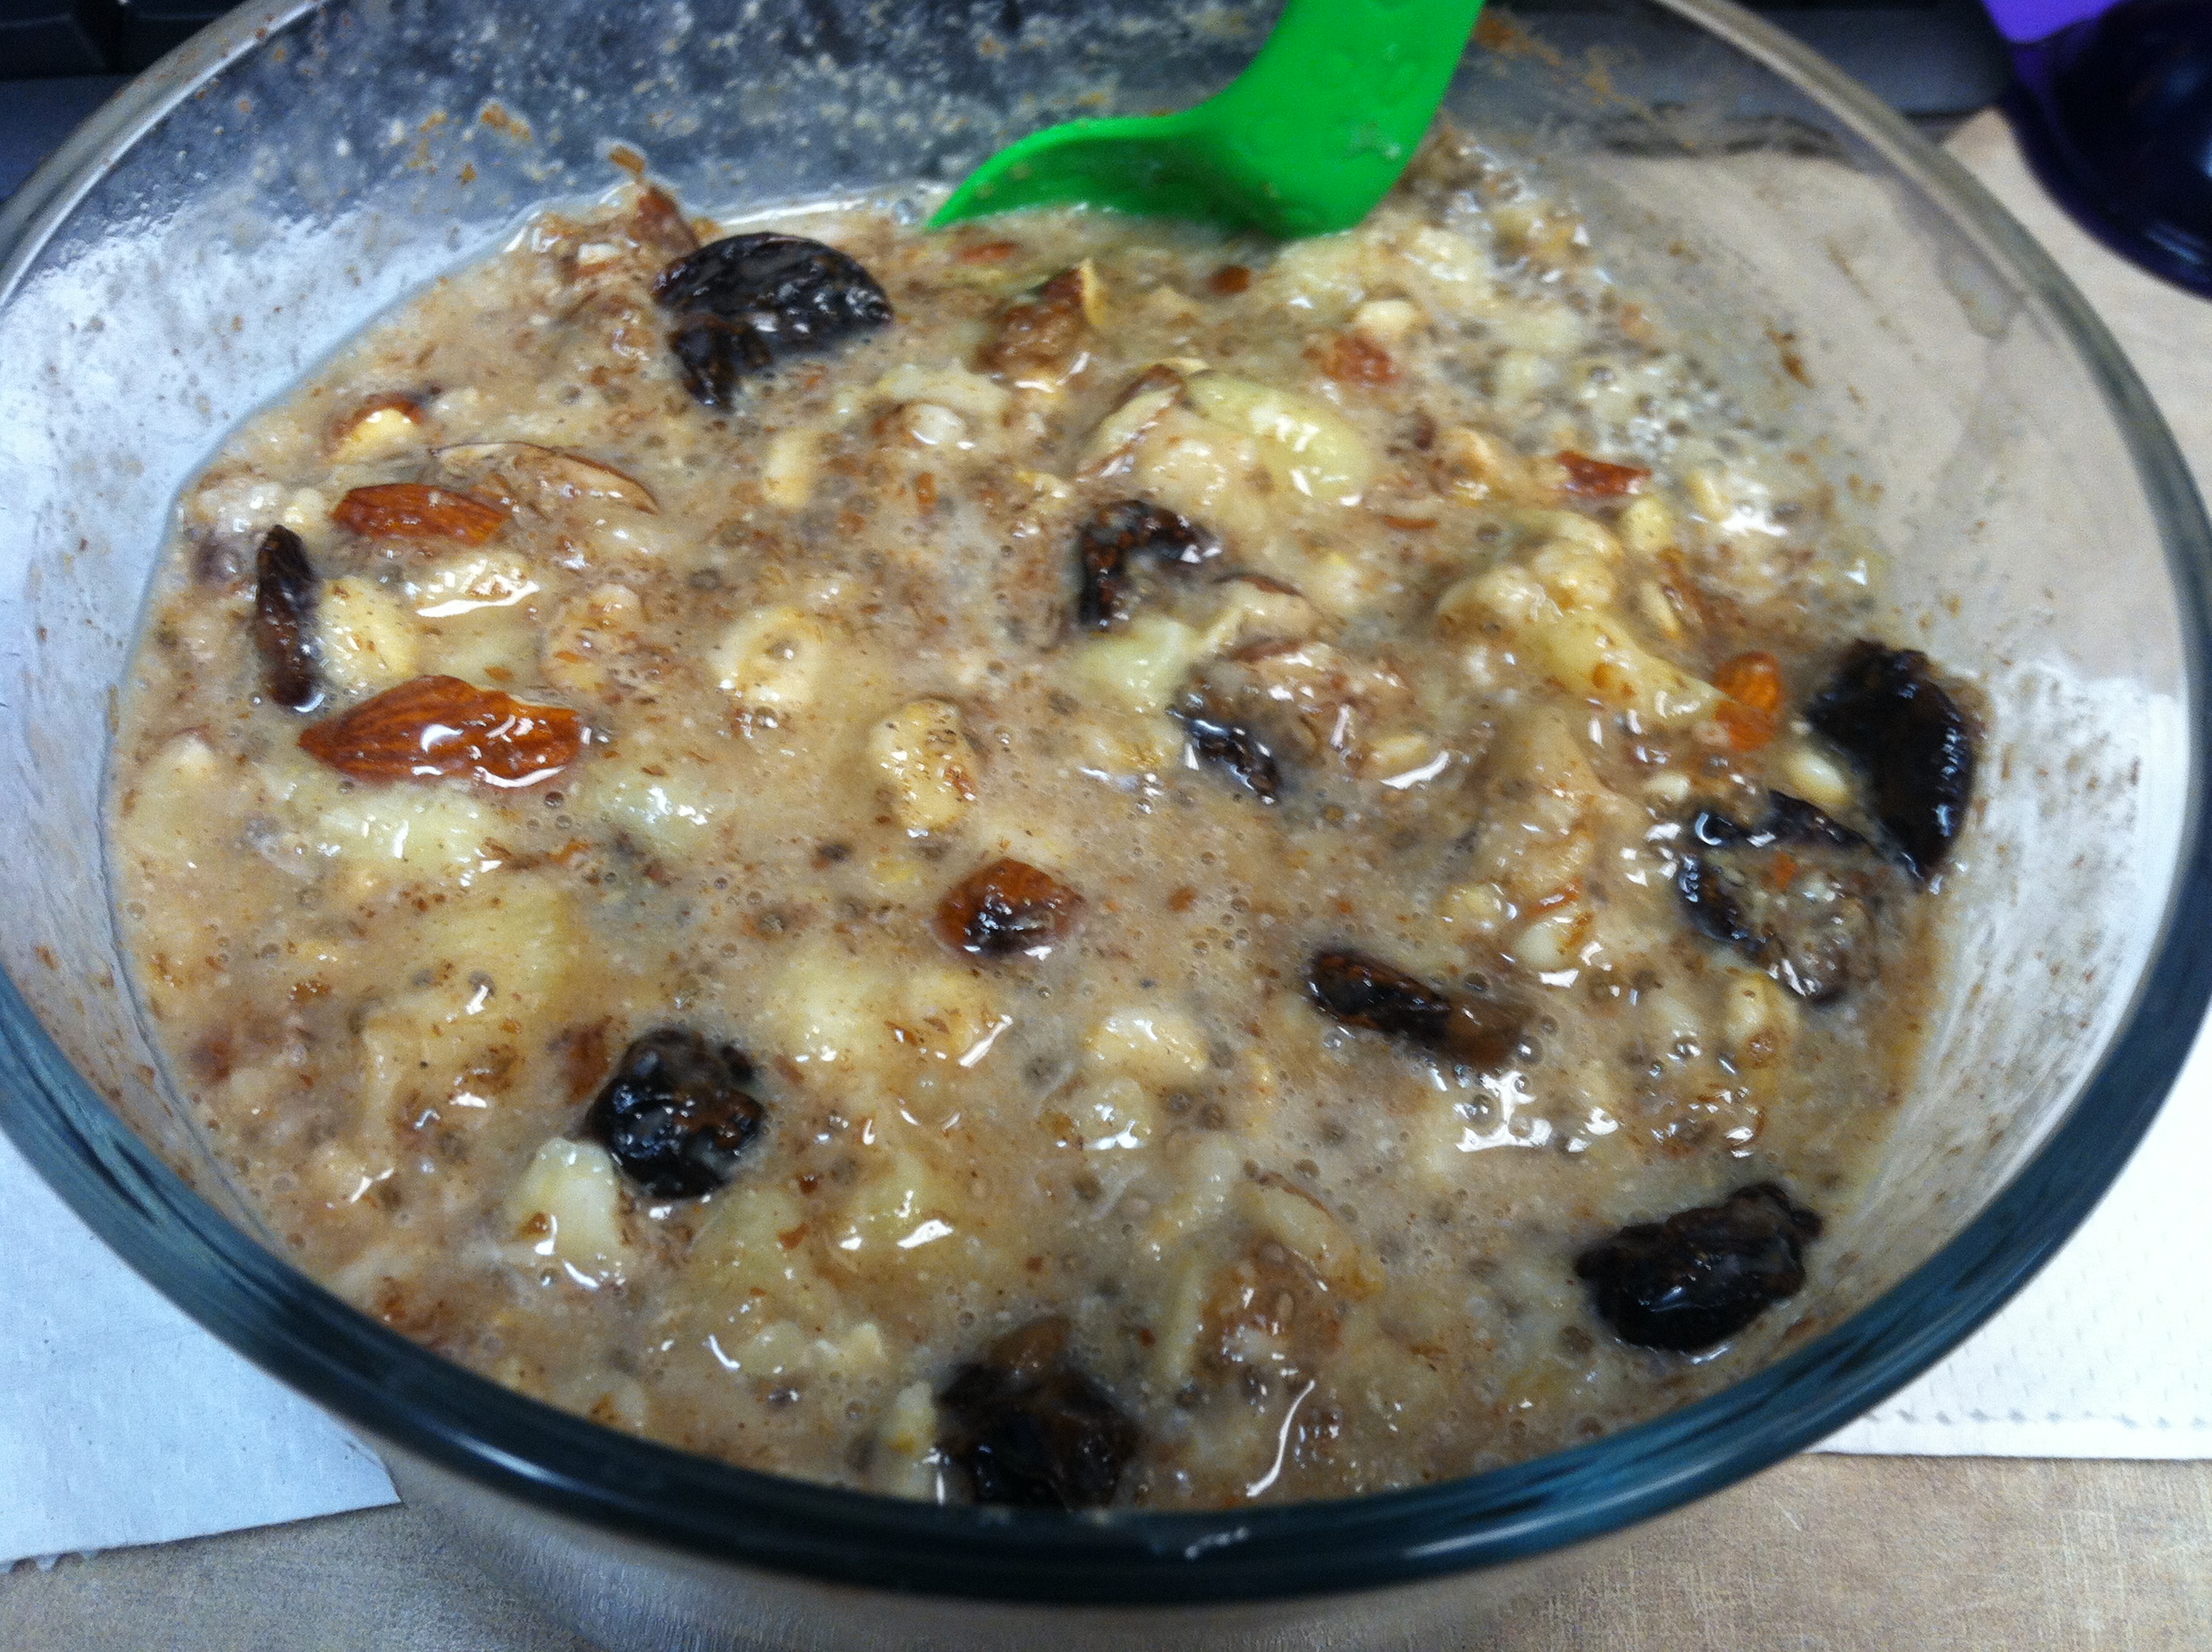
I added about 1/2 tbsp cocoa powder, dried prunes, and chopped up almonds for a chocolate-banana feel and a little crunch.

IMG_7216

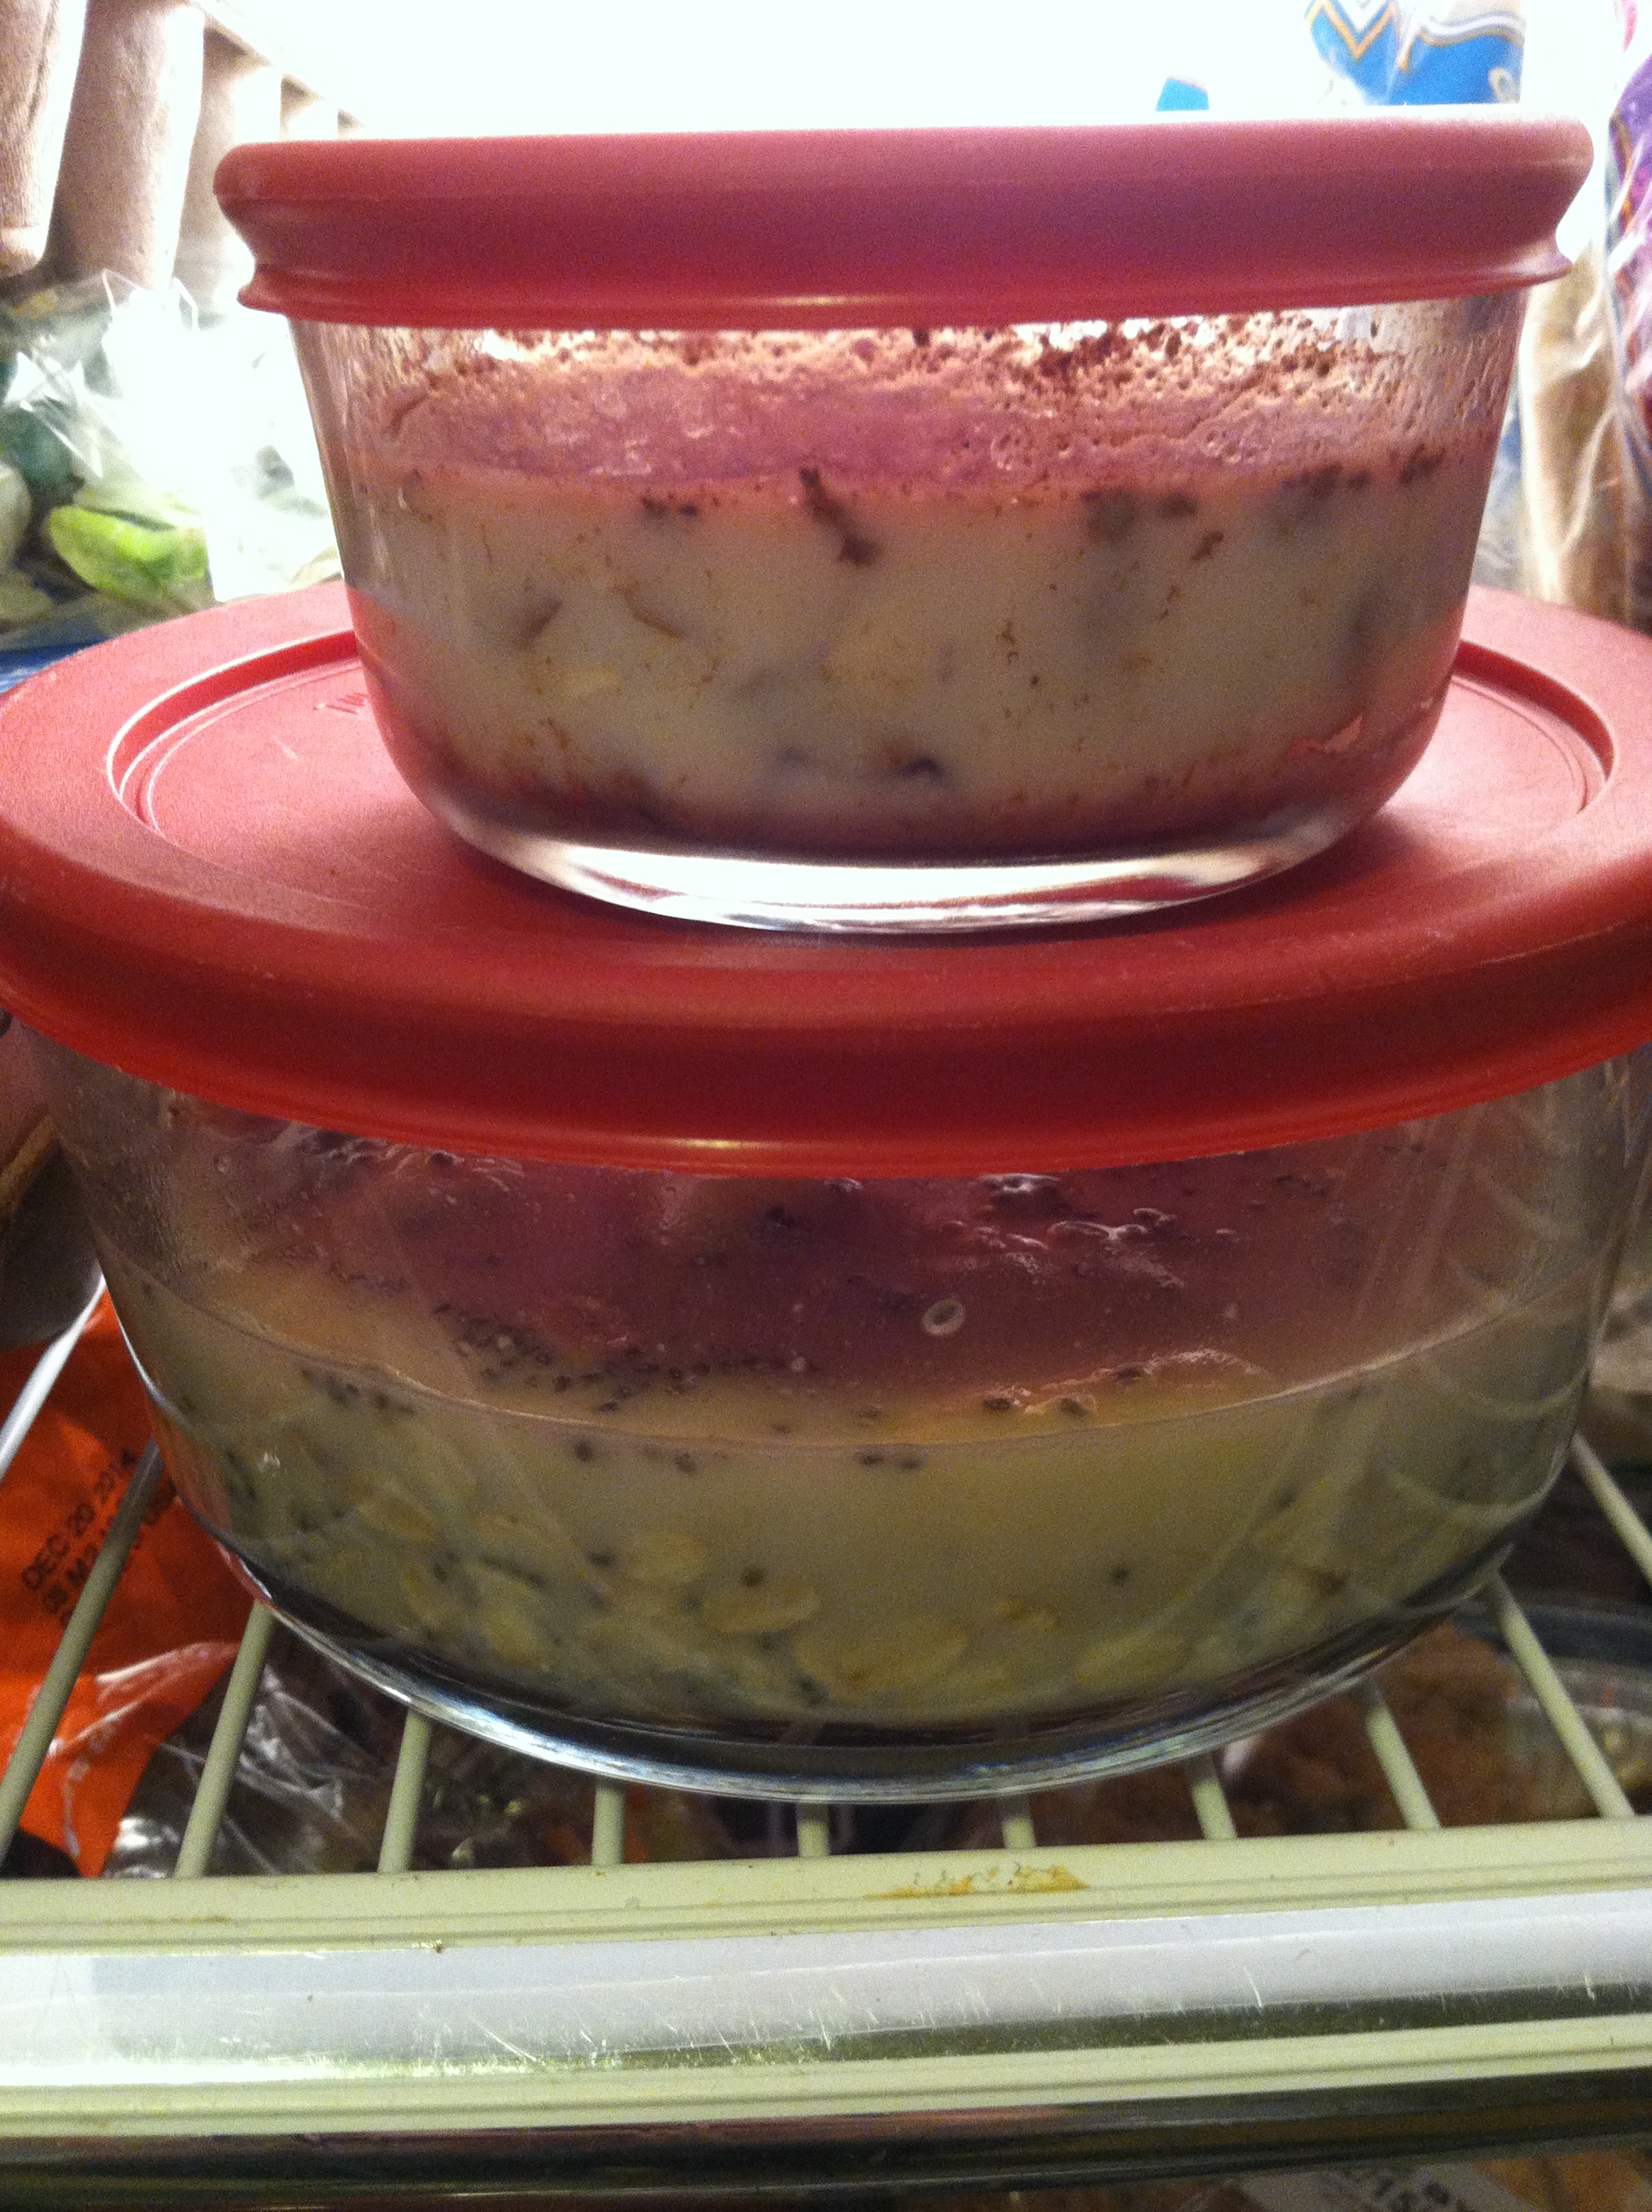
This is my oatmeal in the refrigerator, working its magic.

IMG_7217

All toppings added and mixed, ready to heat!

IMG_7218

Step 5: Just pop your bowl in the microwave for 2-3 minutes, or an oven set to 350 for 8-10 minutes, and enjoy!


Since I’ve tried every nut, fruit, and spice I could get my hands on, my favorite combo so far is:

  • 1/3 c oats
  • 1 tsp chia seeds
  • 4-5 dried prunes
  • 4-5 dried dates
  • 1 tbsp golden raisins
  • 1 tbsp almond butter
  • Sprinkle of cinnamon

The dates have such a unique flavor, and the combination of dried fruits lends such a sweetness to the finished product. The almond butter gives it a nice burst of flavor too. I cut back on chia and got rid of the flax, because the original recipe was a little too… chewy for my taste. After all, people use flax or chia and water as an egg substitute, so they do make a bit of a gel-like texture.

Your ideal bowl may be something different, mix it up depending on your tastes, what you have available, and any allergies/sensitivities. But this is a quick, super easy, and economical way to start any day off right!