Category Archives: Healthy

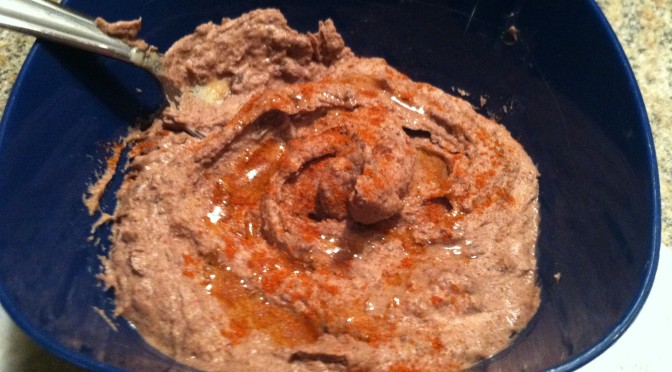
Blender Black Bean Hummus


As a food, hummus is enjoying more and more notice in North America. Long a staple of cuisines such as the Mediterranean, Egyptian, and Indian cultures, America has been slower to recognize its unique texture, taste, and health benefits. Luckily, this is changing as stores begin carrying national brands as well as their own store brands, and consumers are driving this change.

Hummus has a reputation as a ‘clean’ food, and it definitely deserves its healthy reputation. Each ingredient in hummus is a superfood in their own right: chickpeas, olive oil, tahini, garlic, and lemon juice. All these items have fabulous health benefits. Unfortunately, ‘Big Food’ can manage to take all these good things and ruin it with additives, chemicals, sweeteners, and preservatives.

The great news is, hummus is super easy to make! And the even better news is that it is so easy to create new hummus flavors and recipes based on what you enjoy. For a plain classic hummus recipe, check out this post, and for a different take, read my Feta and Red Pepper Hummus recipe. On the future try-it list: Beet hummus & edamame hummus. Keep an eye out for those posts.

IMG_9480

In this recipe, I show how you don’t have to stick to the expected ‘chickpea’ for the protein and texture. Any old bean type will do honestly, so be creative. If chickpeas don’t do it for you, try lima beans, or black eyed peas. As long as it is in the legume family it should work out texture wise.

Using dried beans makes this recipe incredibly cheap, but you could use canned beans to skip the cooking step; just add straight to the blender. Also if you don’t want to buy a whole can of tahini, you can use any nut butter like peanut butter or almond butter. All tahini is, is roasted and blended sunflower seeds.

Ingredients:

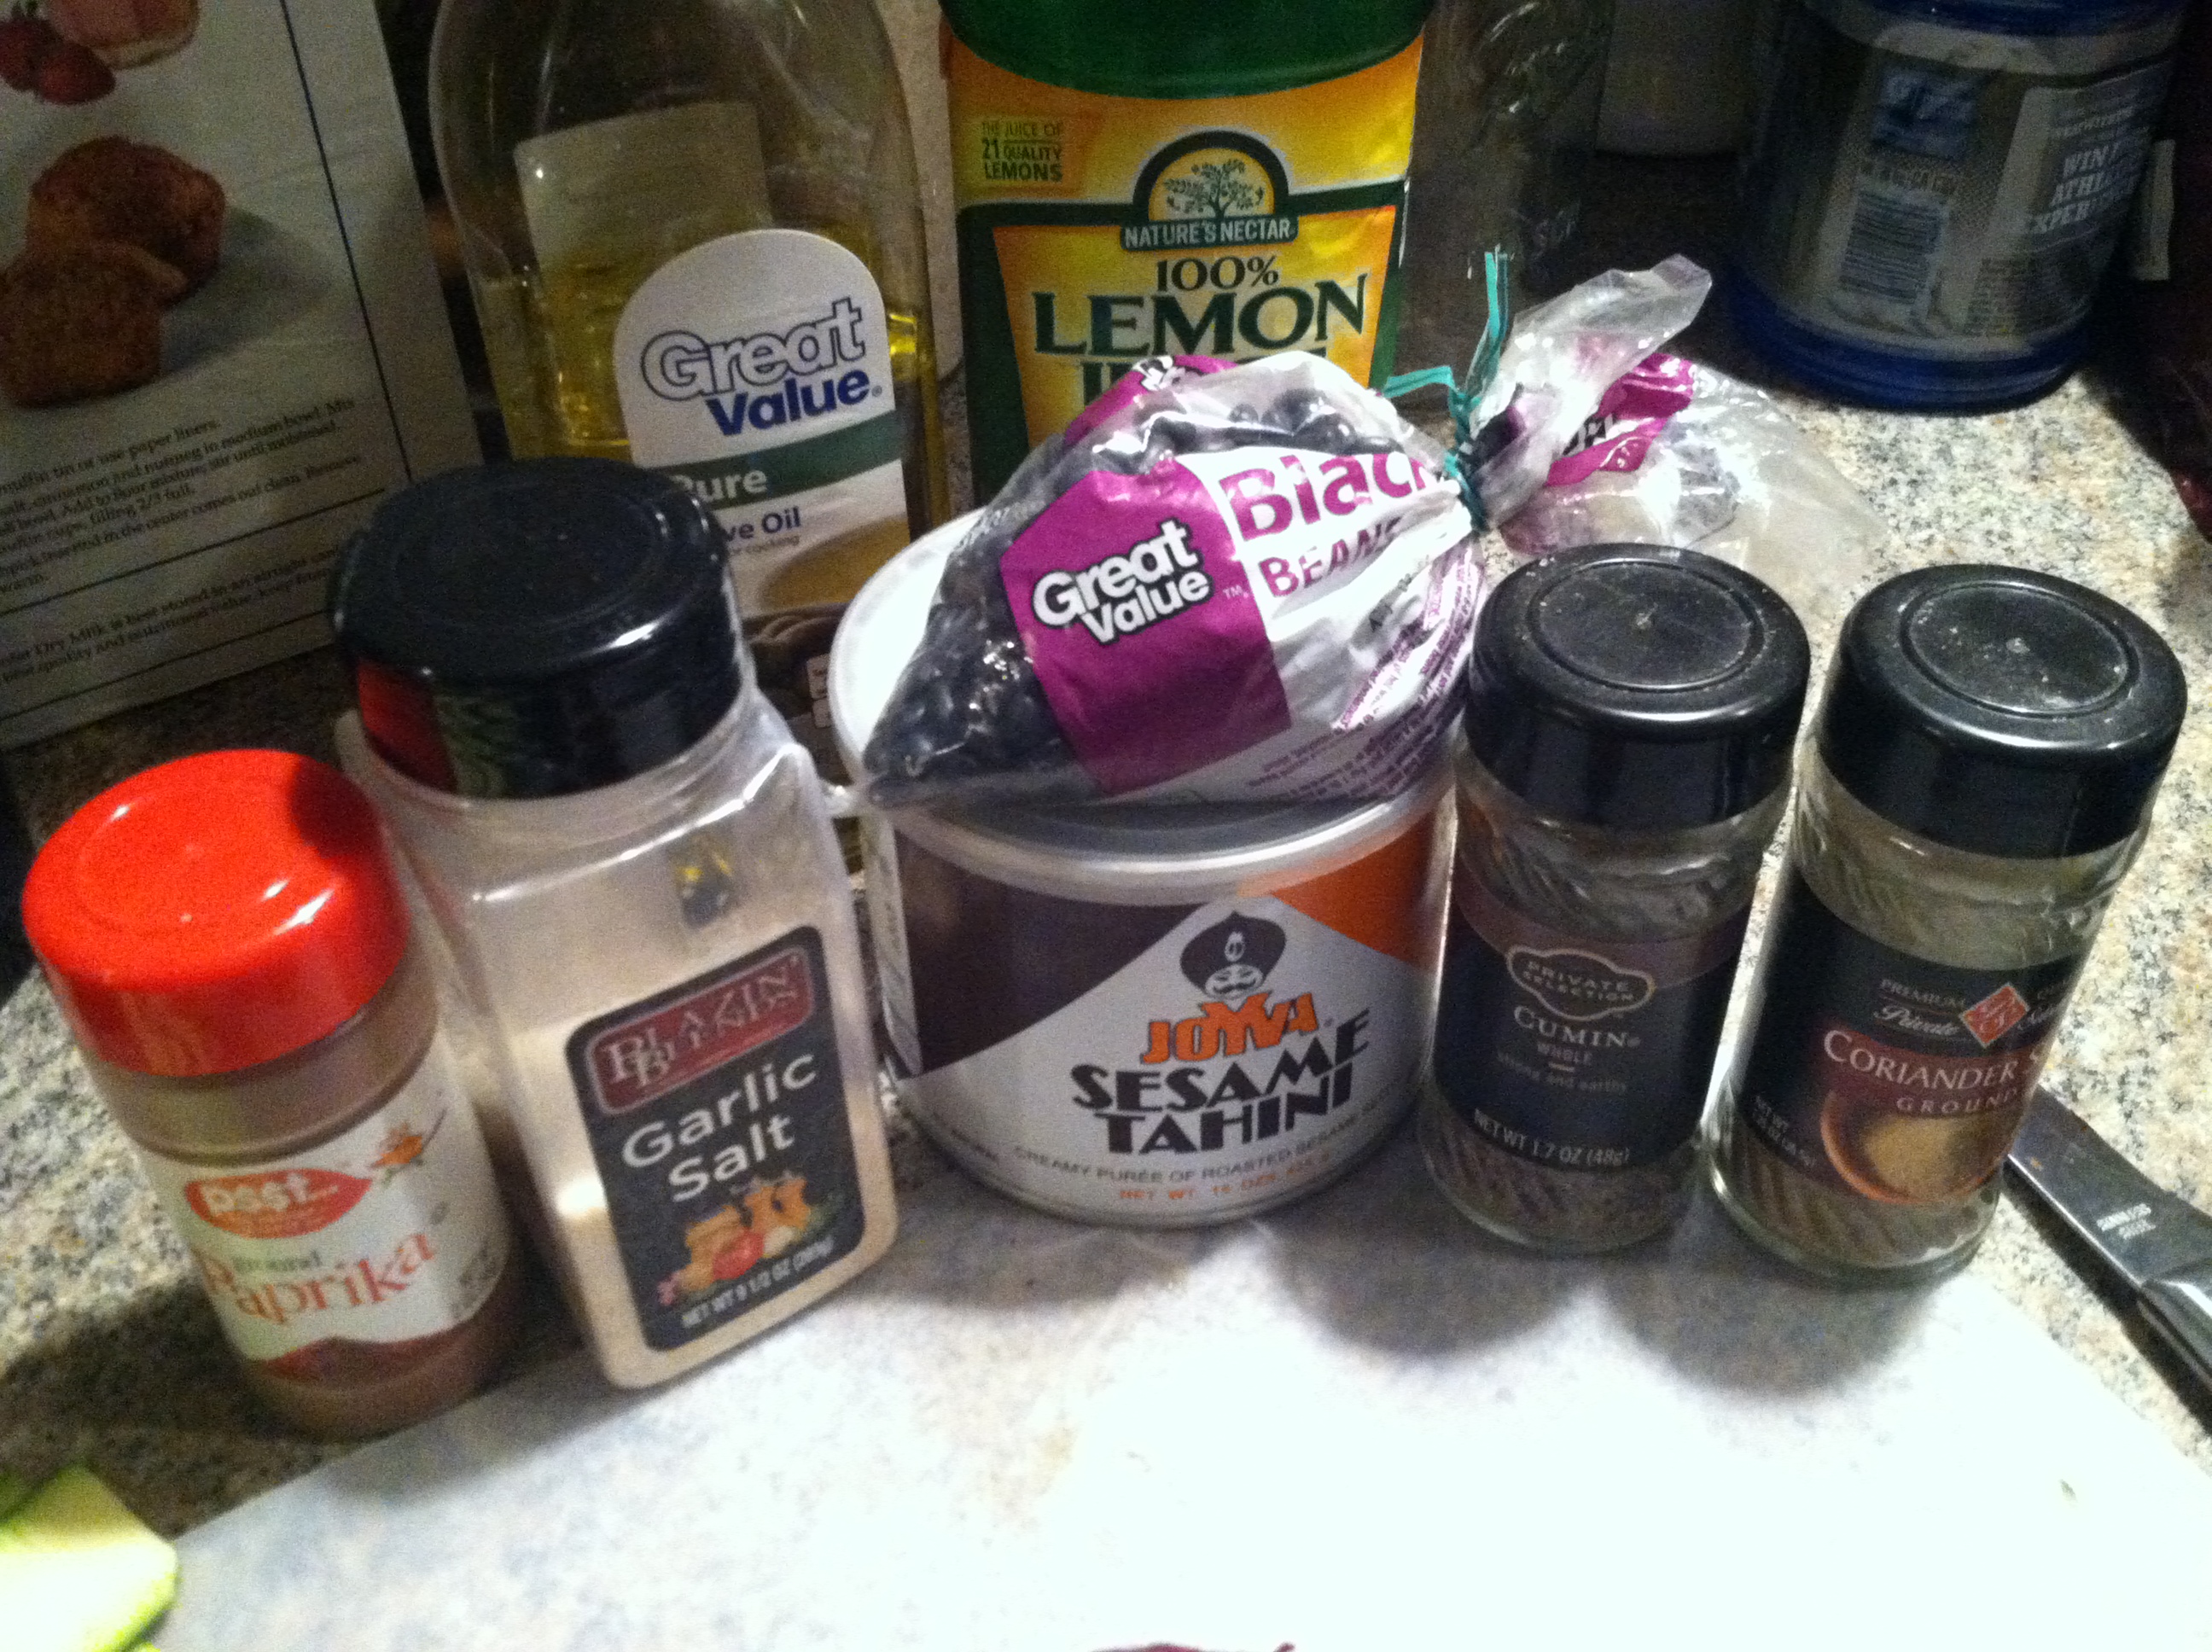
  • 1 cup rinsed black beans
  • 2 tbsp olive oil
  • 2 tbsp tahini
  • 2 tbsp lemon juice
  • 1 tsp garlic salt
  • 1 tsp coriander
  • 1 tsp cumin
  • 1 tsp paprika

IMG_9477

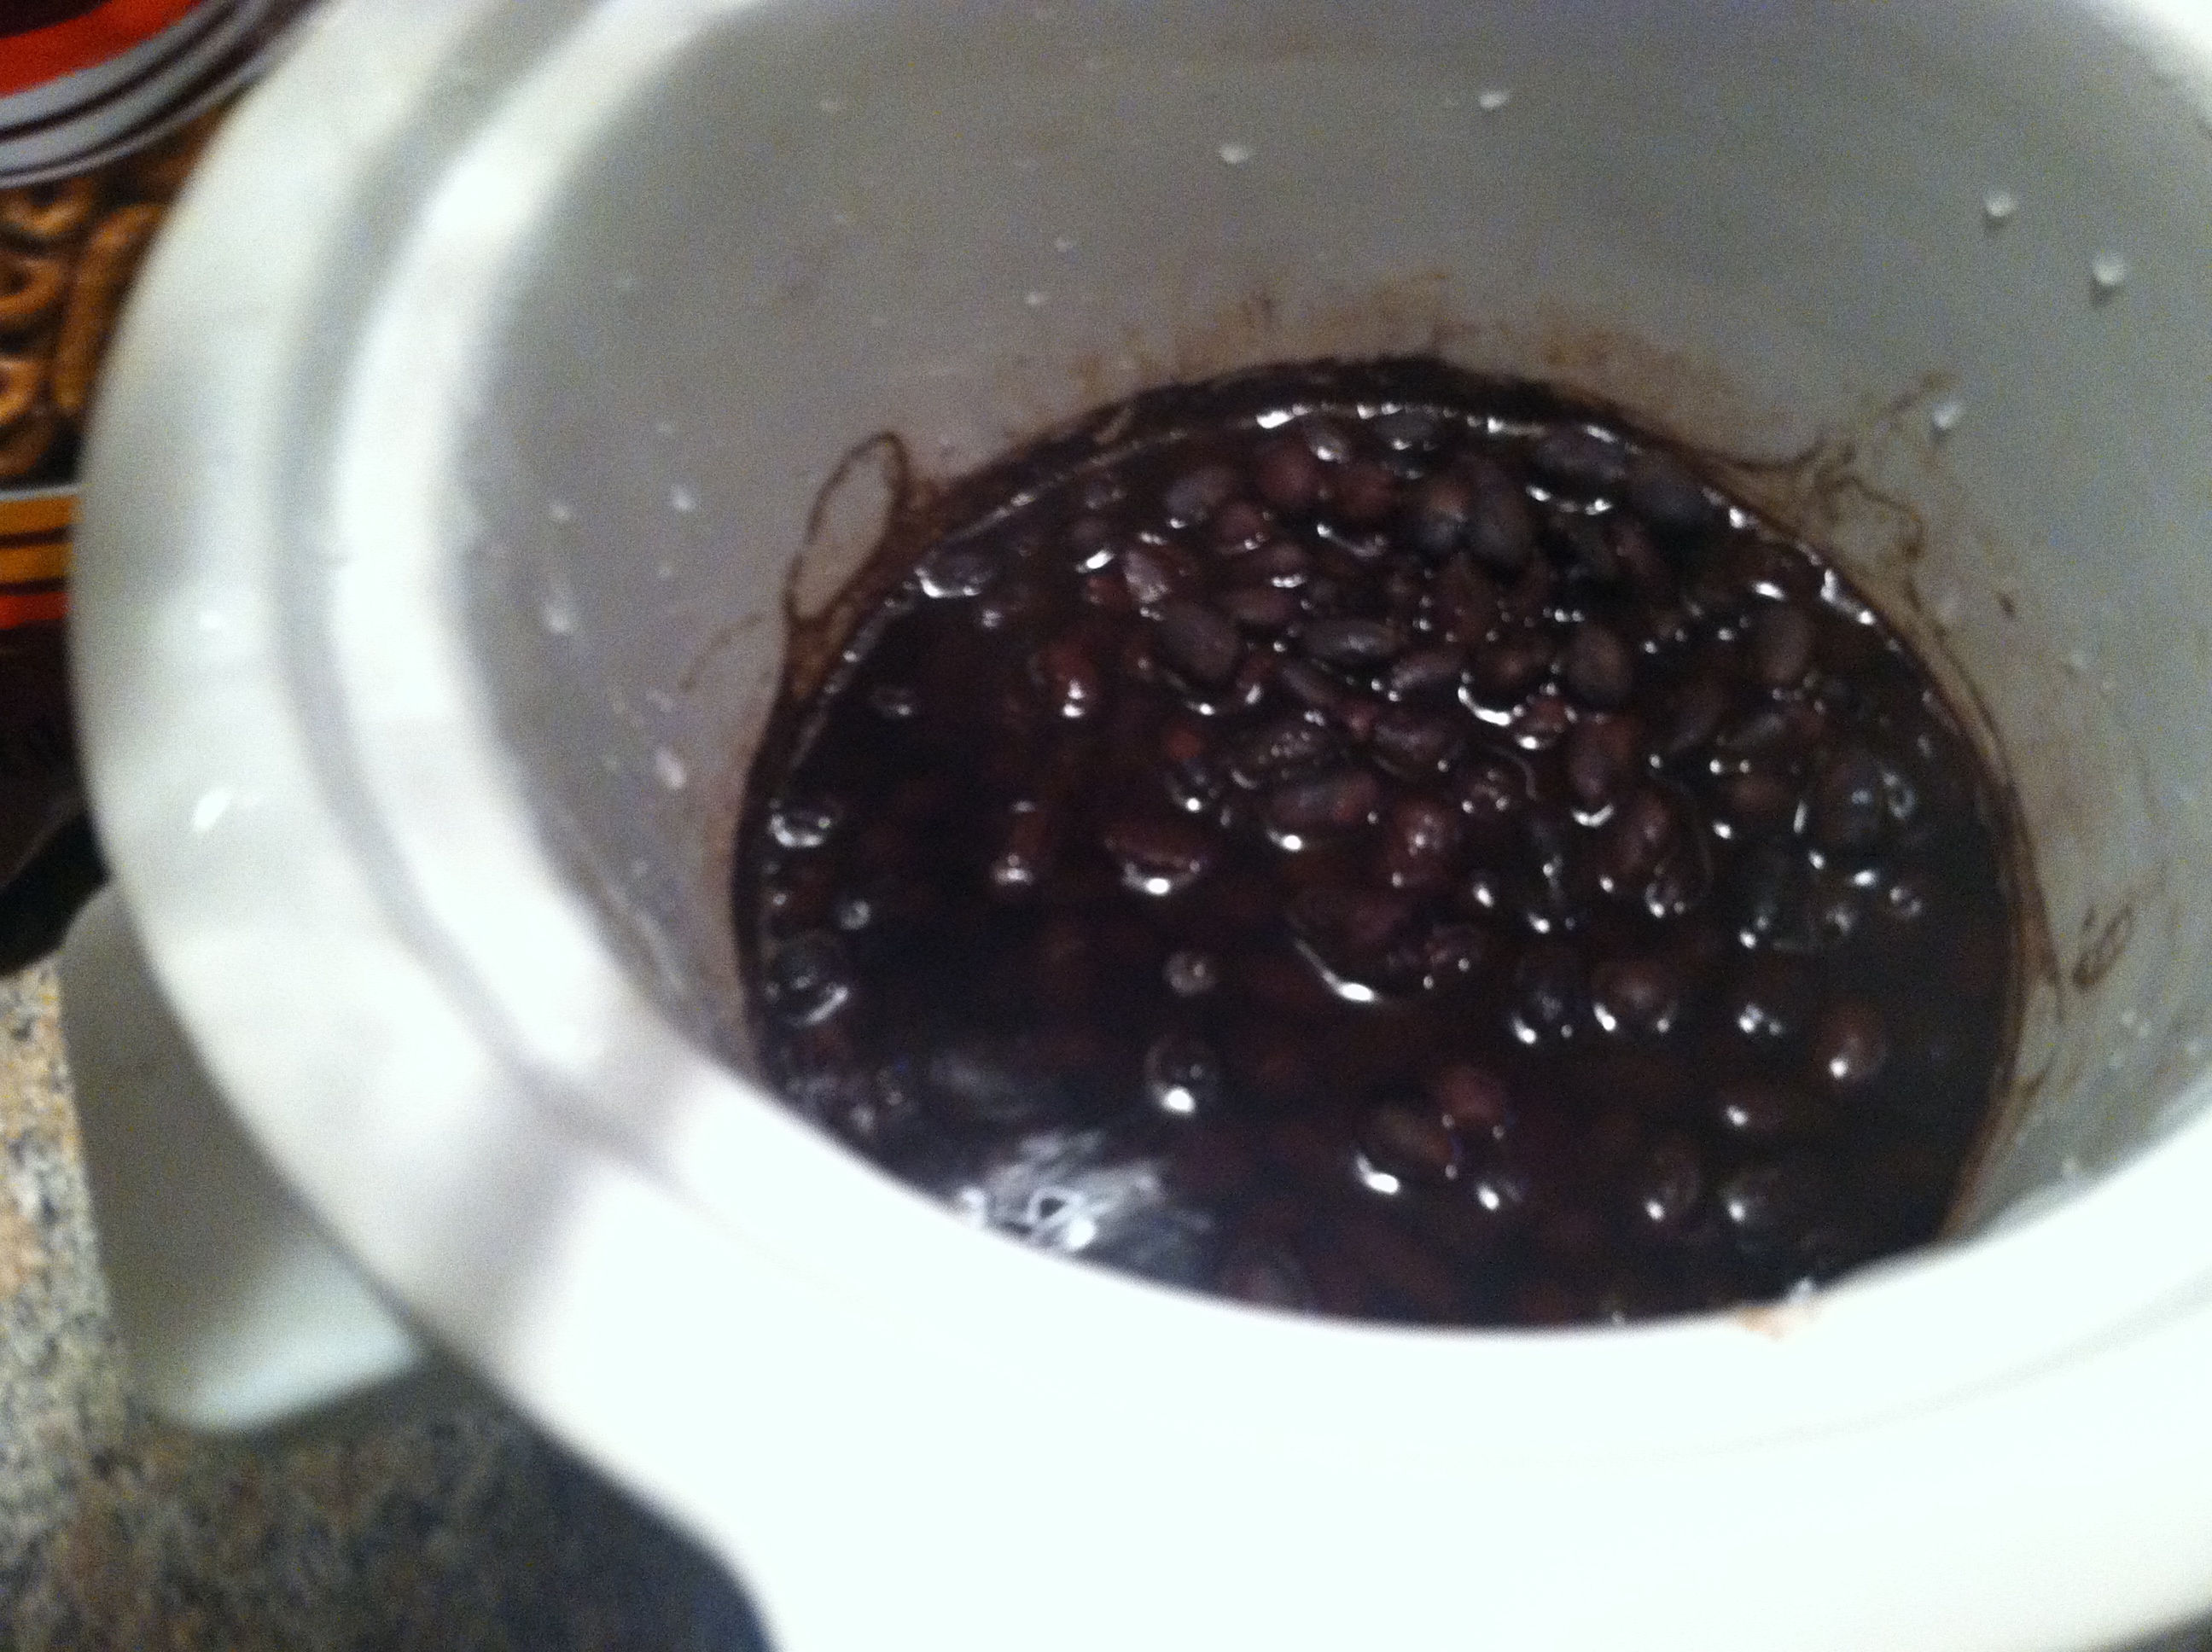
Step 1: Rinse the black beans & make sure there are no rocks/dirt/debris. Place in a crock pot with enough water to cover, and cook on low for 4-6 hours, until beans are soft.
IMG_9475

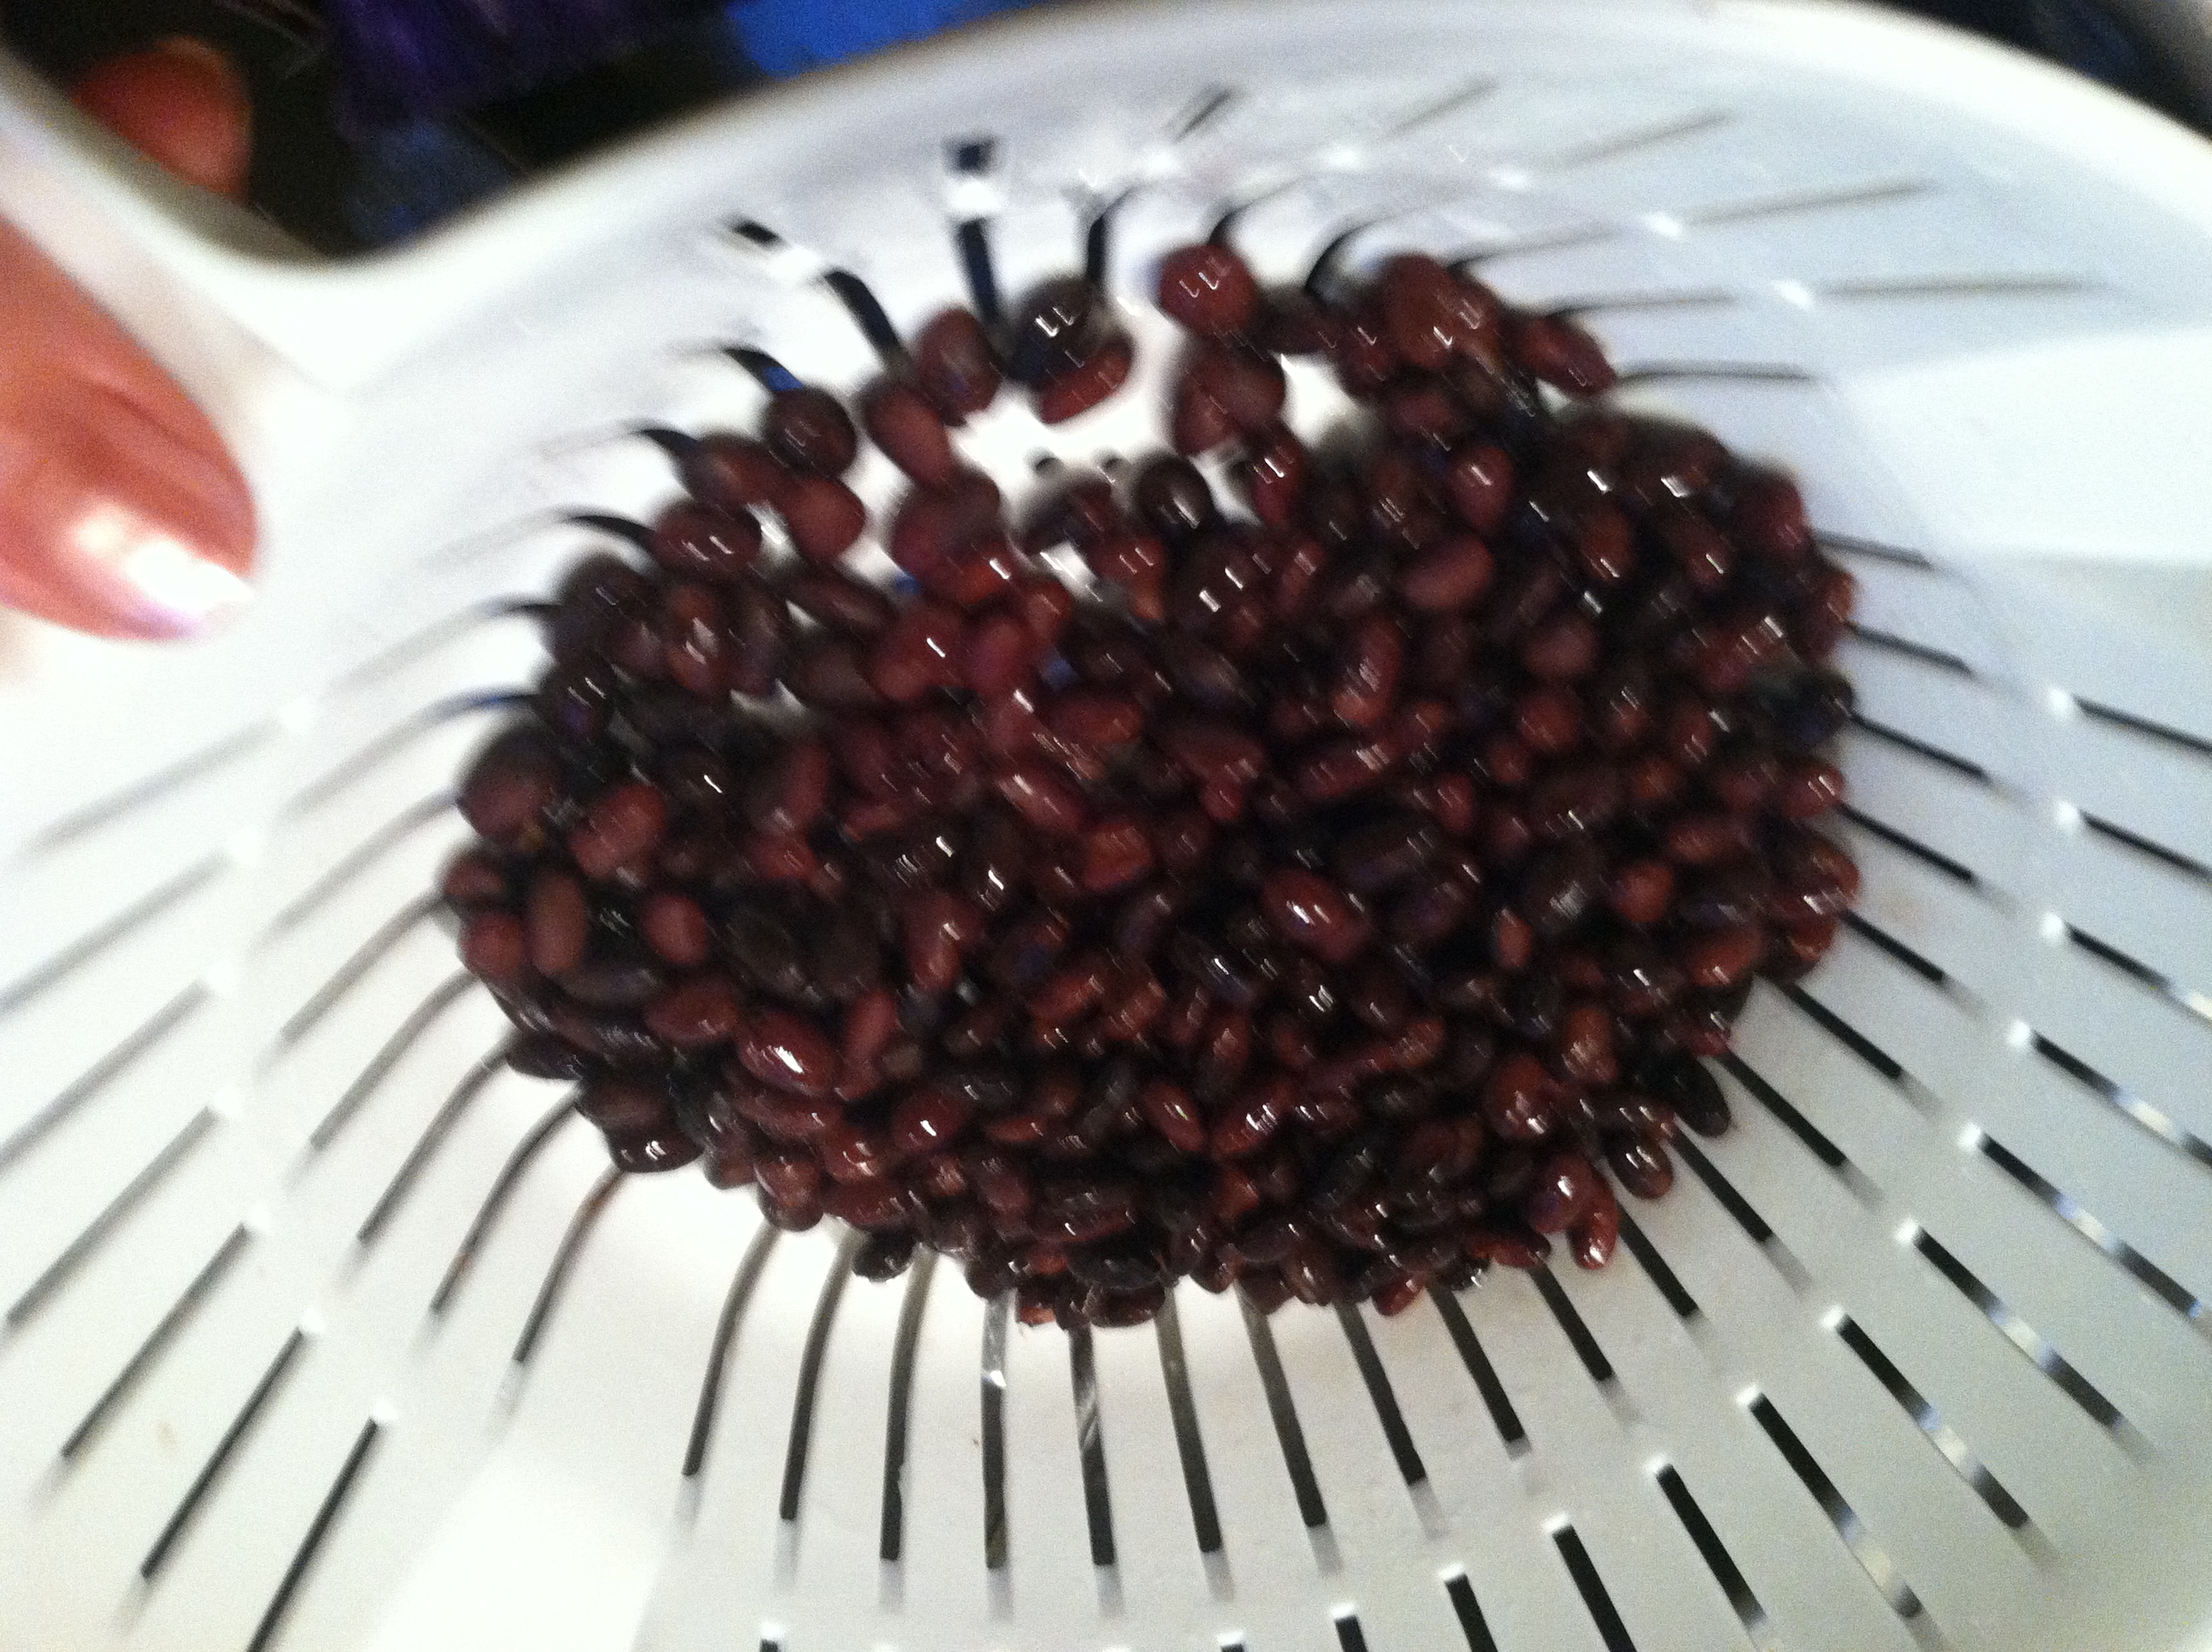
Step 2: If using canned beans, start here with rinsing. Rinse the beans under cool water until it runs clear.
IMG_9476

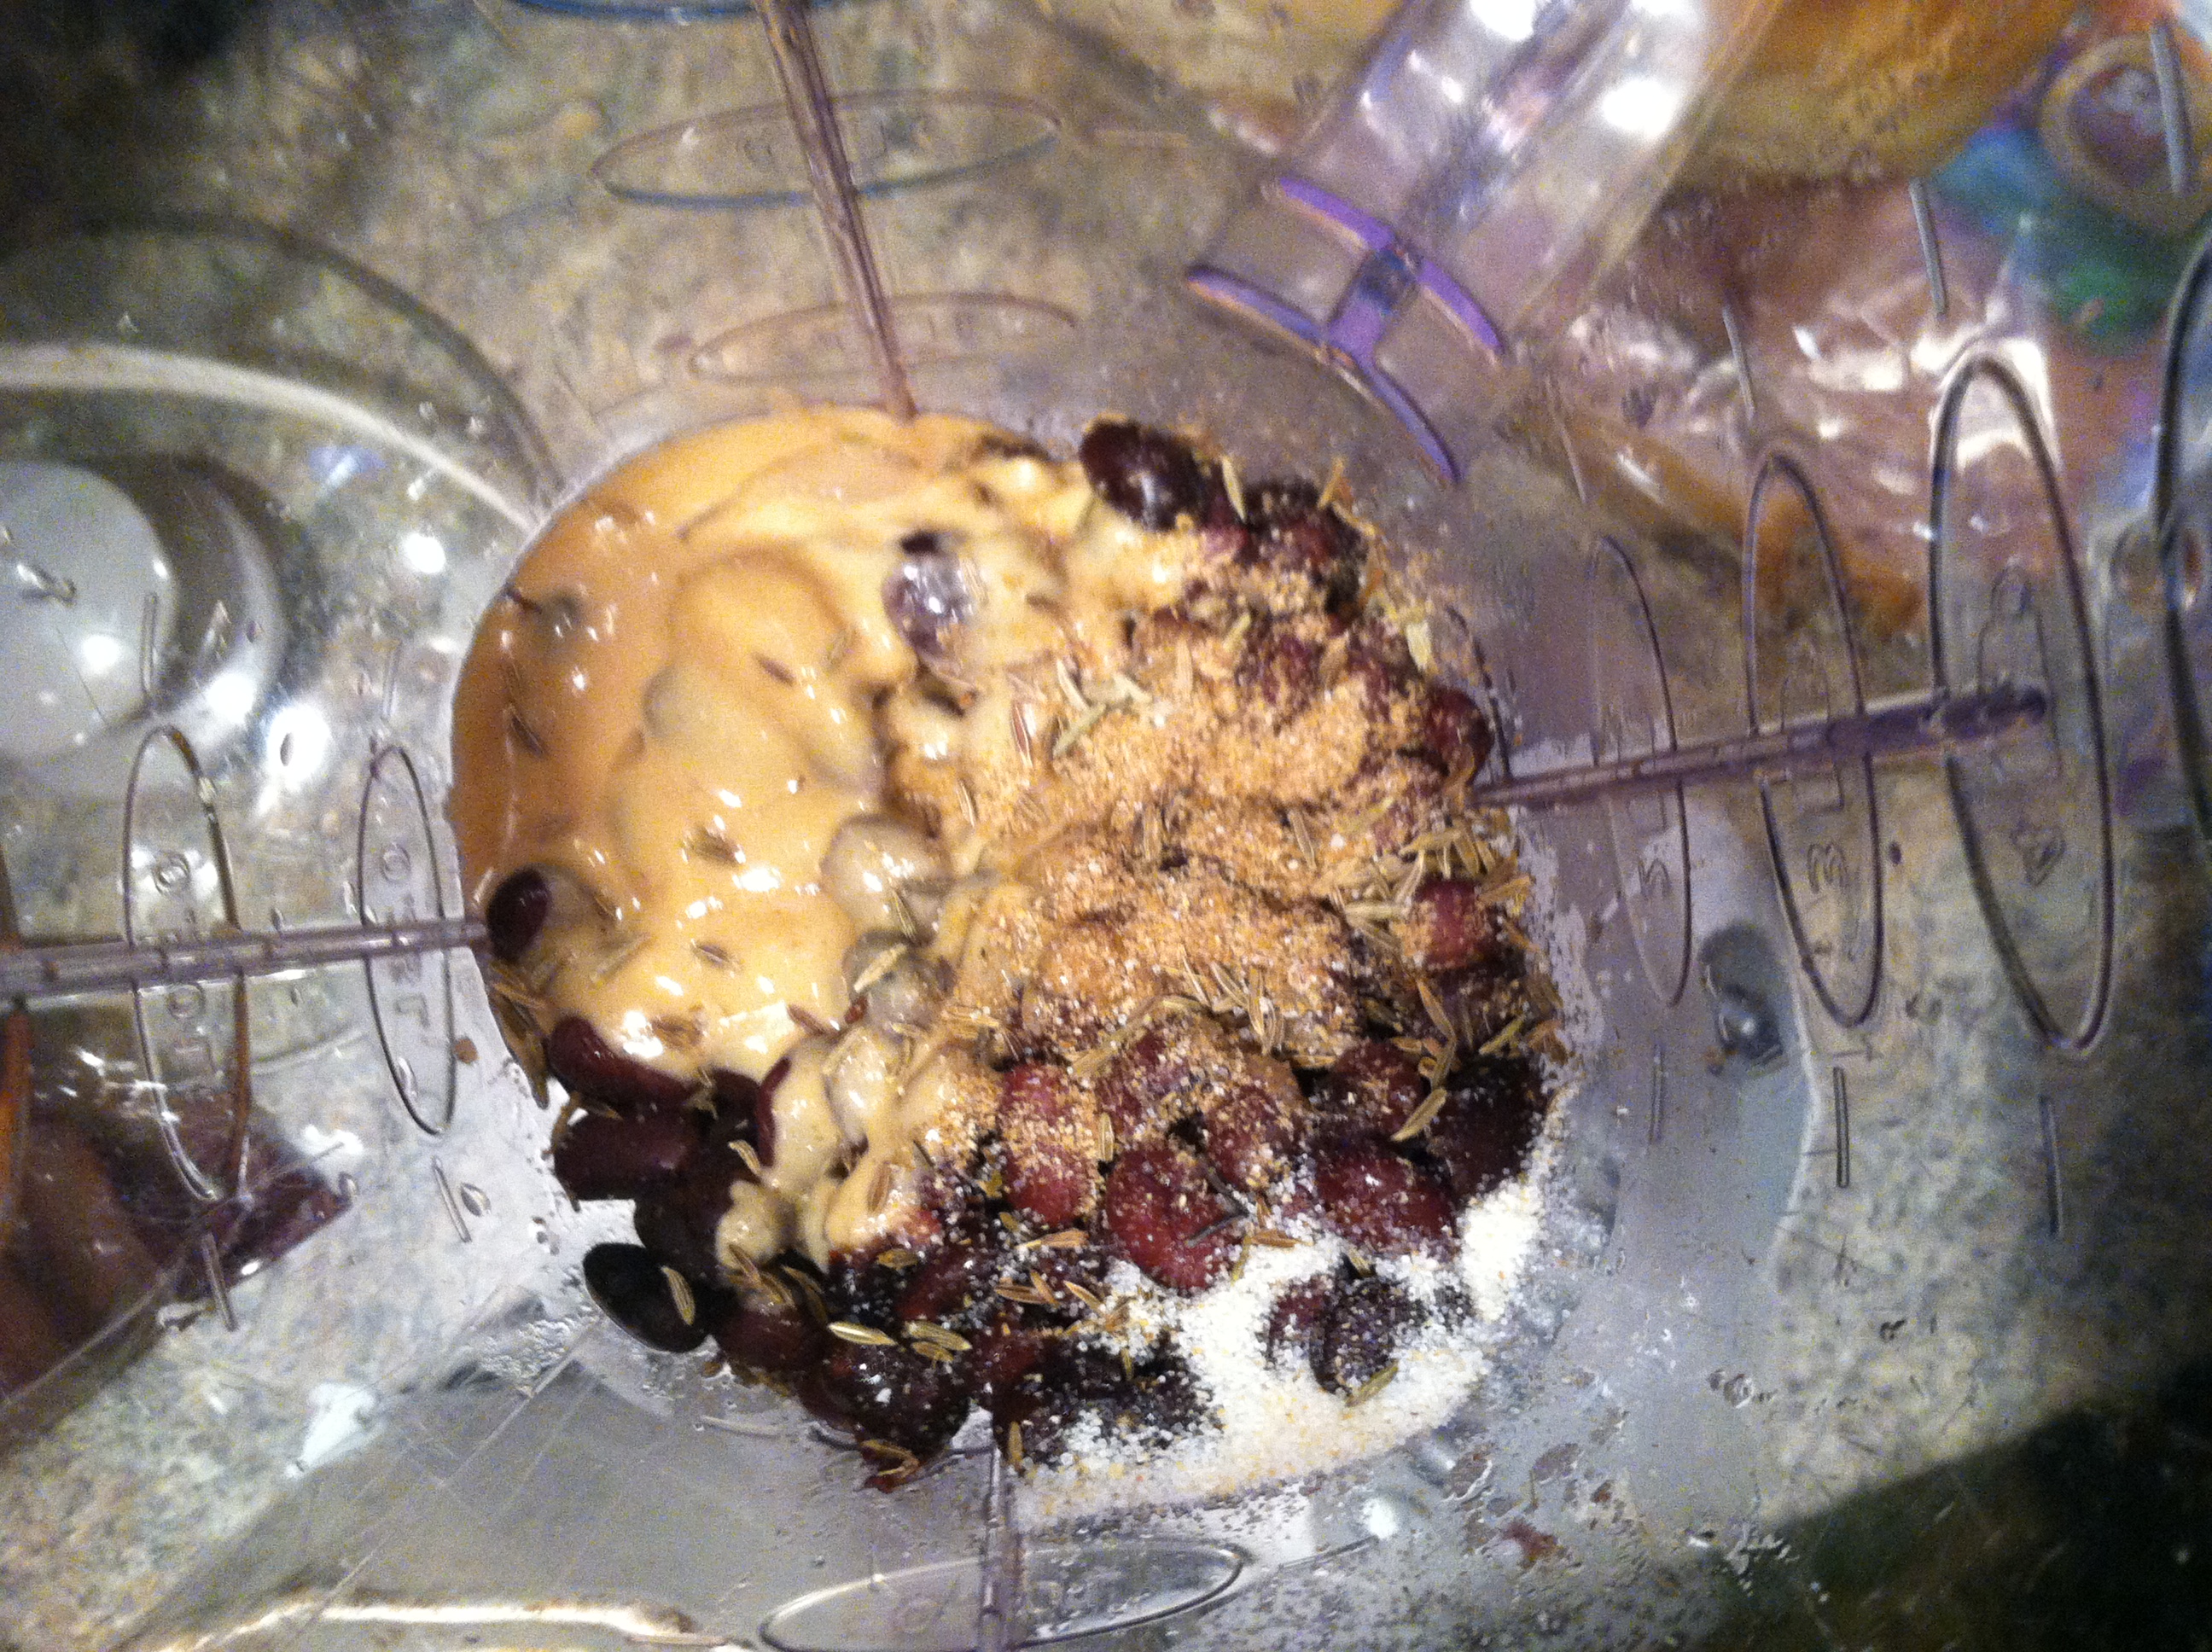
Step 3: Add the beans to the blender, along with the spices, tahini, and lemon juice.
IMG_9479

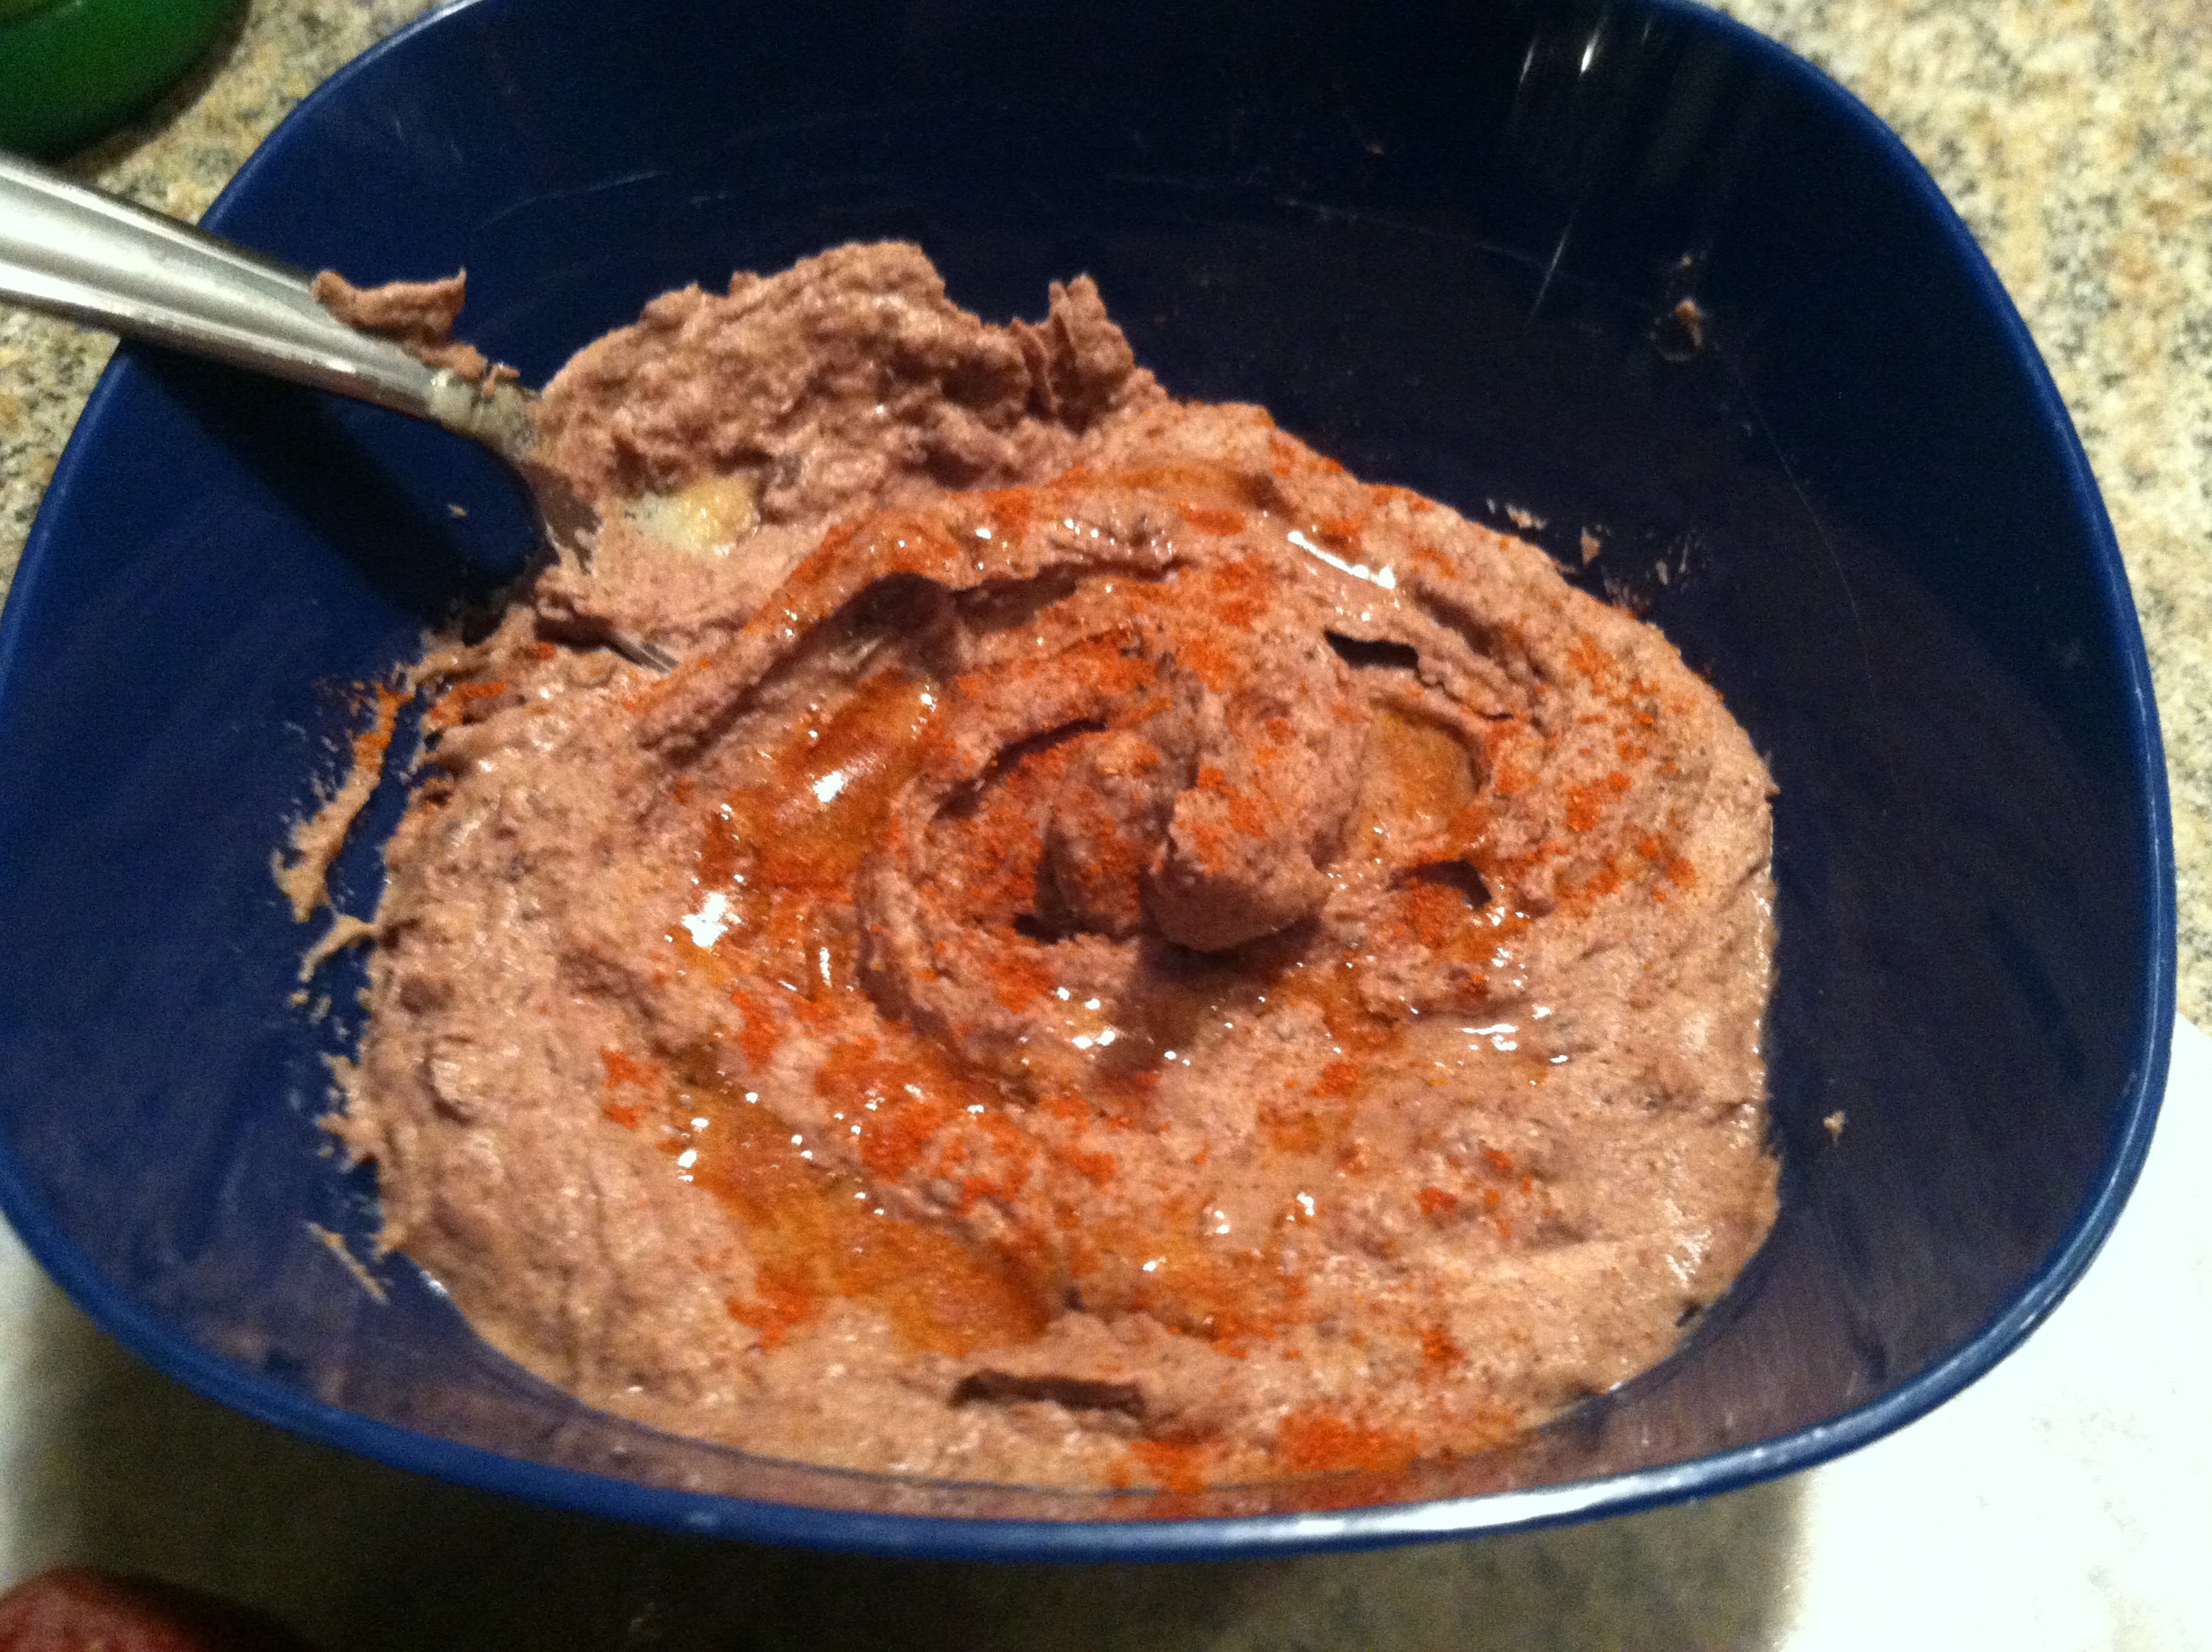
Step 4:  Turn the blender on, and drizzle in the olive oil. Scrape down the sides as needed. Once it reaches the desired consistency, just put in a bowl and you’re done! If it’s too thick, you can add a little more oil or lemon juice, or even warm water, until it’s how you like.
IMG_9481

Once you have your homemade hummus, there are so many options for how to enjoy it! For a nice presentation, drizzle on a little more oil, and sprinkle with paprika. It is a delicious dip for cut fresh veggies, spread it on any kind of sandwiches and wraps, bake your own chips to dip, or use it on pizza like a sauce.

Hummus has tons of plant protein and filling fiber, just try to restrain yourself from eating the whole batch at once.


[amd-zlrecipe-recipe:27]
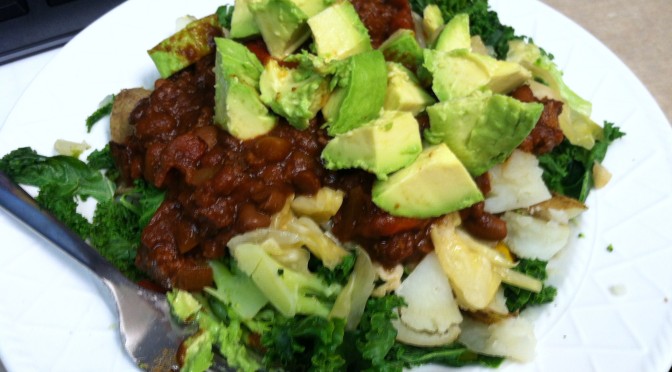
 

Chili & Greens Smothered Potato


Whether for a quick snack or a hearty, filling meal, smothered potatoes are a go-to for me. A plain potato has 150-200 calories, along with magnesium, B vitamins, and a surprisingly high amount of vitamin C. Potatoes get a bad rep mostly because they are usually served or cooked with other things that are far less healthy for you, like butter, margarine, sour cream, and cheese.

The better options for topping your tater include: greens, fresh veggies like broccoli, onion, peppers, avocado chunks, beans, salsa, corn, and of course, chili! I used my delicious vegan three-bean chili. You IMG_7594will use leftover chili, or store-bought, whatever kind you like. If you don’t have chili, looking up this recipe is silly isn’t it?
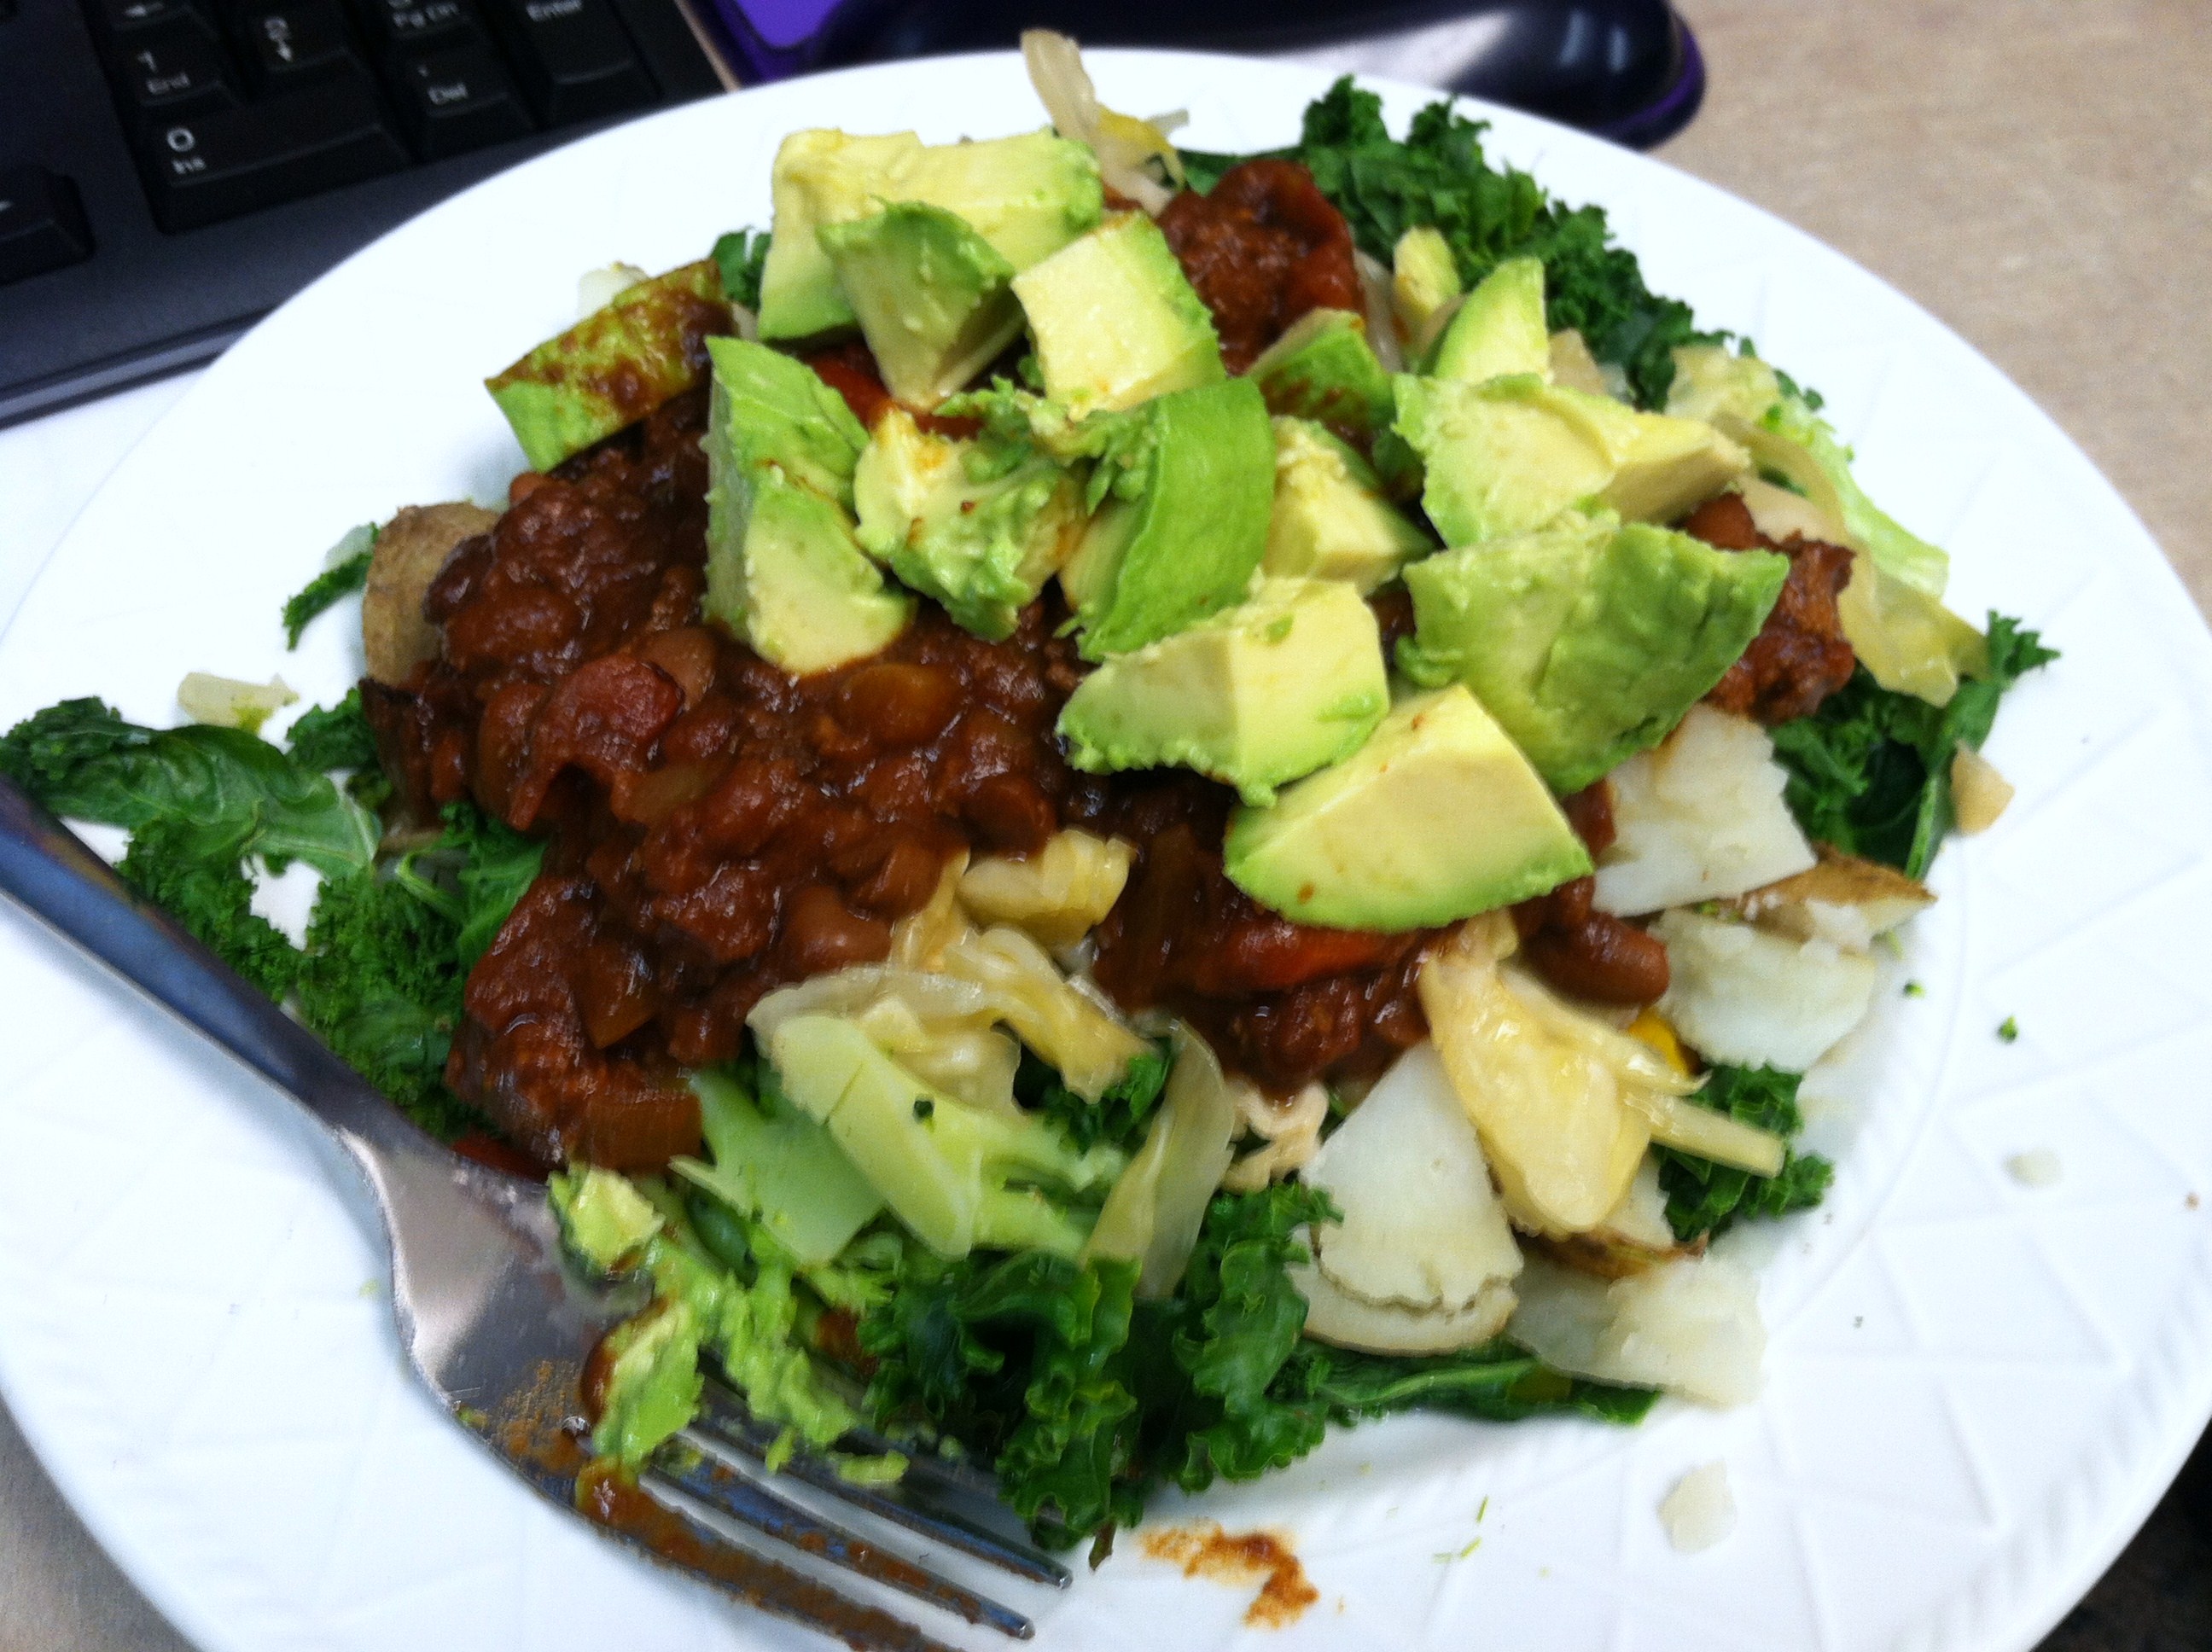
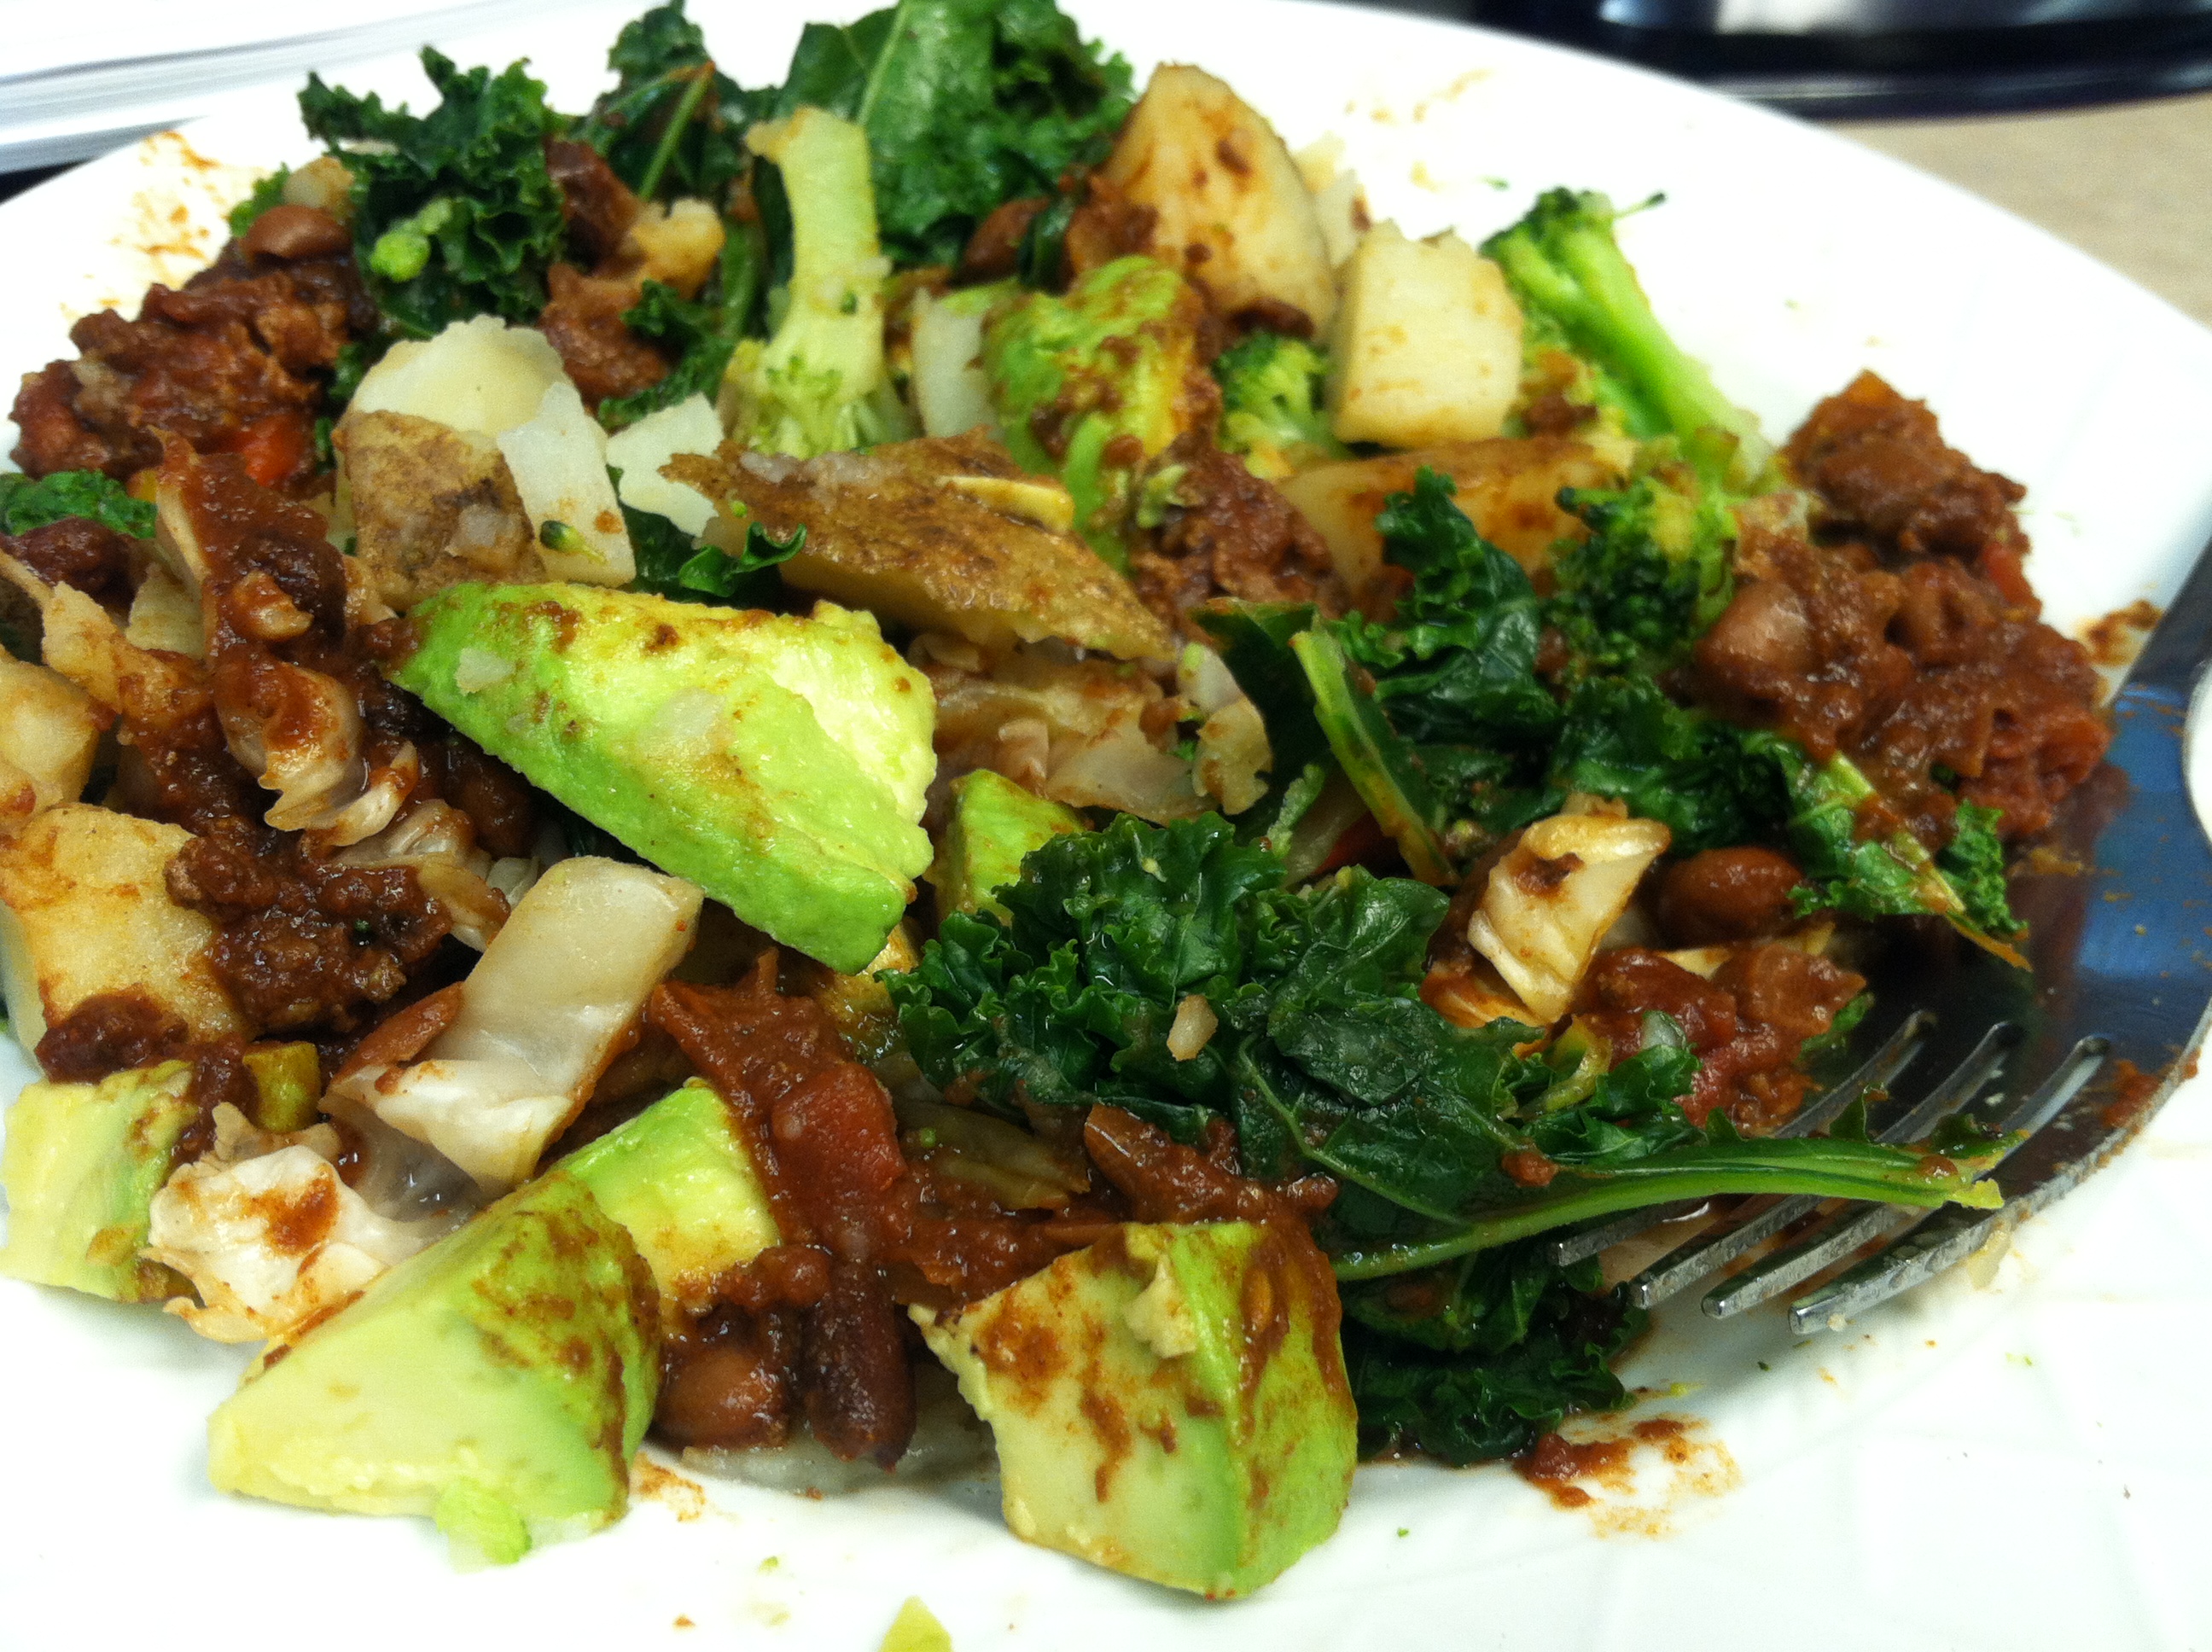
This baked potato takes mere minutes to put together, and is perfect for a portable lunch. You will need a heavy plate and utensils though, no eating while literally on the run here. It is packed with vitamins and nutrients, filling fiber, healthy fats, and staying power from protein. And it’s totally vegan! But you won’t even know the meat is missing, it’s that good.

I used homemade sauerkraut on mine, because I totally love this tangy, salty stuff. If you hate it, don’t worry about it. Not required for the experience. Sauerkraut is ridiculously easy to make, by the way, and crazy good for your digestive health. I’ll have to post on that soon…

Ingredients:

  • 1 medium baking potato
  • 2/3 cups vegan 3-bean chili
  • 1/2 an avocado
  • 1/3 cup broccoli florets
  • 2-3 large kale leaves or 1/3 c spinach
  • 2-3 tbsp sauerkraut

IMG_7593

Step 1: Rinse well, and poke holes in the potato. Microwave on high for 5 minutes, turn it, and microwave another 4 minutes.

IMG_7595

Step 2: Cut the hot potato in half, and place on a large plate. Top with the greens, broccoli, and chili, and microwave another 1-2 minutes. Add the sauerkraut and avocado, season if needed and enjoy!


[amd-zlrecipe-recipe:26]

Sweet Potato Shepherd’s Pie


A favorite of some, a mystery to others, the sweet potato is a nutritional powerhouse long under-appreciated by the mainstream. Sweet potatoes are an excellent source of beta-carotene, vitamin C, copper, and several B vitamins. They also contain digestive-health-promoting fiber, potassium, and phosphorus.

Luckily more and more people are getting on the sweet potato band wagon. While delicious on its own baked or steamed with a drizzle of cinnamon-sugar or maple syrup, there are many ways to use this delightful vegetable. Cook as you would a regular white potato and use instead for healthful results.

This recipe takes a classic comfort food and switches up the ingredients to create a new classic that’s far more nutritious and healthy. Small swaps can lead to big results, and can introduce your taste buds to whole new worlds. Starting small is a good way to slowly introduce someone (or yourself) to a new flavor without being overwhelming.

I use half white and half sweet potatoes for the topping here, and create my own creamy filling to keep the fat content in check. Stuffing as many extra veggies as possible in is also a great addition.

Ingredients:

  • 2 sweet potatoes
  • 2 regular potatoes
  • 1 cup shredded cooked turkey or chicken
  • 1 16oz bag of frozen mixed vegetables
  • 1/2 cup soy/almond milk
  • 1/2 cup sour cream or plain greek yogurt

IMG_8817

Step 1: Dice your potatoes into small chunks. Bring a large pot of water to a boil, and simmer the potatoes for 10-15 minutes, until soft. Drain, and mash together.

IMG_8900

Step 2: Spray an oven-safe pan, and add the frozen mixed vegetables. You could microwave and thaw them first if you have time. Add the milk, sour cream, and turkey and mix well. Leave the turkey out if you’d like a vegetarian dish.

IMG_8901

Step 3: Cover the veggies with the mashed potatoes. Pop into the oven at 350 for 45-60 minutes. Cook longer if you didn’t thaw the veggies first, less time if using fresh chopped veggies that are dry.

IMG_8902

Scoop out a helping and season as you wish. The sweet potatoes do live up to their name and will add a slight sweet taste to the dish. I think just about any mix of veggies would work here, but I especially liked the broccoli/cauliflower and zucchini. This dish has tons of healthy nutrients and minerals with very little fat.


[amd-zlrecipe-recipe:25]

Salsa Chicken Soup


Every once in a while, even those who most love cooking are just too tired or out of ideas to cook. That is the perfect time for me to pull out this little gem! I love recipes that are fast & frugal, and this one is both with the added benefit of being healthy as well.

Whether crunched for time, short on creativity, or you didn’t have time to run to the store so what you have on the shelves is what you’ve got for dinner, this recipe is bound to please. Especially if you do not like to cook any time, this recipe is perfect for you.

Simple: just open a few cans, dump into a pot, and dinner is simmering away. If reading isn’t your thing, and you’d rather see just how easy this is, you can check out the YouTube video, or scroll to the bottom of this post.

IMG_9202

Ingredients:

  • 1 can diced tomatoes
  • 1 can corn
  • 2 cans any type of beans (I used balck and red)
  • Optional: 1 can chicken
  • 1 cup salsa
  • 1 gallon water
  • Optional: Chicken bouillon

IMG_9203

Step 1: Open the chicken, beans, & corn, and drain if you’d like. Rinse the beans to get rid of excess sodium. Honestly, I just throw all of it in the pot for flavor.

IMG_9204

Step 2: Pour the water and canned goods into a pot, not draining the diced tomatoes. I usually use diced tomatoes with green chilies because I like the extra spice. You could use regular tomatoes to tone it down, or dice up a jalapeno and throw it in or add hot sauce for even more spice.

IMG_9209

Step 3: Add in the salsa, stir it all around. Bring to a boil, then let simmer for 20-30 minutes.

IMG_9215

This could also be made by throwing all the ingredients into a crock pot on low all day.

IMG_9217

Suggested toppings include shredded cheese, crushed tortilla chips or torn tortillas, and sour cream.

If you choose, you can use cooked shredded chicken breast instead of canned. Or you could leave out the chicken for a hearty vegetarian soup, both ways are delicious.

Less Than 5: Strawberry Banana Yogurt Parfait


As we enter fresh berry season, many rejoice. The sweet, juicy taste of summer is hidden in the rounded flesh of raspberries, the soft skin of blueberries, and the bold redness of strawberries. There is nothing quite like a handful of fresh berries from the farmer’s market, or picked yourself, right off the bush.

Once you get tired of stuffing berries by the handful into your mouth (if is a better word…) you can then try several other delightful ways to enjoy them, including adding frozen or fresh berries to smoothies, making crepes or pancakes, or in desserts like blackberry pie or raspberry crumble.

For versatility alone, I love berry parfaits. They make a great breakfast, or mid-afternoon or post-workout snack. I’ve written before about my raspberry and honey yogurt parfait, and this is another variation.

Strawberry & banana are two flavors that just complement each other well, so it is only natural to pair them together here with crunchy granola, protein packed yogurt, and healthy cinnamon spice. And the best part is that you can enjoy a healthy parfait year-round! Frozen berries work just as well here, and are great for making overnight and refrigerating. By morning it is soft and ready to go.

Ingredients:

  • 1/2 cup plain Greek yogurt
  • 1/2 cup fresh or frozen strawberries
  • 1/2 banana, sliced
  • 1/4 cup granola
  • Sprinkle of cinnamon
  • Optional: 1 tsp sugar

IMG_4798

Step 1: Put the yogurt in a small bowl. I have a mini snack-sized one I use often, it’s just the right amount.

IMG_4797

Step 2: Layer the berries, banana slices, and granola. Sprinkle the cinnamon on top and enjoy! You could use any type of berries here, and can change up the yogurt to use a flavored one if you like.


Amazing Crab & Corn Chowder


Since I live on the East Coast now, things like clam chowder are a given. But one day when I had a craving for it and called around, I found out it costs about $20 per quart to order from a restaurant. Of course my frugal self was all “say what?” I knew I could make something just as delicious for far less. Then one night the significant other, when asked what he’d like for dinner, said “something like soup, but thicker, to dip bread in”.

Challenge accepted.

IMG_9178

I went to the pantry, and surprise, have not stocked anything with clams in it yet. A quick google search revealed that corn chowder and potato chowder are both popular options throughout the midwest and east coast. I love incorporating extra veggies into just about everything, so that sounded good.

But I still wanted that coastline-eqsue “fishy” taste. Not the “I hate salmon forever because this is gross” taste, just the salty, reminds you of the ocean flavor. Anyways.

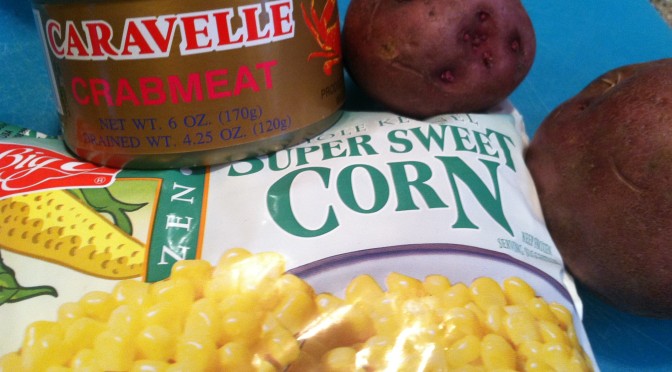
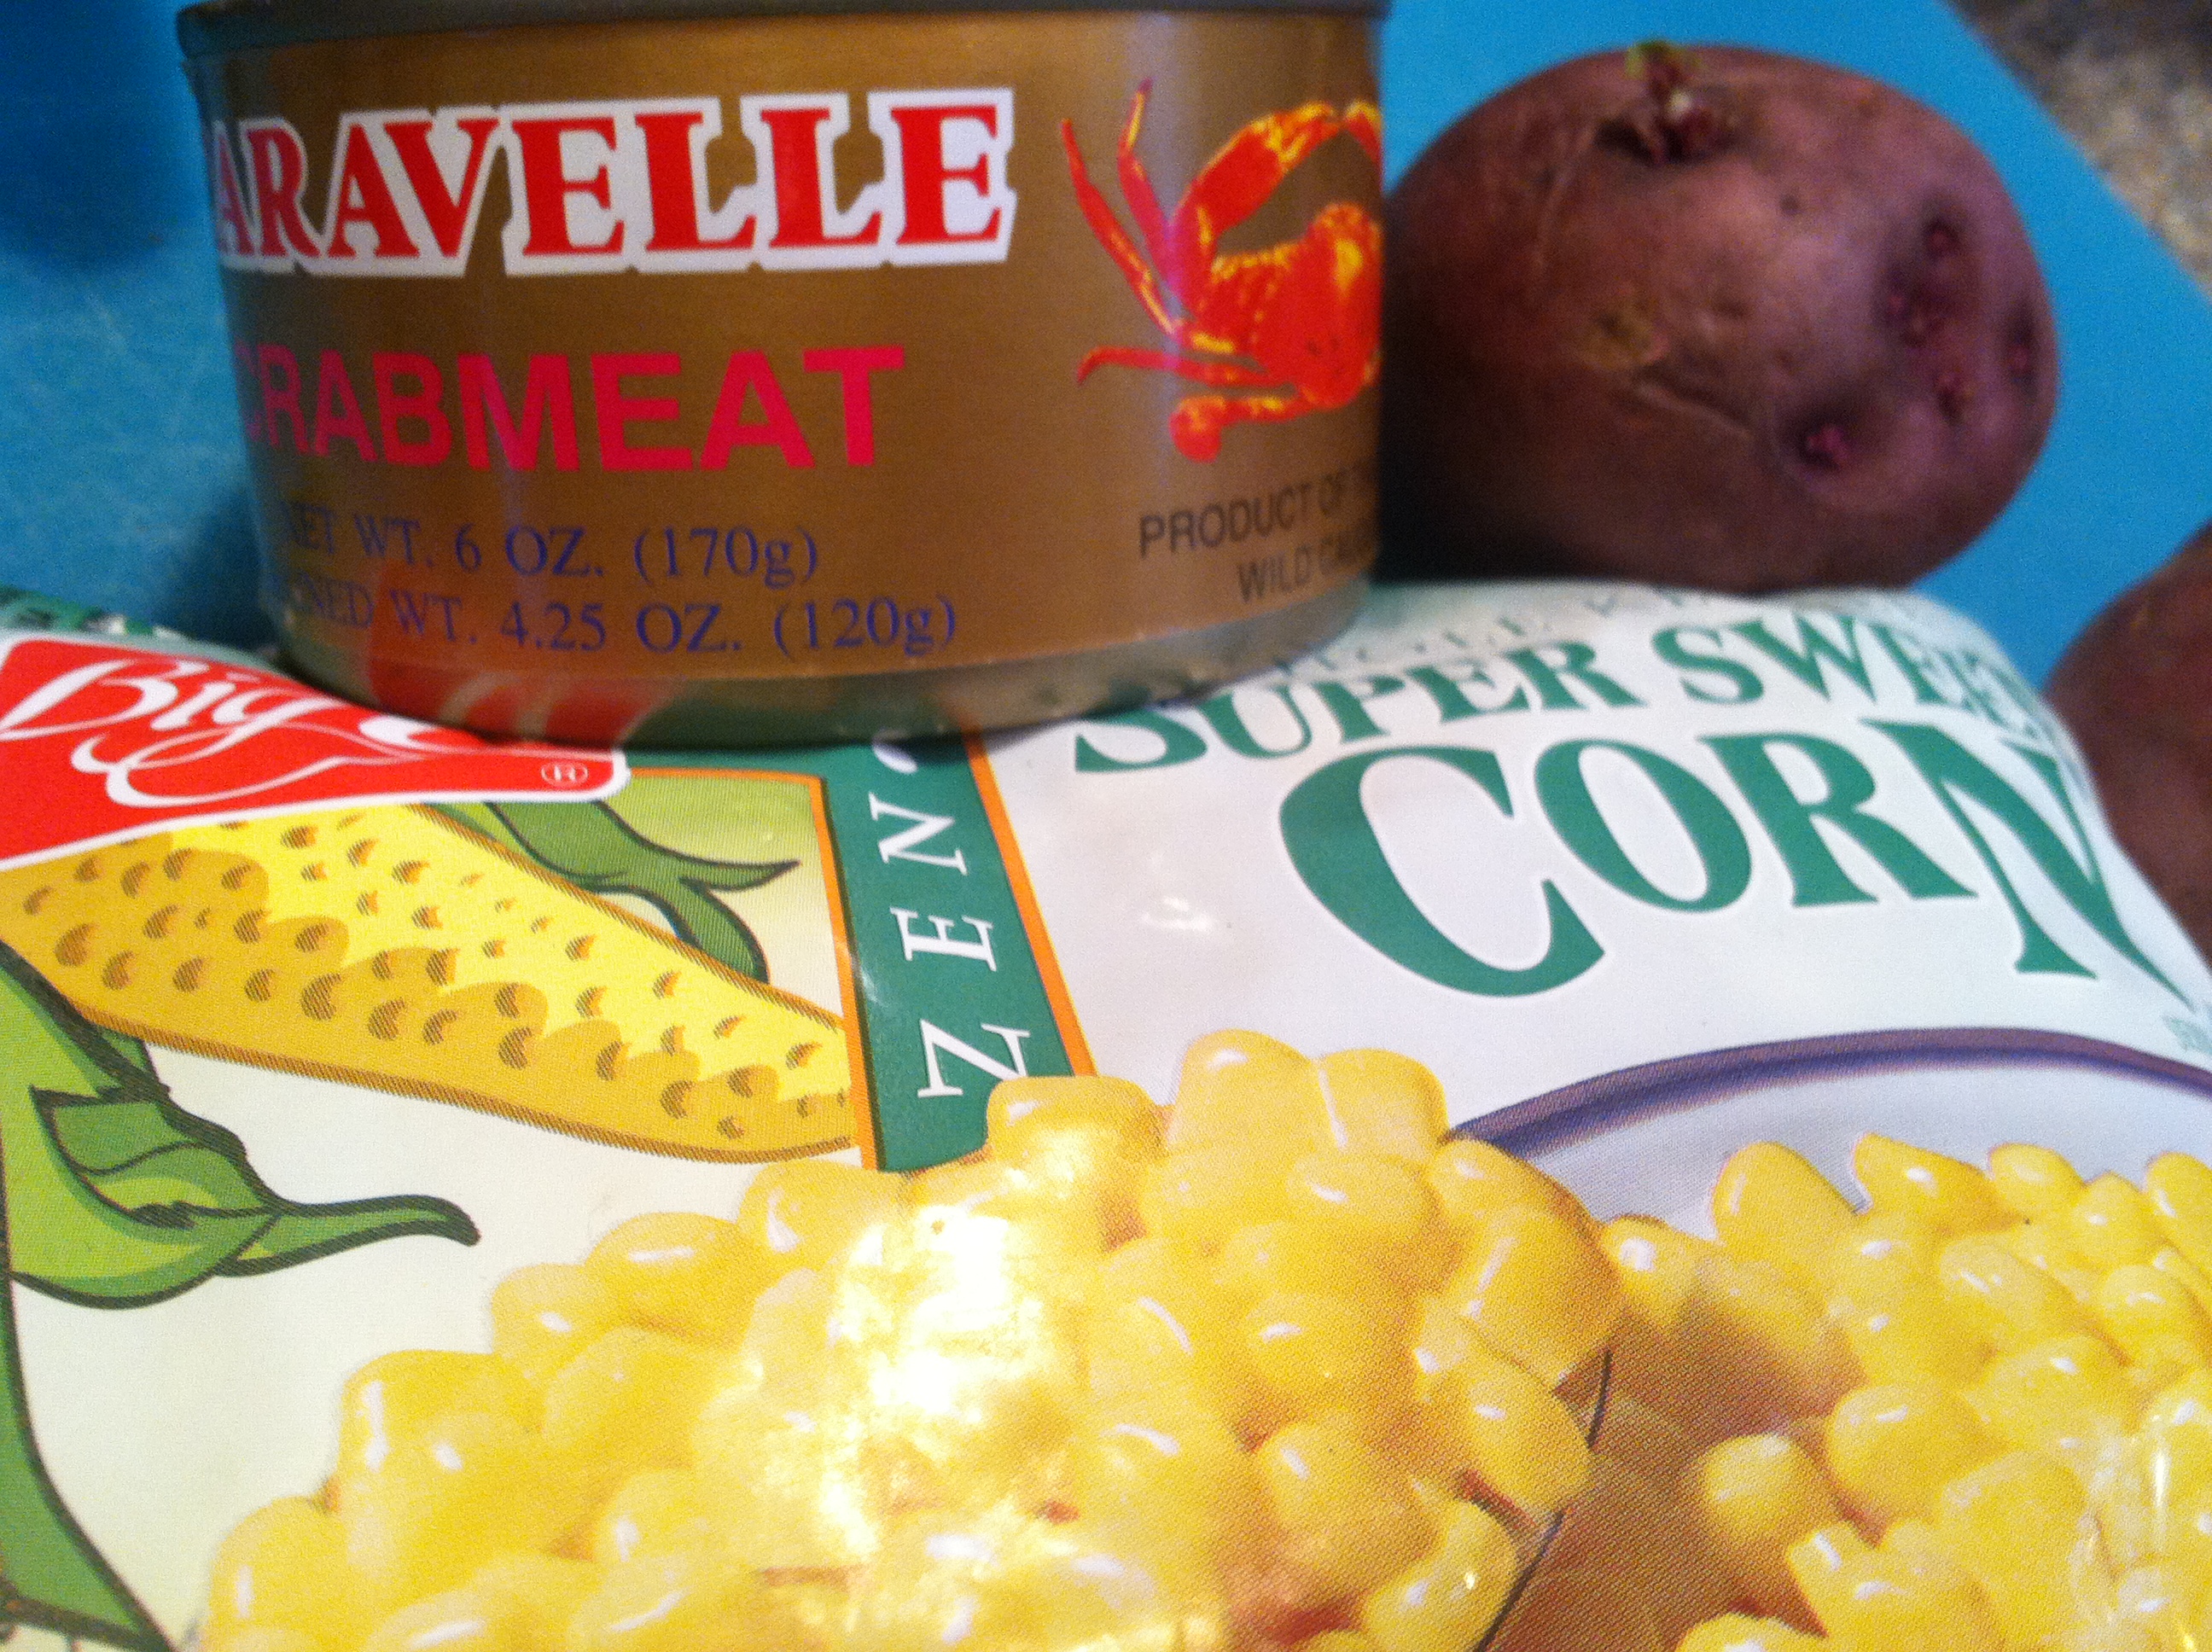
To my delight, I did have some canned crab meat on the shelf!

IMG_9159

Jackpot. Combined with a teeny bit of fish sauce from my favorite Asian market, that should do the trick. A bit of creative dairy and thickening, and this turned out far superior to anything I’ve had in a restaurant. I was quite pleased, and it definitely satisfied the ‘soup-like but thicker’ and dipability requirements.

Ingredients:

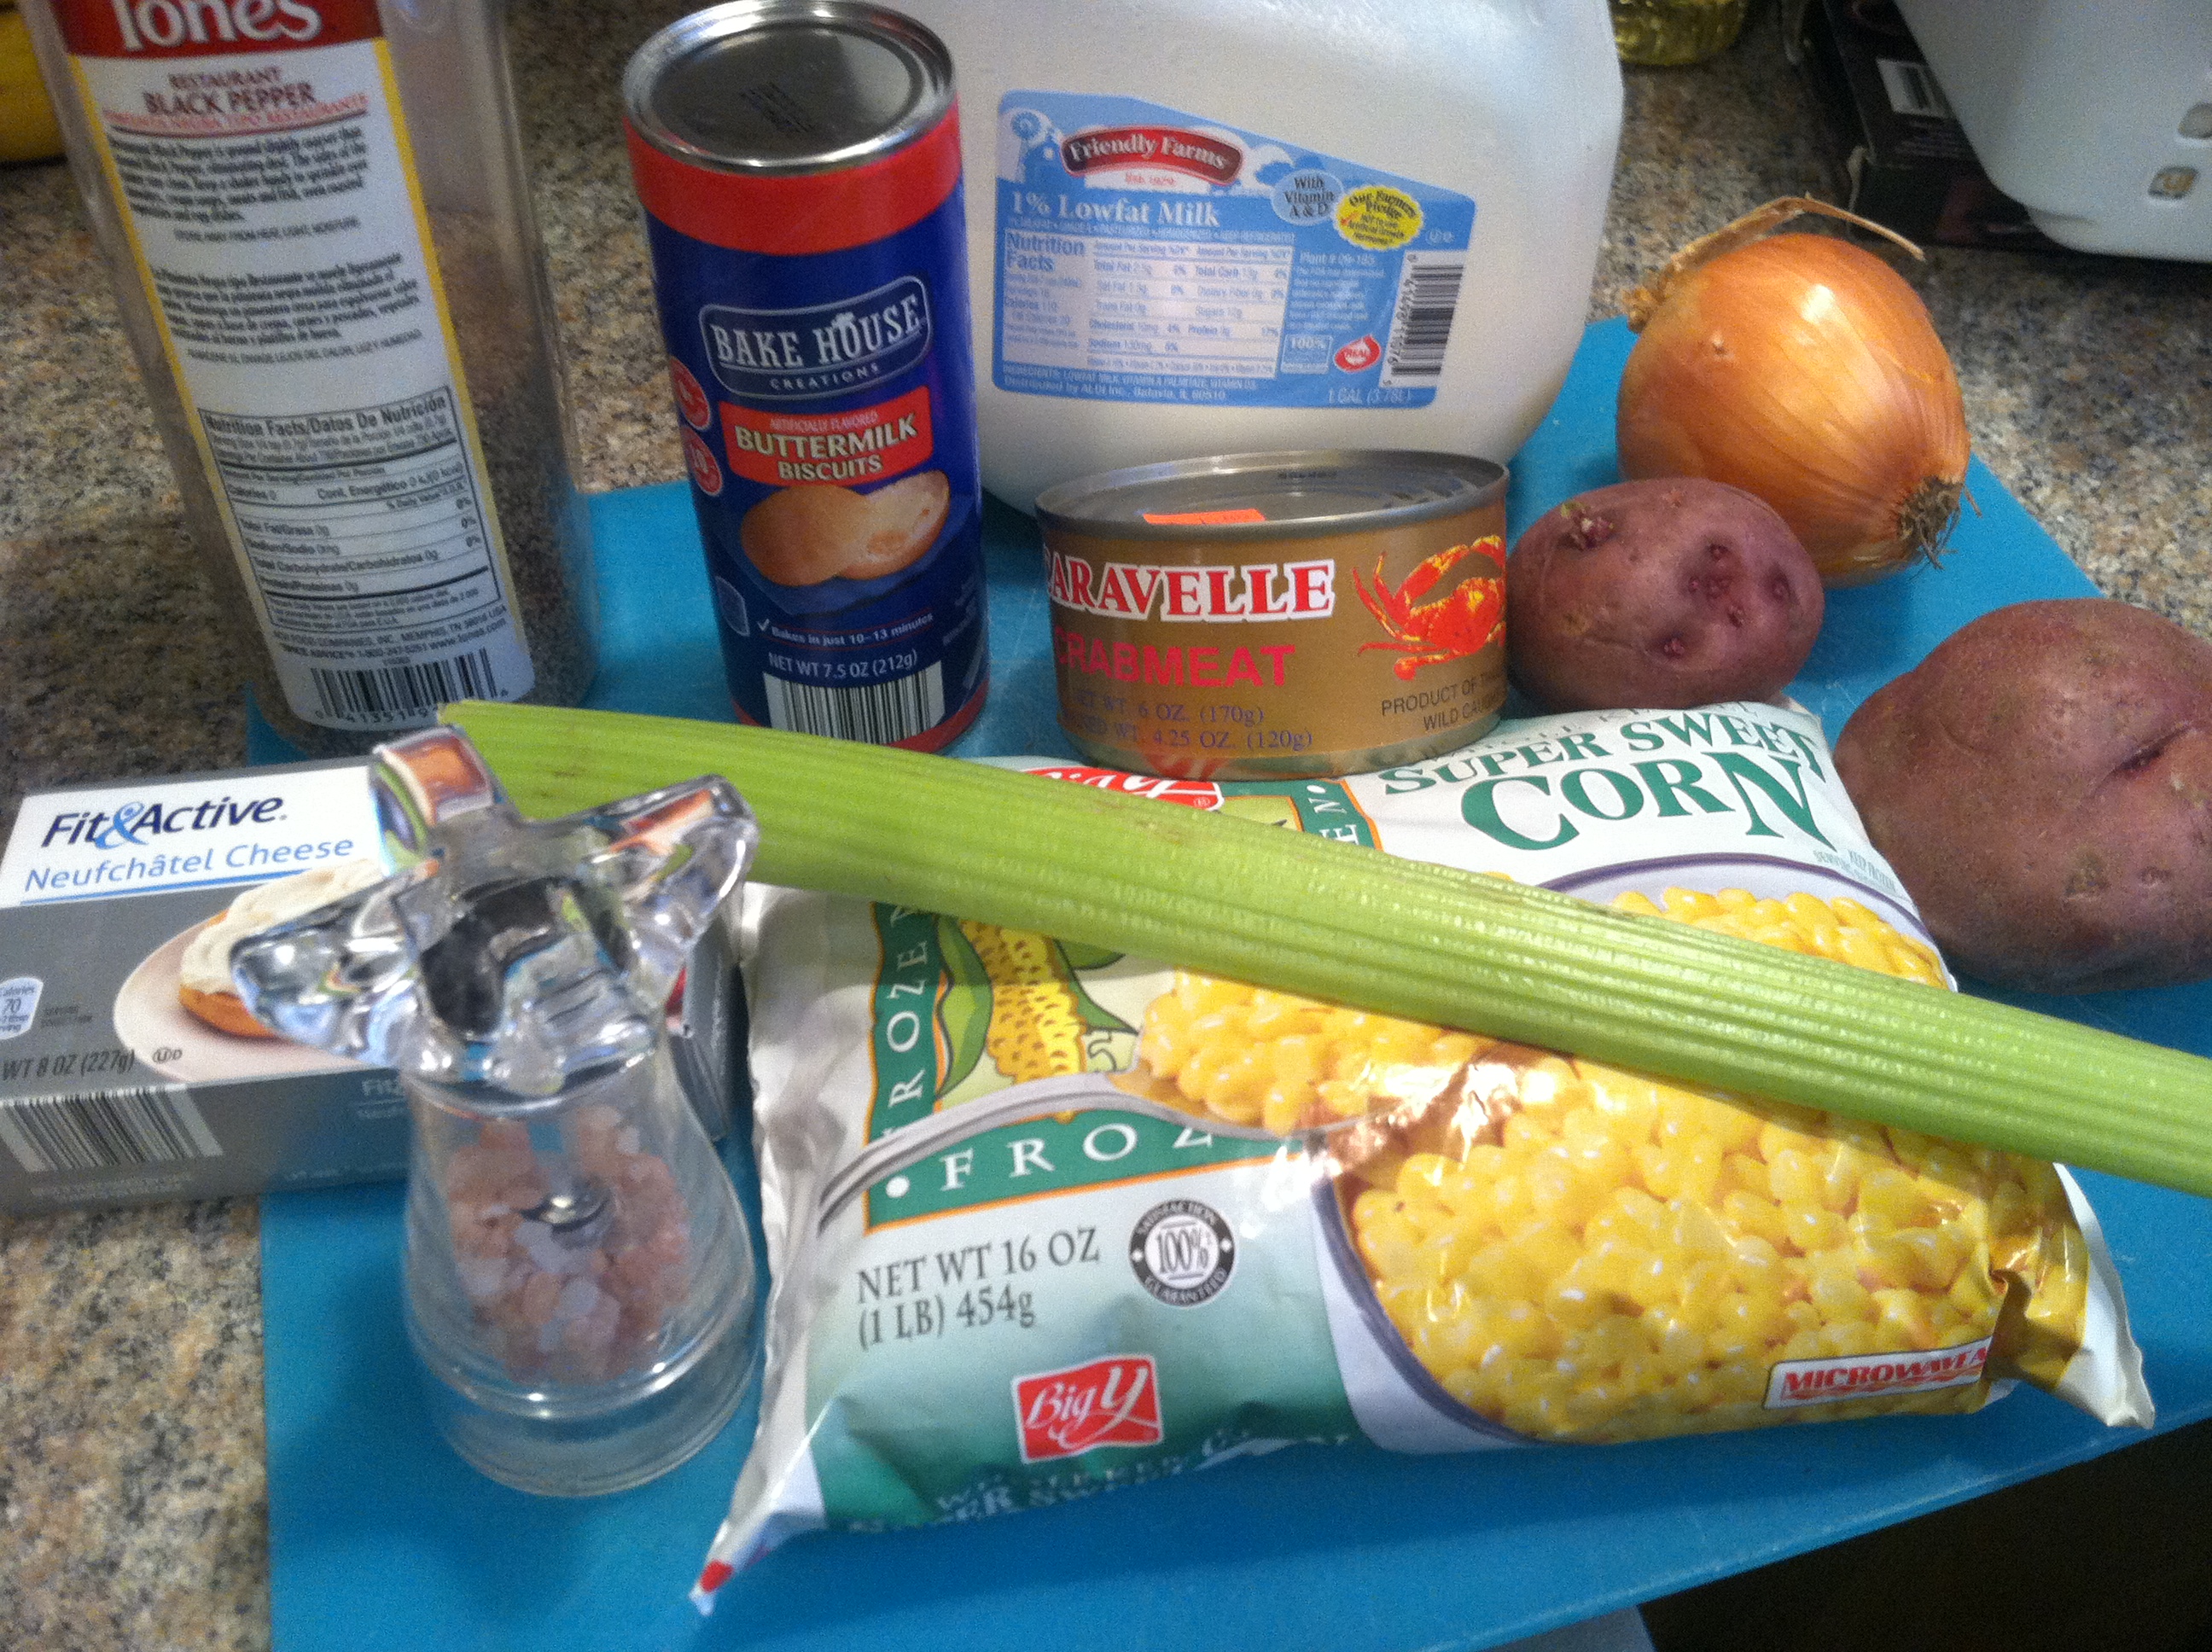
  • 1 can crab meat
  • 1 bag frozen corn (or 2 cups fresh)
  • 2 red potatoes, diced finely
  • 2 celery stalks, diced
  • 1 large yellow onion, diced
  • 1 block of cream cheese
  • 2/3 cup milk
  • 2 tbsp olive oil
  • 1/4 cup fish sauce
  • 3 cups water
  • Salt & pepper to taste
  • Optional: biscuits for dipping, sharp white cheddar cheese to grate on top

IMG_9160

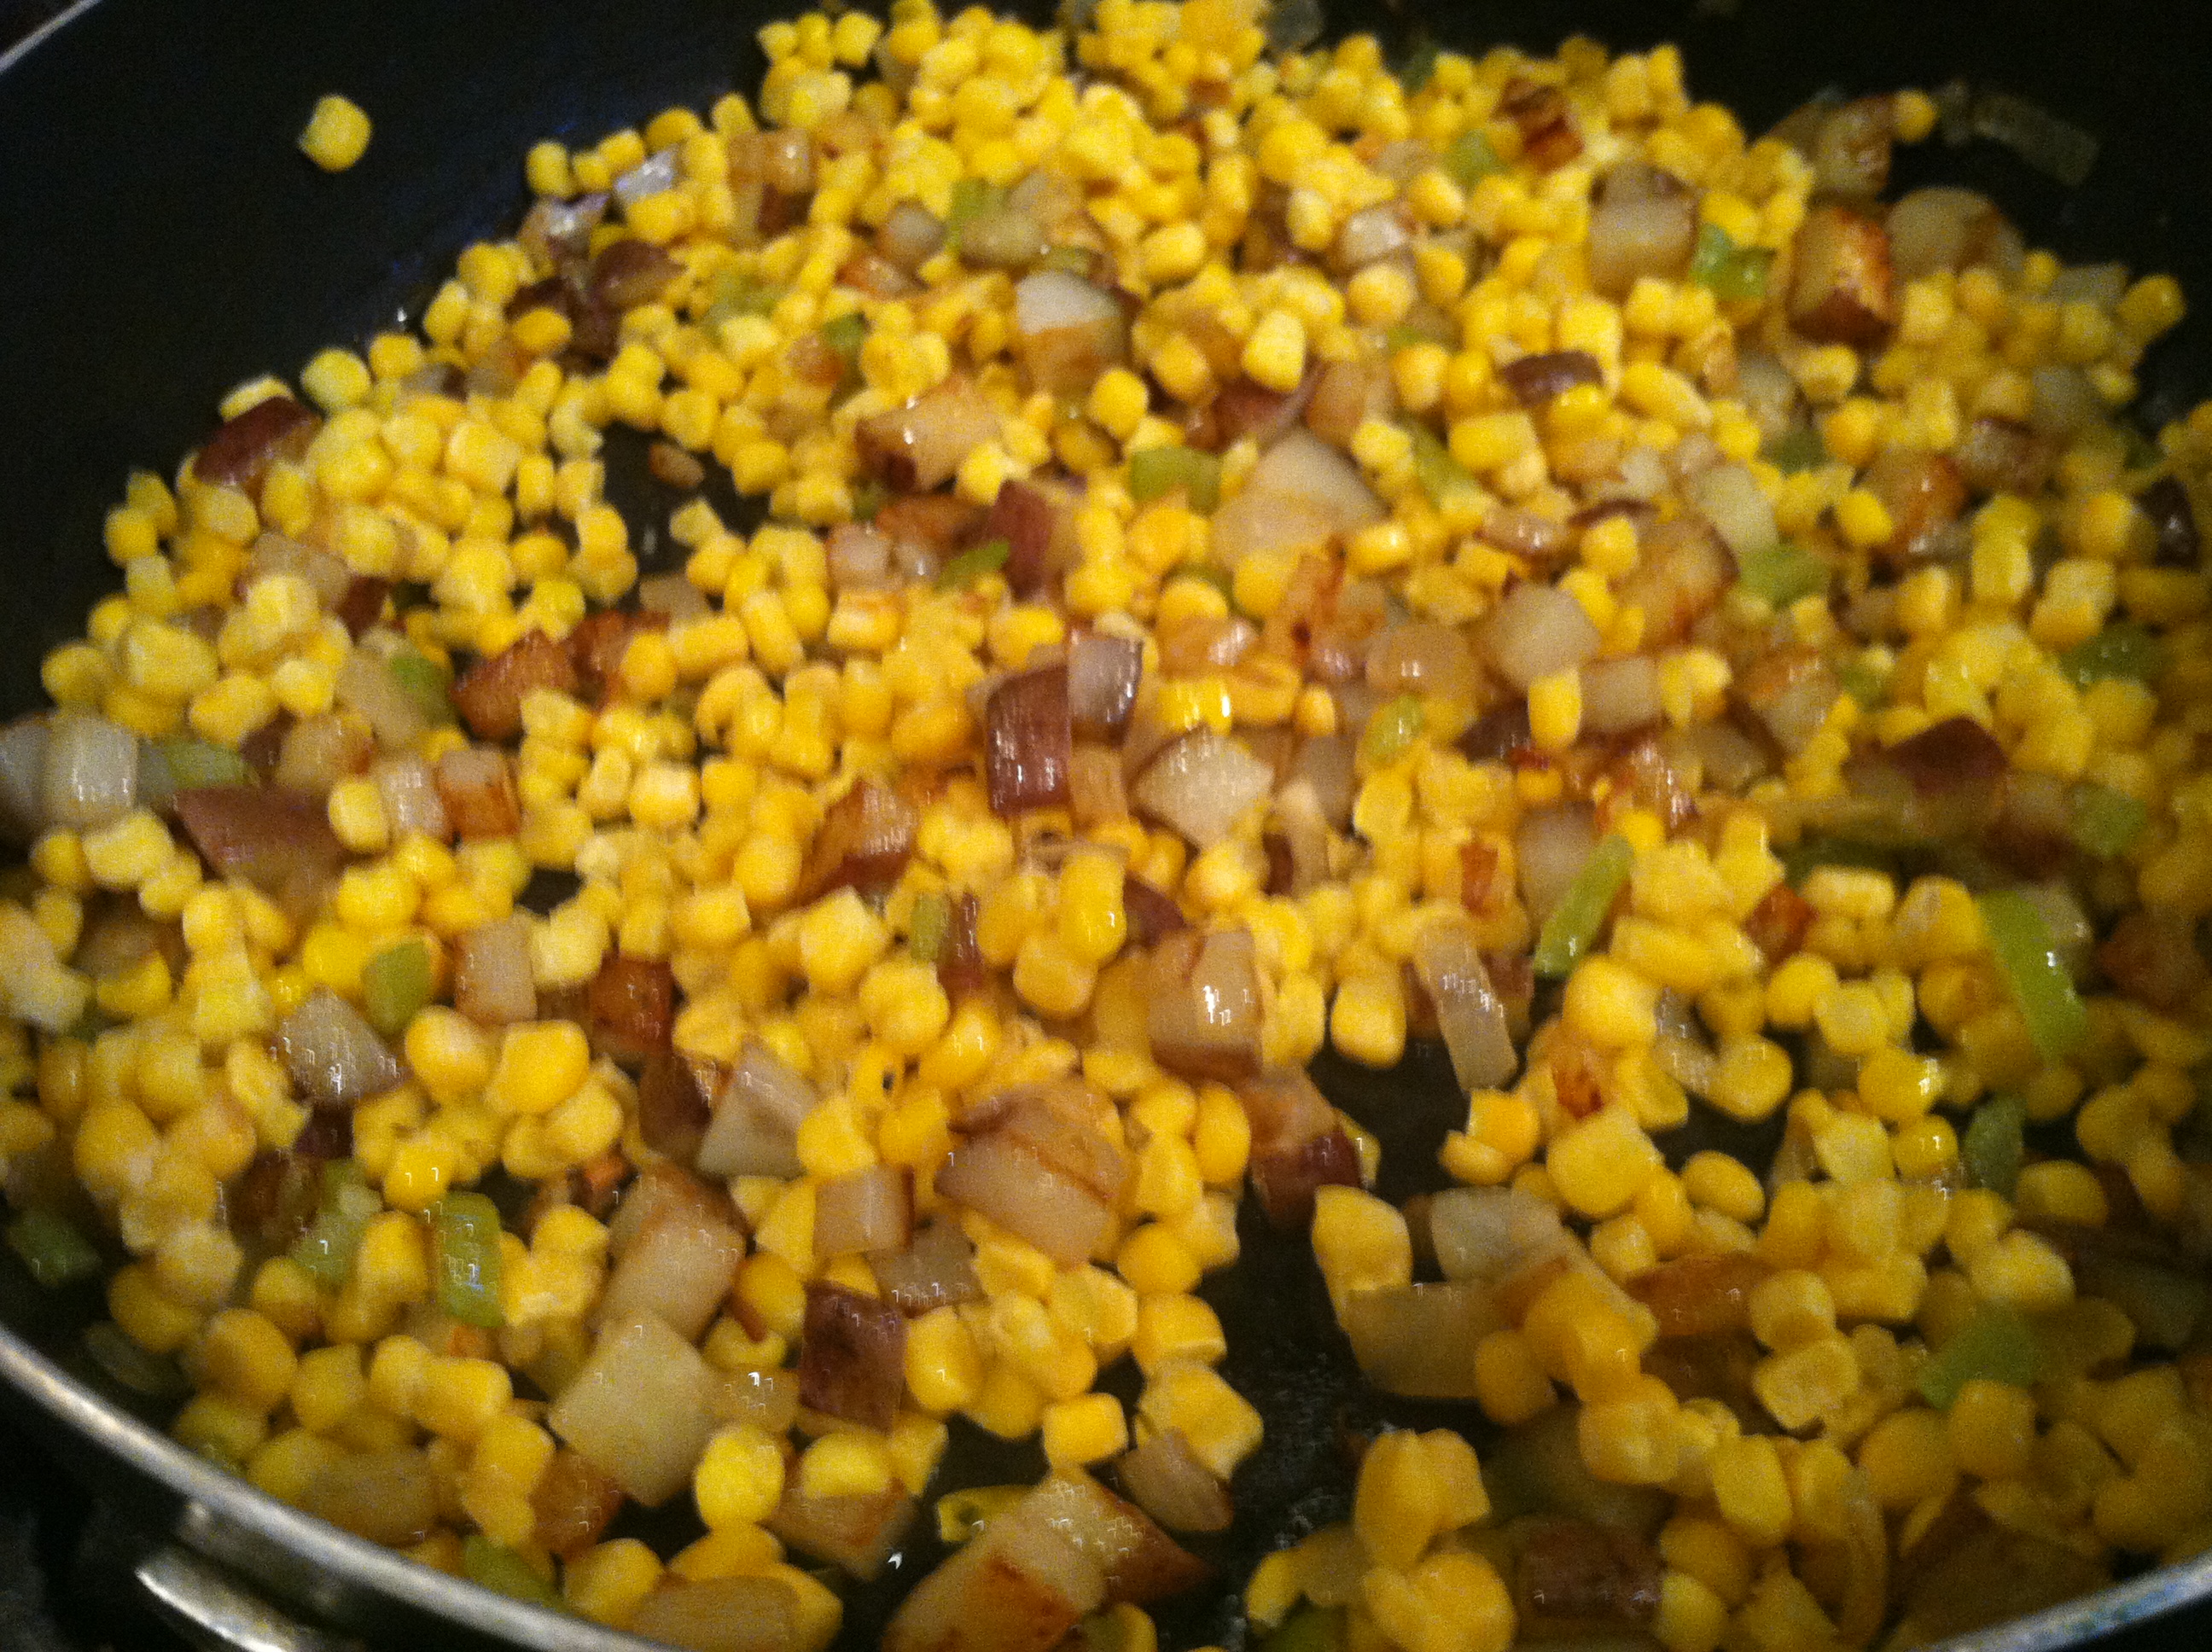
Step 1: In a large pan, add the oil, potatoes, celery & onion. Cover and cook for 5-7 minutes. Give it a good stir, then add in the corn and cook another 10 minutes, until everything is softened.

IMG_9161

Step 2: Add in the water, fish sauce, and milk, adjusting to suit your tastes.

IMG_9162

Step 3: Bring to just a simmer, and add in the cream cheese. Continue to stir as it dissolves.

IMG_9163

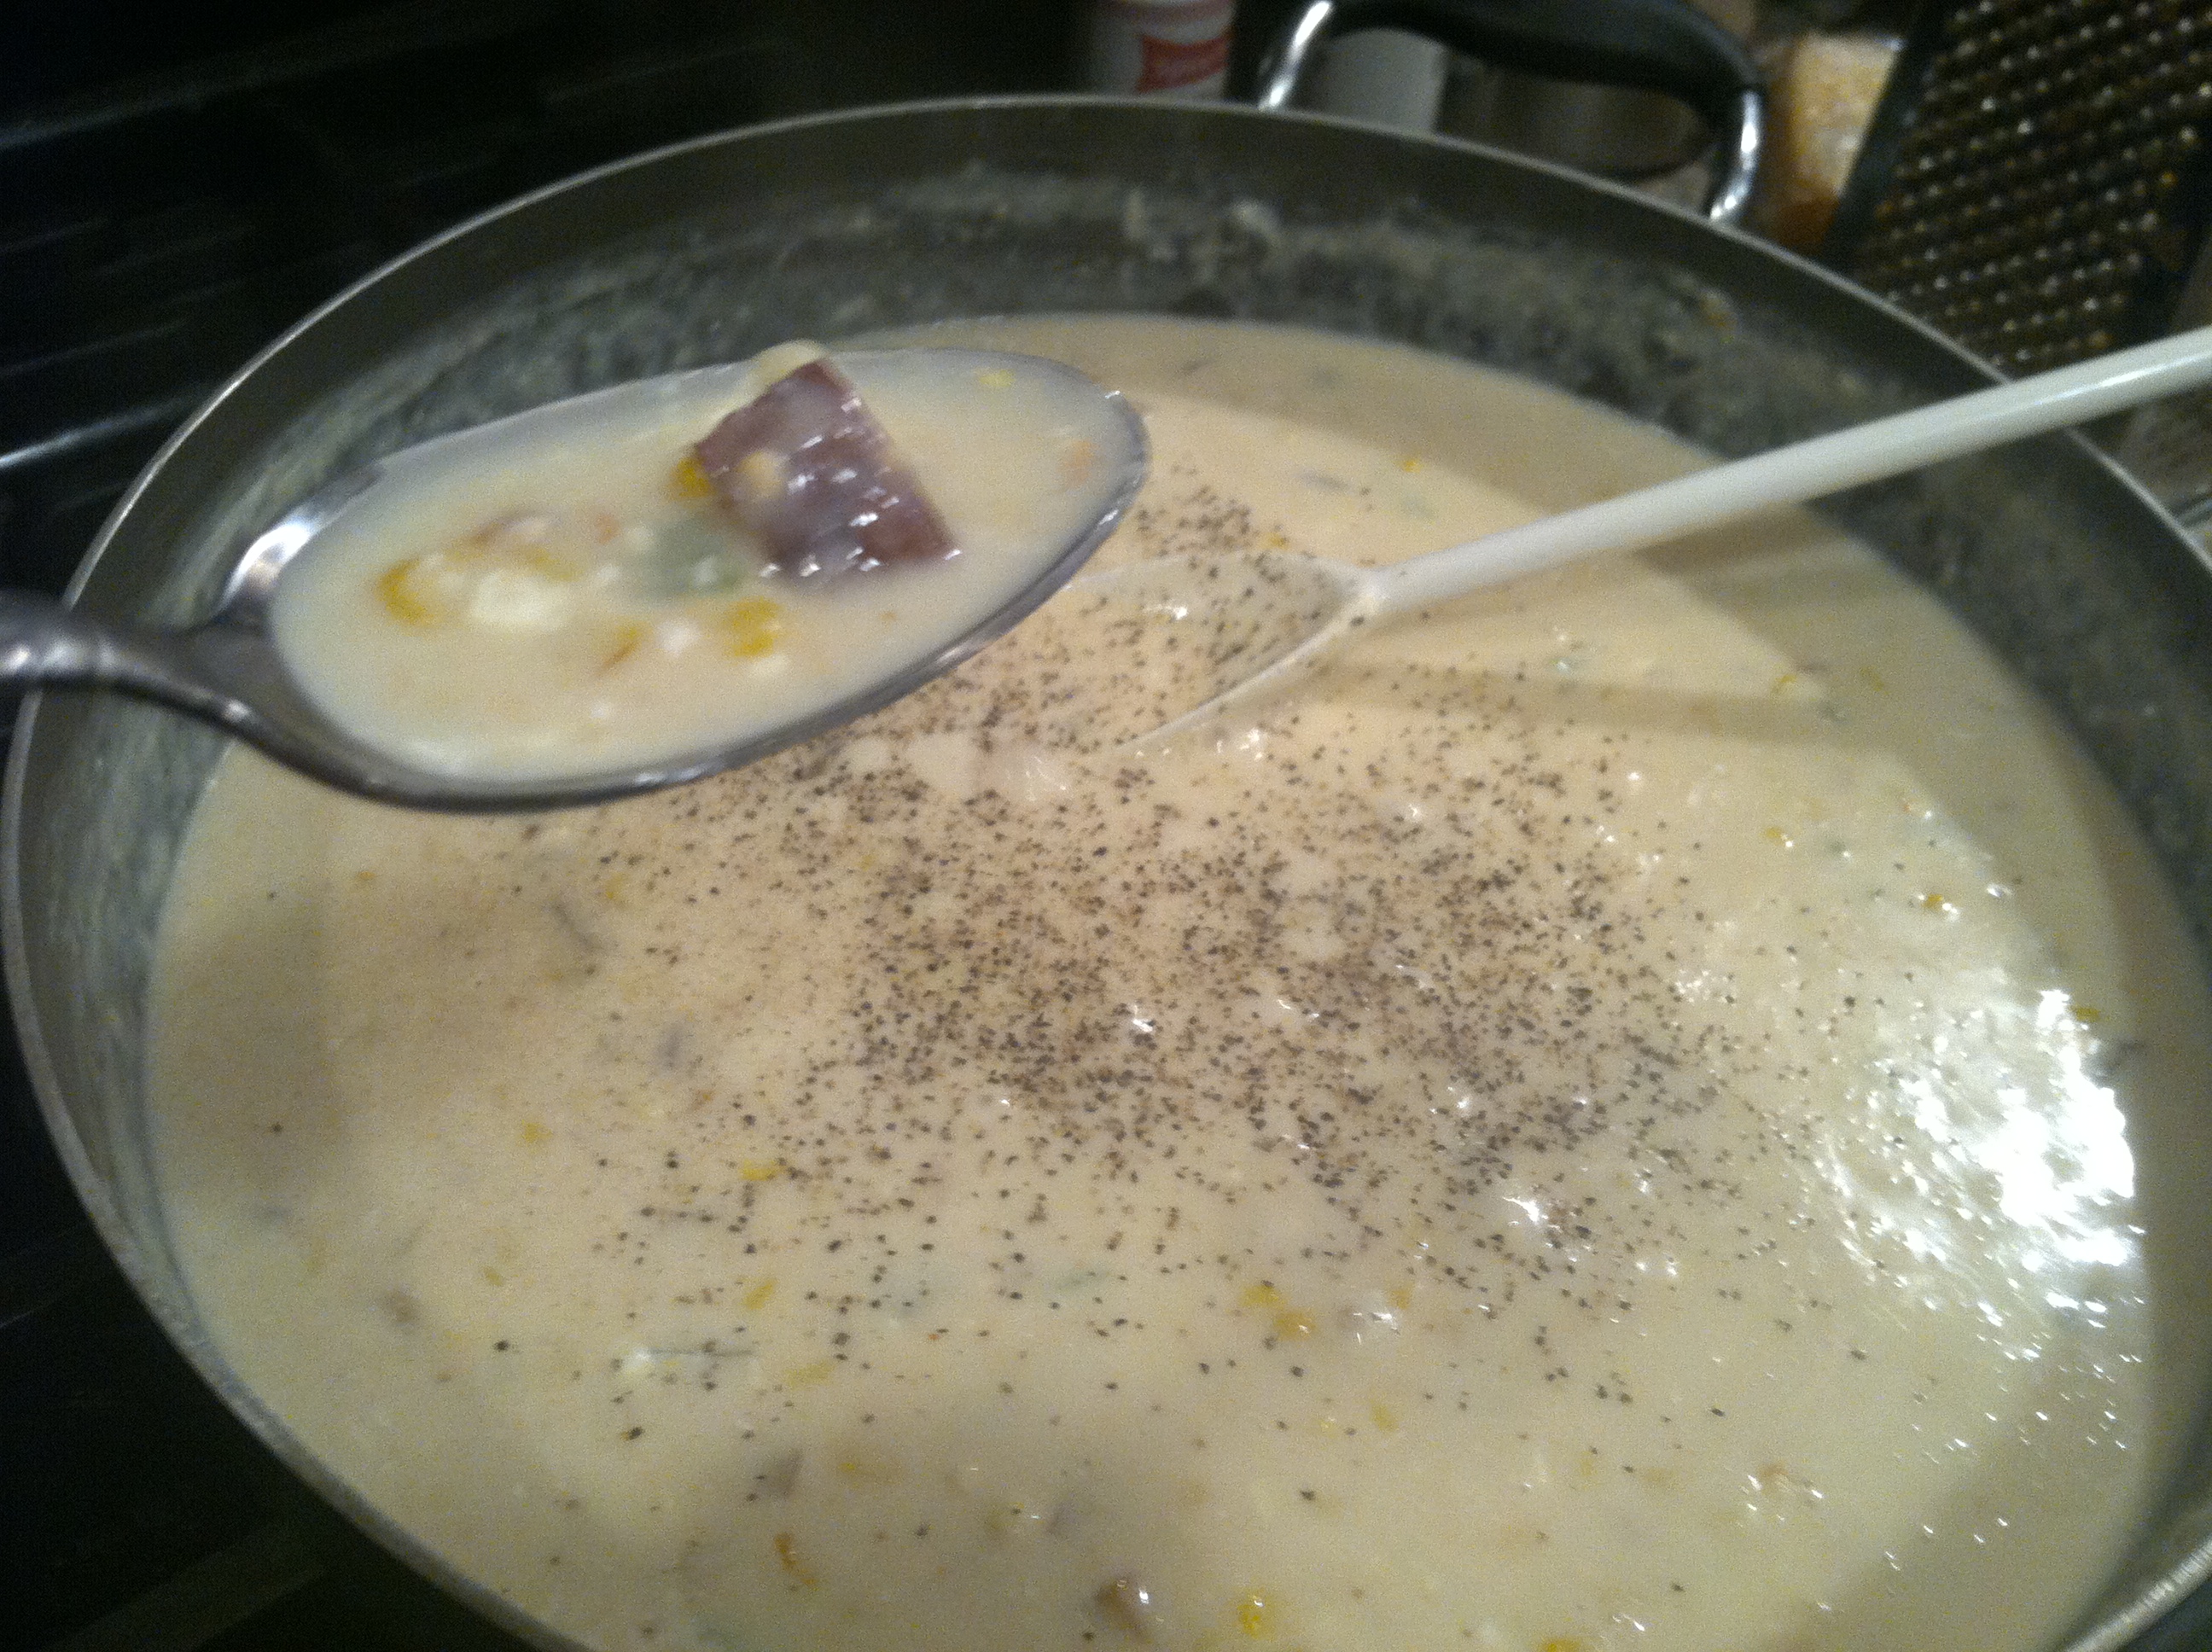
Step 4: Taste and add in the crab, black pepper, & salt. Let simmer until it reaches the desired thickness.

IMG_9167

Step  5: If you made/bought biscuits to go along with it, place those in the bottom of a heavy bowl, and cover with a healthy scoop or two of the chowder. You could also use those little oyster crackers.

IMG_9169

This stuff just smells divine, and is actually packed with tons of diced cooked veggies!

IMG_9170

To thicken even more, you could add a few tbsp flour to the veggies after cooking, just before adding in the water and milk.

IMG_9171

And if you don’t have skim milk, you could use any dairy really, half & half, whole milk, sour cream… Or just don’t use dairy &  keep it vegetarian.

IMG_9177

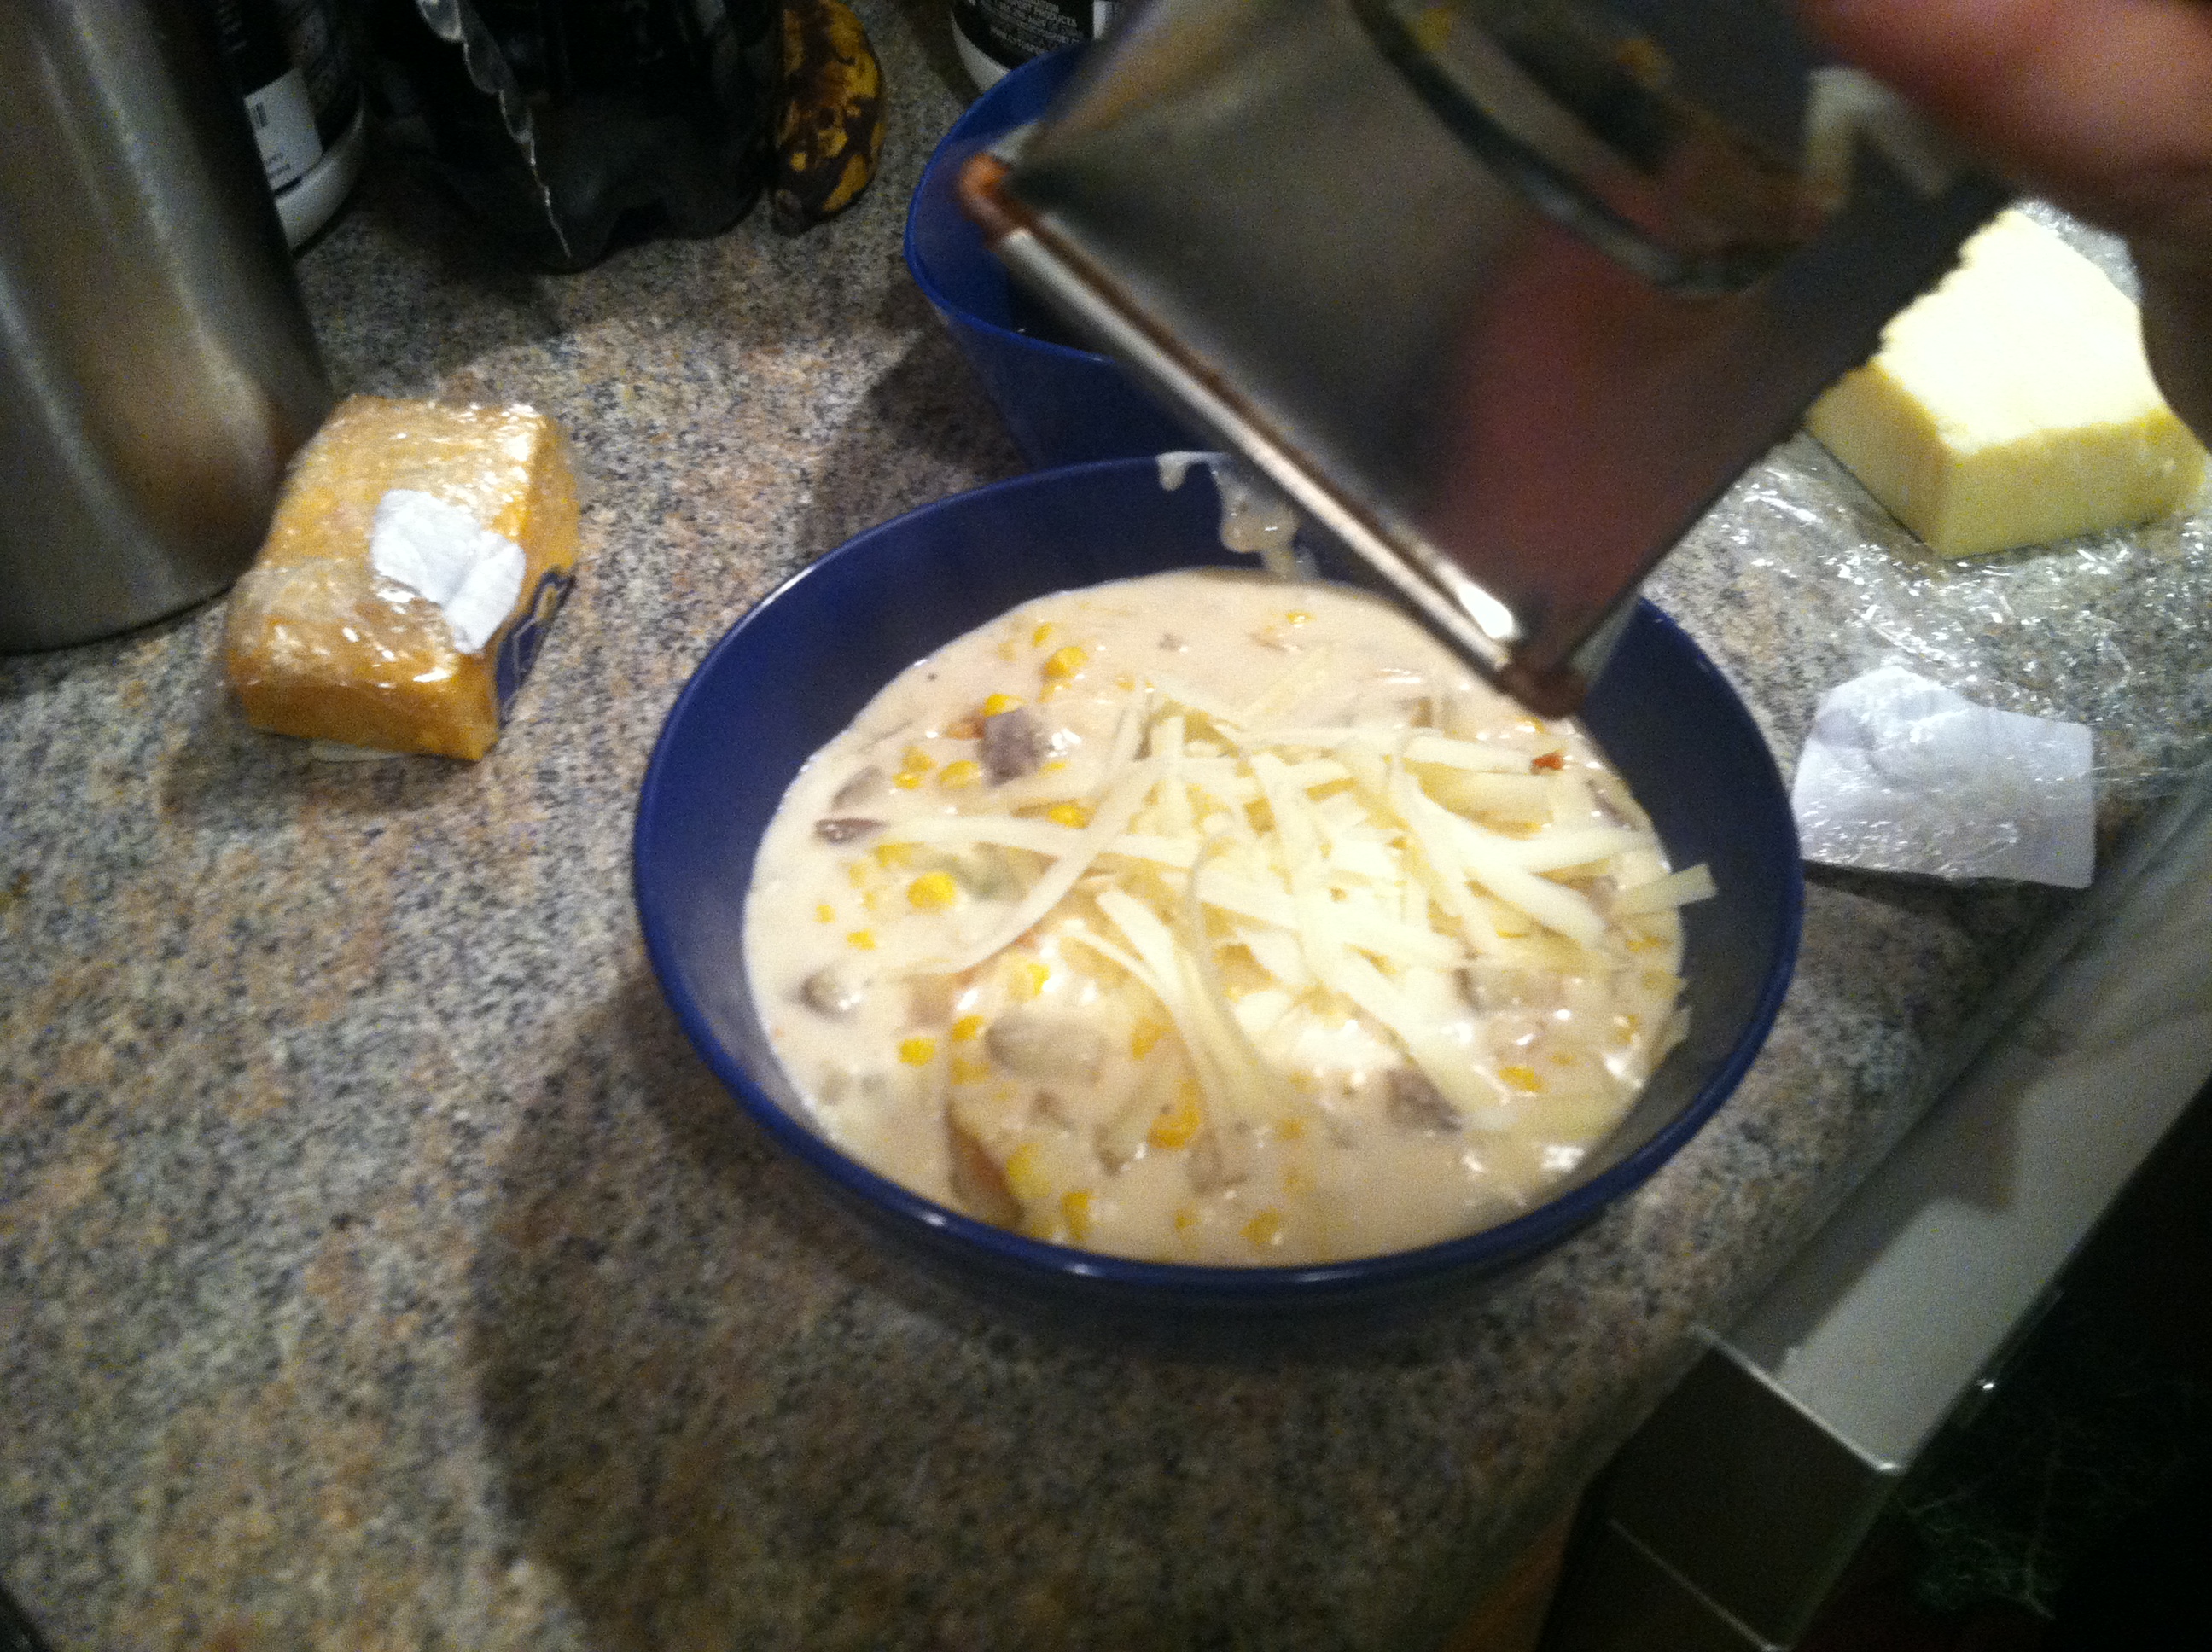
We grated some sharp white NY cheddar on top.

IMG_9180

Absolutely delicious! And far healthier than restaurant versions as long as you control the dairy content.

[amd-zlrecipe-recipe:23]

Avocado Beet Wrap


As spring kicks into gear and temperatures climb, we start looking for lighter, cooling dishes. It’s tough to enjoy a beef stew or thick chili when it’s 95 and humid. Luckily spring and summer bring a rotating buffet of delicious seasonal vegetables and fruits.

One of my favorite ways to use fresh produce is in a wrap. You can only have a bowl of salad so many times before it gets old. This way you can still have all the greens and good toppings but in a portable, desk-friendly format. Wraps are easily adaptable to just about any veggie or dip (such as hummus, guacamole, or sriracha ranch).

This wrap packs the healthy fats of avocado, the anti-cancer and inflammation-fighting power of beets, the hydration of cucumber and greens in one fabulous lunch. But feel free to sub in another type of green (spinach, kale, beet greens) or other veggies you have on hand. On average, you should eat about 2 1/2 cups of veggies per day, and a wrap should contain approximately 1 cup.

Ingredients:

  • 1 tortilla
  • 1 whole roasted beet (4-5 slices)
  • 1/2 cucumber, skin on if organic
  • 1/2 avocado
  • 1/4 head of romaine (or 1/2 c greens)

IMG_8979

Step 1: Cut up your avocado, cucumber, & beets. Spread the greens on the tortilla, top with veggies. Roll up and enjoy!


*Some time saver tips:

  • Use canned beets for the slices
  • Pick up pre-cut cucumber from a salad bar
  • Use packaged guac instead of an avocado

Turkey, Mushroom, & Spinach Lasagna


One thing every mom loves is having someone else make dinner for them once in a while. Whether your mom loves to bake, or is seldom seen near the stove, everyone loves lasagna. I don’t know about you, but I know in my house lasagna is always welcome. There is just something comforting and satisfying about a heaping plate of sauce, meat, and noodles. Some may argue that lasagna is just fancy pasta, but truly, layering it creates a whole different experience.

Several of the tricks I use in my lasagna I already have written about in my sneaky healthy lasagna post,  and a few more I mention in my YouTube video. The video will show you how to assemble this recipe step by step, and is found by clicking this link, and is also at the end of this post.

For the cheese layer, I seldom am willing to pay a premium for cheese such as ricotta when I know cottage cheese works just as well and is far cheaper. I use a mixture of cottage cheese and sour cream here, and it is super tasty. But if you are a purist who only wants ricotta, or if you have some fancy type of cheese, feel free to switch it up.

For mother’s day, if you are lucky enough to live near your mom, and haven’t already made reservations somewhere, give this simple 30-minute recipe a try. Putting lasagna together is far easier than you may think, and it always impresses. Lasagna looks amazing and tastes even better. Impress your mom, date, siblings, friends, or coworkers. Heck, make a whole pan for yourself and it will last all week. Just give it a try!

IMG_9329

Ingredients:

IMG_9330

Step 1: Bring a large pot of water to a boil. Add the noodles and olive oil (the oil helps keep the noodles from sticking as much) and simmer for about 10 minutes.

IMG_9331

Step 2: Dice up your mushrooms, garlic, and onions. Add the ground turkey to a pan over medium heat, and cook until browned.

IMG_9335

Add in the garlic, onion, & mushrooms, cover and cook another 5-10 minutes.

IMG_9332

Step 3: In a large bowl, mix the cottage cheese and sour cream.

IMG_9334

Step 4: Once the noodles are cooked and drained, layer a 9 x 13 baking pan with 4-5 noodles, overlapping the edges. Add half of your cooked meat mixture on top of the noodles. Pour 1/2 your sauce on top, followed by half of the cheese mixture. Lay down a layer of 1 cup spinach, and then another layer of 4-5 noodles, again overlapping. Repeat the layers, saving a small amount of sauce to pour on the top.

IMG_9336

Step 5: If you want, shred a layer of sharp white cheddar cheese on top. Pop your lasagna in the oven for 30-45 minutes at 350 degrees.

IMG_9338

That’s all there is to it! You could also make this in a disposable aluminum pan, cover with foil, and put in the freezer for a night you don’t feel like baking. Most likely, you will just make the house smell amazing and will devour the whole thing in one meal!

IMG_9339

With the healthy protein from the turkey and cottage cheese, the extra tomatoes boosting your lycopene and vegetable intake, and a healthy layer of spinach, you don’t have to feel guilty about going back for seconds!

(Oh, and if you do make this for mom, super mega bonus points to do the dishes after!)


[amd-zlrecipe-recipe:22]


This post contains Amazon affiliate links. By clicking on these links and purchasing items, the price you pay is not affected yet a portion of proceeds go towards supporting this blog. Thank you!

Homemade Kombucha Part 2


I had to wait a week for my second batch, you only had to wait 2 days! No fair. =)

If you didn’t get a chance, go check out my post on Homemade Kombucha Part 1 for the intro on what kombucha is, and how to start making your own at home.

After your first batch has fermented for as long as you wish, you are ready to transfer your SCOBY to your next batch. It is the same process as previously, only now you have your baby SCOBY ready to go to ferment this fresh sweet tea.

IMG_9195

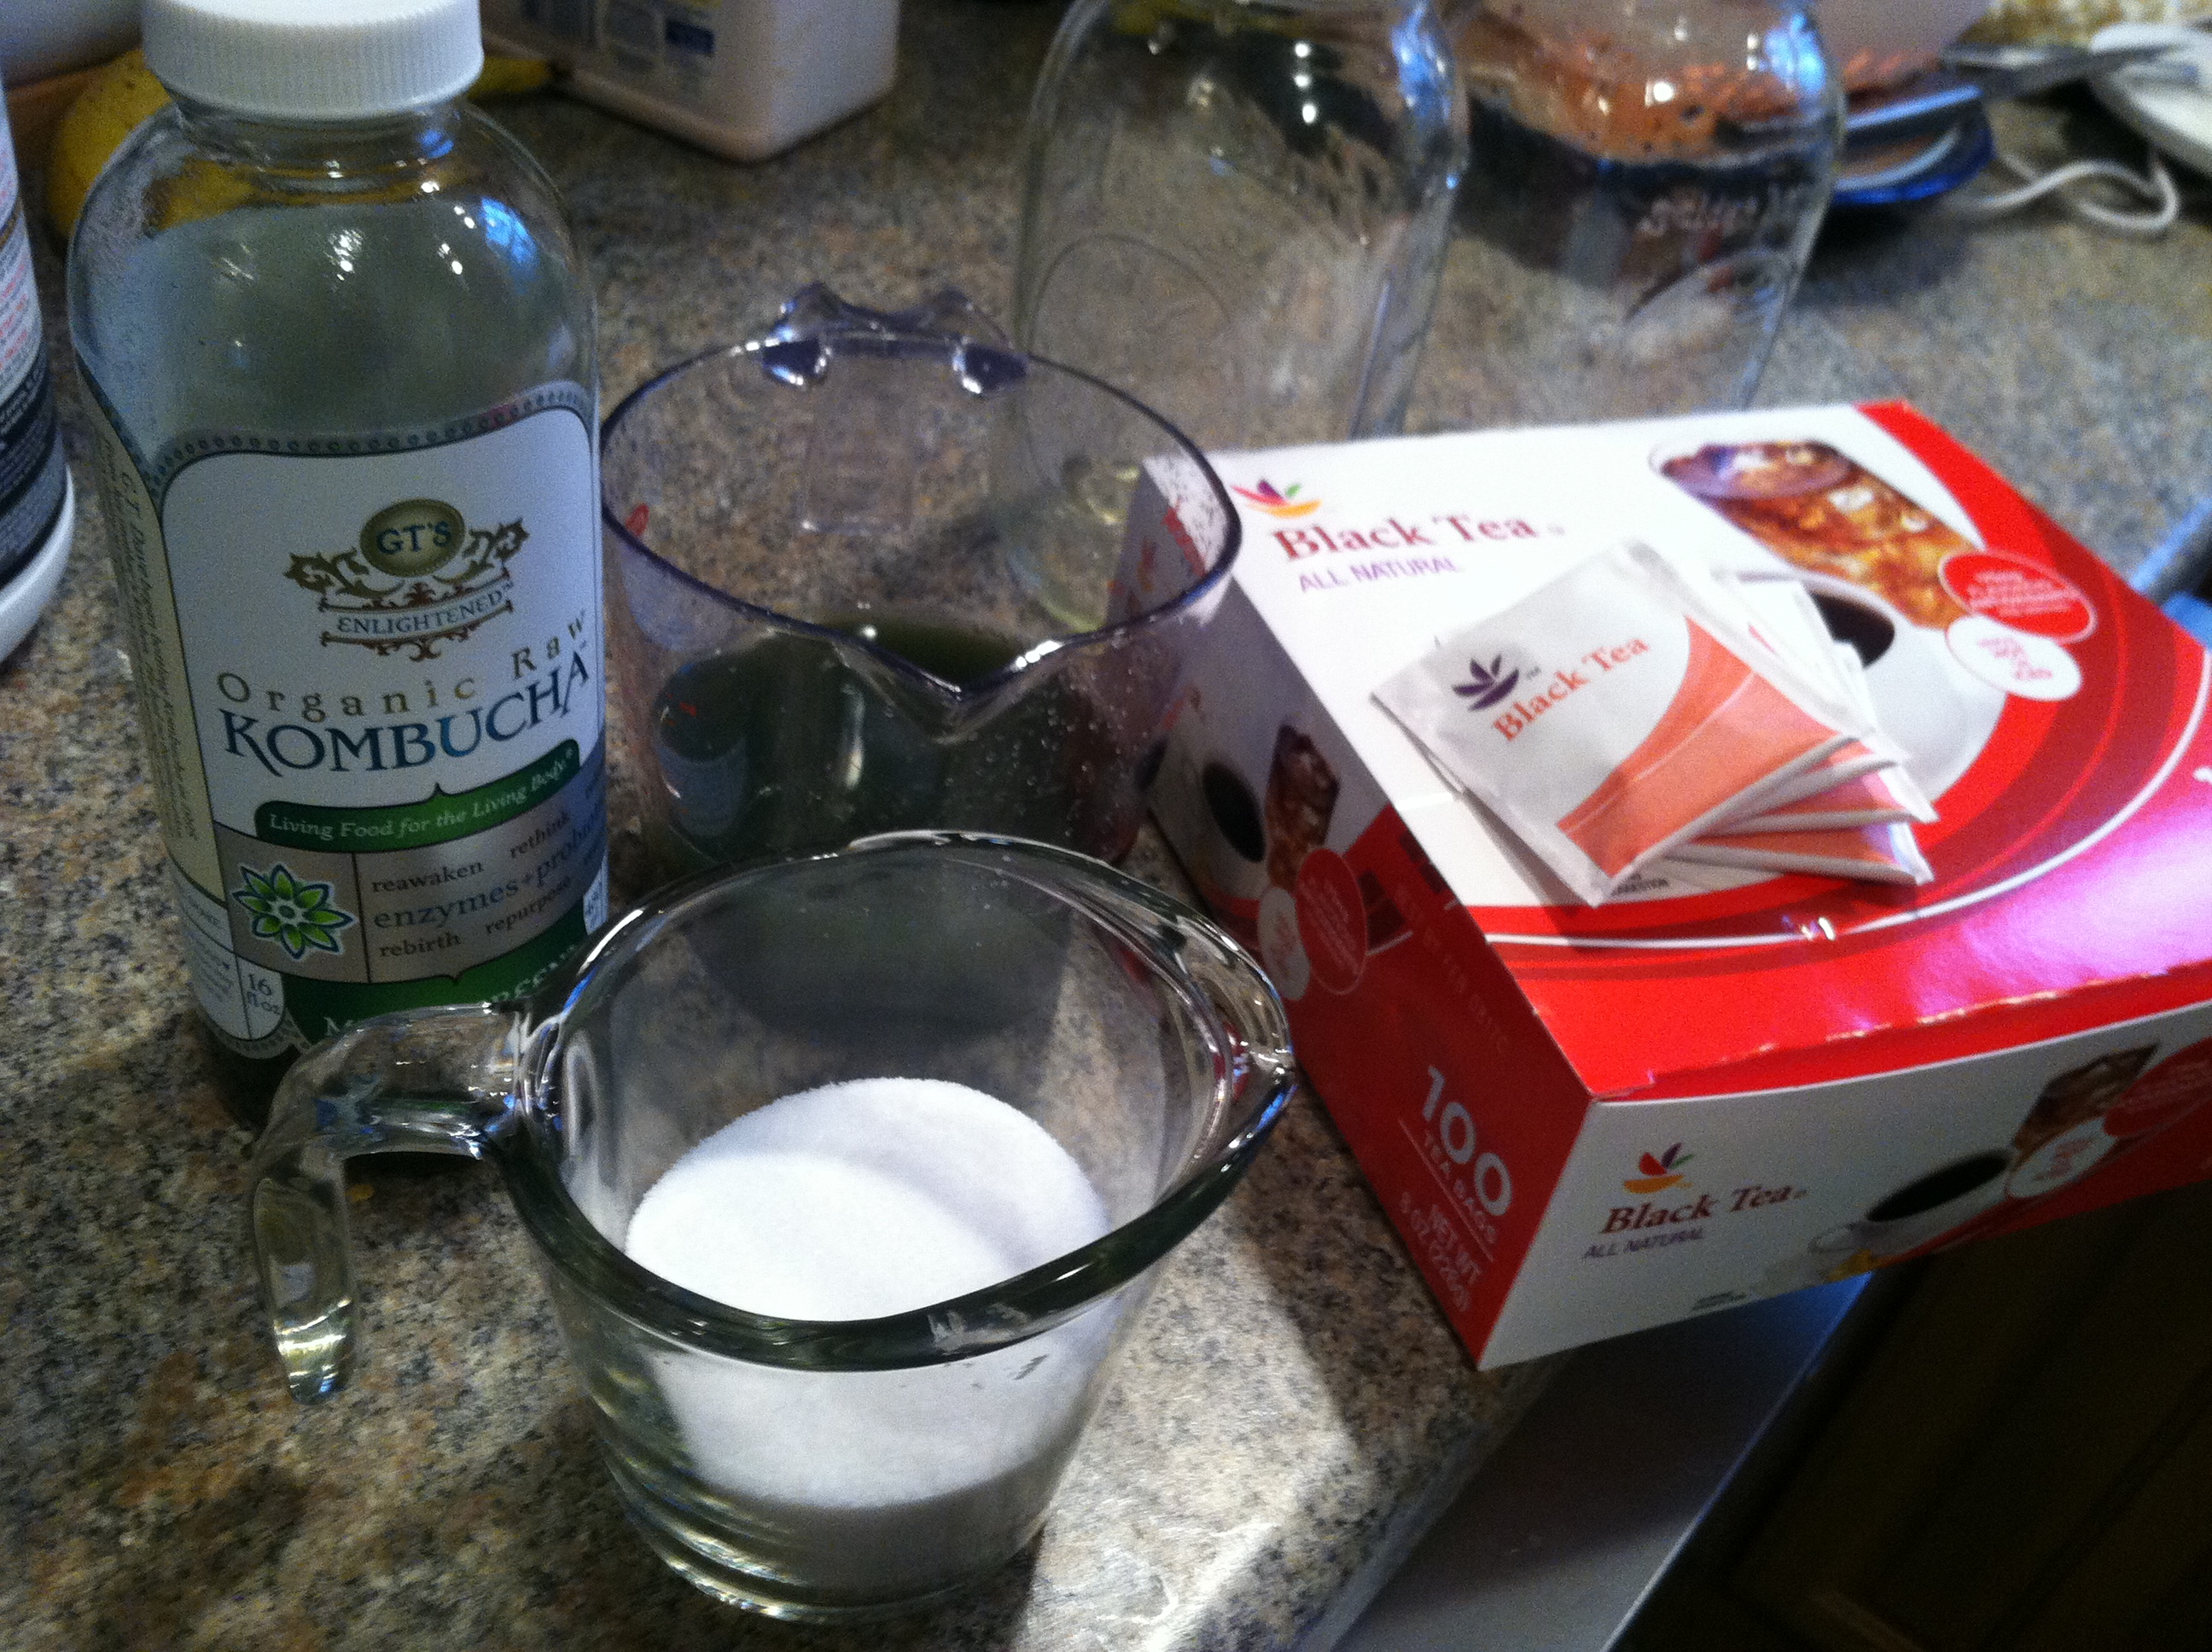
Ingredients:

IMG_9196

Step 1: Boil the water, mix in the sugar, and add the tea bags. Let steep and cool to room temperature. You cannot add a SCOBY to hot or even warm tea, or it may kill the bacteria & yeast.

IMG_9197

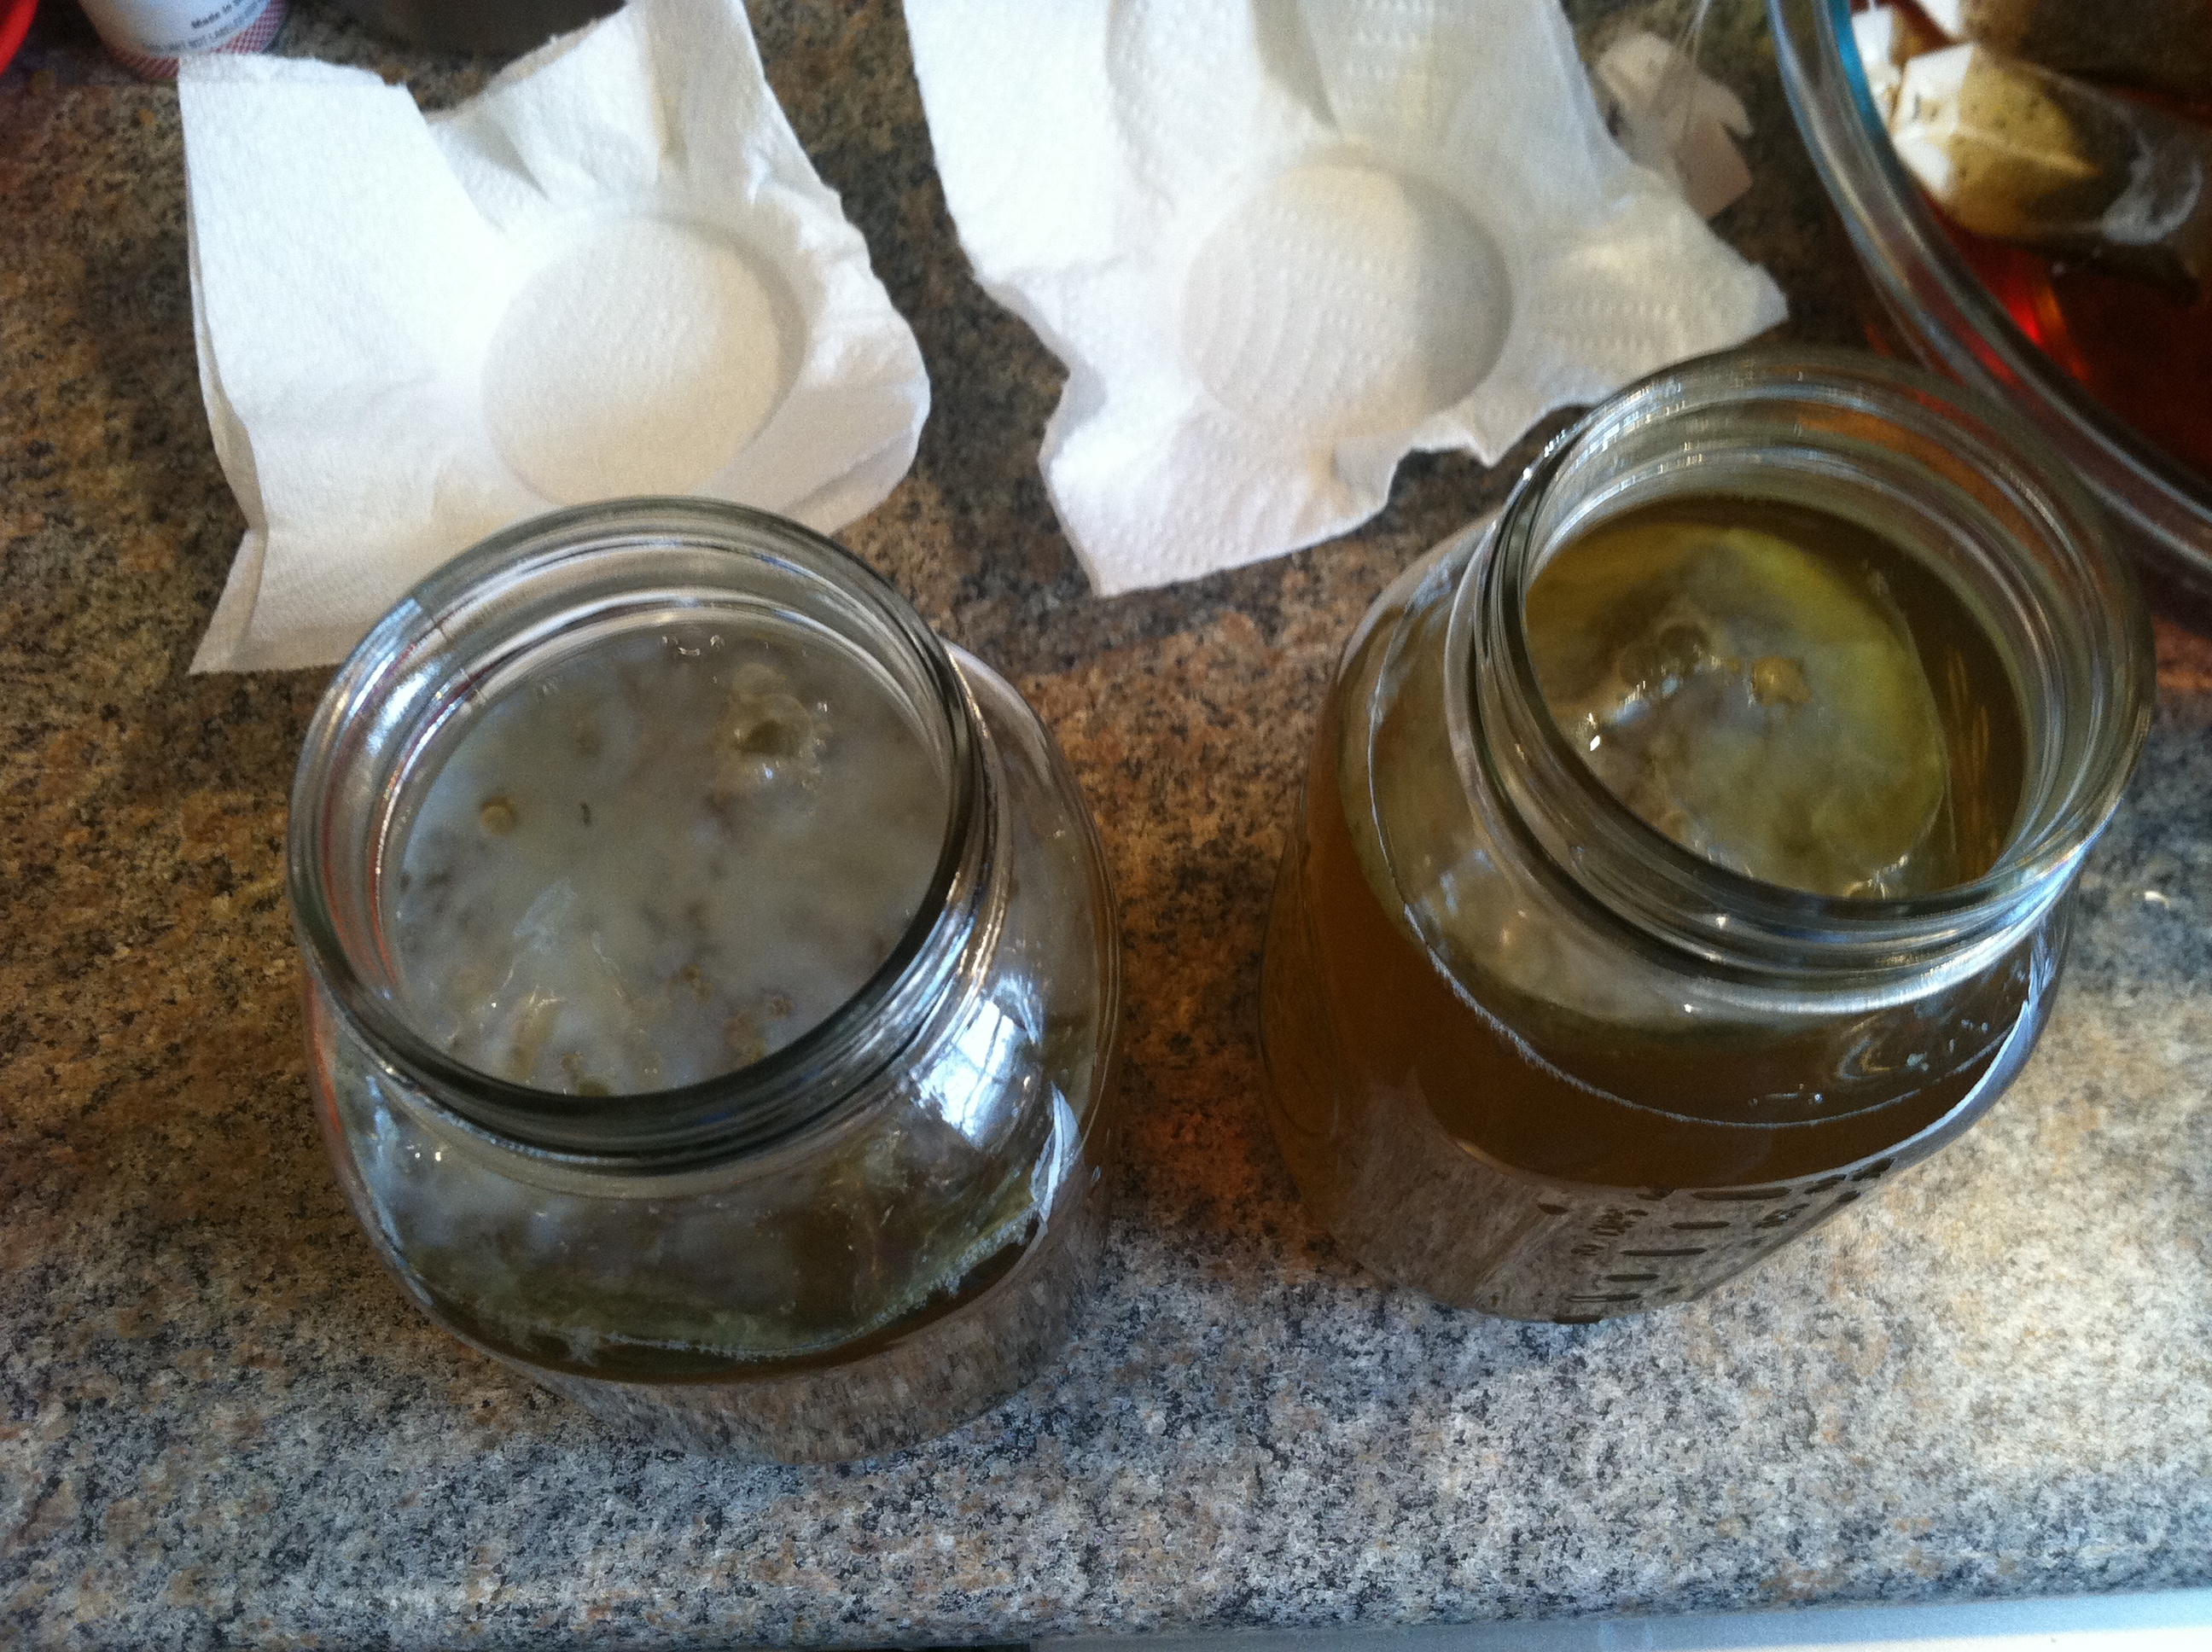
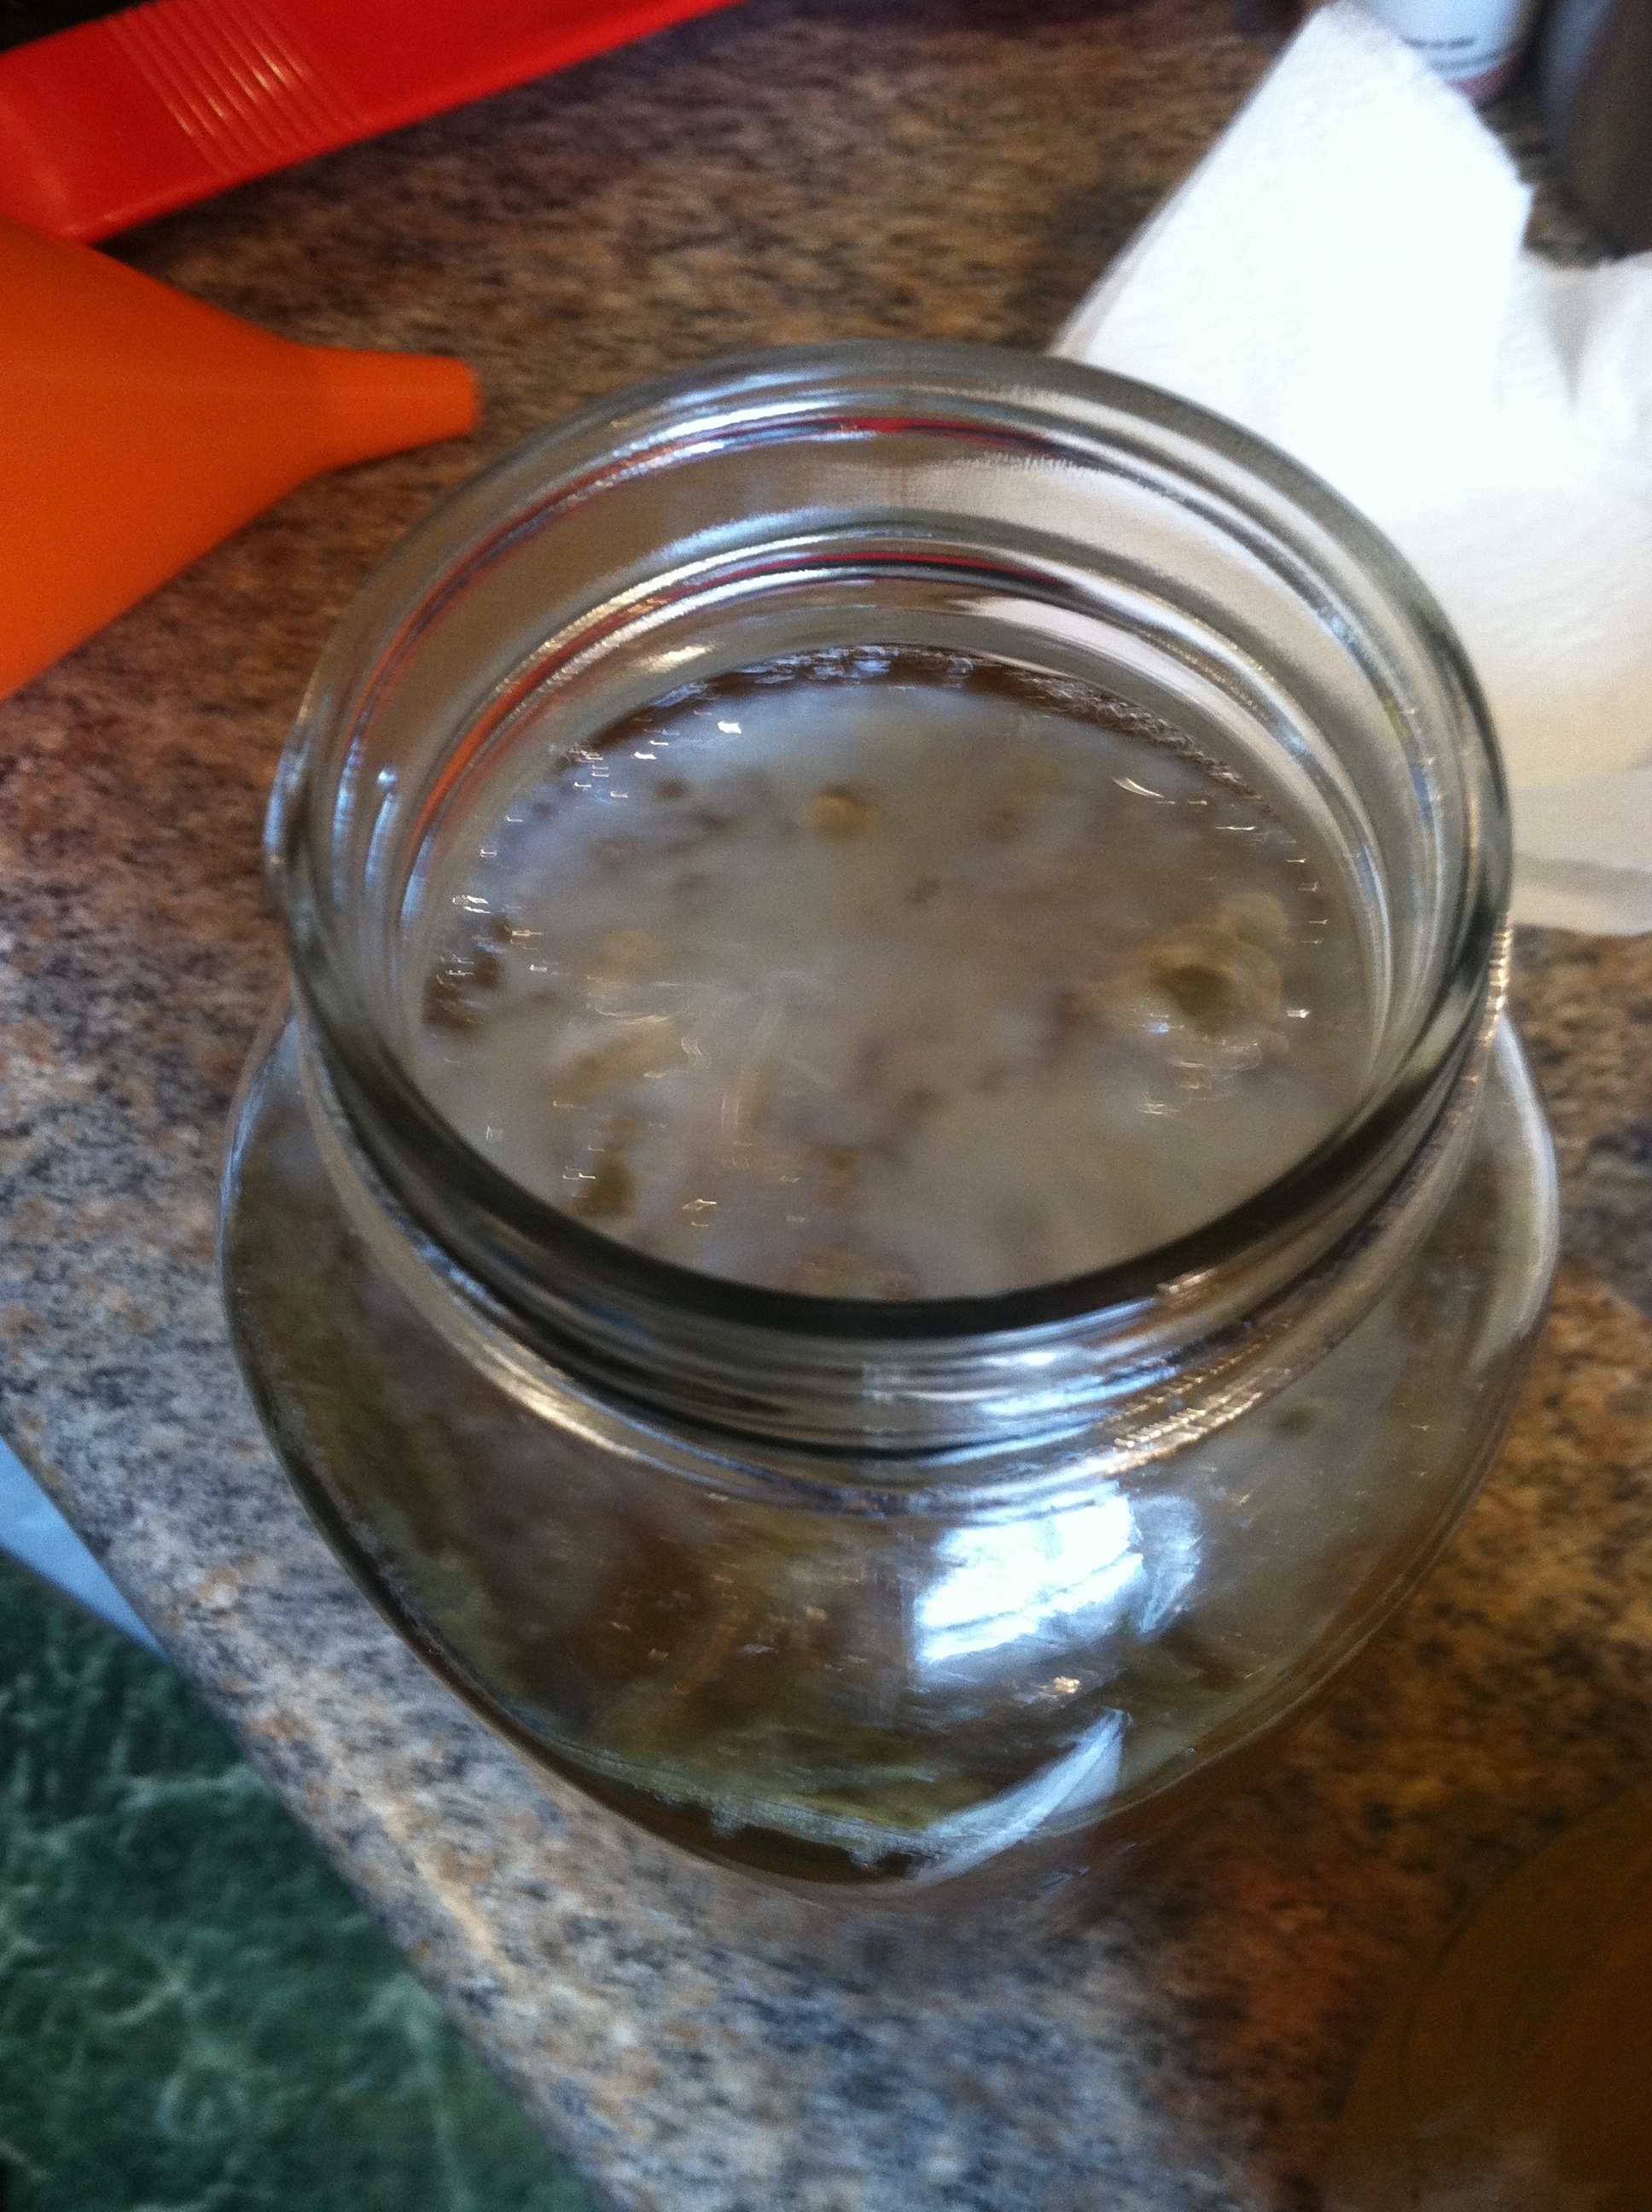
Step 2: Once cool, add the cup of starter kombucha liquid and pour the sweet tea into your clean, sterile containers. Take the SCOBY out of your first jars, it is ok to use your hands, as long as you’ve washed them first! This is what a baby SCOBY may look like if you used a green tea/spirulina starter kombucha…

IMG_9199

You can see how thin this first culture is, and that is ok. It will thicken with each batch of kombucha brewed. And, once it becomes very thick, it is actually recommended that you remove the bottom layer(s) and give to a friend to start a new batch or throw it out. Kombucha cultures can outlive their usefulness.

IMG_9201

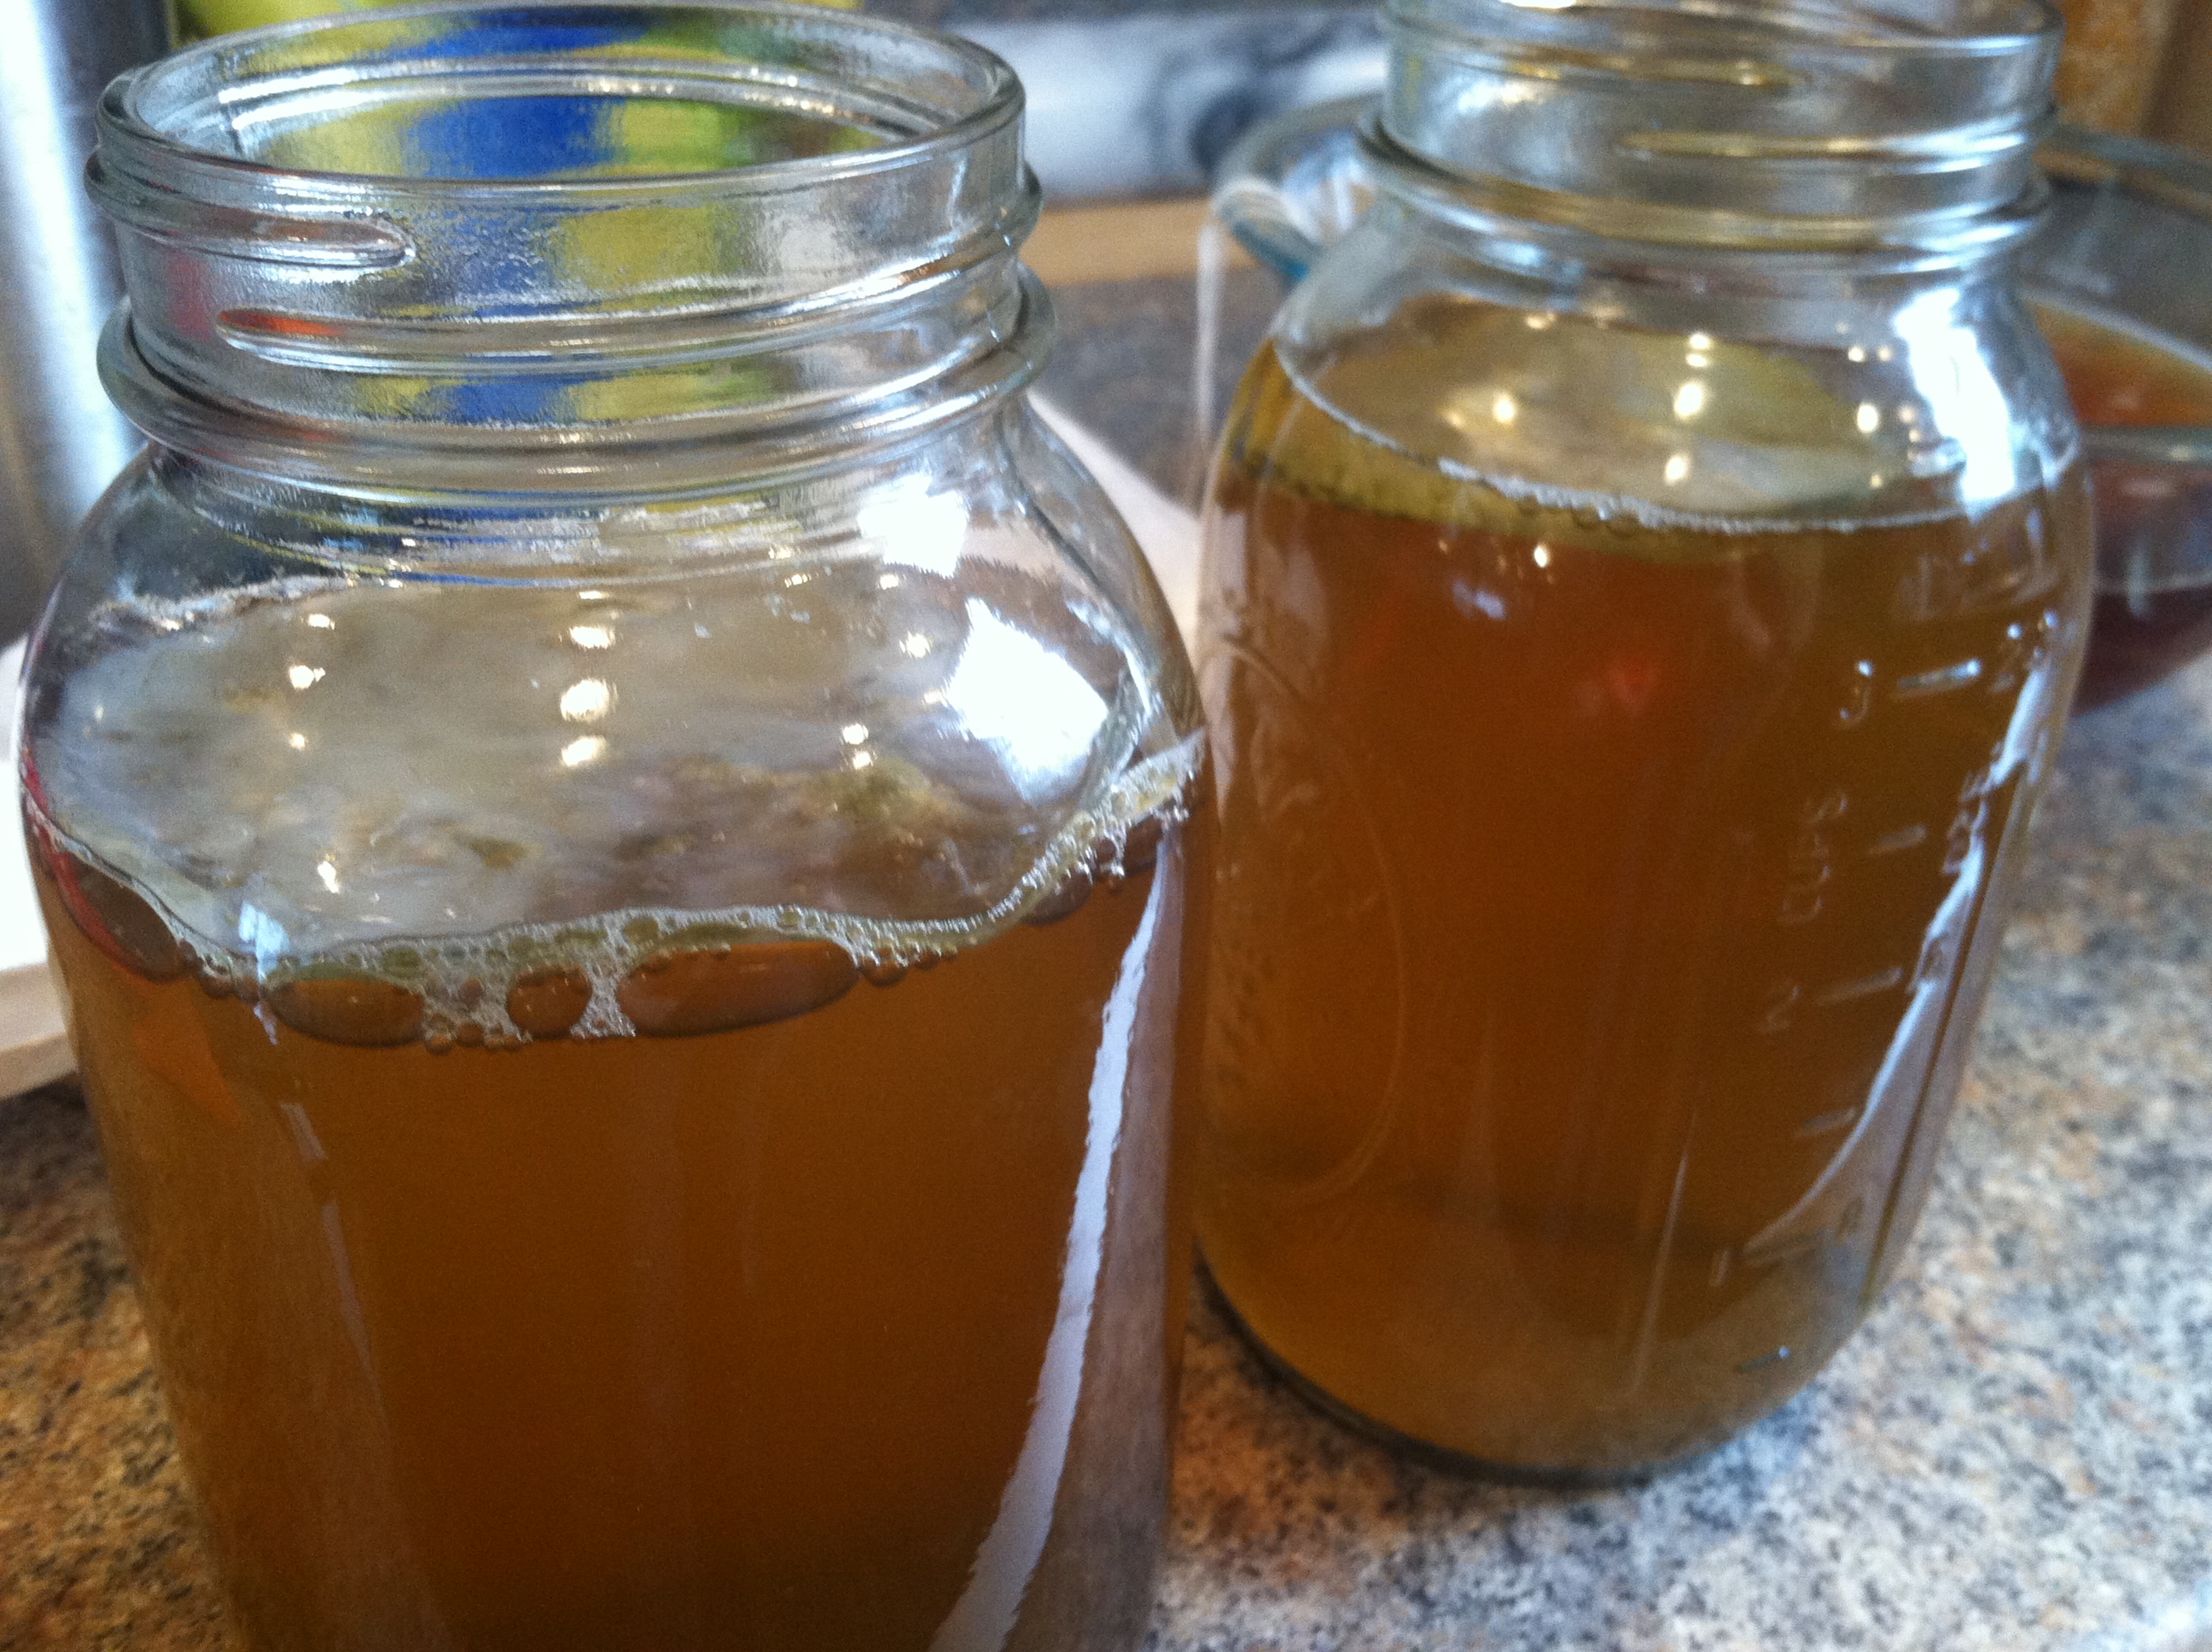
Step 3: Carefully place the SCOBY on top of your fresh sweet tea. It may float along the top, or it may sink to the bottom, it may even float around sideways. Those are all fine, a new culture will form along the top if your first SCOBY does not float.

Also, any size SCOBY can ferment any size container, the culture will grow to fit the size of the jar. Larger batches may take longer when transferring a smaller SCOBY to the larger container.

Step 4: Once the SCOBY is removed from the tea, you can now enjoy your kombucha! You can drink it as is, or refrigerate it for a week or so. If you’d like it more carbonated, simply close the jar, and leave in a cool dark place undisturbed for another 2-3 days. The probiotics inside will continue fermenting, and carbonate your drink.

And that’s all there is to it! Once you get used to the process, you can switch out your SCOBY and have fresh jars of kombucha ready to drink in about 10 minutes once a week. Once you have a thriving, healthy culture, you can continue propagating to as many batches as you please, or give some to a friend to try.

Since I’m still somewhat new to this homebrew kombucha, I haven’t had a chance to experiment much. But you know with me, there is some serious experimentation in my future! I’m going to let my culture get nice and strong, then branch out to green and maybe white tea. It is not a good idea to use any tea with oils in it, like earl grey or bergamot. Also if you do try different mixes, make sure to throw in a black tea batch in between so the SCOBY gets all the nutrients it needs to keep producing.

Then there are so many infusion possibilities! Once the kombucha tea base is made, I want to try adding lemon, lavender, strawberries, and rosemary. Maybe some raspberries or blackberries or mint. This project will keep me dreaming all summer long I’m sure!

What do you think? Is kombucha making something you’d like to try or have tried? Feel free to tell us your experiences in the comments!

Homemade Kombucha Part 1


For those who have not yet heard of this drink, kombucha (pronounced kom-boo-ch-ahhh) is a fermented sweet black tea made using a SCOBY – symbiotic culture of yeast & bacteria. This beverage has been around for a very long time, and is said to have originated in China. Because the drink is made by microorganisms, it contains the buzzworthy “probiotics”.

Probiotics basically means live bacteria or yeasts that are good for your health. Probiotics are great for your digestive health, immune system, liver, kidneys, and overall health. The beneficial bacteria and yeast in kombucha live together in a cellulose raft on top of the kombucha, and work together to cause a special type of fermentation. This uses up the sugar and caffeine in the beginning tea mixture, so the resulting drink is tart, carbonated, and relatively caffeine-free. There is a trace amount of alcohol; not enough to cause a noticeable effect, but in case you avoid alcohol that is important to note.

To make kombucha at home, you only need containers (preferably glass, wide-mouth mason jars), water, tea, sugar, and a starter SCOBY or culture. You can buy a starter SCOBY online, get one from a friend who makes kombucha, or do as I did and buy a bottle of raw, unpasteurized kombucha from the store. I show you how to do this all step by step in my awesome Homemade Kombucha video! (Also at the bottom of this post)

This recipe makes 2 quarts of kombucha each 7-10 days.

IMG_8998

Ingredients:

IMG_8999

Step 1: Get 7 cups of water boiling, and add your tea. Mix in the sugar so it dissolves. Let that sit and cool to room temperature. To speed up cooling, you can place the container with the tea into a larger container filled with ice or ice water.

IMG_9190

Step 2: Once cooled, add the cup of starter tea. If using store-bought, make sure it is an organic brand, and that it is raw and unpasteurized. If it has been pasteurized, there may not be any more live bacteria or yeast in there to start your new SCOBY. If using a mother from a friend or online, or a culture, stir that into the tea.

IMG_9191

Step 3: Fill your jars up to an inch or so from the rims. Place a clean paper towel or cloth over the opening, and rubber band, tie, or otherwise hold it in place. Now leave your jars in a cool, dark place where they won’t be disturbed for at least 7 days, and as long as you like.

IMG_9192

The first time you brew kombucha, your SCOBY may take longer than a week to get growing. Colder temperatures also make them grow more slowly. Don’t worry, let it ferment up to a month. If after 4 weeks nothing has happened, you may not have had enough active probiotics to make a culture. Just start over with fresh tea and fresh starter culture.

IMG_9193

After a day or two, you may start to see flecks on the surface of the kombucha, or bubbles. This is a great sign! After a few more days, you will see a thin film start to develop on top of the liquid. This is the beginning of your symbiotic colony. This layer will thicken over time with successive batches of kombucha.

IMG_9194

If your first SCOBY seems wavy, has holes or air bubbles, or differences in color, that is ok. But if you smell anything rancid, like mold or cheese, or see red or green or white fuzz growing, your kombucha has been infected with something you don’t want to drink,  and you should throw that batch out and start over.

This first batch may end up being too vinegary to drink, but you may also like the acidity. You can discard the batch, keeping the SCOBY you worked so hard to grow, or drink round one. I’ll show you how to transfer your brand new SCOBY into future batches in my next post!


Part 2 of how to make homemade kombucha is out! Once you have your SCOBY, here’s how to propagate it for future batches of fresh delicious tea.

With video! https://youtu.be/o5peIHOvKrY


More sources: