Category Archives: Side dishes

Easy Veggie Steamed Rice


On its own or as a side dish, vegetable steamed rice is one of my new absolute favorite go-to dishes. It is fabulous for using up leftovers in the crisper drawer before they are unusable. It is a good way to hide extra veggies for people who don’t love their taste. You can try new vegetables without having to fully commit. And it is endlessly variable.

The basis of this particular recipe was a bag of broccoli slaw that was on super sale, I had to have it. But you can only eat so much slaw at a time, so I had to find some creative ways to use it up. I’ve also been eating a more vegan diet, so I bulked it up a bit to make it a full meal. Feel free to add in a meat of your choice like chicken or shrimp, sauces you like such as terikayi or soy, and switch up the veggies.

Ingredients:

  • 1 c uncooked rice
  • 2 cups water or broth
  • 1-2 cups veggies
    • I used: 1/3 cup broccoli slaw, 1/3 cup diced bell pepper and onion, and about 1/2 cup raw spinach
  • Handful smashed almonds or peanuts
  • Soy sauce to taste

IMG_7452

If you have a rice cooker, this entire thing can be cooked together. Same goes for a crock pot. If you don’t have one of those option, you can boil the rice and fry the veggies separately and then mix together.

IMG_7453

Step 1: Put the rice, water, and veggies into the rice cooker, and turn on. Alterntively, place in a small slow cooker and cook on low 1-2 hours. Or, boil the rice according to package, and stir fry the veggies in 1 tbsp. oil until soft, then mix.

IMG_7451

Step 2: This is not required. If you want, heat 2-4 tbsp. oil in a pan, and add the cooked rice and veg. Cook for 5-7 minutes, until rice begins to brown and crisp, and flip with a spatula. Cook the other side until brown, then serve hot.

Balsamic Brussels Sprouts – Less Than 5


Brussels sprouts tend to be a polarizing vegetable. Love it or hate it.

I love it. Bet you didn’t see that coming. =)

That hasn’t always been the case. Tastes change over time, as most children don’t enjoy the taste of many vegetables, but as we grow and our palates expand, things we once found revolting become favorites.

Brussels sprouts are in the Brassicacea family, along with broccoli, cabbage, kale, and collard greens. They may have originated in Brussels, Belgium, where they may have earned their name. They contain high levels of vitamin C and K, B vitamins, trace minerals, phytochemicals, and fiber. They, along with other brassicas, contain a chemical called indole-3-carbinol, under study for its effects on DNA repair and apparent ability to block growth of cancer cells.

IMG_6547

Boiling used to be the only way brussels sprouts were prepared, and gave these beauties a bad name by boiling all the taste and life out of them . Better options for cooking to maximize texture and taste include steaming, frying, and my personal favorite, oven roasting.

Brussels sprouts are healthy and plentiful in the fall, making them an affordable option for side and main dishes. They tend to feature in Thanksgiving and Christmas meals. Umami and salty flavors tend to go well with the slightly bitter taste of these sprouts.

This side dish is simple and quick, as well as healthy for you. It is hearty enough to be a main dish as well if you please.

Ingredients:

  • 1 1/2 cups fresh Brussels sprouts
  • 3 tbsp balsamic vinegar
  • 1/4 red onion, sliced thinly
  • 1 tbsp olive or coconut oil

IMG_6545

Step 1: Cut the ends off the Brussels sprouts and slice large ones in half. Thinly slice the red onion. Heat the oil in a frying pan.

IMG_6546

Step 2: Add the sprouts to the pan, and cook 4-5 minutes. Add the balsamic vinegar and red onion, and cover. Let cook 5-7 minutes, until the onion and sprouts are tender.

IMG_6548

That’s all there is to it! Serve warm, on its own or as a side dish.

IMG_6549

The sprouts are tender yet still with a bit of crunch. The onions add a perfect sweet complement, and the balsamic coats everything in a sweet, slightly salty, and tart flavor.

IMG_6550


[amd-zlrecipe-recipe:7]

Cinnamon Ginger Candied Carrots


Carrots are a fantastic powerhouse of vitamins and minerals, including the one for which it is most famous, beta-carotene. This precursor to Vitamin A is what gives carrots their characteristic orange color. Along with other yellow, red, and green vegetables, carrots are a great dietary source of this vitamin which is critical for growth and development, a healthy immune system, and of course good vision.

The problem is that many people, including children and picky partners, do not enjoy carrots. Whether sliced, shaved, or cooked, some cannot handle carrots crunch or soft delicate flavor. One easy way to hide more in your usual cuisine is to puree into soups, chili, and sauces. But another way to ease loved ones into loving this healthy, humble root veg is to season and sweeten them into a soft, delightful side dish all will enjoy.

Candied carrots have always been a dish I am fond of, since childhood where three main veg sides reigned supreme: green beans, canned corn, and candied carrots.

This updated version has much less fat than the typical butter-smothered version, as well as less sugar. However, we amp up the overall flavor with the subtle spices of cinnamon, nutmeg, and ginger, combined with just a touch of brown sugar and honey, to create the perfect accompaniment to whatever you put on the table tonight.

I guarantee kids and grown-ups alike will gobble them up, and maybe even ask for seconds!

Ingredients:

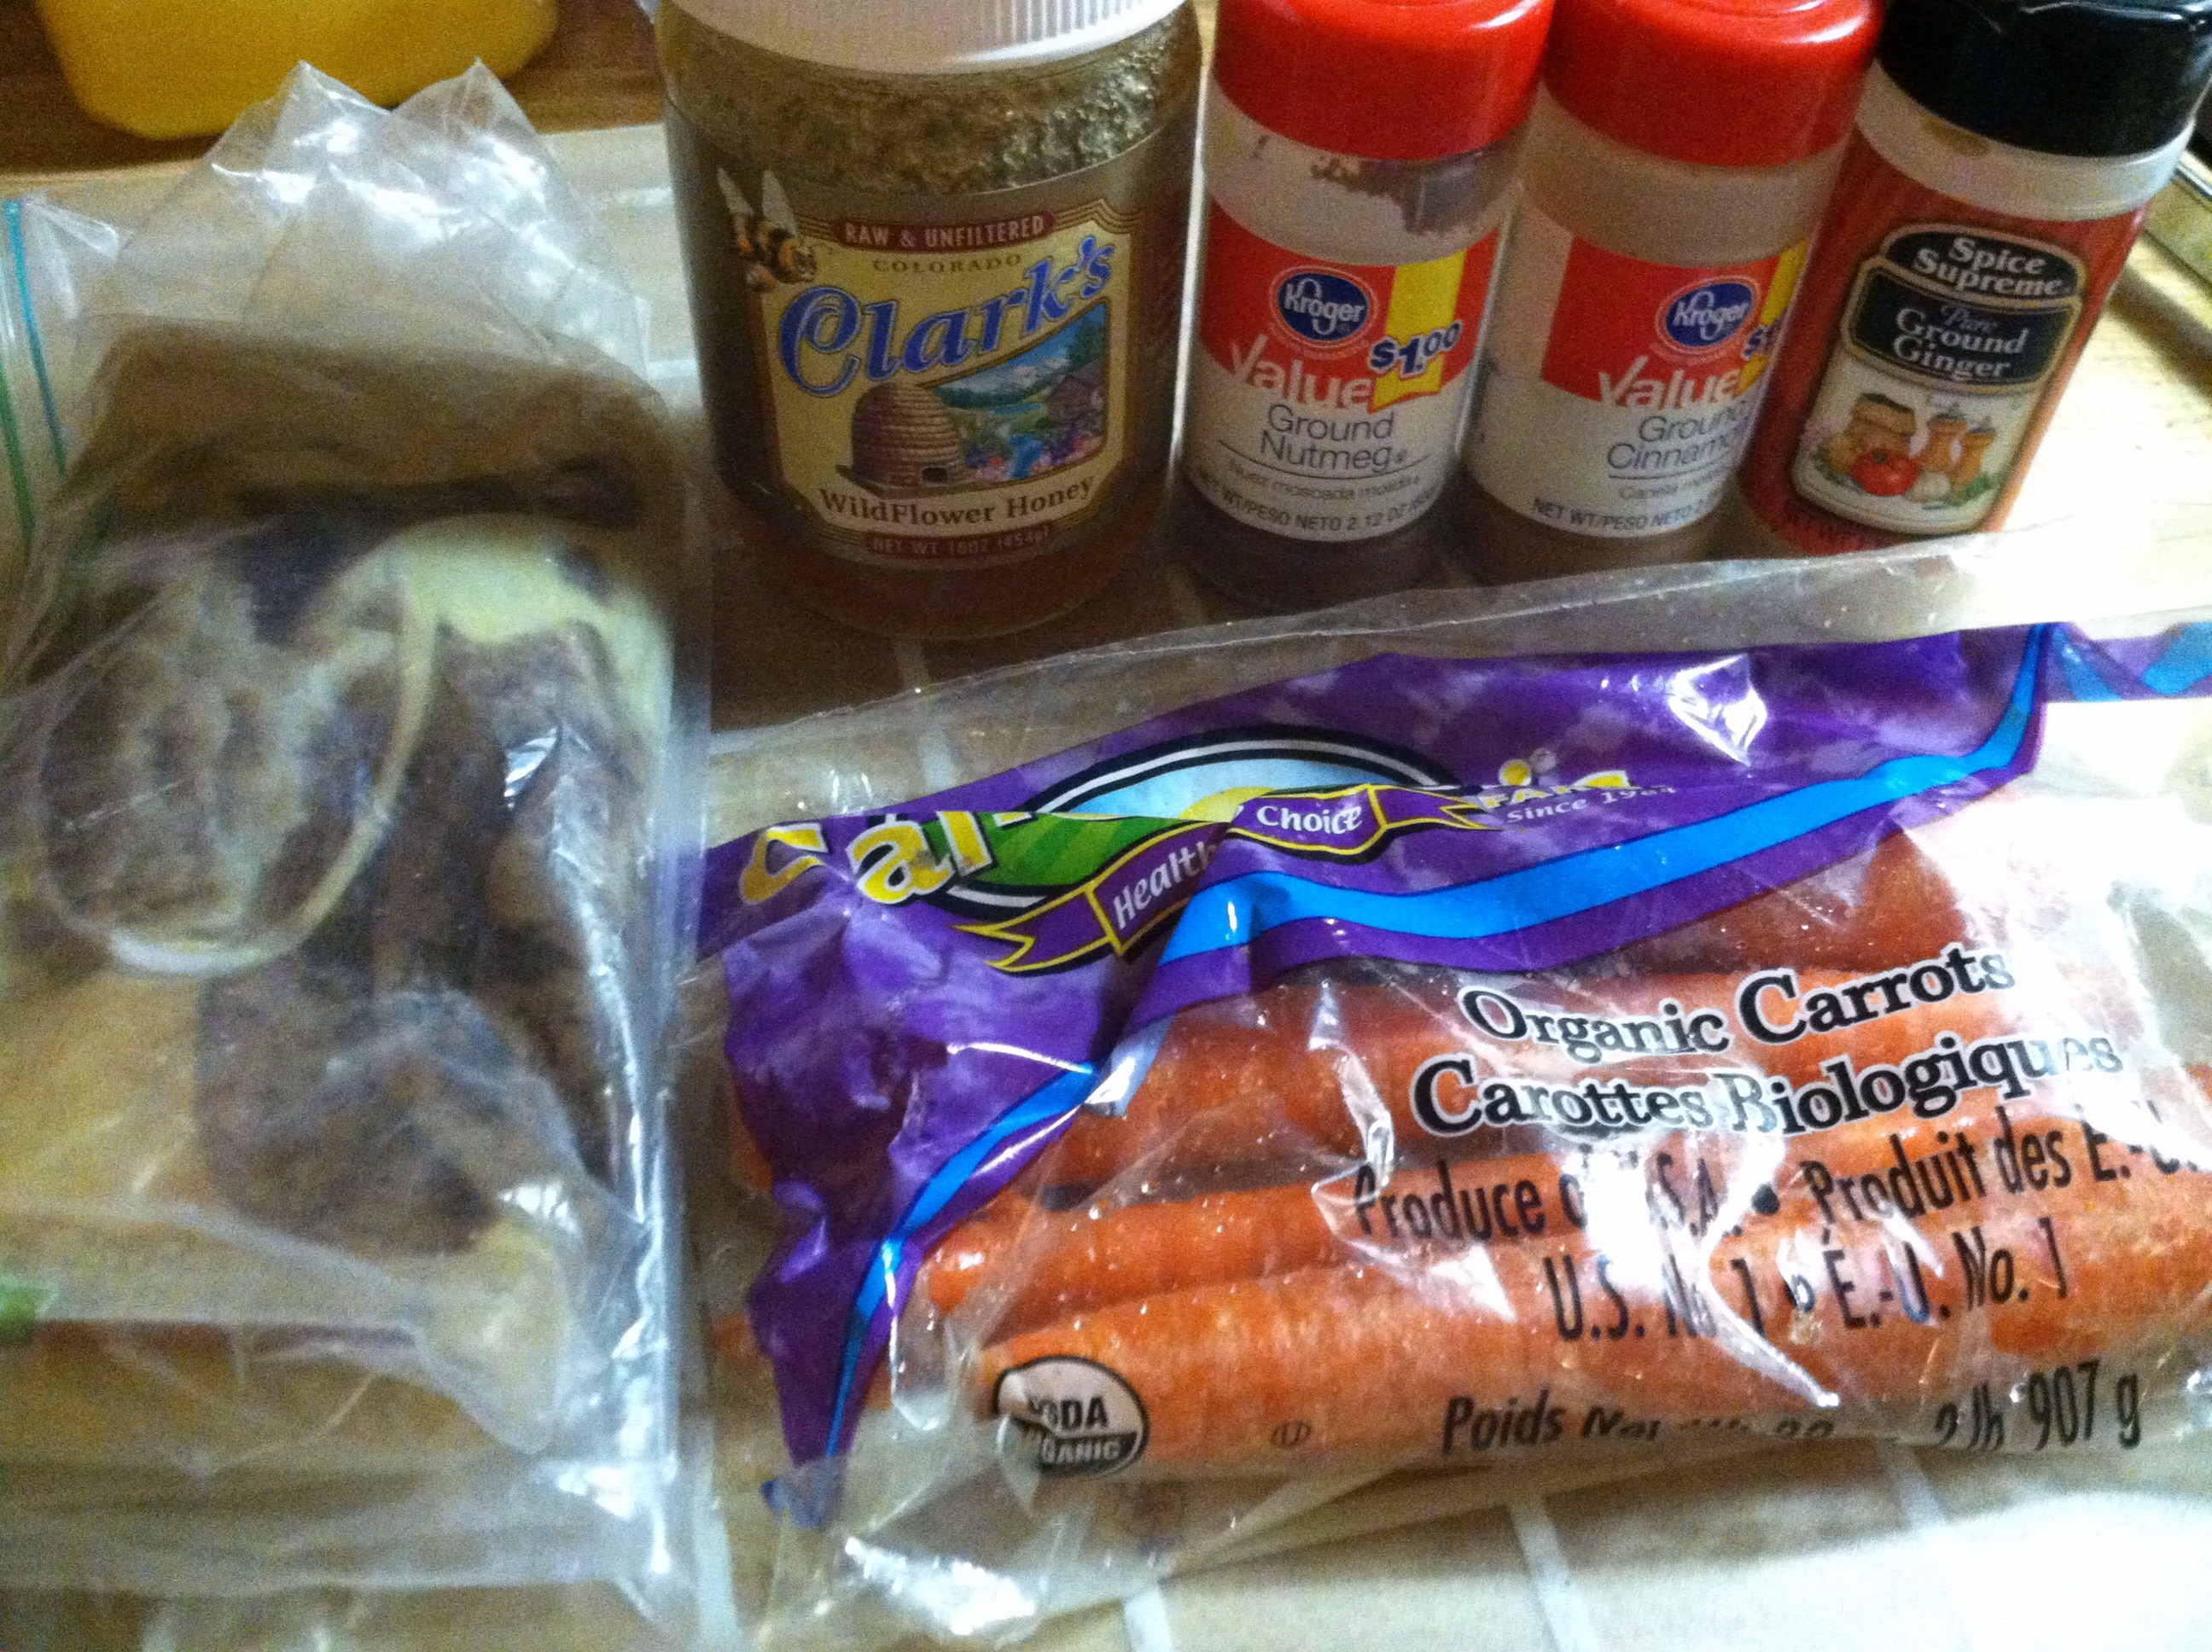
  • 3-4 large carrots
  • 1 tsp nutmeg
  • 1 tsp cinnamon
  • 1 tsp ground ginger (or 1 tbsp grated fresh)
  • 1 tbsp brown sugar
  • 1 tbsp honey

IMG_7729

Step 1: Slice the carrots into thin rings. I simply wash my carrots, I do not peel them. However, you can peel them if you want.

IMG_7731

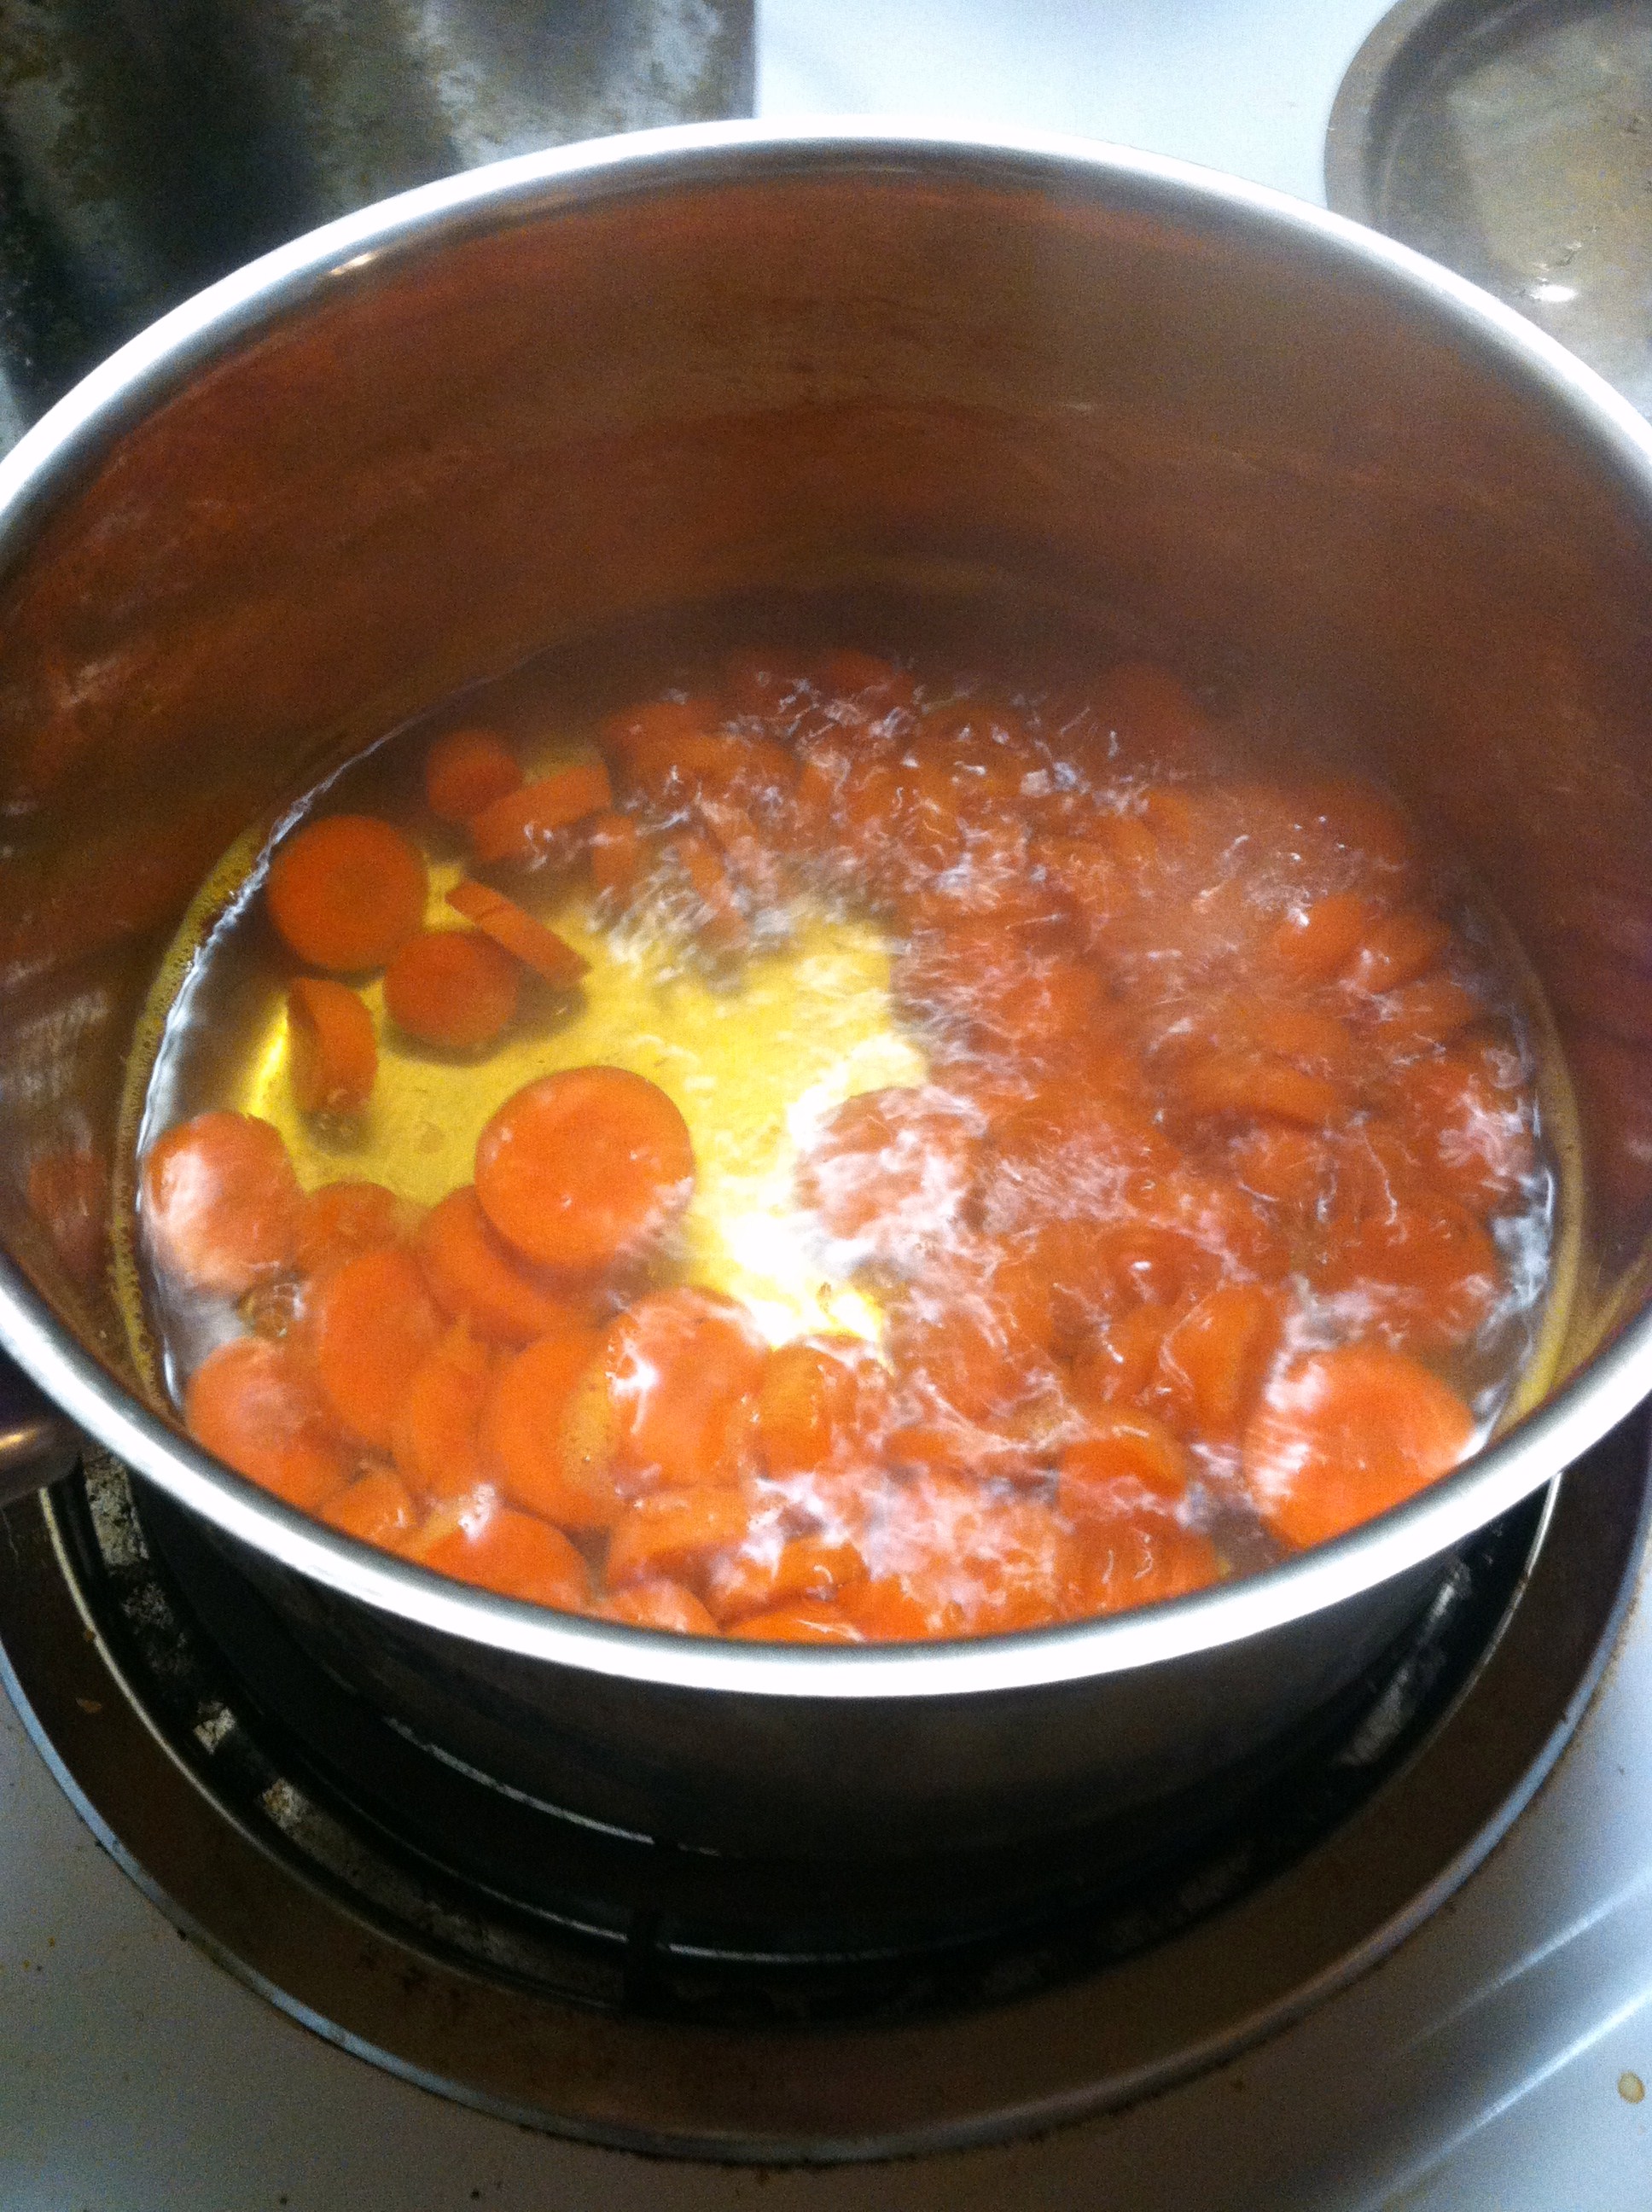
Step 2: Put the carrots in a pot with enough water to cover, and bring to a boil. Simmer for about 20 minutes, until carrots are soft when poked with a fork.

IMG_7733

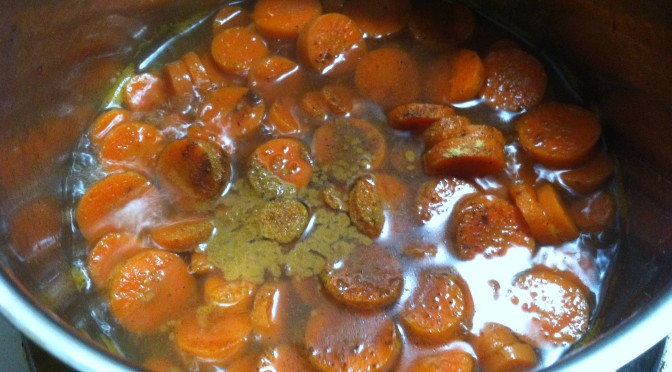
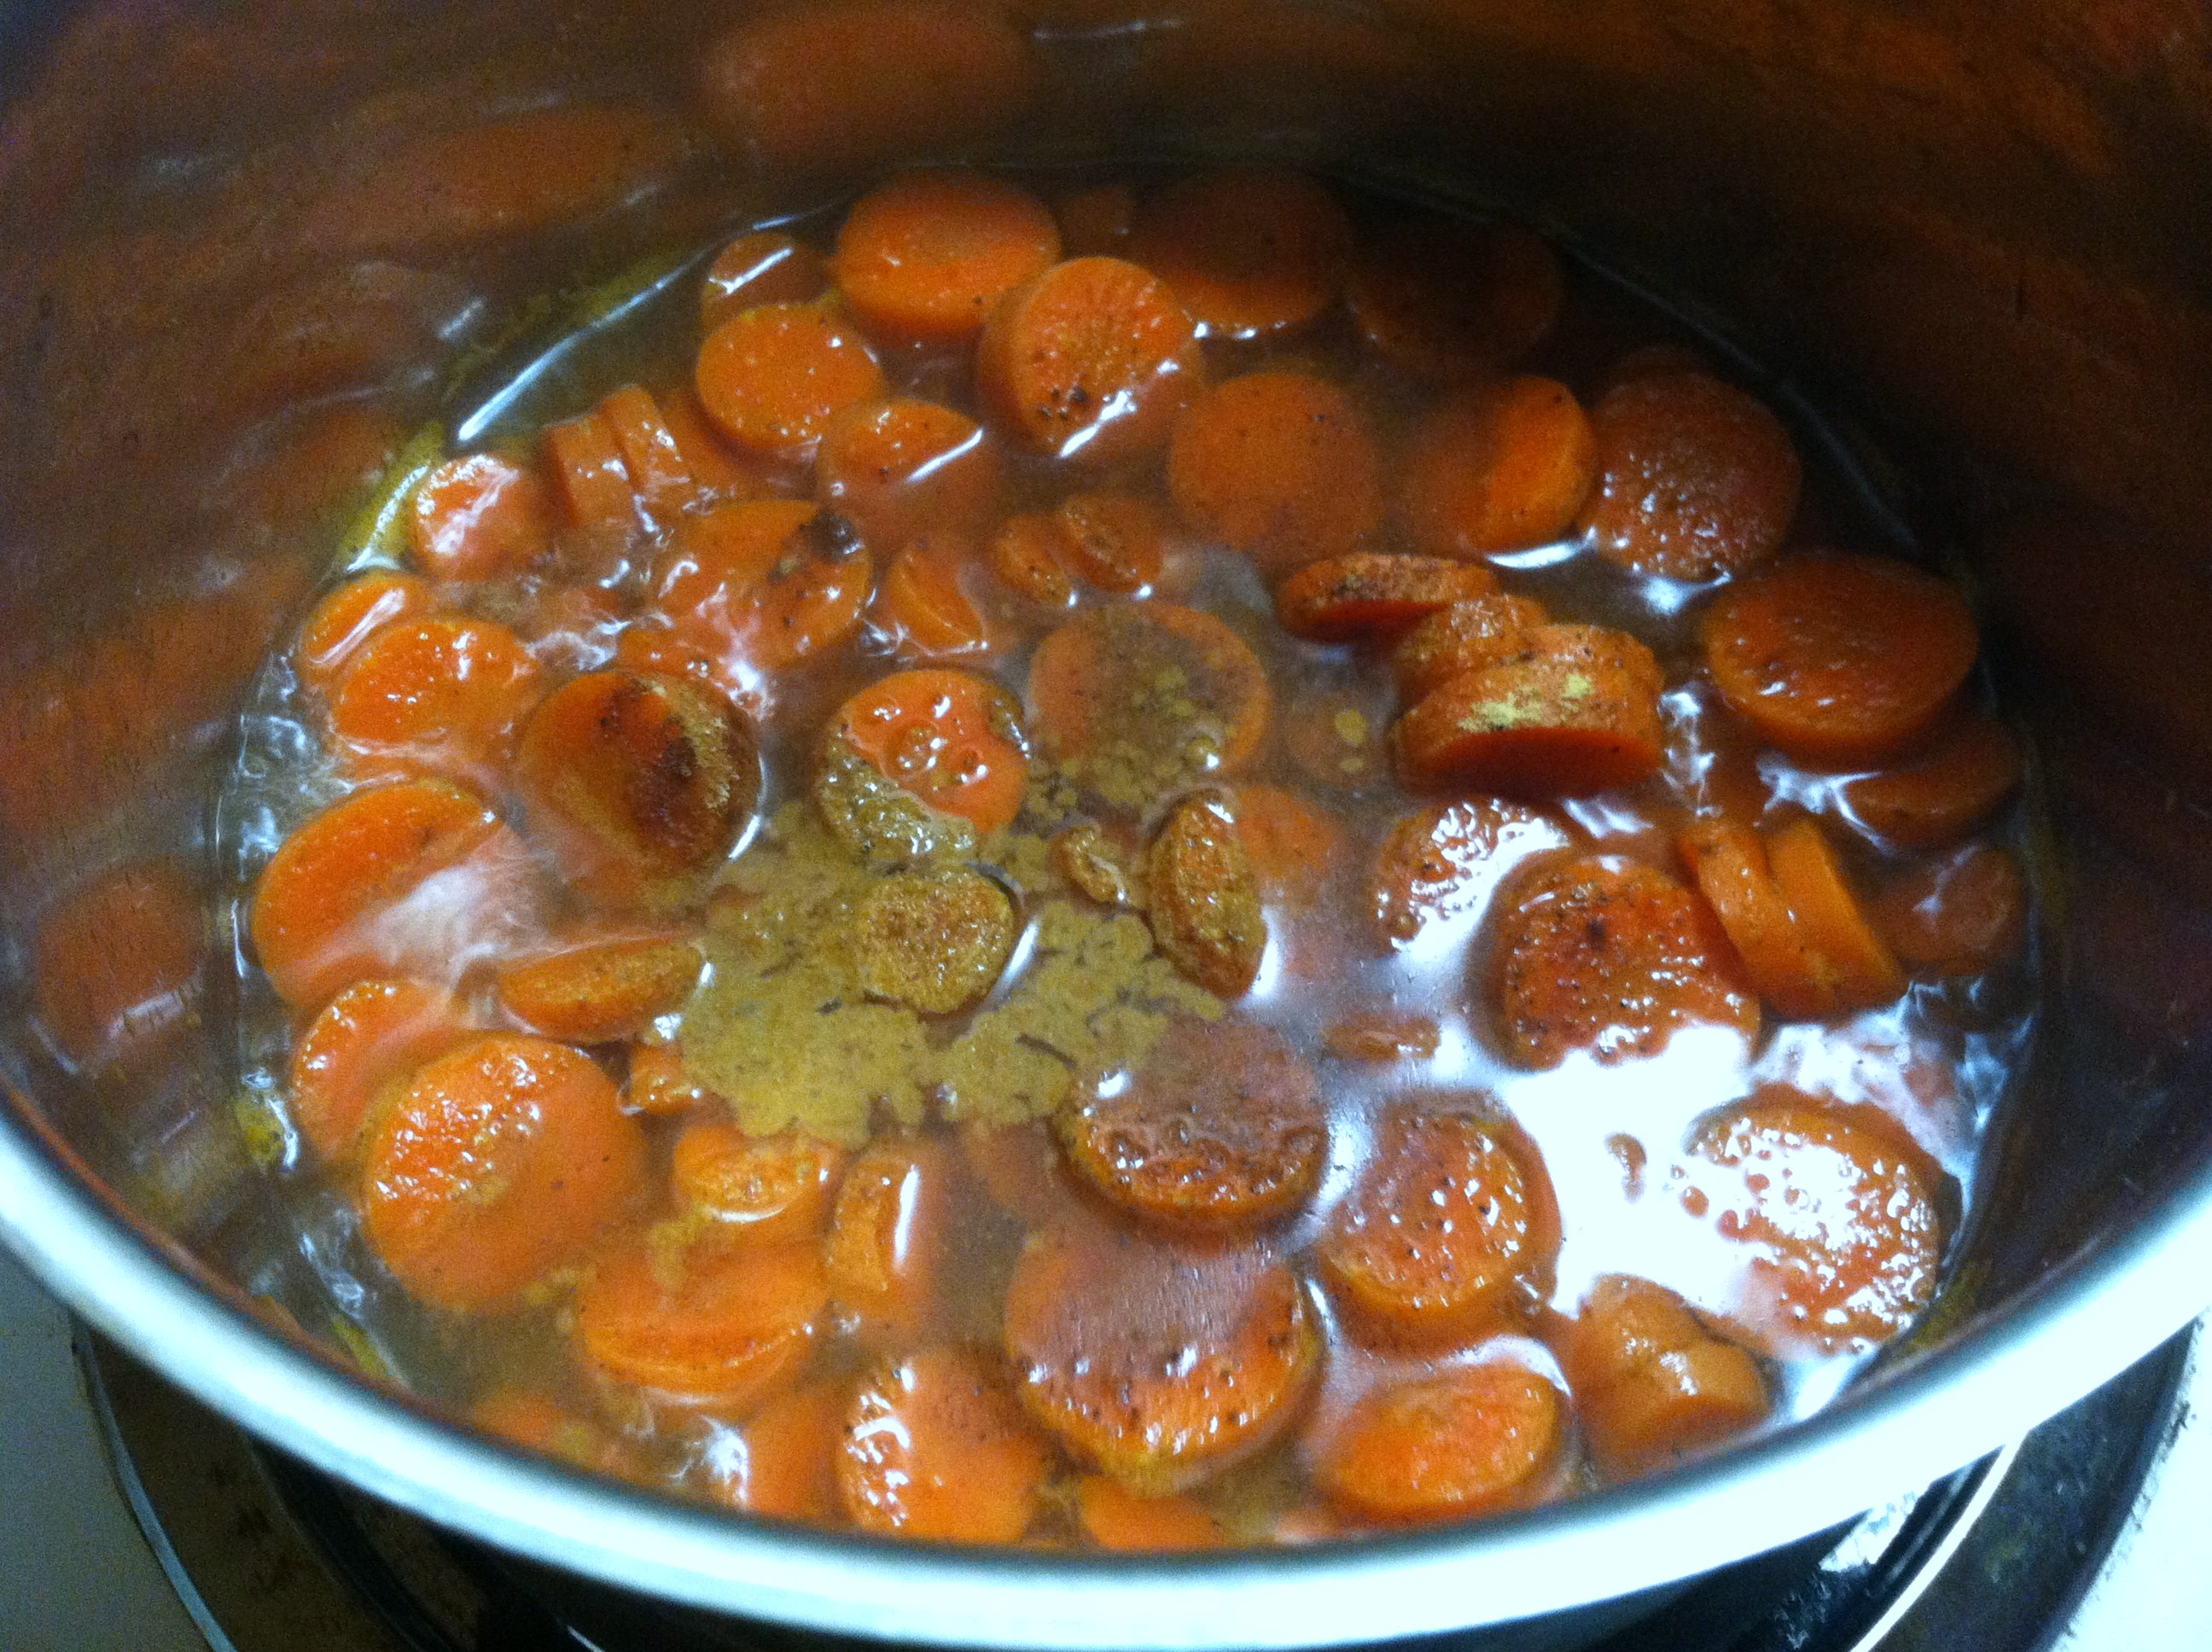
Step 3: If any water remains, drain all but a few tbsp. Add the spices, brown sugar, and honey. Continue to simmer another 10-15 minutes, until reduced to a thick, caramel-y sauce and carrots are tender.

IMG_7734

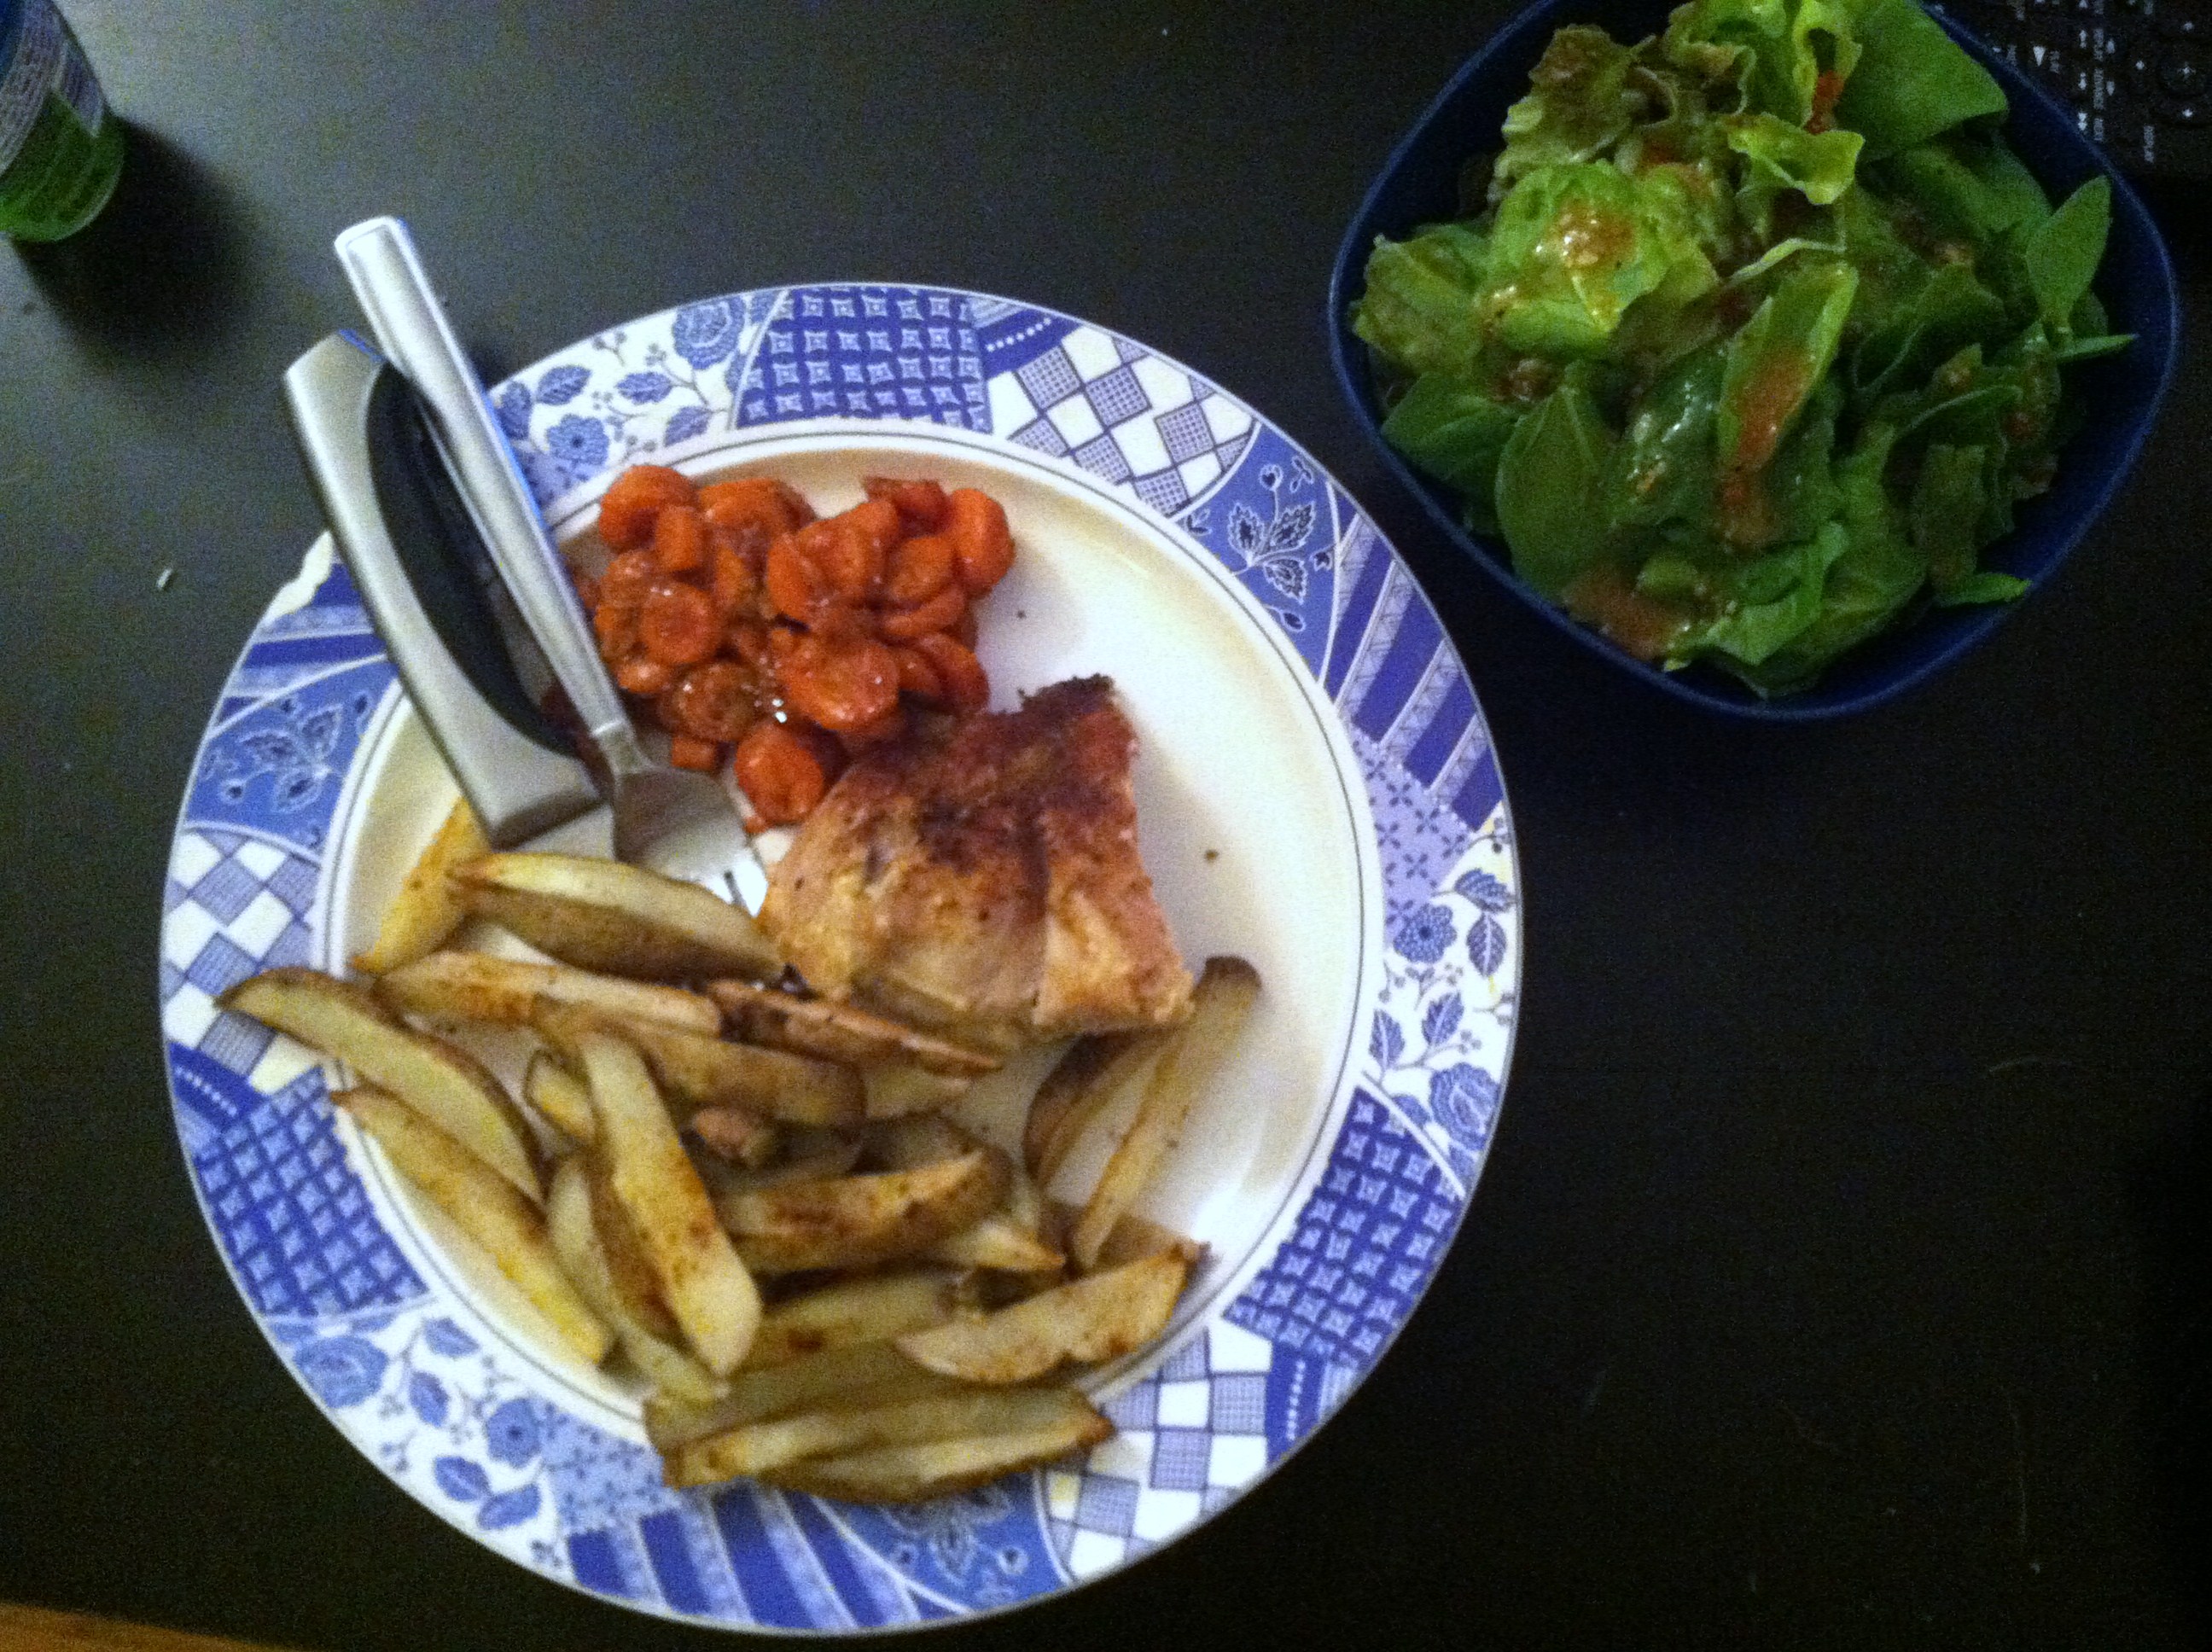
Serve your candied carrots alongside a lean meat like this spice-rubbed pork roast with other veggie sides, or with your favorite vegetarian or vegan salads or mains. See if they don’t disappear.

Vegan Four Bean Salad


This dish was cooked up (pun intended) for a work potluck I had. I wanted a dish that didn’t take too much time and effort, since I would put it together the day of, maybe even the night before. And it needed to be something that made a lot, to feed a lot of people, but on a penny budget.

In comes my old best friends, beans, to the rescue! Beans are delightful, cheap, and filling. They come in endless variety too, so when you put several kinds together you get a healthy, hearty, and also pretty dish.

This is a very easily customizable adaptation of your typical “three-bean” salad, in that I simply added an extra type of beans. Here I used canned, but you can slash the cost even further by starting with dried beans, and cooking them in a crock pot on low overnight to rehydrate. Then drain and refrigerate until needed.

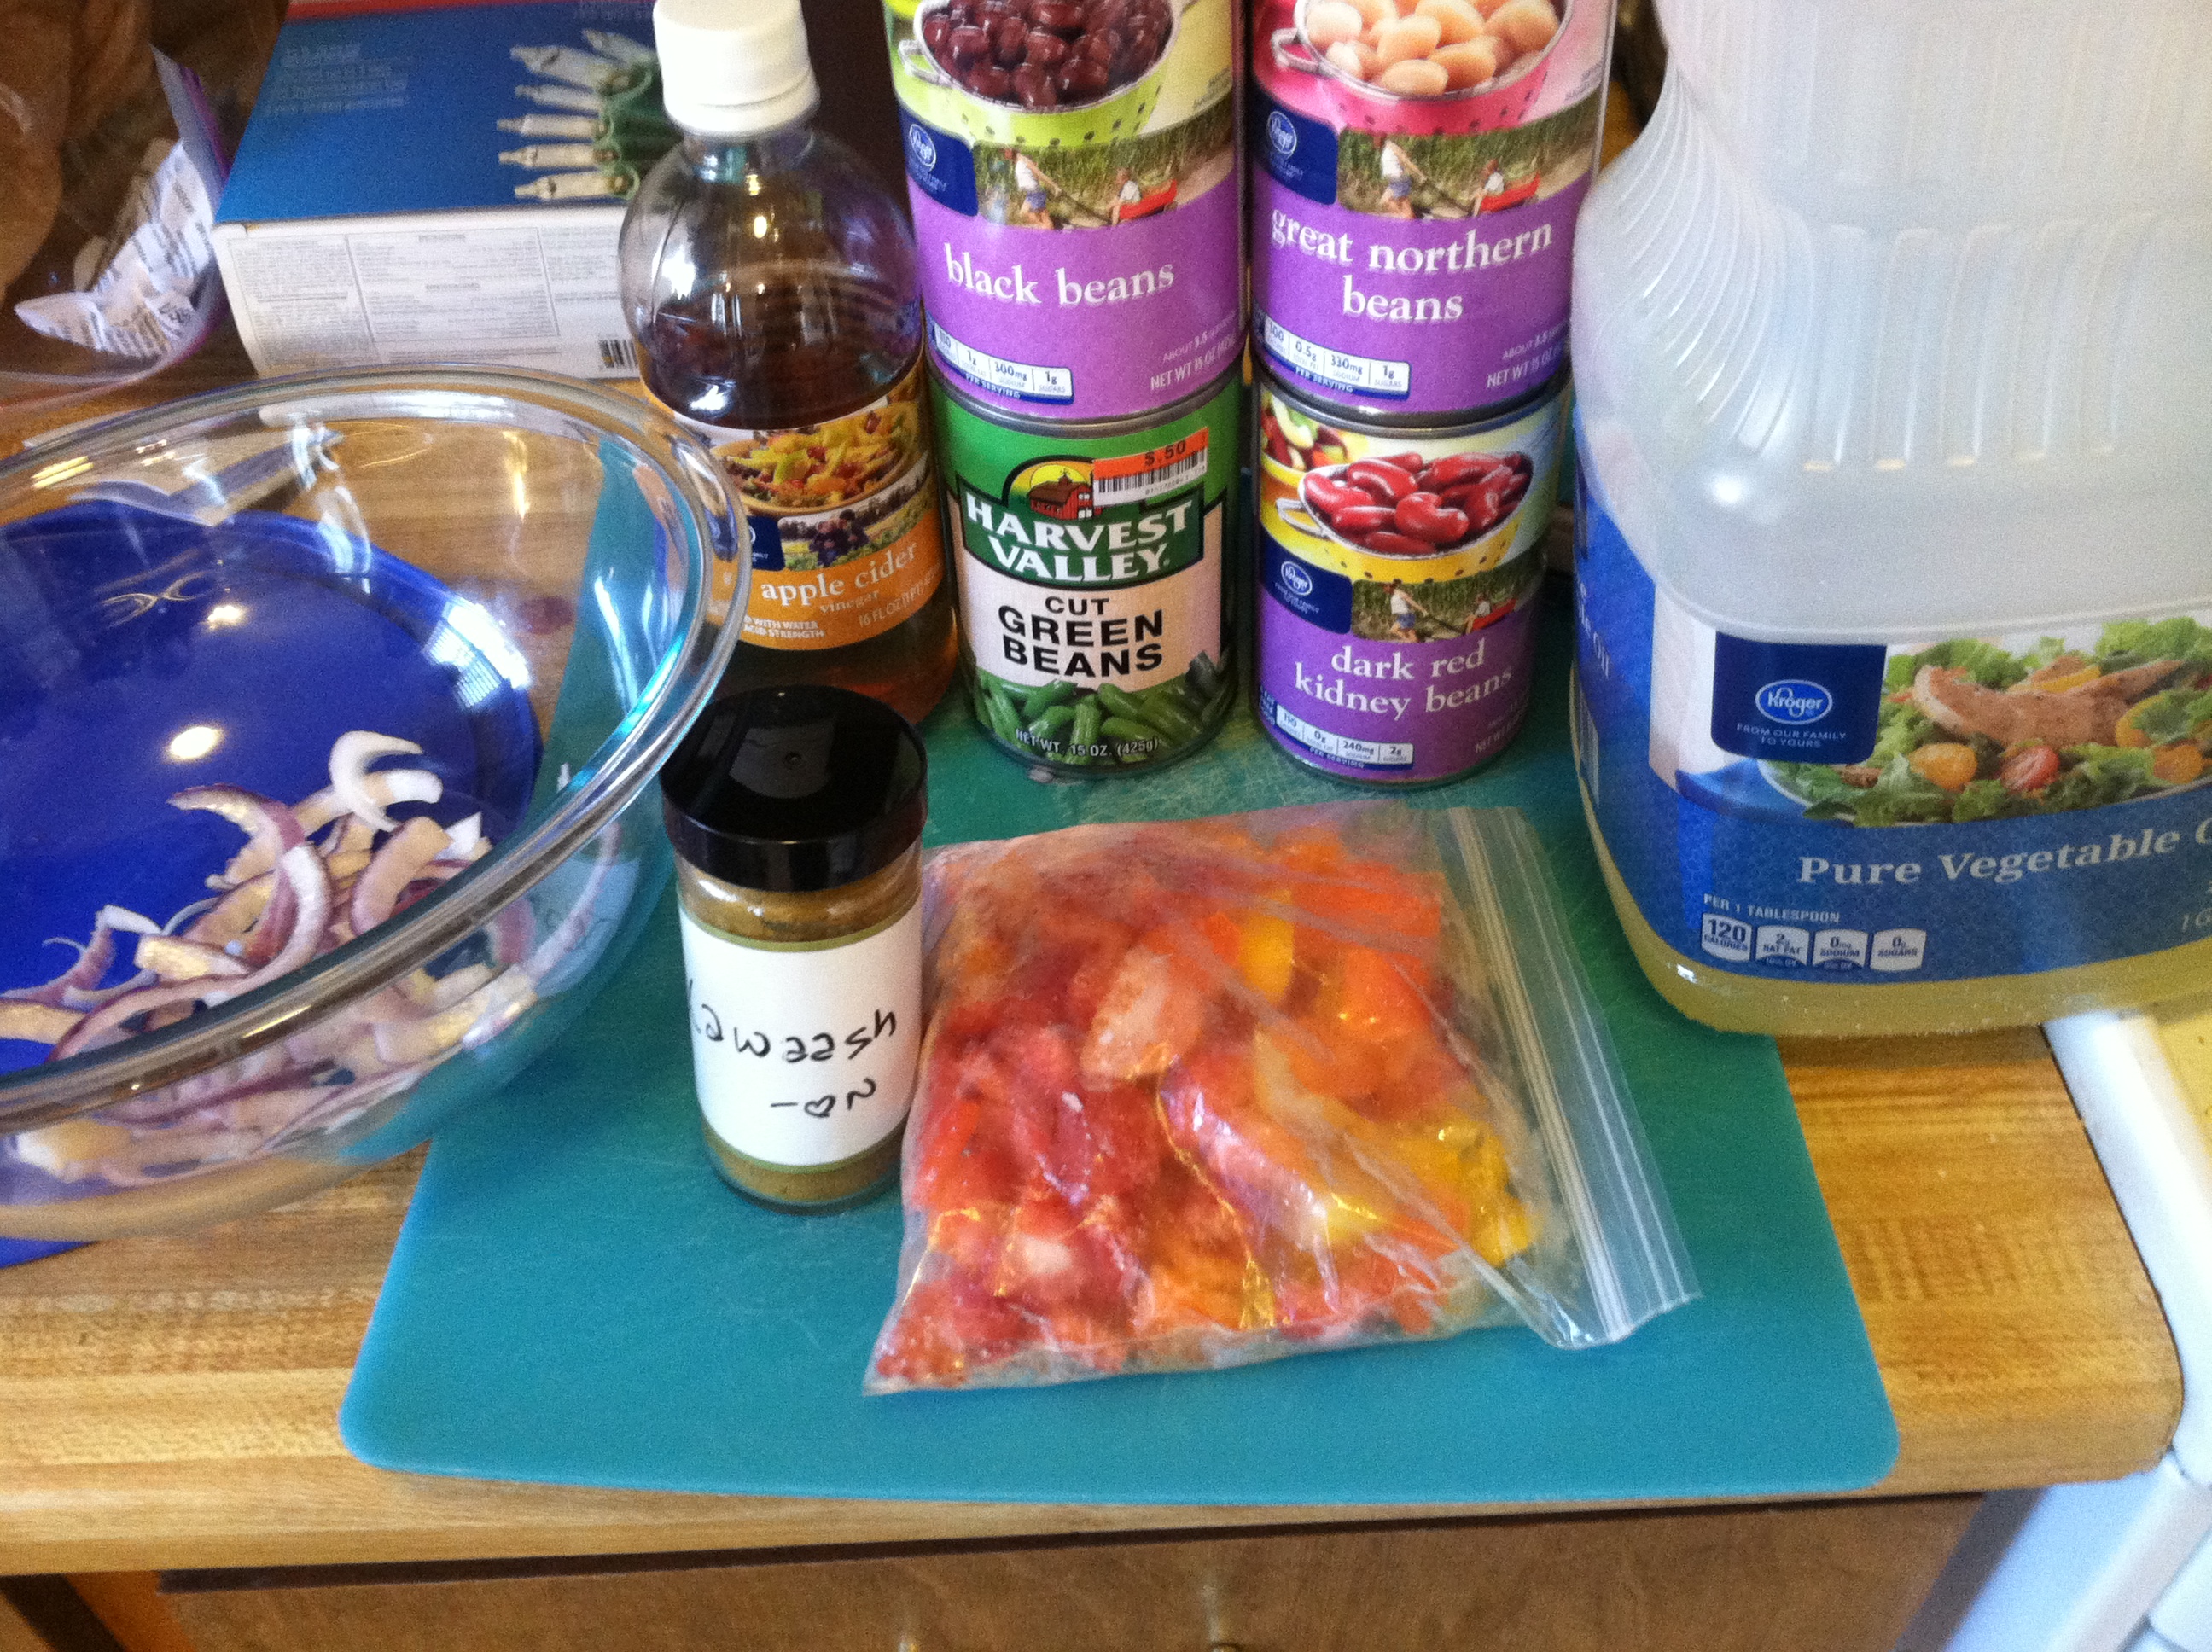
Ingredients:

IMG_6948

Step 1: Open all the cans, put the beans in a colander and rinse them several times with cold water. This helps remove some of the excess sodium and any preservatives that might have been in the canned juices. Mix in a large bowl with the peppers and onion.

IMG_6949

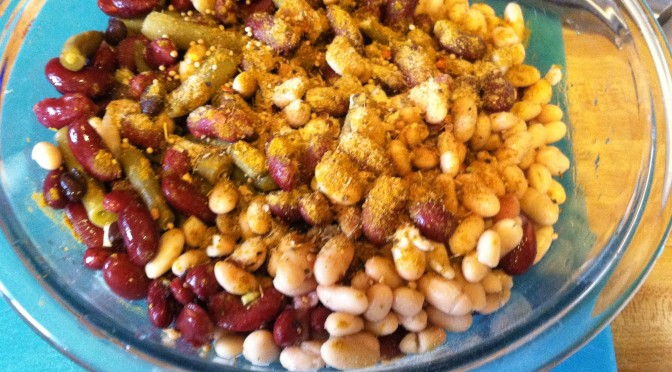
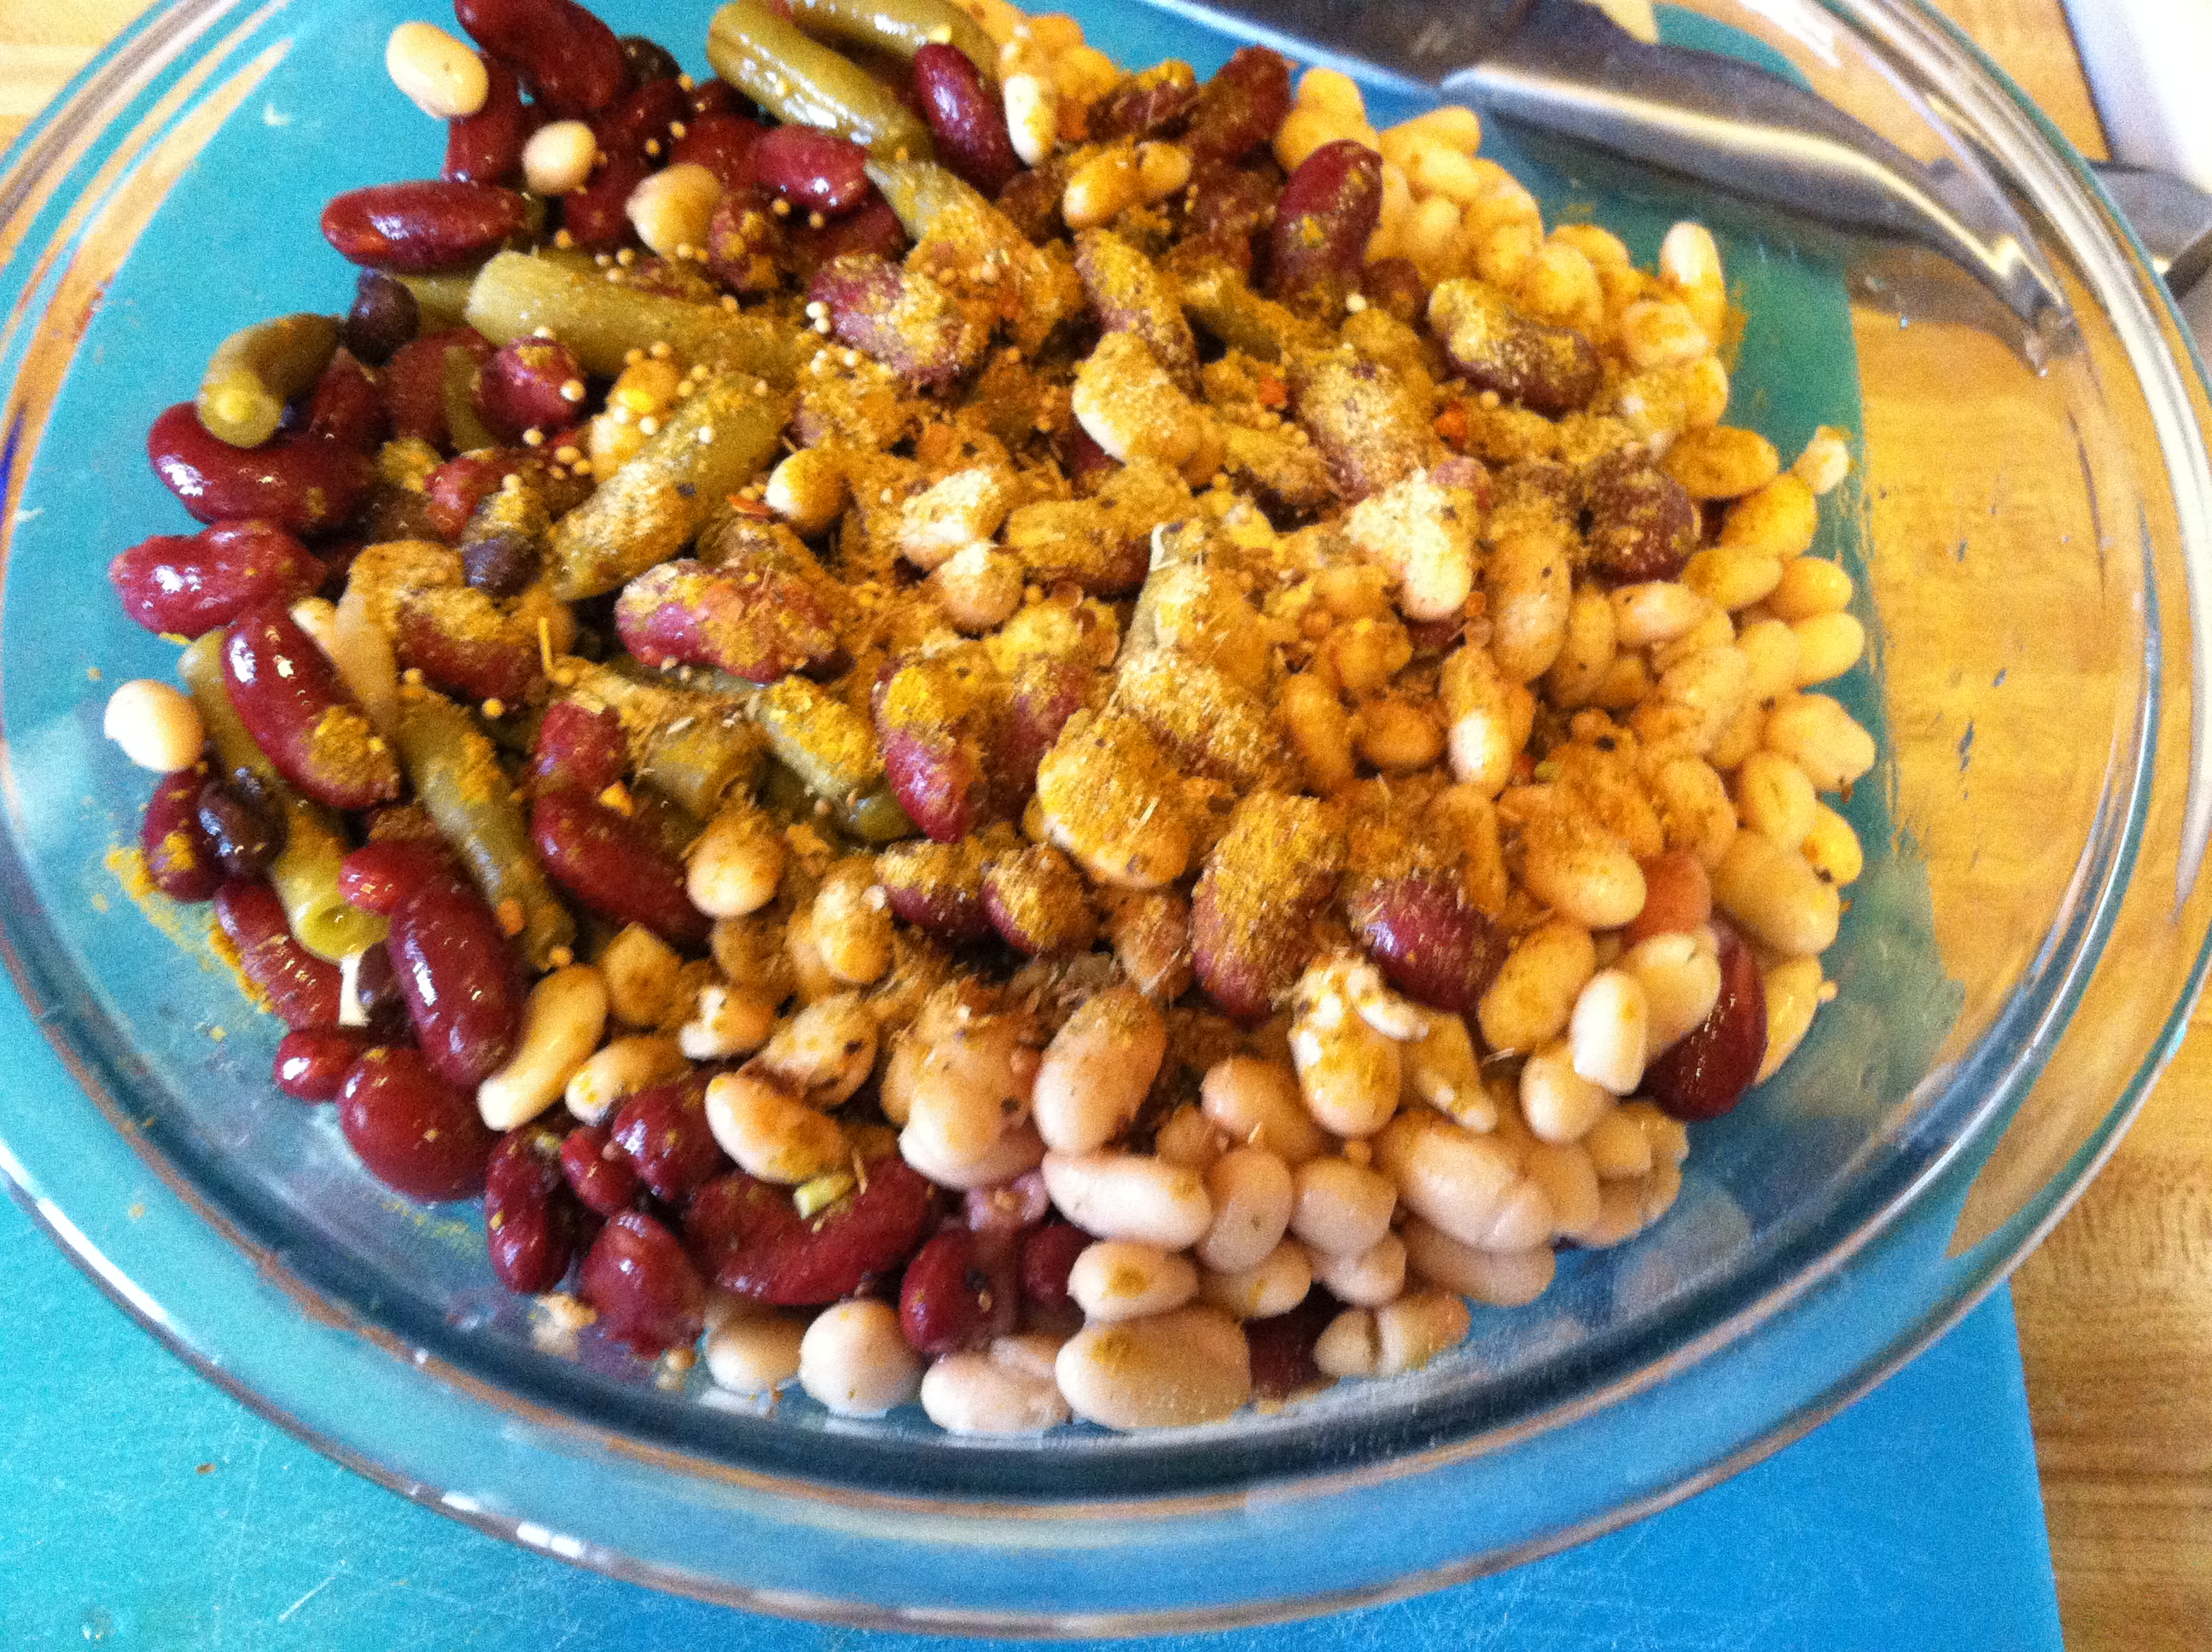
Step 2: Combine the vinegar and oil, and pour over the mixture. Add the spices, and mix everything up.


This post contains links to Amazon Affiliate Products. When you purchase items using these links, I make a small commission to keep this blog going, without affecting the price you pay. Thank you!

Ramen Broccoli Slaw


A quick search of the web brings up literally thousands of possibilities for using Ramen noodles. That classic salty cardboard noodle we all know and love can be elevated so far beyond fake chicken broth.

This Ramen Broccoli slaw is a delightful side dish for any reason. Take it to a picnic, a house party, the big game next Sunday, a birthday, a holiday celebration. It is tart yet sweet, borderline healthy (but I won’t tell if you won’t) and sure to be a crowd-pleaser.

Best of all, it takes just a few minutes to whip together, so you can make it the day or a few hours ahead, stick it in the fridge, and forget about it until it’s time to run out the door or set the table.

Ingredients:

  •  1/2 bag or box broccoli slaw mix
    • You could make your own by shredding 1 head broccoli minus the crowns, and 1 large carrot
  • 1 pack Ramen noodles (save the seasoning for something else)
  • 1/4 cup vegetable oil
  • 1/2 cup white vinegar
  • 1/2 cup sugar
  • 1/4 cup chopped peanuts
  • 1/4 cup raisins or craisins
  • 1/4 cup diced strips red bell pepper
  • 1/2 bunch green onions

IMG_5087

Step 1: In a large bowl, whisk the sugar, oil, and vinegar together. Crush the Ramen noodles up a bit and put them in the bowl. Stir well to coat.

IMG_5088

Step 2: Add the broccoli slaw, pepper, green onion, and raisins. Mix well and refrigerate at least one hour and up to overnight. The longer you let it sit, the softer the noddles are.

IMG_5089

Step 3: Just before serving, toss in the chopped nuts. Obviously you can omit this if there are any nut allergies or you just don’t like them.

IMG_5096

Versatile and simple, this humble side is extremely cheap (depending on what you add into it) and not too bad health-wise. Of course you can use homemade cabbage slaw, or whatever other diced/shredded veggies you have on hand.


Mexican street corn


A trend that swept food magazines and websites for a while, I finally gave in and had to try Mexican street corn. For those of you who haven’t heard of it, this is a handheld side dish and/or snack comprised of cooked corn on the cob, mayonnaise, chili powder, and usually cotija (crumbly white cheese).

Very simple to make, it sounds unusual but I was pleasantly surprised. The sweet crispy corn mixes with the mayo and sharp chili powder spices in a cohesive taste. Try it and see how you like it.

Ingredients:

  • 2 ears corn
  • 2 tbsp mayonnaise
  • 2 tsp chili powder
  • 2 tbsp crumbly cheese if you have it

IMG_4800

Step 1: Cook the corn with the husk still on it. There are a few options here. Boil for 15 minutes, soak in water for 1 hour then grill 15 minutes, or microwave 8-10 minutes. Yes, you can microwave the whole ear, and the husk will steam the kernels.

IMG_4801

Step 2: Carefully peel back the husk, leaving it attached. Corn will be hot. Smother it in the mayo, then sprinkle on the chili powder.

IMG_4802

You can then use the end of the corn and the husk to hold while you enjoy your ethnic portable snack!


Barley & Kale Veggie Salad


Fall is the time for bumper crops of kale. As the current “It” vegetable, we know all about how healthy kale is for you. But even though kale chips are amazing, sauteed kale in greens makes a great side dish, and Zuppa Toscana is a definite crowd-pleasing soup, sometimes you need a new way to enjoy this power green. If you like light, fresh, great-cold-or-room-temp dishes, this baby’s a winner!

I’ve been meaning to try more grain and veggie salads, and this seemed like the perfect opportunity to do so. Kale is on sale for 0.99 per bunch, organic! You can’t pass up that kind of deal. So with a fridge full of kale and a hankering for something new, I made up this recipe. It turned out fabulous! The combination of tomato and cucumber and onion crunch with the soft cooked barley and fresh kale leaves is really addicting.

The best part about it? It makes a crap-ton, and per 2 cups is under 100 calories! So you can stuff yourself on this all you like and feel good about it. Have it for lunch, as an afternoon snack, before dinner to dull the appetite. There really isn’t a bad time for this.

Ingredients:

  • 1 bunch kale, rinsed, torn and stems removed
  • 1/4 red onion, sliced thinly
  • 1 cucumber, rinsed, skin-on, diced
  • 2-3 large tomatoes, diced
  • 2-3 green onions, chopped
  • 1 cup barley
  • 1/3 cup olive oil
  • 1/4 cup red wine vinegar
  • 1/4 cup apple cider vinegar
  • Salt & pepper to taste


Step 1: Cook the barley in 1 1/2 cups water by bringing to a boil, then lowering to a simmer. Cover, and cook 20-30 minutes, until all water is absorbed and barley is soft. Add more water if needed during cooking. Let cool.


IMG_5441

Step 2: Chop all your veggies and place in a large bowl. Mix the oil and vinegars, and salt & pepper if using. Pour over the veggies.

IMG_5443

Step 3: Combine the cooled barley with the veggies and mix well. Now you have a giant side dish, snacks all week, or a super healthy and vegetarian main course.


Creative leftovers: Cottage cheese & broccoli pasta

.
We all know the feeling: it’s time for dinner or you need to pack a lunch, but you don’t know what to make and have little to no time. Rather than caving and just buying a pizza or going through the drive-through, try this simple recipe. With less than 5 ingredients (3, in fact) and requiring little time (as long as it takes for pasta to boil) it is a tasty time-saver.
.
The ingredients are also something you are likely to have. Especially if you make pasta, make just a little more than you need for that meal, and keep the rest in the refrigerator. Pasta is very versatile in terms of just adding in a few other ingredients for a different, complete meal later.
.
Ingredients:
  • 1 1/2 cups cooked pasta
  • 1/2 cup cottage cheese
  • 1 cup frozen broccoli
Step 1: Boil 3/4 cup pasta in 1 1/2 cups water, lightly salted if you want. Add the broccoli after 5 minutes, and let boil another 5 minutes. Drain.
Step 2: Mix the drained pasta and broccoli in with the cottage cheese. And that’s it!
This shows you how very simple eating vegetarian can be. It is extremely frugal as well. Frozen broccoli often is on sale for $1 per bag or less, and you only need 1 cup. Pasta is a cheap staple, and the cottage cheese is an affordable protein. This meal is all-around healthy, frugal, and tasty.
.
You can of course add to it, such as cooked shredded chicken, ham cubes, shredded cheddar cheese, or drained and rinsed canned beans. Make it your own and save a few bucks a day by not going out for lunches or save hassle with this quick dinner.

Rice is Nice: 15 Recipes for Rice


According to Wikipedia (which we all know is the single most accurate and respected source of information in this era) “Genetic evidence has shown that rice originates from a single domestication 8,200–13,500 years ago[4] in the Pearl River valley region of China.[5] ” So rice has been around, domesticated by people, for at LEAST 8000 years! Rice was spread to Europe through West Asia, then to the Americas by European colonization.

Today, rice is the most important grain in regards to human nutrition, beating out both wheat and corn, as it supplies nearly 1/5 the calorie intake worldwide. One-fifth of all calories eaten anywhere in the world comes from rice. Wow.

And I can certainly see why. Rice is delicious as a side dish and endlessly versatile. It is able to grow in many different climates, in large amounts. Literally any vegetable cooked up and mixed with rice is great, it complements all meats, and you can pour nearly any sauce over it with great results.

It’s awesome in soup, burritos, as a side or main dish, sushi, dessert (rice pudding anyone?), heck on its own with some soy sauce as a snack. Rice can also be ground into flour and used in bread, baking, or as a thickener. Rice paper, noodles, and wrappers are staples in Asian cuisines as well.

Ways to prepare rice

To cook rice, it is typically boiled or steamed to cause it to absorb water. This can be done rapidly in a large amount of water which is then drained off, or more slowly in an amount of water similar to the amount of rice. Once cooked, the rice can be further processed by frying in oil to make fried rice.

Soaking rice before cooking may improve cooked texture, decrease cooking time, conserve fuel, minimize exposure to high temperature, and reduce stickiness.

Electric rice cookers are also very popular in Asian countries and increasingly so in the US. This is one of my favorite ways to make rice; you simply add 2x the amount of water (ex: 1 cup rice + 2 cups water) and flip the switch. You can do whatever else you need to do, and 40 minutes later your rice is ready!

Rice Cooker

White vs. Brown rice

Rice grains with the chaff removed is what we know as brown rice, and it has the bran and germ still attached. When you remove the germ, you get white rice. If you remove every layer, you have “Musenmai”, a Japanese style of rice, ready to boil.

According to the USA Rice Federation, rice contains no trans fats or saturated fats, no sodium or cholesterol. It is also a staple for those with celiac disease because of the lack of gluten. In 2004 the U.N. declared the International Year of Rice, in an effort to promote awareness of how important a crop rice is and its role in alleviating poverty and malnutrition worldwide.

Vitamin A deficiency is a very real health concern in nations which get the majority of their calories from rice. Research into how to make rice more nutritious led to “Golden Rice“. This rice is genetically engineered to contain the precursor for Vitamin A, beta-carotene. The beta-carotene turns the rice yellowish gold, hence the name.

I recently had a friend tell me that she wished she knew more things to make with rice, because she knows rice is delicious and good for you. So this post is inspired by her, to inspire all you home cooks out there with some Jasmine, wild, or brown rice, and confusion as to what to do with it tonight.


SIDE DISHES

Rice is an excellent side dish, and I’m sure you know many more possibilities than this list, but here are some rice sides ideas.

cream of mushroom soup over rice

1. Cream of Mushroom rice: Boil a batch of rice. For extra oomph, use half milk when preparing the rice. Open a can of cream of mushroom soup, and pour over, mix into rice, season with salt & pepper, and serve.

2. Mexican Rice: Prepare 1-2 cups rice, mixing in 1 can diced tomatoes with green chilies in place of 1 cup water. Add 1/2 cup corn, and/or 1/2 cup black beans. Serve.

3. Burritos: Rice is a perfect addition to most Mexican dishes. Take a tortilla, fill it with meat (if you want), beans of any kind, cooked veggies, and warm fresh rice. Wrap up and scarf down.

4. Risotto: In a pan, melt 4 tbsp butter. Add 1 cup raw rice, and 1/4 cup chicken broth. Heat to medium, just a simmer, and stir. As stock evaporates, continue adding more in 1/4 cup increments, until you add 1 1/2 cups. After 30-40 minutes, the rice will be soft and risotto-like. Add vegetables while cooking if desired. You can also use cream.

5. Cilantro-Lime Rice: Prepare 1-2 cups rice. When fully cooked, add in 2 tbsp sea salt, 1/4 cup lime juice, and 3 tbsp chopped cilantro. Mix well and serve.

cilantro lime rice

Or, whip up a batch of plain white rice as a base for:

MAIN DISHES

Rice can be included with other items to make a hearty, nutrient-dense main dish. Here are some ideas.

6. Chicken & Rice Soup: in a large pot, combine a few pounds of chicken (bone-in is best for the flavor), a cup or two of diced veggies, a can of beans, and a cup of rice with just enough water to cover with an inch or two. Simmer 30-60 minutes and enjoy.

7. Fried rice: Fried rice is super simple, and you can make it into anything. Add veggies & an egg for a vegetarian version, or mix in some chicken, pork, or steak strips.

8. Red Beans & Rice: Cook up a batch of white rice, add Cajun seasonings and sausage if you like, and one can of red beans. Frugal, filling, and delicious.

9. Bean & rice burgers: In a large bowl, combine 1 cup cooked rice (any kind) with 1 can of beans (any kind) and mash together. Add 2-3 tbsp oil, and flour until it sticks together. Shape into patties and cook in an oiled frying pan on both sides.

10. Broccoli cheddar rice: In a slow cooker or pot, combine 1 cup rice, 1 cup milk, 1 cup shredded cheddar cheese, and 1 cup frozen broccoli. Simmer 30-50 minutes, mix well and enjoy. You can add cooked shredded chicken for a meat eater one pot meal.

slow cooker broccoli cheddar rice


11. Porcupine meatballs
: a Slovak classic; mix 1 pound ground beef, 1 cup cooked rice, 1 can tomato sauce, and spices (garlic salt, Mrs. Dash, black pepper…) in a bowl. Shape into meatballs, and cook on a cookie pan at 350 for 30-45 minutes. Serve with extra tomato sauce and mashed potatoes.

12. Stuffed peppers: (or zucchini, mushrooms, cabbage rolls,  grape leaves…) for this recipe, you take the above recipe for porcupine meatballs, and stuff it into a vegetable. Wrap it in cooked cabbage leaves, pile it onto portobellos, or stuff hollow bell peppers. Bake at 350 for 30-50 minutes, until the outer veggie is tender.

13. Chicken & Rice casserole: the absolute easiest way is to take 2 boneless skinless chicken breasts, dice into chunks, and put into a 8×8 oven-safe pan. Mix in 1 cup uncooked rice, 1 cup milk or chicken stock, and 1 cup diced vegetables. Cover with foil and bake at 350 for 1 hour, uncover and sprinkle with cheese and bake another 5 minutes until crisp.

14. Sushi: as my salmon nigiri post shows, even an unskilled cook can manage an attempt at sushi. Prepare the white rice with vinegar and spices, and cover with fish of your choice. Seaweed optional.

cooked white rice and salmon for nigiri

DESSERT

15. Rice pudding: a classic dessert with endless variations, you can make this stove-top or in the oven. The basics are: simmer rice in milk 30-60 minutes, stirring regularly. Add cinnamon, sugar, any other sweeteners or flavorings (like almond extract, vanilla, maple syrup) and possibly eggs, chill and serve sprinkled with cinnamon.


And there you have it, one of the most versatile grains in the known world, with over 15 ideas of how to cook with it tonight. If you have unique ideas not mentioned here, please feel free to share!


How To Make Tortillas At Home

.
I love tortillas. They are so versatile, and save tons of money, because you can wrap up just about anything in a tortilla and it will taste great! You can use up leftover shredded pork, ground beef, chicken, eggs, and any type of vegetable pretty much.
.
The problem is, sometimes tortillas are pretty expensive, and we go through lots of them. I always stock up when they are on sale, but if you just run to the store any given day, you might pay upwards of $3 per pack of ten. That adds up over time, so I sought a way to make my own tortillas for pennies on the dollar. Keep in mind this is my first attempt, I’m sure they get prettier with practice. =)

Ingredients:

  • 4 cups flour
  • 2 tsp baking powder
  • 1/2 cup butter or vegetable oil or lard
  • 1 cup hot water
  • 2 tsp salt
Step 1: Mix flour, baking powder, & salt in a bowl. Cut in the butter and mix until it resembles coarse crumbs. I used butter here but as above, you can use vegetable oil, Crisco, or lard depending on your preference and pantry. There are many proponents of each type of fat, and I’m not taking sides.
Step 2: Pour in your hot (not boiling) water, and mix until dough comes together. You can always add another tbsp so go easy at first. I think I over-did it just a bit here. Let the dough rest in a warm place for about an hour, covered with a towel.
Step 3: Pinch off a piece of dough about the size of a golf ball. Flour your rolling surface and rolling pin, and roll out the dough into a roughly circular shape. Don’t worry if yours are misshapen, this is one of the many ways homemade tortillas are superior to cookie-cutter factory made tortillas.
Step 4: Heat up a cast iron or non-stick skillet to medium/ medium-high.
Toss your tortilla on there, and let ‘cook’ 1-3 minutes. You want it to not be raw anymore, but you also need to be careful to not burn them. This takes a little practice, so don’t feel bad if a few aren’t perfect. You’ll get it.
Step 5: Flip the tortilla so that both sides can get nicely browned. This one was pretty good for a first go. I think I rolled the dough a little too thick for this batch though. I got 12, and likely could have gotten more like 15.
Balls of dough resting before being rolled out.
My rolling area was quite cramped, so I had to do one or two at a time. That is probably for the best though, you want to keep the raw dough and the cooked tortillas covered so they stay moist and pliable. You don’t want to accidentally make tostadas after all.
Rolling the floured dough into circles.
Rollin, rollin, rollin….
Flipping the tortilla to flour the other side. Don’t want it to stick.
Wow, I actually look like I know what I’m doing! =)
This one got a little too crispy…
Careful how much oil you use in the pan, don’t want to fry them.
Stack your finished tortillas and keep them covered with a towel. I kept mine in the microwave to stay nice and warm and fresh.
These are far superior tasting to any store-bought tortillas. They do take some time and patience to master, but are very worth it in the end. Then use as you would any other tortilla, for breakfast burritos, a PB & banana wrap, lunch wraps, tacos, whatever! They are probably good enough just to eat warm. And I totally did that with a few.
.
What do you like to eat with tortillas?