Category Archives: Side dishes

Mushroom & Asparagus Barley Risotto


As summer is winding to a close, I am still in denial.  I don’t want to let go of the beautiful unfolding of spring, the delicate greens and fragrant blossoms, the heavy fruits ripening on the vine, the cornucopia of riotous color at the farmer’s market.  Spring and summer make this farm-loving, healthy-cooking, veggie-eating foodaholic girl’s heart sing.

IMG_8532

So when I saw some end of season asparagus and some shiitake mushrooms on sale, I had to nab them.  For a fleeting taste of spring, summer & autumn all rolled into one, this risotto is earthy and vegetal, and completely delicious.

And the best part is, if you use canned mushroom & frozen asparagus you can make this all year round!  A well-stocked fridge/freezer/pantry can bring any season to your plate.

Ingredients:

  • 1/2 pint chopped mushrooms
  • 1/2 pound asparagus
  • 1 cup barley
  • 2 cups chicken stock or water
  • Optional add-ins: diced tomato, garlic, onions, spices to taste

IMG_8531

Step 1: Rinse your asparagus and wipe off any dirt from the mushrooms. Dice them into bite-sized pieces.

IMG_8534

Step 2: Put the barley in a pan with 1 cup of stock or water. (This can be vegan if you use vegetable stock or water in place of the chicken stock). Bring to a boil, and then simmer.

IMG_8535

Step 3: Let the barley cook, watching the liquid level. When it gets low, add a few more tbsp of stock and stir. Continue for 20-25 minutes, until barley is chewy and nearly cooked through. Add the diced veggies for the final 5-10 minutes of cooking.

IMG_8536

At this point, you can season to taste, I only used a little garlic salt. This tastes amazing on its own, or you can add any of the option mix ins suggested, or anything else you happen to have laying about.

IMG_8538

This recipe makes about 2 cups worth of risotto, enough for 4 small side dish servings or two full meals.

[amd-zlrecipe-recipe:39]


Nutrition Facts
4 Servings
Amount Per Serving
  • Calories 246.8
  • Total Fat 2.2 g
  • Saturated Fat 0.5 g
  • Polyunsaturated Fat 0.6 g
  • Monounsaturated Fat 0.8 g
  • Cholesterol 3.6 mg
  • Sodium 178.2 mg
  • Potassium 399.9 mg
  • Total Carbohydrate 49.8 g
  • Dietary Fiber 9.3 g
  • Sugars 3.8 g
  • Protein 9.3 g
  • Vitamin A 4.2 %
  • Vitamin B-12 0.0 %
  • Vitamin B-6 15.2 %
  • Vitamin C 8.0 %
  • Vitamin D 0.0 %
  • Vitamin E 3.9 %
  • Calcium 2.6 %
  • Copper 32.9 %
  • Folate 17.0 %
  • Iron 10.8 %
  • Magnesium 13.9 %
  • Manganese 41.1 %
  • Niacin 25.7 %
  • Pantothenic Acid 15.0 %
  • Phosphorus 17.2 %
  • Riboflavin 15.5 %
  • Selenium 44.6 %
  • Thiamin 13.2 %
  • Zinc 12.5 %
*Percent Daily Values are based on a 2,000 calorie diet. Your daily values may be higher or lower depending on your calorie needs.

Buttery Garlic Mashed Potatoes


Ahhh, the humble potato. This starchy, much-maligned root vegetable that is a darling and then an outcast, depending on which way the media winds blow. The reason Ireland didn’t completely starve to death. The bearer of cream cheese, chives, and chili.

Potatoes are pretty cool.

Origins of the Potatovarieties of potatoes on a map

The potato is the world’s fourth largest food crop, following rice, wheat, and maize. There are many many different types, or cultivars, or potatoes, from blue to red to yellow to the hardy workhorse russet.

The highest potato yields are produced in the United States, in Oregon, Washington, and Idaho. Burbank Russet potato harvest begins in late August or early September and ends by the first of November. Idaho’s harvest begins in September after Labor Day and ends by the first of November. Available year round, November to late June Burbank Russet supplies come from storage potatoes.

The Inca Indians in Peru were the first to cultivate potatoes around 8,000 BC to 5,000 B.C. Then in 1536 Spanish Conquistadors conquered Peru, discovered the wonderous flavors of the potato, and carried them to Europe.  Before the end of the sixteenth century, families of  sailors began to cultivate potatoes along the  coast of northern Spain.  Sir Walter Raleigh introduced potatoes to Ireland in 1589 near Cork.

Eventually, Europeans found potatoes easier to grow and cultivate than other staple crops, such as wheat and oats. Most importantly, it became known that potatoes contained most of the vitamins needed for sustenance, and each acre of land cultivated could provide a year’s worth for nearly 10 people. Talk about an agricultural feat!

In the 1840s a major outbreak of potato blight swept through Europe, wiping out the potato crop in many countries. The Irish working class lived largely on potatoes, so when the blight reached Ireland, their main staple food disappeared. This famine left many poverty-stricken families with no choice but to struggle to survive, starve, or emigrate out of Ireland. Over the course of the multi-year famine, almost one million people in Ireland and Europe died from starvation or disease. Another one million people left Ireland, mostly for Canada and the United States.

IMG_9264

Potatoes arrived in the Colonies in 1621 when the Governor of Bermuda sent two large chests containing potatoes and other vegetables to Governor Francis Wyatt of Virginia at Jamestown.  The first permanent potato patches in North America were established in 1719 in New Hampshire.  From there, the crop spread across the country.

Idaho, the present-day largest producer of potatoes, did not begin growing potatoes until 1836, when missionaries moved west in an effort to teach the native tribes to grow crops instead of relying upon hunting and gathering methods.  However, it wasn’t until 1872 when the Russet Burbank variety was developed, that the Idaho potato industry began to flourish.

The original Russet Burbank potato clone was discovered in the 1870s by Luther Burbank and was called “Burbank’s Seedling”. It developed from a first generation seedling of an open-pollinated cultivar “Early Rose” in Massachusetts. In the late 1800s, he marketed this special seedling to Western states, under the name “Burbank”. The Russet Burbank potato became and still is the major cultivar grown in the USA, especially in the Pacific Northwest. – Read more here.

French Fries were introduced to the U.S. when Thomas Jefferson served them in the White House during his Presidency of 1801-1809.  Collinet, chef for French King Louis Phillipe unintentionally created soufflés (or puffed) potatoes by plunging already fried potatoes into extremely hot oil to reheat them when the King arrived late for dinner one night. To the chef’s surprise and the king’s delight, the potatoes puffed up like little balloons.

In 1853 railroad magnate Commodore Cornelius Vanderbilt complained that his potatoes were cut too thick and sent them back to the kitchen at a fashionable resort in Saratoga Springs, NY. To spite his haughty guest, Chef George Crum sliced some potatoes paper thin, fried them in hot oil, salted and served them. To everyone’s surprise, Vanderbilt loved his “Saratoga Crunch Chips,” and potato chips have been popular ever since.

The good historians at “potatogoodness.com” supplies this list of fun facts about the humble, yet oh-so-popular spud.

Did you know…

  • During the Alaskan Klondike gold rush, (1897-1898) potatoes were practically worth their weight in gold. Potatoes were valued for their vitamin C.  And gold, at that time, was more plentiful than nutritious foods!
  • In October 1995, the potato became the first vegetable to be grown in space. NASA and the University of Wisconsin, Madison, created the technology with the goal of feeding astronauts on long space voyages, and eventually, feeding future space colonies.

The Incas had many uses for potatoes other than dinner:

  • Placed raw slices on broken bones to promote healing
  • Carried them to prevent rheumatism
  • Ate with other foods to prevent indigestion.
  • Measured time: by correlating units of time by how long it took for potatoes to cook.
  • Various folk remedies recommend using potatoes:
  • Treat facial blemishes by washing you face daily with cool potato juice.
  • Treat frostbite or sunburn by applying raw grated potato or potato juice to the affected area.
  • Help a toothache by carrying a potato in your pocket.
  • Ease a sore throat by putting a slice of baked potato in a stocking and tying it around your throat.
  • Ease aches and pains by rubbing the affected area with the water potatoes have been boiled in

http://www.potatogoodness.com/all-about-potatoes/potato-fun-facts-history/

IMG_9265

Ingredients:

  • 4-5 large Russet potatoes
  • 4 tbsp butter
  • 4 tbsp sour cream
  • 1/2 cup milk
  • Garlic salt to taste
  • Shredded cheddar, optional

IMG_9272

Step 1: If you really want to, peel your potatoes. I just give them a good rinse, because the skin is where the gorgeous vitamins are most concentrated. Dice the potatoes, and boil them for 15-20 minutes. Drain and put back into the pan.

IMG_9273

Step 2: Using a fancy potato masher (or a simple spoon, fork, your hands, a wooden spoon…) mash up the potatoes. This part will take a little elbow grease, but think of how toned your bicep (at least, one of them) will be afterwards!

IMG_9293

Step 3: Add in the butter while the potatoes are still hot. Continue mashing, and add in the sour cream and milk. If you like your potatoes super runny, add more milk. If you like them thicker, use less. Mash until your desired consistency (I love just a little bit of chunks still left).

IMG_9294

Step 4: If using, sprinkle on some sharp cheddar cheese, and add garlic salt to taste. (Add some, mix it well, taste a little spoonful. Then add another 6 tablespoons, stir again, and taste…repeat as necessary)

IMG_9296

Your potatoes are ready to roll! Top with some fresh chives or herbs, more garlic salt, chili, gravy, sauce, whatever…

IMG_9302

These are an amazing, down-home side dish. Goes great with meatballs, meatloaf, ribs, steak… pretty much any meat thing. If you make a whole lot extra, you can use the leftovers to top shepherd’s pie, or use it as a filling in classic potato pierogi.


[amd-zlrecipe-recipe:36]


Fried Green Tomatoes with Basil Mayo Sauce


While fried green tomatoes are usually considered a southern dish they can be found in northern homes as well. The northern version is more likely to be made with white flour rather than corn flour or corn meal. Also, green tomatoes tend to be prepared at the end of the season in the north when the remaining fruit is harvested before the first frosts, whereas green tomatoes are picked throughout the season in the south.

IMG_0567

They certainly pre-date the movie Fried Green Tomatoes at the Whistle Stop Café, released in the early 1990’s.

“Lovers of tomatoes are very fond of them, sliced green as apples are sliced, and fried in butter.  Some persons are fond of them sliced and fried after being dipped in butter.  The green tomatoes, which the season will not permit to ripen, may be turned to good account by using them fried.”  – The New England Farmer.  Oct. 14, 1836.

Traditional preparation of fried green tomatoes begins by cutting the tomatoes into approximately 1/4-inch (~1 cm) slices. They are then seasoned with salt and pepper, coated with plain, coarse cornmeal, and shallow fried in bacon fat for a few minutes each side, or until golden brown.

Shallow frying is preferred, as the tomatoes do not float in the oil, which allows the weight of the tomato to press the cornmeal to the underside of the tomato. Alternatives include using breadcrumbs or flour instead of cornmeal, and frying in vegetable oil or other fat.

A ‘wash’ may be used; in this case, the sliced tomatoes are first dipped in a liquid before the cornmeal is added. This liquid is usually buttermilk, or occasionally beaten egg. Using beaten egg results in a slightly firmer texture than using buttermilk. ‘Washes’ are used because cornmeal does not readily stick to raw green tomatoes.

Adding the liquid helps the cornmeal stay in place during the cooking process. This also results in the coating on the tomato becoming thicker and less crunchy when compared with tomatoes cooked without a ‘wash’.

These fried green tomatoes were made with the first big, juicey green gems on the vine at the beginning of the season, because I just couldn’t wait any longer for them to redden. You can eat these at any time throughout the growing season, and if you live in colder climates it is a way to use up unripe fruit before the first frosts kill them off.

Served with a tasty, tangy basil mayo, these are amazing appetizers, party bites, or a vegetarian main or side dish. They are best served hot and fresh, as the coating loses its crunch over time.

 Basil Mayonnaise Ingredients:

  • 1/2 cup mayonnaise
  • 2 tbsp brown mustard
  • 1 tbsp lemon juice
  • 1/2 cup packed basil leaves
  • 2 cloves garlic

IMG_0553

Step 1: Rinse the fresh basil well and drain. In a blender, combine the basil, mayo, garlic, mustard, and lemon juice.

IMG_0555

Step 2: Blend well until combined. Place in a shallow dish to dip, can refrigerate up to 3 days ahead of time.


Fried Green Tomatoes Ingredients:

  • 3 medium unripe, green tomatoes
  • 1 cup flour
  • 2 eggs
  • 1 cup breadcrumbs
  • 1/2 cup cornmeal
  • 2 cups vegetable oil

IMG_0552

Step 1: Rinse the tomatoes well to make sure there is no residue or dirt on them. Slice into 1/4 – 1/2 inch thick slices.

IMG_0556

Step 2: Beat the two eggs lightly. Place the flour, scrambled egg, and cornmeal/breadcrumb mixture onto three separate shallow plates. Put the oil in a frying pan, and heat to medium (just below when it would start simmering).

green_tomato_flour

Step 3: Dip the green tomato slices one at a time into the flour and flip to coat both sides.

IMG_0558

Step 4: Dip the floured slice into the egg mixture & slush it around to fully coat.

IMG_0562

Step 5: After the eggs, dip into the cornmeal & breadcrumb mixture, and flip to fully coat.

IMG_0559

Step 6: Place the tomato slices into the hot oil, make sure they aren’t touching. Cook for 5-7 minutes, until the breading becomes brown and crispy. Flip and fry the other side another 5-7 minutes.

IMG_0566

Step 7: Place on a cooling rack or paper towels to drain the oil. Serve hot with the basil mayonnaise on the side.

Hope this helps you enjoy more of summer’s bounty!


[amd-zlrecipe-recipe:34]


Italian Cucumbers & Tomatoes


In the summer heat, with the garden beginning to produce bumper crops, there is nothing better than a refreshing side dish you can pick from your own yard (or farmers market or grocery store) and have ready in under ten minutes. This can be served room temperature or refrigerated, and is easy to make ahead for a party later or the next day, but fast enough to be ready like, now.

IMG_9288

Cucumber has cooling properties, and tomatoes have tons of trace minerals and compounds. Put the two together, and you’ll always get something delicious with a side of healthy. Feel free to mix it up with whatever herbs you have handy. I had chives, but dill, parsley, mint, or basil would also go nicely here. You could also add in feta or goat cheese if the spirit moved you.

Oh, and if you don’t have or don’t like bottled Italian dressing, feel free to quickly whip up your own vinaigrette. Combine one from each of the following: 1/4 cup (white vinegar, apple cider vinegar, balsamic vinegar, lime juice, lemon juice) + 2-3 tbsp (olive oil, vegetable oil, coconut oil, palm oil). Optional additions: mashed or diced garlic cloves, fresh/dried herbs, salt and/or pepper, and infused oils or vinegars.

Ingredients:

  • 1 cup cherry tomatoes (or 2 large, diced)
  • 1/2 large cucumber, diced
  • 2-3 tbsp chopped herbs
  • 1/2 cup Italian dressing (affiliate link)

IMG_9283

Step 1: If using cherry tomatoes, cut in half. If using large round tomatoes, dice into quarters or eighths. Rinse the cucumber well, and cut half into small cubes.

IMG_9284

Step 2: Dice your herbs, feel free to combine more than one kind too. Mix it all together in a bowl and drizzle on the dressing. Toss to coat.

IMG_9300

This awesome side dish has graced many a backyard barbecue over the years, and will continue to do so for a very long time. It can be left in the refrigerator overnight, and up to 3 days. The longer you leave it, the more water will come out of the veggies though, so by the third day it gets a little soggy. I bet you’ll finish it all in one sitting anyhow. 😉

Below is the total nutrition information for this dish. It makes about 4 servings at 1/2 cup each.

Nutrition Facts


User Entered Recipe
  1 Serving 
Amount Per Serving
  Calories 281.4
  Total Fat 18.2 g
  Saturated Fat 1.6 g
  Polyunsaturated Fat 0.1 g
  Monounsaturated Fat 0.0 g
  Cholesterol 0.0 mg
  Sodium 903.2 mg
  Potassium 261.5 mg
  Total Carbohydrate 25.4 g
  Dietary Fiber 1.4 g
  Sugars 12.1 g
  Protein 1.2 g
  Vitamin A 27.7 %
  Vitamin B-12 0.0 %
  Vitamin B-6 3.6 %
  Vitamin C 99.1 %
  Vitamin D 0.0 %
  Vitamin E 0.7 %
  Calcium 2.7 %
  Copper 3.0 %
  Folate 6.5 %
  Iron 6.7 %
  Magnesium 4.8 %
  Manganese 6.8 %
  Niacin 1.9 %
  Pantothenic Acid     2.9 %
  Phosphorus     4.6 %
  Riboflavin 2.4 %
  Selenium 0.1 %
  Thiamin 2.7 %
  Zinc 2.2 %
*Percent Daily Values are based on a 2,000 calorie diet. Your daily values may be higher or lower depending on your calorie needs.

Chicken Bacon Ranch Pasta Salad


With the Fourth of July weekend coming up, I’m sure many readers will be hosting or attending picnics, barbeques, and other backyard get-togethers.  A huge fan of casual parties myself, I am always on the lookout for fast, easy to put together side dishes that aren’t too expensive to feed a crowd. A good example is my prior post on BBQ Baked Beans.

Enter the pasta salad.

Pasta salads are insanely versatile. They adapt well to just about any type of veggie, meat, or cheese, with tons of creative dressing/sauce options as well. You could try a Greek mix of feta, banana peppers, onions, and kalamata olives, or a club mix of ham chunks, cheddar cheese, and crumbled bacon, or how about an Italian combo with salami, pepperoni, pepperocini, and swiss.

For this recipe, I had a pre-mix box ranch & bacon pasta salad, and decided to jazz it up a bit with some canned chunk chicken and fresh diced veggies. You can also use a pound of any type of pasta (the small shapes work best here, like shells, elbows, or penne), spices you like, and some crumbled bacon.

Ingredients:

IMG_9498

Step 1: Dice your zucchini and tomatoes, and drain the chicken. Get the water boiling for the pasta, and boil 8-10 minutes.

IMG_9499

Step 2: In a pan, cook the zucchini for 5-7 minutes, until beginning to brown. Add the tomato and chicken, and cook until heated through.

IMG_9500

Step 3: Drain the pasta, and mix in the veggies. Add the toppings included (or spices & cooked crumbled bacon) and the Ranch dressing. Stir well. Add more or less as needed.

This cooks up a nice big batch, and can feed a hungry crowd. The Ranch flavor works great with the bacon, pasta, and chicken. You can also use dried Ranch seasonings and milk or sour cream to achieve a similar yet different taste. As a bonus, you’ve snuck in a serving of veggies per cup!

Happy partying & God bless the USA!


This post contains links to Amazon affiliate products. Clicking these links and purchasing these items contributes to the maintenance of this blog without affecting your purchase price. Thank you.

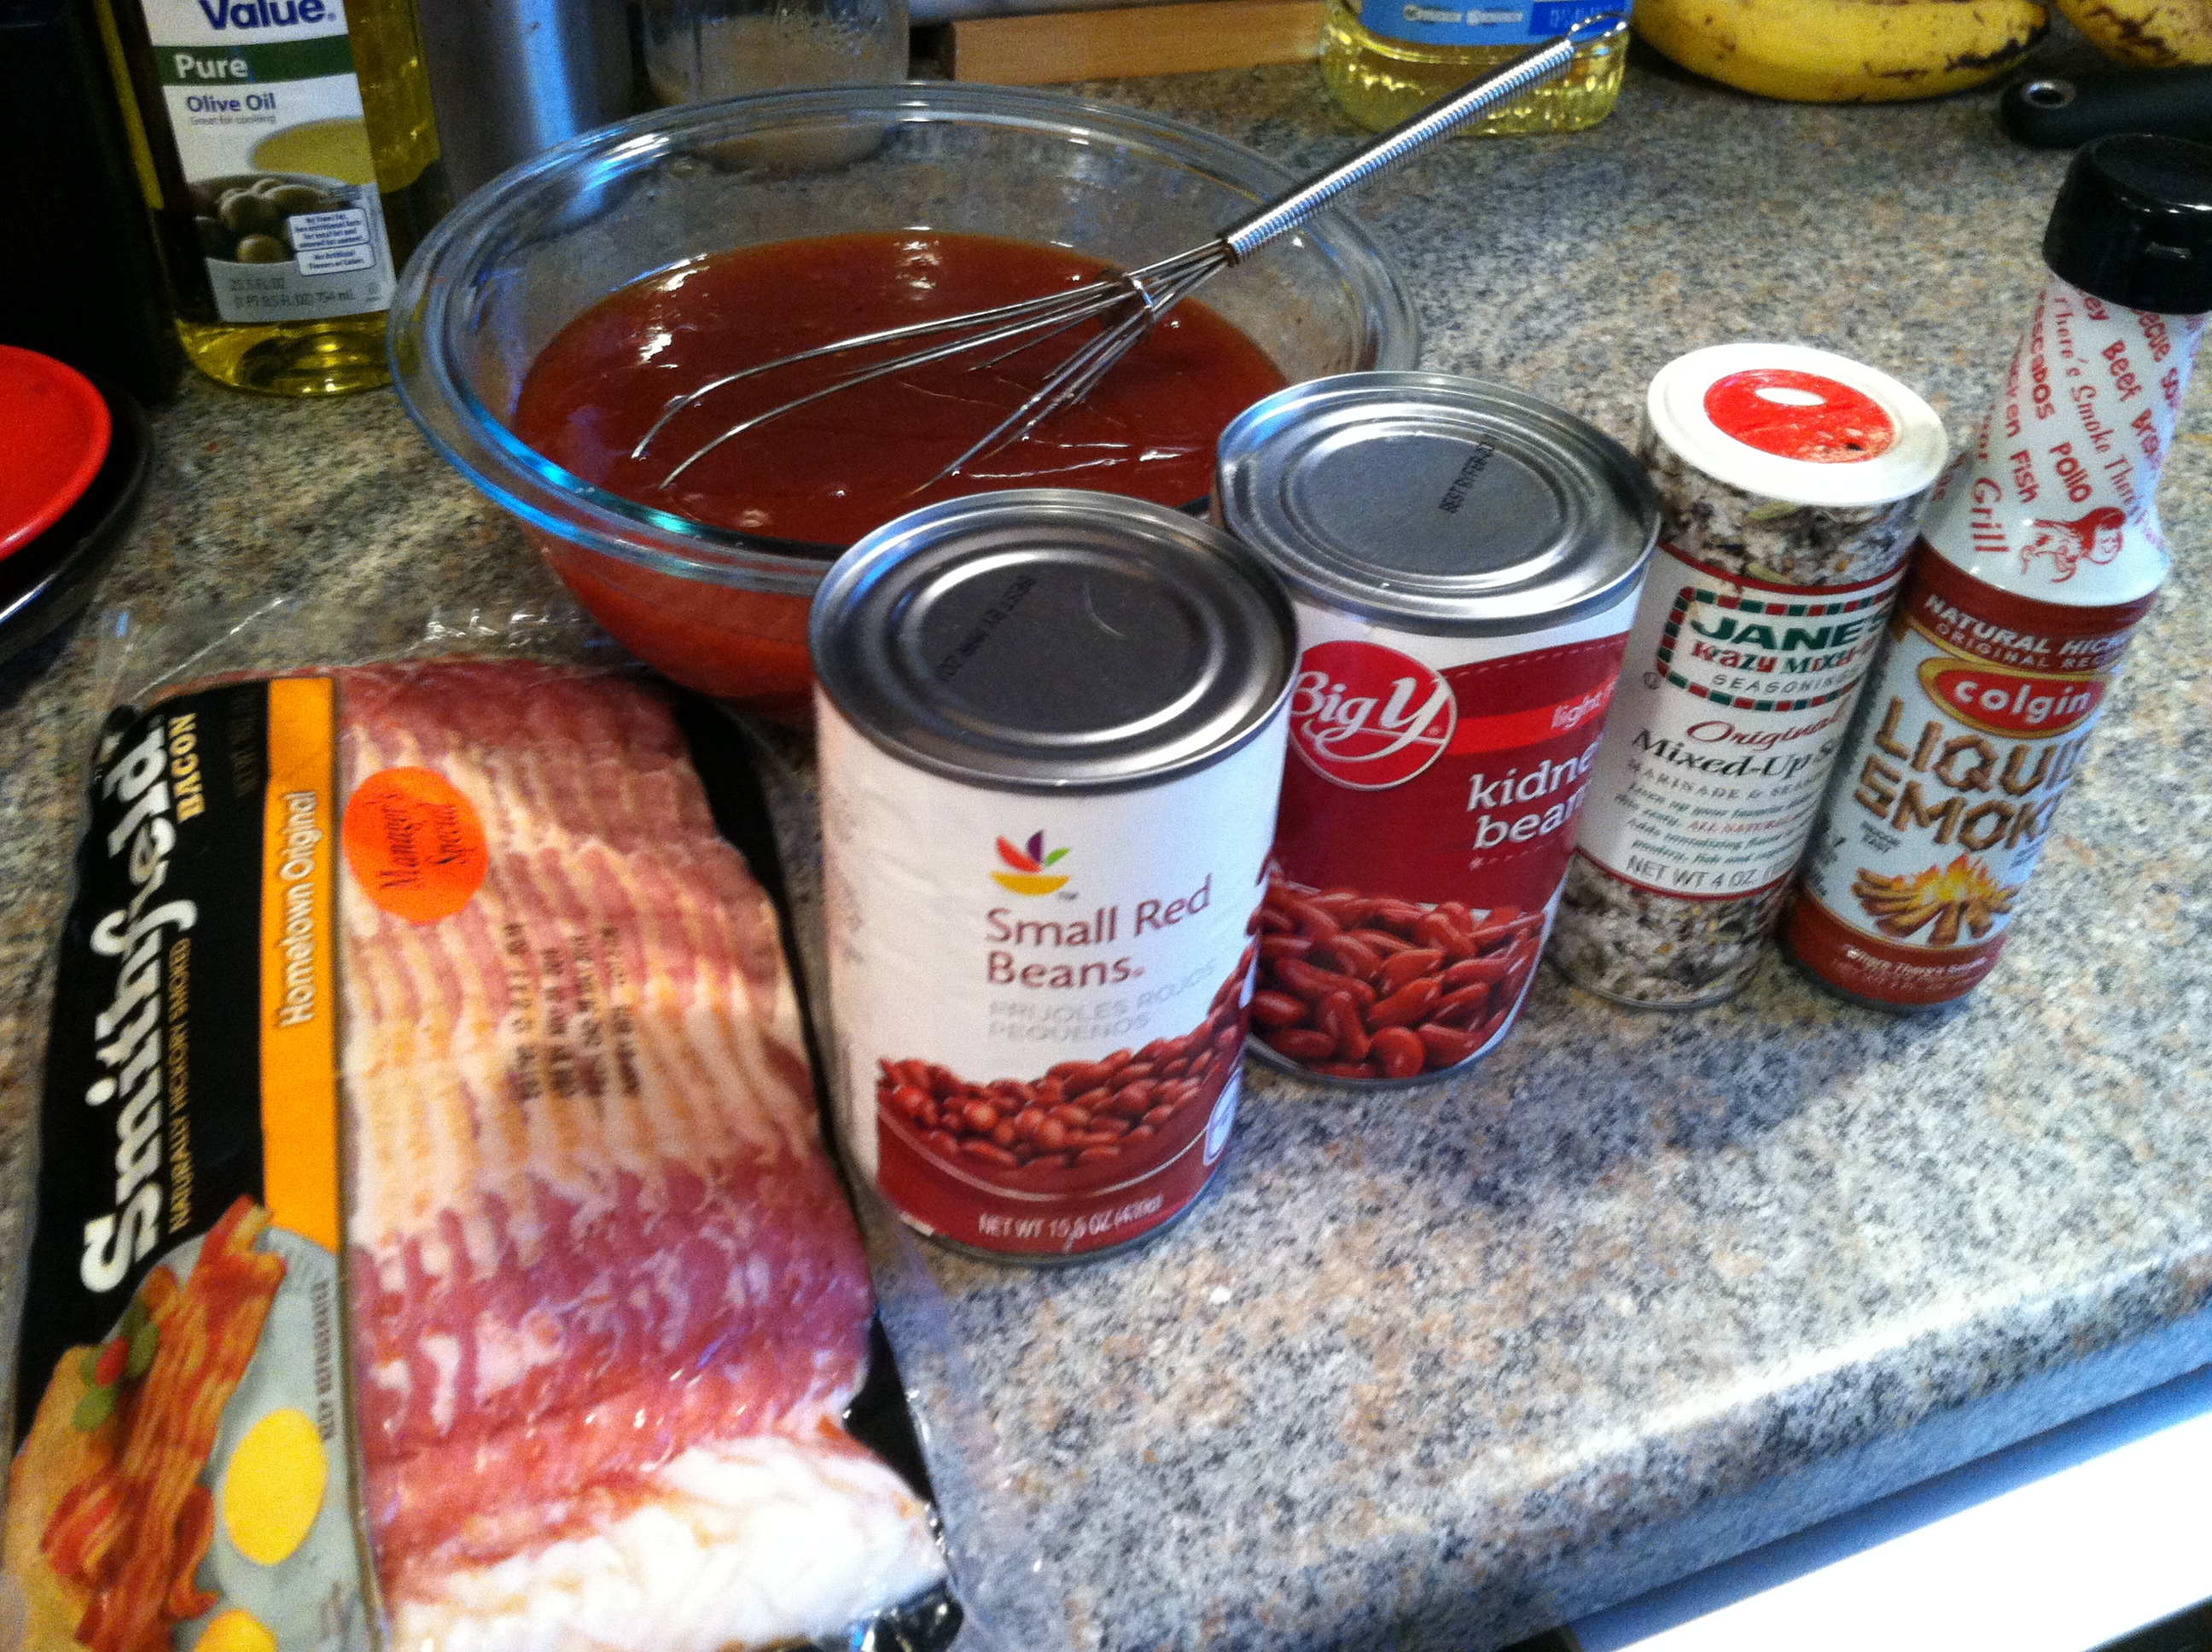
BBQ Bacon Baked Beans


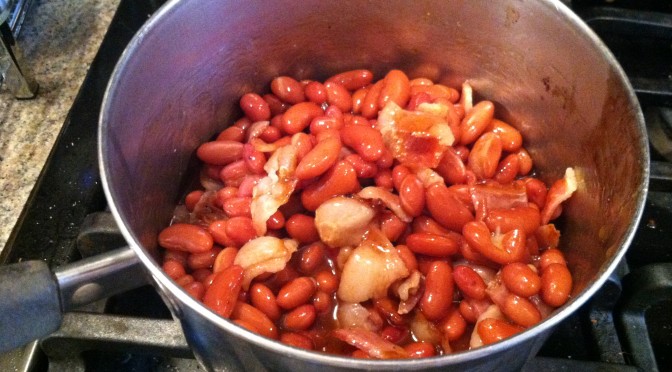
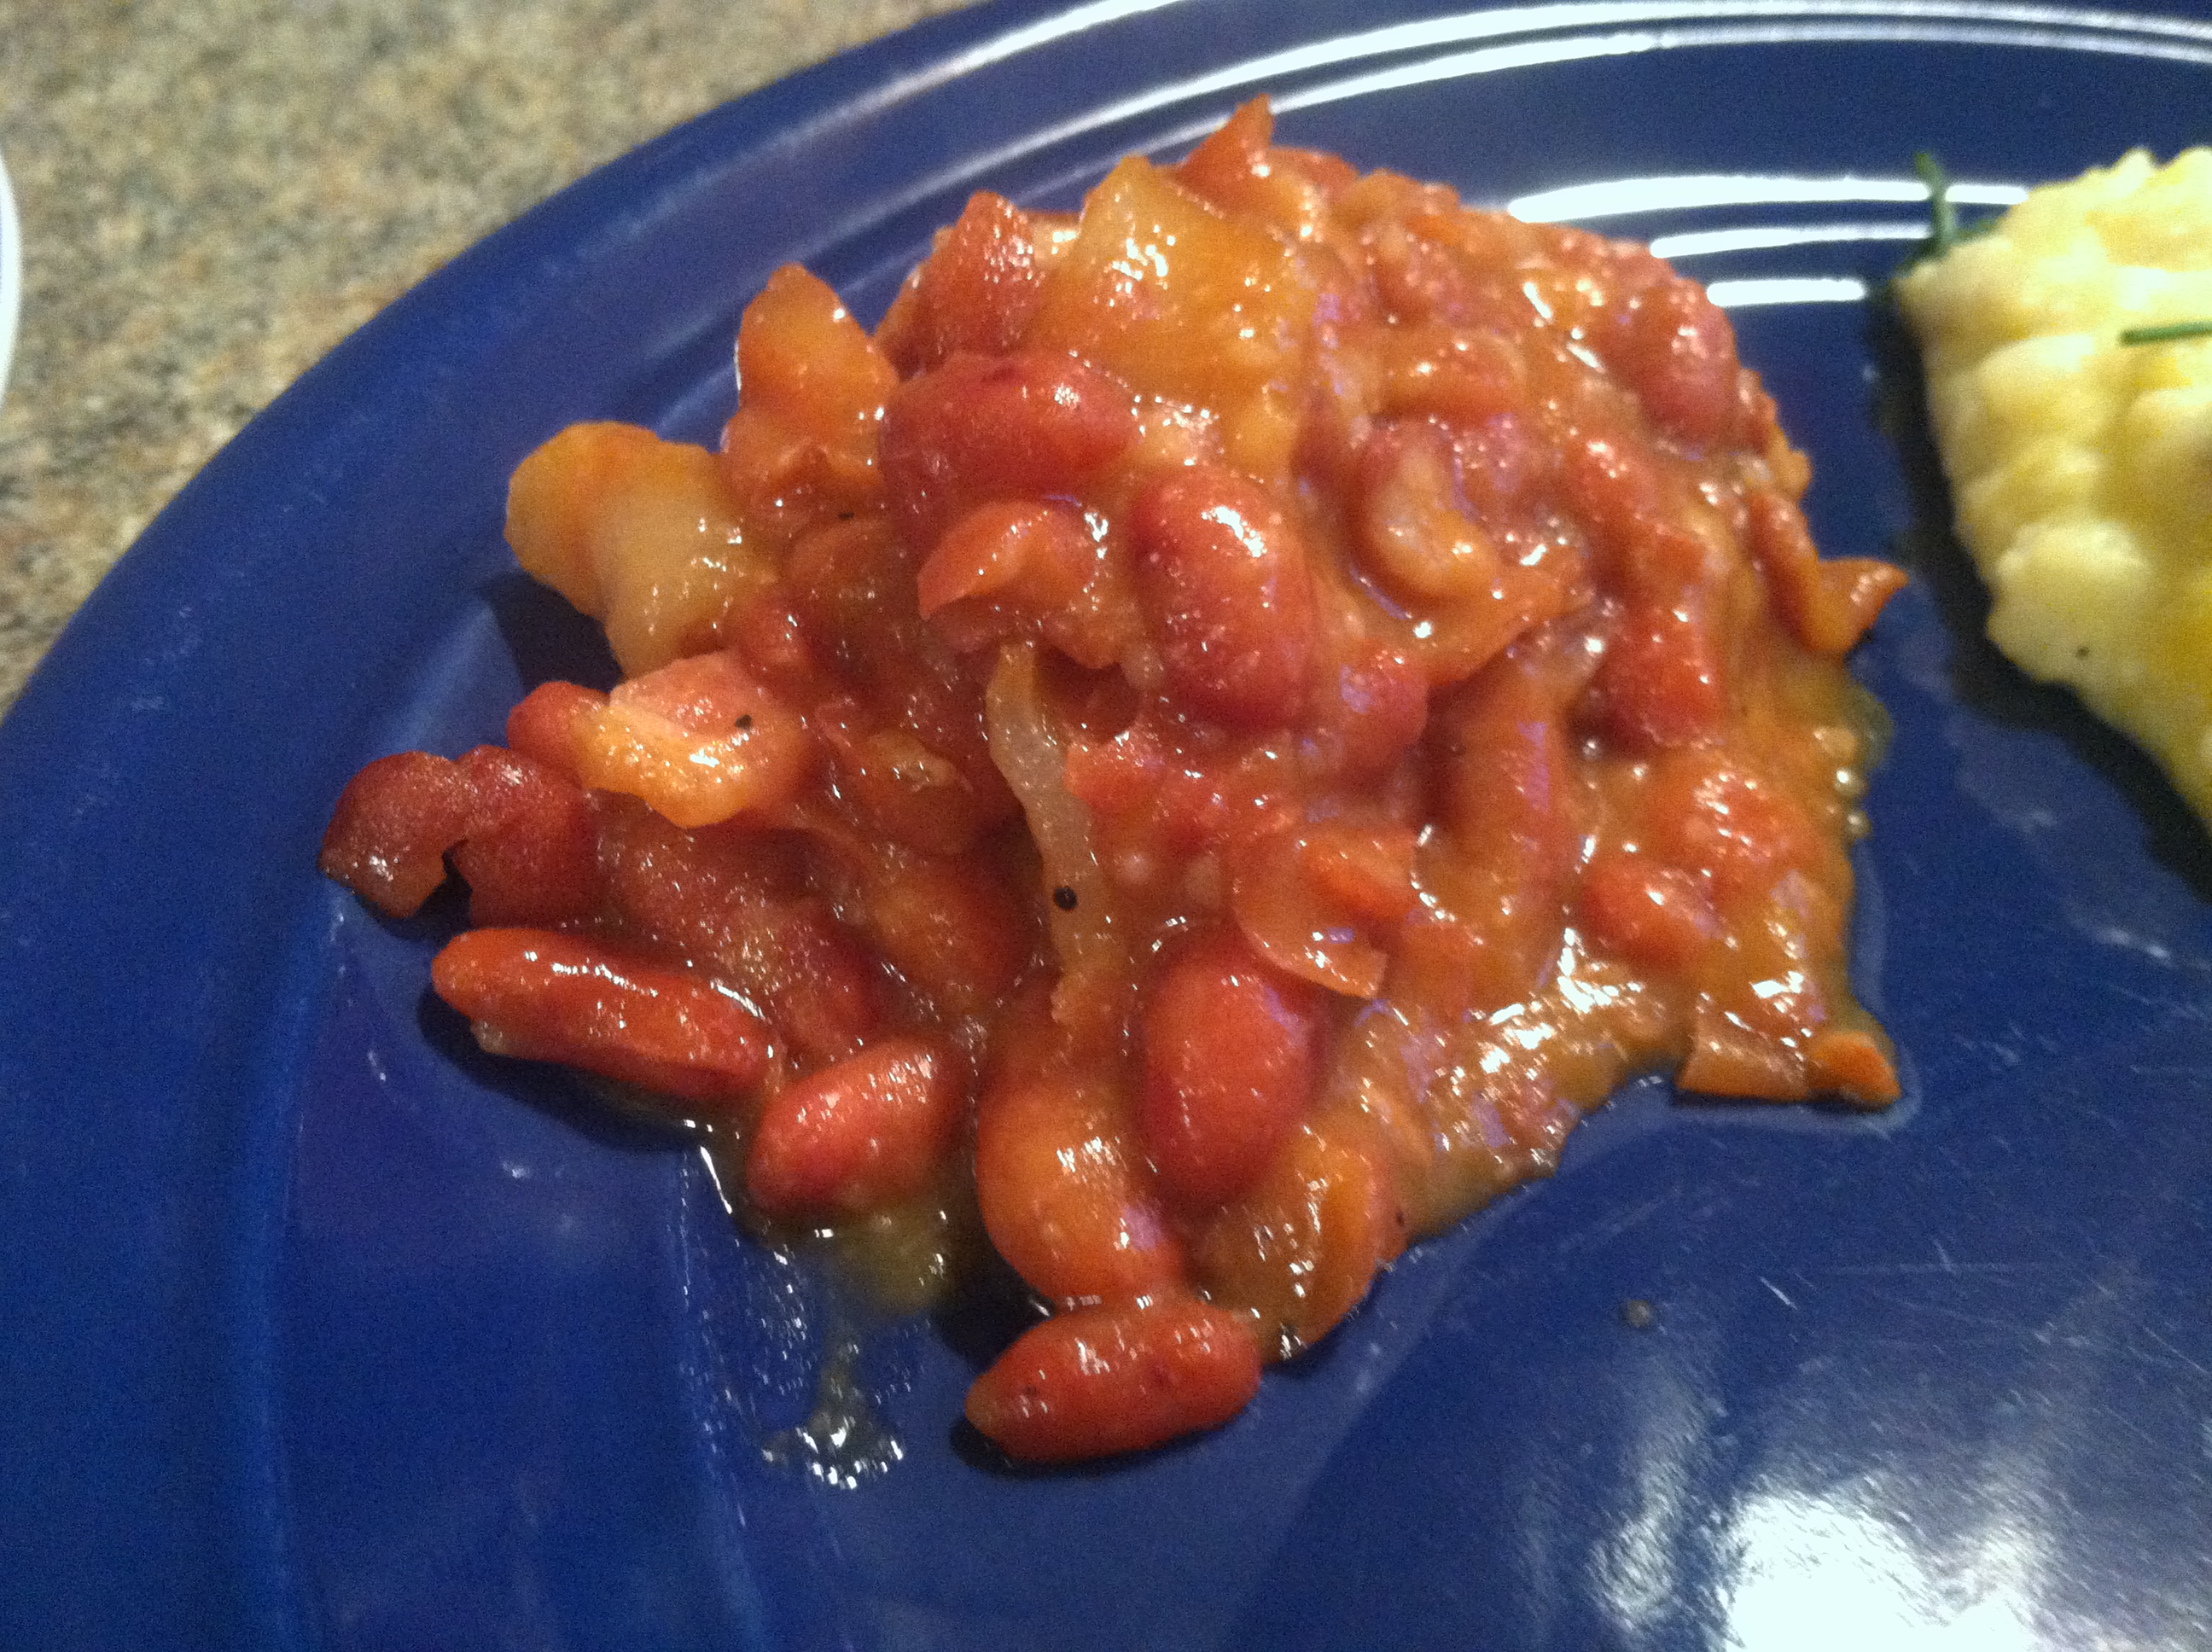
The quintessential summer side dish, barbeque baked beans are a staple of picnics and backyard BBQs. They are delicious on their own, and perfectly complement burgers, hot dogs, and ribs. Along with coleslaw and fresh corn on the cob, my summer memories are packed with these little tangy red jewels.

For a while in my life, I hated baked beans, for exactly the reason stated above: I had too much of a good thing. And I also had some bad experiences, wherein the beans were pure mush and tasted awful. It wasn’t until I began cooking in earnest, and made my own sauce, that I decided to give them another shot. And boy am I glad I did!

Homemade sauce, bacon, and beans elevates this humble side dish to a truly gastronomic experience. Try it yourself and you will see.

Ingredients:

  • 2 cans red beans, drained
  • (Or 1 cup dried, boiled for 2-3 hours)
  • 4 slices thick-cut bacon
  • 1/2 – 2/3 cups BBQ Sauce
  • 1-2 tsp liquid smoke
  • Seasoning salt to taste

IMG_9268

Step 1: Open the beans and drain them. Rinse to remove excess sodium. Alternatively, use 1-2 cups dried, and boil them for 2-3 hours, until soft.

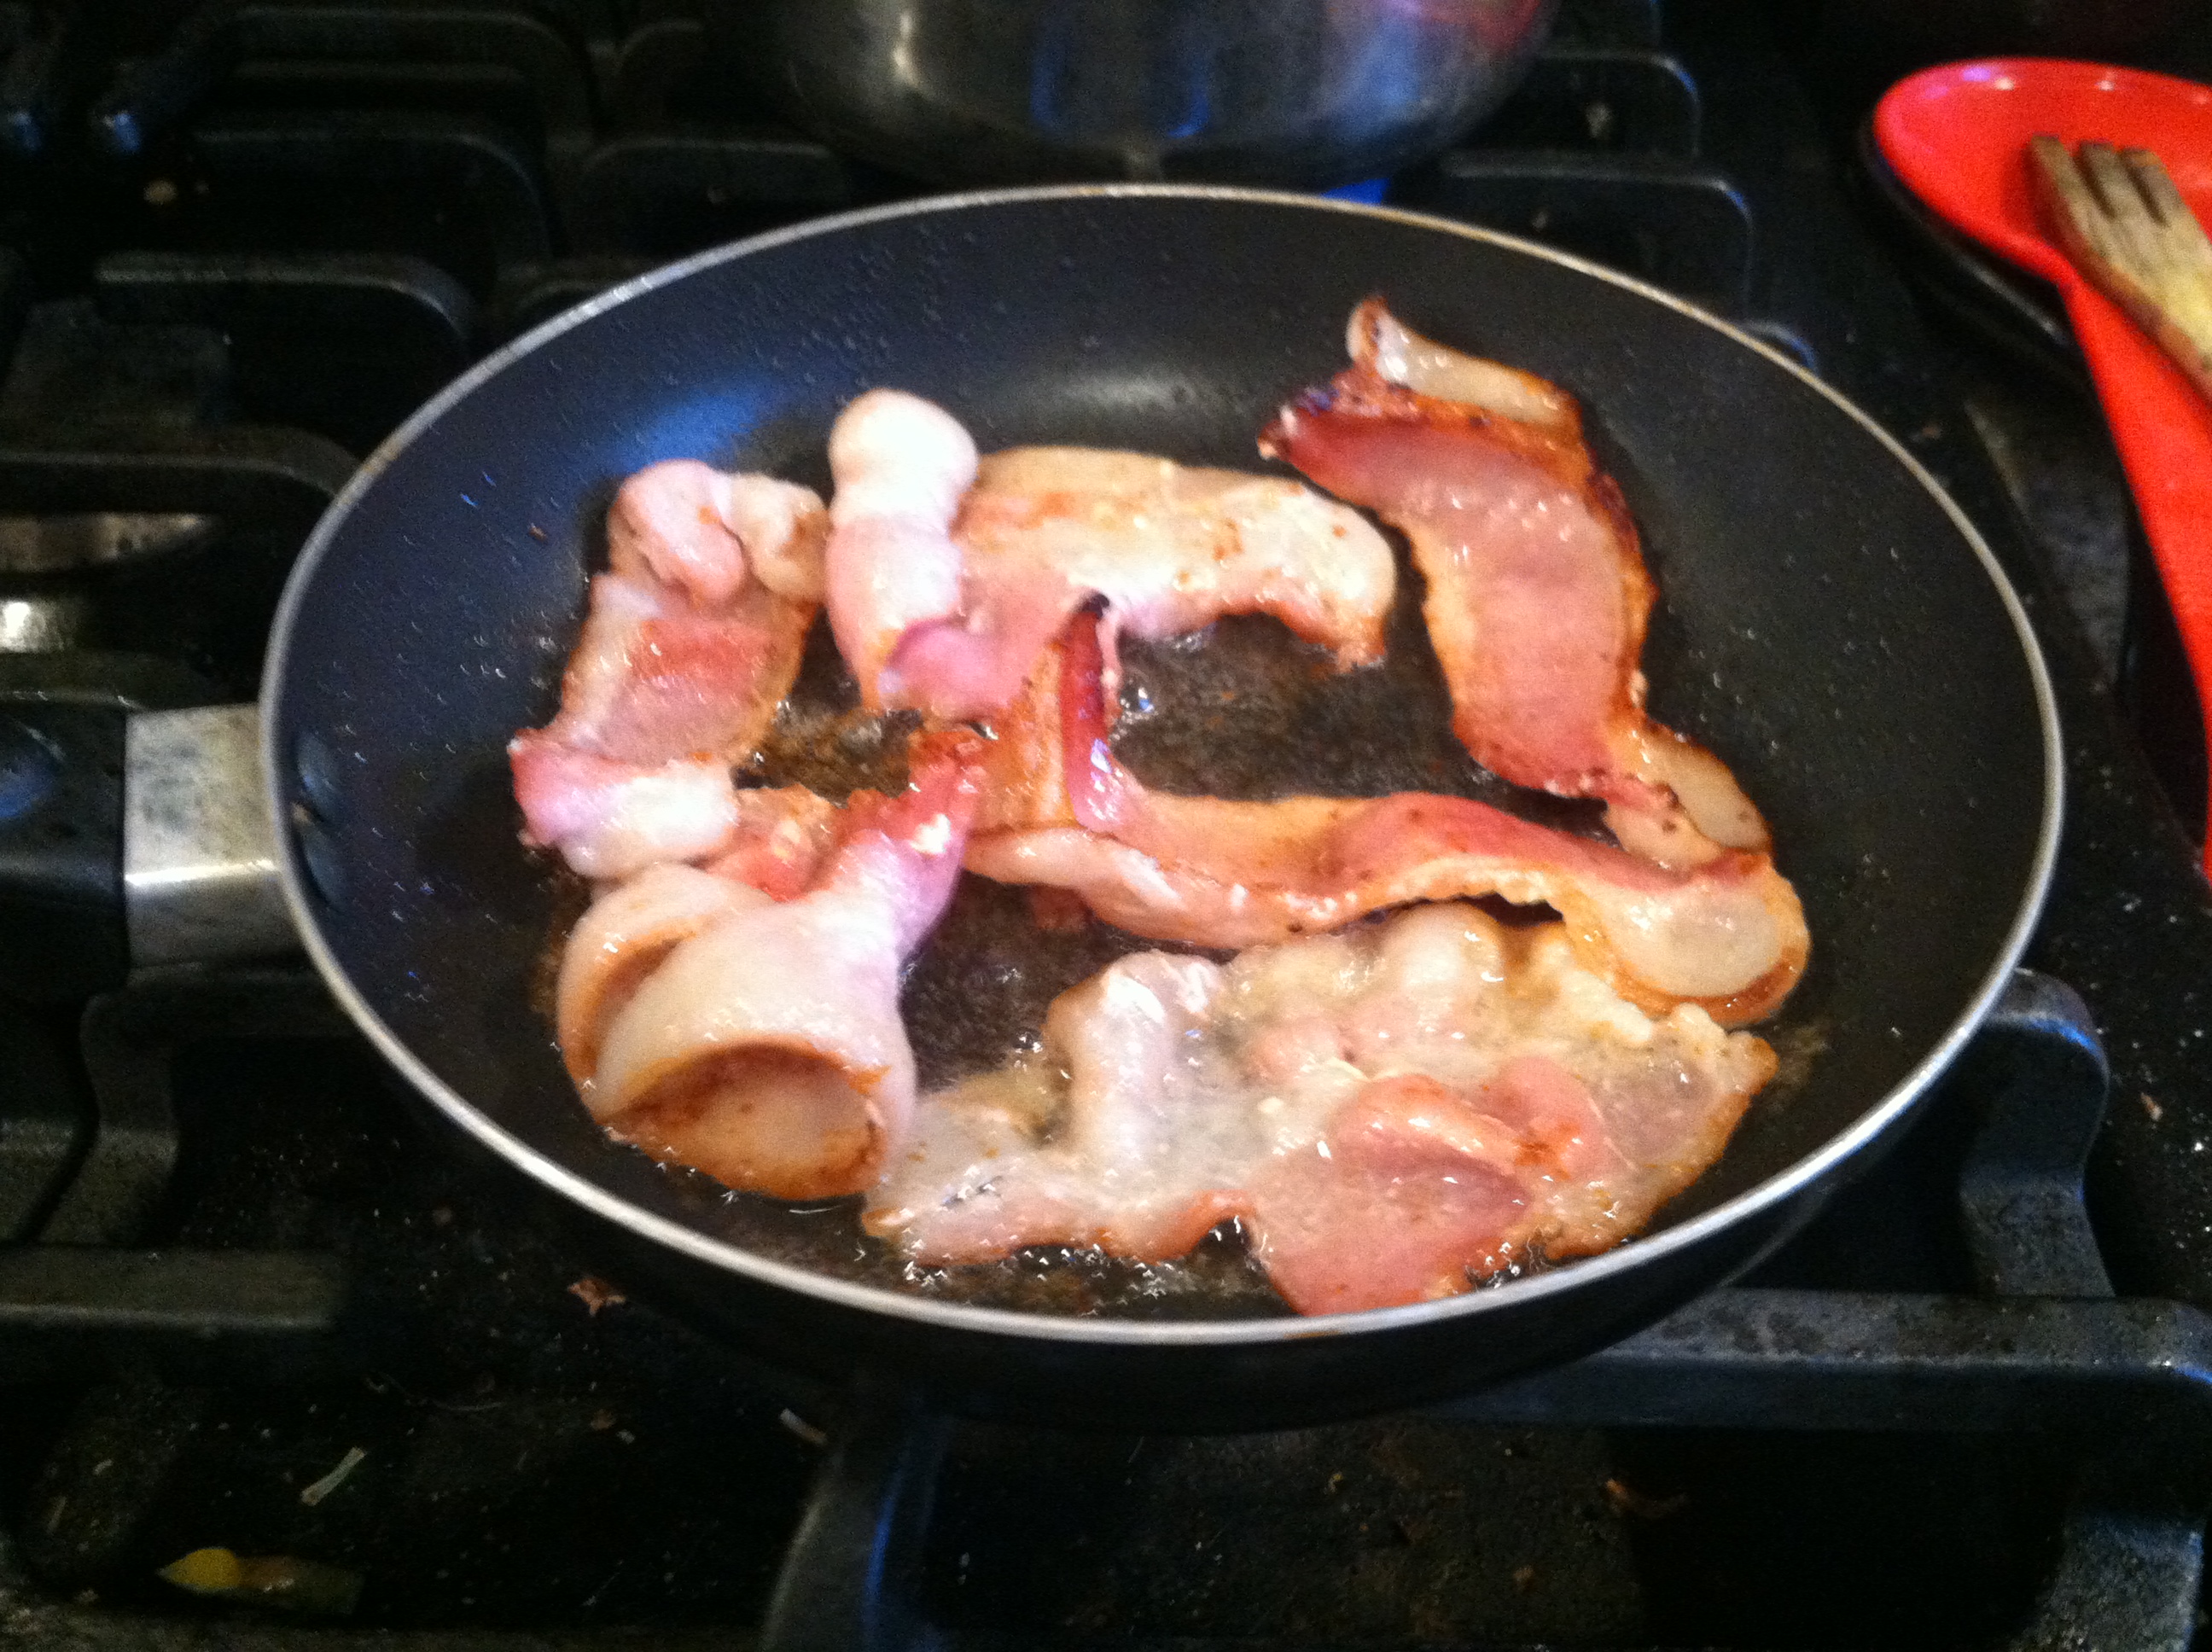
IMG_9270

Step 2: Cook your bacon over med-low heat, until beginning to brown. You don’t want it too crispy. Lay on a stack of paper towels to drain.

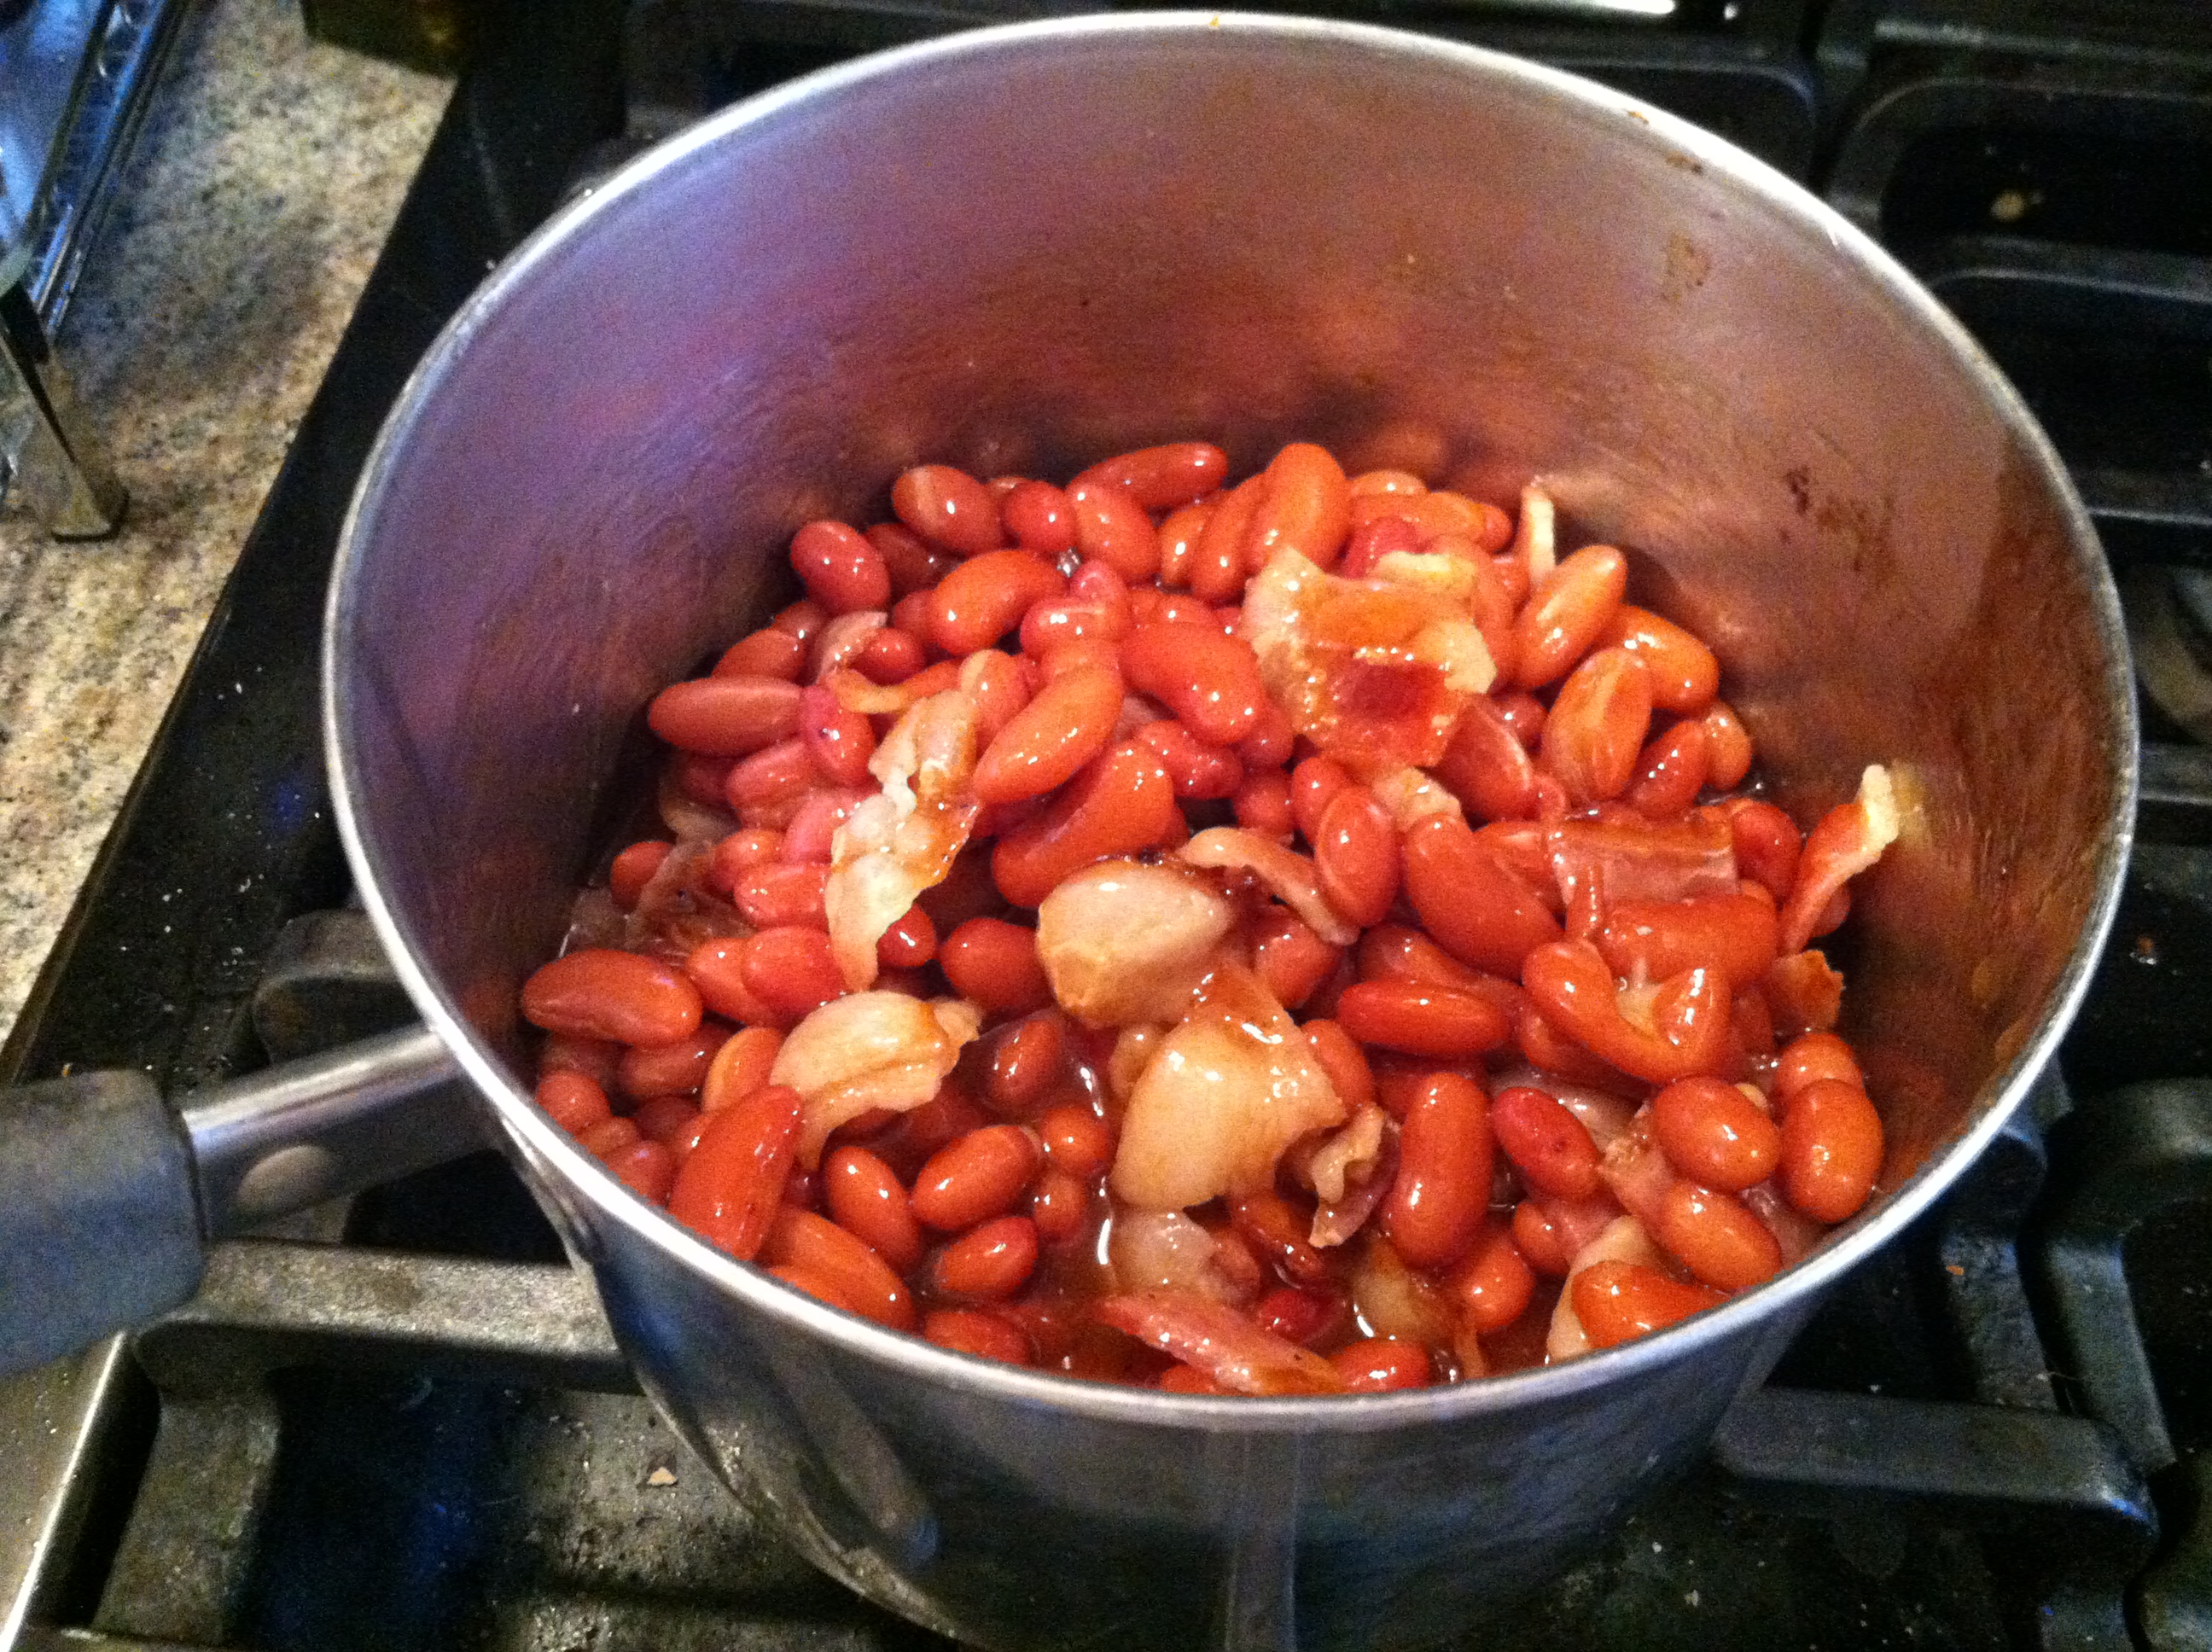
IMG_9271

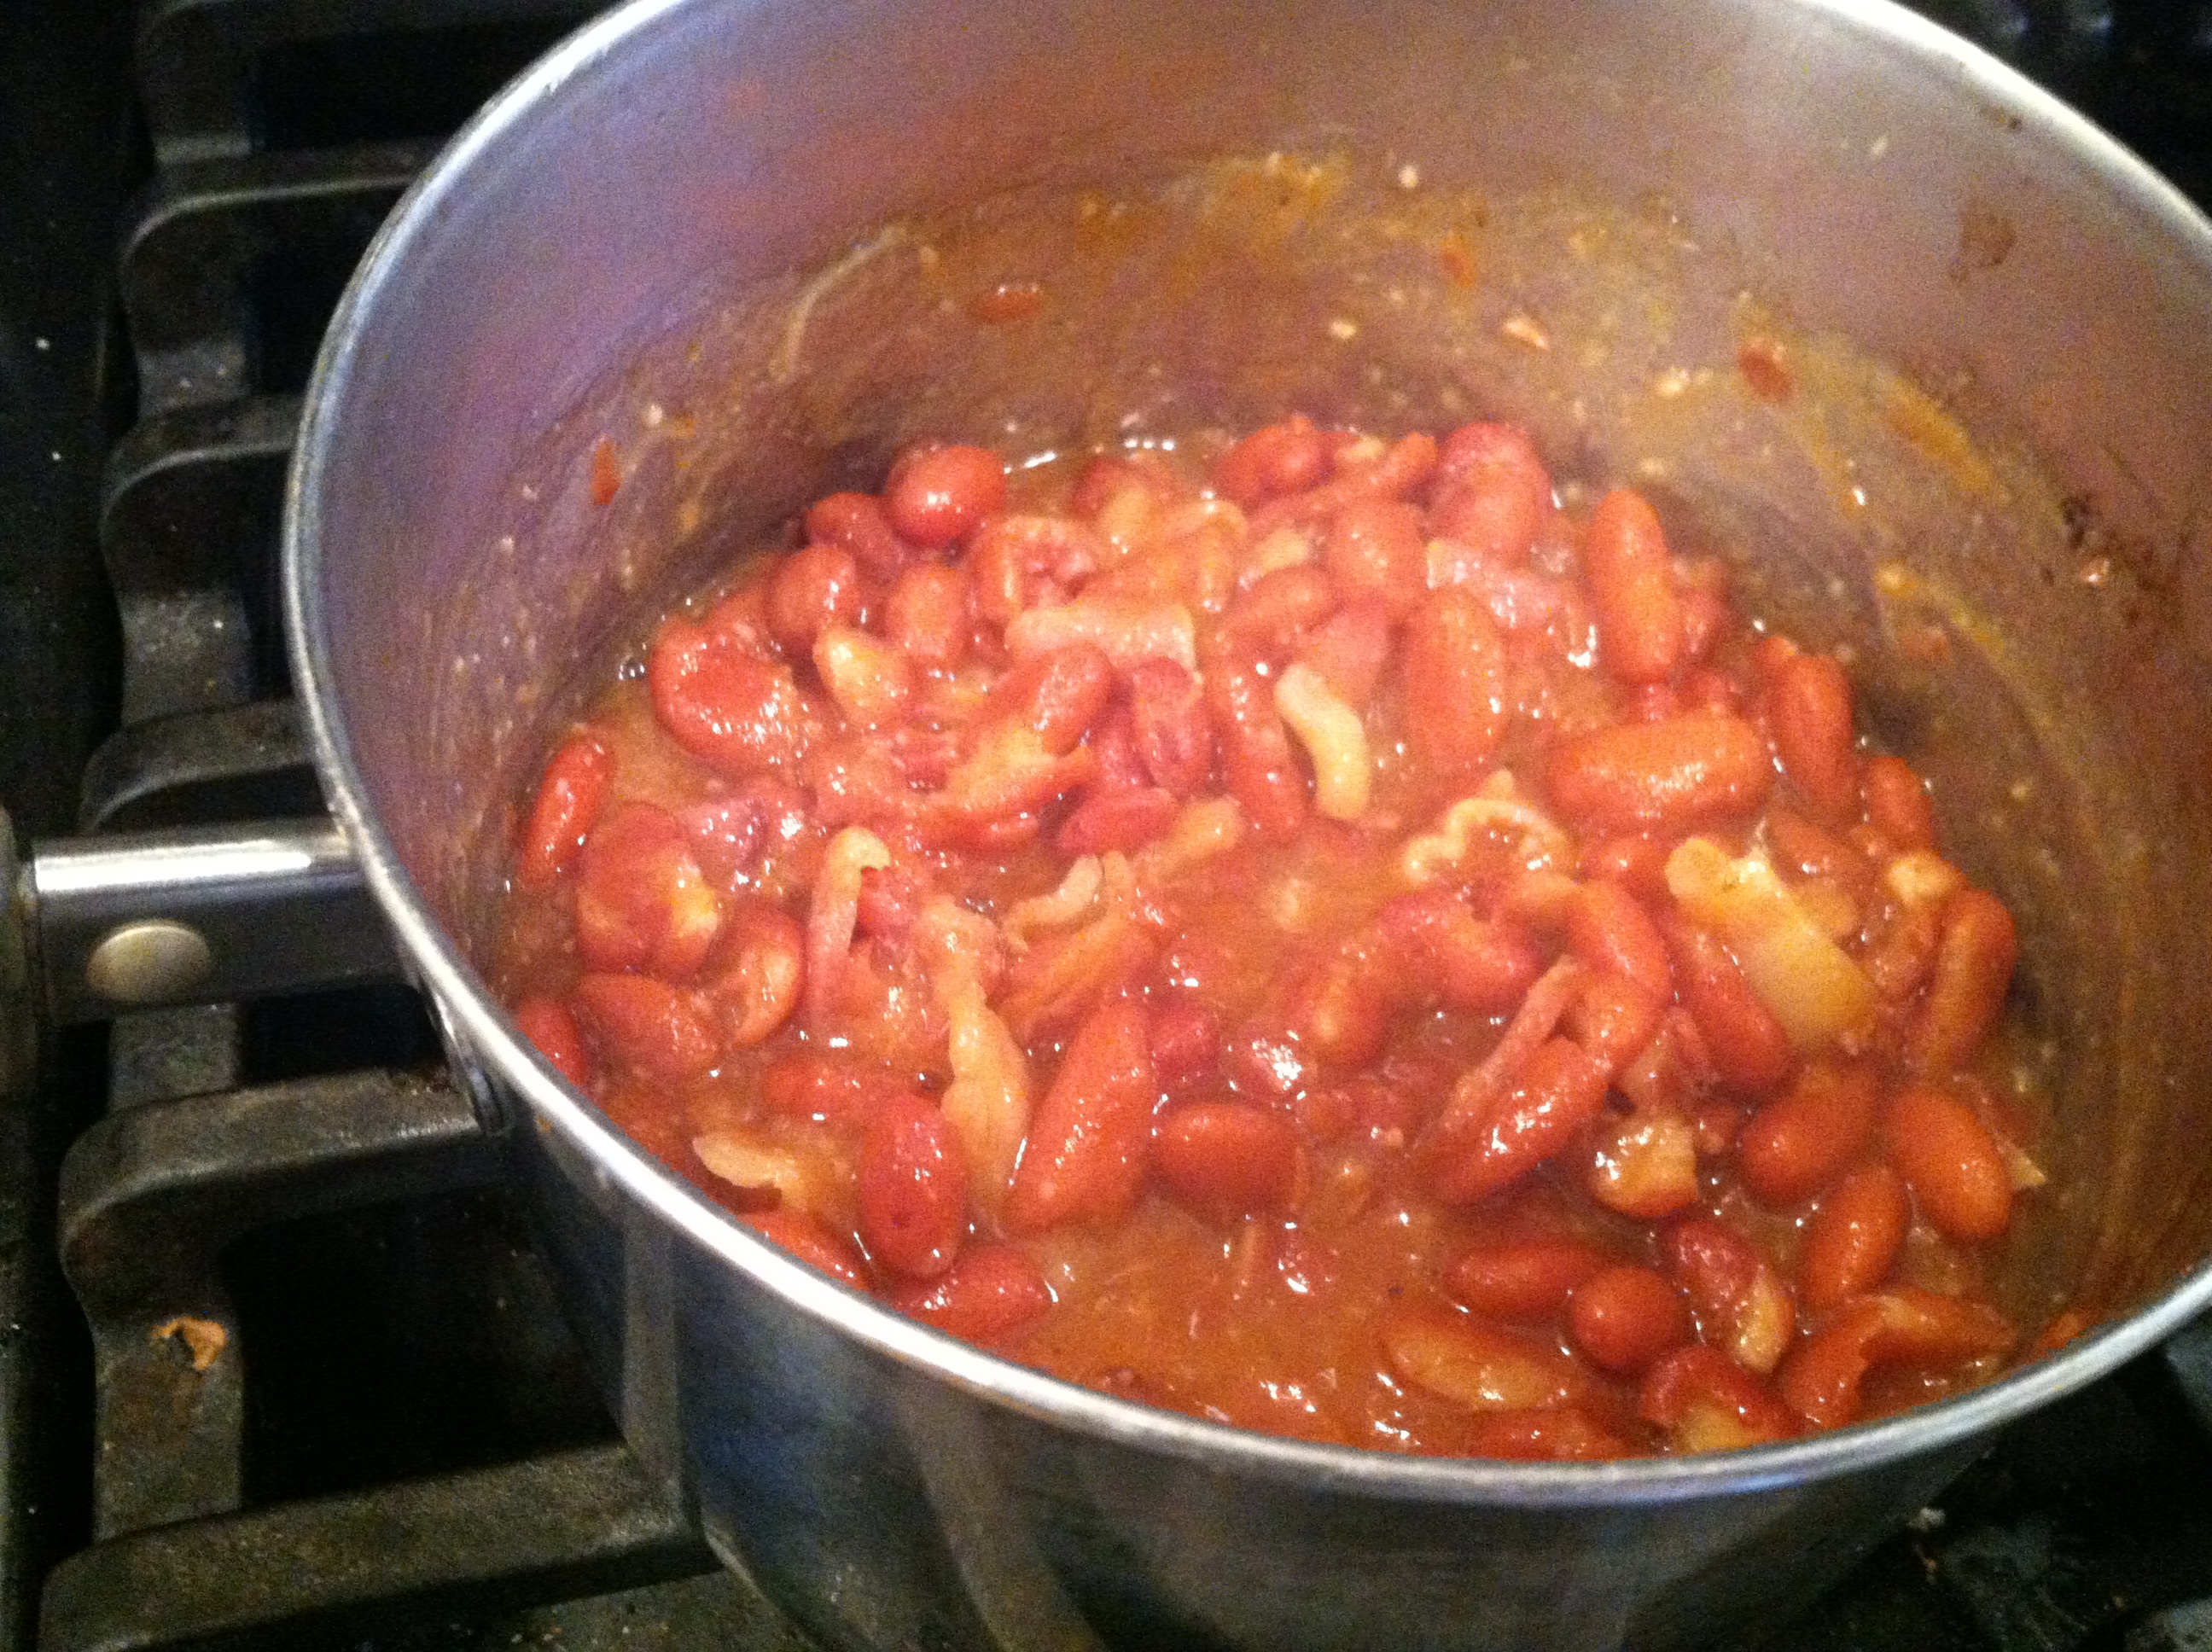
Step 3: Place beans in a pot, and add BBQ sauce and flavorings. Cut or chop the bacon into bite-sized pieces. Simmer it all together for 20-30 minutes to let flavors meld.

IMG_9274

Then serve! Enjoy alongside whatever summer dishes you like, or in the dead of winter to remember these warm sunny days.

IMG_9297

The best part is that as long as you make the sauce yourself (can control the amount of salt, sugar, and fat added), and the beans too (how much sugar or salt or bacon is involved), this dish is healthier than you may think.

Typical store-bought baked beans come loaded with nitrates, stabilizers, preservatives, salt, sugar, and fat. This is to allow it to store on the shelf longer, and to taste addictively good.

Awesomely, you can create an even-better-tasting addictively good dish yourself with just a few minutes of active work, and a few minutes of unattended simmering. Whip this up for your next picnic or party and watch it disappear.

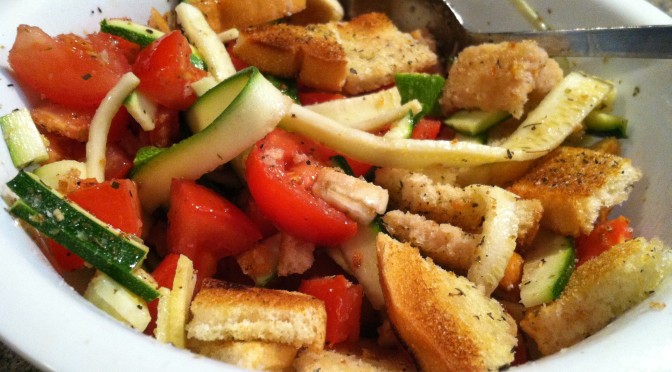
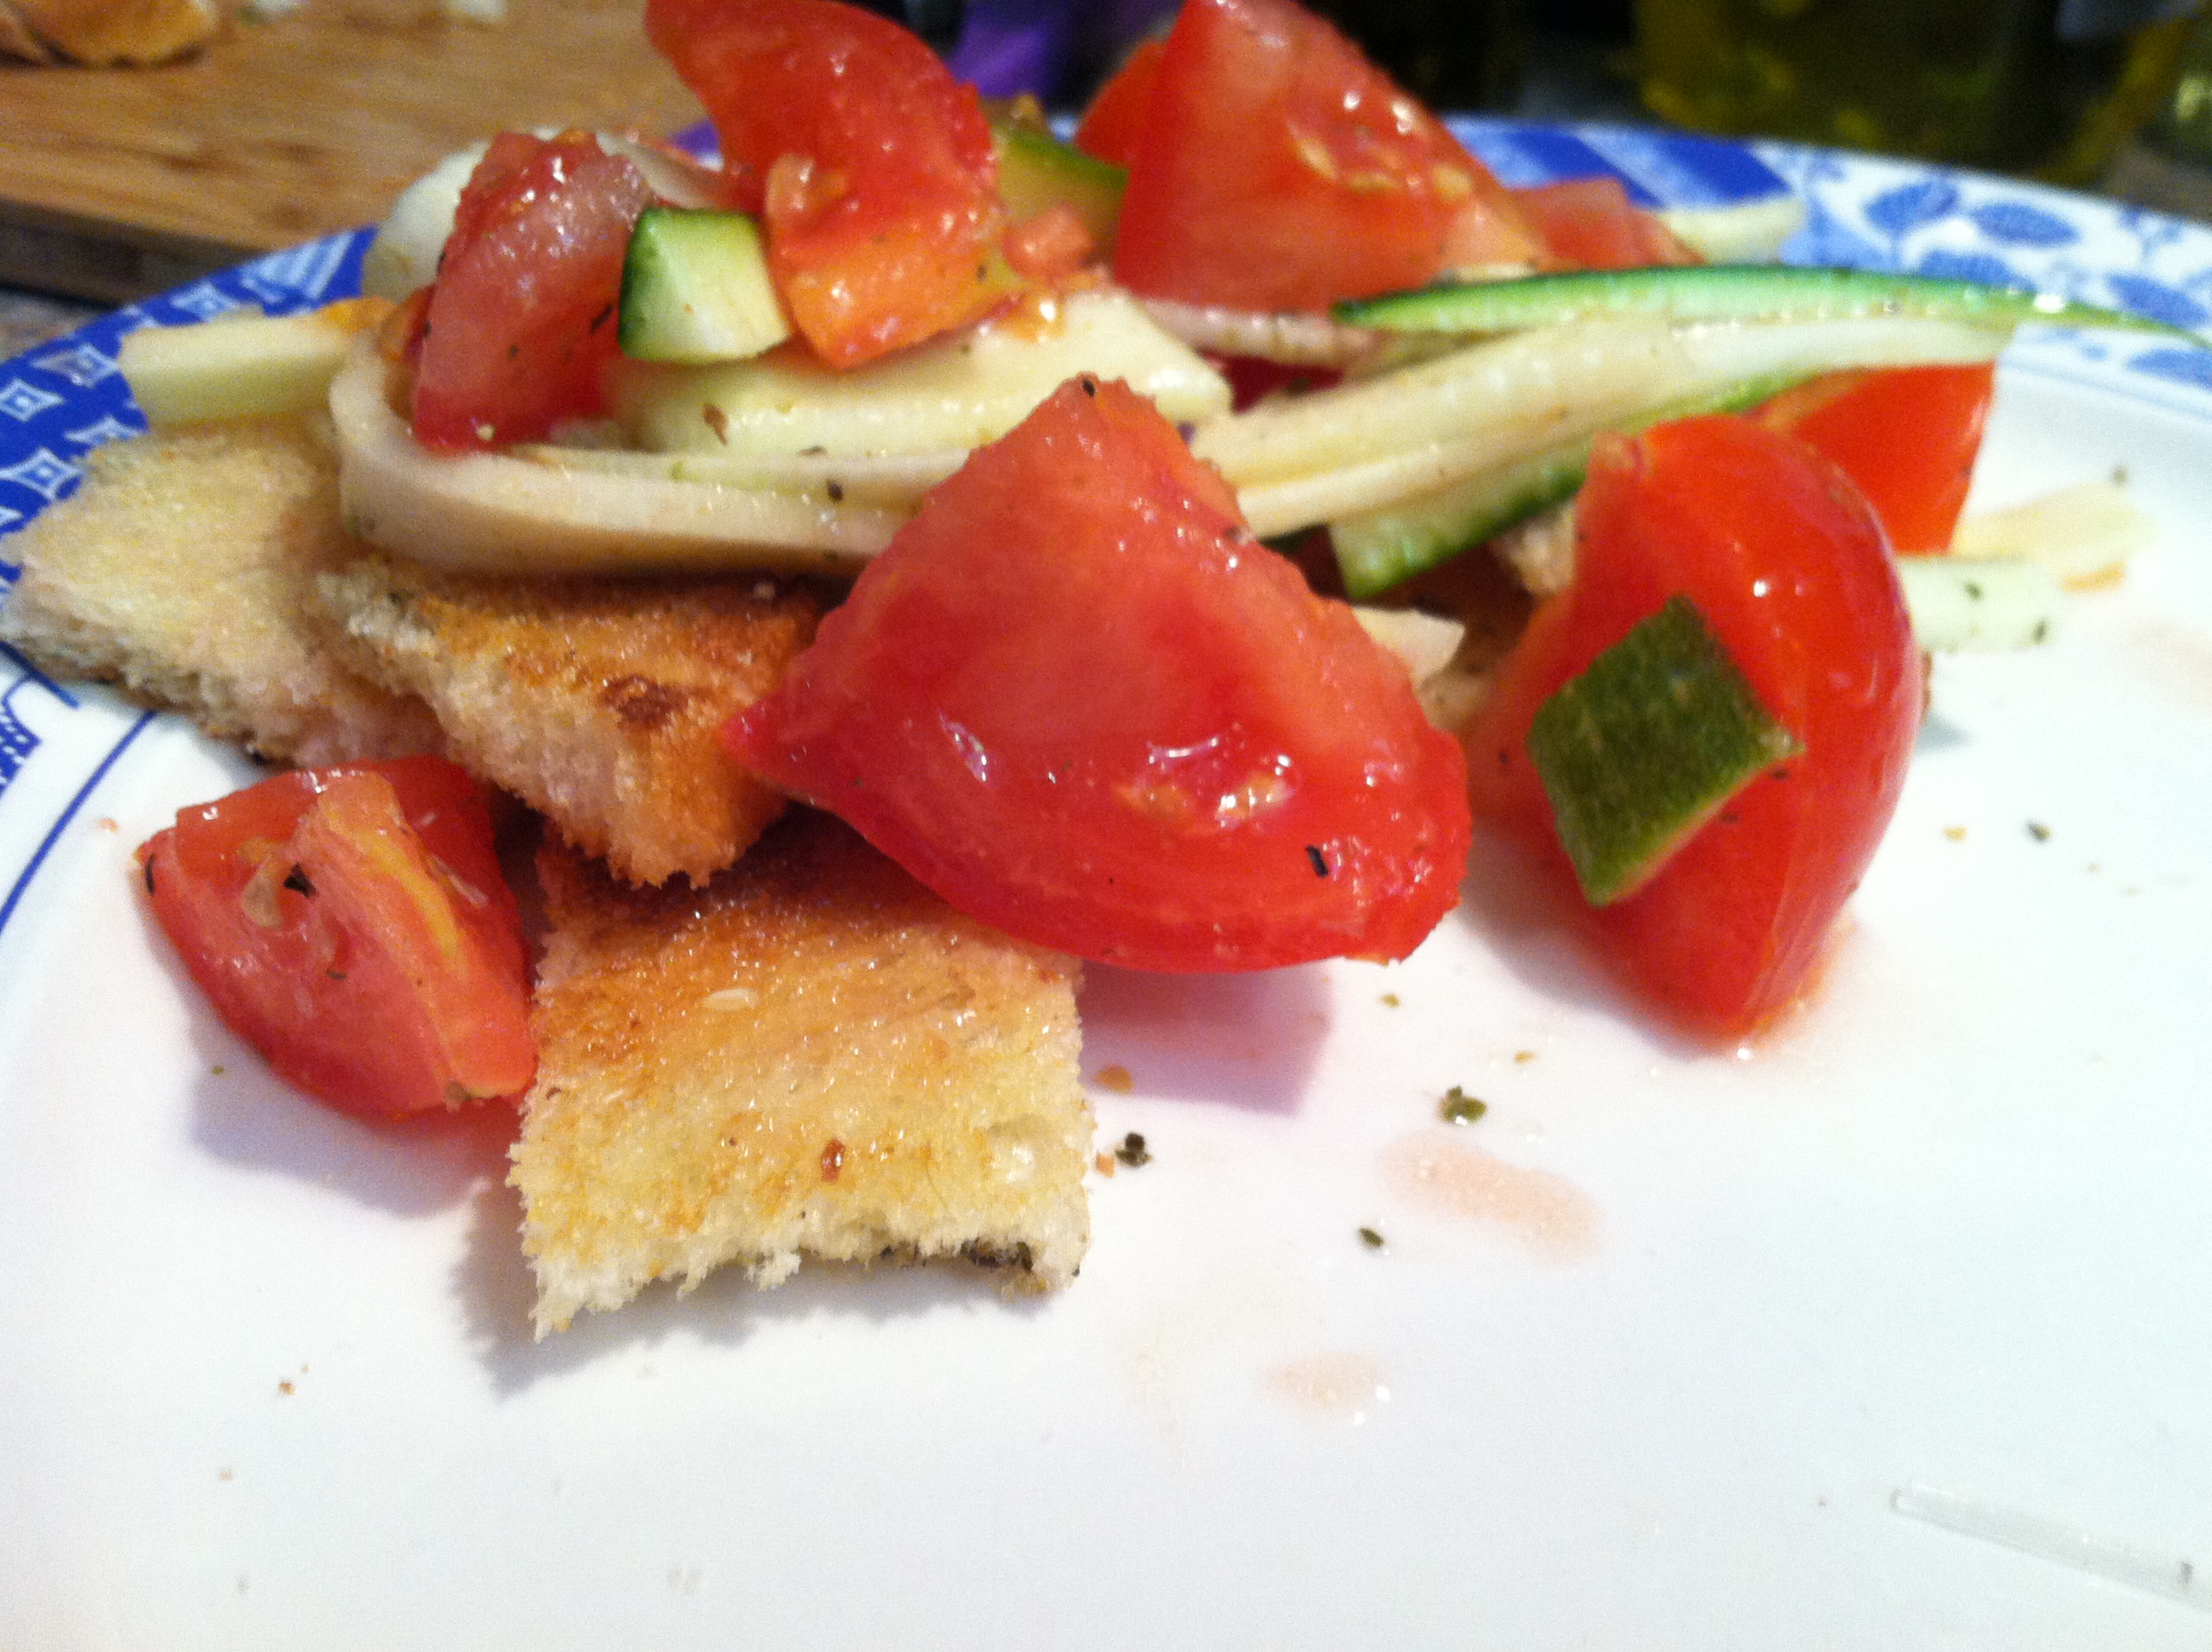
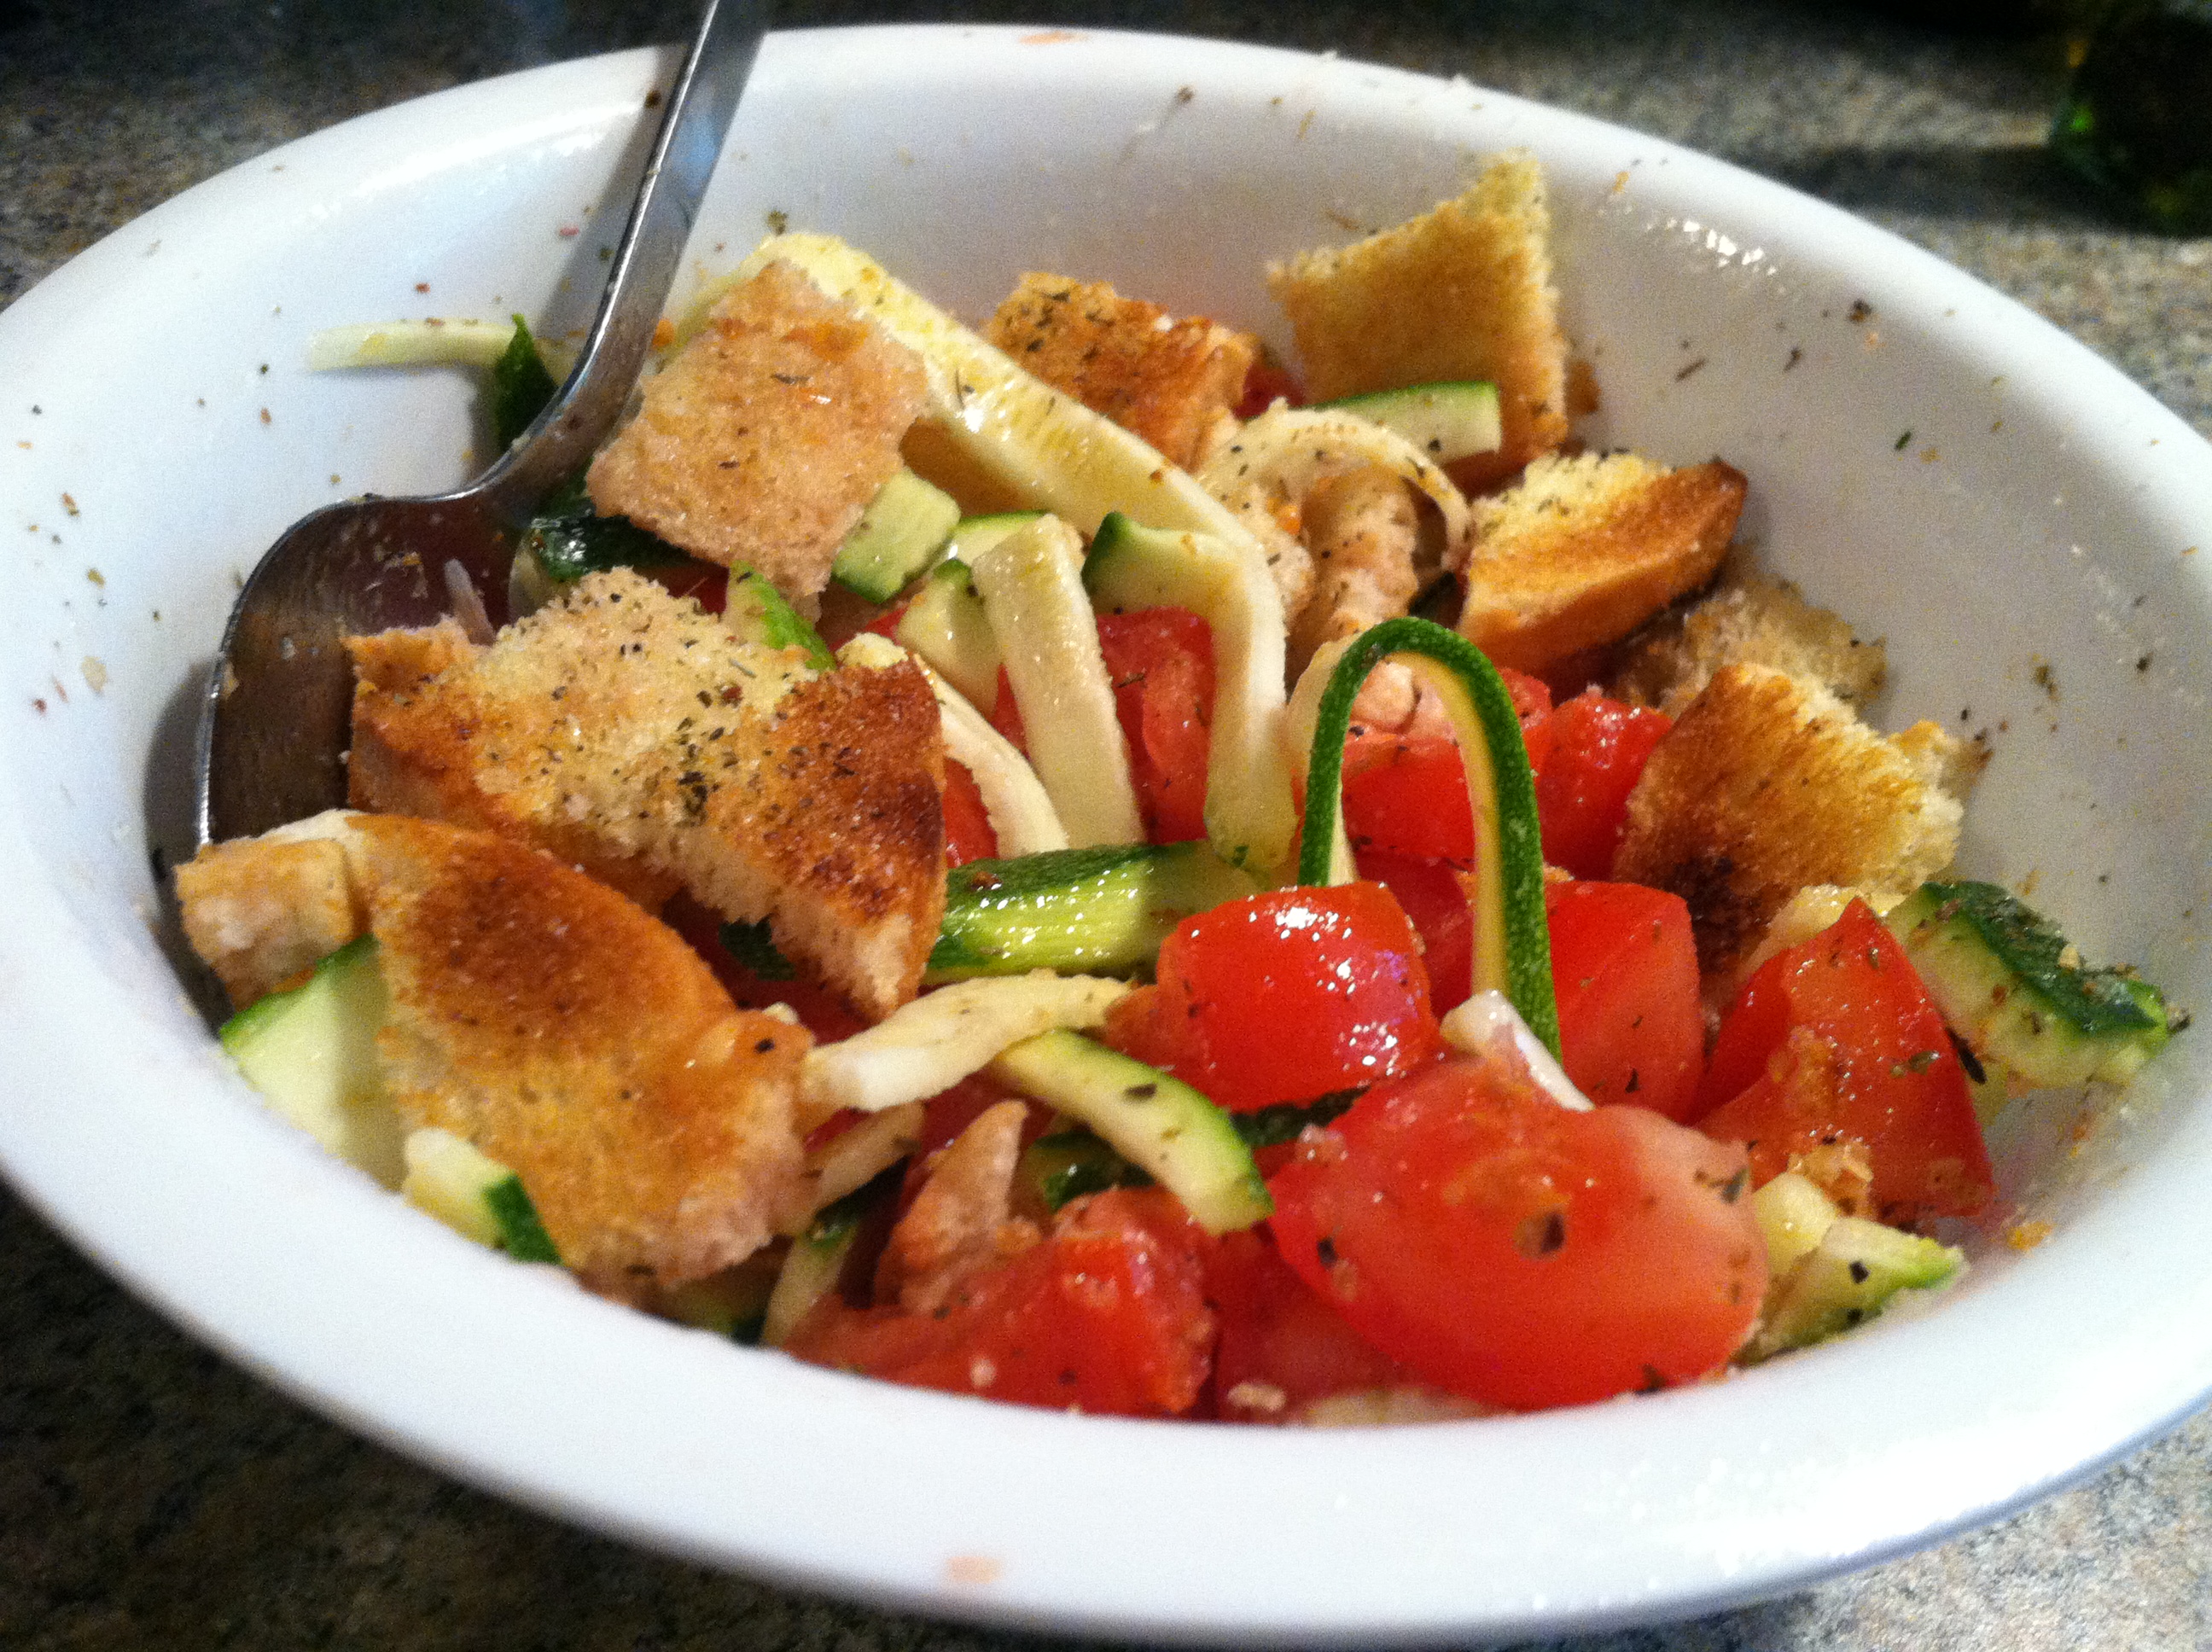
Tomato Zucchini Panzanella

.

As summer hits full speed, most people with gardens find themselves overwhelmed with tomatoes and/or zucchini. Prolific producers, these two are classic markers of the height of summer. This is also when tomatoes and zucchini are on sale at the grocery, and can be bought at the lowest price at farmer’s markets.

Once you have had your fill of eating tomatoes plain or with salt (the very best way, in my opinion), zucchini diced up in stir fry and as zoodles, and tomatoes on your salad, you may ask yourself, what else can I do with the twenty pounds I still have?

A good answer is: make this healthy, refreshing panzanella!

Panzanella, pronounced pan-za-nay-ya, is a Tuscan dish traditionally based on onions and stale bread. Some time in the 20th century tomatoes came into the picture and took center stage. Now most panzanella recipes are based on stale bread moistened with olive oil and vinegar, and tomatoes, with other ingredients like onion, basil, and garlic commonly added.

IMG_9525

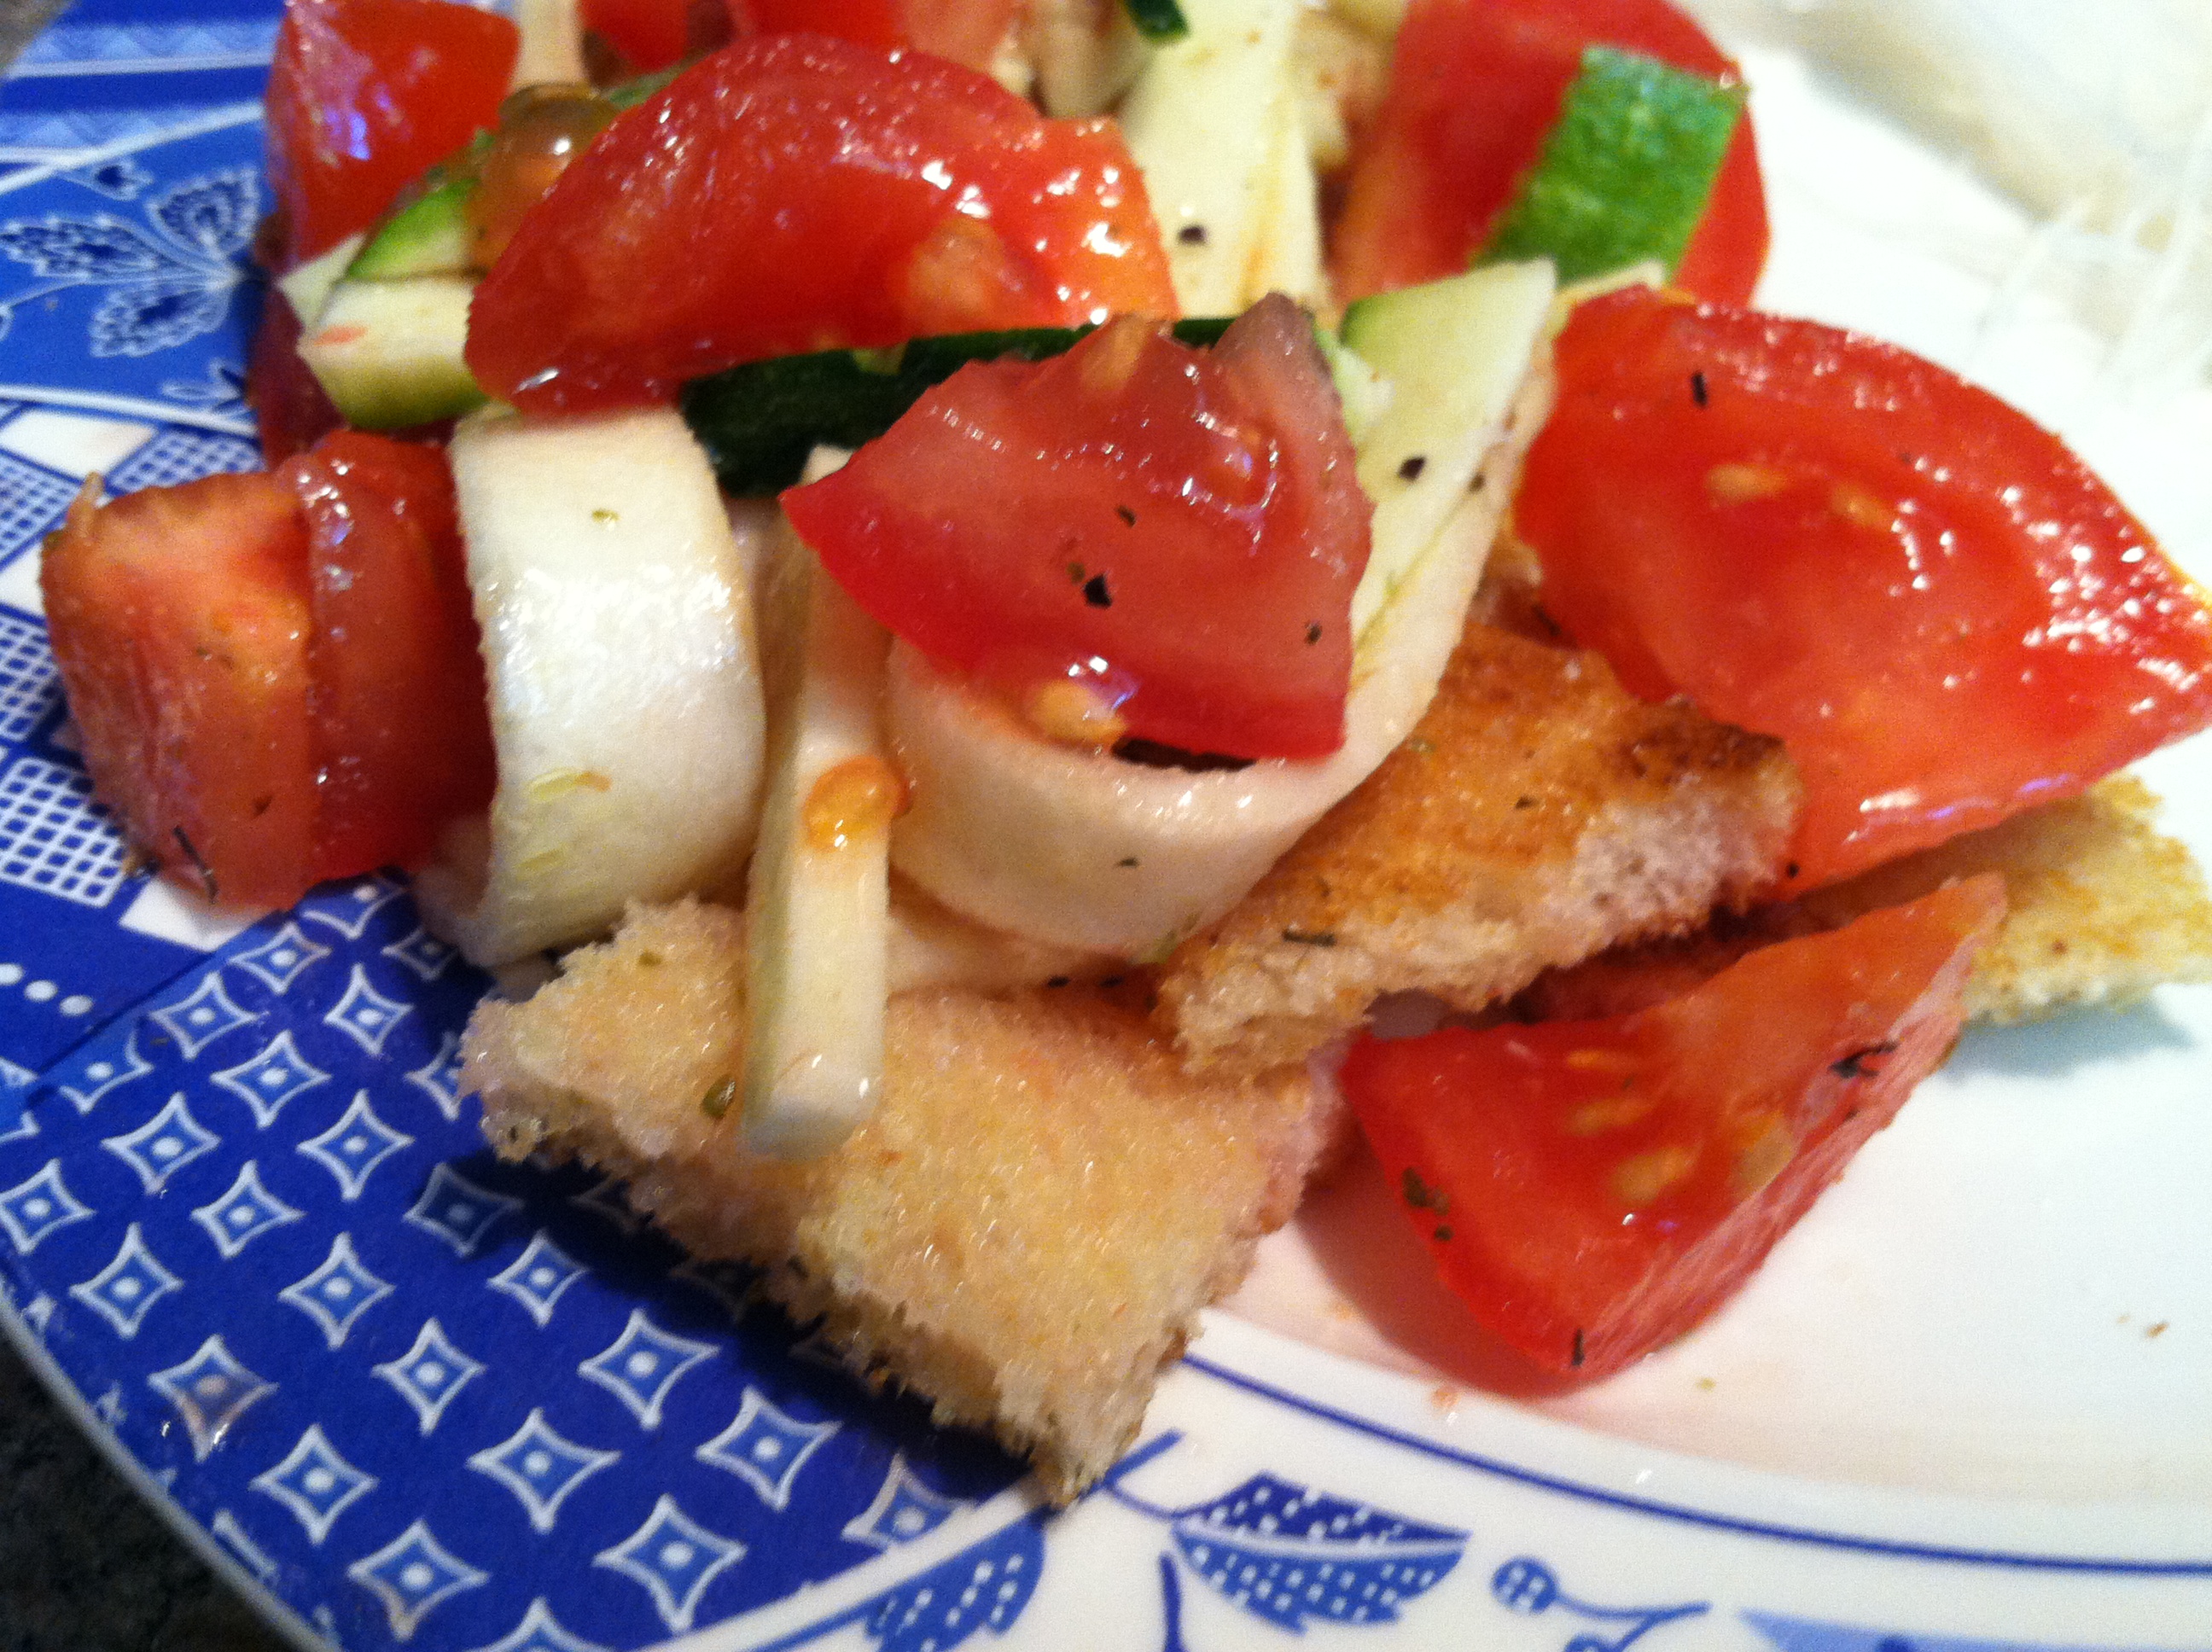
This salad is a fantastic side dish or snack, and can even be a light main meal in the summer heat. It can take advantage of old bread which might otherwise be thrown away, or you can toast fresh bread to get the same texture.

IMG_9513

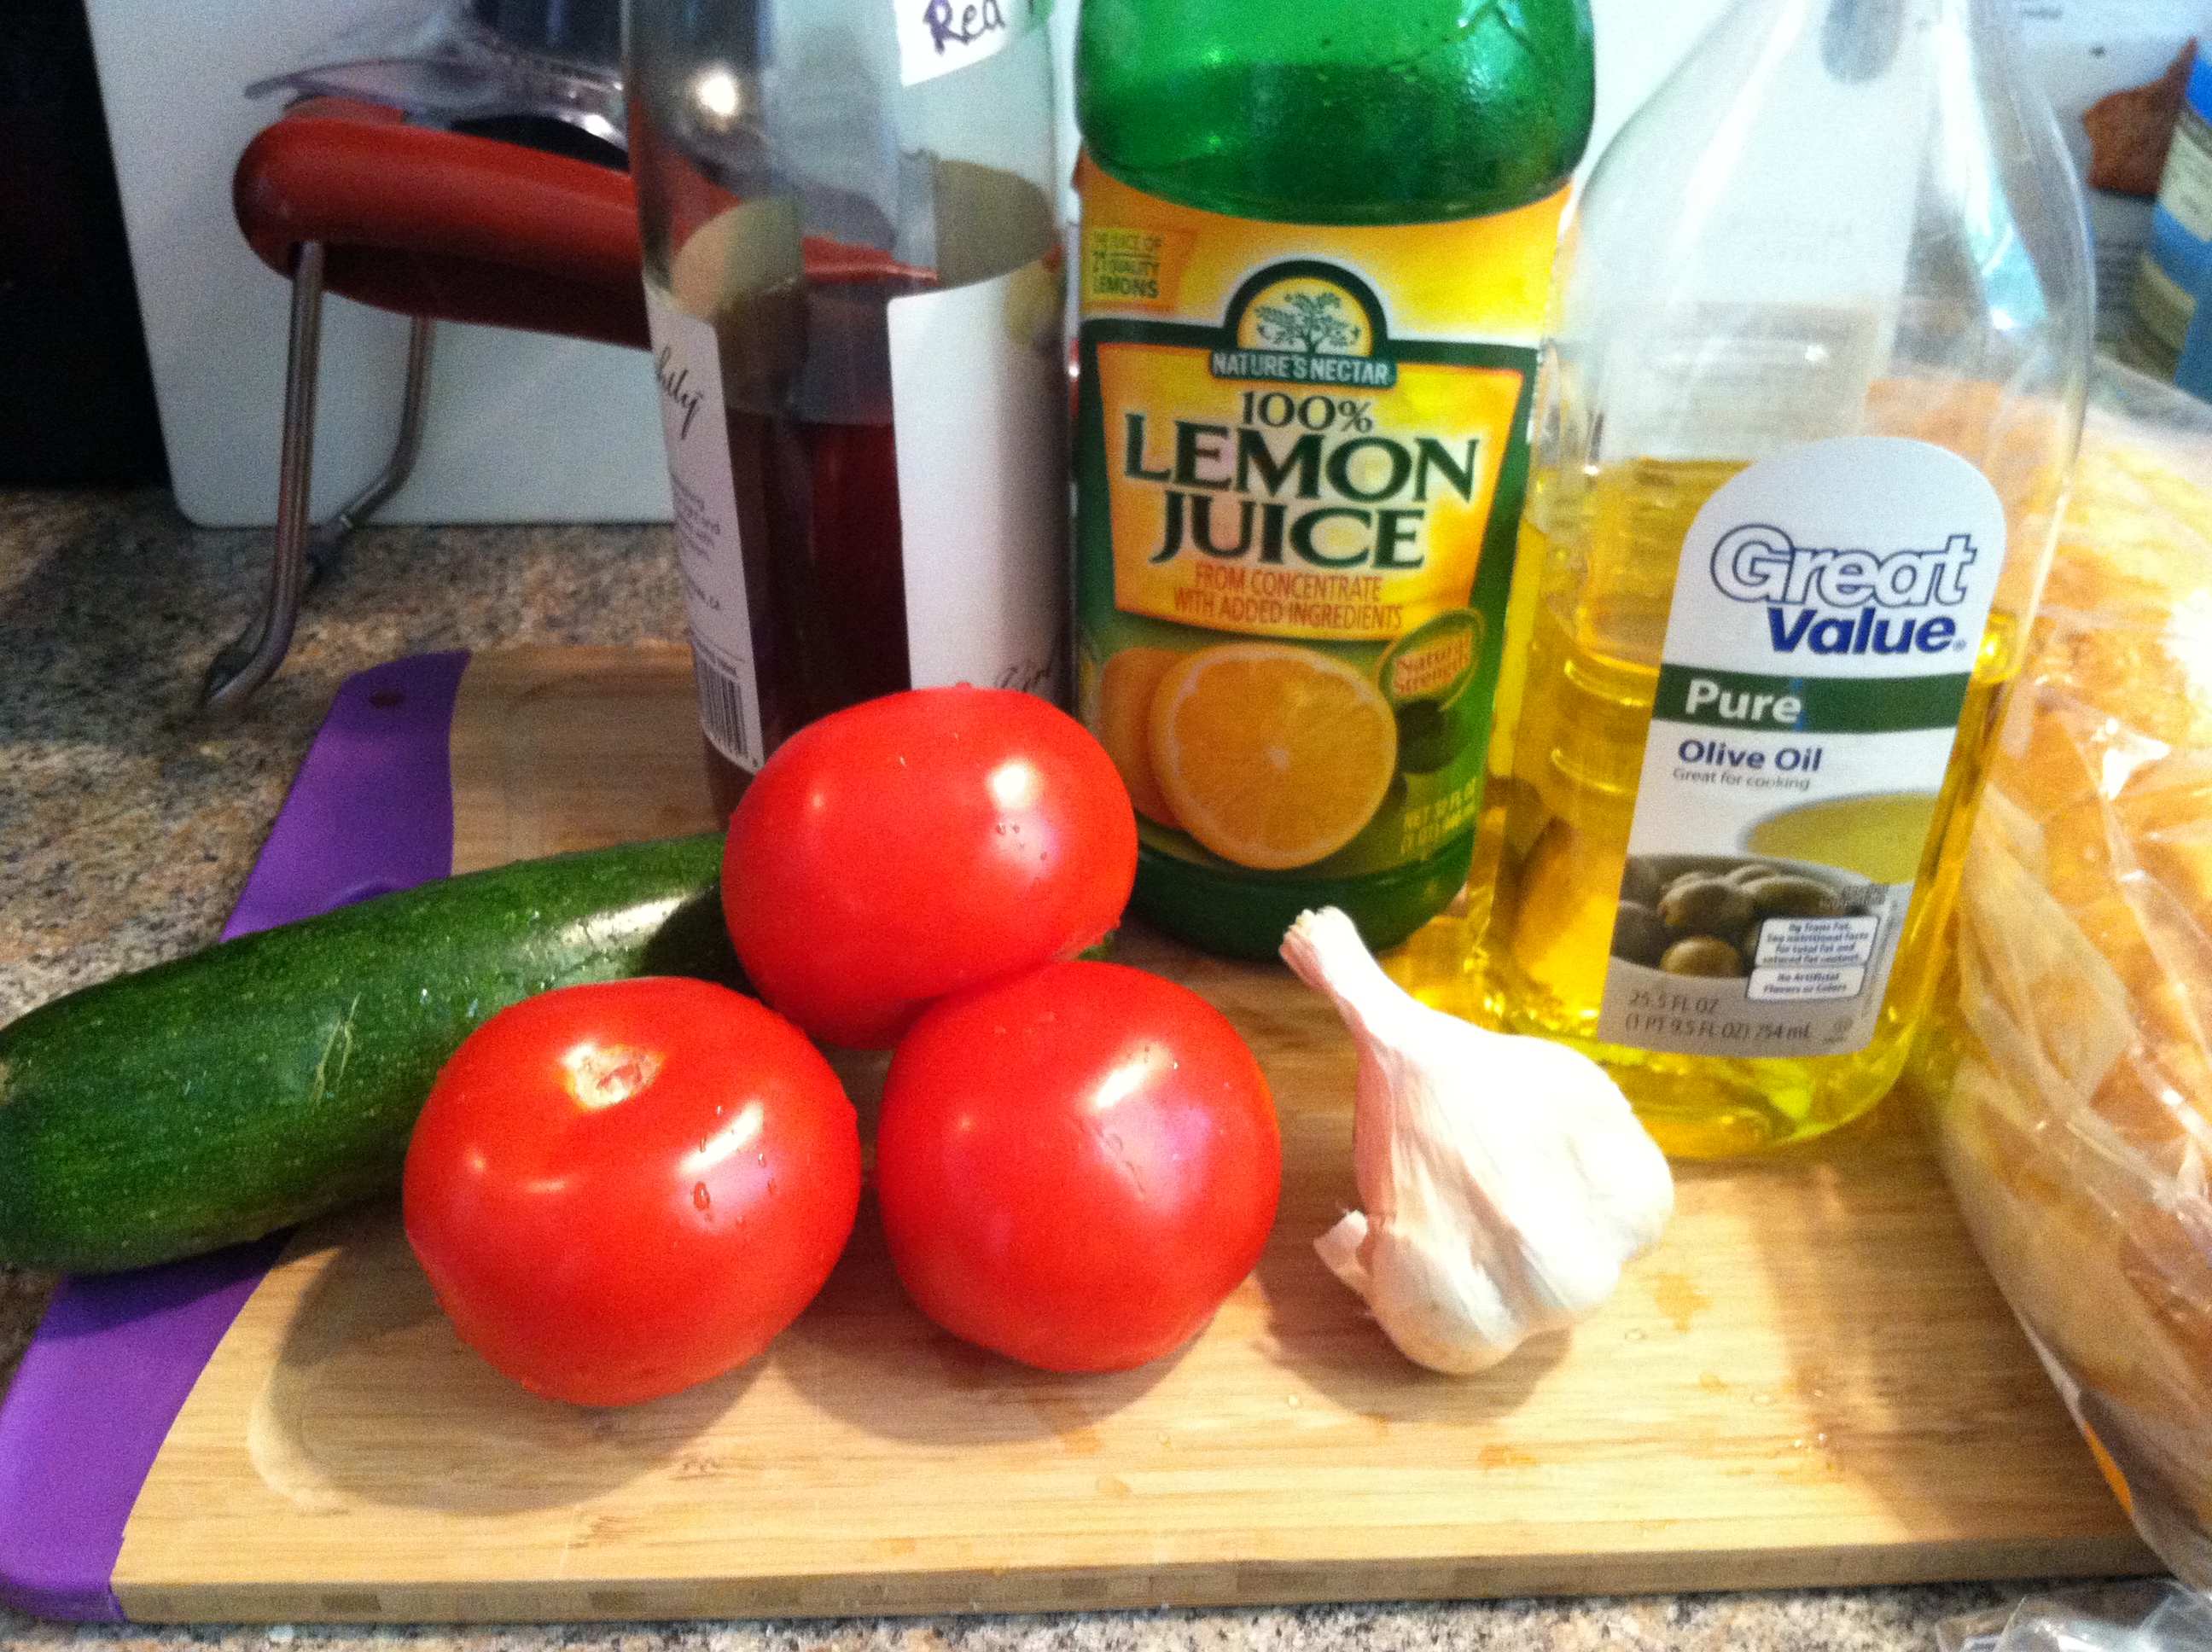
Ingredients:

  • 3-4 ripe tomatoes
  • 1 small zucchini
  • 4 slices bread, toasted
  •  3-4 cloves fresh garlic
  • 3 tbsp lemon juice
  • 3 tbsp olive oil
  • 1/4 cup red wine vinegar
  • Salt & pepper

IMG_9517

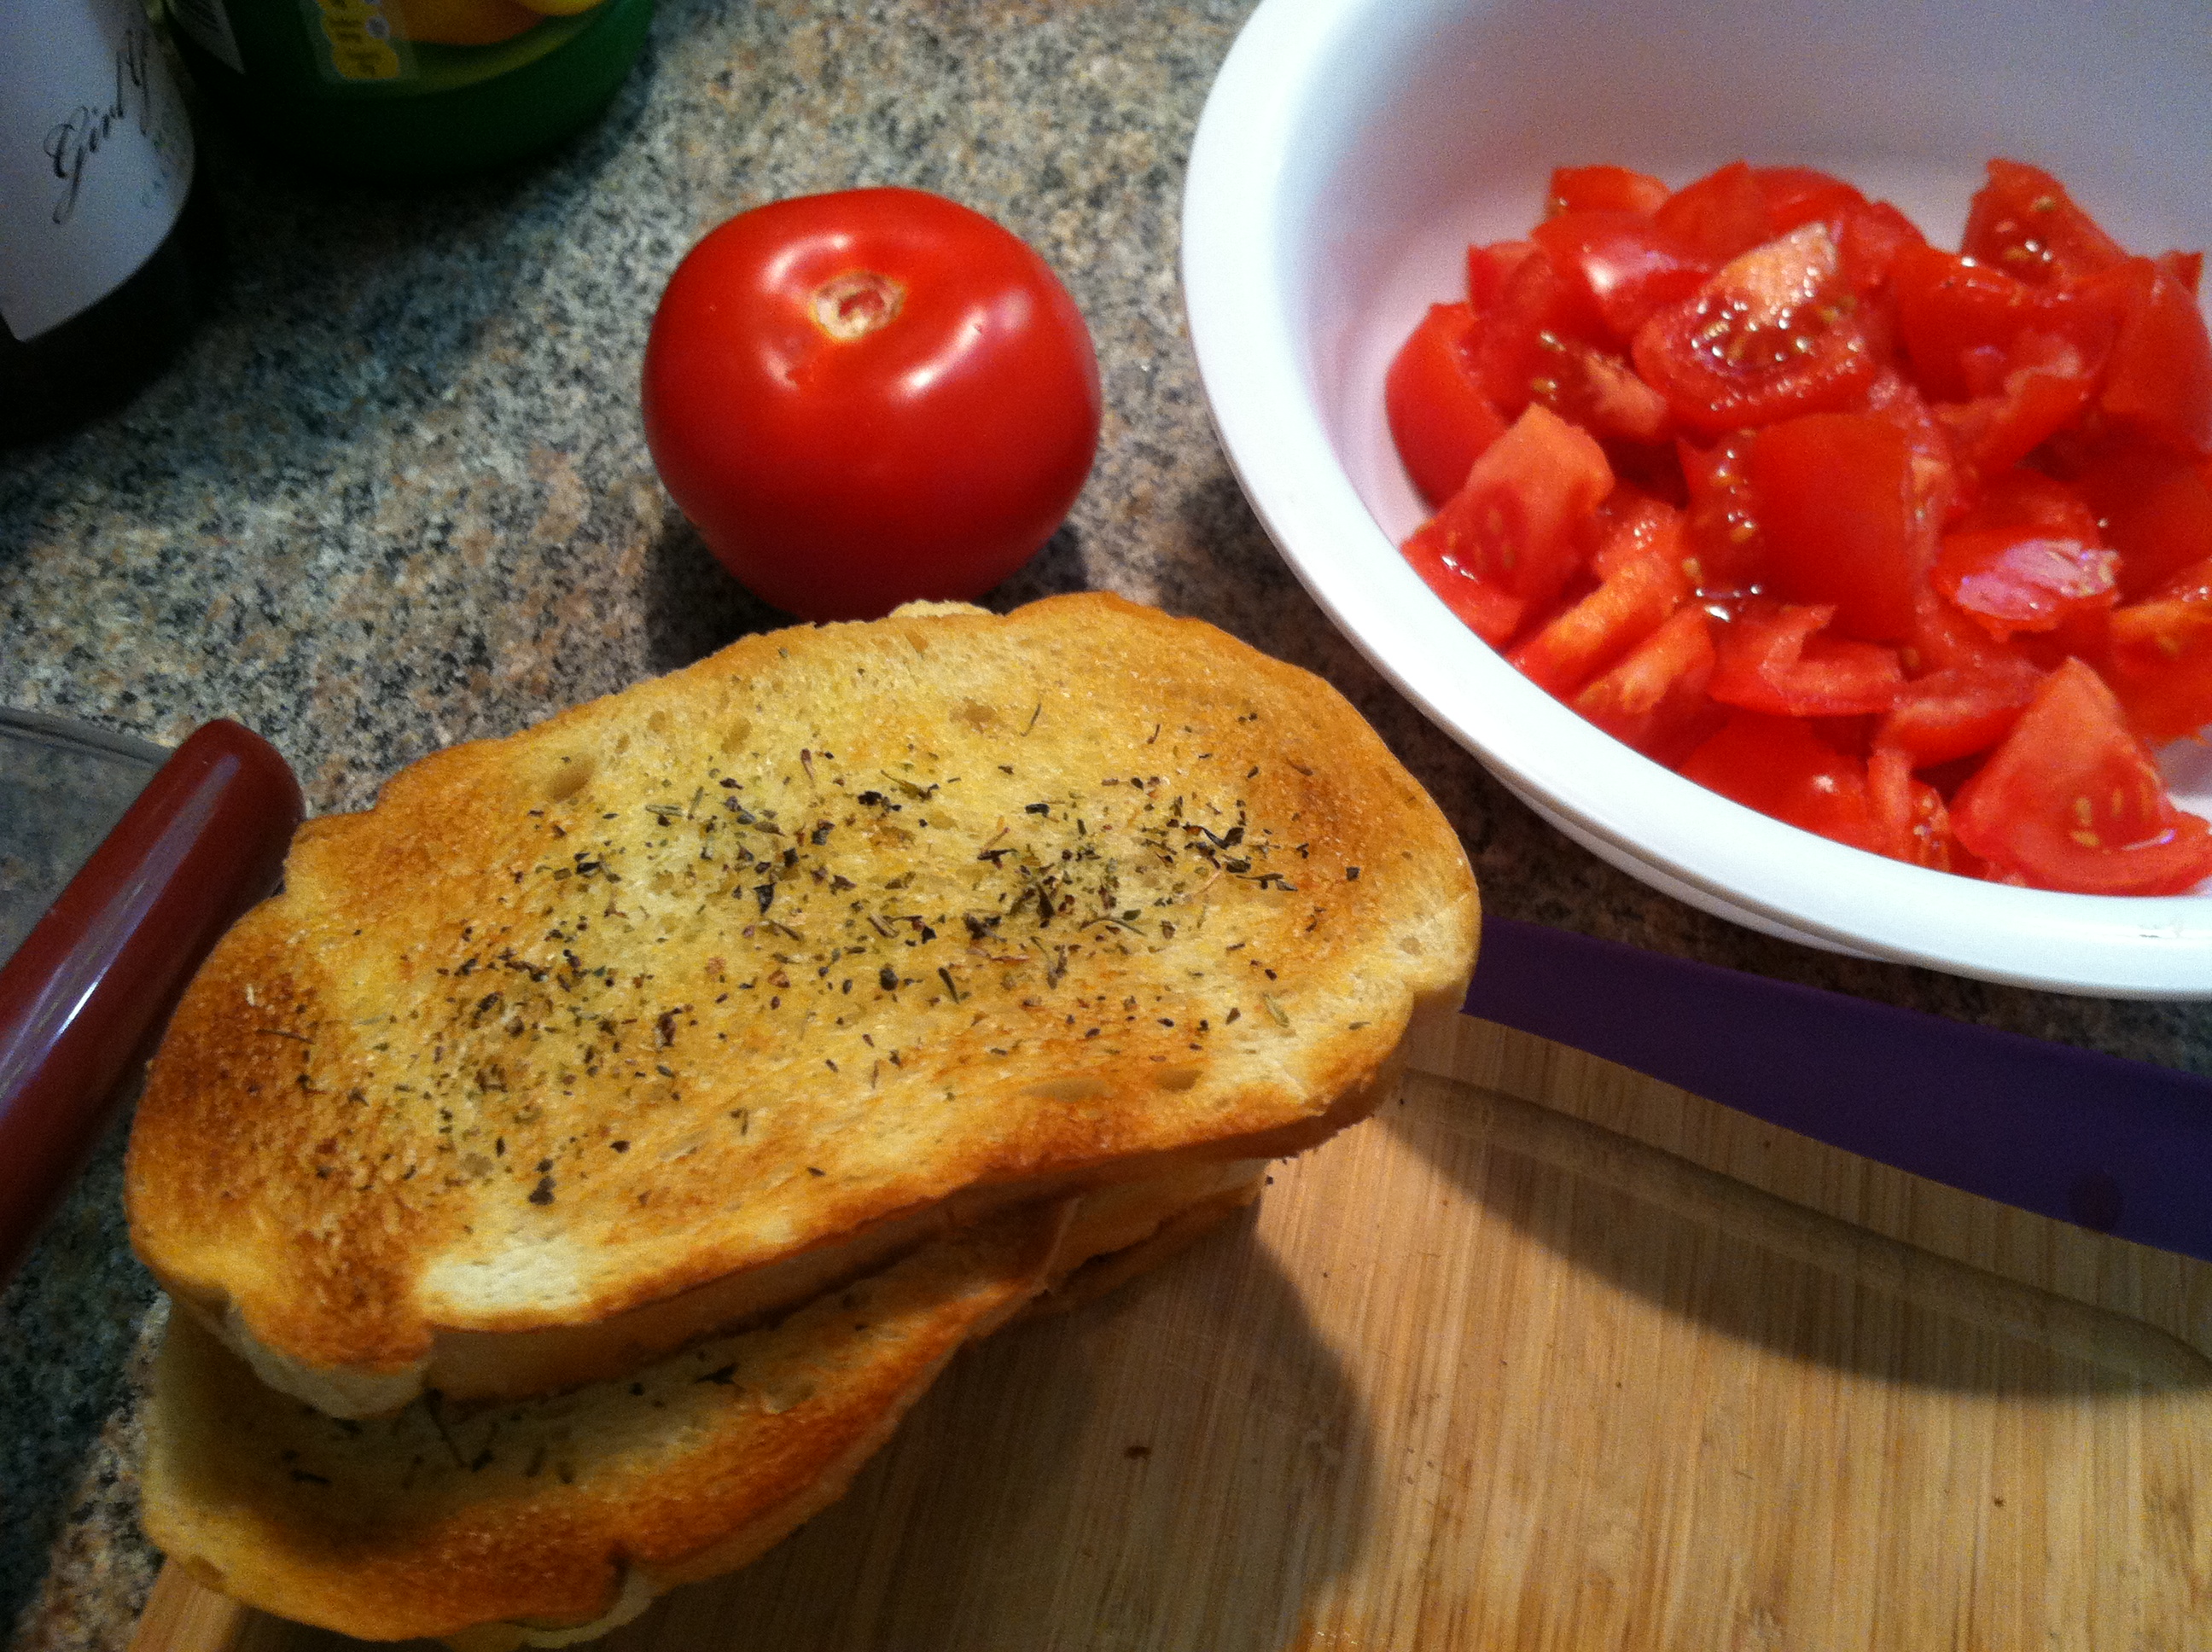
Step 1: Toast your bread, or use a few days’ old bread. I smeared a bit of butter and Italian seasonings on mine. You can use whatever type of bread you like.

IMG_9519

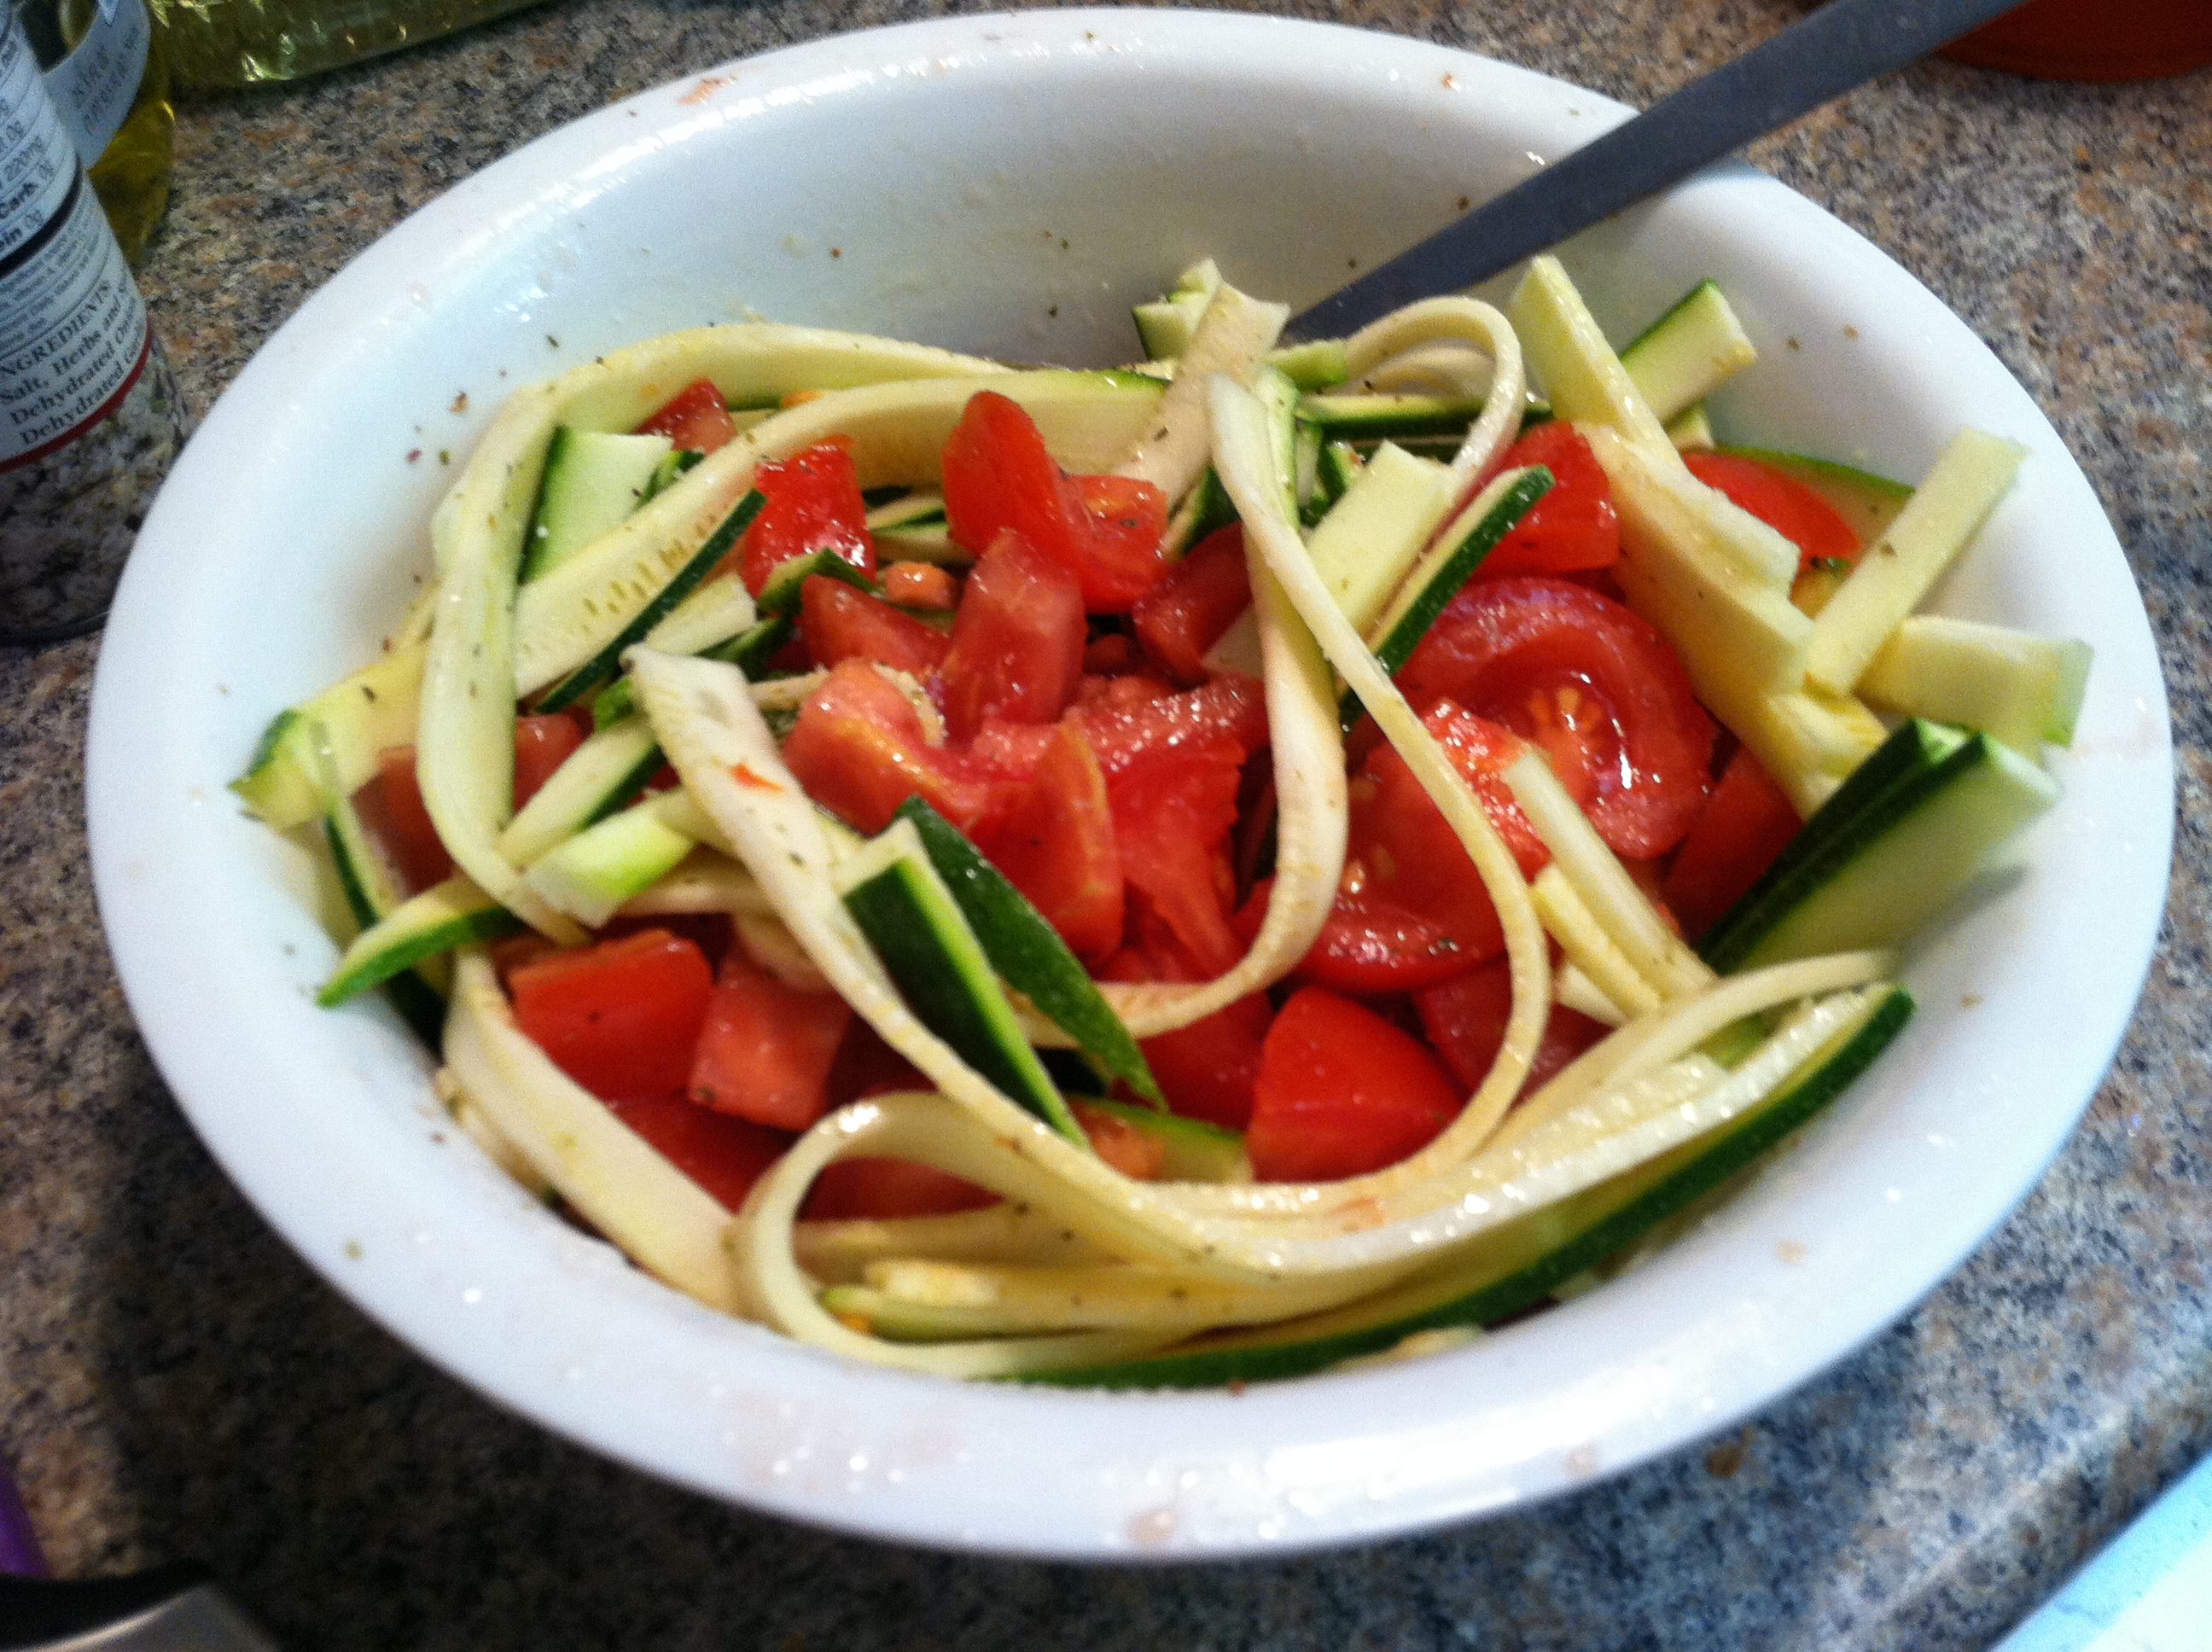
Step 2: Slice or shred your zucchini. I used my mandoline to make thin ribbons so they would take the marinade easier. Dice your tomatoes into cubes and chop the garlic. Mix in a bowl with the lemon juice, oil & vinegar.

IMG_9524

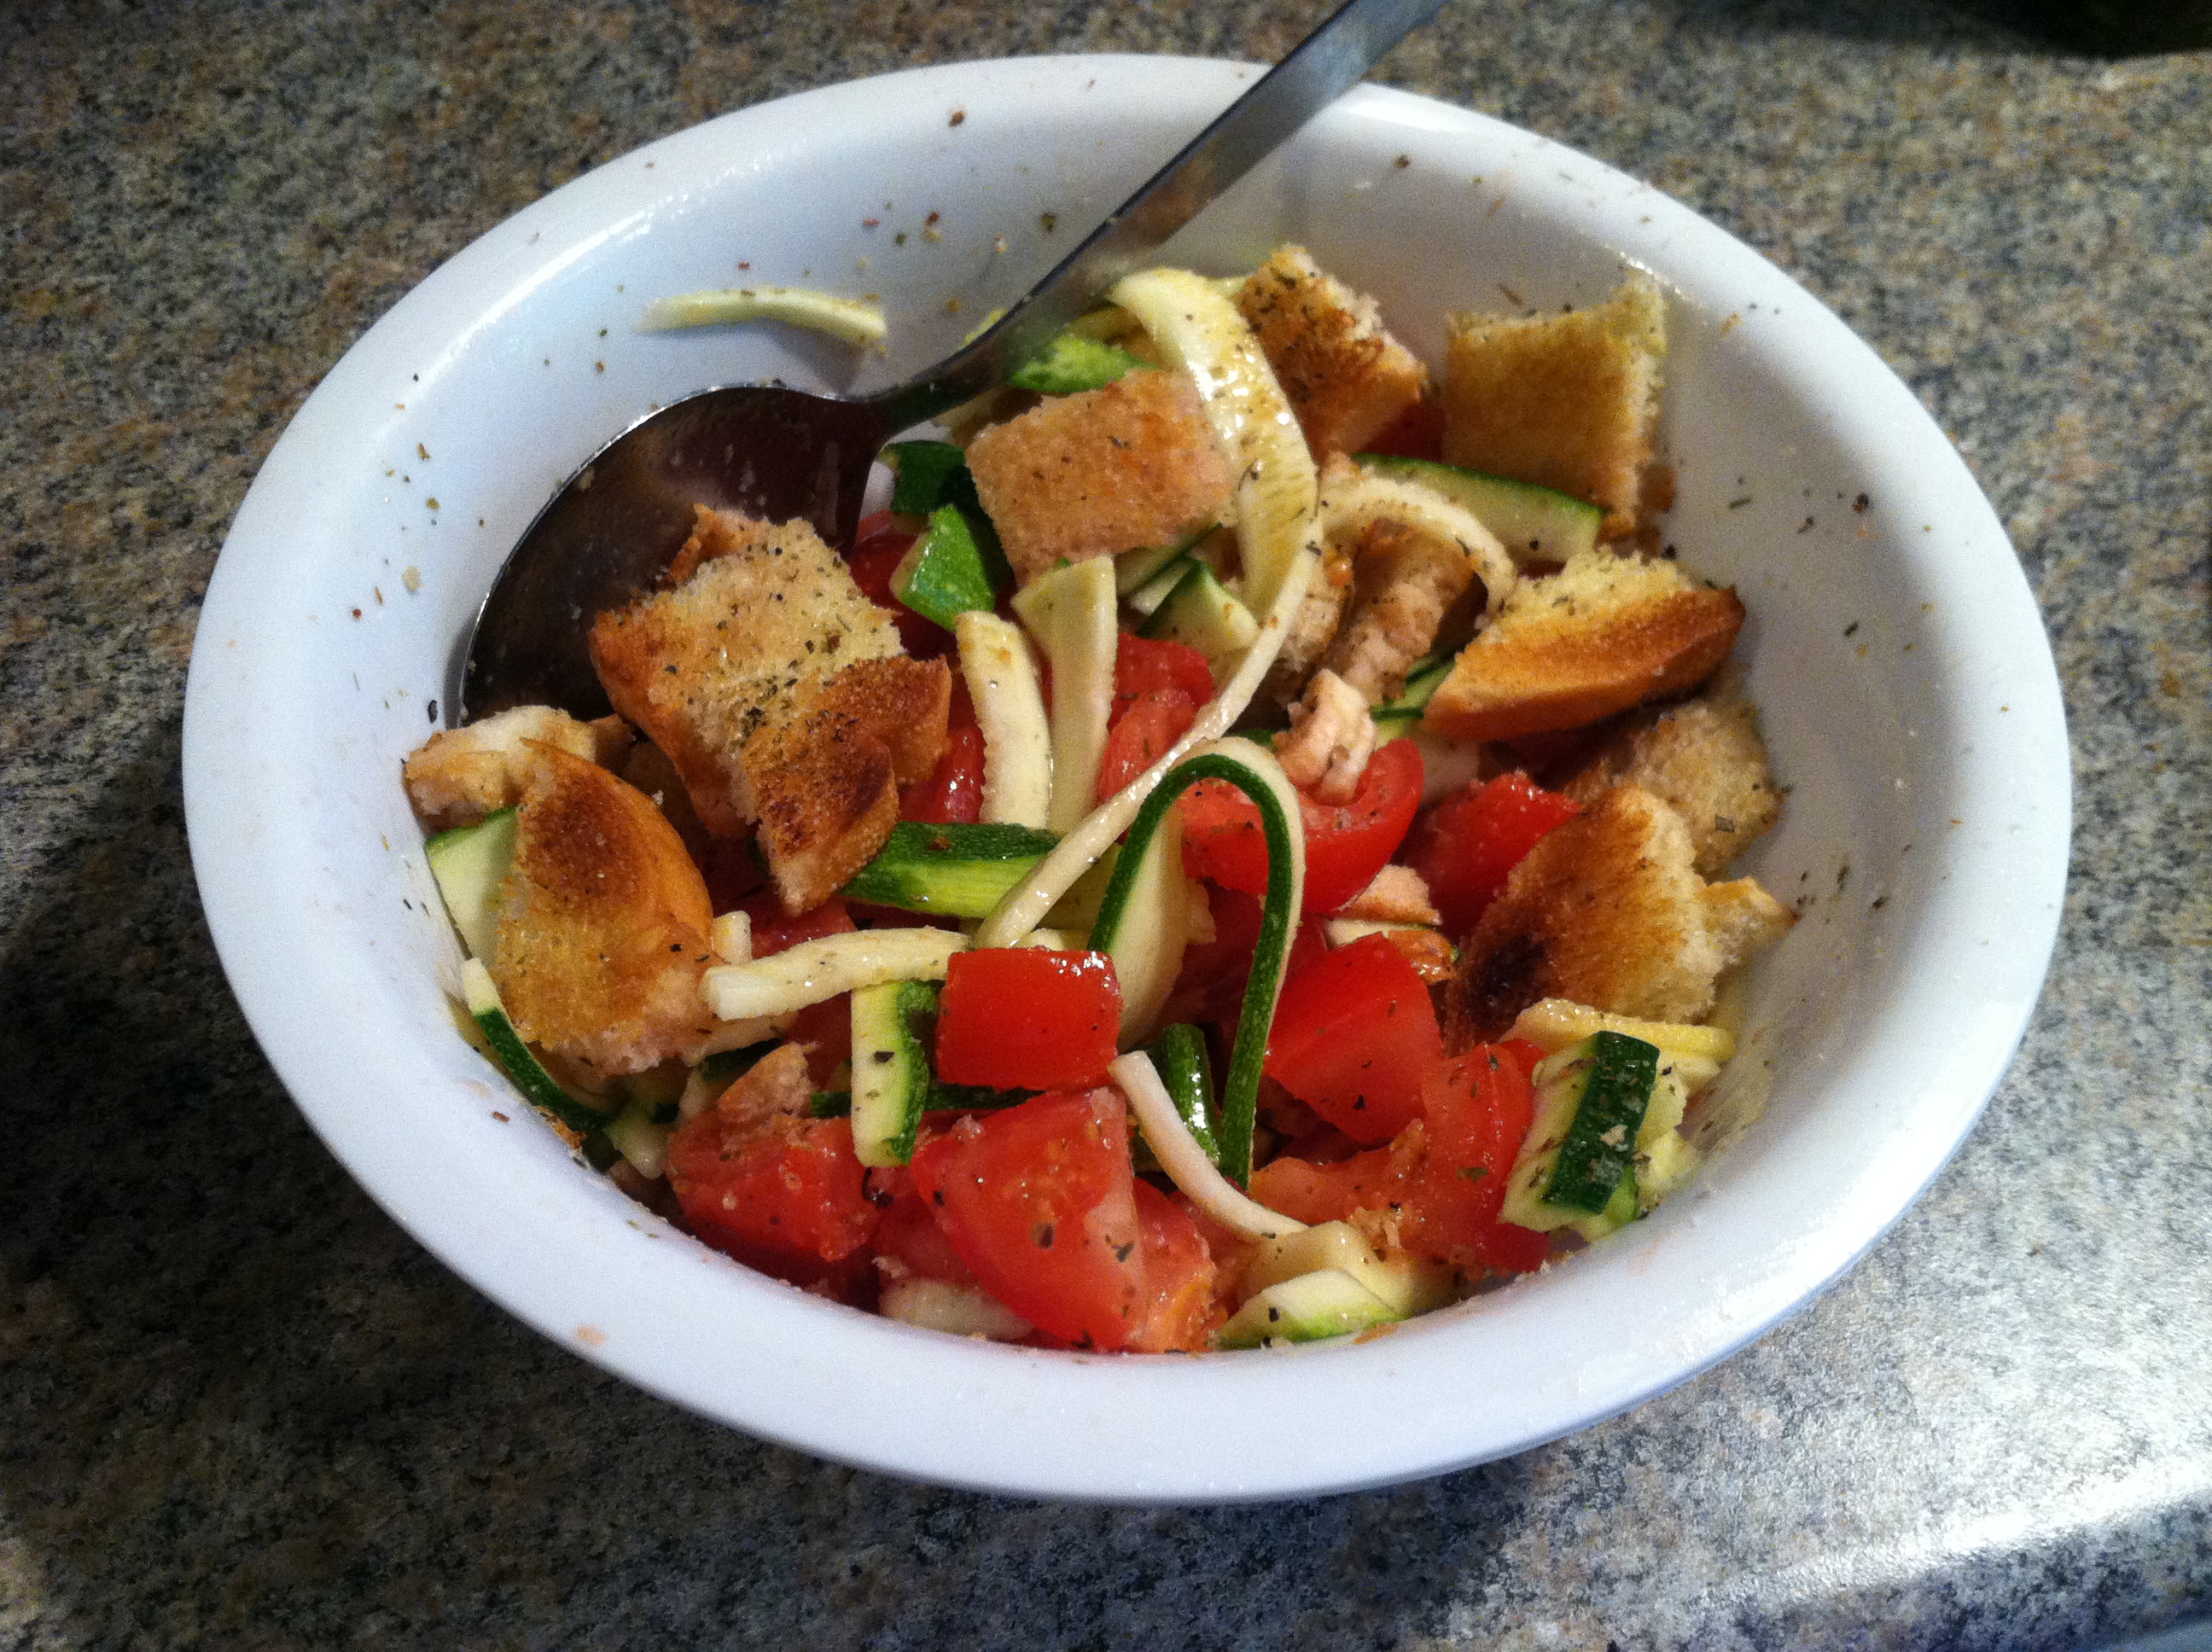
Step 3: Cut the bread into cubes, and mix everything together. You can leave this in the refrigerator for an hour or two to mix and meld the flavors, but don’t leave it too much longer than 1-2 hours or the bread goes from crisp but moist, to soggy.

IMG_9526

Add salt & pepper to taste, and enjoy!

IMG_9527


[amd-zlrecipe-recipe:28]


Creamy Chili Coleslaw


Summertime always calls for easy to make-ahead side dishes and toppings that you can keep on hand in the refrigerator for an impromptu get-together or picnic. For this reason we have created a whole host of pasta salads, potato salads, and other easy tossed side dishes able to be served hot, cold, or room temperature. One of my current favorites is coleslaw.

Coleslaw is a great choice because cabbage is a nutritious, fibrous food that’s readily available and affordable nearly all the time, and there are so many ways to dress it up. You can add shredded broccoli or other veggies, make it sweet, creamy, tangy, or spicy. In this recipe there’s a little bit of it all for a complex but versatile flavor.

Ingredients:

  • 1/2 head cabbage, shredded
  • 1 celery stalk, diced
  • 2 large carrots, shredded
  • 1/3 cup mayonnaise
  • 2 tbsp cider vinegar
  • 2 tbsp lemon juice
  • 2 tbsp olive oil
  • 1 tbsp mustard
  • 2 tsp cayenne pepper
  • Spices to taste
  • Optional: 2 tbsp raisins or dried cranberries, 2 tbsp sunflower seeds

IMG_9647

Step 1: Cut or shred your cabbage, carrots & celery.

IMG_9648

Step 2: In a bowl, combine all liquid ingredients & spices. Mix into the slaw.

IMG_9649

Step 3: For a sweet & crunchy taste, mix in raisins or dried cranberries & some sunflower seeds (or pumpkin seeds, crushed almonds, or pistachios).

Serve on top of your favorite burger, or on its own as a delicious refreshing summer side.

Bacon Wrapped Asparagus


Summer is the time for delicious veggies, picnics and get-togethers, and grilling out. While I’m a huge fan of any vegetable on the grill, I also believe bacon makes everything better. Water chestnuts, shrimp, and yes, even pork can and should be wrapped in bacon.

But if you’re trying to sneak extra veggies and fiber in, without compromising your meat-eating standards, this recipe is just the ticket. It only takes 2 ingredients and 15 minutes on the grill or in the oven to have a crisp, irresistible appetizer or side dish. Make these and watch as everyone inhales their vegetables. Or go here to watch me make these.

IMG_9371

Ingredients:

  •  2 pounds asparagus
  • 1 pound of bacon (turkey bacon may work too)

IMG_9354

Step 1: Cut the bottom most inch or two off of the asparagus. This is the hardest, woodiest part and does not taste very good. Then take 2-4 stalks, and one slice of bacon. Wrap the bacon around the asparagus stems from the bottom up.

IMG_9355

Step 2: Repeat for all the asparagus. Place the bundles either on top of a baking rack with a baking sheet underneath or on the grill. You want the bacon grease to be able to drip off as it cooks.

IMG_9357

Step 3: Grill on medium-low heat, flipping once, until bacon is fully cooked and asparagus is wilted but still crisp. Or bake in an oven at 350, turning once, for 15 minutes.

IMG_9370

That’s all there is to it! Let them cool enough to handle, and then chow down.

IMG_9373


Click below to watch the step by step video:

Raspberry Yogurt Parfait


As spring brings fresh berries to fruit, you may find yourself with a huge bounty and need ways to eat them all up before they go bad or the season ends (tear…).

Not to worry, I love berries and love to find ways to enjoy them. First of all, snap up deals now while you can. Don’t bother thinking you’ll buy too much, that’s not possible. Freeze any you can’t eat within a week in a single layer, then put into a freezer bag.

These frozen berries will last for months, and will be great mind-winter in a smoothie, a fruit crumble, on top of oatmeal, as ice cubes/garnish in cocktails, or in a pie. Try raspberries, blackberries, strawberries, and blueberries.

But while they are still fresh and at their best, my favorite way to eat them (other then just washed, by the handful) is in a yogurt parfait. The perfect start to the day, healthy snack at any time, or after-dinner treat, a parfait is just tasty.

And with fresh biotic-boosting yogurt, seasonal berries and fiber-rich granola, it is also a super healthy choice. Just steer clear of sugar-laden yogurts or granolas. Best to make it yourself, but if not choose organic, pasture-fed yogurt if you can, and granola with whole ingredients like oats.

Ingredients:

  • 1/3 cup fresh berries
  • 1/2 cup plain greek yogurt
  • 1/3 cup raw granola
  • 2 tbsp (local if possible) honey
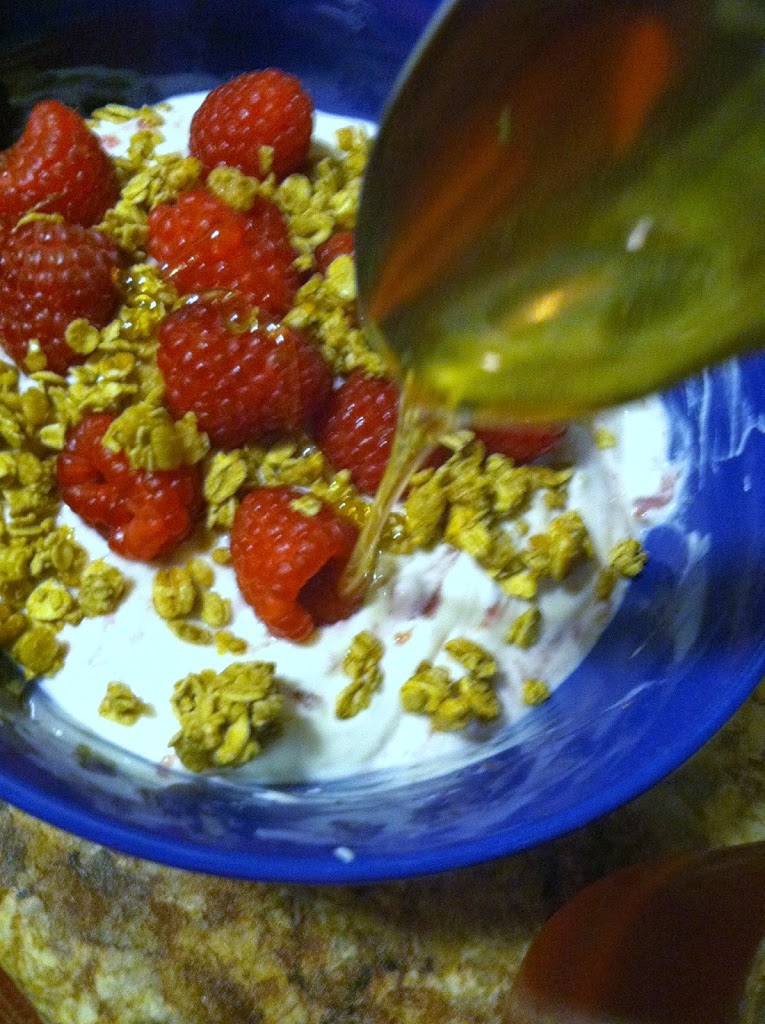
Step 1: Add the yogurt to a bowl, and sprinkle berries on top. You could put it in a blender and pulse a few times if you want the berries incorporated.
Step 2: Sprinkle the granola on top. You can use plain raw oats too, or a healthy cereal.
Step 3: Drizzle your honey on top. You could also use agave nectar, maple syrup, or no sweetener at all.
Enjoy your bowl full of happiness!