This dip is super easy, it takes less than 30 minutes to put together! And with just a little bit of creativity, it turns into a perfect Halloween party appetizer, sure to please all your spook-loving guests.
Ingredients:
1 can refried beans
1 block cream cheese
2 tbsp taco seasoning
1 cup salsa
1 large head romaine or 1 cup spinach
1/4 cup shredded cheese
4-6 tbsp sour cream
1/2 can olives
1 zip-lock baggie
Step 1: Mix the refried beans and the taco seasoning together. In a casserole dish, spread the refried beans into a thin layer with a spoon. Bring the cream cheese to room temperature, or heat briefly in the microwave, until you can spread it on top of the bean layer.
Step 2: Spread the salsa over the cream cheese layer. Shred the lettuce or spinach, and layer that on top. Then add the shredded cheese. Spoon the sour cream into the zip lock baggie. Use scissors to snip off a corner, and pipe a spider web on top. Scatter black olives around.
.
To make olive spiders: Take 2 olives and slice in half, then into thin slivers. These will be the feet. Take another olive and cut in half. This is the head. Lay one olive on its side, then the half-olive just next to it. Add 4 thin slices on each side for legs, and your creepy-crawly treat is party-ready!
.
In the warm-to-chill days of autumn, we begin to crave more hearty, filling, stick-to-your-ribs kind of foods. Soups, stews, chilies, and pasta all sound wonderful as seasonal hibernation signals kick in. However, you probably don’t want to already start putting on your “winter coat” do you? I know it is pretty socially acceptable to gain a few pounds over winter, who doesn’t? With these filling foods, not much time outdoors, and lots of holiday treats, it is easy to succumb.
But not this time!
A lightened up parmesan pasta alfredo to the rescue! This recipe is intensely flavorful, with lots of meat to satisfy the carnos in the family,yet packed with good-for-you veggies for vitamins and fiber. With a homemade alfredo sauce, you get to control how much and what kinds of fats are included, and can amp up the vegetable content, to make a much healthier alternative to a frozen-bagged or restaurant meal.
This recipe takes about 20 minutes, and serves 2-4. If you don’t have the specific vegetables mentioned, feel free to substitute any kind you like, as long as you try to keep at least 2 cups’ worth.
Ingredients:
1 pound sausage links (or loose)
1 bell pepper, diced
1 large potato, diced
1 small eggplant, diced
1 large head broccoli, cut into florets
1/2 bunch kale, rinsed and chopped
1 pound pasta (save 1 cup of cooking water)
1/2 cup shredded parmesan
1/2 cup milk or cream
2-4 tbsp. butter
Step 1: In a frying pan, cook your ground sausage or links until browned, and pour off any excess fat. Add the potates first and cook with a lid for 10-15 minutes.
Step 2: Add the rest of the vegetables, in order of firmness/needed cooking time, and continue until all veggies are added and beginning to soften. Meanwhile, boil and drain the pasta.
Step 3: Add the pasta, water, parmesan, milk, and butter, and simmer for 10-15 minutes, until the sauce coats the noodles and thickens.
In the pursuit of creating meals which are both vegan and yet so delicious my total carnivore fiancee doesn’t even notice it’s vegan, you win some & you lose some.
This was a definite win.
The way I see it, it has all the things a quesadilla should: meaty fillings (‘meaty’ like you feel full after eating it, not actual meat; in this case beans & quinoa), gooey stick-together-ness (avocado), and lots of flavor (roasted peppers & spices). Warmed up for a crunchy exterior with soft goodness inside, this will make everyone happy regardless of dietary preference.
This makes 2 servings. And best of all, you sneak in almost a whole cup of veggies per serving! I won’t tell if you won’t.
Ingredients:
4 tortillas
1 cup cooked quinoa
1/2 cup bell pepper slices
1 avocado
1 cup cooked white beans
1/2 cup spinach
Cooking oil
Optional: nutritional yeast
Step 1: Cook your quinoa according to package. Likely you mix 1/2 cup quinoa with 1 cup water, bring to a boil, then cover & let sit 10 minutes. Fluff with a fork. Set up your station.
Step 2: If you have the time, caramelize your pepper pieces by heating in a frying pan over medium heat just until they begin to char. This brings out their innate sweetness. If not, raw pepper will work just as well, the finished product may be crunchier.
Step 3: On one tortilla, cut half the avocado, & spread it around. This acts like a paste to hold your quesadilla together. Layer on half the spinach, and season as you wish. (Basil, garlic salt, cilantro, lime…)
Step 4: On the other tortilla, layer the quinoa, beans (cooked according to directions, or from a can), peppers, and if using sprinkle on some nutritional yeast. It is not required, it just gives an extra ‘cheesy’ taste & you guessed it, nutrition. (You can also use dairy cheese if not vegan).
Step 5: Spray or grease a frying pan. Place the one tortilla on top of the other, carefully, and place in the pan. Fry for 4-5 minutes, until golden brown and crisp, then carefully flip the whole thing. Use two spatulas if you need to. Crisp the other side 4-5 minutes.
Cut with a knife or pizza roller, and enjoy! This baby is chock-full of good stuff, and creates a great taste & texture combo that really satisfies.
Ask any gardener, and they will tell you that by mid-to-late summer zucchini plants are going bananas, and you can’t give the stuff away fast enough! This is an awesome time of year, when zucchini can be had cheaply at the super markets and farmers markets (or maybe your neighbor, just ask nicely).
My striped zucchini
Be prepared, there may be lots of zucchini recipes in the near future, especially since I planted 8 plants this year! Here’s an article with a dozen recipe ideas, I’m sure at least a few will find their way to my test kitchen in the upcoming months.
The regular and grey zucchini
This recipe was my first experience with the new food craze of “zoodles”, the cute name for noodles made from zucchini. You can try to hand-julienne them, but a mandoline slicer makes the job far easier. Bascially, the whole zucchini gets shredded into thin noodle-like strands and cooked, then treated like pasta. But way healthier! You’ll get loads of vitamins, plus fiber.
This chicken piccata recipe makes enough for 4. You could easily cut this in half, or double it and freeze some, depending on your mood. I mixed half regular pasta and half zoodles for my first taste, but you can feel free to go all-in, or even use spaghetti squash pasta instead.
Ingredients:
4 half chicken breasts
1 pound pasta
1 huge ripe zucchini
3-4 garlic cloves
1/4 cup lemon juice
1/4 cup olive oil
4-6 tbsp capers
Sea salt to taste
Step 1: In a frying pan, heat up 1 tbsp oil. Dice the garlic into tiny pieces, and cut the ends off the zucchini. Add the garlic and chicken to the oil, and cover the pan. Cook on medium heat for 7-10 minutes, then flip and cook another 4-5 minutes, or until chicken is no longer pink at all.
Step 2: Boil your pasta noodles 8-10 minutes. While pasta is boiling, take out the mandoline and slice the zucchini into thin strands*. Add the zoodles in the last 2-3 minutes of cooking with the pasta.
*See bottom of post for full instructions
Step 3: Drain the pasta and zoodles. Add to the pan with the chicken, and pour in the oil, lemon juice, and capers. Cover, and steam cook 5-7 minutes.
Once everything is heated through, place on plate, season to your liking, and serve! This is a double-portion, because my fiancee eats like a racehorse who just finished the Triple Crown.
The capers and lemon juice give this dish a nice tangy flavor, while the zoodles add a mellow vegetal taste. You could also use shrimp here, or broil or boil the chicken instead of pan-frying. Go forth and get your servings of sneaky veggies!
To make zoodles:
1. Set your mandoline to the thinnest setting. This will make long thin sheets. Add the comb to slice into noodles.
2. Place the zucchini flat on the mandoline top-to-bottom (lengthwise) and push down the mandoline face. This will cut the first layer. Move the zoodles from underneath the mandoline to a plate.
3. Put the zucchini back to the top of the mandoline, now flat side down, and push down again. Continue until you have a very thin layer left. Hand-slice this layer, or be very very careful to not slice off your thumb!
With the Fourth of July weekend coming up, I’m sure many readers will be hosting or attending picnics, barbeques, and other backyard get-togethers. A huge fan of casual parties myself, I am always on the lookout for fast, easy to put together side dishes that aren’t too expensive to feed a crowd. A good example is my prior post on BBQ Baked Beans.
Enter the pasta salad.
Pasta salads are insanely versatile. They adapt well to just about any type of veggie, meat, or cheese, with tons of creative dressing/sauce options as well. You could try a Greek mix of feta, banana peppers, onions, and kalamata olives, or a club mix of ham chunks, cheddar cheese, and crumbled bacon, or how about an Italian combo with salami, pepperoni, pepperocini, and swiss.
For this recipe, I had a pre-mix box ranch & bacon pasta salad, and decided to jazz it up a bit with some canned chunk chicken and fresh diced veggies. You can also use a pound of any type of pasta (the small shapes work best here, like shells, elbows, or penne), spices you like, and some crumbled bacon.
Step 1: Dice your zucchini and tomatoes, and drain the chicken. Get the water boiling for the pasta, and boil 8-10 minutes.
Step 2: In a pan, cook the zucchini for 5-7 minutes, until beginning to brown. Add the tomato and chicken, and cook until heated through.
Step 3: Drain the pasta, and mix in the veggies. Add the toppings included (or spices & cooked crumbled bacon) and the Ranch dressing. Stir well. Add more or less as needed.
This cooks up a nice big batch, and can feed a hungry crowd. The Ranch flavor works great with the bacon, pasta, and chicken. You can also use dried Ranch seasonings and milk or sour cream to achieve a similar yet different taste. As a bonus, you’ve snuck in a serving of veggies per cup!
Happy partying & God bless the USA!
This post contains links to Amazon affiliate products. Clicking these links and purchasing these items contributes to the maintenance of this blog without affecting your purchase price. Thank you.
For those of you who don’t know, or don’t eat at Chipotle, the fast-casual Mexican chain, they have a new vegetarian/vegan option: the sofritas.
This option is shredded pressed tofu, marinaded in sofrito sauce and braised on the grill like their meats. There is debate as to whether it is worth the added cost (if you put guac on it too) over a plain no-meat burrito or bowl, but that choice is yours to make.
Sofrito, or refogado, is traditionally a sauce made from aromatics like garlic, onion, peppers, tomato, and paprika cooked in olive oil. Used in Brazilian, Spanish, and Portuguese cooking, the preparation varies as each cook makes theirs unique based on seasonal cuisine and local taste preferences.
Rather than shell out $8.50 + tax (or whatever a burrito runs in your neck of the woods) how about you make your very own at home for a larger batch at a much lower price? It’s super easy, even if you’ve never cooked tofu before. You don’t even have to press it first, as you usually do with tofu, because you will shred and fry it.
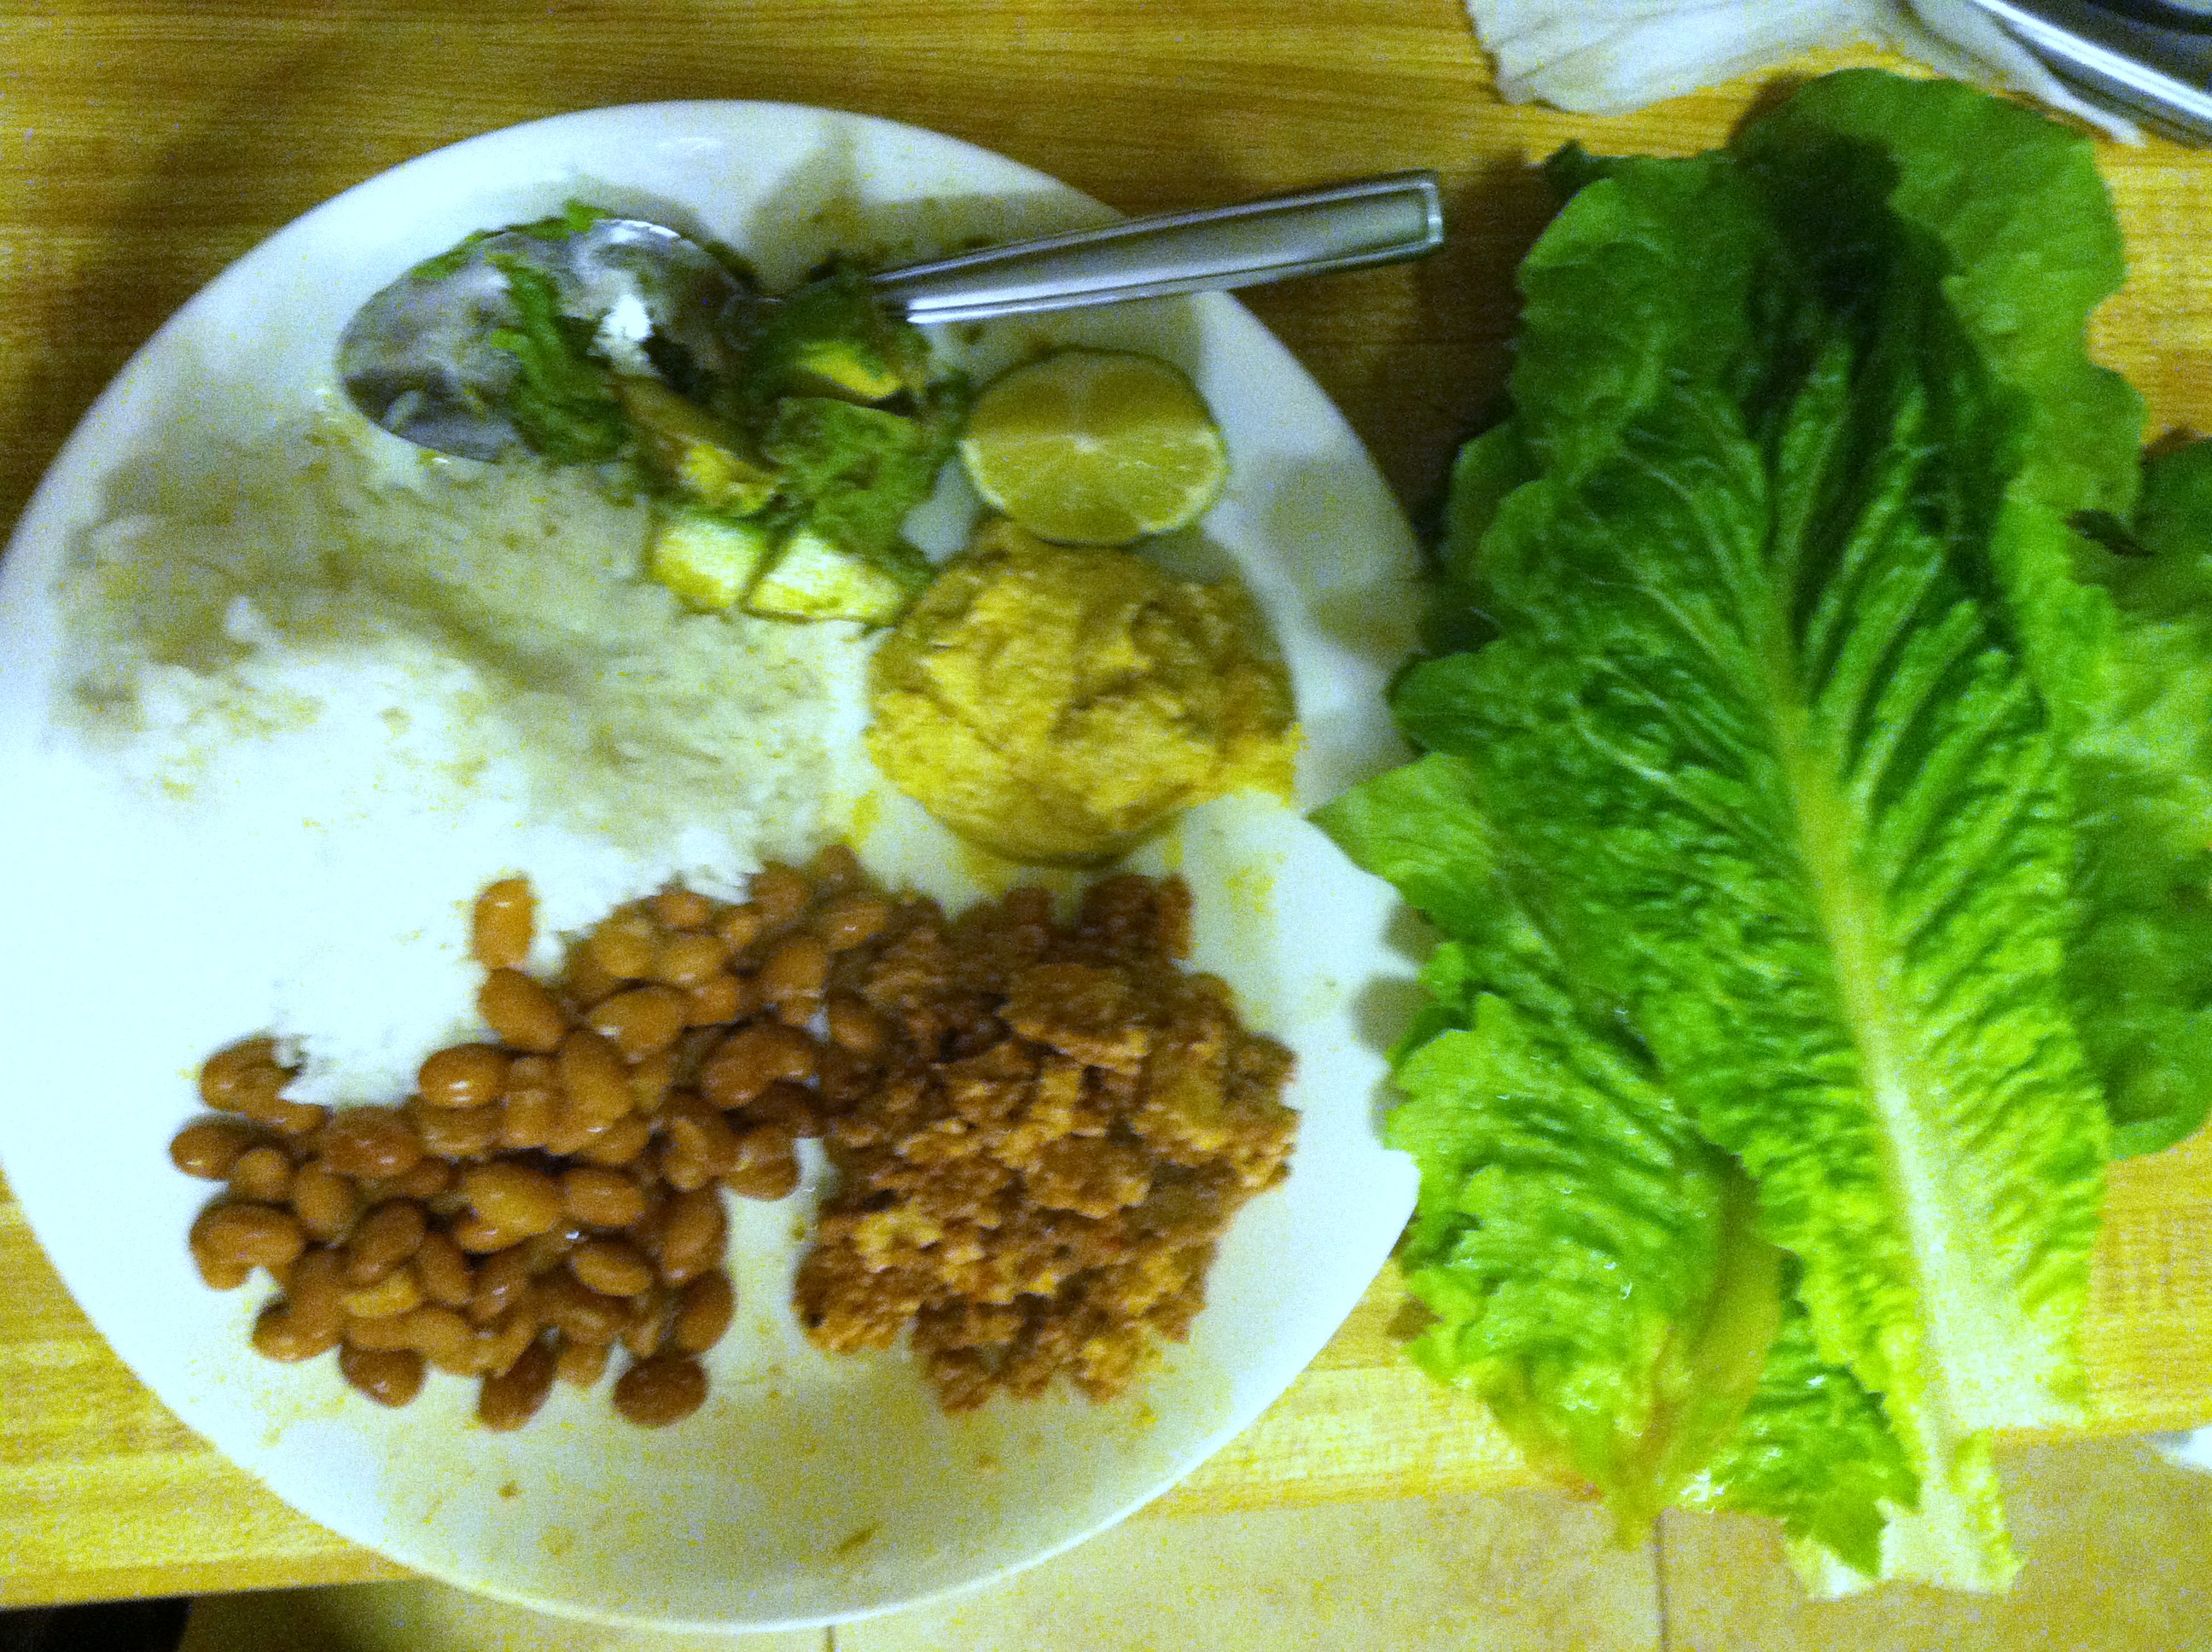
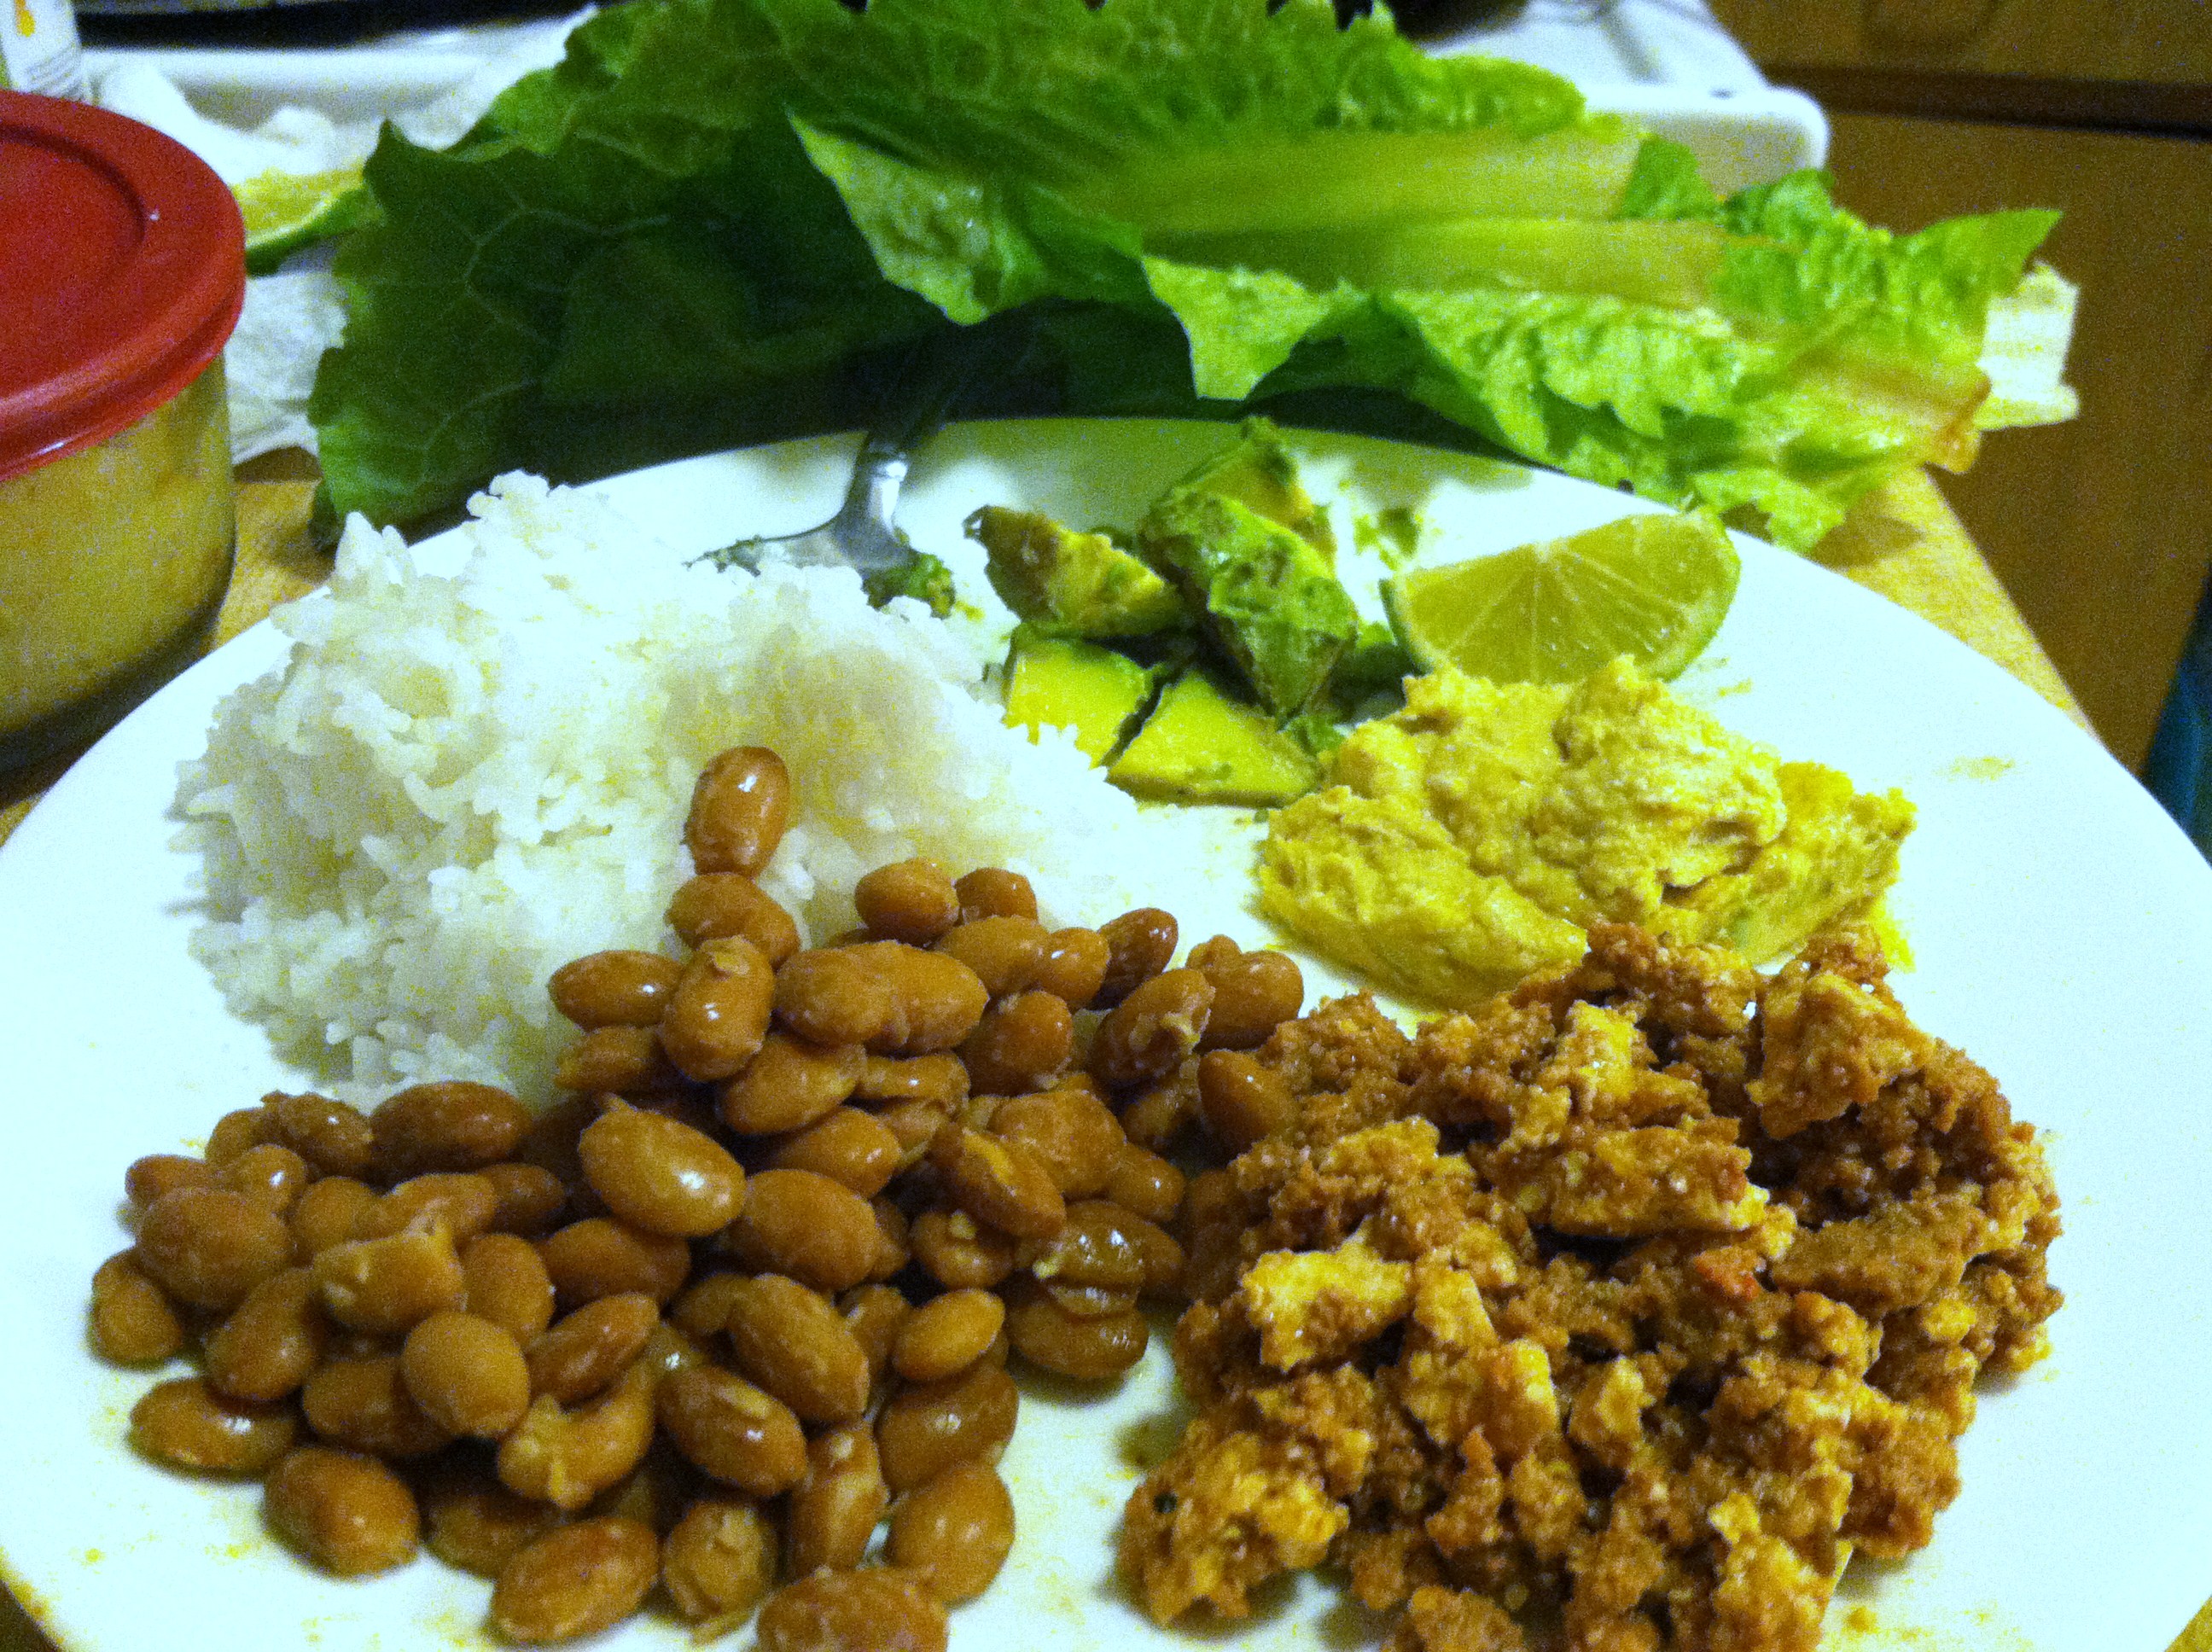
The other ingredients are the things I like in my bowl/taco. Feel free to improvise with whatever toppings you like and have. Try: coleslaw, salsa, tomatillos, hot sauce, jalapenos, beans of all kinds, onions, cilantro, sour cream, avocado, shredded cheese…
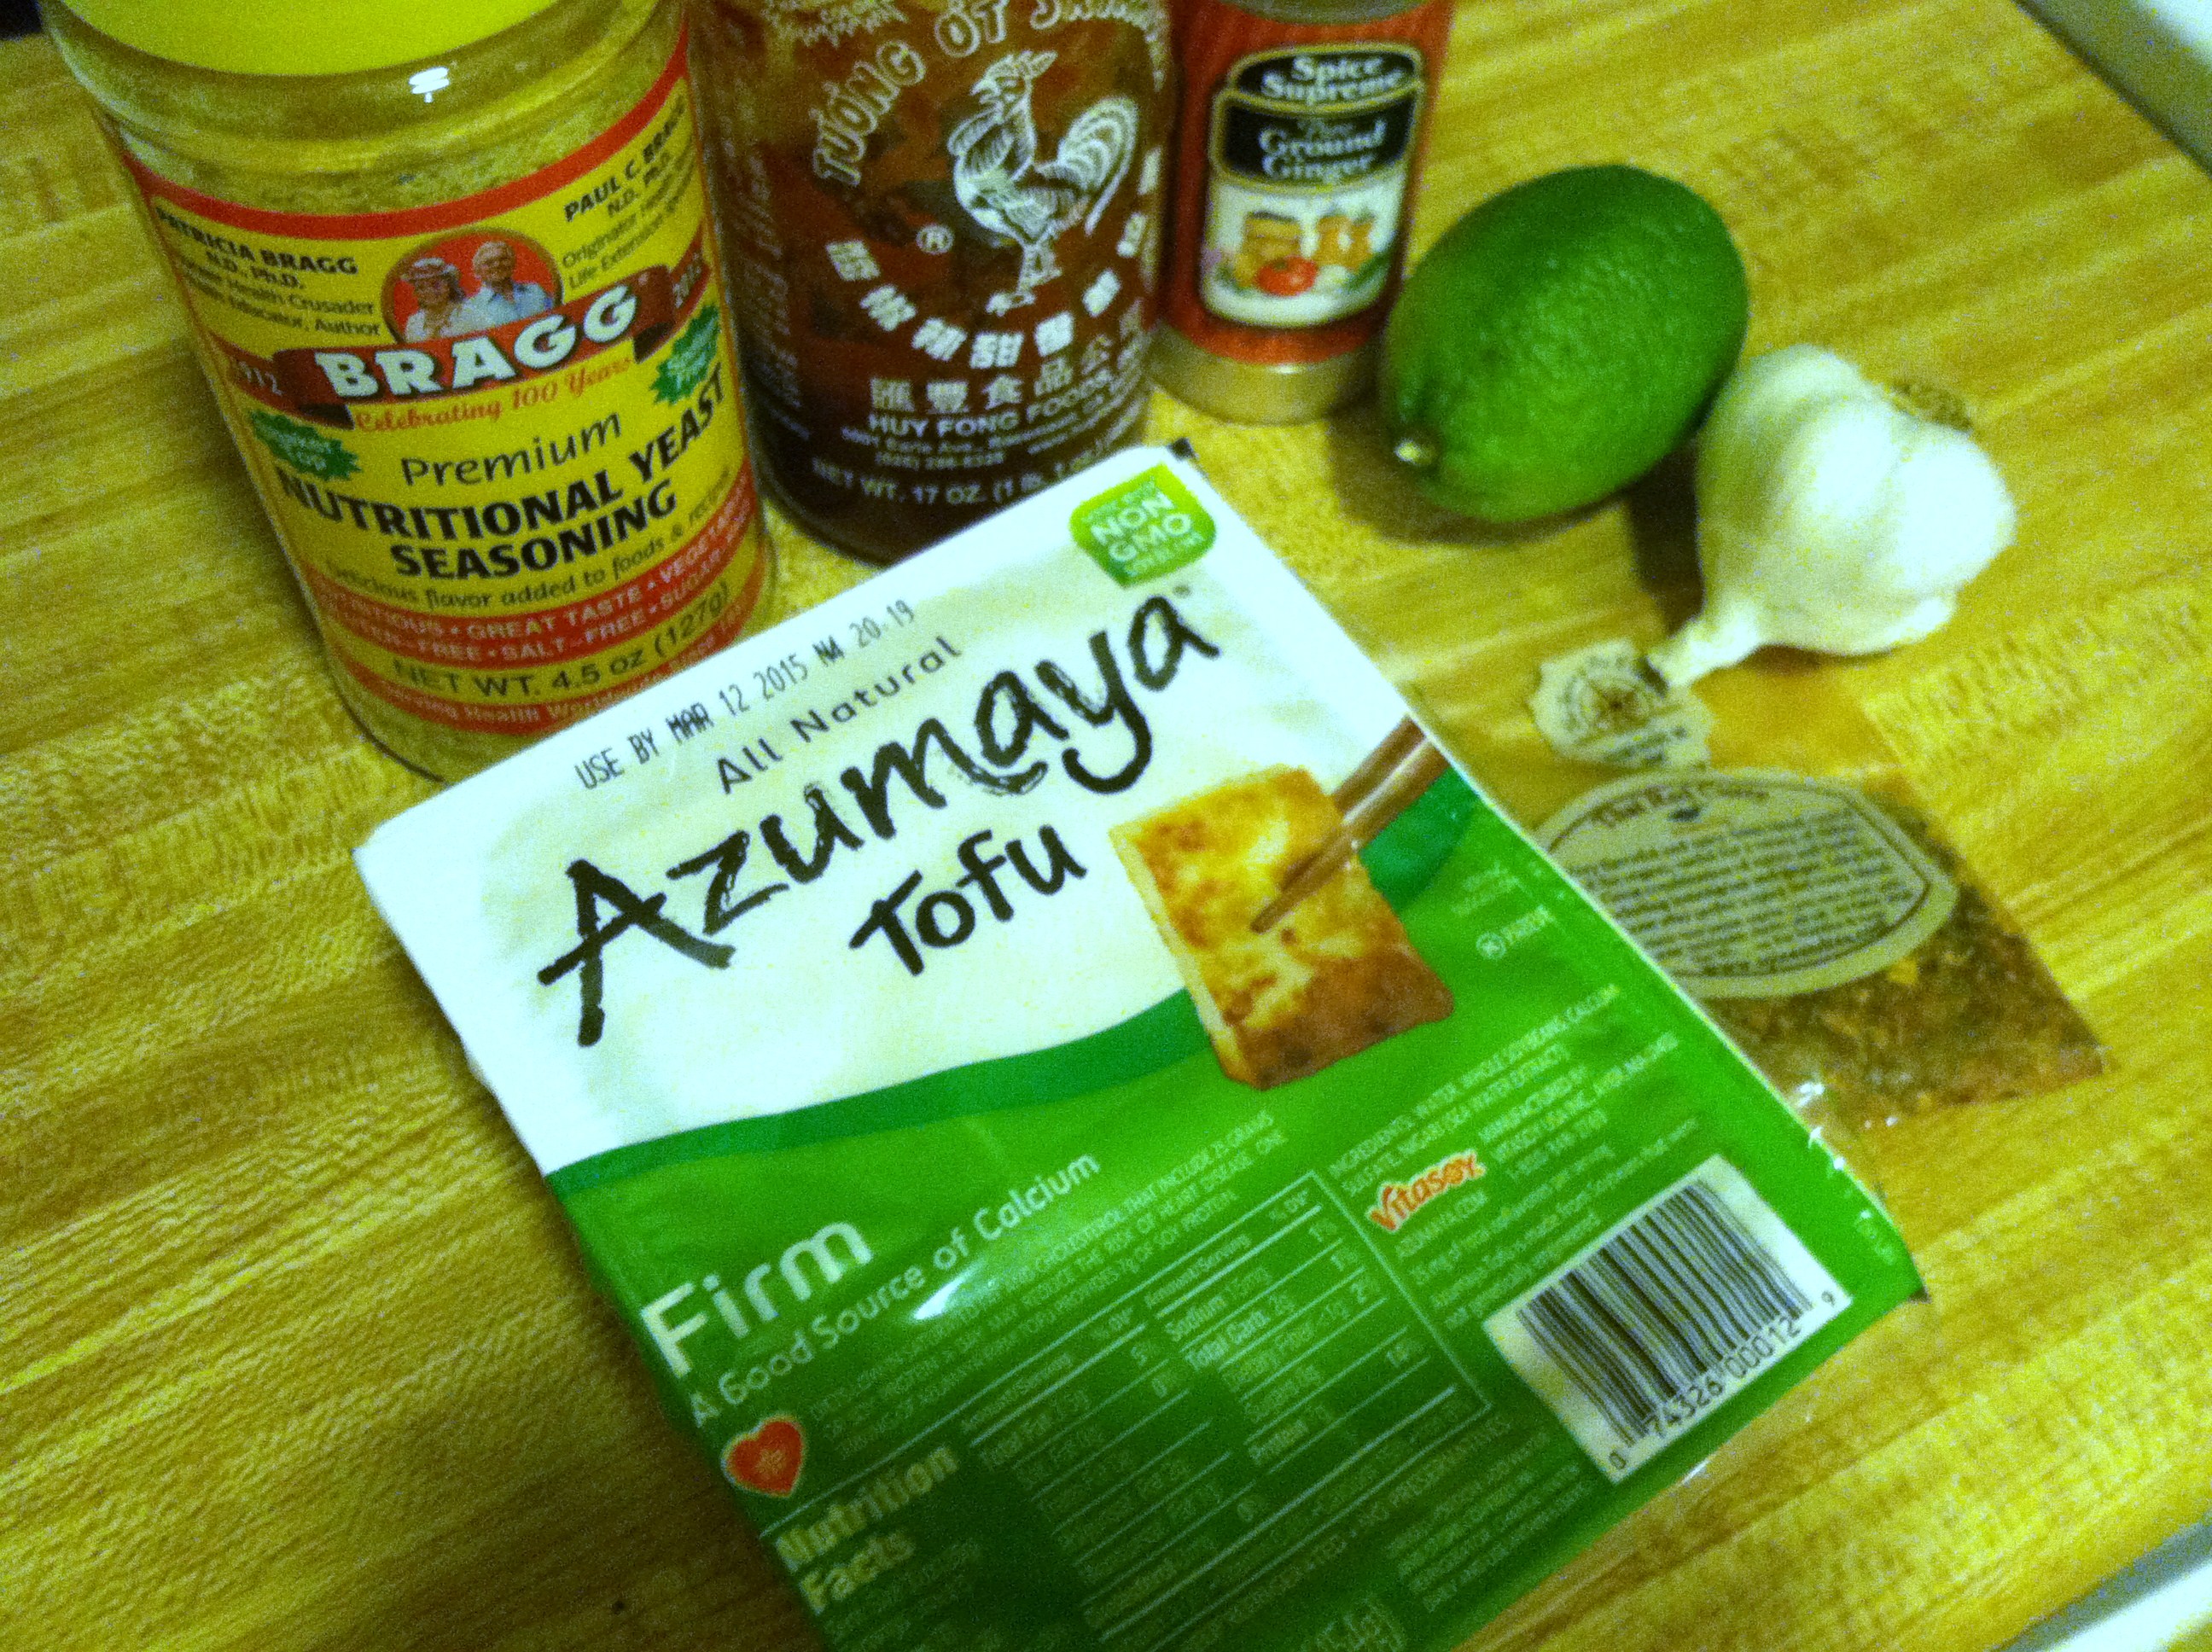
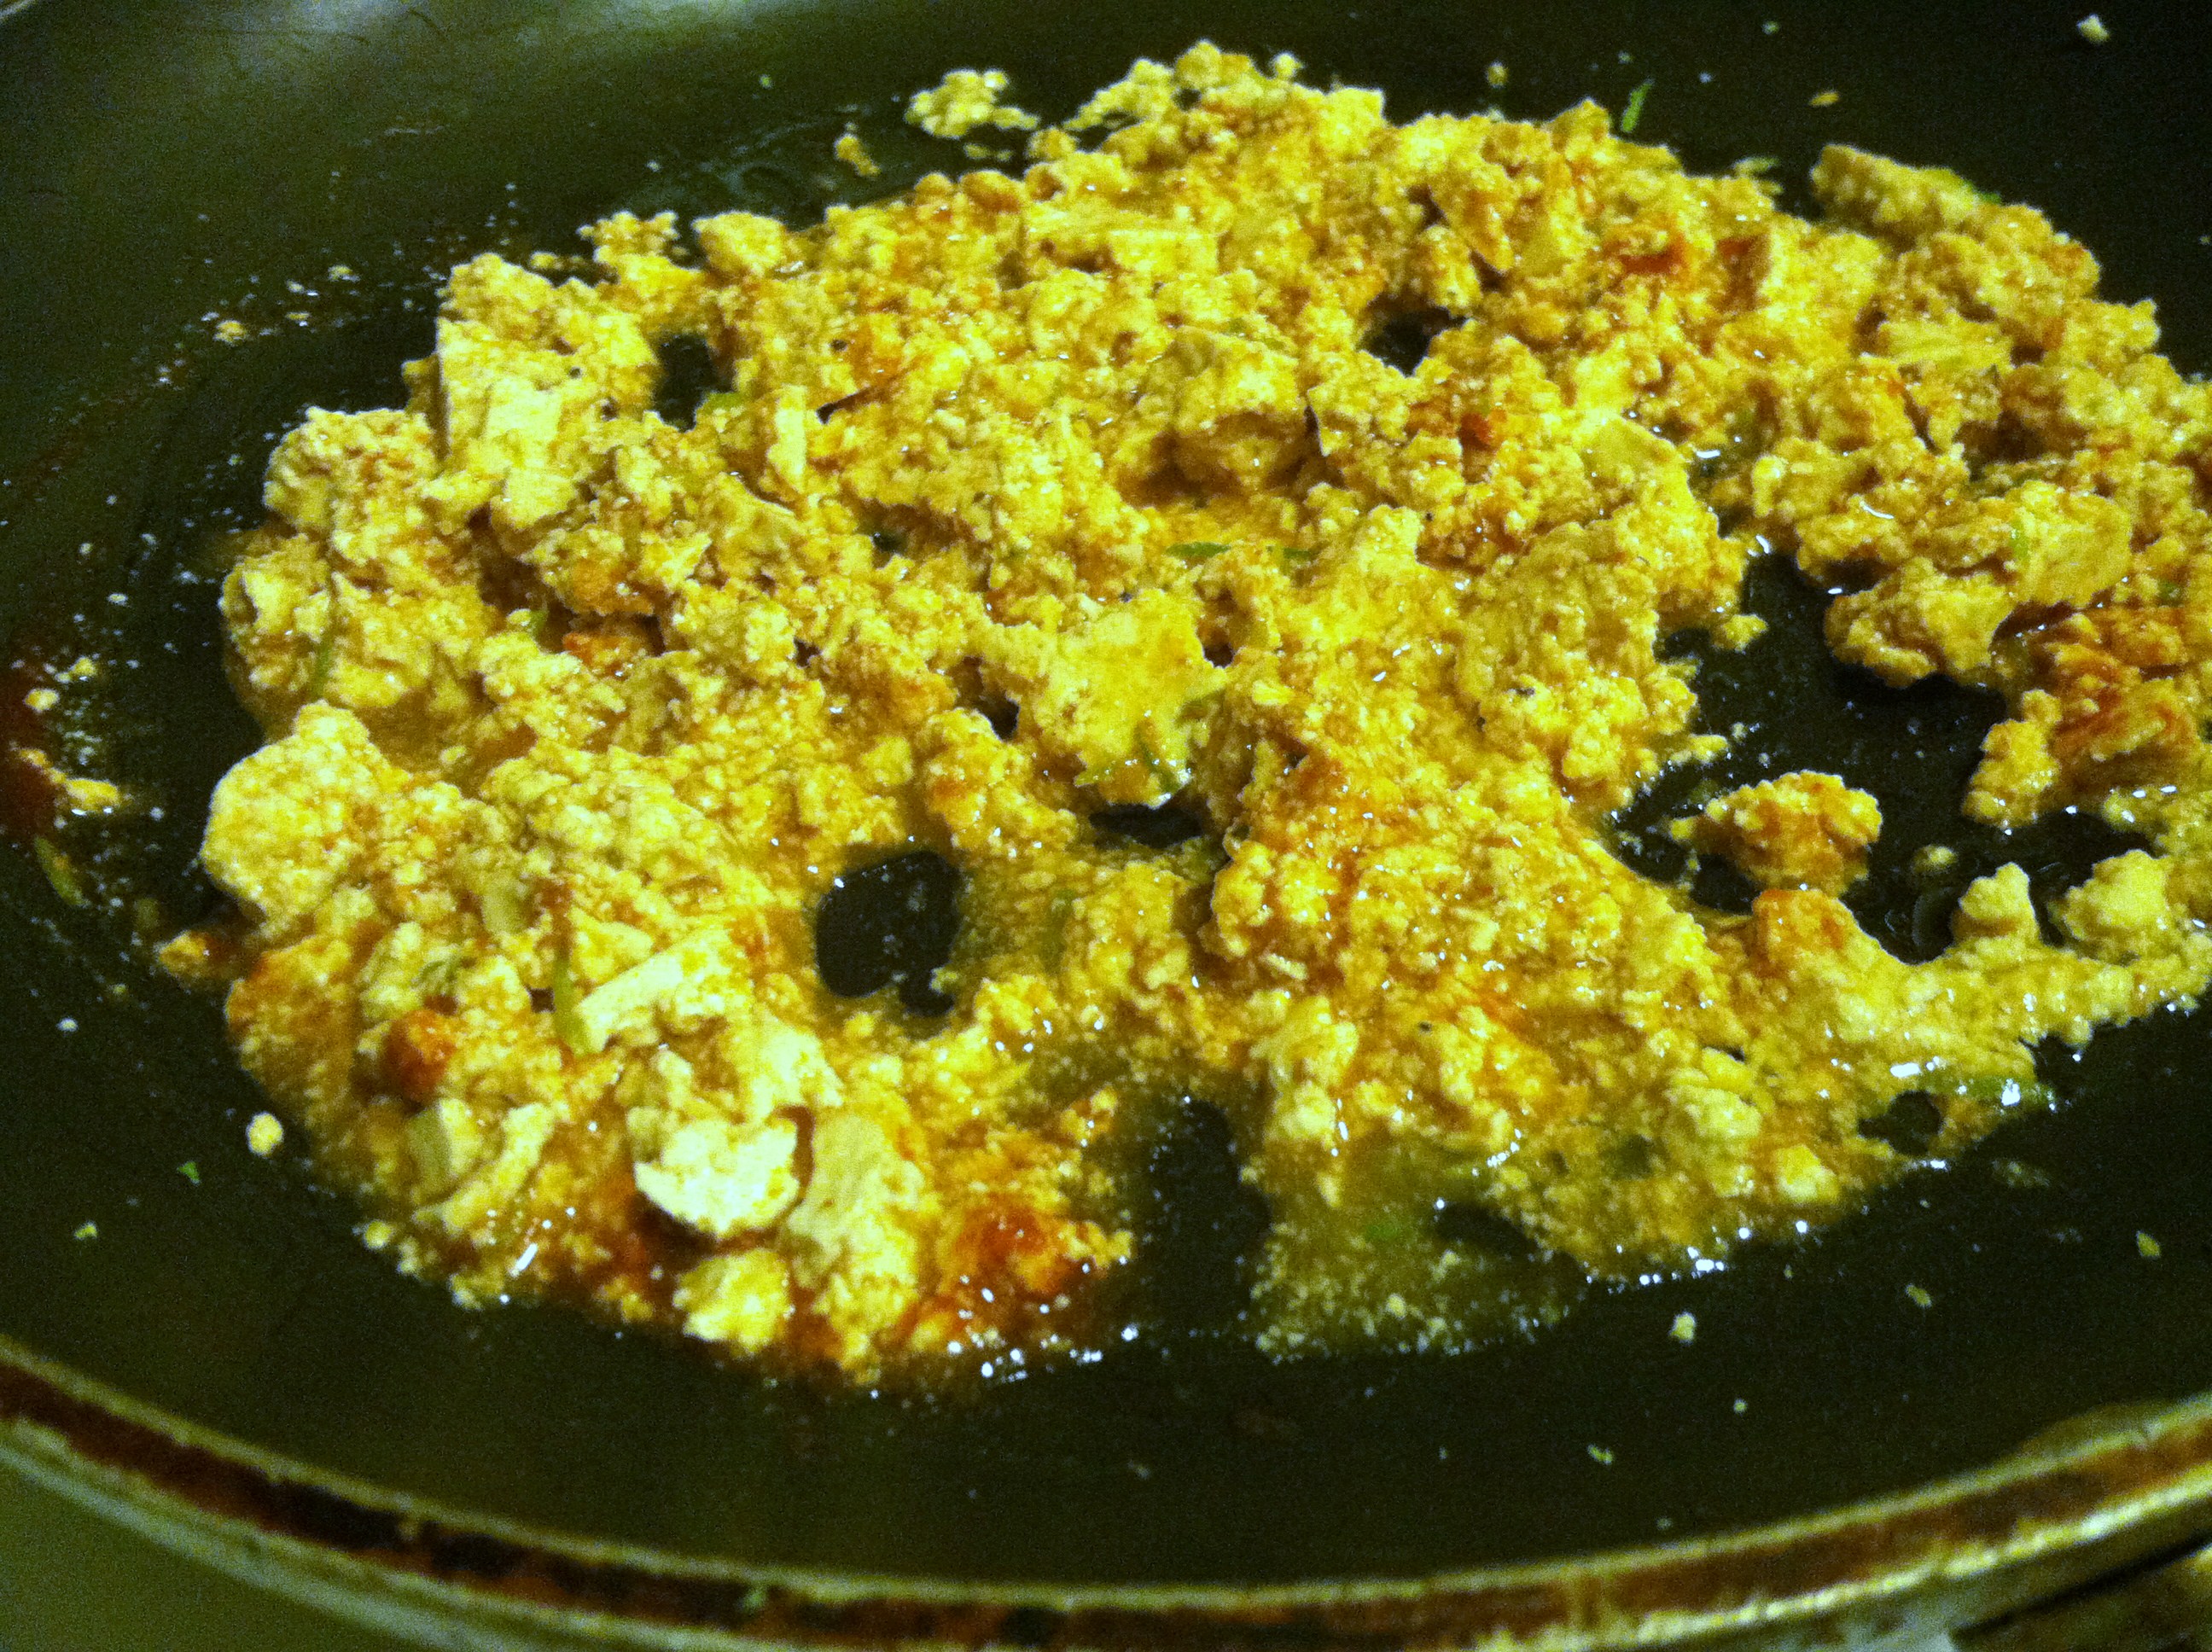
Step 1: Drain the tofu, and heat the oil in a pan. Using a fork or your hands, smash the tofu into crumbles.
Step 2: Dice or crush the garlic, add to the oil until fragrant, then add the tofu. Pour on your hot sauce and spices.
Because the meat-eater was joining me, I mixed tofu and ground turkey together. Keep it veg/vegan by not adding turkey, or slowly introduce tofu to someone this way.
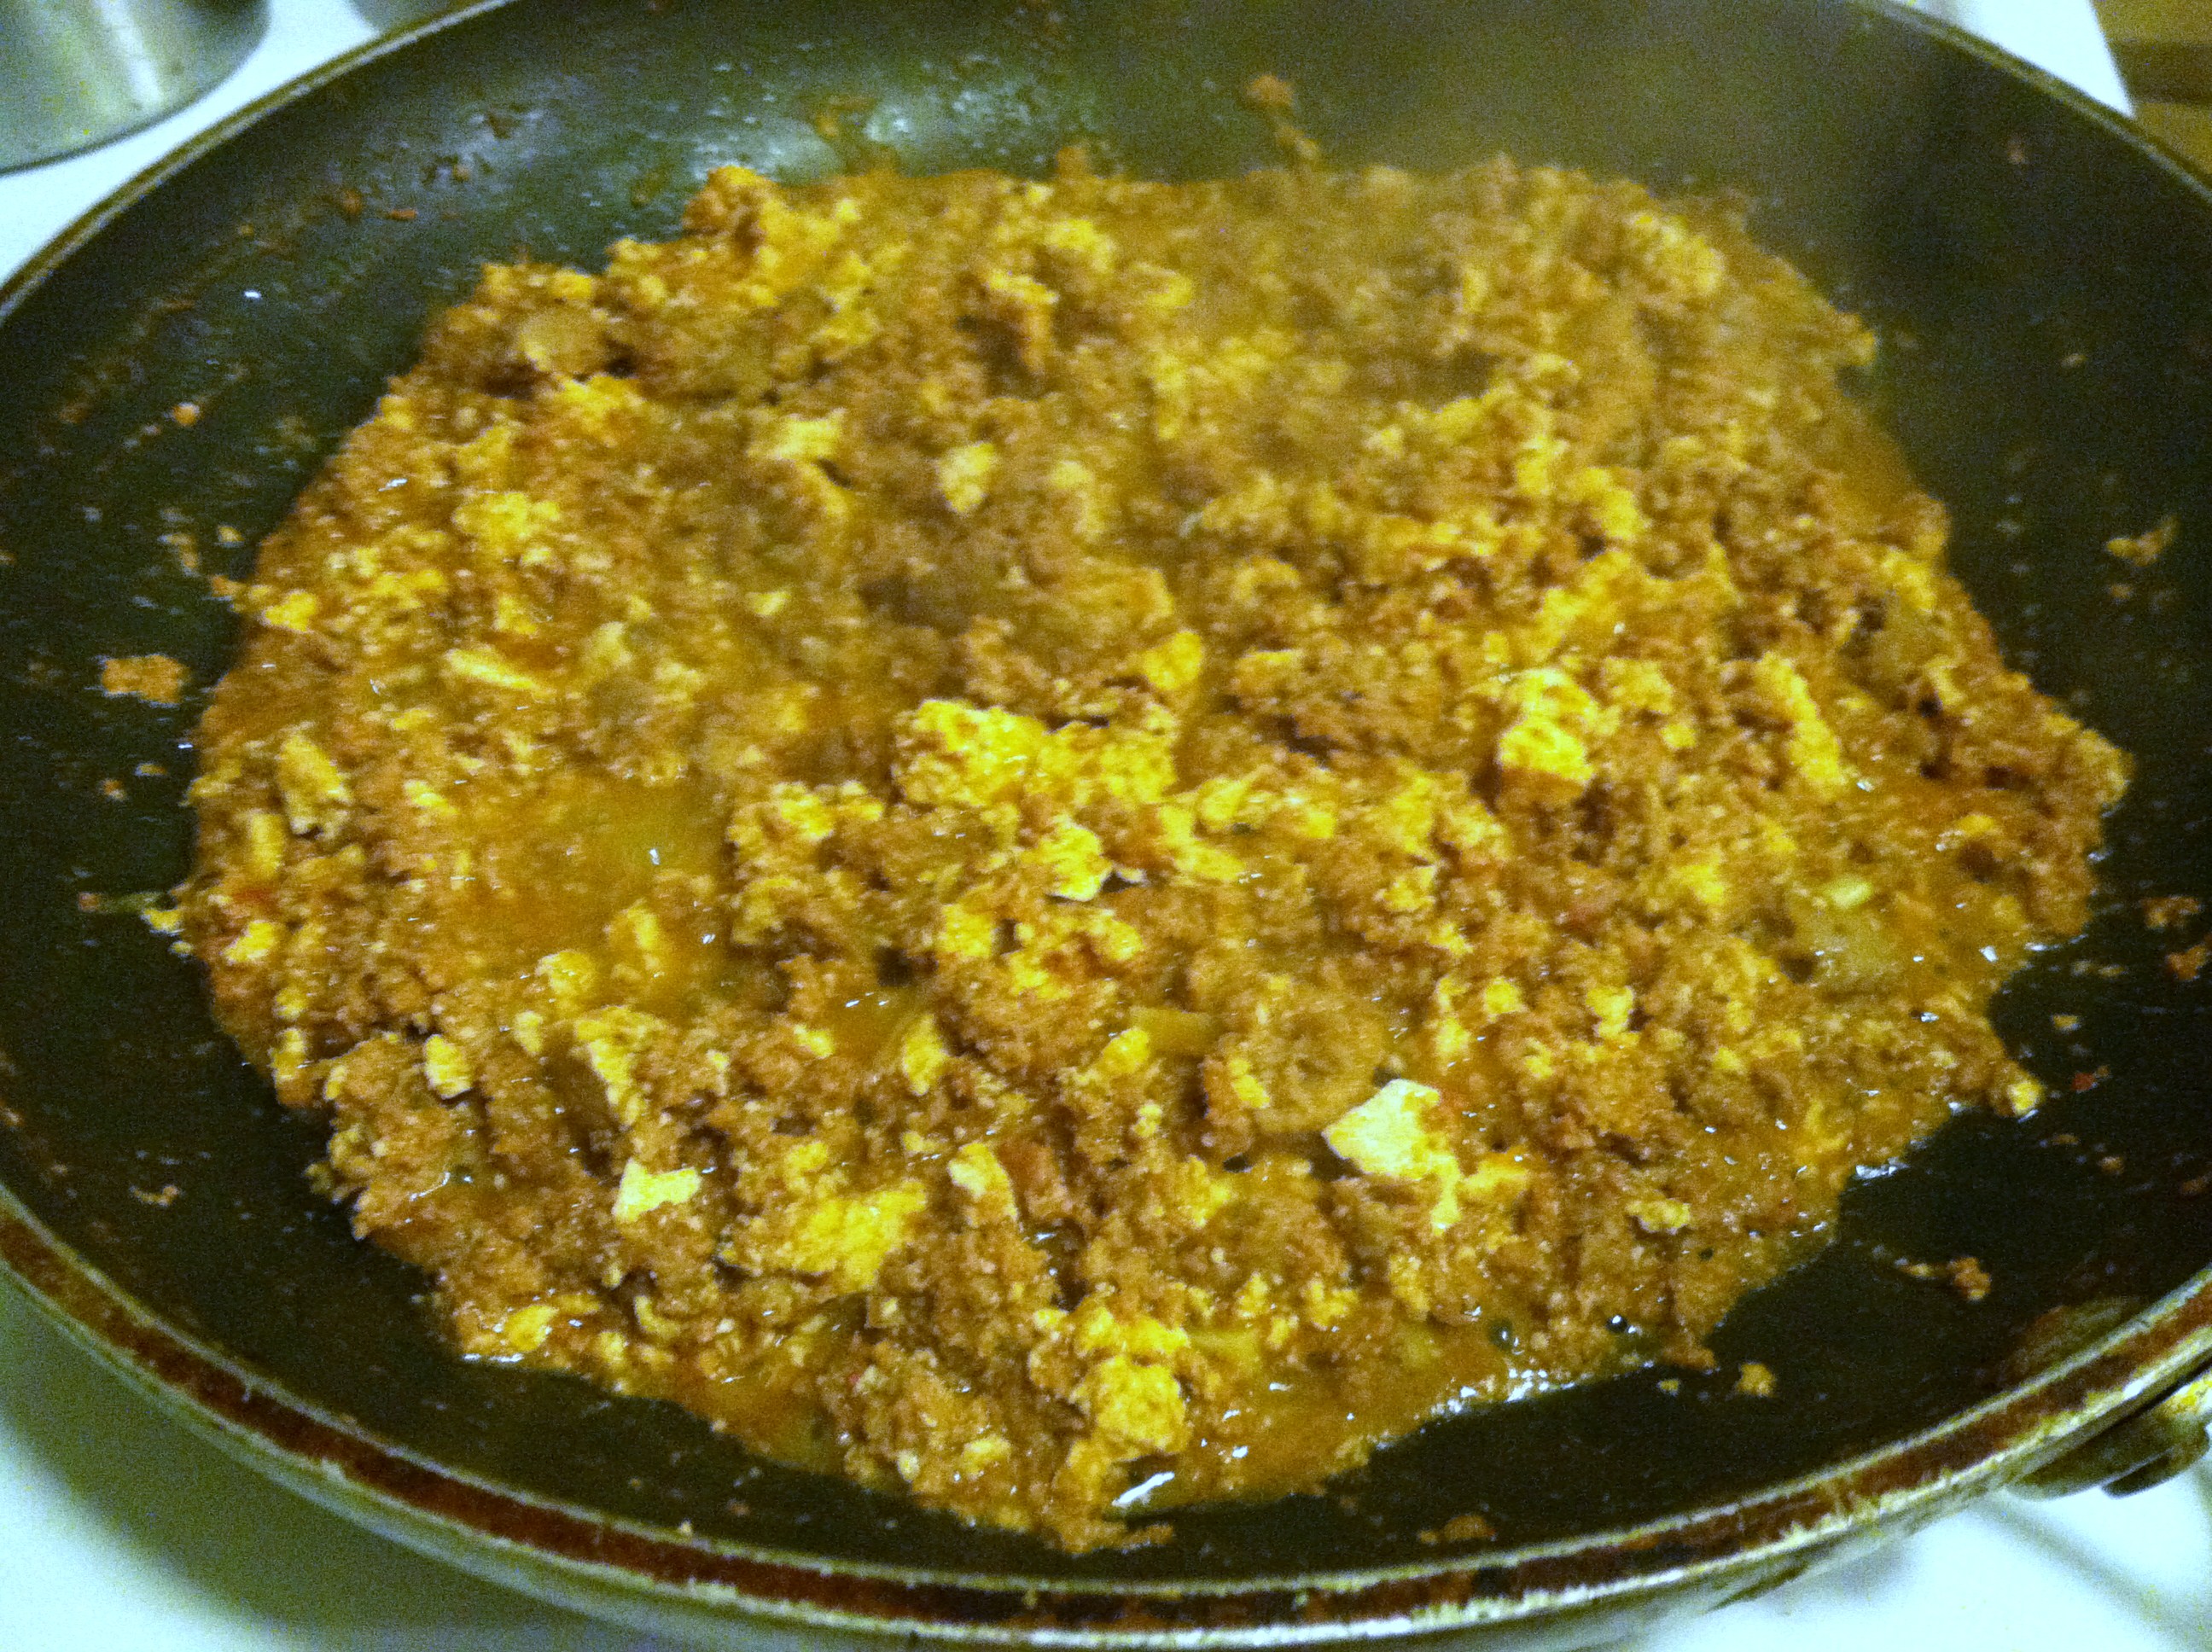
Step 3: Keep mixing until tofu develops a nice deep red/brown color, about 10-12 minutes.
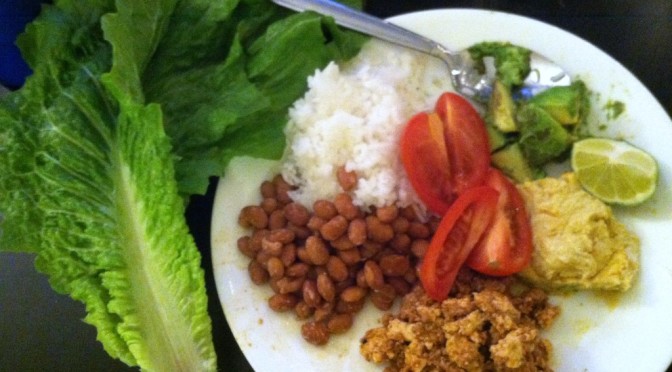
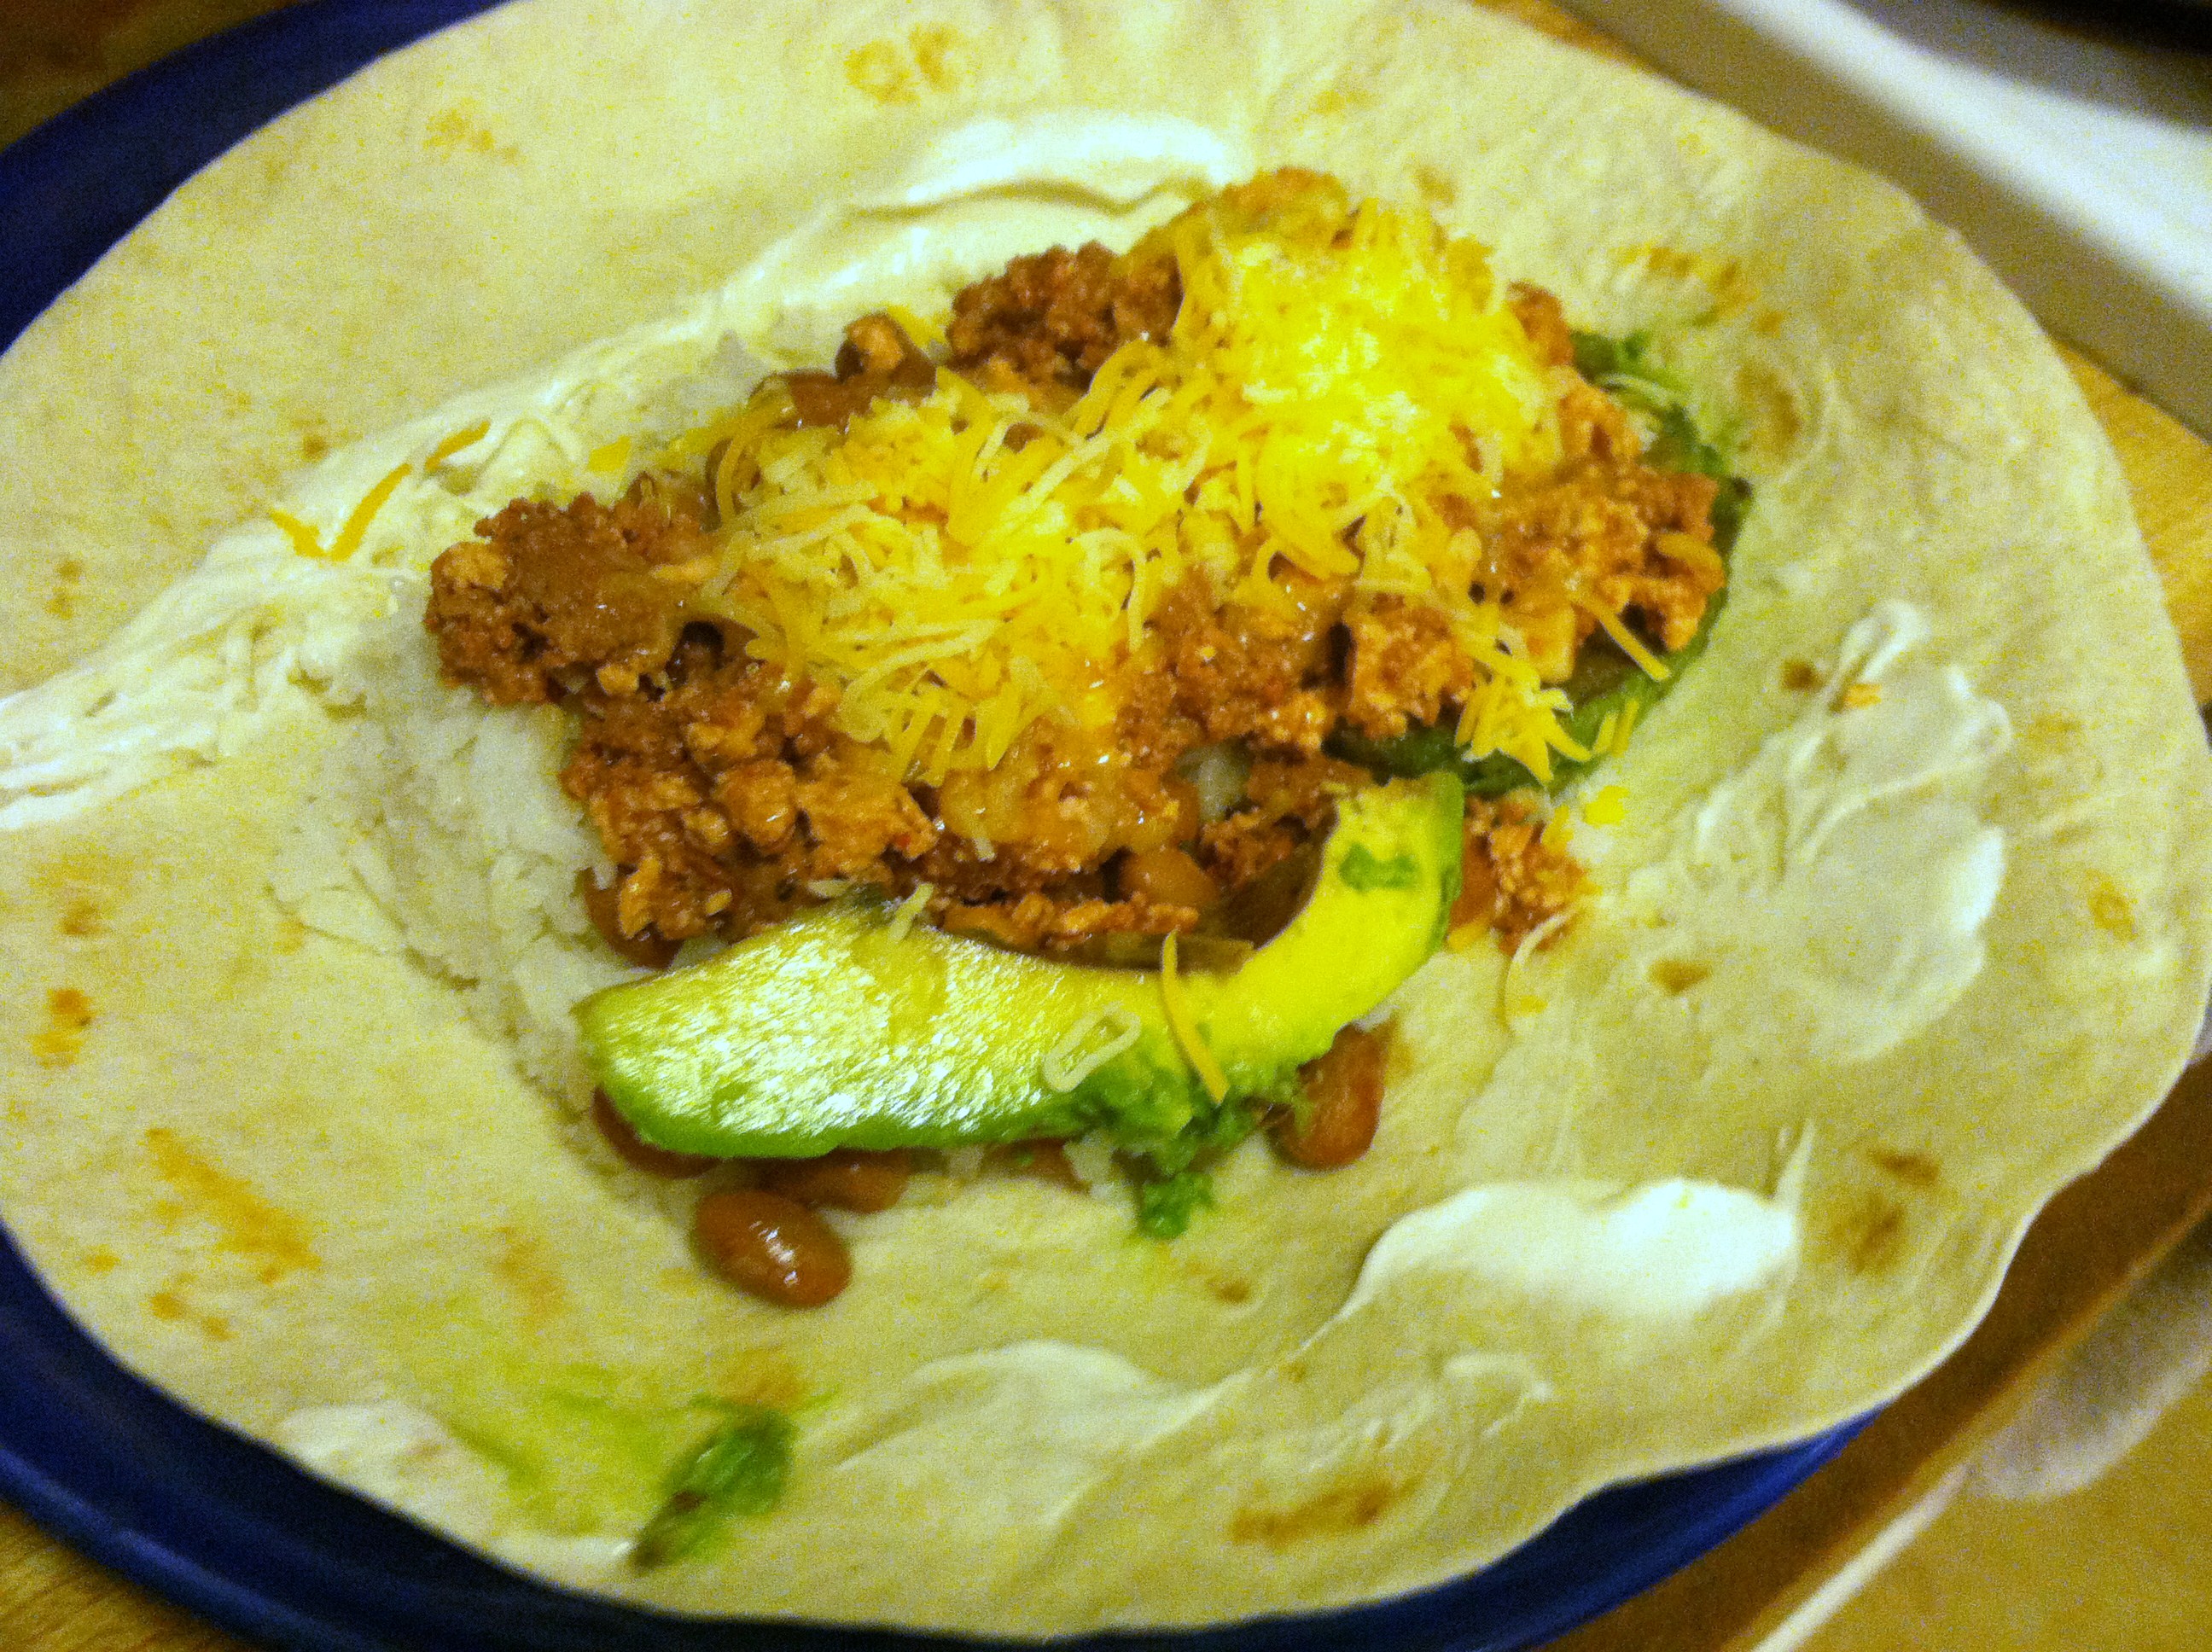
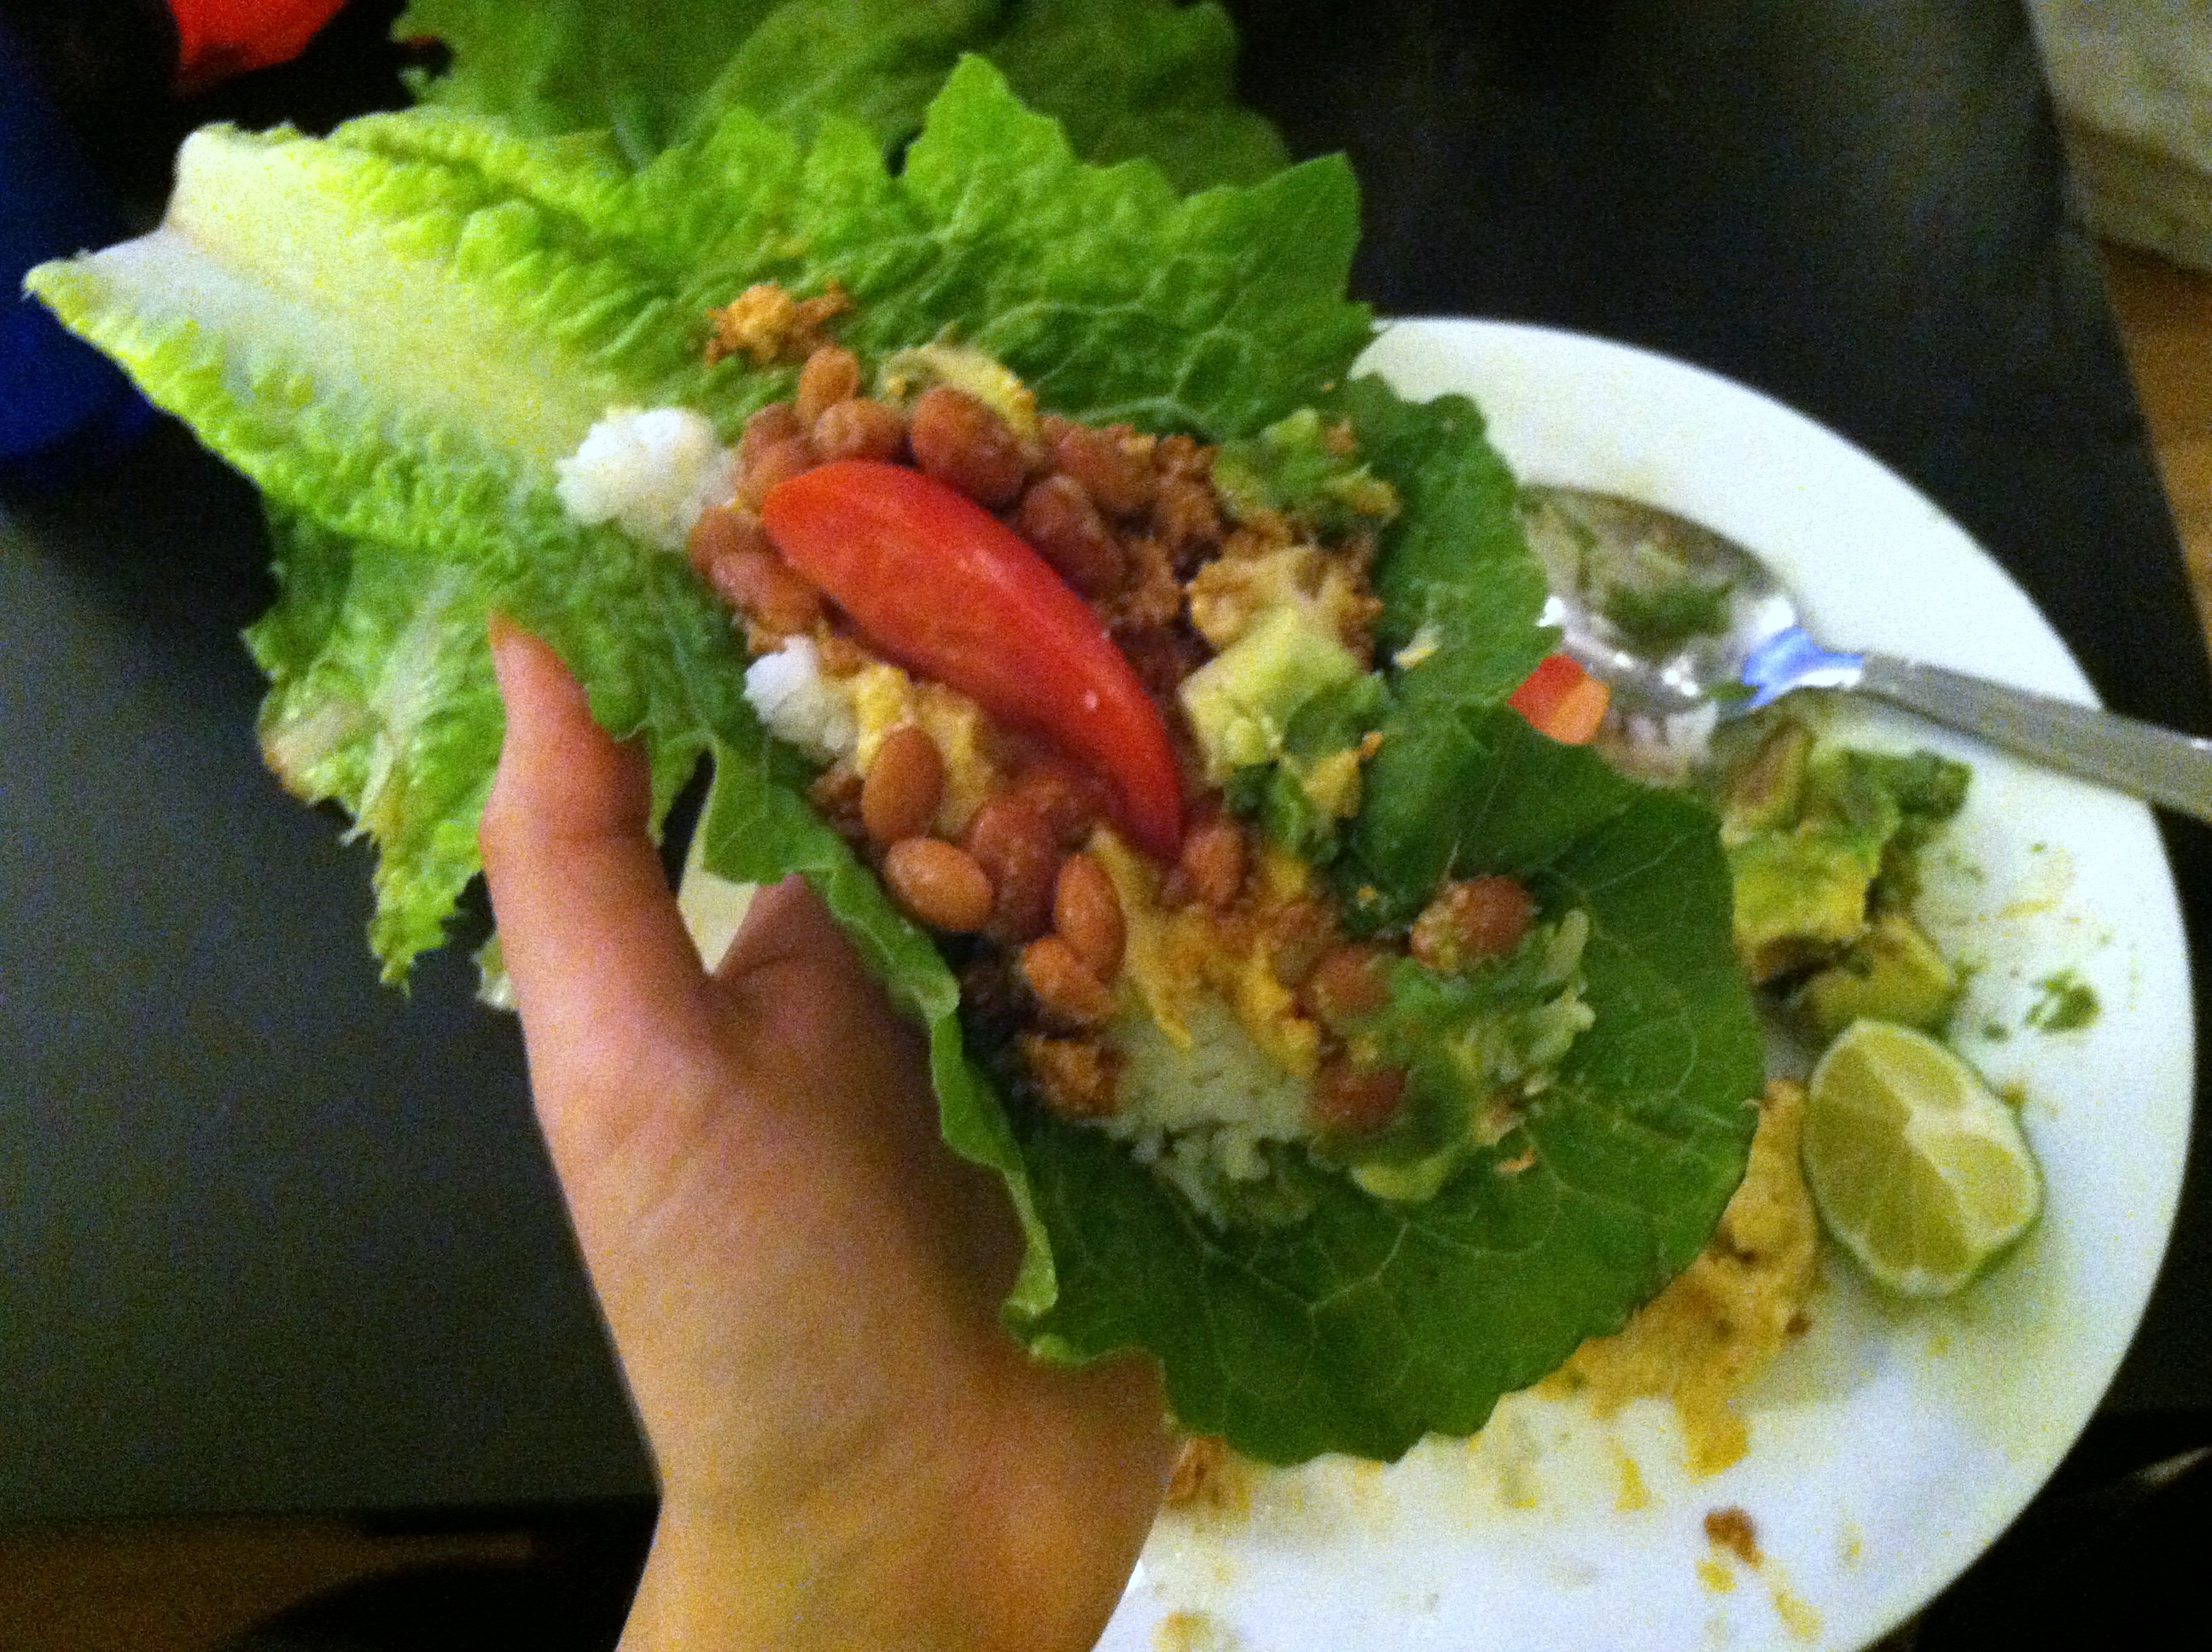
Step 4: Sprinkle the yeast into the tofu, and squeeze the lime juice over top. Take a large romaine leaf, and top with a heaping tbsp or two of sofritas.
Add the other toppings you like, and wrap it all up.
This makes a hearty and filling wrap, you can eat two or three and still have a very low total calorie count. If opposed to the lettuce, feel free to make it a bowl or use tortillas.
[amd-zlrecipe-recipe:19]
This post contains Amazon Affiliate links. By purchasing items through these links, the price you pay is not affected but a small percentage of proceeds go towards maintaining this blog. Thank you.
As winter slowly and painfully winds to a close, here is a recipe sure to warm you as you dream of spring. Everyone loves a nice hot baked potato, and even more so when it is in soup form. I love baked potato soup because it is a great use of a cheap yet healthy staple food, and it is so darn tasty.
The problem lies in the cream. Most baked potato soups either at a restaurant or in grandma’s kitchen rely on heavy creams, dairy, and lots of salt. This creates a dish which delights the taste buds, but not so much the waistline. Excess sodium and fats are terrible for heart health as well as overall health.
So how do you get the creamy taste and filling nature of potato soup without the extra day’s worth of calories? Simple, sneak extra fiber in place of the cream to thicken and add layers of flavor. If you must add in some dairy, try using skim or 1% rather than whole milk or cream. But this recipe makes a soup so thick and tasty you may not even notice it isn’t there.
Cheddar cheese & green onion for garnish (optional)
Step 1: If you haven’t already, cook the acorn squash. Cook the lentils by adding 1 cup to 2 cups water, and simmer for 20-30 minutes. Dice the potatoes and add to a pot of boiling water. Boil for 8-10 minutes, until soft when poked with a fork. Drain.
Step 2: In a large bowl, combine the potato, cooked lentils and squash. Add the stock, and bring to a boil. Pour into a blender, and blend on high until combined.
Step 3: Mix in the nutritional yeast, and pour into bowls. If you wish, season with salt & pepper, or add bacon bits, cheddar cheese, and or chives as garnish.
This soup is super satisfying, and tastes just like a baked potato. No one will suspect you’ve given it a huge boost of fiber and vitamins while simultaneously removing the biggest source of fats. The blended lentils and squash keeps the thick, creamy base of the soup which previously the dairy caused.
On its own or as a side dish, vegetable steamed rice is one of my new absolute favorite go-to dishes. It is fabulous for using up leftovers in the crisper drawer before they are unusable. It is a good way to hide extra veggies for people who don’t love their taste. You can try new vegetables without having to fully commit. And it is endlessly variable.
The basis of this particular recipe was a bag of broccoli slaw that was on super sale, I had to have it. But you can only eat so much slaw at a time, so I had to find some creative ways to use it up. I’ve also been eating a more vegan diet, so I bulked it up a bit to make it a full meal. Feel free to add in a meat of your choice like chicken or shrimp, sauces you like such as terikayi or soy, and switch up the veggies.
Ingredients:
1 c uncooked rice
2 cups water or broth
1-2 cups veggies
I used: 1/3 cup broccoli slaw, 1/3 cup diced bell pepper and onion, and about 1/2 cup raw spinach
Handful smashed almonds or peanuts
Soy sauce to taste
If you have a rice cooker, this entire thing can be cooked together. Same goes for a crock pot. If you don’t have one of those option, you can boil the rice and fry the veggies separately and then mix together.
Step 1: Put the rice, water, and veggies into the rice cooker, and turn on. Alterntively, place in a small slow cooker and cook on low 1-2 hours. Or, boil the rice according to package, and stir fry the veggies in 1 tbsp. oil until soft, then mix.
Step 2: This is not required. If you want, heat 2-4 tbsp. oil in a pan, and add the cooked rice and veg. Cook for 5-7 minutes, until rice begins to brown and crisp, and flip with a spatula. Cook the other side until brown, then serve hot.
Chili is one of my absolute favorite comfort foods. It couldn’t be easier to put together, just throw all the ingredients in a crock pot and let it do the heavy lifting while you go to work, school, travel, write, hike, shop, whatever you do all day. Then come home to a hot, delicious, healthy meal that makes the whole house smell divine.
This is seriously the most perfect cold-weather dinner of all time.
White Bean Chicken Chili is definitely on my top ten for Crock Pot meals, but since I’ve been on a bit of a vegan kick lately, I wanted to make a chili with no meat or animal products that was equally delicious and satisfying. And that’s exactly what I did, and you can too!
Don’t tell those you serve that it’s vegan, and they likely won’t even know.
Ingredients:
1 can diced tomatoes (with green chilis if you want kick)
1 small can tomato paste
1 can pinto beans
1 can black beans
1 can white cannellini beans
4 tbsp. chili powder
1 tsp paprika
1 tsp ground ginger
1 tsp garlic salt
1 tsp cumin powder
Step 1: Open all the cans, and pour directly into the crock pot. Leave the tomato juice, but if you want to drain and rinse the beans to cut down on extra sodium, you totally can.
Step 2: Cook in crock pot on low 6-8 hours, or high 2-4 hours. That’s it! Other addition you could make: chickpeas, really any other type of bean, crushed garlic, diced onion, carrots, celery, bell peppers, hot peppers, tomato juice, tomato sauce, hot sauce…
I made a batch of corn bread using Jiffy mix and a can of corn to serve with the chili. Yes, the carnivore had to add a handful of cheese, but progress is progress. Baby steps.
Since this makes a crap-ton of chili, some ideas to use up the remainder include chili cheese dogs, chili mac n cheese, and topping baked potatoes with a scoop for a filling meal or snack.
I know, the title of the post has you doubtful already. But stick with me, this will be the healthiest chili your husband/kids/friends/you ever ate without knowing it!
One of my all-time favorite ways to sneak healthy veggies into foods without detection is by juicing or blending them. This removes the physical give-away chunks that usually trigger the “ew” factor. You can get people to eat all kinds of yummies if they don’t know it’s there! I won’t tell if you don’t.
Ingredients:
1 pound ground beef or turkey (omit for vegetarians)
1 can diced tomato
2 cans kidney beans (or any kind)
2 large carrots
2 sticks celery
1 cup leafy greens; spinach or kale
1-2 cans tomato sauce
2 tbsp garlic salt
6 tbsp chili powder
2 tbsp black pepper
Sriracha to taste
Step 1: In a large pan, cut up the celery and carrots. Cover with water, and bring to a boil. You will blend these once cooked.
Step 2: Brown the ground beef or turkey if using. Drain the excess fat.
Step 3: Once the carrots are soft when poked with a fork (9-15 minutes) strain and add the carrots, celery, leafy greens, and one can of beans to a blender. Blend on high until completely liquid. This preserves the vitamins as well as fiber content from your veggies while masking the flavors. Add more water if needed while blending.
Step 4: Add the other whole can of beans to the meat, along with the diced tomatoes (best with green chilies for extra heat!) and the tomato sauce.
Step 5: Add in the veggie-licious paste and mix well. Sprinkle on the spices, mix, and taste test. Add more of whatever is needed to please the palate.
And there you have it! Super nutrient-packed chili that will still taste great and stick to your ribs. Delicious served with hot fresh cornbread, or over spaghetti like cincinnati chili.
The fusion of food, fun, frugality, and curiosity.