Category Archives: Uncategorized

Balsamic pork and potato wedges – dinner in under 30 minutes

For a simple, quick weeknight meal, I keep packages of pork chops in the freezer. I buy them in bulk when they are on sale, on of the many ways I mentioned in my post on how to save money on groceries. So I know there are packs of 2 pork chops in the freezer, ready to be thawed and made into a meal in under 30 minutes. Just add a side or two, and dinner is served. This meal is one of my favorites, I love the soft inside and crispy outside of homemade potato wedges, and balsamic vinegar is one of the best marinades for meat.

Ingredients:
2 pork chops
1 tbsp olive oil
~4 tbsp balsamic vinegar
Garlic salt
2 small potatoes, cut into wedges
1 cup frozen or fresh veggies
2 tbsp butter

Step 1: Heat the oven to 350, and spray a baking pan with oil. Put the potato wedges on, and sprinkle on some salt and pepper. Bake them for about 20 minutes, turning at least once to crisp on all sides.

Step 2: While potatoes are in the oven, put olive oil and vinegar in a frying pan. Add the pork chops and cover. Cook on medium heat for 10-20 minutes, turning at least once. Cut through to make sure there is no pink in the center.

Step 3: For the final few minutes of cooking, add in 1-2 cups frozen vegetables. I used broccoli and carrots. Cover again, and let cook until the vegetables are thawed, warmed through, and soft to the touch. Sprinkle everything with some garlic salt, and serve.

The potatoes baking takes the longest amount of time, so if you use a different starch, like minute rice or frozen fries that you just microwave, you could get this on the table in 20 minutes. The balsamic is tangy yet umami, and pairs perfectly with pork. And I am always a fan of meat & potatoes, with enough vegetables to balance everything out. 

What’s you favorite go-to weeknight meal?


Less than 5: Tuna Salad

I’m going to try a new thing, maybe twice a month, and call it “Less than 5”. In these posts, I will feature a recipe which takes less than five ingredients to make, and/or in less than five minutes. If these turn out to be popular, there’s a good chance another e-cookbook like my 7 Souper Soups will be in the making. 

For this post, I am highlighting a classic poor student lunch/dinner: tuna salad. Tuna in a can is often on sale for under $1, making it a great budget buy. There are several ways you can dress it up, depending on what you have available and how much time you have. My personal favorite is to dice up a hard boiled egg and mix in some Miracle Whip (which is FAR superior to “mayonnaise” in my opinion.) You can also go uber-easy and cheap, and just sprinkle in a tbsp or 2 of lemon juice and eat it over crackers. However, if you have relish in the house, I recommend trying this variation.

Ingredients:
1 can tuna, drained
2 tbsp mayonnaise
2 tbsp sweet relish
2 pieces bread (or pita, tortilla, bun, crackers, etc)

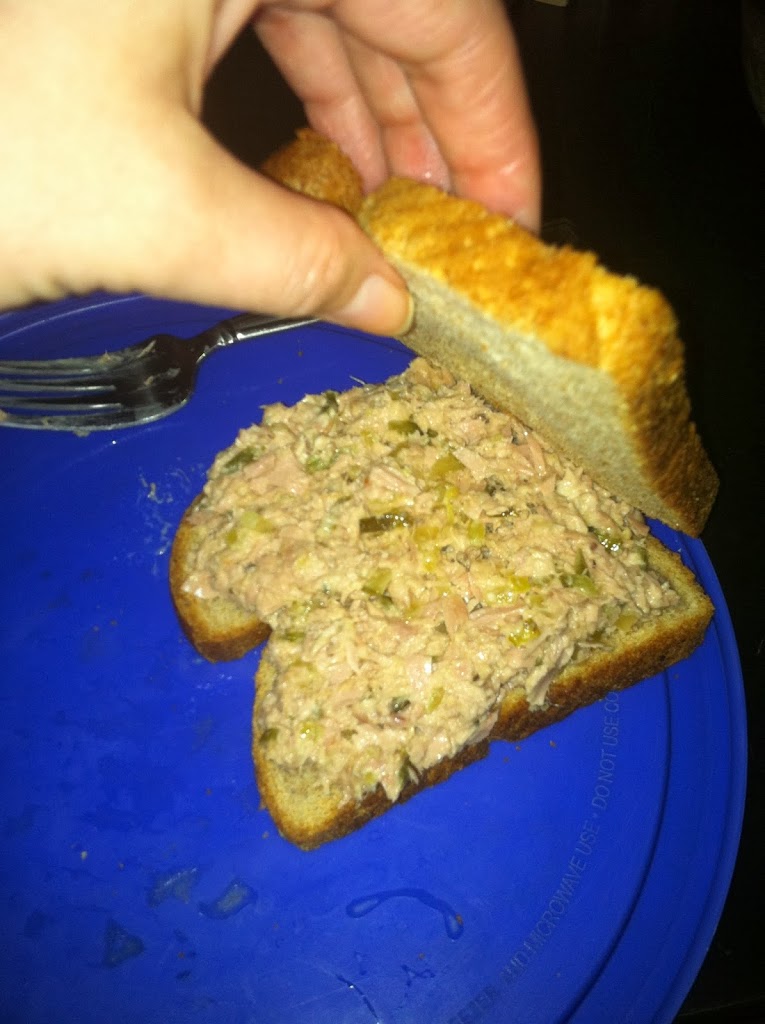
Step 1: Drain the tuna water. Put it in a bowl with the relish and mayo and mix well.

Step 2: Spread over the bread and enjoy! One can makes about 2 decent sized sandwiches. You could add toppings like sliced cheese, lettuce, or tomato too.

I don’t think I could count the times I’ve had tuna sandwiches throughout my childhood and school career, but this is definitely in the top three recipes for how to make it delicious!

What’s you favorite tuna recipe?

Triple chocolate espresso brownies

Here’s a decadent dessert that’s sure to satisfy. And it only takes 30 minutes! Triple Chocolate Espresso Brownies. With dark chocolate, milk chocolate, cocoa powder, coffee liquor and a shot of espresso, this complex depth of flavor will wow your taste buds. Make them for yourself, take some to the office, surprise your girlfriend or boyfriend. Warm and topped with ice cream and caramel, these things are to die for. I didn’t even bother icing them.

Ingredients:
8 oz dark chocolate
8 oz milk chocolate
1 tbsp cocoa powder
1 shot Patron cafe
1 shot espresso
2 eggs
1 tbsp vanilla
1 1/2 cups flour
2 tbsp butter
Handful large marshmallows

Step 1: Melt the chocolate. You should probably use a double boiler, but I didn’t bother I just microwaved in 30 second bursts.

Step 2: Add the coffee liquor and coffee to the melted chocolate.

Step 3: Add the vanilla, and stir in the eggs.

Step 4: Mix in the butter and flour, a little at a time, until it has a thick but liquid consistency.

Step 5: Spray an oven-safe pan and lay the marshmallows on the bottom. Pour the batter over them. Bake at 350 for 20-25 minutes, until a toothpick comes out of the center clean.


These were cakey and had such an amazing chocolatey taste with just that hint of coffee. I put some chocolate cherry ice cream over them while hot. O.M.G.

What’s your favorite brownie topping?

What’s in a name?

So we are already 3/4 of the way through January. As we all tackle the new year with our various resolutions to lose half our body weight, workout 20 hours a day, sleep twice as much while being four times as productive, cut out everything but lettuce and carrots from our diet, or never drive a car, throw out a recyclable thing, buy from a chain, or fart ever again, I’ve decided not to decide. Never a huge proponent of ‘resolutions’, mostly for the fact that they rarely stick, I will simply continue with my year-round practice of setting goals and working towards them. Daily, weekly, monthly, yearly, and long-term. If you’re interested, you can see some fun figures on resolutions at Statistic Brain and get some suggestions to make goals you really will stick to at Psychology Today.

Photo from Mahfooz’ Exposition blog on WordPress

Since the name & style change for this blog only happened two months ago, I’ve already reached some personal goals, and have several more set for this year. I have increased readership by about 10-fold, my blog joined a cool network of amazing world-wide food bloggers called The Daily Meal (which you should totally check out!), formatted and outlined an e-cookbook, created and begun contributing to a Twitter & Facebook presence (@BudgetEpicurean –Tweet or follow me!- and the Facebook group Culinary Content), and automated and increased postings to three times per week (which may change depending on my course load this semester…). That’s pretty exciting for two month’s time. In the upcoming year, I have several personal and blog-related goals:

  1. Continue to keep up with 3x weekly postings with varied and high quality information and recipes
  2. Experiment with different types of food, ethnic foods, recipe substitutions, ‘health-ifying’ things, etc.
  3. Finish writing the bulk of the recipes for the e-cookbook as well as finishing the index by the end of March

On a personal note:

  1. Go to the gym a minimum of 3x per week, whether to run, yoga, or strength train. Failing that, yoga or weights at home
  2. Try to fit at least one more serving of veggies in per day than usual
  3. Drink a minimum of 1 32 oz bottle of water per day (I’m terrible at remembering to drink water. Some days I get home at 7 and realize the only liquid I’ve had all day is a cup of coffee and the milk in my cereal that morning. It doesn’t help that I work in a lab where food/drinks aren’t allowed)
  4. Sock away 5% to savings and 5% to an investment account each month no matter what
  5. Get involved with a charity & volunteer at least one hour once a month
  6. Make time for at least 1 hour a week for myself, and 1 hour per day of distraction-less couple time

You’ll notice that most of those goals involve something specific. Rather than “workout more” I tell myself I must work out three times per week. If I make three days in a row, great for me. If I go Monday and then forget until Friday, guess what I’m doing over the weekend? Also “drink more water” is hard to follow through on. Filling one 32 oz bottle in the morning and making sure it’s empty by the time I go to bed is manageable. 

As the name of this post implies, I’ve been thinking that the name for this blog is the Budget Epicurean. As such I shall be occasionally posting about things other than food, mainly frugality and budgeting. Stay tuned for my next post, which will be all about how to create and stick to a budget!


What’s your #1 resolution this year? (Week, month, decade…)

Vegetarian Pepper Pizza with Acorn Squash Sauce

Pizza is popular in nearly every country and among all age groups. Who can resist a chewy doughy crust, tangy or creamy sauce, and toppings to make your mouth water? With infinite variations, pizza can range the gamut from a whole-grain & veggie-packed near-health-food to an unapologetic grease-laden diet disaster. Everyone has their own favorite topping and style.
Of course most people know that pizza is native to Italy. The History Channel website wrote up a nice article about the history of pizza you should check out for more information. The city of Naples, founded in 600 B.C., was home in the 18th & 19th centuries to a large working-class poor population. As such, they needed food which was cheap and easy to eat quickly. Flat bread baked with various toppings such as tomatoes, garlic, olive oil, and cheese, met this need. However, pizza did not catch on worldwide until the late 1940s.

Italian immigrants to America brought these recipes with them when they immigrated in search of jobs. Quickly, the smells and tastes of these flat breads began to grow in popularity, and local custom varieties began springing up. Toppings branched out from the typical tomato, basil, cheese, or anchovies and grew to include things like pineapple, BBQ chicken, bacon, and even dessert pizzas. Chicago became known for its “deep-dish” pizza with inches-thick crust, while New York City style meant thin crust pies with a slice bigger than your face. Chains spring up and now popular American-founded brands are represented in over 60 countries worldwide. 

This pizza I came up with was made with a bare minimum of ingredients, the dough does not need time to rise, and I packed in the veggies. The acorn squash hidden in the sauce makes it a bit sweeter than I’m used to, which I didn’t mind. But if it’s too much, try adding tomato paste and olive oil rather than diced tomatoes. And as always, don’t be afraid to experiment! Have some asparagus left in the fridge? Ran out of mozzarella but have some blue cheese? Want to spice it up with jalapenos? Go for it!

Ingredients:
DOUGH
2 1/2 cups flour
1/2 tbsp sugar
1 tbsp salt
1 1/2 cup warm water
SAUCE
1 can diced tomatoes
1 acorn squash
Dash Italian seasonings
Dash garlic salt
TOPPINGS
1/2 cup spinach
1/2 jar roasted red peppers
Handful banana pepper rings
~2/3 cup mozzarella cheese

Step 1: Cut the squash in half and microwave 5 minutes, cut side up, with water in it. Flip and microwave another 5 minutes. Repeat until the squash is fork-tender and peels easily.

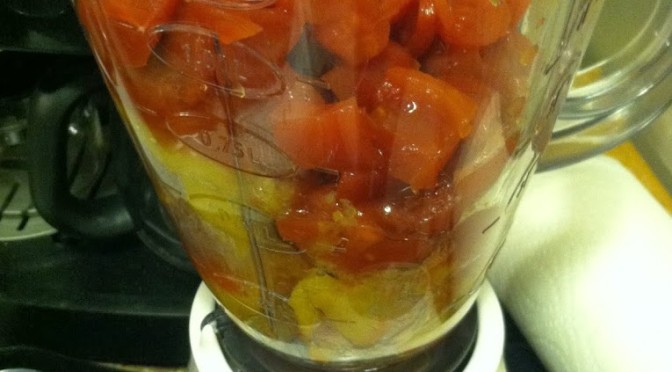
Step 2: In a blender, combine the can of tomatoes (with juice) and squash. Blend until it makes a smooth puree. Add spices here.

Step 3: In a large bowl, mix the dough ingredients. If too stiff, add more water or olive oil. If too wet or sticky, add extra flour. Sprinkle some flour on a flat surface and roll the dough out. Use your hands to shape it into a circle.

Step 4: Spread the sauce over the dough, leaving about 1 inch around the edges for crust. Layer on the toppings.

Step 5: Cover it all in cheese. You can substitute vegan cheese or just leave it off for a vegan pie.

Step 6: Bake on a pizza pan or cookie sheet at 350 for about 40 minutes, or until golden brown and bubbly.

Let it cool on a rack if you can wait that long!

Thanks Italy! 
What’s your favorite kind of pizza?


Food allergies

Development of food allergies 

If you’ve been paying attention at all the past decade or so, you will have noticed an increase in food allergies. From peanuts to milk, it seems everything edible is able to kill someone somewhere. Or at least make them very unhappy. Allergies to anything is an immune response to a foreign thing your body wants to get rid of. In the case of food allergies, some chemical or ingredient in what you eat can cause anything from mild stomach upset to severe anaphalactic shock and airway closure. 

It is estimated by the NIH that 20% of children under the age of 5 suffer from food allergies, and 25% of adults have one or more. Sometimes you can ‘grow out of’ allergies, but you can also develop new allergies as an adult. There are also allergies which are exercise-induced, or cross-reacting allergies. Mayo Clinic’s website has this handy table:

If you are allergic to: Birch pollen Ragweed pollen Grasses Mugwort pollen
You may also have a reaction to: Apples
Carrots
Celery
Hazelnuts
Peaches
Pears
Raw potatoes
Bananas
Melons
(cantaloupe, honeydew and watermelon) Tomatoes
Tomatoes Apples
Carrots
Celery
Kiwi fruit
Peanuts
Some spices (
parsley, coriander, or caraway, anise, and fennel seeds)


Food allergies are also on the rise, making the public more aware. We probably all know at least one friend or family member who is lactose-intolerant, can’t eat eggs, or will swell up like a balloon if you give them Pad Thai. (Because of the peanut sauce.)

This comic is from the talented Tyler at Forbidden Ferret, a daily educational webcomic.

How do you become allergic?

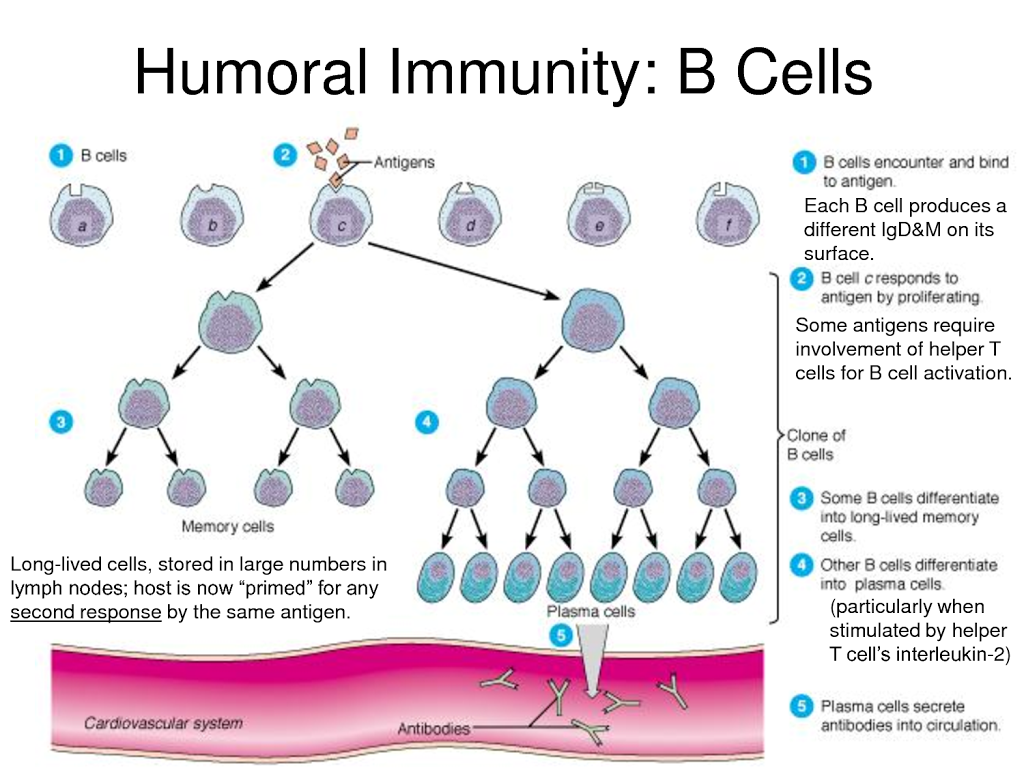
Allergy development is a two-step process. The first time you are exposed to an allergen, your immune system recognizes the invader and produces antibodies which specifically bind to that one molecule. These antibodies then circulate in your blood and body for a long time. If you are exposed to the same antigen (food) again, those antibodies recognize it, bind to it, and signal your body to attack by releasing things like histamines. Those cause swelling, inflammation, redness, itchiness, etc. 

Image from a document titled Specific Resistance Immunity.


Ironically, allergies tend to happen with a food that is eaten often. For example, Japan has a higher incidence of rice allergy than the US. If someone you are with eats a food and begins to have trouble breathing, breaks out in hives or a rash, faints, or begins vomiting, you should seek medical help immediately. For a full background of allergies, causes, symptoms, and how you should react to an allergy in someone, see the NIH booklet. 

In infants and children, the most common food allergies are:

  • Eggs
  • Milk
  • Soy
  • Peanuts or tree nuts
  • Wheat

While in adults, the most common food allergies are:

  • Shellfish (shrimp, crab, oyster, lobster, crayfish)
  • Peanuts and tree nuts
  • Fish, such as salmon

Children tend to outgrow egg, milk and wheat allergies. Peanut allergies tend to be for life, and allergies developed as an adult tend to stick around as well. Food allergies are also not the same as a food intolerance. As I mentioned lactose intolerance earlier, it is important to note that the immune system is not involved, there are no antibodies made to milk. You body simply cannot digest the lactose in milk, thus meaning you are intolerant, not allergic. Other common intolerances are MSG, gluten, and sulfates.


What can I do?

For pregnant women, it is recommended that you breast-feed newborns for at least the first four months. There are many, many health benefits to this practice, plus it is far more economical than formula. Not to mention the bonding time. There is no conclusive evidence yet that the mother avoiding common allergenic foods will prevent the child from developing allergies. So go ahead and have your cereal with milk, toast with peanut butter, and an omelet. 

One way to identify what you are allergic to is to keep a food diary of how you feel after eating different types of foods. This could identify triggers. Then you can try an elimination diet, where any foods which caused an allergic reaction are eliminated one by one so you can see if that causes your reactions to stop. You should always consult your healthcare provider before altering your diet significantly. To test reactions to specific foods, you can request a skin prick test. Your health care provider will prick your skin with a needle and place a small amount of food extract under your skin. If you have swelling and redness, this is a positive reaction, meaning your immune system responded. A blood test is a bit more extreme, where the actual levels of IgE antibodies to a specific food are measured in your bloodstream. 

The easiest way to avoid allergic reactions if you already know you’re allergic is to keep your living area clean. If you are allergic to peanuts, even the dust, keep peanuts out of your kitchen, wash surfaces and vacuum regularly. You can also obtain a medical warning bracelet from your doctor, as well as an epinephrine pen. Commonly called “Eip Pens”, using these is the best immediate way to counter-act anaphylaxis. It will flood your system with epinephrine, which calm down the histamines and hopefully allow you to continue breathing. 

Where can I learn more?


The next Food Allergy Awareness Week is May 11-17, 2014. The Food Allergy Research and Education (FARE) group has all kinds of fun activities and information. They also have lots of great resources about how to deal with allergies in children, in public places like camp and restaurants, allergy statistics, how to read food labels, and more.

MedLinePlus has a link to the NIH overview PDF, as well as links to various clinical trials that have been done for different allergies, management help, and specific resources for each type of food allergy.

Of course we always have WebMD for various symptoms, treatment, and related diseases. 


Please feel free to share any allergy-related stories or advice you have!

Candied Carrots

Everyone knows how hard it is sometimes to get kids to eat their vegetables. Heck, it’s hard to get adults to eat their vegetables! But my mom knew all the tricks and I remember several vegetable side dishes that we all actually enjoyed as kids. Candied carrots was always one of my favorites. Not only to carrots already have a naturally sweet-ish taste, but then you add butter and brown sugar, and it’s almost like dessert with dinner! Not exactly the healthiest thing in the world, but at least it will get some vitamin A and beta-carotene into your diet.

Ingredients:
3 large whole carrots, cut into 1/4 inch slices
1/2 cup brown sugar
1/2 cup butter (1 stick?)

 Step 1: Slice all the carrots (peel if you want, sometimes I do and sometimes I don’t. Always wash them first though) and place in a saucepot.
Step 2: Add the butter and brown sugar. Bring to a simmer, and cook, covered, for about 20 minutes, until the carrots are soft when poked with a fork.

That’s really all there is to it! They are soft and sweet and a perfect side dish for just about anything. If you have a favorite side dish from your childhood, or a way to cook vegetables such that kids and family members don’t complain, feel free to comment and share!

Elk burgers — new food for July

.
As July’s food item I’ve never tried, Elk nominated itself by being present at a farmer’s market I attended during 4th of July weekend. It sounded delicious and was only $10 a package from a local rancher, so I couldn’t resist. It was ground elk, so I’m sure I could have tried elk meatloaf or elk chili, but I had a hankerin for a good, juicy burger, so there you go. If you can’t or don’t want anything so fancy as elk, ground anything works for this plain ol classic burger recipe.
 
Ingredients:
1 pound ground elk (any meat)
4 tbsp seasoning of choice: I used Weber’s burger seasonings that include onion, black pepper, garlic, etc.
Buns
Burger toppings
 

Step 1: Divide ground elk into 4 even patties of about 1/4 pound each. Mix 1 tbsp seasoning into each and mix well. Shape into patties with your hands, or a press if you’re fancy enough to have one.

Step 2: If you’re lucky enough to have a grill, light that bad boy up and cook em that way. If you do not, a regular frying pan works. Cook on medium heat for about 10 minutes, then flip. They’ll be nicely browned and sizzling. Cook the other side another 5-7 minutes. We like some pink inside so it took about 15 min total.

Step 3: Add your toppings. I love avocado but none was available. But we had the classics, so my elk burger included: sliced American cheese, lettuce, tomato, & ketchup.

My boyfriend the carnivore (“meat man”) had a double, and declared it one of the best burgers he’s ever had. Since I’d say that number is probably in the hundreds, I consider it a great compliment. Elk is salty and tender and delicious. It’s like beef, but different. Just try it sometime, and if you like beef I bet you’ll like this even better.

 What’s your favorite burger?

100th post: Pheasant is pleasant


I know I started this blog as a poor college kid. And trust me, I still enjoy mac-n-cheese, ramen noodles, and hot dogs. There will still be simple recipes with 3 ingredients or less. But as I’ve progressed through my Masters and am now in PhD school, my tastes have evolved and I like to expand my horizons. Thus I decided at least once a month I will try making something I’ve never had, slightly exotic dishes.

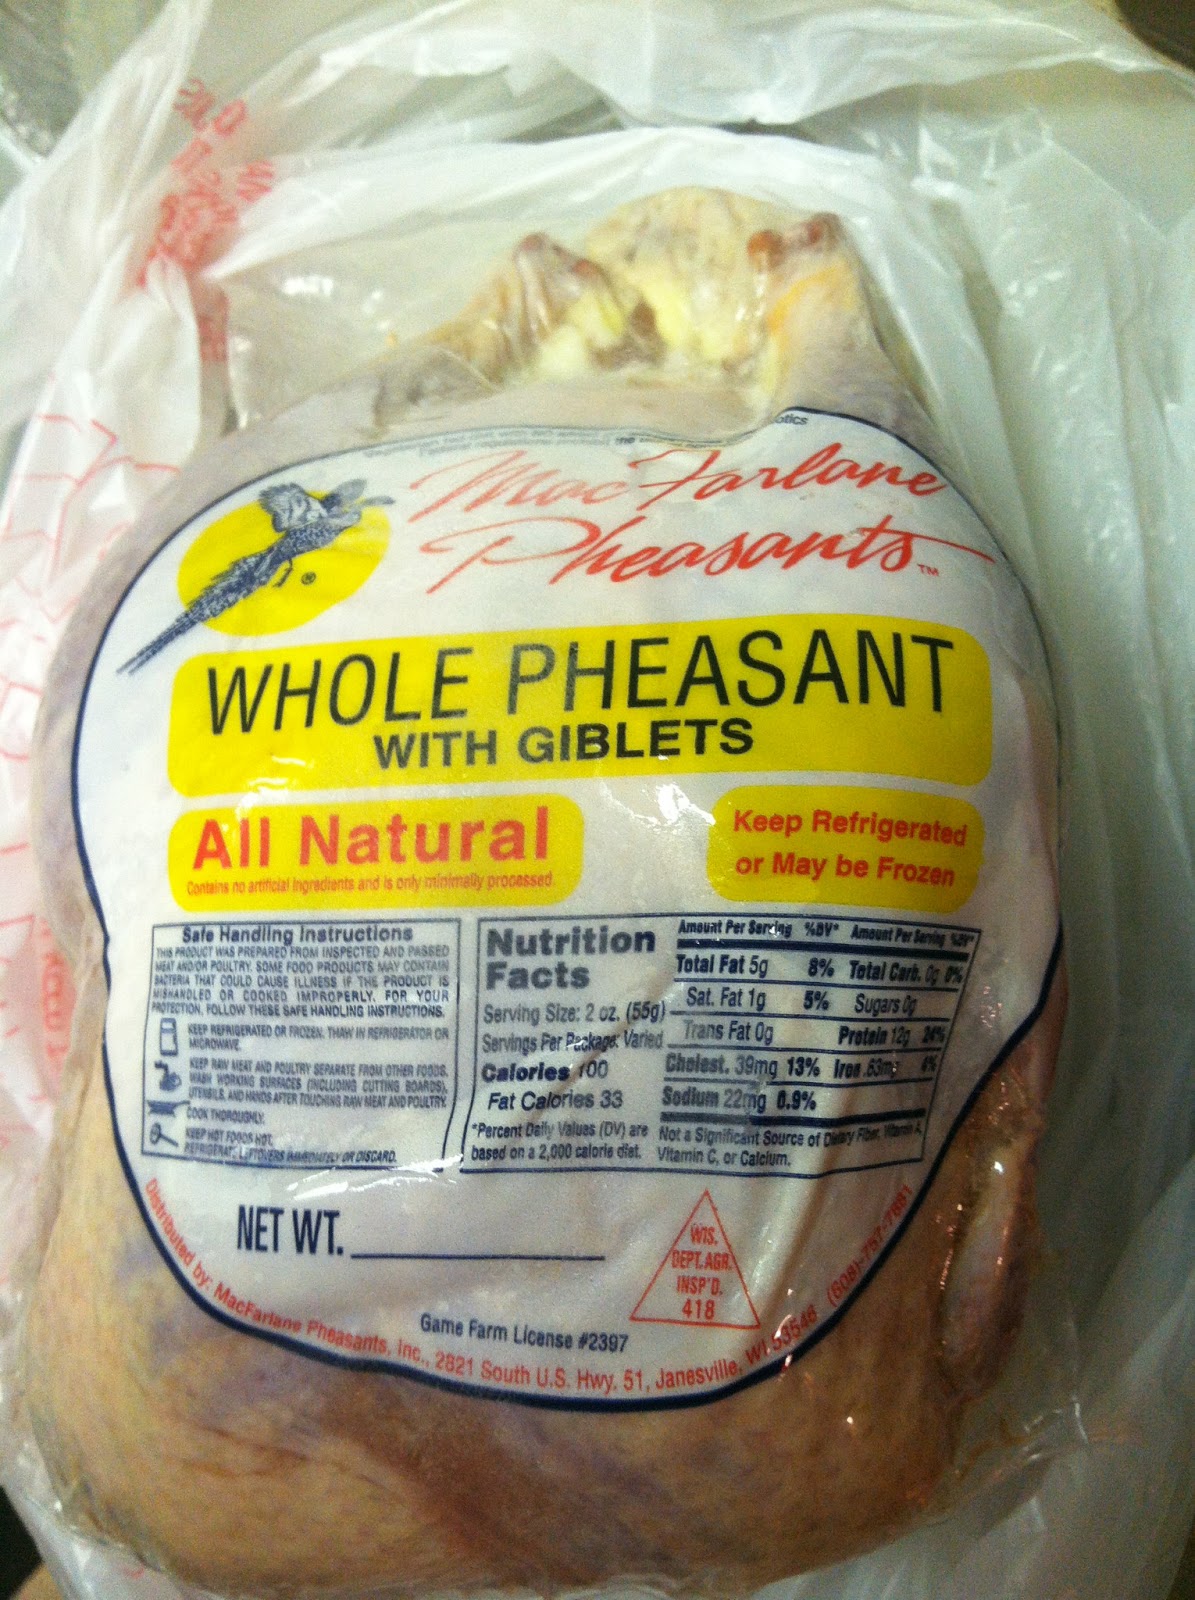
For June, as my 100th post, I give you, roasted whole pheasant! The ~3lb bird itself was $25, but the brine and the accompanying roasted veggies were less than $10, so it’s still not bad for a super cool and fancy meal for two plus leftovers. Also you then have forever bragging rights.

Brine:
8-10 cups water (enough to cover the bird)
3/4 cup salt
1/2 cup maple syrup
1 tbsp whole cloves
3 cloves crushed garlic
2-3 bay leaves
Juice of 1 whole lemon
Juice of 1 whole lime

Step 1: Add salt and maple syrup to water, bring to a boil so all salt and syrup dissolves.

Step 2: Let cool to room temp, add spices and juices. Place the whole pheasant in the brine. Mine was frozen so I thawed it in the fridge overnight, but you can put it in there frozen whole too. Let the bird soak a minimum of 4 hours up to overnight. The longer it soaks, the saltier and more flavorful it will get. Mine soaked overnight, about 20 hours total.

Step 3: Take the bird out of the brine and drip dry it. Rub it all over with butter, including loosening the skin and rubbing butter underneath, directly onto the flesh if you can. Optional: place spices from brine over the bird or add fresh.

Step 4: Place a quartered onion and/or halved apple inside the cavity of the bird. Place it in a buttered or sprayed oven-safe pan and tent tin foil over it.

Step 4: Roast the pheasant at 400 degrees for ~1 hour. Then lower the oven to 350, remove foil and roast an additional 30-50 minutes, until no longer pink and juices are clear. I’m sure there’s a temperature recommendation too but as I have no meat thermometer, I just looked and said, yup that looks done and delicious.

For vegetables:
1 yellow potato
1 normal russet
(I wanted one purple too but the grocery didn’t have them)
1 onion, sliced
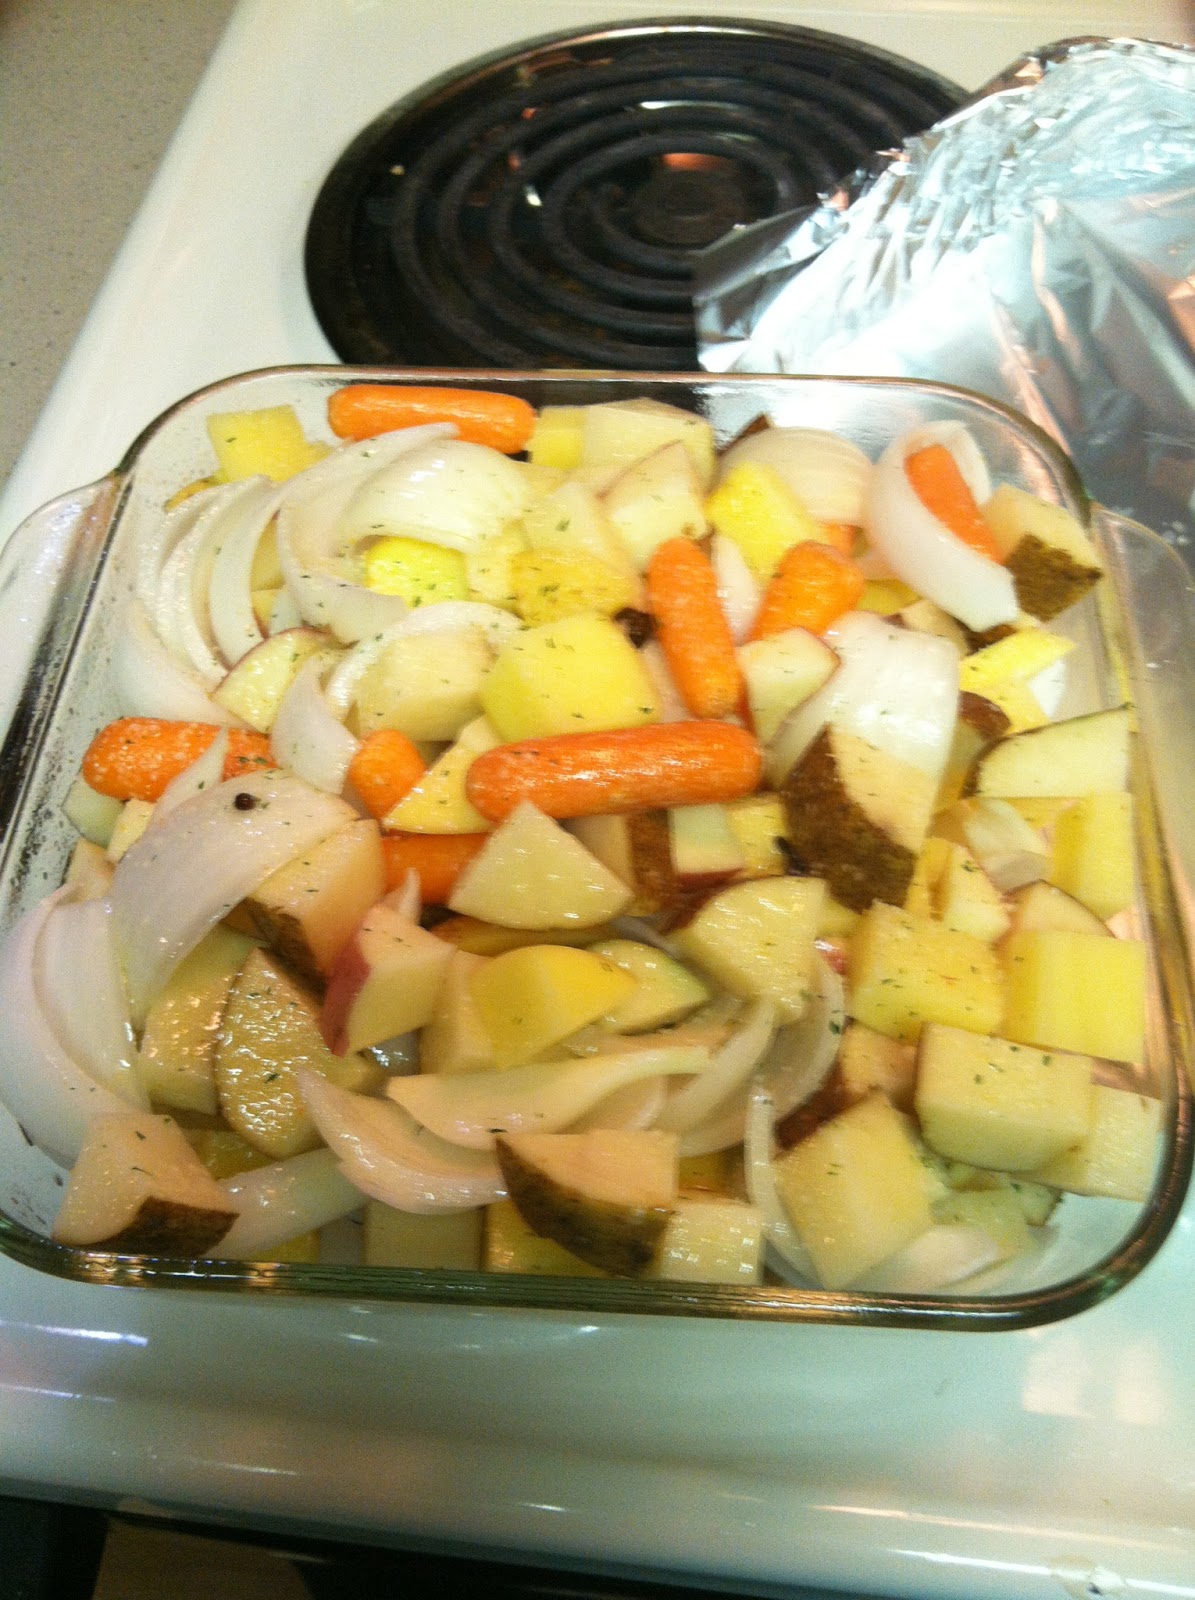
1-2 cups baby carrots
Garlic salt

Add the cut veggies in a sprayed pan to the oven for the final 30-50 minutes of baking. Add some bringing liquid if you like for extra flavor. Sprinkle with garlic salt when done.

And so you see, you can make a magazine-looking-worthy meal with very little work. If a busy, poor PhD student can do it, you can too! And trust me, brining overnight is definitely worth it! The meat was salty and tender, not at all tough or dry or gamey. I would highly recommend trying this.

Doritos-crusted chicken tenders

My brother had crusted some fresh mahi mahi with Doritos once, and it was amazing. I had about 2 cups of Doritos left in a bag, mostly little pieces, just enough to irritate you. So I decided to make some Doritos chicken.

Ingredients:
2 boneless, skinless chicken breasts, cut into tenders

1 egg, beaten
2 cups crushed Doritos
Step 1: Smash up the Doritos. Beat the egg. Slice the chicken. These steps should take ~5minutes.

Step 2: Coat the chicken in the egg. Roll it in the Doritos until coated. Place on a sprayed cookie sheet.

Step 3: Bake at 350 for at least 45 minutes up to 1 hour, until the chicken is not at all pink.

Enjoy! I had this with my Butternut squash mac-n-cheese, and it was great!