Category Archives: Vegetarian

Fried Green Tomatoes with Basil Mayo Sauce


While fried green tomatoes are usually considered a southern dish they can be found in northern homes as well. The northern version is more likely to be made with white flour rather than corn flour or corn meal. Also, green tomatoes tend to be prepared at the end of the season in the north when the remaining fruit is harvested before the first frosts, whereas green tomatoes are picked throughout the season in the south.

IMG_0567

They certainly pre-date the movie Fried Green Tomatoes at the Whistle Stop Café, released in the early 1990’s.

“Lovers of tomatoes are very fond of them, sliced green as apples are sliced, and fried in butter.  Some persons are fond of them sliced and fried after being dipped in butter.  The green tomatoes, which the season will not permit to ripen, may be turned to good account by using them fried.”  – The New England Farmer.  Oct. 14, 1836.

Traditional preparation of fried green tomatoes begins by cutting the tomatoes into approximately 1/4-inch (~1 cm) slices. They are then seasoned with salt and pepper, coated with plain, coarse cornmeal, and shallow fried in bacon fat for a few minutes each side, or until golden brown.

Shallow frying is preferred, as the tomatoes do not float in the oil, which allows the weight of the tomato to press the cornmeal to the underside of the tomato. Alternatives include using breadcrumbs or flour instead of cornmeal, and frying in vegetable oil or other fat.

A ‘wash’ may be used; in this case, the sliced tomatoes are first dipped in a liquid before the cornmeal is added. This liquid is usually buttermilk, or occasionally beaten egg. Using beaten egg results in a slightly firmer texture than using buttermilk. ‘Washes’ are used because cornmeal does not readily stick to raw green tomatoes.

Adding the liquid helps the cornmeal stay in place during the cooking process. This also results in the coating on the tomato becoming thicker and less crunchy when compared with tomatoes cooked without a ‘wash’.

These fried green tomatoes were made with the first big, juicey green gems on the vine at the beginning of the season, because I just couldn’t wait any longer for them to redden. You can eat these at any time throughout the growing season, and if you live in colder climates it is a way to use up unripe fruit before the first frosts kill them off.

Served with a tasty, tangy basil mayo, these are amazing appetizers, party bites, or a vegetarian main or side dish. They are best served hot and fresh, as the coating loses its crunch over time.

 Basil Mayonnaise Ingredients:

  • 1/2 cup mayonnaise
  • 2 tbsp brown mustard
  • 1 tbsp lemon juice
  • 1/2 cup packed basil leaves
  • 2 cloves garlic

IMG_0553

Step 1: Rinse the fresh basil well and drain. In a blender, combine the basil, mayo, garlic, mustard, and lemon juice.

IMG_0555

Step 2: Blend well until combined. Place in a shallow dish to dip, can refrigerate up to 3 days ahead of time.


Fried Green Tomatoes Ingredients:

  • 3 medium unripe, green tomatoes
  • 1 cup flour
  • 2 eggs
  • 1 cup breadcrumbs
  • 1/2 cup cornmeal
  • 2 cups vegetable oil

IMG_0552

Step 1: Rinse the tomatoes well to make sure there is no residue or dirt on them. Slice into 1/4 – 1/2 inch thick slices.

IMG_0556

Step 2: Beat the two eggs lightly. Place the flour, scrambled egg, and cornmeal/breadcrumb mixture onto three separate shallow plates. Put the oil in a frying pan, and heat to medium (just below when it would start simmering).

green_tomato_flour

Step 3: Dip the green tomato slices one at a time into the flour and flip to coat both sides.

IMG_0558

Step 4: Dip the floured slice into the egg mixture & slush it around to fully coat.

IMG_0562

Step 5: After the eggs, dip into the cornmeal & breadcrumb mixture, and flip to fully coat.

IMG_0559

Step 6: Place the tomato slices into the hot oil, make sure they aren’t touching. Cook for 5-7 minutes, until the breading becomes brown and crispy. Flip and fry the other side another 5-7 minutes.

IMG_0566

Step 7: Place on a cooling rack or paper towels to drain the oil. Serve hot with the basil mayonnaise on the side.

Hope this helps you enjoy more of summer’s bounty!


[amd-zlrecipe-recipe:34]


Quinoa & Bean Quesadilla


In the pursuit of creating meals which are both vegan and yet so delicious my total carnivore fiancee doesn’t even notice it’s vegan, you win some & you lose some.

IMG_9368

This was a definite win.

The way I see it, it has all the things a quesadilla should: meaty fillings (‘meaty’ like you feel full after eating it, not actual meat; in this case beans & quinoa), gooey stick-together-ness (avocado), and lots of flavor (roasted peppers & spices). Warmed up for a crunchy exterior with soft goodness inside, this will make everyone happy regardless of dietary preference.

This makes 2 servings. And best of all, you sneak in almost a whole cup of veggies per serving! I won’t tell if you won’t.

Ingredients:

  • 4 tortillas
  • 1 cup cooked quinoa
  • 1/2 cup bell pepper slices
  • 1 avocado
  • 1 cup cooked white beans
  • 1/2 cup spinach
  • Cooking oil
  • Optional: nutritional yeast

IMG_9361

Step 1: Cook your quinoa according to package. Likely you mix 1/2 cup quinoa with 1 cup water, bring to a boil, then cover & let sit 10 minutes. Fluff with a fork. Set up your station.

IMG_9358

Step 2: If you have the time, caramelize your pepper pieces by heating in a frying pan over medium heat just until they begin to char. This brings out their innate sweetness. If not, raw pepper will work just as well, the finished product may be crunchier.

IMG_9363

Step 3: On one tortilla, cut half the avocado, &  spread it around. This acts like a paste to hold your quesadilla together. Layer on half the spinach, and season as you wish. (Basil, garlic salt, cilantro, lime…)

IMG_9364

Step 4: On the other tortilla, layer the quinoa, beans (cooked according to directions, or from a can), peppers, and if using sprinkle on some nutritional yeast. It is not required, it just gives an extra ‘cheesy’ taste & you guessed it, nutrition. (You can also use dairy cheese if not vegan).

IMG_9366

Step 5: Spray or grease a frying pan. Place the one tortilla on top of the other, carefully, and place in the pan. Fry for 4-5 minutes, until golden brown and crisp, then carefully flip the whole thing. Use two spatulas if you need to. Crisp the other side 4-5 minutes.

IMG_9369

Cut with a knife or pizza roller, and enjoy! This baby is chock-full of good stuff, and creates a great taste & texture combo that really satisfies.


[amd-zlrecipe-recipe:29]

Roasted Veggie Pizza with White Bean Sauce


Pizza is always delicious, and this is a healthier, fresh take on making your own. If you use pre-made dough it is a super cinch, but you could also go all-in and make homemade pizza dough too.

The sauce gets a new makeover by using white bean puree & ranch dressing to make a creamy white sauce that’s packed with vitamins and fiber. Feel free to use whatever veggies you have laying around. I love using oven-roasted veggies for their caramely flavor.

You can of course add meats as well. This sauce goes great with just about anything. To keep it hard-core vegan, make sure your Ranch dressing doesn’t have anchovies in it.

Ingredients:

  • 1 roll pizza dough
  • 1 can white beans or 1 cup cooked beans
  • 4-6 tbsp Ranch dressing
  • 1 cup roasted veggies
  • 1 cup spinach
  • 1/2 cup grape tomatoes, cut in half

IMG_9401

Step 1: Spray a cookie sheet or pizza tin and roll out your dough. Place on the pan and preheat the oven to 400 F.

IMG_9402

Step 2: Blend the beans in a blender or food processor, adding a bit of olive oil or warm water if needed to make a sauce. Mix in the Ranch dressing and spread over the pizza.

IMG_9405

Step 3: Sprinkle the veggies around the pizza, then toss on the spinach and the tomatoes. Season as desired.

IMG_9406

Step 4: Bake at 400 for 20-25 minutes, until crust is browned and cooked through in the center.

IMG_9411

Pretty much all vegetables work here: broccoli, cauliflower, onions, peppers, mushrooms, potatoes, carrots, tomatoes, greens, and more. Get crazy! I just sprinkled on some garlic salt & black pepper, and it was absolutely perfect.


Chia, Quinoa & Greens Salad


For an awesome, easy lunch/side dish/snack that you can take on the go or whip up without heating the kitchen on a smoldering summer day, try this salad packed with power players. This would easily be layer-able in a mason jar, to take to work or school or anywhere on the go, or throw together right out of the fridge. It also tastes good made in advance if you use hardy greens that are amenable to some marinating.

IMG_9376

The base of any good green salad is of course the greens. Leafy greens are the super-veggies of the plant kingdom, and it is REALLY tough to have too much. There are plenty of species whose only food is leafy greens. We should try to emulate that as much as possible.

According to author, dietitian, and nutritional educator Jill Nussinow MS, RD, “Greens are the number 1 food you can eat regularly to help increase your health” (WebMD). Leafy greens are packed with vitamins & minerals, as well as heart- and gut-healthy fiber and plant-based chemicals, many of which we haven’t even discovered yet.

Leafy greens include kale, collards, mustard greens, beet greens, romaine, spinach, arugula or rocket, swiss chard, broccoli,  cabbage, and even iceberg. Start with a big heaping handful, at least 1-2 cups.

Next up is the buzz-worthy quinoa (pronounced keen-wah). Quinoa was domesticated 3,000-4,000 years ago in South America. It is a psuedocereal with edible  seeds, closely related to amaranth and buckwheat.  Quinoa contains essential amino acids (which our body cannot make on its own) like lysine, as well as an exceptionally high protein content, and minerals such as calcium, phosphorus, and iron. It is also gluten-free, making it a great “grain-like” choice for those with Celiac’s disease or a gluten intolerance.

The raw seeds have a soapy coating (called saponins) that make them unpalatable to birds. This is handy because the crops need less protection. However, that means most quinoa crops must be processed before sale for humans, so that we are able to eat it without feeling like we just licked a Dawn dish soap dispenser.

And our final power player here is the chia seeds. Chia seeds are a massive nutrition powerhouse, with just one ounce (2 tablespoons) containing 11 g of fiber, 4 g of protein, and about 100 calories while also providing about 1/3 your recommended manganese, magnesium, and phosphorus. There are claims that some ancient cultures would survive solely on chia seeds in times of duress.

Chia is easy to incorporate into baking, simply sprinkle a tbsp or two into any batter, from pancakes to muffins to oatmeal. You could also try a refreshing Chia Fresca as a beverage to get some chia in your life. While a little weird at first, it is a great habit to start to get enough water every day.

And finally, we top it off with whatever fresh veggies you are partial to. Just make sure to incorporate a variety, and at least 1/2-1 cup total. A tbsp of other nuts or seeds is also a great addition. Steer clear of too-high-fat toppings like cheese, meats, or even eggs. Add spices to taste.

Ingredients:

  • 1 1/2 cups mixed greens
  • 1/2 cup cooked quinoa
  • 1 tbsp chia seeds
  • 1/2 cup julienned carrot & cucumber
  • 1 stalk celery, diced
  • Handful grape tomatoes, cut in half
  • 1 tbsp sunflower seeds
  • 2 tbsp vinaigrette

IMG_9377

Step 1: Lay down your greens. Mix in your quinoa. (To cook: mix 1 cup with 2 cups water, bring to a boil. Cover, turn off heat. Let stand 10 minutes, fluff with a fork.)

IMG_9378

Step 2: Add in your vegetables, sprinkle chia on top.

Step 3: Whip up a fresh, super-simple vinaigrette by mixing 1 tbsp lemon juice, 1 tbsp olive oil, and 1 tbsp vinegar in a bottle, then shaking. Or drizzle on 1-2 tbsp of bottled dressing.

IMG_9380

If you want to make a portable layered salad, add ingredients in the exact opposite order: dressing on the bottom, then hard veggies, soft veggies, quinoa & greens.

Homemade hummus & Flatbread


If you haven’t jumped on the hummus bandwagon yet, you should definitely consider it! Hummus is super heart-healthy, especially when made at home. And it is so very easy! Just put all the ingredients into a blender and whir for a minute or two, and presto! A tasty, healthy, fiber-full dip or snack.

This recipe is a basic recipe, great for pre-dinner appetizers, a party snack, or really anytime. You can get creative with roasted peppers, beets, green veggies, or really anything you set your mind to. Feel free to experiment with different nut butters if you don’t want to buy tahini. I’ve also made black bean hummus before, so you don’t even have to use chickpeas.

Ingredients:

  • 1 can chickpeas
  •  1/4 cup tahini
  • 2-3 cloves garlic
  • 1/4 cup olive oil
  • 4-6 tbsp lemon juice
  • Optional: Dash of paprika

IMG_5745

Step 1: Place all ingredients into a blender. Blend on high until well mixed. Taste, and add more of this or that until it’s perfect.

IMG_5748

It’s best to serve with fresh cut veggies, or toast your own pita chips. To make pita chips, spray a cookie sheet with oil, and place 2-4 tortillas on it. Bake at 350 for 8-10 minutes, until crispy but not burnt. Cut into wedges. Enjoy!

Bok Choi – Ginger Juice


For those who are unfamiliar, bok choi or pak choi is a type of Chinese cabbage. It is about the size of a fist, and has tight, dark green leaves forming a cluster similar to celery. They contain a good amount of vitamin A and C, as well as glucosinolates, substances believed to protect against cancer in small doses.

IMG_9459

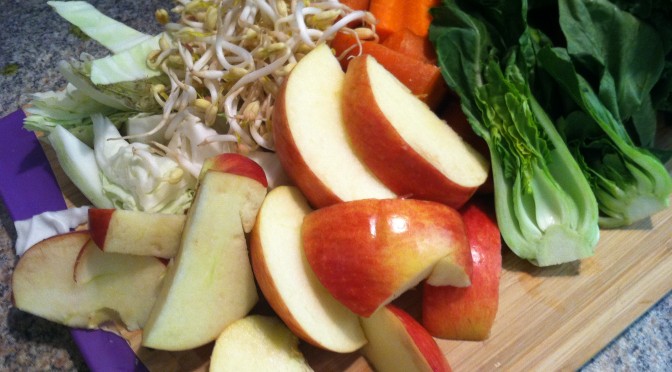
Bok choi is delicious lightly steamed or stir-fried, with some lemon juice & salt alongside a filet of fish or rice. However, I had a large amount from a recent trip to my favorite Asian grocery, and wanted to use its delightful vitamin content and phytochemicals to make a green juice in lieu of spinach.

IMG_9456

Ingredients:

  • 2 1/2 cups bok choi
  • 2 medium apples
  • 1 cup sprouts
  • 1/4 green cabbage
  • 2 large carrots
  • 2-3 inch piece fresh ginger

IMG_9458

Rinse and chop all vegetables, and run them through your juicer. Alternate the soft greens and harder carrots/apples. If you need it sweetened up even further, you can mix in some store bought apple juice, or add another cup of fruits to the mix.

This juice is full of awesome vitamins and nutrients, enzymes, phytochemicals and chrlorophyll. It is lightly sweet, and has a nice tang from the ginger.

But why is it ‘foamy’ on top?

Good question, I wondered that myself. When you juice, the juicer produces some amount of foam by inserting air bubbles into the juice. The type of juicer makes a difference; slower “masticating” juicers will cause less foaming than high-speed “centrifugal” juicers. Also higher-fiber produce makes it bubblier than low-fiber produce.

You can scoop or skim off the foam before consuming without losing nutrients. It is mostly air bubbles and oxidized fiber. You can also strain your juice prior to enjoying. I usually just stir it well a few times to mix as thoroughly as possible, and if the foam is still thick I’ll skim off a tablespoon or so before drinking it down.

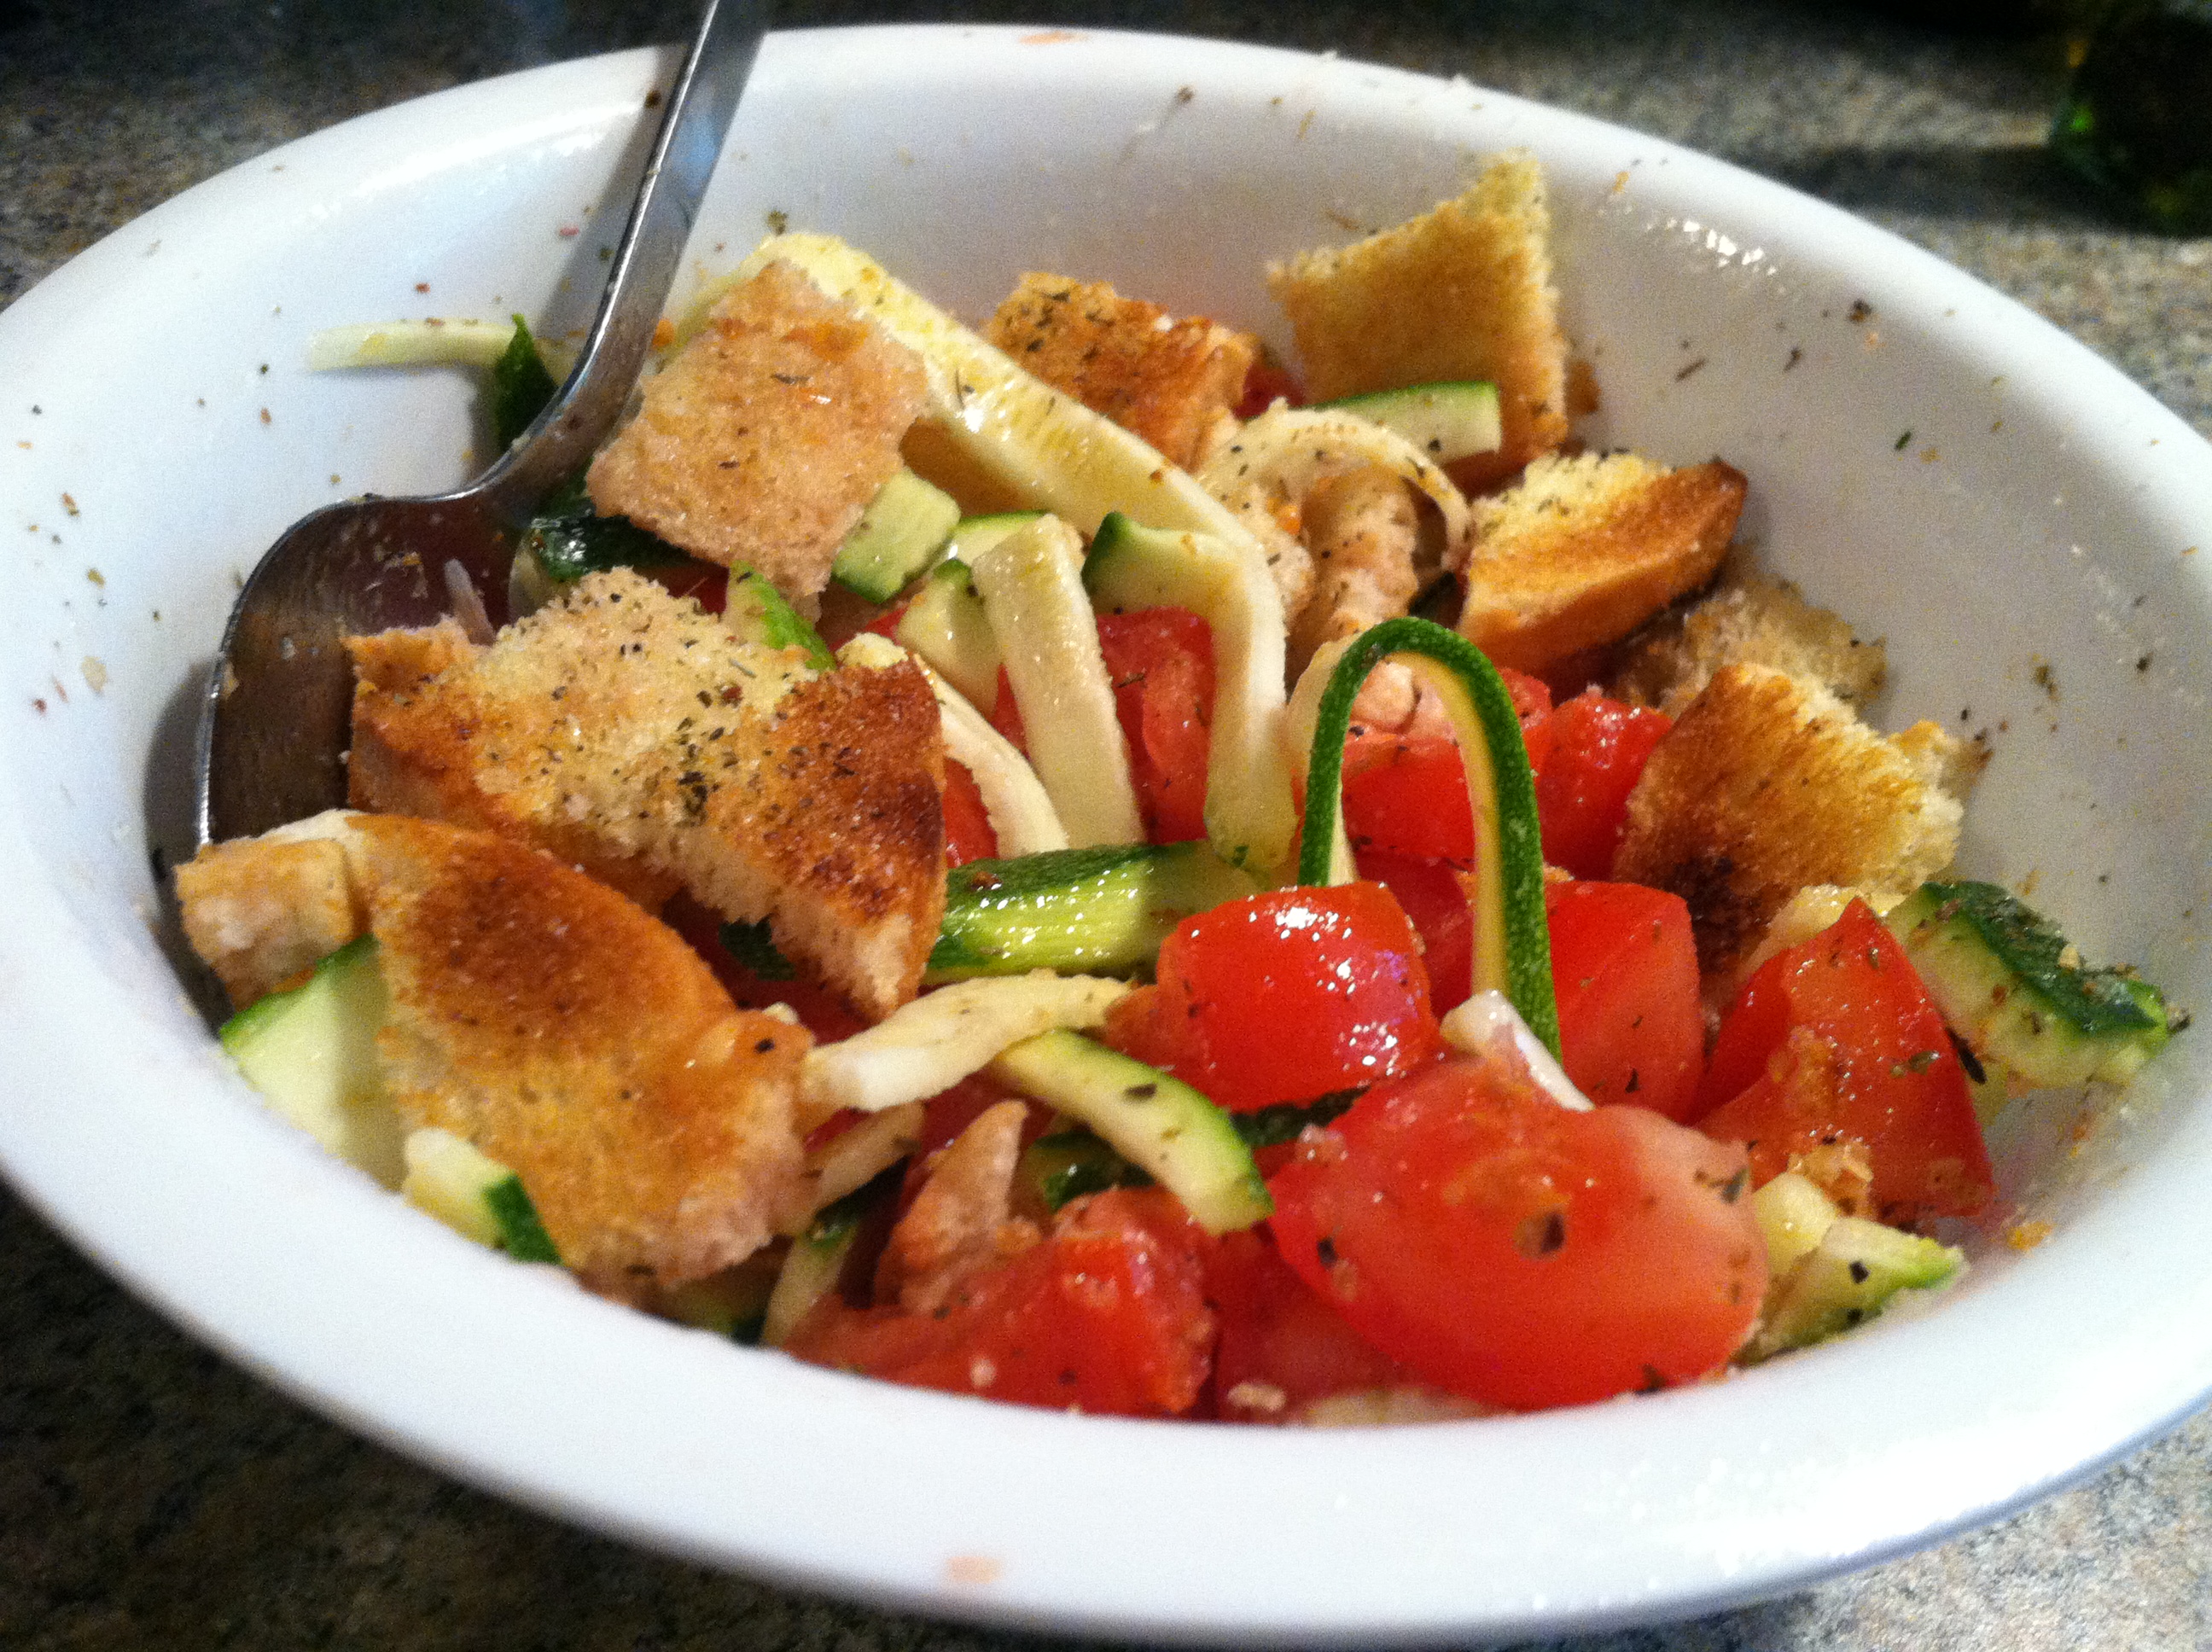
Tomato Zucchini Panzanella

.

As summer hits full speed, most people with gardens find themselves overwhelmed with tomatoes and/or zucchini. Prolific producers, these two are classic markers of the height of summer. This is also when tomatoes and zucchini are on sale at the grocery, and can be bought at the lowest price at farmer’s markets.

Once you have had your fill of eating tomatoes plain or with salt (the very best way, in my opinion), zucchini diced up in stir fry and as zoodles, and tomatoes on your salad, you may ask yourself, what else can I do with the twenty pounds I still have?

A good answer is: make this healthy, refreshing panzanella!

Panzanella, pronounced pan-za-nay-ya, is a Tuscan dish traditionally based on onions and stale bread. Some time in the 20th century tomatoes came into the picture and took center stage. Now most panzanella recipes are based on stale bread moistened with olive oil and vinegar, and tomatoes, with other ingredients like onion, basil, and garlic commonly added.

IMG_9525

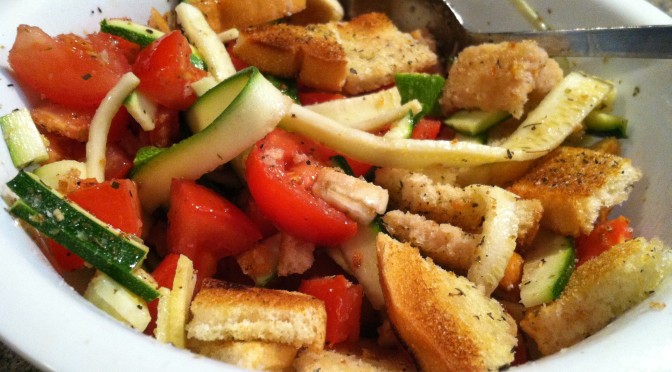
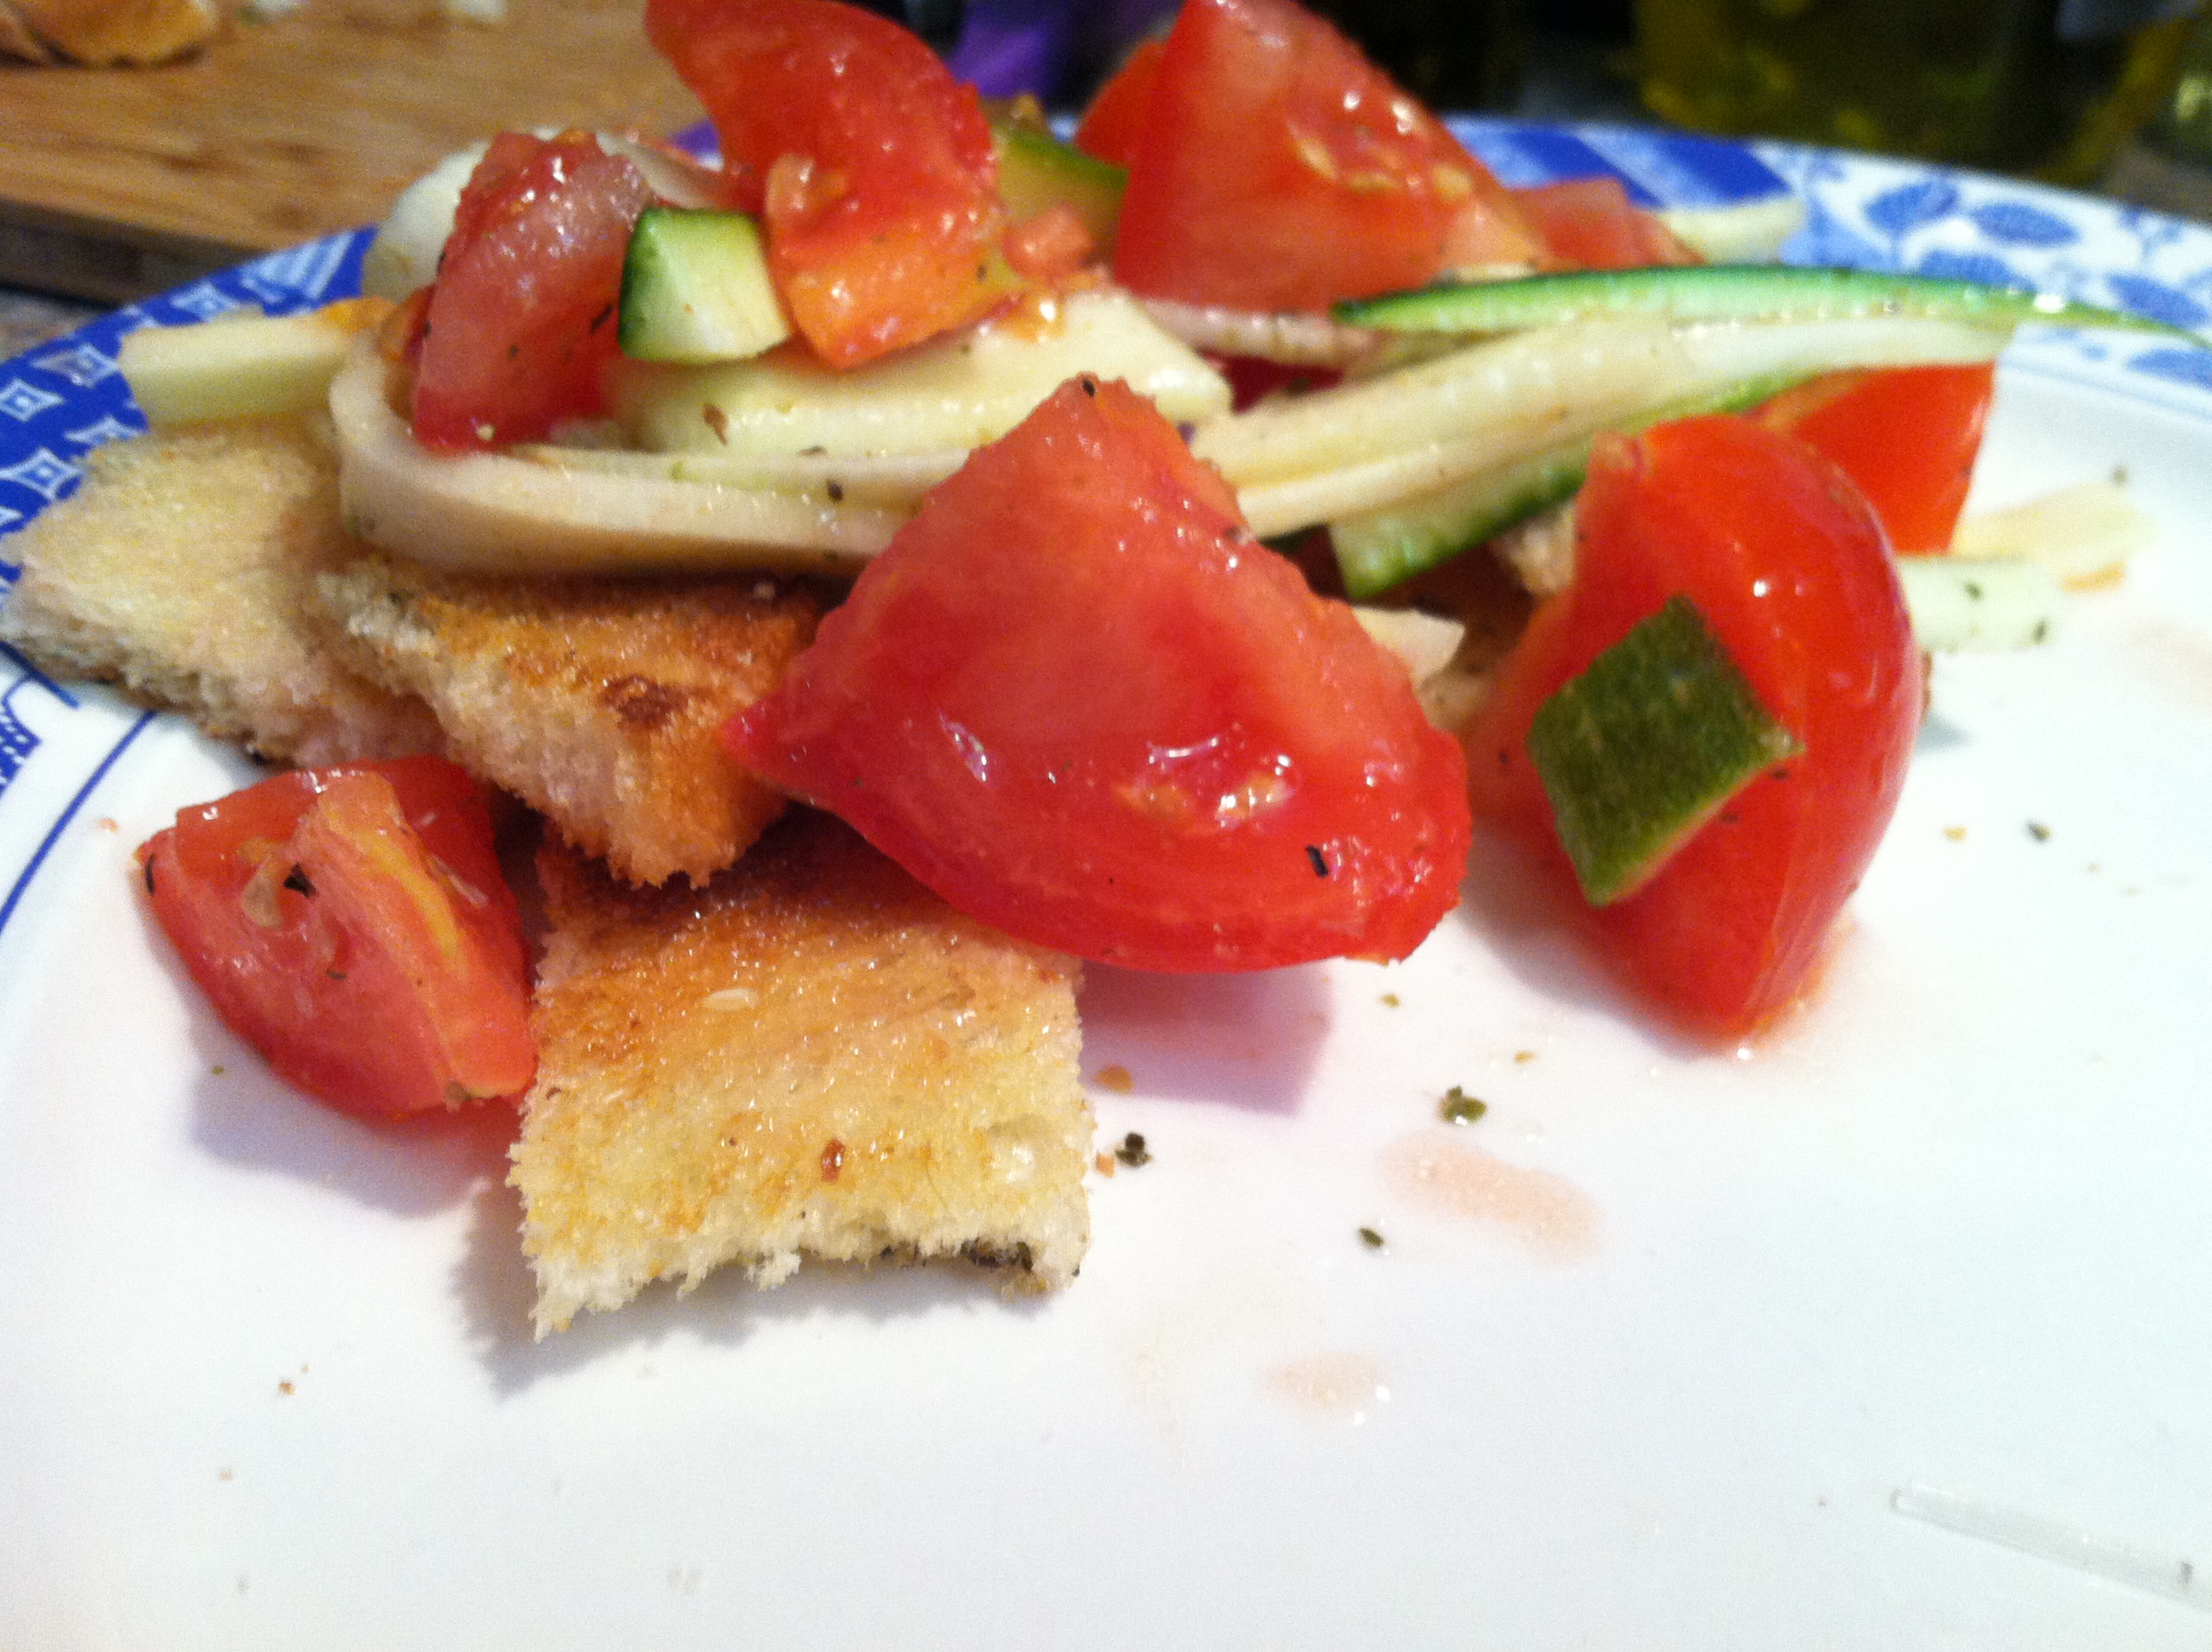
This salad is a fantastic side dish or snack, and can even be a light main meal in the summer heat. It can take advantage of old bread which might otherwise be thrown away, or you can toast fresh bread to get the same texture.

IMG_9513

Ingredients:

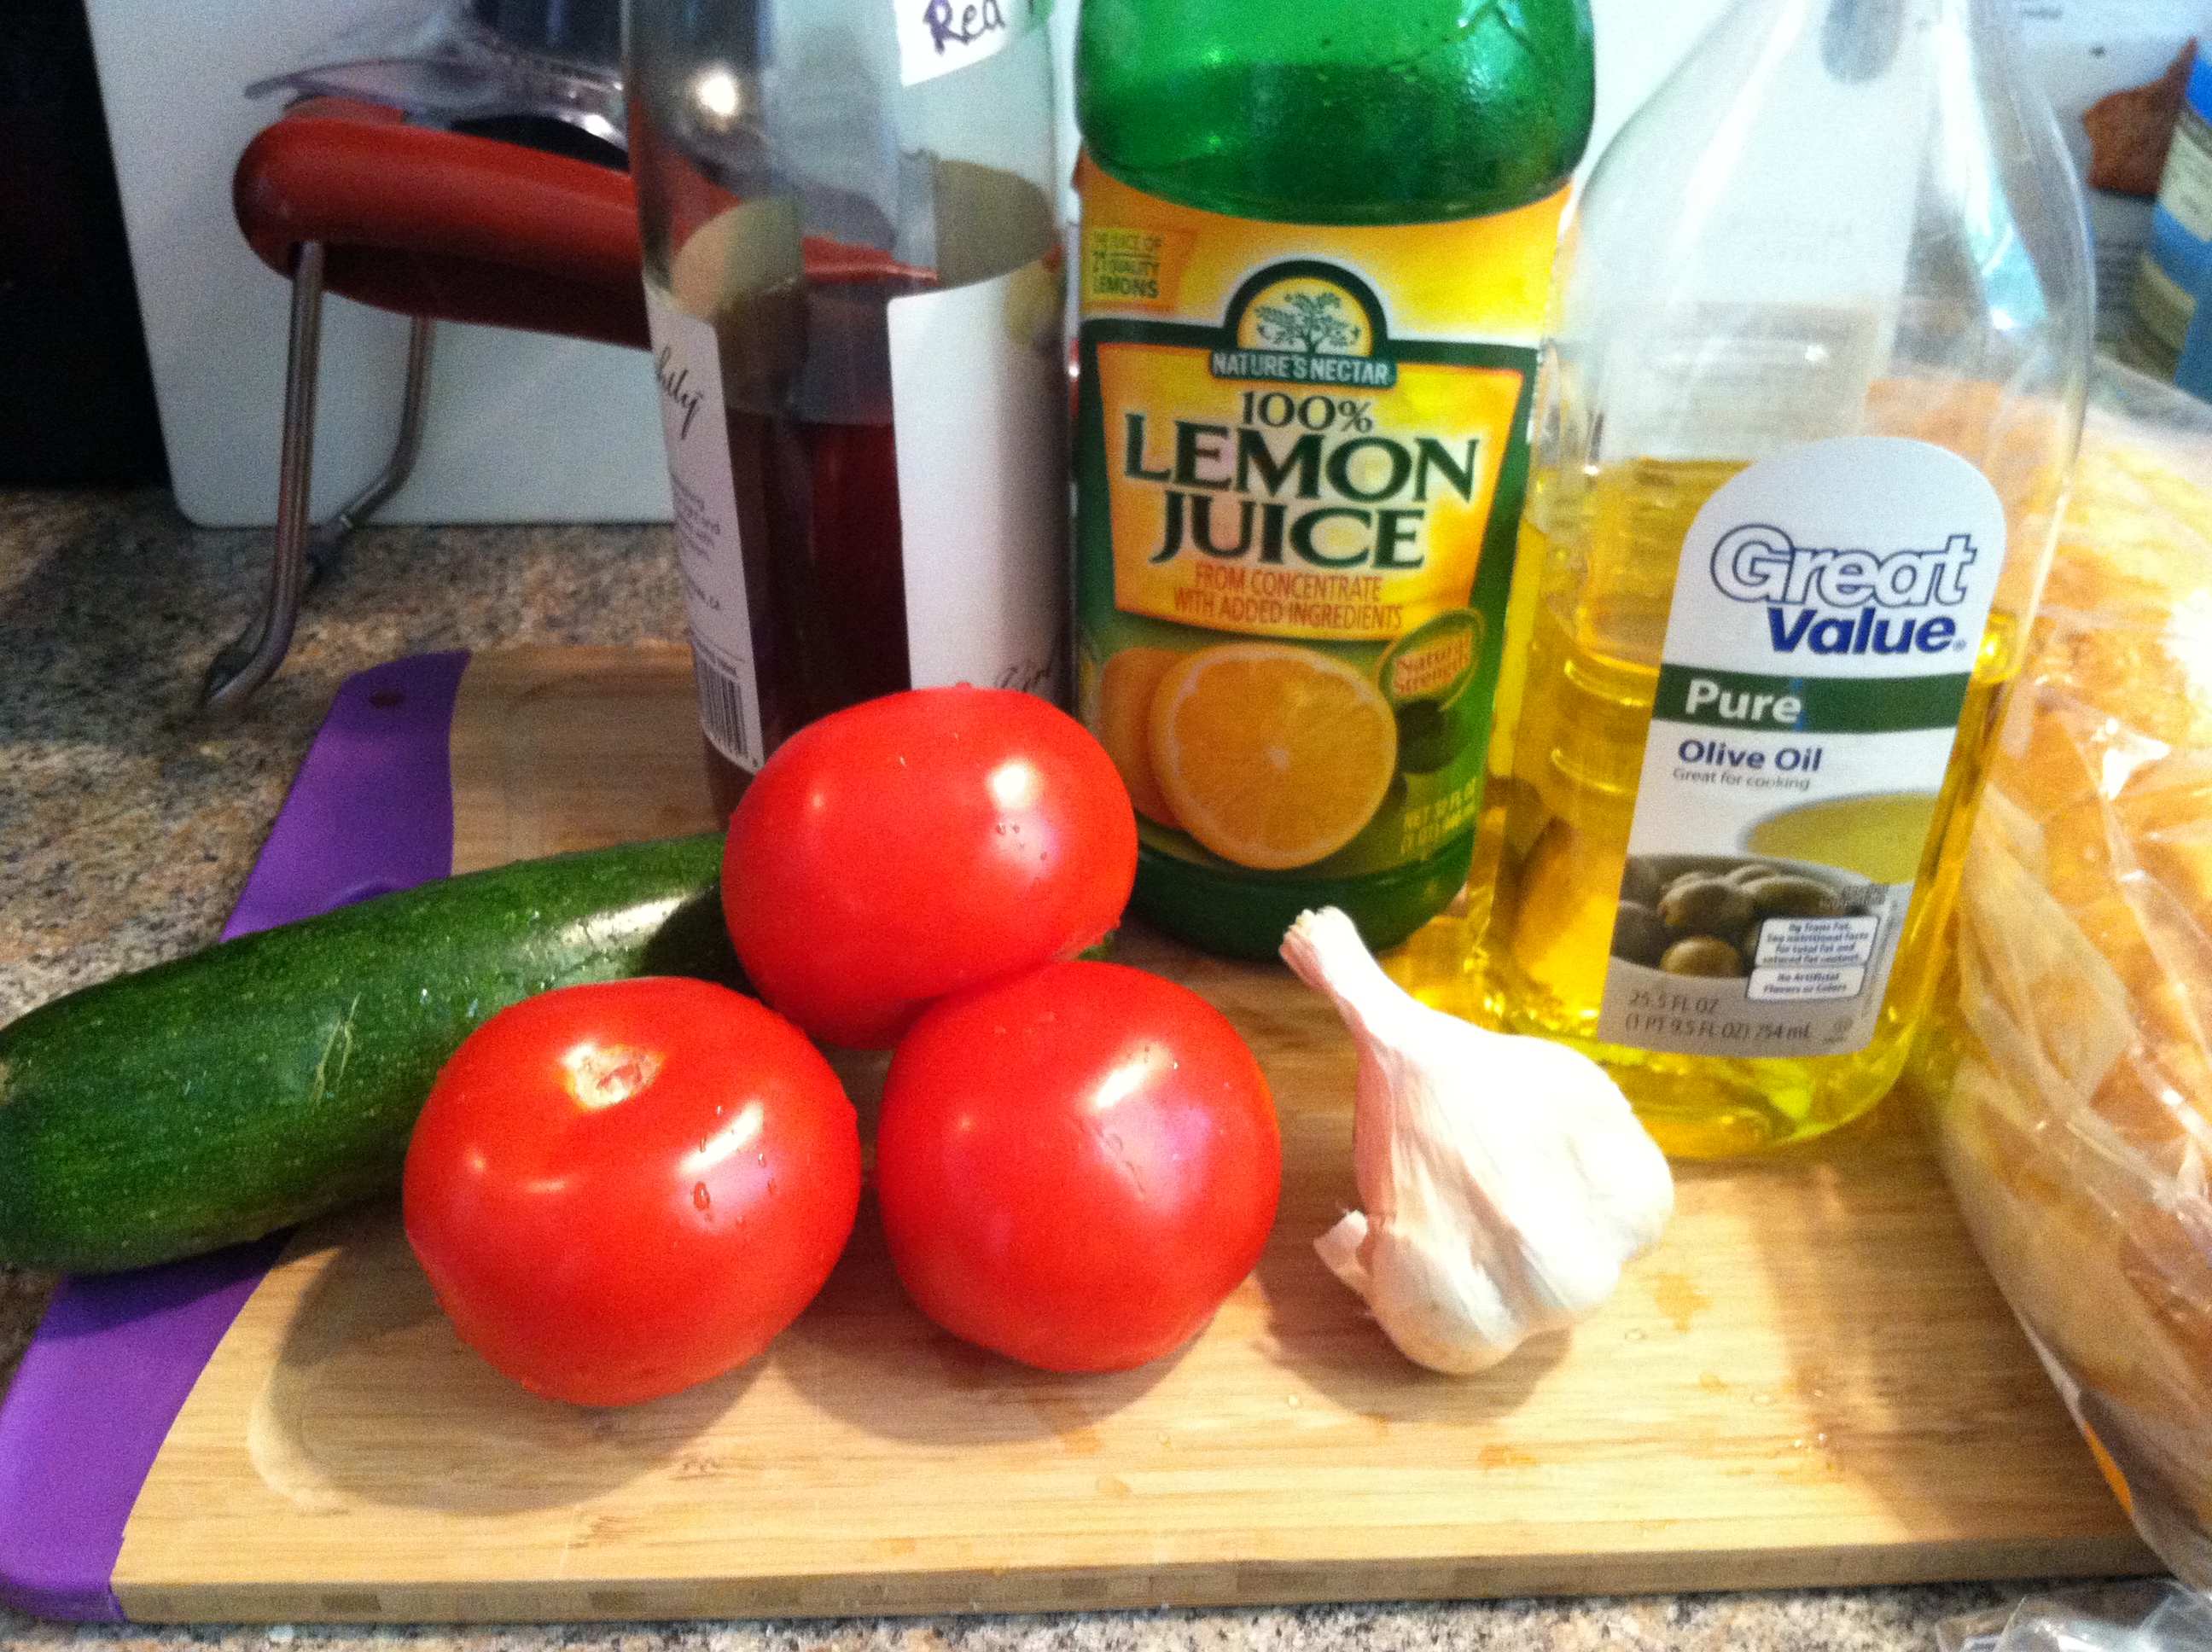
  • 3-4 ripe tomatoes
  • 1 small zucchini
  • 4 slices bread, toasted
  •  3-4 cloves fresh garlic
  • 3 tbsp lemon juice
  • 3 tbsp olive oil
  • 1/4 cup red wine vinegar
  • Salt & pepper

IMG_9517

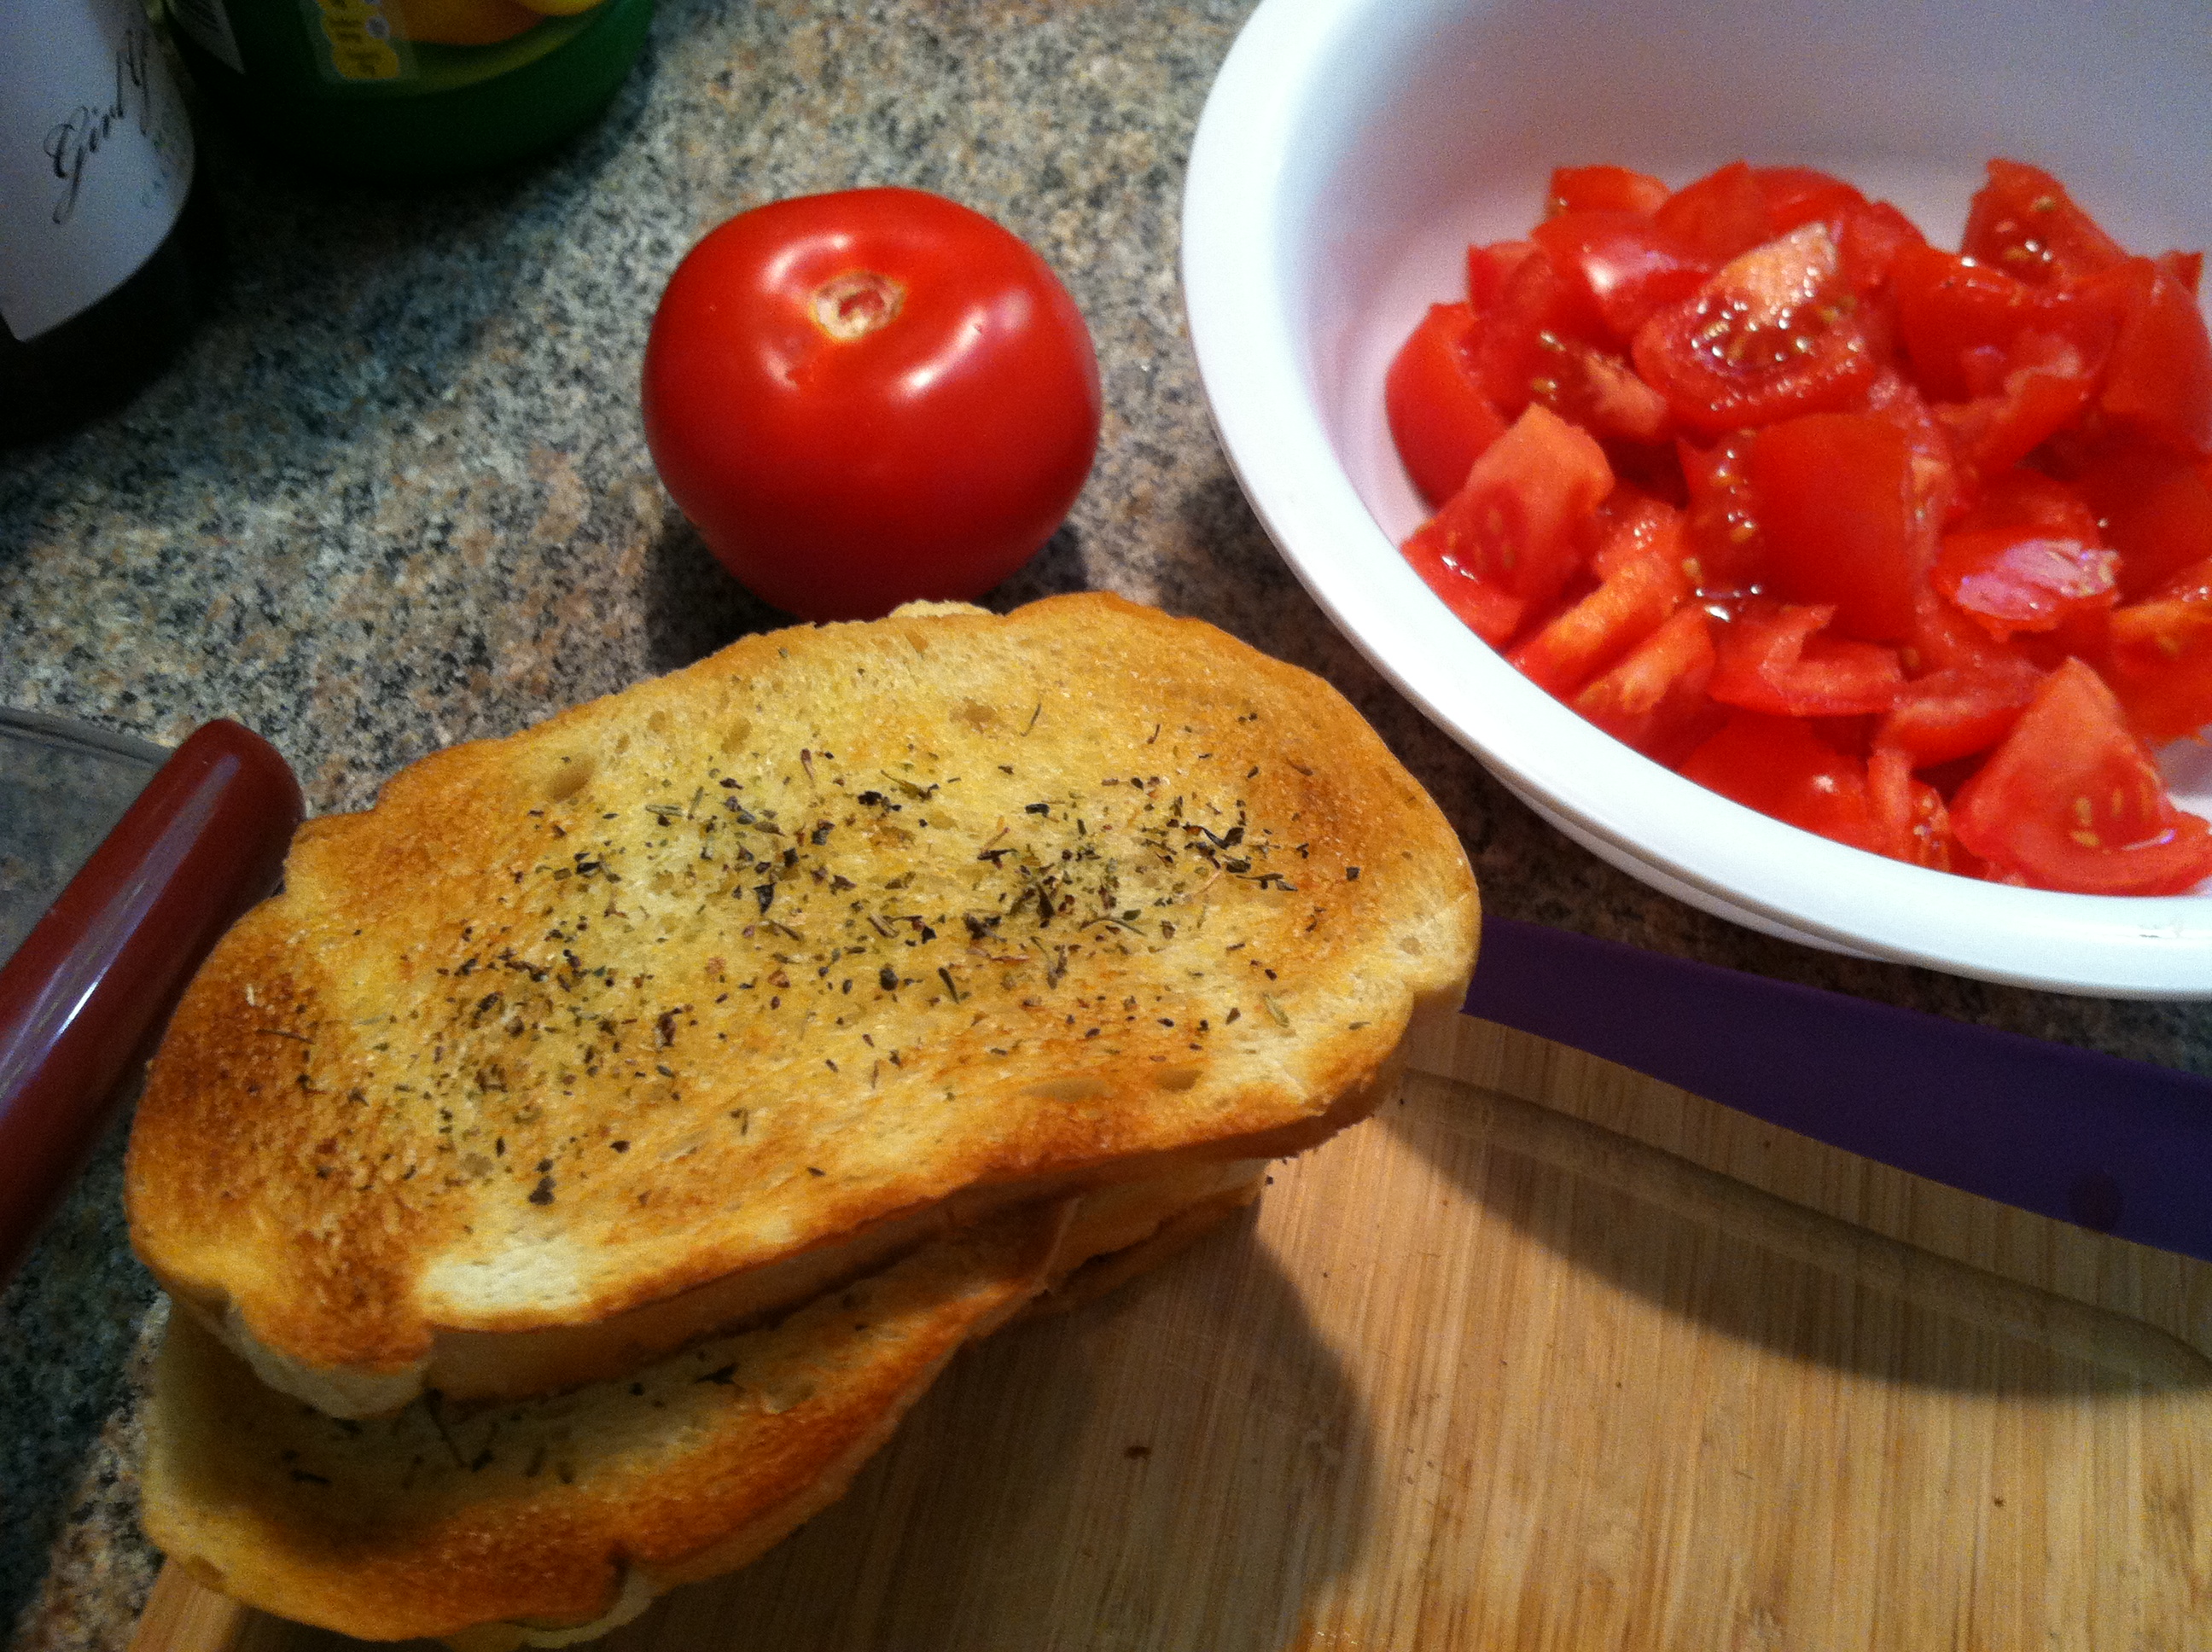
Step 1: Toast your bread, or use a few days’ old bread. I smeared a bit of butter and Italian seasonings on mine. You can use whatever type of bread you like.

IMG_9519

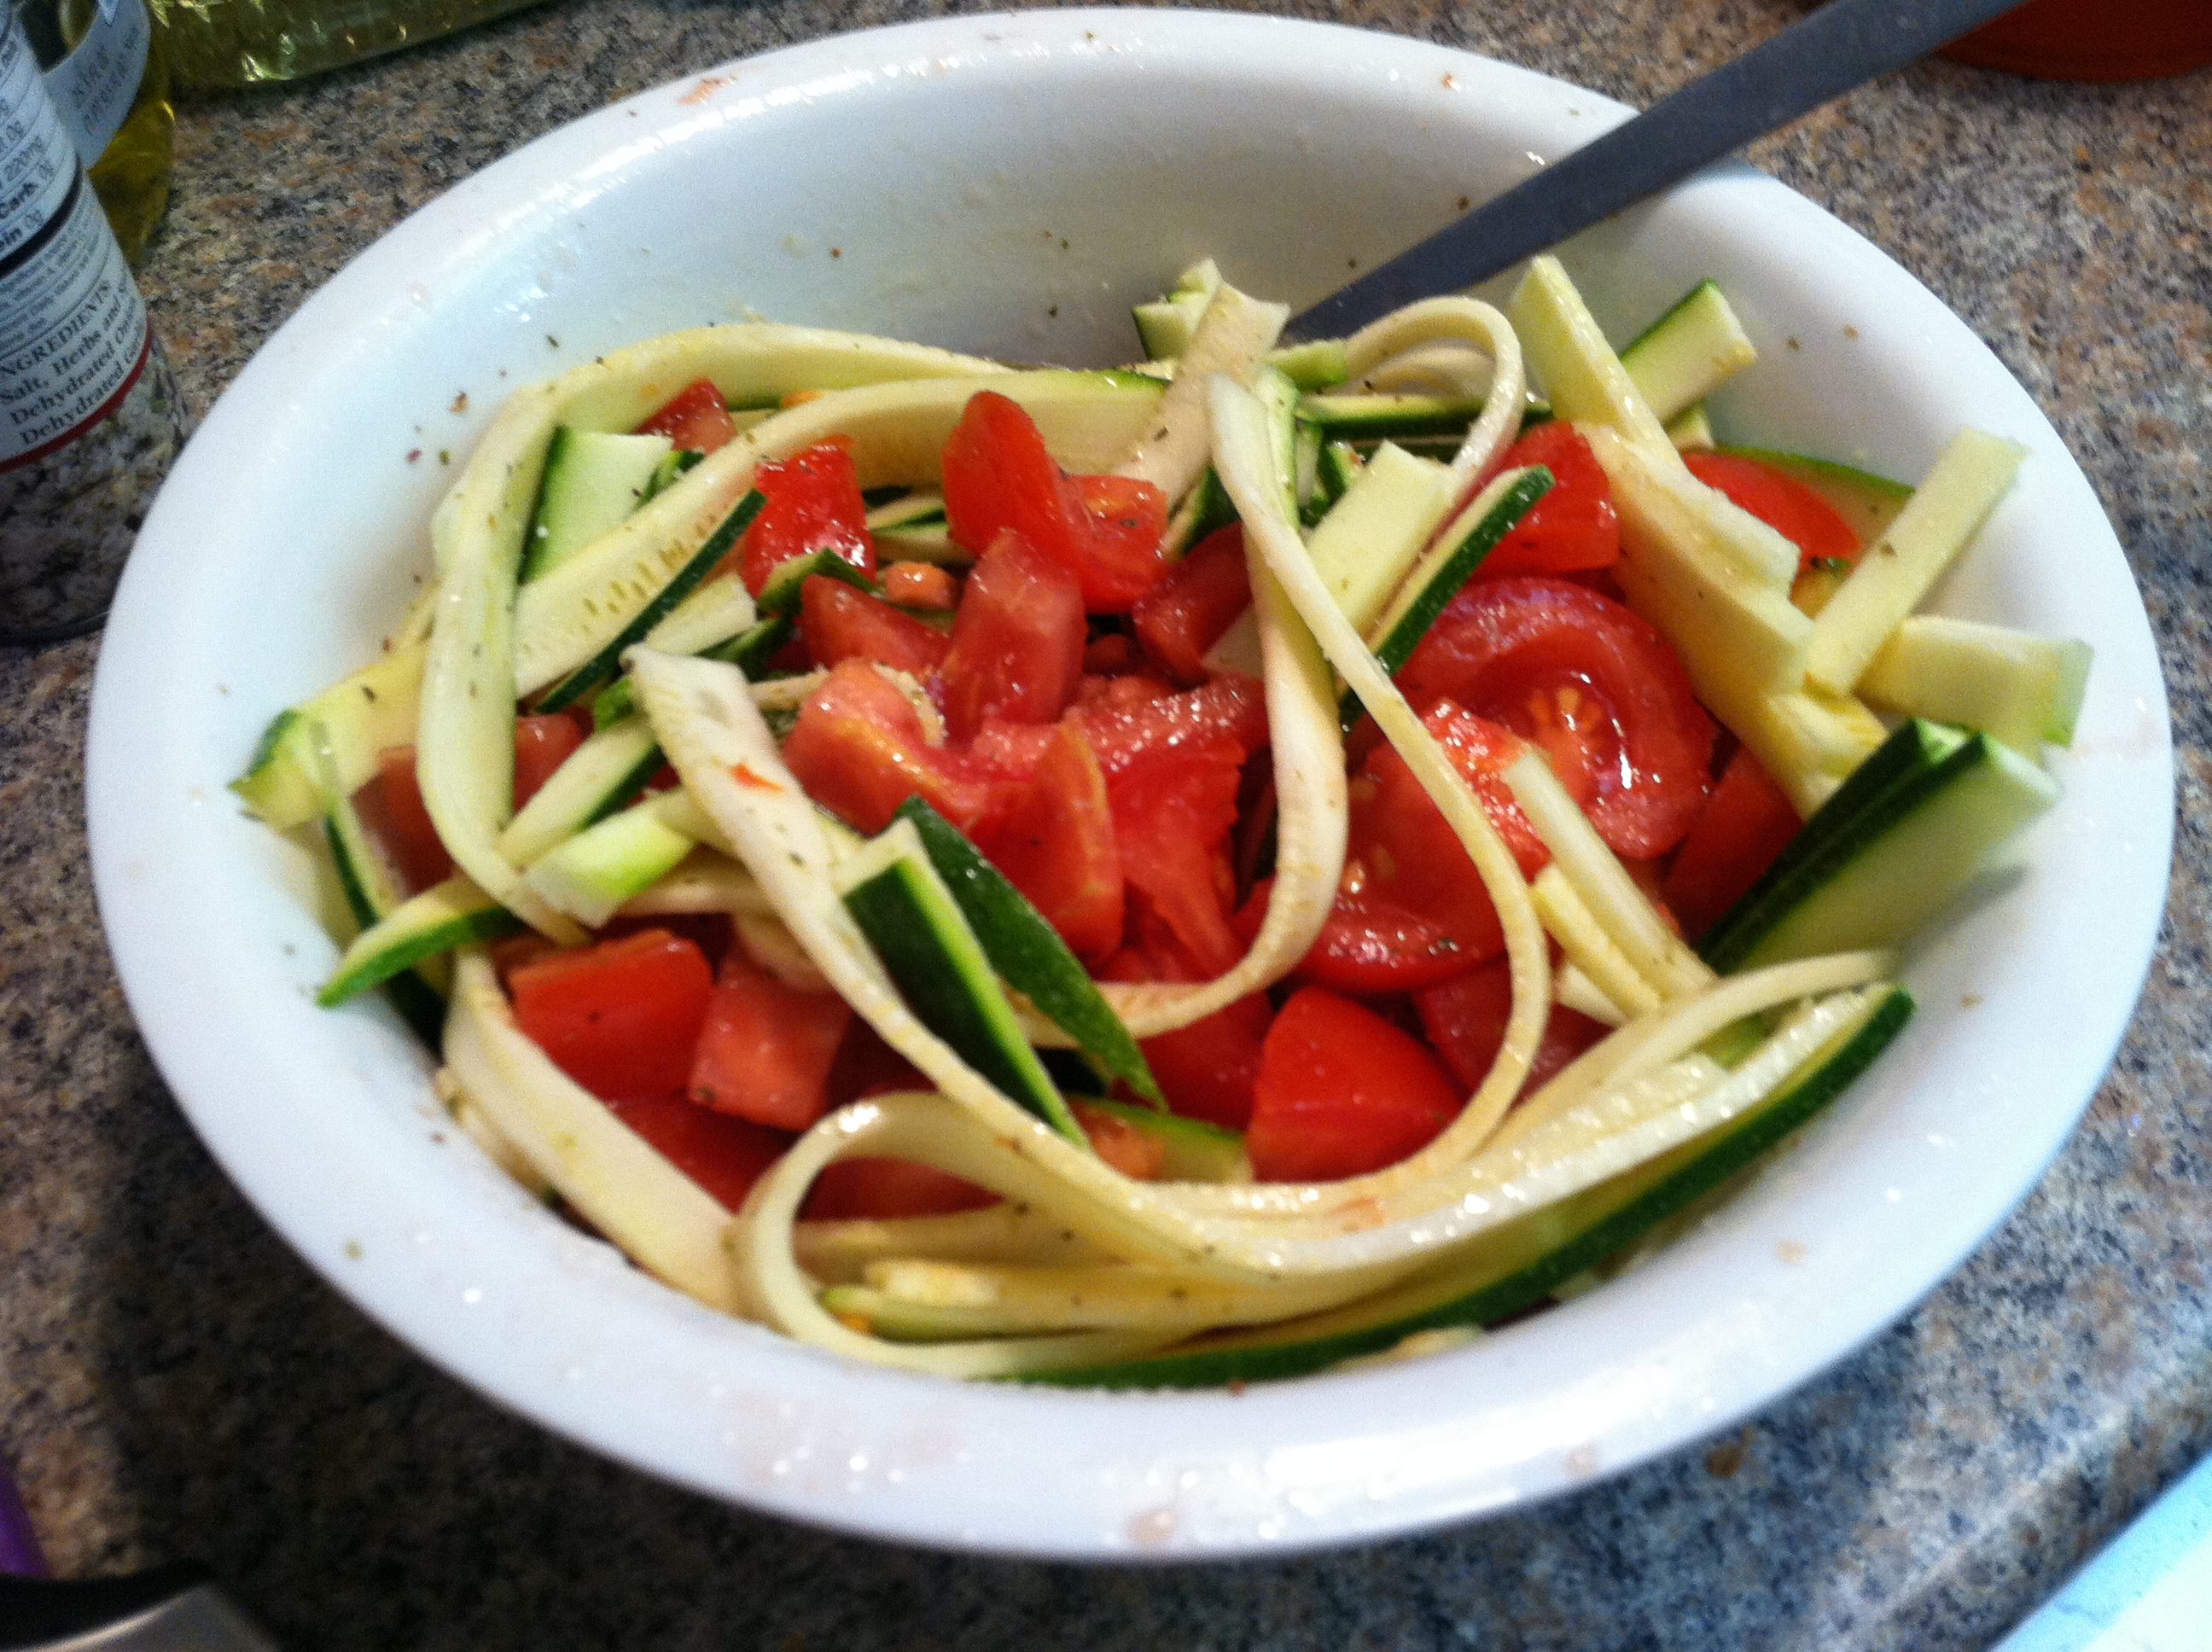
Step 2: Slice or shred your zucchini. I used my mandoline to make thin ribbons so they would take the marinade easier. Dice your tomatoes into cubes and chop the garlic. Mix in a bowl with the lemon juice, oil & vinegar.

IMG_9524

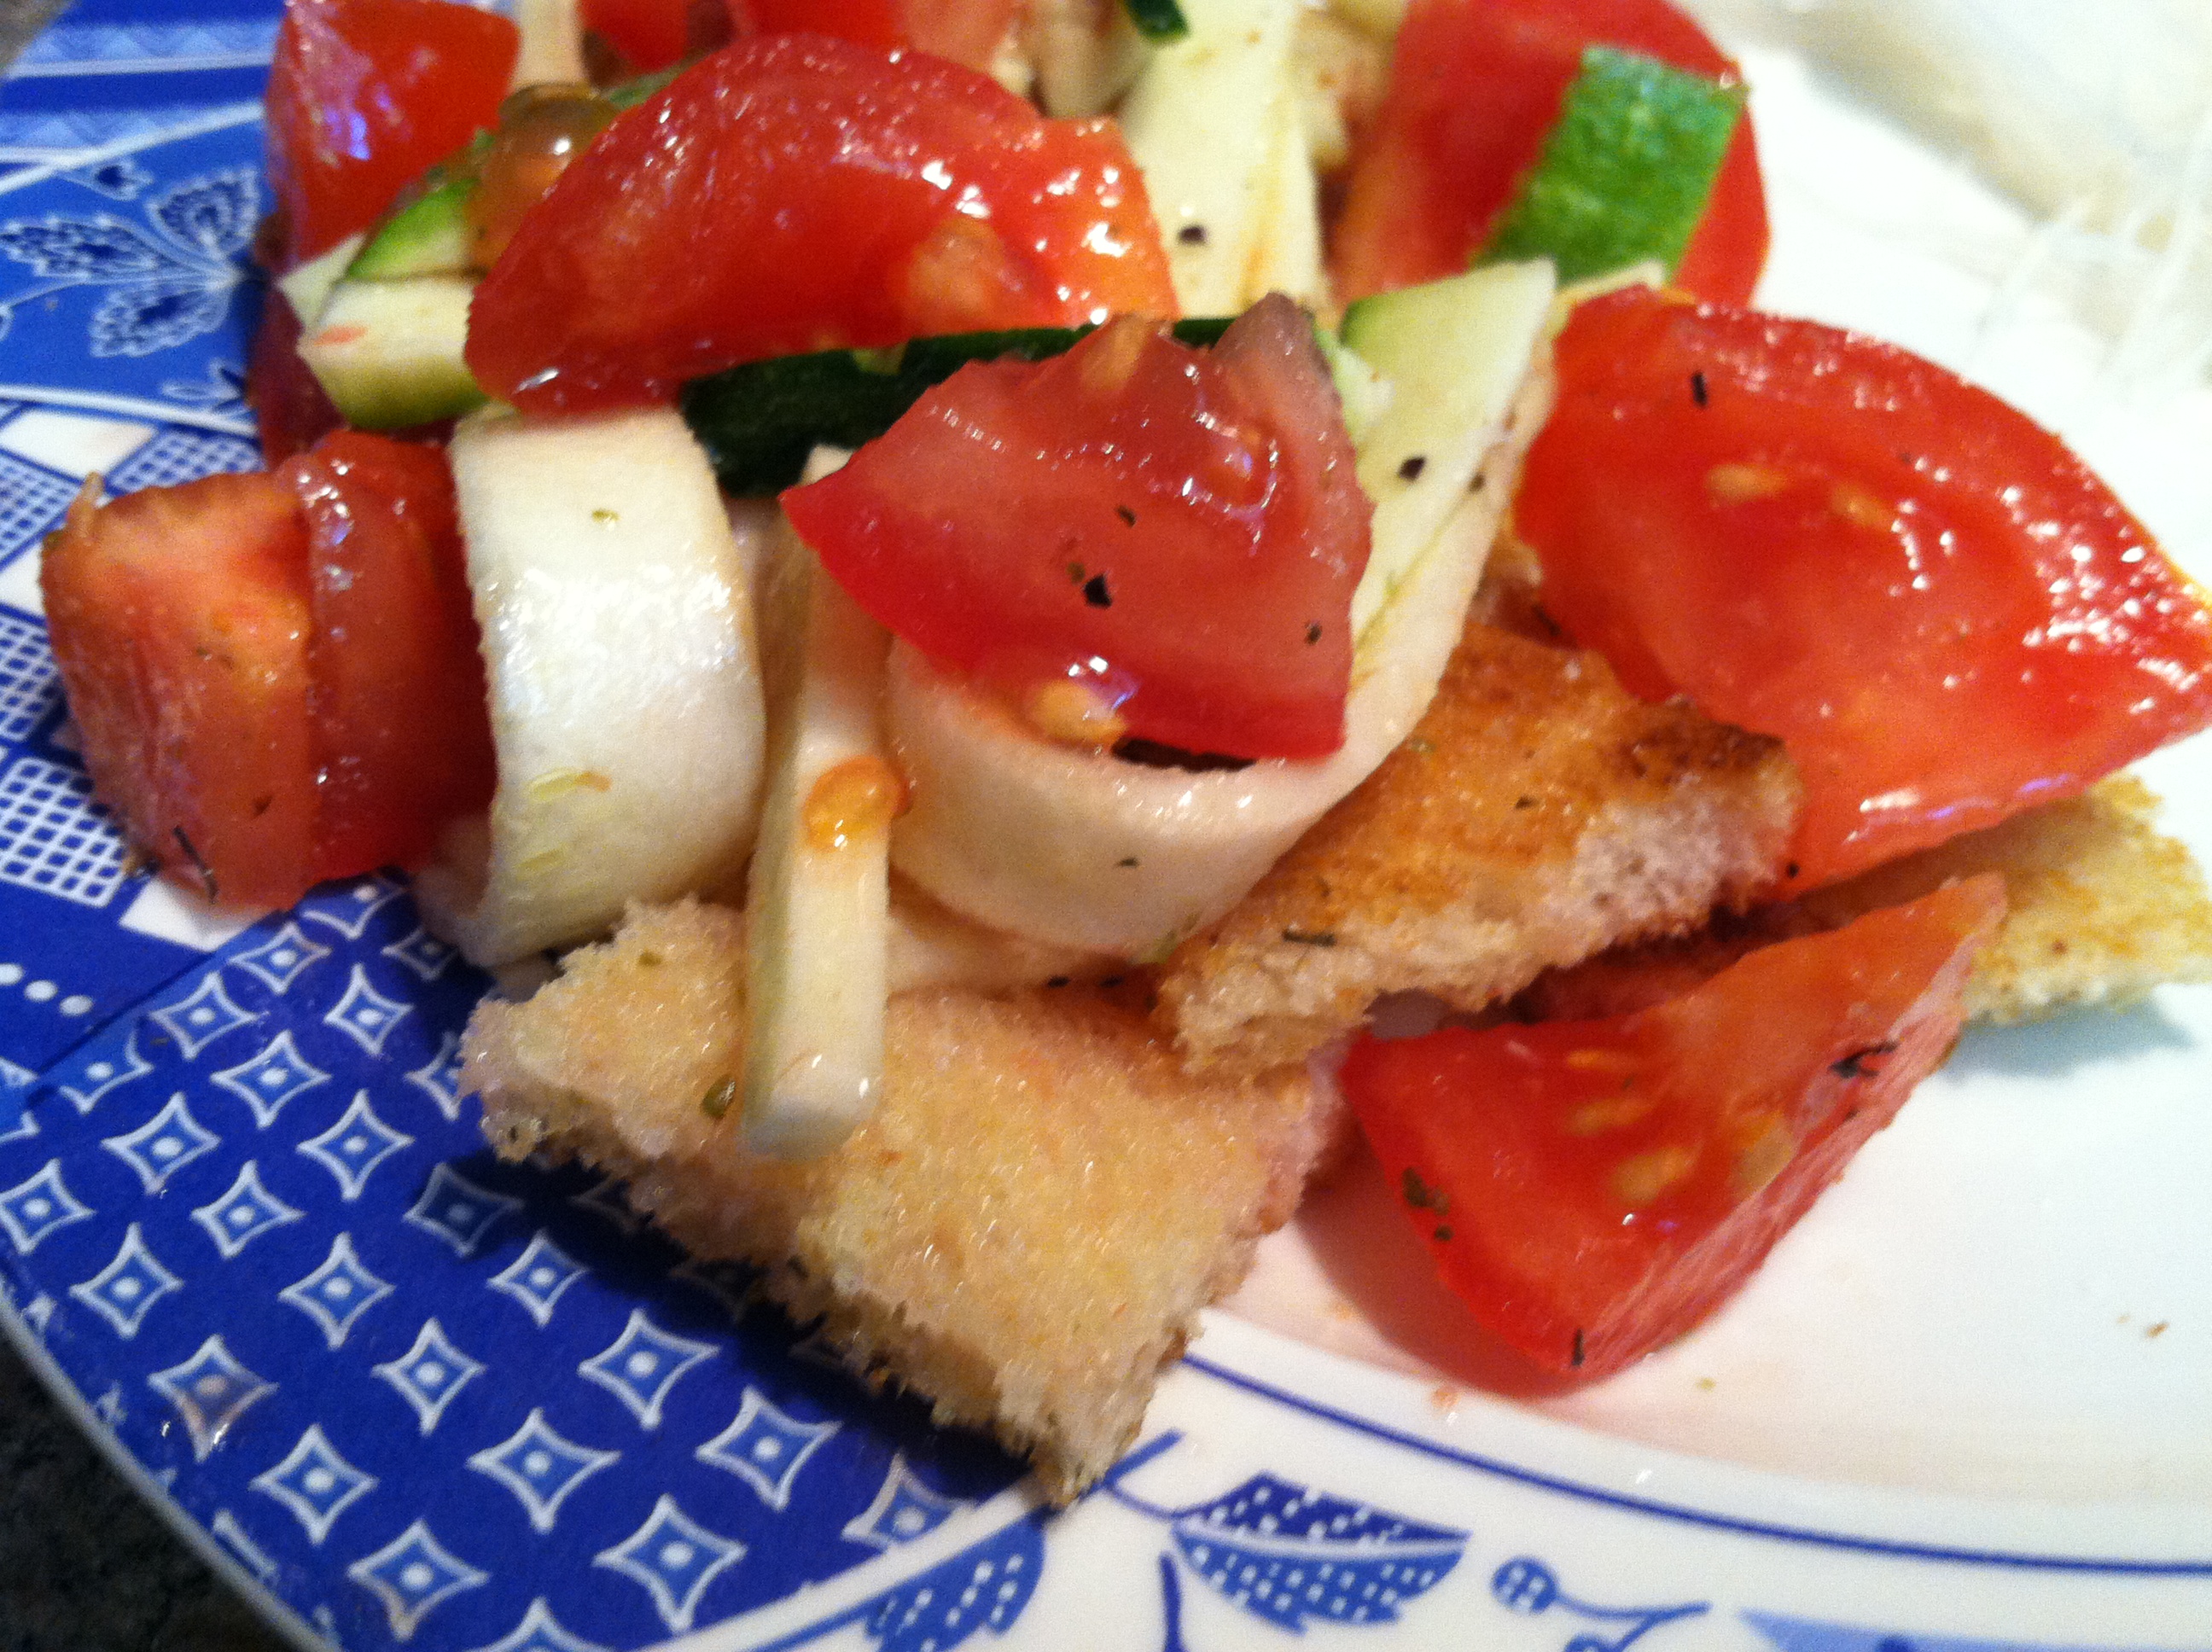
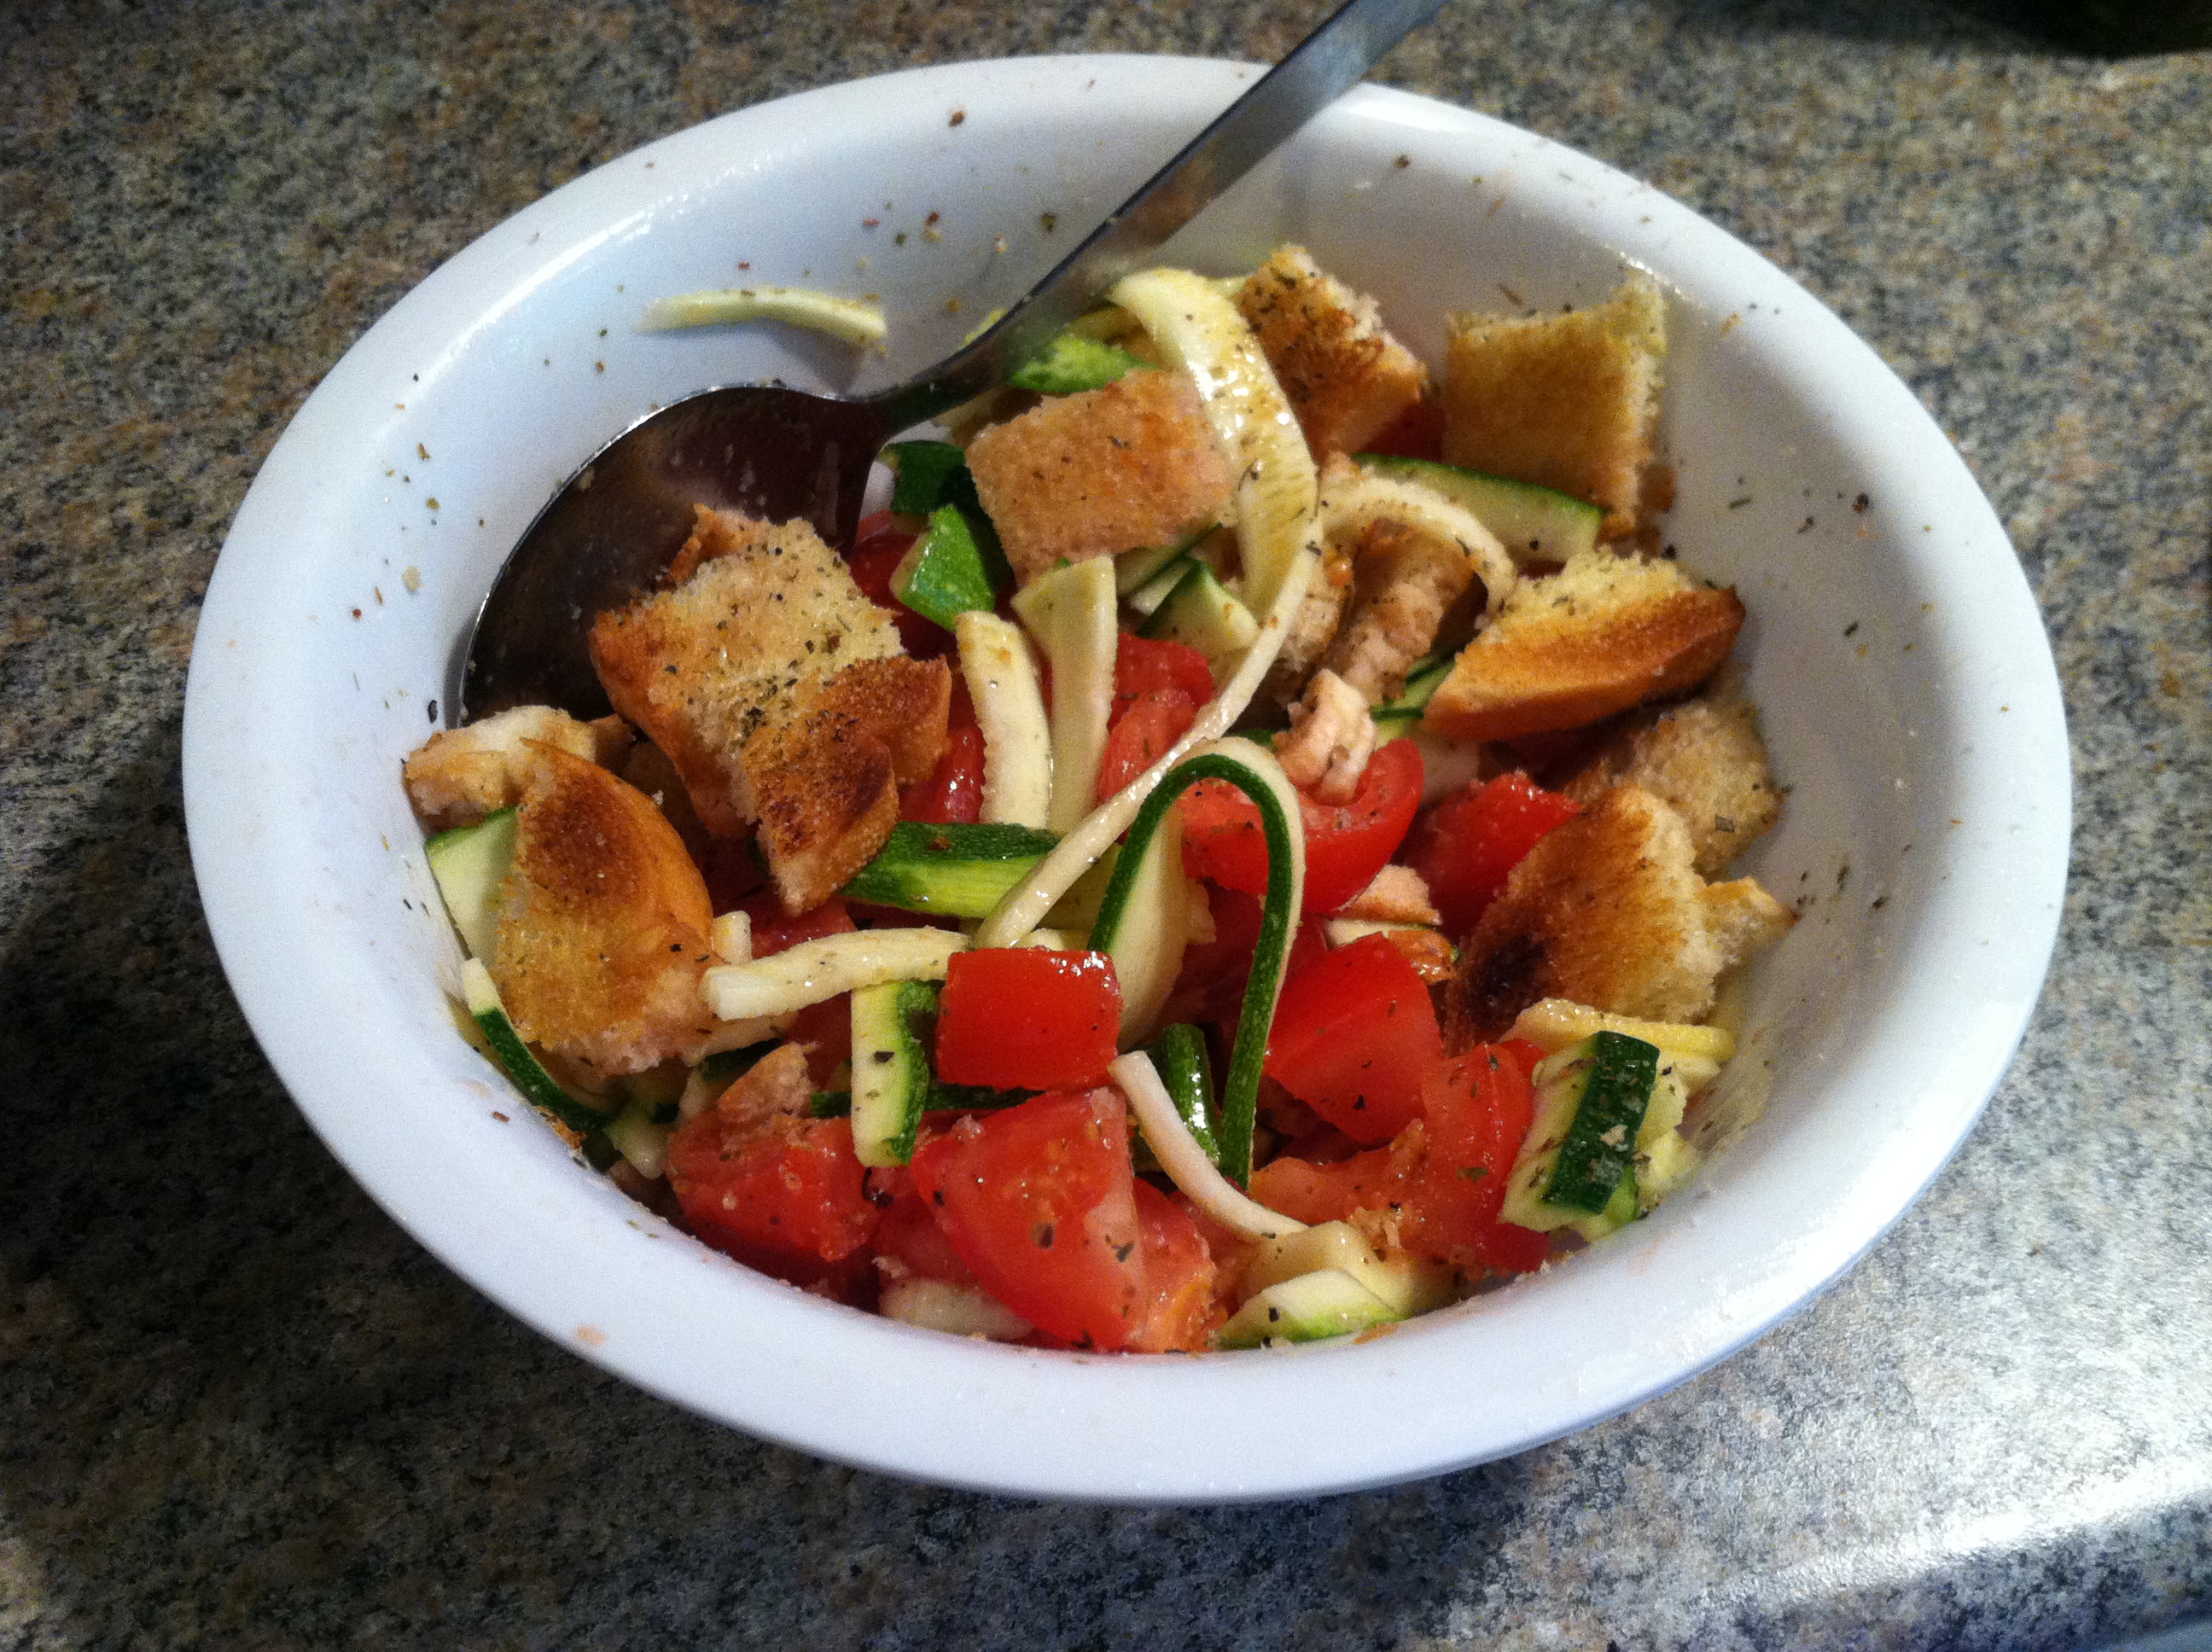
Step 3: Cut the bread into cubes, and mix everything together. You can leave this in the refrigerator for an hour or two to mix and meld the flavors, but don’t leave it too much longer than 1-2 hours or the bread goes from crisp but moist, to soggy.

IMG_9526

Add salt & pepper to taste, and enjoy!

IMG_9527


[amd-zlrecipe-recipe:28]


Vegan Banh Mi Bonanza


If you love veggies or are looking for a way to get more into your diet, this is a perfect solution. Unlike a typical sandwich containing nitrate-laced and high-sodium sliced deli “meats”, this is a fabulously healthy way to satisfy the most hard-core sandwich craving while doing your body a favor!

Bánh mì is a Vietnamese word for ‘bread’, which was imported by the French during its colonial period. The banh mi is different from the traditional French baguette in that is it made with rice flour as well as wheat flour, typically has a thinner crust, and is ‘airier’ or ‘lighter’. Typically the fillings included meats of all kinds, like pork belly, sausage, pate, pork floss (what even is that?), grilled chicken, canned sardines, meatballs, head cheese, fried eggs, or tofu.

Accompanying vegetables typically include fresh cucumber slices, cilantro (leaves of the coriander plant) and pickled carrots and daikon in shredded form. Common condiments include spicy chili sauce, sliced chilis, mayonnaise, and cheese.

IMG_9490

This particular creation was made using the veggies I most enjoy, and had available. I encourage you to do the same, but also try some new things. If you’ve never had sprouts, give it a shot. Try making your own hummus, it’s super easy! Hummus is also a great way to add extra bulk and protein to vegan meals.

Ingredients:

  • 1 large soft hoagie bun
  • 1 small zucchini
  • 1 large beet
  • 1/4 cup sprouts
  • 1/2 avocado
  • 2 tbsp hummus (try black bean hummus!)
  • 1-2 romaine leaves and/or spinach
  • 2 tbsp red wine vinegar
  • 1 tbsp olive oil
  • salt & pepper to taste

IMG_9482

Step 1: In a frying pan, cook thin slices of zucchini until golden brown on both sides, about 3 minutes per side. (Grilling would also work. Other veggies you could use include: onions, mushrooms, bell peppers, hot peppers, eggplant, carrot).

IMG_9486

Step 2: On one piece of bread, spread your hummus. (Guacamole would also be delish here). On the other slice, drizzle the olive oil and vinegar, and sprinkle with salt & pepper.

IMG_9487

Step 3: Layer all the veggies onto the bread. I roasted my beet in the oven at 350 for 45 minutes then peeled it. You can do this ahead of time, or use canned & drained beets to save time.

IMG_9488

Here it is with the sprouts & sliced avocado. Then just try to mush the two halves together without losing most of the fillings.

IMG_9489

And there you have it! This gigantic, delicious beast tasted AMAZING and kept me full for hours. You would be surprised how easy to put together these are once you have whatever ingredients you want to use, and just how dang tasty they are. For more info and recipe ideas, check out VietWorldKitchen.


Creamy Chili Coleslaw


Summertime always calls for easy to make-ahead side dishes and toppings that you can keep on hand in the refrigerator for an impromptu get-together or picnic. For this reason we have created a whole host of pasta salads, potato salads, and other easy tossed side dishes able to be served hot, cold, or room temperature. One of my current favorites is coleslaw.

Coleslaw is a great choice because cabbage is a nutritious, fibrous food that’s readily available and affordable nearly all the time, and there are so many ways to dress it up. You can add shredded broccoli or other veggies, make it sweet, creamy, tangy, or spicy. In this recipe there’s a little bit of it all for a complex but versatile flavor.

Ingredients:

  • 1/2 head cabbage, shredded
  • 1 celery stalk, diced
  • 2 large carrots, shredded
  • 1/3 cup mayonnaise
  • 2 tbsp cider vinegar
  • 2 tbsp lemon juice
  • 2 tbsp olive oil
  • 1 tbsp mustard
  • 2 tsp cayenne pepper
  • Spices to taste
  • Optional: 2 tbsp raisins or dried cranberries, 2 tbsp sunflower seeds

IMG_9647

Step 1: Cut or shred your cabbage, carrots & celery.

IMG_9648

Step 2: In a bowl, combine all liquid ingredients & spices. Mix into the slaw.

IMG_9649

Step 3: For a sweet & crunchy taste, mix in raisins or dried cranberries & some sunflower seeds (or pumpkin seeds, crushed almonds, or pistachios).

Serve on top of your favorite burger, or on its own as a delicious refreshing summer side.

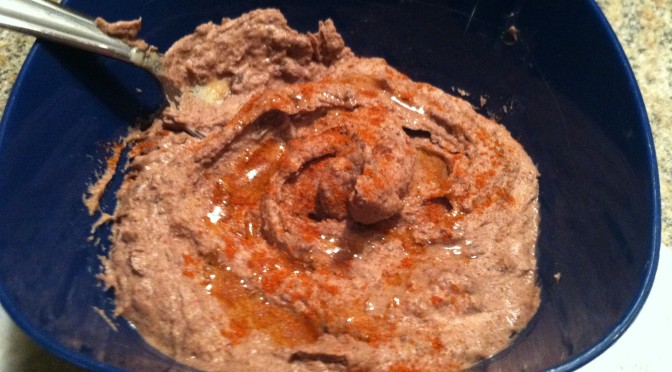
Blender Black Bean Hummus


As a food, hummus is enjoying more and more notice in North America. Long a staple of cuisines such as the Mediterranean, Egyptian, and Indian cultures, America has been slower to recognize its unique texture, taste, and health benefits. Luckily, this is changing as stores begin carrying national brands as well as their own store brands, and consumers are driving this change.

Hummus has a reputation as a ‘clean’ food, and it definitely deserves its healthy reputation. Each ingredient in hummus is a superfood in their own right: chickpeas, olive oil, tahini, garlic, and lemon juice. All these items have fabulous health benefits. Unfortunately, ‘Big Food’ can manage to take all these good things and ruin it with additives, chemicals, sweeteners, and preservatives.

The great news is, hummus is super easy to make! And the even better news is that it is so easy to create new hummus flavors and recipes based on what you enjoy. For a plain classic hummus recipe, check out this post, and for a different take, read my Feta and Red Pepper Hummus recipe. On the future try-it list: Beet hummus & edamame hummus. Keep an eye out for those posts.

IMG_9480

In this recipe, I show how you don’t have to stick to the expected ‘chickpea’ for the protein and texture. Any old bean type will do honestly, so be creative. If chickpeas don’t do it for you, try lima beans, or black eyed peas. As long as it is in the legume family it should work out texture wise.

Using dried beans makes this recipe incredibly cheap, but you could use canned beans to skip the cooking step; just add straight to the blender. Also if you don’t want to buy a whole can of tahini, you can use any nut butter like peanut butter or almond butter. All tahini is, is roasted and blended sunflower seeds.

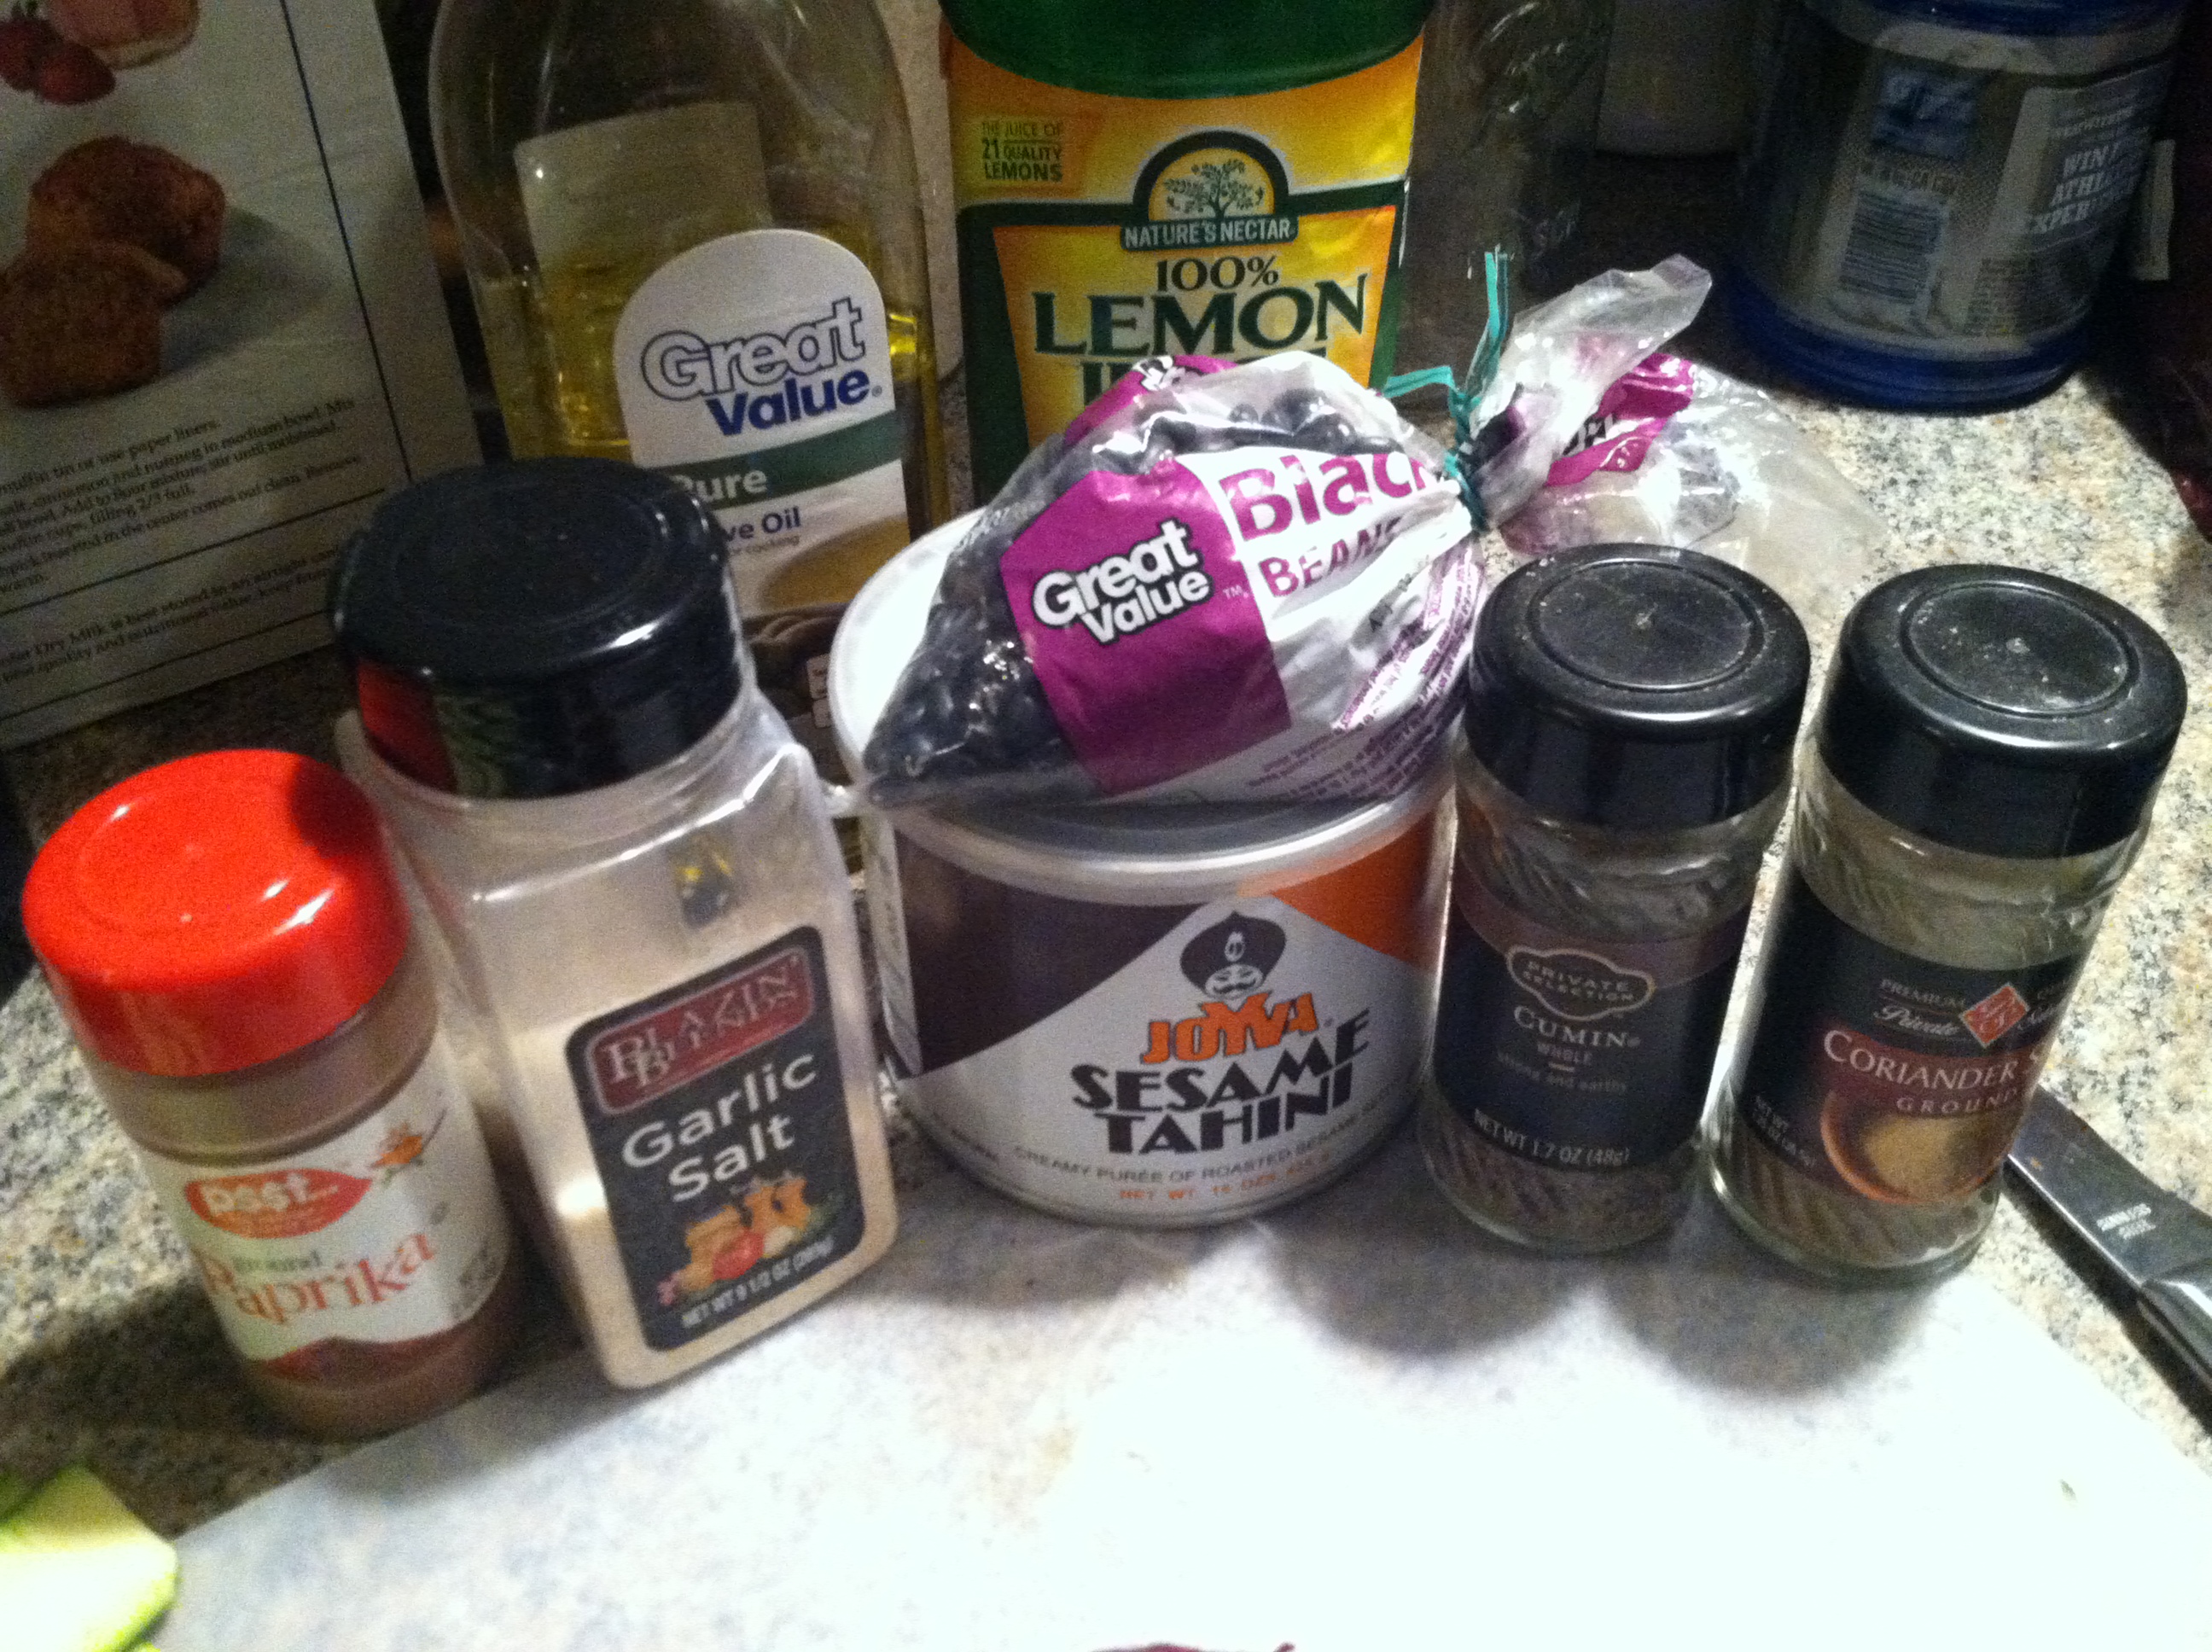
Ingredients:

  • 1 cup rinsed black beans
  • 2 tbsp olive oil
  • 2 tbsp tahini
  • 2 tbsp lemon juice
  • 1 tsp garlic salt
  • 1 tsp coriander
  • 1 tsp cumin
  • 1 tsp paprika

IMG_9477

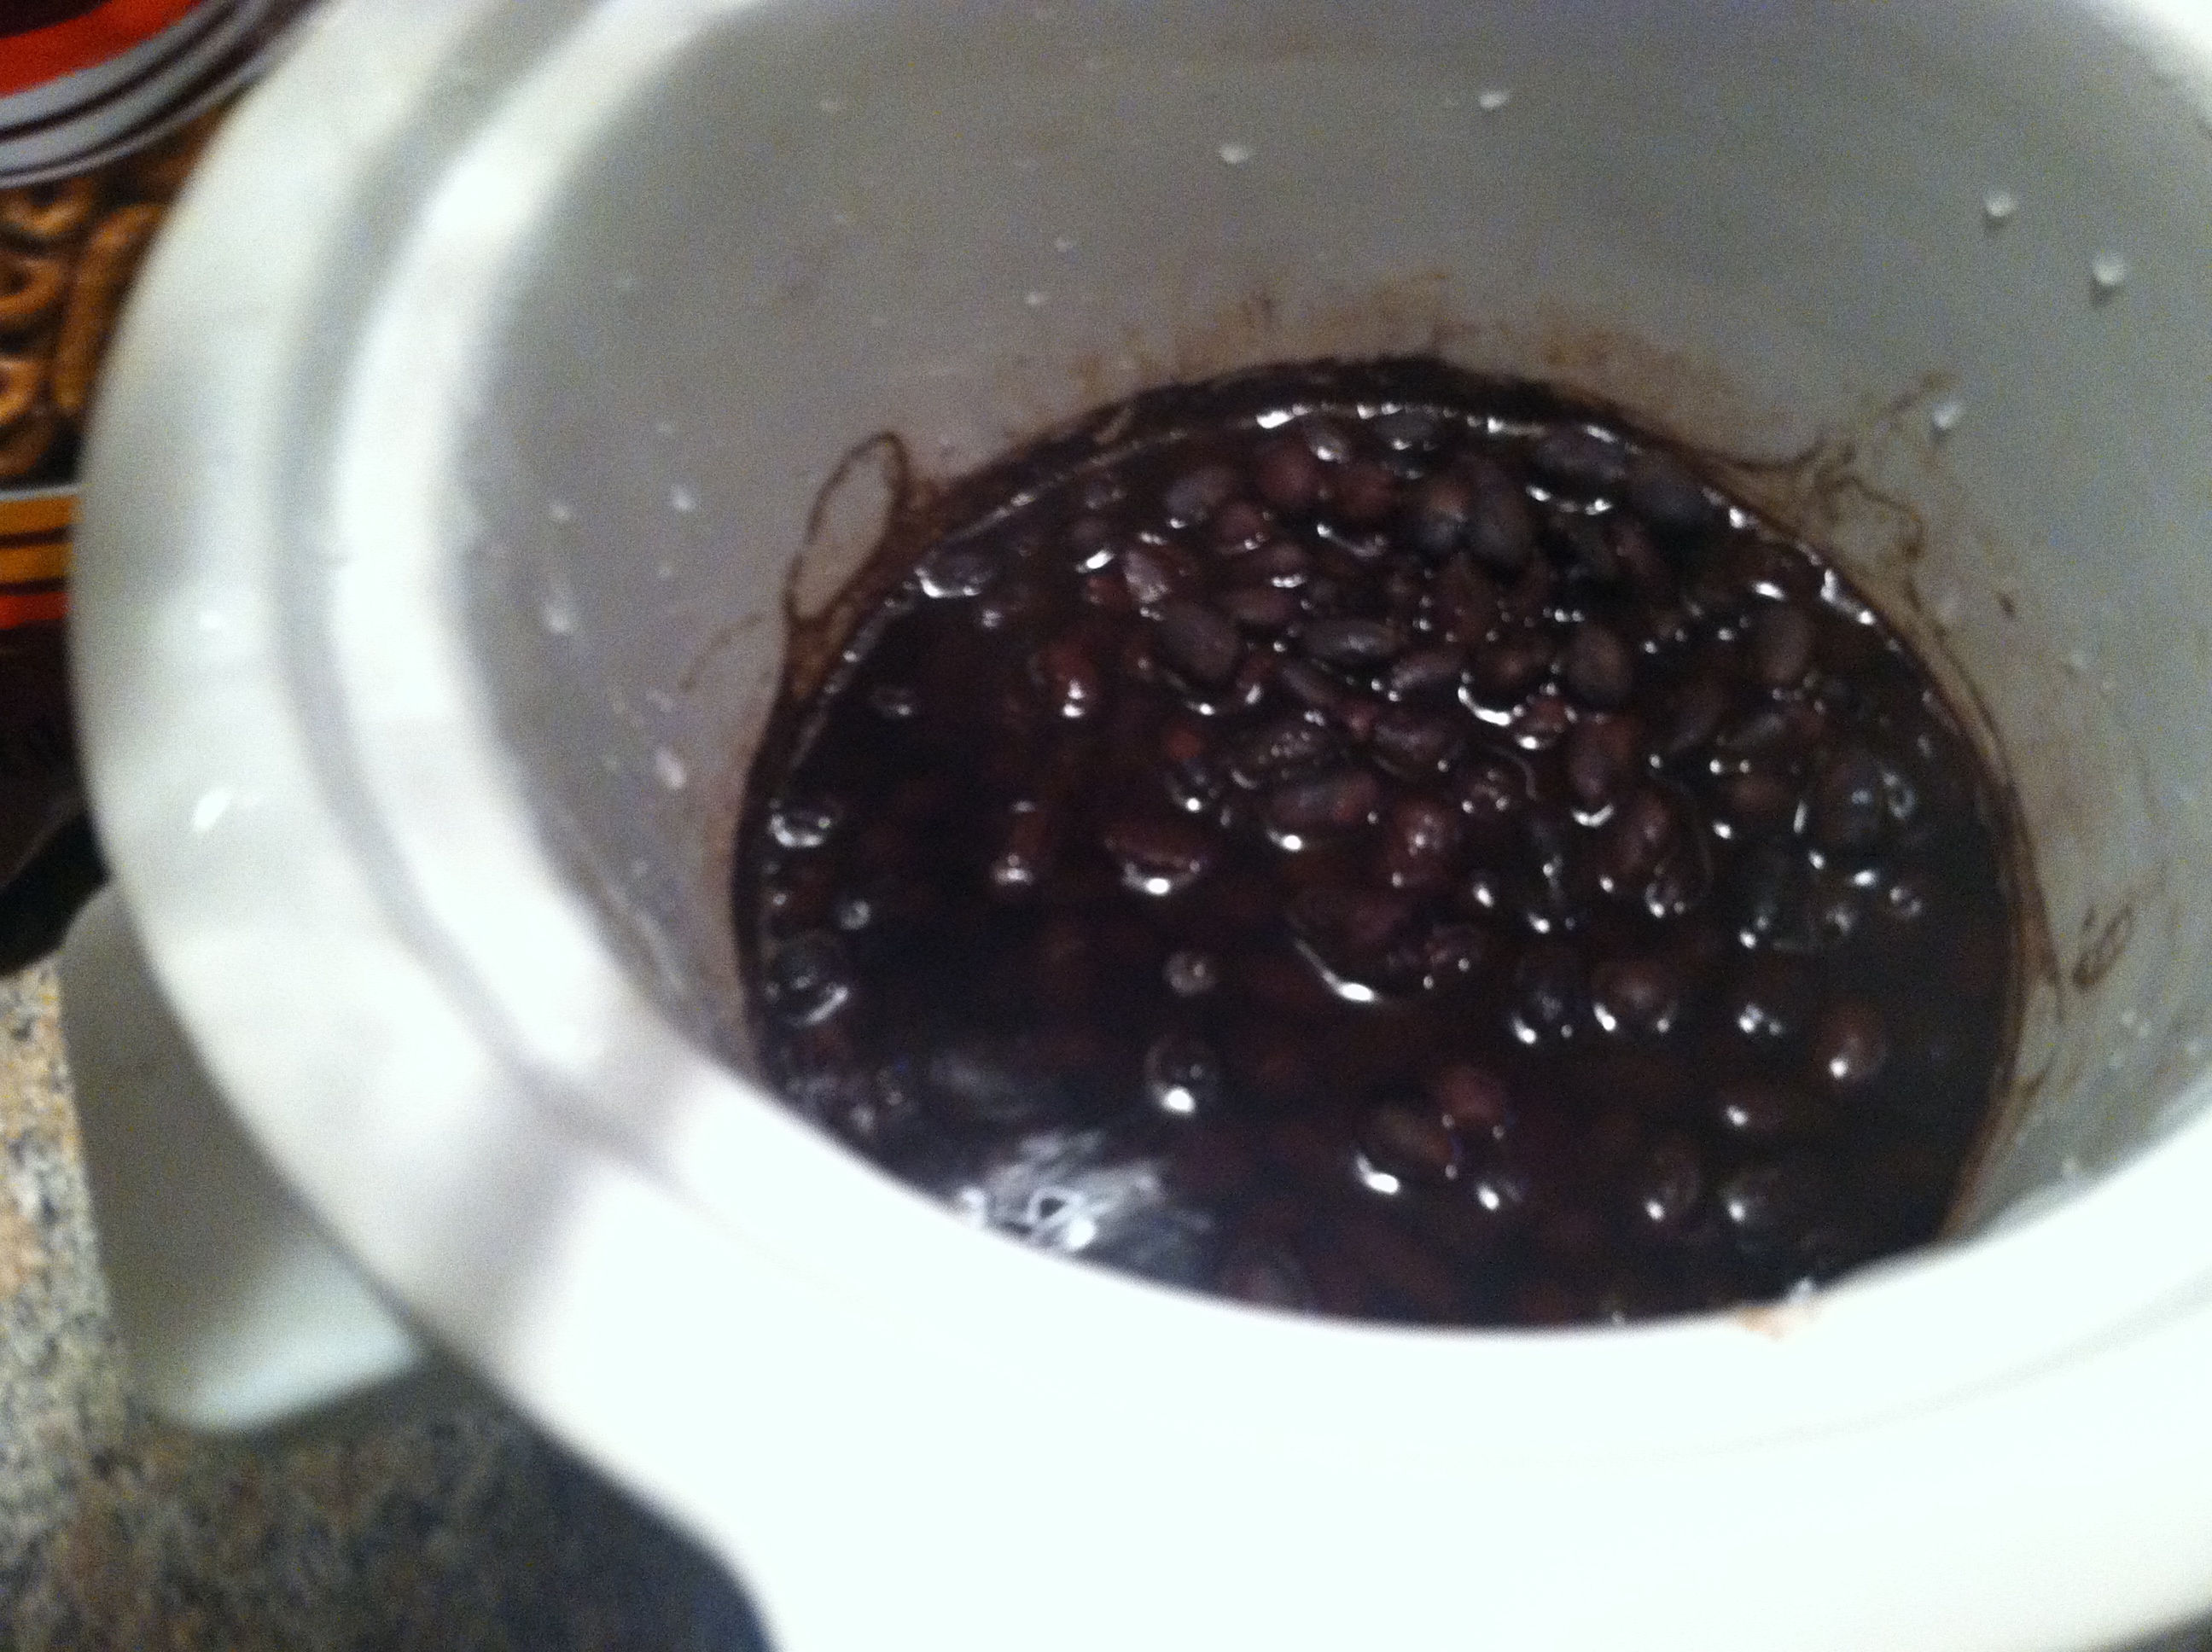
Step 1: Rinse the black beans & make sure there are no rocks/dirt/debris. Place in a crock pot with enough water to cover, and cook on low for 4-6 hours, until beans are soft.

IMG_9475

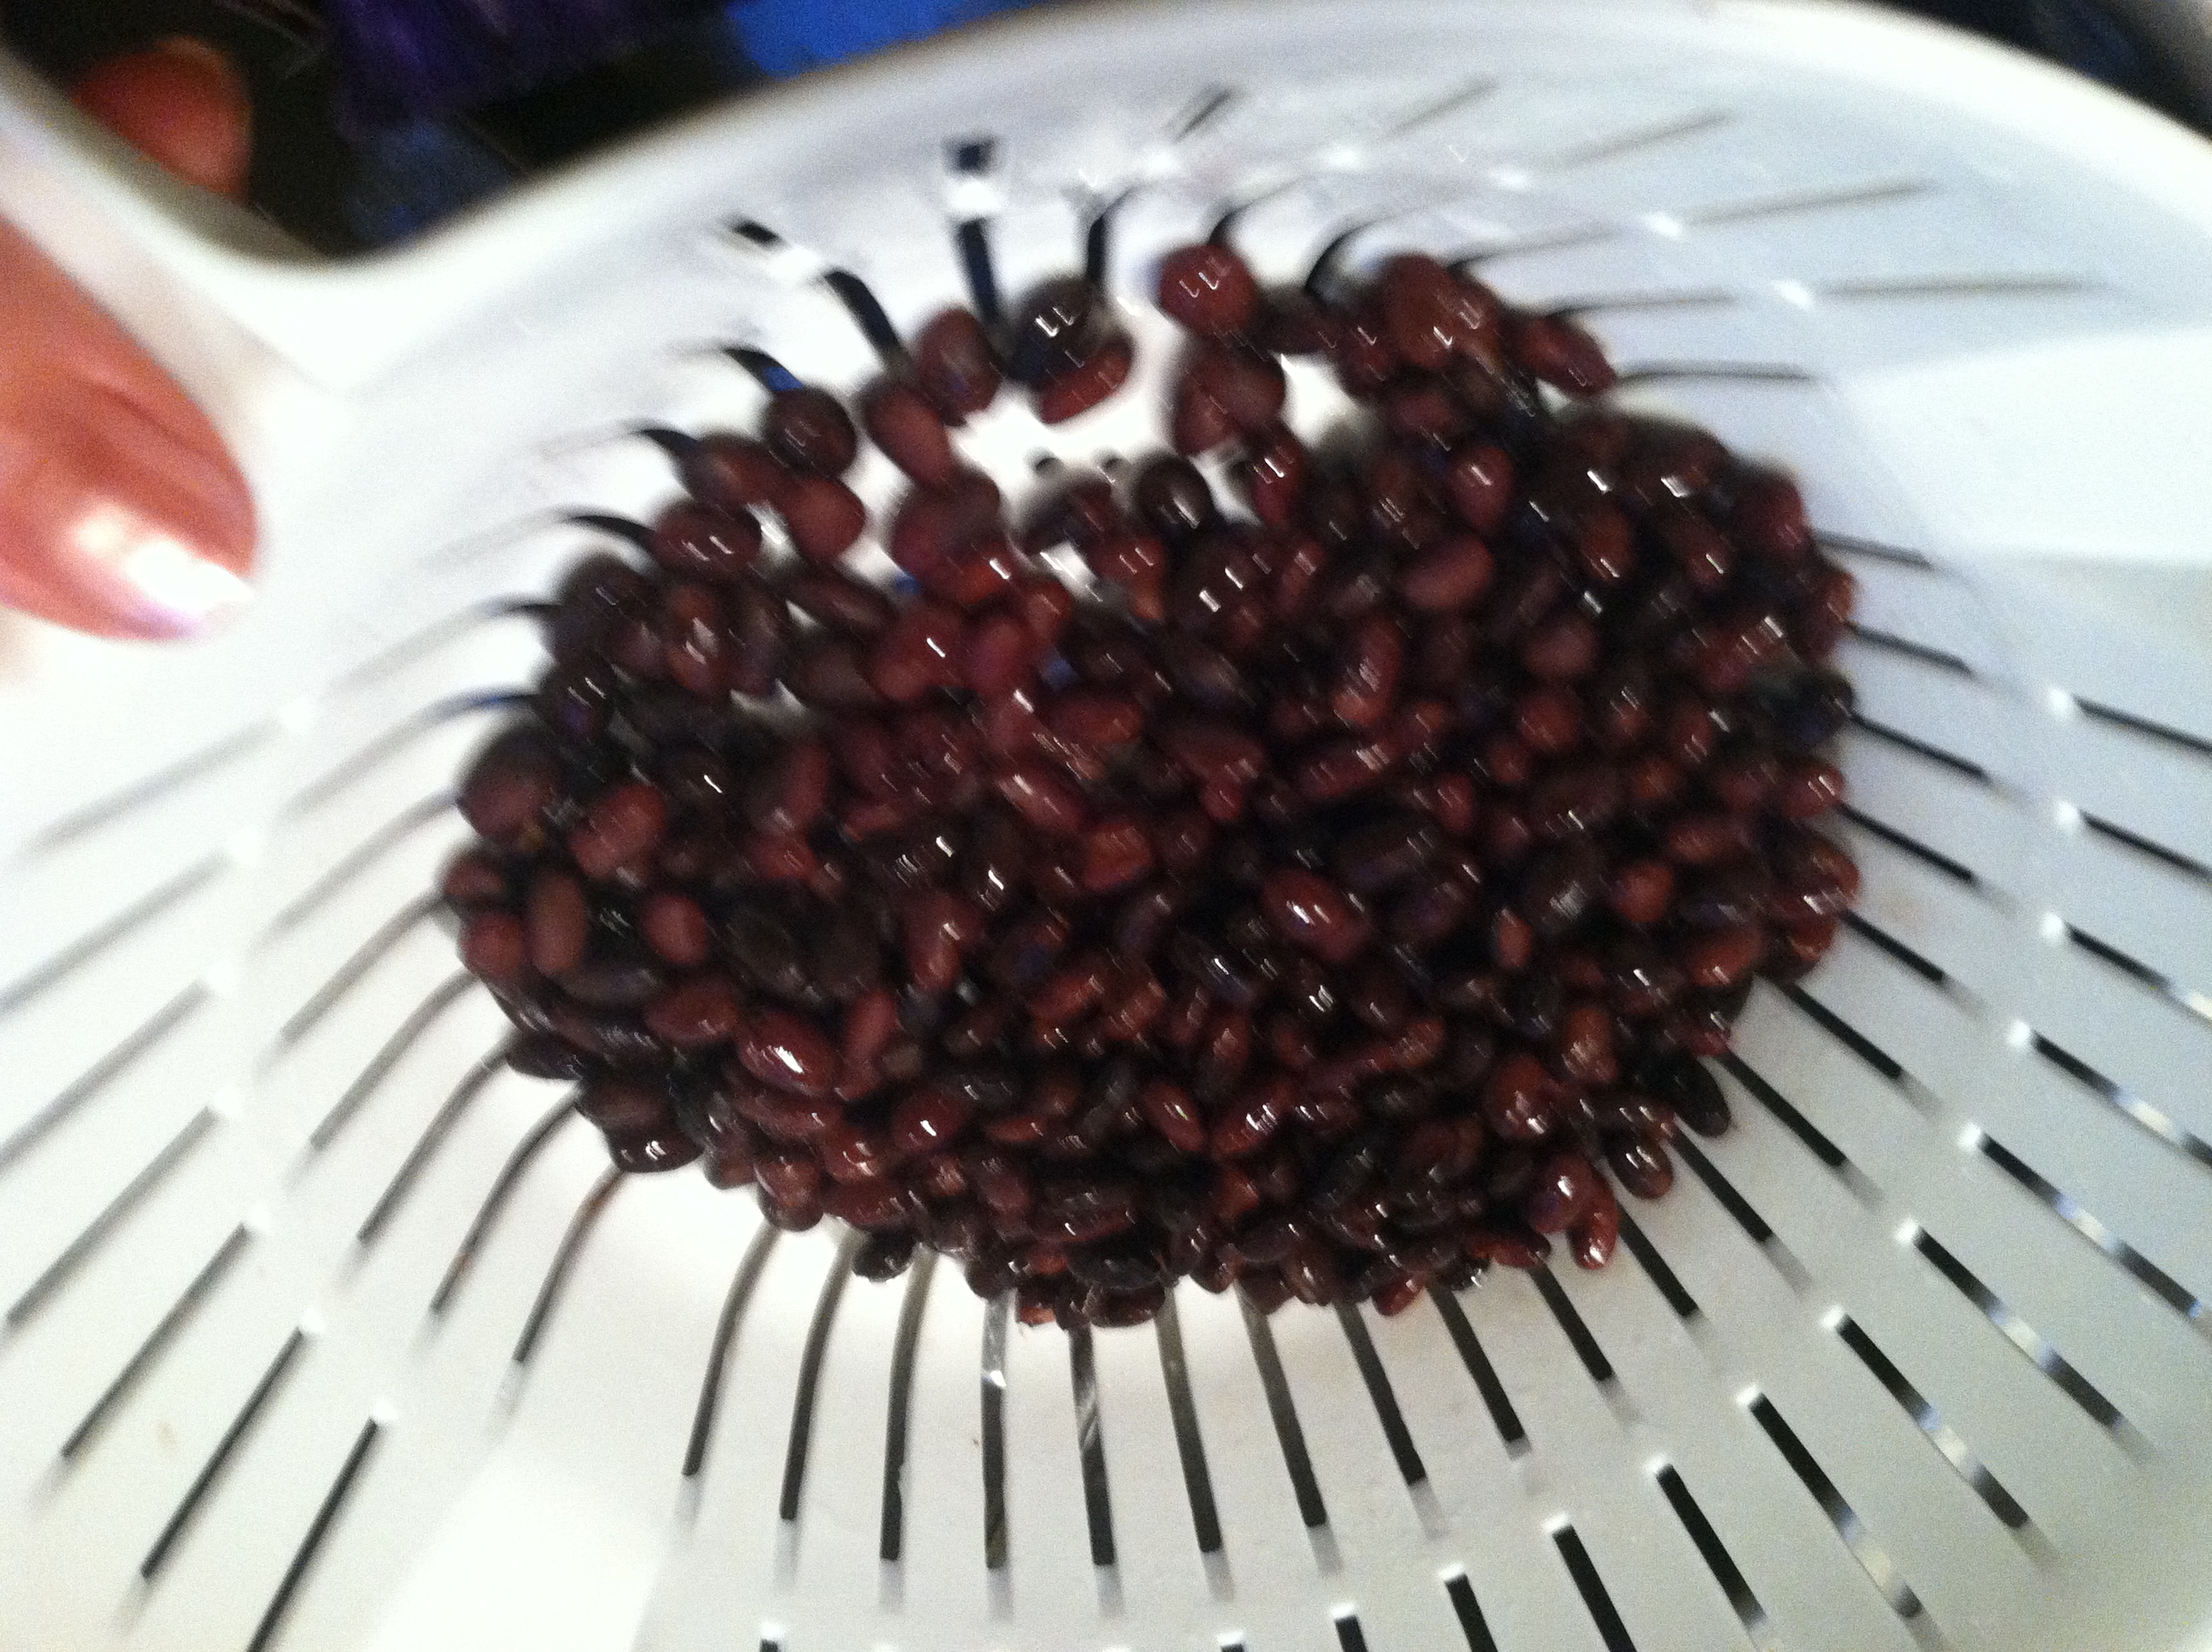
Step 2: If using canned beans, start here with rinsing. Rinse the beans under cool water until it runs clear.

IMG_9476

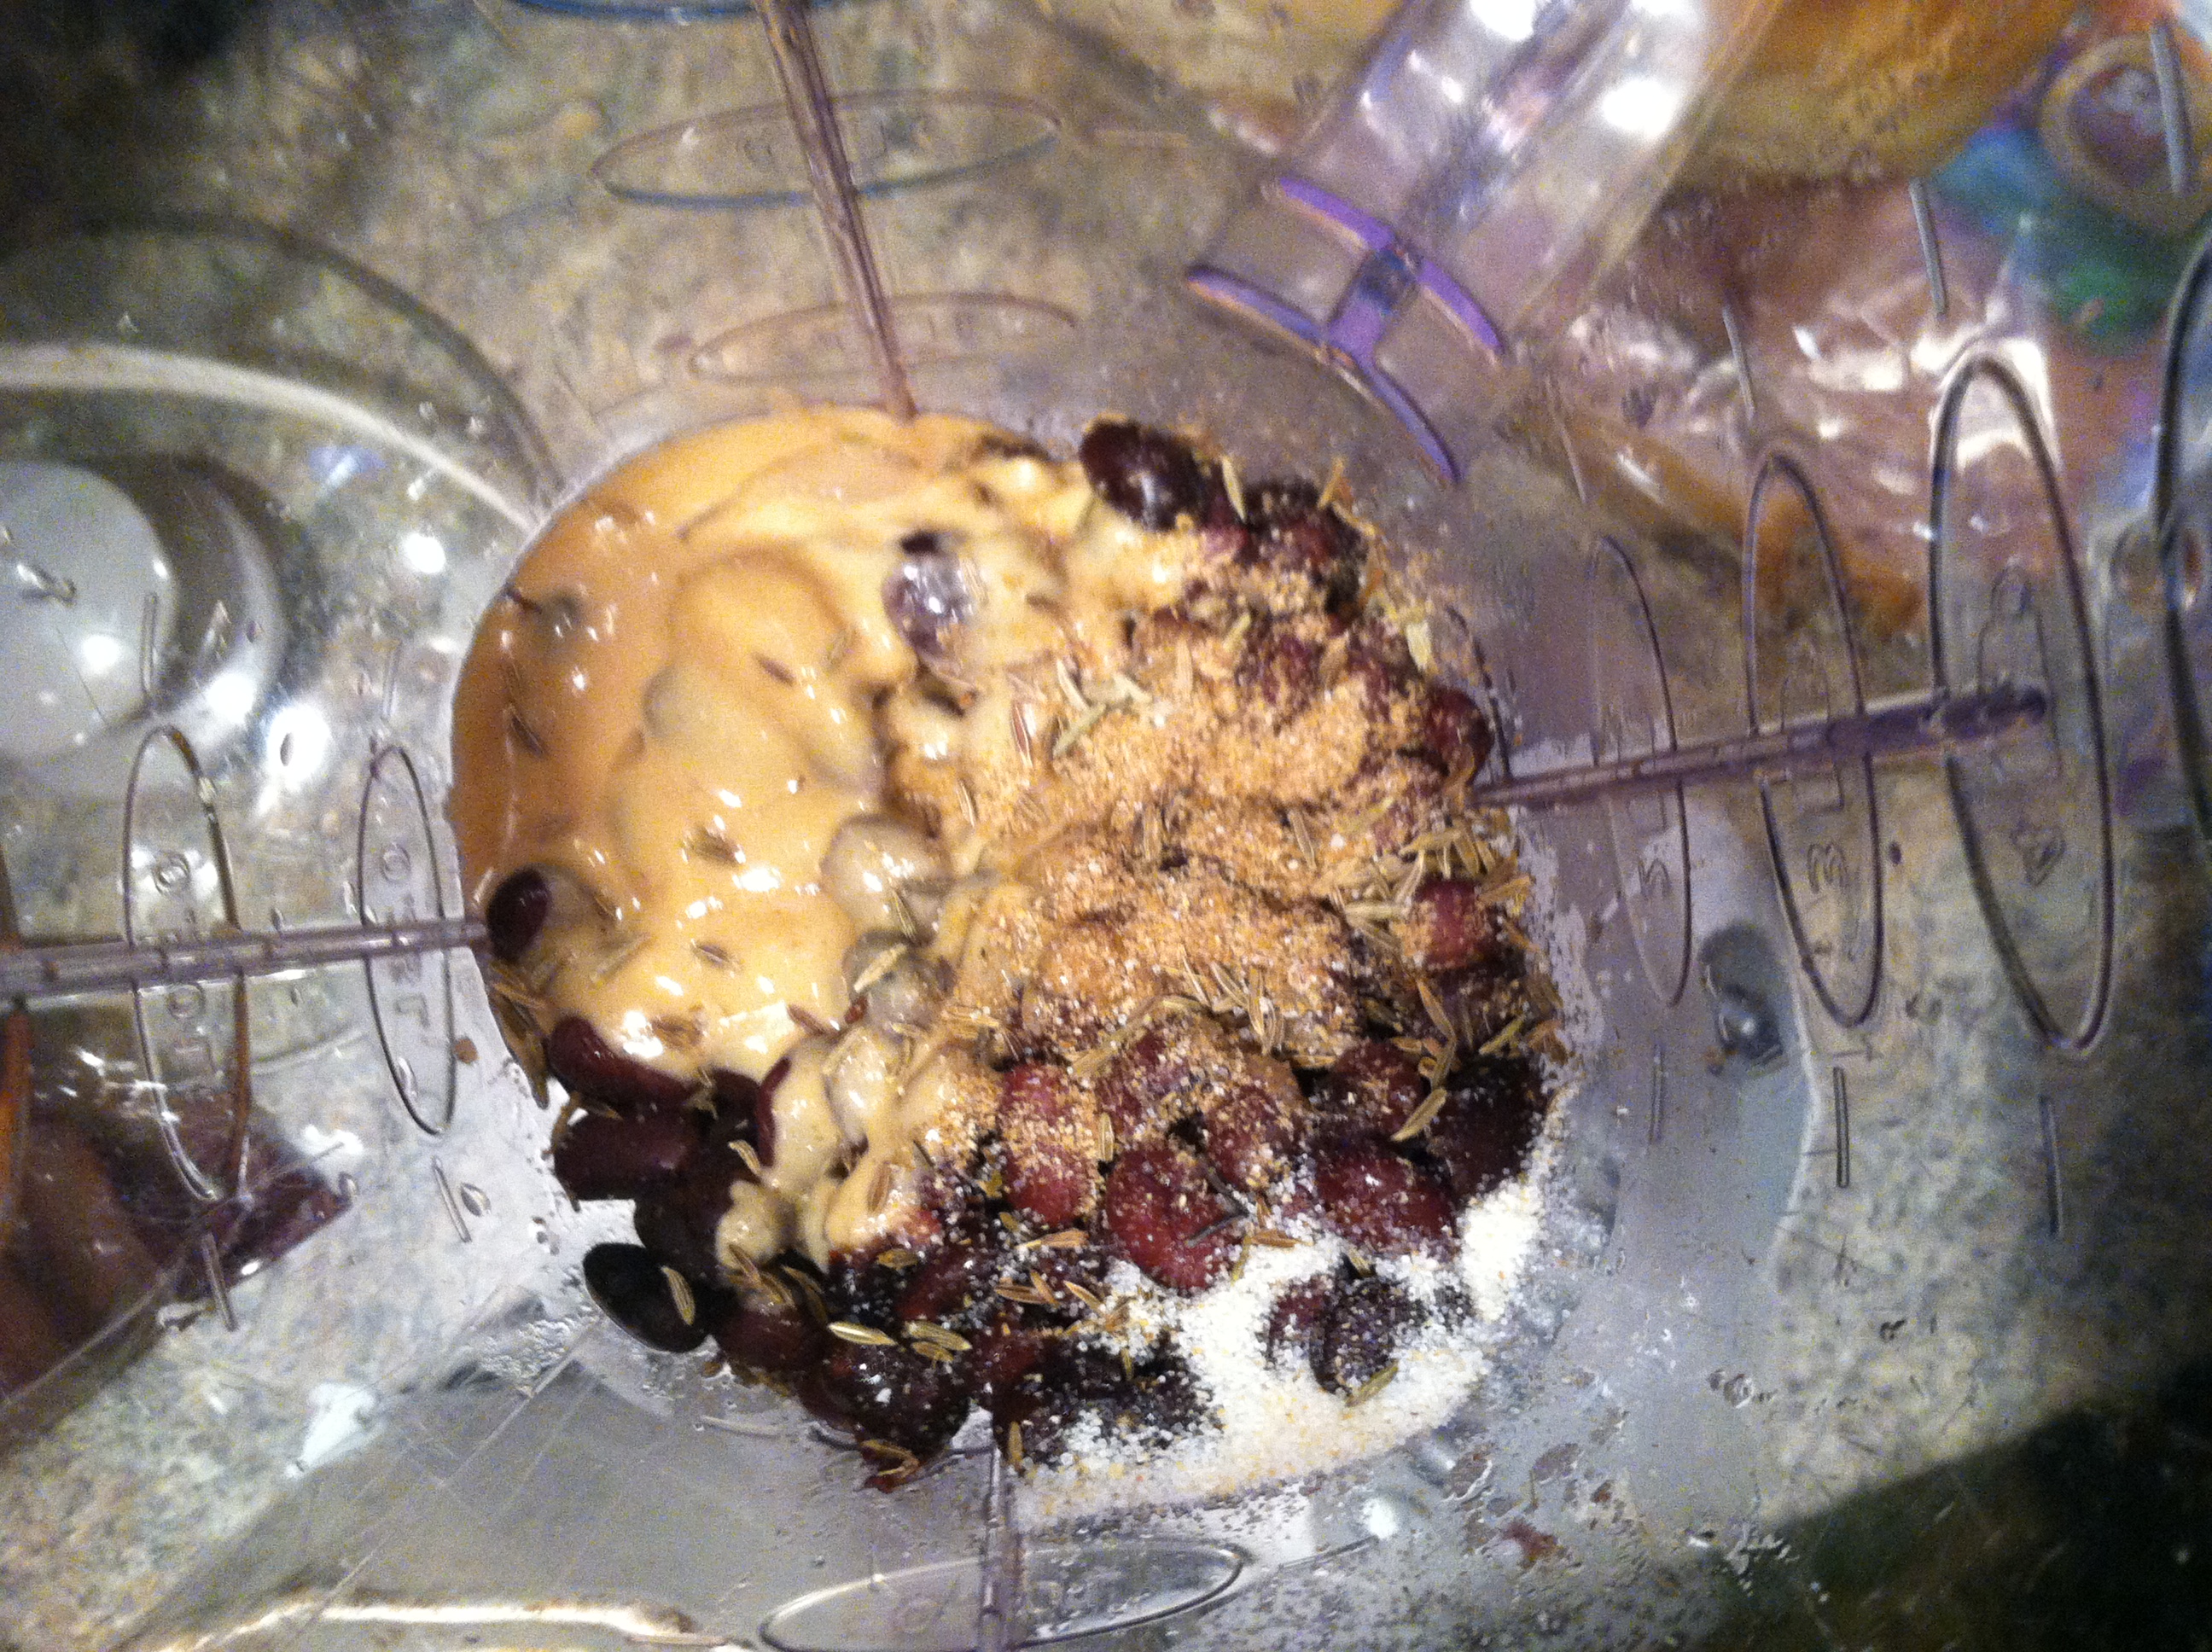
Step 3: Add the beans to the blender, along with the spices, tahini, and lemon juice.

IMG_9479

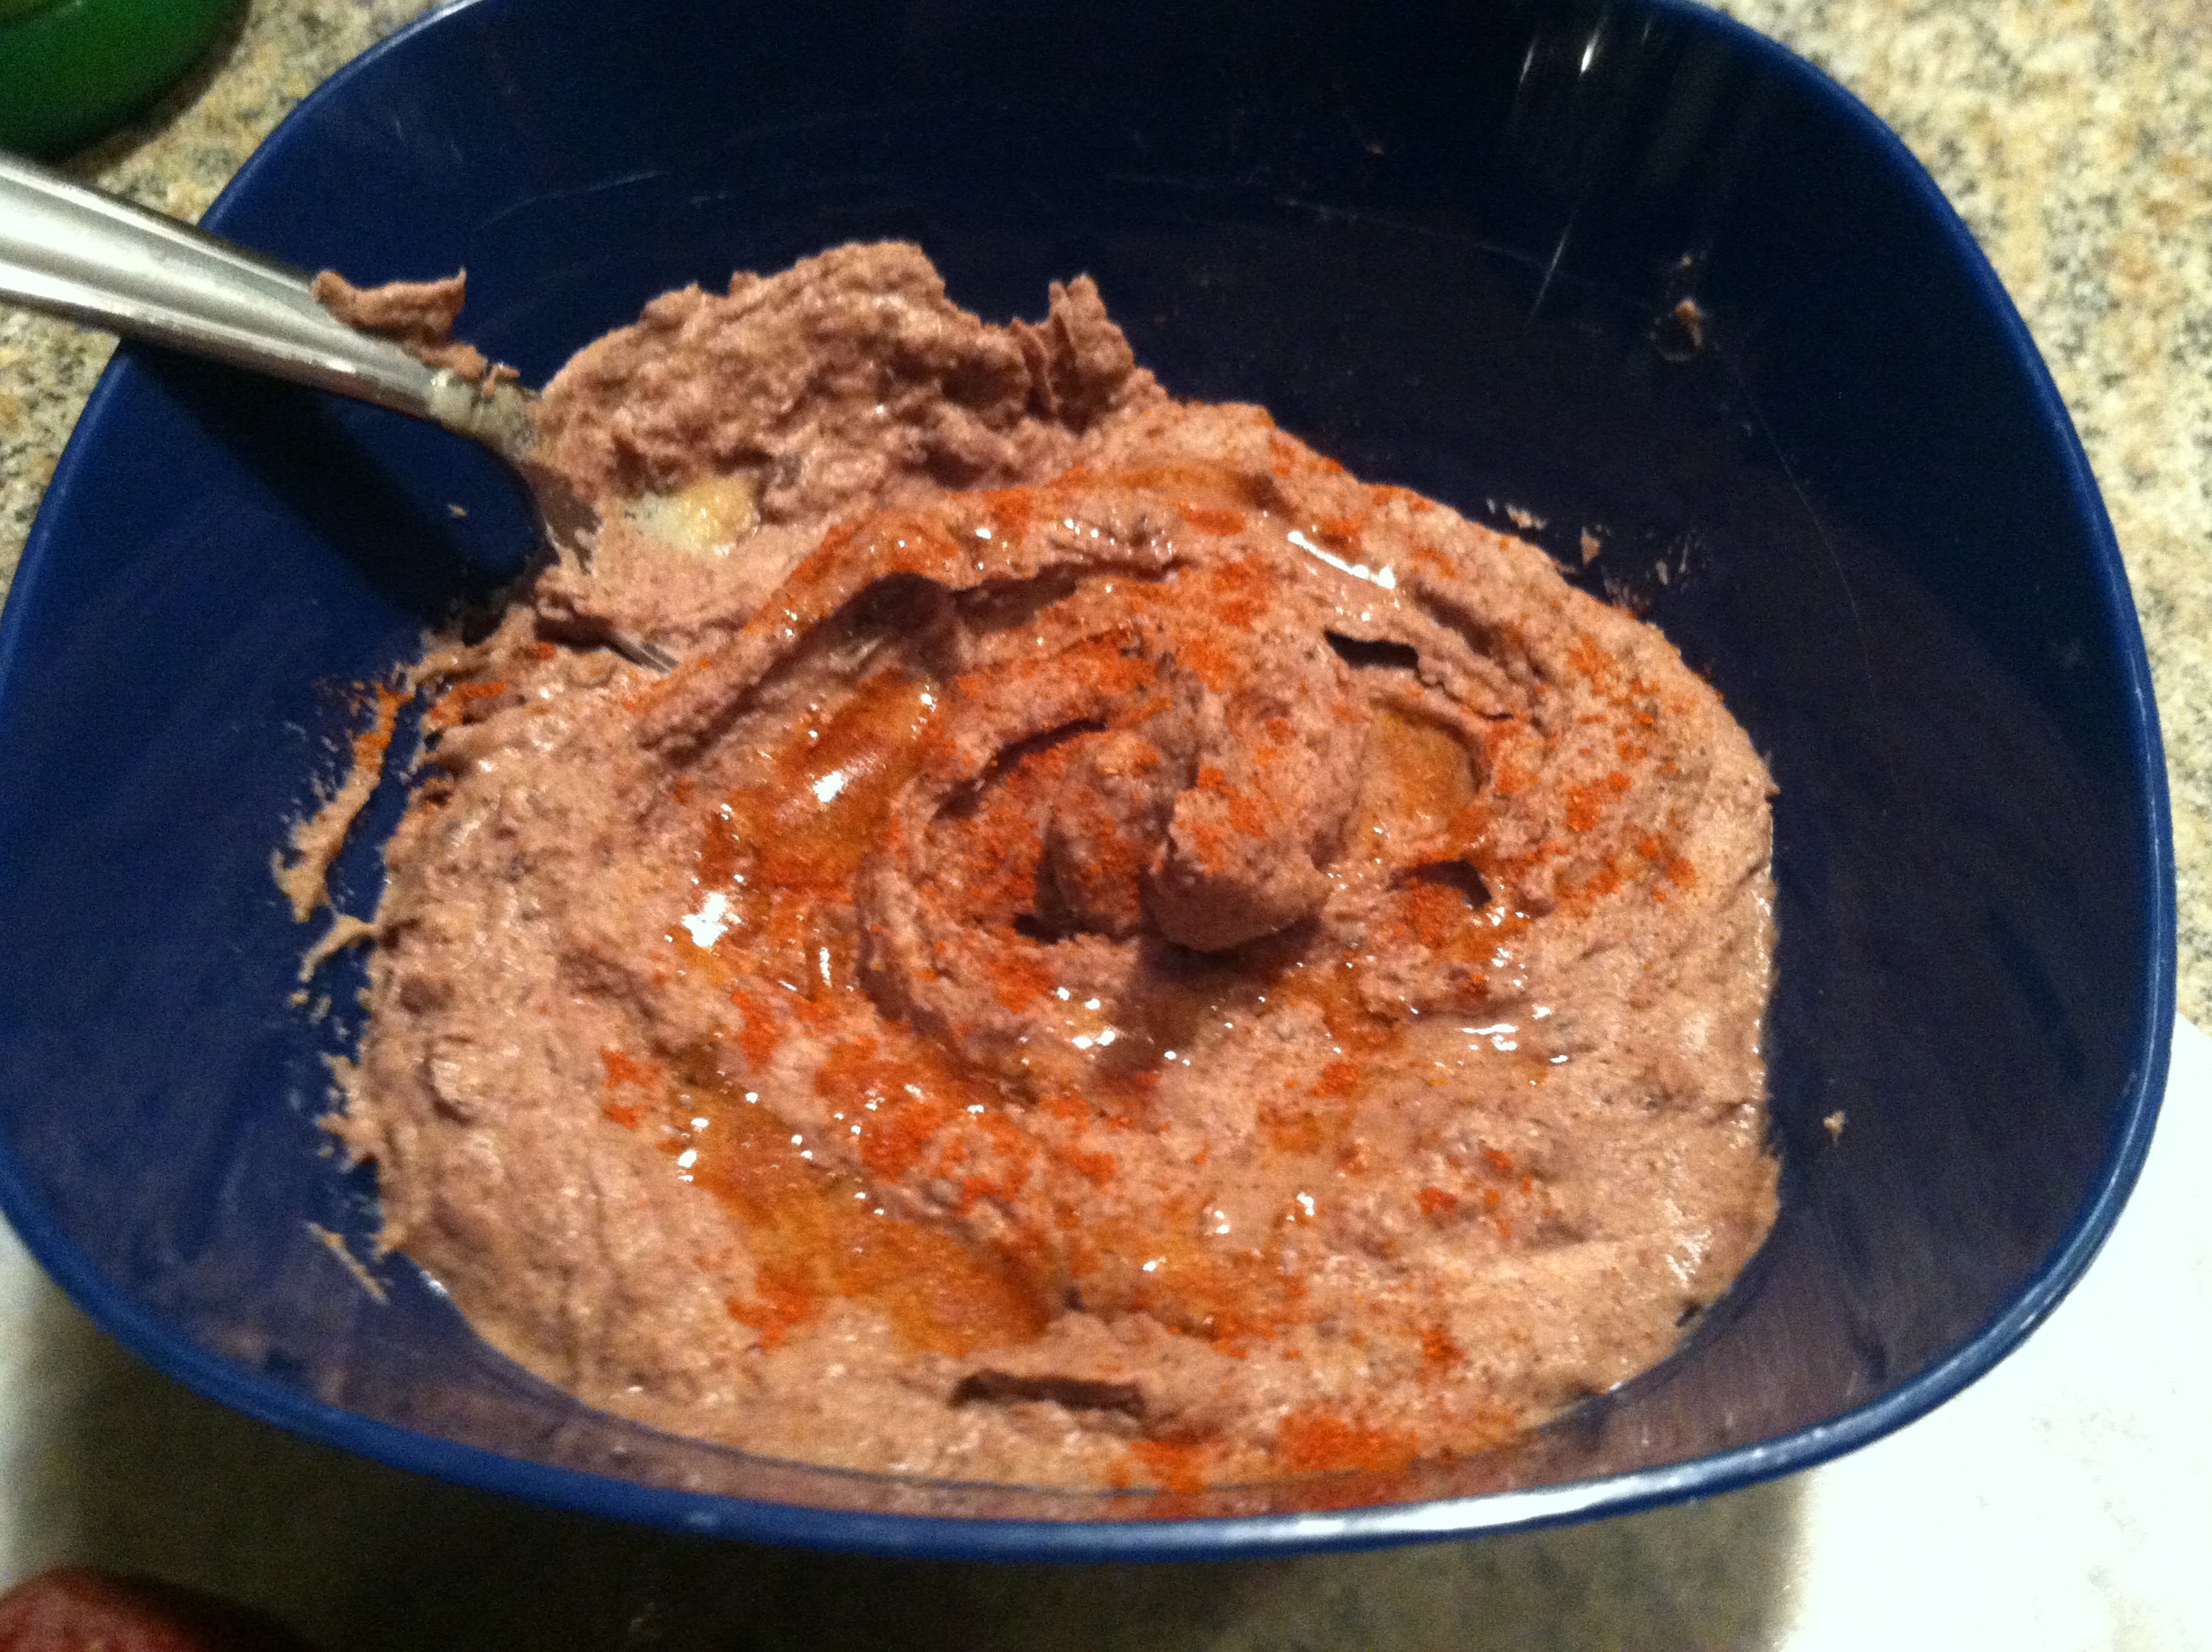
Step 4:  Turn the blender on, and drizzle in the olive oil. Scrape down the sides as needed. Once it reaches the desired consistency, just put in a bowl and you’re done! If it’s too thick, you can add a little more oil or lemon juice, or even warm water, until it’s how you like.

IMG_9481

Once you have your homemade hummus, there are so many options for how to enjoy it! For a nice presentation, drizzle on a little more oil, and sprinkle with paprika. It is a delicious dip for cut fresh veggies, spread it on any kind of sandwiches and wraps, bake your own chips to dip, or use it on pizza like a sauce.

Hummus has tons of plant protein and filling fiber, just try to restrain yourself from eating the whole batch at once.


[amd-zlrecipe-recipe:27]