Category Archives: Vegetarian

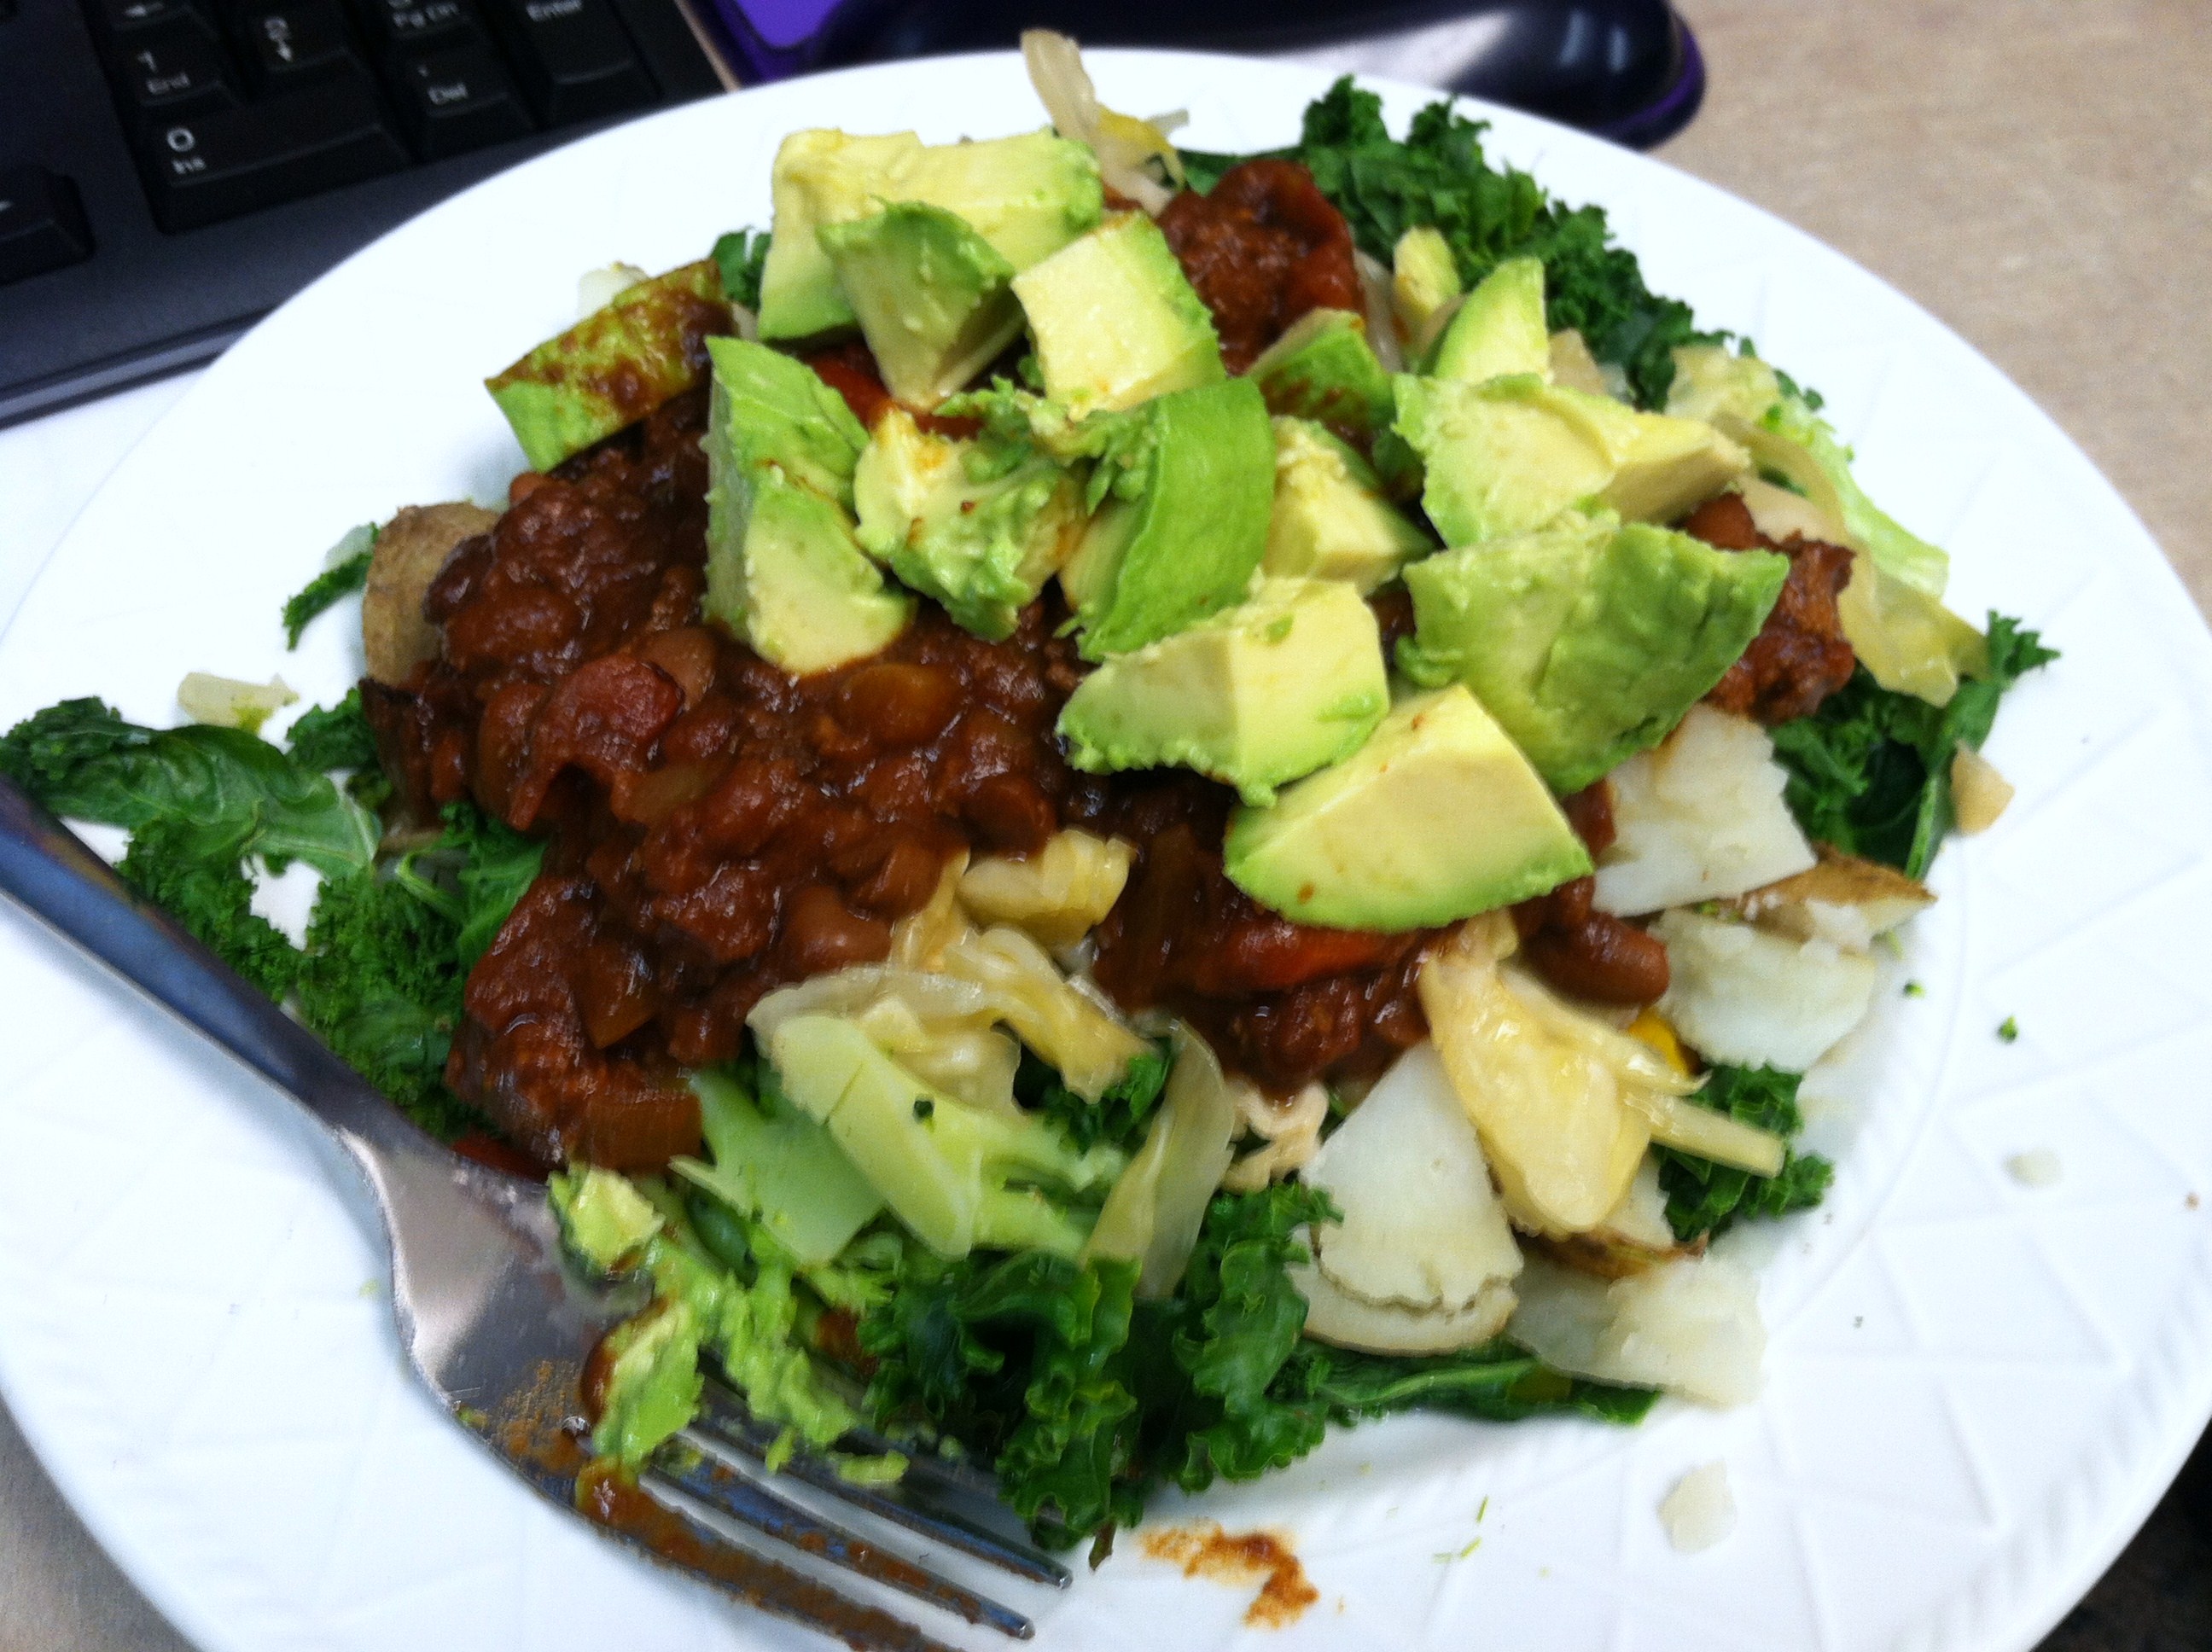
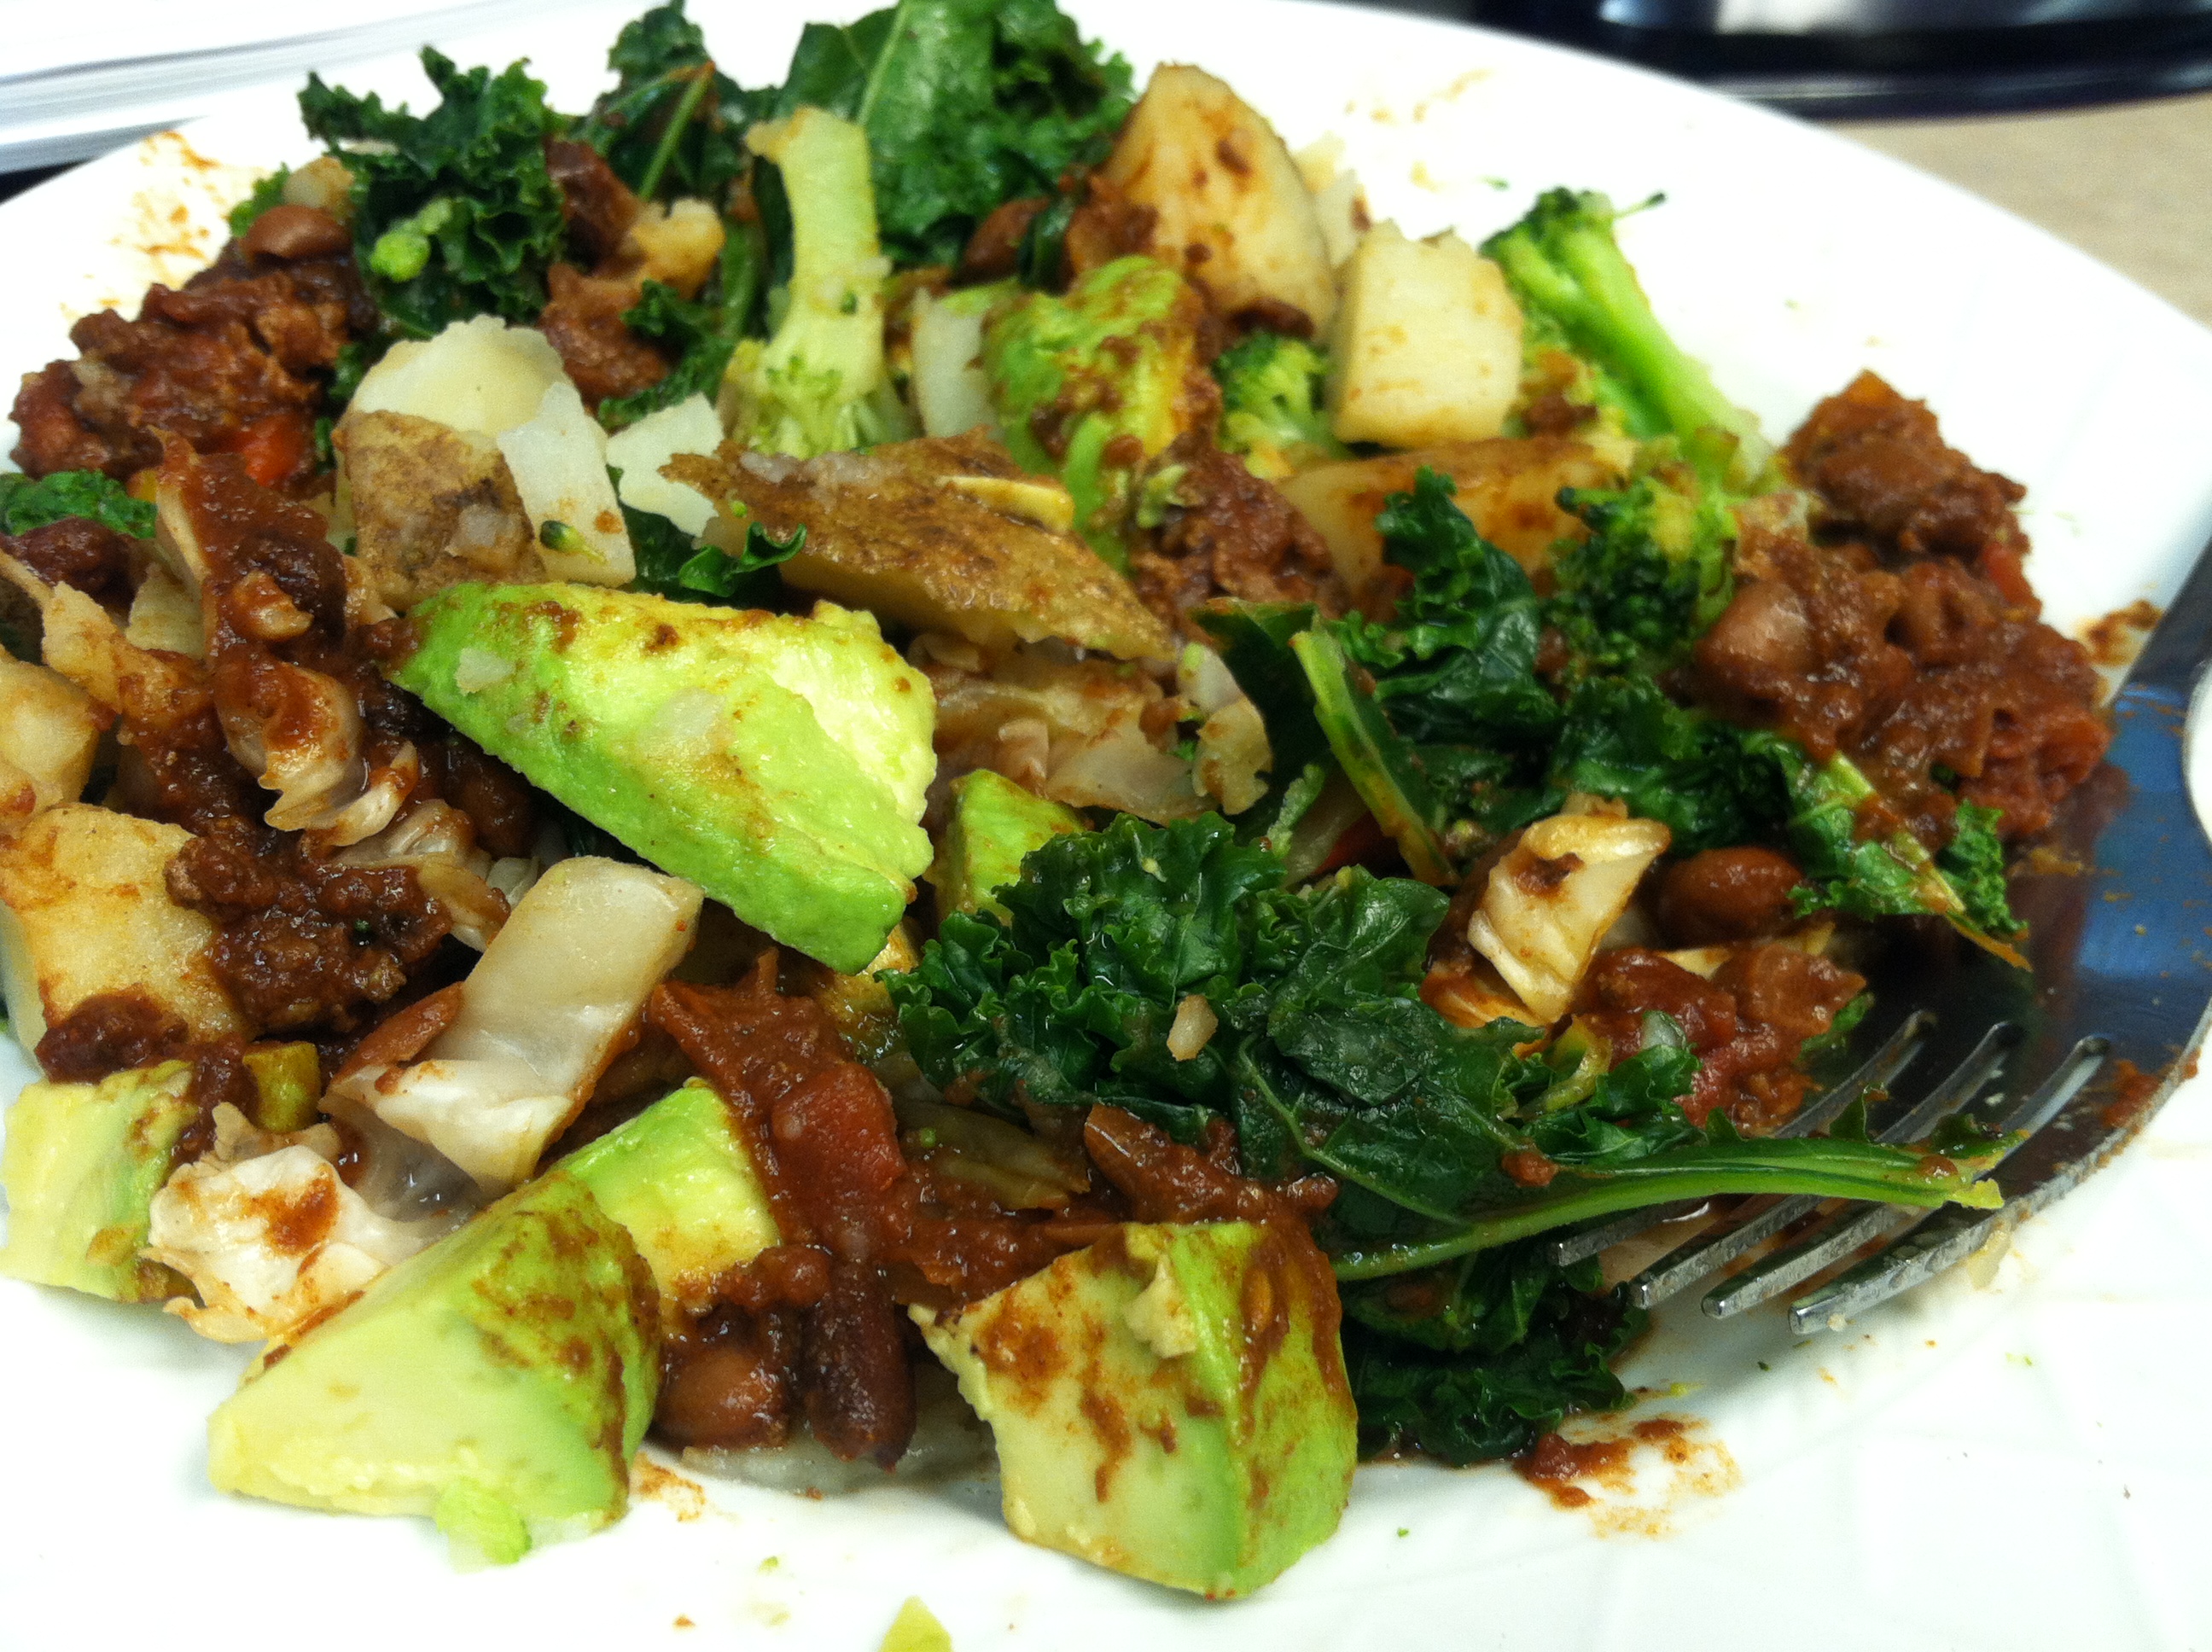
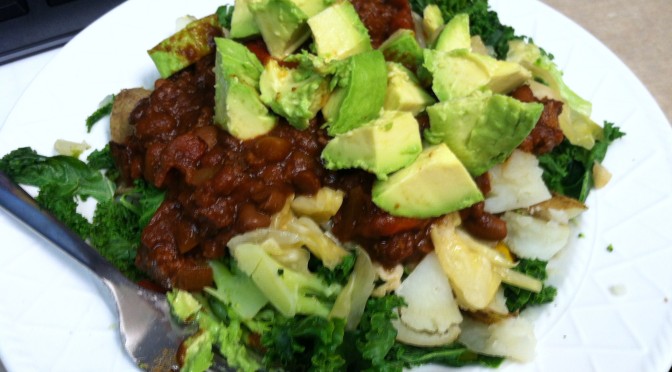
Chili & Greens Smothered Potato


Whether for a quick snack or a hearty, filling meal, smothered potatoes are a go-to for me. A plain potato has 150-200 calories, along with magnesium, B vitamins, and a surprisingly high amount of vitamin C. Potatoes get a bad rep mostly because they are usually served or cooked with other things that are far less healthy for you, like butter, margarine, sour cream, and cheese.

The better options for topping your tater include: greens, fresh veggies like broccoli, onion, peppers, avocado chunks, beans, salsa, corn, and of course, chili! I used my delicious vegan three-bean chili. You IMG_7594will use leftover chili, or store-bought, whatever kind you like. If you don’t have chili, looking up this recipe is silly isn’t it?

This baked potato takes mere minutes to put together, and is perfect for a portable lunch. You will need a heavy plate and utensils though, no eating while literally on the run here. It is packed with vitamins and nutrients, filling fiber, healthy fats, and staying power from protein. And it’s totally vegan! But you won’t even know the meat is missing, it’s that good.

I used homemade sauerkraut on mine, because I totally love this tangy, salty stuff. If you hate it, don’t worry about it. Not required for the experience. Sauerkraut is ridiculously easy to make, by the way, and crazy good for your digestive health. I’ll have to post on that soon…

Ingredients:

  • 1 medium baking potato
  • 2/3 cups vegan 3-bean chili
  • 1/2 an avocado
  • 1/3 cup broccoli florets
  • 2-3 large kale leaves or 1/3 c spinach
  • 2-3 tbsp sauerkraut

IMG_7593

Step 1: Rinse well, and poke holes in the potato. Microwave on high for 5 minutes, turn it, and microwave another 4 minutes.

IMG_7595

Step 2: Cut the hot potato in half, and place on a large plate. Top with the greens, broccoli, and chili, and microwave another 1-2 minutes. Add the sauerkraut and avocado, season if needed and enjoy!


[amd-zlrecipe-recipe:26]

Avocado Beet Wrap


As spring kicks into gear and temperatures climb, we start looking for lighter, cooling dishes. It’s tough to enjoy a beef stew or thick chili when it’s 95 and humid. Luckily spring and summer bring a rotating buffet of delicious seasonal vegetables and fruits.

One of my favorite ways to use fresh produce is in a wrap. You can only have a bowl of salad so many times before it gets old. This way you can still have all the greens and good toppings but in a portable, desk-friendly format. Wraps are easily adaptable to just about any veggie or dip (such as hummus, guacamole, or sriracha ranch).

This wrap packs the healthy fats of avocado, the anti-cancer and inflammation-fighting power of beets, the hydration of cucumber and greens in one fabulous lunch. But feel free to sub in another type of green (spinach, kale, beet greens) or other veggies you have on hand. On average, you should eat about 2 1/2 cups of veggies per day, and a wrap should contain approximately 1 cup.

Ingredients:

  • 1 tortilla
  • 1 whole roasted beet (4-5 slices)
  • 1/2 cucumber, skin on if organic
  • 1/2 avocado
  • 1/4 head of romaine (or 1/2 c greens)

IMG_8979

Step 1: Cut up your avocado, cucumber, & beets. Spread the greens on the tortilla, top with veggies. Roll up and enjoy!


*Some time saver tips:

  • Use canned beets for the slices
  • Pick up pre-cut cucumber from a salad bar
  • Use packaged guac instead of an avocado

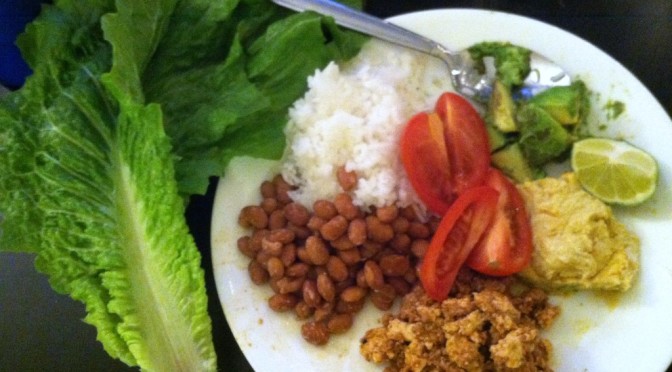
Tofu Sofritas Lettuce Wraps


For those of you who don’t know, or don’t eat at Chipotle, the fast-casual Mexican chain, they have a new vegetarian/vegan option: the sofritas.

This option is shredded pressed tofu, marinaded in sofrito sauce and braised on the grill like their meats. There is debate as to whether it is worth the added cost (if you put guac on it too) over a plain no-meat burrito or bowl, but that choice is yours to make.

Sofrito, or refogado, is traditionally a sauce made from aromatics like garlic, onion, peppers, tomato, and paprika cooked in olive oil. Used in Brazilian, Spanish, and Portuguese cooking, the preparation varies as each cook makes theirs unique based on seasonal cuisine and local taste preferences.

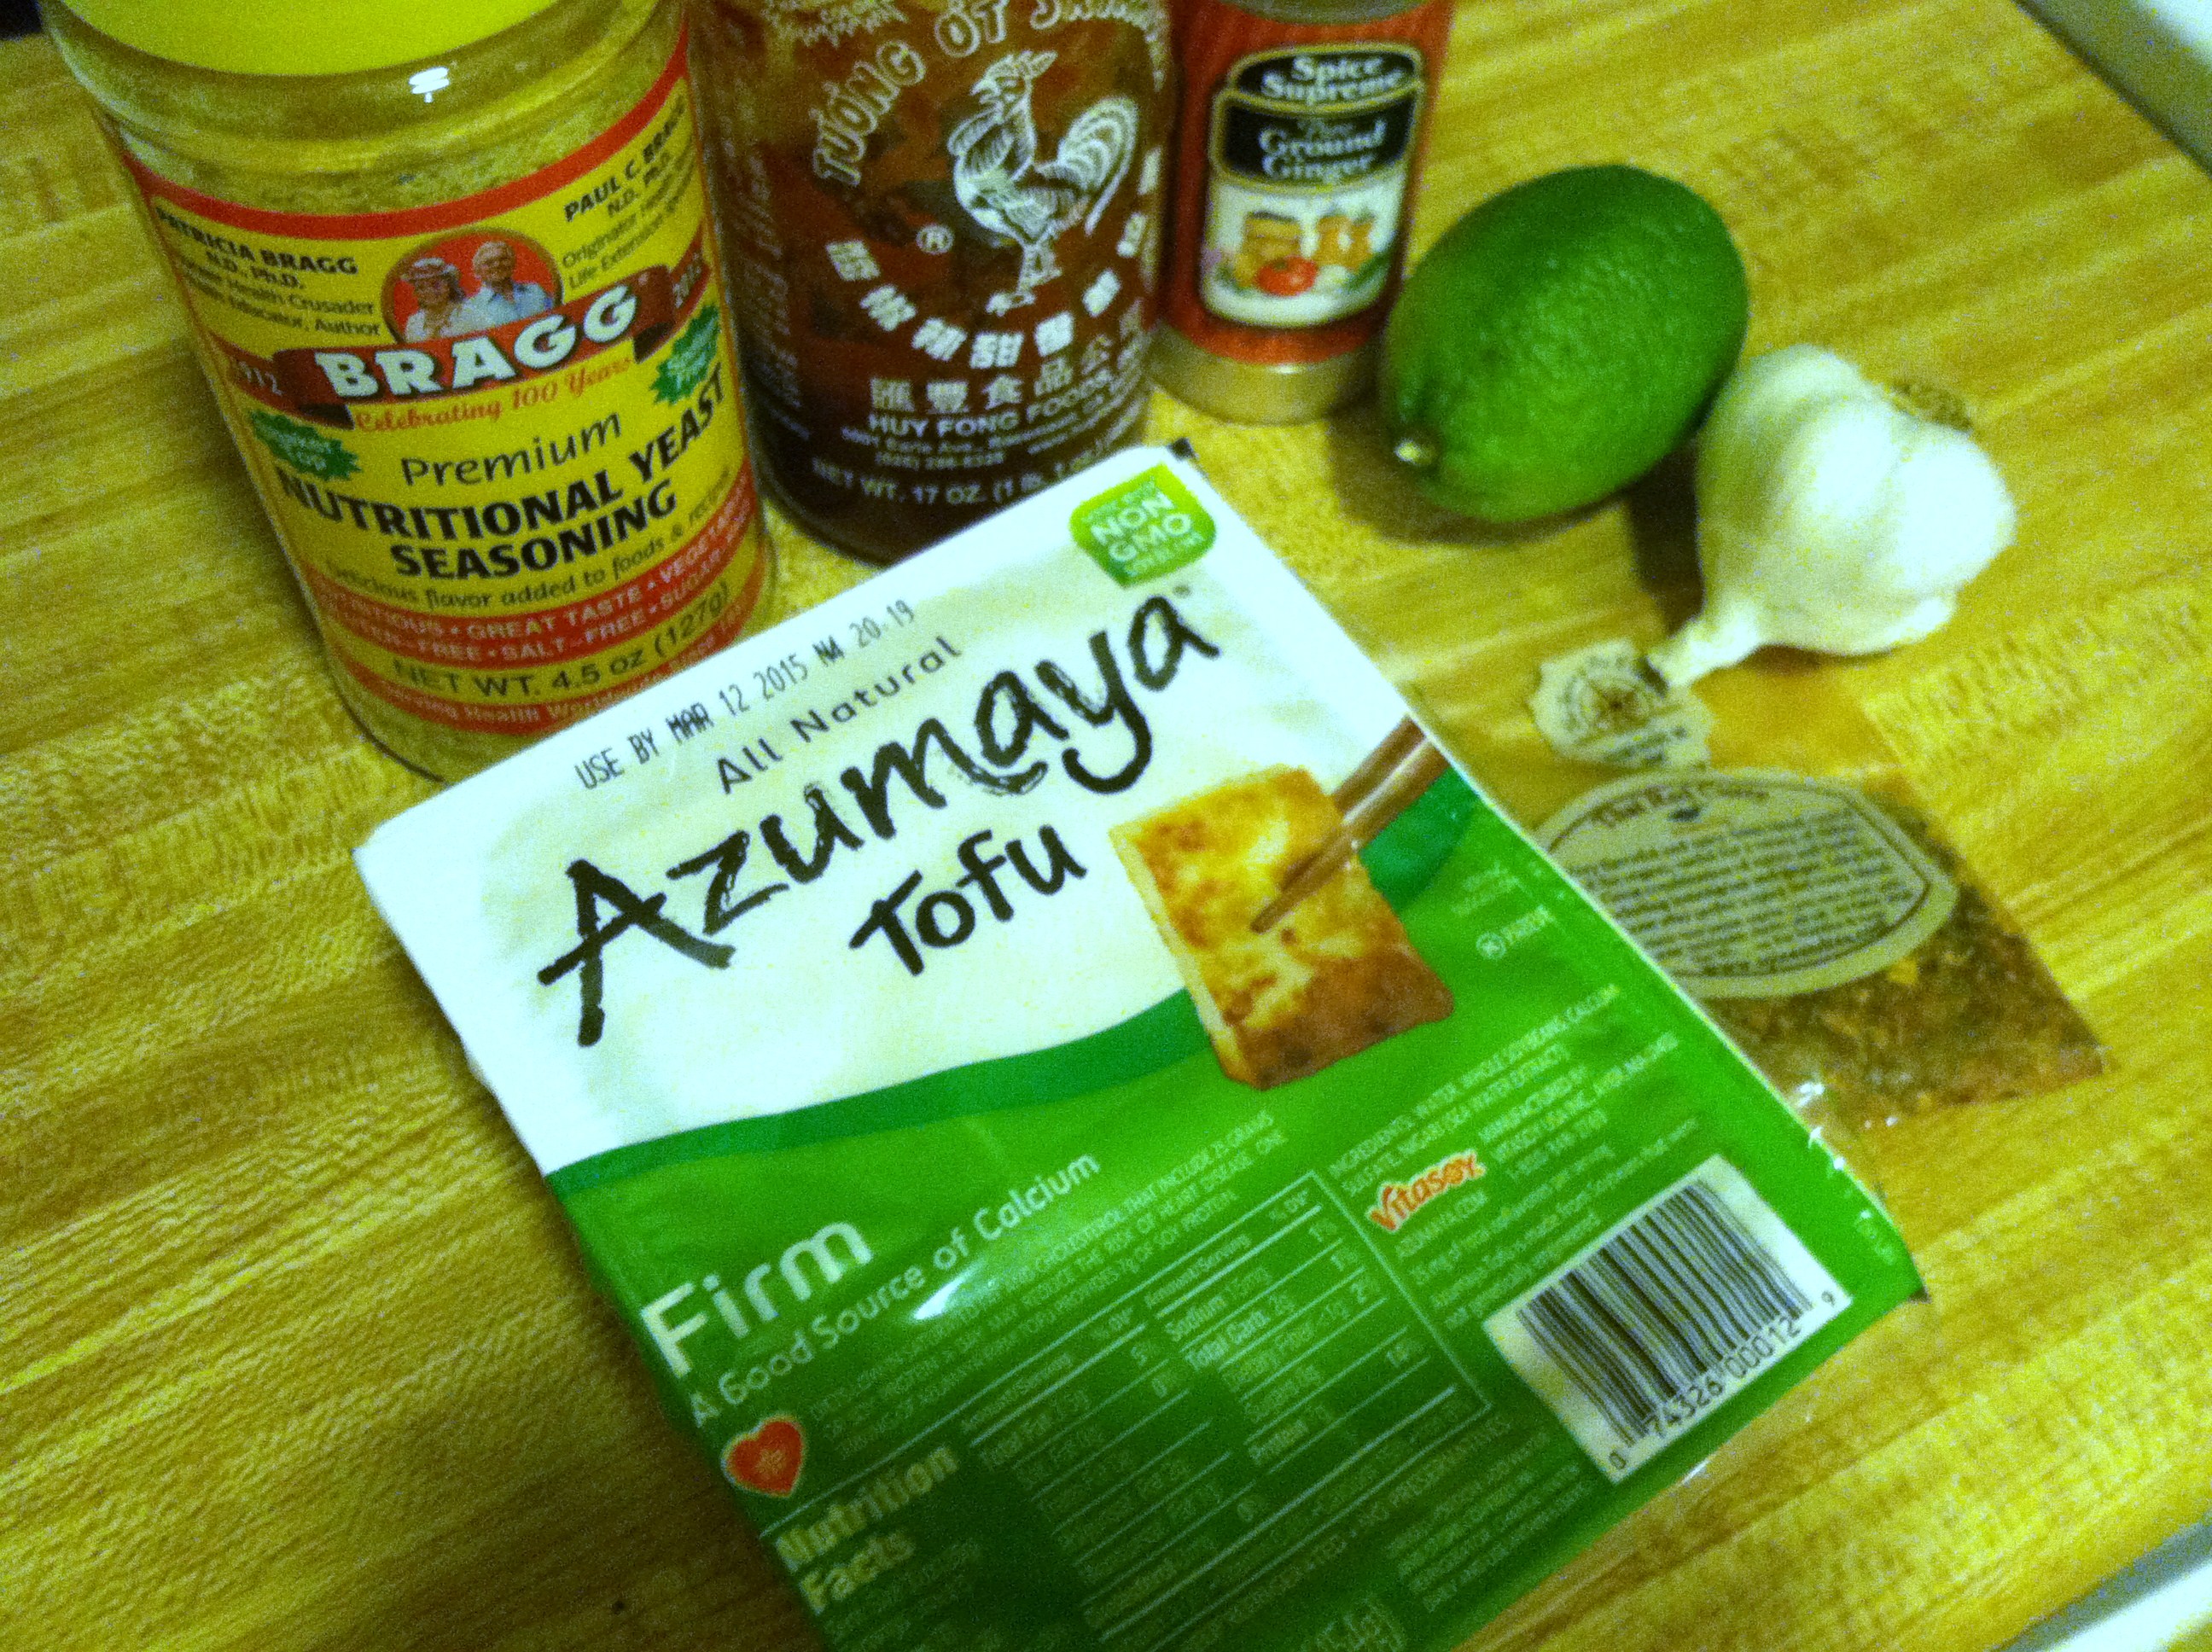
Rather than shell out $8.50 + tax (or whatever a burrito runs in your neck of the woods) how about you make your very own at home for a larger batch at a much lower price? It’s super easy, even if you’ve never cooked tofu before. You don’t even have to press it first, as you usually do with tofu, because you will shred and fry it.

The other ingredients are the things I like in my bowl/taco. Feel free to improvise with whatever toppings you like and have. Try: coleslaw, salsa, tomatillos, hot sauce, jalapenos, beans of all kinds, onions, cilantro, sour cream, avocado, shredded cheese…

Ingredients:

Wrap Toppings:

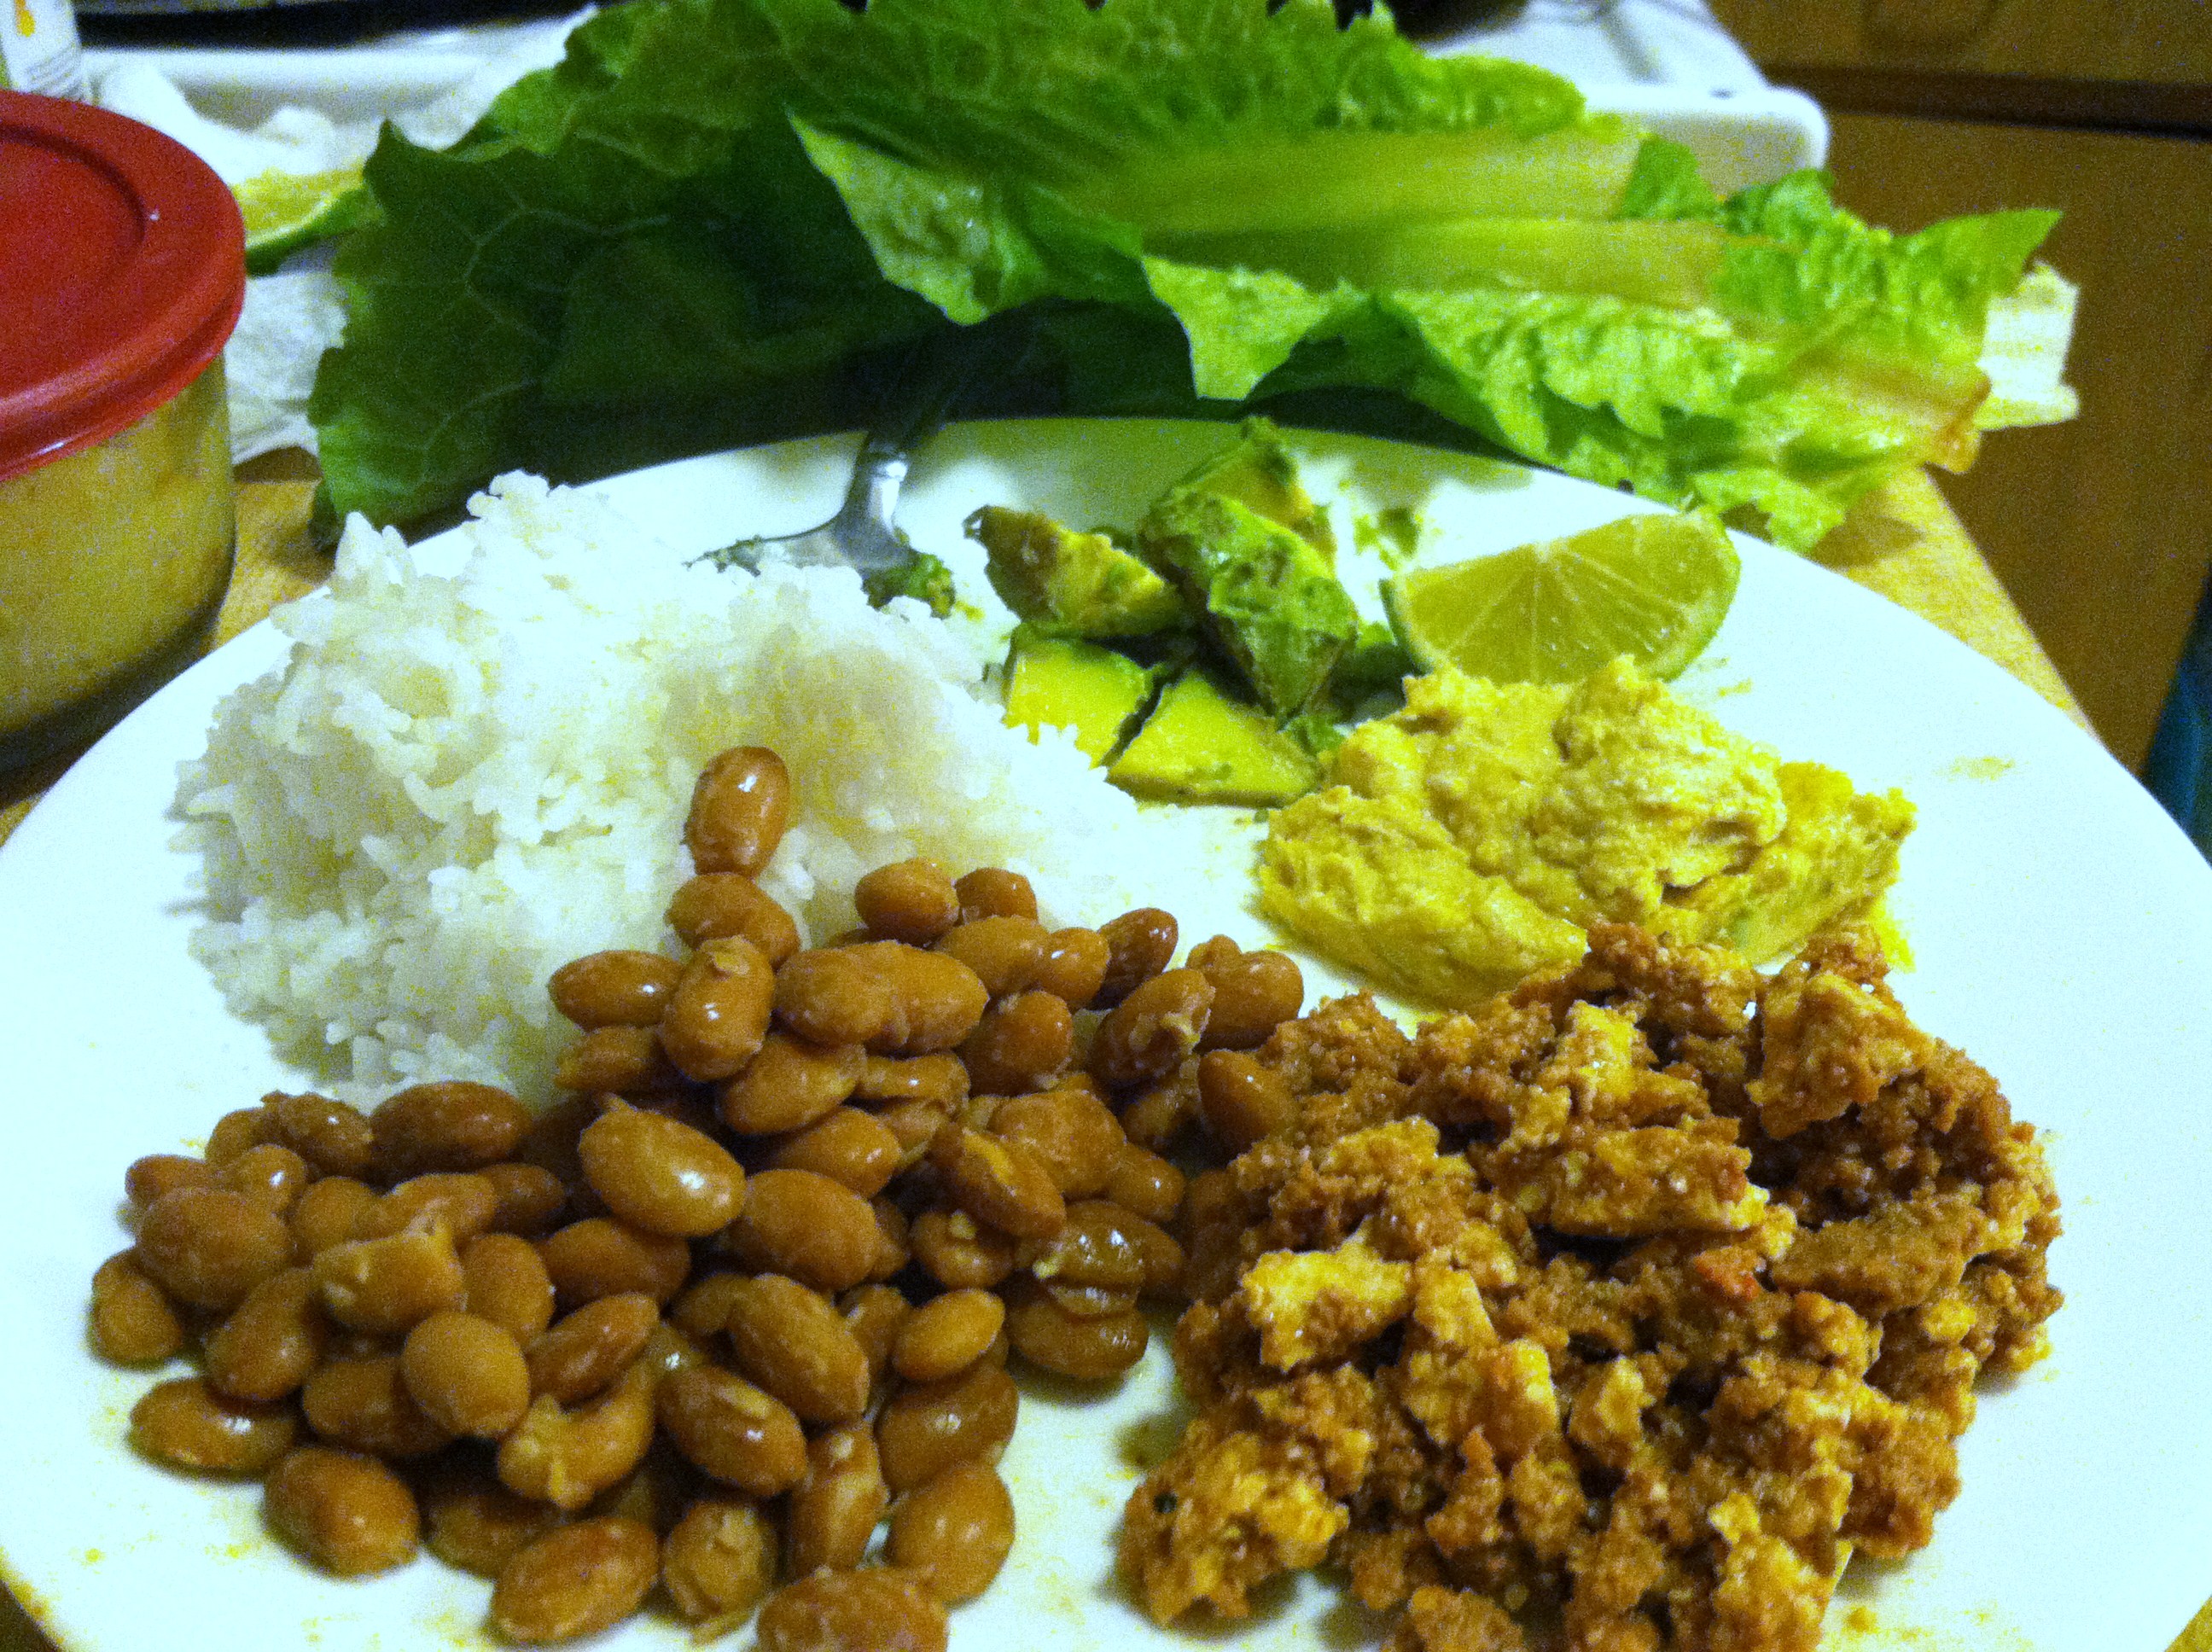
  • 1 cup cooked rice
  • 1 cup cooked pinto beans
  • 2 tbsp hummus
  • Fresh diced tomato
  • 1 fresh avocado
  • 1 head romaine, outer leaves removed
  • Optional: use tortillas (or make your own)

IMG_7841

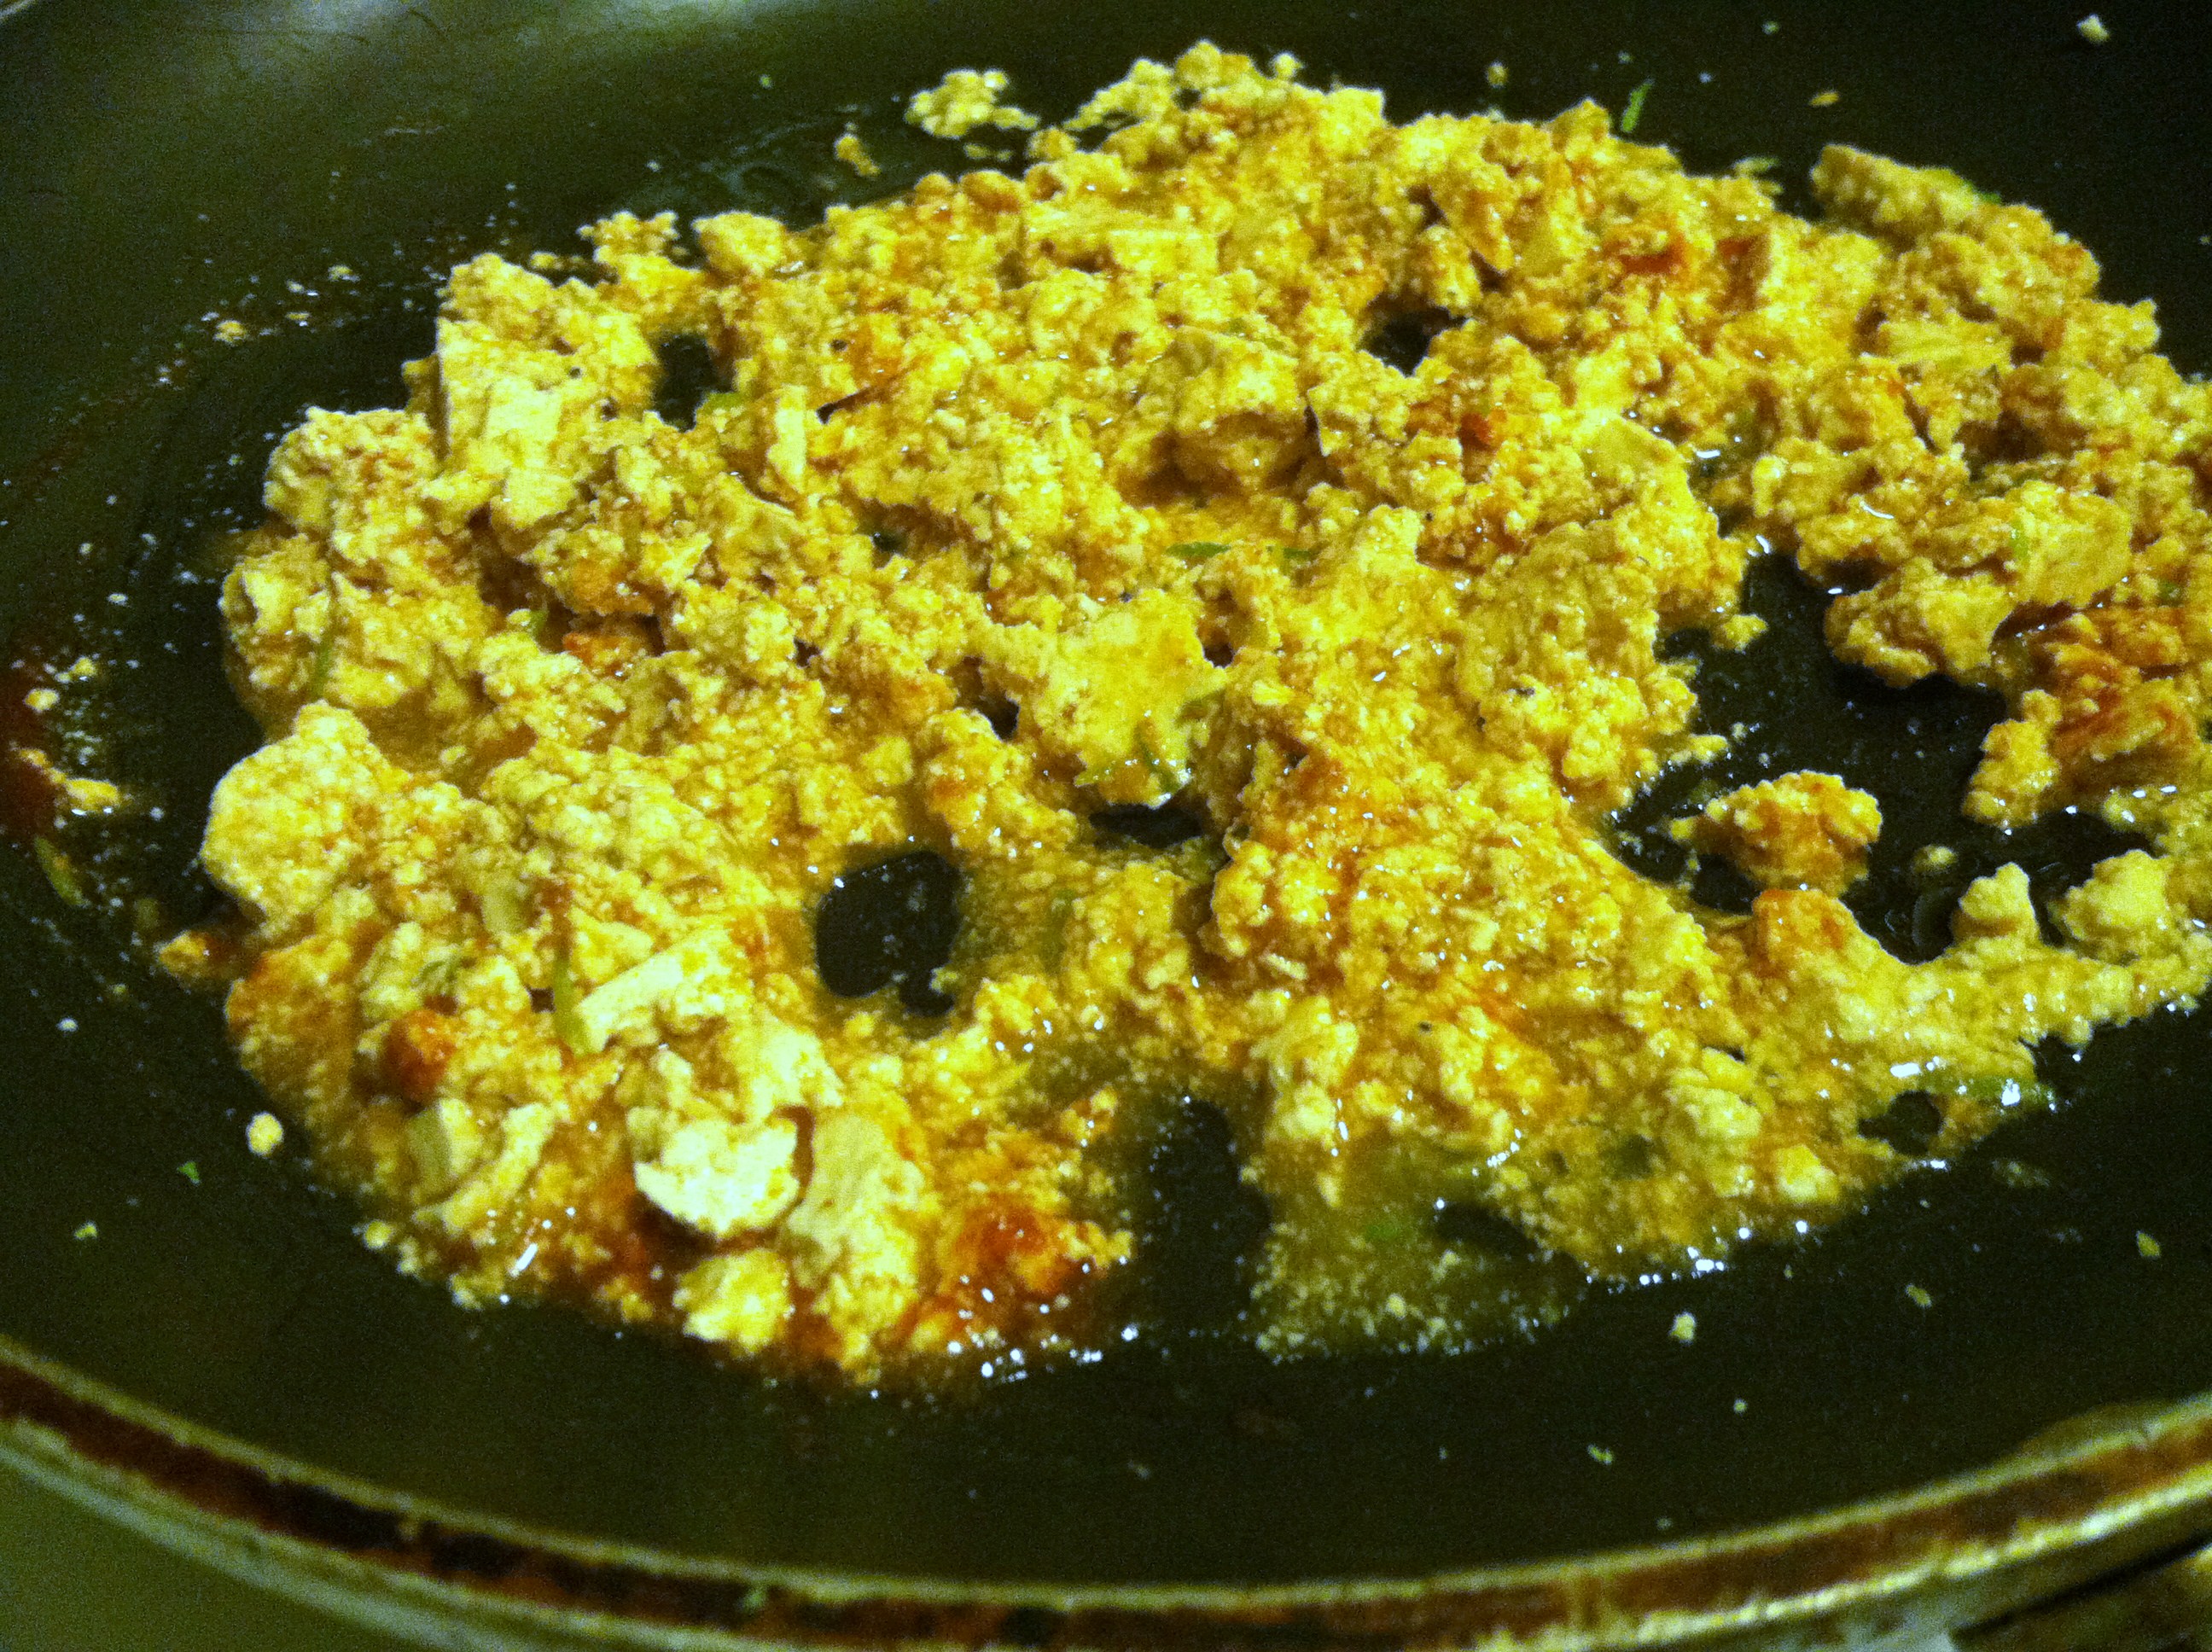
Step 1: Drain the tofu, and heat the oil in a pan. Using a fork or your hands, smash the tofu into crumbles.

IMG_7842

Step 2: Dice or crush the garlic, add to the oil until fragrant, then add the tofu. Pour on your hot sauce and spices.

IMG_7844

Because the meat-eater was joining me, I mixed tofu and ground turkey together. Keep it veg/vegan by not adding turkey, or slowly introduce tofu to someone this way.

IMG_7846

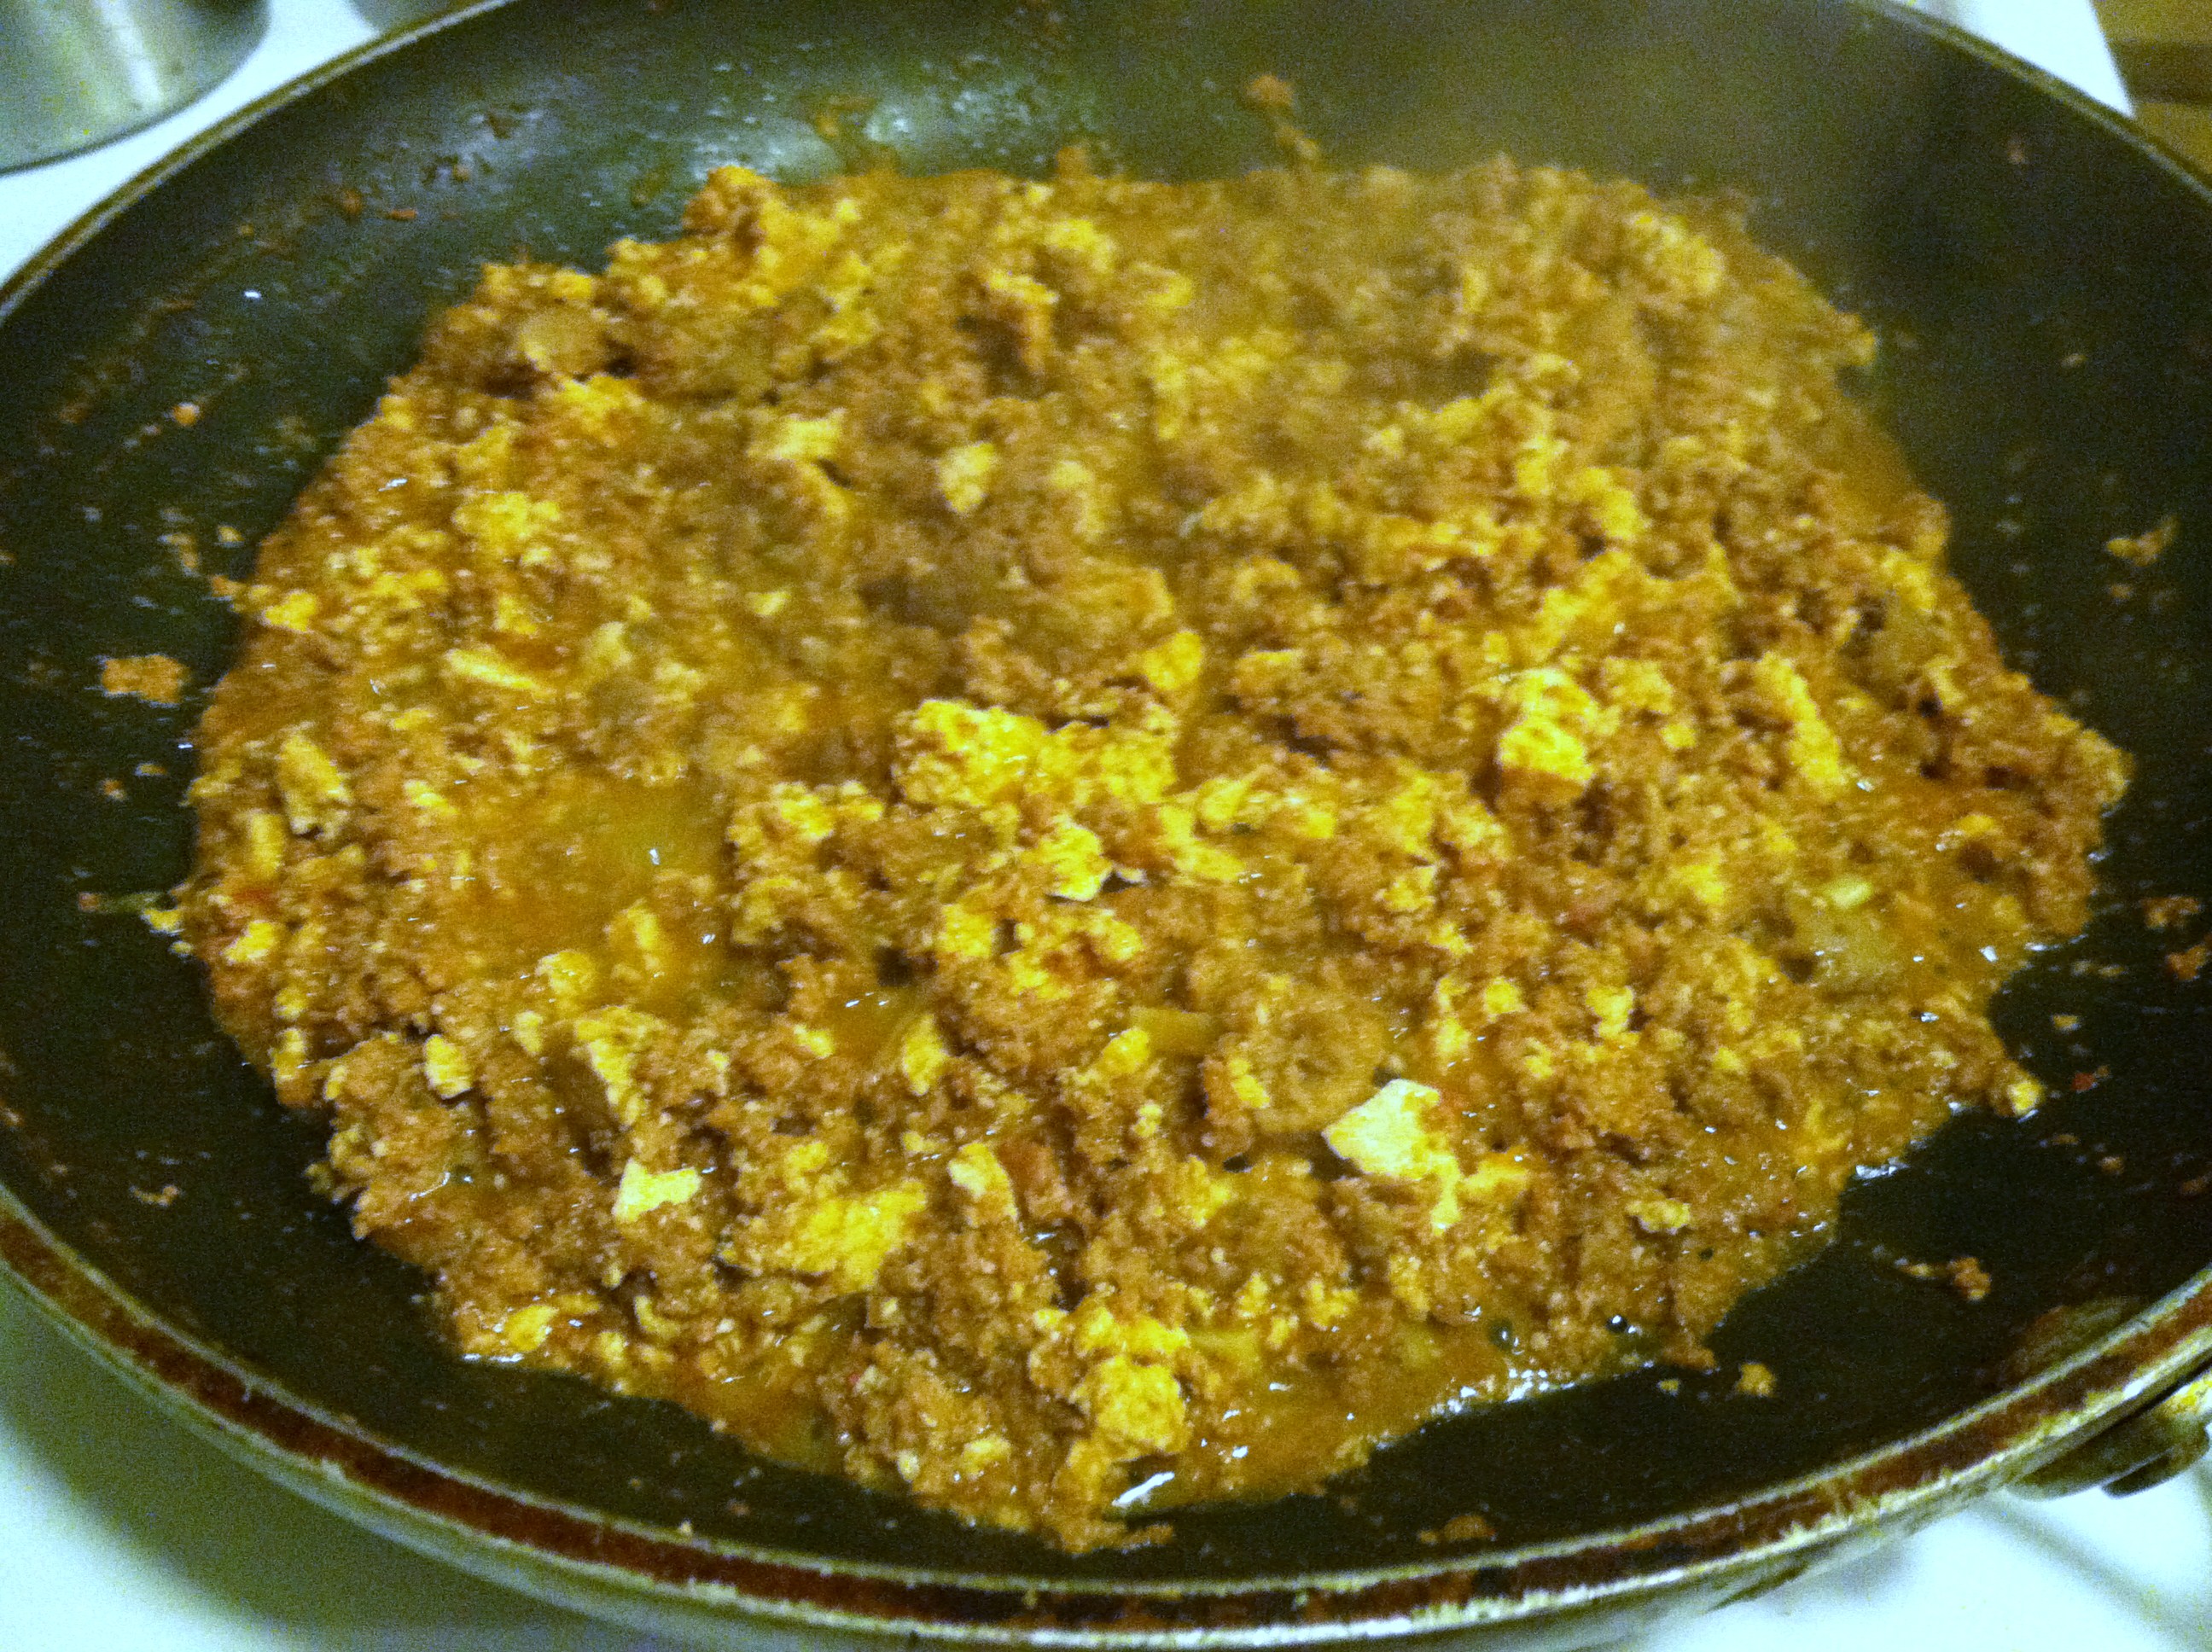
Step 3: Keep mixing until tofu develops a nice deep red/brown color, about 10-12 minutes.

IMG_7847

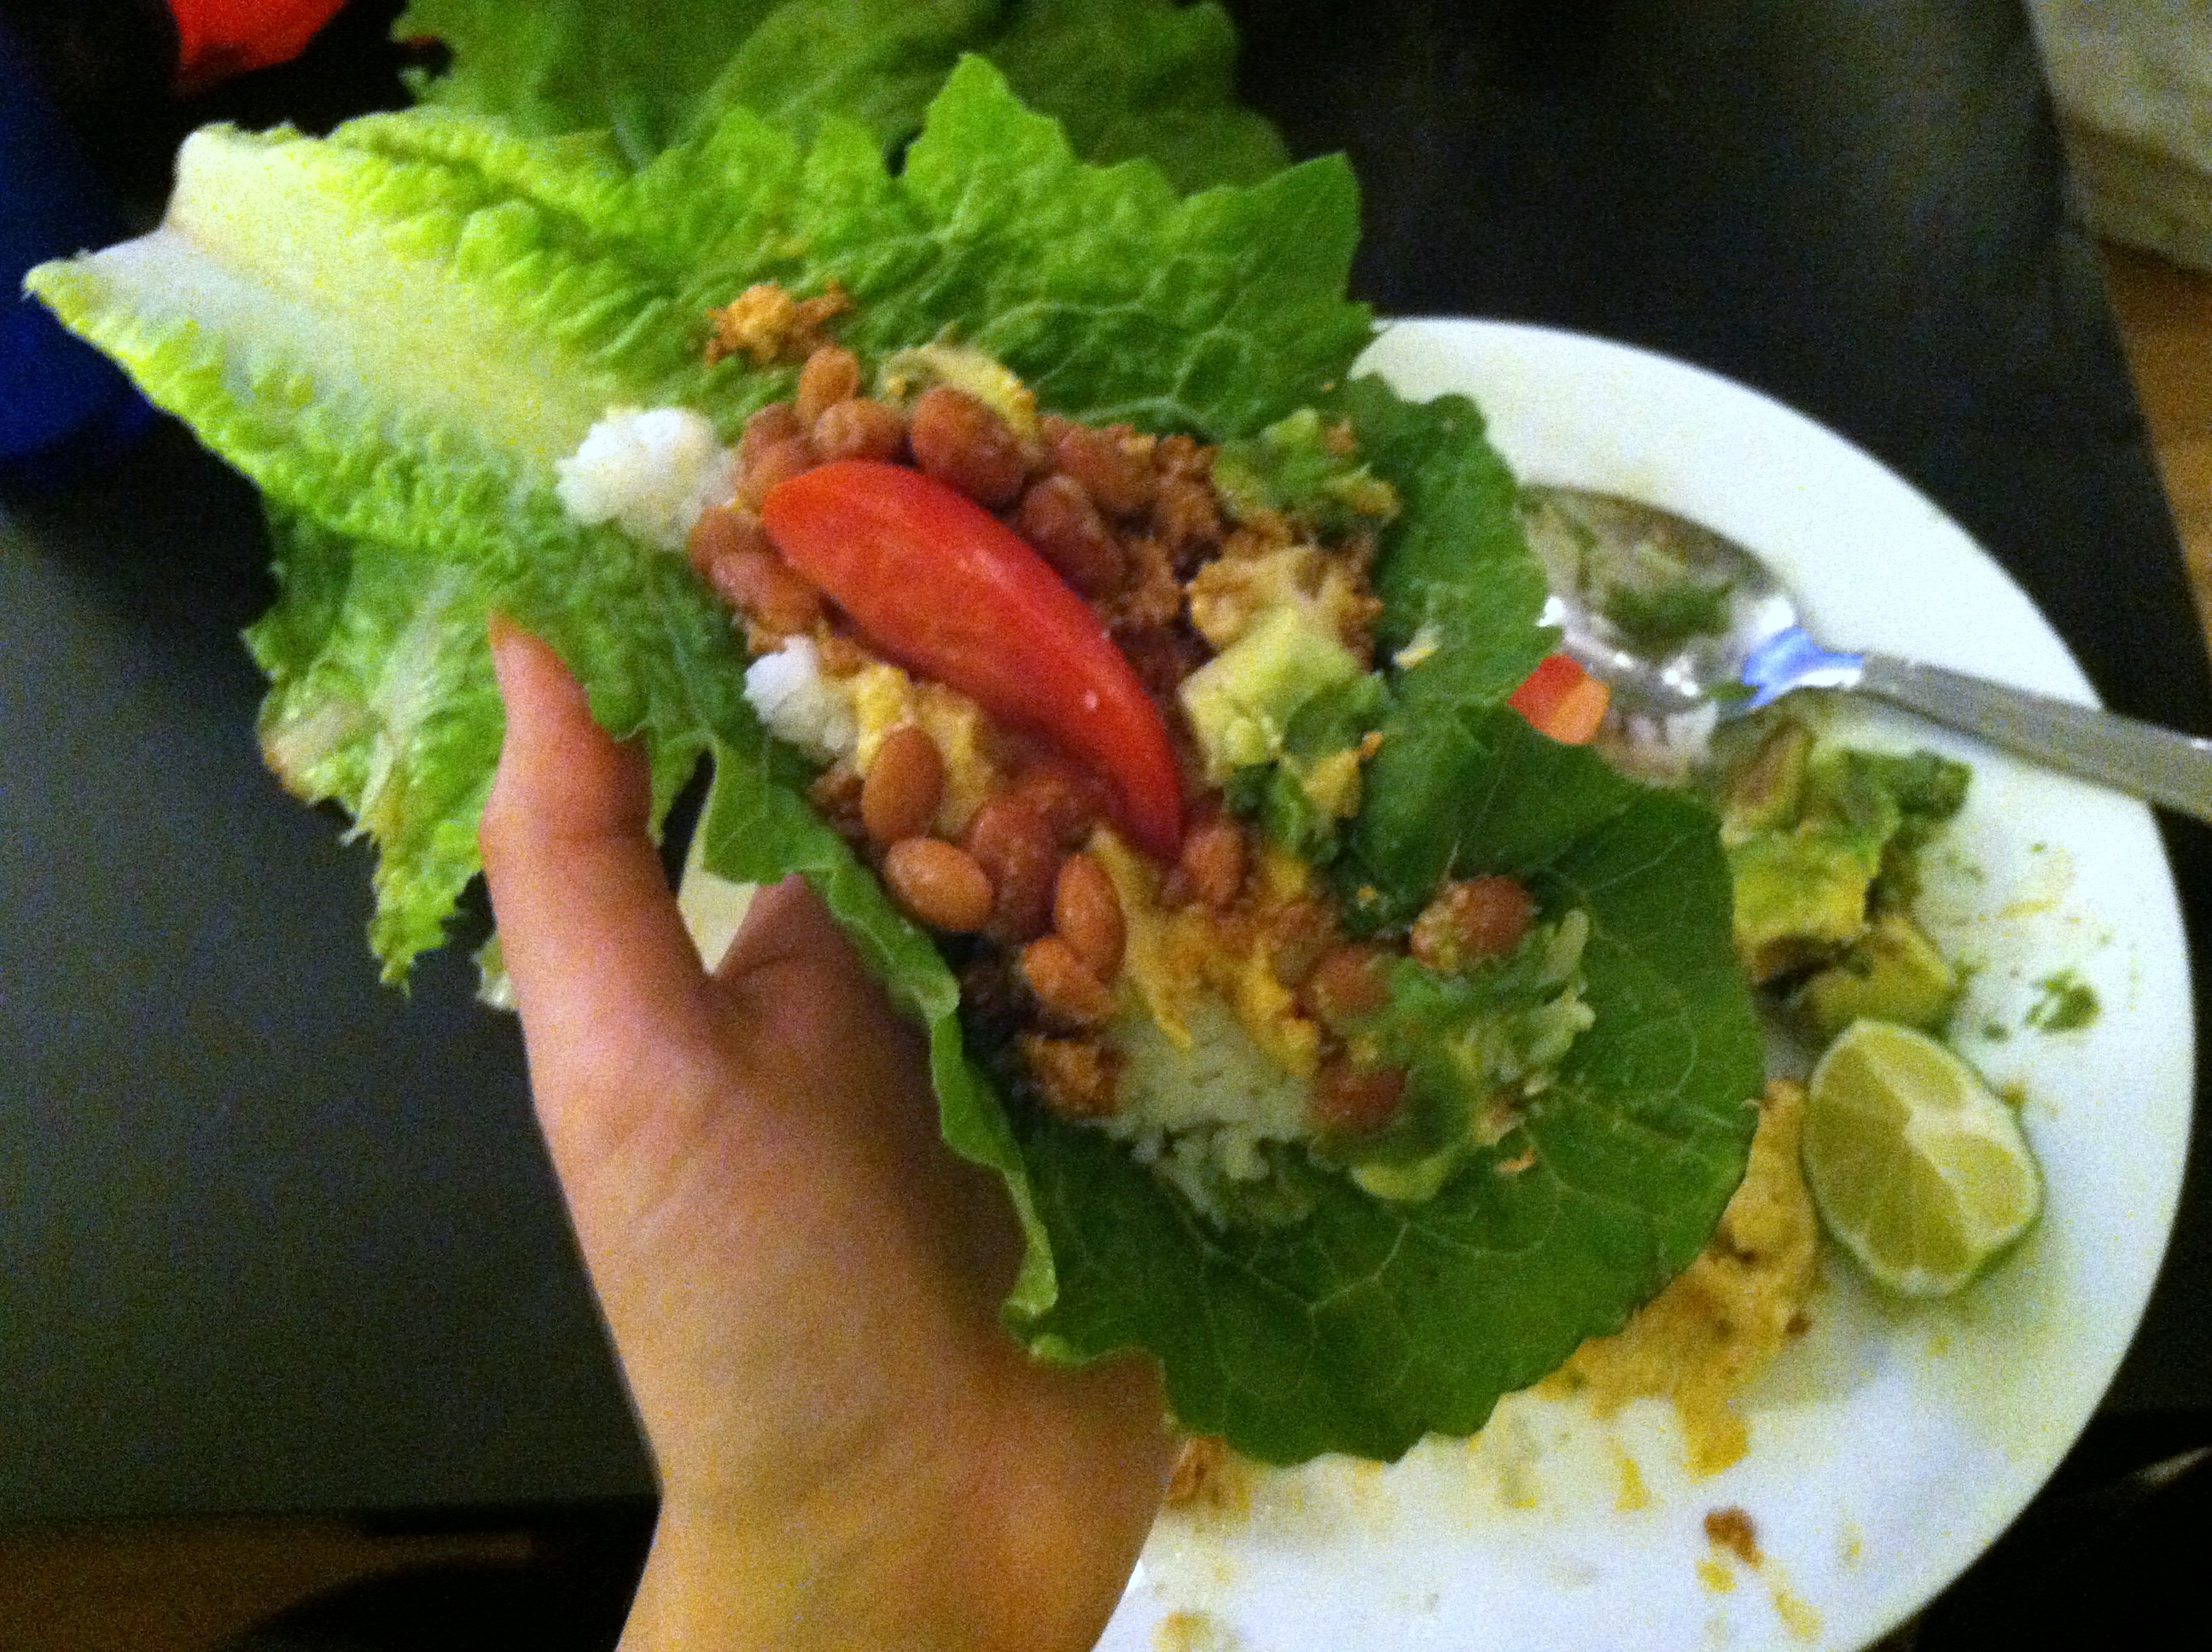
Step 4: Sprinkle the yeast into the tofu, and squeeze the lime juice over top. Take a large romaine leaf, and top with a heaping tbsp or two of sofritas.

IMG_7849

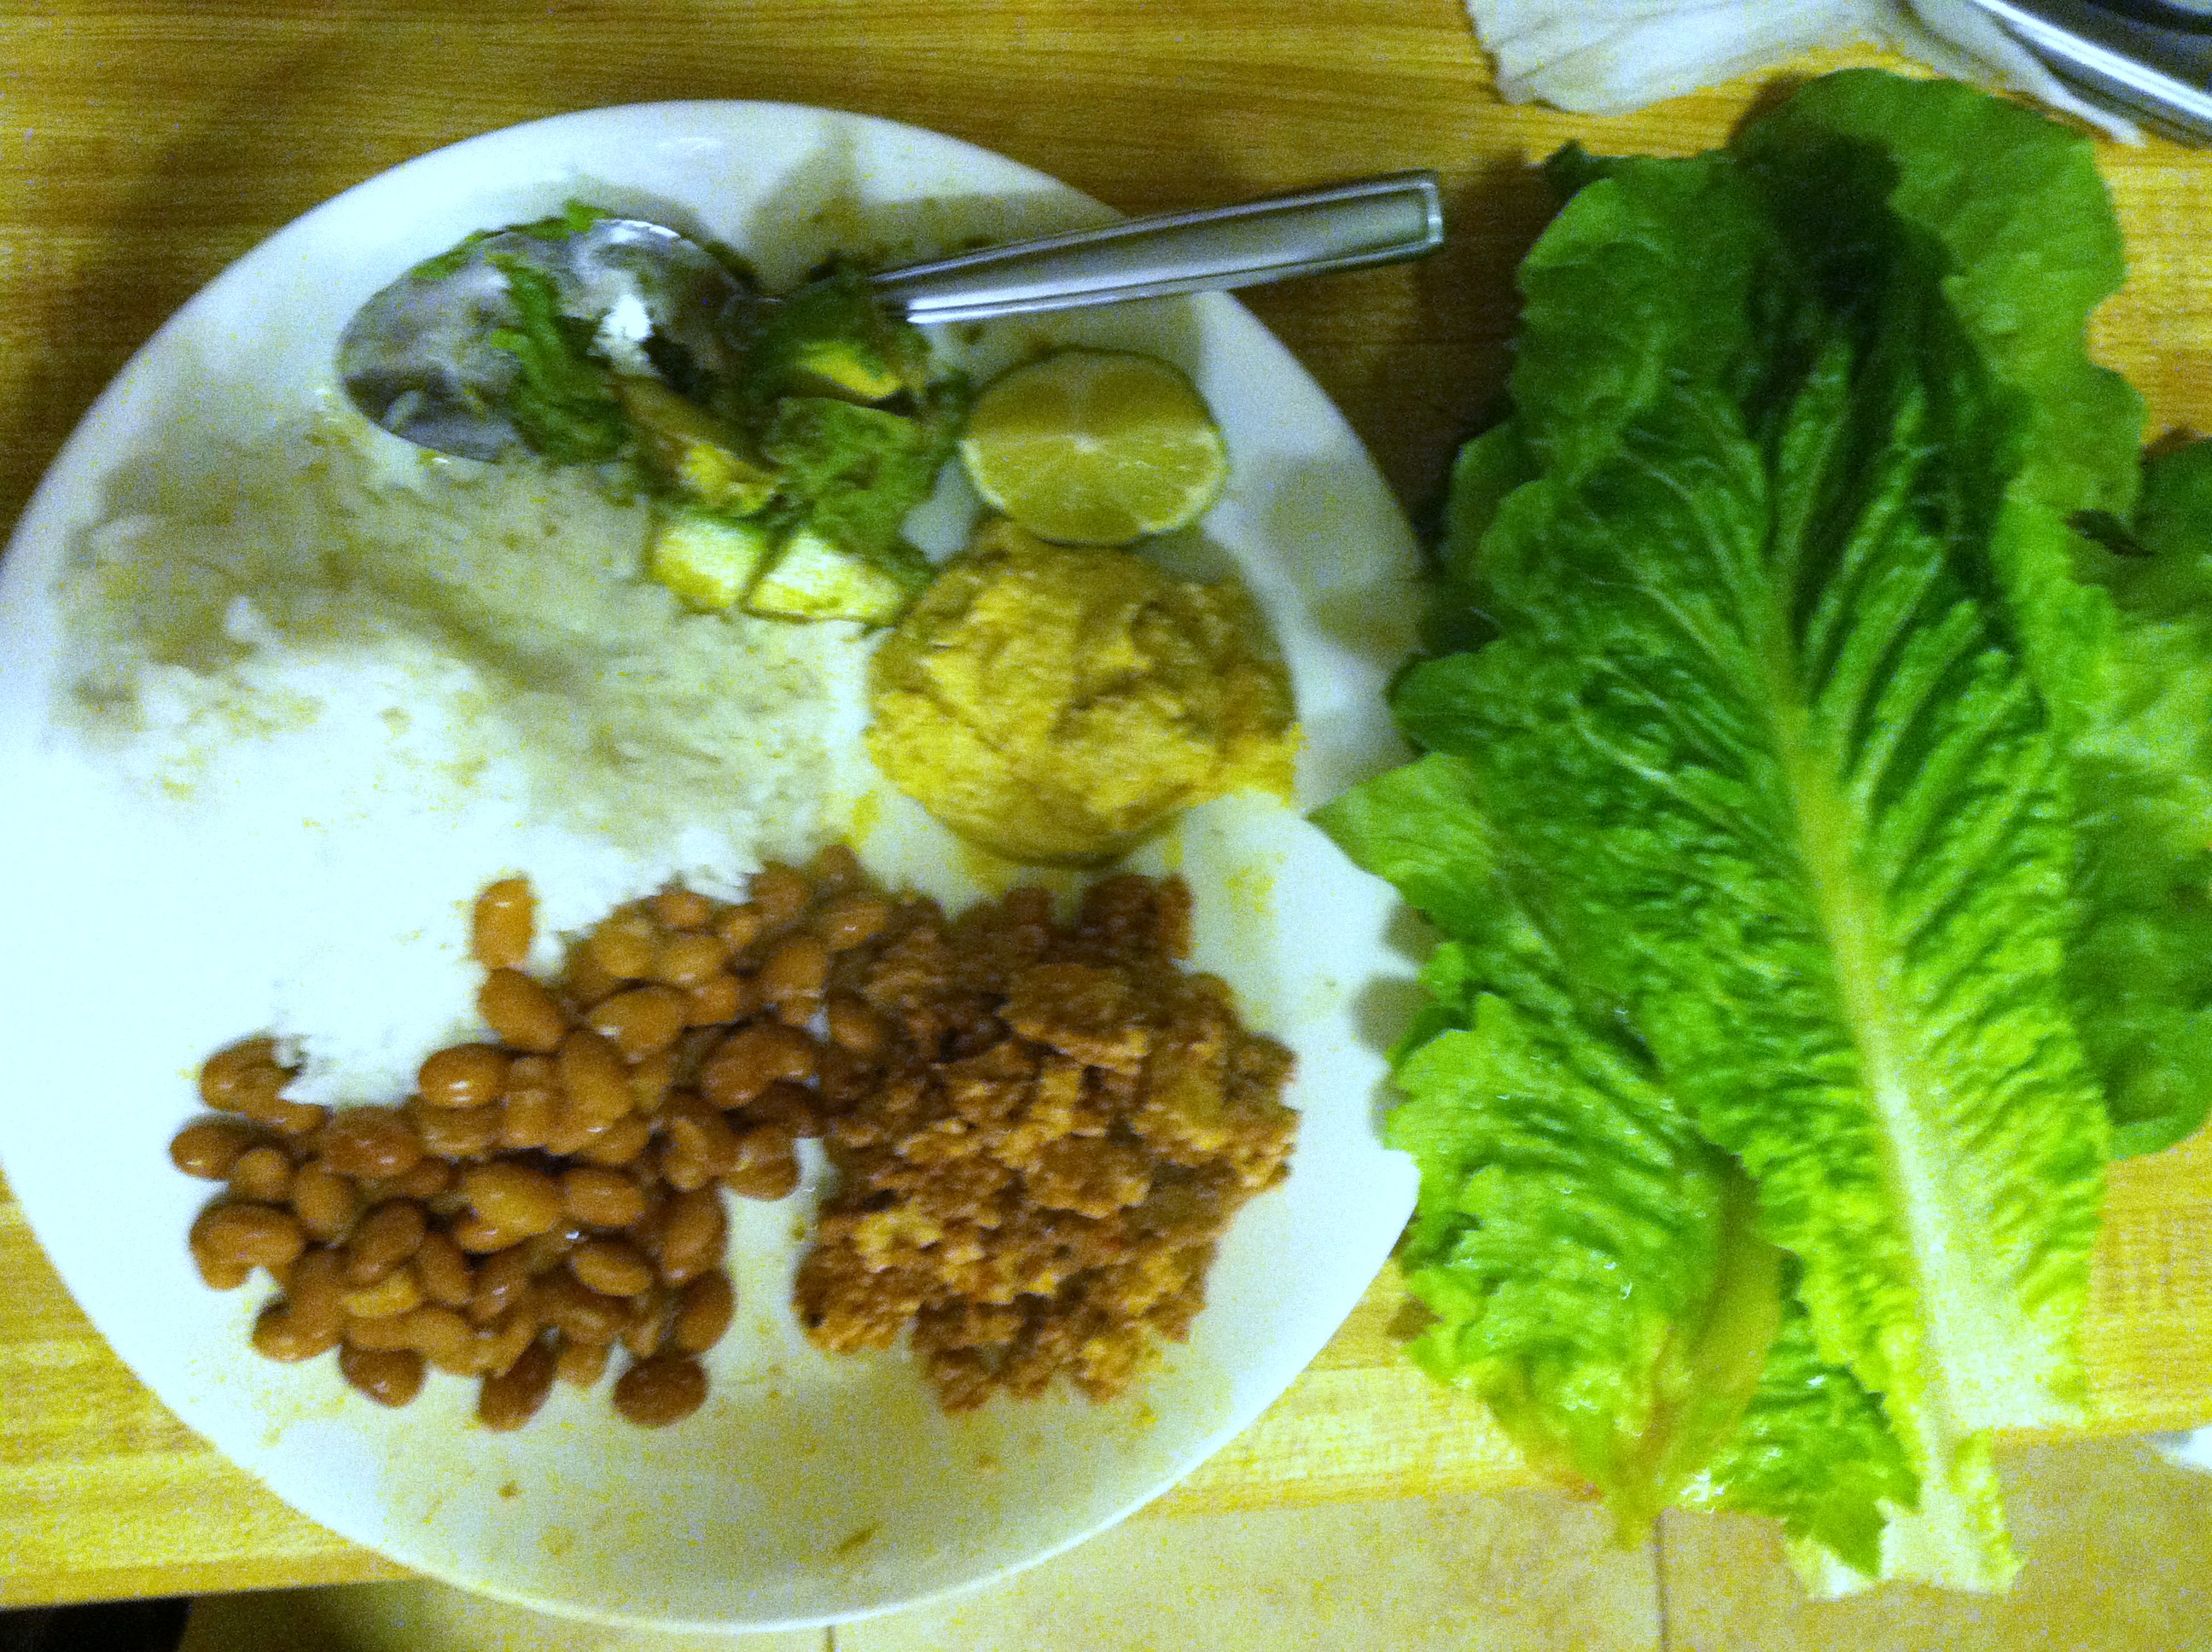
Add the other toppings you like, and wrap it all up.

IMG_7852

This makes a hearty and filling wrap, you can eat two or three and still have a very low total calorie count. If opposed to the lettuce, feel free to make it a bowl or use tortillas.

[amd-zlrecipe-recipe:19]

This post contains Amazon Affiliate links. By purchasing items through these links, the price you pay is not affected but a small percentage of proceeds go towards maintaining this blog. Thank you.

Kale & Wasabi Pea Caesar Salad


Are you getting in the spring of things? Have you begun a whirlwind of cleaning out rooms, old clutter, elbow greasing the bathroom, and sorting through wardrobes? Do you day dream about tender green baby lettuce, the first sweet juicy strawberry, or delicate spring peas that pop in your mouth? I know I am!

Spring is a time of freshness, rebirth, and growth. The world re-awakens after a long, cold, terrible winter.

Though it is hard to believe now, with the still-cold, hard earth brown and bare, soon rain will drench everything, sun will warm it again, and greenery will burst forth! Birds have begun singing, small furry animals are emerging from hibernation, and gardeners all over are just itching to get outside and play in some dirt!

Now might be a good time to assess your food preservation options. If you don’t have canning jars or could use some more, I recommend at least a case of pint jars (wide-mouth can fit more in easily, you can can or even freeze them), as well as a case of quart jars, and if you make lots of different flavored jams, jellies, or salsas, maybe a few tiny 4 oz jars too. These also make great gifts!

Don’t forget the lids, regular mouth lids and  wide-mouth lids. These cannot be reused (they lose their seal) but the rings you can reuse.

Even if you don’t have a garden yourself, canning is an excellent skill to begin learning. You can get steals and deals at the end of the day in farmer’s markets, pick-your-own bushels of fruits at an orchard, or on-sale in-season produce at the grocery store.

Canning is a great, non-electricity-using way to store these seasonal delicacies for the future dreary winter, that we don’t even want to think about yet. Read my earlier foray into canning beans for more information, directions, and especially important safety information to consider if this is your first time (or hundredth).

In honor of this season of green, here is a lovely salad recipe using fresh greens, wasabi peas, sunflower seeds, and other fresh veggies. Feel free to make it your own based on your tastes and what is currently in season near you.

Ingredients:

  • 2 cups assorted greens (romaine, kale, spinach used here. also try arugula, watercress, chard, or endive)
  • 1/2 cucumber, washed and sliced
  • 1/3 cup wasabi green peas (use fresh peas if you have them or don’t like wasabi spice/flavor)
  • 1/2 cup homemade croutons
  • 2-3 tbsp Caesar dressing (or Ranch)
  • 2 tbsp sunflower seeds
  • Optional: grated fresh Parmesan or Romano cheese

Step 1: To make croutons, cut 2 slices of old bread into cubes. Toss in 2-3 tbsp olive oil, and sprinkle on seasonings (I recommend Italian). Toast on a flat cookie sheet in an oven at 350 for 10-12 minutes, until golden. Or use store-bought, or omit entirely. Up to you.

IMG_7598

Step 2: Shred or slice the romaine, spinach, and kale, and pile on a plate. Top with cucumber slices, sprinkle on the seeds, peas, and croutons, and add dressing. Toss lightly to coat.

IMG_7600

I had this for lunch with an apple, a piece of homemade corn bread (with canned corn in it) and a big glass of water. Just a perfect amount of crunch and spring flavors to perk you right up. Now if only there was no more frost danger so I can set out my seedlings…

[amd-zlrecipe-recipe:18]


This post contains links from the Amazon Affiliates program. If you purchase these items through these links, the price you pay is not affected yet a portion of the proceeds go towards maintaining this blog (and my gardening addiction!). Thank you.

Fresh Caprese Salad


Ahhh the Caprese Salad. Trending for years in America, but traditionally know as “insalata caprese” for centuries in Italy. Typically served as an “antipasti” or appetizer, rather than a salad, the caprese salad all Italian home cooks know and love consists of homegrown or local tomatoes at the peak of freshness, young garden-grown basil, thick chunks of buffalo mozzarella, and the finest olive oil you can afford.

Be warned, the recipe I am about to share violates some of the Caprese purist rules, including using baby mozzarella and balsamic vinegar. My apologies. For a true, simple, Italian recipe, try In Italy.

But as they have pointed out, Americans rarely will accept a very simple dish as-is. Our culture demands experimentation, ostentation, and exaggeration. We want to feel special, trendy, unique. We want validation for spending ten times on a meal what the ingredients to make it at home would have cost.

Enough of my soap box. Here is my at-home version of insalata caprese, enough for one light lunch portion or an appetizer for two.

Best in late summer, when tomatoes are at their peak of season and basil is cheap (or flourishing on your window sill)

Ingredients:

  • 4 oz fresh mozzarella
  • 4 oz cubes fresh tomato
  • 1 oz fresh basil leaves
  • 1/2 oz olive oil
  • 1 oz balsamic vinegar
  • Garlic salt & Italian seasoning

IMG_5743

Better yet, grow your own basil! It’s an easy plant to tend, in a garden or a container, and is usually quite prolific. Then you can enjoy the fresh scent and taste of basil in sauces, pastas, and pesto year-round.

IMG_5744

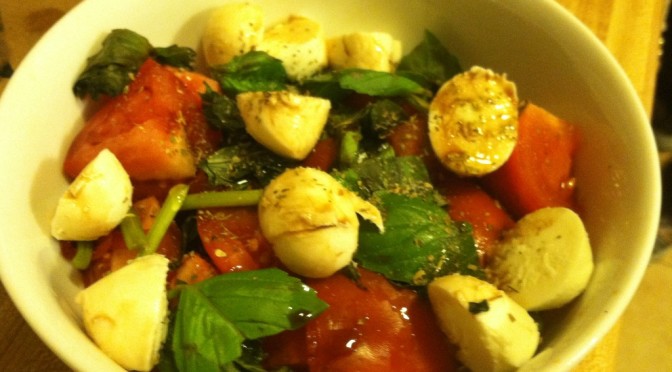
Step 1: Put a large handful of basil leaves into a bowl. Slice the mozzarella on top. Cut the tomatoes into chunks and add those. If you’re going for a nice presentation, use a larger ball of mozzarella and larger tomatoes, and slice into thick rounds. Layer these on a dish, alternating red-white-green. Like the Italian flag.

IMG_5746

Step 2: For the purists, at this point you should add some salt and pepper to taste, and just a drizzle of pure, high-grade olive oil. I also sprinkled on Italian seasoning (a little redundant to add dried basil to my fresh basil but hey, I love herbs!), garlic salt (because there isn’t anything that doesn’t taste better with garlic salt on it), and some balsamic vinegar.

IMG_5747

Dig in! That’s all there is to it. This flavor combination is absolutely heavenly. The classic is of course classic for a reason. However, if this isn’t enough to satisfy your curious taste buds, try one of these variations:

  • Caprese Pizza – use the same ingredients, just slice onto a pizza crust, drizzle with olive oil, and bake
  • Caprese Pasta – dice the mozzarella and tomatoes into cooked pasta, warm or cold, sprinkle slivered basil on top
  • Caprese Bruchetta – put the cheese, tomato, and basil on toasted bread or crostini, sprinkle with oil & vinegar & serve immediately
  • Zucchini slices in addition to tomato
  • Heirloom tomato slices in rainbow colors
  • Pesto, parsley, or mint leaves instead of basil


Recipe Review: Overnight Oatmeal from Oh She Glows


We all know by now that eating breakfast is a good idea. It gets your metabolism going, and should help keep you from eating everything in sight by 11am. Now, in an ideal world we would all love cooking, be world-class chefs, have a kitchen and pantry stocked with nutritious foods, be able to dedicate an hour every morning to whipping up filling, healthy delicacies, and have a personal dish-washer and house cleaner afterwards.

This is not how the real world works.

Many of you are decidedly *not* morning people, and the thought of heating up a frying pan or dicing veggies before three cups of coffee is repulsive. Many of you have children, and the idea that you will have more than ten free seconds to yourself is laughable. And many just don’t enjoy cooking, don’t want to wake up 20 minutes early to make time to cook, or for whatever reason just don’t want to cook a hot breakfast.

That is totally fine. I have a solution that is far healthier and easier on your wallet than running through a drive through and wasting $8 on a carb-heavy bagel, fatty cream cheese, and overpriced coffee that will just leave you with a mid-morning slump.

At the risk of giving away the secret, I’ll tell you: oatmeal.

Ok, cat’s out of the bag. For those of you who just thought “ugh, I refuse to eat gruel for breakfast”, stay with me.

Oats are a powerhouse food, containing the highest amounts of beta-glucan, a beneficial type of fiber, in any known grain. Beta glucan helps slow digestion, and lowers levels of the ‘bad’ cholesterol. This fiber also helps you feel full longer, by eating fewer calories. They also contain a bundle of trace minerals our bodies need for all sorts of functions.

The FDA claims oats can help lower risk of heart disease, and many publications back up that claim. The only caution against oats is that, although they do not contain gluten, they are often grown in the same fields or near other crops such as wheat or barley. Thus those who truly are gluten-intolerant should be cautious.

Anywhoodles, in order to up your oat consumption without feeling like the little kid from Charles Dickens eating his gruel, there are so many things you can do to spruce up a bowl of oatmeal. And making it yourself at home can also save you tons of money and loads of added calories, sweeteners, preservatives, thickeners, etc. over pre-packaged microwave oatmeal options.

The time-saving factor comes in when you try the recommendation of “Oh She Glows” blogger: overnight oatmeal.

Anyone who has tried using real, raw oats rather than the “instant” or “minute” stuff knows, it takes a looooooong time to cook. So by soaking the oats overnight in the refrigerator, problem solved! The oats are soft and ready to go, you just need to give it a quick blast of heat, then add toppings as desired.

My first go, I followed the recipe exactly. Since then, I’ve experimented with oodles of different toppings. I’ll tell you my current fave at the end of the post!

Ingredients:

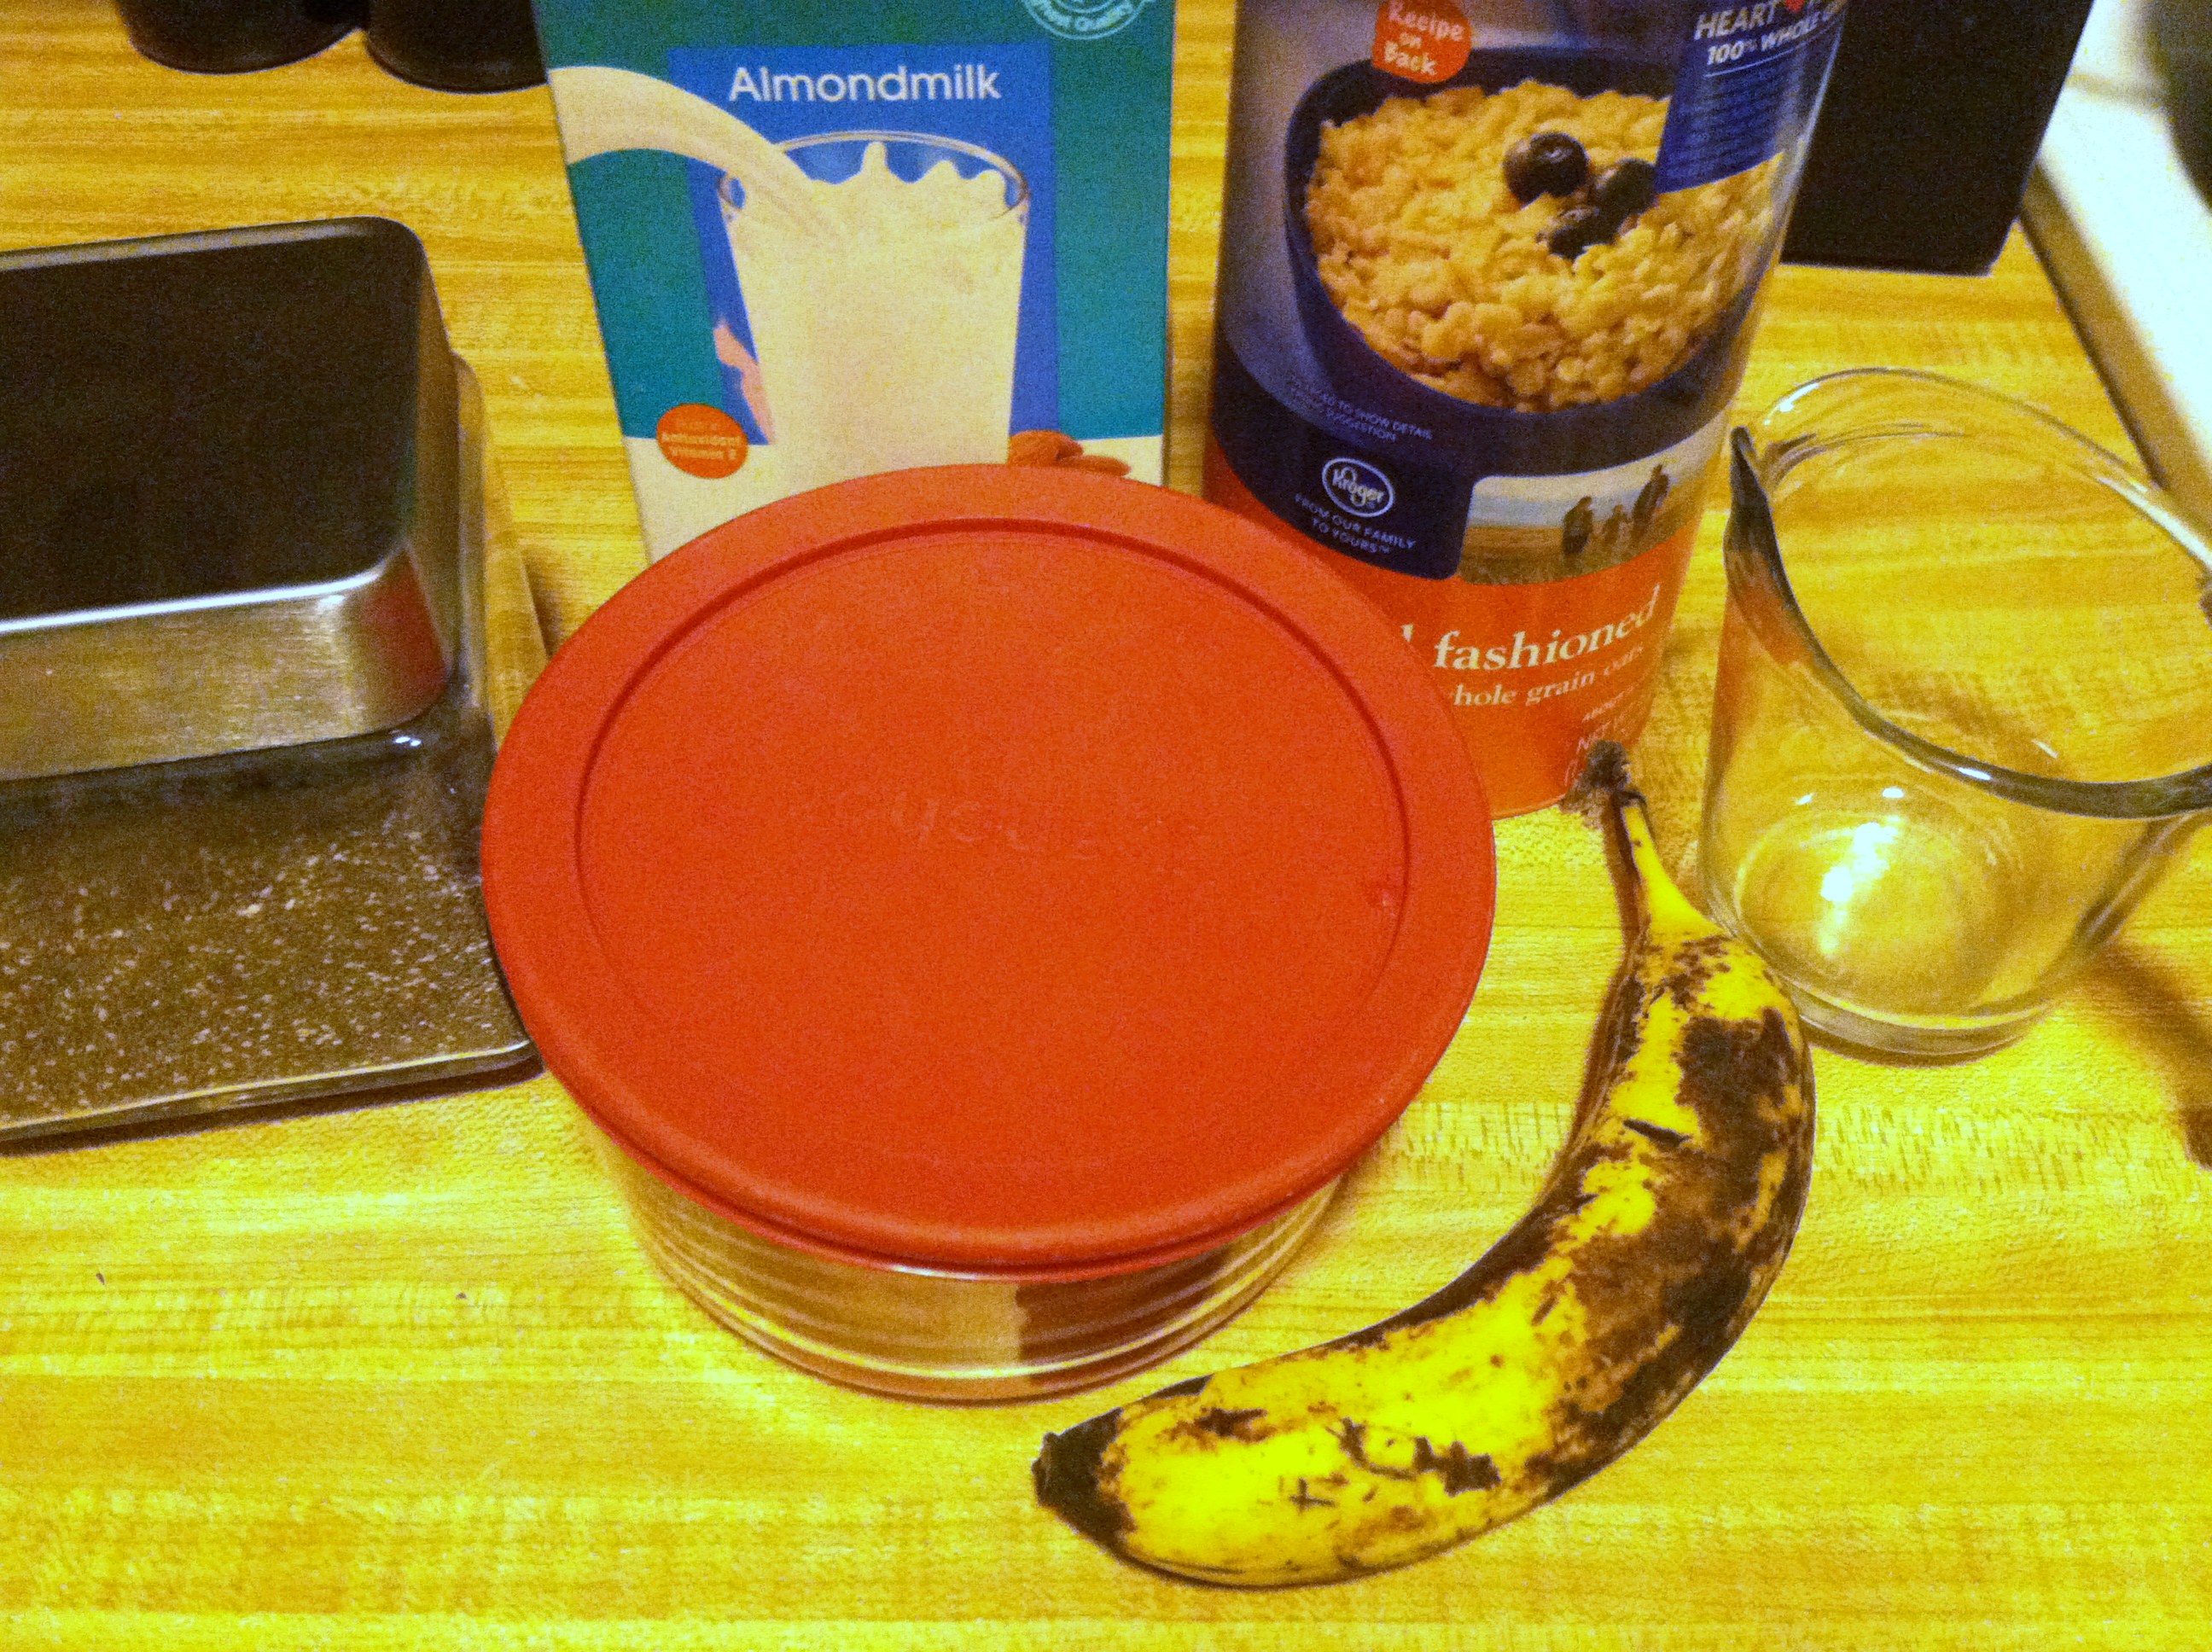
  • 1 ripe banana
  • 1-2 tbsp chia seeds
  • 1/3-1/2 cup rolled oats
  • 2/3 cup almond/soy milk
  • 1/2 cup water
  • 1 tbsp ground flax seed
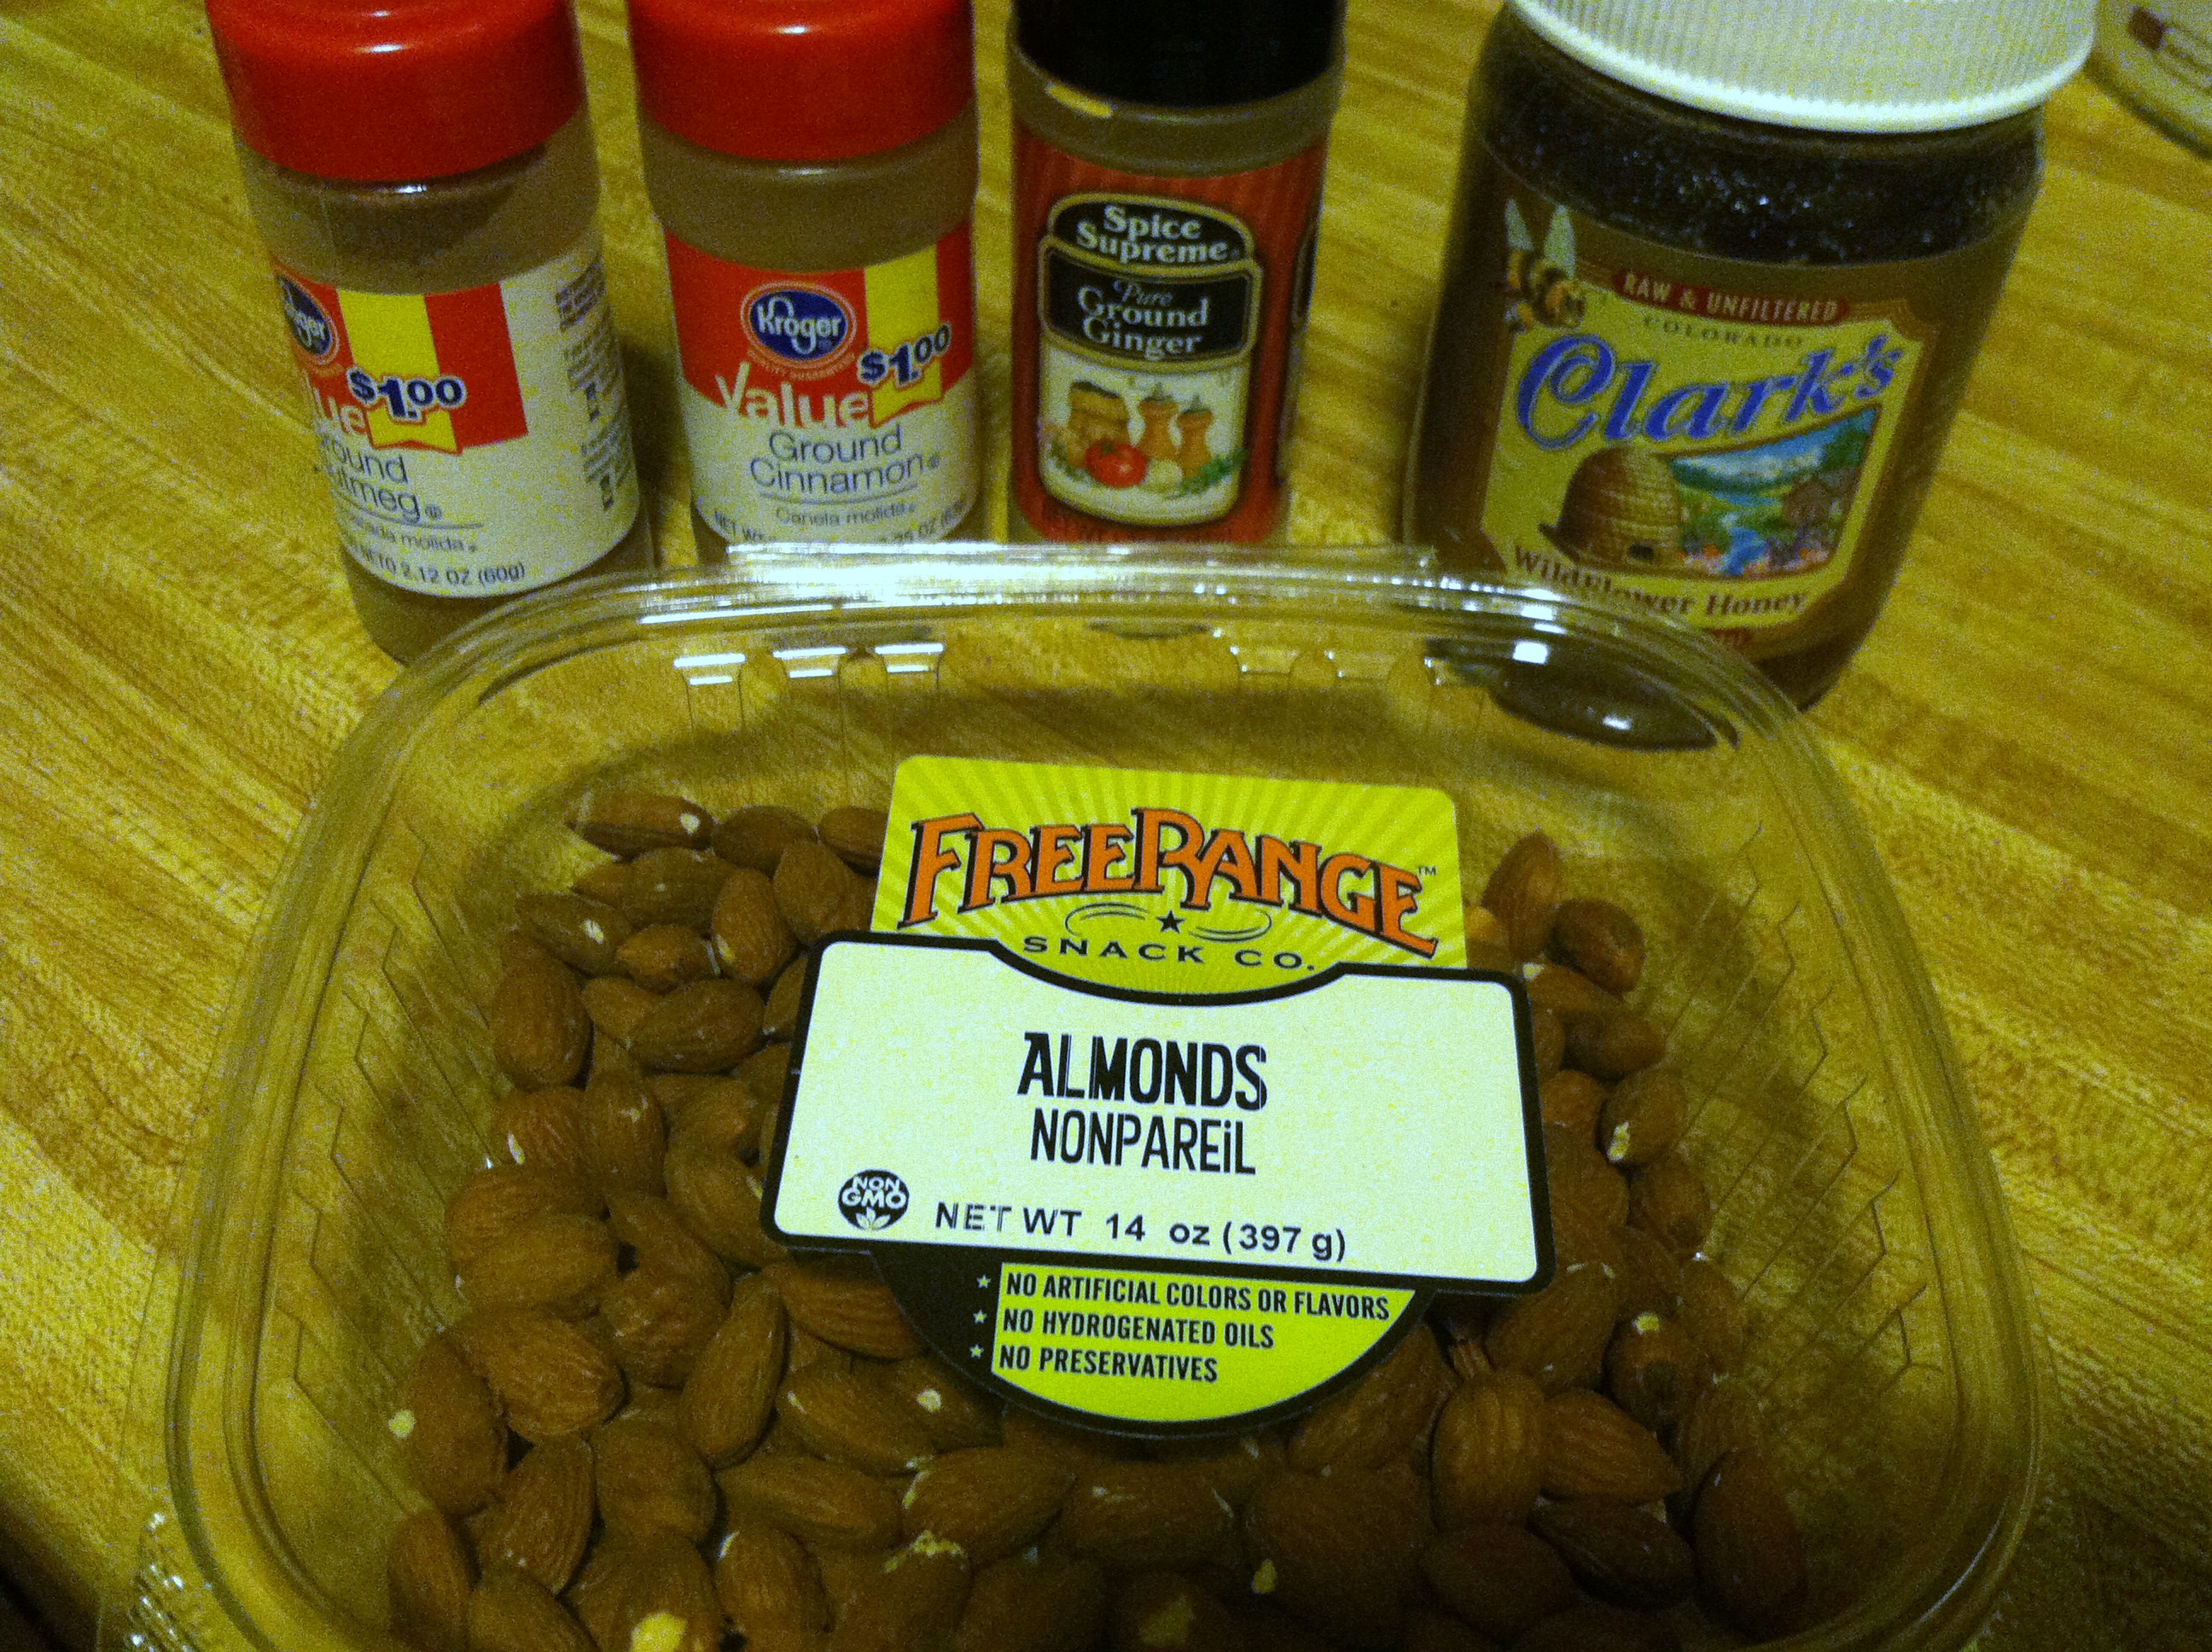
  • Optional: cinnamon, nutmeg, sugar, sea salt, nuts/seeds/dried fruit

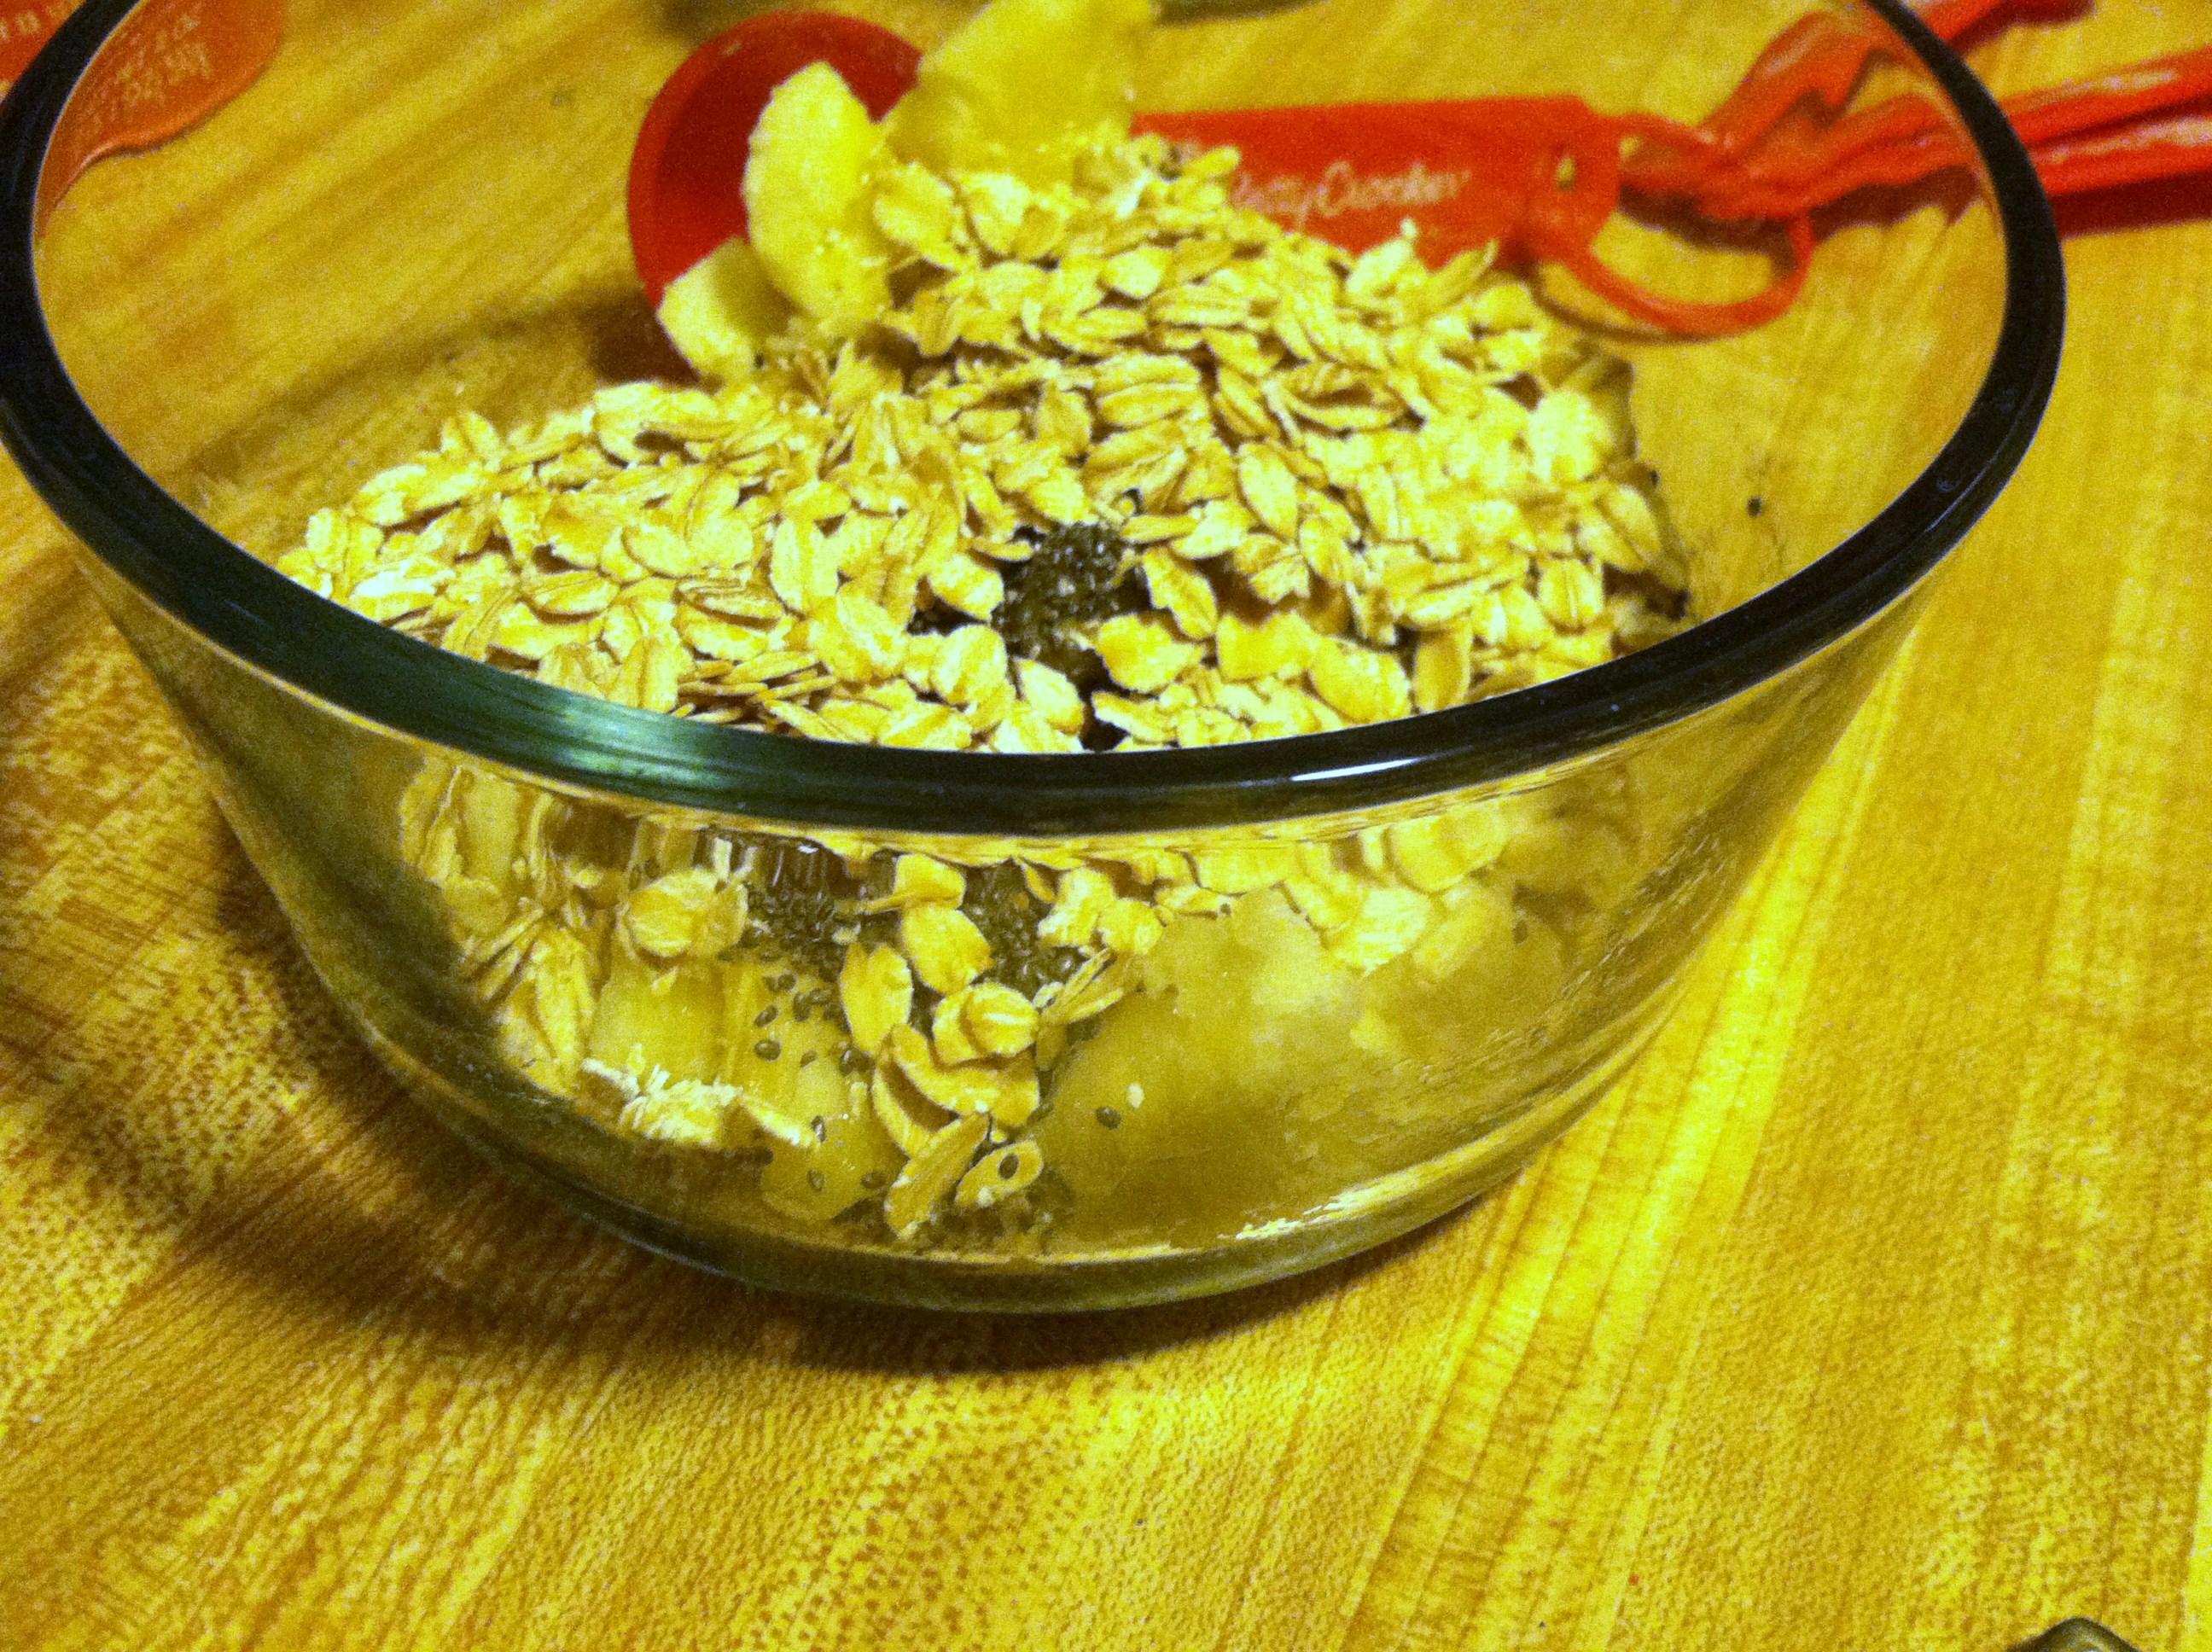
IMG_7211

Step 1: Mash your banana into a glass bowl. Add the oats, flax, and chia. Sprinkle on whatever spices you’re using: I added some cinnamon, nutmeg, and ginger.

IMG_7212

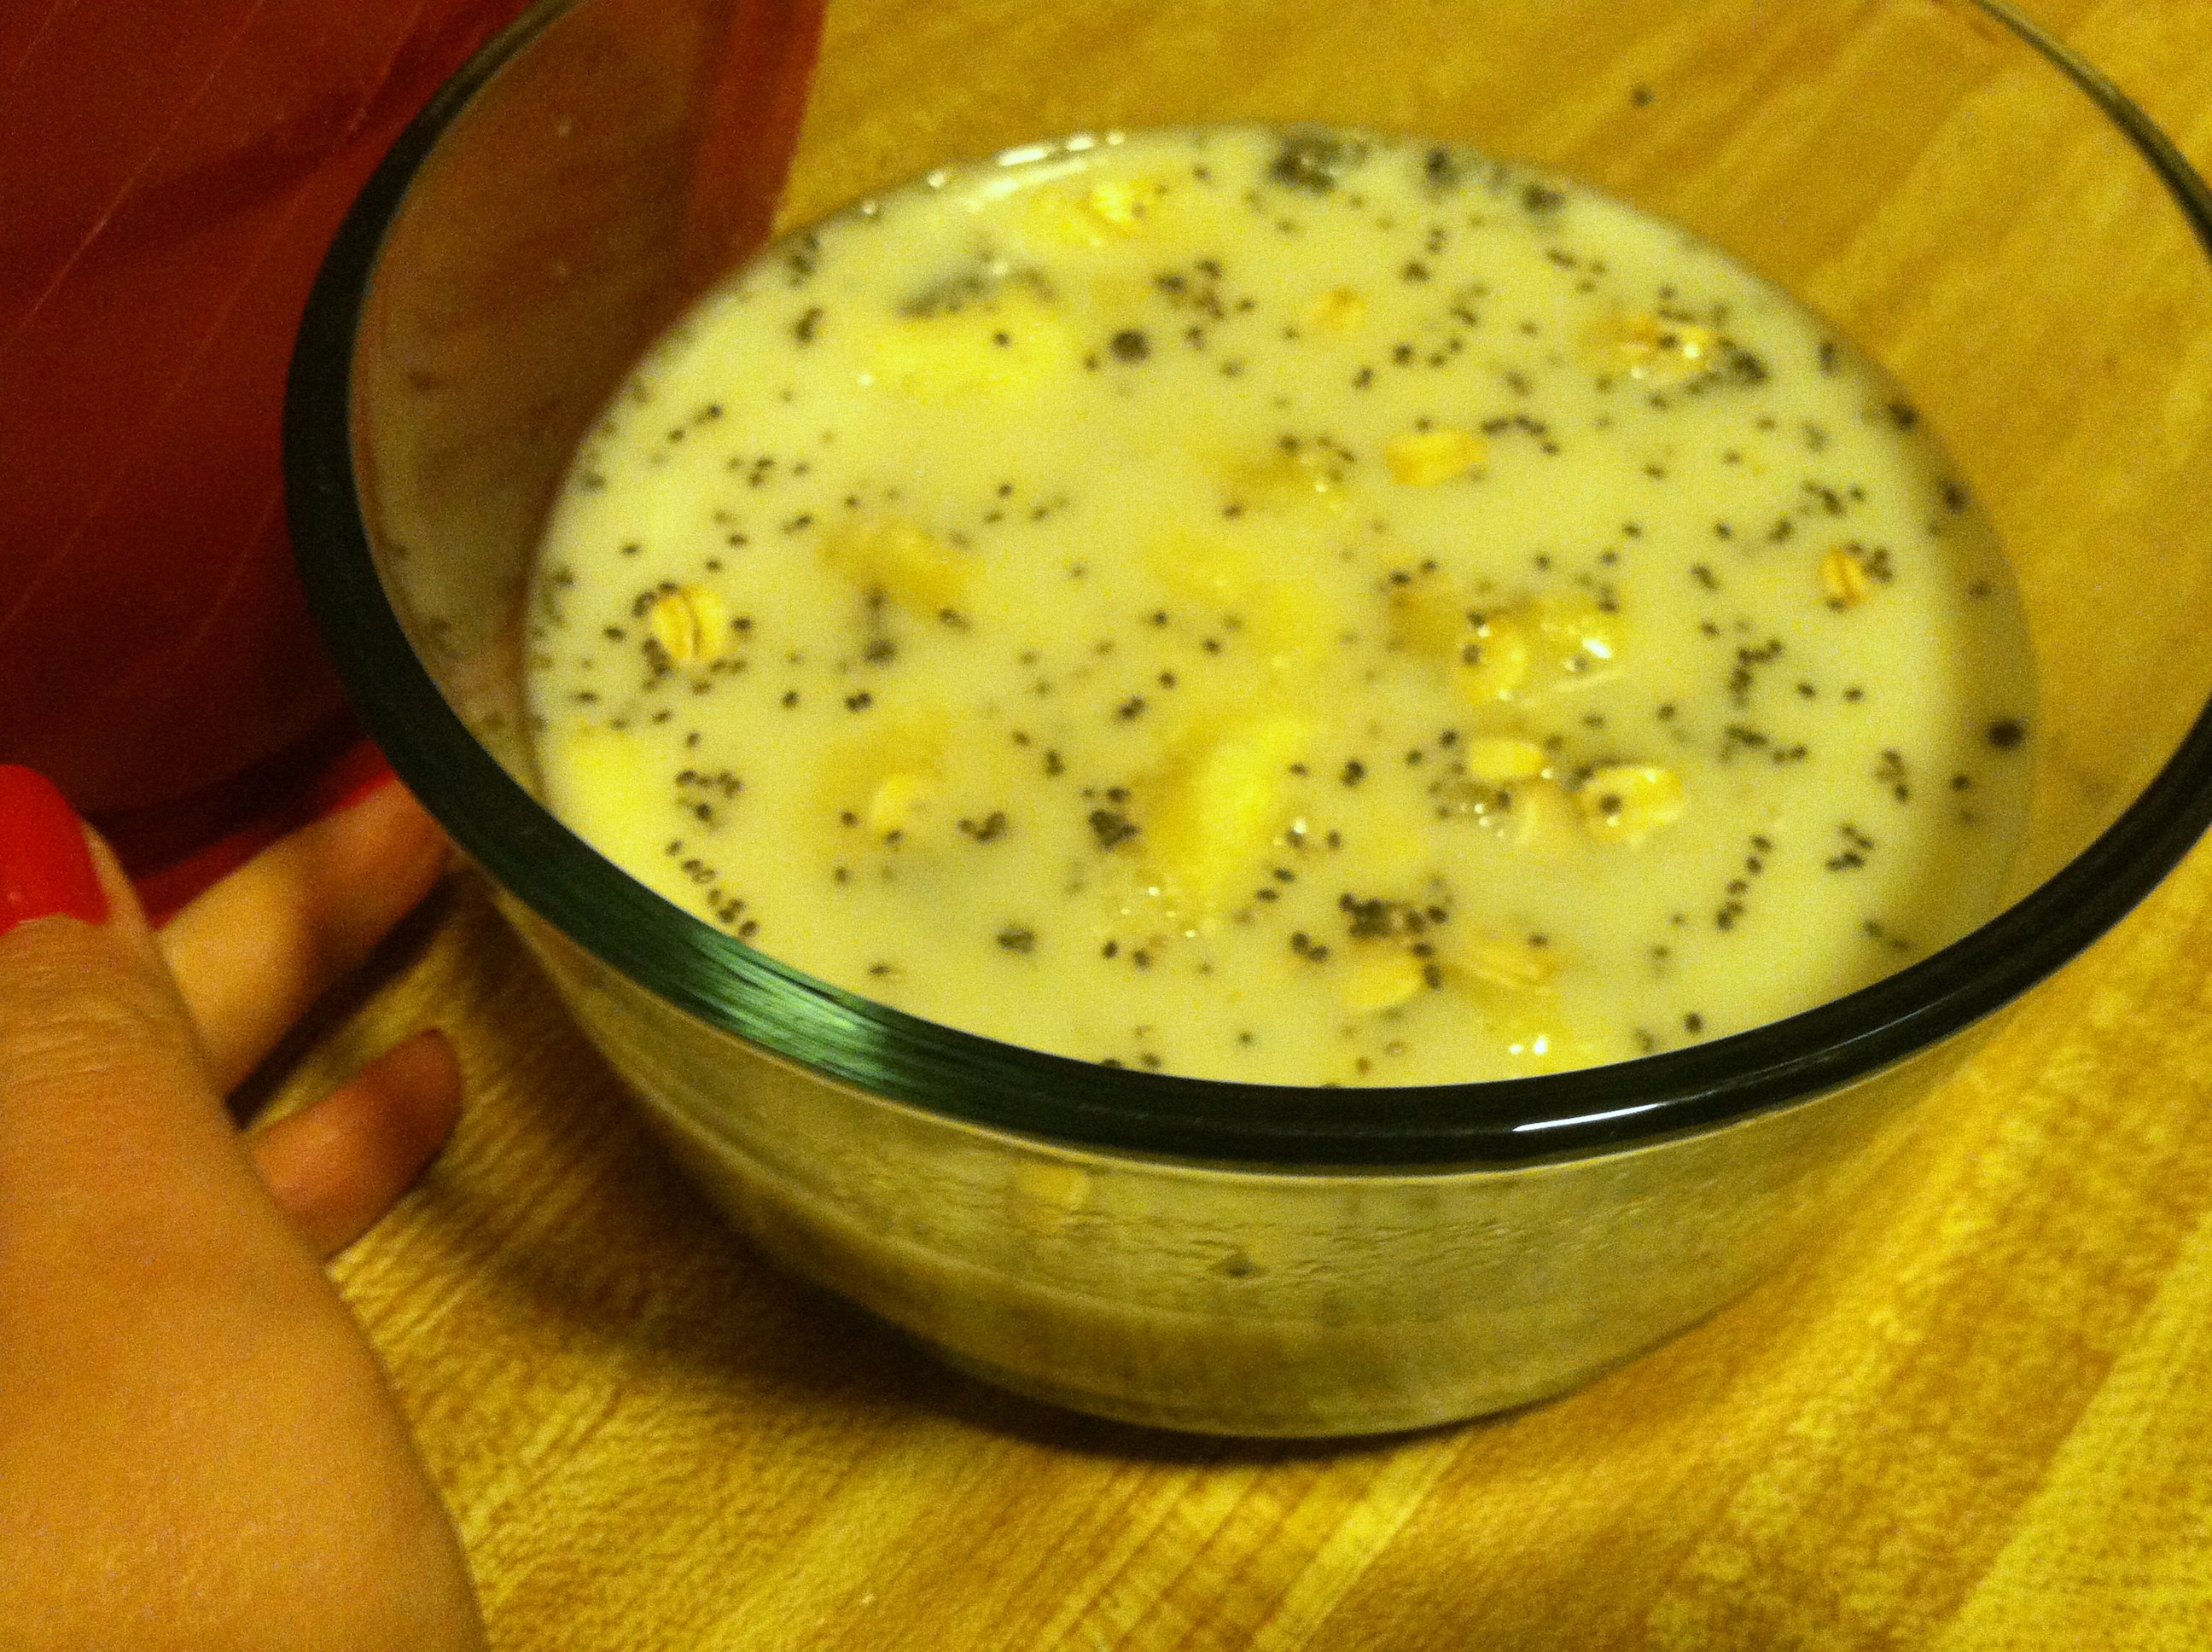
Step 2: Add the milk and water, and put it in the fridge overnight.

IMG_7213

Step 3: Now, while you sleep, the oats and chia are soaking up the moisture and getting nice and soft.

IMG_7214

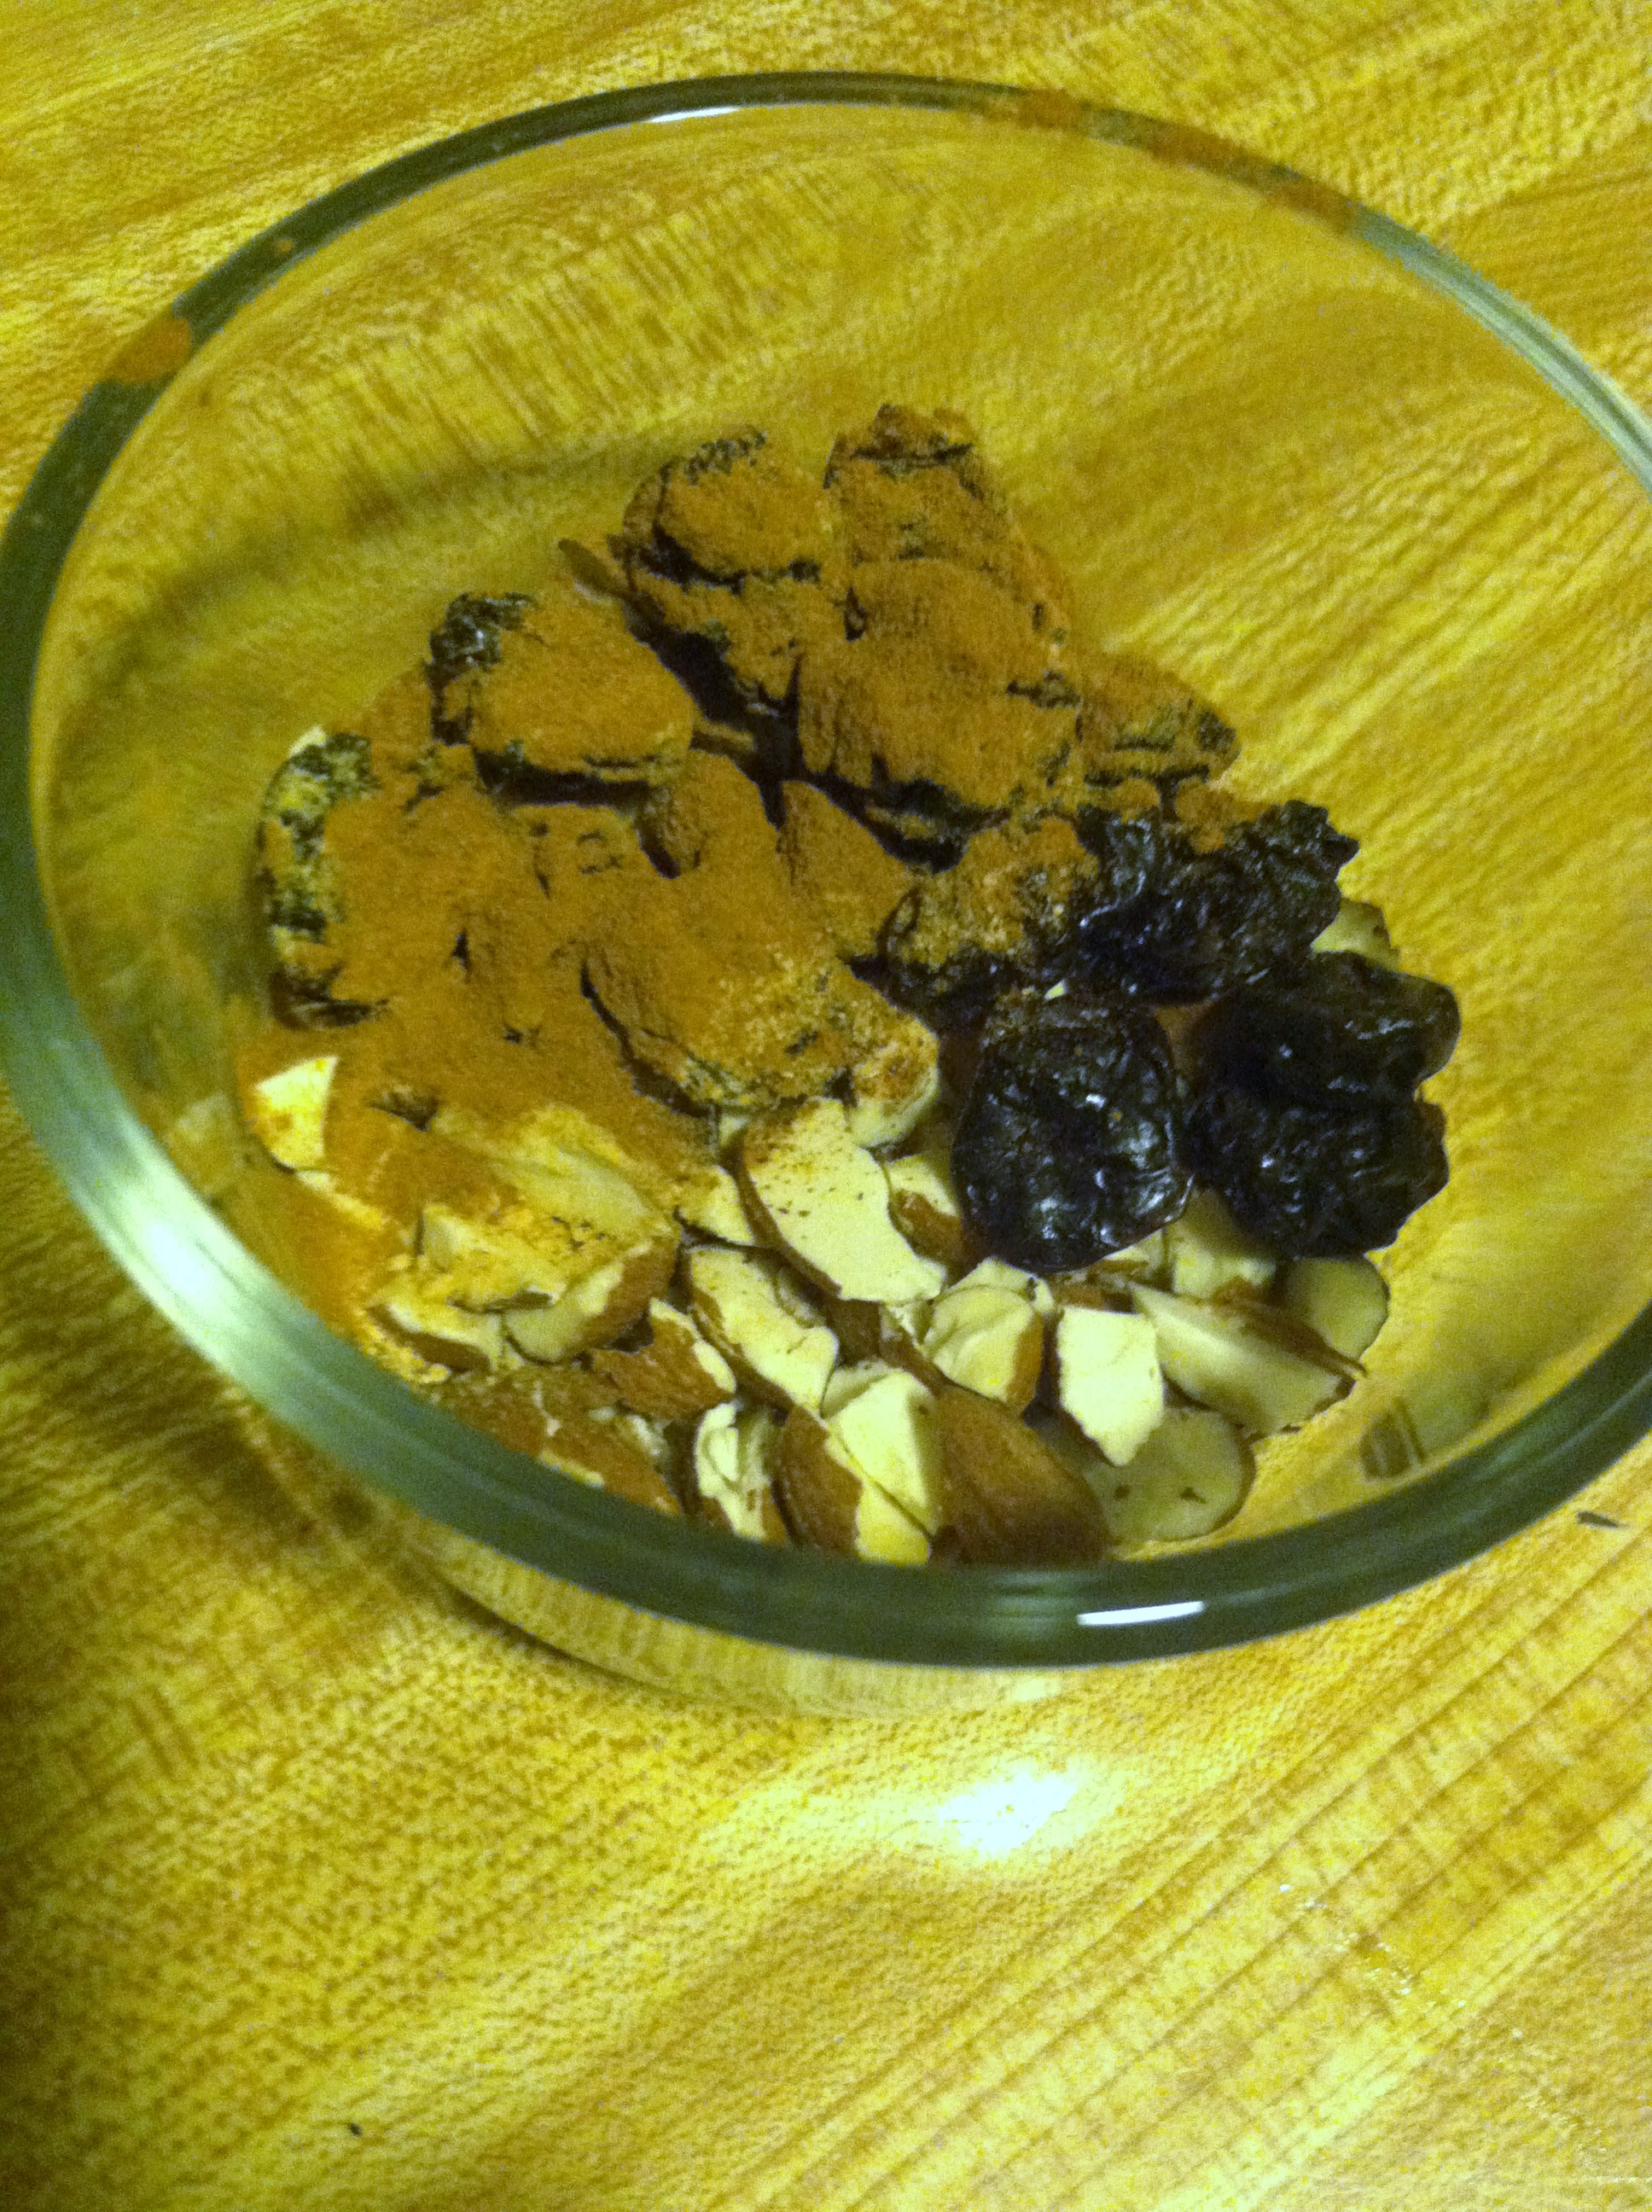
Step 4: In the morning, add any other toppings you didn’t want to get too mushy, like dried fruits, nuts, or honey.

IMG_7215

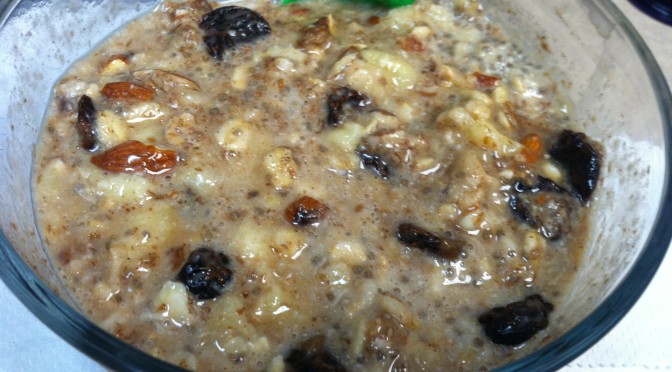
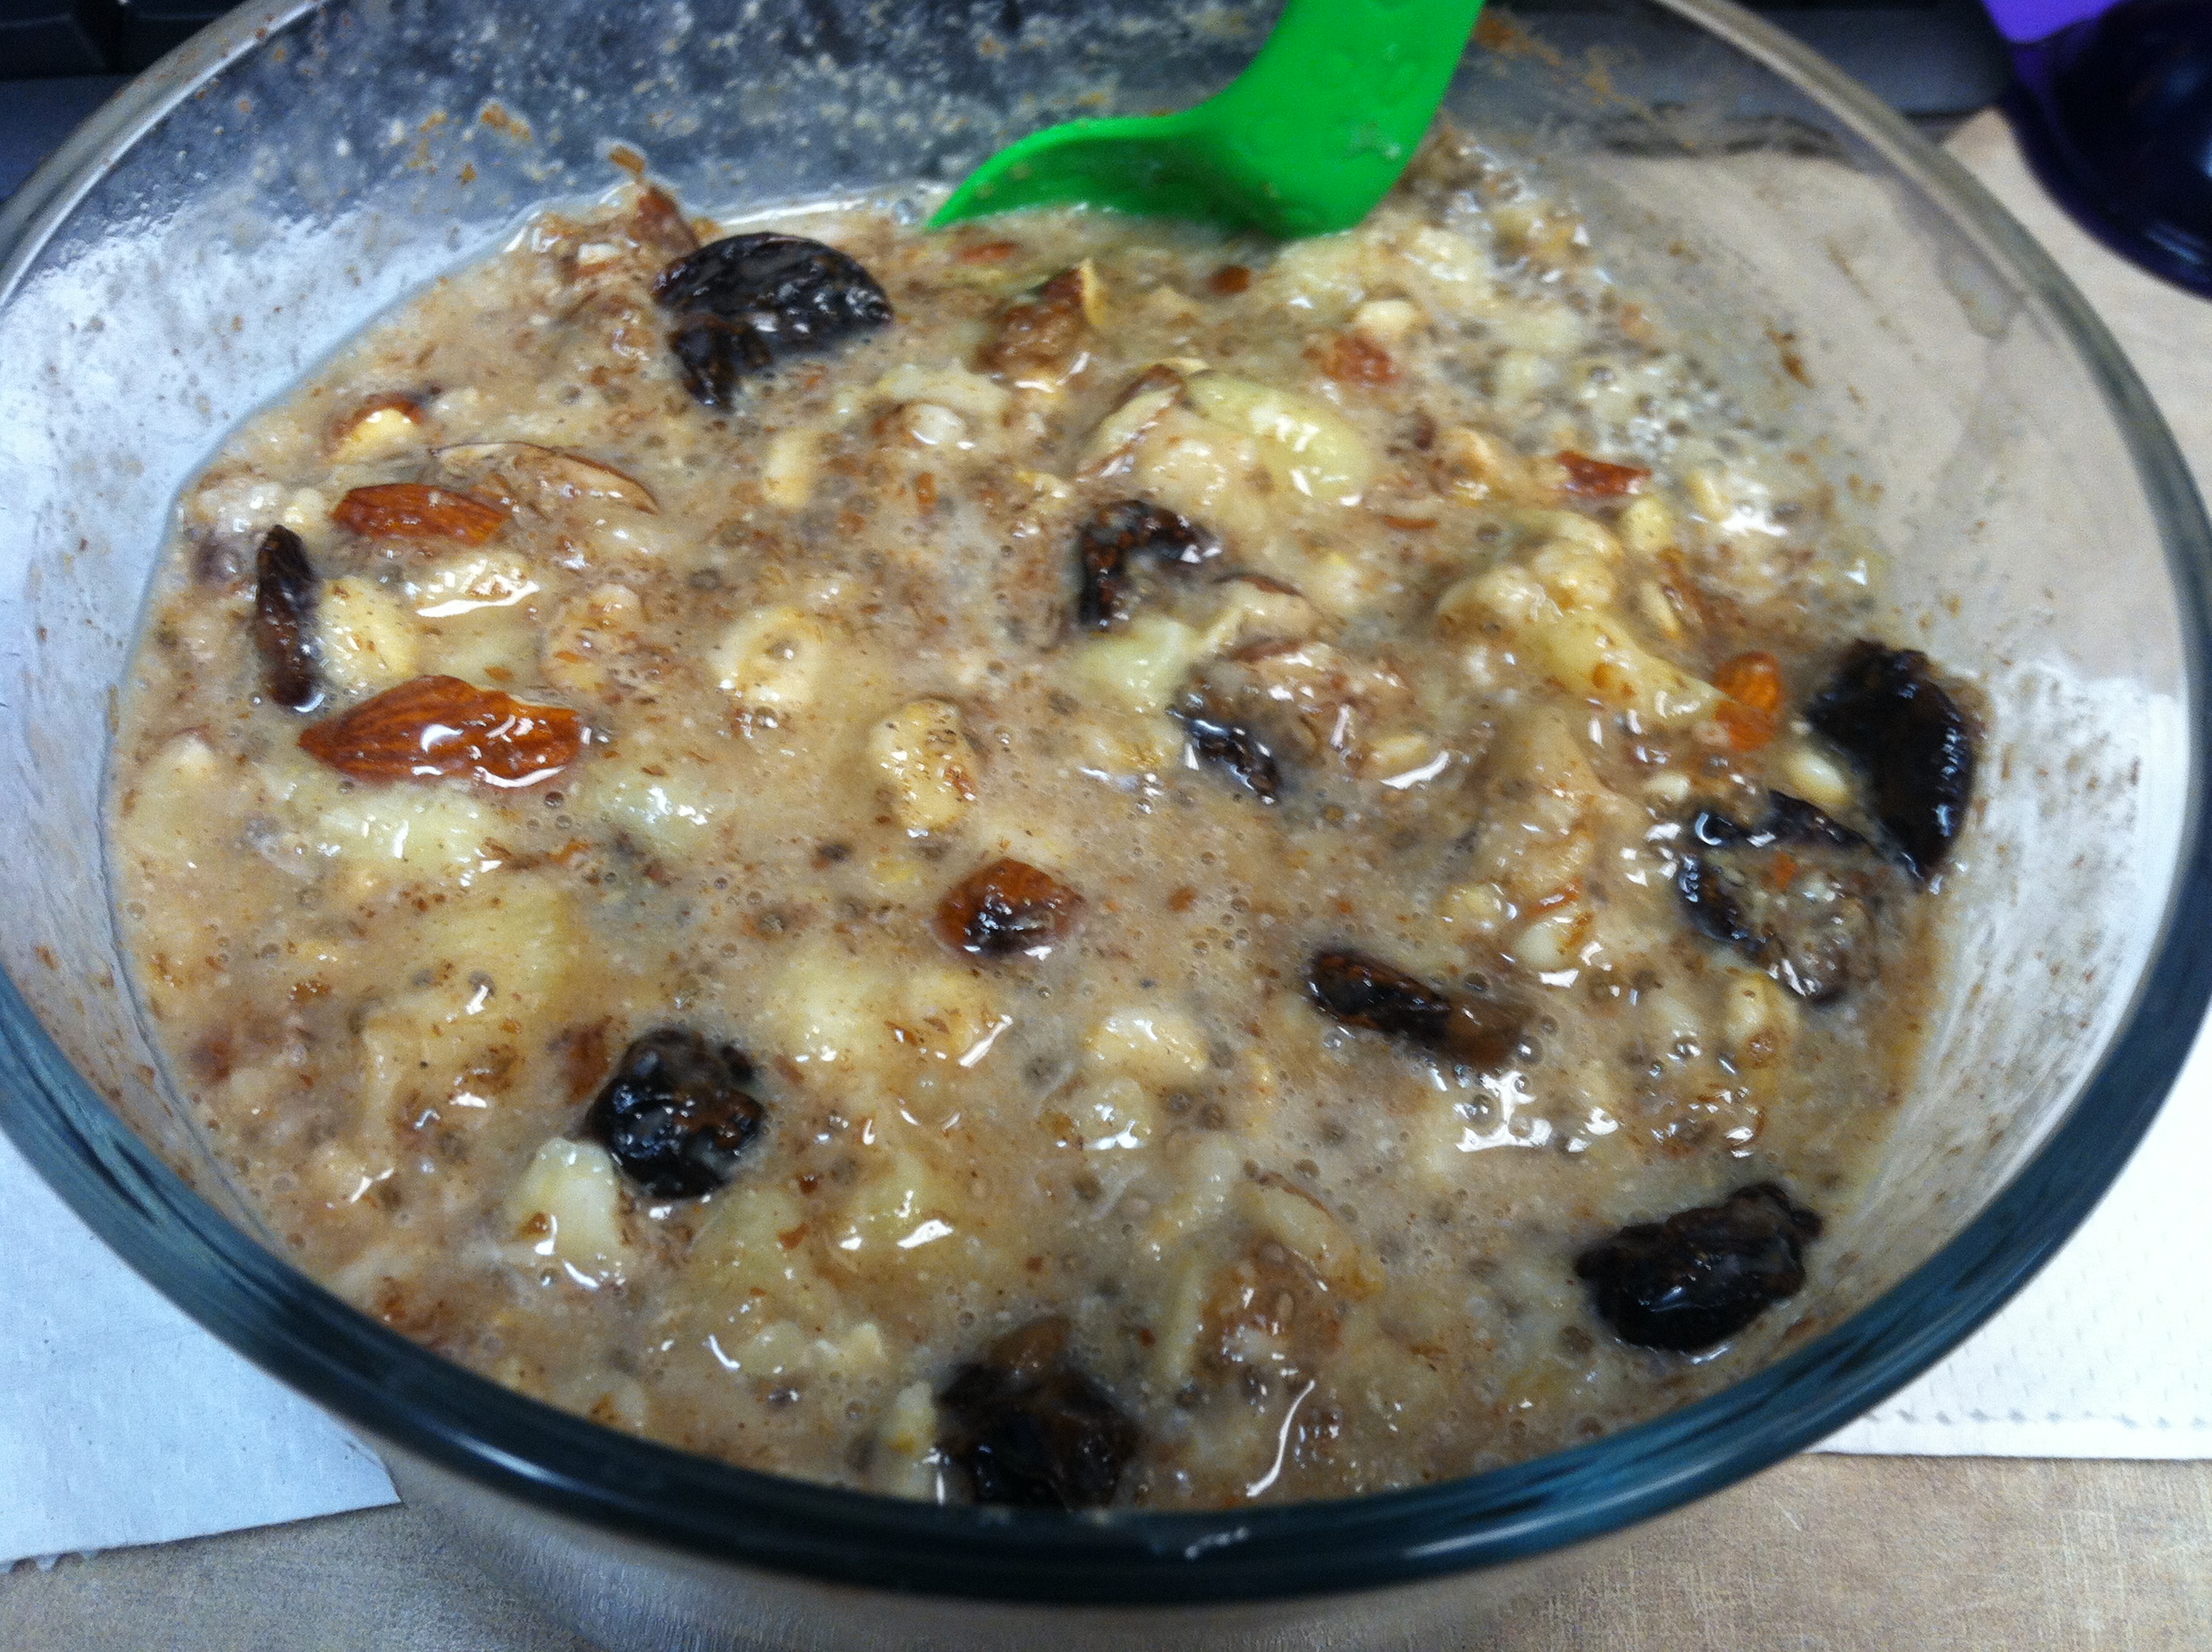
I added about 1/2 tbsp cocoa powder, dried prunes, and chopped up almonds for a chocolate-banana feel and a little crunch.

IMG_7216

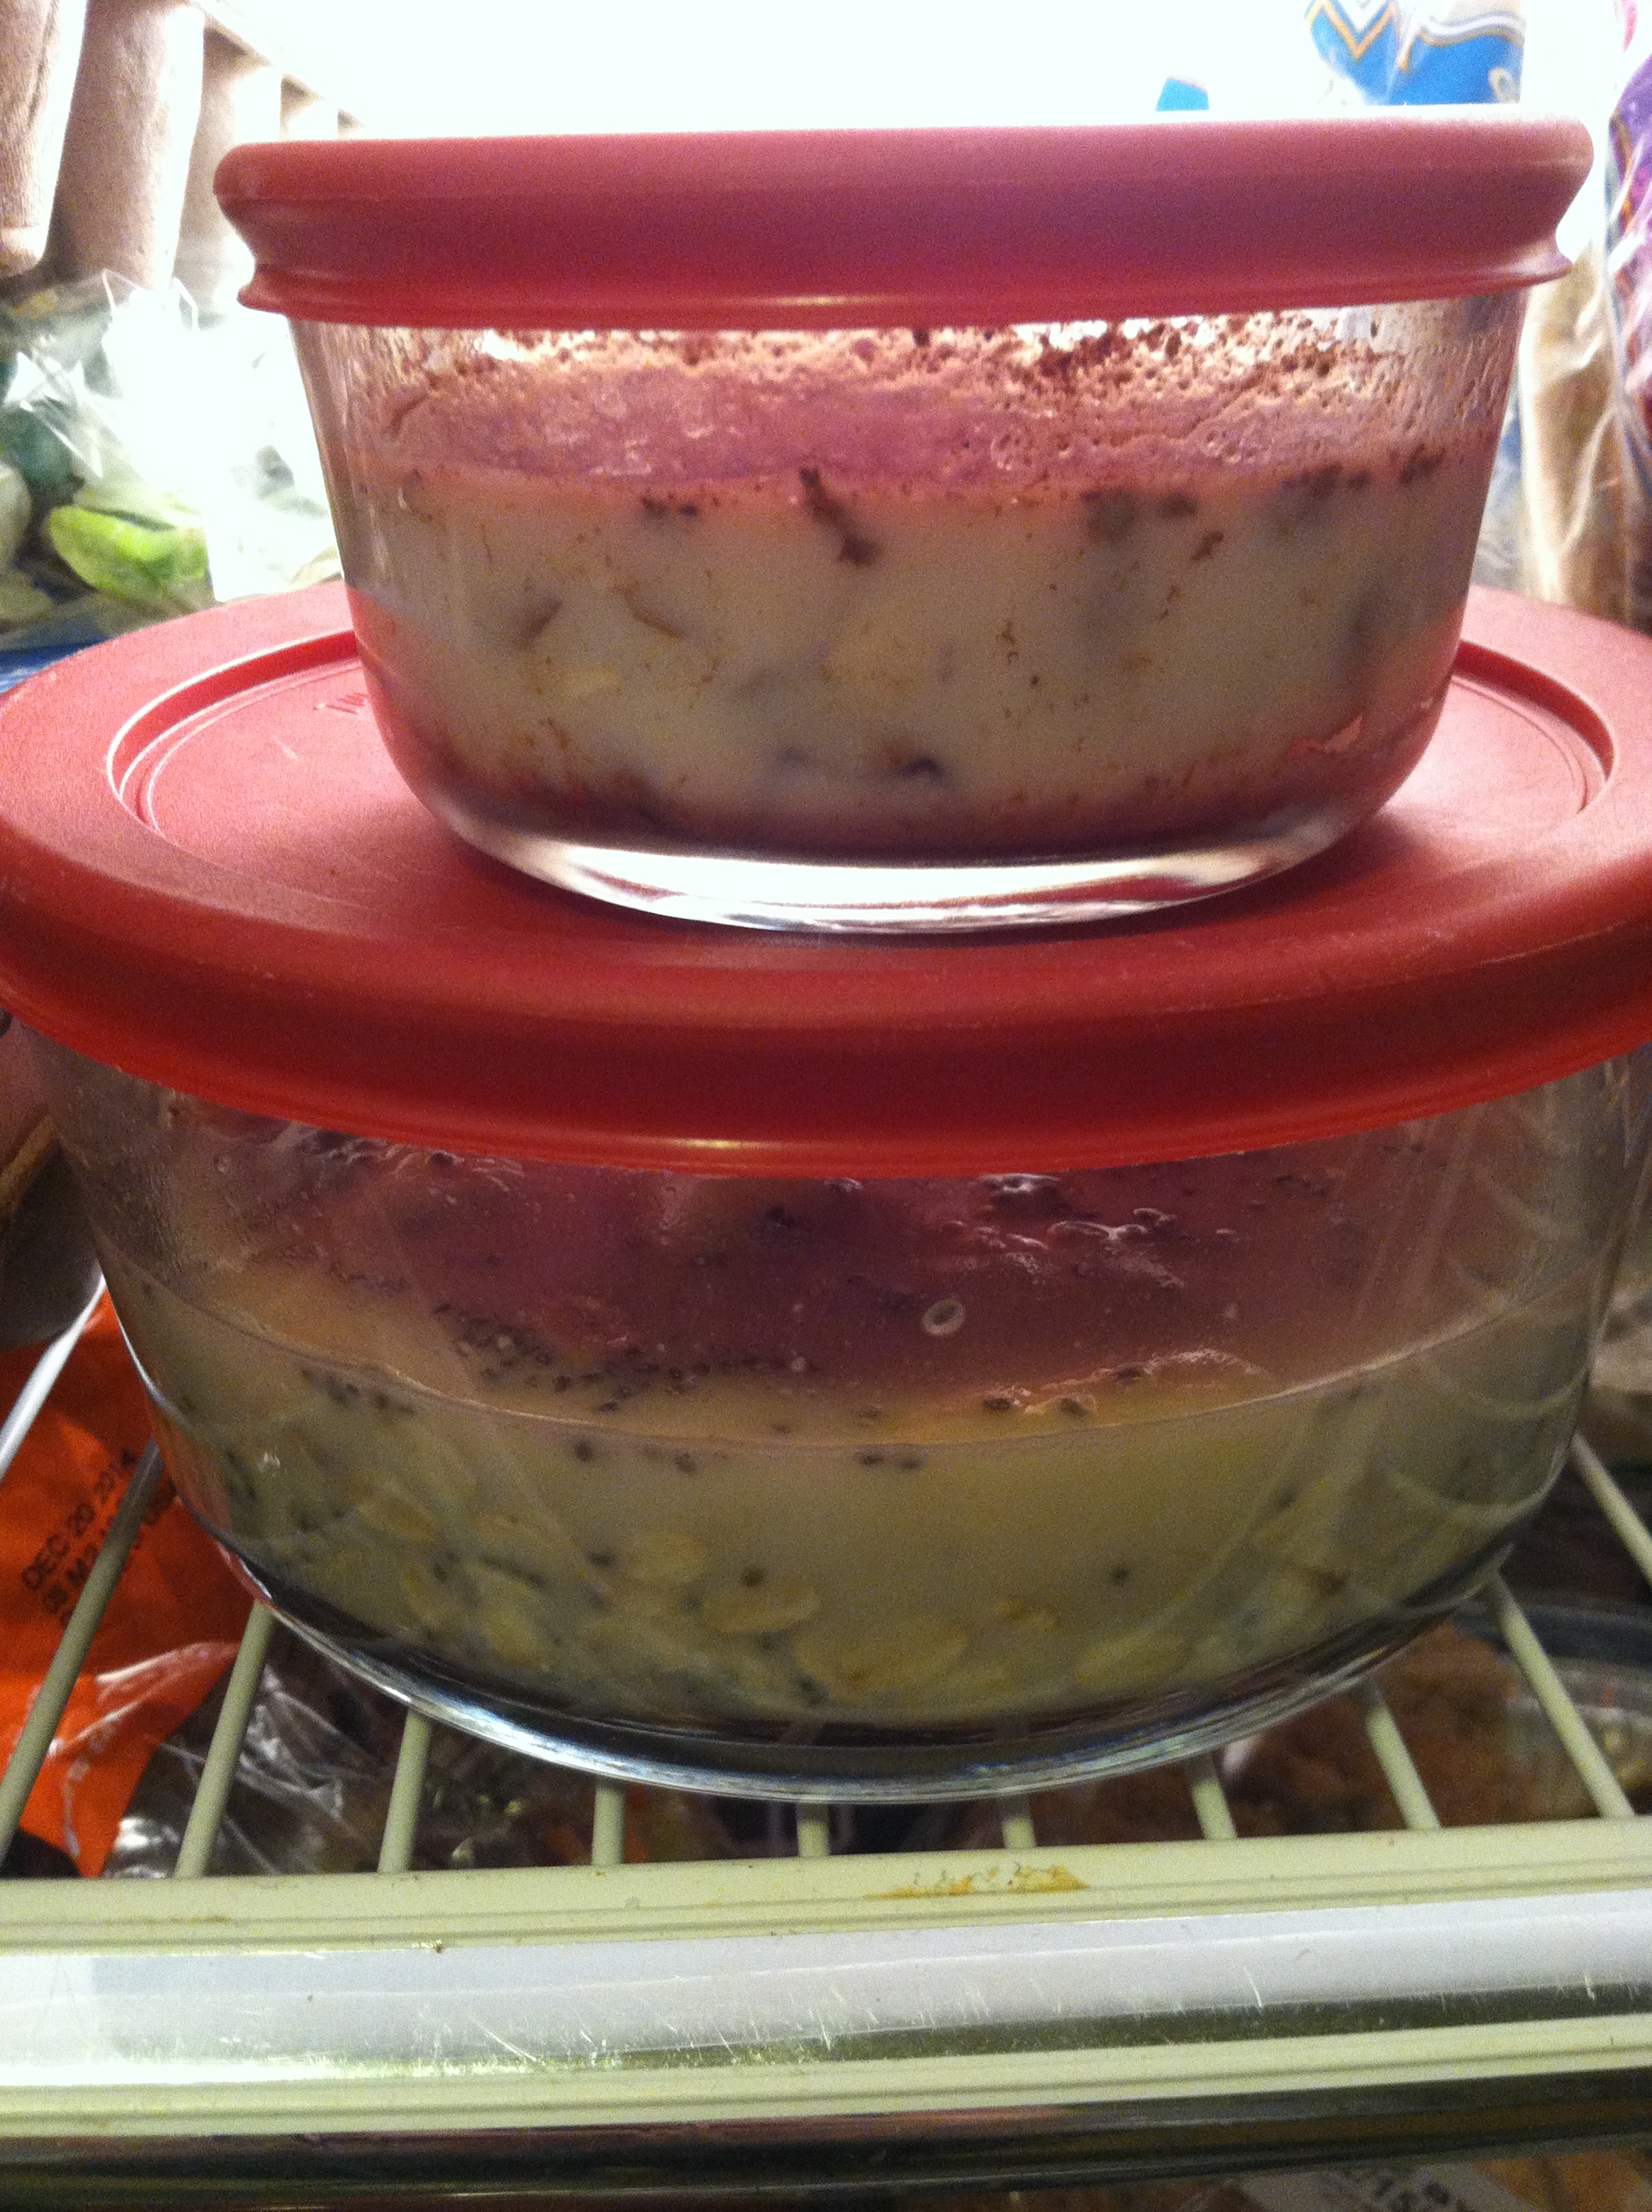
This is my oatmeal in the refrigerator, working its magic.

IMG_7217

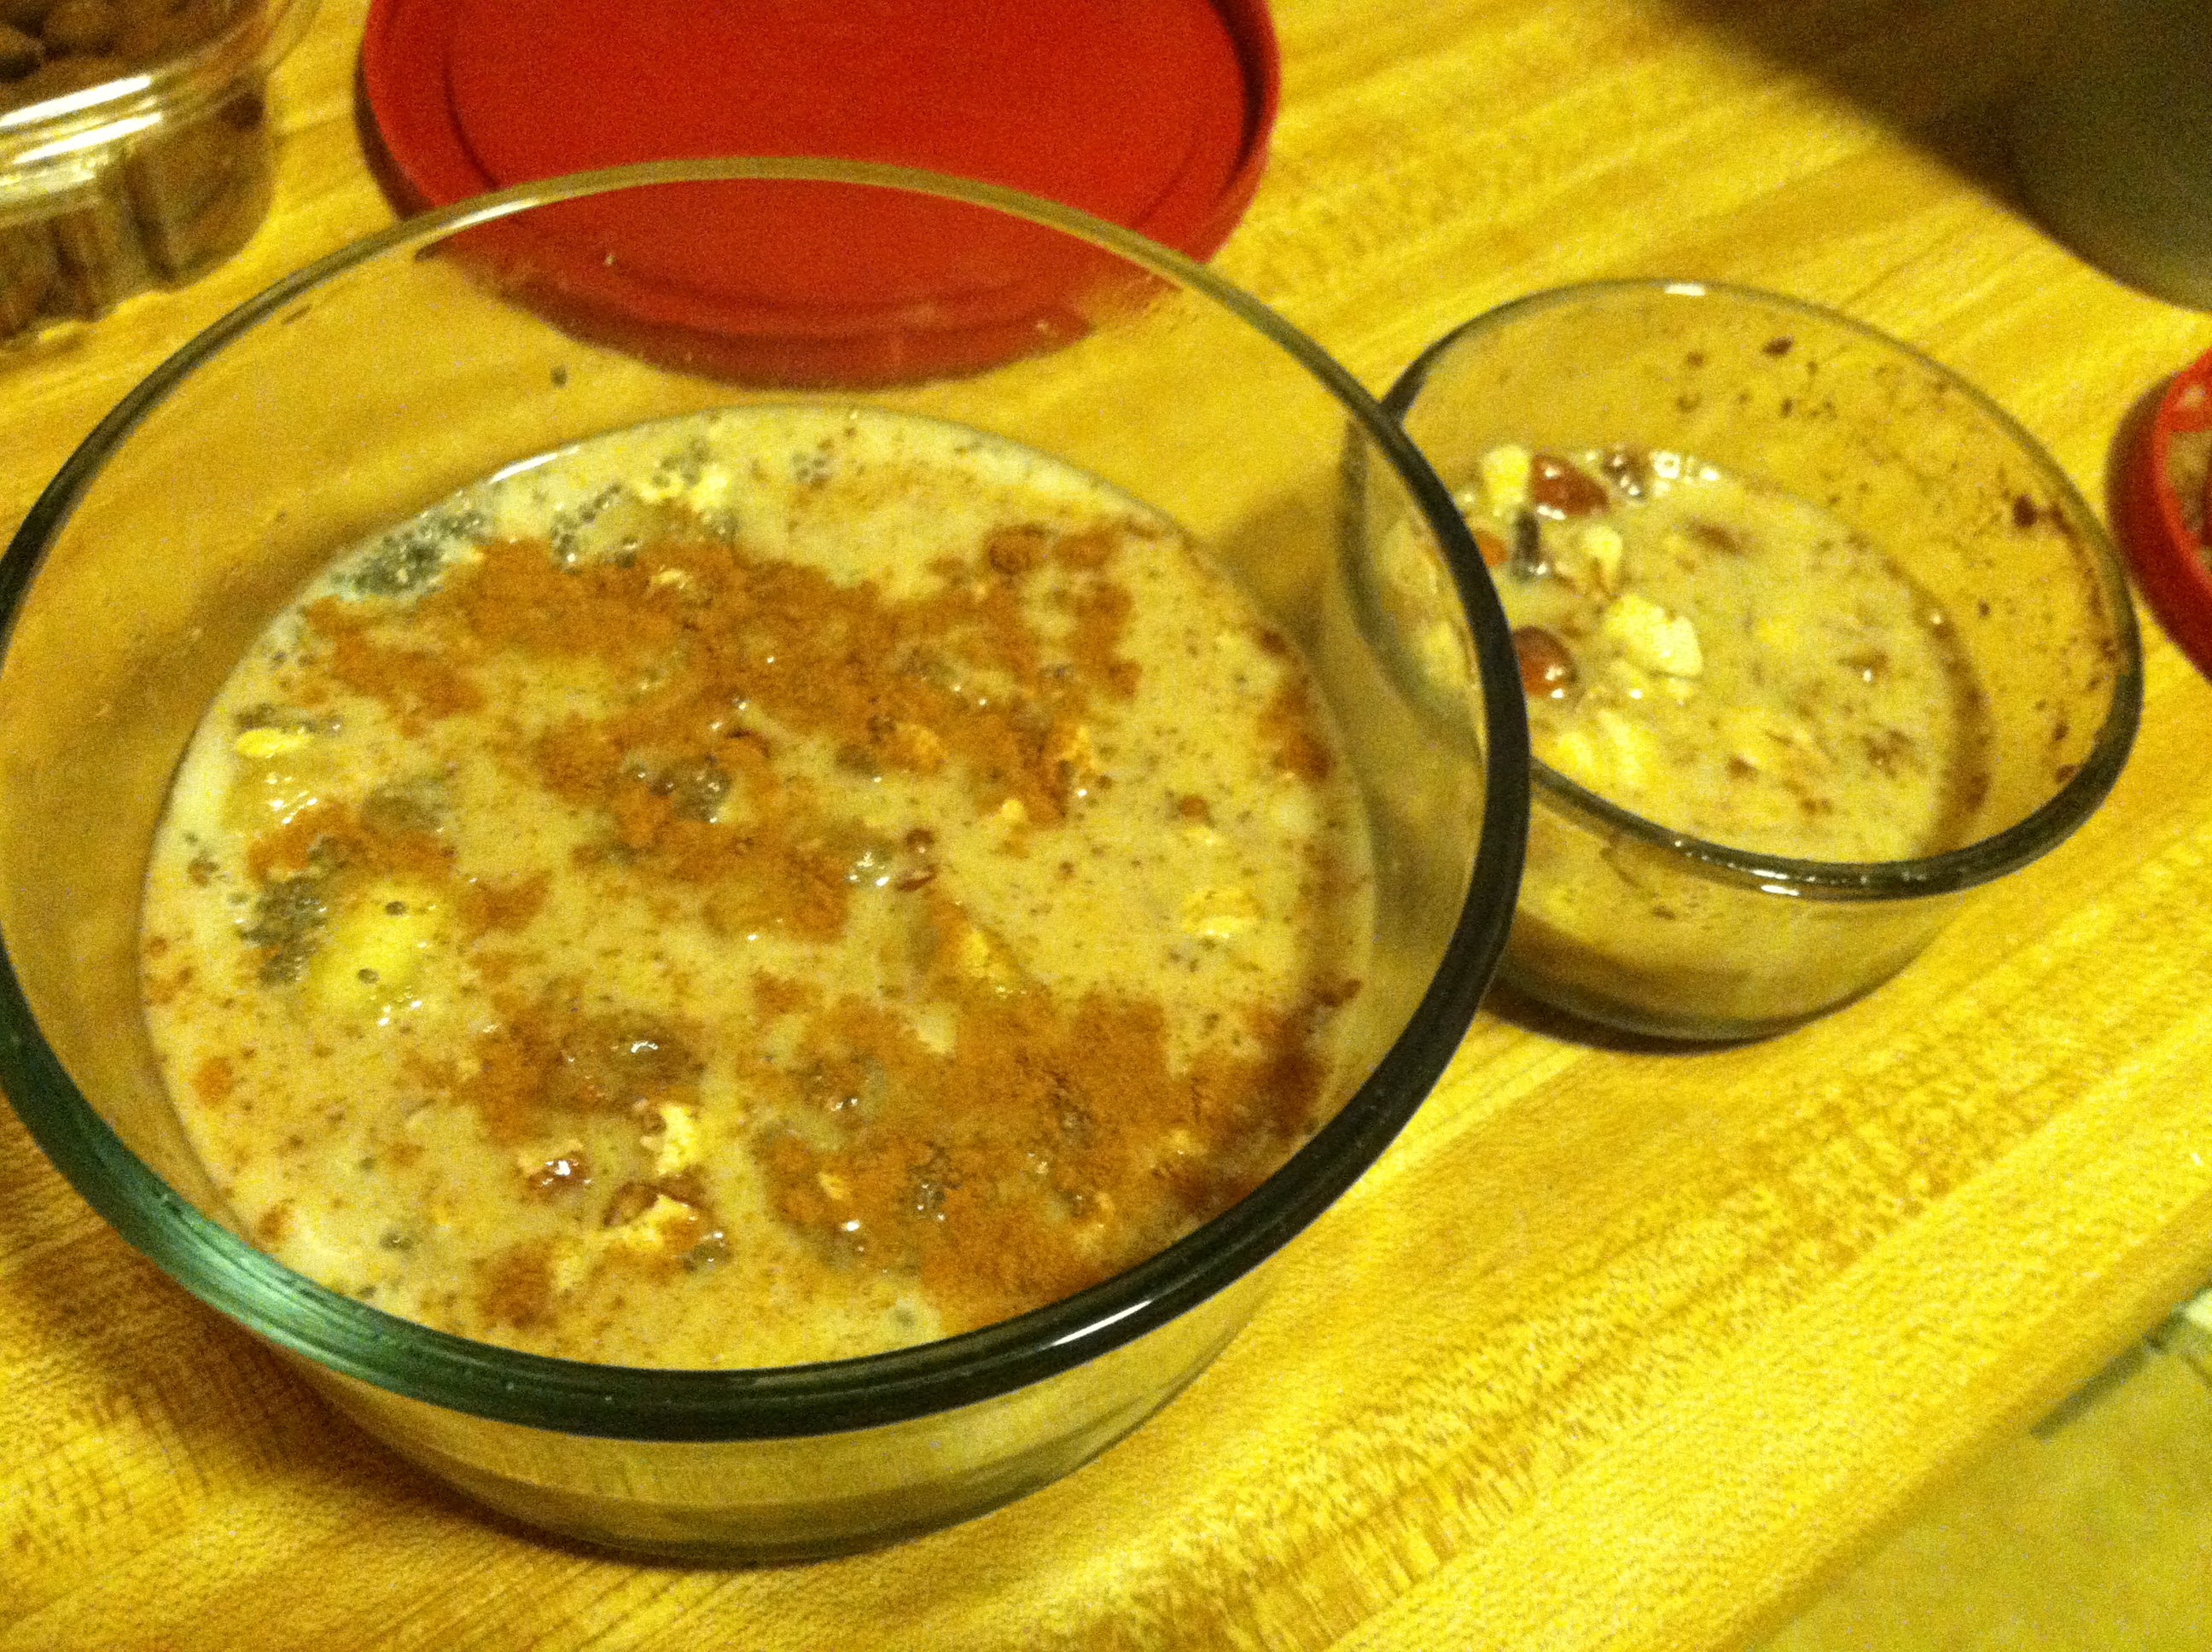
All toppings added and mixed, ready to heat!

IMG_7218

Step 5: Just pop your bowl in the microwave for 2-3 minutes, or an oven set to 350 for 8-10 minutes, and enjoy!


Since I’ve tried every nut, fruit, and spice I could get my hands on, my favorite combo so far is:

  • 1/3 c oats
  • 1 tsp chia seeds
  • 4-5 dried prunes
  • 4-5 dried dates
  • 1 tbsp golden raisins
  • 1 tbsp almond butter
  • Sprinkle of cinnamon

The dates have such a unique flavor, and the combination of dried fruits lends such a sweetness to the finished product. The almond butter gives it a nice burst of flavor too. I cut back on chia and got rid of the flax, because the original recipe was a little too… chewy for my taste. After all, people use flax or chia and water as an egg substitute, so they do make a bit of a gel-like texture.

Your ideal bowl may be something different, mix it up depending on your tastes, what you have available, and any allergies/sensitivities. But this is a quick, super easy, and economical way to start any day off right!
 

Vegan Tofu-Sauerkraut Lettuce Wraps


As I’ve been diving into the world of vegan food options, it has made me more creative with my meals, how they are cooked, what is in them, and what I can mix together.

One meal option I have fallen in love with is lettuce wraps. It is just like a taco, only completely gluten-free (depending on what you put inside), no added carbs, and very healthy. You get a dose of greens de facto because of the lettuce leaves, and skip the extra calories and added who-knows-what in the typical tortilla (refined & bleached white flour, leaveners, softeners, added sugar, GMOs, etc etc).

And, like a regular taco, you can put just about anything inside! Wraps are a great catch-all for veggies you need to use up, leftover half-batches of grains, and anything else you can think of. Here I use some of my homemade sauerkraut (which is so mind-blowingly easy to make, and delicious!), fried tofu, and mushrooms as my umami base, then load on top of it cooked rice & black beans, diced avocado & fresh salsa. Ah-maz-ing.

IMG_7578

And the best part is, you can’t really over-eat these! There is so much veggie goodness and nutrition packed into every wrap, you can have three or four, no problem. This recipe makes enough for 4 large wraps.

Ingredients:

  • 4 large outer leaves of romaine (plus more shredded)
  • 1/2 block firm tofu, drained
  • 4 oz fresh mushrooms, sliced
  • 1/2 cup sauerkraut or raw cabbage
  • 1/2 cup cooked rice
  • 1/2 cup black beans
  • 1 large avocado
  • 4 tbsp salsa of choice

IMG_7572

Step 1: I made my black beans from dried (much cheaper than canned!) by taking 1 cup of beans per 2 cups water and putting them in a slow cooker on low for 6-8 hours. This makes the beans nice and tender and ready to eat. Cook the rice according to package directions.

IMG_7570

Step 2: Drain and press the tofu by placing it on a folded paper towel with another on top. Press firmly, or place a heavy object on top, for a few minutes. Then add the tofu, mushrooms, and sauerkraut to a medium-hot frying pan, and cook, stirring often, until the mushrooms are moist and browned. Add a tbsp of water or vegetable stock if it dries out at any time.

IMG_7574

Step 3: Assemble the lettuce wraps. Take a large leaf of Romaine or other head lettuce and hold it in the palm of one hand. Add a tbsp or two of rice and cooked beans, then a heap of the cooked tofu-mushroom-sauerkraut mixture.

IMG_7576

Step 4: Add optional toppings like the diced avocado and salsa, or try sliced olives, juilenned carrot, zucchini, or radish, or shredded cheese. You could add nutritional yeast, soy sauce, sriracha, refried beans, or any other taco topping your heart desires.

IMG_7579

Above all, make it your own and enjoy!


[amd-zlrecipe-recipe:13]

I can’t believe it’s healthy baked potato soup


As winter slowly and painfully winds to a close, here is a recipe sure to warm you as you dream of spring. Everyone loves a nice hot baked potato, and even more so when it is in soup form. I love baked potato soup because it is a great use of a cheap yet healthy staple food, and it is so darn tasty.

The problem lies in the cream. Most baked potato soups either at a restaurant or in grandma’s kitchen rely on heavy creams, dairy, and lots of salt. This creates a dish which delights the taste buds, but not so much the waistline. Excess sodium and fats are terrible for heart health as well as overall health.

So how do you get the creamy taste and filling nature of potato soup without the extra day’s worth of calories? Simple, sneak extra fiber in place of the cream to thicken and add layers of flavor. If you must add in some dairy, try using skim or 1% rather than whole milk or cream. But this recipe makes a soup so thick and tasty you may not even notice it isn’t there.

Ingredients:

  • 1 cup cooked mashed acorn squash
  • 1 pound potatoes, diced (peeled if desired)
  • 1 cup red lentils (or brown)
  • 2 cups chicken stock
  • 1 tbsp nutritional yeast
  • 2-3 strips bacon (optional)
  • Cheddar cheese & green onion for garnish (optional)

IMG_7608

Step 1: If you haven’t already, cook the acorn squash. Cook the lentils by adding 1 cup to 2 cups water, and simmer for 20-30 minutes. Dice the potatoes and add to a pot of boiling water. Boil for 8-10 minutes, until soft when poked with a fork. Drain.

IMG_7610

Step 2: In a large bowl, combine the potato, cooked lentils and squash. Add the stock, and bring to a boil. Pour into a blender, and blend on high until combined.

IMG_7622

Step 3: Mix in the nutritional yeast, and pour into bowls. If you wish, season with salt & pepper, or add bacon bits, cheddar cheese, and or chives as garnish.

IMG_7621

This soup is super satisfying, and tastes just like a baked potato. No one will suspect you’ve given it a huge boost of fiber and vitamins while simultaneously removing the biggest source of fats. The blended lentils and squash keeps the thick, creamy base of the soup which previously the dairy caused.

IMG_7619


[amd-zlrecipe-recipe:12]

Broccoli Slaw Veggie Burgers


This is yet another creative way I have come up with to use up some extra broccoli slaw. Tuesday I shared a recipe for vegetable fried rice using broccoli slaw, today I’m sharing my tweaks on my famous veggie burger recipe.

As I shared with my quinoa and kidney bean recipe, all you really need is some grains, some veggies, and a binding agent. This is another fantastic way to use up odds and ends. Any type of bean, grain, lentils, barley, greens, etc can be incorporated into patties. Then just fry them up, and you can enjoy them alone, on sandwiches, in lettuce wraps, or freeze for later.

IMG_7536

This recipe makes about 4 cups, and about 6-8 patties, depending on how large you make them.

Ingredients:

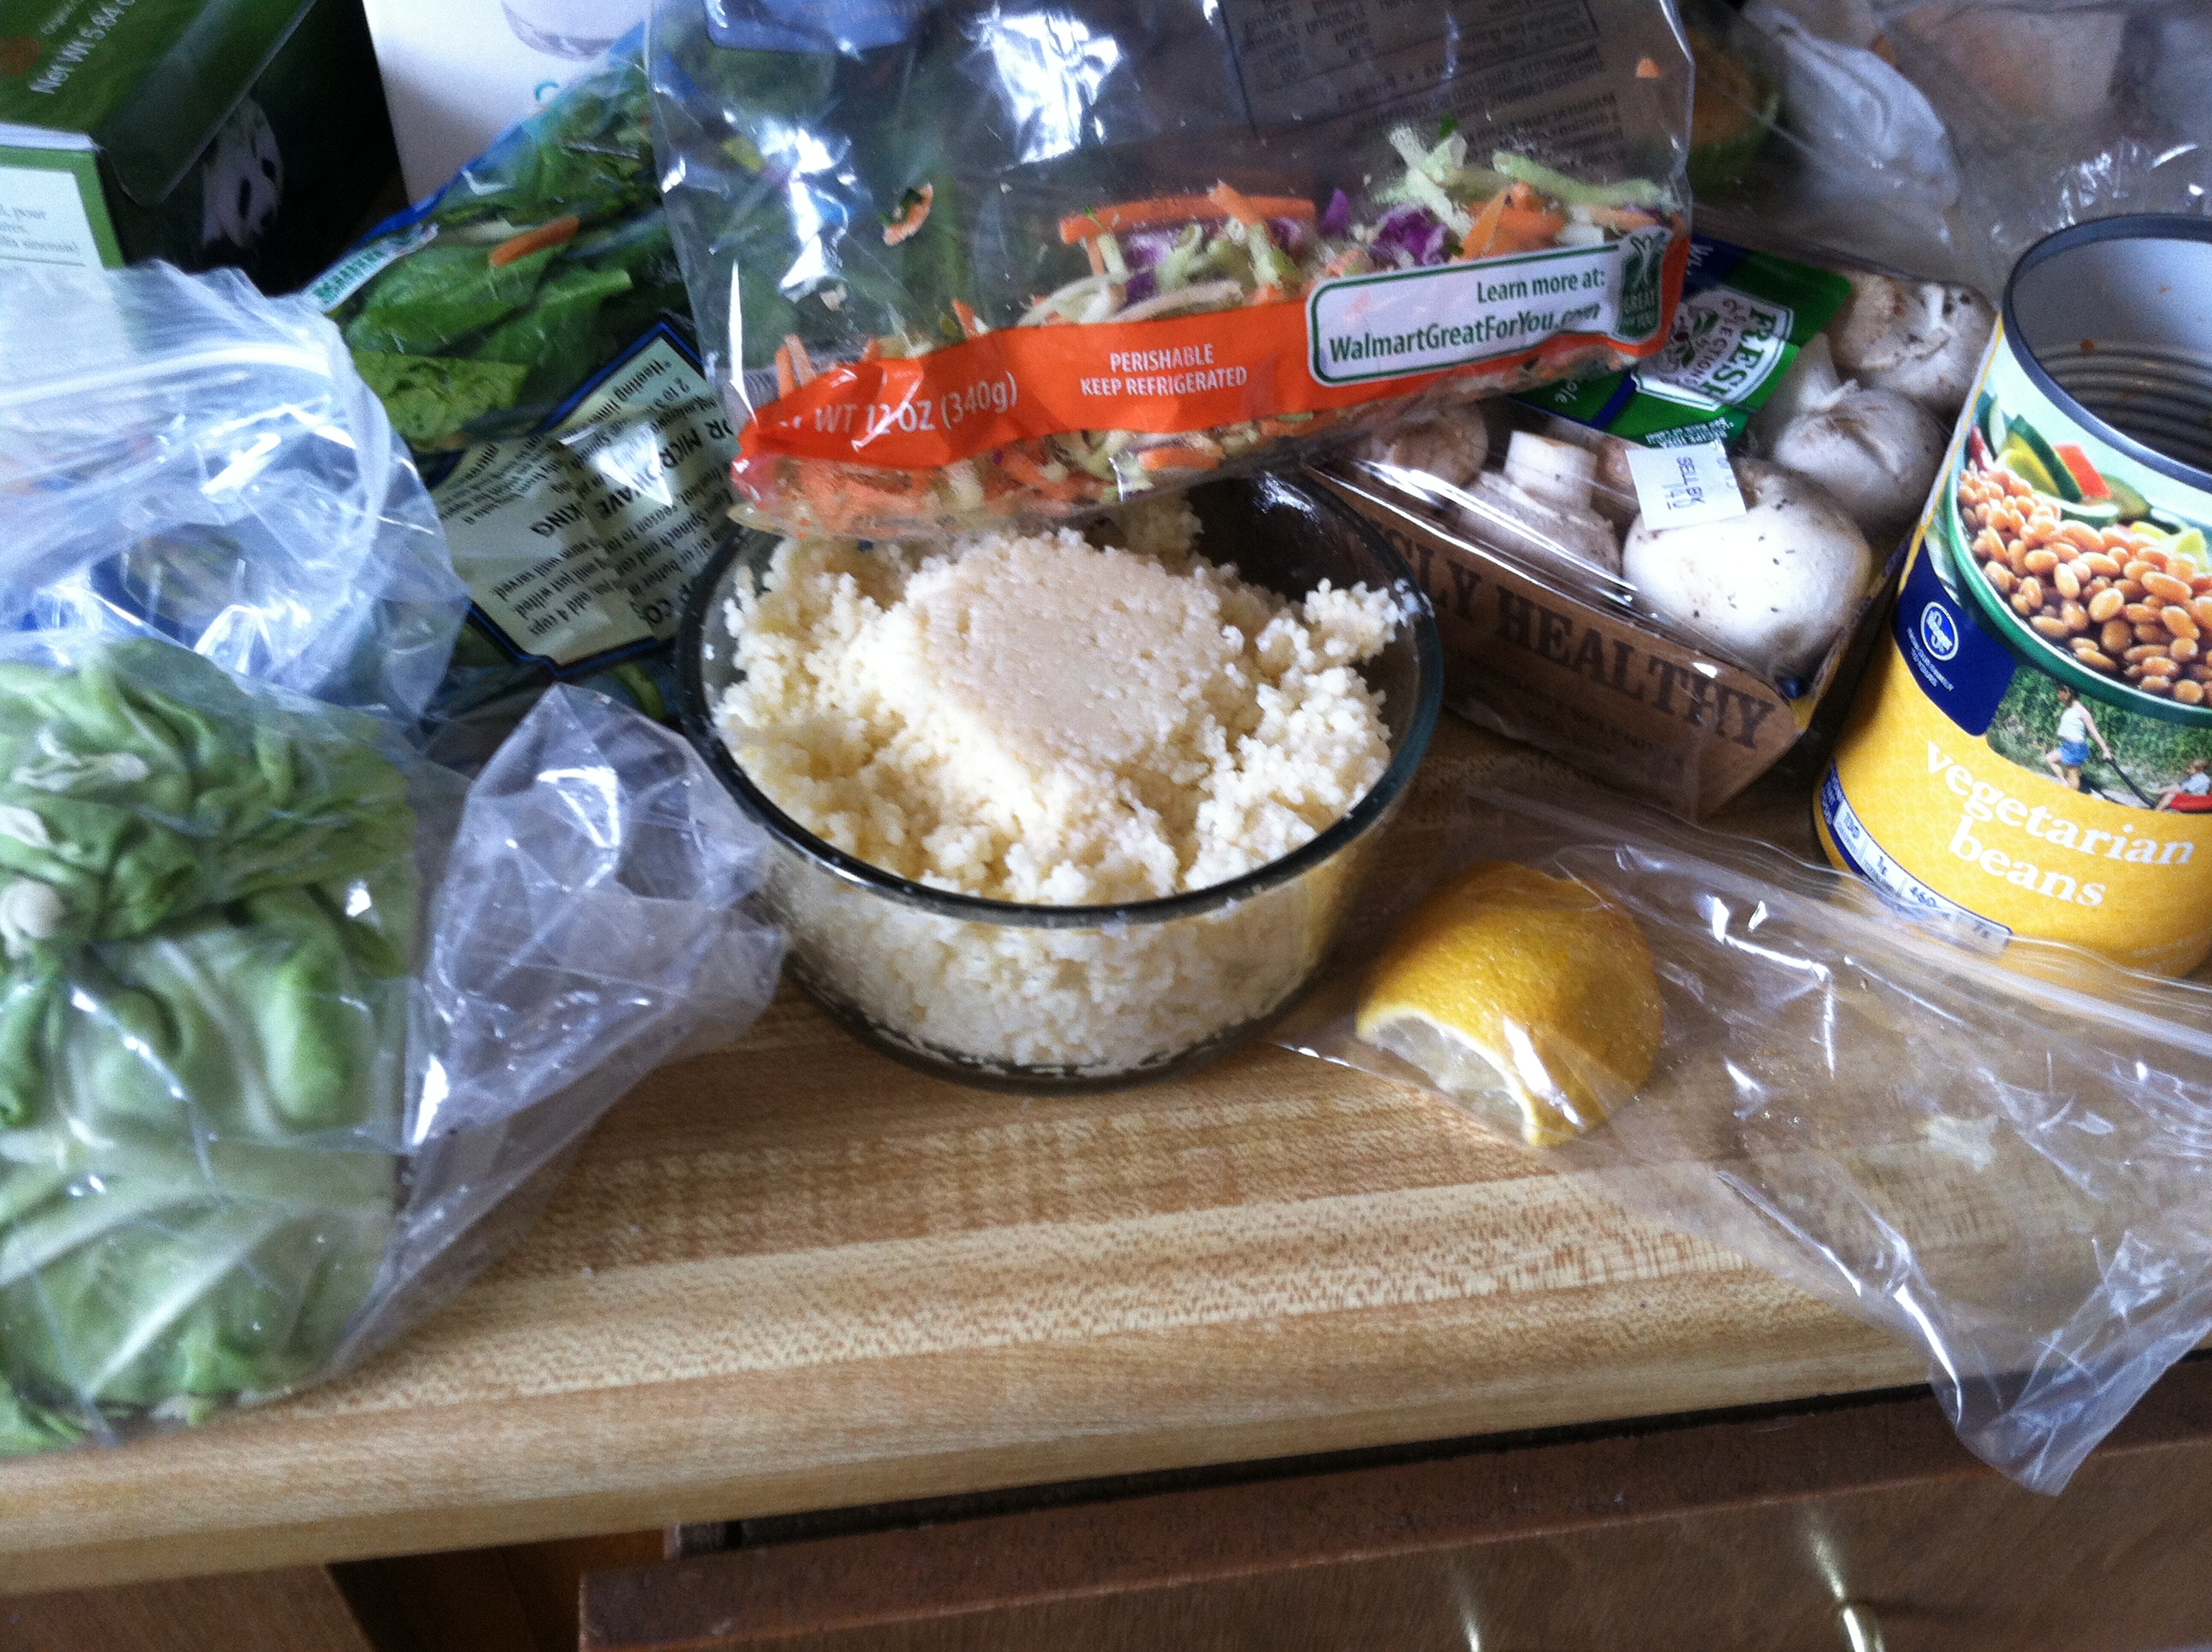
  •  2 cups cooked couscous
  • 1/3 can vegetarian beans
  • 1/4 c chopped mushrooms
  • 1/2 c broccoli slaw
  • 1/4 c spinach
  • 1/4 c chopped cabbage
  • Squirt of lemon juice
  • 3 tbsp. oil of choice, such as coconut

IMG_7538

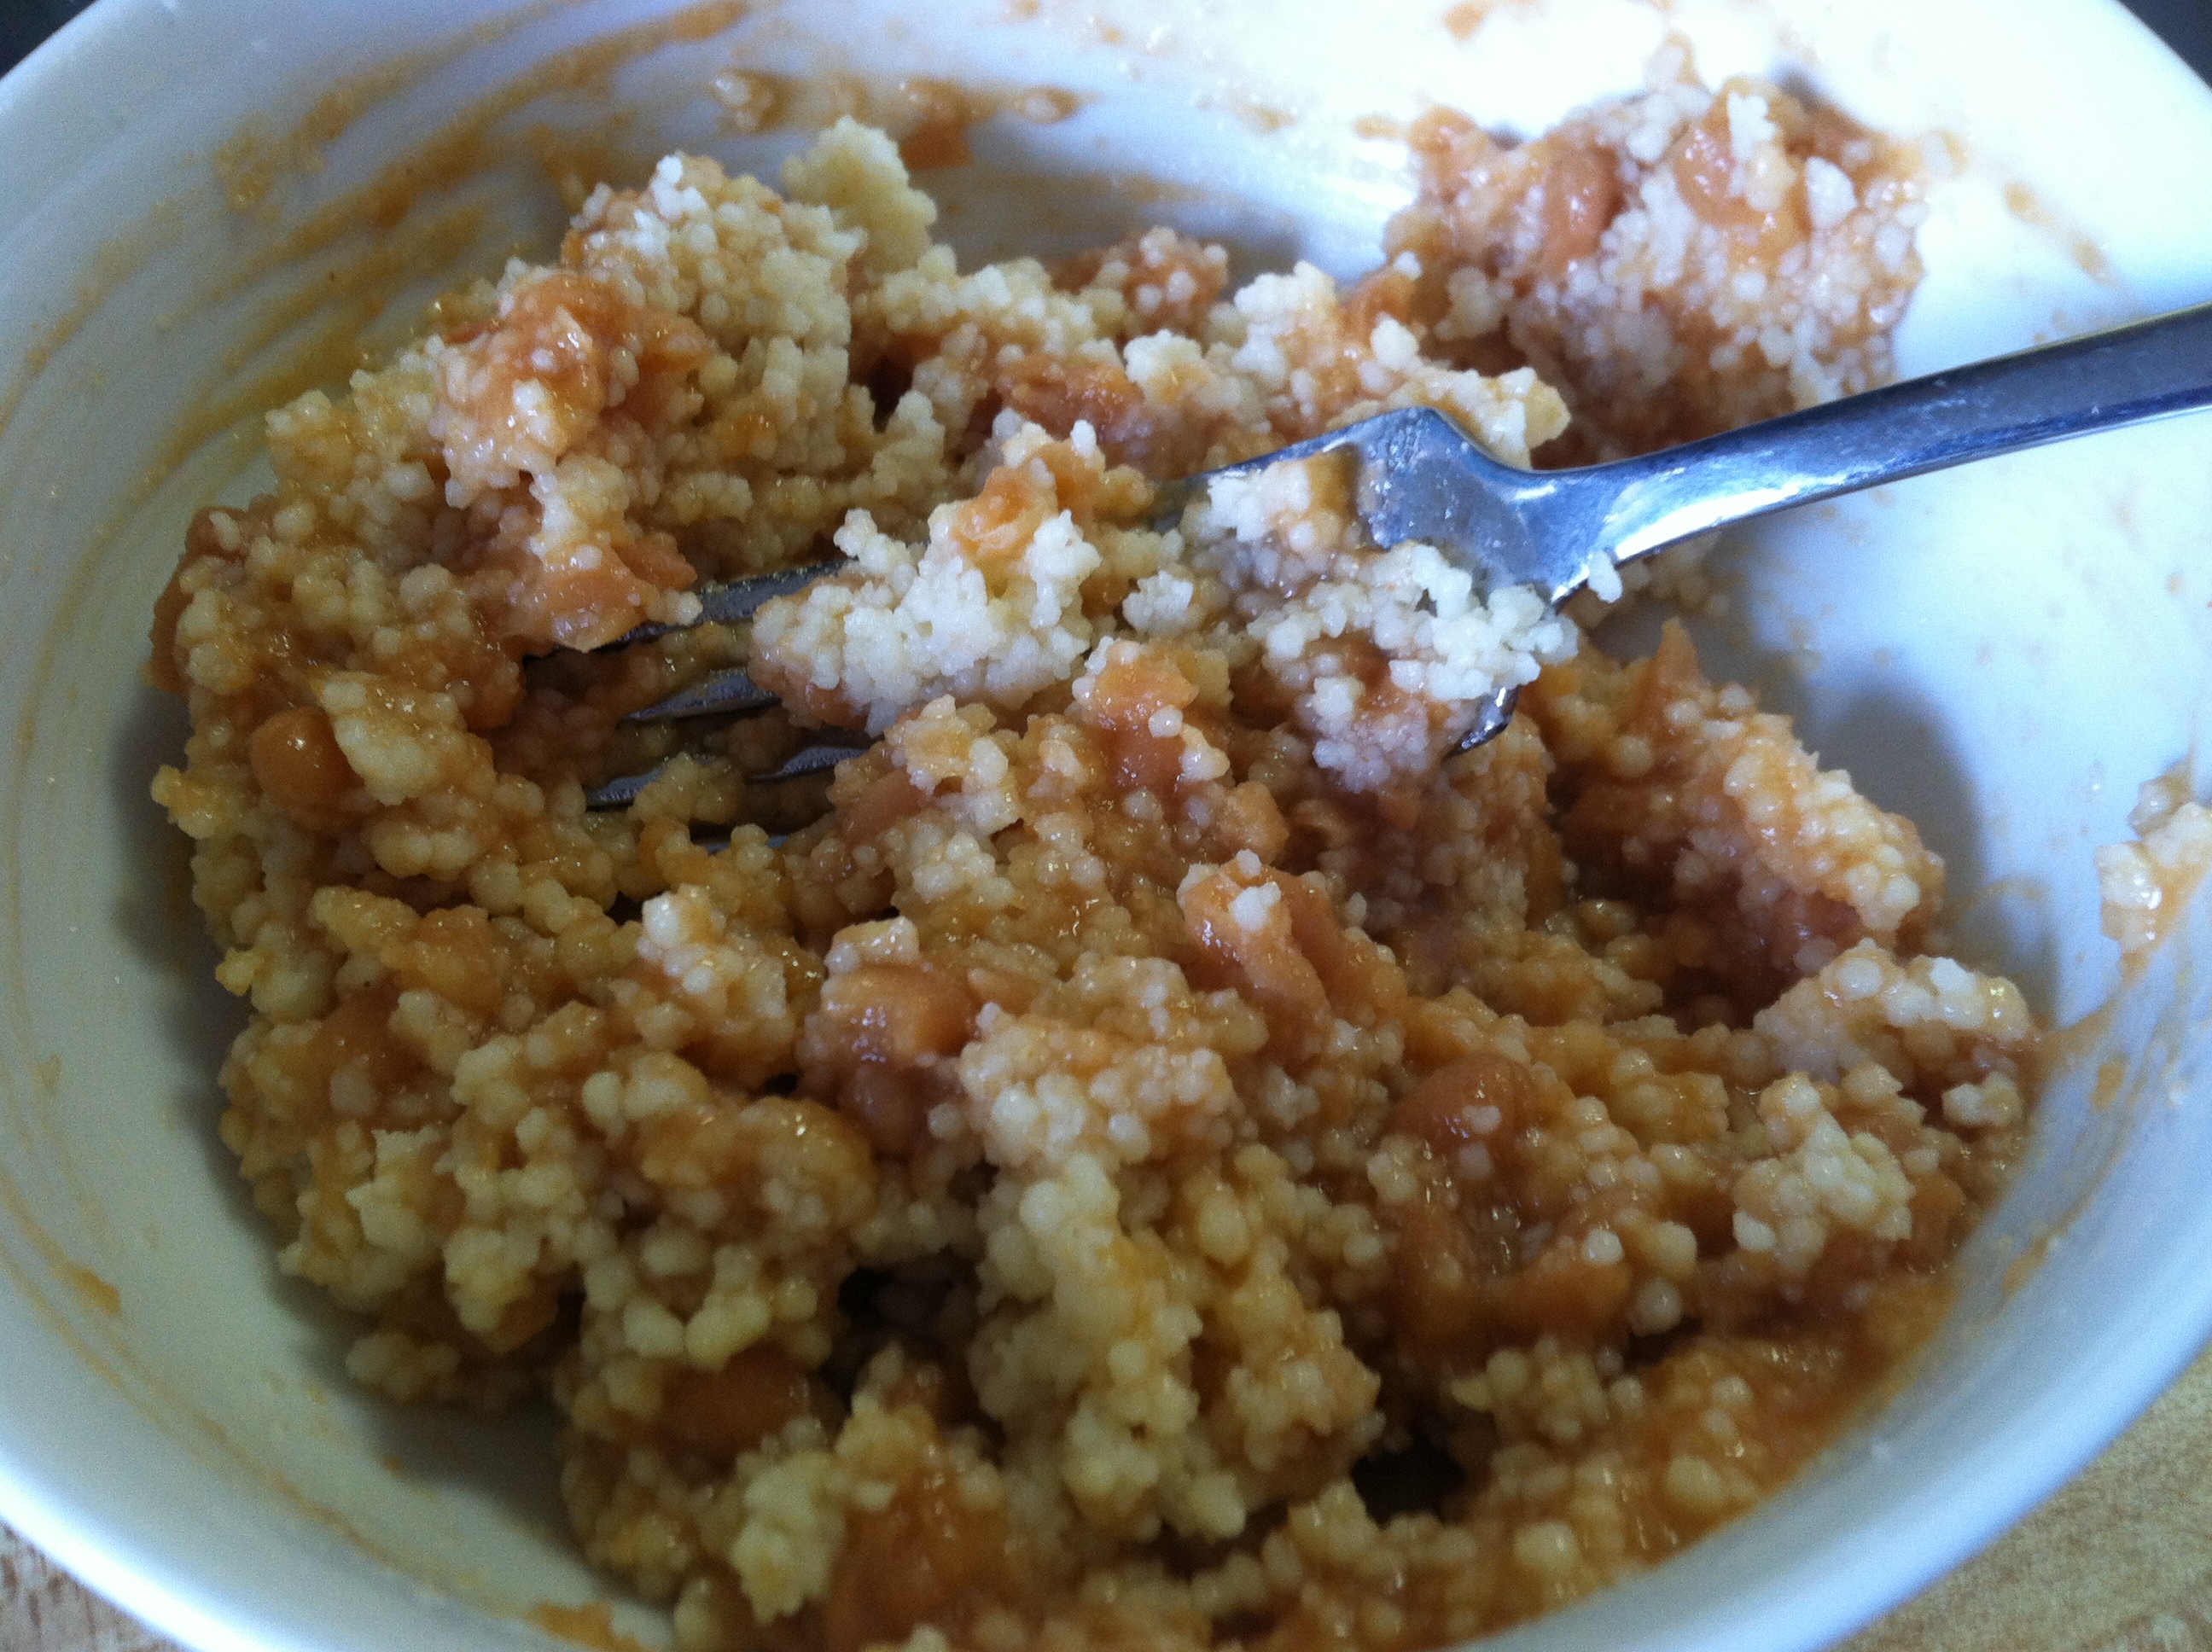
Step 1: In a bowl, mash up your beans. You can use any kind, I had an open can of these vegetarian baked beans so that is what I used. They gave a nice tomato-ey taste to the finished product.

IMG_7539

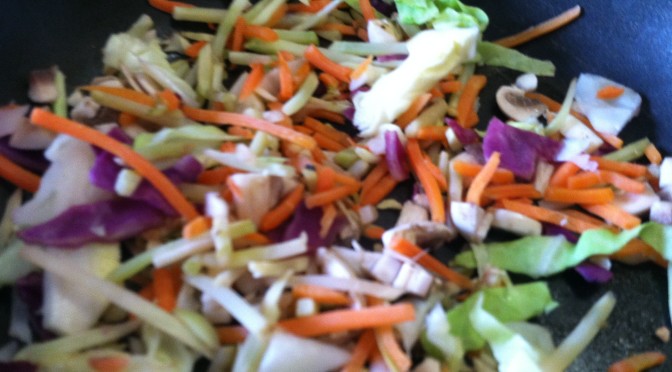
Step 2: Mix in your couscous or other grain. Meanwhile, stir fry all your vegetables in a covered pan until soft.

IMG_7541

Step 3: Mix in your veggies. Add the lemon juice to taste, along with any herbs or seasonings you want to use. If the mix is too wet, add a tbsp. or two of flour. If it is not at all moist, add lemon or warm water. The mix should be like soft cookie dough.

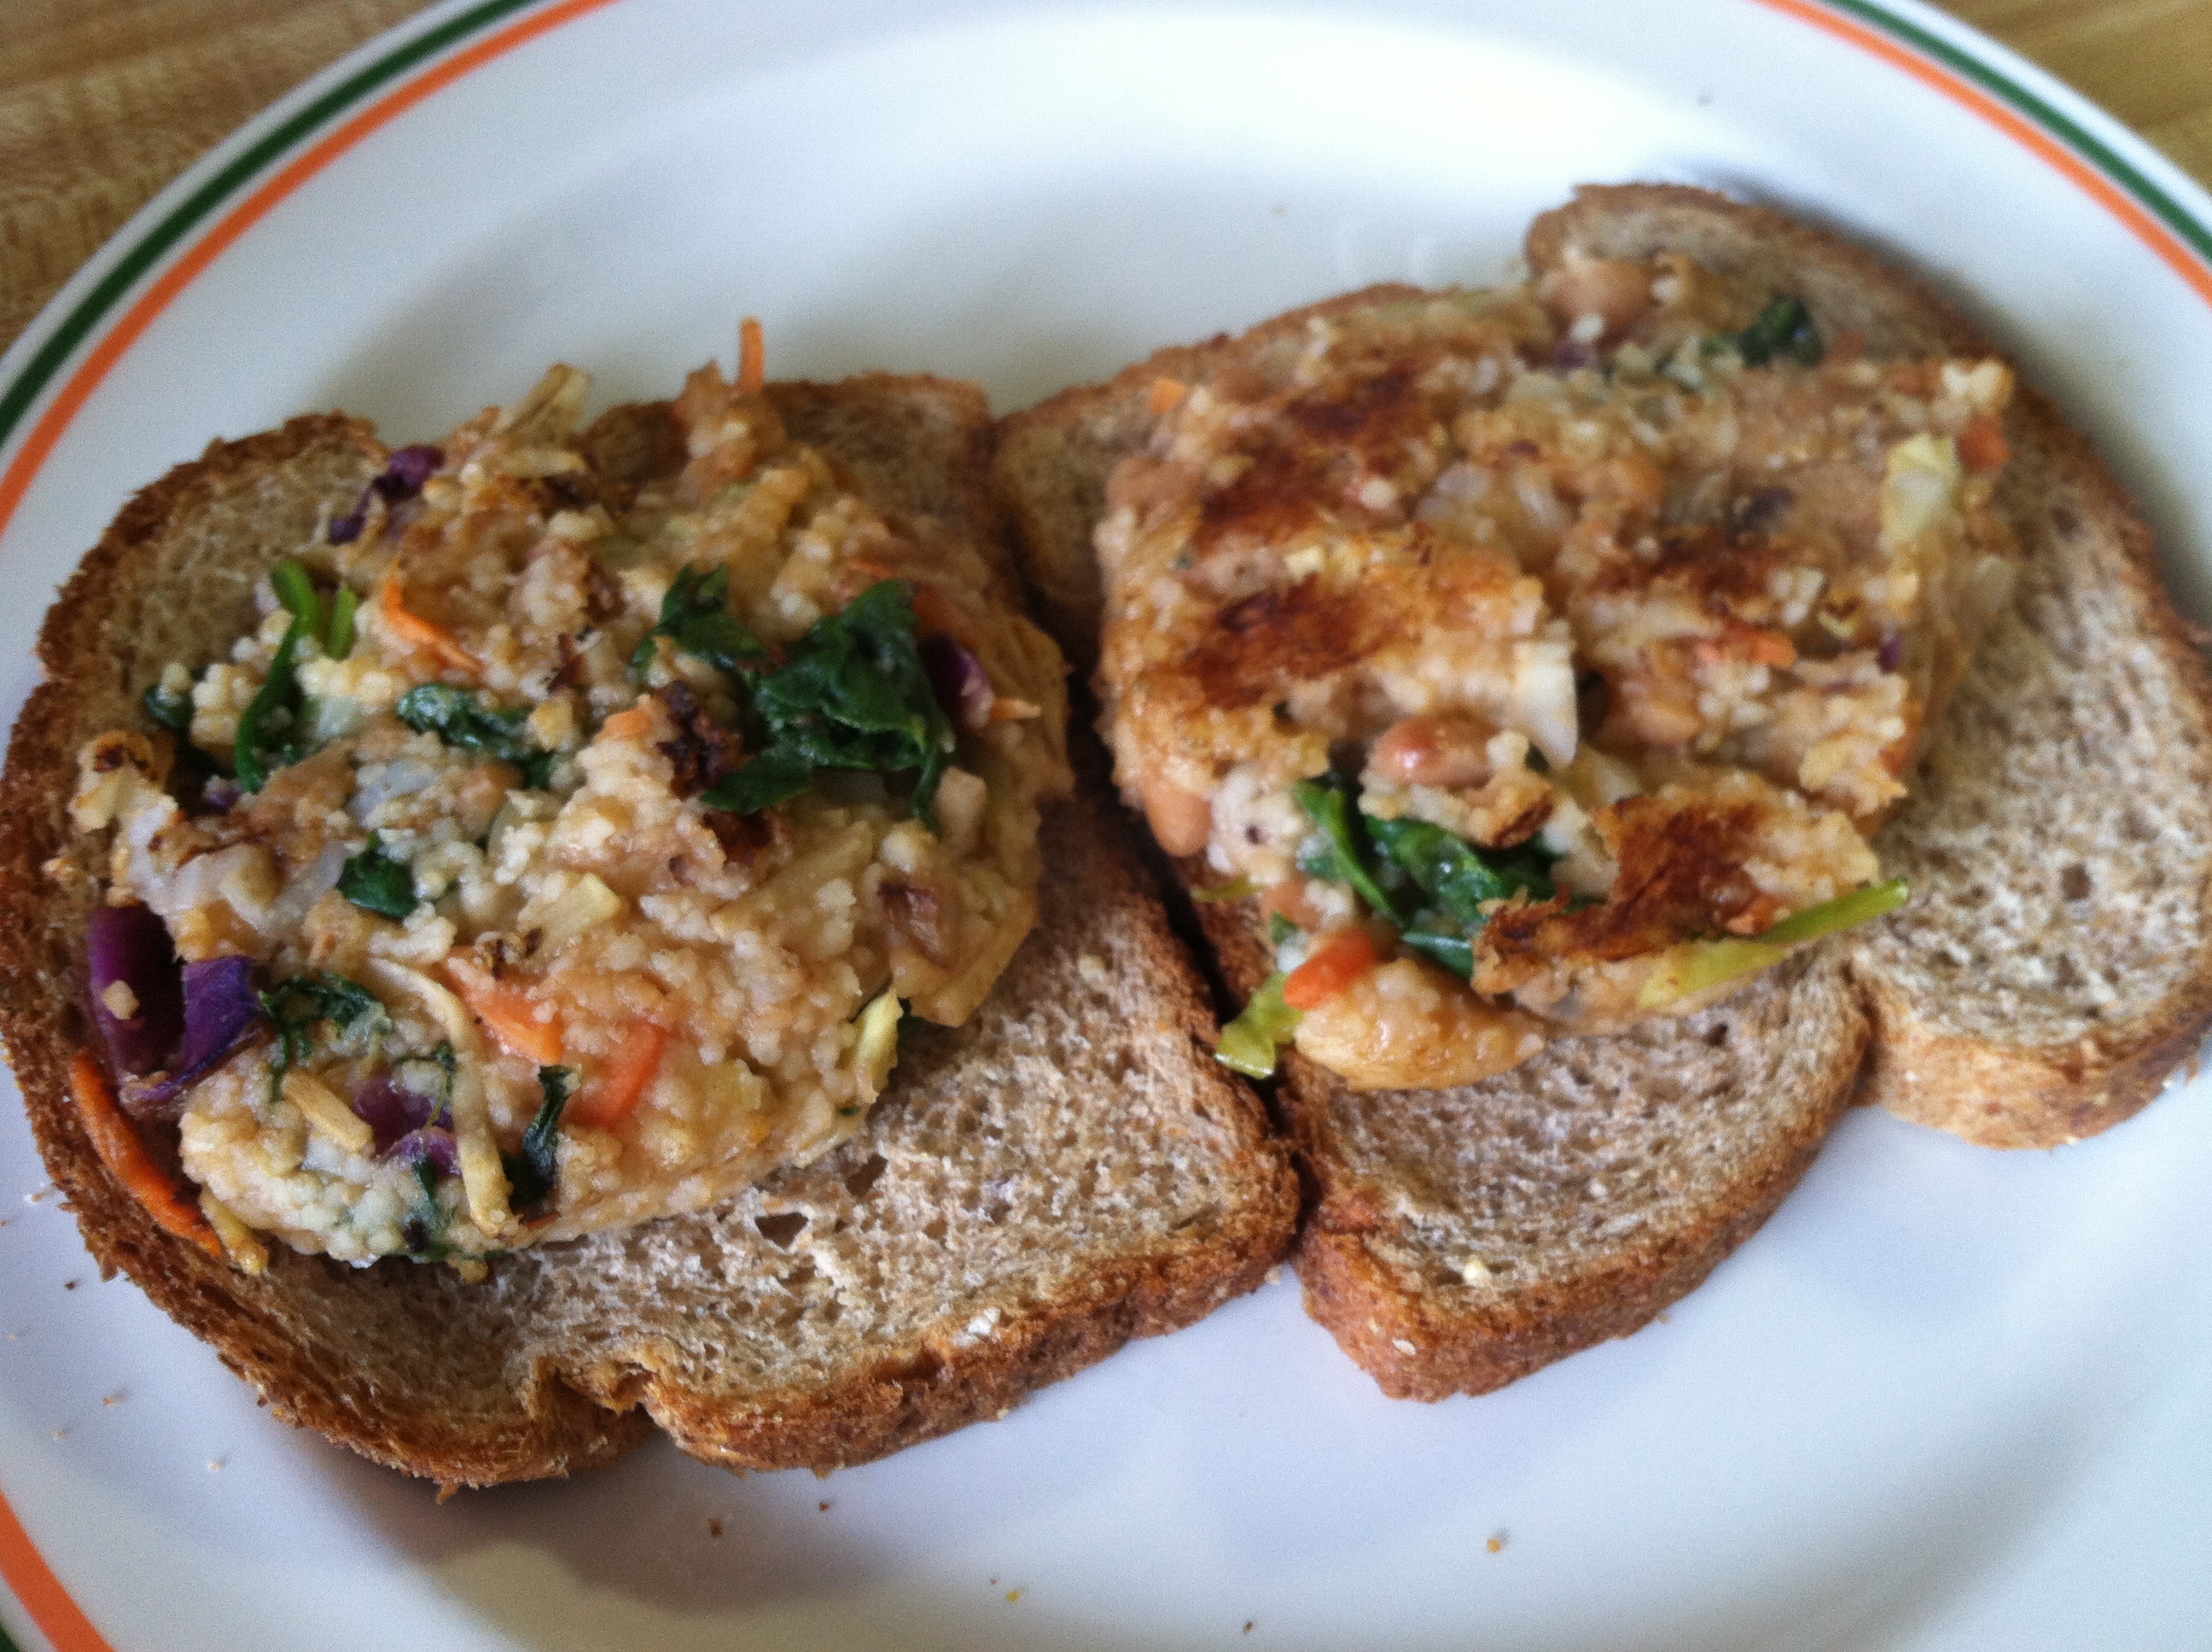
Step 4: Form patties with about 1/2 cup mixture, and place in a heated frying pan with 1 tbsp. oil. Fry 4-5 minutes, until browned. Flip, and cook another 4-5 minutes. Remove to a plate and keep warm. Continue cooking 2 at a time until all are cooked.

IMG_7542

Now you can enjoy your healthy, easy, vegetarian creation!

IMG_7543

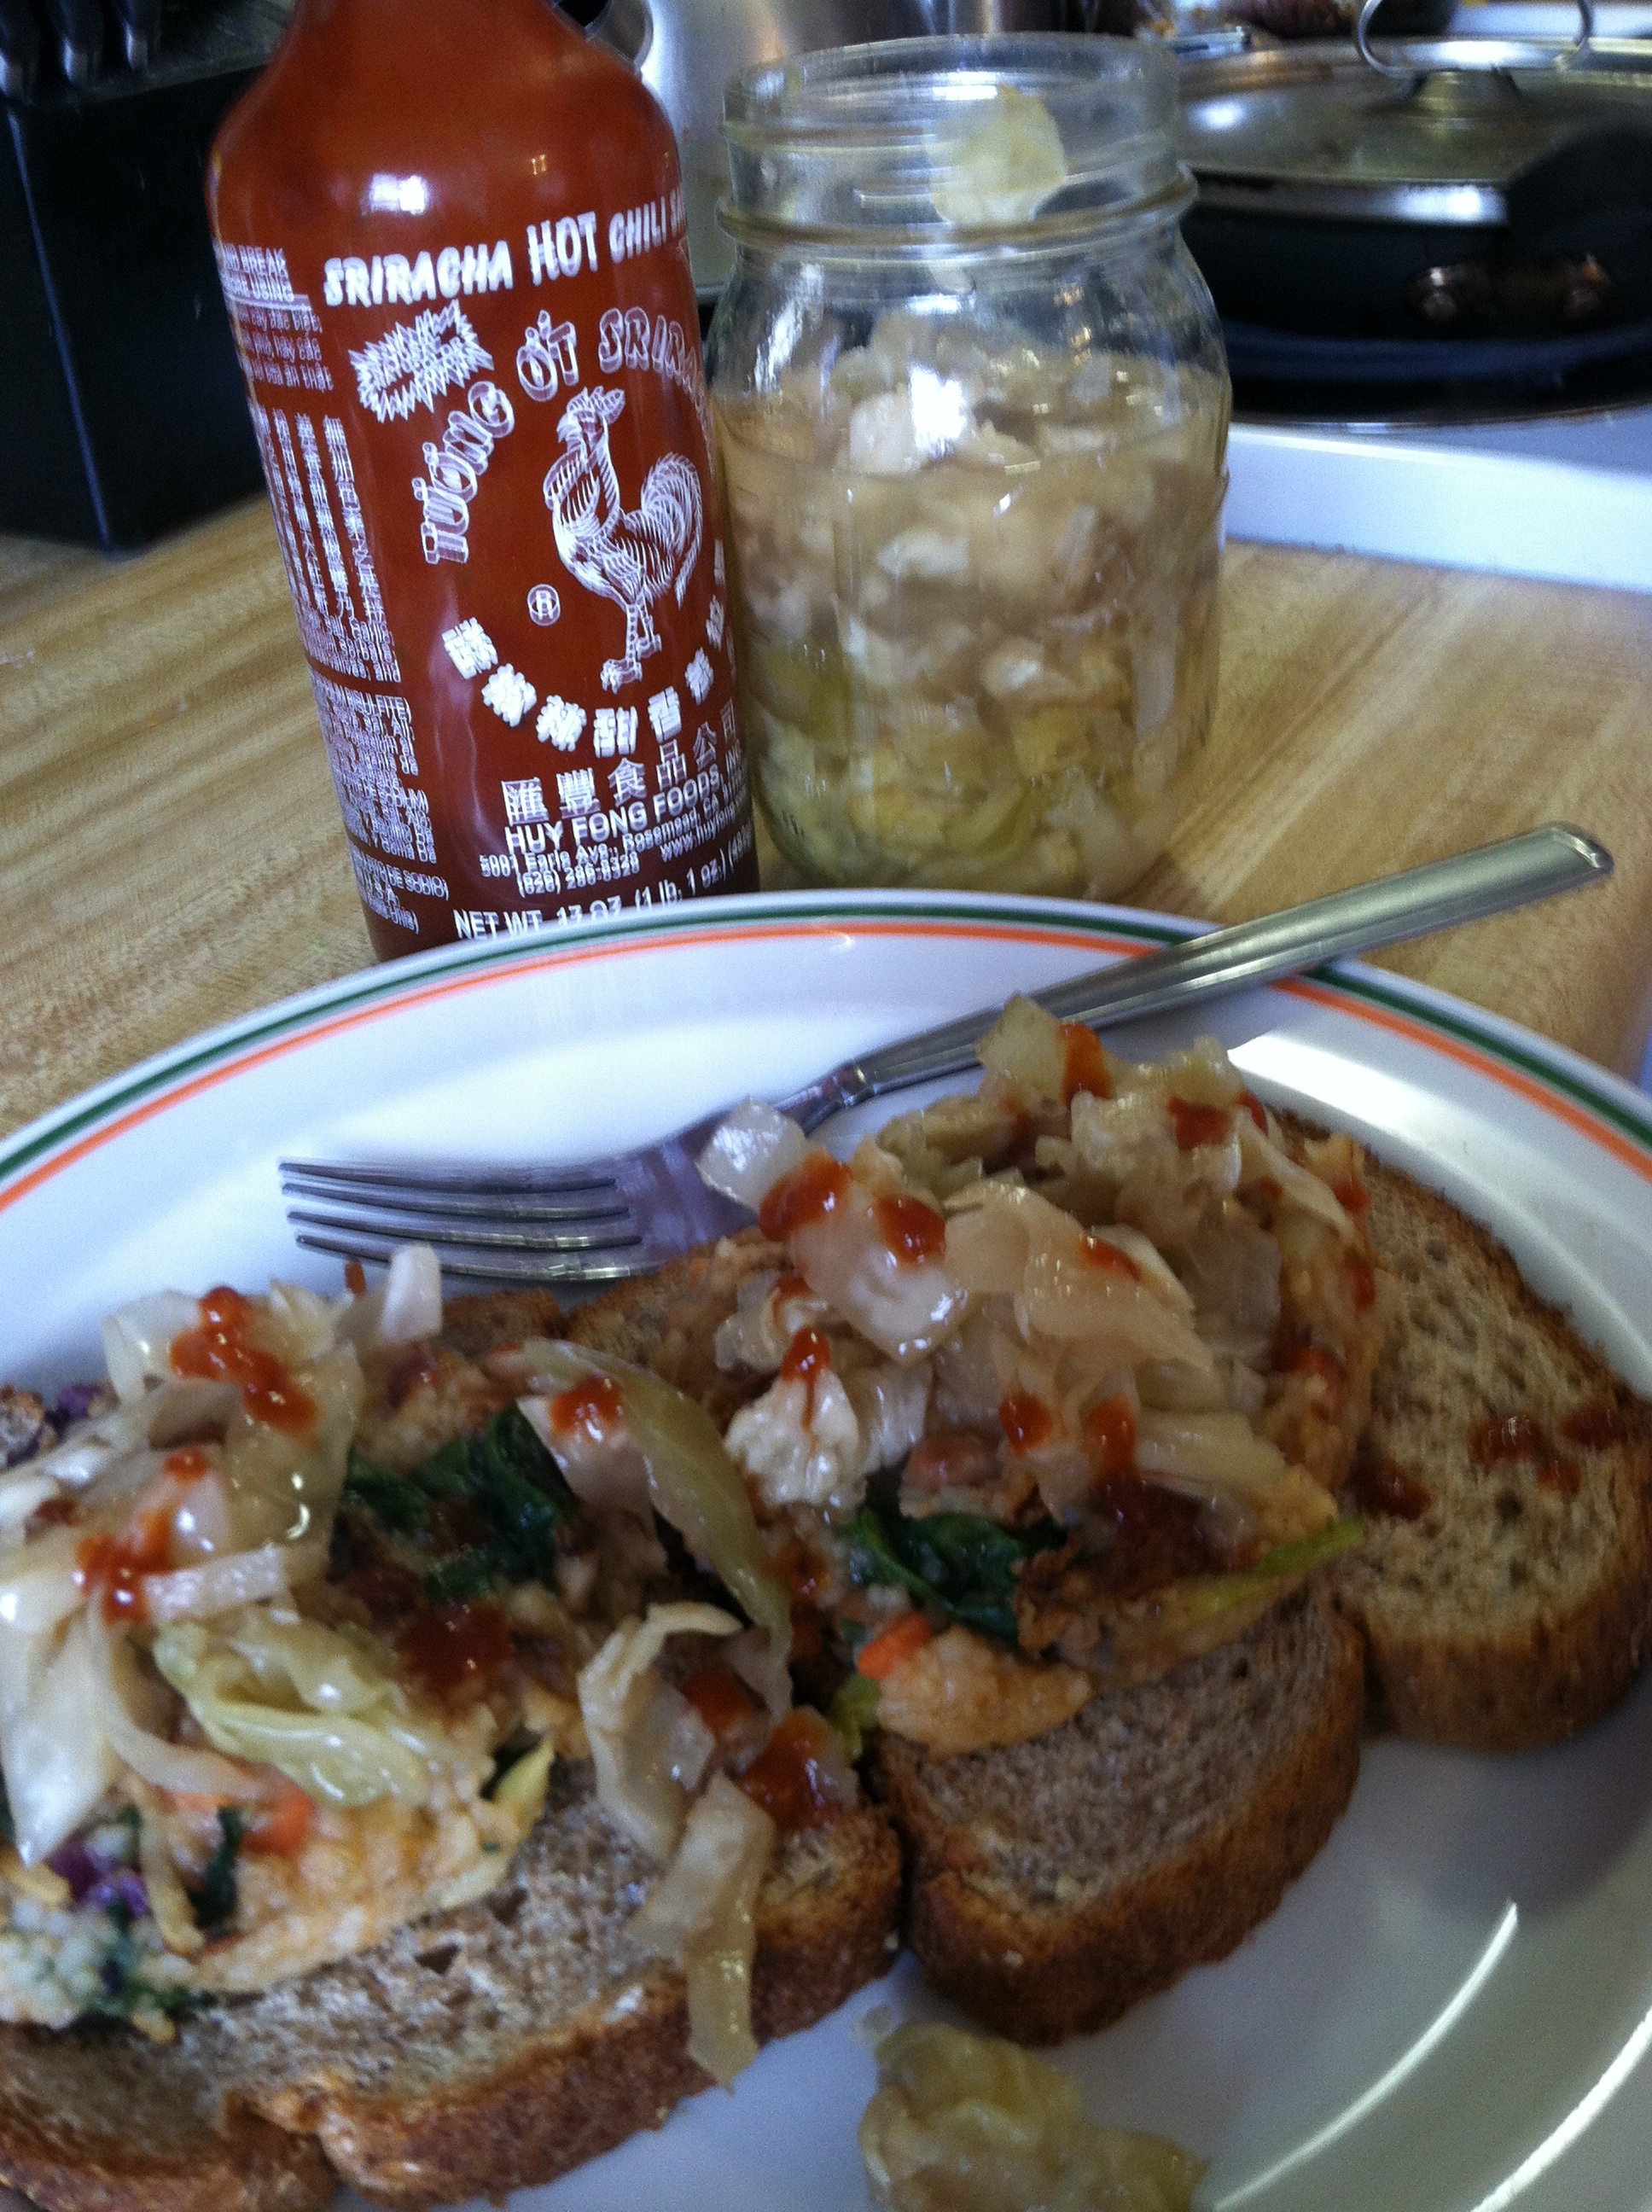
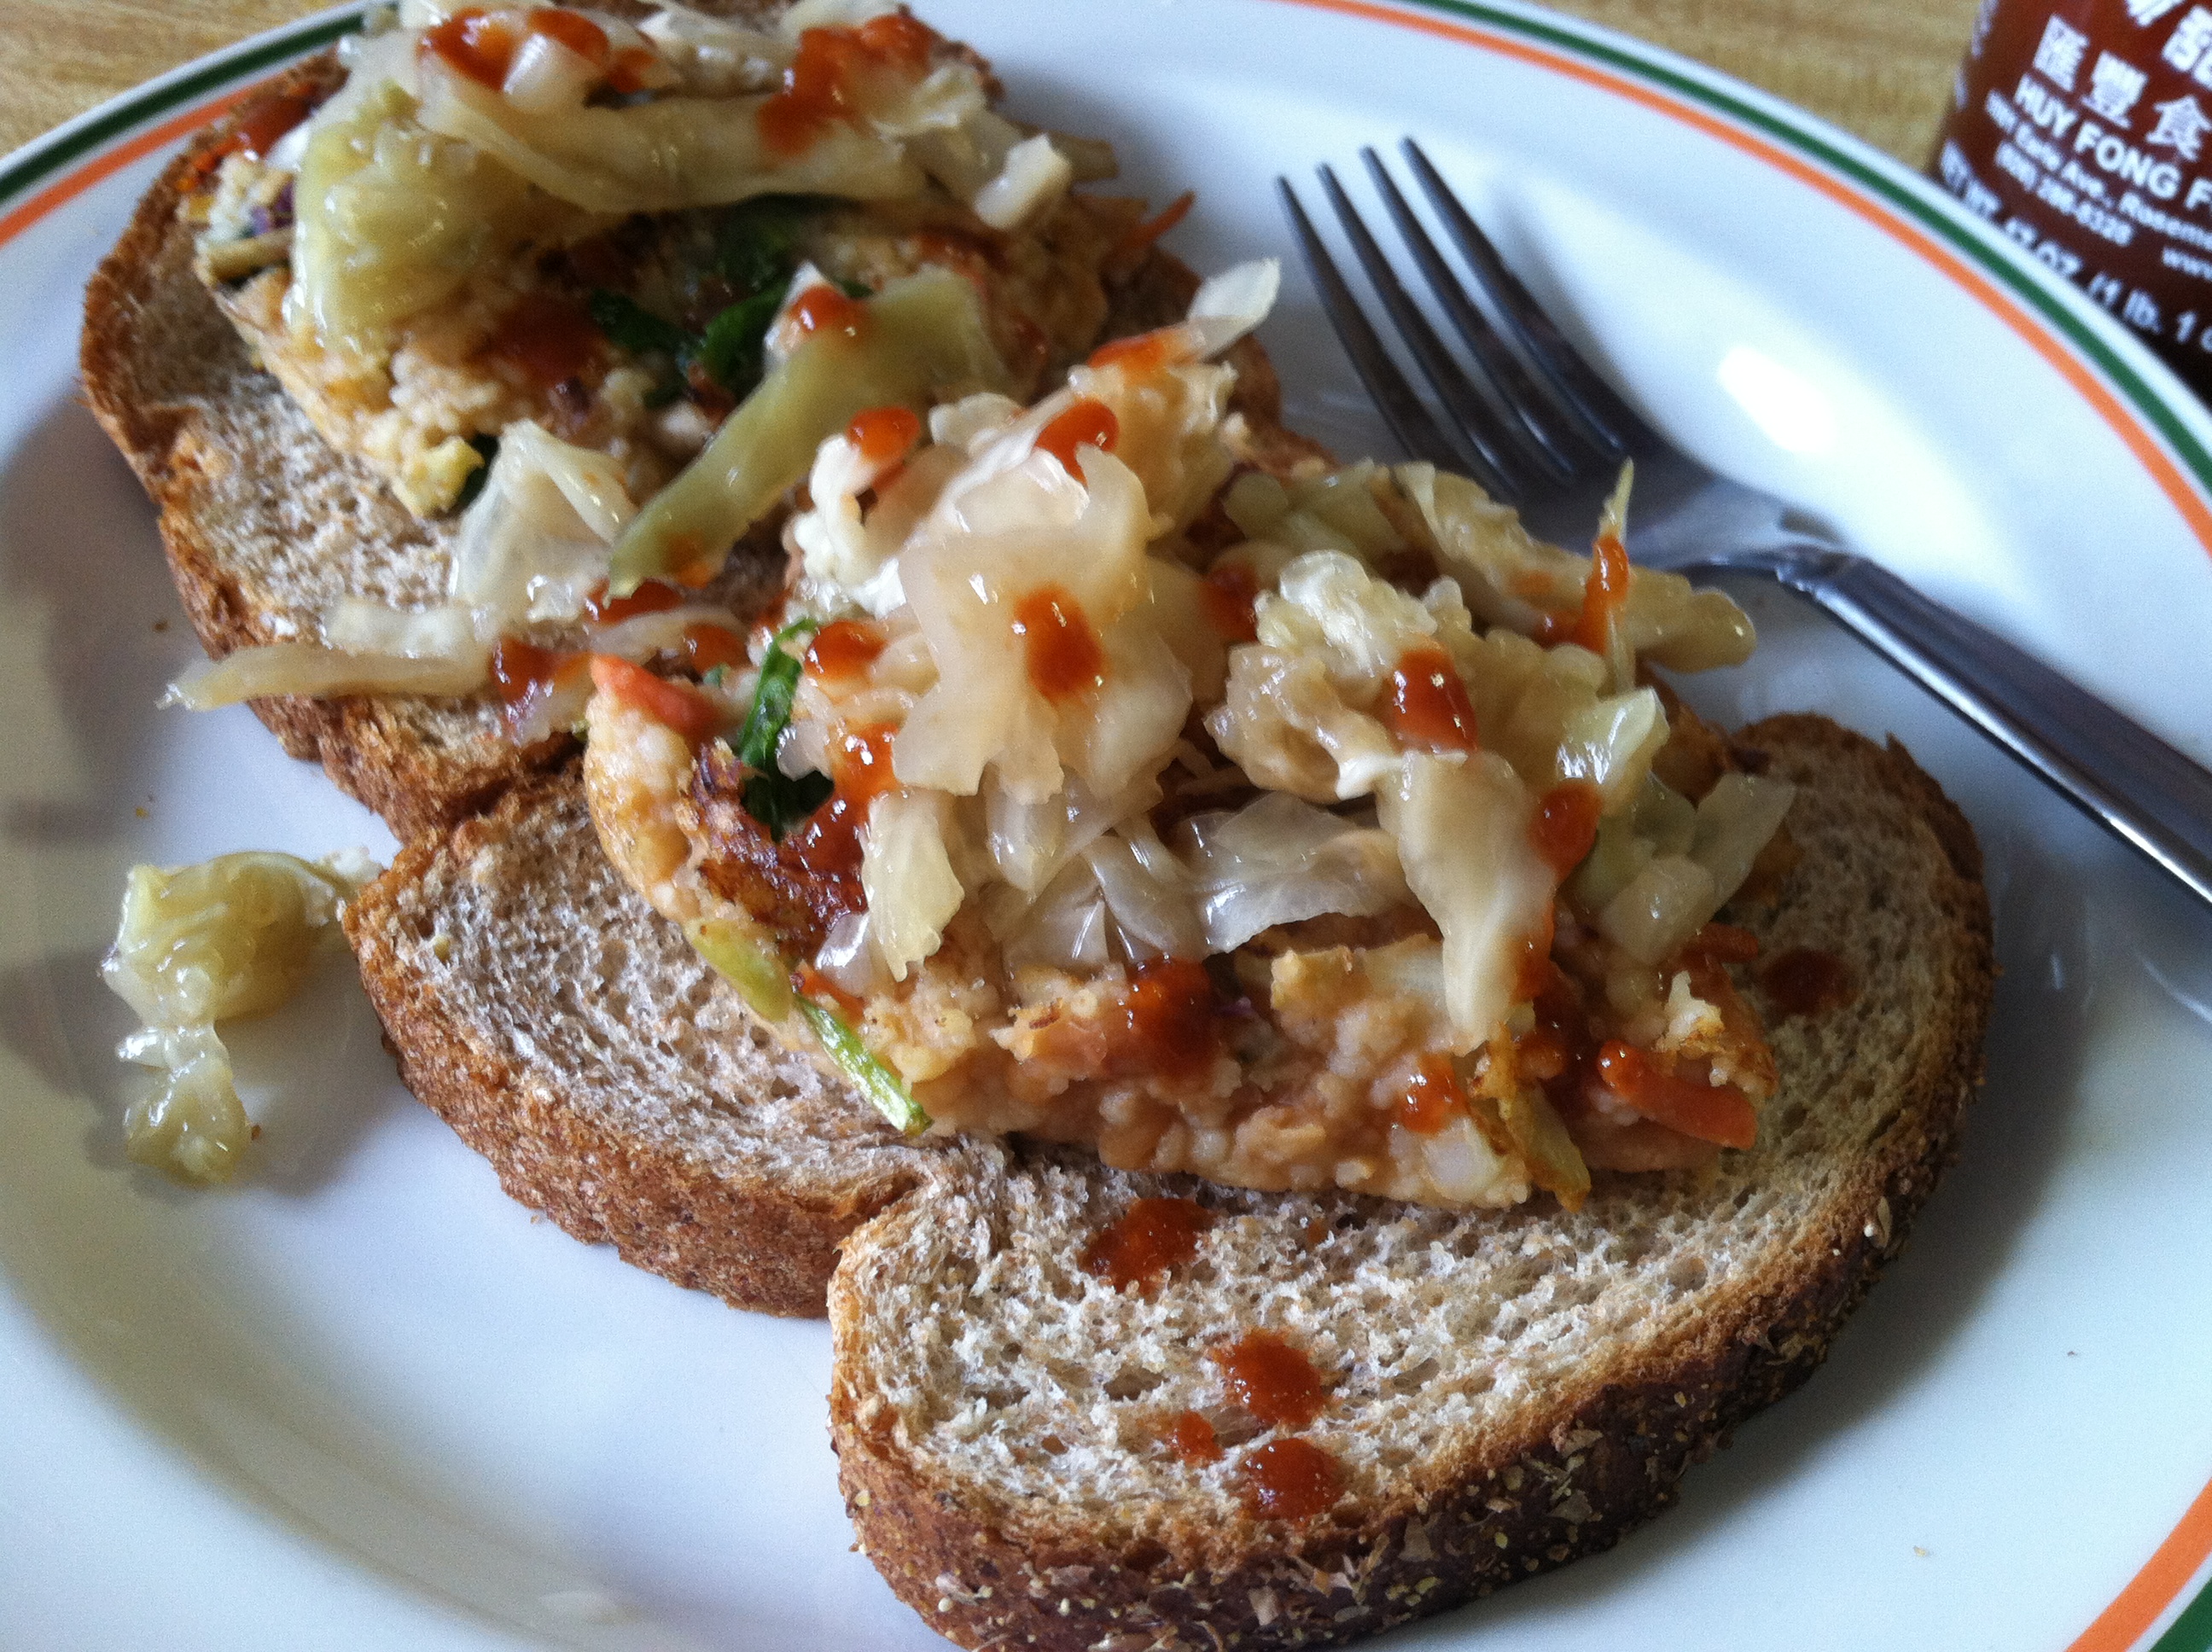
I covered mine with some homemade sauerkraut and sriracha.

IMG_7544


[amd-zlrecipe-recipe:10]

Easy Veggie Steamed Rice


On its own or as a side dish, vegetable steamed rice is one of my new absolute favorite go-to dishes. It is fabulous for using up leftovers in the crisper drawer before they are unusable. It is a good way to hide extra veggies for people who don’t love their taste. You can try new vegetables without having to fully commit. And it is endlessly variable.

The basis of this particular recipe was a bag of broccoli slaw that was on super sale, I had to have it. But you can only eat so much slaw at a time, so I had to find some creative ways to use it up. I’ve also been eating a more vegan diet, so I bulked it up a bit to make it a full meal. Feel free to add in a meat of your choice like chicken or shrimp, sauces you like such as terikayi or soy, and switch up the veggies.

Ingredients:

  • 1 c uncooked rice
  • 2 cups water or broth
  • 1-2 cups veggies
    • I used: 1/3 cup broccoli slaw, 1/3 cup diced bell pepper and onion, and about 1/2 cup raw spinach
  • Handful smashed almonds or peanuts
  • Soy sauce to taste

IMG_7452

If you have a rice cooker, this entire thing can be cooked together. Same goes for a crock pot. If you don’t have one of those option, you can boil the rice and fry the veggies separately and then mix together.

IMG_7453

Step 1: Put the rice, water, and veggies into the rice cooker, and turn on. Alterntively, place in a small slow cooker and cook on low 1-2 hours. Or, boil the rice according to package, and stir fry the veggies in 1 tbsp. oil until soft, then mix.

IMG_7451

Step 2: This is not required. If you want, heat 2-4 tbsp. oil in a pan, and add the cooked rice and veg. Cook for 5-7 minutes, until rice begins to brown and crisp, and flip with a spatula. Cook the other side until brown, then serve hot.