Category Archives: Vegetarian

August’s new food: Young Thai coconut pina cooladas


I have a friend who is Asian, and as such eats some foods I, as an American, have not yet tried. I was over her family’s house, and I was offered coconut milk. I said sure, not realizing they meant a real coconut, which her aunt promptly chopped open with a giant butcher knife, stuck in a straw and handed to me.

Fresh, raw coconut water is strange at first, but very refreshing. It has a hint of sweetness, and is supposed to be helpful in reducing inflammation and fever because of its cooling properties.

So now my friend and I had two young coconuts to take home, and I had to make something out of them. I considered coconut cream pie (not the kinda cheater version I made earlier) but it usually uses a more mature coconut because the flavor gets stronger with age.

So the other thing that naturally comes to mind (for those of age) was pina cooladas. I’d never liked them much, but hey, it’s probably better when I make it, most things are. =)

Ingredients:

  • Meat of 2 young coconuts
  • 1 can pineapple chunks with juice
  • ~1/4 cup lemon/lime juice
  • ~1/3 cup cherry rum
  • Lots of ice

Step 1: Cut at an angle around the top of the coconut. Then stick a knife point into the hull, and cut a circle out of the top. Pop the top off with the knife and enjoy the tasty juice, or use it in the drink or other smoothies.

Step 2: Scoop out all the meat with a spoon and put it into a bowl or right into the blender.

It might be difficult, so use the spoon to pry the meat from the edges first.

Step 3: Add the coconut meat, pineapple, lemon or lime juice and rum. (To taste)

Step 3: Add ice and blend well. Pour into a beverage container and enjoy!

pina coolada

This would be adorable for a party with some pineapple wedges or maraschino cherries. I read some recipes that used cherry juice or cherries too, hence the cherry rum. The coconut is smooth and cool, the pineapple acidic and bright, the cherry sweet and tart and the lemon juice adds that citrus zing.

A great summertime beverage, and quite healthy for you too (minus the booze part).

Fancy ramen: steak & spinach soup

This is one of my favorite ways to fancy up ramen noodles. After freshman year of college, I thought I’d left the days of ramen behind forever. Not true. Some months in grad school I feel even poorer than I did back in my dorm days, and sometimes I just crave the chemically created fake chicken taste & smell. Sure, I may be weird but don’t lie and say you never have had a ramen craving!

Anyways, since I now like to pretend I’m all grown up and ‘adult’ and all that, I feel the need to spruce up old college standbys. I can’t just be eating out of a cup-o-noodles anymore, after all. Besides the social expectations, I also have grown into great knowledge and concern for my health. As I am still on the young side of life, I’d like to take care of myself now to prevent problems later down the timeline as long as possible. So I sneak extra protein and veggies into everything I can. With that, here is the healthiest version of ramen I could come up with. If you have other ideas or something even better, feel free to comment and share!

Ingredients:
1 package ramen noodles
1 cup fresh spinach
1/2 cup meat of choice (I had some leftover steak from burritos)
1 egg
1 cup water

All you do is microwave the ramen & water for 3 minutes. Add the spinach, meat and crack the egg (yes, right into the bowl) and microwave another 3-5 minutes. Stir well and enjoy! The spinach will be slightly wilted and the egg cooks fully so no worries. If you’re vegetarian don’t add meat, put in some beans or tofu instead. Any other veggies or spices of your choice can also be added. This is an extremely easy, fast, cheap and portable lunch.

Salmon Latkes

When you have a mission to eat only (or at least mostly) food you already have for a month, it is certain that you will come up with some… interesting… combinations. That is exactly what I’ve decided to do, due to moving situations, I have 2 boxes of canned/boxed food and handfuls of frozen meat that I am determined to get through. Since pork chops and rice can only be tolerated so many days a week, I decided to get creative with tonight’s dinner. I had some frozen fish fillets and most of a 5 pound bag of potatoes, so I said, self, salmon patties are delightful, and latkes are good. What happens when I put a fish inside a baked potato patty? Turns out, something quite delicious happens.

Ingredients:
2 small potatoes
1 large salmon filet (8-10 oz)
2 eggs
1 1/2 cups spinach
2 tbsp sour cream (optional)
2 slices old bread, torn up
2 inch square chunk feta (you can use whatever cheese you like, or none at all)
Garlic salt
Paprika
Parsley

Step 1: Wash the potatoes, poke holes all over with a fork. Microwave 6-8 minutes, until slightly soft. Then dice and boil another 8-10 minutes until mashably soft. (That’s a word now.)

 Step 2: Microwave the salmon 2 minutes per side and cut into small pieces.

 Step 3: Mash the potatoes in a large bowl. Add the salmon pieces.

 Step 4: Put all remaining ingredients into a bowl and mash together well. I just dug right in with my hands.

 Step 5: Get about 1/4 cup oil hot in a frying pan over medium heat. Form palm-sized patties with the salmon-potato mixture. Place into the oil and enjoy the sizzle. Cook about 5-7 minutes per side, until nicely browned and cooked through.

 These were delicious, it really is like a mashed potato with a slightly fishy flavor. You can add whatever other spices you like, take out the spinach, add other veggies if you want. If you want it vegetarian, just take out the cheese, sour cream and egg, and use some of the potato cooking water to hold it all together. I guess technically the salmon makes it pescatarian. Maybe lacto-ovo if you leave the egg and sour cream. You can also use bread crumbs, cooked old rice, or oats as a binding agent if you don’t want bread or the potatoes.

I topped these with salsa, sour cream, and sriracha and served over a bed of mixed baby greens. Yum!

Homemade granola bars + Make your own vanilla extract

As a simple on-the-go breakfast, post-workout snack, or get-you-through-the-afternoon munchie, I love granola bars! Endlessly varied in terms of type of nuts, berries, chocolate, flavors in them, they are always in my pantry in multitudes.

Usually I buy whatever is on sale, say $1-2 for a box. I have a rotation and favorites, but am not brand loyal by any means. But even at $1 for a box of 6, it can get expensive. So I figured, I already have lots of different types of nuts and dried fruits, and oats. It can’t be hard to make my own.

After googling a bit, I found this recipe for home made granola bars, which is close to what I had on hand. But I didn’t want the chocolate part (shocking, I know!) because I’d be storing them in my book bag and gym bag and don’t want to deal with melty chocolate all over my workout shoes or laptop. So as usual, I took the framework of the recipe and made it my own with what was on hand and the pan size I was working with. The results were splendid!

Ingredients:
3 cups oats
1/4 cup raisins
1/4 cup craisins (dried cranberries)
1/4 cup smashed pistachios (I shelled them, put them in a ziplock baggie and smashed them up with a spoon. For reals.)
1/2 cup smashed up candied peanut halves (also ziplock pulverized)
1/4 cup chia seeds (bought a few months ago and had no idea what to do with them… perfect.)
1/4 cup vegetable oil
1/2 cup honey
4 tbsp butter
1/4 cup brown sugar
1 tbsp vanilla extract

Step 1: Mash up the nuts, then mix together oats, dried fruit, nuts, seeds and olive oil. Stir to coat well, then bake in a flat oven safe pan at 350 for about 10 minutes, to make everything brown and toasty.

Step 2: In a pan over medium heat, stir together butter, brown sugar, honey and vanilla. Bring to a boil, then remove from heat. Pour over the granola mixture, and stir well to coat everything. Bake at 300 for 25-30 minutes, until warm and brown. Remove from the oven and let cool or stick in the refrigerator for a little while. Cut into bars the size you like.

I used a 9×13 pan, and as such I got 16 bars. They are very soft, so I put them in the fridge for about an hour before I cut them up.

I individually wrapped each bar in a plastic baggie, and am storing them in my pantry. They are delicious! The honey makes it so sweet, I don’t think you’d need chocolate anyway. Probably could even have done without the extra brown sugar.

I love these because I can use whatever dried fruits or nuts/seeds I have available. The next batch will include dried apricots and plums. You better believe sometime into the fall I will be making some bars with pumpkin seeds in them! I think I’m going to try experimenting with peanut butter in the honey instead of just butter too.

These are vegetarian, and could easily be made vegan as well. If you go easy on the oil/honey they are quite healthy and filling. And very inexpensive! Buy whatever fruits/nuts/seeds you like on sale, oats are cheap in bulk. This batch probably cost me $5 total?


Speaking of  inexpensive baking, did you know you can make your own vanilla extract from just vanilla beans and vodka? Seriously, that’s it.

A bottle of vodka on sale was about $7, the beans were a bit pricey at $4 for 2. But that’s $11 for about a gallon of vanilla that I can use pretty much forever. If I invested a bit more I could even jar it myself and give it as gifts or sell some. When you get low you just add more vodka and maybe after a year another bean or two. Jackpot.

Peanut butter, banana and Nutella sandwich

.
This was a spur of the moment creation while packing for a hiking trip. We were attempting a 14-er (peak higher than 14,000 feet) and it would be a 5-7 hour climb round trip. When I do long hikes I like more than just a few granola bars and trail mix.
.
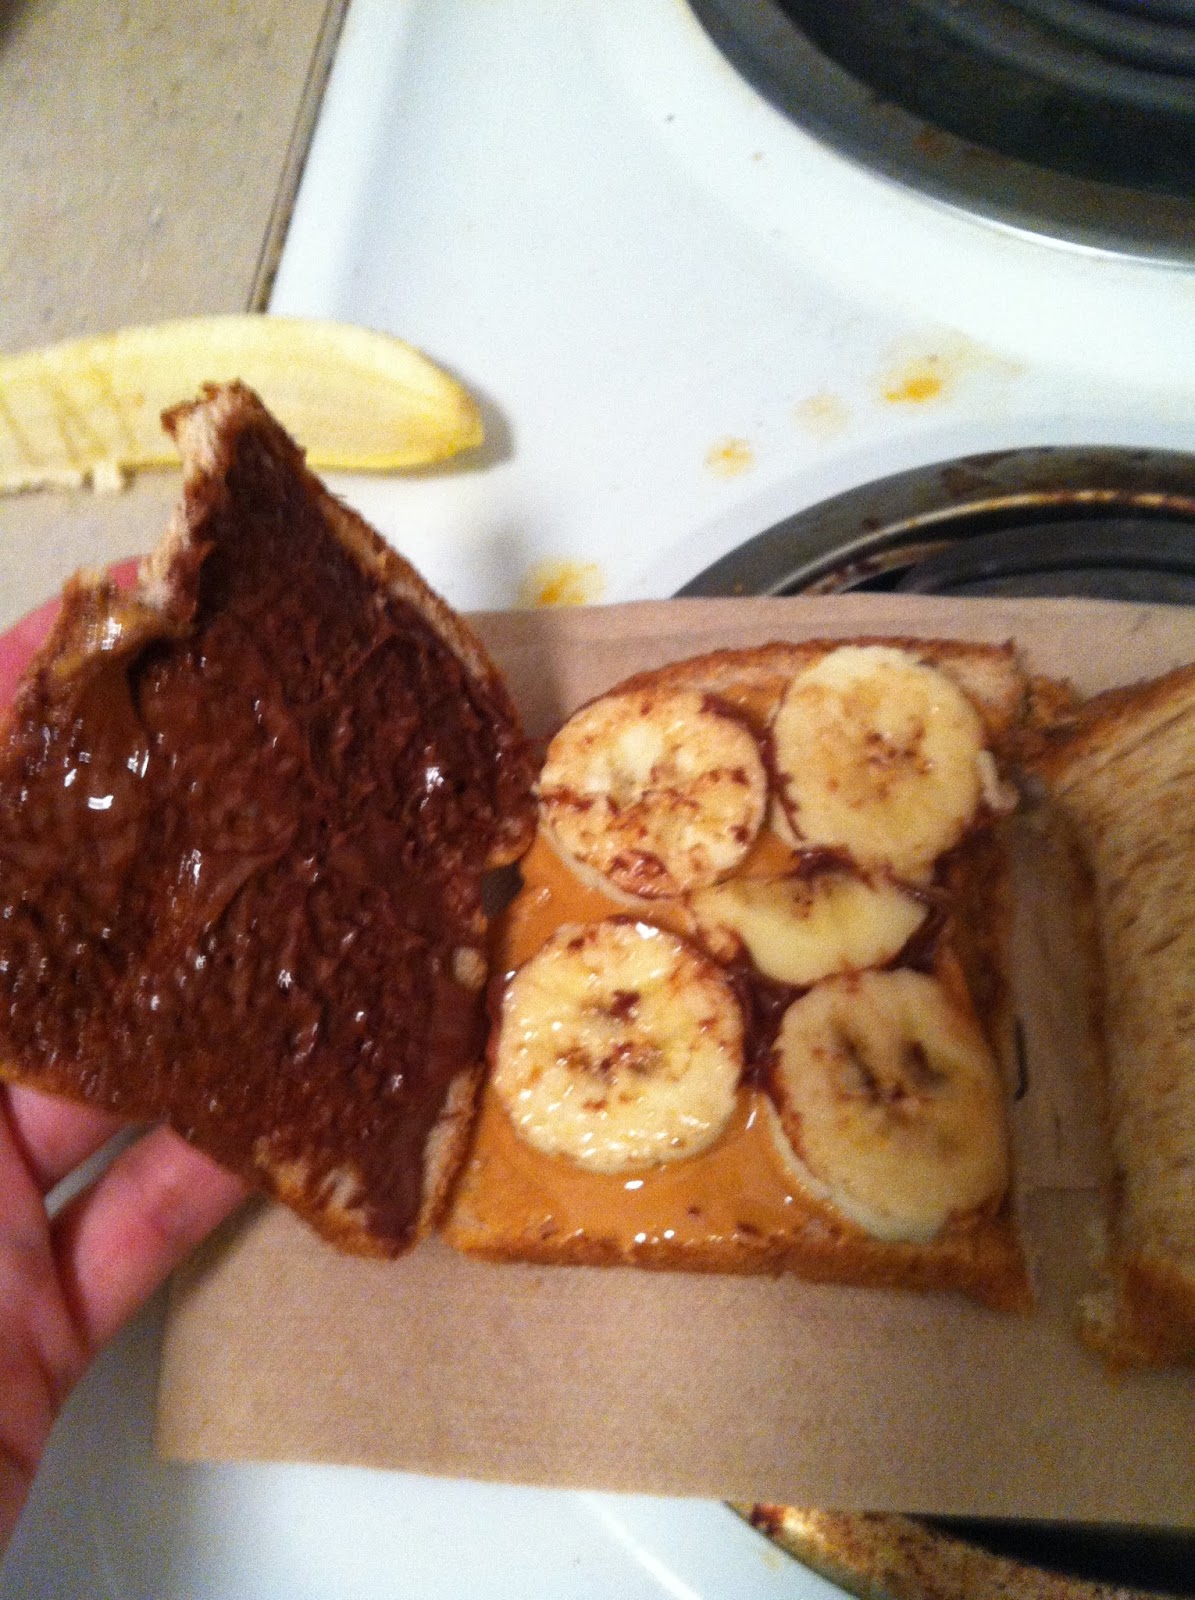
So I made a peanut butter sandwich, then noticed a banana on the counter about to go bad. Sliced that guy up and added it on top of the Jif. Then I remembered I had bought Nutella a few weeks before and it was in the refrigerator still, so that was the finishing touch on this buttery, peanutty, fruity delight.
Ingredients:
  • 2 slices wheat bread
  • 1 tbsp peanut butter
  • 2/3 banana, sliced
  • 1 tbsp Nutella spread
Step 1: Spread the peanut butter on one slice of bread. Spread the Nutella on the other. Slice up the banana, and layer the slices on the bread. Sandwich together. Enjoy immediately, or pack up in a baggie or Tupperware for later.

It was gooey, filling and delicious. Even after being smashed in a backpack with 2 water bottles for 3 hours.

Might I suggest honey if you don’t have Nutella, or a semi-melted chocolate bar. Maybe try some marshmallow fluff instead of the peanut butter if you’re allergic to nuts. I bet peaches or pears would work well too, sliced thinly. I might need to go try all these combos now…

Make your own pizza, male and female style

You may think I’m weird for saying this, but I don’t like pizza that much. I know, how un-American of me. I will eat it if it’s around, and I get an occasional craving for a weird one like chicken bacon ranch, but in general if asked what I want for dinner, the answer will not be Little Caesars.
.
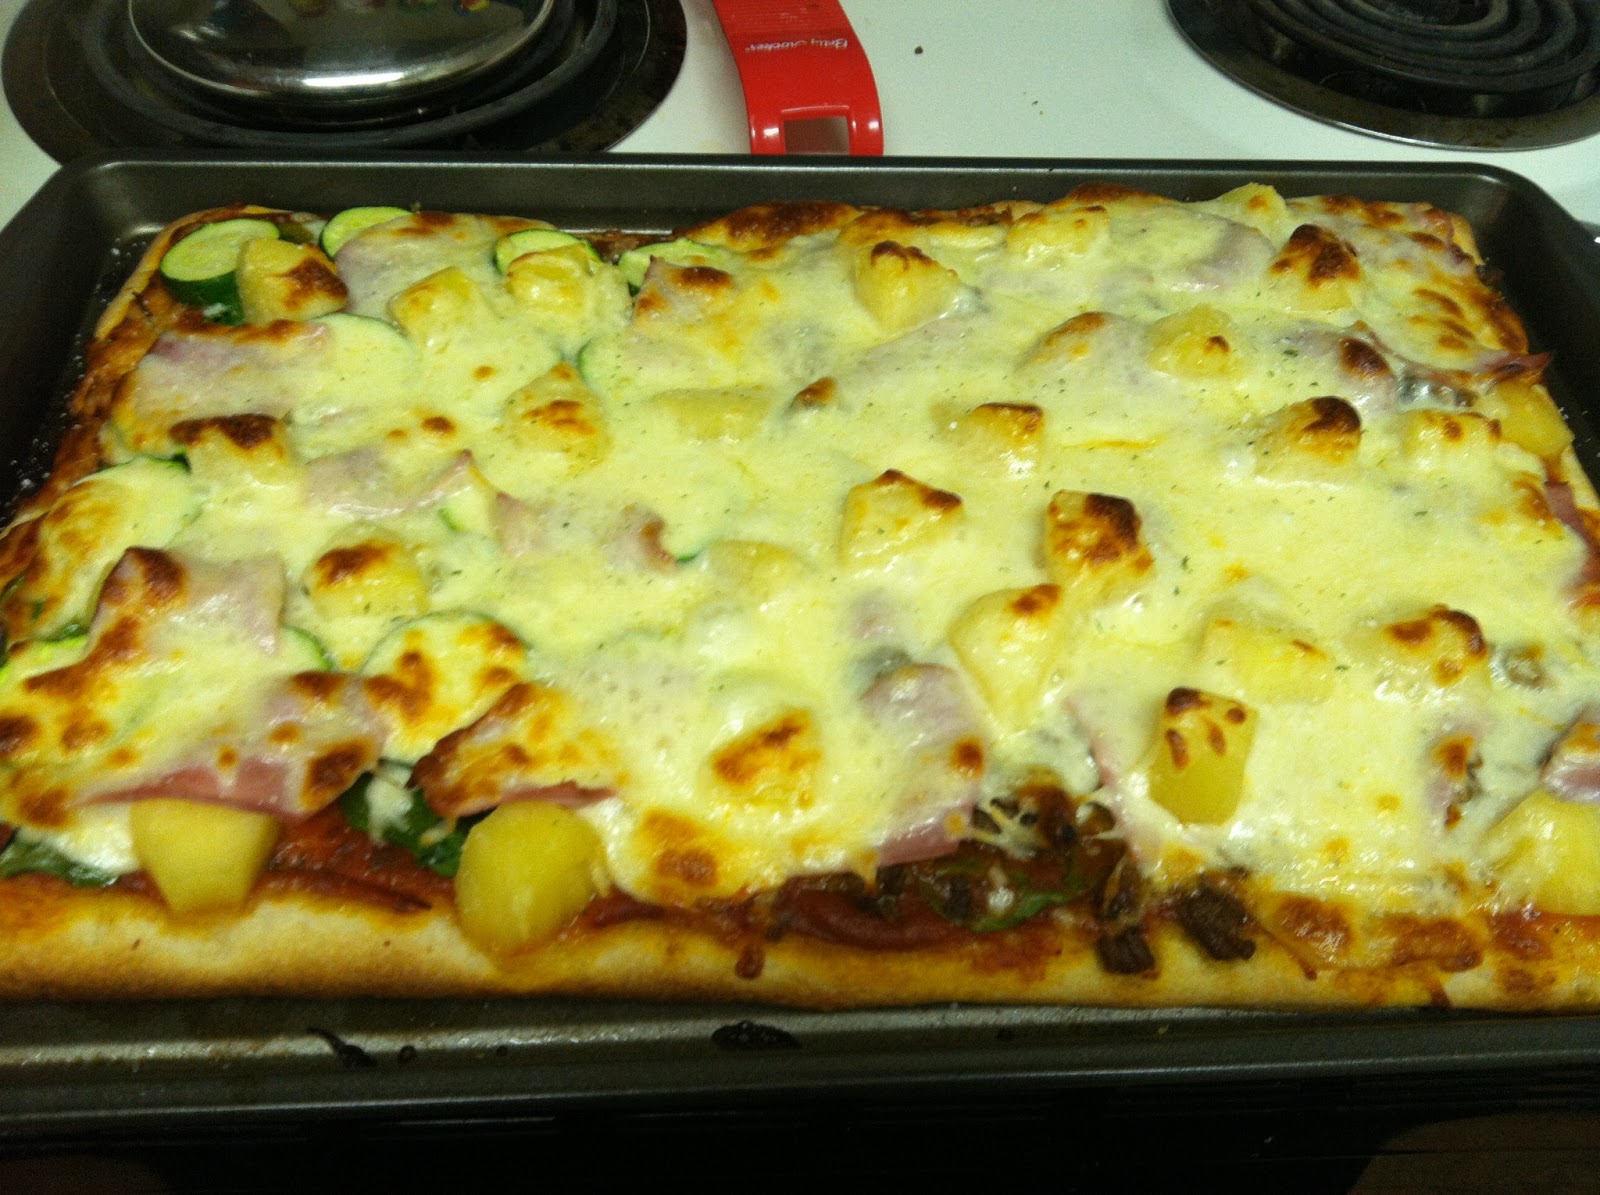
My current S.O. could literally live off pizza and burritos. So we found a compromise, making our own pizza. That way I can have the things I want on it (veggies) and control the sauce, and he can have what he wants (as much meat as possible) at the same time. This is our version of men are from Mars, women are from Venus, in the kitchen.
.
Ingredients:
1 tube pizza dough (about $2 at grocery store)
1 jar pizza sauce (~$2)
.
Toppings of choice: Female half
Spinach & mixed greens
Onions & peppers julienned
Zucchini
Mozzarella cheese
Pineapple
.
Toppings of choice: Male half
Deli ham
Ground beef (pre-cooked, left over from burritos actually)
Bacon
Mozzarella cheese
Pineapple
.
Step 1: Cook the meat if needed, spray a 9×13 oven safe pan. Roll the pizza dough out flat and press to the sides of the pan.
.
Step 2: Spread on as much sauce as you like. I don’t like most pizzas because I end up scraping a cup of sauce off my slices, so I put it on thin.
.
Step 3: Layer the toppings.

Step 4: Cover in as much cheese as you can handle. Because cheese is sent from heaven to make all foods taste better. Some calories are just worth it.

Step 5: Bake at 425 for ~20 minutes or until crust is brown and crispy and cheese is bubbling.

This recipe is as varied as your imagination, nearly any meat or vegetable can be a pizza topping, so if you like it then go crazy! You can use veggies left over from other meals. It’s easy to make a vegetarian (or even vegan without the cheese) pizza.

You can fold the dough in half to make a smaller deep-dish pizza. Try a bunch of variations and find what you like best.  No matter what you put on yours, its likely to still be much cheaper and healthier than a purchased one.

Spaghetti squash ‘pasta’ with Turkey Meatballs and Tomato-Chickpea Sauce

.

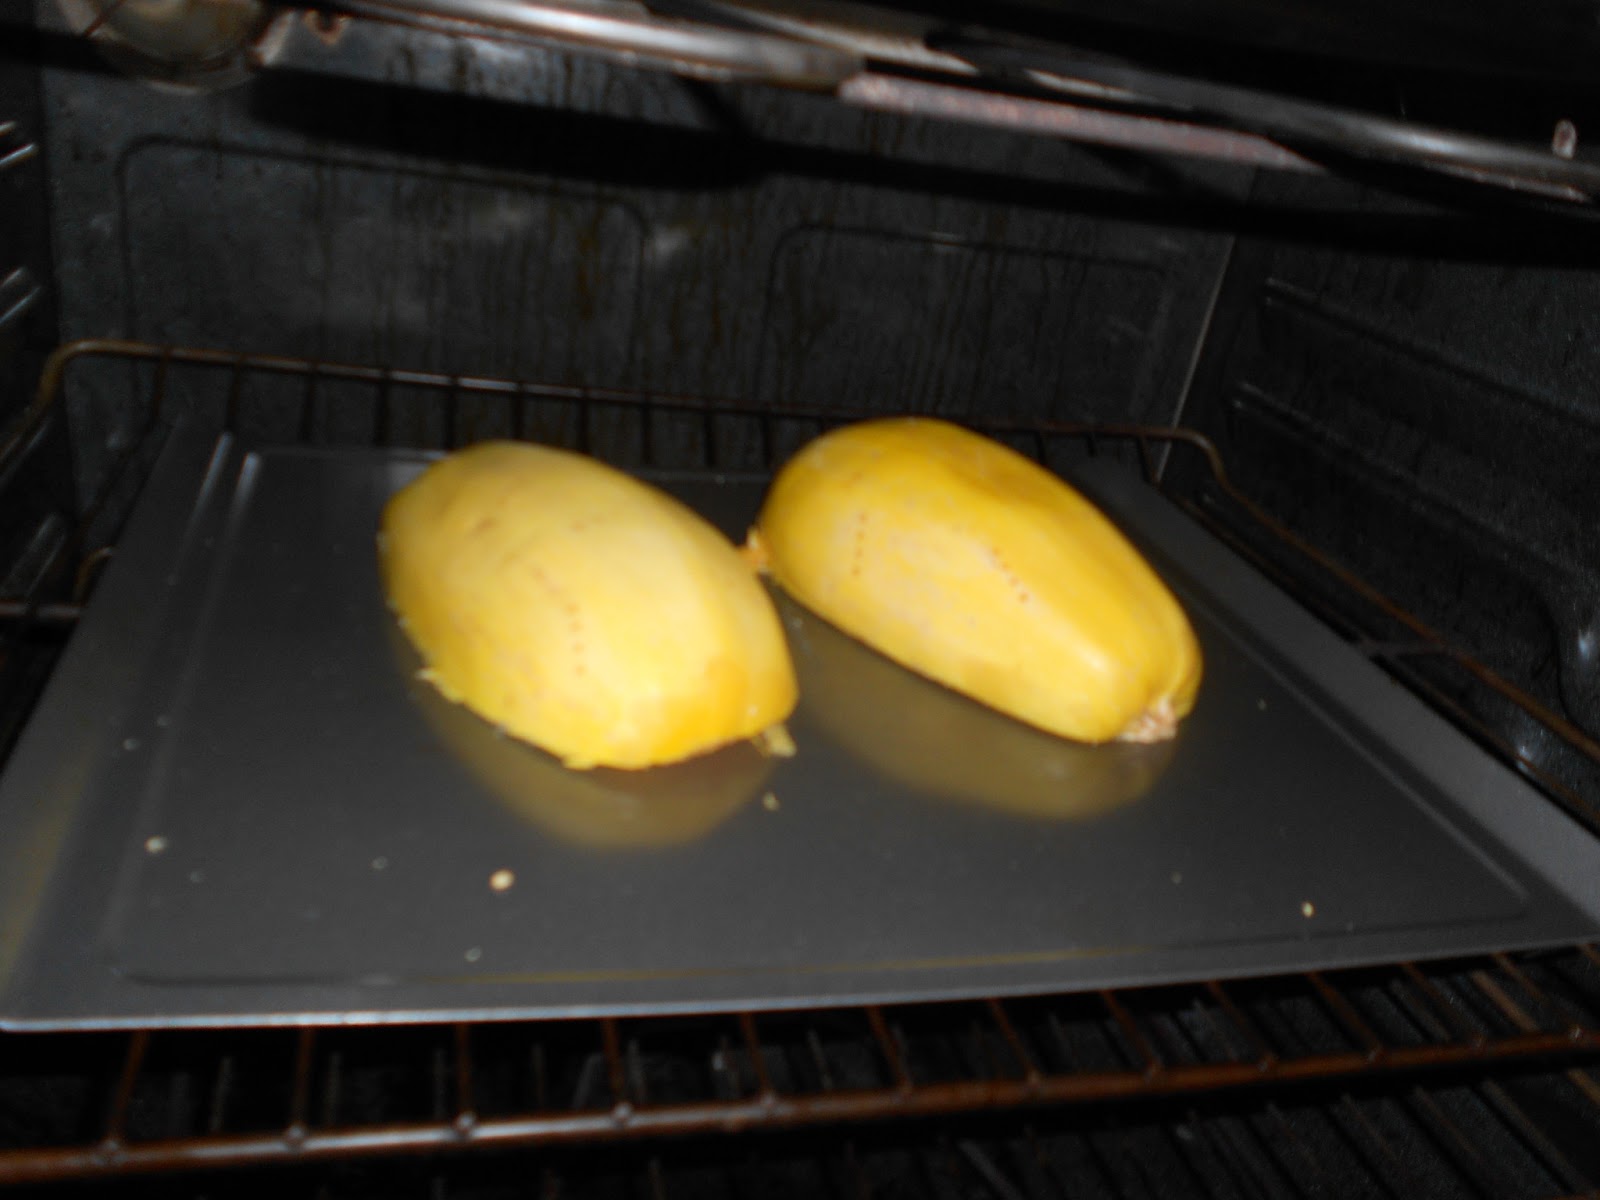
I had bought a spaghetti squash a few days ago, and finally got around to making it. I was not sure what to make with it, so I went with the “spaghetti” theme and made turkey meatballs and a tomato-chickpea sauce. Like real pasta only tons more fiber and quite delicious!

Ingredients:
Spaghetti squash

Sauce:
1 can chickpeas, drained
1 can diced tomatoes
2 garlic cloves, diced
Italian seasonings
1 1/2 cups water/chicken stock

Meatballs:
1 pound ground turkey
1/4 cup bread crumbs
3 cloves garlic, diced
1/4 onion, grated
1/4 cup ketchup
1 egg
1/4 cup blue cheese/parmesan cheese

Step 1: Bake the spaghetti squash face-down for 1 hour at 375 or microwave 10 minutes then bake for 30.

Step 2: Mix all meatball ingredients in a bowl.

Step 3: Cook the chickpeas in a sauce pot for ~5 minutes. Then add the diced tomatoes, water, and seasonings and simmer.

 Step 4: Roll the meatball mix into 1-inch balls and bake on a sprayed cookie sheet for ~10 minutes at 350, or until brown and cooked through. Then add to the simmering sauce.


Step 5: When the squash cools, use a fork to pull the strands out.

In a bowl, add the squash, a meatball or two, and pour on some sauce. Enjoy!

Asian tofu/cabbage soup

.
This is a spin-off of a soup a friend of mine made that was fabulous. I had most of the ingredients and another friend wanted to go to the Asian specialty store where I could get the rest of the ingredients. It’s so simple, but it is delicious!
.
Ingredients:
1/2 Napa cabbage
1 package tofu
1 package mushrooms
2 large carrots, diced
4 cups water/stock
Optional: 3-4 pounds chicken/duck/beef

Step 1: Dice the cabbage, mushrooms, tofu and carrots.

Step 2: Cook the veggies in order of hardness, carrots first, then cabbage, then mushrooms. Add the stock and any seasonings you like. I used veggie stock and put some extra chicken stock and black pepper in for spice.

The broth is simple but complex. You should try it first, then add salt or other spices to taste. The tofu adds a punch of protein, making this a perfect well-rounded meal for a vegetarian or vegan.

Stuffed eggplant

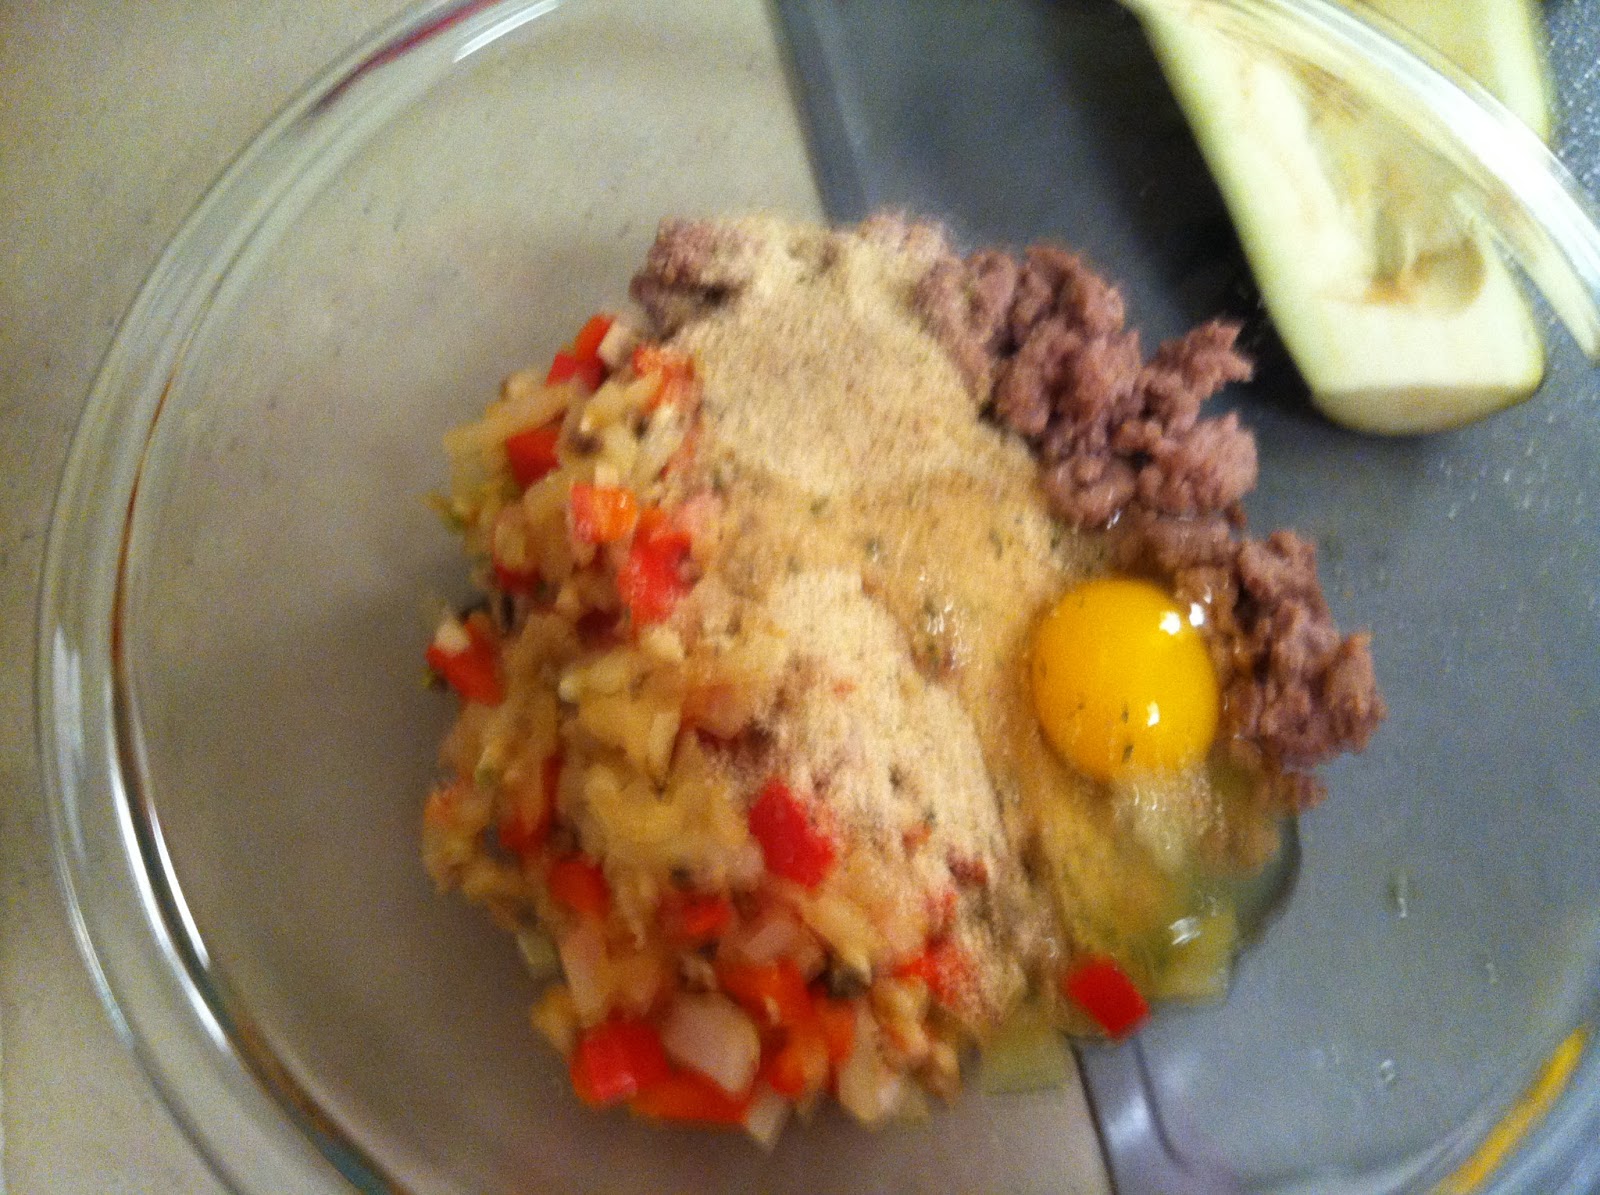
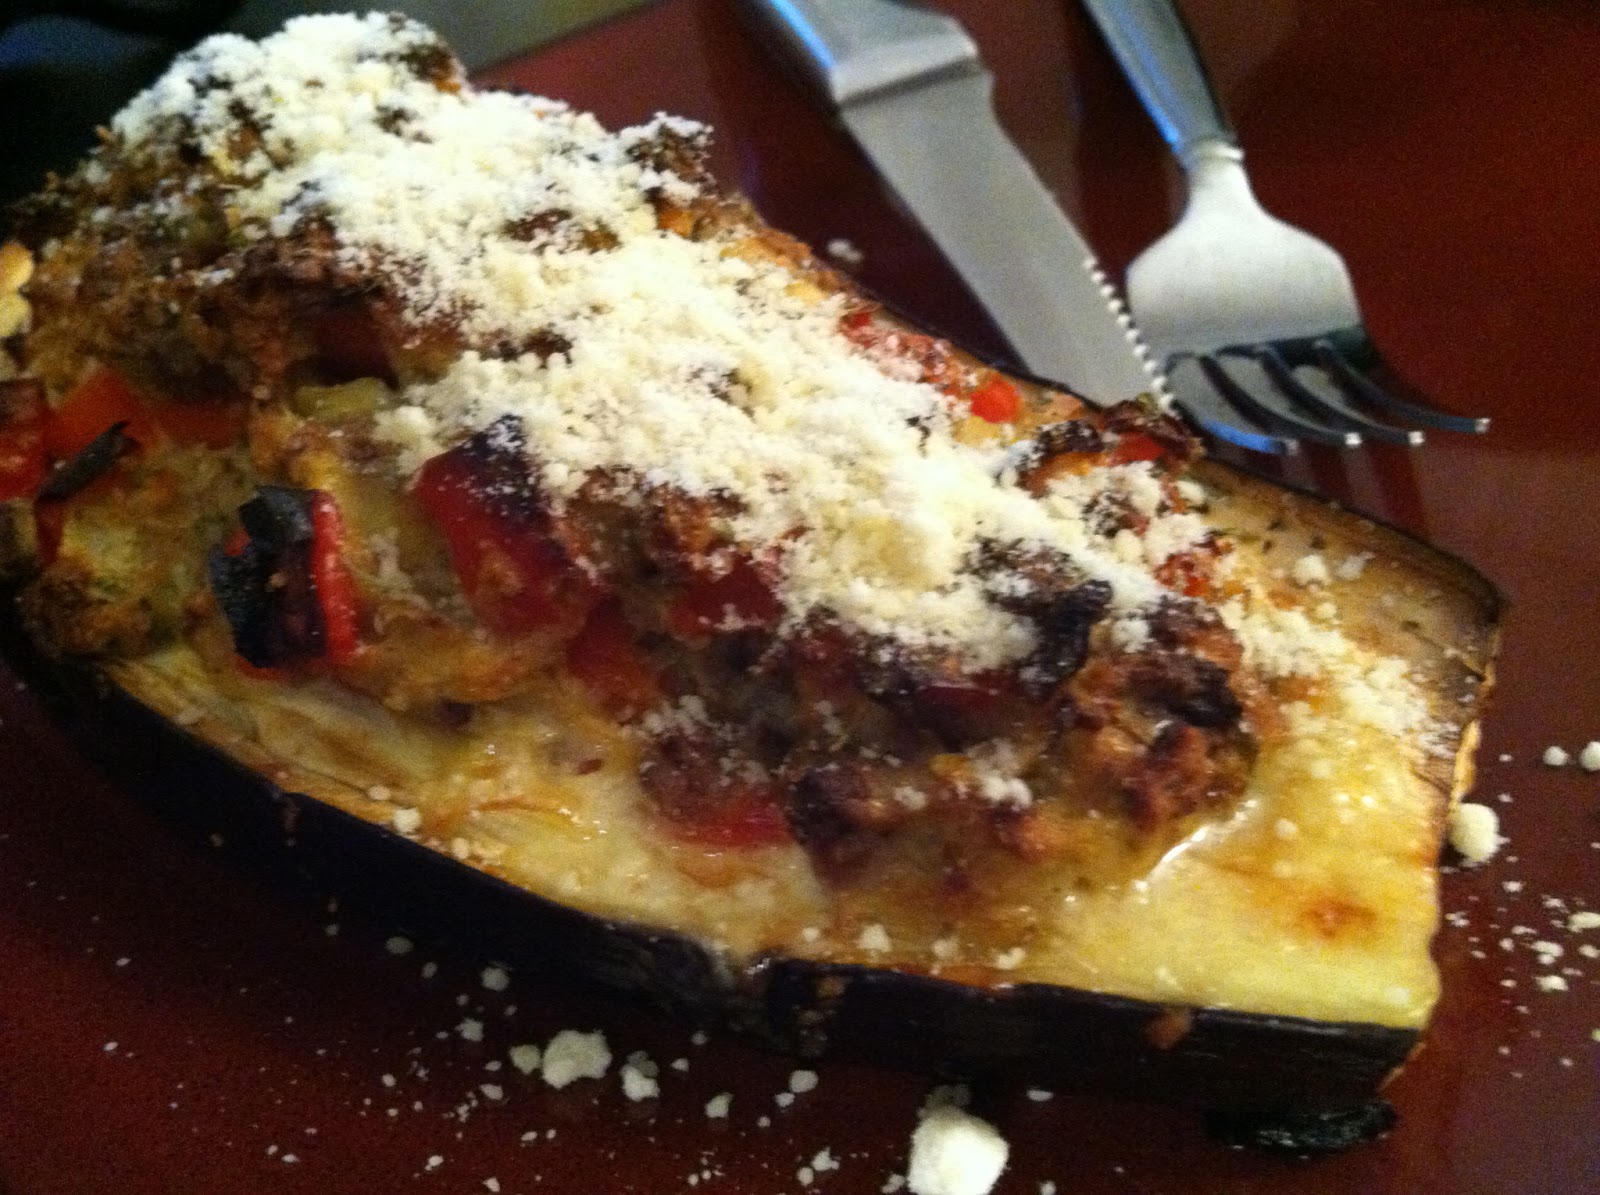
So I’ve been reading lately about how healthy eggplant is for you. Then it went on sale at my favorite produce store, so I had to buy one. The only question was what to do with it. I had tried eggplant before and wasn’t particularly fond of it diced up in casserole-type dishes. So I decided to stuff it, because what isn’t made better by a meat mush and cheese baked inside?
 
Ingredients:
1 eggplant
olive oil
1/2 pound ground turkey
1/4 cup bread crumbs
1 egg
1/2 onion, diced
2 garlic cloves, chopped
1/2 red bell pepper, diced
Italian seasonings
1/2 cup parmesan cheese
 

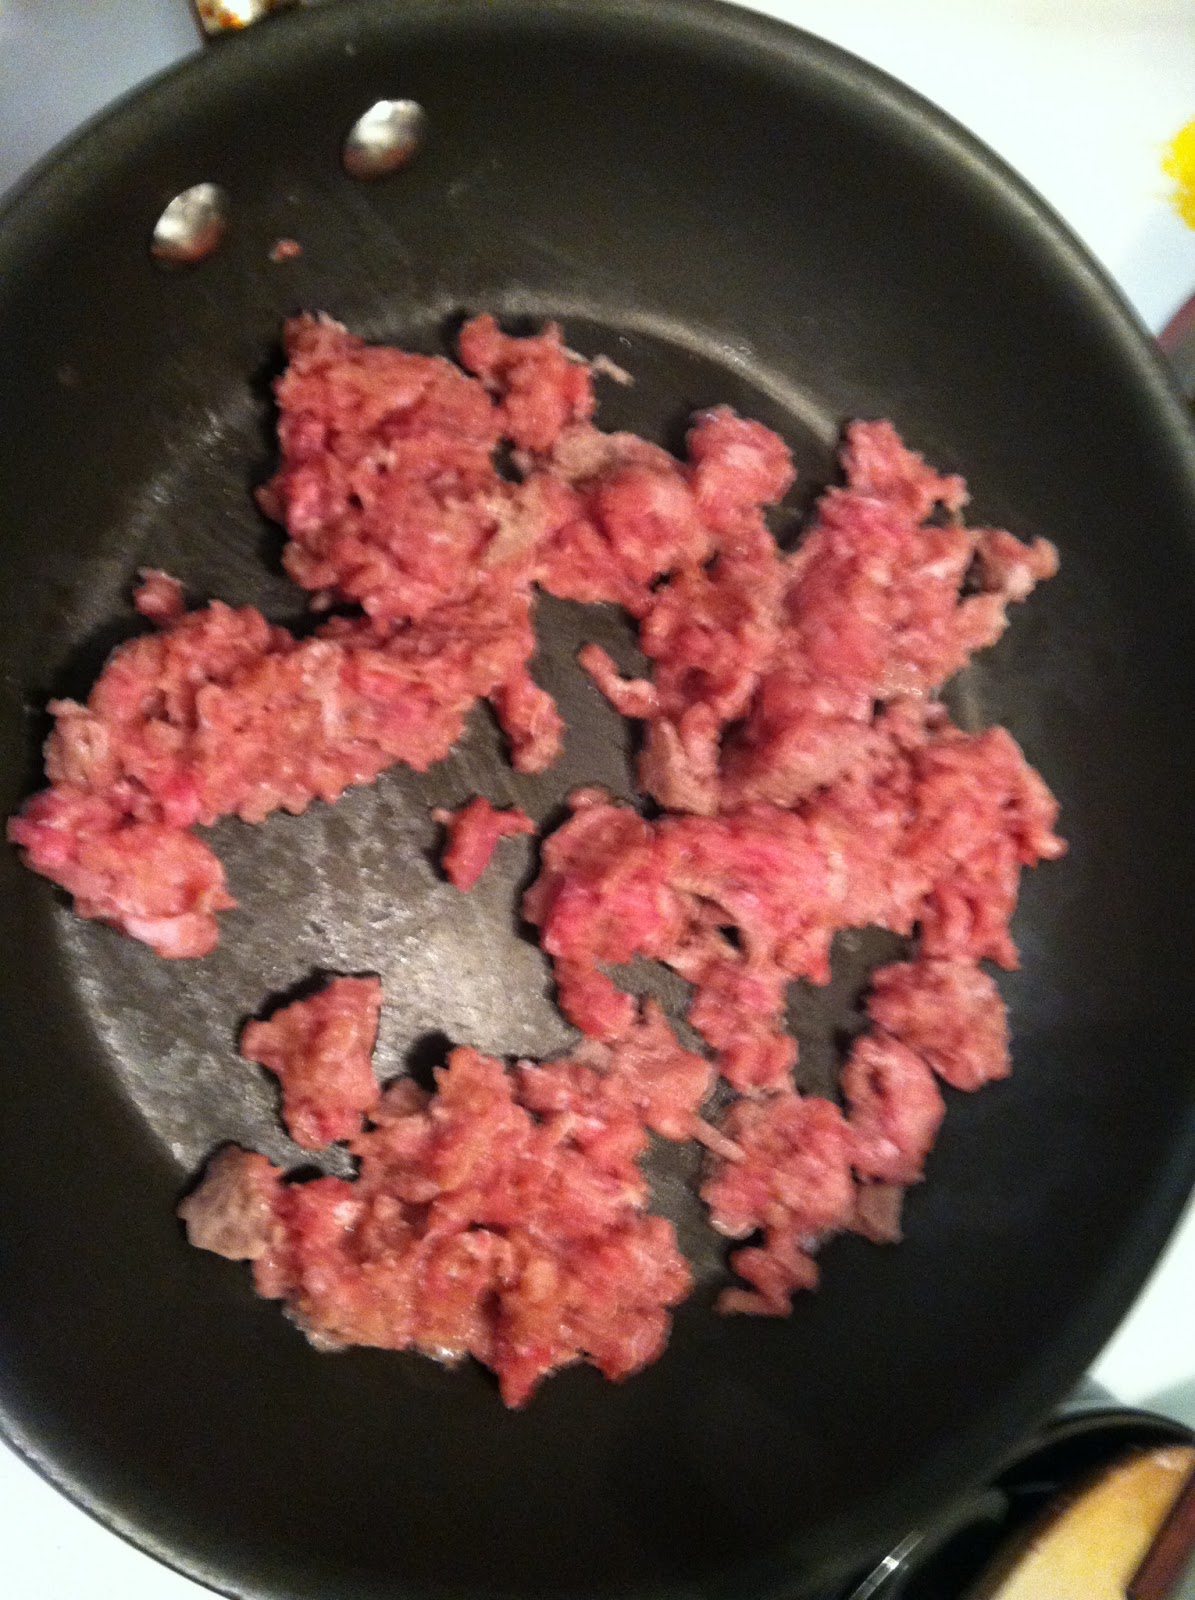
Step 1: Brown the ground turkey over medium heat and drain.

 Step 2: Dice the veggies and core the eggplant. Cook the veggies in the same pan as the turkey until tender, ~5 minutes.

 Step 3: Mix the cooked veggies, egg, turkey, and bread crumbs.

 Step 4: Divide the mix between the eggplant halves and stuff. Sprinkle italian seasonings over top and bake at 375 for 30-35 minutes, until nicely browned and eggplant is soft when poked with a fork.

 Also, to make it vegetarian you can just omit the ground turkey.

YUM!

Loaded Tostadas

A simple, endlessly customizable meal, tostadas are one of my favorite mexican foods! There is almost no end to what you could top tostadas with, and they can be extremely budget-friendly. Depending completely on what you top them with, they can be very healthy or extremely not so!

Ingredients:
1 tostada shell (or make your own by baking a corn tortilla for 5 minutes at 350)
1/4 cup taco meat (cooked ground beef + taco seasoning)
2 tbsp shredded colby or cheddar cheese
3 tbsp salsa
1/2 avocado, sliced

Step 1: Cook the beef and drain fat. Add taco seasoning and water, cook until water is gone. 
Step 2: In a pan or microwave, heat the beans.
Step 3: Assemble tostada, beans on the bottom followed by meat, cheese, salsa and avocado.

Other toppings I love: shredded lettuce, sour cream, black beans, peppers & onion. You could easily make this vegetarian or vegan too, by leaving off the meat and/or cheese.

What’s your favorite mexican food topping?