Why Asparagus can make your pee smell weird


A common occurrence among those who eat healthfully or adventurously is finding certain foods have strange side effects. If you’ve ever eaten asparagus, in however small an amount, you may know what one of these side effects are. If you are not affected by asparagus after-effects, congratulations!

There are two possibilities: either you do not metabolize asparagus in such a way as to create the smelly compounds, or you cannot smell the compounds once created. 

Both of these are true, the most recent study in the Oxford Journal of Chemical Senses found differences both among those who did or did not produce smelly urine, and among those who could and could not smell the difference. The authors state “The biological basis for the inability to produce the metabolite in detectable quantities is unknown, but the inability to smell the odor is associated with a single nucleotide polymorphism (rs4481887) within a 50-gene cluster of olfactory receptors”. 

The Chemistry of Asparagus

Going from smell-less veggie to smelly urine is a chemical process. According to Dr. Roshini Raj, MD, assistant professor of medicine at New York University Langone Medical Center and author of What the Yuck?!, “Your body breaks down asparagus during digestion into sulfur-containing chemicals that give your urine a distinctive odor.” The mysterious pre-smell compound is called asparagusic acid, because as far as we know, it is only found in asparagus. When metabolized, it produces several sulfated volatile chemicals.
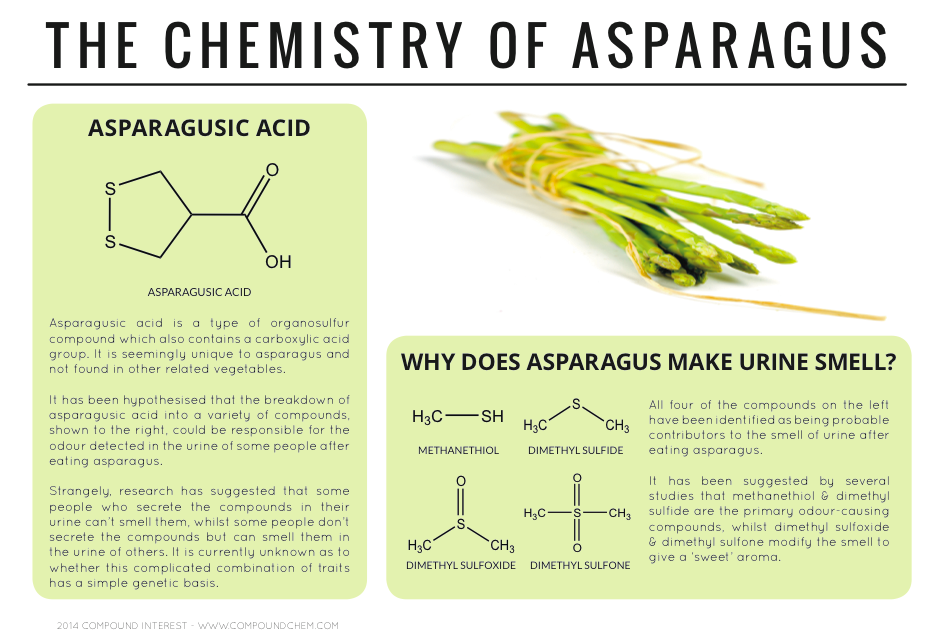
Photo from Compound Interest: “Why Does Asparagus Make Urine Smell?” 2/10/2014

For a chemical to be “volatile” means that is has a low enough boiling point that it is a gas at room temperature. This means that the chemicals can leave the liquid urine and travel through the air to your nose. The original asparagusic acid is not volatile, so that’s why the vegetable itself doesn’t have the same “cabbage-y” smell. This smell has been noted for centuries, by some as famous a Ben Franklin. As yet, there is no way to eliminate this side effect other than by not eating this spring delicacy. But you don’t want to do that!

Health Benefits of Asparagus

Whether you grow your own or buy it at a store/farmer’s market, asparagus is a great choice when it is early spring and in season. It is very low in calories, with only 20 calories per 100 g (about 4-5 spears). It also takes your body more calories to digest it than you gain because it is high in digestion-regulating, LDL-reducing fiber. Fresh asparagus is a great source of anti-oxidants like carotenes, lutein, and xanthins, as well as vitamins like thiamin, niacin, riboflavin (all the Bs), C, A, and E. 

One cup of asparagus contains just over 100% of your daily recommended vitamin K, which helps prevent bone damage and neuronal harm, helping avoid neurological diseases like Alzheimer’s. It is also high in folate, which some people struggle to get enough of, especially pregnant mothers. Folate is necessary for DNA synthesis in all of your cells. Finally, it has several trace minerals and electrolytes our bodies need for blood pressure regulation, enzyme function, and respiration, like copper, iron, calcium, manganese, and potassium.

How to Grow Asparagus, or Choose it at the Store 

Asparagus plants are slow-growing annuals that blossom in spring. Plant asparagus crowns by early spring, after the last frost. They will grow into tall, branched stems with fine, fern-like needles called phylloclades. A fully-grown plant can reach five feet tall! The edible spears we all know and love emerge from the extensive root system, and are harvested yearly in early spring.

The first year after planting seeds or seedlings you should not harvest, but allow plants to grow. The following year and up to 25 years beyond, enjoy fresh asparagus every spring! Typically, young shoots are harvested when 7-9 inches tall. Don’t cut them below the soil, or pull them out with your hands, as they need to regrow next season. You can create “blanched” or white asparagus by mounding soil around shoots as soon as they emerge, preventing sunlight from allowing photsynthesis. They will have a lighter, delicate flavor but no chlorophyll benefits. 

While asparagus may be found in stores year-round, it is in season and at its peak in the early spring (Jan-June). Select stalks which are plump, not withered, and a vibrant green (unless you buy the white kind). Make sure the tips are tightly closed. Avoid wide ridges in the stems, dull color, or dried-out looking ends. This indicates old, tough stalks or too long in storage between harvest and shelf.

How to cook asparagus
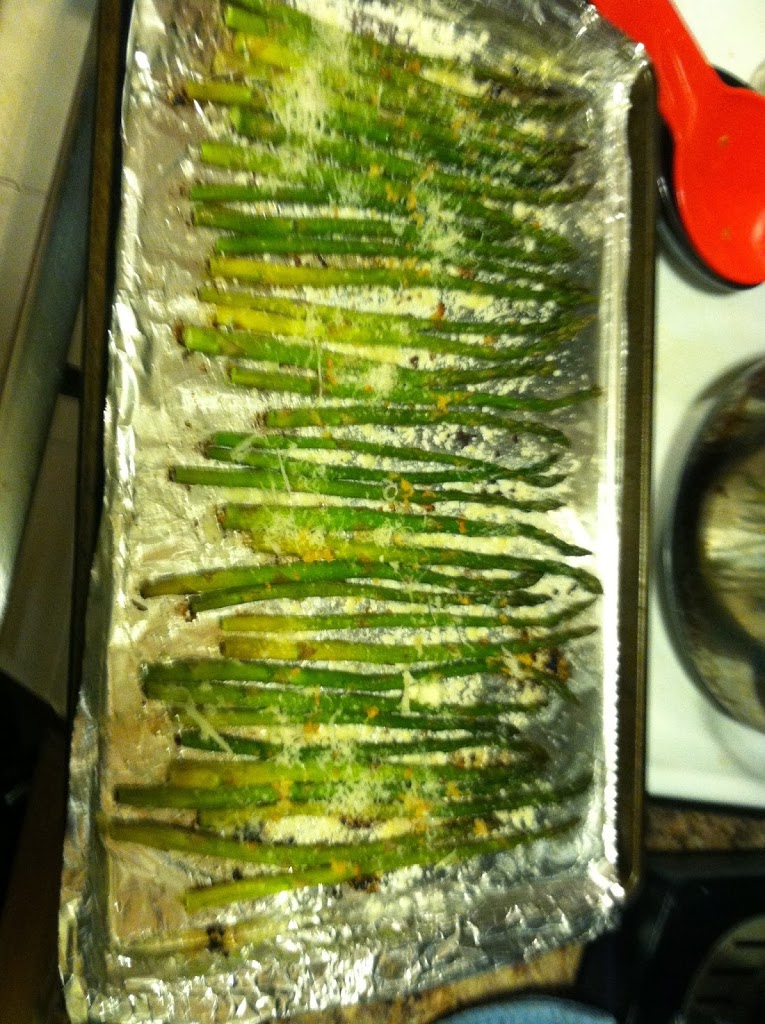
Asparagus can be eaten raw, and often is alone or with part of an appetizer. There are several methods to cook: gently steam for 10-15 minutes, bake, or pan fry with a bit of oil. Italian dressing makes a fantastic marinade to fry stalks. You could also drizzle on olive oil, seasoning, and bake them in an oven at 400 for 20 minutes. Sprinkle with some fresh Parmesan cheese to really make them sing. Try it in Vegetarian Stuffed Peppers, as a topping baked on a pizza, or in a Breakfast Strata.

Boiling is the least favorable option, only because it pulls some of the beneficial minerals and vitamins out and you lose those in the cooking water. But you will still get a lot of the nutrients as well as the fiber. However you cook your asparagus, enjoy it now while it’s at its peak!

 

To read more: 

Everyday Health: “Why Does Asparagus Make Pee Smell Funny?“
Smithsonian: “Why Asparagus Makes Your Urine Smell“
Today I Found Out: “Why Asparagus Makes Pee Smell“
WebMD: “Why Your Pee Smells Funny After Eating Asparagus“
SELF Nutrition Data: Asparagus
World’s Healthiest Foods: Asparagus
Nutrition and You: “Asparagus Nutrition Facts“


What’s your favorite way to eat asparagus?


How to: Set up an online bank account

Most people by now are in the online banking game. Technology has enabled deposits, transfers, and account balance checks at our fingertips for a long time. However, for those who have never done so, setting up an online bank account can be quite intimidating. It is scary to think that with a few clicks and some personal info that you can send money zooming about the inter-webs. But it is true. Setting up online banking is quick and relatively painless, and can be such a financial lifesaver. Especially when combined with mobile banking, you will never have to worry about a bounced check, declined card, mystery charge, late fees, or too-late-to-deposit check again. Well, maybe you can worry about those things, but you will have less of an excuse.

How to choose a bank

Your first step will be to choose a bank to work with. This depends on many factors, including what you will be using the account for, what banks are near you or if you don’t care about brick-and-mortar locations, if you will need a checkbook or card attached to the account, how much of a balance you intend to carry, etc. If all you want is somewhere to put a smallish chunk of change where you can’t spend it and watch it grow, an online provider is a safe bet. They don’t have physical locations, saving them money and allowing them to offer a slightly higher than average rate of return. CapitalOne360 (which acquired ING) is a great way to go, and they are always offering deals and promos. You can choose to have a checkbook or credit/debit card linked to the account as well. Ally is another top “branch-free” bank offering savings, checkings, loans and CDs. While no bank is perfect or 100% guarateed ‘safe’, both these providers are FDIC insured.

Online banking requirements

To sign up with an online only bank will require:

–You choose which type of account you wish to open (savings, checking, IRA, CD, money market, etc. Read the details on the bank’s website for % APR, etc or call the help number on the website to be sure you understand all terms and conditions.)
–Your social security number (and any others if you will not be only person on the account)
–A current mailing address, NOT a PO box
–A valid e-mail address
–Various personal verification data such as date of birth, mother’s maiden name, etc.
–Usually requires an opening deposit (bank rules vary as to whether or not there is a minimum) which can be linked from another account or a check you deposit


Of course, if you already belong to a traditional bank, setting up online banking is a great next step. Not only will you save trees and stamps by switching to electronic statements, you may also get some sort of reward from the bank for doing it, like a lower credit interest rate or no checking account fees. Check with your local branch to see if they have any promotions for going sans paper. Most banks you can simply go to their website and somewhere will be a button to set up online banking for your current account(s). If you have problems stop in a branch or call their help line. It is the same basic process for online only banks, but you will need your account number to link current open accounts.


Should I get a rewards card?

Once you have online banking set up, you can view account balances, set up automatic transfers or payments, link a line of credit for overdraft protection, and so much more. It may seem overwhelming to consider all the various banks and rewards policies out there, but if you don’t already, you should consider getting a card with some sort of reward system. If you feel lost, just starting with something is better than nothing. You can switch cards or banks or reward systems at any time, but you can never get back the 20,000 miles or $500 bonus cash you would have earned with last year’s regular purchases.

What about mobile banking?

If you have a smartphone, you could definitely benefit from enrolling in mobile banking as well. Most larger banks already offer apps to take care of banking needs on the go. You can deposit checks with a click of the camera, check balances, make payments, and transfer money, all while rushing to catch the 5:15 bus, dropping off the kids, heading to happy hour or picking up a rotisserie chicken on the way home. And with no fees associated (yet) there is no reason to not have mobile banking.
Photo from MindFieldLive


So whether you just want a quiet place for a nest egg to grow, to stash your vacation fund until cruise tickets go on sale, to hide some ‘fun money’ from a spouse, or to have a free checkbook delivered to your door, online accounts are the way to go. Just be sure to pick a password you can remember! {Look for my upcoming post on internet safety and creating creative passwords!}
Do you bank online?

Under 5: Tuna-in-a-biscuit pockets

Tuna is a great cheap staple to have in the pantry. From a simple tuna salad sandwich to tuna noodle casserole, it is a great way to get your protein and Omega-3s for under a dollar. This idea came from one of the many cooking sites I browse regularly. It seems people have endless creativity when it comes to finding ways to put food inside other food and making things easy to eat. These could probably even be portable. I imagine kids would find these fun and delicious too. These take only 15 minutes to make, and 5 ingredients. They also just get popped in the oven, so no mountain of dishes afterwards. Keep this recipe up your sleeve for busy nights when you don’t have time to or want to cook a big meal.

Ingredients:
1 large can tuna (or 2 smaller)
1 can cream of chicken (or celery, or mushroom)
2 packages biscuits
1/2 cup frozen peas & carrots
Spray oil


Step 1: Mix the soup, tuna, and veggies in a bowl. It looks like mush, but trust me that it is tasty.

Step 2: Spray a baking pan, and pat a biscuit down flat. Scoop on 1-2 tbsp of the tuna mixture.

Step 3: Cover with another patted down biscuit, and pinch the edges together to seal shut.

Bonus: I had enough tuna mixture that I filled all the biscuits and still had some left over. So I just boiled up about 2 cups of pasta, and spread the rest over it for a super-quick version of tuna noodle casserole! That was lunch the next day.

Step 4: Bake at 350 for 10-12 minutes, until the biscuits get nicely browned on top.

I tried flipping mine halfway through to brown both sides, that may not have been the best idea, as it split open and spilled tuna guts all over. It was still delicious though.


Two of these is a perfect meal, you have protein, veggies and carbs all in one convenient package. I might try this strategy with other things as well, make my own biscuit pizzas and such. They are just so cute, and easy to eat.

Balsamic pork and potato wedges – dinner in under 30 minutes

For a simple, quick weeknight meal, I keep packages of pork chops in the freezer. I buy them in bulk when they are on sale, on of the many ways I mentioned in my post on how to save money on groceries. So I know there are packs of 2 pork chops in the freezer, ready to be thawed and made into a meal in under 30 minutes. Just add a side or two, and dinner is served. This meal is one of my favorites, I love the soft inside and crispy outside of homemade potato wedges, and balsamic vinegar is one of the best marinades for meat.

Ingredients:
2 pork chops
1 tbsp olive oil
~4 tbsp balsamic vinegar
Garlic salt
2 small potatoes, cut into wedges
1 cup frozen or fresh veggies
2 tbsp butter

Step 1: Heat the oven to 350, and spray a baking pan with oil. Put the potato wedges on, and sprinkle on some salt and pepper. Bake them for about 20 minutes, turning at least once to crisp on all sides.

Step 2: While potatoes are in the oven, put olive oil and vinegar in a frying pan. Add the pork chops and cover. Cook on medium heat for 10-20 minutes, turning at least once. Cut through to make sure there is no pink in the center.

Step 3: For the final few minutes of cooking, add in 1-2 cups frozen vegetables. I used broccoli and carrots. Cover again, and let cook until the vegetables are thawed, warmed through, and soft to the touch. Sprinkle everything with some garlic salt, and serve.

The potatoes baking takes the longest amount of time, so if you use a different starch, like minute rice or frozen fries that you just microwave, you could get this on the table in 20 minutes. The balsamic is tangy yet umami, and pairs perfectly with pork. And I am always a fan of meat & potatoes, with enough vegetables to balance everything out. 

What’s you favorite go-to weeknight meal?


How to: Soothe a burn with Aloe vera

.
If you spend much time in the kitchen, odds are you will experience a burn at some point. Whether you grab a hot pan without an oven mitt, misplace your palm on a lit burner, or have issues lighting a grill, cooking is fraught with hot objects which have the potential to come into contact with skin. You could spend money on burn treatments sold in stores, or you could have one of my favorite houseplants: the aloe vera. It is an attractive succulent, easy to care for and proliferative if taken care of, and it has practical use.
.
First recognized by the Egyptians for its healing properties, there are several species of aloe vera. There are several hundred species alone in the genus “Aloe”. The “Aloe vera” is of course the most commonly known houseplant variety. The Aloe vera is actually only existant in cultivation, having no known native wild locations. There are some closely related species in Africa. Many many species of Aloe exist, with varied colors, temperaments, and locations, which you can purchase online or read more about here.
.
Most aloe species produce two natural products, a gel and latex. The gel is the sticky, gooey substance that “leaks” from cut leaves. Aloe latex comes from just under the skin of the leaves, and is yellow in color.  It is typically the aloe gel that is used to treat sunburn and other minor skin irritations. WebMD states: “Some chemicals in aloe gel seem to be able to increase circulation in the tiny blood vessels in the skin, as well as kill bacteria. “
.
The scientific evidence of aloe as an anti-inflammatory and anti-bacterial agent has been mixed. A pair of articles in the NYTimes summarizes some recent studies and their mixed results. Nonetheless, many generations of housewives have vouched for the faster healing times of minor burns and cuts due to heat, friction, or electricity by using the aloe gel. Since I always keep an aloe or three around the house, I am a strong believer in the “why not” philosophy. It certainly can’t make the burn take longer to heal. 
.
So get yourself an aloe (they are cheap at garden centers, or ask a friend who has one for one of their sprouts next time their plant has a baby) and keep it around. Needing water only once a month or so, even the blackest of thumbs should be able to keep it alive. And next time you grab that cast iron pot handle after being on a burner…
 

My kitchen aloe plant

I burnt myself a little on my outside palm on a hot pan

Cut a piece of stem off, about 2-3 inches. Squeeze it, and some gel should ooze out.

Rub the aloe gel over the burn side to side, covering all of it generously.

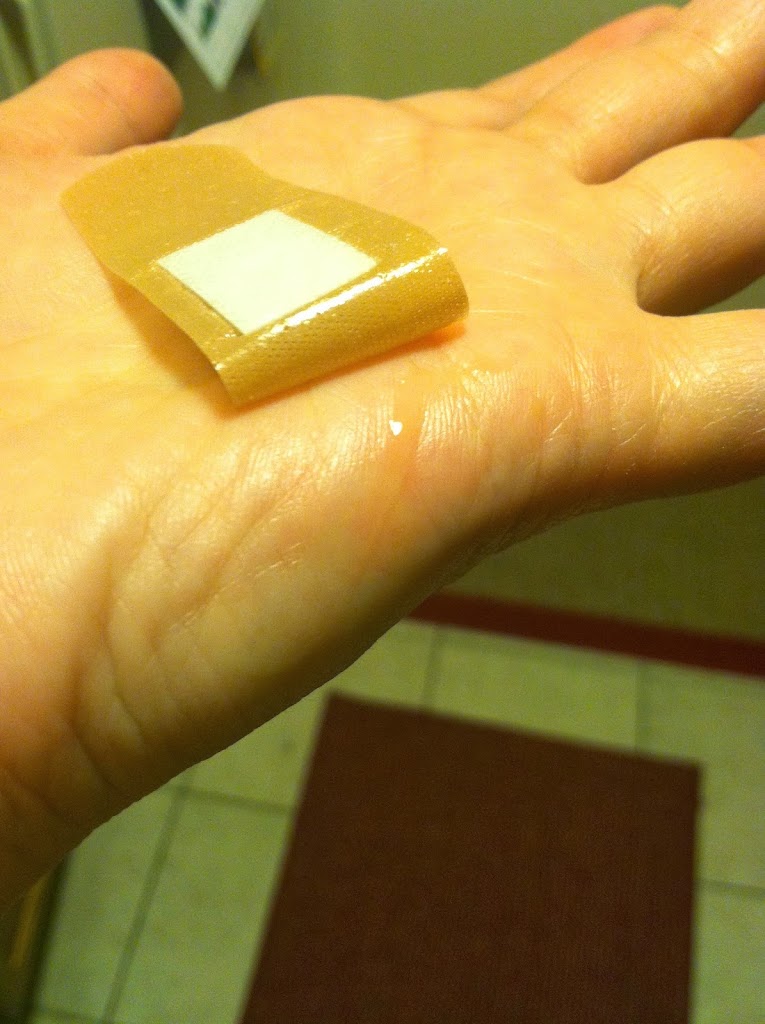
Cover the burned area with a bandage to keep out infections, and wait. This tiny burn was almost completely healed within 48 hours.

Barely a scratch. Since my alternative option would be to treat this burn with nothing, I am glad I had my trusty aloe plant. I’ve also tried beverages which have aloe in them, claiming to aid in digestion and be all healthy… it’s a little weird having chewy chunks of aloe in your water, but hey, maybe it works for you. I’m gonna stick with healing burns faster.

Angel Food Cake Roll with Vanilla Strawberry Filling

This is one of the few things I tried making for a Valentine’s Day bake-off competition. I chose my top three from a wide variety of online resources and did a test run. This one came out amazingly delicious, but it is harder than you might think to get it to roll up all pretty. So for aesthetic reasons this one didn’t make the cut. If you’re curious, the other of the top three were my Dark Chocolate Cherry Truffles, and my favorite, which did win the baking competition, were the I Choose You Pokeball red velvet cupcakes. Anywho, if you don’t care what it looks like, but only what it tastes like, or are an expert roller, then please try this! It was splendid.

Ingredients:
1 box angel food cake mix
Water
1 container whipped topping
1 box vanilla pudding mix
1 cup strawberry yogurt
Food coloring (optional)

Step 1: Mix the angel food cake and water (you can make an angel food cake from scratch, and bless your heart if you can!) and bake in a 9×13 pan. It was recommended that you line the pan with wax paper, and I really wish I had because that cake sticks.

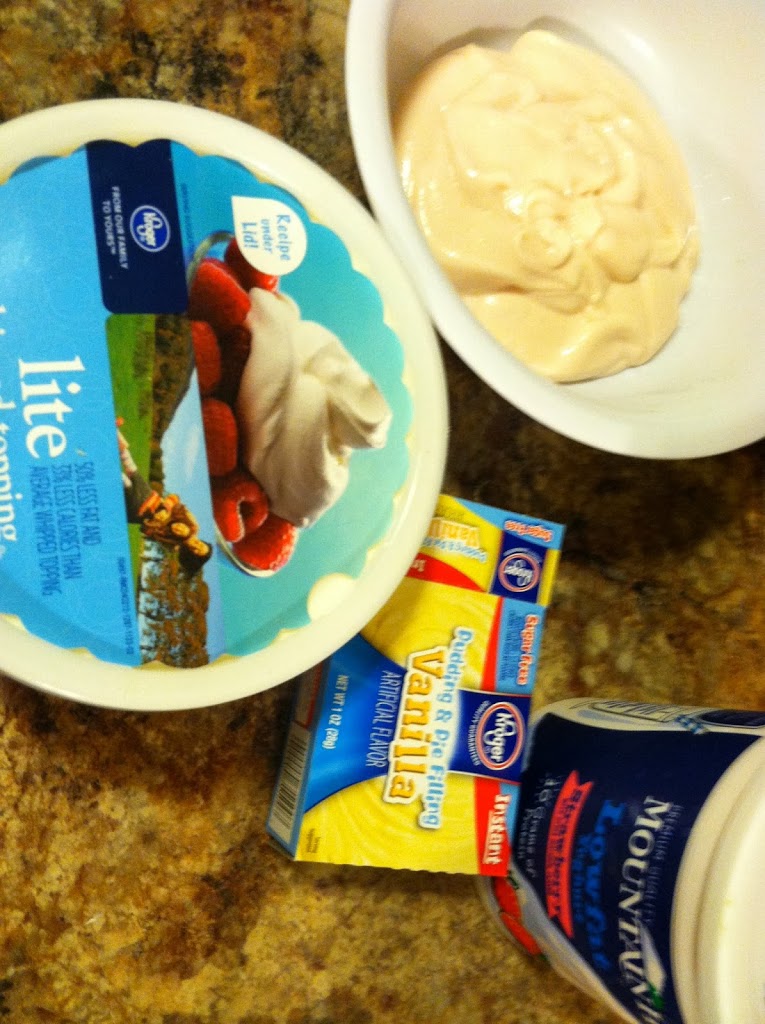
 Step 2: In a separate bowl, mix the pudding, whipped topping and yogurt. Add red food coloring if you want brighter pink filling.

Step 3: Let the cake cool a bit, rolled in a wax-paper-covered paper towel. Then unroll, and spread the filling over it. Sprinkle the wax paper with powdered sugar as well.

 Step 4: Roll it back up, and freeze for about 30 minutes. You can leave it in there, just thaw for a few minutes before cutting.

 The filling was just slightly strawberry, light and fluffy without being overly sweet. It was a perfect balance to the airy angel food cake.

I had one slice alone, then another with vanilla ice cream. It would also be delicious with cut up strawberries. I may pull this one out again in the summertime too.

mmmmmm….

Less than 5: Tuna Salad

I’m going to try a new thing, maybe twice a month, and call it “Less than 5”. In these posts, I will feature a recipe which takes less than five ingredients to make, and/or in less than five minutes. If these turn out to be popular, there’s a good chance another e-cookbook like my 7 Souper Soups will be in the making. 

For this post, I am highlighting a classic poor student lunch/dinner: tuna salad. Tuna in a can is often on sale for under $1, making it a great budget buy. There are several ways you can dress it up, depending on what you have available and how much time you have. My personal favorite is to dice up a hard boiled egg and mix in some Miracle Whip (which is FAR superior to “mayonnaise” in my opinion.) You can also go uber-easy and cheap, and just sprinkle in a tbsp or 2 of lemon juice and eat it over crackers. However, if you have relish in the house, I recommend trying this variation.

Ingredients:
1 can tuna, drained
2 tbsp mayonnaise
2 tbsp sweet relish
2 pieces bread (or pita, tortilla, bun, crackers, etc)

Step 1: Drain the tuna water. Put it in a bowl with the relish and mayo and mix well.

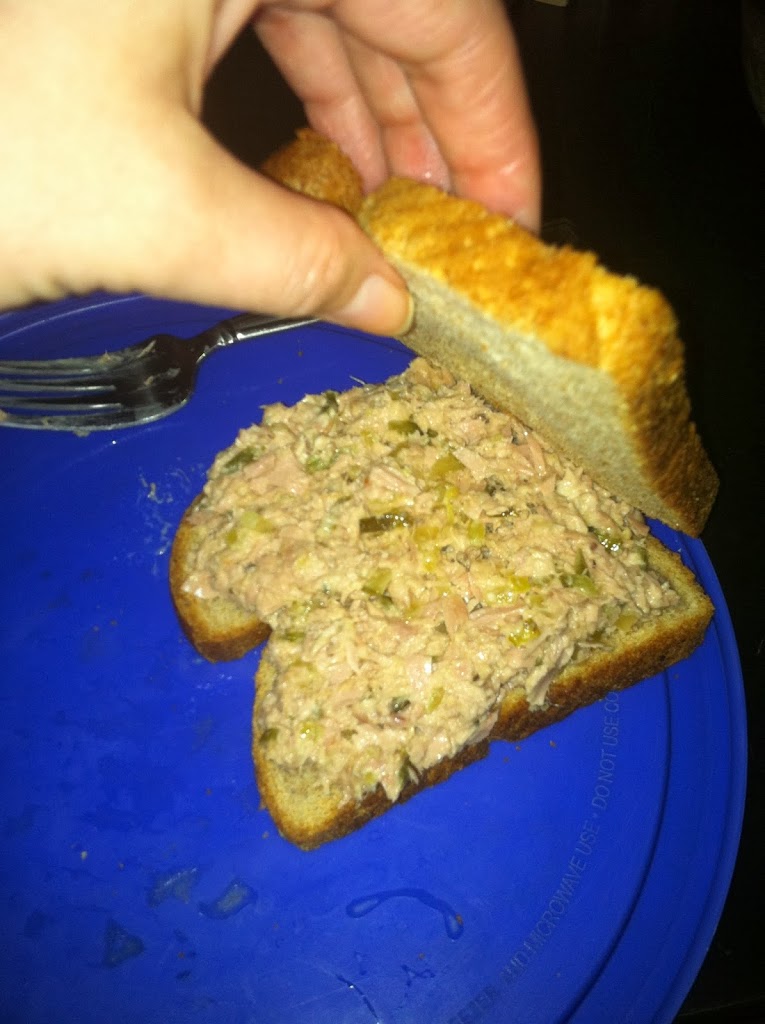
Step 2: Spread over the bread and enjoy! One can makes about 2 decent sized sandwiches. You could add toppings like sliced cheese, lettuce, or tomato too.

I don’t think I could count the times I’ve had tuna sandwiches throughout my childhood and school career, but this is definitely in the top three recipes for how to make it delicious!

What’s you favorite tuna recipe?

French Onion Soup

Soups have been around since fire was invented and we figured out water could be boiled. It is no surprise, since there are endless combinations and variations, and soup is the simplest method of cooking a filling, healthy meal in one pot. Onions have also long been a cooking staple: they grow well in most soils, they are easy to store long-term, they are cheap and filling and versatile. It was only a matter of time before onions in soup became popular, at least as early as the Roman Empire. The most popular version is a meat-broth-based soup with carmelized onions, most often topped with some sort of bread and melted cheese. It is rumored that the version of French Onion Soup as we know it was invented in the 18th century by King Louis VX of France. Hence the name “French” Onion Soup.

The most commonly accepted version involves carmelizing the onions in butter by cooking them for a long time to make them soft, translucent, and sweet. Then a broth is added, most often beef broth. A crusty bread, or ‘crouton’ is placed on top, and covered in cheese, most often gruyére. The soup is then gratineéd, meaning it is baked in a ramekin, then served immediately. However there are of course infinite variations, some add brandy or sherry or wine, some recipes use plain water rather than broth, the type of onion and amount may differ, you could use a Crock Pot all day rather than boiling on the stove, any type of bread or cheese may be used, or bread and/or cheese could be omitted entirely. This version is what I had handy and the flavors that I most wanted.


Legend has it that the first French Onion Soup was created by King Louis the XV of France when all that could be found in the pantry of his hunting party’s lodge was butter, onions and champagne.  It is said that he combined these ingredients to create the first French Onion Soup.  It is unclear if this story is myth of fact, but it is a good story none the less!
Onions have been a popular staple in preparing meals from at least as far back as the Roman Times.  Onions are easily grown in most soils they are cheap abundantly available and have a long shelf-life.  For this reason onions were seen as The Poor Man’s food.
The modern version of the soup has evolved from a basic recipe where onions were sliced, fried and then cooked in water and would typically be served with bread and capers.  It was only in the nineteenth century that cooks started adding flour, salt and pepper and topped the soup with cheeses such as Gruyere.
Today French Onion Soup Recipes is often made with caramelized onion in a meaty broth.  This is often served in individual ramekins and topped with grilled Gruyere cheese.  Try Chef Billy’s take on this time-honored dish – ideal for keeping the chills at bay on those cold winter nights!
– See more at: http://kitchen.net/blog/the-story-of-french-onion-soup/#sthash.4qSbyr89.dpuf


Ingredients:
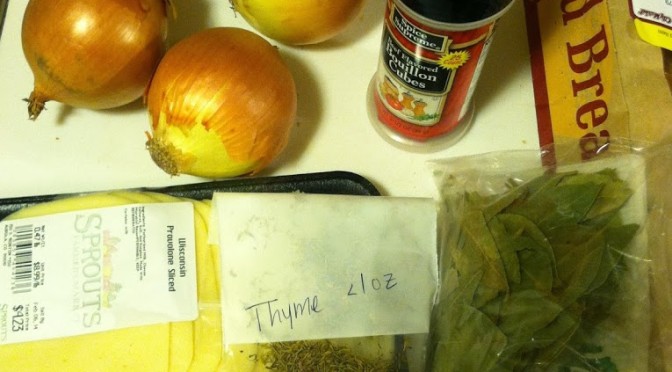
6 onions
8 cups water/stock
2 garlic cloves
1/4 cup Worchestershire 
Pinch of Thyme
Pinch of pepper
Pinch of sugar
2 bay leaves
Nice crusty French bread
Sliced Parmesan cheese

 Step 1: Cut up all the onion into thin slices. Melt the butter in a frying pan and add all the onions.

 Cook slowly over medium heat, stirring occasionally, for 30-60 minutes. The onions will become brown & carmelized, and smell wonderful.

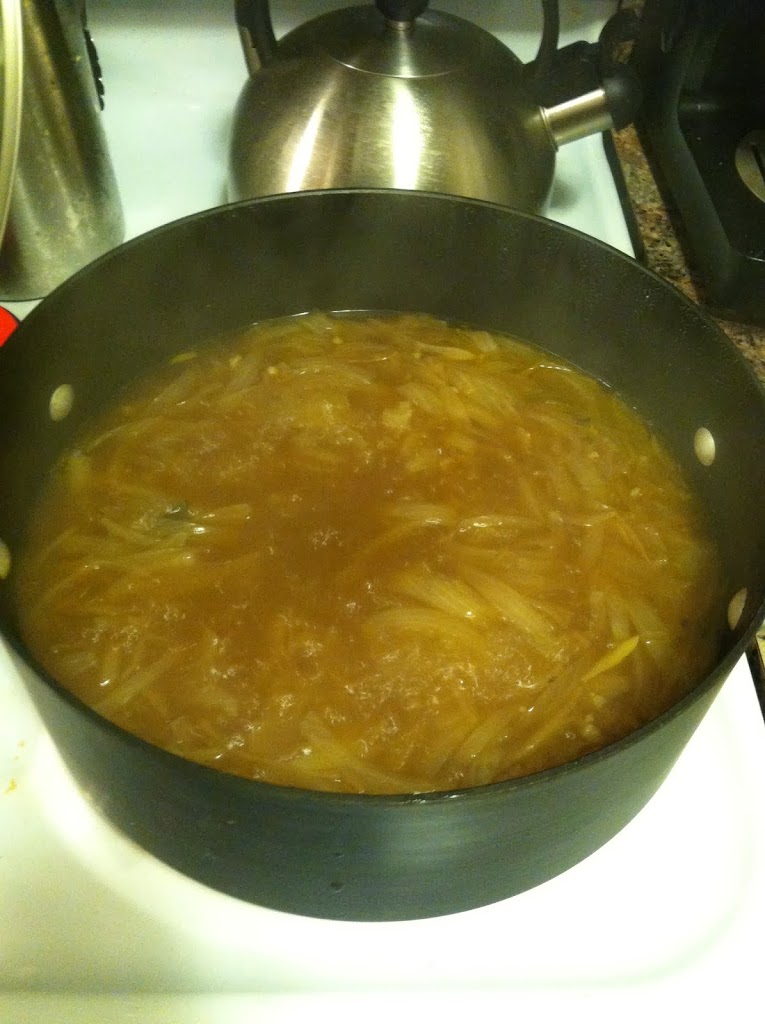
 Step 2: Add the water broth, bay leaves, sauce, sugar, and other seasonings. Bring to a boil, then simmer for 1-2 hours.

 This smells fantastic. At this point if you wanted to add some white or red wine, sherry, or brandy you could. You could also simmer for pretty much all day if you want the flavors to melt together more.

 Step 3: Put a slice (or 2 or 3) of crusty bread on top, and cover with cheese. If you have oven-safe ramekins, you can bake at 350 for 10-15 minutes, until cheese is brown and bubbly. I didn’t trust these bowls in the oven, so I just microwaved 30 seconds to get the melty-cheese effect.

This soup is complex, warm, and delicious, perfect on a cold night. Depending on what you want to add and how long you let it simmer, a hot, impressive dinner could be on the table within an hour.

Free e-Cookbook

Don’t forget to check out my ecookbook, 7 Souper Soups, and get your free copy! The next edition will have to include this recipe…

Curry curious

Ever since I did my master’s degree with a Taiwanese adviser, I have been what I call ‘curry curious’. She would occasionally bring homemade Thai food for the lab, and it was always divine. I love ethnic food because they use so many spices which are usually not found in the typical American palate.

But contrary to popular belief, being spice-ed doesn’t have to mean spice-y (as in too spicy to eat, mouth on fire, tears running down your face). Wikipedia actually has quite an extensive list of curries from various cultures, the cooking methods, ingredients, and spice mixtures if you’re interested.

I think the most interesting tidbit is that the “curry powder” spice mixture, popular in the West, dates to the 18th century and is thought to have been prepared by Indian spice merchants to sell to the members of the British government and soldiers.

I have attempted Green Curry Chicken, and it turned out amazing. I began experimenting with different cuisines and techniques, like the Crock Pot Indian Chicken Curry and then more Thai with pineapple Peanut Chicken Curry. Clearly I need to try something other than chicken in my curries… anyhow.

All have been unique and delicious. I love the punch of spices, and the ease of a crock pot lends itself to long, slow cooking these curries taste best with.  I definitely will keep curries as part of my regular meals.

Especially because they are so easily customizable. Whatever meat is around, literally any vegetable, and some standard sauces (yogurt, coconut milk, stock, and/or tomato base) plus the combination of spices and I have a thick, complex stew to serve over rice or noodles.

Also, thought it seems like quite an investment, the spices are worth it. You don’t need to use much, so they will last a long time. Without further ado, enjoy my latest curry creation.

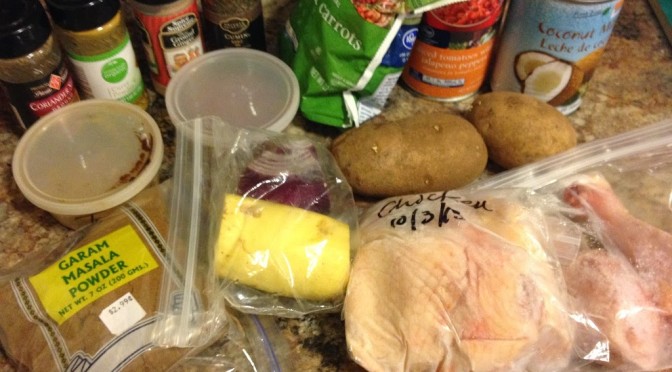
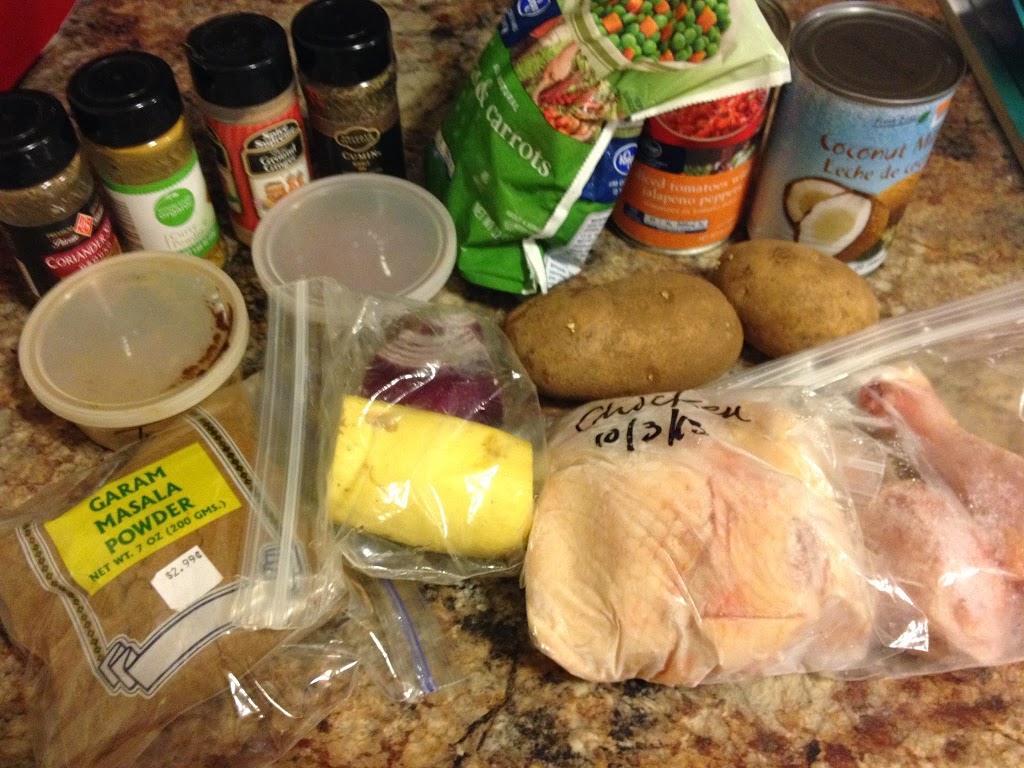
Ingredients:

  • ~6 pounds chicken (I used 2 thigh, 2 breast, and 2 drumsticks)
  • 1 can coconut milk
  • 1 can diced tomatoes with chilis
  • 2 potatoes, peeled and diced
  • 1/2 yellow squash, diced
  • 1/2 red onion, diced
  • 1/2 cup peas and carrots
  • 2 tbsp garam masala (Indian spice mixture)
  • 1 tsp cumin
  • 1 tsp coriander
  • 1 tsp ginger
  • 1 tsp curry powder
  • 1 tsp turmeric

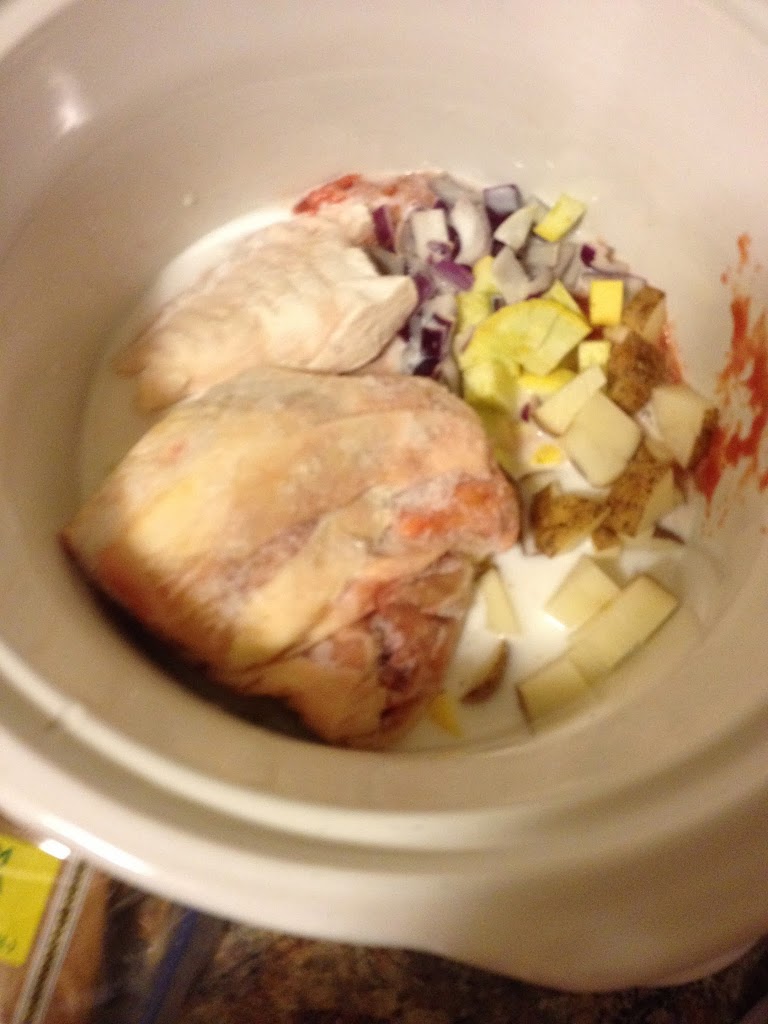
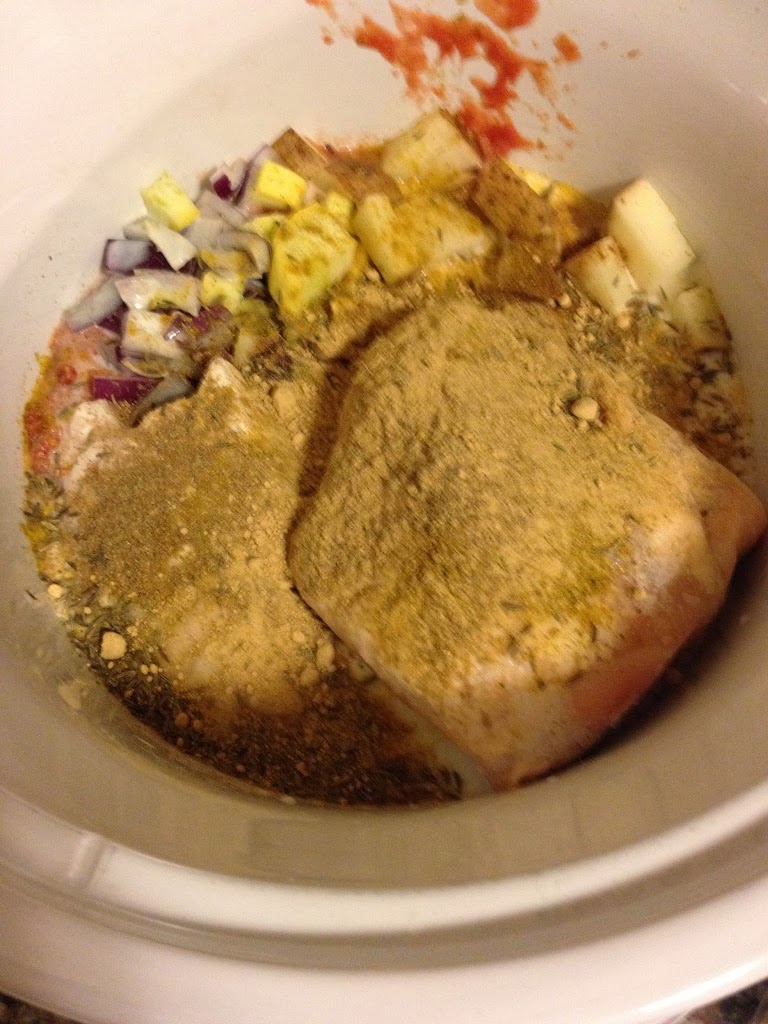
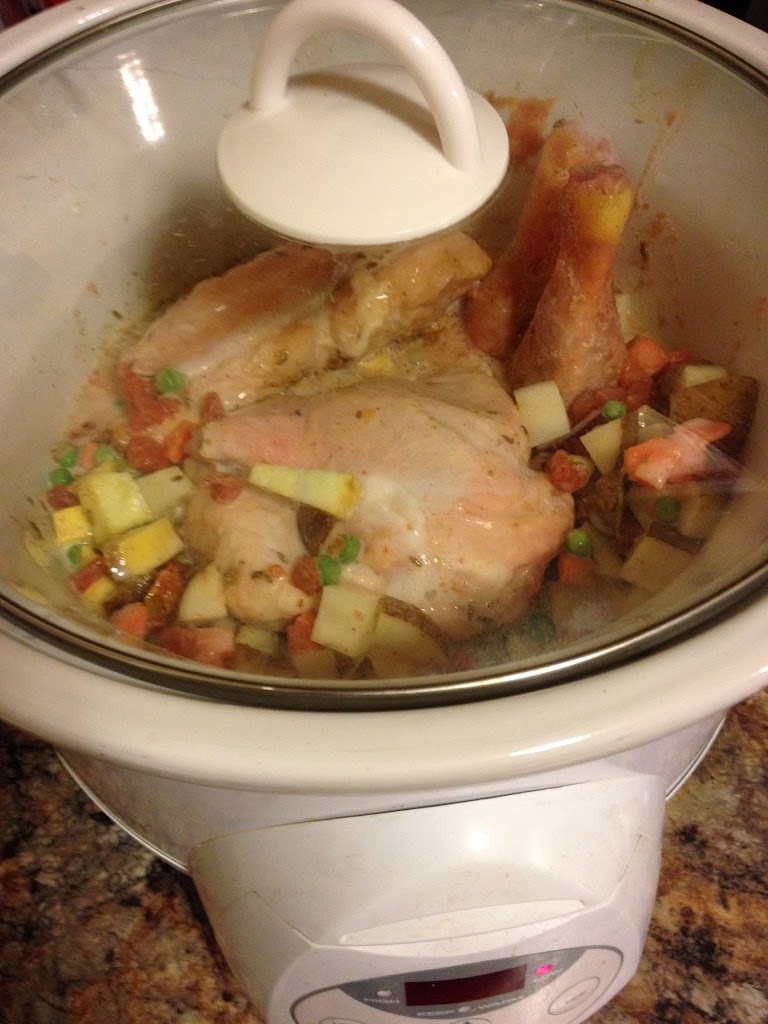
Step 1: Spray a crock pot. Add the coconut milk and diced tomatoes. Then add the chicken and all your diced vegetables.

Step 2: Douse it all in the spices you’re using. Give it a stir.

Step 3: Cook on low 4-6 hours, mixing a few times if possible.

Serve over rice, noodles, or bread. Enjoy!


Do you have a favorite ethnic recipe?


Crockpot White Bean Chicken Chili

Chili is definitely in my top ten favorite winter dishes. I suppose really all year, but especially in winter it’s nice to cook up a hot batch of thick, delicious chili to enjoy at the end of a chilly day. (See what I did there?)

There are also endless variations, from vegetarian chili, to Skyline chili like in southwest Ohio (go to Columbus or Cincinnati and have some if you don’t know what I’m talking about), chili over noodles, meatless chili, bean-less chili, sweet chili… you get the idea.

There are chili cook-offs all over the nation, there is even an International Chili Society. That’s how serious some people take this stuff. Their webpage explaining the history of chili is pretty fascinating.

Now, hardcore chili con carne people who believe beans have no place in chili and pasture raised longhorn beef is the only meat good enough to earn the name, will not like my laissez faire approach to chili. I’ve been known to throw in all manner of vegetables, use various preparations of tomatoes besides juice, and use all kinds of types of meat.

This version is a kind of white bean chicken chili, but it got a little Jen makeover, as most things coming through my kitchen do.

Ingredients:

  • 2 large boneless, skinless chicken breasts
  • 1 can diced tomatoes with chilies
  • 1 can corn
  • 1 can navy beans
  • 1 can kidney beans
  • Dash chili powder
  • Optional: 1/2 cup milk


Step 1: Spray the Crockpot and add the chicken breasts. Turn it on low.

Step 2: In a blender or food processor, liquefy the can of kidney beans (or any other type really. This just adds a thicker, creamier texture) after you drain the can. Add water or some milk if you need to.

Step 3: Add the liquid beans plus all the other cans, milk, and any spices you want. (Garlic, onion, hot sauce, etc)

Step 4: Cook on high 4 hours or low 4-6. Take the chicken breasts out and shred them with two forks. Put back into the chili, stir and let sit another hour or eat immediately.

Top with whatever you like. I used plain Greek yogurt and shredded cheese, but salsa, cornbread, or avocado would also be delicious.

This chili is such a perfect combination of creamy and light. It has just a hint of spice from the diced tomatoes with chilies, but you could kick it up a notch easily by adding jalapenos or other peppers, or sprinkling on some hot sauce.

You could also use two cans white beans, kidney, black beans, whatever you have in the pantry. I’d really recommend not skipping the pureeing though, it totally adds that little ‘something’. I had leftovers for three days, and was not upset about it!

What’s your favorite kind of chili?

The fusion of food, fun, frugality, and curiosity.