All posts by BudgetEpicurean

Long-time student turned young adult with varied interests, mostly food and frugality. Pursuing wealth so I can help others pursue health.

Italian Cucumbers & Tomatoes


In the summer heat, with the garden beginning to produce bumper crops, there is nothing better than a refreshing side dish you can pick from your own yard (or farmers market or grocery store) and have ready in under ten minutes. This can be served room temperature or refrigerated, and is easy to make ahead for a party later or the next day, but fast enough to be ready like, now.

IMG_9288

Cucumber has cooling properties, and tomatoes have tons of trace minerals and compounds. Put the two together, and you’ll always get something delicious with a side of healthy. Feel free to mix it up with whatever herbs you have handy. I had chives, but dill, parsley, mint, or basil would also go nicely here. You could also add in feta or goat cheese if the spirit moved you.

Oh, and if you don’t have or don’t like bottled Italian dressing, feel free to quickly whip up your own vinaigrette. Combine one from each of the following: 1/4 cup (white vinegar, apple cider vinegar, balsamic vinegar, lime juice, lemon juice) + 2-3 tbsp (olive oil, vegetable oil, coconut oil, palm oil). Optional additions: mashed or diced garlic cloves, fresh/dried herbs, salt and/or pepper, and infused oils or vinegars.

Ingredients:

  • 1 cup cherry tomatoes (or 2 large, diced)
  • 1/2 large cucumber, diced
  • 2-3 tbsp chopped herbs
  • 1/2 cup Italian dressing (affiliate link)

IMG_9283

Step 1: If using cherry tomatoes, cut in half. If using large round tomatoes, dice into quarters or eighths. Rinse the cucumber well, and cut half into small cubes.

IMG_9284

Step 2: Dice your herbs, feel free to combine more than one kind too. Mix it all together in a bowl and drizzle on the dressing. Toss to coat.

IMG_9300

This awesome side dish has graced many a backyard barbecue over the years, and will continue to do so for a very long time. It can be left in the refrigerator overnight, and up to 3 days. The longer you leave it, the more water will come out of the veggies though, so by the third day it gets a little soggy. I bet you’ll finish it all in one sitting anyhow. 😉

Below is the total nutrition information for this dish. It makes about 4 servings at 1/2 cup each.

Nutrition Facts


User Entered Recipe
  1 Serving 
Amount Per Serving
  Calories 281.4
  Total Fat 18.2 g
  Saturated Fat 1.6 g
  Polyunsaturated Fat 0.1 g
  Monounsaturated Fat 0.0 g
  Cholesterol 0.0 mg
  Sodium 903.2 mg
  Potassium 261.5 mg
  Total Carbohydrate 25.4 g
  Dietary Fiber 1.4 g
  Sugars 12.1 g
  Protein 1.2 g
  Vitamin A 27.7 %
  Vitamin B-12 0.0 %
  Vitamin B-6 3.6 %
  Vitamin C 99.1 %
  Vitamin D 0.0 %
  Vitamin E 0.7 %
  Calcium 2.7 %
  Copper 3.0 %
  Folate 6.5 %
  Iron 6.7 %
  Magnesium 4.8 %
  Manganese 6.8 %
  Niacin 1.9 %
  Pantothenic Acid     2.9 %
  Phosphorus     4.6 %
  Riboflavin 2.4 %
  Selenium 0.1 %
  Thiamin 2.7 %
  Zinc 2.2 %
*Percent Daily Values are based on a 2,000 calorie diet. Your daily values may be higher or lower depending on your calorie needs.

Hawaiian BBQ Pizza


Whoever was first to combine ham & pineapple was a brilliant person. Taking an Easter ham and slathering in brown sugar, and coating it in pineapple slices, leads to a sweet & salty perfect meal every time. This was then copied in sandwiches, and of course on top of pizza.

I’m a big fan of pizza due to its limitless topping capabilities. You can add just about anything to a pizza, and it will taste at least pretty good, and at best mind-blowingly delicious.

The “Hawaiian” combo of flavors is a pizza natural. Some are die-hard lovers, some may have never heard of such a crazy thing. Either way, give it a try yourself and see if you don’t have a new favorite.

Ingredients:

IMG_9400

Step 1: Pre-heat the oven to 450. If you have a pizza stone, great. If you don’t, a cookie sheet works just as well, or any oven-safe pan.

IMG_9403

Step 2: Drain the pineapple, reserve juice for a cocktail, syrup, or smoothie later. Spray your cooking item, and roll the dough flat.

IMG_9409

Step 3: Layer on your ham slices, pineapple slices, and pour on the sauce. Cover with a thin layer of cheese if desired.

IMG_9410

Step 4: Bake at 450 for 25-30 minutes, until dough is brown and crispy on the edges. Dig in!


Red, White, Blue & Good For You!


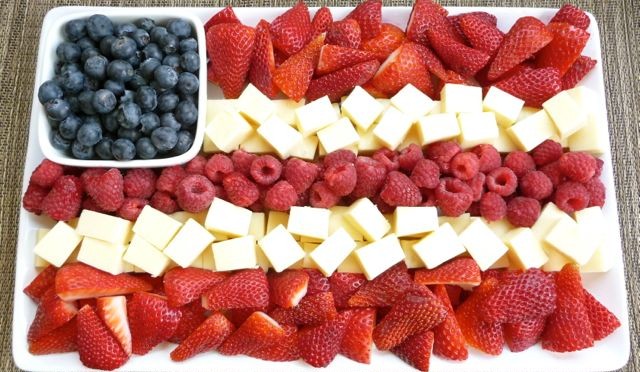
My, how time flies when you’re having fun! Can you believe it’s nearly time to celebrate Independence Day by eating ourselves sick and blowing things up? It’s the American way.

I’ll leave the blowing things up and lighting things on fire part to my fiance; as for me I will be covering creative kitchen duty. The grill will be fired up all weekend long, patriotic beverages will be flowing, and family will be sharing stories and laughs as we wait for dusk and fireworks to light up the sky.

Hope you find some last-minute inspiration here for your own Fourth Festivities! God Bless America.


Yes, I know these aren’t red, white & blue, but rather green, but still… aren’t they adorable?! And if you find a way to make basil blue, bless your heart and patent that immediately. Or share with me…

Caprese Appetizers on a Stick

Caprese Party Skewers

How about a patriotic fruity salsa to get the party started? Serve with blue tortilla chips, or a white or dyed-red hummus. This would also be a delicious salad topper.

Red White and Blue Salsa

Red, White and Blue Salsa

For a hearty main dish that impresses with its presentation, look no further! Lasagna is always a sure crowd-pleaser, and is easy to adapt to vegetarian, vegan, or gluten-free diets based on the pasta noodles and contents.

Flag Lasagna

4th of July flag lasagna

Since that grill is fired up anyways, why not make your burgers make you want to sing the national anthem? Bleu cheese is tangy, tasty, and naturally punny on this national holiday. Stock up on thick tomatoes for slicing & some stinky cheese for some delightful:

Red White & Bleu Burgers

Red White and Bleu Burgers | 2CookinMamas
And of course, no picnic or party is complete without something sweet. We all have a sweet tooth, some more voracious than others, and luckily red & blue are natural berry colors! Therefore, strawberries, raspberries, blackberries, & blueberries lend themselves well to patriotic desserts.

What is cuter than a personal-sized-serving of a refreshingly light dessert? Not much!

Strawberry Shortcake in a Jar


For a bolder presentation piece that is super simple to create, how about this pretty berry tart? Guests, family, and friends will be wowed at whatever design you dream up on top.

Summer Berry Tart

Summer Berry Tart

If you have molds already, you should definitely use this opportunity to whip up these delicious and quite healthy popsicles! In great American flair, these striped refreshers will keep the heat of the day at bay. Beware though, these colors will run in the sun!

Red White and Blueberry PopsiclesRed, White and Blueberry Popsicles (GF, DF, SF, V) - A Dash of Megnut

Last but certainly not least, we can’t forget to hydrate!

Of course, the best option is water; add a few fresh berries for a splash of color, or some sparkling water for interest. You can do the same with tea or lemonade, or dye it red or blue.

For the grown-ups in the crowd who like to imbibe during the celebrations, below is a great resource for several types of cocktails of varying ingredients and degree of strength. Use your best judgment and safety first always! Especially if sparklers are involved.

1. Fourth of July Cocktail 2. Strawberry Sucker 3. Watermelon Mint Cooler 4. Patriotic Margarita 5. Red, White and Blue HYPNOTIQ Blue Martini

Patriotic Cocktails

Happy Fourth!

Chicken Bacon Ranch Pasta Salad


With the Fourth of July weekend coming up, I’m sure many readers will be hosting or attending picnics, barbeques, and other backyard get-togethers.  A huge fan of casual parties myself, I am always on the lookout for fast, easy to put together side dishes that aren’t too expensive to feed a crowd. A good example is my prior post on BBQ Baked Beans.

Enter the pasta salad.

Pasta salads are insanely versatile. They adapt well to just about any type of veggie, meat, or cheese, with tons of creative dressing/sauce options as well. You could try a Greek mix of feta, banana peppers, onions, and kalamata olives, or a club mix of ham chunks, cheddar cheese, and crumbled bacon, or how about an Italian combo with salami, pepperoni, pepperocini, and swiss.

For this recipe, I had a pre-mix box ranch & bacon pasta salad, and decided to jazz it up a bit with some canned chunk chicken and fresh diced veggies. You can also use a pound of any type of pasta (the small shapes work best here, like shells, elbows, or penne), spices you like, and some crumbled bacon.

Ingredients:

IMG_9498

Step 1: Dice your zucchini and tomatoes, and drain the chicken. Get the water boiling for the pasta, and boil 8-10 minutes.

IMG_9499

Step 2: In a pan, cook the zucchini for 5-7 minutes, until beginning to brown. Add the tomato and chicken, and cook until heated through.

IMG_9500

Step 3: Drain the pasta, and mix in the veggies. Add the toppings included (or spices & cooked crumbled bacon) and the Ranch dressing. Stir well. Add more or less as needed.

This cooks up a nice big batch, and can feed a hungry crowd. The Ranch flavor works great with the bacon, pasta, and chicken. You can also use dried Ranch seasonings and milk or sour cream to achieve a similar yet different taste. As a bonus, you’ve snuck in a serving of veggies per cup!

Happy partying & God bless the USA!


This post contains links to Amazon affiliate products. Clicking these links and purchasing these items contributes to the maintenance of this blog without affecting your purchase price. Thank you.

BBQ Bacon Baked Beans


The quintessential summer side dish, barbeque baked beans are a staple of picnics and backyard BBQs. They are delicious on their own, and perfectly complement burgers, hot dogs, and ribs. Along with coleslaw and fresh corn on the cob, my summer memories are packed with these little tangy red jewels.

For a while in my life, I hated baked beans, for exactly the reason stated above: I had too much of a good thing. And I also had some bad experiences, wherein the beans were pure mush and tasted awful. It wasn’t until I began cooking in earnest, and made my own sauce, that I decided to give them another shot. And boy am I glad I did!

Homemade sauce, bacon, and beans elevates this humble side dish to a truly gastronomic experience. Try it yourself and you will see.

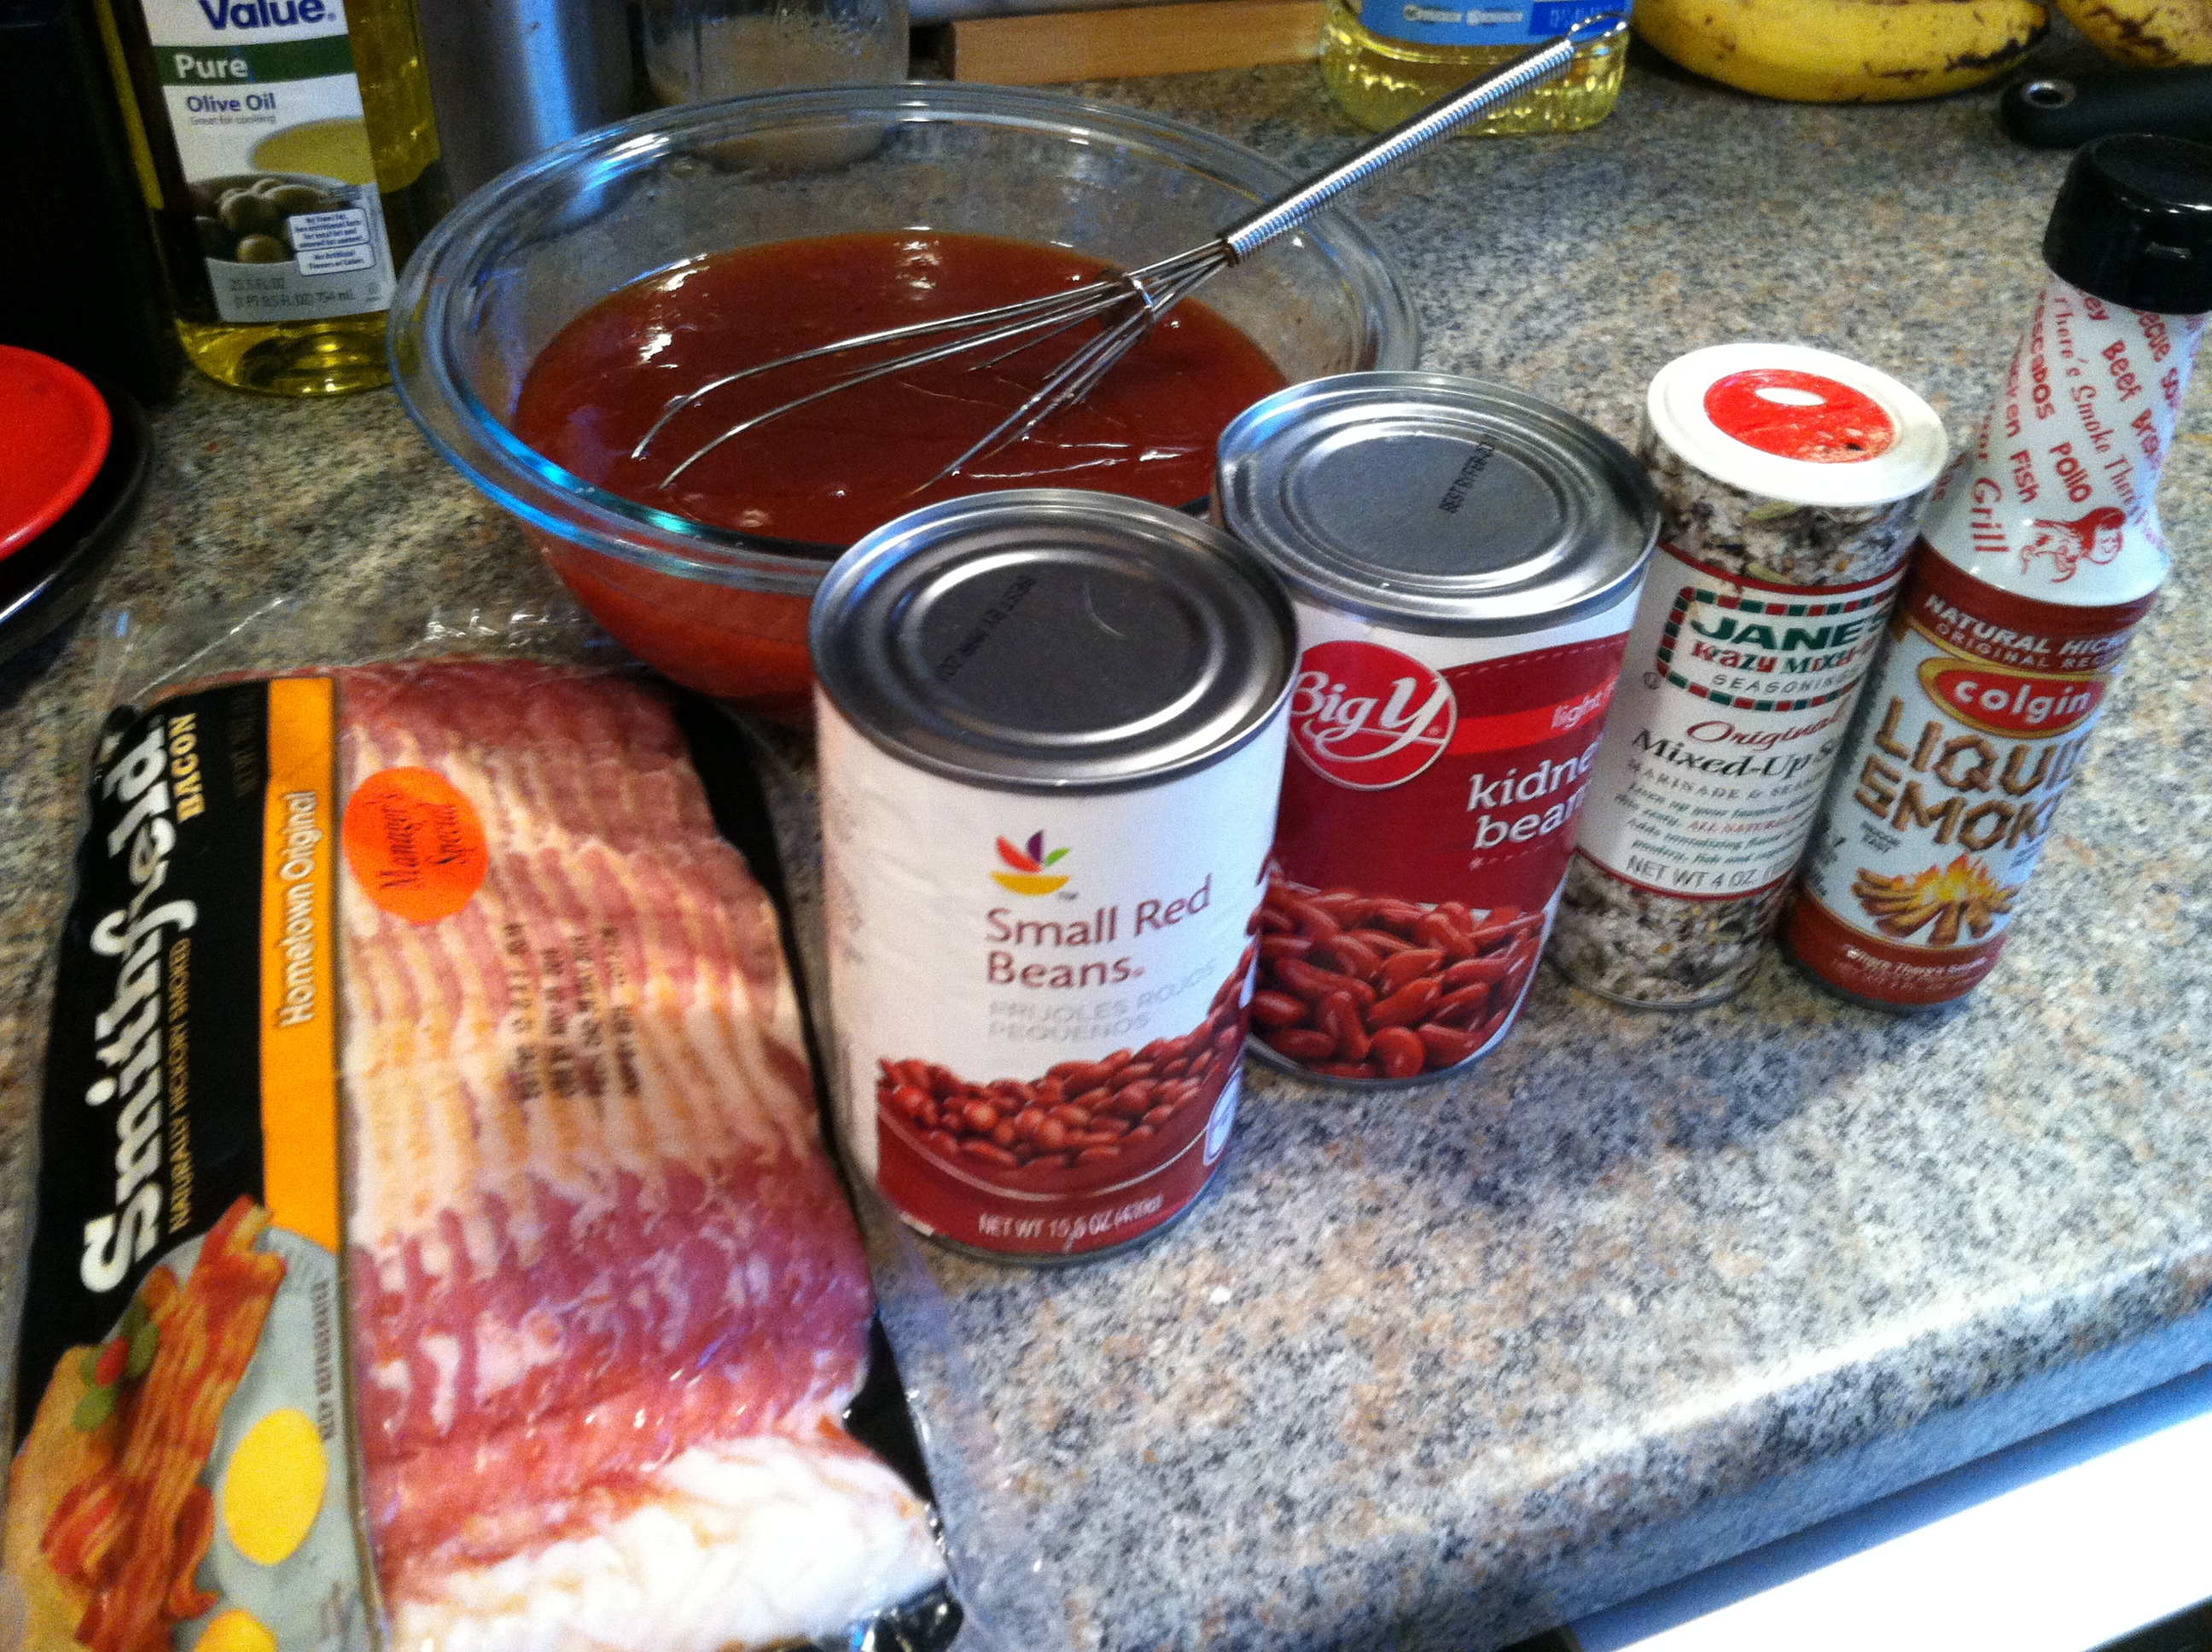
Ingredients:

  • 2 cans red beans, drained
  • (Or 1 cup dried, boiled for 2-3 hours)
  • 4 slices thick-cut bacon
  • 1/2 – 2/3 cups BBQ Sauce
  • 1-2 tsp liquid smoke
  • Seasoning salt to taste

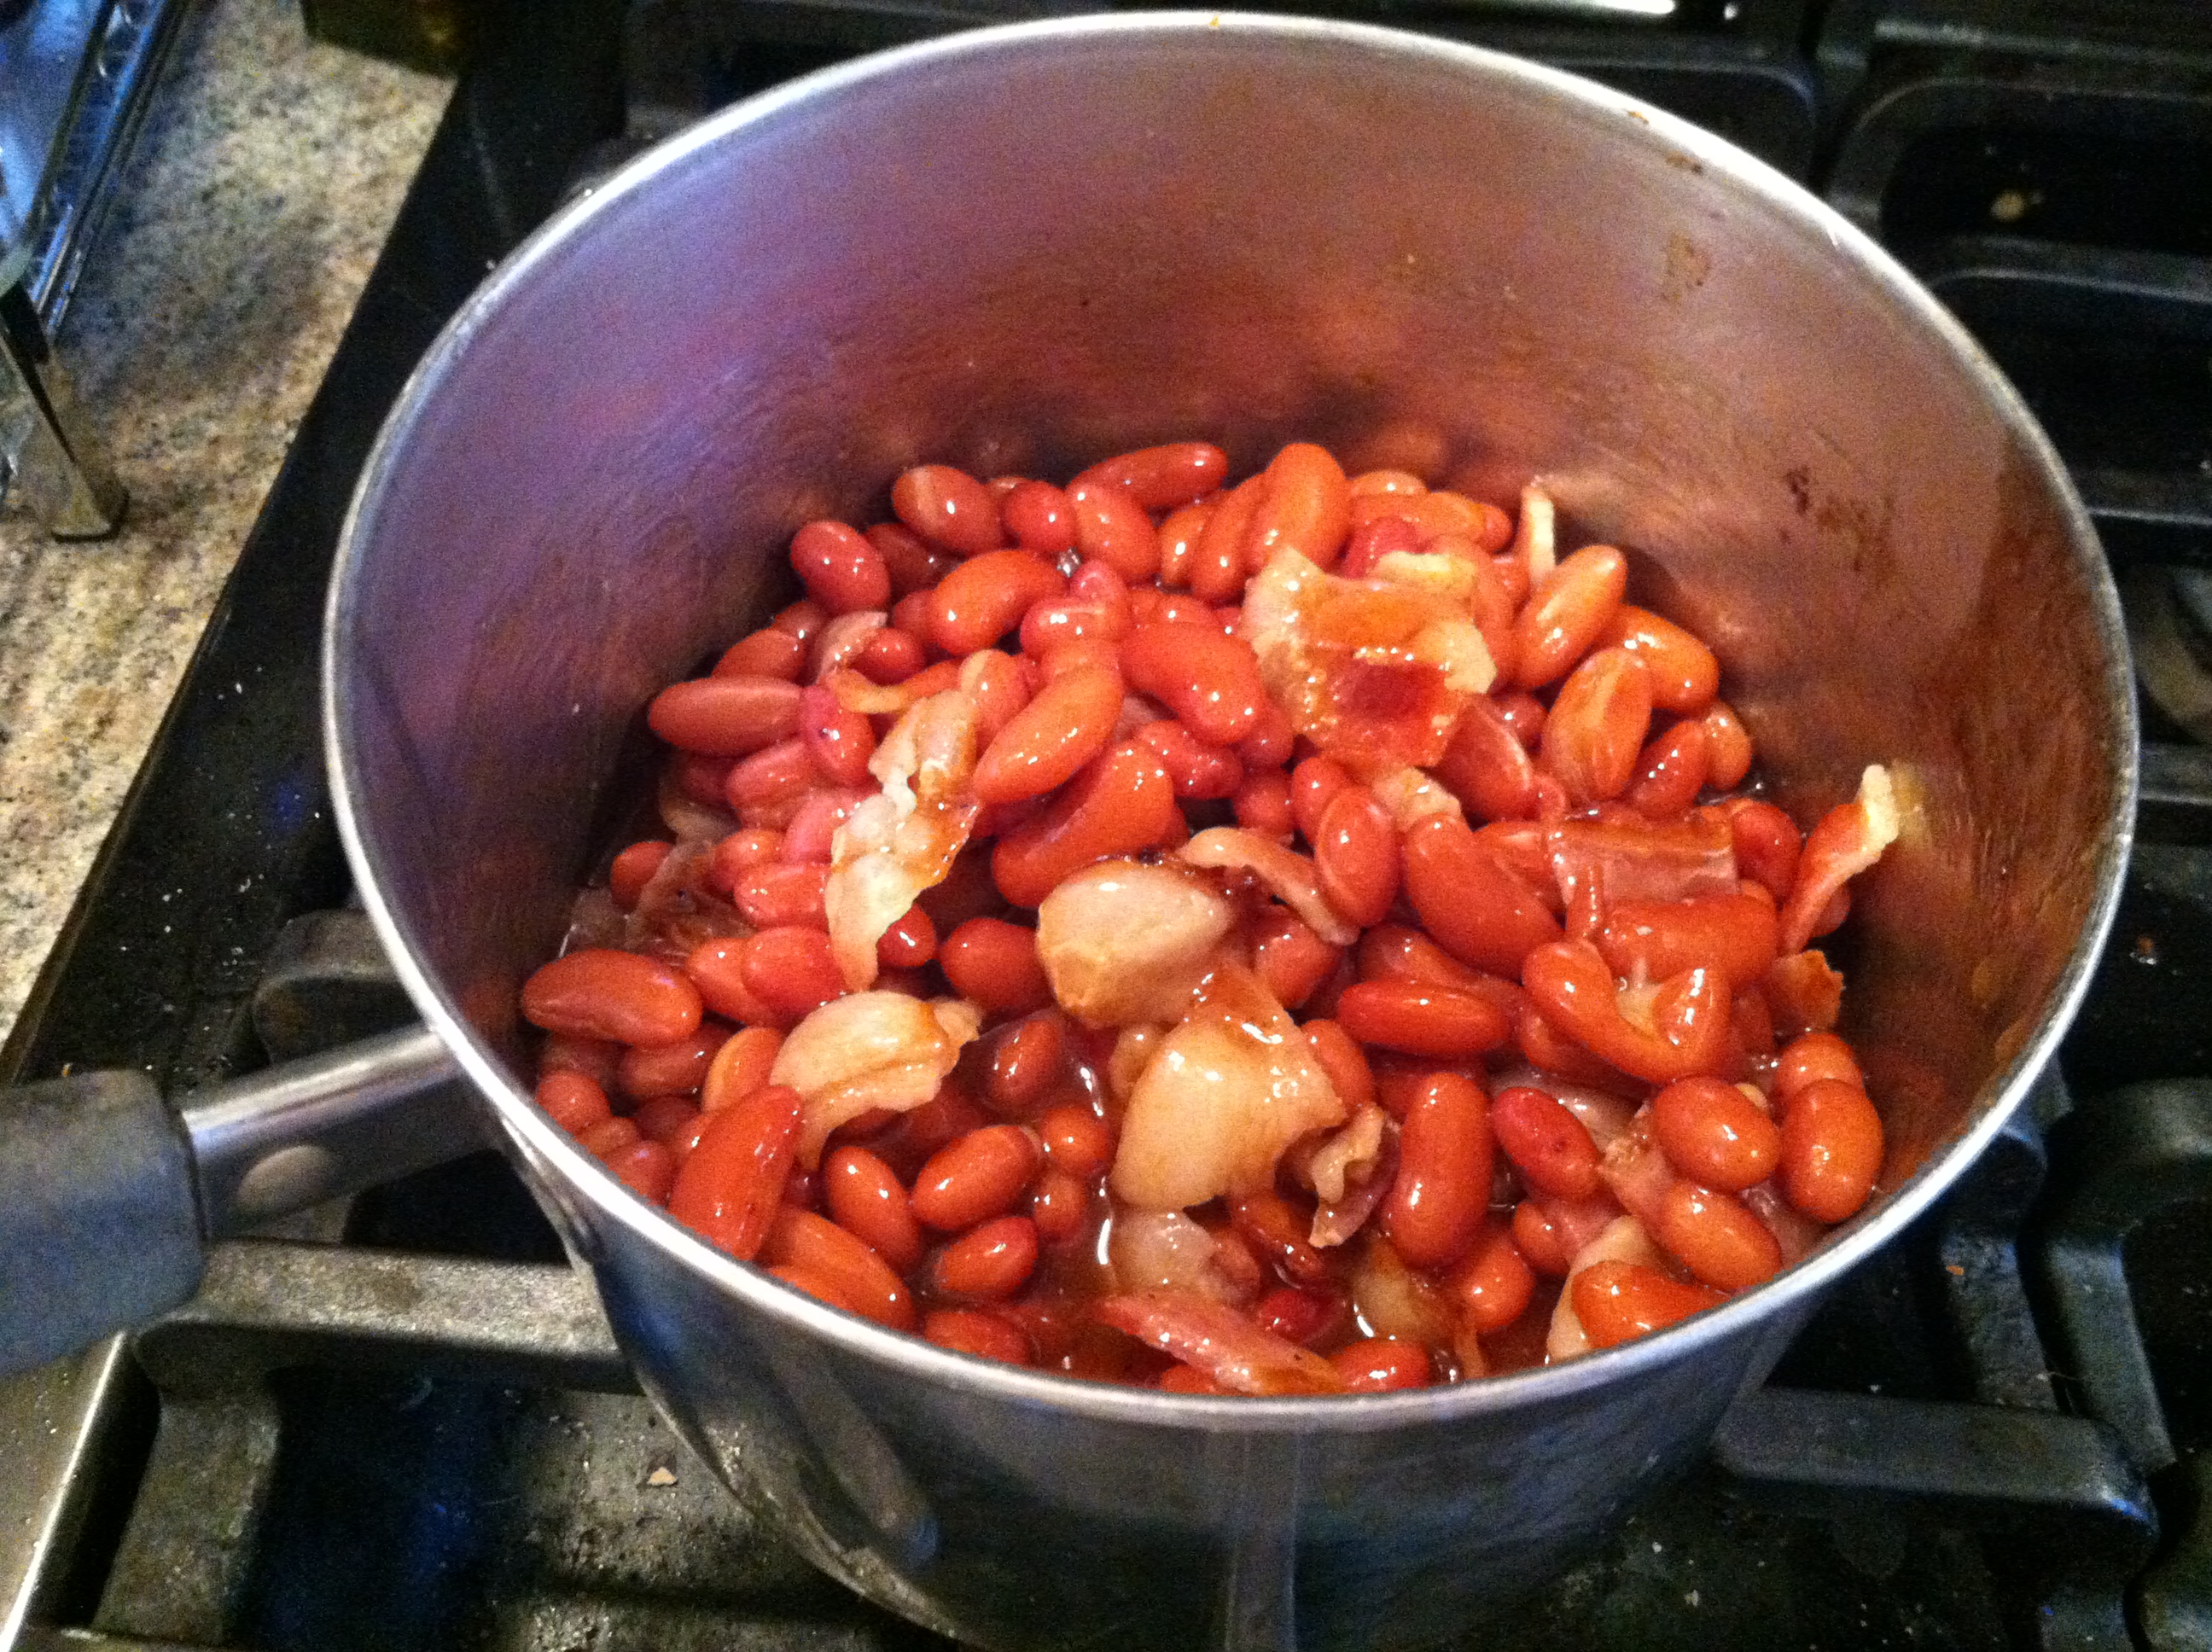
IMG_9268

Step 1: Open the beans and drain them. Rinse to remove excess sodium. Alternatively, use 1-2 cups dried, and boil them for 2-3 hours, until soft.

IMG_9270

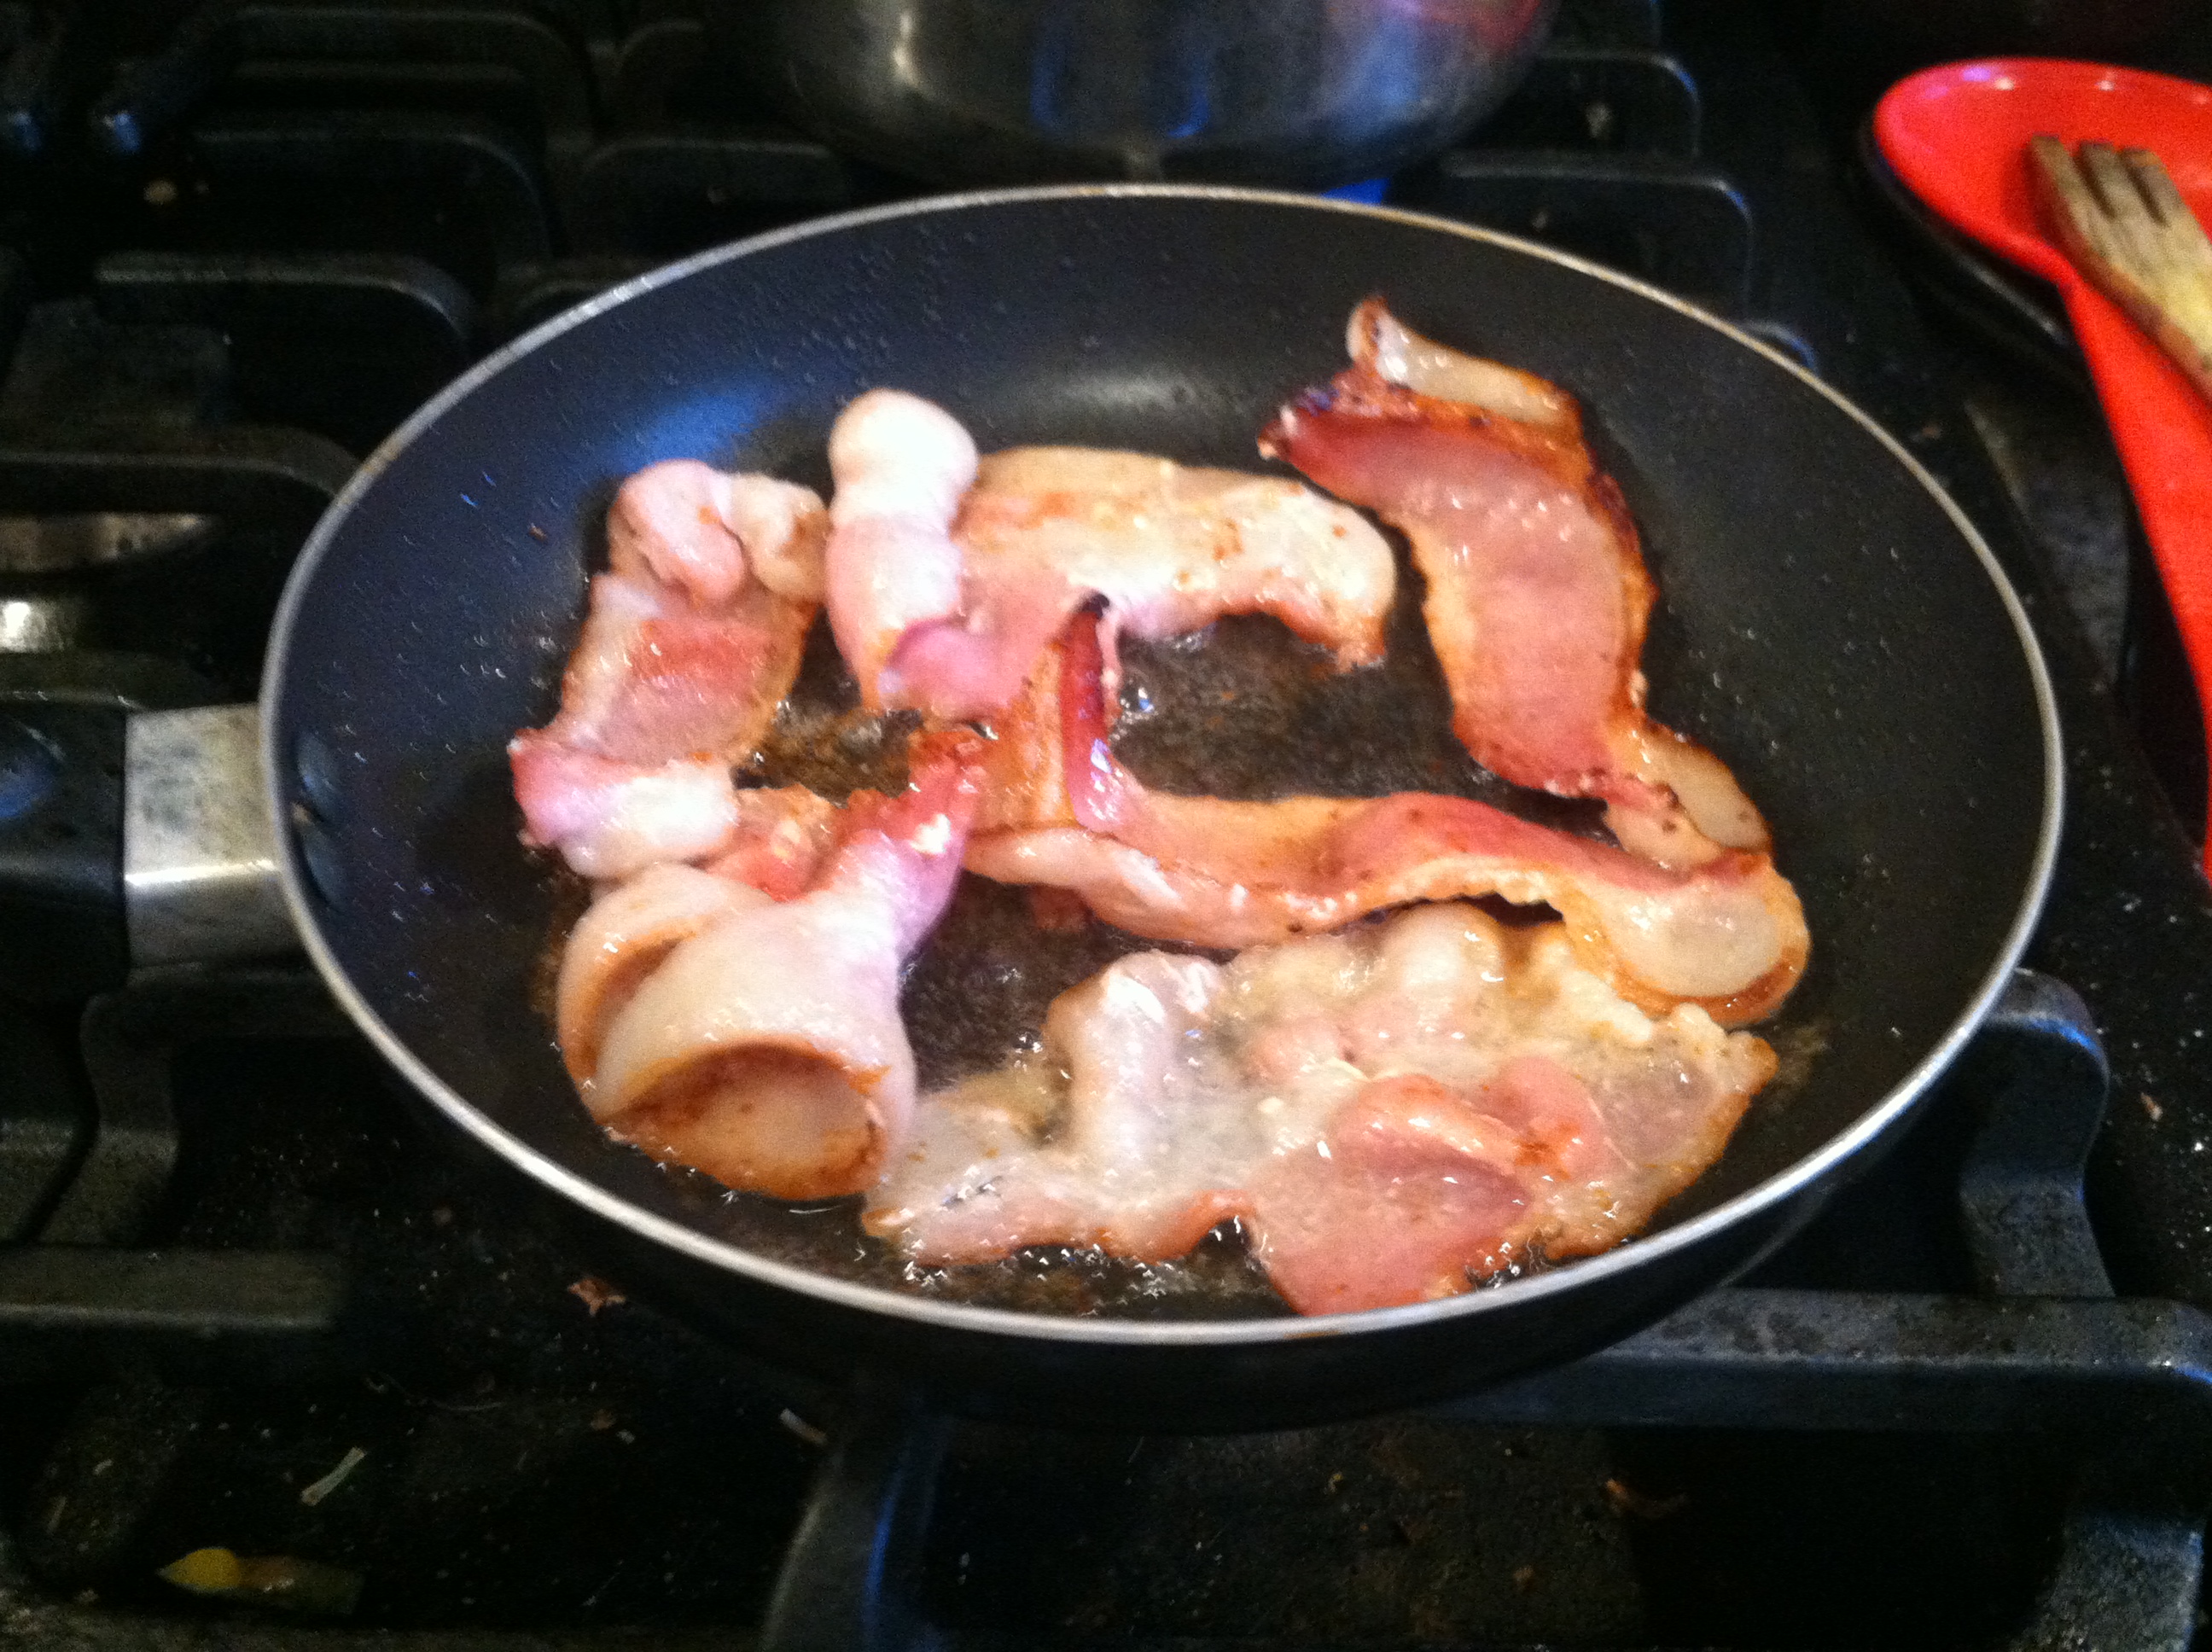
Step 2: Cook your bacon over med-low heat, until beginning to brown. You don’t want it too crispy. Lay on a stack of paper towels to drain.

IMG_9271

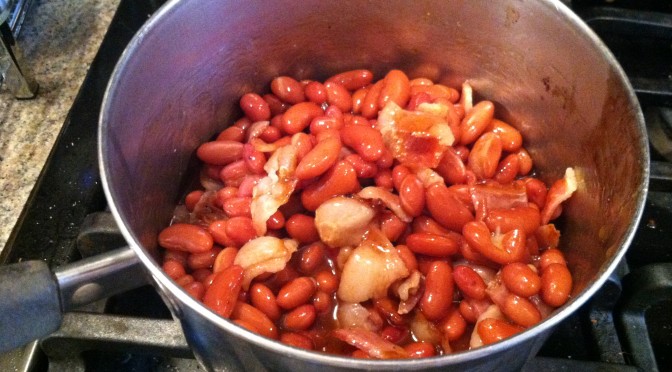
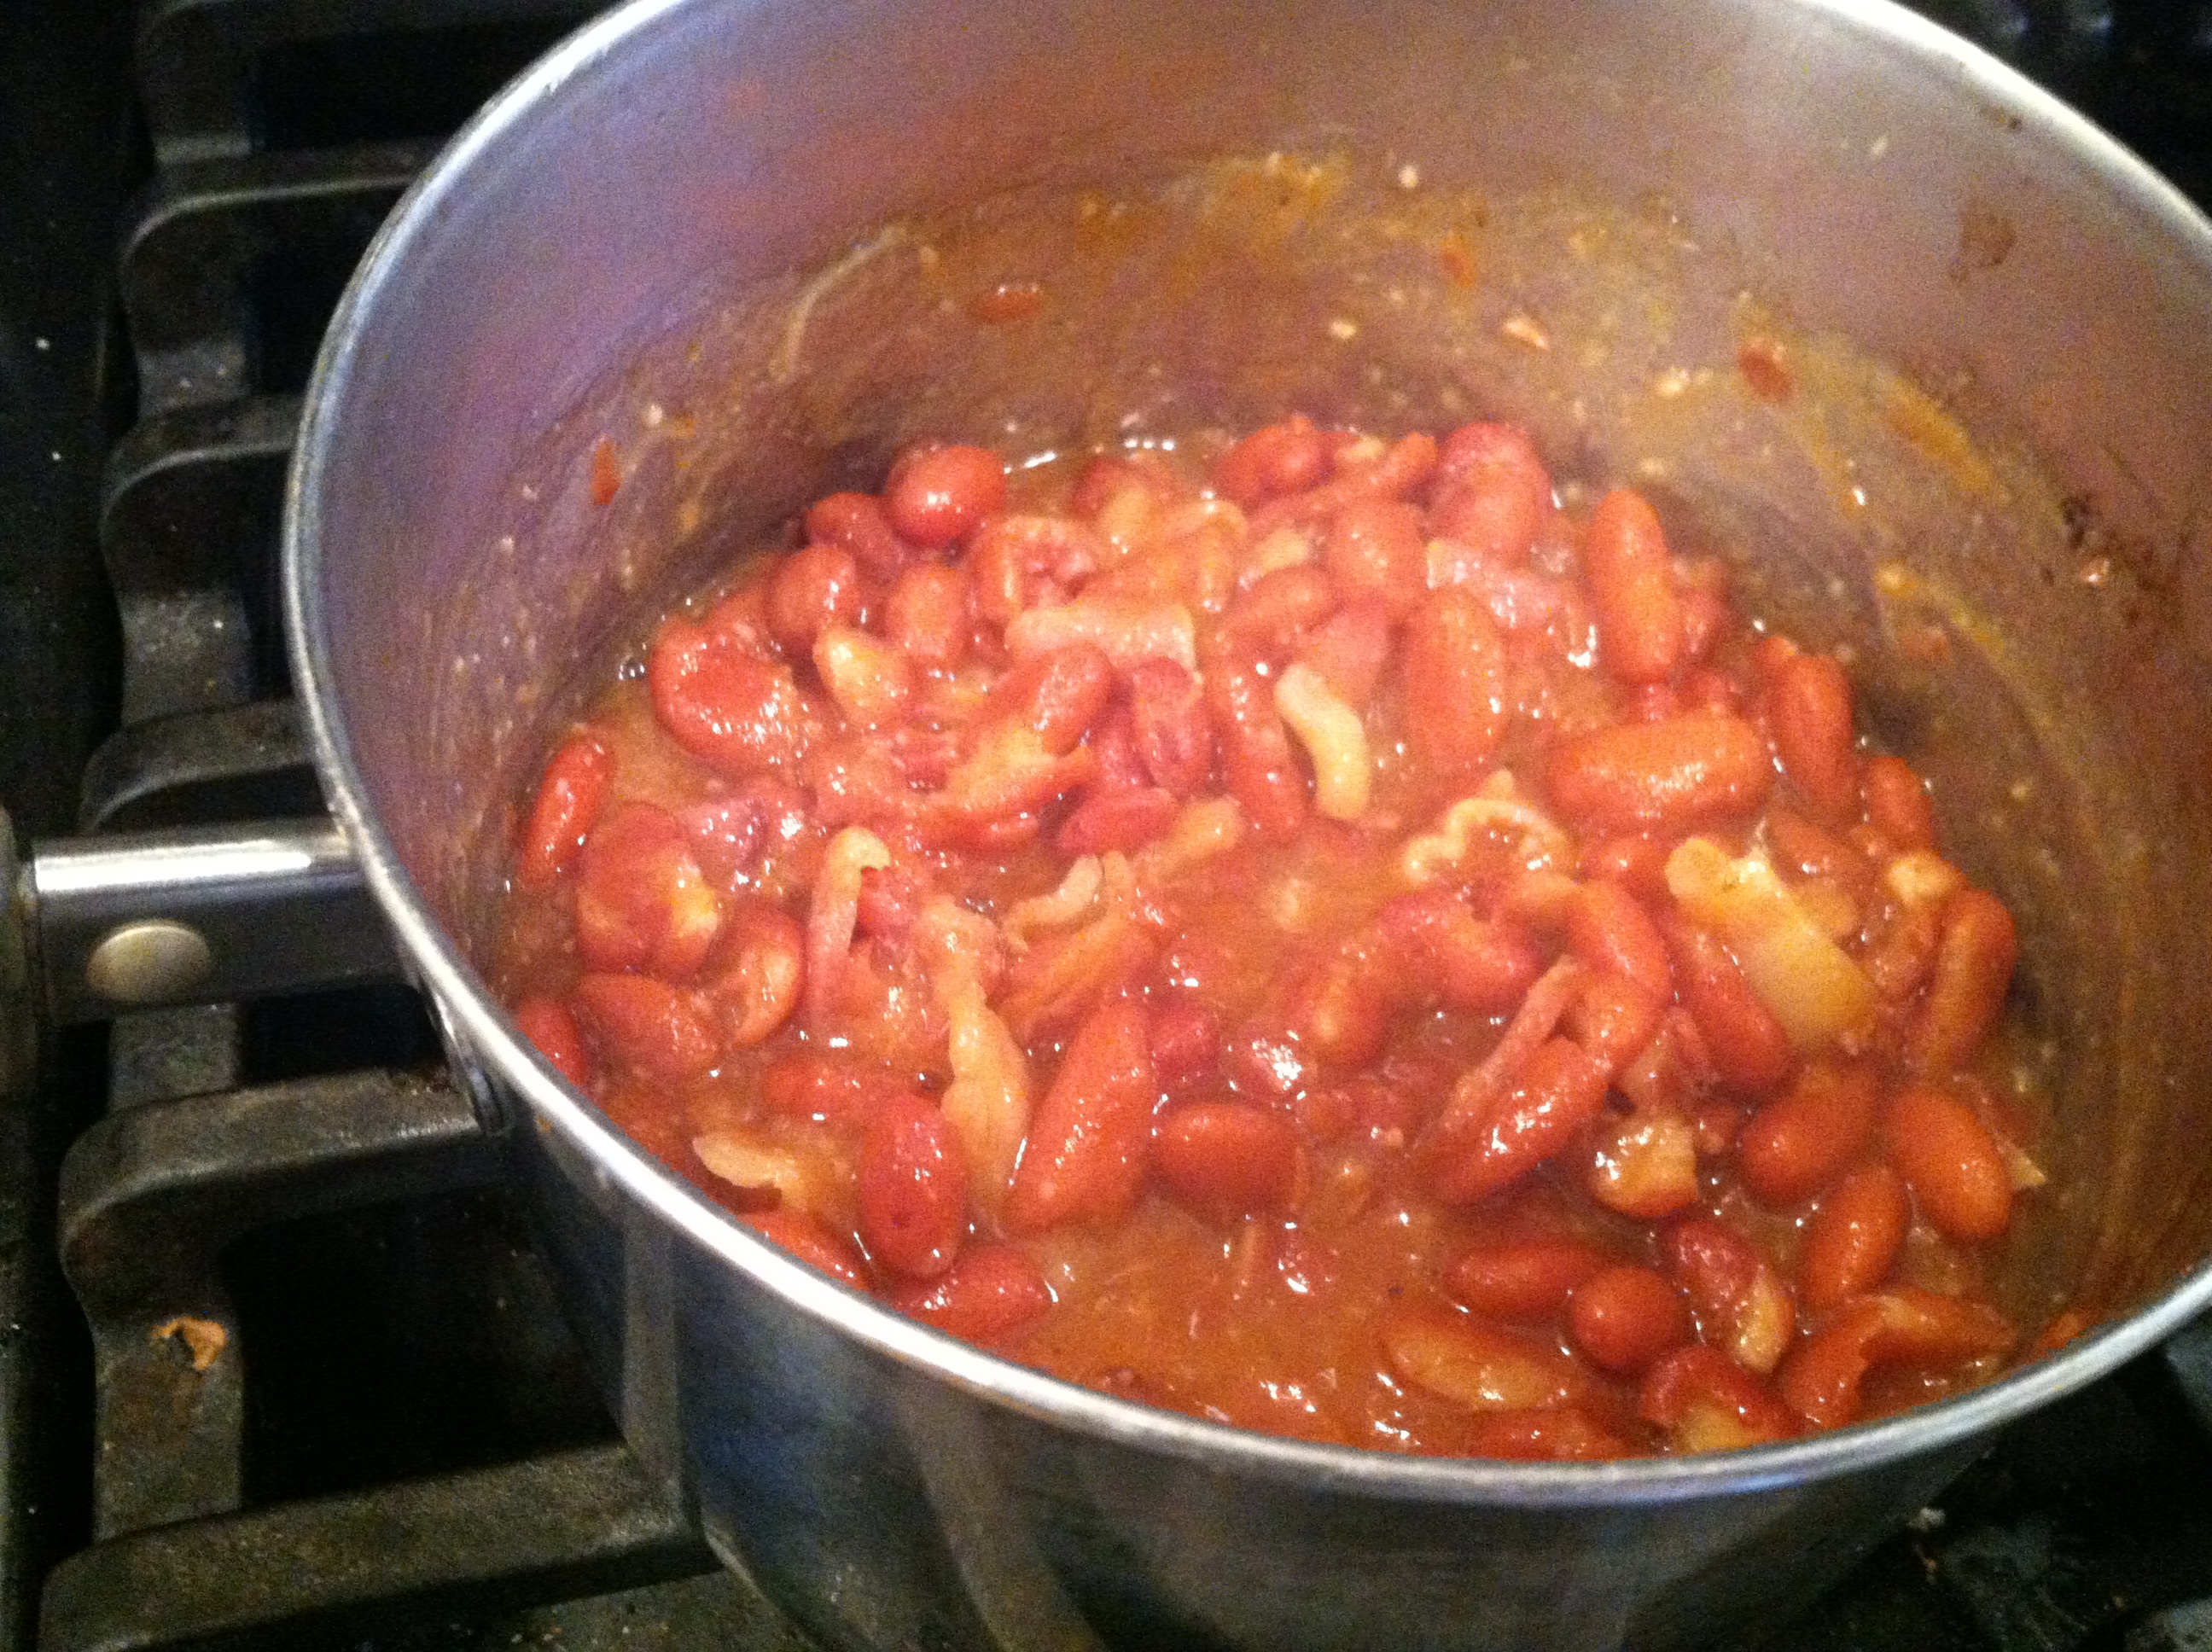
Step 3: Place beans in a pot, and add BBQ sauce and flavorings. Cut or chop the bacon into bite-sized pieces. Simmer it all together for 20-30 minutes to let flavors meld.

IMG_9274

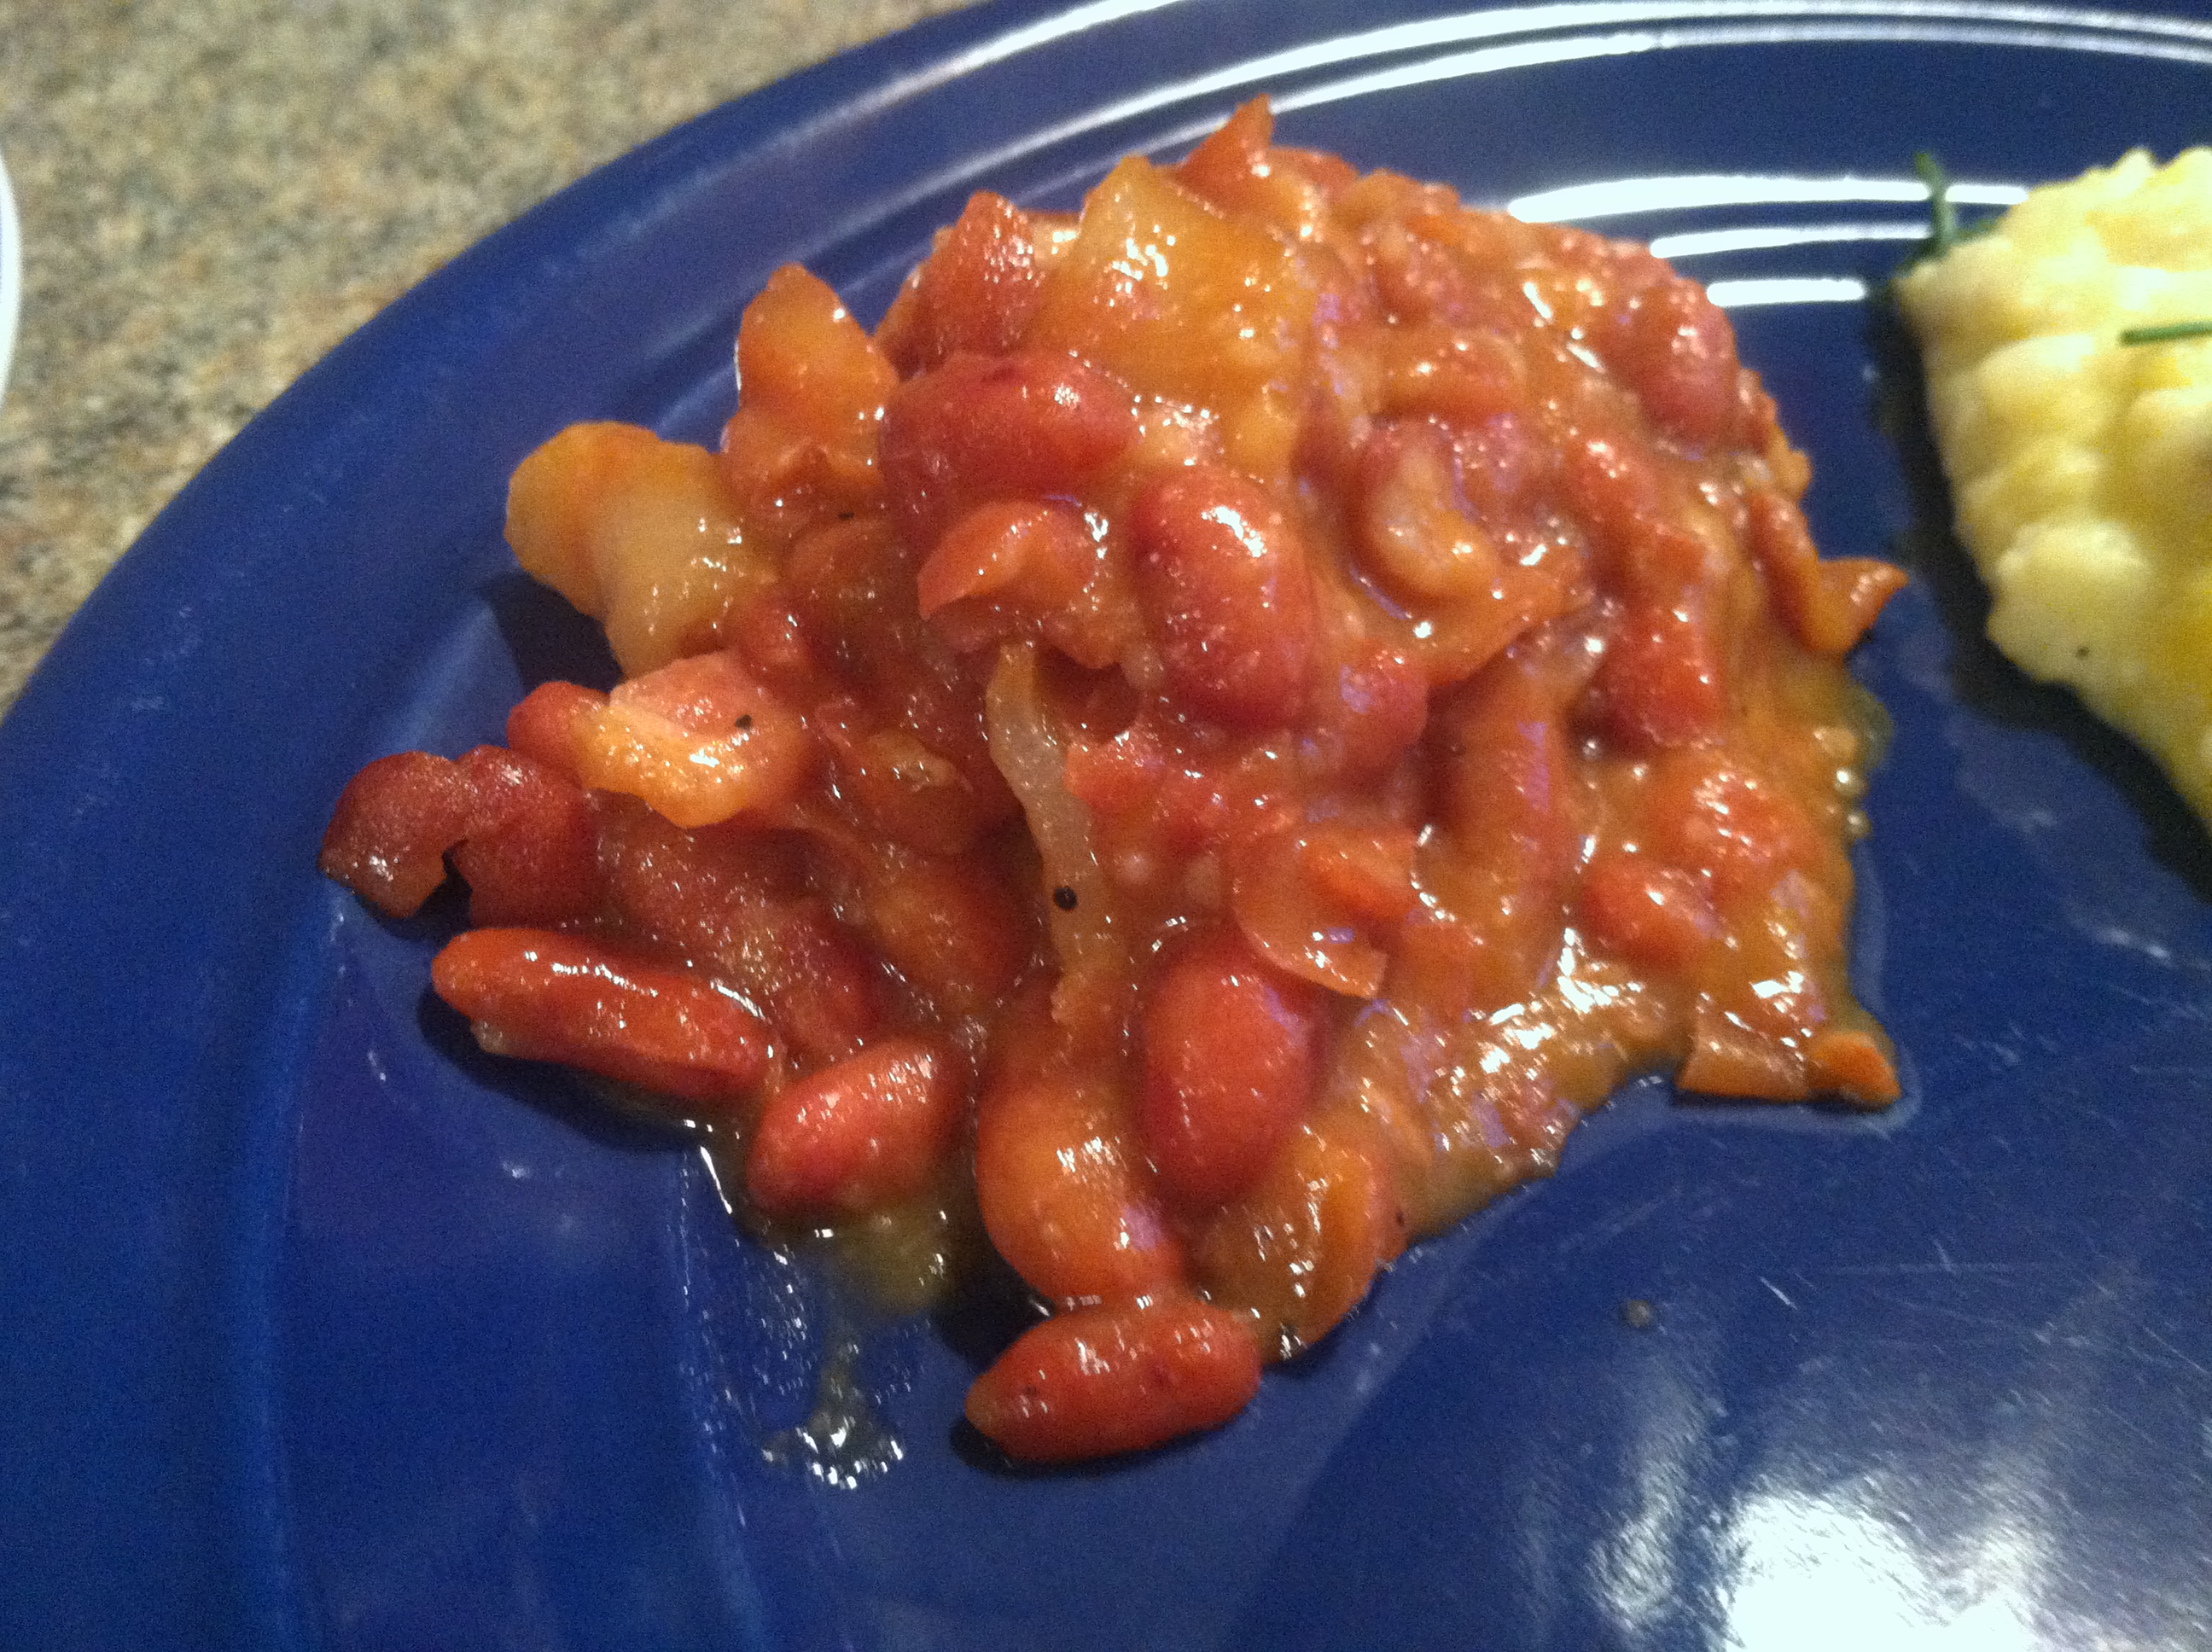
Then serve! Enjoy alongside whatever summer dishes you like, or in the dead of winter to remember these warm sunny days.

IMG_9297

The best part is that as long as you make the sauce yourself (can control the amount of salt, sugar, and fat added), and the beans too (how much sugar or salt or bacon is involved), this dish is healthier than you may think.

Typical store-bought baked beans come loaded with nitrates, stabilizers, preservatives, salt, sugar, and fat. This is to allow it to store on the shelf longer, and to taste addictively good.

Awesomely, you can create an even-better-tasting addictively good dish yourself with just a few minutes of active work, and a few minutes of unattended simmering. Whip this up for your next picnic or party and watch it disappear.

Perfect Sweet & Tangy Barbeque Sauce


Barbeque sauce, how America loves you, let me count the ways.

Put simply, barbecue sauce (or BBQ) is a flavoring used as a marinade, basting, or topping/dipping for meats and other grilled foods. While the ingredients vary as widely as the cooks creating it, most begin with a tomato and vinegar base. Other common additions include chilies, garlic, ginger, molasses or brown sugar, liquid smoke, coffee, and other spices.

IMG_9262

For a nice history lesson and some ancient sauce recipes, check out TIME and/or amazingribs.com. Every cook has their favorite ‘secret’ recipe, perhaps passed down from grandmothers or grandfathers, or containing an unusual ingredient they will never disclose, even on pain of death.

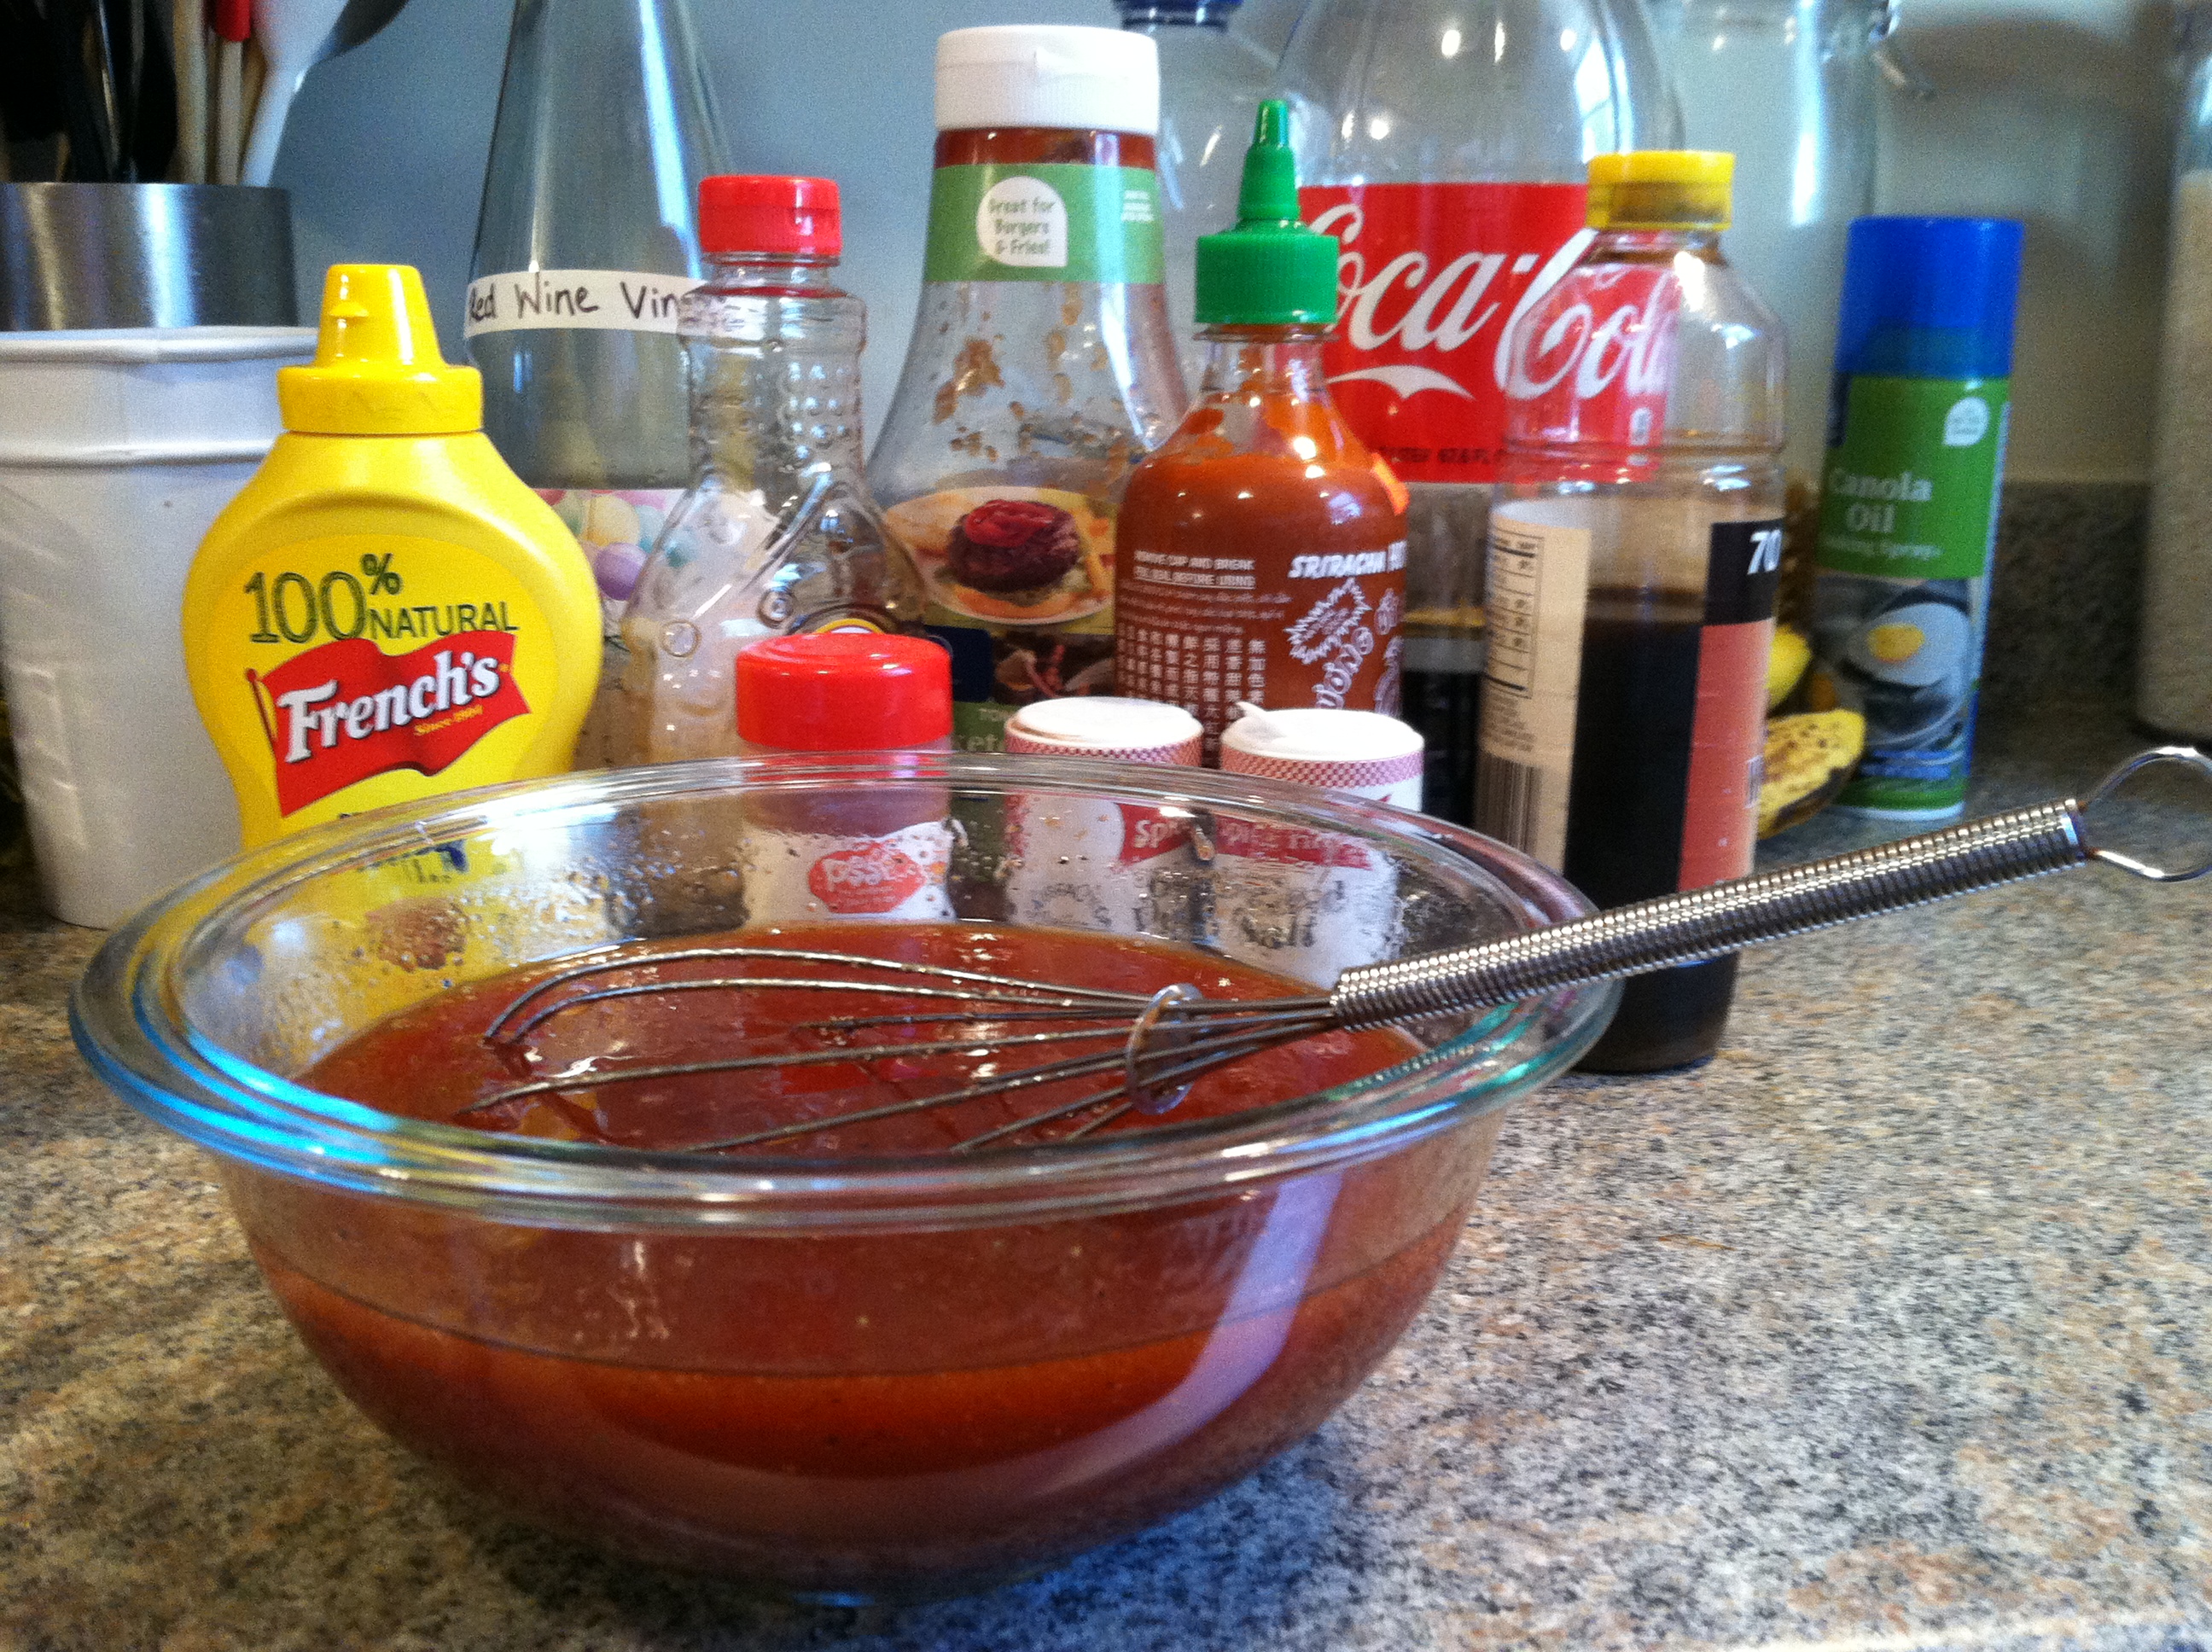
I’ve written before about BBQ sauces, and this recipe expands upon my simpler one. Most ingredients are staples I always have around the kitchen, while things like sriracha and liquid smoke you may have to make a special purchase. You can even choose to omit those ingredients you do not have, and likely it will still be delicious. Experiment with recipes until you find one you love, then it can become your “signature” BBQ sauce.

IMG_9257

Ingredients:

  • 1 1/2 cups ketchup
  • 2 tbsp mustard
  • 2 tbsp sriracha
  • 2 tbsp worchestershire sauce
  • Dash liquid smoke (1-2 tsp)
  • 1/4 cup red wine vinegar
  • 1/4 cup plain cola
  • 2-4 tbsp maple syrup, depending on how sweet you like it
  • Sprinkle paprika, salt & black pepper to taste

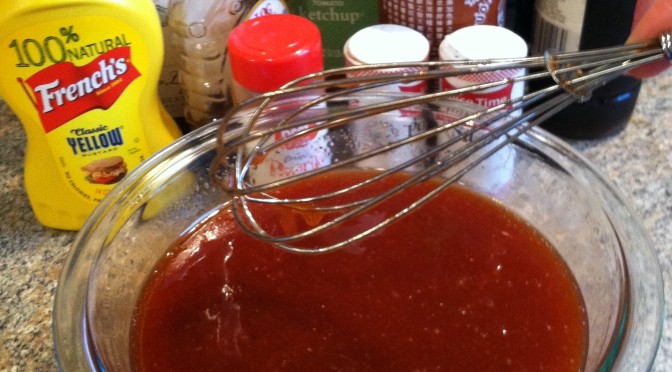
Step 1: Combine all ingredients in a giant bowl, and whisk away!

IMG_9260

This makes a substantial amount of sauce, so be prepared to throw a huge backyard bash with tons of sauce on meats, or store what you don’t use in the refrigerator for about 2 months. The more salt or acid you add, the longer it can last in the fridge.


Bok Choi – Ginger Juice


For those who are unfamiliar, bok choi or pak choi is a type of Chinese cabbage. It is about the size of a fist, and has tight, dark green leaves forming a cluster similar to celery. They contain a good amount of vitamin A and C, as well as glucosinolates, substances believed to protect against cancer in small doses.

IMG_9459

Bok choi is delicious lightly steamed or stir-fried, with some lemon juice & salt alongside a filet of fish or rice. However, I had a large amount from a recent trip to my favorite Asian grocery, and wanted to use its delightful vitamin content and phytochemicals to make a green juice in lieu of spinach.

IMG_9456

Ingredients:

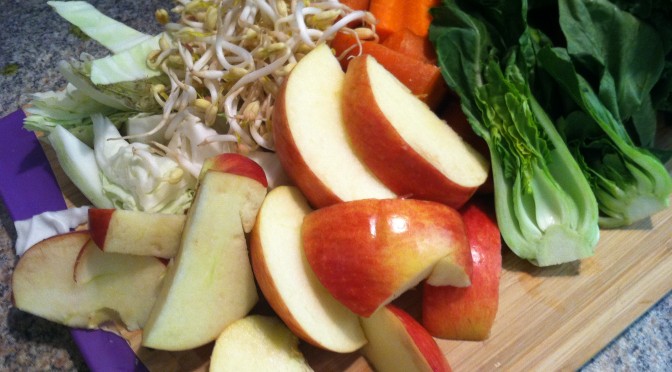
  • 2 1/2 cups bok choi
  • 2 medium apples
  • 1 cup sprouts
  • 1/4 green cabbage
  • 2 large carrots
  • 2-3 inch piece fresh ginger

IMG_9458

Rinse and chop all vegetables, and run them through your juicer. Alternate the soft greens and harder carrots/apples. If you need it sweetened up even further, you can mix in some store bought apple juice, or add another cup of fruits to the mix.

This juice is full of awesome vitamins and nutrients, enzymes, phytochemicals and chrlorophyll. It is lightly sweet, and has a nice tang from the ginger.

But why is it ‘foamy’ on top?

Good question, I wondered that myself. When you juice, the juicer produces some amount of foam by inserting air bubbles into the juice. The type of juicer makes a difference; slower “masticating” juicers will cause less foaming than high-speed “centrifugal” juicers. Also higher-fiber produce makes it bubblier than low-fiber produce.

You can scoop or skim off the foam before consuming without losing nutrients. It is mostly air bubbles and oxidized fiber. You can also strain your juice prior to enjoying. I usually just stir it well a few times to mix as thoroughly as possible, and if the foam is still thick I’ll skim off a tablespoon or so before drinking it down.

Tomato Zucchini Panzanella

.

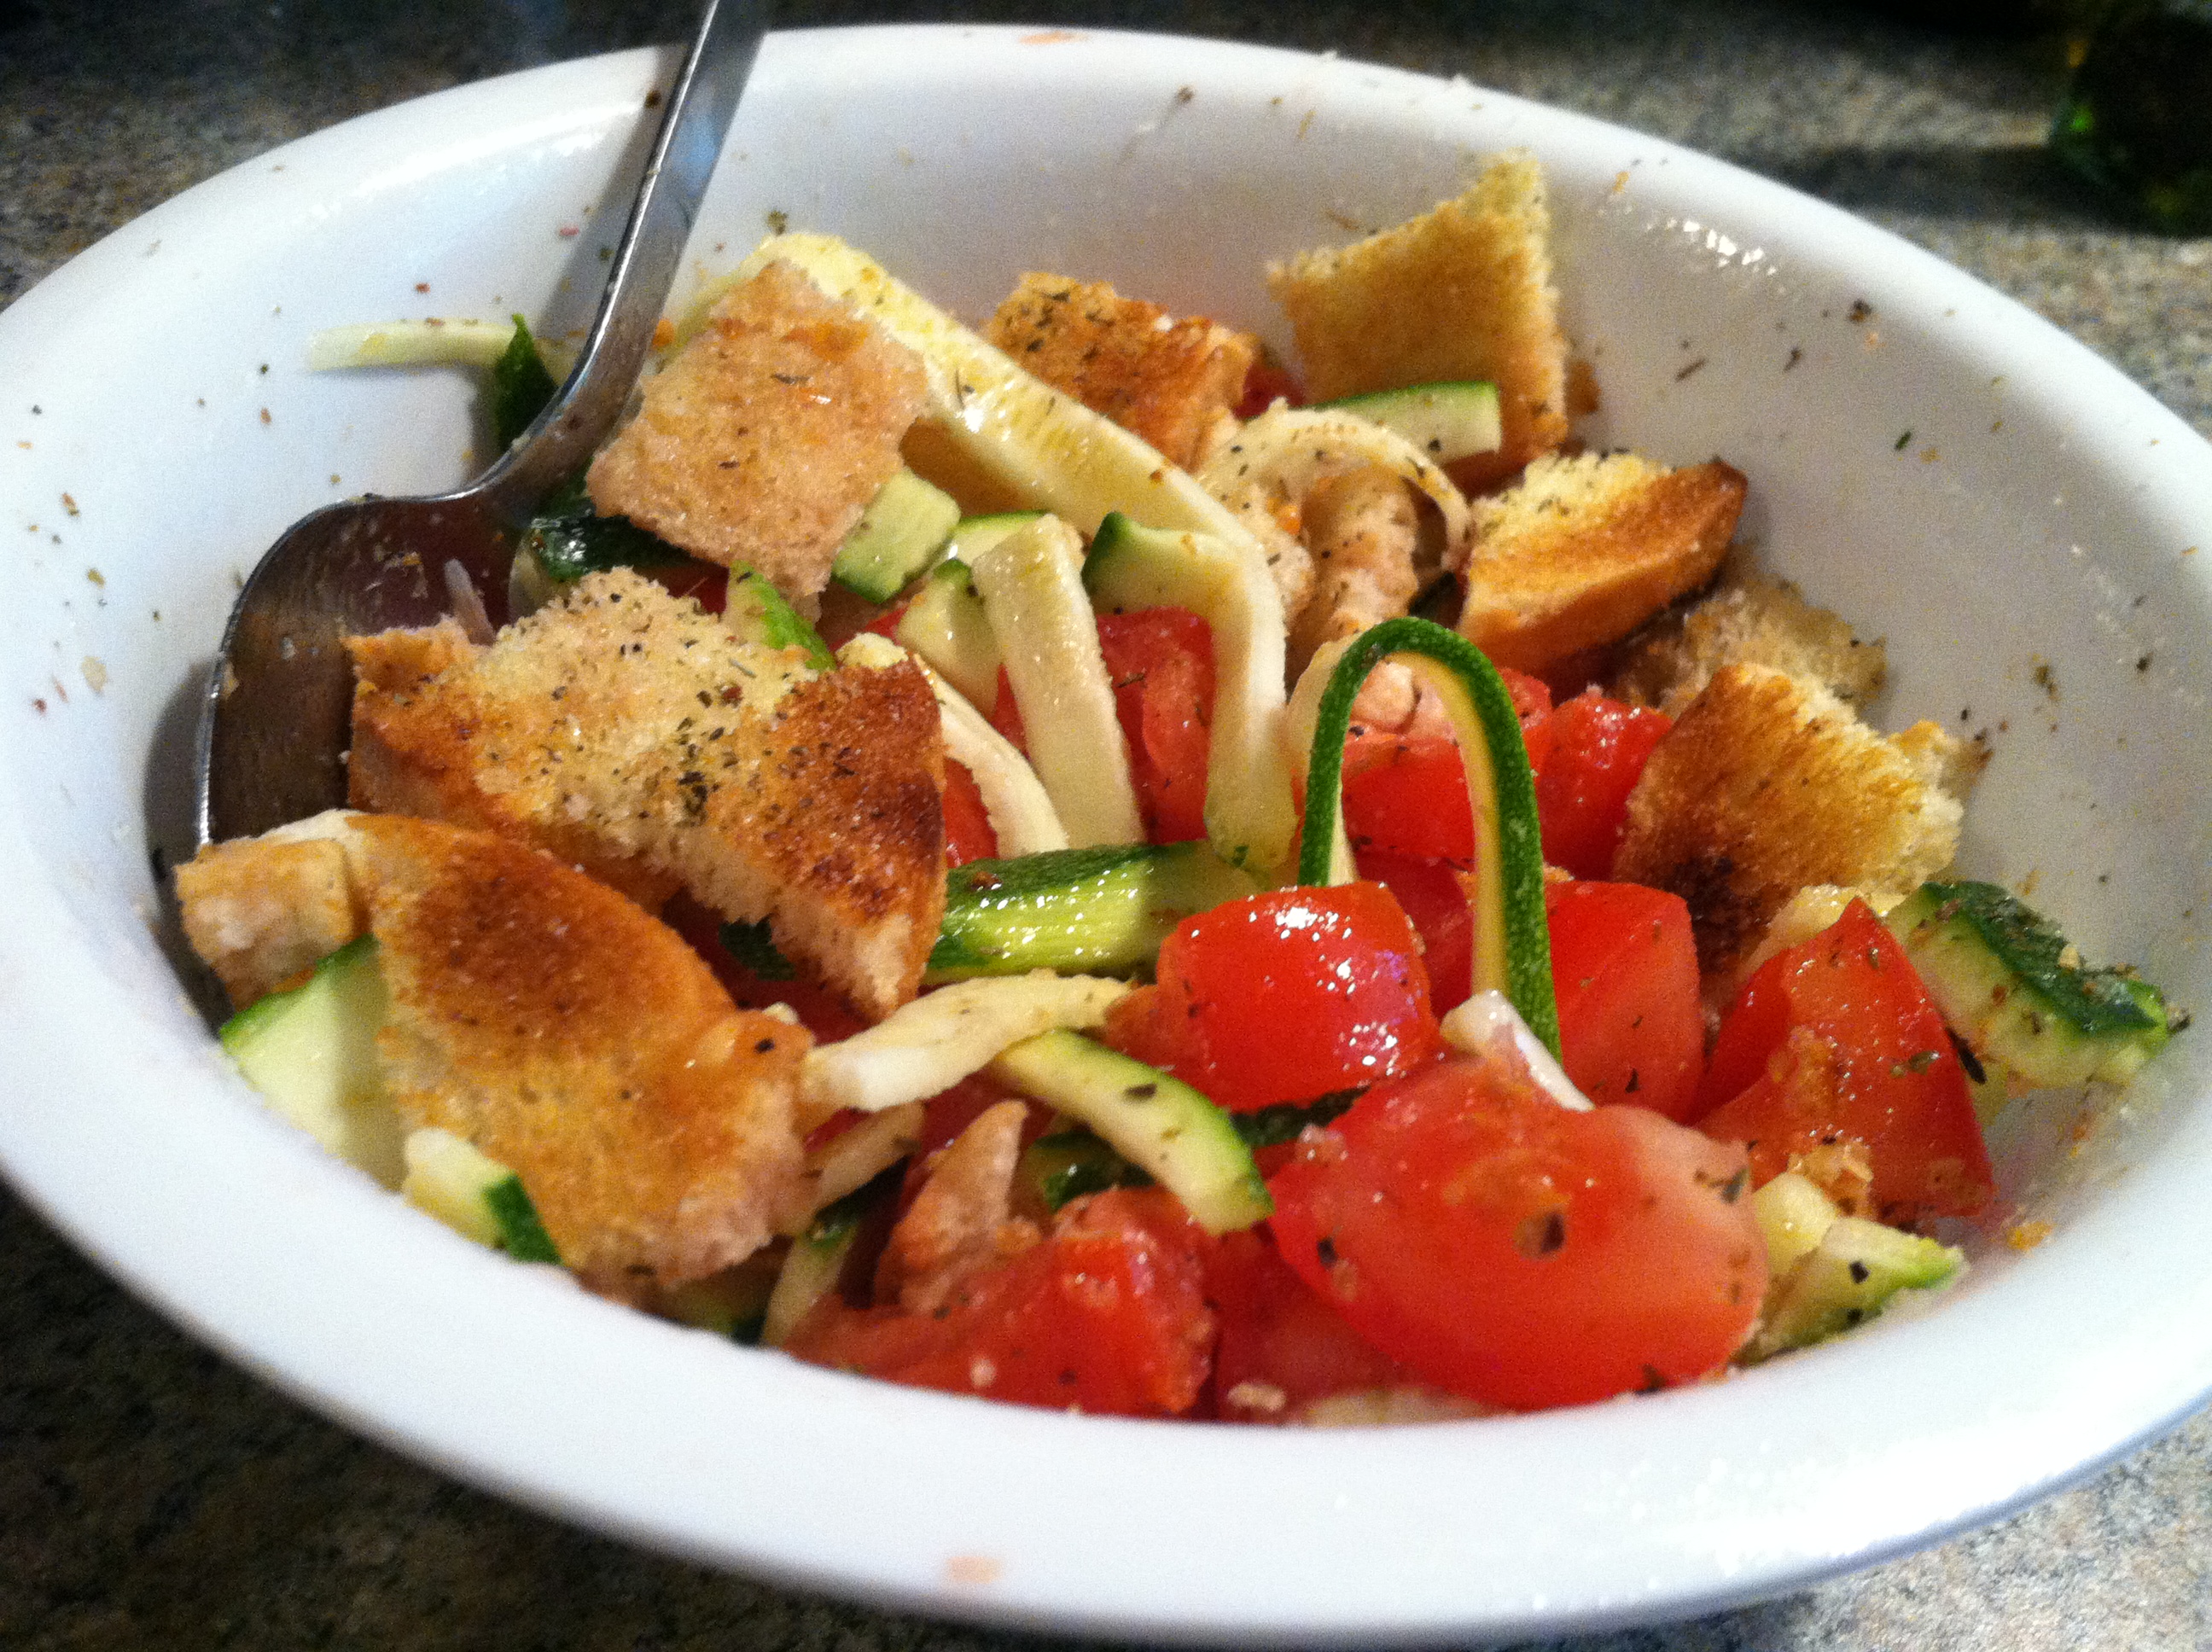
As summer hits full speed, most people with gardens find themselves overwhelmed with tomatoes and/or zucchini. Prolific producers, these two are classic markers of the height of summer. This is also when tomatoes and zucchini are on sale at the grocery, and can be bought at the lowest price at farmer’s markets.

Once you have had your fill of eating tomatoes plain or with salt (the very best way, in my opinion), zucchini diced up in stir fry and as zoodles, and tomatoes on your salad, you may ask yourself, what else can I do with the twenty pounds I still have?

A good answer is: make this healthy, refreshing panzanella!

Panzanella, pronounced pan-za-nay-ya, is a Tuscan dish traditionally based on onions and stale bread. Some time in the 20th century tomatoes came into the picture and took center stage. Now most panzanella recipes are based on stale bread moistened with olive oil and vinegar, and tomatoes, with other ingredients like onion, basil, and garlic commonly added.

IMG_9525

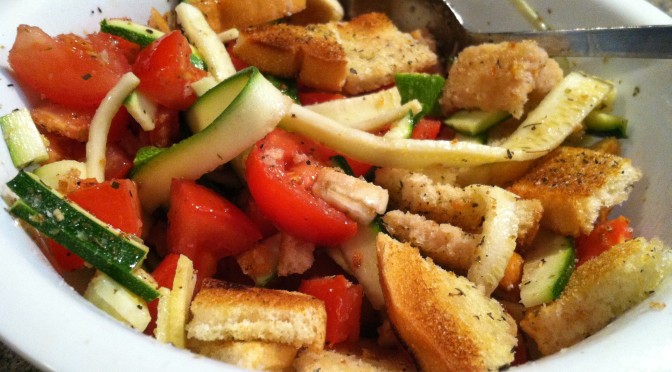
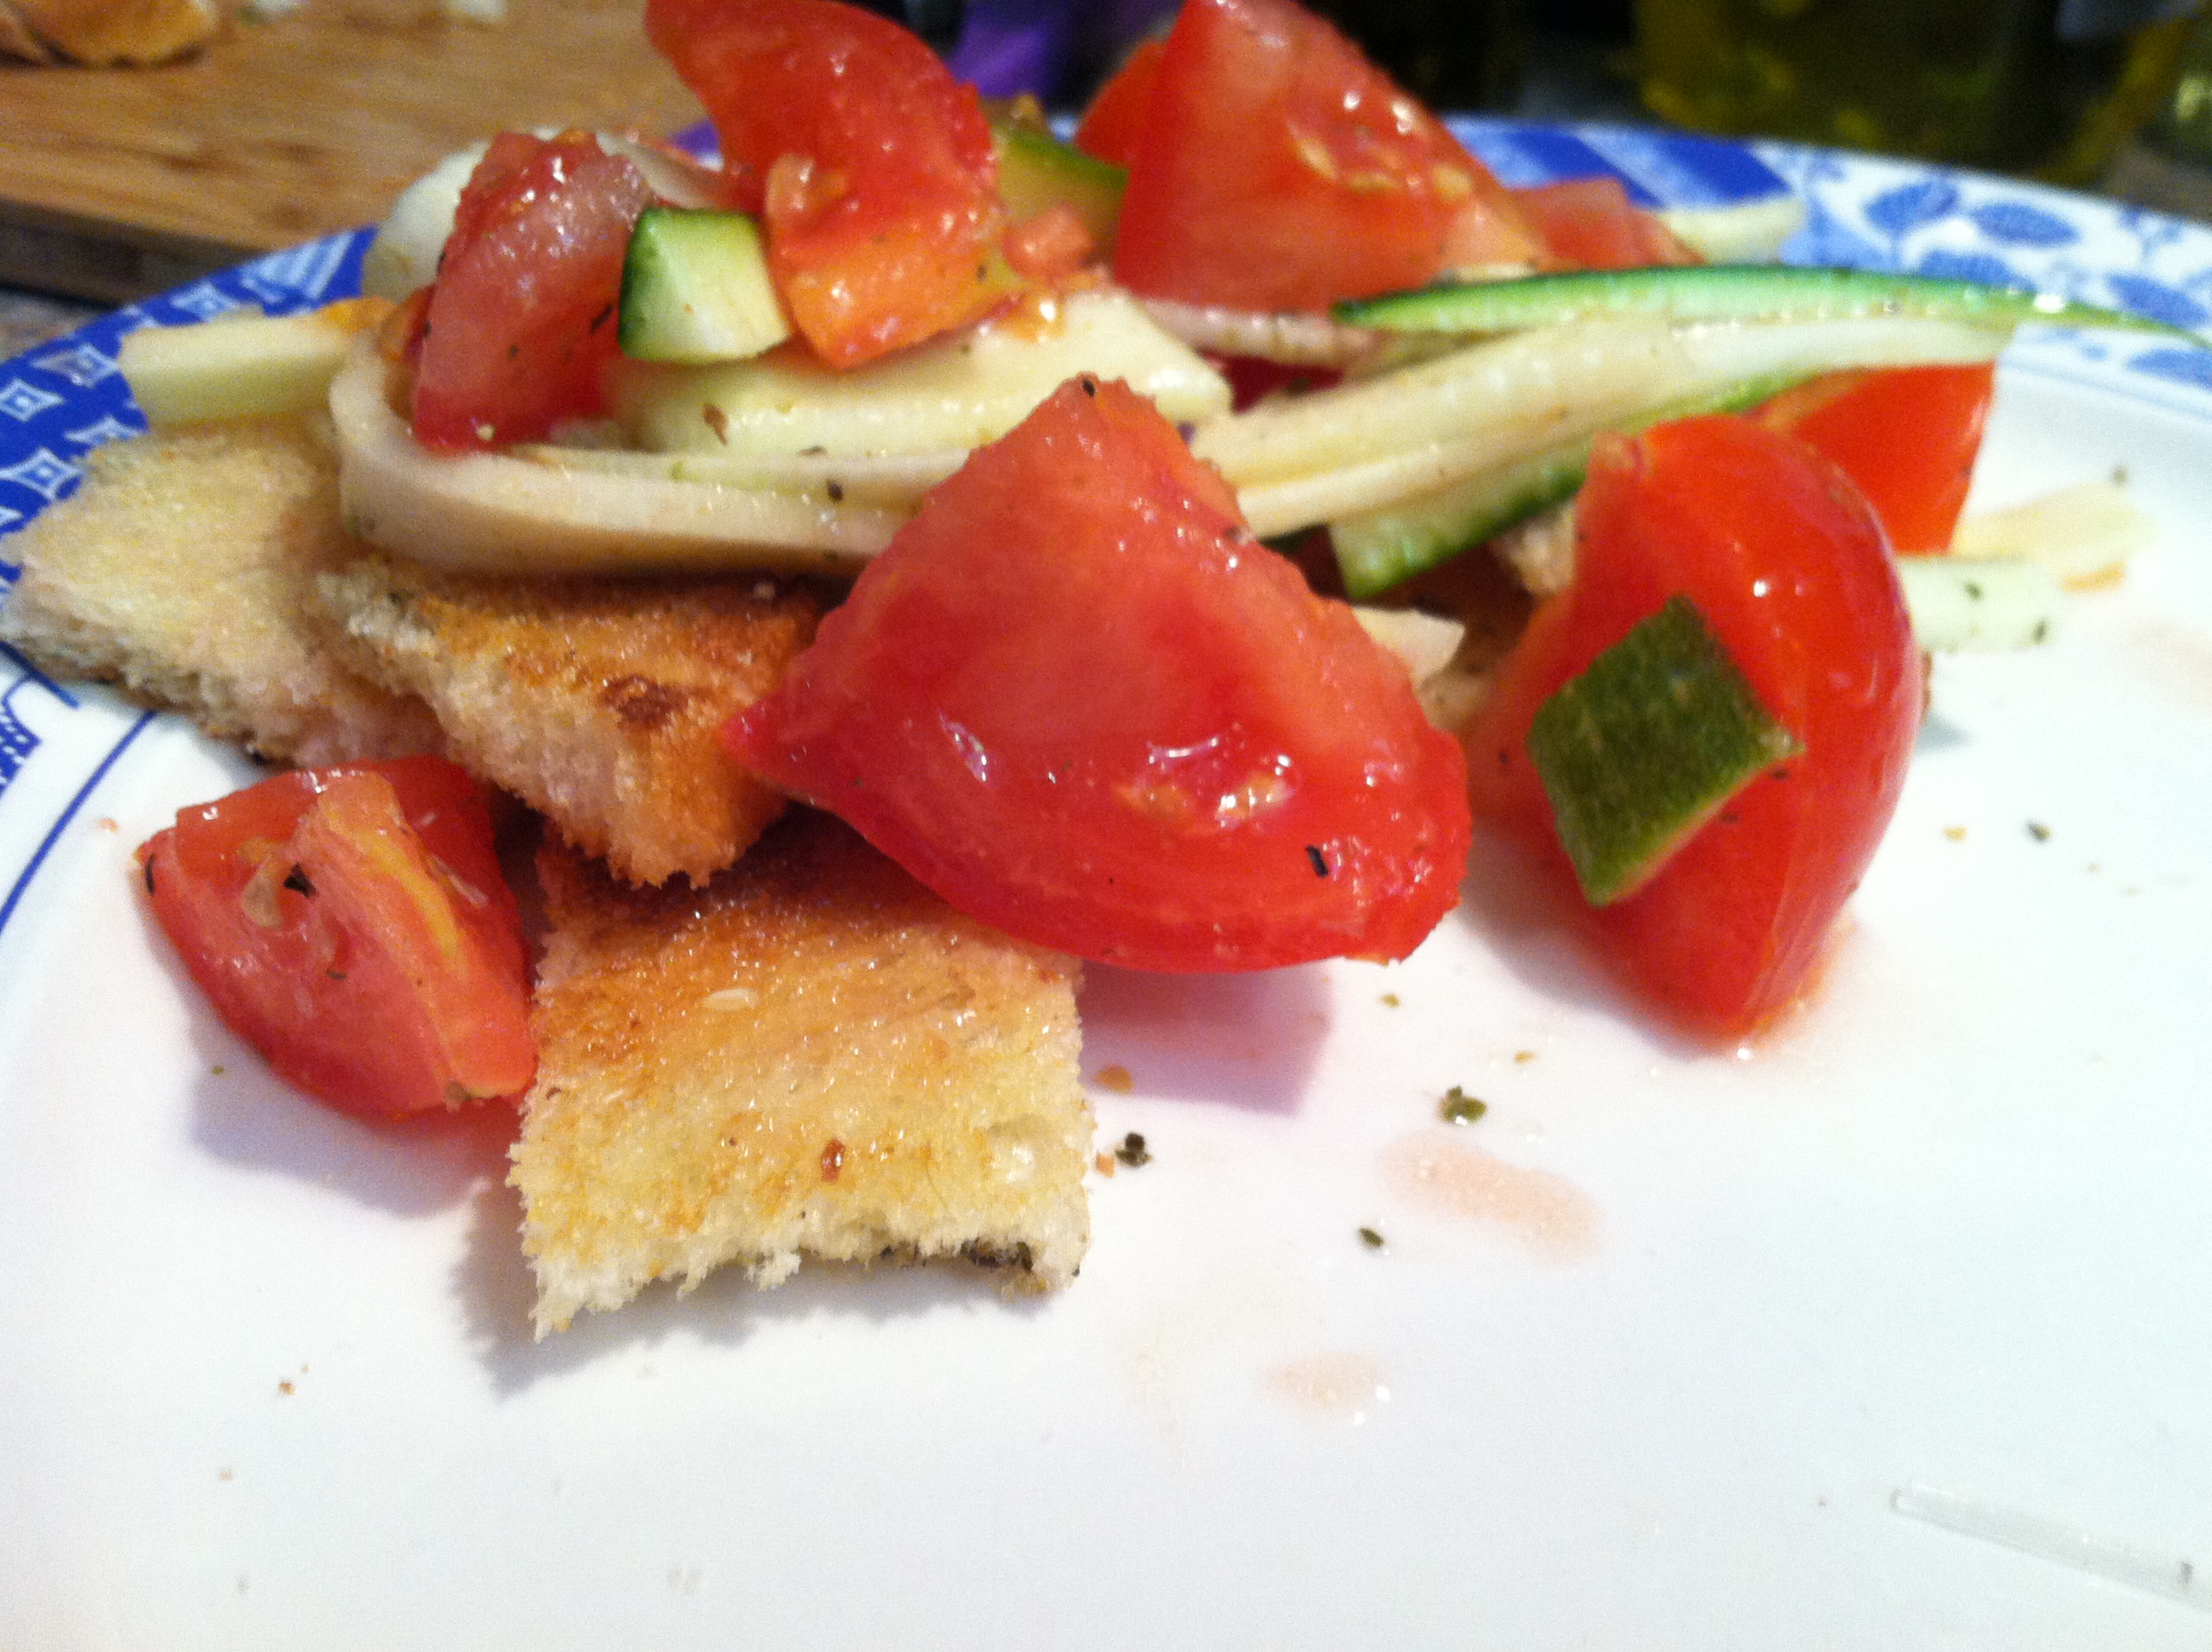
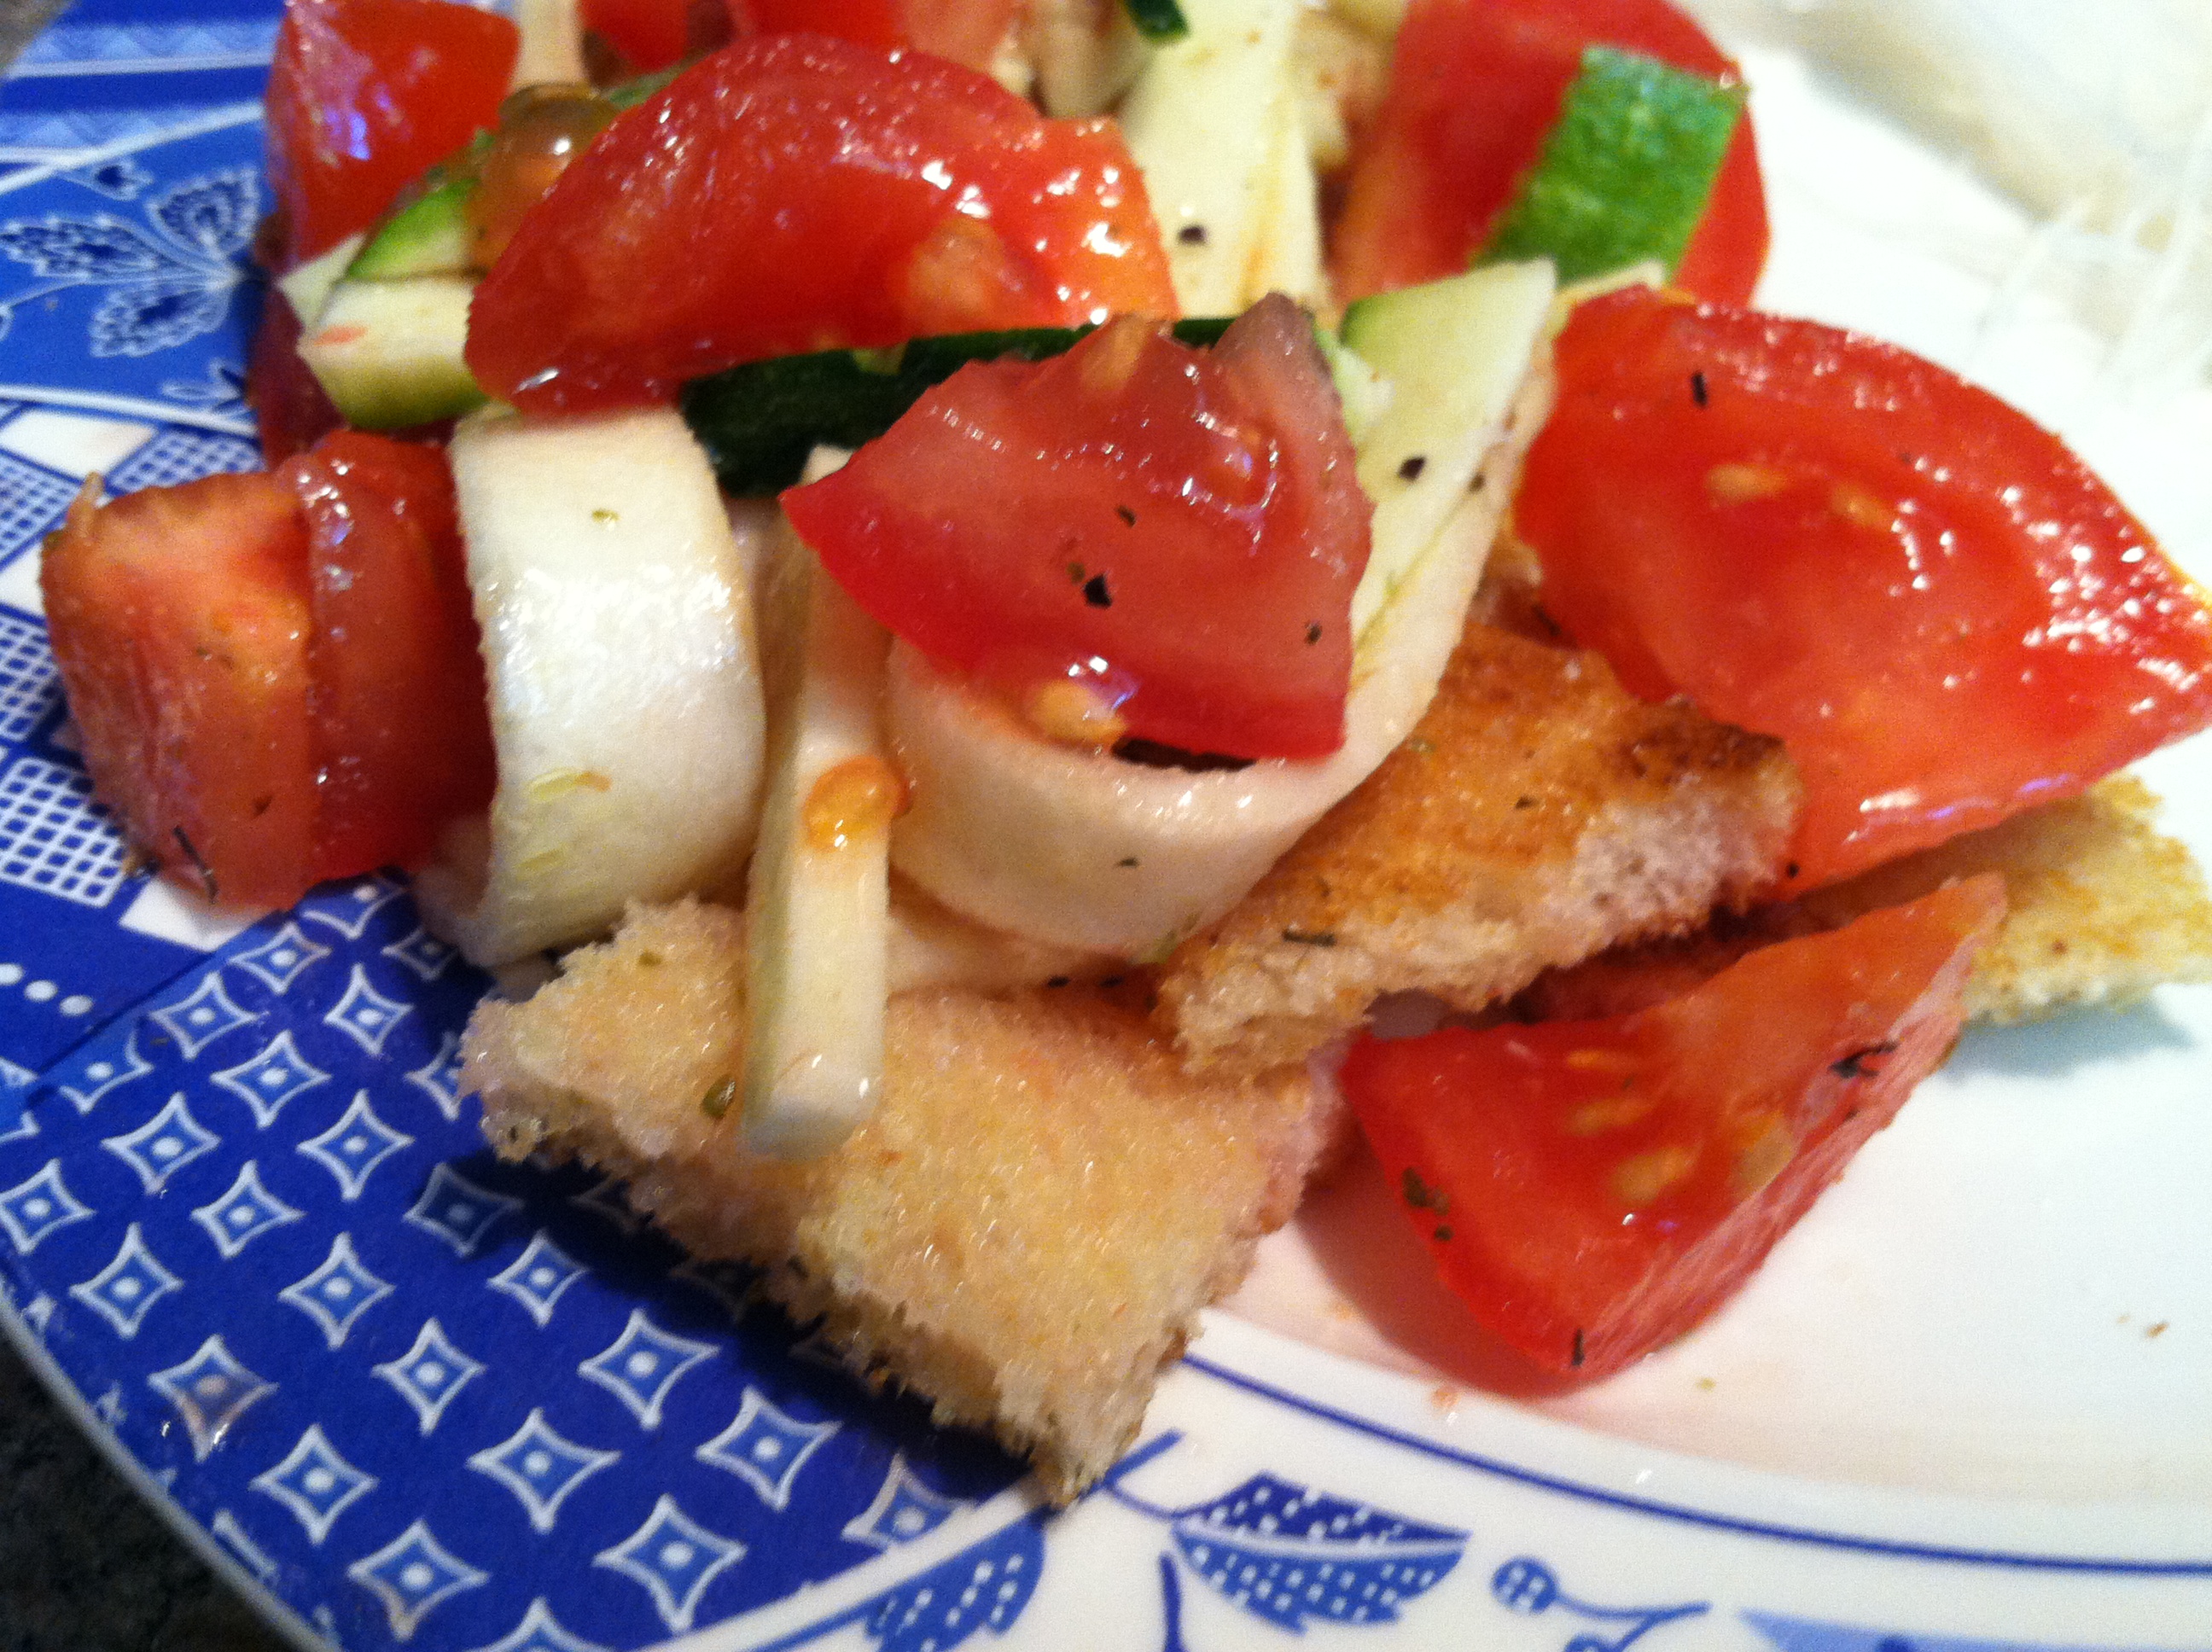
This salad is a fantastic side dish or snack, and can even be a light main meal in the summer heat. It can take advantage of old bread which might otherwise be thrown away, or you can toast fresh bread to get the same texture.

IMG_9513

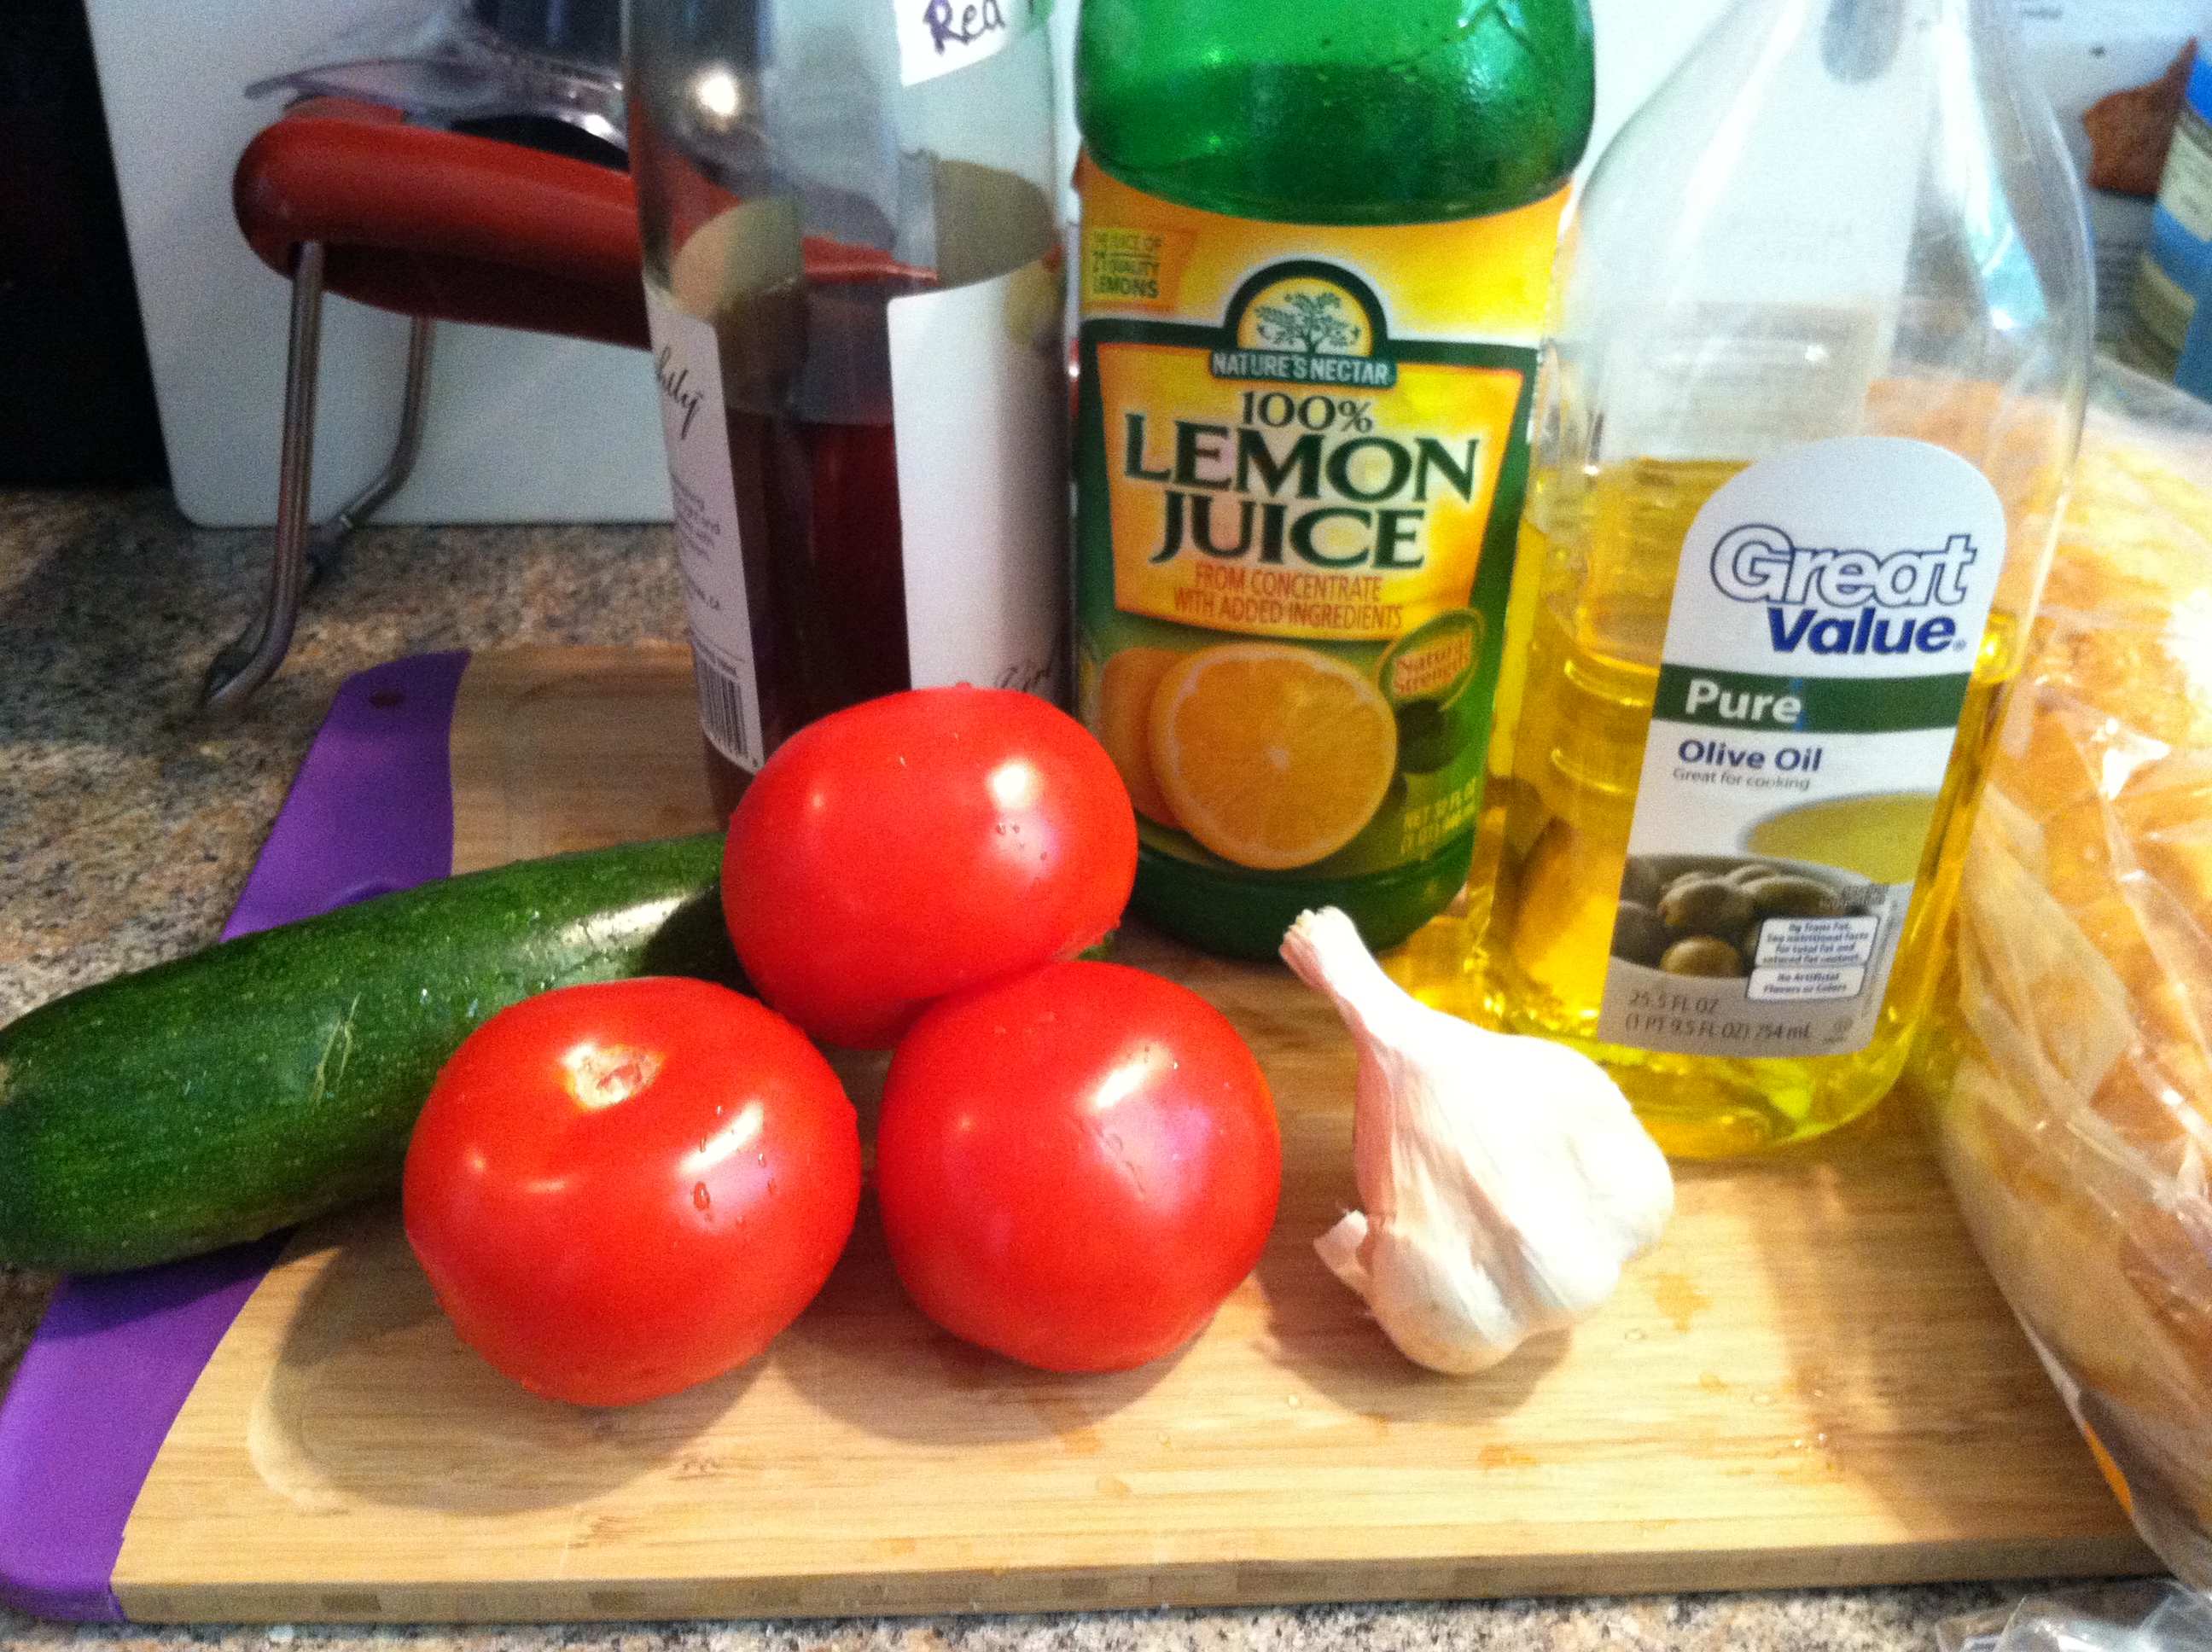
Ingredients:

  • 3-4 ripe tomatoes
  • 1 small zucchini
  • 4 slices bread, toasted
  •  3-4 cloves fresh garlic
  • 3 tbsp lemon juice
  • 3 tbsp olive oil
  • 1/4 cup red wine vinegar
  • Salt & pepper

IMG_9517

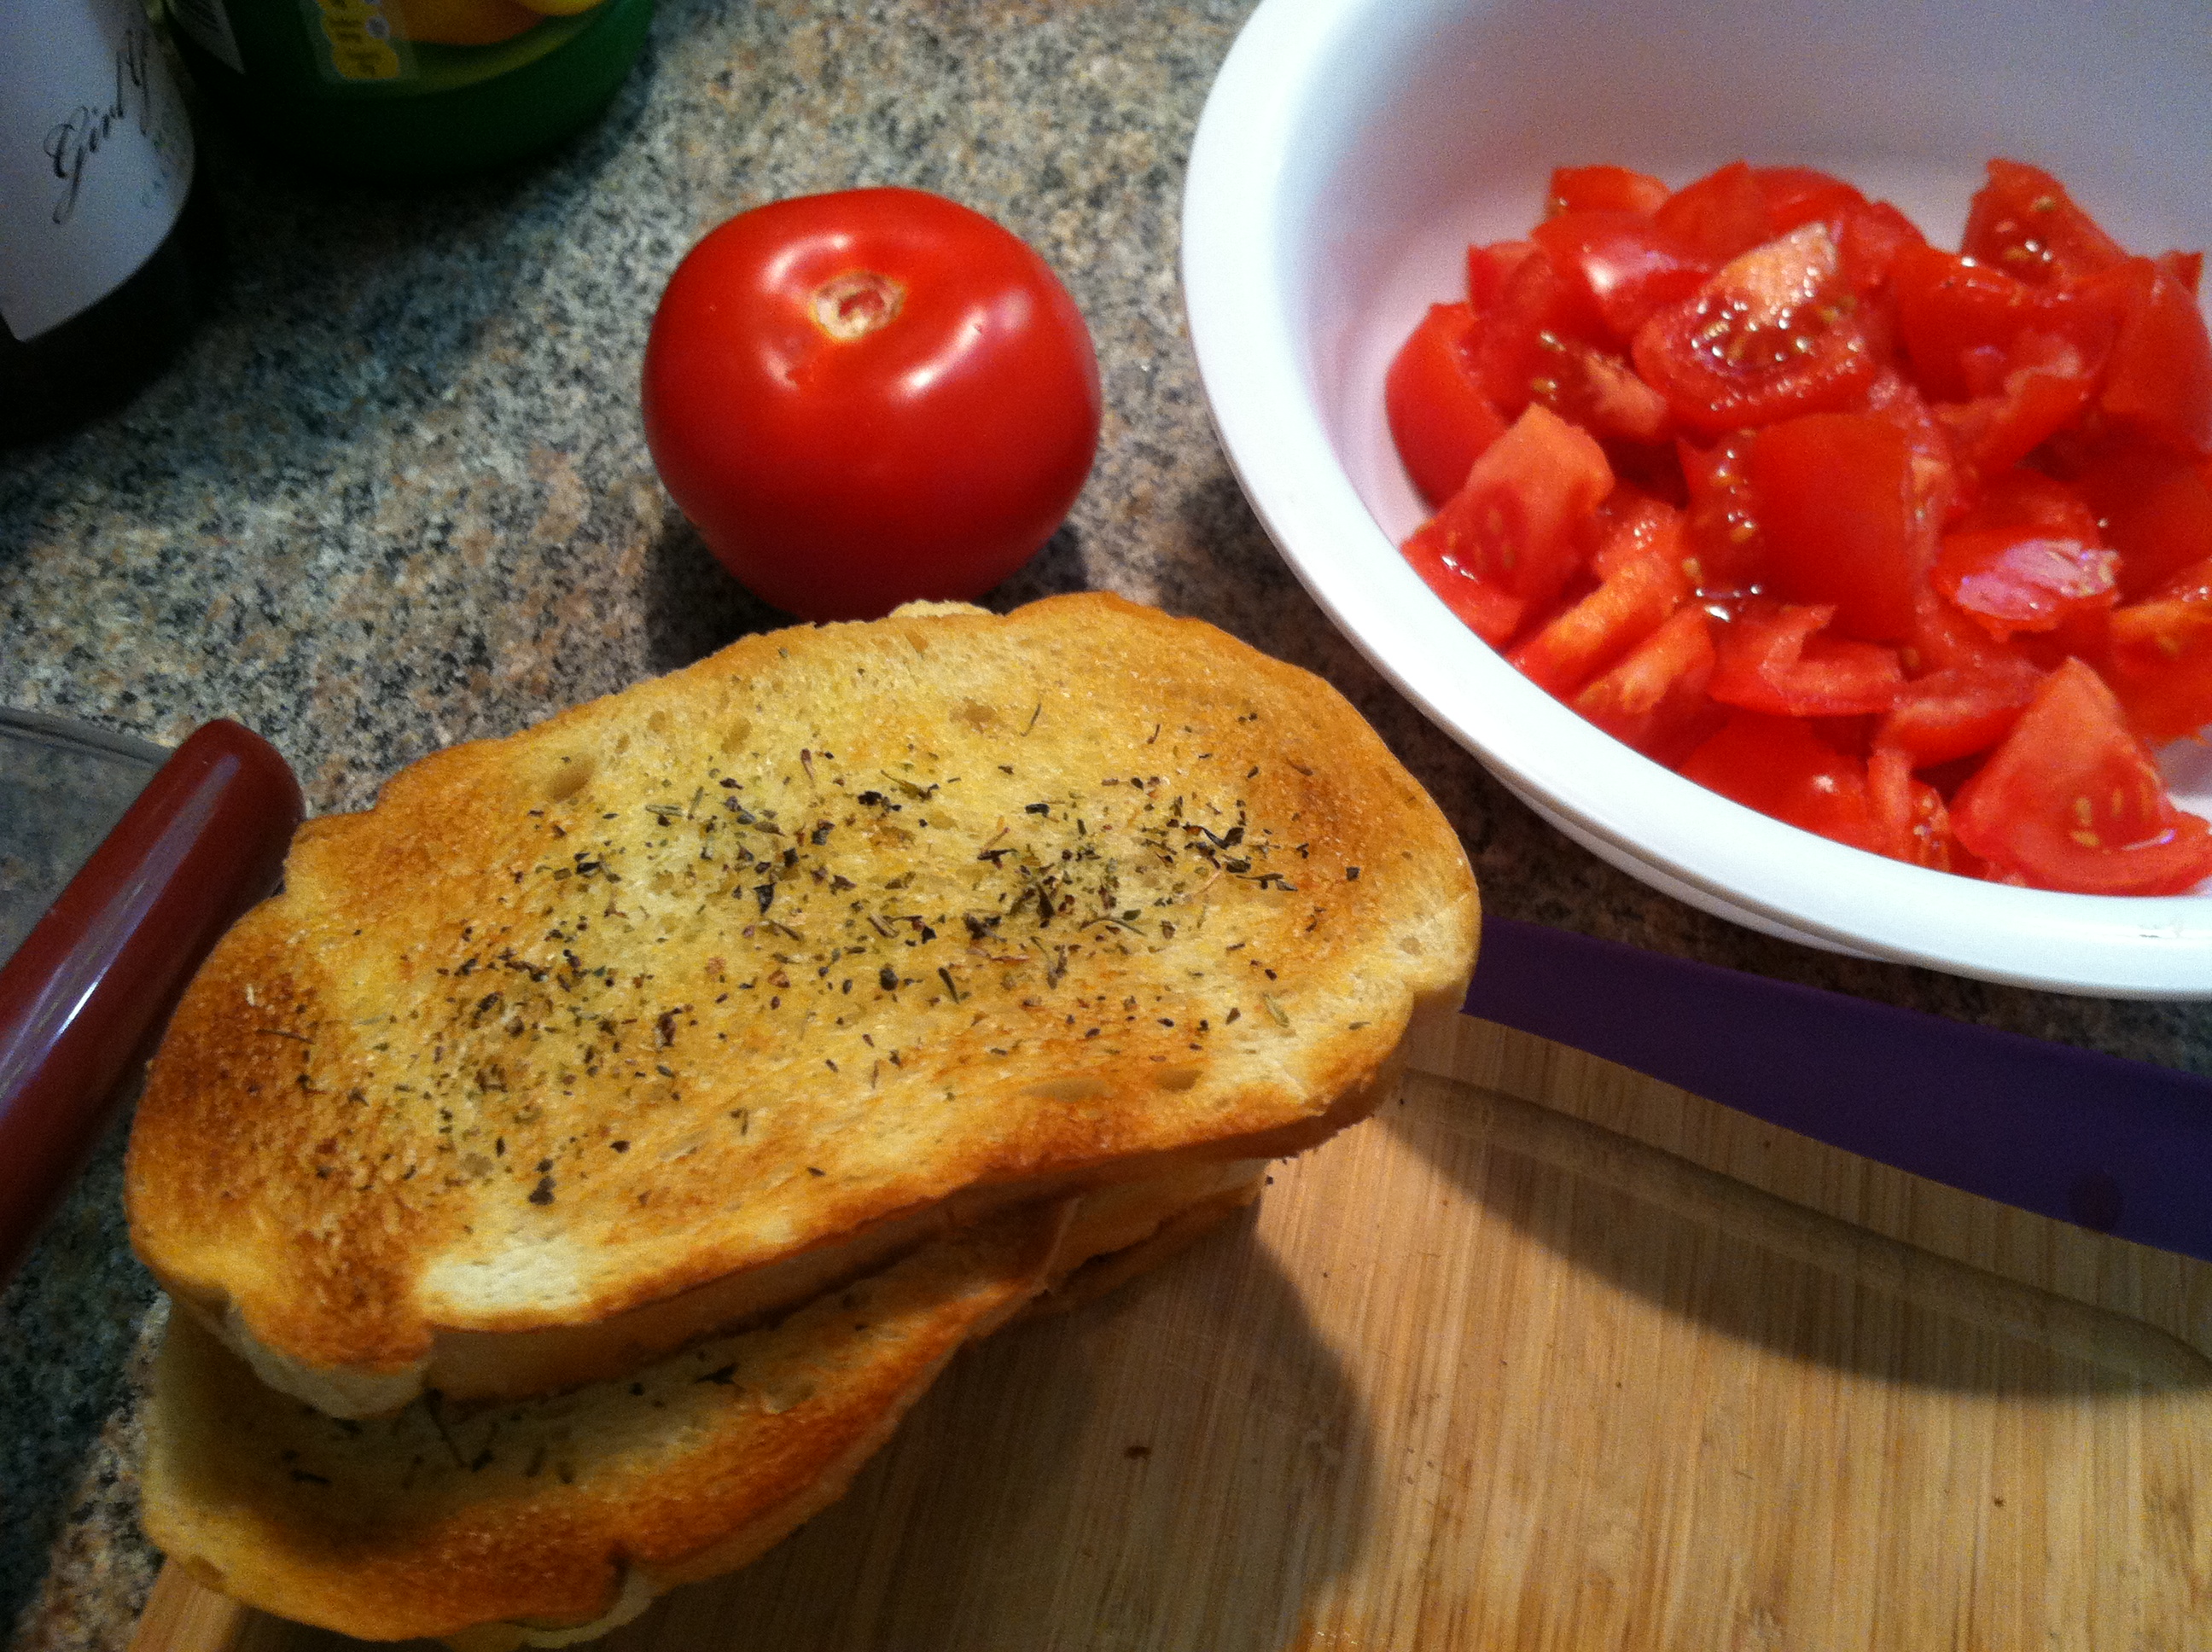
Step 1: Toast your bread, or use a few days’ old bread. I smeared a bit of butter and Italian seasonings on mine. You can use whatever type of bread you like.

IMG_9519

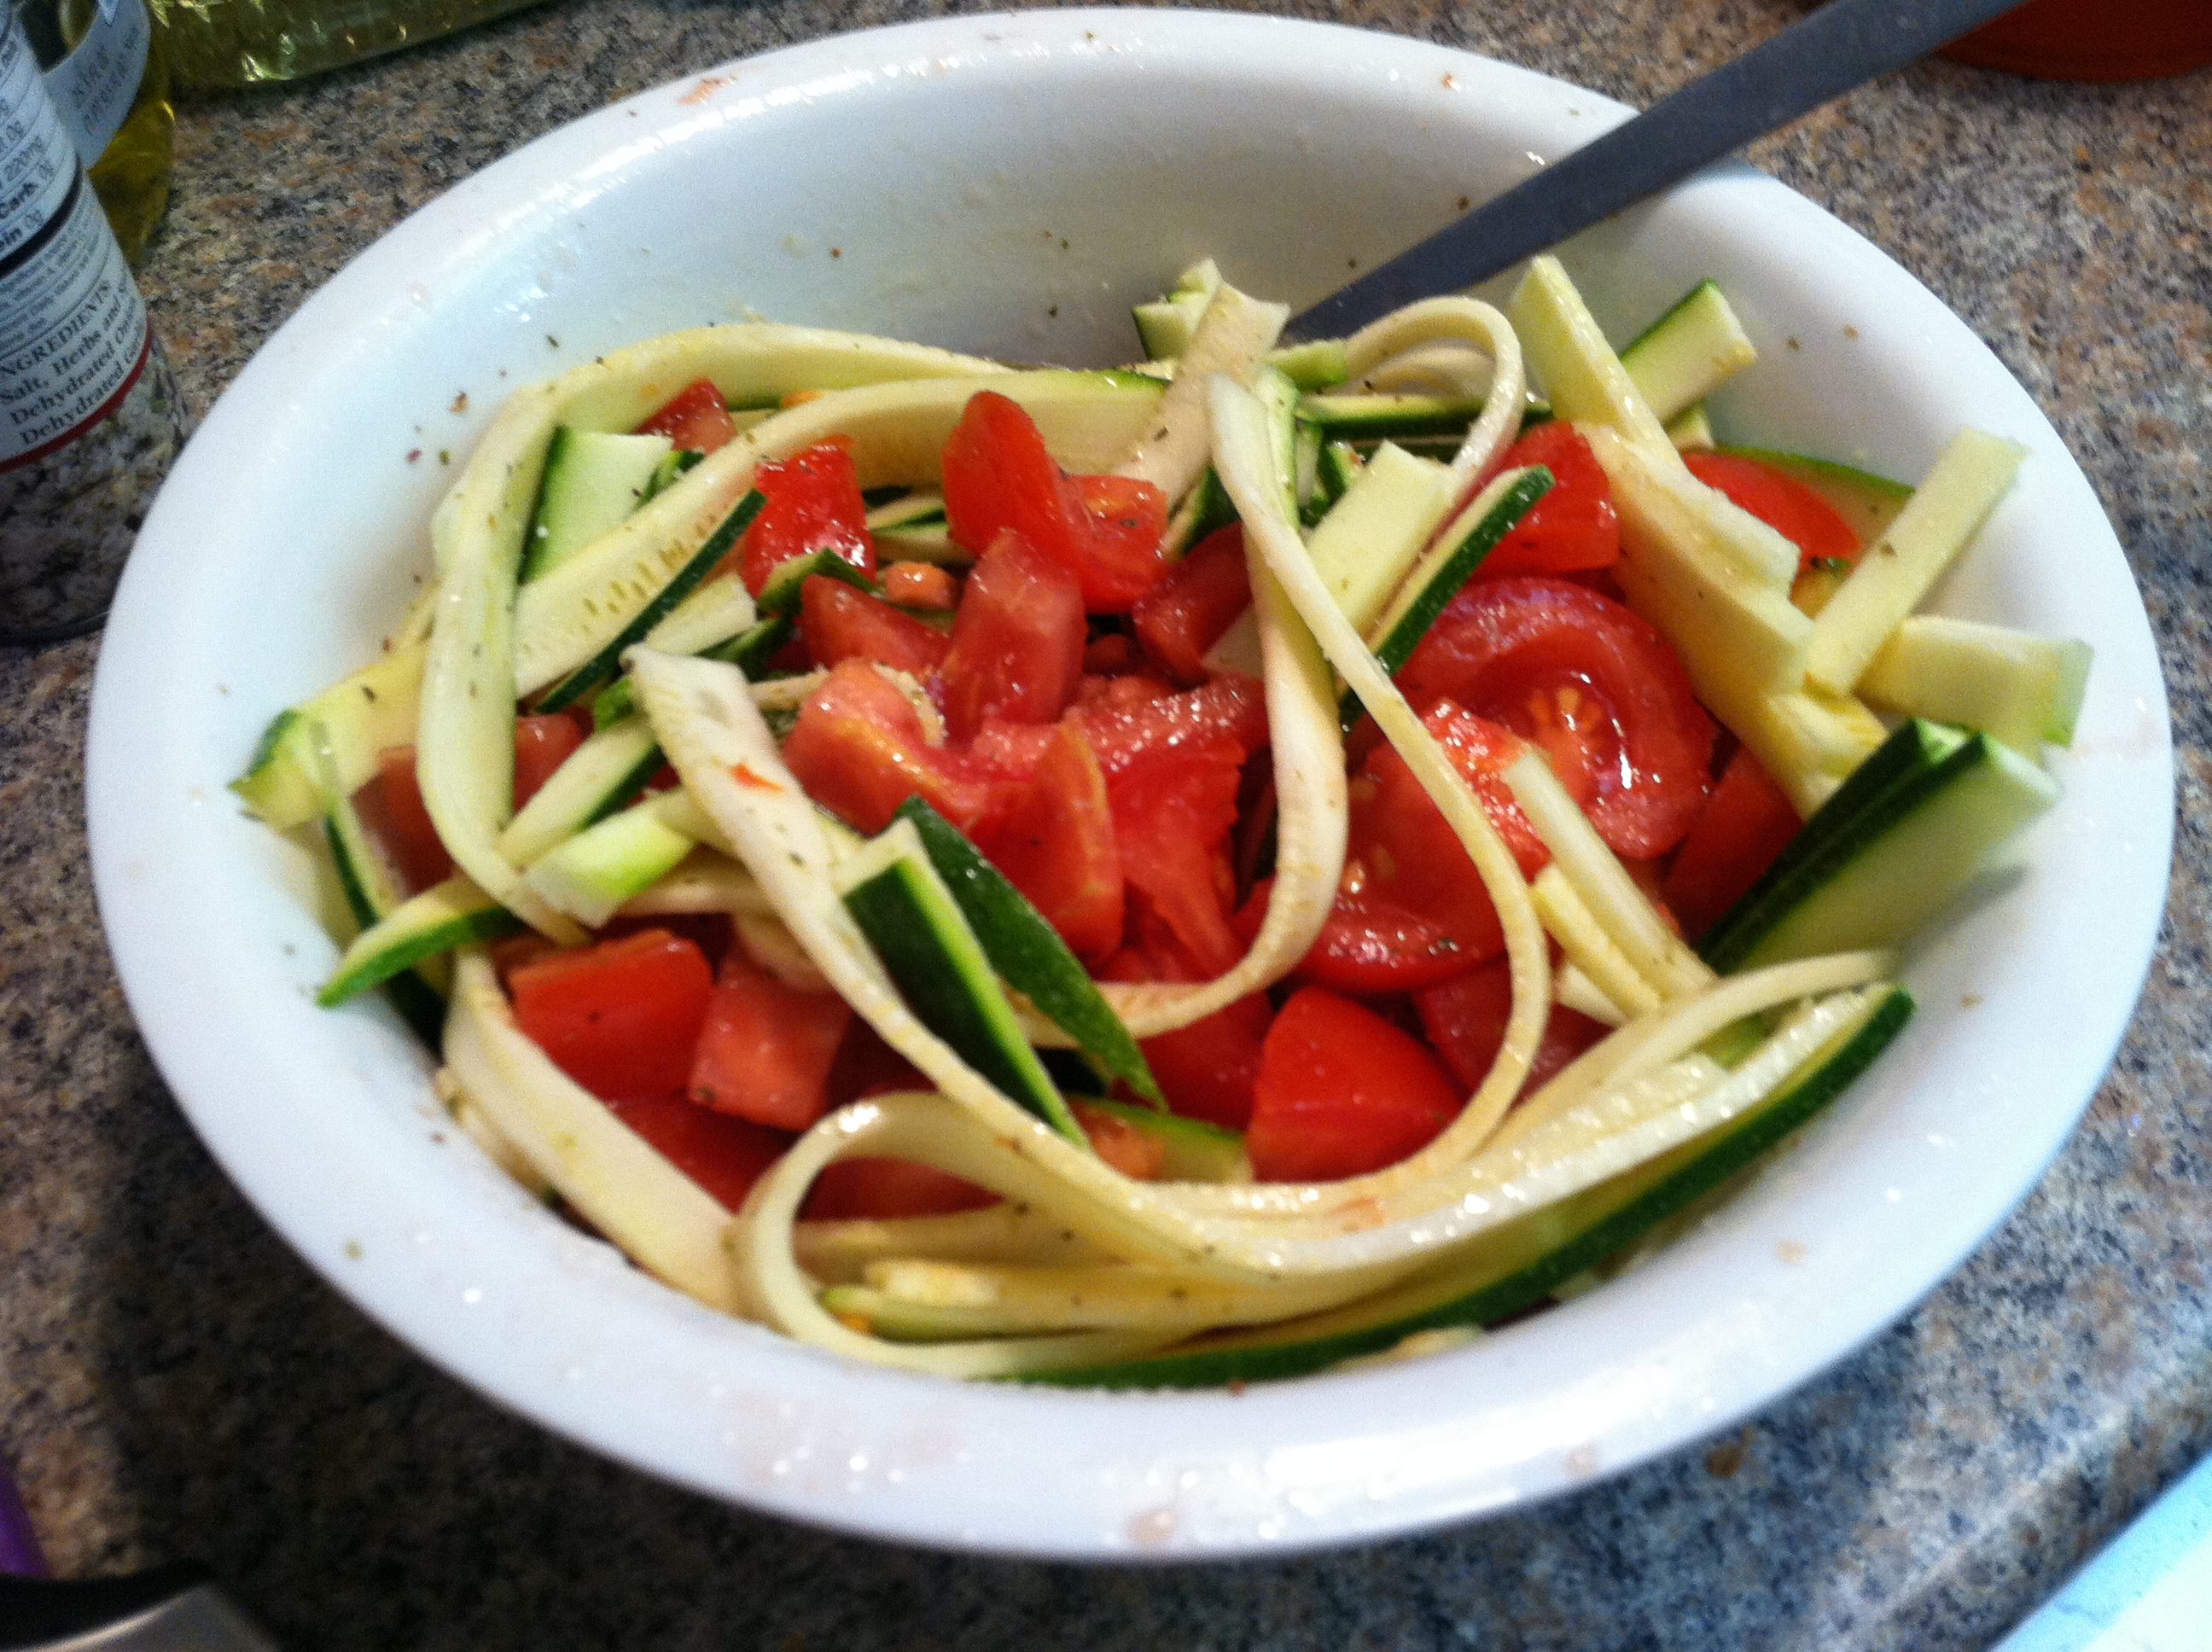
Step 2: Slice or shred your zucchini. I used my mandoline to make thin ribbons so they would take the marinade easier. Dice your tomatoes into cubes and chop the garlic. Mix in a bowl with the lemon juice, oil & vinegar.

IMG_9524

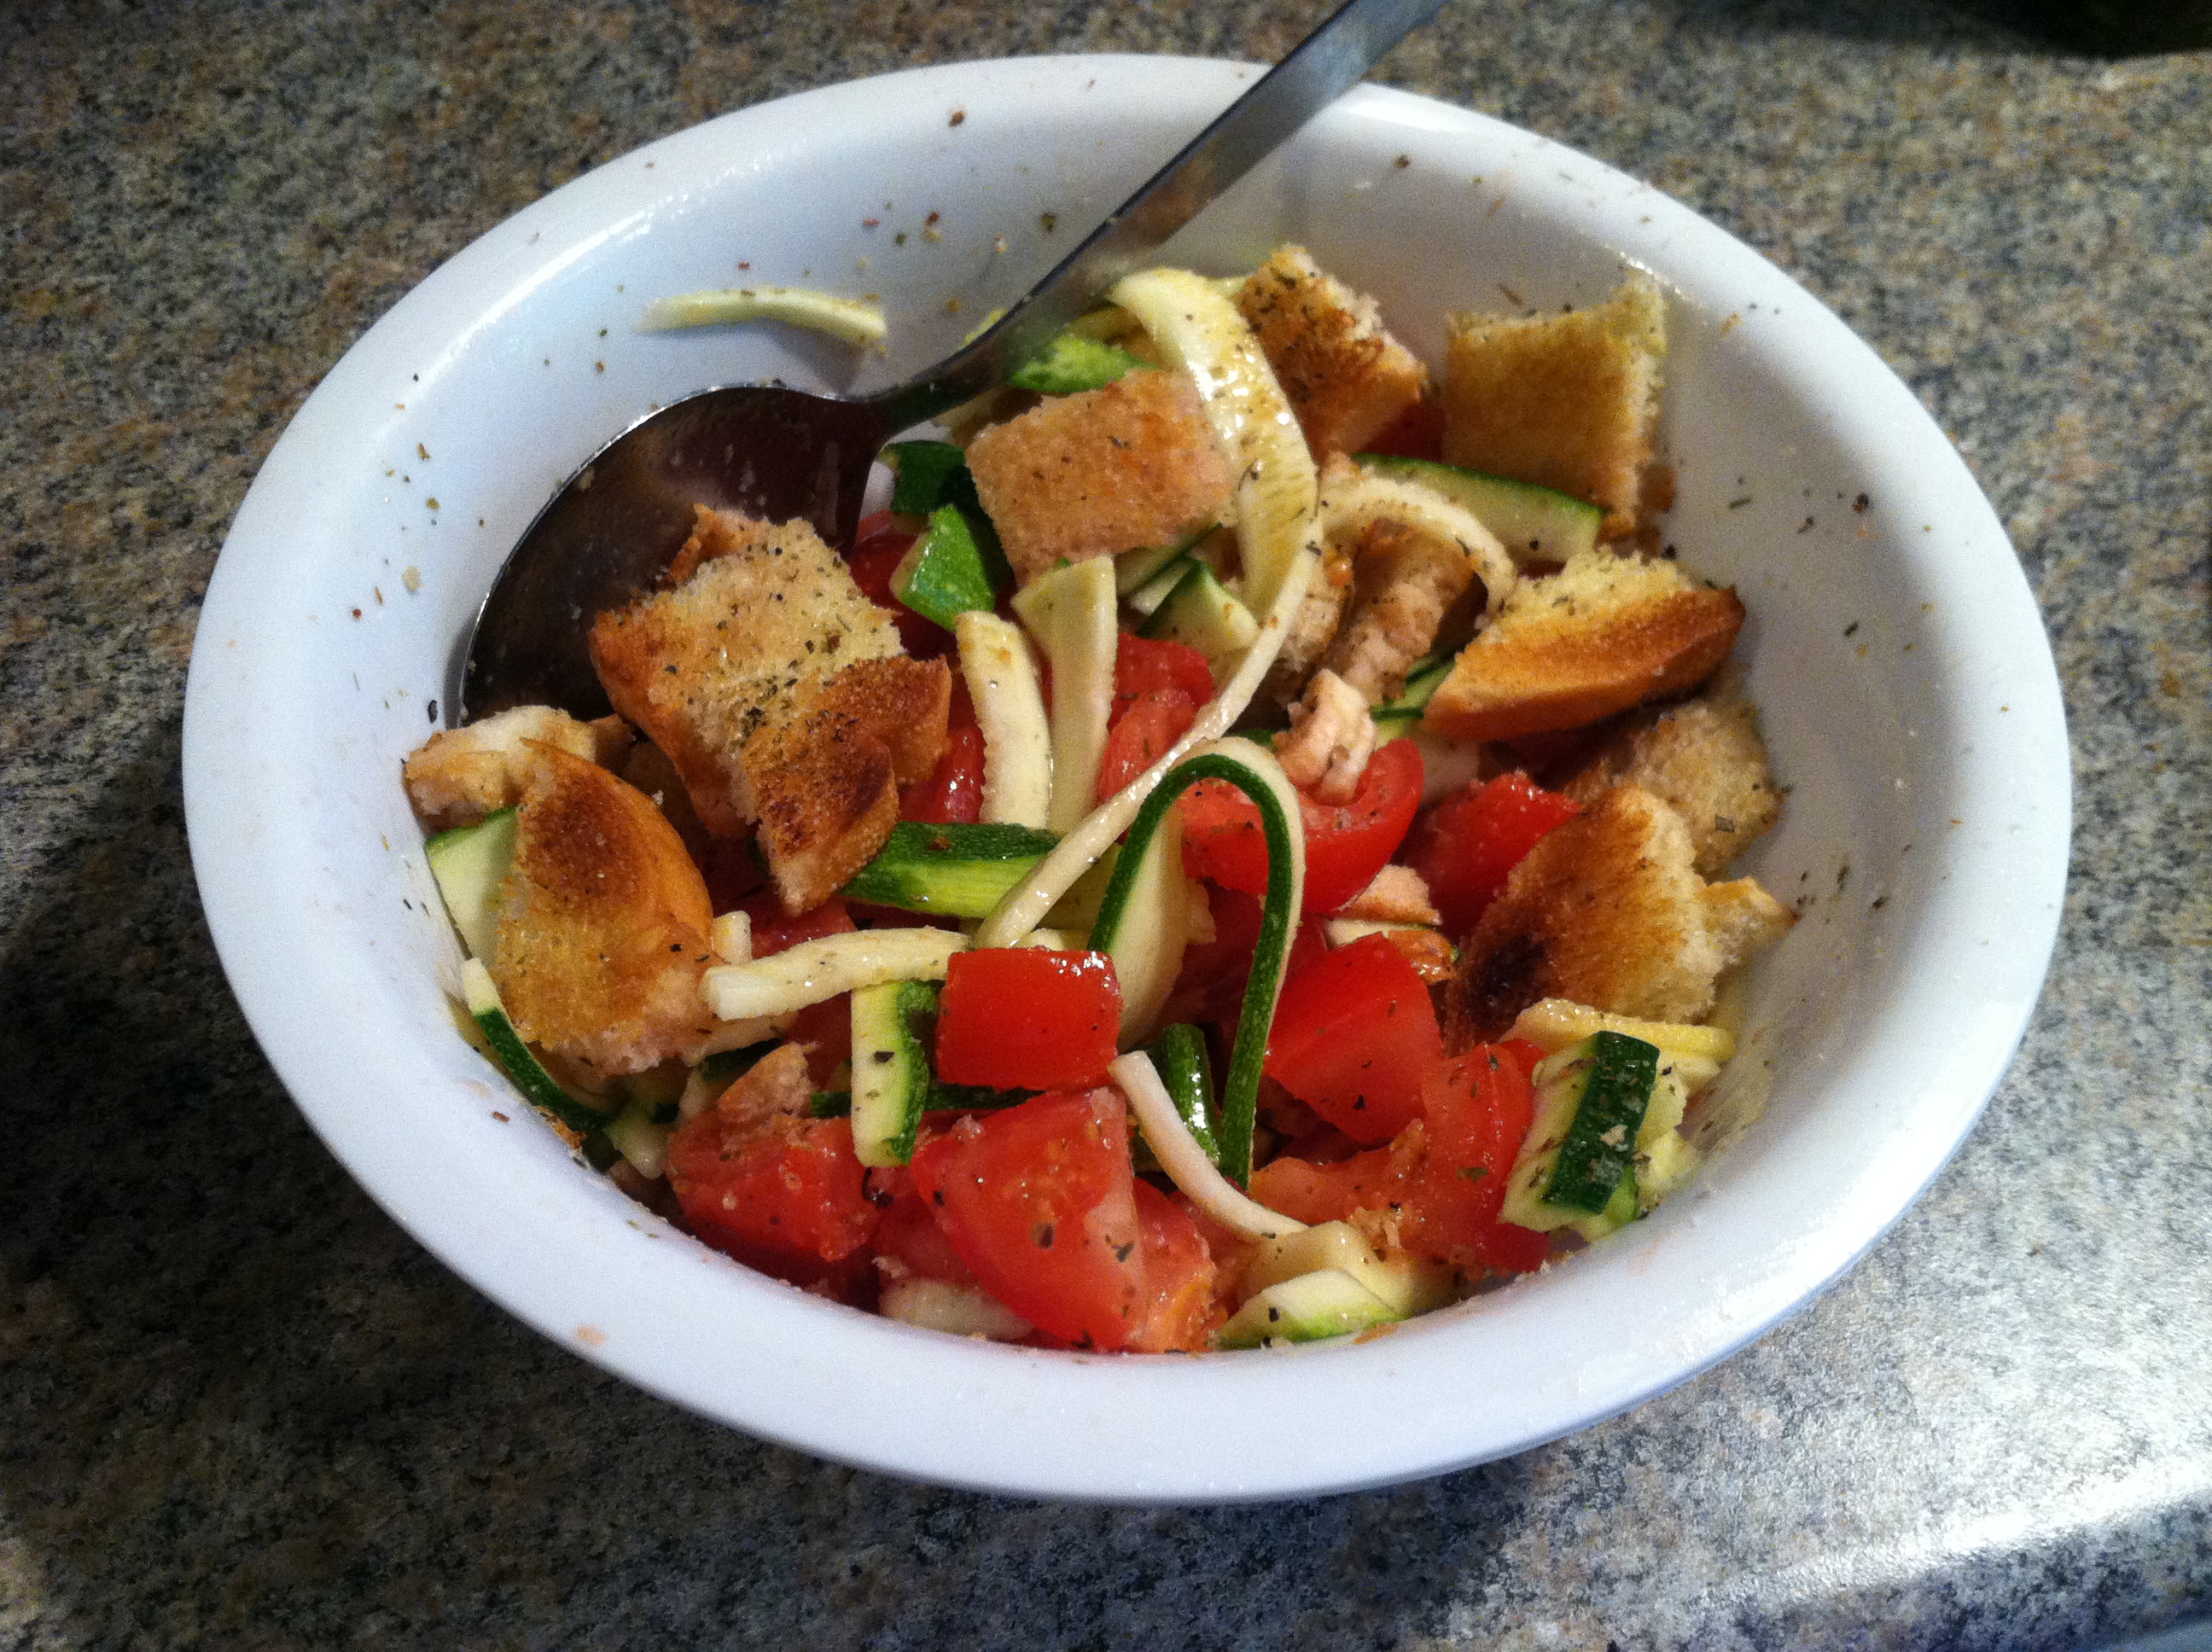
Step 3: Cut the bread into cubes, and mix everything together. You can leave this in the refrigerator for an hour or two to mix and meld the flavors, but don’t leave it too much longer than 1-2 hours or the bread goes from crisp but moist, to soggy.

IMG_9526

Add salt & pepper to taste, and enjoy!

IMG_9527


[amd-zlrecipe-recipe:28]


Mango Cherry Hurricanes


As a souvenir from my first visit to N’awlins, I had to bring home some hurricane mix. A little bit ironic now… anyways, this double-rum juice-heavy cocktail is a crowd pleaser and a sure party starter. It is the recognized ‘signature’ drink of the Big Easy. However, there are those that protest today’s Bourbon Street foot-long pitchers of syrupy sweet mixtures.

But as always, to heck with expectations. I had some hurricane mix waiting to be enjoyed, some spiced rum, a can of mango and a sunny day calling my name.

Try your own version at home with whatever type of juice you enjoy. Pineapple, mango, guava, lemon, orange, cherry, or passion fruit (the true original) are all delightful choices. You can even mix and match multiple. As long as there’s rum! Preferably 1:1 light and dark, but dark is all I had, so I just doubled up 😉

Ingredients:

  • 1 can mango + juice
  • 1 package hurricane mix
  •  1 cup spiced rum
  • Optional: cherries or other fruit for garnish

IMG_9650

Step 1: Mix the hurricane mix & water in a large container. Depending on how many you are making, adjust recipe. This is for four drinks’ worth.

IMG_9652

Step 2: In a blender, blend the mango in its own juice until smooth.

IMG_9653

Step 3: In a large glass, add crushed ice 2/3 way full. Pour in 1/2 cup mix, 2-3 shots of rum (depending how strong you want it), and top with mango.

To make a large pitcher full, you won’t get the pretty layers, but simply mix 1 cup rum, 2 cups mix, and 1 cup mango. Adjust up to whatever volume you want. Then pour at will.

Garlic Roasted Goat Shoulder


For those of you who have never had goat products, I highly encourage you to try them! Everything from goat milk, to goat cheese, to goat meat, is delicious and pretty darn good for you. Goat cheese lasagna is absolutely fabulous, sharper and earthier than any ricotta ever will be, and it makes a great spread for toast or bruschetta. Pairs nicely with roasted sweet potato, beets, and on fresh green salads.

Goats milk is naturally homogenized, which means it doesn’t separate into the “cream” and skim milk, as natural cow’s milk does. The cow milk you buy in the store is one homogenous mixture because of the homogenization process; essentially putting such high pressure on the milk to shoot it through tiny tubes that fat globules break up into itty-bitty uniform pieces that no longer clump together and float to the surface.

Fun fact: baby goats are called kids. So when a goat has a baby, it’s just kidding!

Lame jokes aside, goats are delicious, and also good for the environment. They naturally think some of our worst plant enemies, like poison ivy & thistles, are delicious treats. They can even be used as a carbon-neutral landscaping option! (No seriously, you can rent goats to trim your lawn and get rid of unwanted greenery). As a final bonus, goat manure is odorless, can be directly applied to soil without composting, does not contain seeds, and is richer in nitrogen than that of cows or horses.

Ok, so goats are good at eating bad vegetation. How do they compare to cows and other meat producers? A similarly sized serving of goat meat has a third fewer calories than beef, a quarter fewer calories than chicken and much less fat, and up to two-thirds less than a similar sized portion of pork or lamb (source). They are browsers, not grazers, and a field can handle nearly ten times more goats than cows.

If the “gamey” taste and smell of what you think goat meat is turns you off, you may have had a bad experience. Some cultures prize older, tougher bucks, which are known to have that ‘barnyard’ smell about them. Give a local supplier a chance to show you what a younger cut is like, and you may completely change your mind.

So these little guys are totally adorable, extremely useful, and then completely delicious while also quite healthy for you. What are you waiting for?? Check out a local farmers market, or halal butcher, and find some goat near you.

I found Blue Slope Farm at the farmer’s market in CT. The proprietor, Matt, was there and he was very kind and helpful. He runs a working farm with cows, goats, and a maple syrup distillery. Their products are all local, they hand-raise their herd of over 200 cows each year to produce tender grass-fed veal and are branching out into goat meat. If you’re in New England check them out, they are top notch.

Ingredients:

  • 2 cuts goat shoulder chops
  • 5-10 garlic cloves
  • 4 tbsp spice mix of choice
  • 2 tbsp olive oil
  • 1/3 cup red wine

IMG_9463

Step 1: Drizzle the olive oil in the pan, and sprinkle spices onto chops. Place in the pan and sprinkle spices on the other side too.

IMG_9464

Step 2: Pour in the red wine, and cover. Cook low and slow for 10-15 minutes, until browned.

IMG_9465

Step 3: Using a sharp knife, cut holes in the meat. Press garlic cloves into the holes. Flip chops, cut holes into the other side, and fill with garlic. Cover and cook another 10-15 minutes on low.

IMG_9466

Step 4: Remove cover, turn heat to medium-high. Let wine evaporate, and sear the meat. Once lightly charred, flip and sear the other side. Be careful not to burn badly.

IMG_9468

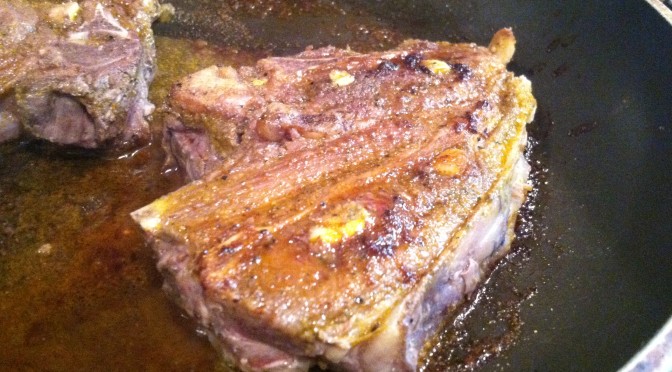
Serve your delicious, sustainable, healthy chops with some fresh seasonal veggies and enjoy!