All posts by BudgetEpicurean

Long-time student turned young adult with varied interests, mostly food and frugality. Pursuing wealth so I can help others pursue health.

Amazing Crab & Corn Chowder


Since I live on the East Coast now, things like clam chowder are a given. But one day when I had a craving for it and called around, I found out it costs about $20 per quart to order from a restaurant. Of course my frugal self was all “say what?” I knew I could make something just as delicious for far less. Then one night the significant other, when asked what he’d like for dinner, said “something like soup, but thicker, to dip bread in”.

Challenge accepted.

IMG_9178

I went to the pantry, and surprise, have not stocked anything with clams in it yet. A quick google search revealed that corn chowder and potato chowder are both popular options throughout the midwest and east coast. I love incorporating extra veggies into just about everything, so that sounded good.

But I still wanted that coastline-eqsue “fishy” taste. Not the “I hate salmon forever because this is gross” taste, just the salty, reminds you of the ocean flavor. Anyways.

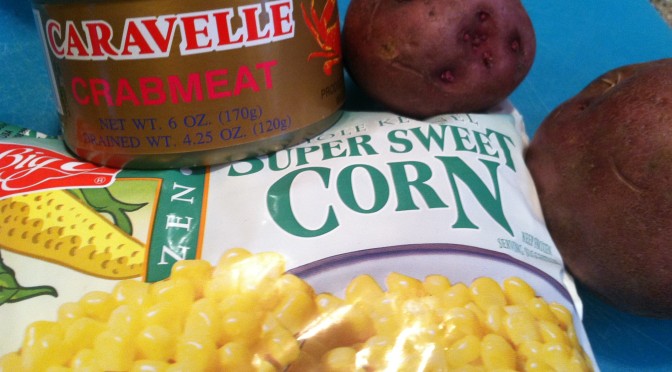
To my delight, I did have some canned crab meat on the shelf!
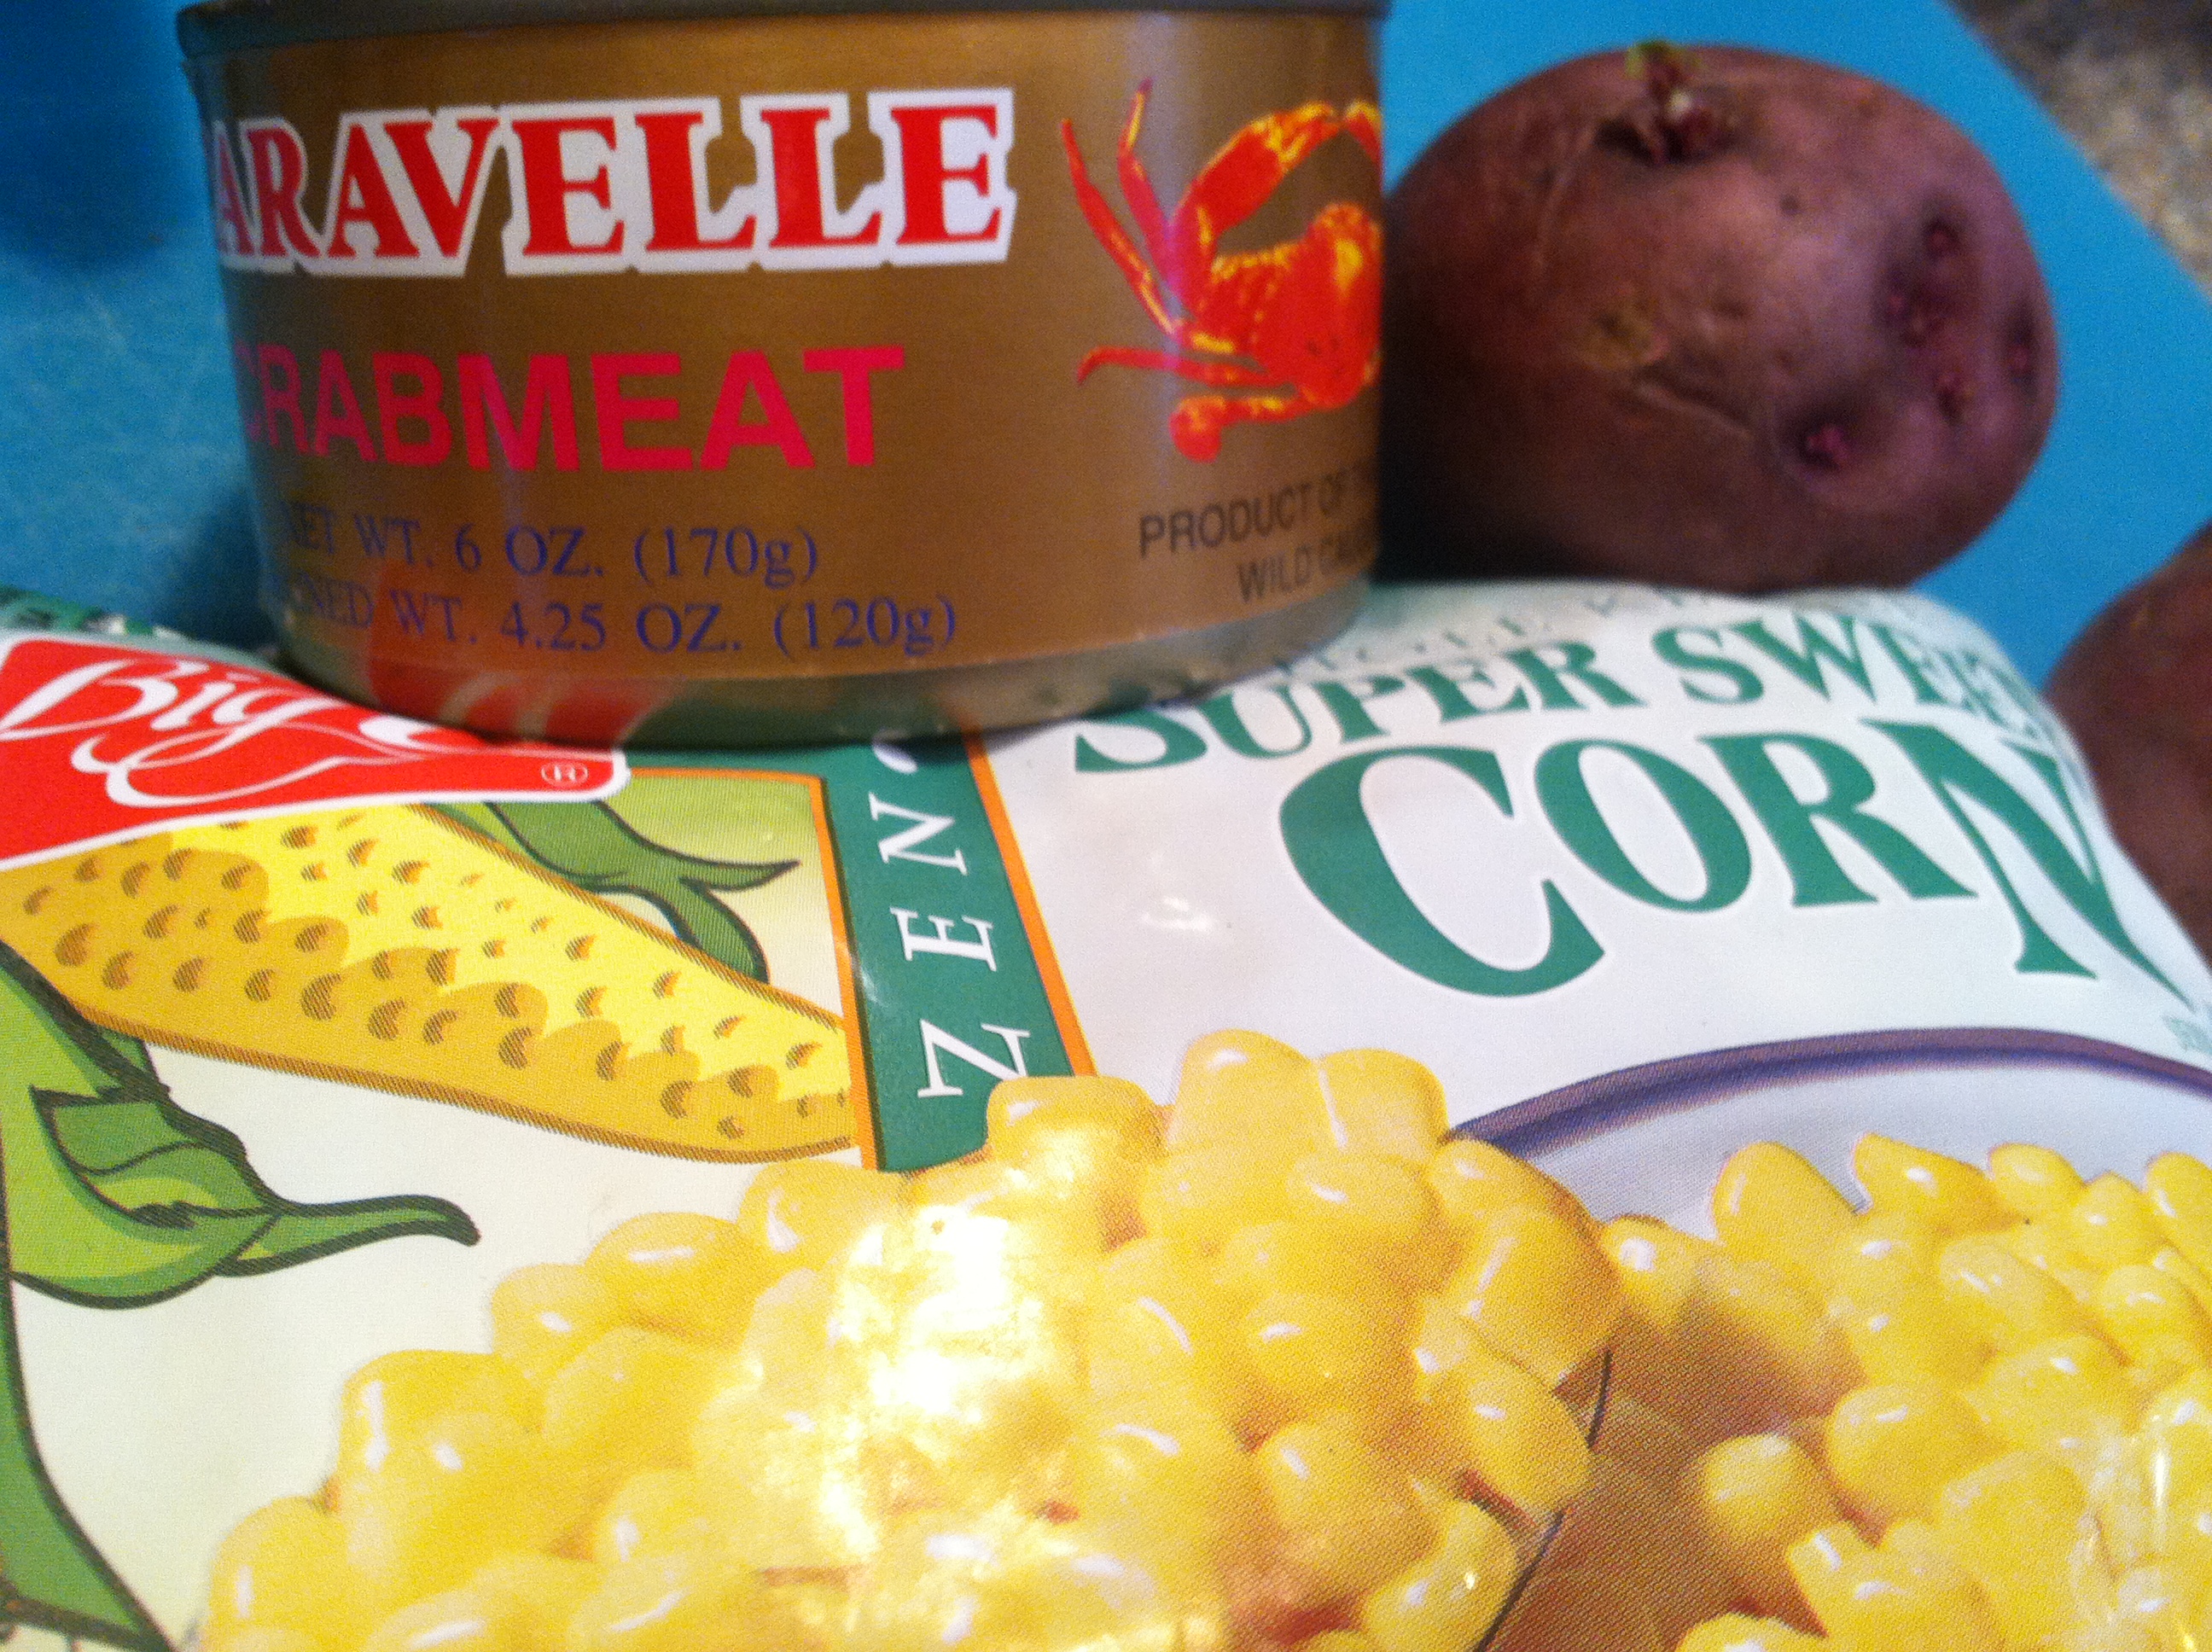
IMG_9159

Jackpot. Combined with a teeny bit of fish sauce from my favorite Asian market, that should do the trick. A bit of creative dairy and thickening, and this turned out far superior to anything I’ve had in a restaurant. I was quite pleased, and it definitely satisfied the ‘soup-like but thicker’ and dipability requirements.

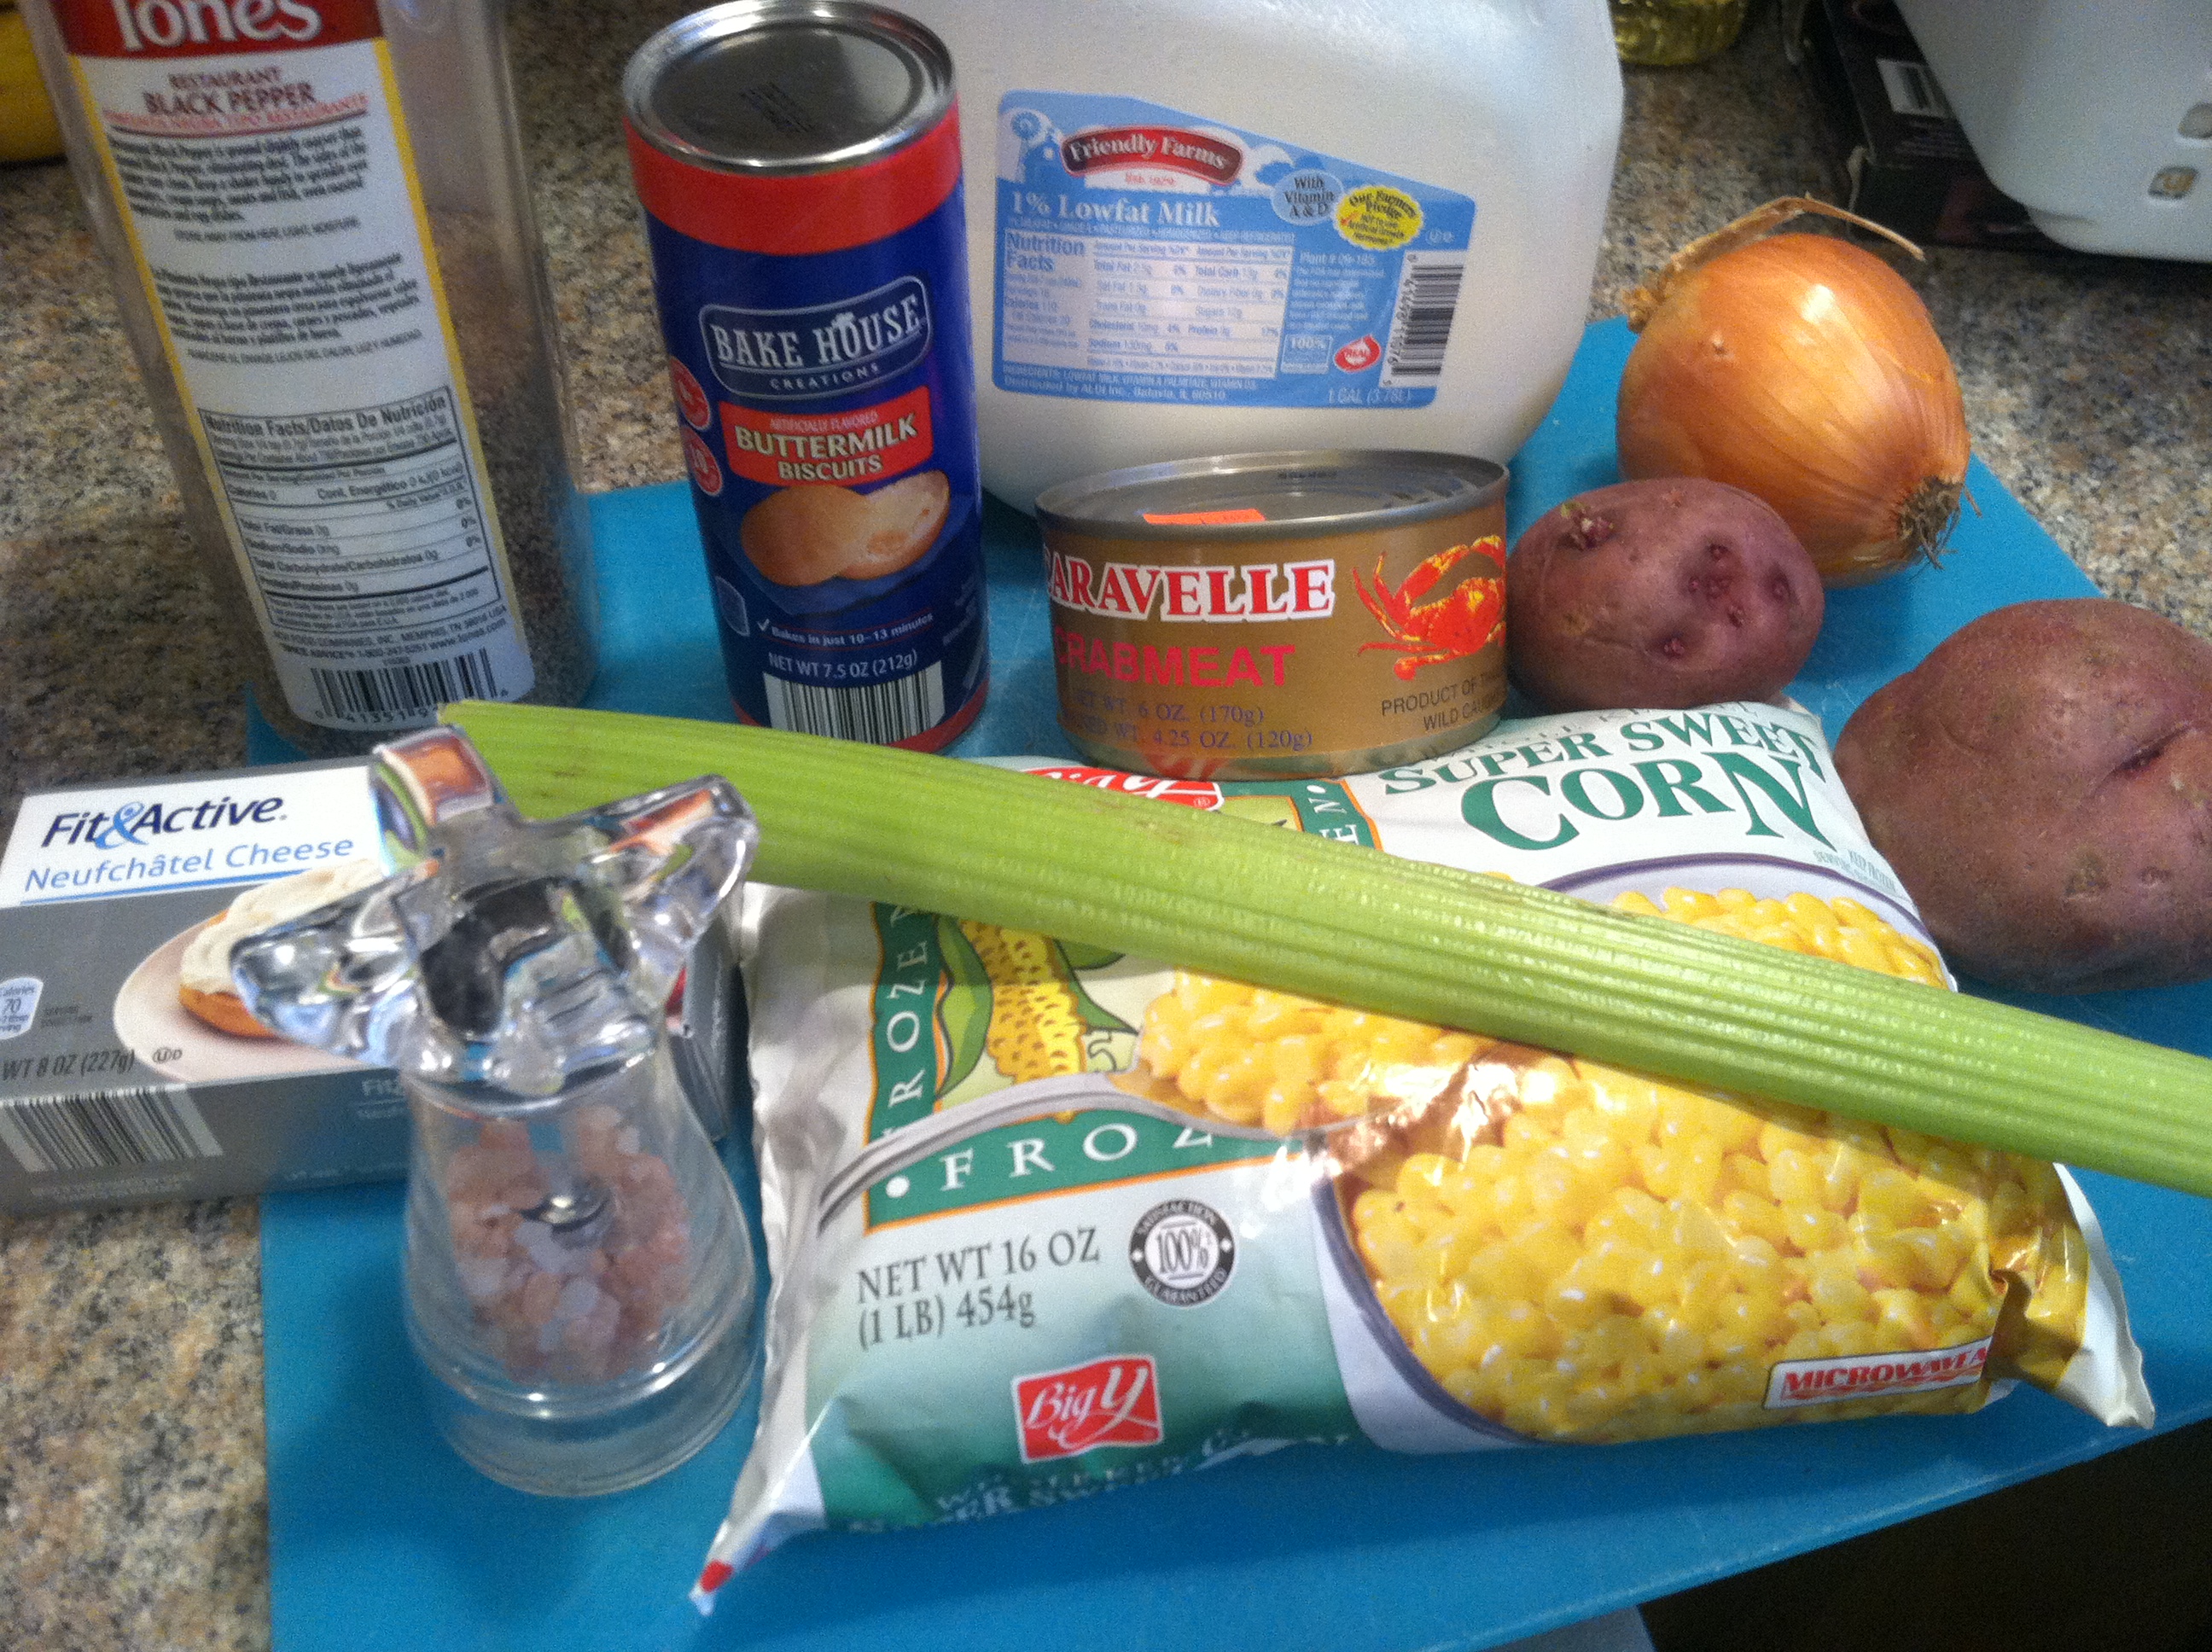
Ingredients:

  • 1 can crab meat
  • 1 bag frozen corn (or 2 cups fresh)
  • 2 red potatoes, diced finely
  • 2 celery stalks, diced
  • 1 large yellow onion, diced
  • 1 block of cream cheese
  • 2/3 cup milk
  • 2 tbsp olive oil
  • 1/4 cup fish sauce
  • 3 cups water
  • Salt & pepper to taste
  • Optional: biscuits for dipping, sharp white cheddar cheese to grate on top
IMG_9160

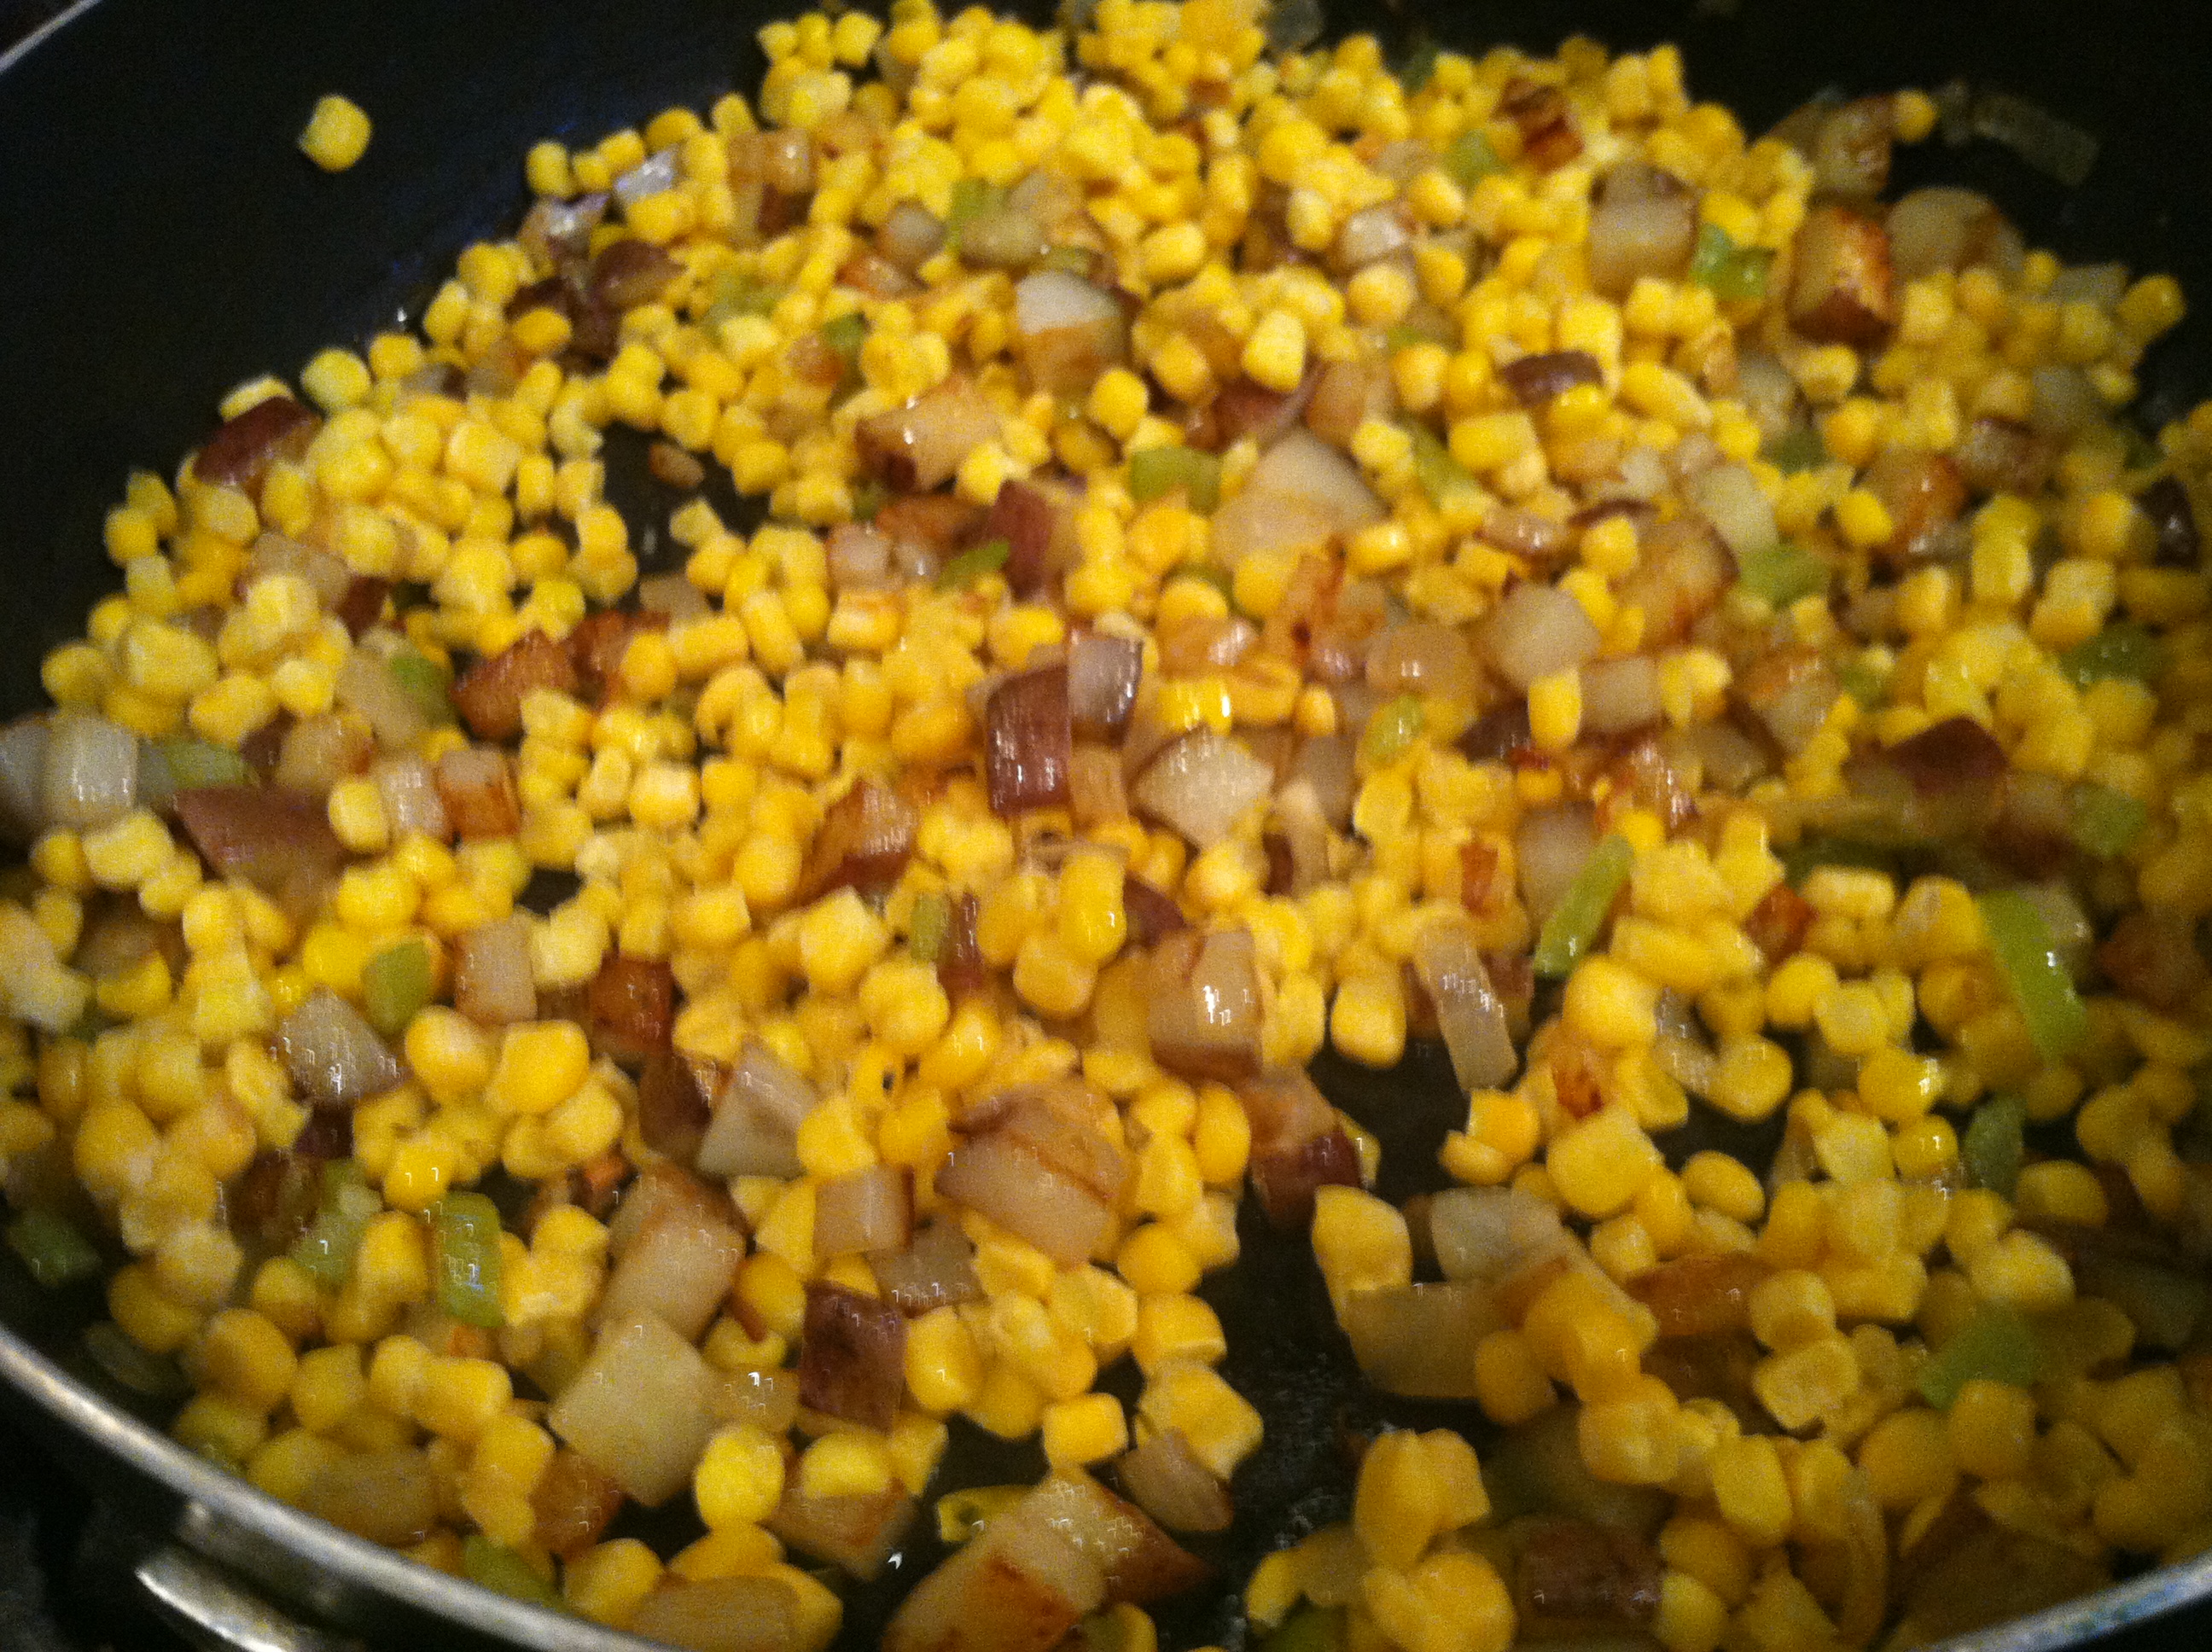
Step 1: In a large pan, add the oil, potatoes, celery & onion. Cover and cook for 5-7 minutes. Give it a good stir, then add in the corn and cook another 10 minutes, until everything is softened.
IMG_9161

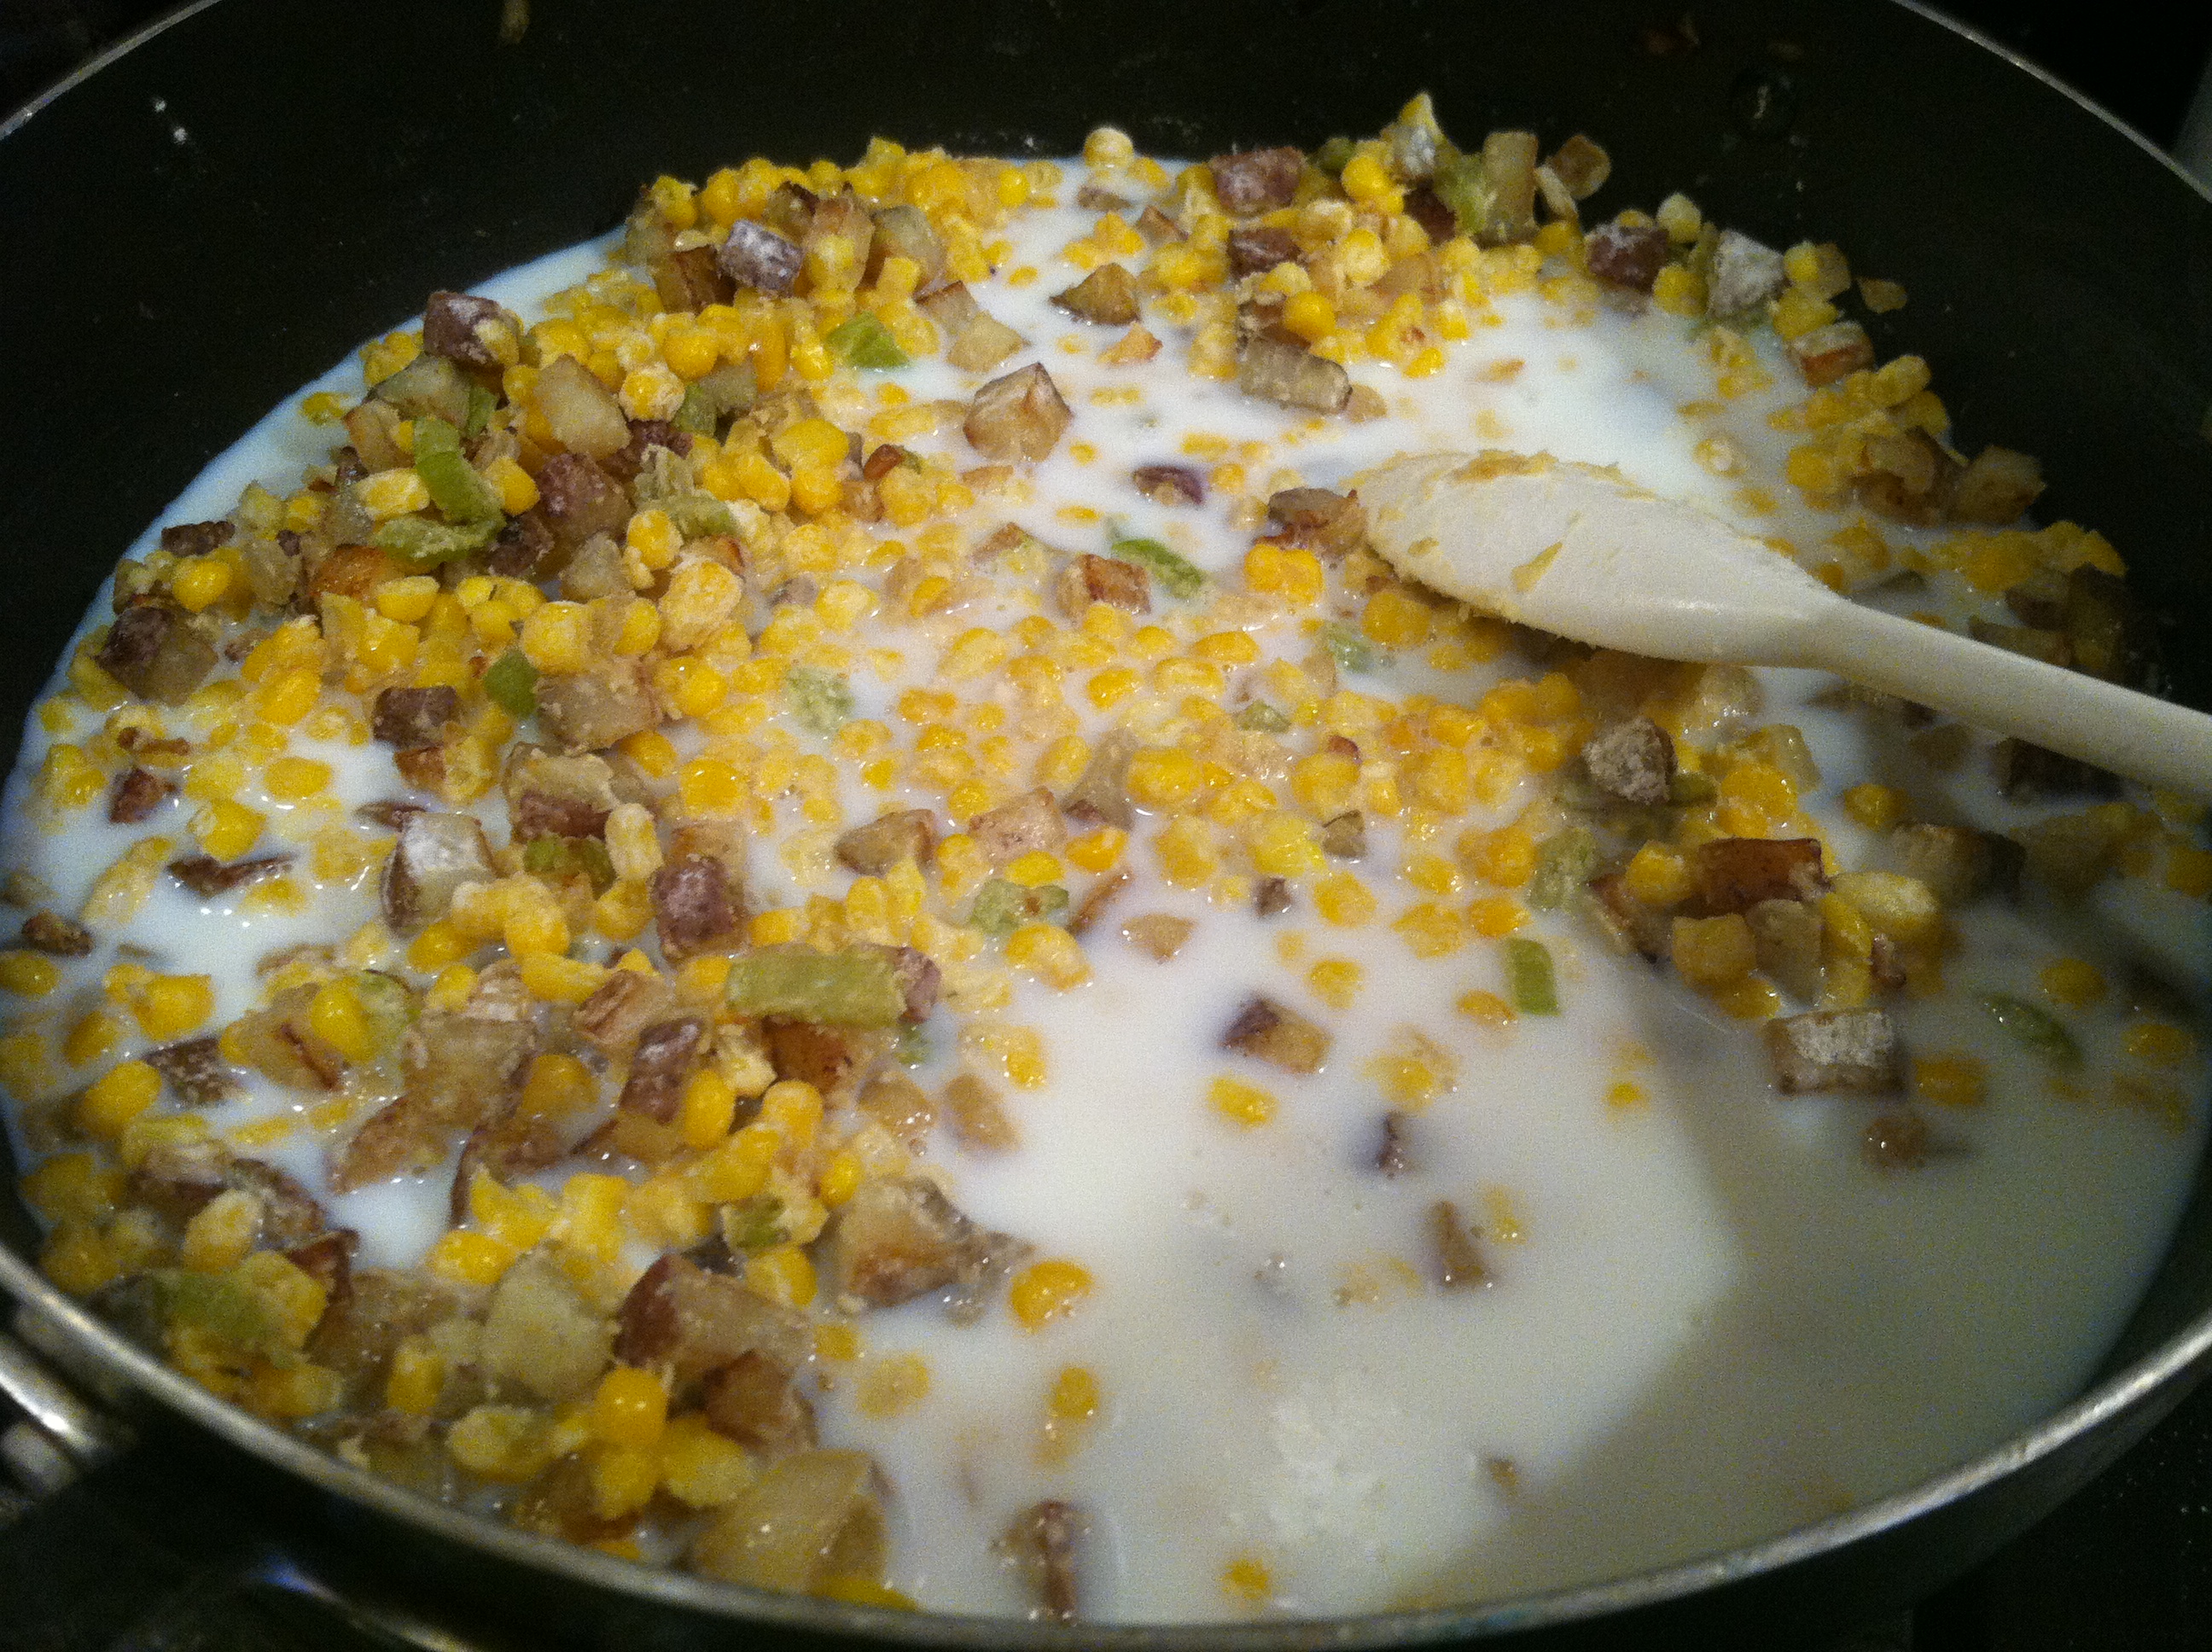
Step 2: Add in the water, fish sauce, and milk, adjusting to suit your tastes.
IMG_9162

Step 3: Bring to just a simmer, and add in the cream cheese. Continue to stir as it dissolves.

IMG_9163

Step 4: Taste and add in the crab, black pepper, & salt. Let simmer until it reaches the desired thickness.
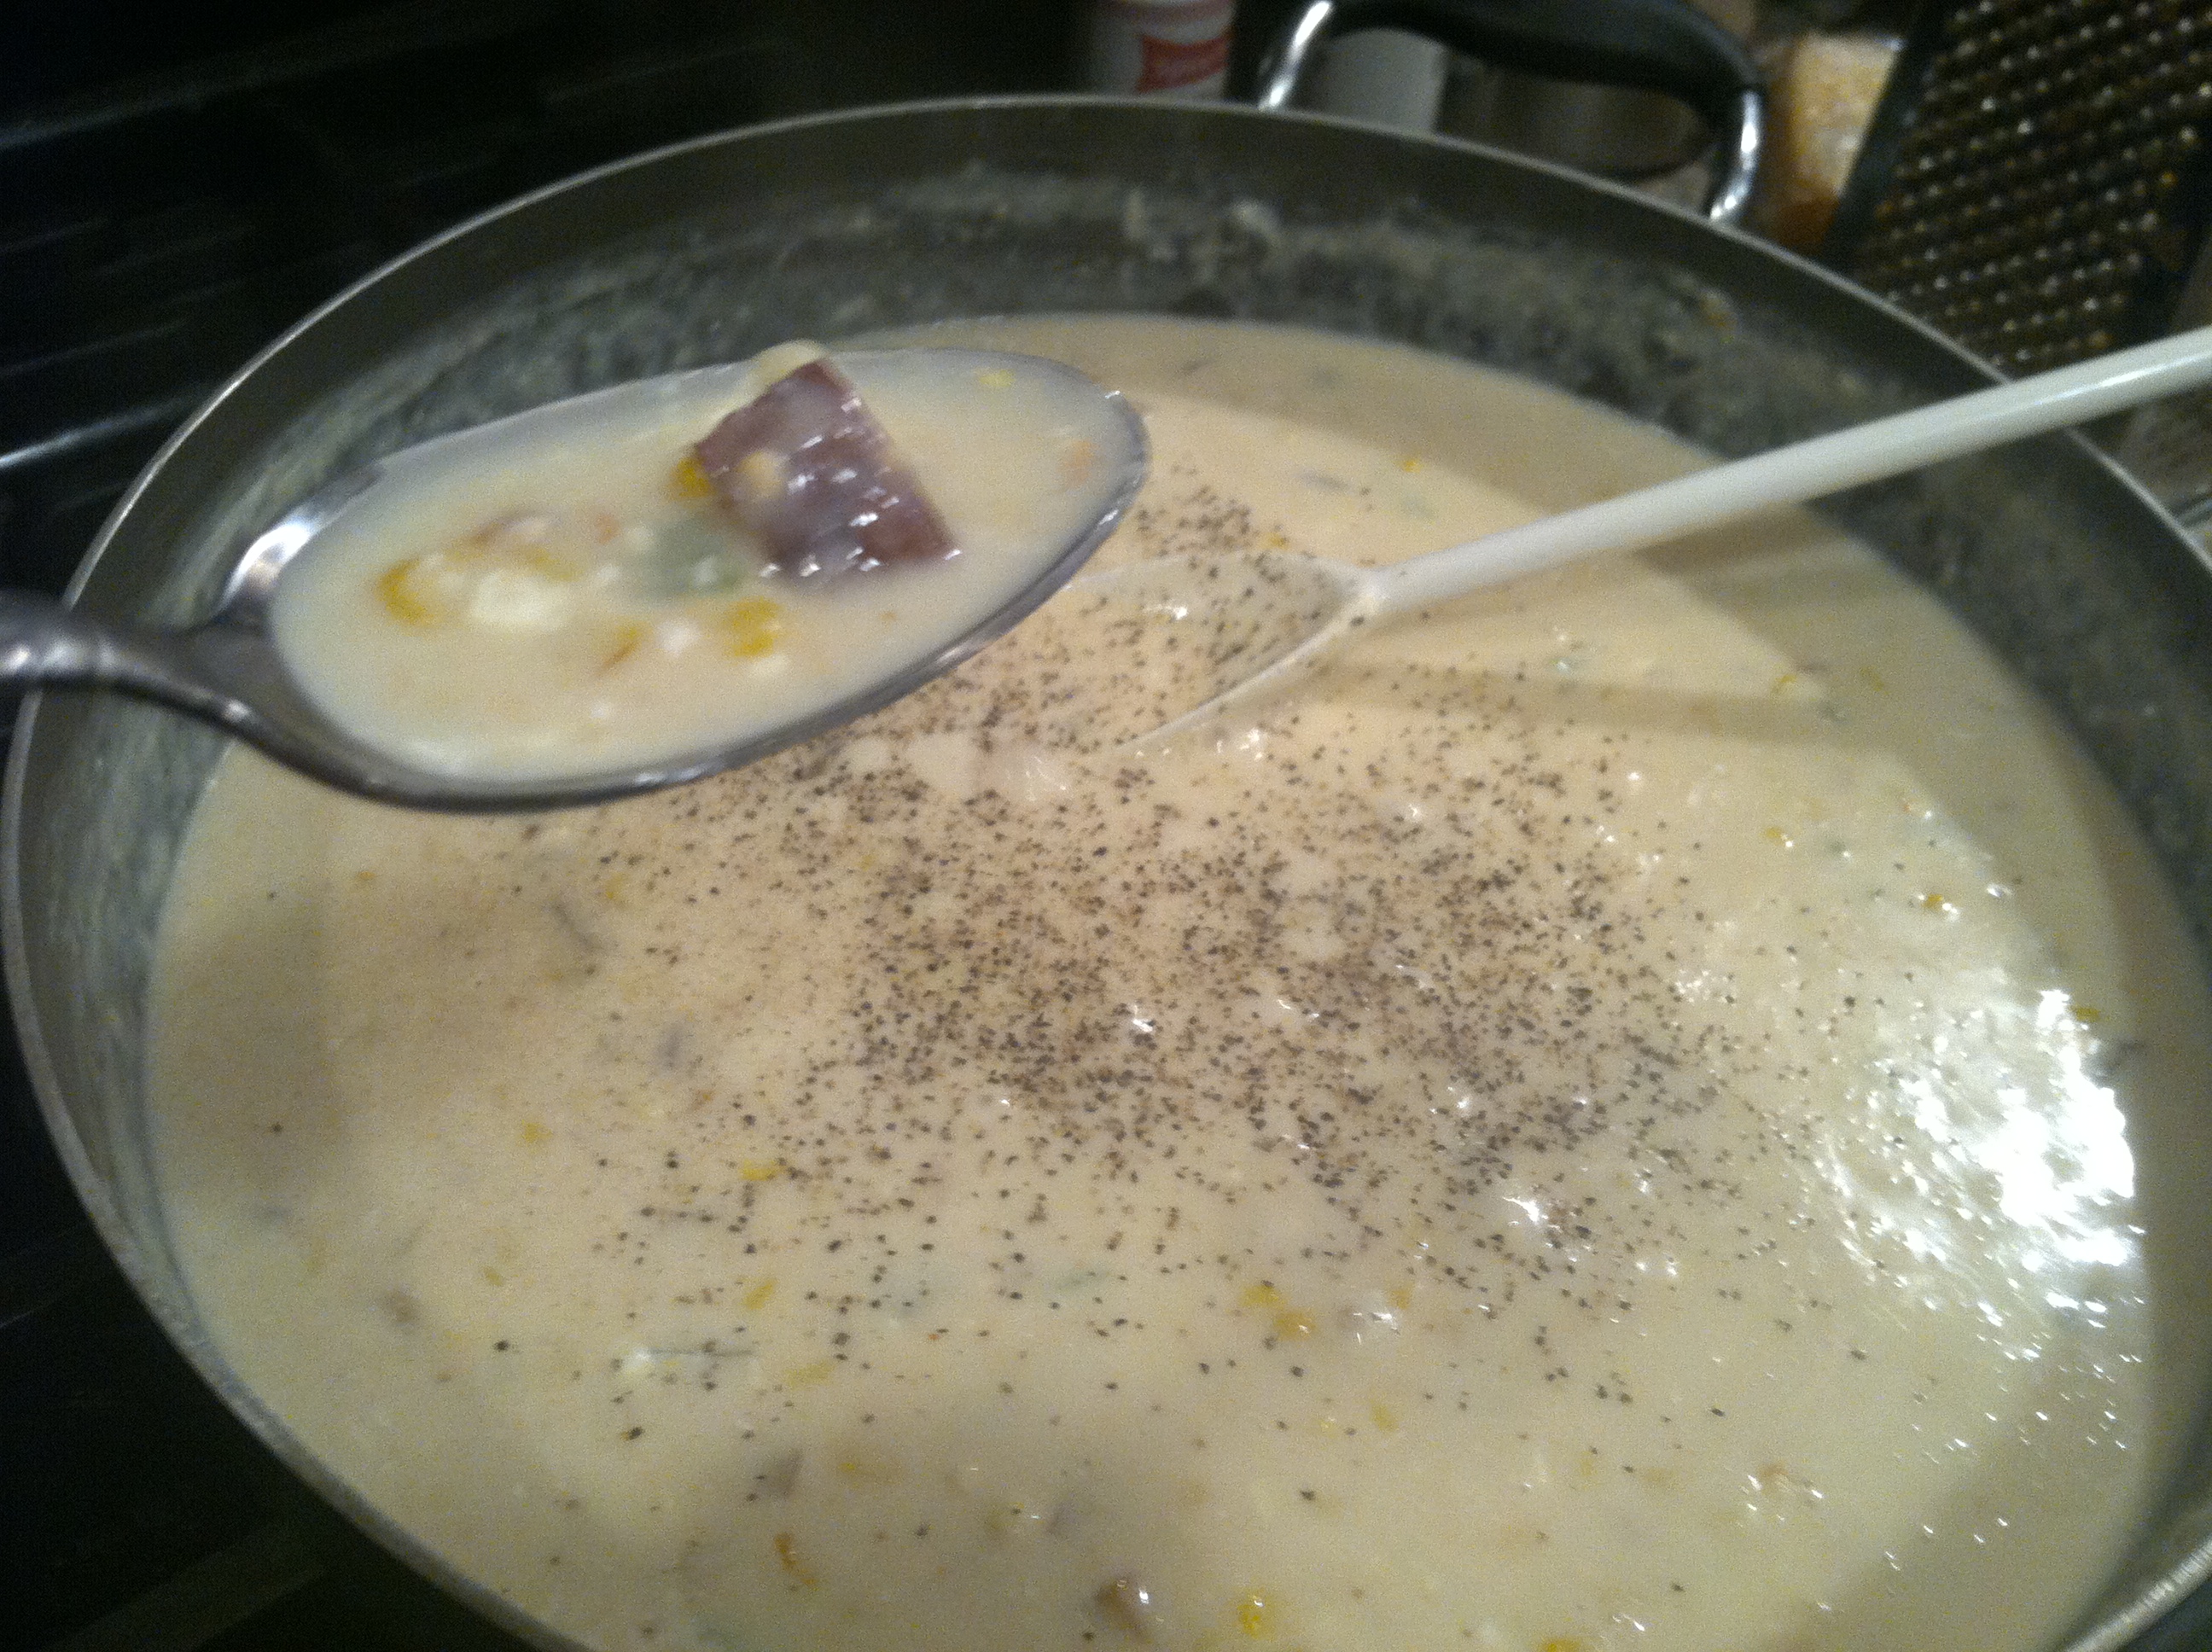
IMG_9167

Step  5: If you made/bought biscuits to go along with it, place those in the bottom of a heavy bowl, and cover with a healthy scoop or two of the chowder. You could also use those little oyster crackers.

IMG_9169

This stuff just smells divine, and is actually packed with tons of diced cooked veggies!
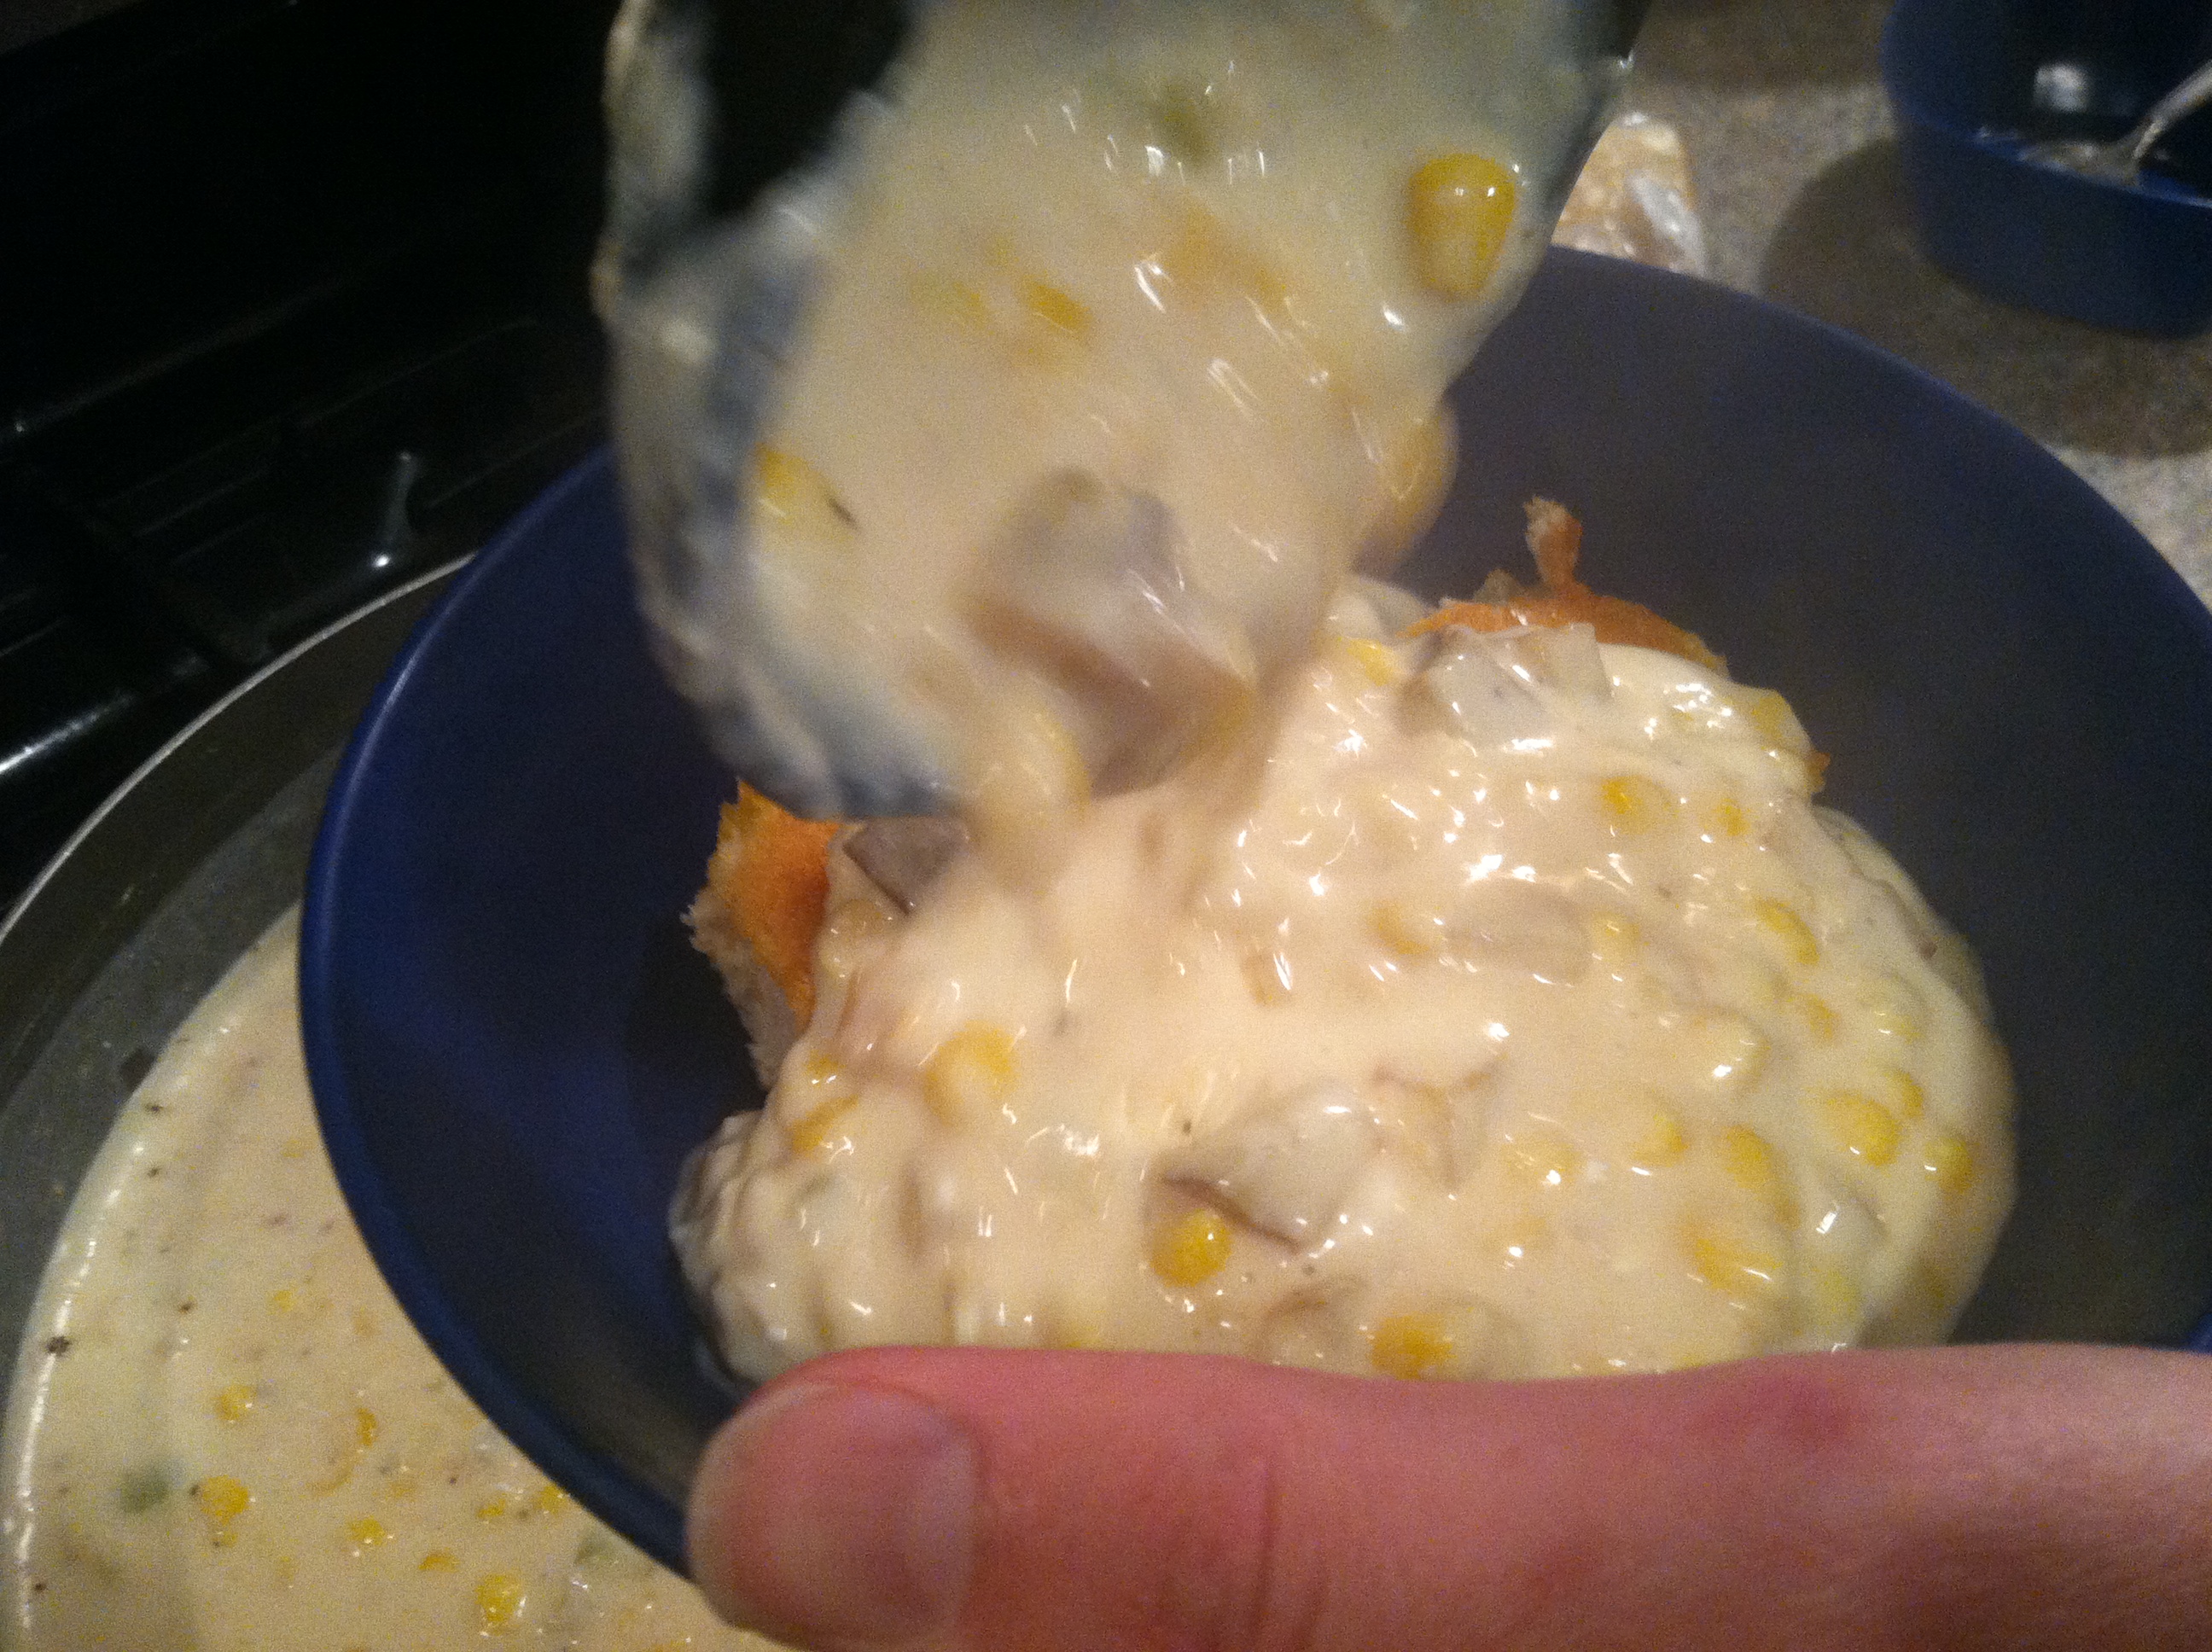
IMG_9170

To thicken even more, you could add a few tbsp flour to the veggies after cooking, just before adding in the water and milk.

IMG_9171

And if you don’t have skim milk, you could use any dairy really, half & half, whole milk, sour cream… Or just don’t use dairy &  keep it vegetarian.
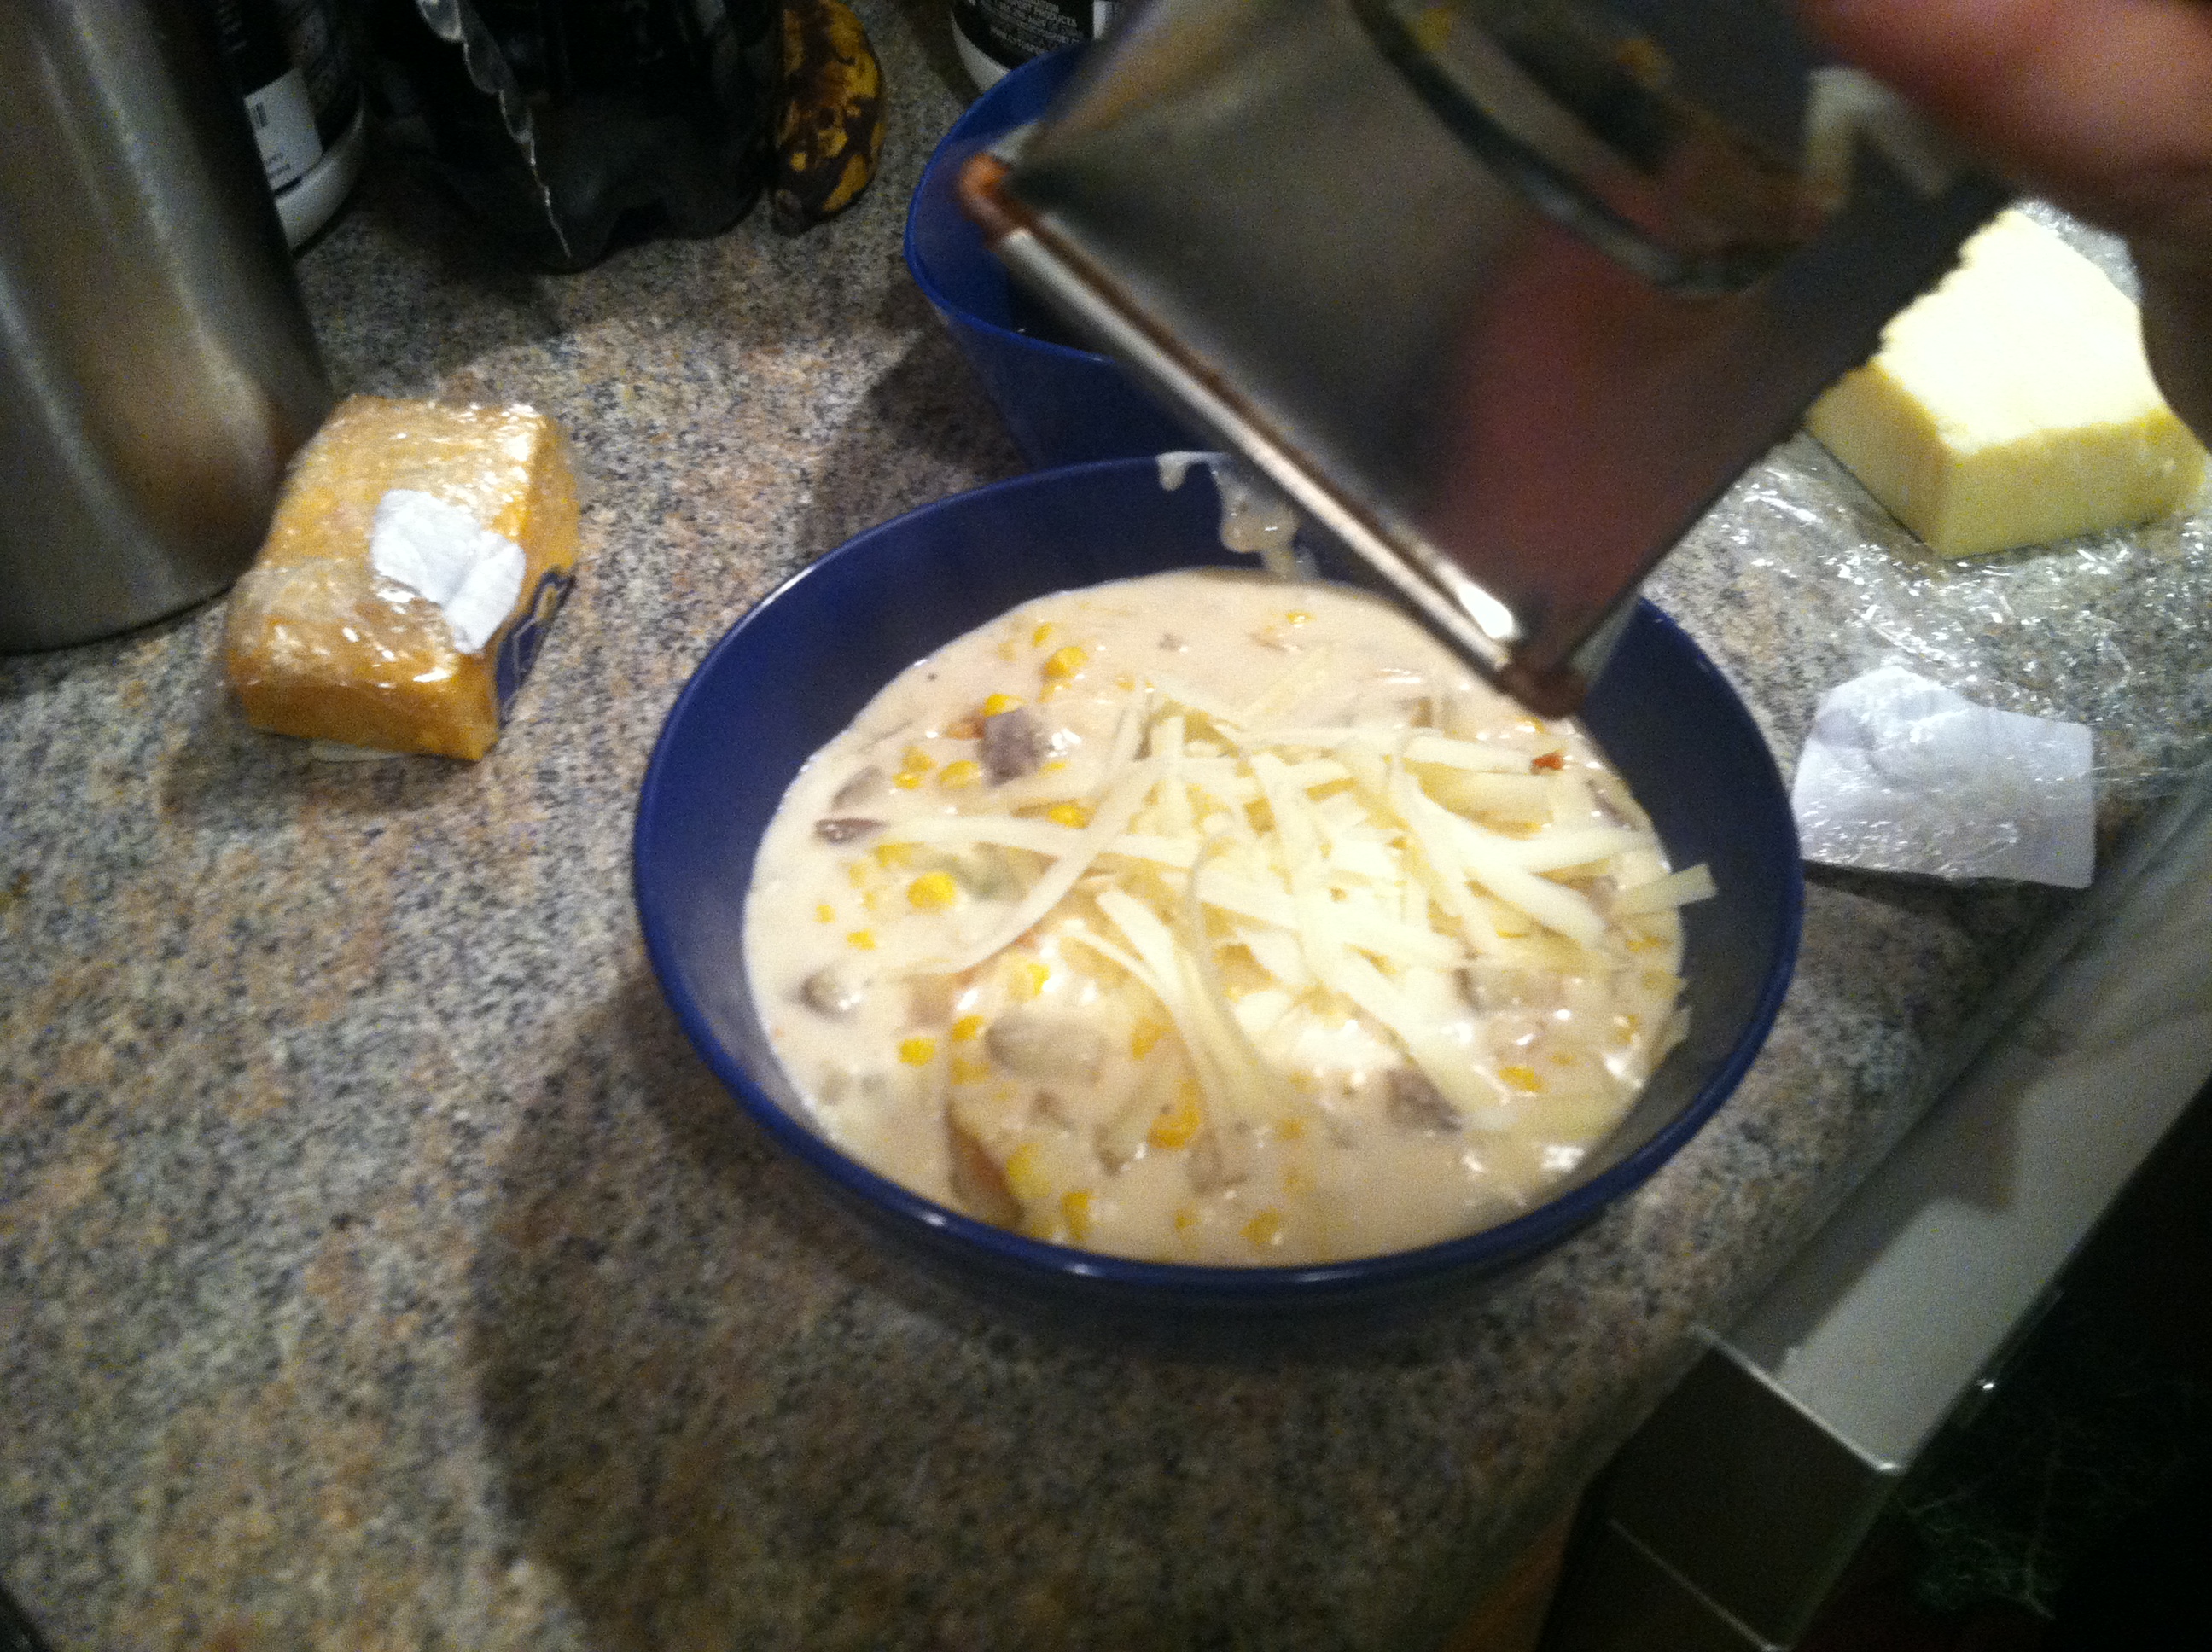
IMG_9177

We grated some sharp white NY cheddar on top.

IMG_9180

Absolutely delicious! And far healthier than restaurant versions as long as you control the dairy content.

[amd-zlrecipe-recipe:23]

Frank-n-Beans Macaroni


For a cheap but filling meal, it’s hard to beat boxed macaroni & cheese. Ramen is really the only other college-type staple that comes to mind, and I’ve shown many ways you can jazz up that simple steaming bowl of chickeny salt water.

While I’m all for fancy-schmancy six-cheese homemade mac, and love health-ifying with butternut squash puree or acorn squash, sometimes you just crave that classic boxed taste. But if you’ve eaten it way too often, or just like some variety, I’ve got just the thing. Consider this recipe to be the even-more-broke cousin of my famous chili mac recipe.

If you look for a good sale, you can get store-brand mac n cheese for about 25-35 cents, hot dogs are on sale often for $1 per pack of eight, and beans, especially dried, are always affordable. It is likely you can create two servings or one huge serving for under $1. And with only three ingredients, there is just no excuse to not try it, no matter what your level of cooking knowledge (or lack thereof).

Ingredients:

  • 1 hot dog
  • 1/2 cup beans (dry cooked, or canned)
  • 1 box macaroni & cheese
  • Optional: butter, milk (for mac n cheese)

IMG_6602

Step 1: If using dried beans, bring 1 cup beans per 2 cups water to a boil, and simmer 2-4 hours, until tender. If using canned, simply drain and rinse. Cook the hot dog by either boiling for 10 minutes, grilling it, or microwaving for 1 minute 45 seconds.

IMG_6603

Step 2: Boil the macaroni, following directions on the box. Cut the hot dog into slices, drain the macaroni. If using butter or milk in your mac, add those as well as the beans and hot dog. Mix together and enjoy!


Turkey Bacon Club on Italian


Hot on the heels of my light, ultra-healthy, vegan Avocado Beet Wrap post Tuesday, I bring you this trifecta of meat-wich! Hey, that’s the definition of omnivore I guess. That and the significant other might walk out if all I ever fed him was veggies. Though I try…

This was of course his brain-child, since a craving for a giant dagwood-like club had hit a few days ago. So a quick trip to ALDI’s and about $20 later, I brought home enough goodies to make about 5-6 of these bad boys, rather than pay someone else the same amount for two.

IMG_9184

These are delightful, not going to lie, and would certainly please the crowd at a picnic or BBQ. Unless of course, it’s the Vegans United of America BBQ.  (I just made that group up, and if it’s a real thing I in no way intend to mock or upset anyone. Maybe someday I’ll even join)

Ingredients:

  • 1 large roll Italian bread, cut in thirds (or several smaller individual rolls)
  • 1/2 pound turkey
  • 1/2 pound ham
  • 1 pound bacon
  • 6 slices white American cheese (or whatever kind you like)
  • 1 large tomato
  • 1/4 red onion, slivered
  • 3 large Romaine leaves
  • 1 cup sprouts
  • 1 avocado
  • Handful of peppers
  • 6 tbsp olive oil
  • 6 tbsp red wine vinegar
  • salt & pepper
  • Other toppings: parmesan cheese, mustard, mayo, balsamic vinegar, pickles, etc.

IMG_9182

Step 1: Fry the bacon in a frying pan, let drip dry on some paper towels. Cut up any veggies you are using.

IMG_9183

Step 2: Cut open the rolls if they aren’t already cut. Pro-move: Heat in a buttered pan until slightly crispy, or microwave 30 seconds. Layer the turkey, ham, and bacon, top with oodles of toppings and cheese. Trust me, this last part is the key. Drizzle on 2 tbsp olive oil and red wine vinegar, and sprinkle on salt & pepper to taste.

Now laugh & take pictures of your friends and family as they try to fit their mouth around this monstrous delicacy you’ve created!


Avocado Beet Wrap


As spring kicks into gear and temperatures climb, we start looking for lighter, cooling dishes. It’s tough to enjoy a beef stew or thick chili when it’s 95 and humid. Luckily spring and summer bring a rotating buffet of delicious seasonal vegetables and fruits.

One of my favorite ways to use fresh produce is in a wrap. You can only have a bowl of salad so many times before it gets old. This way you can still have all the greens and good toppings but in a portable, desk-friendly format. Wraps are easily adaptable to just about any veggie or dip (such as hummus, guacamole, or sriracha ranch).

This wrap packs the healthy fats of avocado, the anti-cancer and inflammation-fighting power of beets, the hydration of cucumber and greens in one fabulous lunch. But feel free to sub in another type of green (spinach, kale, beet greens) or other veggies you have on hand. On average, you should eat about 2 1/2 cups of veggies per day, and a wrap should contain approximately 1 cup.

Ingredients:

  • 1 tortilla
  • 1 whole roasted beet (4-5 slices)
  • 1/2 cucumber, skin on if organic
  • 1/2 avocado
  • 1/4 head of romaine (or 1/2 c greens)

IMG_8979

Step 1: Cut up your avocado, cucumber, & beets. Spread the greens on the tortilla, top with veggies. Roll up and enjoy!


*Some time saver tips:

  • Use canned beets for the slices
  • Pick up pre-cut cucumber from a salad bar
  • Use packaged guac instead of an avocado

Turkey, Mushroom, & Spinach Lasagna


One thing every mom loves is having someone else make dinner for them once in a while. Whether your mom loves to bake, or is seldom seen near the stove, everyone loves lasagna. I don’t know about you, but I know in my house lasagna is always welcome. There is just something comforting and satisfying about a heaping plate of sauce, meat, and noodles. Some may argue that lasagna is just fancy pasta, but truly, layering it creates a whole different experience.

Several of the tricks I use in my lasagna I already have written about in my sneaky healthy lasagna post,  and a few more I mention in my YouTube video. The video will show you how to assemble this recipe step by step, and is found by clicking this link, and is also at the end of this post.

For the cheese layer, I seldom am willing to pay a premium for cheese such as ricotta when I know cottage cheese works just as well and is far cheaper. I use a mixture of cottage cheese and sour cream here, and it is super tasty. But if you are a purist who only wants ricotta, or if you have some fancy type of cheese, feel free to switch it up.

For mother’s day, if you are lucky enough to live near your mom, and haven’t already made reservations somewhere, give this simple 30-minute recipe a try. Putting lasagna together is far easier than you may think, and it always impresses. Lasagna looks amazing and tastes even better. Impress your mom, date, siblings, friends, or coworkers. Heck, make a whole pan for yourself and it will last all week. Just give it a try!

IMG_9329

Ingredients:

IMG_9330

Step 1: Bring a large pot of water to a boil. Add the noodles and olive oil (the oil helps keep the noodles from sticking as much) and simmer for about 10 minutes.

IMG_9331

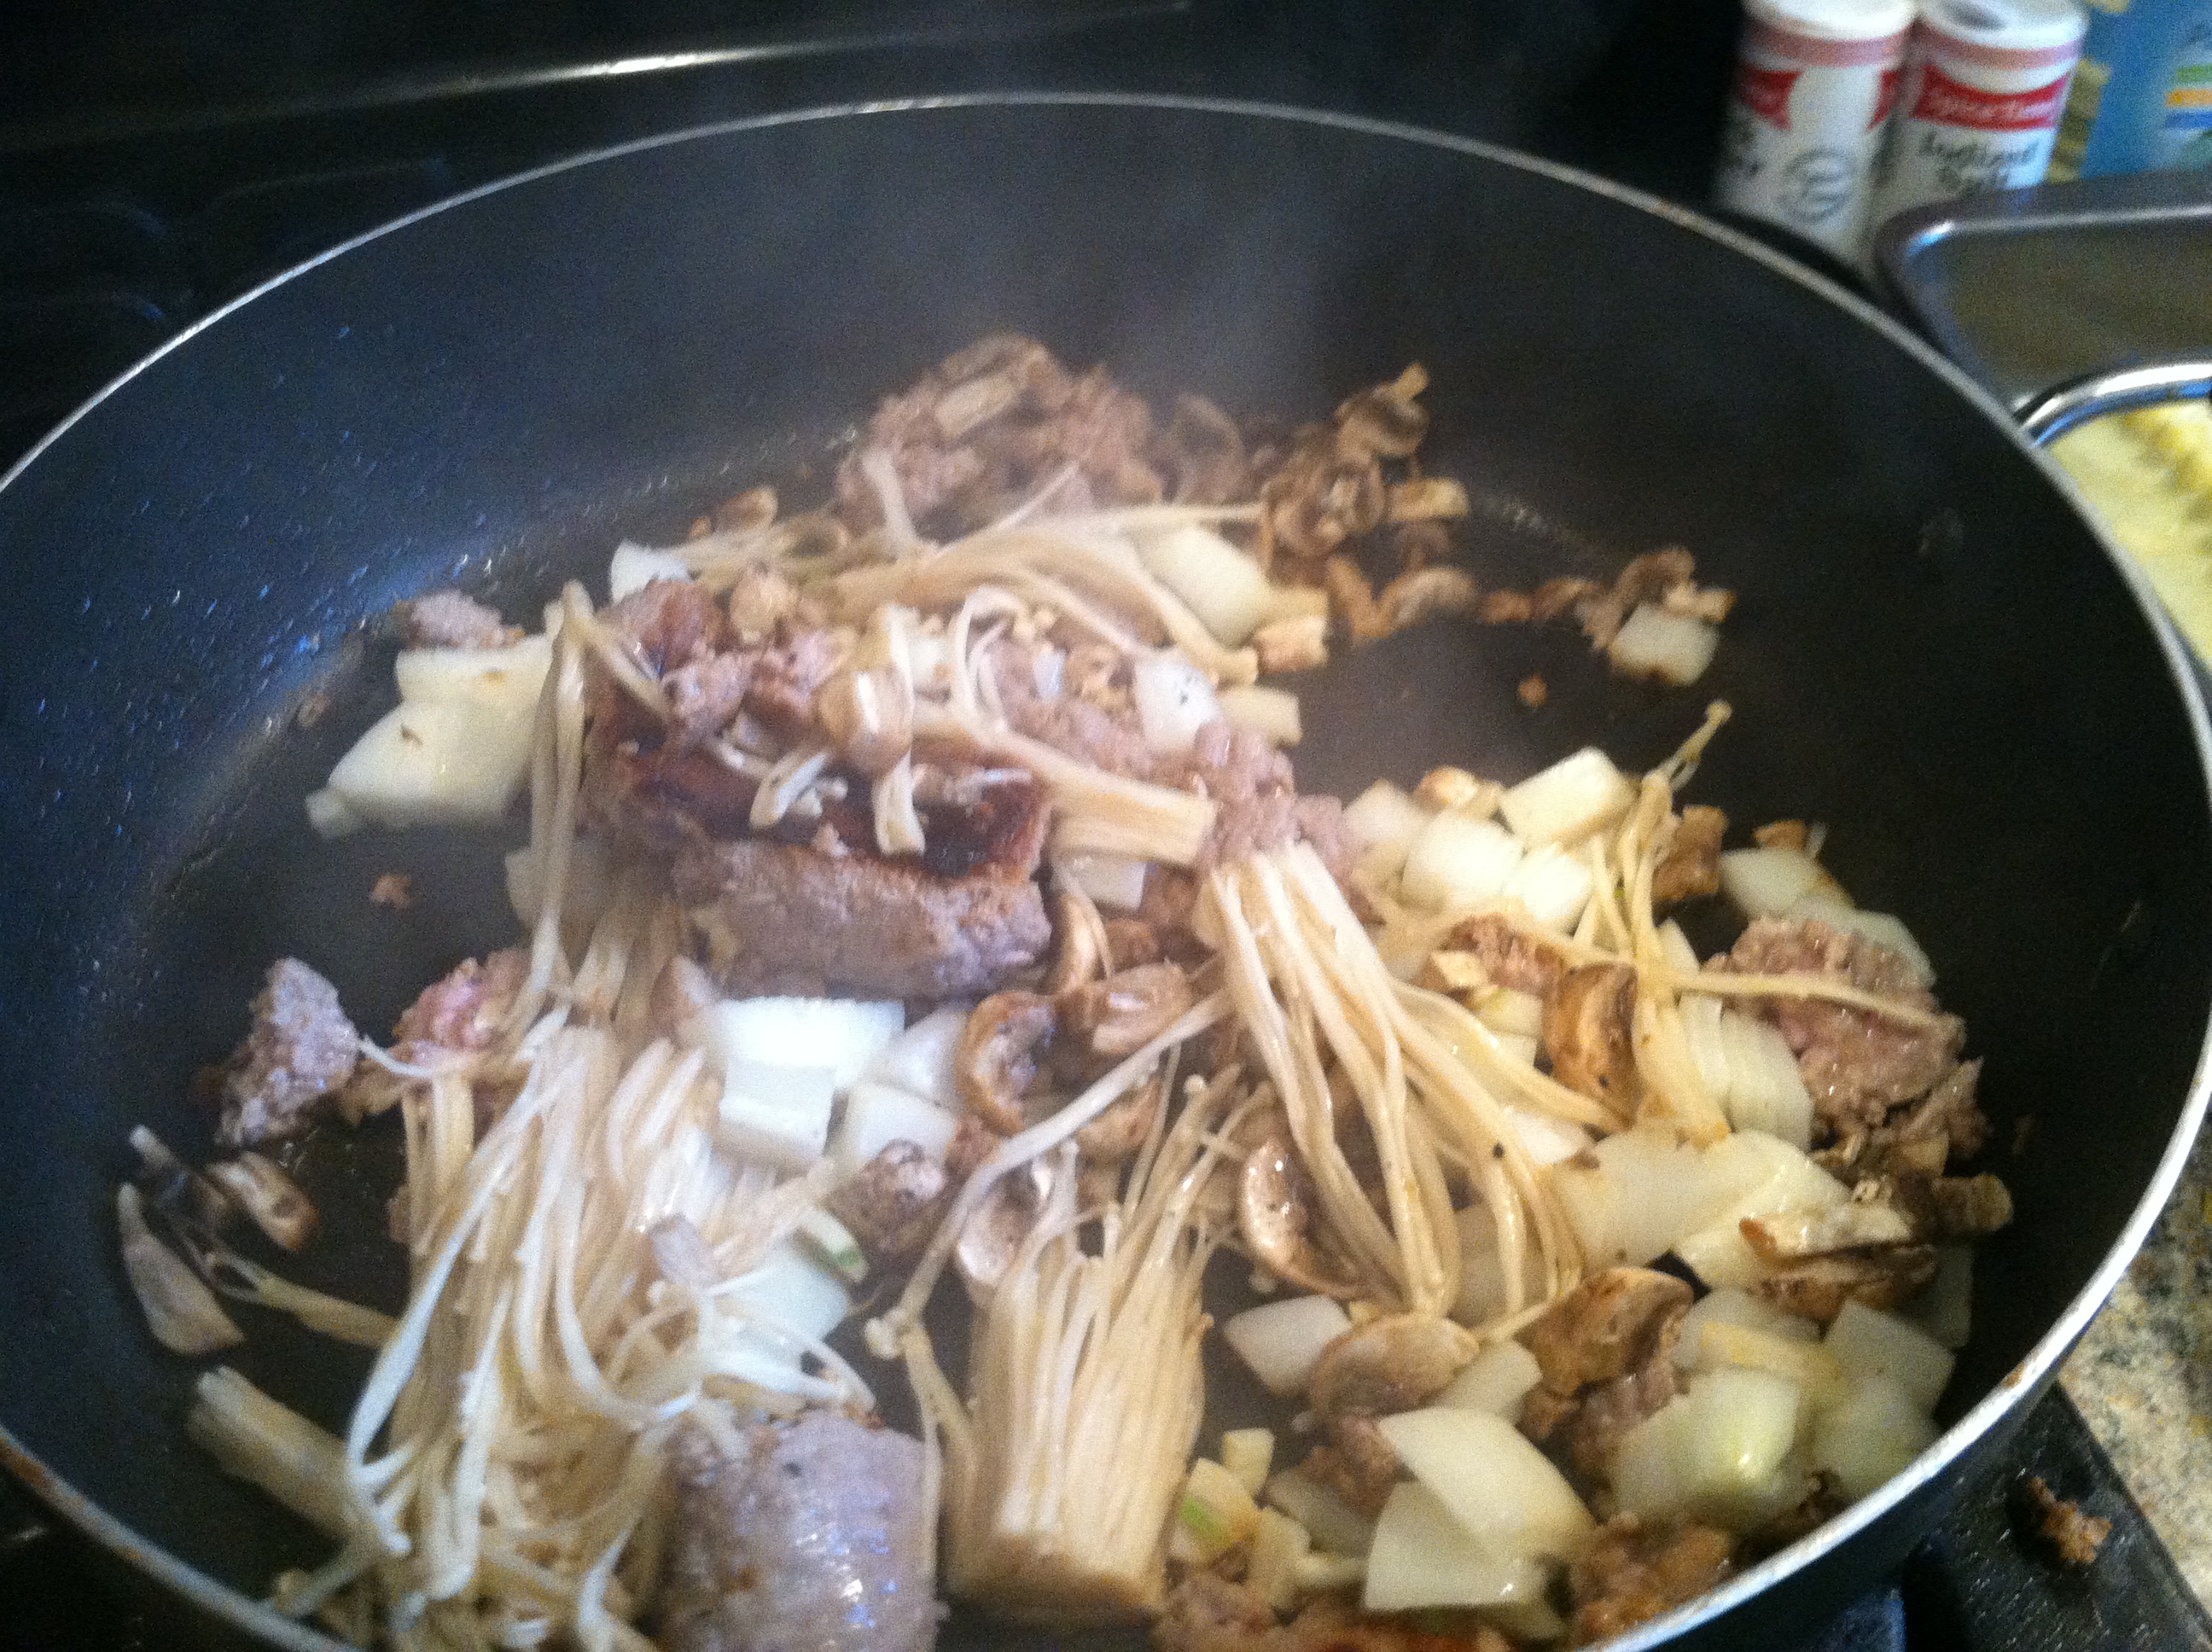
Step 2: Dice up your mushrooms, garlic, and onions. Add the ground turkey to a pan over medium heat, and cook until browned.

IMG_9335

Add in the garlic, onion, & mushrooms, cover and cook another 5-10 minutes.

IMG_9332

Step 3: In a large bowl, mix the cottage cheese and sour cream.

IMG_9334

Step 4: Once the noodles are cooked and drained, layer a 9 x 13 baking pan with 4-5 noodles, overlapping the edges. Add half of your cooked meat mixture on top of the noodles. Pour 1/2 your sauce on top, followed by half of the cheese mixture. Lay down a layer of 1 cup spinach, and then another layer of 4-5 noodles, again overlapping. Repeat the layers, saving a small amount of sauce to pour on the top.

IMG_9336

Step 5: If you want, shred a layer of sharp white cheddar cheese on top. Pop your lasagna in the oven for 30-45 minutes at 350 degrees.

IMG_9338

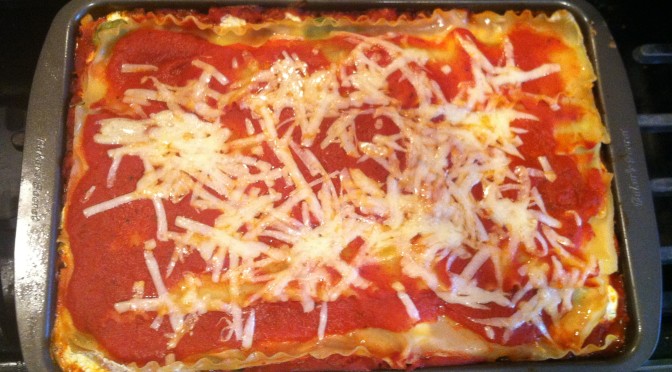
That’s all there is to it! You could also make this in a disposable aluminum pan, cover with foil, and put in the freezer for a night you don’t feel like baking. Most likely, you will just make the house smell amazing and will devour the whole thing in one meal!

IMG_9339

With the healthy protein from the turkey and cottage cheese, the extra tomatoes boosting your lycopene and vegetable intake, and a healthy layer of spinach, you don’t have to feel guilty about going back for seconds!

(Oh, and if you do make this for mom, super mega bonus points to do the dishes after!)


[amd-zlrecipe-recipe:22]


This post contains Amazon affiliate links. By clicking on these links and purchasing items, the price you pay is not affected yet a portion of proceeds go towards supporting this blog. Thank you!

Mascarpone Stuffed Cinnamon Rolls


With Mother’s Day just around the corner, you may be asking yourself what is a good way to show your mom just how special she is. You could buy a Hallmark card, but that’s just an over-priced poem someone else wrote. You could take her out to brunch, that’s always nice. But how about you one-up that and make something special for her yourself!?

I know, you may not think you have the time. But why not ask if she’d like to be included in the baking? We all know no one cooks just the way mom does. And baking is a great way to bring family together. “So Much Good Happens When We Bake.”

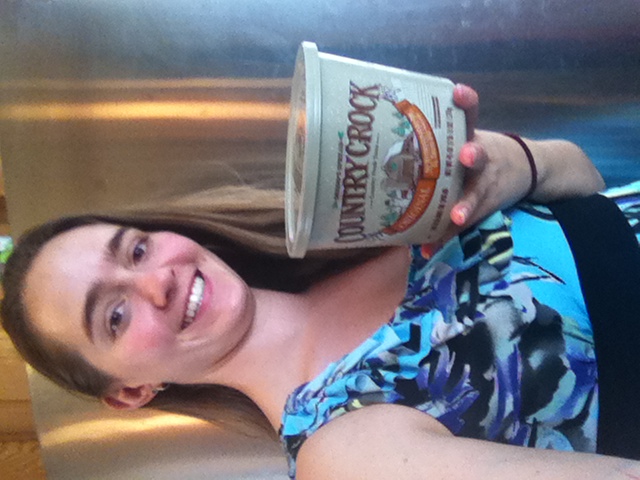
This post is part of the Culinary Content Network’s “Celebrating Mom” series, sponsored by Shedd’s Spread Country Crock.

photo 1
This recipe became a fast favorite in our house since mom saw a recipe from Pillsbury online last Christmas.

photo 2

Now we make it our own with a variety of fillings and toppings. Feel free to experiment yourself. Try ricotta, cream cheese, cottage cheese, or goat cheese. Use any dried fruits, jams, honey, or maple syrup. As long as there are biscuits, sugar, Country Crock, and love, they are sure to delight!

Ingredients:

Step 1: Heat the oven to 350 degrees, and grease a round pan or 8×8 square pan. Mix any nuts and/or fruits you are using in a small bowl.

Step 2: Lay out two shallow bowls or plates, one with the melted Country Crock and one with the cinnamon & sugar.

Step 3: Put about 1/2 tbsp of mascarpone cheese in the center of one biscuit round, sprinkle in a pinch of nuts & dried fruit, and pinch the sides up all around it. Roll it into a ball, making sure the cheese is completely covered.

Step 4: Roll each biscuit ball in the melted Country Crock, and then in the cinnamon & sugar. Place seam-side down in the greased pan. Once all biscuits are stuffed, spread the remaining Country Crock over them and sprinkle with remaining walnuts & cranberries.


Step 5: Bake at 350 for 25-35 minutes, until biscuits are nice and brown. Mix 1 cup powdered sugar and 2 tbsp milk into a thick glaze. Drizzle over warm rolls right as you take them out of the oven.

 
These things are simply incredible. Warm, gooey, sweet, and irresistible.
Who wouldn’t want to wake up to these?? Make them anytime really. Maybe every day, if you’re also a marathon runner…

What will you do for Mother’s Day?

[amd-zlrecipe-recipe:21]

This post contains affiliate links. If you buy products using these links, the price you pay is not affected yet a portion of the proceeds help to maintain this blog. Thank you.

Homemade Kombucha Part 2


I had to wait a week for my second batch, you only had to wait 2 days! No fair. =)

If you didn’t get a chance, go check out my post on Homemade Kombucha Part 1 for the intro on what kombucha is, and how to start making your own at home.

After your first batch has fermented for as long as you wish, you are ready to transfer your SCOBY to your next batch. It is the same process as previously, only now you have your baby SCOBY ready to go to ferment this fresh sweet tea.

IMG_9195

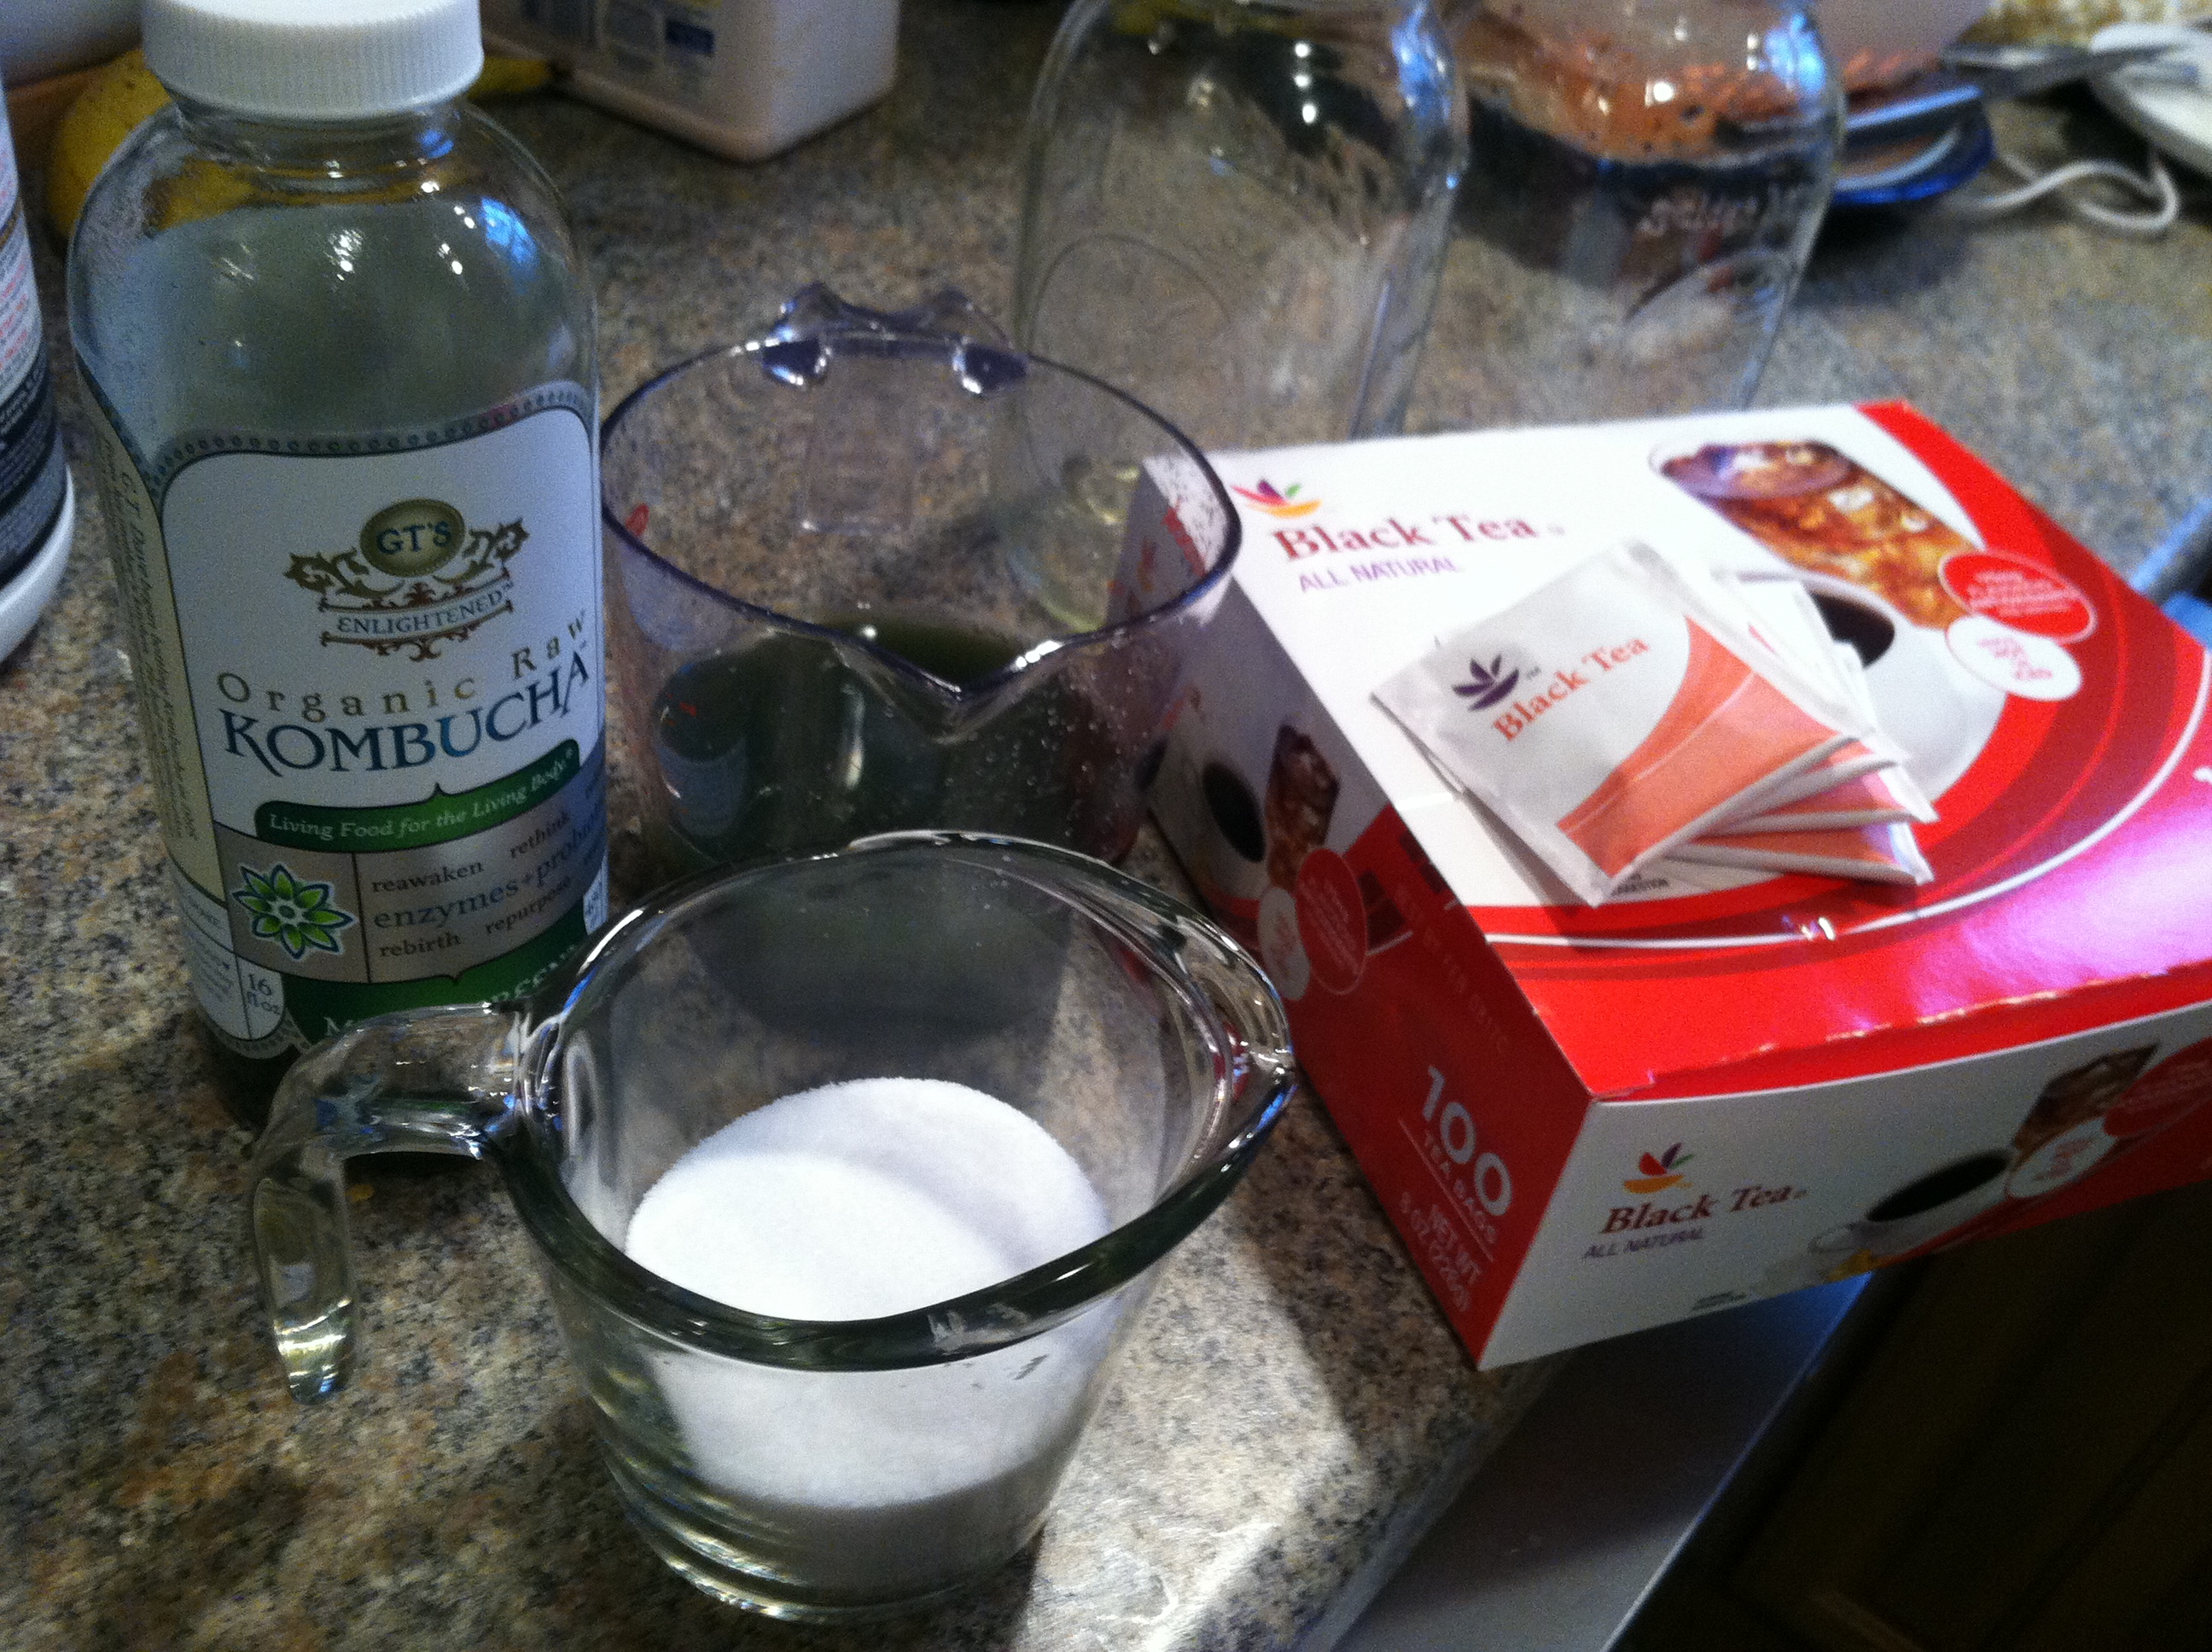
Ingredients:

IMG_9196

Step 1: Boil the water, mix in the sugar, and add the tea bags. Let steep and cool to room temperature. You cannot add a SCOBY to hot or even warm tea, or it may kill the bacteria & yeast.

IMG_9197

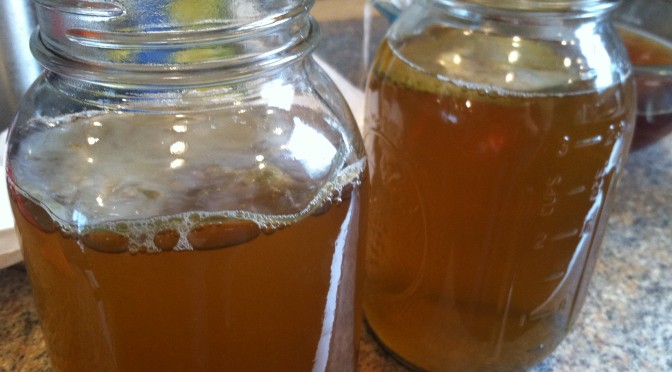
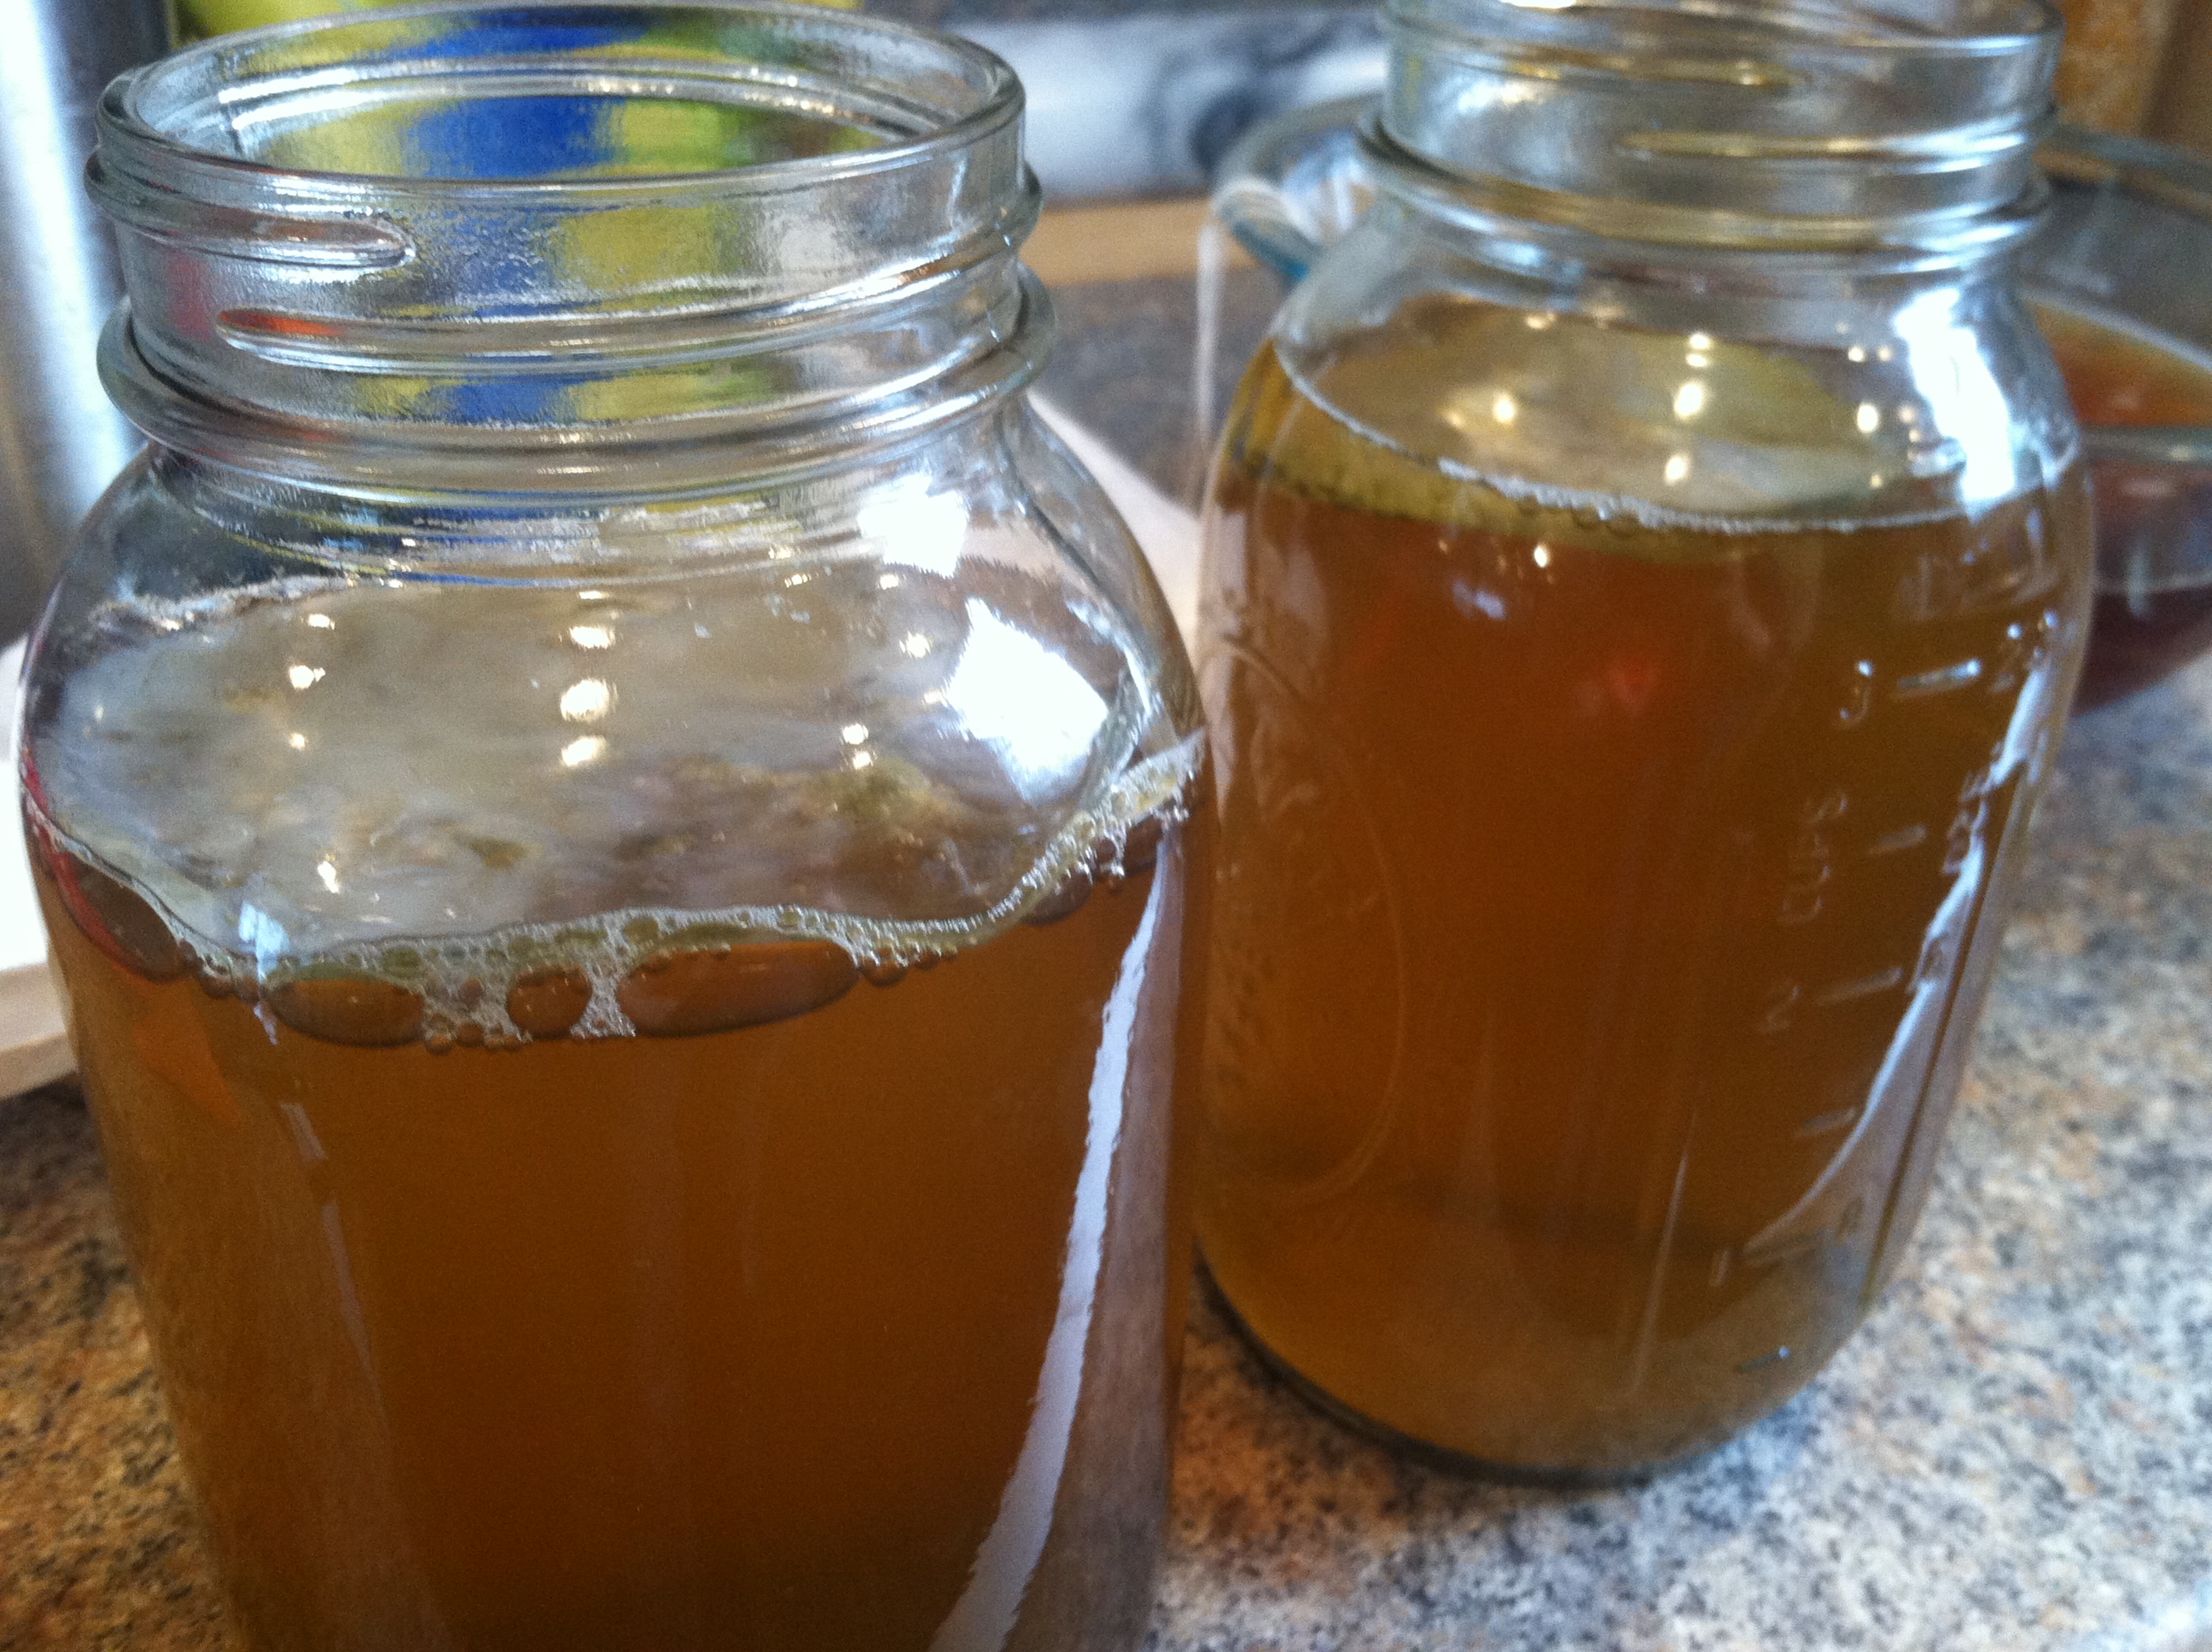
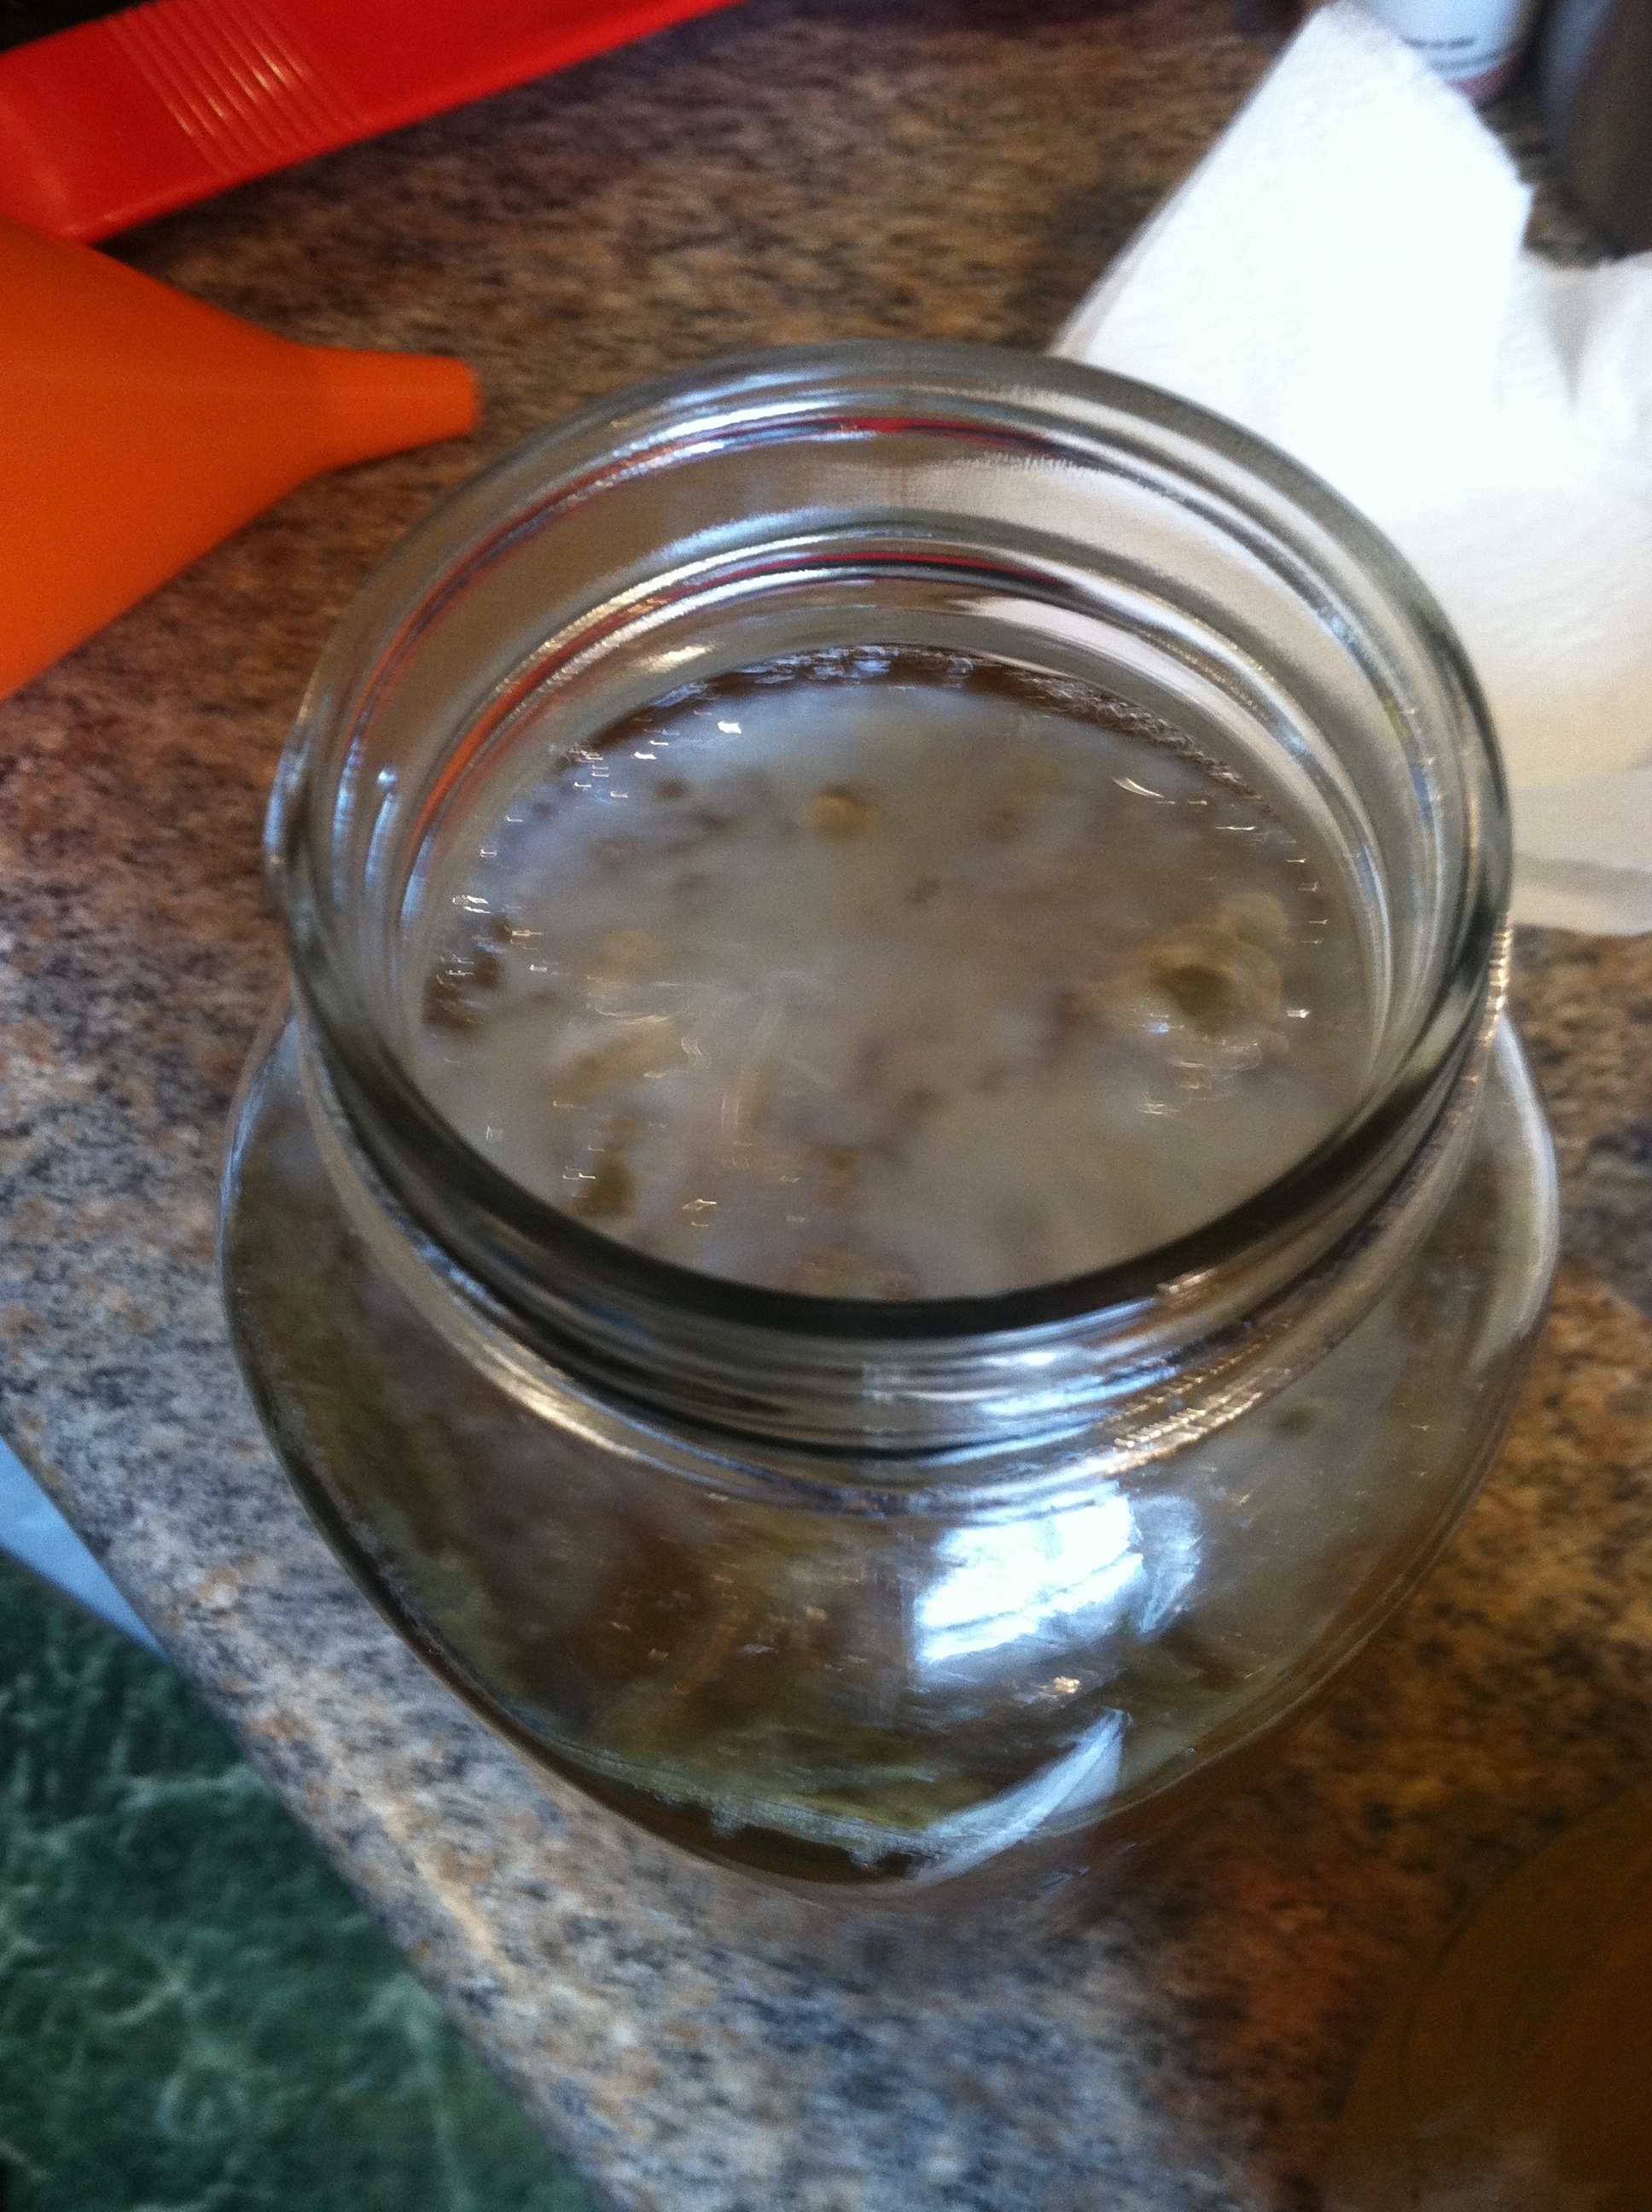
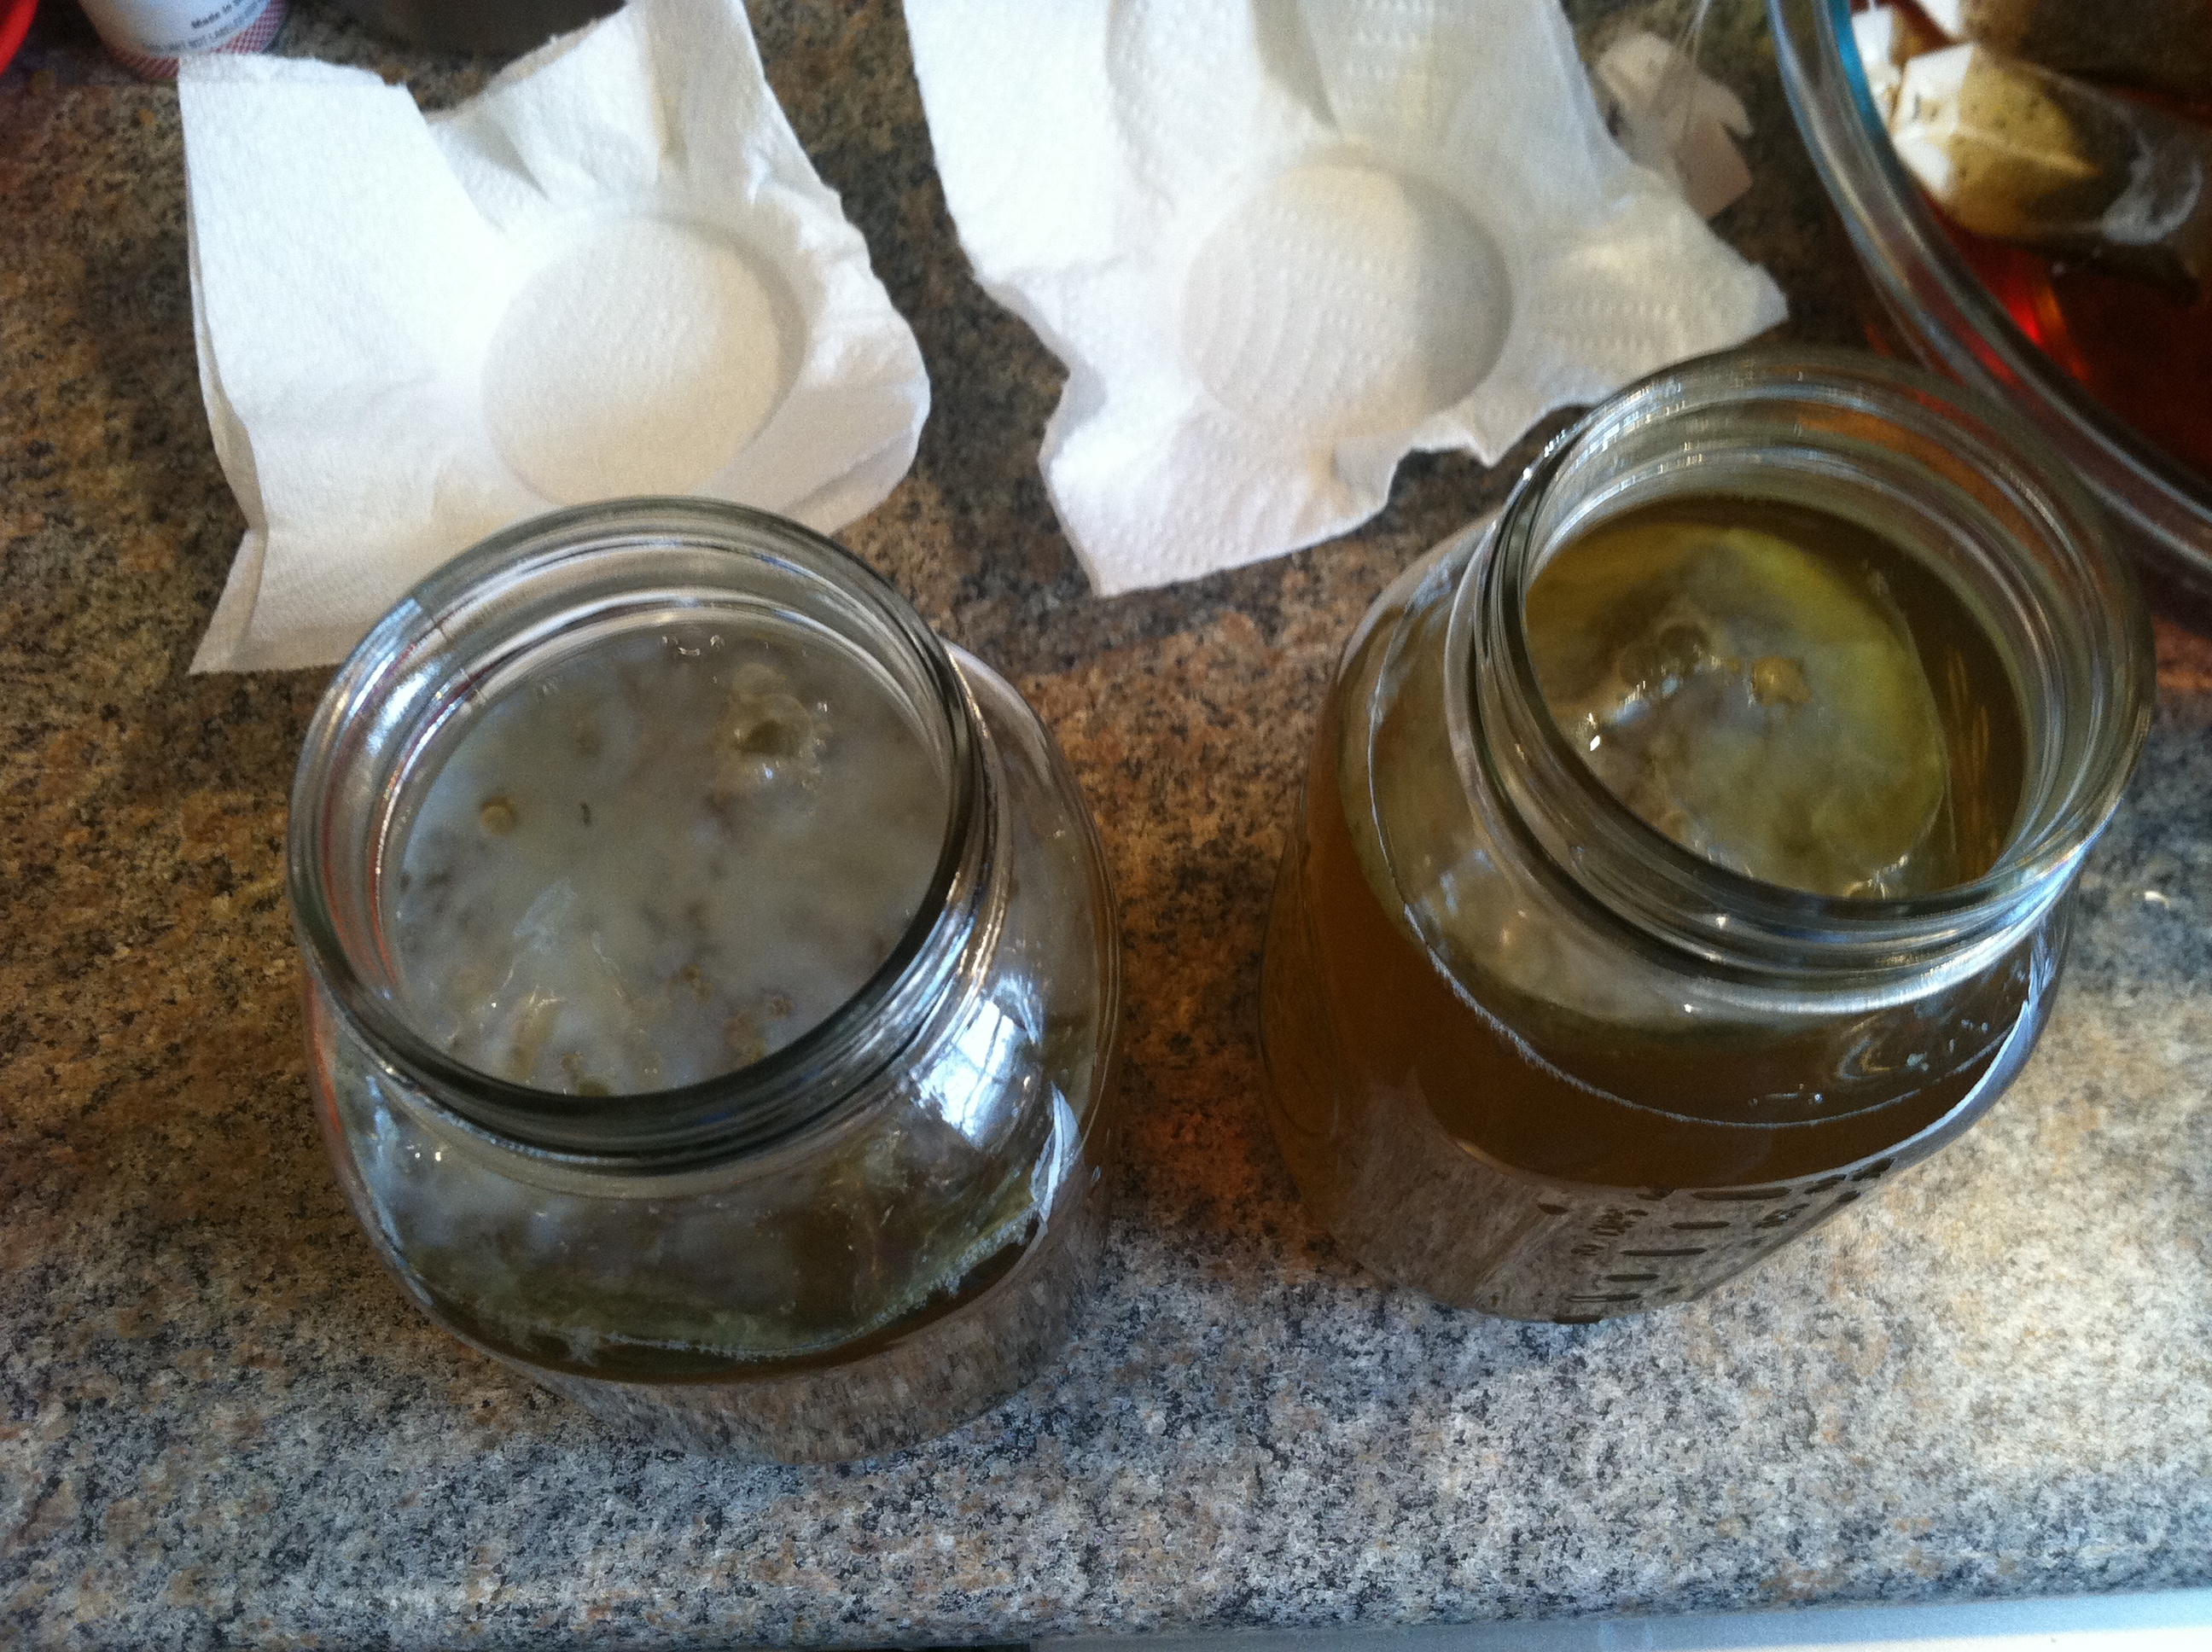
Step 2: Once cool, add the cup of starter kombucha liquid and pour the sweet tea into your clean, sterile containers. Take the SCOBY out of your first jars, it is ok to use your hands, as long as you’ve washed them first! This is what a baby SCOBY may look like if you used a green tea/spirulina starter kombucha…

IMG_9199

You can see how thin this first culture is, and that is ok. It will thicken with each batch of kombucha brewed. And, once it becomes very thick, it is actually recommended that you remove the bottom layer(s) and give to a friend to start a new batch or throw it out. Kombucha cultures can outlive their usefulness.

IMG_9201

Step 3: Carefully place the SCOBY on top of your fresh sweet tea. It may float along the top, or it may sink to the bottom, it may even float around sideways. Those are all fine, a new culture will form along the top if your first SCOBY does not float.

Also, any size SCOBY can ferment any size container, the culture will grow to fit the size of the jar. Larger batches may take longer when transferring a smaller SCOBY to the larger container.

Step 4: Once the SCOBY is removed from the tea, you can now enjoy your kombucha! You can drink it as is, or refrigerate it for a week or so. If you’d like it more carbonated, simply close the jar, and leave in a cool dark place undisturbed for another 2-3 days. The probiotics inside will continue fermenting, and carbonate your drink.

And that’s all there is to it! Once you get used to the process, you can switch out your SCOBY and have fresh jars of kombucha ready to drink in about 10 minutes once a week. Once you have a thriving, healthy culture, you can continue propagating to as many batches as you please, or give some to a friend to try.

Since I’m still somewhat new to this homebrew kombucha, I haven’t had a chance to experiment much. But you know with me, there is some serious experimentation in my future! I’m going to let my culture get nice and strong, then branch out to green and maybe white tea. It is not a good idea to use any tea with oils in it, like earl grey or bergamot. Also if you do try different mixes, make sure to throw in a black tea batch in between so the SCOBY gets all the nutrients it needs to keep producing.

Then there are so many infusion possibilities! Once the kombucha tea base is made, I want to try adding lemon, lavender, strawberries, and rosemary. Maybe some raspberries or blackberries or mint. This project will keep me dreaming all summer long I’m sure!

What do you think? Is kombucha making something you’d like to try or have tried? Feel free to tell us your experiences in the comments!

Homemade Kombucha Part 1


For those who have not yet heard of this drink, kombucha (pronounced kom-boo-ch-ahhh) is a fermented sweet black tea made using a SCOBY – symbiotic culture of yeast & bacteria. This beverage has been around for a very long time, and is said to have originated in China. Because the drink is made by microorganisms, it contains the buzzworthy “probiotics”.

Probiotics basically means live bacteria or yeasts that are good for your health. Probiotics are great for your digestive health, immune system, liver, kidneys, and overall health. The beneficial bacteria and yeast in kombucha live together in a cellulose raft on top of the kombucha, and work together to cause a special type of fermentation. This uses up the sugar and caffeine in the beginning tea mixture, so the resulting drink is tart, carbonated, and relatively caffeine-free. There is a trace amount of alcohol; not enough to cause a noticeable effect, but in case you avoid alcohol that is important to note.

To make kombucha at home, you only need containers (preferably glass, wide-mouth mason jars), water, tea, sugar, and a starter SCOBY or culture. You can buy a starter SCOBY online, get one from a friend who makes kombucha, or do as I did and buy a bottle of raw, unpasteurized kombucha from the store. I show you how to do this all step by step in my awesome Homemade Kombucha video! (Also at the bottom of this post)

This recipe makes 2 quarts of kombucha each 7-10 days.

IMG_8998

Ingredients:

IMG_8999

Step 1: Get 7 cups of water boiling, and add your tea. Mix in the sugar so it dissolves. Let that sit and cool to room temperature. To speed up cooling, you can place the container with the tea into a larger container filled with ice or ice water.

IMG_9190

Step 2: Once cooled, add the cup of starter tea. If using store-bought, make sure it is an organic brand, and that it is raw and unpasteurized. If it has been pasteurized, there may not be any more live bacteria or yeast in there to start your new SCOBY. If using a mother from a friend or online, or a culture, stir that into the tea.

IMG_9191

Step 3: Fill your jars up to an inch or so from the rims. Place a clean paper towel or cloth over the opening, and rubber band, tie, or otherwise hold it in place. Now leave your jars in a cool, dark place where they won’t be disturbed for at least 7 days, and as long as you like.

IMG_9192

The first time you brew kombucha, your SCOBY may take longer than a week to get growing. Colder temperatures also make them grow more slowly. Don’t worry, let it ferment up to a month. If after 4 weeks nothing has happened, you may not have had enough active probiotics to make a culture. Just start over with fresh tea and fresh starter culture.

IMG_9193

After a day or two, you may start to see flecks on the surface of the kombucha, or bubbles. This is a great sign! After a few more days, you will see a thin film start to develop on top of the liquid. This is the beginning of your symbiotic colony. This layer will thicken over time with successive batches of kombucha.

IMG_9194

If your first SCOBY seems wavy, has holes or air bubbles, or differences in color, that is ok. But if you smell anything rancid, like mold or cheese, or see red or green or white fuzz growing, your kombucha has been infected with something you don’t want to drink,  and you should throw that batch out and start over.

This first batch may end up being too vinegary to drink, but you may also like the acidity. You can discard the batch, keeping the SCOBY you worked so hard to grow, or drink round one. I’ll show you how to transfer your brand new SCOBY into future batches in my next post!


Part 2 of how to make homemade kombucha is out! Once you have your SCOBY, here’s how to propagate it for future batches of fresh delicious tea.

With video! https://youtu.be/o5peIHOvKrY


More sources:


Chicken Ranch Burgers


Spring and summer means it’s time for picnics and backyard BBQs. While the usual suspects, hot dogs and burgers, are tasty they are kind of old. (Hopefully not literally, you threw out the half-used pack from last summer right??)

I don’t know about you, but I like to experiment with “standard” foods to see if there is a way I can improve it and make it my own. With burgers there are so many options. You really just need a few fillers, spices, and something to bind it all together.

For the vegetarians and vegans, vegetable burgers are crazy easy to make and have so many customization options! My favorite way is to simply take about 1 cup of mashed beans and 1 cup of a whole grain (like couscous, quinoa, or oats) and some cooked vegetables, then bind it all with some oil and maybe flour. Kidney bean and quinoa burgers are my favorite so far.

For meat-eaters, try ground turkey, ground pork, or ground chicken for something other than beef. Or get really adventurous and try some ground elk, bison, or lamb. This recipe is one I tried for a picnic with friends, and everyone said it was an absolute winner, a great new, interesting flavor. With only four ingredients, you’ve got to try this out.

Ingredients:

*Note: You can substitute 2-3 tbsp of a Ranch seasoning mix instead of the dressing and other seasoning, then use 1 large egg to bind

IMG_5566

Step 1: In a large bowl, mix all of the ingredients. By hand is best.

IMG_5588

Step 2: Fire up the grill! You can also use a George Foreman style press, broil in the oven, or fry on the stove top.

IMG_5589

Step 3: Top how you like it and enjoy!

You can see we put american cheese slices on ours, but the topping possibilities are endless. Try coleslaw, fries, avocado, hummus, salsa, hot sauce, tomatoes, grilled onions, peppers, and/or mushrooms, arugula, spinach…

This is chicken, so you need to be a little more careful about ensuring it is completely cooked. The only way to be totally sure is to use a meat thermometer, and for chicken it should read 165 F. Worst case, poke it and make sure the juice is clear, or cut a piece off to make sure it isn’t pink still. If not, then it’s chow time!

[amd-zlrecipe-recipe:20]’


This post contains affiliate links. If you purchase items by clicking on these links, your purchase price is not affected but a portion of the profits go towards maintaining  this blog. Thank you.

Flatbread Flexibility


One of my favorite things to go on sale is biscuit mix. This is because the mix is so very flexible. You can of course whip up soft, flaky biscuits in ten minutes, but you can also do so much more. I’ve used it to make pizza bites, tuna pockets (more than once actually), and as a pie crust substitute.

But the best way to use biscuit mix, other than biscuits, is as a flatbread for pizzas! These are amazing because the toppings are only as limited as your creativity.

I was having a get-together, and had to make something to feed a crowd at the last minute. This was my mom’s idea, and it turned out to be brilliant. Everyone could try something different, and everyone was happy with the results.

Feel free to get creative with whatever you have in your kitchen.

Ingredients (per pizza):

  • 1 roll biscuit dough (or pizza dough)
  • Approx. 1 cup toppings
  • 1/3 cup sauce (marinara, ranch, BBQ…)

IMG_5673

This pizza included bacon, cooked chicken breast, spinach, shredded cheddar cheese, and ranch dressing.

IMG_5680

As you can see, you can make pizza pockets, in many different sizes. Just press the dough together and mold it to the size you need.

IMG_5683

The smaller the pizza pocket, the less time you need to cook. These all went in for about 12 minutes, and you can see the smaller pockets are a darker brown whereas the larger ones are slightly golden.

IMG_5687

We had some with mozzarella and pepperoni, some with red pepper and spinach, and some bacon BBQ. These would be great for birthday parties, cookouts, picnics, a casual weeknight, and more.