Category Archives: Healthy

What are Vitamins?


A vitamin is defined as an organic compound that living organisms need in small amounts. Vitamins are essential for vibrant health, along with minerals and the main cellular building blocks of carbohydrates, proteins, and fats. We only need tiny amounts (usually under 100 milligrams or less, though there are a few exceptions) and as long as you eat a varied diet it should be no problem to get all you need daily.

Vitamins are usually classified by whether they are fat-soluble or water-soluble. Fat soluble vitamins dissolve in lipids, like olive oil or butter. These vitamins are best absorbed when paired with something containing a small amount of fat, however they can also be stored in fat cells and build up to potentially toxic levels. These vitamins include A, E, D, and K.

Fruit-pouring-onto-spoon

Water soluble vitamins are of course able to be dissolved in water. This makes eliminating excess from the body quite easy. However it also means we cannot store them as we can the fat-soluble kinds, so we need a daily supply.  It is difficult to reach toxic dosages of these vitamins, though it can be done. These include the B vitamins, folic acid, and vitamin C.

How much of each vitamin you need depends on a variety of factors such as gender, age, activity level, pregnancy, and more. There are RDAs (Recomended Daily Allowance) which is the average recommended amount, however you should consult your physician before beginning any new diet or supplement routine.

This post will cover all the vitamins which are not part of the “B complex”, the eight B vitamins you often hear of are B1, B2, B5, B6, B9, and B12. We will cover that in a later post: The B Vitamins.

Here we will discuss Vitamin A, C, D, E, and K. When vitamins were first discovered, Vitamin A was isolated first from butter and was named “factor A”. The next similar substance, isolated from rice, was named “factor B”. Discoveries followed in alphabetical order until “factor K”, which was named for “koagulation”, the German word for coagulation, because it helped blood to clot.

Continue reading What are Vitamins? →

Sweet Potato & Eggplant Vurgers


Veggie burgers have so much more potential than a frozen patty of flour, preservatives, and mushy veggie starch. I’ve written previous articles on making burgers out of pinto beans and quinoa, or incorporating broccoli slaw. A veggie burger is as simple as some cooked vegetables and some thing(s) to bind everything together into a patty.

IMG_8822

This recipe combines some of end-of-summer stars and healthy whole grain oats into a sweet and tasty patty that can be eaten on its own, in a bun or wrap, or over a salad of greens or grains. As always, substitute in whatever other veggies you have and like for those you don’t have or enjoy.

IMG_8818

Ingredients:

  • 1 small-med eggplant
  • 2 medium sweet potatoes
  • 1/2 red onion, diced
  • 1/2 cup shredded radishes
  • 1 cup whole oats and/or flour
  • 2 tbsp spices of choice
  • 1/4 cup olive oil

IMG_8819

Step 1: Dice up the eggplant, onion, and sweet potato. Peel the sweet potato if you don’t want pieces of peel in your burgers. You can pre-boil the potato if you want it to cook faster, or you can put it into a pan with a lid and slow-cook prior to adding the eggplant and onion. Cook all veggies until soft enough to mash with a fork.

IMG_8821

Step 2: In a large bowl, mash all the veggies together with a fork or potato masher. Add the oats & shredded radish, and mix until it begins to become sticky, such that you can shape patties from it. You can also add an egg if you need extra binding.

IMG_8823

For spices, I added in some garlic salt, paprika, and black pepper.

IMG_8824

Step 3: In a frying pan, pour the oil and heat it to medium. Shape the patties into small rounds with your hands. Fry the patties a few at a time, making sure they aren’t touching. Fry until crispy and brown, about 5-6 minutes each side.

IMG_8825

Step 4: Place the patties on a wire rack or paper towels to drain extra oil off the patties.

IMG_8827

You can use these just as you would a regular burger and top with pickles, lettuce, tomato, hot peppers, ketchup, mayo, etc.

IMG_8829


Lean Green Tuna Salad


We all have hectic days where we just don’t have time to pack a lunch with heart-shaped cheeses, individually peeled grapes, and 3-4 servings of vegetables included. Whether for yourself or some back-to-school young’uns, packing so many lunches all year long can get tiresome.

But don’t give up! As stated over and over again in financial writing, bringing a lunch is nearly always cheaper than a similar meal out at a restaurant, or even “fast casual” food places. While articles like the Simple Dollar point out that there is a large margin of what a brown bag lunch may cost, just keep track yourself for one week and you will soon see.

Even if you have the smallest of fast-food options (maybe half a $6 sandwich, and half the next day, for a total per day of $3, not including any drinks or extras), it is easy to create incredibly cheap meals for yourself at home, or even pack lunches which you can assemble wherever you are when it’s time to eat. Sometimes for even less than $1 a day!

IMG_0579

And with a little creativity, you can create these easy, cheap meals, and actually make them healthy too!  We’re talking several levels above ramen noodles, folks. Just check out my “less than 5” section for a plethora of ideas.

More ideas:

IMG_0574

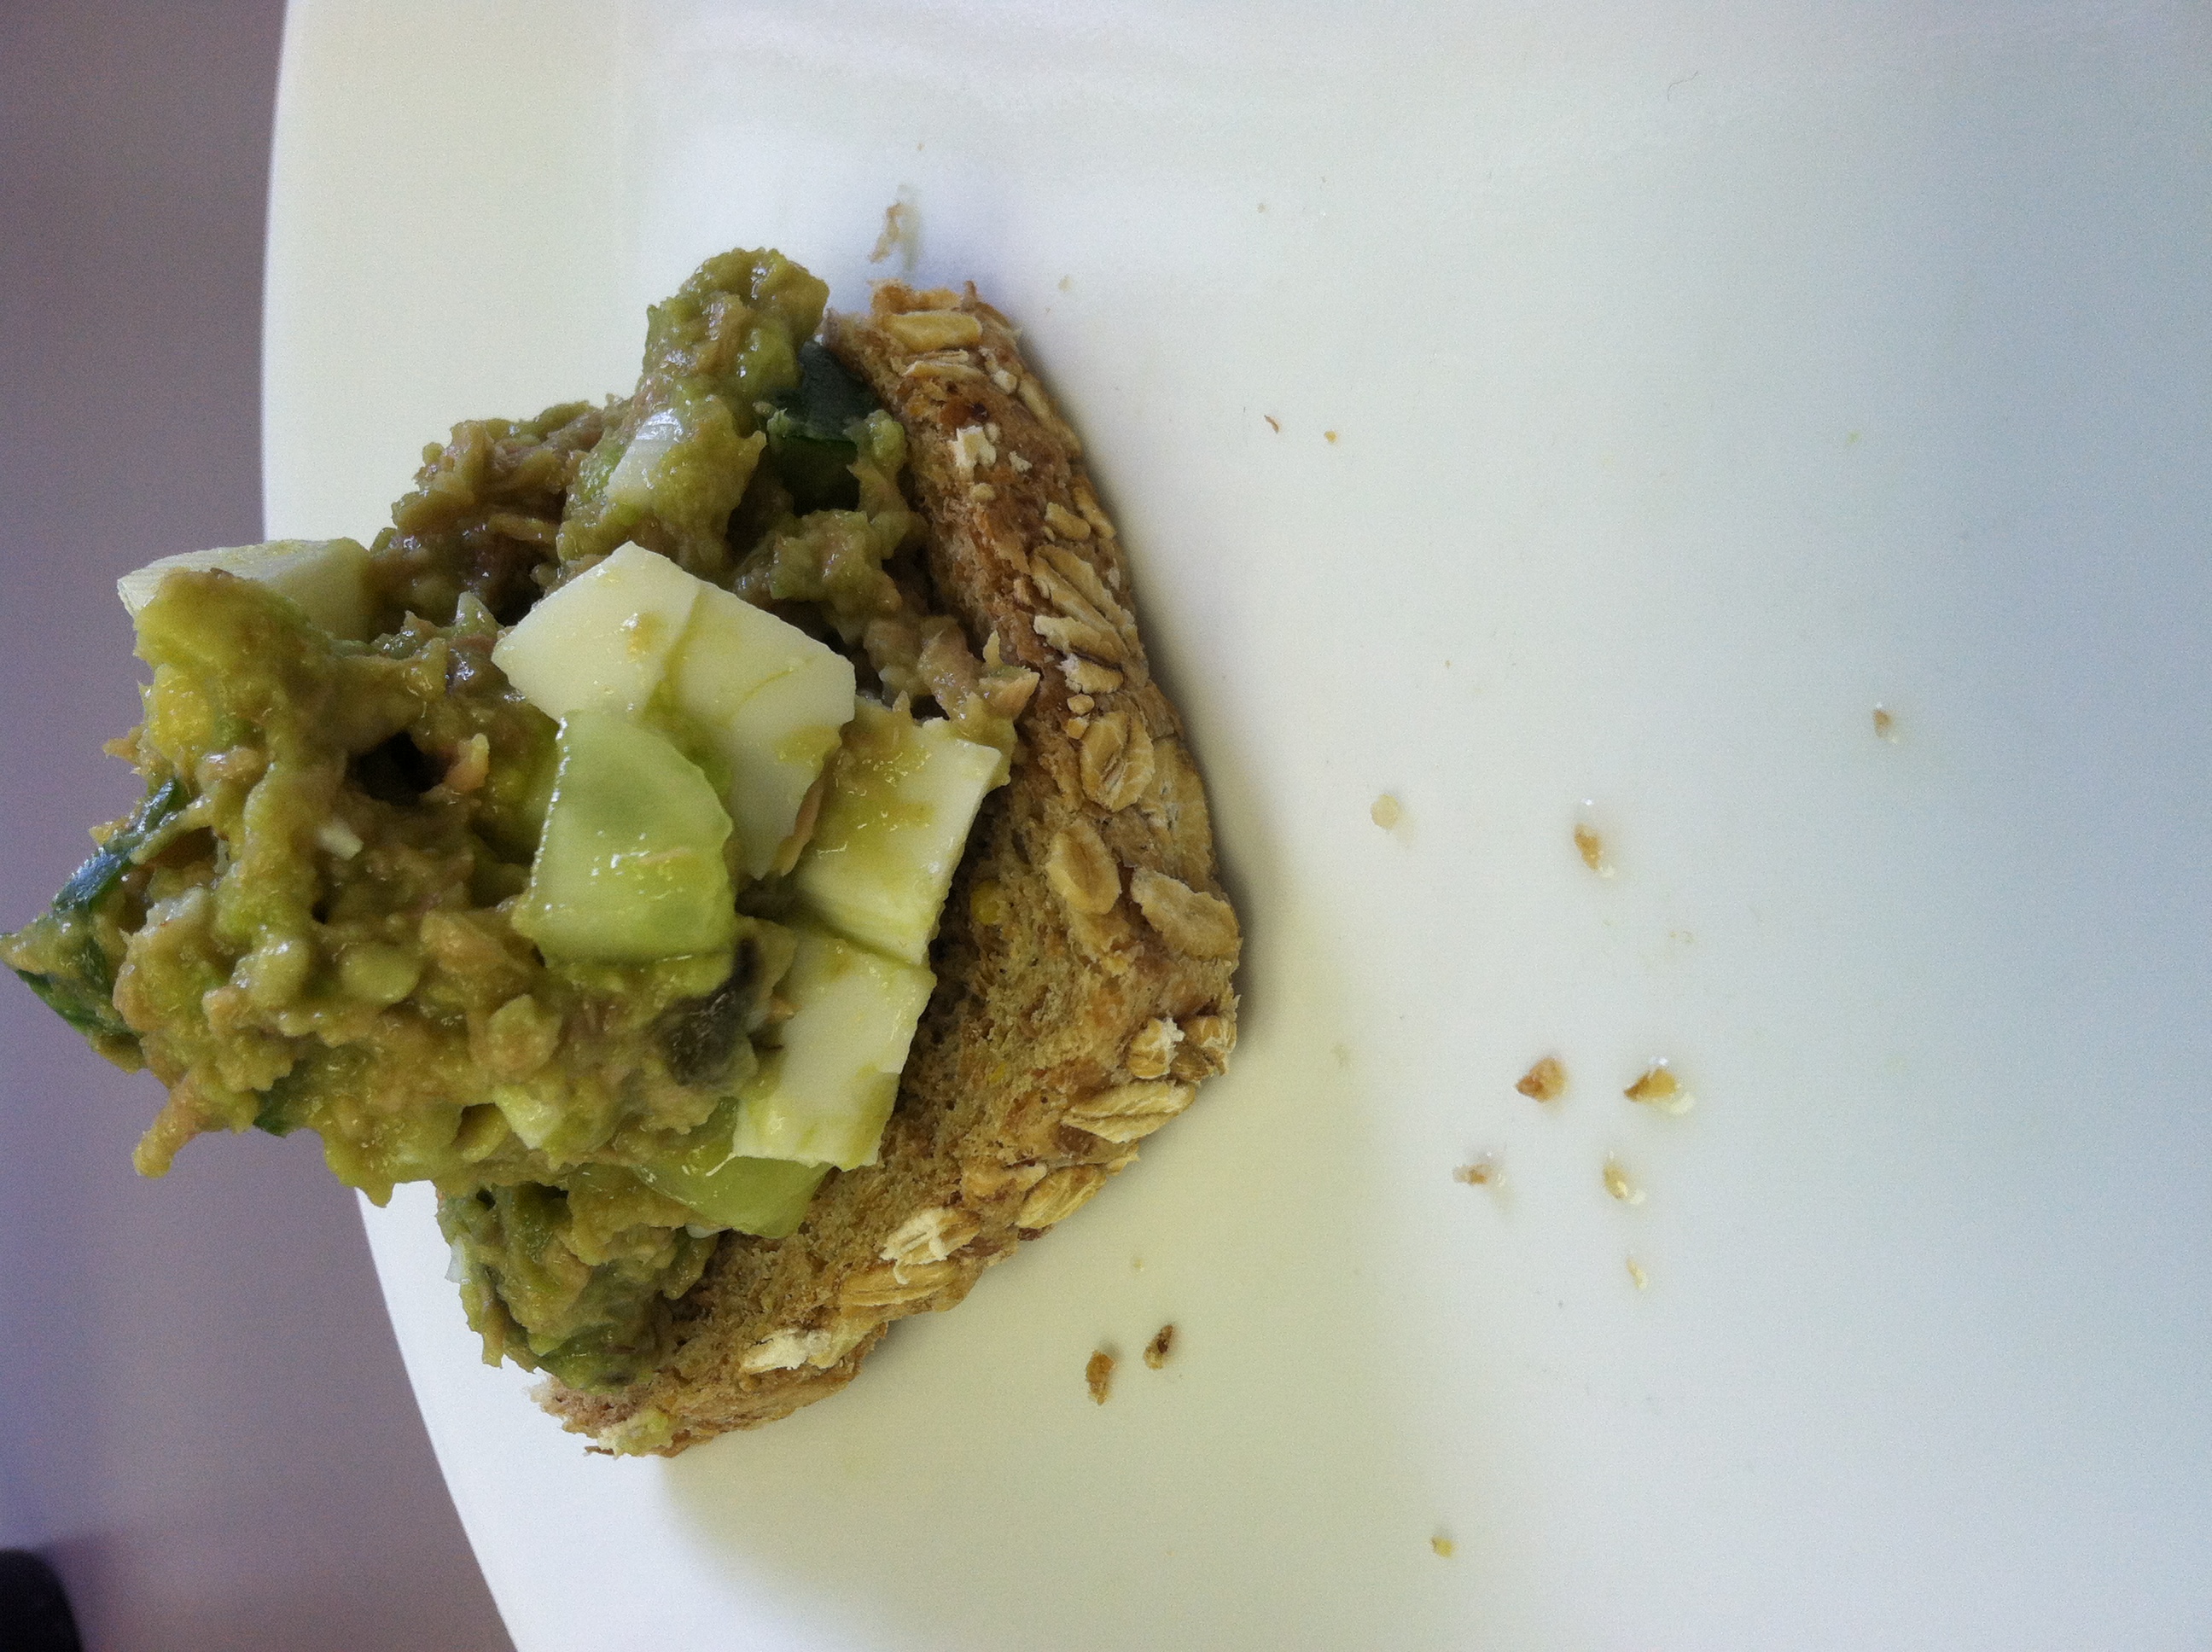
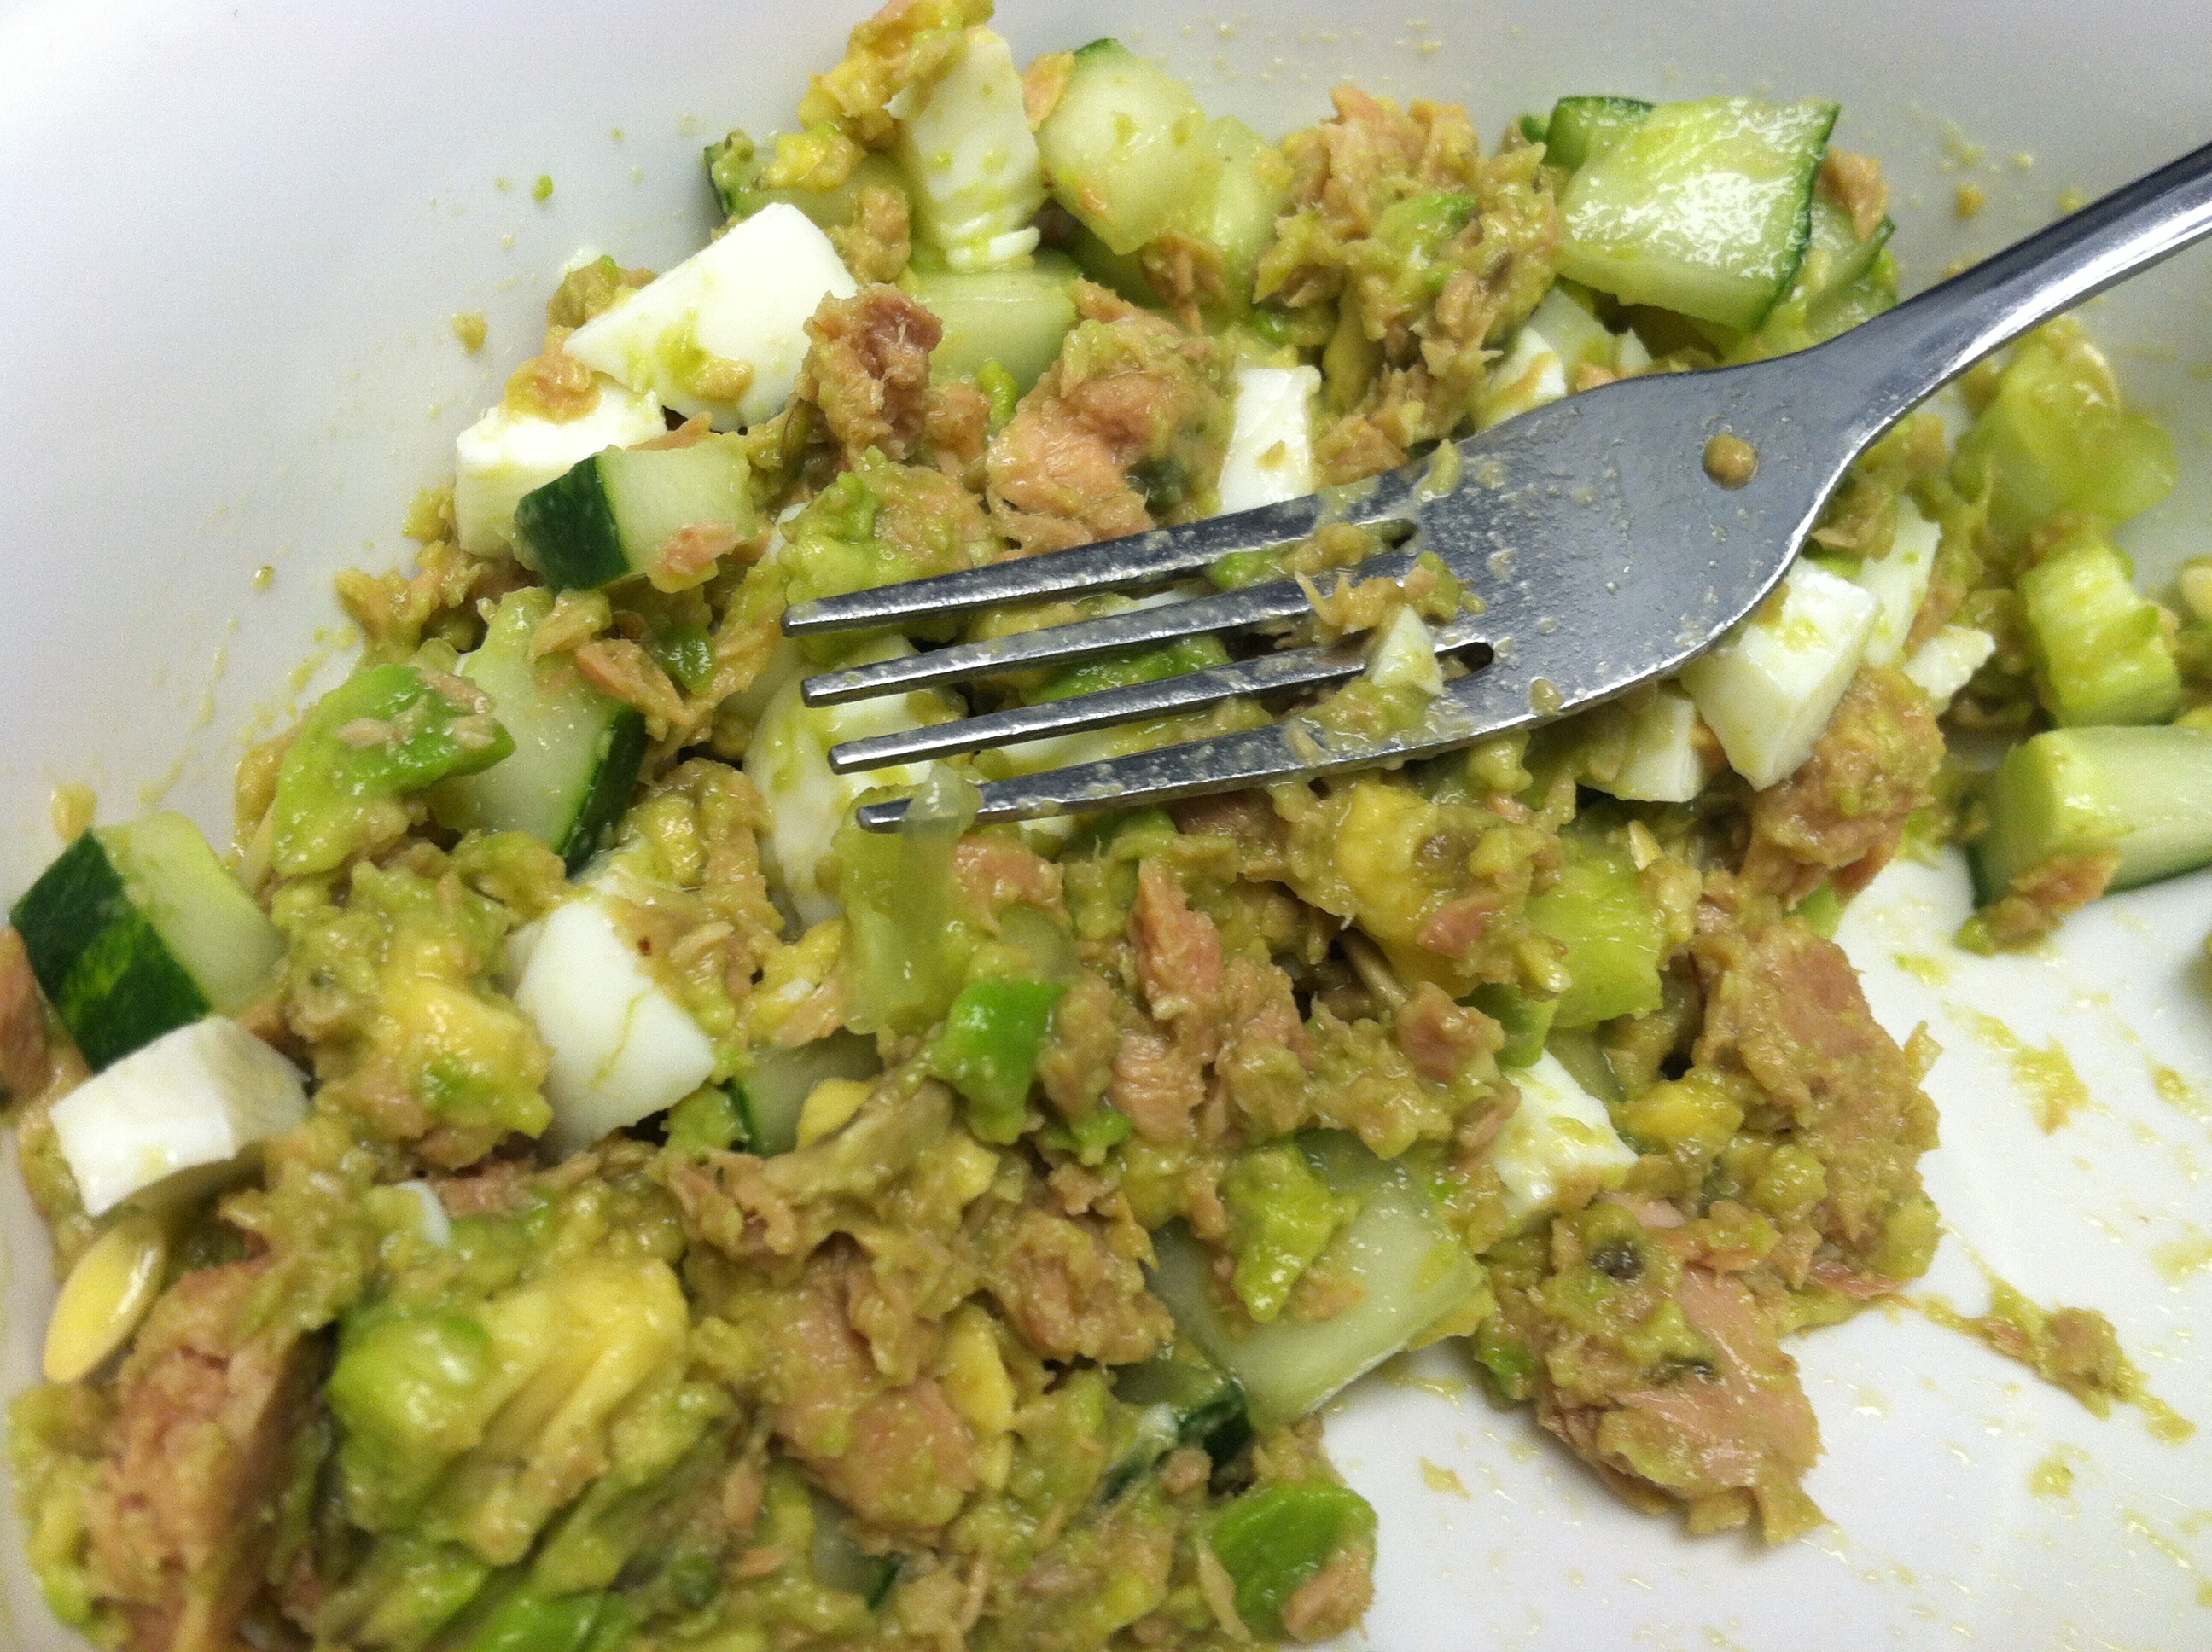
This recipe is a healthified tuna salad. By adding several kinds of vegetables you bulk up the salad with fiber and vitamins, and adding an egg gives the already 16g of protein an extra 6g boost. If you’re truly hard core, you can even forego the mayonnaise and just add lemon juice for a dash of flavor.

This is borderline vegetarian, if you are lacto-ovo vegetarian. It is extremely healthy, especially if you omit mayo. You can pack all the ingredients in a cooler and assemble at your desk or at school. If you buy tuna on sale, you can get it for $0.30 a can. 1/2 avocado + 1/2 cucumber is slightly less than $1.

Add another $0.50 or so for one egg and a few cents for lemon juice and any seasonings, and you have a hefty lunch/appetizer/dinner for about $2. Add a few big leaves of romaine for a dinner of tuna salad wraps, or serve over a big bed of lettuce with some nuts and berries for a more filling option.

Ingredients:

  • 1 can or pouch chunk tuna in water
  • 1 hard boiled egg
  • 1/2 cucumber, diced
  • 1/2 avocado
  • 2 tbsp lemon juice
  • 2 tbsp mayonnaise

IMG_0576

Step 1: Open the tuna and drain. Rinse the cucumber and dice into small chunks. You could use celery here, or peas, or shredded carrot. Whatever vegetable you like to add bulk and nutrition.
IMG_0577

Step 2: Cut the avocado in half and scoop out the seed. In a bowl, combine the tuna, lemon juice, and mayo. Mix well. Add the cucumber and avocado, smash it around until well combined. Dice the boiled egg, and mix that in.

Season with garlic salt and black pepper if so desired. Serve with slices of bread, a wrap or pita, or whole wheat crackers.

[amd-zlrecipe-recipe:35]

Fried Green Tomatoes with Basil Mayo Sauce


While fried green tomatoes are usually considered a southern dish they can be found in northern homes as well. The northern version is more likely to be made with white flour rather than corn flour or corn meal. Also, green tomatoes tend to be prepared at the end of the season in the north when the remaining fruit is harvested before the first frosts, whereas green tomatoes are picked throughout the season in the south.

IMG_0567

They certainly pre-date the movie Fried Green Tomatoes at the Whistle Stop Café, released in the early 1990’s.

“Lovers of tomatoes are very fond of them, sliced green as apples are sliced, and fried in butter.  Some persons are fond of them sliced and fried after being dipped in butter.  The green tomatoes, which the season will not permit to ripen, may be turned to good account by using them fried.”  – The New England Farmer.  Oct. 14, 1836.
Traditional preparation of fried green tomatoes begins by cutting the tomatoes into approximately 1/4-inch (~1 cm) slices. They are then seasoned with salt and pepper, coated with plain, coarse cornmeal, and shallow fried in bacon fat for a few minutes each side, or until golden brown.

Shallow frying is preferred, as the tomatoes do not float in the oil, which allows the weight of the tomato to press the cornmeal to the underside of the tomato. Alternatives include using breadcrumbs or flour instead of cornmeal, and frying in vegetable oil or other fat.

A ‘wash’ may be used; in this case, the sliced tomatoes are first dipped in a liquid before the cornmeal is added. This liquid is usually buttermilk, or occasionally beaten egg. Using beaten egg results in a slightly firmer texture than using buttermilk. ‘Washes’ are used because cornmeal does not readily stick to raw green tomatoes.

Adding the liquid helps the cornmeal stay in place during the cooking process. This also results in the coating on the tomato becoming thicker and less crunchy when compared with tomatoes cooked without a ‘wash’.

These fried green tomatoes were made with the first big, juicey green gems on the vine at the beginning of the season, because I just couldn’t wait any longer for them to redden. You can eat these at any time throughout the growing season, and if you live in colder climates it is a way to use up unripe fruit before the first frosts kill them off.

Served with a tasty, tangy basil mayo, these are amazing appetizers, party bites, or a vegetarian main or side dish. They are best served hot and fresh, as the coating loses its crunch over time.

 Basil Mayonnaise Ingredients:

  • 1/2 cup mayonnaise
  • 2 tbsp brown mustard
  • 1 tbsp lemon juice
  • 1/2 cup packed basil leaves
  • 2 cloves garlic

IMG_0553

Step 1: Rinse the fresh basil well and drain. In a blender, combine the basil, mayo, garlic, mustard, and lemon juice.

IMG_0555

Step 2: Blend well until combined. Place in a shallow dish to dip, can refrigerate up to 3 days ahead of time.


Fried Green Tomatoes Ingredients:

  • 3 medium unripe, green tomatoes
  • 1 cup flour
  • 2 eggs
  • 1 cup breadcrumbs
  • 1/2 cup cornmeal
  • 2 cups vegetable oil

IMG_0552

Step 1: Rinse the tomatoes well to make sure there is no residue or dirt on them. Slice into 1/4 – 1/2 inch thick slices.

IMG_0556

Step 2: Beat the two eggs lightly. Place the flour, scrambled egg, and cornmeal/breadcrumb mixture onto three separate shallow plates. Put the oil in a frying pan, and heat to medium (just below when it would start simmering).

green_tomato_flour

Step 3: Dip the green tomato slices one at a time into the flour and flip to coat both sides.

IMG_0558

Step 4: Dip the floured slice into the egg mixture & slush it around to fully coat.

IMG_0562

Step 5: After the eggs, dip into the cornmeal & breadcrumb mixture, and flip to fully coat.

IMG_0559

Step 6: Place the tomato slices into the hot oil, make sure they aren’t touching. Cook for 5-7 minutes, until the breading becomes brown and crispy. Flip and fry the other side another 5-7 minutes.

IMG_0566

Step 7: Place on a cooling rack or paper towels to drain the oil. Serve hot with the basil mayonnaise on the side.

Hope this helps you enjoy more of summer’s bounty!


[amd-zlrecipe-recipe:34]


Beef Heart & Zucchini Stir Fry


Yup you read that right.

For my 400th (!!!) post, we are talking about beef heart. As in the thing that keeps the cow alive. (Sorry if that is a bit too real for you.) And also because I love all you readers who keep this fun for me! I can’t believe I have posted four hundred recipes and random ramblings, and y’all keep coming back for more…

But heart is really good! I promise. Just like chicken liver makes a great pasta sauce, give this organ a chance to impress. Organ meats are part of the whole animal, and humans have a very long history of using every bit. Only recently have our palates become pickier, such that regular pieces like bones, tail, tongue, and liver are no longer the norm, and are even looked at askance.

Organ meats can be tremendously beneficial for your health, supplying tons of iron, selenium, and other trace and important minerals. They can of course, also wreck your health, if eaten from tainted sources or too frequently. Organ meats do tend to include higher than muscle levels of cholesterol.

Kelly the Kitchen Kop has a great article containing many common objections to organ meats, along with the true facts. Beef heart is a great organ meat to start with, because it’s flavorful, surprisingly lean, and inexpensive. On average, a serving costs half of a comparable serving of beef chuck roast, and the taste is much milder than liver (for those having nightmares of “liver and onions” right now).

20100301-nastybits-fabricatedheart

A 3-ounce serving of beef heart has just 95 calories and 15 grams of protein, and only contains 3 grams of total fat in a 3-ounce serving, which is only slightly more than the same portion of chicken breast. Beef heart is a rich source of all the B vitamins except folate, but it’s especially high in vitamin B-12. Three ounces provide more than 200 percent of the recommended daily intake.

Many cultures which still enjoy organ meats use beef heart, such as anticuchos, a beef heart kebab which is the most popular dish in Peru. Argentina is a large beef producer, and nearly all the hearts are shipped to Peru because of such high demand. Beef heart takes well both to fast, high-heat searing and long, slow low-cooking. You can even ask your butcher to grind it up, and mix it into your lean ground beef. Bet you wouldn’t even notice a difference!

In this recipe, I combined very inexpensive, pre-cut heart with seasonally abundant zucchini for a ridiculously low-cost-per-plate meal, served with a simple sauce over rice. The beef (2lb) was $1.44, the zucchini was free from the garden, but let’s say you bought it at the store for about $1.00, an onion & some mushrooms would be about $1.00, and the 2 cups of rice maybe another $0.50 or so. A few tbsp of soy sauce and Worcestershire sauce adds a couple more pennies.

That brings the total for two meals to about $3, or $1.50 per serving. Beat that, fast food!

Ingredients:

  • 1 medium zucchini
  • 2 pounds beef heart cut into chunks or strips
  • 1/2 white onion, cut into thin strips
  • 1/2 pint mushrooms, sliced thin
  • 1/4 cup soy sauce (or fish sauce)
  • 1/4 cup Worchestershire sauce
  • 1 tbsp vegetable or olive oil

IMG_8965

Step 1: Dice the onion, mushrooms, and zucchini. In a frying pan, add 1 tbsp oil and the veggies. Cover and cook for 8-10 minutes, stirring, until onion is translucent and the zucchini is softened.

IMG_8966

Step 2: If you didn’t buy pre-cut heart, cut the fat and tendons off the meat, then cut into chunks or strips. Add the meat and the sauces to the pan. Cook on medium heat 5-7 minutes, stirring, until meat is thoroughly cooked.

Step 3: In a separate pot or rice cooker, cook 1-2 cups of rice. Serve half the mixture over half the rice on two plates. You could also serve this over couscous, quinoa, barley, brown rice, on its own, or in pita pockets.


[amd-zlrecipe-recipe:33]

Pearberry Margarita


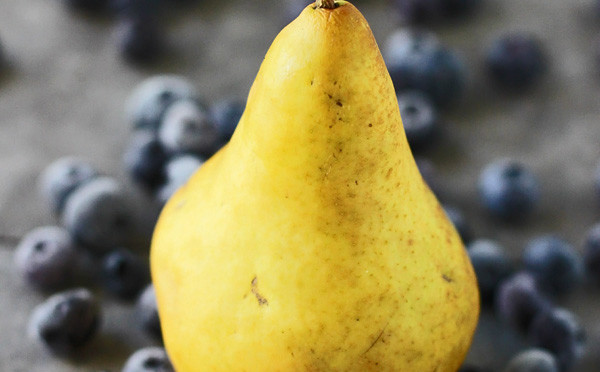
As summer winds to a close and hot days continue, fruit trees are bursting with fruit. A neighbor has a pear tree and was kind enough to share some of the harvest. One can only eat so many pears before needing to find something new to do with them…

So why not blend it into a drink? I’m always looking for ways to sneak an extra serving of fruit and/or vegetables into just about anything. And a good way to hide healthy stuff is with liquor! If there’s tequila and sour mix, who care what else is in there right?

(But see if the people who try it don’t love your secret)

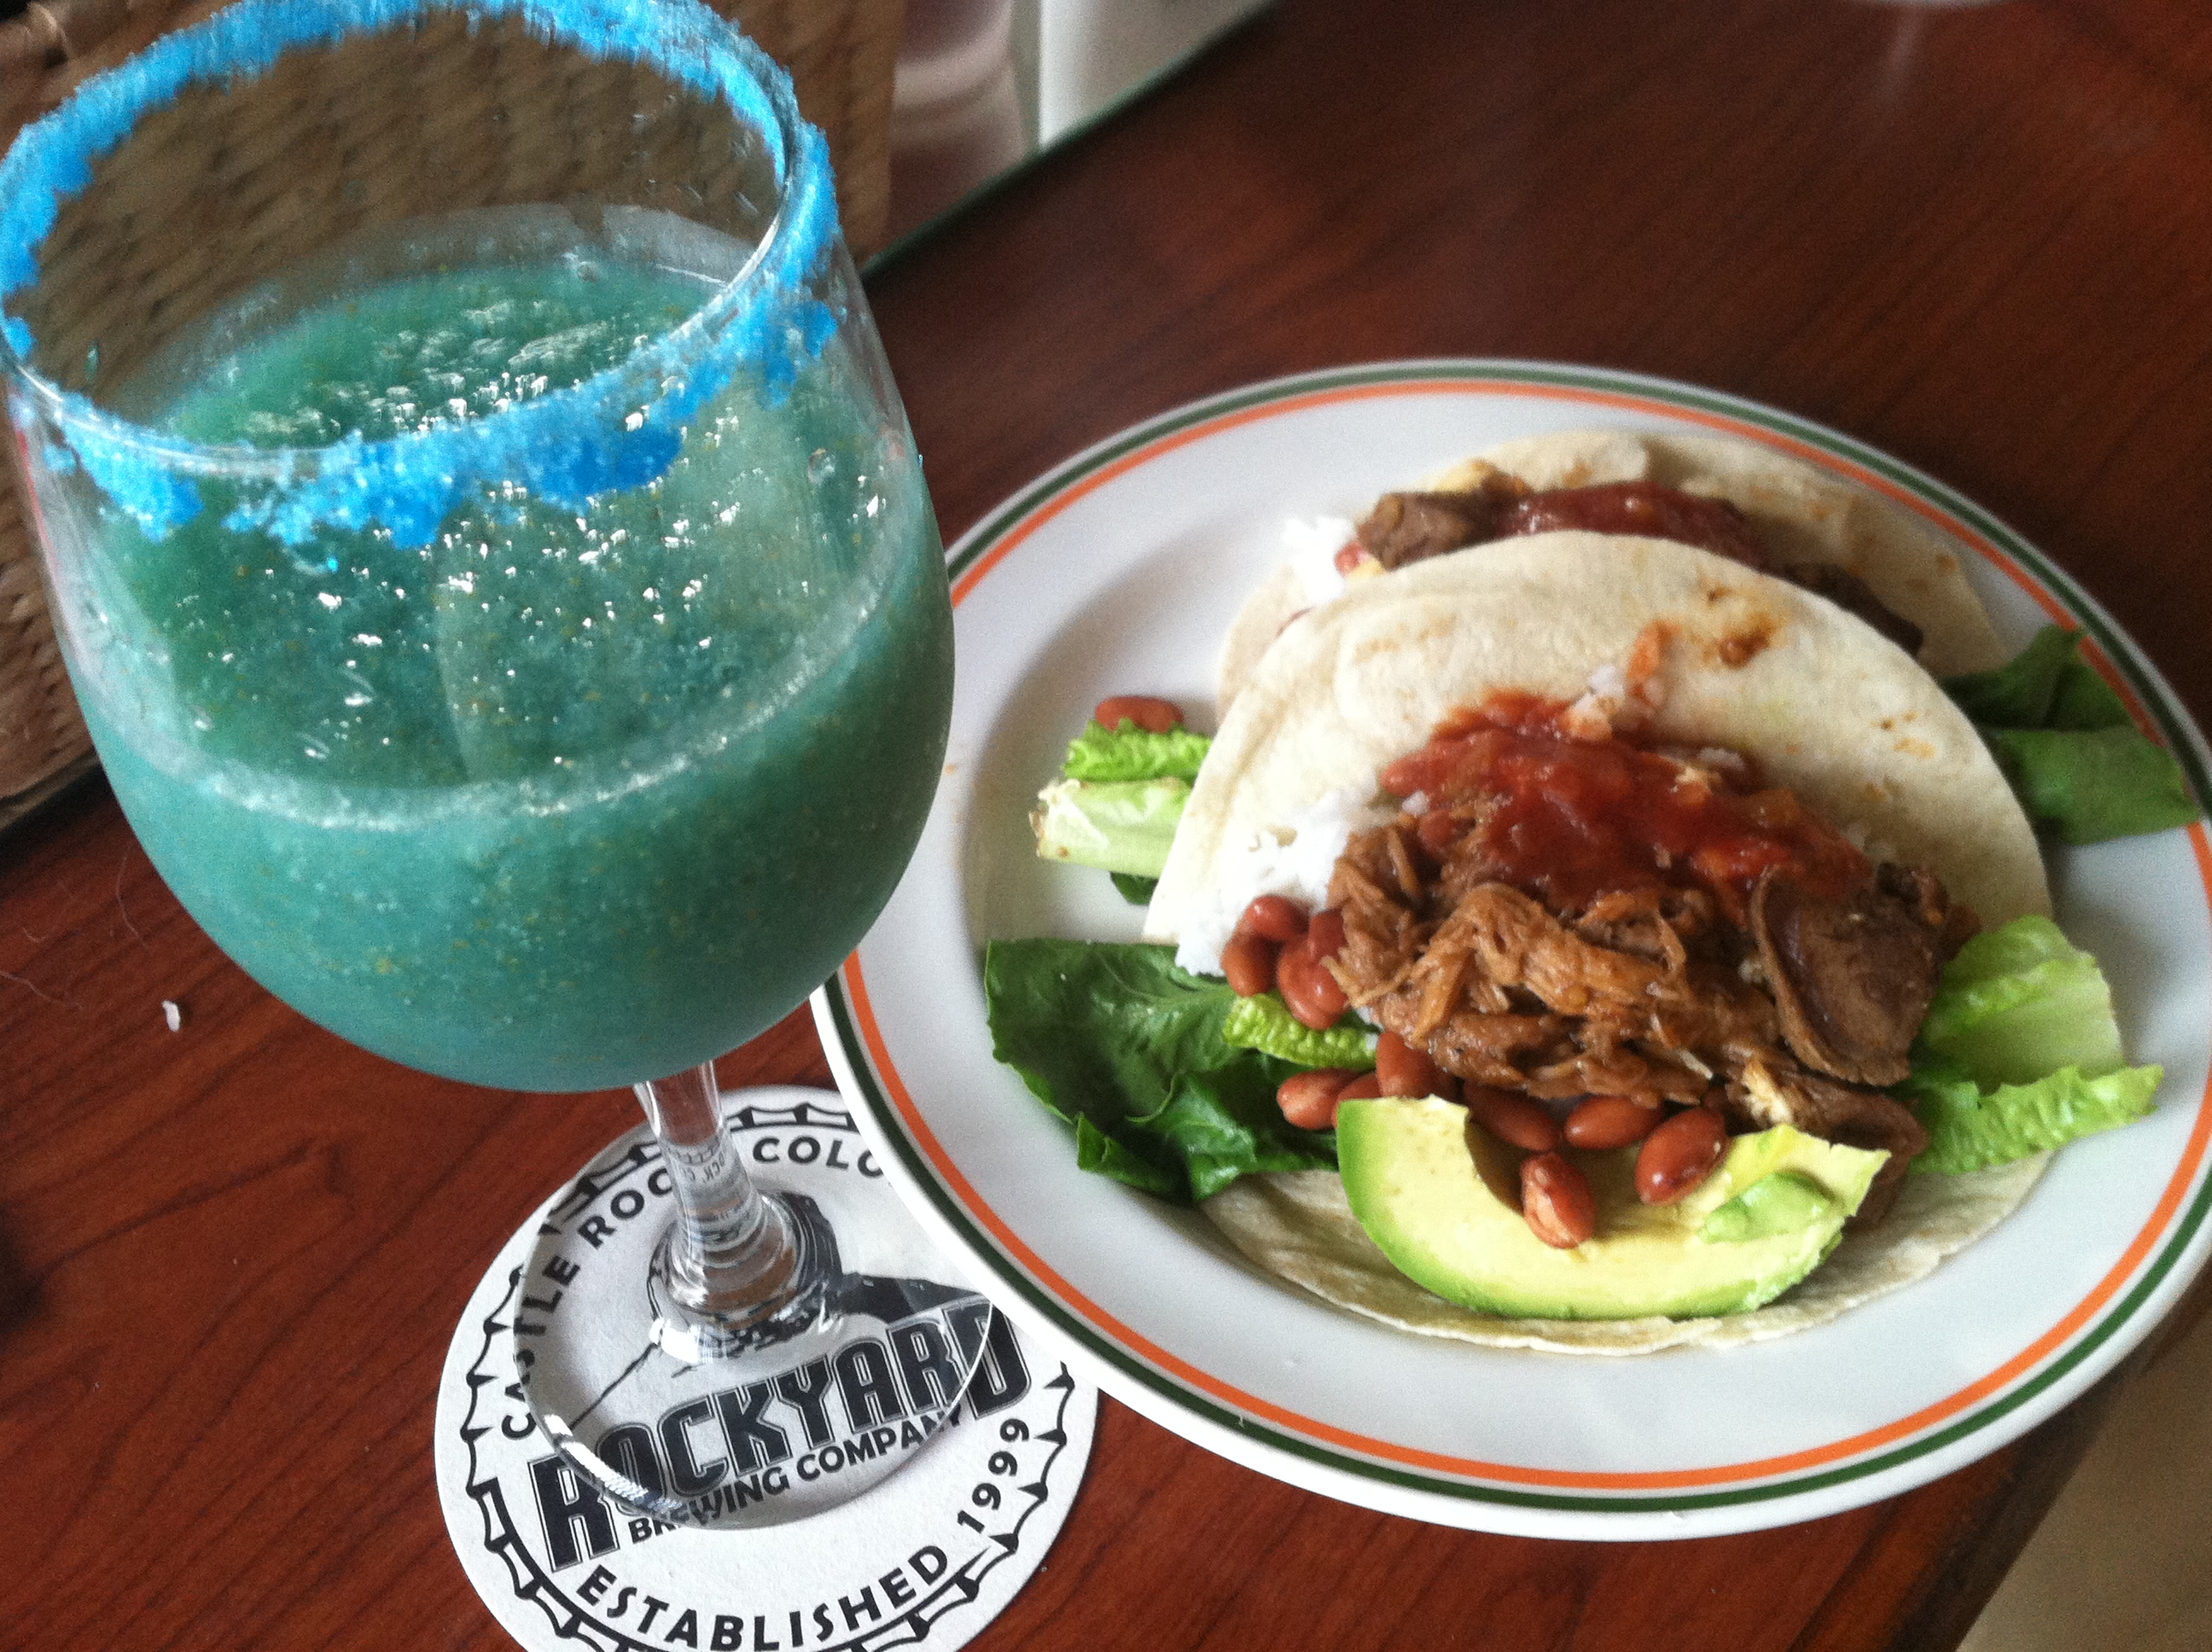
This recipe makes enough for 2 servings of about 5 ounces each. You can easily scale this up to make a pitcher full for a party. Also feel free to experiment with different types of berries or mixers to find the flavor combo you like best.

Ingredients:

  • 1 large, very ripe pear
  • 1/4 cup blueberry margarita mix (or 1/2 cup fresh berries)
  • 2 oz tequila
  • 2 oz sour mix
  • 2 oz lime juice
  • Handful of ice

IMG_9347

Step 1: If you want to and feel brave, you can peel the pear. I just threw the whole thing in, skin on. Cut it in half, then into quarters. Slice out the stem, seeds, and core. Put that in a blender.

IMG_9346

Step 2: Add the liquids and tequila, and blend until the pear is completely mashed. Add the ice, and pulse or blend until it reaches your desired consistency.

IMG_9343

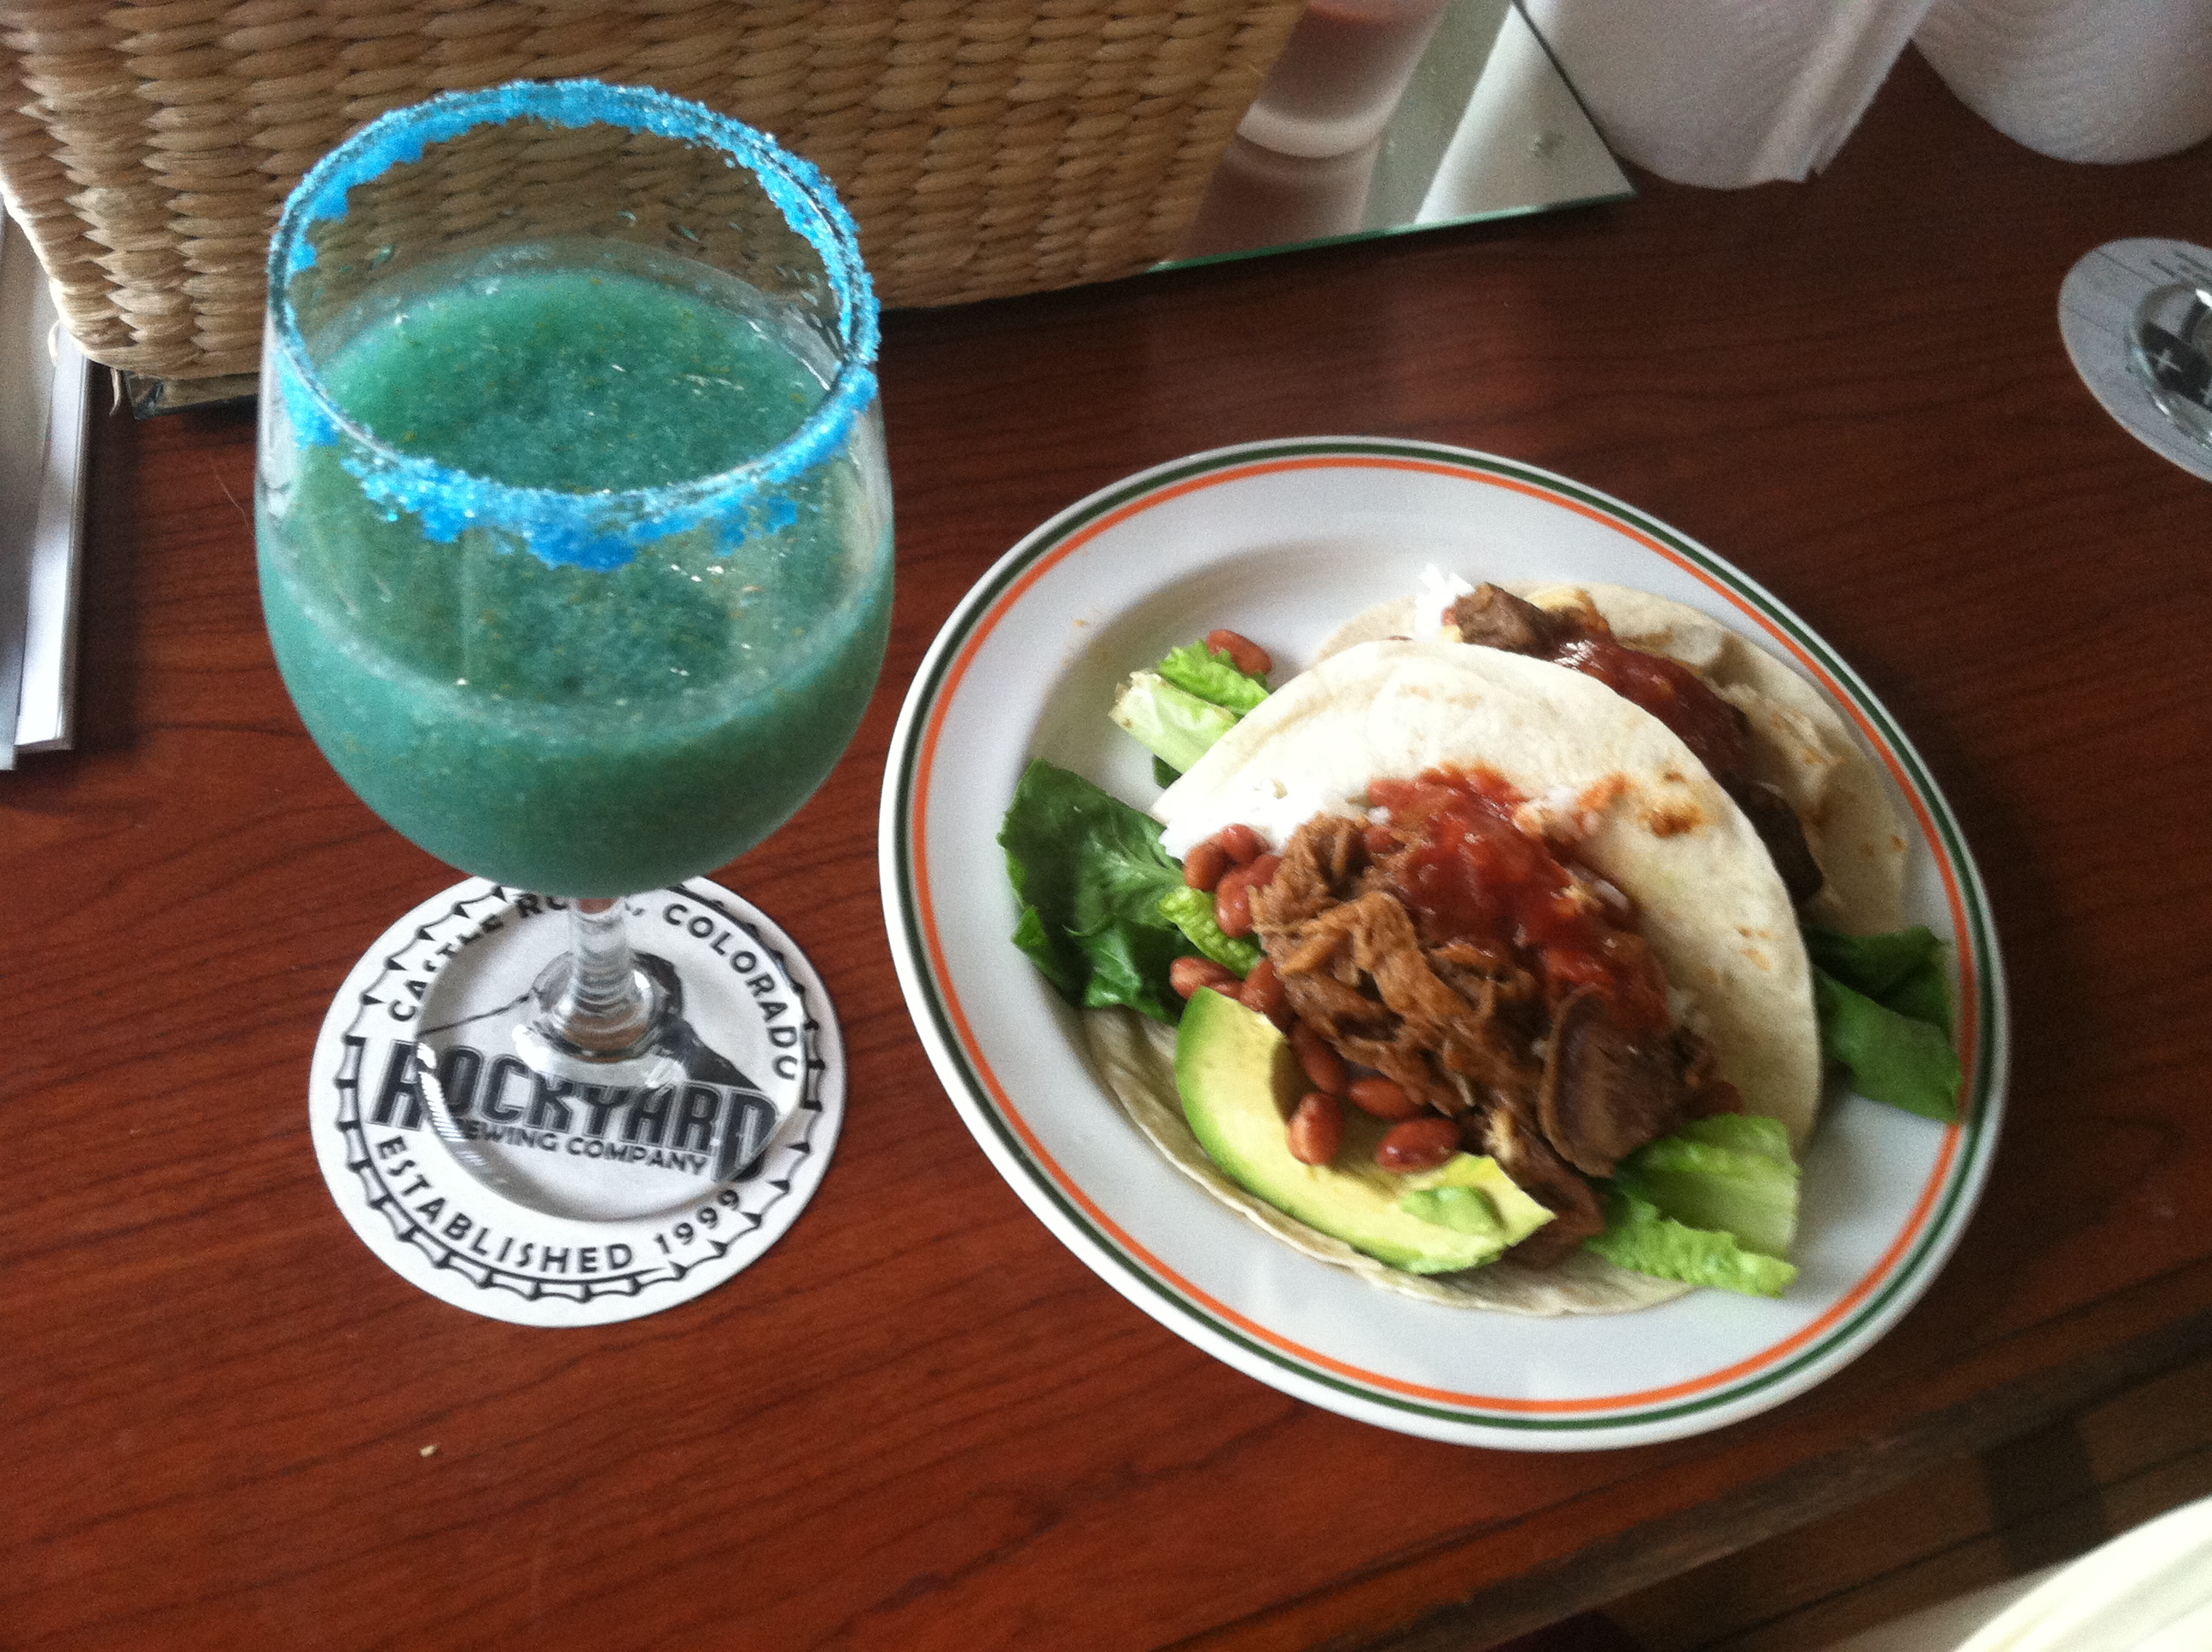
If you have blueberry sugar, you can rim the glasses by first dipping them in water or lime juice, then rubbing the rims on a shallow plate covered in the sugar. (Or use normal sugar with a few drops of blue food coloring for the same effect.)

I don’t recommend this over ice unless you also strain it. Blended, the grittiness inherent to pears isn’t as noticeable. You could try this basic recipe with any number of fruits, but I recommend softer types (like pears, peaches, berries) over harder or mushy fruits (apples, bananas).

Salud!


Savory Vegan Bake


Sometimes, you just have no ideas in your head. You open the cupboards and refrigerator and sift through half-bags of random ingredients, cans you forgot you had, and sad wilted veggies. And then inspiration strikes!

This was one of those times.

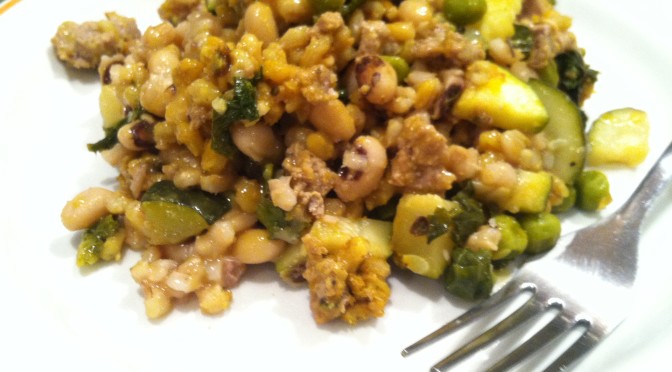
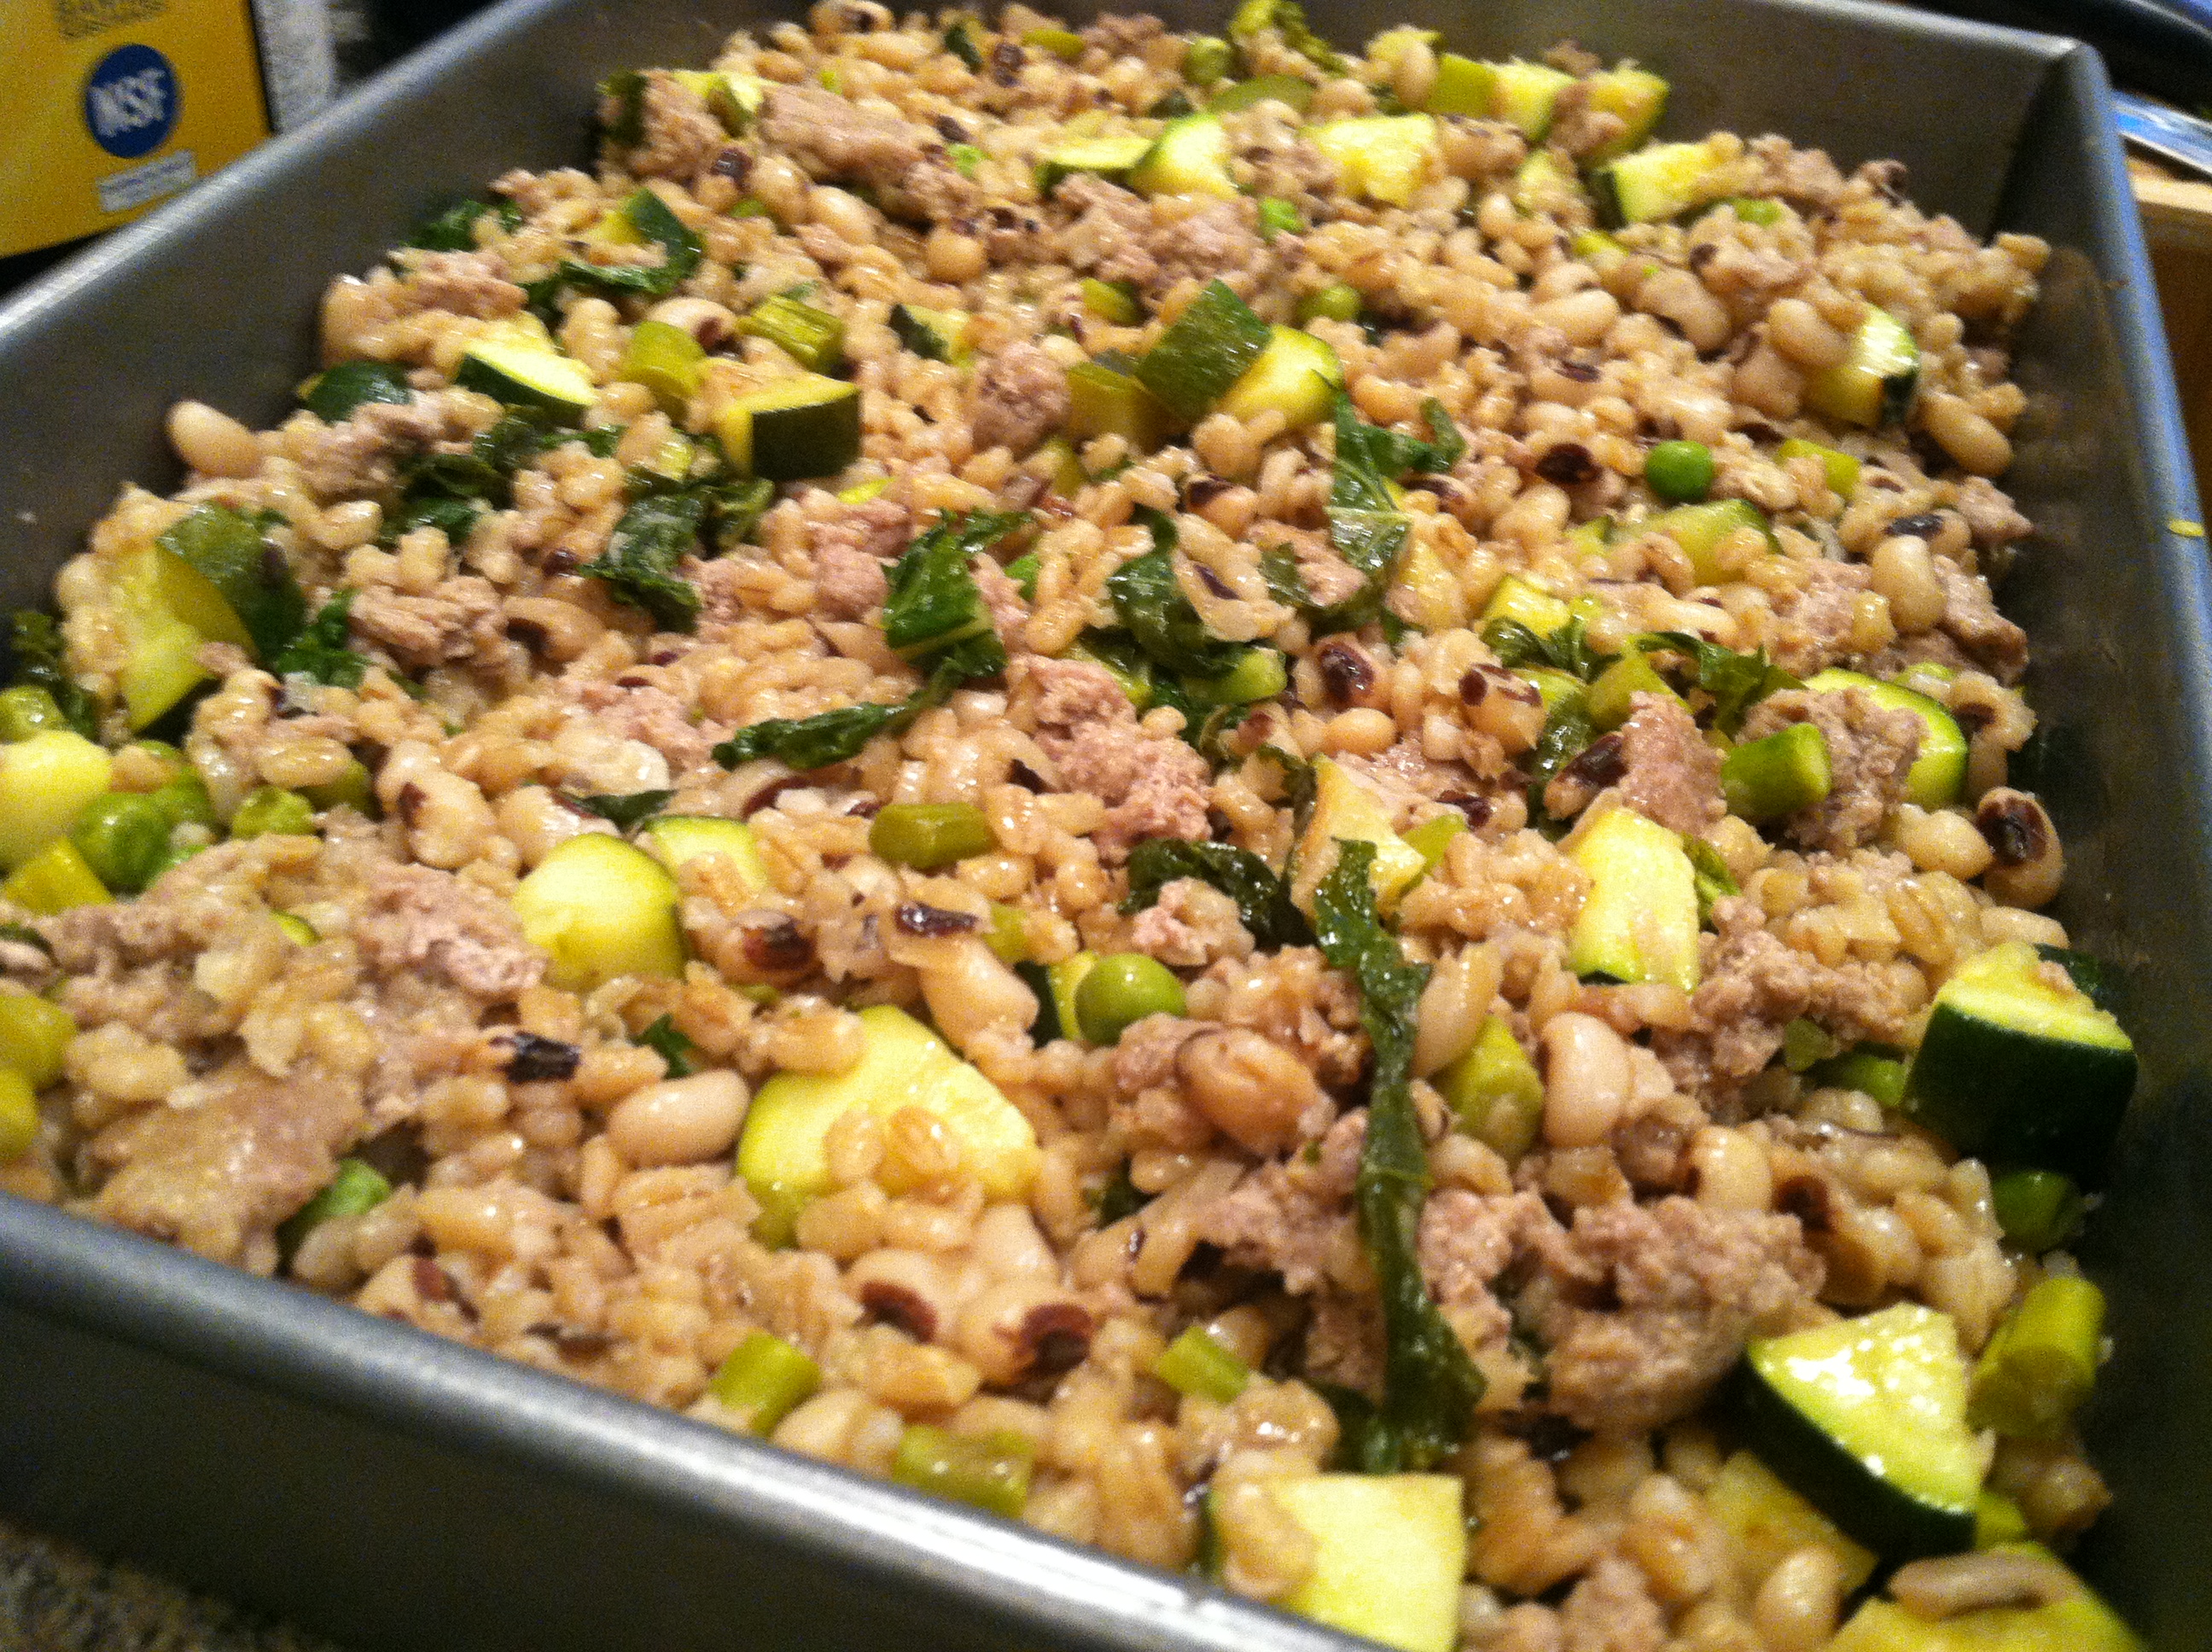
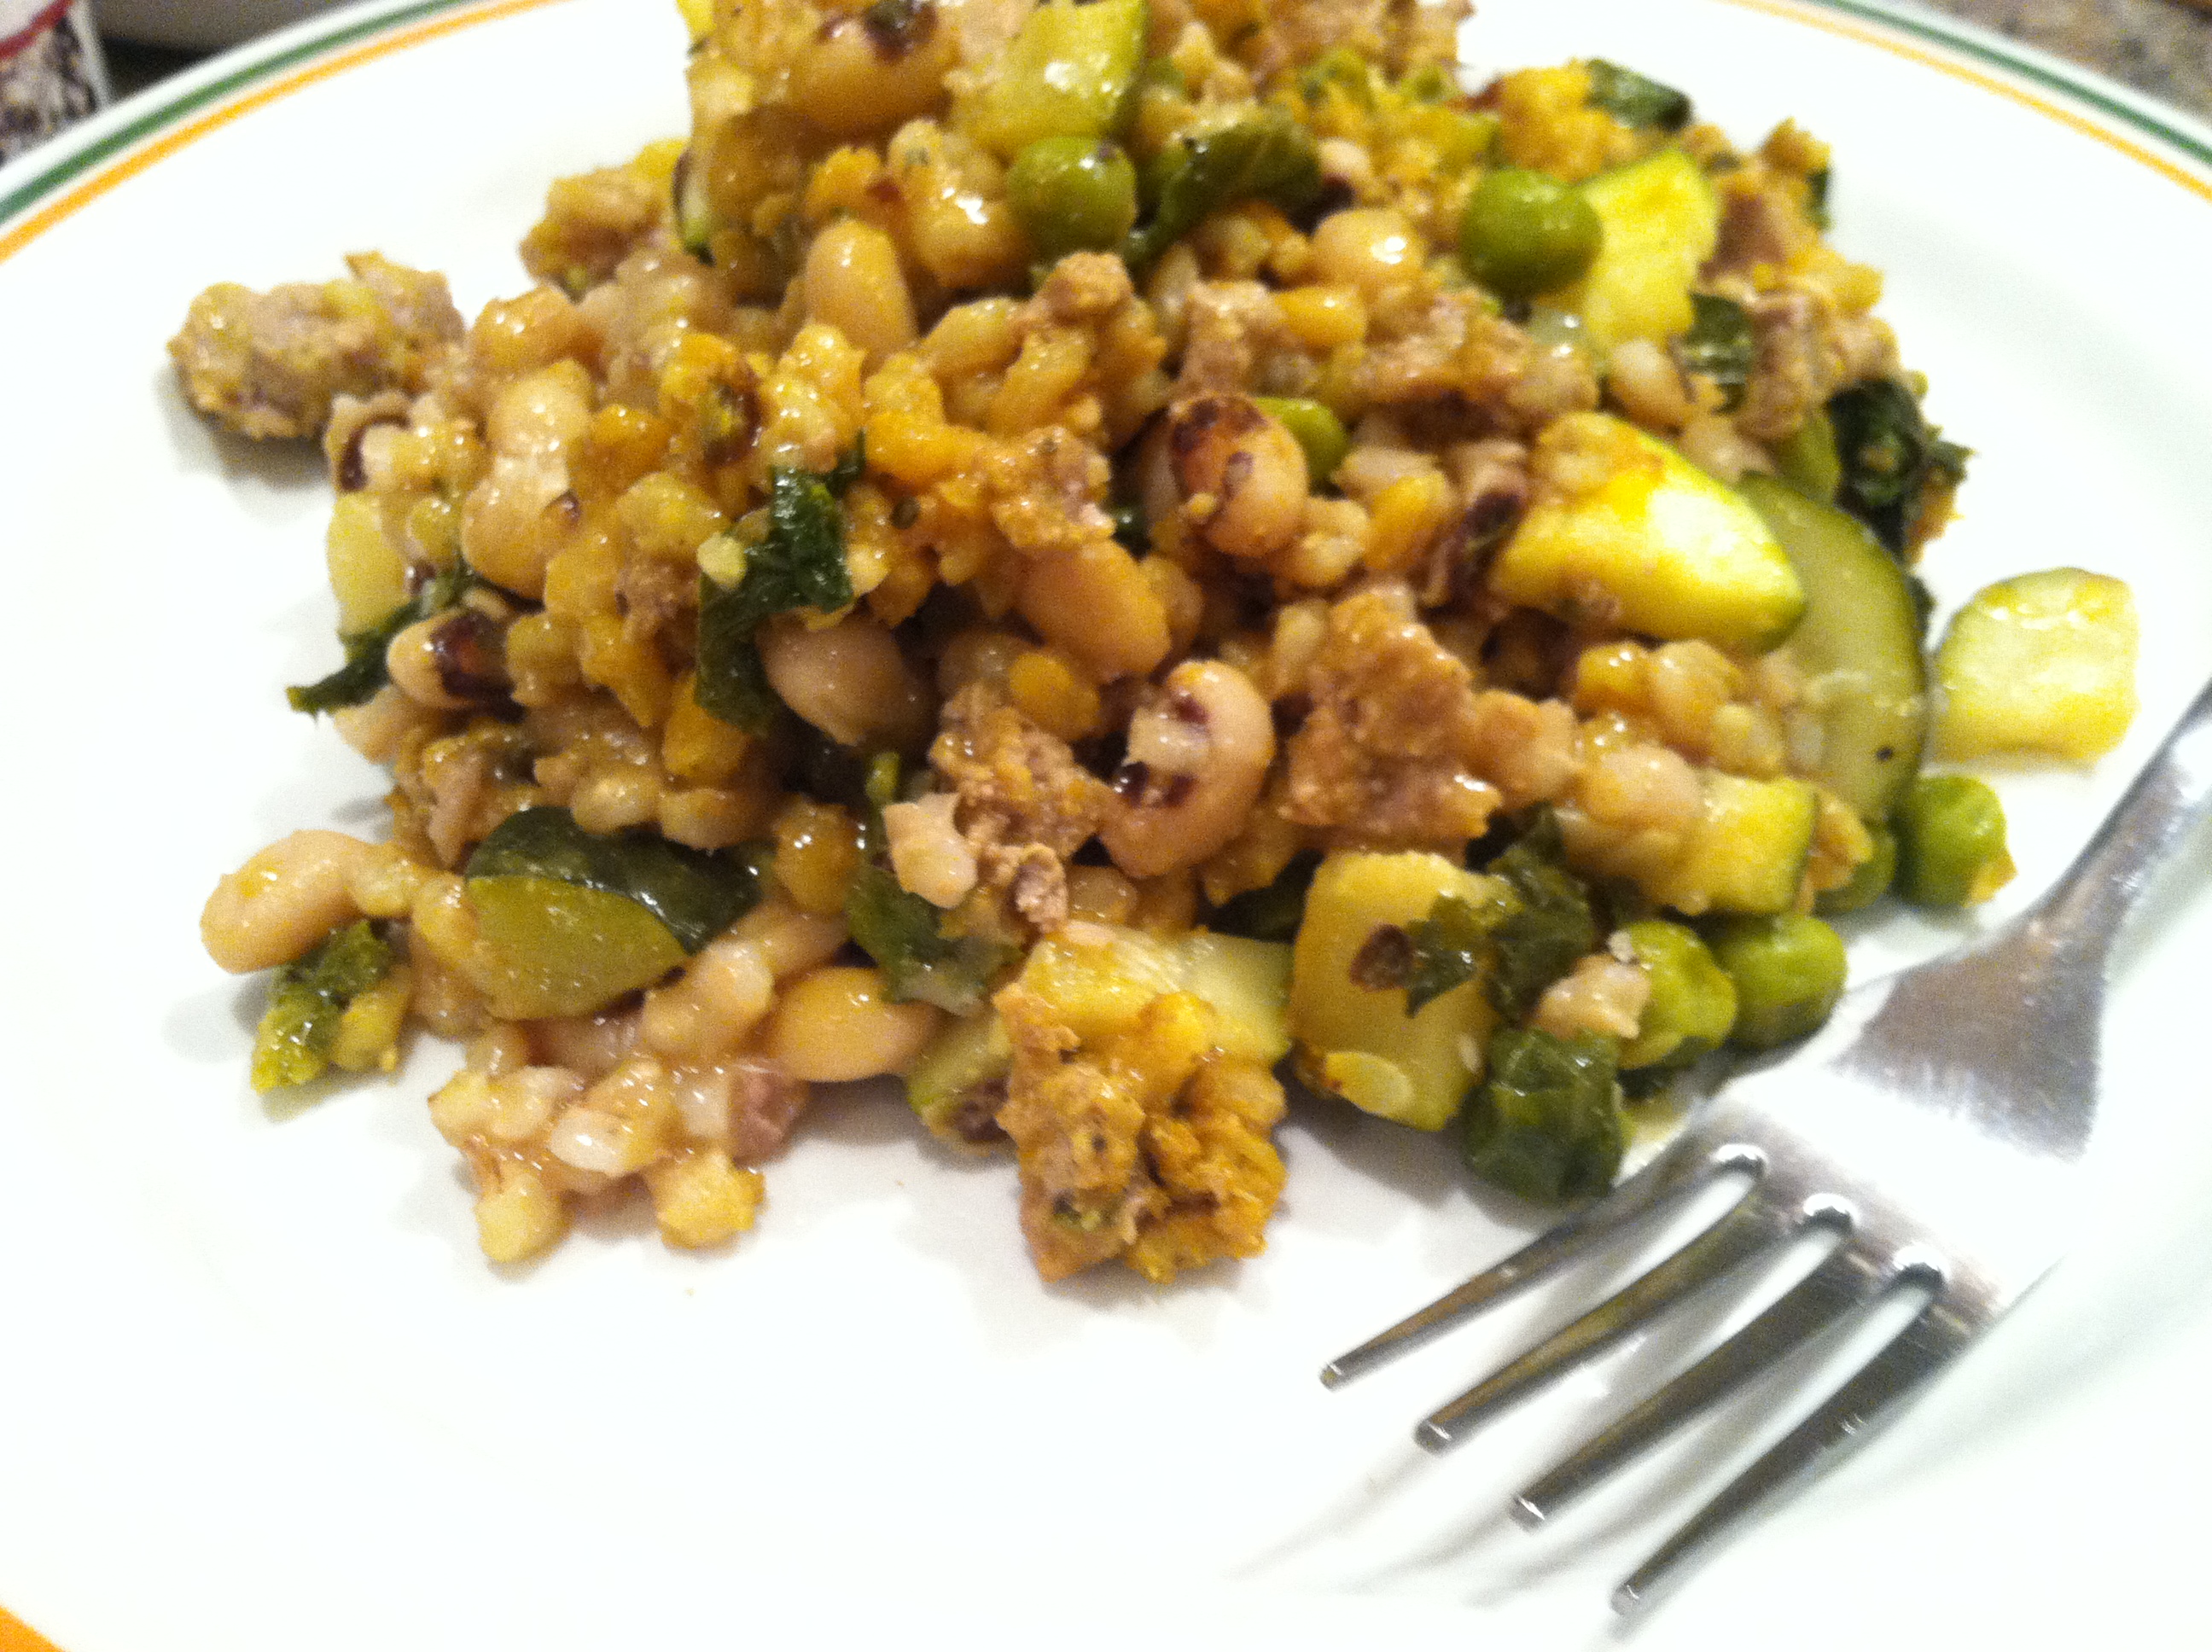
I had half a bag of barley, as well as half a bag of black eyed peas.  In the fridge, I had a few spears of asparagus, and half a small zucchini. I also had some cooked turkey, which seemed appropriate to add.

Ingredients:

  • 1 cup zucchini slices
  • 1 cup diced asparagus
  • 1/2 cup greens (spinach, kale, mustard greens)
  • 1/2 cup diced mushrooms
  • 1 cup black-eyes peas (or other dried bean)
  • 1 cup pearled barley
  • Salt, pepper, turmeric
  • 2 1/2 cups water or broth
  • Optional: 1/2 cup cooked turkey

IMG_8969

Step 1: In a pot on the stove, bring the water or broth to a boil. Add in the beans & barley, cover, and simmer for about 35-40 minutes. If they get dry, add more water as needed.

IMG_8970

Step 2: In a pan, add all the diced veggies with a little water or oil, and cook on medium heat, covered, for 10-12 minutes.  (If using ground turkey or beef, add and cook here)

IMG_8972

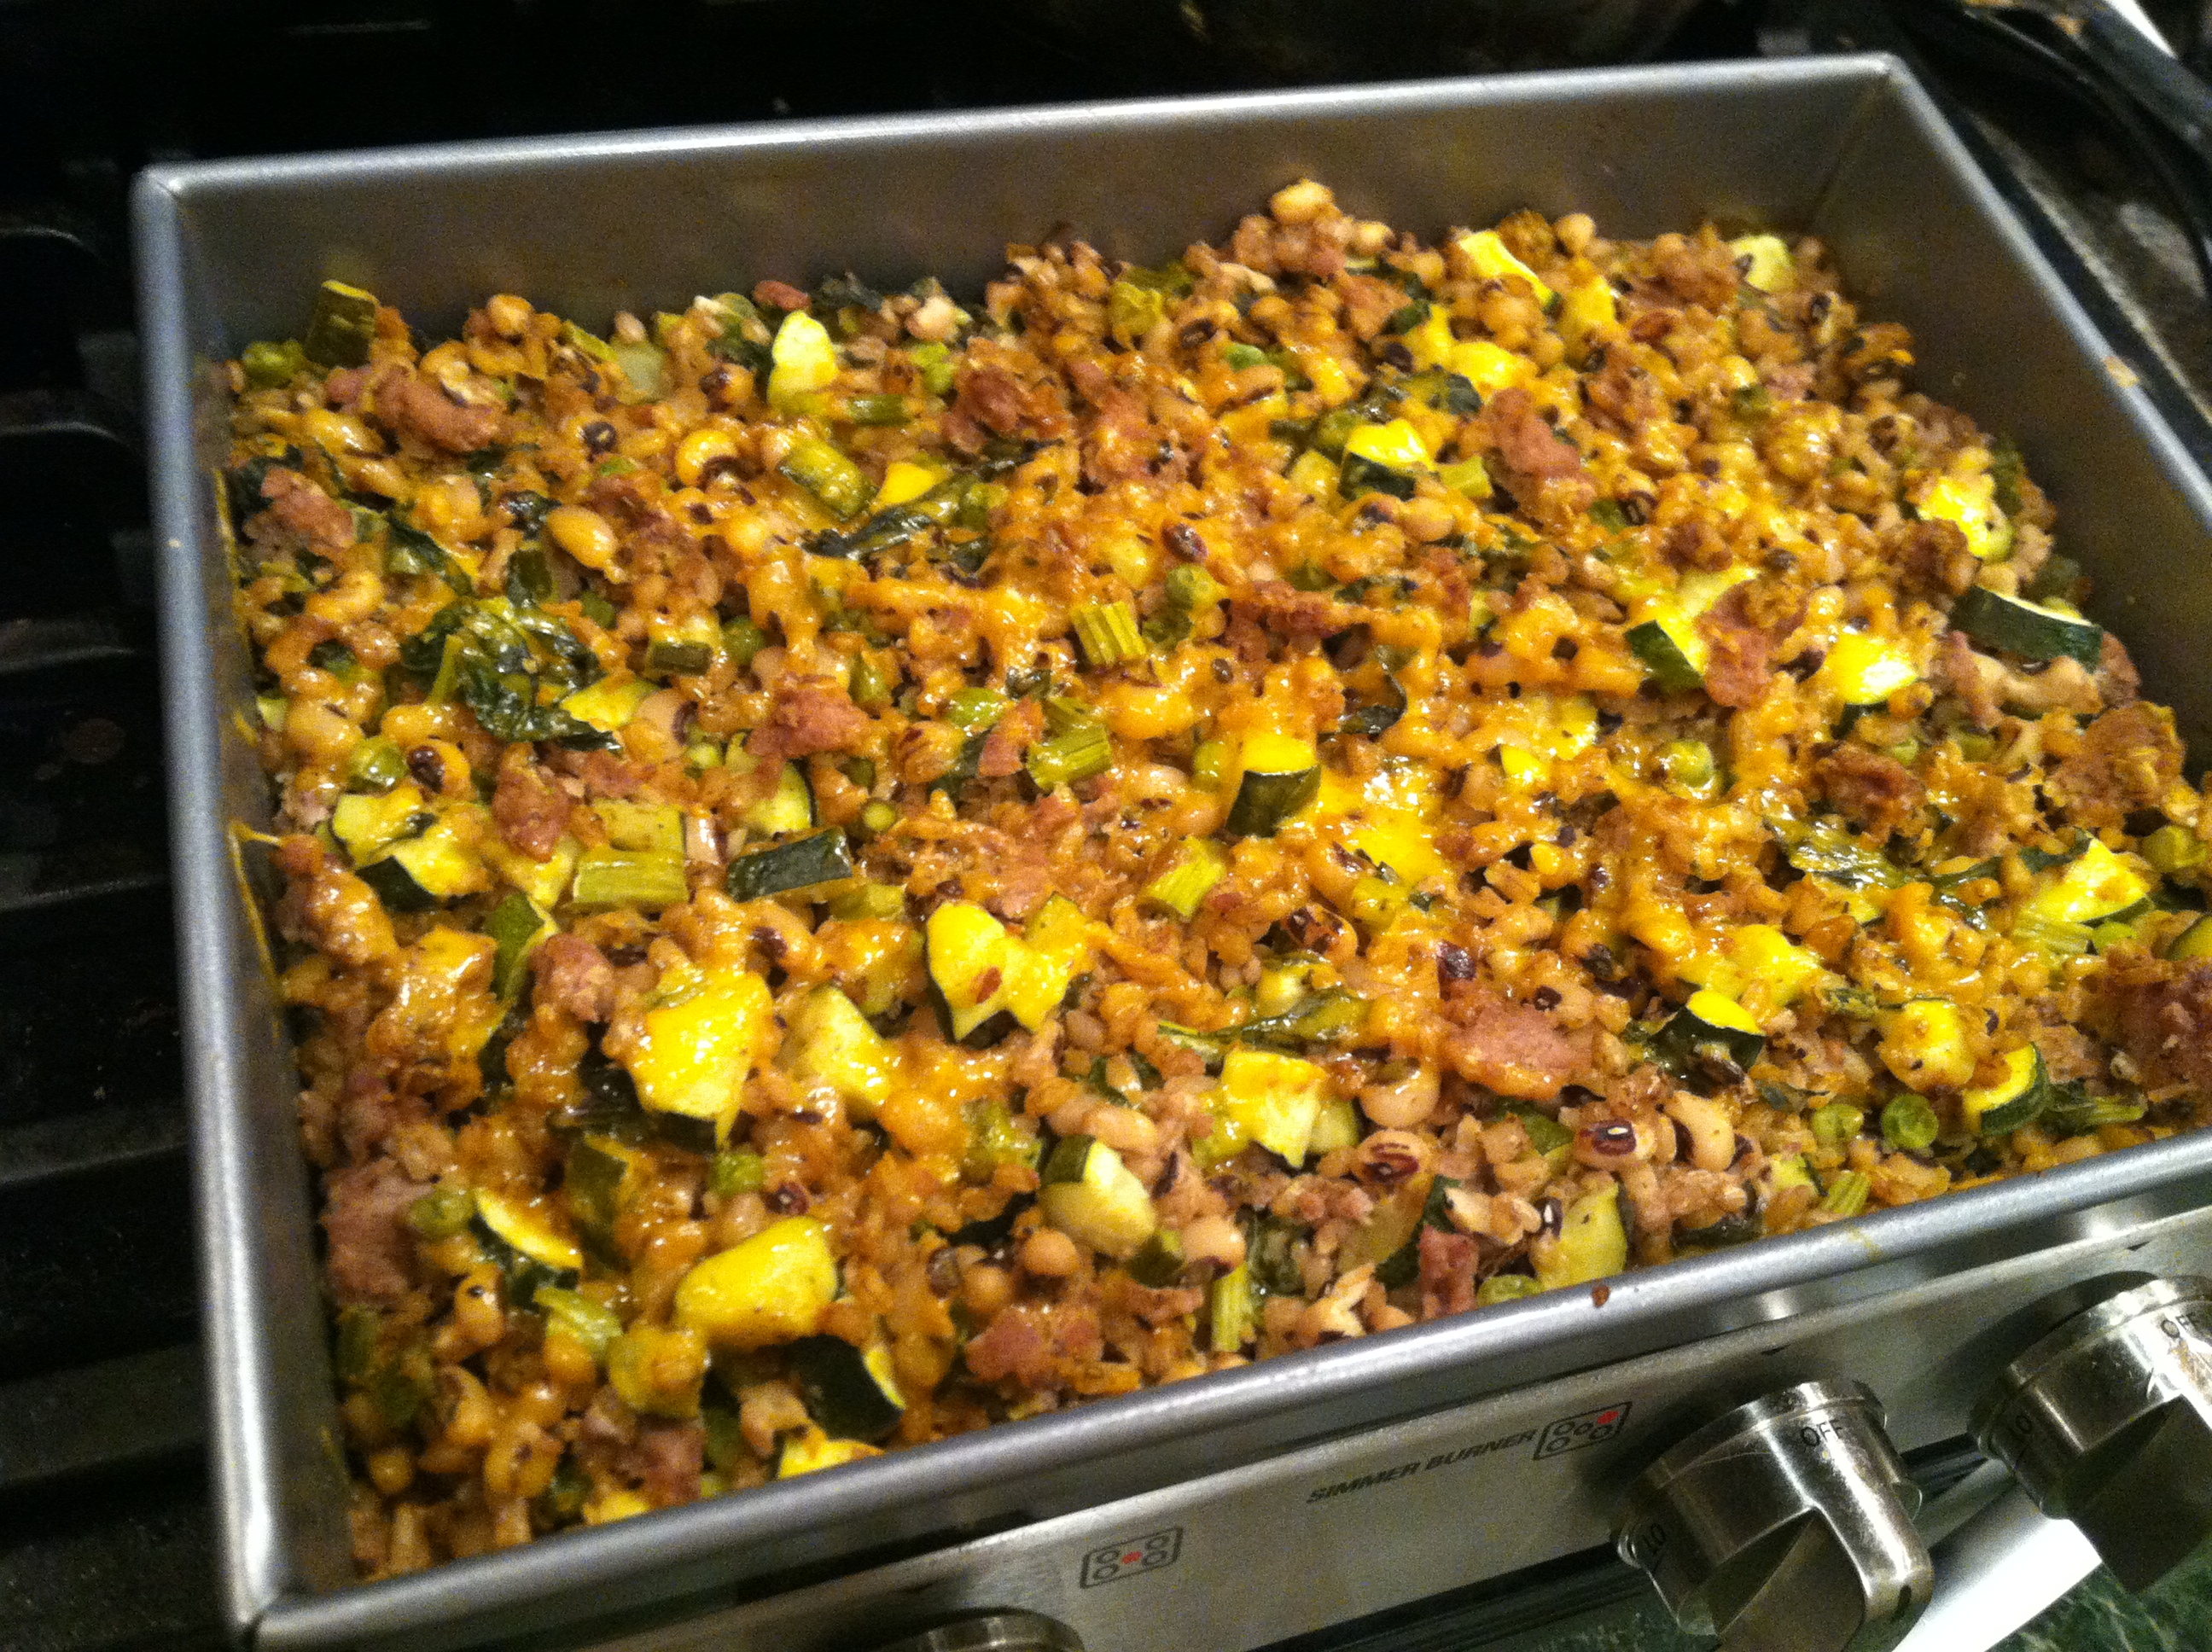
Step 3: Once the peas & barley are softened, mix with the vegetables in a large baking pan. Add seasonings to your taste, I used garlic salt, black pepper & some turmeric (hence the yellow color). Bake at 350 for 15-20 minutes, until heated through. Serve & enjoy!


[amd-zlrecipe-recipe:31]

Sausage & pepper quiche


This recipe is so simple, you can make it for one person or a dozen, using only a plastic cup & frying pan, or the fanciest of oven-safe cast iron cookware. I used one turkey sausage link and a few slices of bell pepper, plus bagged spinach. But feel free to use whatever veggies you have in the fridge, like onion, carrots, broccoli, etc.

Scale up by multiplying the ingredients list by however many people you are wanting to serve. You could also put bread in the bottom of an oven-safe pan and pour this over it to create a breakfast strata, or just scramble it all in a pan if you don’t have a stove-top-to-oven pan.

Ingredients:

  • 1 sausage link
  • 1/2 bell pepper, sliced
  • 2 eggs
  • 1/2 cup spinach
  • Salt & pepper
  • Optional: sprinkle of cheddar cheese

IMG_4650

Step 1: In a frying pan or cast iron skillet, brown the sausage link. (You could also use a 1/4 cup of ground sausage or a patty). Cut the sausage into small bite sized pieces.

IMG_4651

Step 2: Break the eggs into a bowl or cup. Scramble them well with a fork, until fluffy.

IMG_4652

Step 3: In the skillet, using sausage oils, cook the peppers 5-6 minutes until softened, then add spinach. Cook just a few minutes, until wilted. Add the sausage back in and mix.

IMG_4653

Step 4: Pour the scrambled eggs on top, and distribute evenly around the pan. Let cook on medium heat, for 7-8 minutes, until the eggs are halfway cooked.

IMG_4654

If using, sprinkle on the cheddar cheese, and add the seasoning.

IMG_4655

Step 5: Assuming you are using an oven-safe pan, put the entire pan into the oven (carefully!) on 350 F for 10 minutes to fully cook the eggs. Alternatives here are to scramble it, or make it into an omelet by flipping it in half.

IMG_4657

Cut into pizza slices, and enjoy! This is a great brunch recipe, could be breakfast for dinner, and is even fast & easy enough to make for yourself on a weekday morning. Feel free to omit the sausage for a quick & delicious vegetarian breakfast as well.


[amd-zlrecipe-recipe:30]

Quinoa & Bean Quesadilla


In the pursuit of creating meals which are both vegan and yet so delicious my total carnivore fiancee doesn’t even notice it’s vegan, you win some & you lose some.

IMG_9368

This was a definite win.

The way I see it, it has all the things a quesadilla should: meaty fillings (‘meaty’ like you feel full after eating it, not actual meat; in this case beans & quinoa), gooey stick-together-ness (avocado), and lots of flavor (roasted peppers & spices). Warmed up for a crunchy exterior with soft goodness inside, this will make everyone happy regardless of dietary preference.

This makes 2 servings. And best of all, you sneak in almost a whole cup of veggies per serving! I won’t tell if you won’t.

Ingredients:

  • 4 tortillas
  • 1 cup cooked quinoa
  • 1/2 cup bell pepper slices
  • 1 avocado
  • 1 cup cooked white beans
  • 1/2 cup spinach
  • Cooking oil
  • Optional: nutritional yeast

IMG_9361

Step 1: Cook your quinoa according to package. Likely you mix 1/2 cup quinoa with 1 cup water, bring to a boil, then cover & let sit 10 minutes. Fluff with a fork. Set up your station.

IMG_9358

Step 2: If you have the time, caramelize your pepper pieces by heating in a frying pan over medium heat just until they begin to char. This brings out their innate sweetness. If not, raw pepper will work just as well, the finished product may be crunchier.

IMG_9363

Step 3: On one tortilla, cut half the avocado, &  spread it around. This acts like a paste to hold your quesadilla together. Layer on half the spinach, and season as you wish. (Basil, garlic salt, cilantro, lime…)

IMG_9364

Step 4: On the other tortilla, layer the quinoa, beans (cooked according to directions, or from a can), peppers, and if using sprinkle on some nutritional yeast. It is not required, it just gives an extra ‘cheesy’ taste & you guessed it, nutrition. (You can also use dairy cheese if not vegan).

IMG_9366

Step 5: Spray or grease a frying pan. Place the one tortilla on top of the other, carefully, and place in the pan. Fry for 4-5 minutes, until golden brown and crisp, then carefully flip the whole thing. Use two spatulas if you need to. Crisp the other side 4-5 minutes.

IMG_9369

Cut with a knife or pizza roller, and enjoy! This baby is chock-full of good stuff, and creates a great taste & texture combo that really satisfies.


[amd-zlrecipe-recipe:29]

Roasted Veggie Pizza with White Bean Sauce


Pizza is always delicious, and this is a healthier, fresh take on making your own. If you use pre-made dough it is a super cinch, but you could also go all-in and make homemade pizza dough too.

The sauce gets a new makeover by using white bean puree & ranch dressing to make a creamy white sauce that’s packed with vitamins and fiber. Feel free to use whatever veggies you have laying around. I love using oven-roasted veggies for their caramely flavor.

You can of course add meats as well. This sauce goes great with just about anything. To keep it hard-core vegan, make sure your Ranch dressing doesn’t have anchovies in it.

Ingredients:

  • 1 roll pizza dough
  • 1 can white beans or 1 cup cooked beans
  • 4-6 tbsp Ranch dressing
  • 1 cup roasted veggies
  • 1 cup spinach
  • 1/2 cup grape tomatoes, cut in half

IMG_9401

Step 1: Spray a cookie sheet or pizza tin and roll out your dough. Place on the pan and preheat the oven to 400 F.

IMG_9402

Step 2: Blend the beans in a blender or food processor, adding a bit of olive oil or warm water if needed to make a sauce. Mix in the Ranch dressing and spread over the pizza.

IMG_9405

Step 3: Sprinkle the veggies around the pizza, then toss on the spinach and the tomatoes. Season as desired.

IMG_9406

Step 4: Bake at 400 for 20-25 minutes, until crust is browned and cooked through in the center.

IMG_9411

Pretty much all vegetables work here: broccoli, cauliflower, onions, peppers, mushrooms, potatoes, carrots, tomatoes, greens, and more. Get crazy! I just sprinkled on some garlic salt & black pepper, and it was absolutely perfect.