Category Archives: Vegetarian

Easy homemade corn tortillas


Happy New Year! Welcome to 2017, and all the adventures that await! I hope you will take some chances, try new things, and enjoy this year even more than the last one. To start off, let’s try something that sounds more intimidating that it really is, making your own homemade corn tortillas.

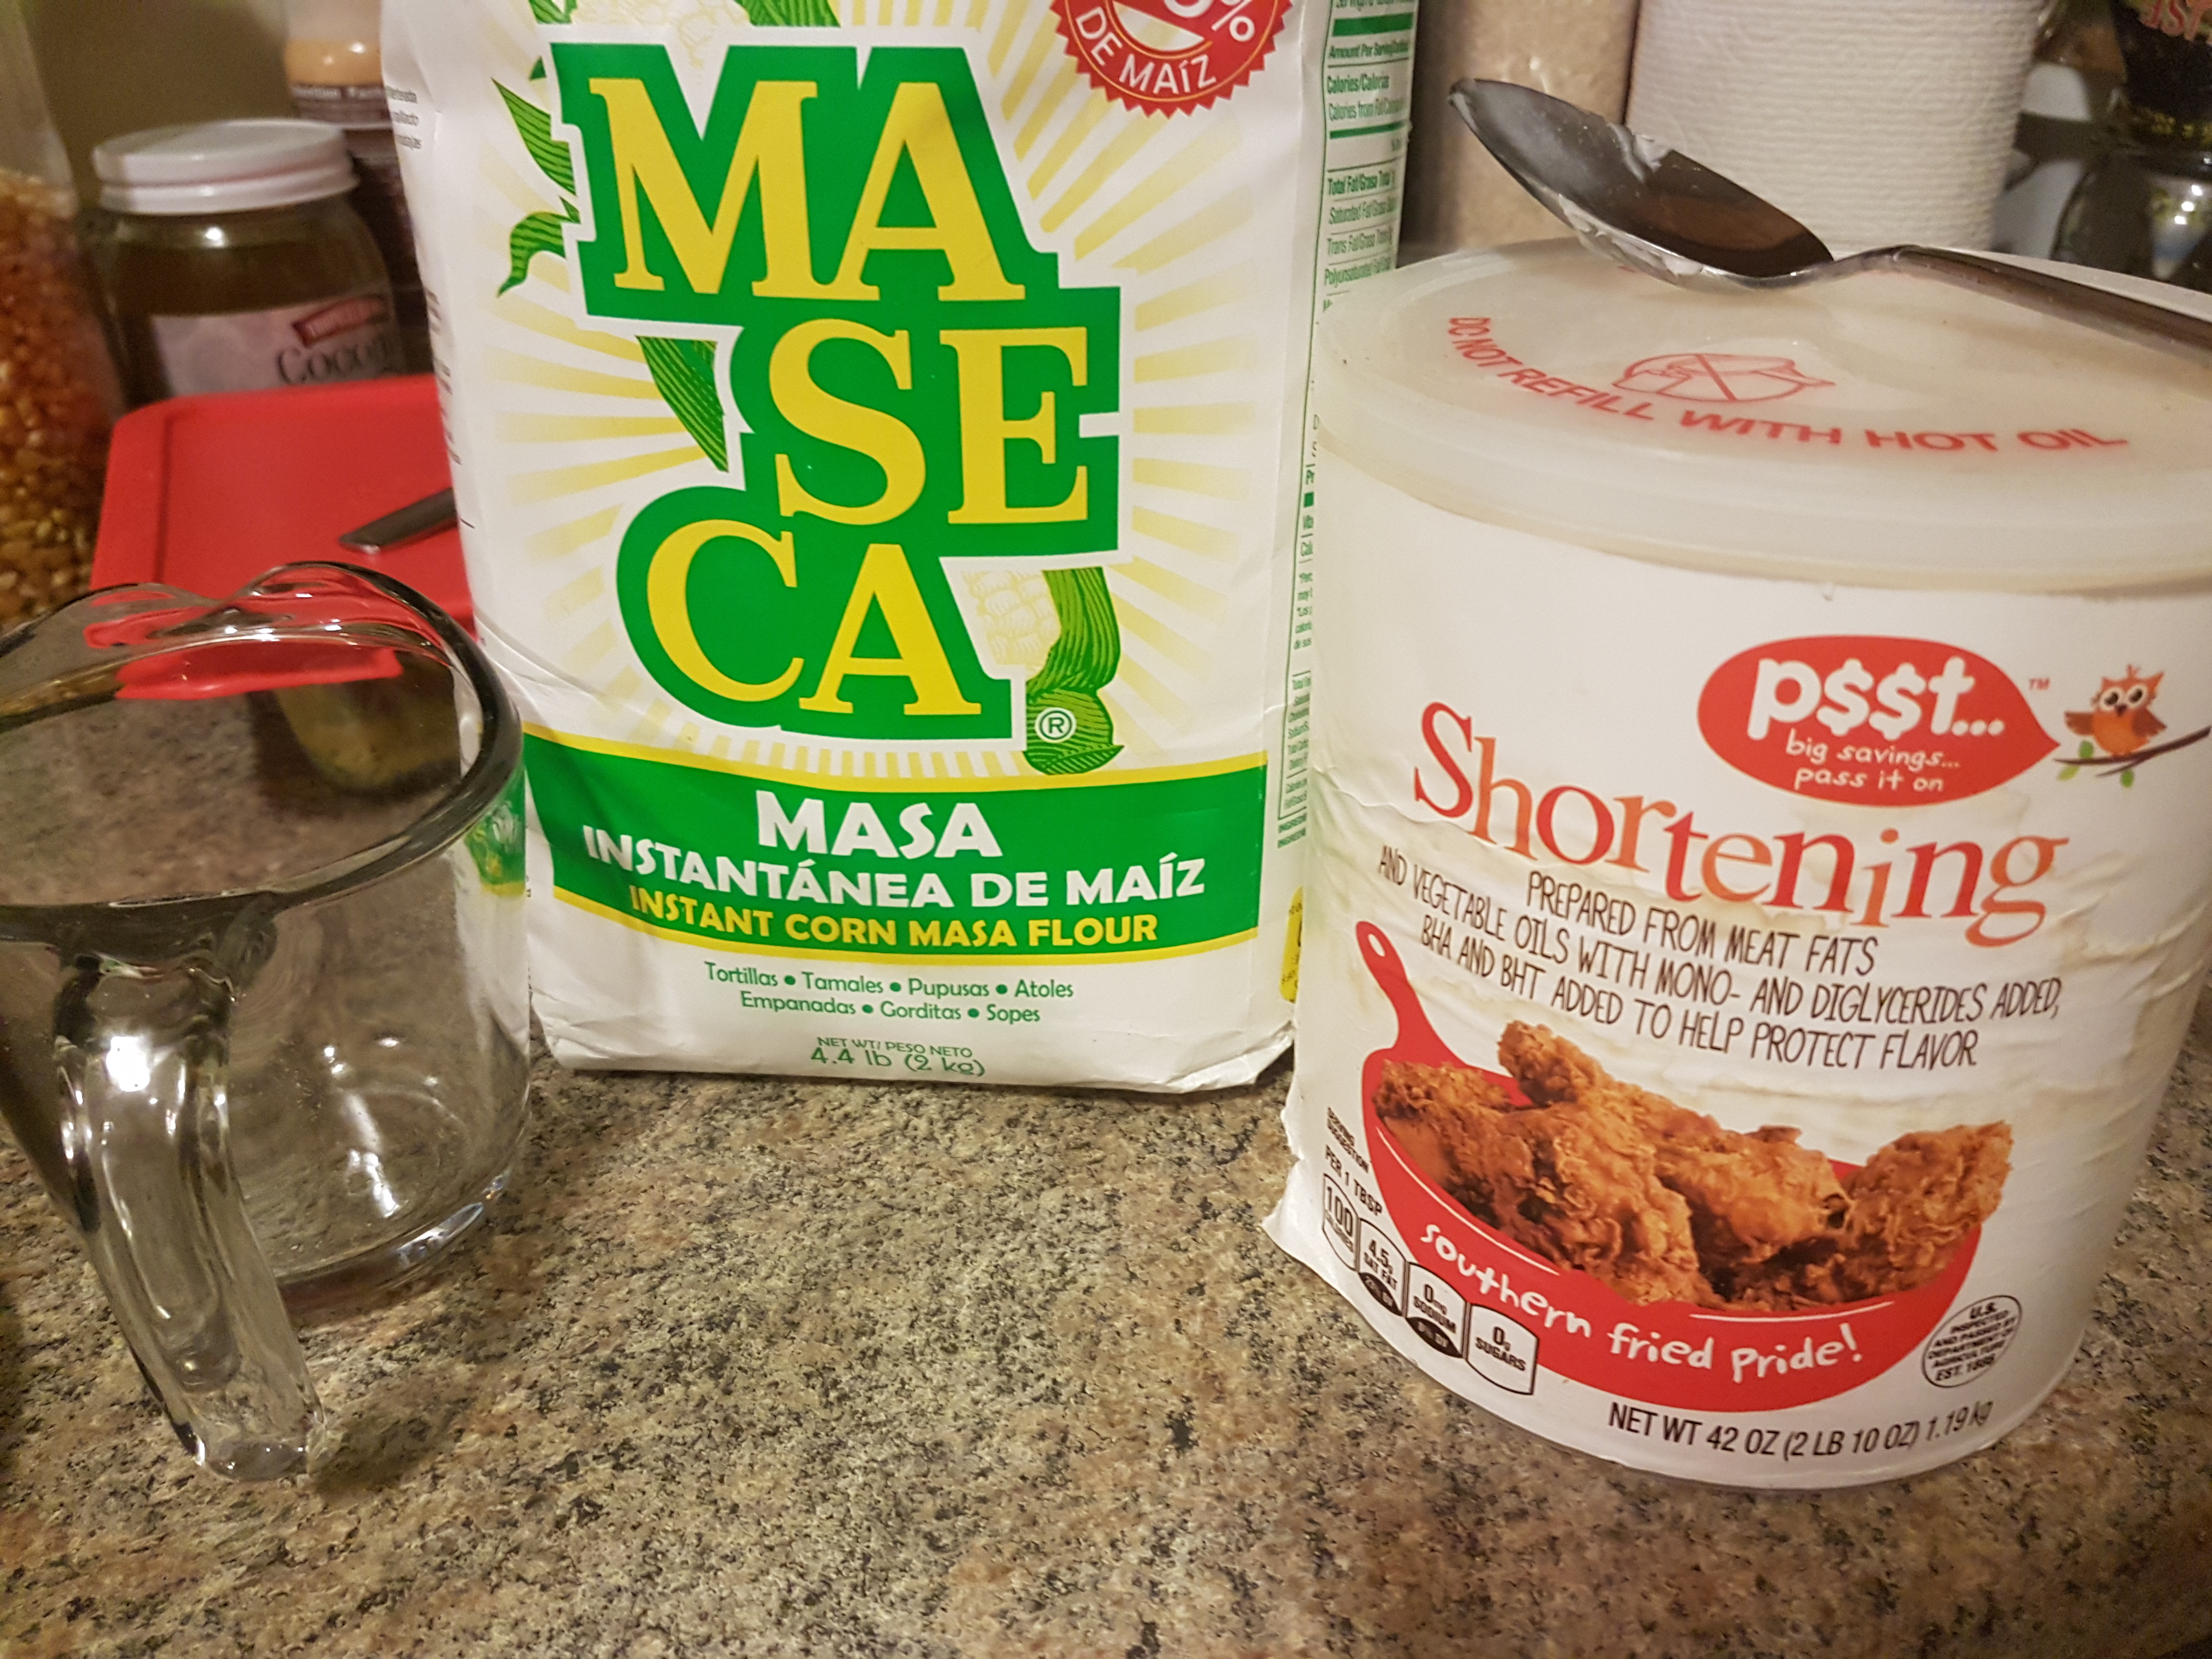
So, remember how I said that I had bought this thing called Maseca to make my Chorizo Tamale Pie? I read on the bag that it can make hundreds of tortillas, and of course I had to try it! The recipe is so crazy simple, I almost didn’t believe it would work. Just the flour, water, and oil? No way!
20160813_214907 - Copy

Maseca is a kind of dehydrated corn flour, so that all you do is add water. That must be how you need a very tiny amount of it to make a very large amount of tortillas!

I would recommend trying this with a small batch at first, until you get the hang of how much water or oil you need to create the tortilla texture you want. You can make your tortillas larger, to make big ol burritos, or tiny to make hand tacos. That is the beauty of making your own.

Well, that and eating every other one hot off the griddle cause they’re so darn tasty!
20160813_215230 - Copy

Ingredients (makes about a dozen small tortillas, or 4-5 large):

  • 1 cup maseca
  • ~1 cup warm water
  • 1 big tablespoon shortening

20160813_220101 - Copy

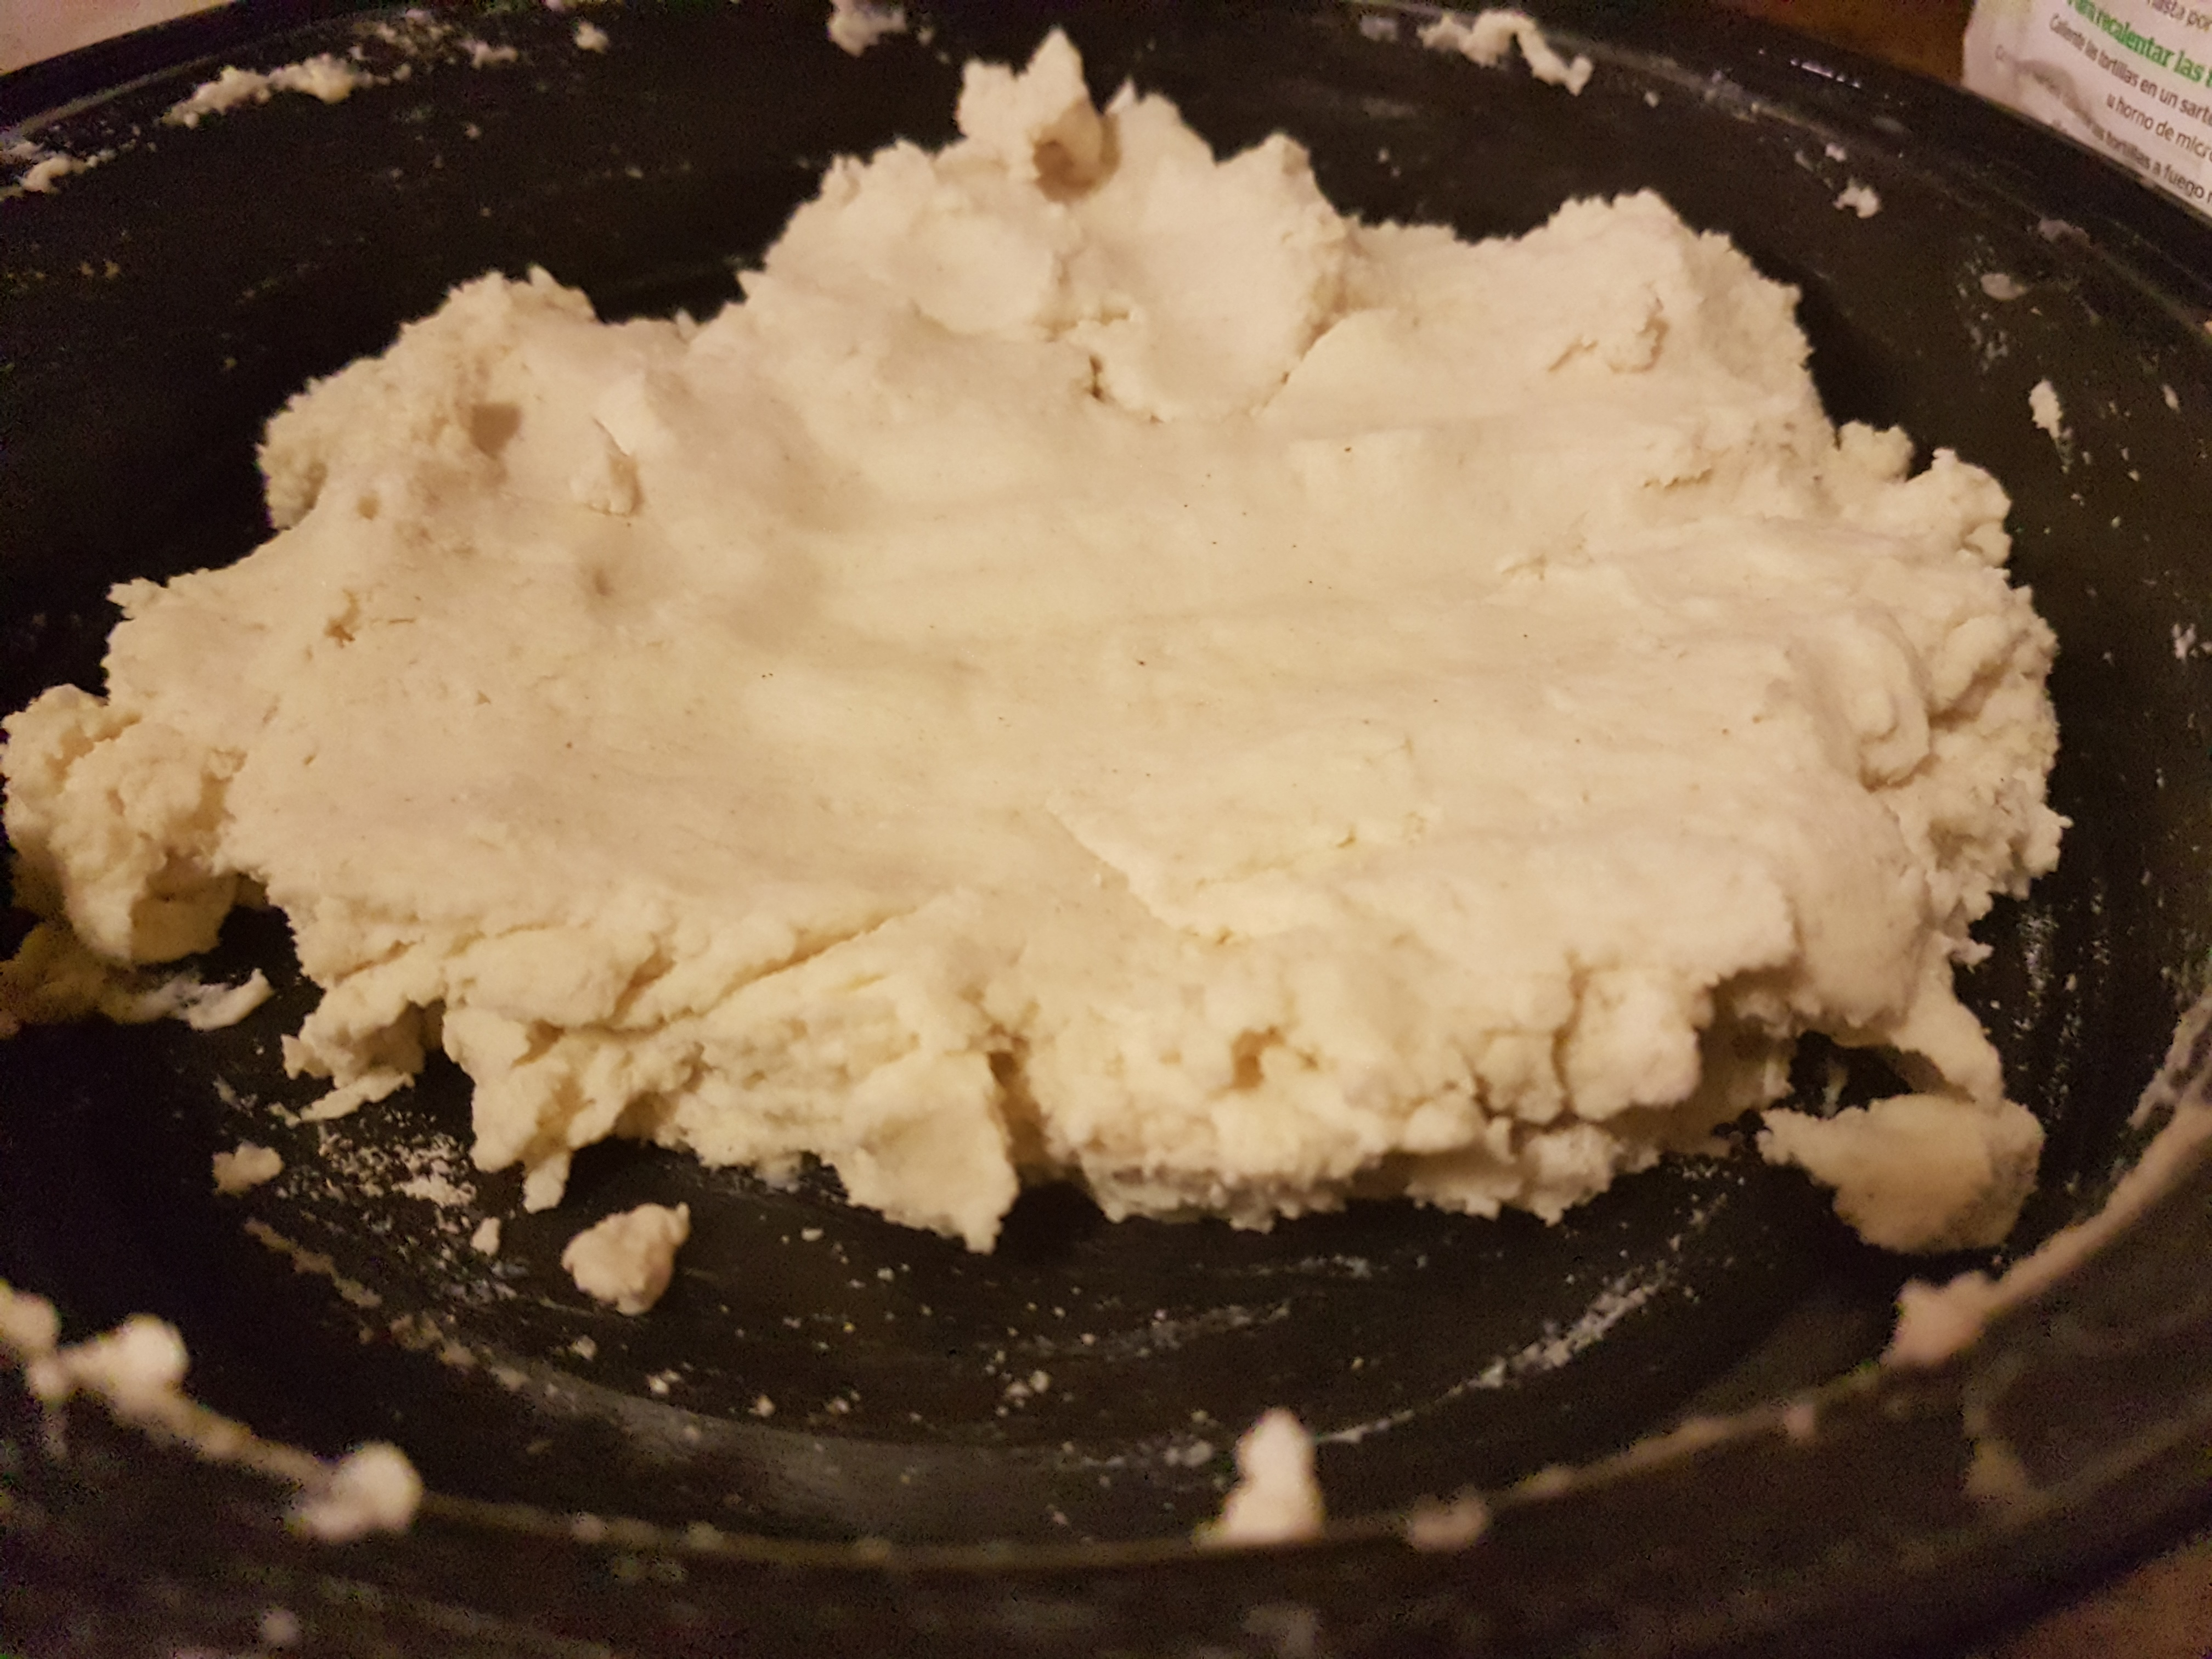
Step 1: In a large bowl, mix the maseca and half the water. Mix well, using your hands is the best way. Add the shortening and mix it throughout. Add water until it reaches a doughy consistency, where it is not crumbly nor sticky.

20160813_220110 - Copy

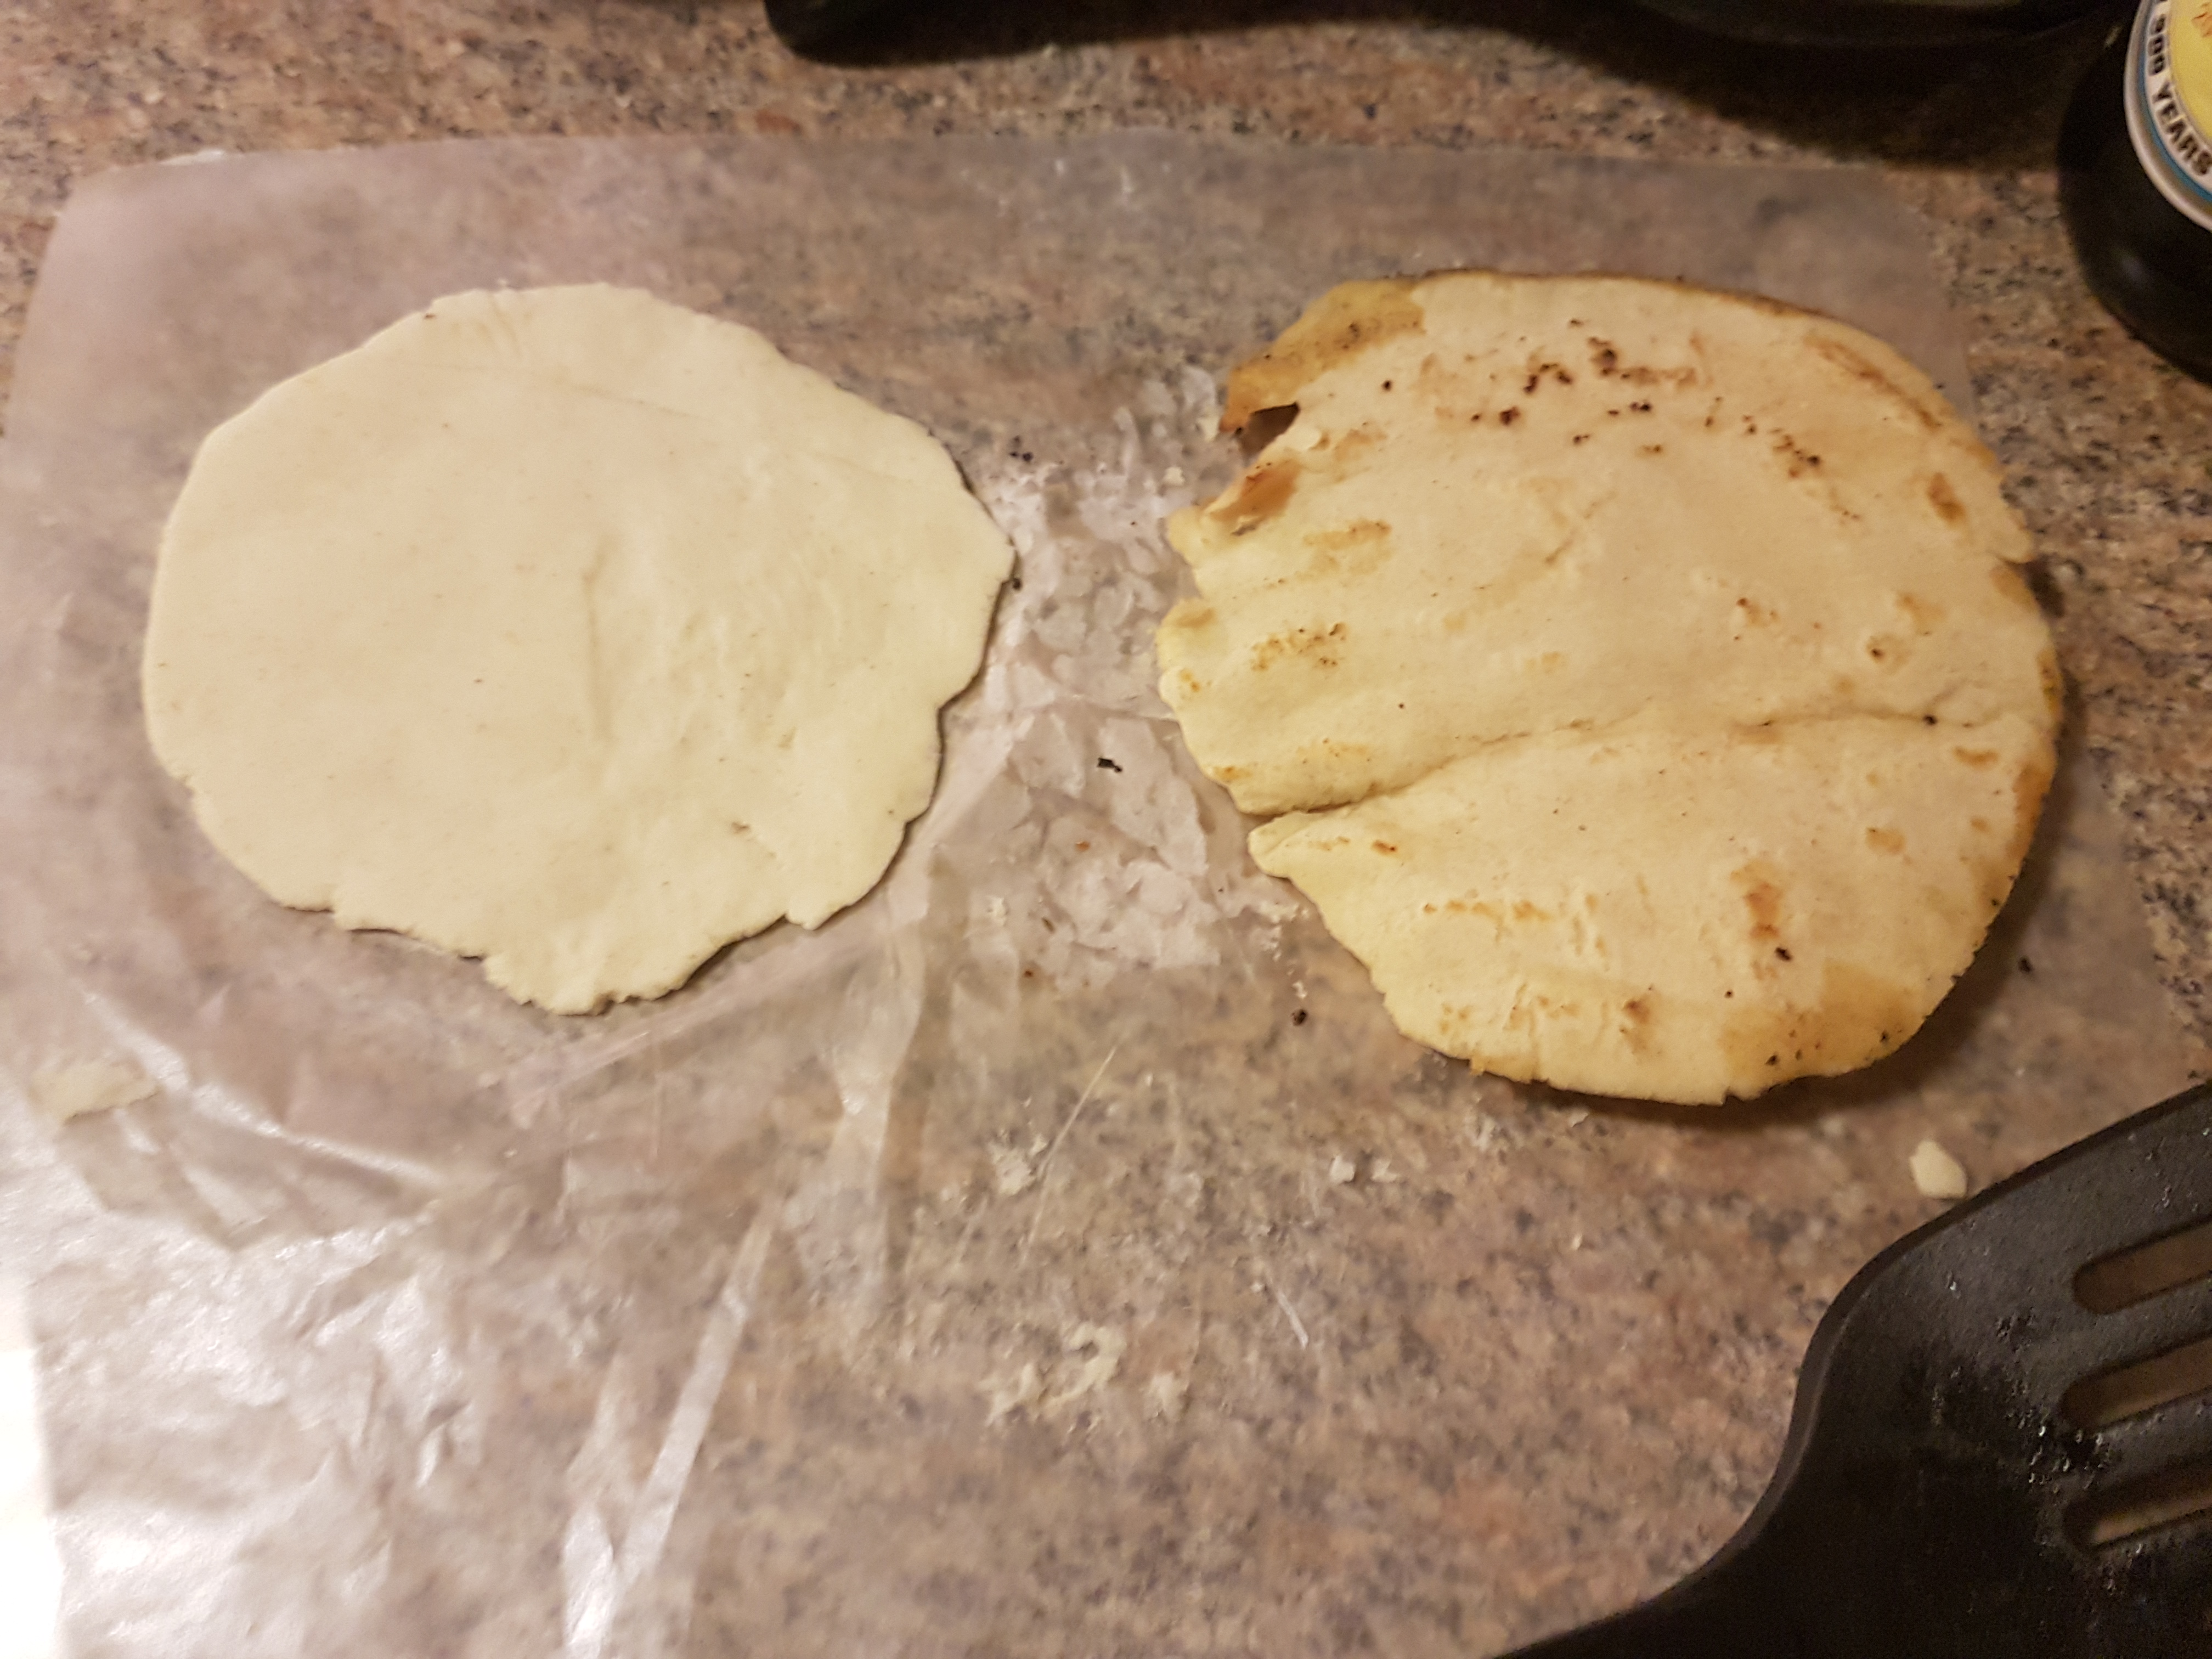
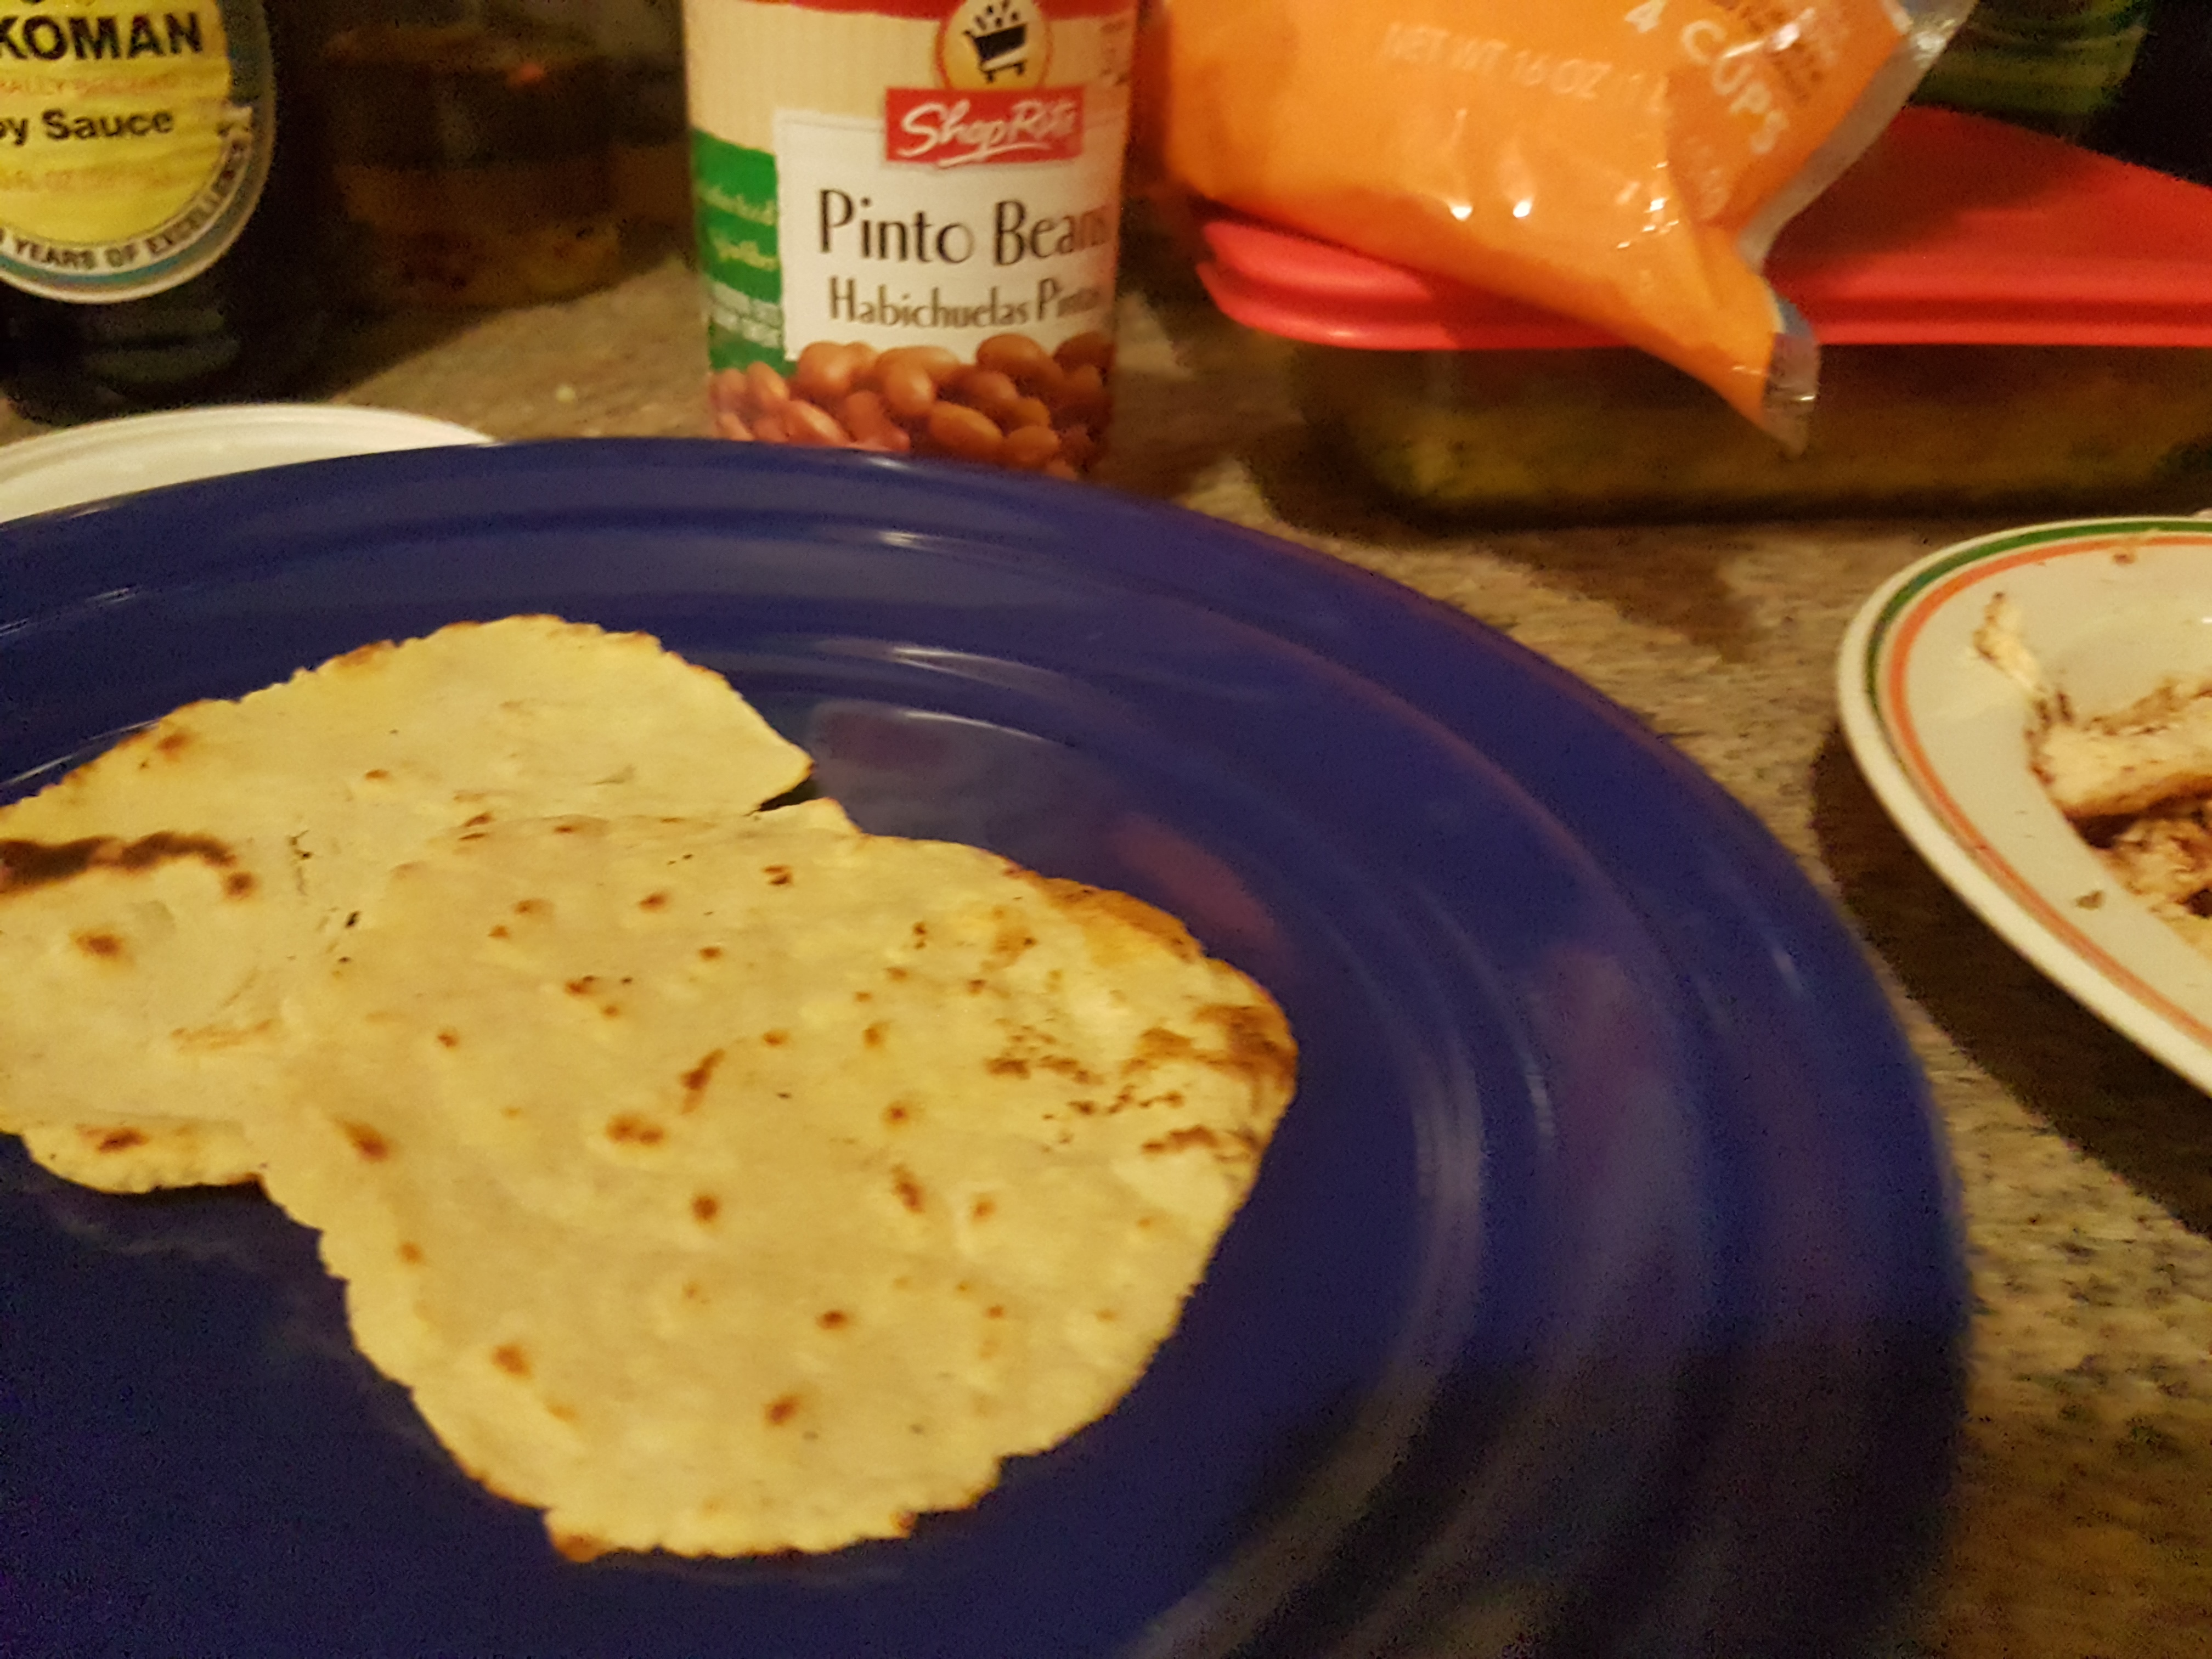
Step 2: Pinch off a ball about the size of a golf ball, and roll it flat using your hands or a rolling pin. Spray a pan with cooking oil, and fry over medium heat until golden brown, about 2 minutes per side.
20160813_225505 - Copy

Step 3: Flip to make sure both sides are cooked, and remove to a plate to keep warm. You can use a wet paper towel or cloth over the tortillas to keep them soft.

20160813_225718 - Copy

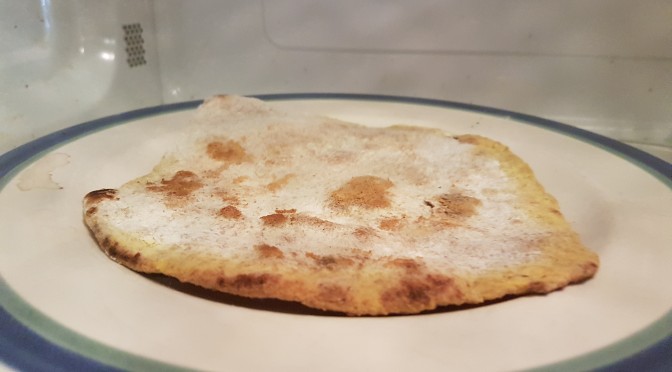
These are delicious as is, right off the hot pan. Or you can store them up to a week in the refrigerator, for use as delicious tacos or tostadas! I made some chicken tacos, and ate the rest plain right off the stove. You can add a sprinkle of salt to the dough if it is too plain for your liking.


Save

Save

Save

Freezer Smoothie Packs


We all know mom always said breakfast is the most important meal of the day.  But we all know that sometimes it is the hardest meal of the day. It’s too early, we don’t have time, we can’t think of anything that sounds good, you don’t want to cook… the list of excuses goes on and on.

It’s hard to come up with something that is tasty, healthy, and also can be made in the 5 minutes you have before you rush out the door for the day.

Don’t worry dear reader, I’ve got your back.

Smoothie packs ready for the freezer

Enter: the freezer smoothie pack.

Just a few minutes of prep ahead of time on a weekend and you can have a whole week’s worth of healthy, on-the-go breakfasts ready and waiting in your freezer. These little bags are such a simple yet brilliant answer to the morning breakfast rush. And boy, are they customizable! All you really need is a good handful of greens, a fruit or two or three, and some baggies.

In the morning, just grab one bag, toss it in the blender with enough liquid (milk, almond milk, coconut water, tea, juice, whatever you like), blend and go. And if you have the kind of blender that makes single servings and you drink right out of it, your morning could not BE any simpler!

20160827_125944

For each smoothie pack, you will need:

  • 1 medium zip-top baggie
  • 1/2 – 1 cup greens (spinach, beet greens, kale, collards, etc)
  • 1/2 – 1 banana
  • 1/2 – 1 cup chopped other fruits

You can try just about anything in these freezer bags. It makes a great answer to almost-mushy fruits in the fridge, halves of things left over, and whatever fruits are in season and on sale. I used peaches, pears, bananas, local blueberries, and avocado. I also had half a pineapple and some beet greens from my garden, so I tossed those into a few bags as well.

20160827_130559

Step 1: Wash, peel, and cut up your fruits as needed. You can also slice your greens into smaller pieces to make blending easier.

Smoothie pack and blender

Step 2: Toss your baggies into the freezer. That’s it! When you are ready for a super quick healthy breakfast (or lunch, or snack, or dessert…) pour the contents of the bag into a blender, and add your liquid of choice. I like green tea for a gentle caffeine kick, or almond milk for some creamy smoothness.

Enjoy!

Save

Easy 10 minute minestrone


This recipe is a super simple one!  If all you want is a hot, fresh bowl of soup that tastes great and is also quite healthy, you have come to the right place. You can easily make this in a slow cooker on low all day, or boil it on the stove to have dinner in 10 minutes, your choice.

20160926_193759

Ingredients (for 4 servings):

  • 1 can pinto beans
  • 1 can diced tomatoes
  • 1/2 pound small pasta
  • 1 potato, chopped small
  • 1 carrot, chopped small

20160926_193803

Step 1: Place all ingredients in a large pot, bring to a boil. Boil for 8-10 minutes, and serve! It is essentially ready when the potato and carrots and pasta are soft enough to eat.


Chocolate peanut butter banana oatmeal


Are you looking for a super quick breakfast recipe?  A breakfast that takes less than 5 minutes to make, is packed full of protein, and costs less than $1?  Can I get a HEALTH YEAH!

Oatmeal is one of my favorite breakfast staples, for so many reasons.  Oats are full of fiber to keep you full all day, so you don’t get the early afternoon munchies.  Oats also contain several micronutrients such as manganese, selenium, phosphorus, fiber, magnesium, and zinc.

And, not to mention, oats are dirt cheap!  You can get a huge tub for like $5.  Talk about affordable meals.  Oh, and if you get the quick-cook kind, you just need a minute or two in the microwave and bam, you’re ready for the day.

All you have to do is keep these ingredients around the house, and you can whip up a super healthy breakfast for under a dollar in under 5 minutes.  No more excuses for having just coffee in the morning, you can fill your belly all morning long with healthy whole foods with the push of a microwave button. You can even blend all the ingredients for a thick breakfast smoothie instead.

Cocoa PB Banana Oatmeal

Ingredients:

  • 1/2 cup oats
  • 1/2 large banana
  • 1 tsp cocoa powder
  • 1 tbsp peanut butter
  • 3/4 cup milk and/or water

Chocolate peanut butter banana oatmeal

Step 1: Cut or mash the banana in a bowl.  Add the oats and cocoa powder (more if you really want it chocolatey!), and then add the water and/or milk.  Add slightly more or less depending on the consistency you want.

Peanut butter banana oatmeal

Step 2: Microwave for 1 – 2 minutes, give it a good stir.  Add more liquid if needed, or another sprinkle of cocoa on top.  Breathe in the delicious cocoa smells, and dig in!

This is almost Elvis worthy.  All it’s missing is some bacon to be a breakfast fit for the King.  But that seems like a little bit too far… but if you want to try it out, rock it.  And let me know how it goes!

[amd-zlrecipe-recipe:61]

Save

Save

Quick & Easy “Cheater” Pad Thai + Peanut Sauce


Sometimes you just want something different, but also cheap, and sorta healthy. Oh, and really easy to make. Sounds like so many recipes you know right? If you’re laughing like I was while writing that, you’re in the right place. Finding recipes that hit the “sweet spot” of the trifecta: price, time, health, is a tall order.

Luckily, this recipe is one of them!

Pad Thai is probably the most famous dish outside of Thailand, and for good reason. Thailand is snack in the middle of the indochina peninsula, with a tropical climate and a lot of ocean front property. (Which comes with a lot of hurricanes and water damage, so don’t jump on that time share just yet…) This warm climate and water access combines to create a very healthy ethnic cuisine based around coconut, fish, rice, chilies, tons of spices, and tropical fruits like lemons and limes.

Authentic Pad Thai involves homemade rice noodles, hours of stewing and many ingredients common on the mainland but sometimes difficult to find and/or pricey elsewhere. This recipe is for the “cheater” who loves the flavors of Thai but doesn’t want to shell out for take-out, or spend hours in the kitchen.

You can expand this recipe to include other protein sources like tofu, chicken, or shrimp. You can also add any fresh herbs like mint or cilantro or basil, or change up the vegetables to ones that you like. You can add chilies or Thai chili paste or Sriracha to get to your preferred level of spice.

This recipe is the simplest you can make it, multiply the ingredients by the number of people you want to feed. You can easily cook for one, or for twenty. Take this bare bones recipe, try it once or twice until you’re comfortable, then make it your own! And tell me all about it in the comments.

Pad Thai with Peanut Sauce

Ingredients (per person):

  • 1/4 package rice or soba noodles (or linguini)
  • 1/4 small cabbage, shredded
  • 1 carrot, shredded
  • 1 egg, scrambled or not
  • 1 tbsp peanut butter (or other nut butter)
  • 1 tbsp soy sauce and/or fish sauce
  • 2 tbsp lime juice or vinegar
  • 1 tbsp olive oil / coconut oil
  • Optional: green onion, cilantro, sriracha, chopped cilantro, chilie slices, crushed peanuts, bean sprouts

Pad Thai with Peanut Sauce and Egg

Step 1: Cook the noodles according to the package, rinse and drain and set aside.

Pad Thai with Peanut Sauce

Step 2: Shred the carrot and cabbage, and add to a frying pan with a tbsp olive oil and/or stock. Cover and cook on low for 10-15 minutes, until cabbage is wilted and opaque.

Pad Thai with Peanut Sauce

Step 3: In a bowl, mix the peanut butter, soy sauce, and lime juice. Cook the egg as you like, whether you want it scrambled or with the yolk still dippy.

Step 4: Put some noodles on a plate, add a scoop of cooked veggies, and drizzle with the sauce. If you like, add optional toppings, and your egg. Enjoy!

[amd-zlrecipe-recipe:60]

How do you make this recipe yours?

Save

Save

Stuffed Zucchini Boats


With the end of summer and onset of fall, summer fruits and vegetables begin to close down shop. The last of the tomatoes are ripening on the vine, the peppers are turning red, and the final enormous baseball bat sized zucchini are finally the last of the crop with no more flowers in sight. If you’ve exhausted the number of times you can make stir fry, or latkes, or zoodles, and have bags full of shredded zucchini in the freezer for later, here is a great recipe to make zucchini taste brand new to close out the season!

This recipe has a lovely presentation, and will make people think you’re a master chef who spent hours in the kitchen. In truth this takes about 10 minutes of prep and assembly, then you simply bake it until ready. You can easily make this vegetarian by omitting the ground turkey and using tofu or lentils or some other kind of bean / meat substitute.

20160711_181242

Ingredients:

  • 1 large or 2 smaller zucchini, cored
  • 1 egg
  • 1 pound ground turkey
  • 1/2 cup cooked rice
  • 1/2 cup bread crumbs
  • 1/2 cup salsa (optional but recommended)
  • Optional: spices to taste

20160711_181432

Step 1: Cut the zucchini in half length wise, and use a knife or spoon to scrape out the inside core. Make sure you remove all the seeds, but you can save the pulp to add to the stuffing.

20160711_181622

Step 2: In a bowl, mix the cooked rice and meat (or beans, tofu, etc) with the pieces of zucchini pulp and salsa. Add the eggs and bread crumbs and any spices you want and mix well.

20160711_181919

Step 3: Spoon the stuffing mixture back into the hollowed out zucchini boats.

20160711_181928

Step 4: Bake face-up on a baking sheet in an oven set to 350 for about 25-30 minutes, until zucchini is soft enough to pierce with a fork and stuffing is slightly crunchy on top.

20160711_191627

That’s all there is to it! You can sprinkle on a bit of Parmesan cheese or garlic salt right before serving, or add extra salsa on top. You can sneak extra veggies in there too, I added a few bites of some roasted beets I had in the refrigerator, as you can see by the lovely pink color.


[amd-zlrecipe-recipe:59]


Save

Refrigerator Pickles


Just imagine biting into the perfect pickle. It is softened, but still crunchy, with a tangy note accented with just a touch of sweetness and an after-bite of pepper. The delicious, fresh taste of summer, to be had any time you have a hankering! I have some awesome news, friends, you are capable of making your very own pickles! Yes, you!

You don’t have to buy sad, soggy pickles that were jarred in a factory months ago. And it doesn’t have to take hours of boiling water and hard work, expensive or obscure pickling spice mixes, or waiting months for the pickling process to be complete.  You can have the fresh, irresistible crunch of summer time bounty any time you want it, within hours, and using items you likely already have in the house. Well, as long as you stock your refrigerator with these pickles!

Refrigerator pickles in containers

My family always had these in spades during summer and fall, they are the perfect side dish, topping to burgers or hot dogs, or snacks eaten right out of the bowl by the handful. I have also heard them called “Dutch Pickles” by some crazy people.

They are also quite easy to customize. If you don’t like super puckery pickles, go easier on the vinegar and use more water. If you’re the sweet pickle kinda person, I will try not to judge you too much as you add up to a 1/2 cup of sugar. If you gag at the taste of black pepper, leave it out. If black pepper is for wussies, feel free to pop a jalapeno or habanero into the mix! You can also add other herbs and flavors like garlic cloves, fresh dill, sliced peppers, or mustard seed.

Whether you call them Refrigerator Pickles, or Dutch Pickles, or just pickles, you should definitely make this recipe at least once in your life! They are able to be eaten within an hour, best after 6-8 hours, and will keep in the refrigerator for several weeks. Though after you get a taste, I doubt they will last that long. 😉

Refrigerator pickles ingredients

Ingredients (1 quart):

  • 1 large cucumber or several smaller (about 2 cups)
  • 1/2 white onion, thinly sliced
  • 1 tbsp white sugar
  • 3/4 cup water
  • 1/4 – 3/4 cup vinegar (to taste)
  • Black pepper & salt to taste
  • Optional: thinly sliced radishes/ zucchini / carrot/ peppers

Quart of pickles

Step 1: Slice your cucumber and onion as thinly as humanly possible! If you are using other veggies, slice those up thin as well. Be very careful and be aware of knife safety of course, or use a mandoline if you have one. This is important to get all the lovely juices distributed as quickly as possible to pickle your veggies!

Pickles!

Step 2: Heat the water just to boiling, and dissolve the sugar. Press your cucumbers and onion in layers into a quart container, adding black pepper and salt as you go. Add the vinegar to the water and pour it all over the pickles.

Pickles fresh from the refrigerator

Step 3: Wait about 8 hours to overnight or longer. Now you have the perfect summer snack! Eat them straight from the jar, pile them onto sandwiches, burgers, hot dogs, tacos, or dice them and add to potato or tuna salads. These delicious pickles are a great way to enjoy summer’s bounty, and will keep long after the cold chill of autumn rolls in.

And did I mention this recipe is fat-free, vegan, gluten-free, and barely 100 calories even if you eat the whole quart in one sitting?!? I won’t tell if you don’t…


[amd-zlrecipe-recipe:58]


Save

Save

Corn & Potato Chowder

As summer winds down and schools re-open, some mourn the loss of hot, carefree summer days at the beach, while others rejoice at cooler nights and empty houses (I see you, moms everywhere!). For those who garden, or anyone who eats locally, you know this means that corn and potatoes are coming to the end of harvest season. There isn’t much better than biting into a crisp, sweet corn on the cob! But in case you get tired of that, this is a great way to use corn, or feel free to substitute in canned or frozen too.

Now that the heat of summer is starting to wane, soups and chowders become more tempting. Save some of your bumper crop of corn in the freezer, and potatoes store well for months in a cool dry place, and you can have this chowder anytime in the coming months. You can take fresh cooked corn cobs, and using a sharp knife just cut all the kernels right off.  Freeze those in bags, and you will have a taste of summer any time. Or use the freshest, sweetest corn you can get your hands on and make it right now!

Corn and potato chowder

Ingredients:

  • 3-4 ears of cooked corn, with kernels cut off (or 1 can/small bag frozen)
  • 3-4 medium red skin potatoes, diced
  • 2 tbsp butter or oil
  • 1 cup whole milk
  • 1 cup chicken stock
  • 3-4 tbsp flour or cornstarch
  • 2 small leeks
  • 1/2 small onion
  • 2 cloves garlic
  • Black pepper & salt to taste

Step 1: In a frying pan, cook the onions, leeks, garlic, and potatoes in oil for 10-15 minutes, until onions are translucent and potatoes are soft. Add the corn and chicken stock, bring to a boil for 3-5 minutes.

Corn and potato chowder with biscuit

Step 2: Remove a few tbsp of the soup, and add the flour to it. Mix well to create a roux, then pour back into the pot along with the milk. Bring to barely a simmer, season to your tastes. Serve with fresh biscuits and top with fresh parsley if you like!


[amd-zlrecipe-recipe:57]

Save

Save

Save

Save

Save

Smoothie Freezer Bags


Happy 500th Post! Time flies when you’re having fun  😉

Let me describe for you a typical American’s morning.  We wake up to the alarm going off, maybe hit “snooze” once or twice or ten times.  Realize what time it is, maybe freak out about everything we need to do today. Finally coerce ourselves out of bed (probably with the promise of coffee soon).

We stumble into the kitchen and autopilot the caffeine of choice (hot tea, cocoa, Moutain Dew, but probably coffee. So much coffee).  Glance at the clock, think “oh crap I’m gonna be late!” run back to our room, look through closets and drawers trying to find something to wear that is appropriate / cute / in season / matches the weather / doesn’t smell like rotten garbage / still fits.

Finally clothed, we rush to the bathroom.  We shave, shower, do our makeup, brush our hair, bonus points for time to blow dry or style it, brush our teeth (hopefully!). Now with negative two minutes to go until we need to leave, we rush out the door, maybe with second coffee in to-go mug in hand, and off to work we go… And don’t even get me started on the ridiculous circus that is a morning when there are children involved!

Where is the breakfast in all this rush?

You know your entire life your mom always said breakfast is the most important meal of the day, and of course she is right. A healthy breakfast helps you wake up, gets your metabolism revved to create and repair cells, pump blood and oxygen, filter out the bad stuff, and move your muscles all day.

It keeps you from getting hangry right around ten or eleven am and making a trip to the vending machine / coffee shop / donuts in the break room and gets you through until lunchtime. It keeps your neurons firing so you can think and be your best all day.

But you just don’t have the time!

I get it. I’ve been there a million times. Drive through bagels, donuts or muffins from heaven when someone has a birthday or there’s a meeting and its catered, a granola bar hidden in a desk drawer. Some days you gotta do what you gotta do.

But there is a better way.

Enter: The Smoothie Freezer Pack!

Smoothie freezer bags

Oh yes, this thing is a busy persons’ dream. Just pull it out, dump in a blender with some milk or juice, push “go” and walk away for a few minutes. Pour it into a glass or travel mug and you have a real food, super healthy, breakfast of champions with almost no work! It just takes a few moments of prep and a bit of planning ahead.  Don’t get scared now, I believe in you.

On a weekend or whenever you grocery shop, just stock up on 5 bananas, 2-5 other fruits you like, and some sort of green (spinach is a good starter, but you can also use kale, swiss chard, beet greens, mustard greens, etc). Then grab some plastic zip top baggies and a knife, and here we go!

Smoothie Pack Ingredients

Step 1: Cut up all your fruits. You will notice avocados, and that may worry you. But trust me, if you’ve never tried it, avocado is AMAZING in smoothies! And it is a super way to sneak in some healthy fats and a creamy texture that no one will even know is there! It will be our secret 😉

Freezer Smoothie Bags

Step 2: In each baggie, add 2-3 types of fruits, one whole banana, and a big ol’ handful of greens. I used avocados, pears, peaches, blueberries, pineapple, spinach, and beet greens. Try different combinations until you find what you like the best.

Smoothie Bags

Step 3: Zip up the baggies, and pop them in the freezer. That’s it! Now all you need to do when you want breakfast in a hurry is take out a bag, pour it into a blender. Then add about 1/2 – 1 cup of liquid of choice, I recommend milk, juice, green tea, or kefir, and blend until smooth.

Smoothie to go

These smoothie packs can also be a great after-workout refresher, or a snack / treat anytime you want a blast of healthy fruits and veggies. You can add some protein powder or a tablespoon of peanut butter for an extra protein punch. Now go forth and conquor your day!


What is your favorite smoothie mix? Do you have a super quick breakfast you love? Share here!

Save

Save

Caprese Salad


Isn’t it amazing how the simplest of things can tend to be the most delicious?  Sometimes we get wrapped up in crazy new flavors, seasonings, toppings, ingredients list as long as your arm. But it truly is quality that makes all the difference.  When produce is seasonal, fresh, local, and picked in its prime, there is nothing better. And nothing says “summer” quite like a fresh Caprese salad. Soft, creamy mozzarella cheese, tangy fresh basil, and plump juicy heirloom tomatoes fresh from the vine. OPA!

20160724_074016

High-quality cheese is a delight, while 99 cent slices of pasteurized processed cheese like product is hardly worth wasting the calories and preserving your insides. And you can taste the difference between a true fresh pressed, high quality olive oil and a knock off lower quality oil or mixture. It should taste grassy and strong on its own, maybe tickle the back of your throat a little. That is the anti oxidants working. It is worth investing in some! A little bit goes a long way.

20160724_073022

Ingredients:

  • 1 large fresh tomato
  • 1 large ball fresh mozarella cheese
  • Big handful fresh basil leaves
  • Drizzle of olive oil
  • Optional: Sea salt to taste

20160724_073649

Step 1: Slice the tomato and mozzarella into slices, about 1/4 – 1/2 inch thick. Layer them alternating on a plate with fresh basil leaves. Drizzle olive oil over it all, and sprinkle on some sea salt. That’s it.

20160724_074011

You can also make this salad on skewers to serve as an appetizer or snack, or use the tiny mozzarella balls and grape tomatoes for an adorable itty bitty version! These flavors also lend themselves very well to bruschetta or pasta dishes.


What is your favorite summer dish? Do you have other recipes with the Caprese flavors you’d like to share? Comment below!