This is a great recipe for using up extra mushrooms. It may not be a problem if you have fungus-lovers in your house, but my fiance does not think mushrooms are ‘fun’ in any way. I try to keep sneaking them in though, because they bring that lovely umami flavor to everything, and I personally love the things! This turned out really well, and he asked for seconds… so, vouched-for deliciousness.
Ingredients:
2 large pork chops or a small roast, about 6 ounces
1 pint mushrooms (any kind, I used white and enoki)
2 garlic cloves
1/2 an onion
4 tbsp plain Greek yogurt
1/2 cup milk
1/2 cup chicken broth or bouillon granules/cubes
2 tbsp flour
Step 1: Dice up your mushrooms, garlic, and onion. You can use any type of mushroom here, from white to bella to enoki to shiitake.
Step 2: Cut the pork into bite-sized chunks and brown over medium heat. I served this over noodles, so I started them boiling at the same time. This would also be delicious served over rice or with a nice salad or green beans on the side.
Step 3: Add the mushrooms, diced garlic, and onion to the pan. Cover and cook on medium heat 10-12 minutes, until onion becomes translucent and mushrooms soften.
Step 4: Either remove everything to a plate and keep warm, or make the gravy right on top of it all. Mix in the flour, followed by the chicken broth, yogurt, and the milk.
Step 5: Bring to a boil and then simmer until the gravy thickens. Keep stirring so that it doesn’t burn, and cook down until it is your desired thickness. Add more milk or water or flour as needed.
Serve either alone or over noodles or rice. I sprinkled it with chopped chives from the back yard and a little garlic salt.
A total workhorse in my kitchen, the humble Crock Pot (or slow cooker) is an absolute life-saver on weekdays when you just don’t have the time to cook, or to help prep ahead of time. There is something so satisfying about just tossing everything in the pot in the morning, then coming home after a long day to a house that smells like love.
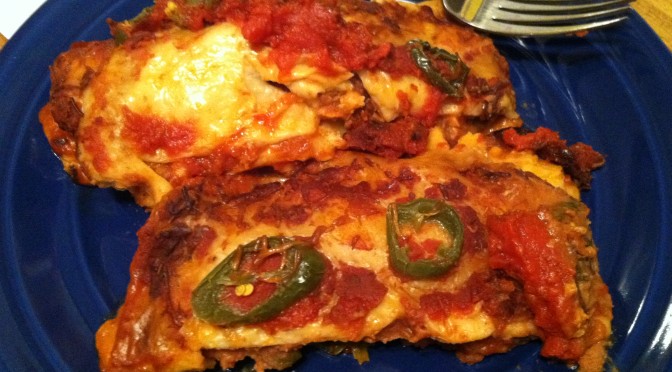
Enchiladas are a great one-pot meal, and can be made with any meat you like, or made vegetarian by using only beans, tofu, and/or cheese as the filling. This recipe adds a little spice to the meat mixture as well as using whole jalapenos for a kick. And I used regular old tomato sauce because I didn’t have any enchilada sauce.
So if you want to make enchiladas with no enchilada sauce, I got you.
Ingredients:
12 10 inch tortillas (I used flour, but you can use corn too)
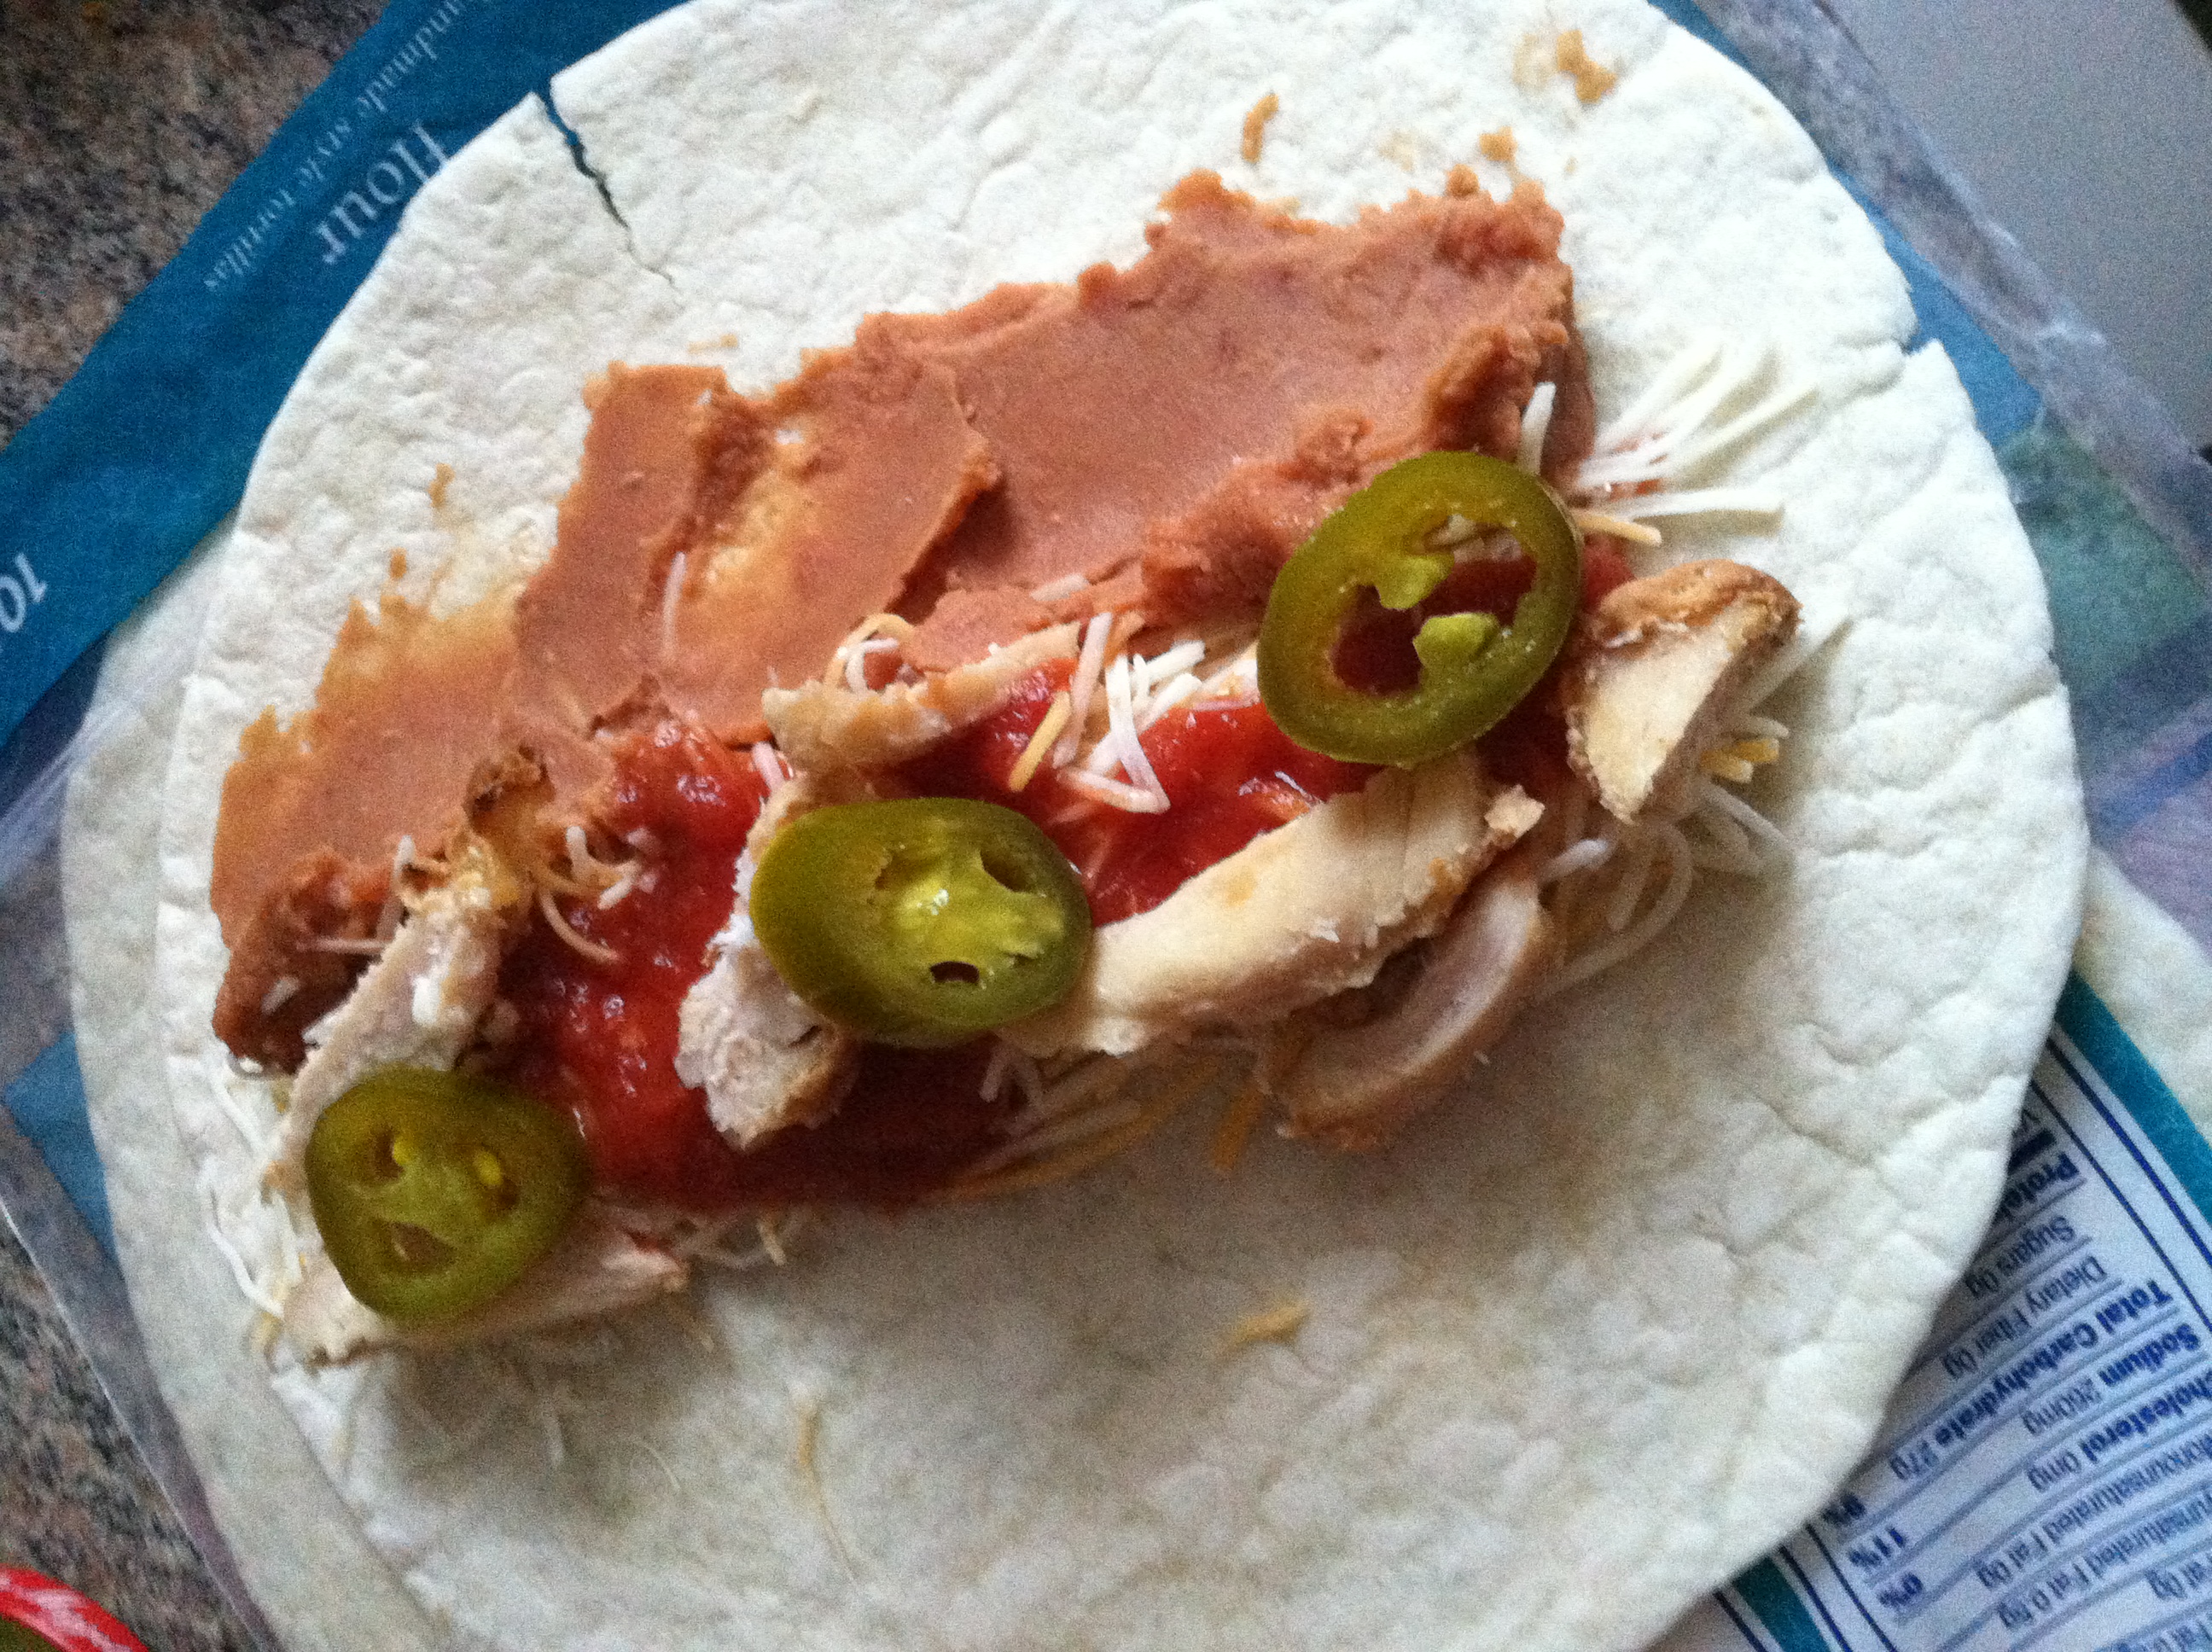
Step 1: Lay out your tortilla, and spread 1-2 tbsp of refried bean in the center. You can use regular canned beans of any kind as well.
Step 2: Put a layer of shredded chicken on top of the beans, as well as some hot salsa, shredded cheese, and a few sliced jalapenos.
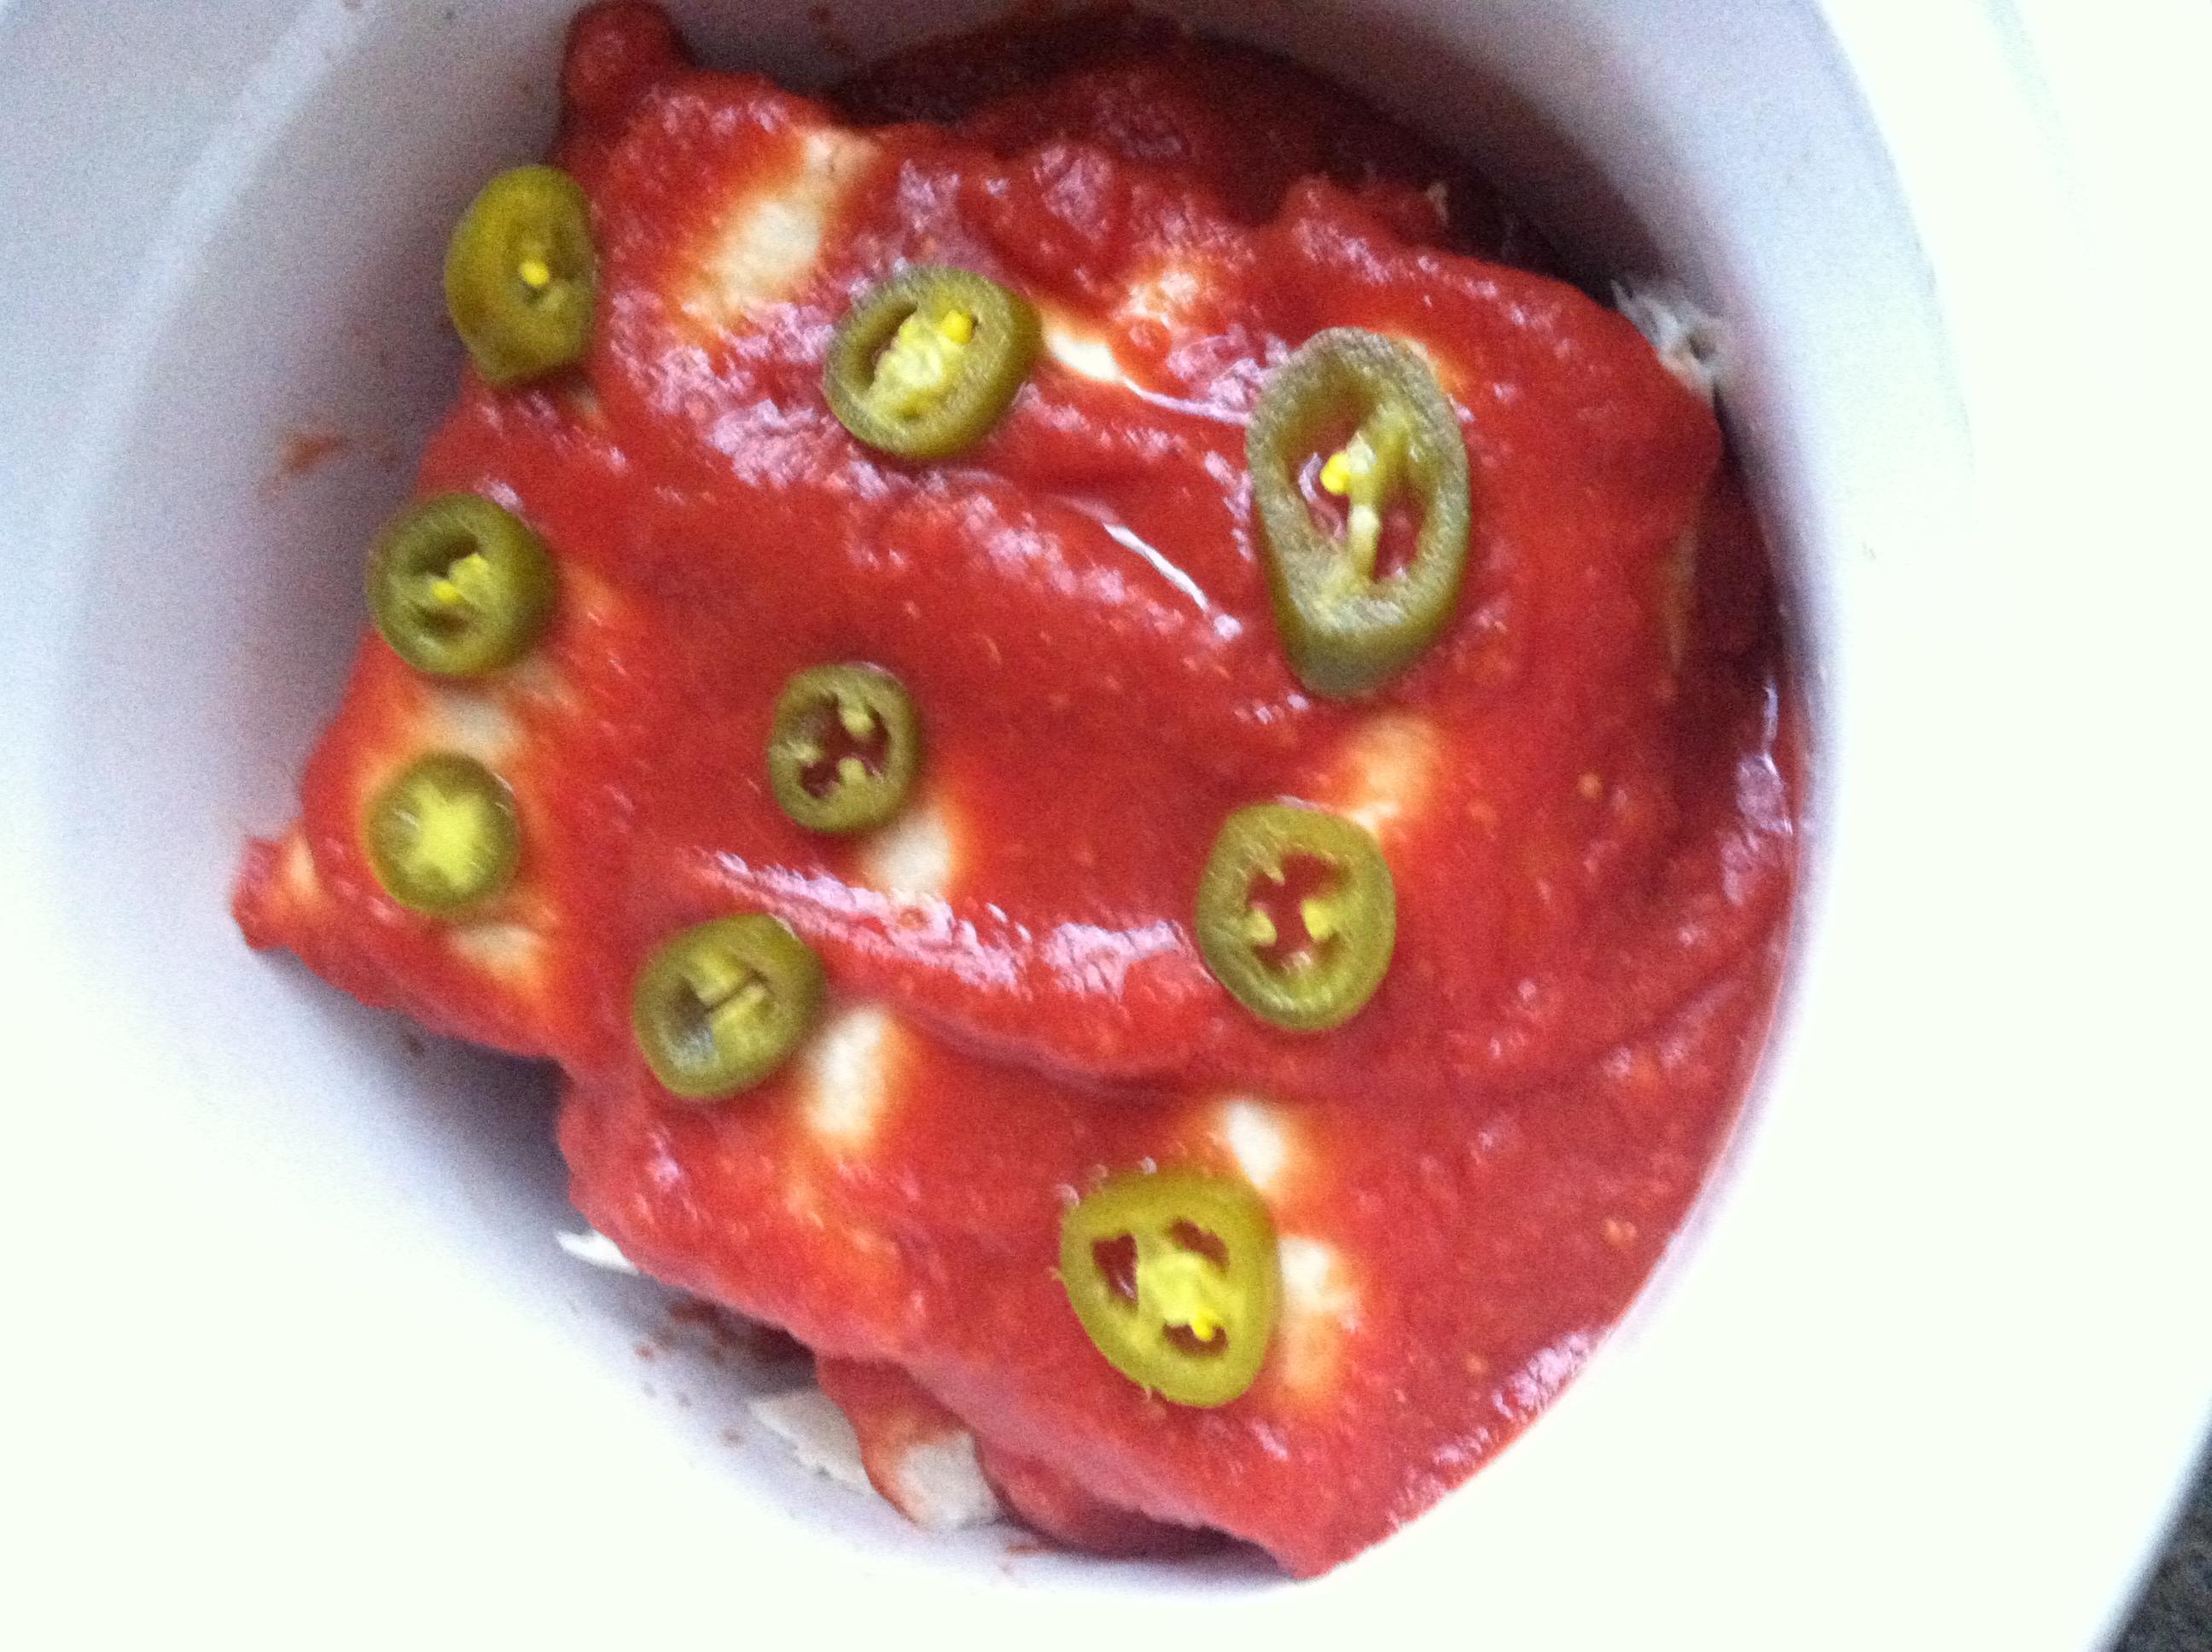
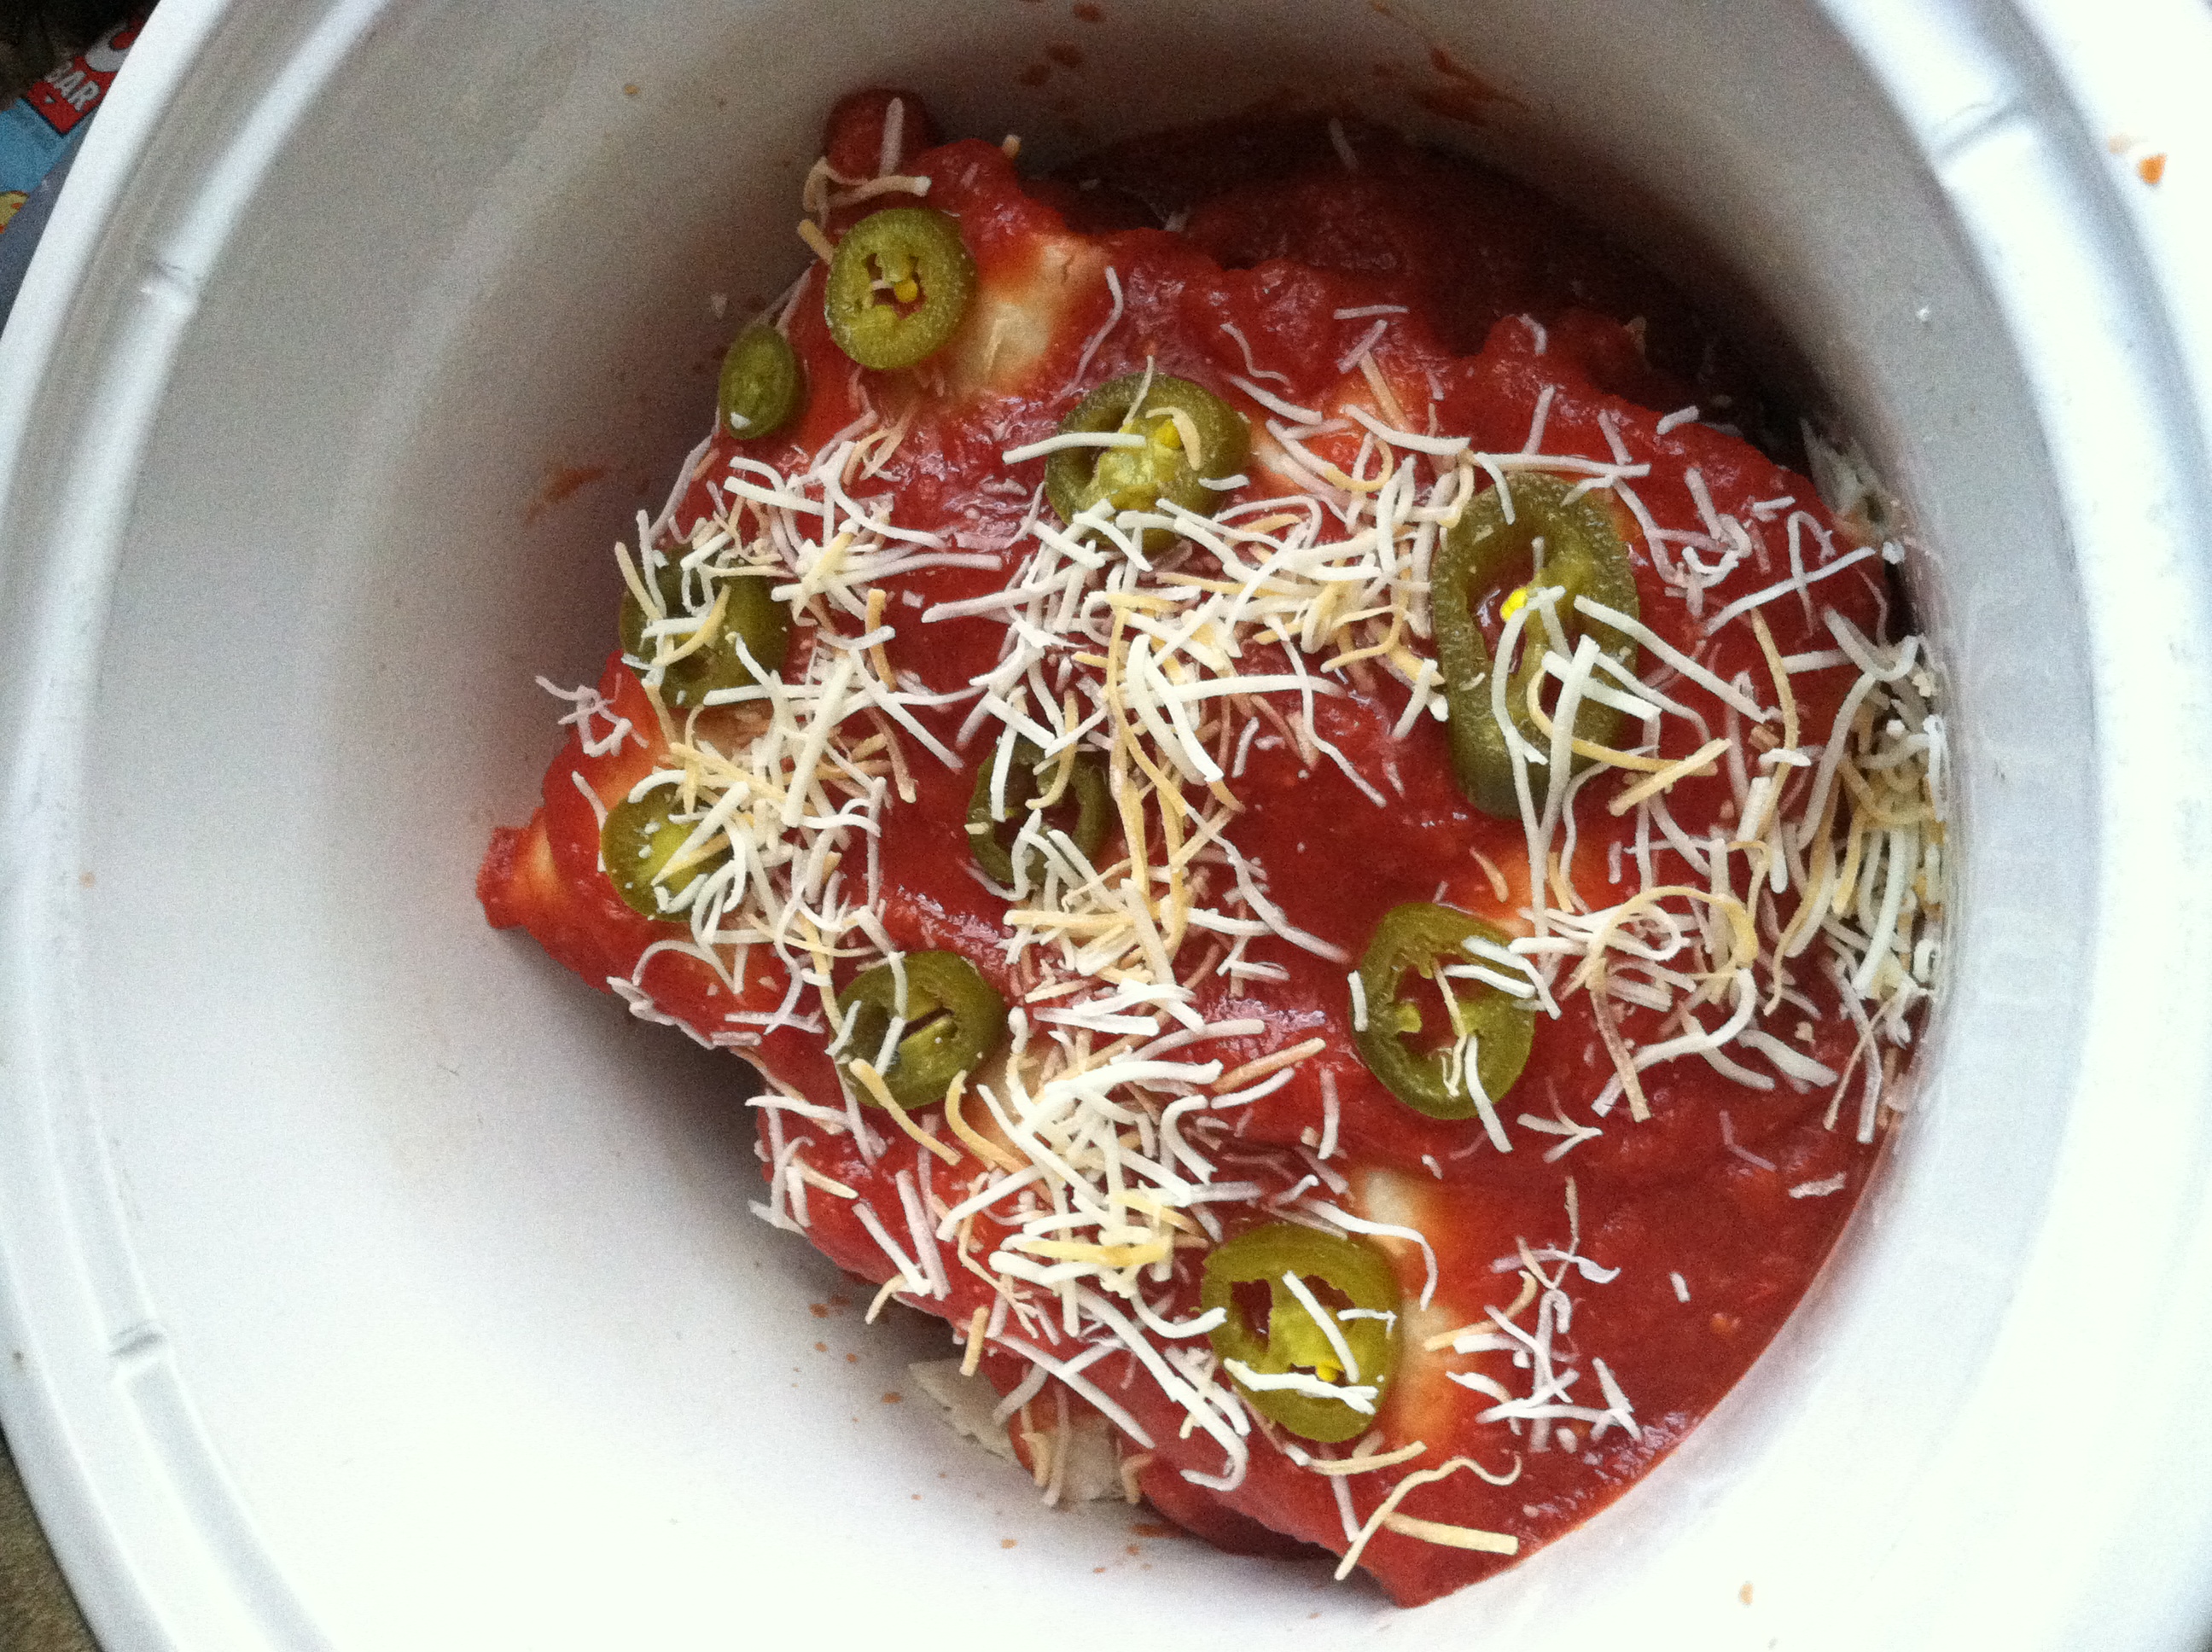
Step 3: Wrap the tortillas up like a burrito, and layer in a sprayed crock pot. Once you have a bottom layer of 2-3, pour on a few tbsp tomato sauce. Then layer on a few more. Repeat until you use up all the tortillas.
Step 4: Sprinkle the top layer with a little more cheese and some more jalapeno slices, then set the crock pot on low for 4-6 hours.
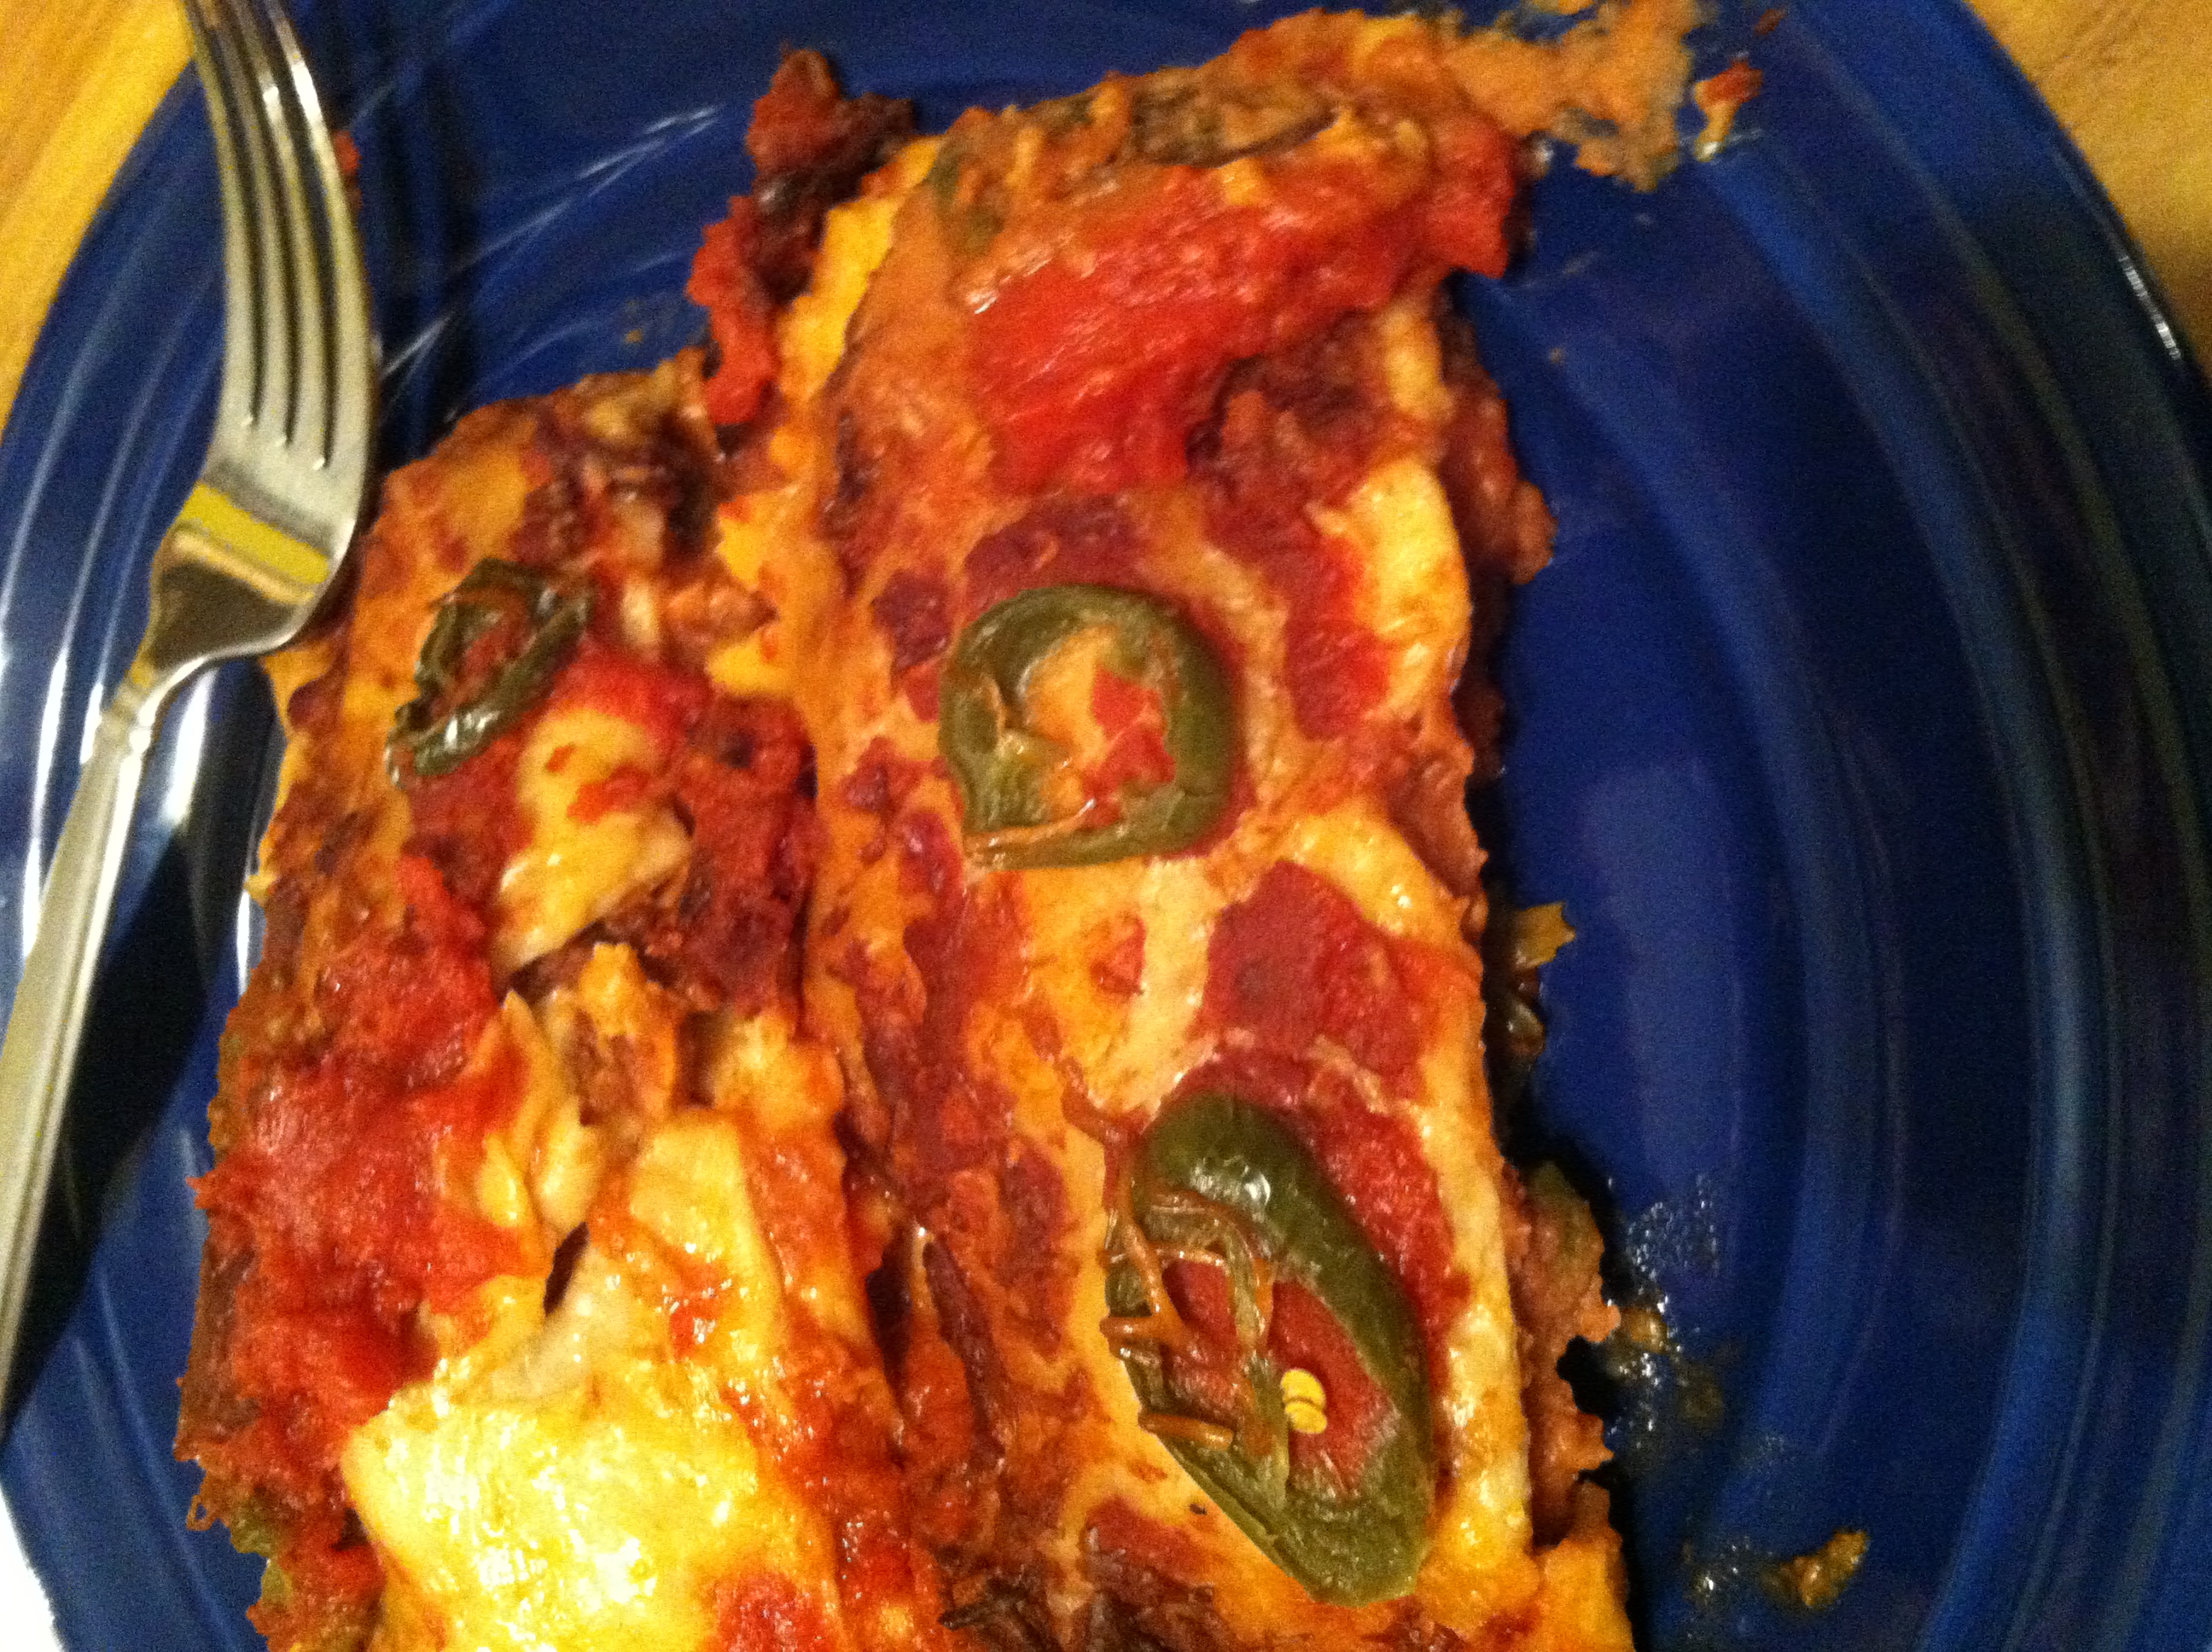
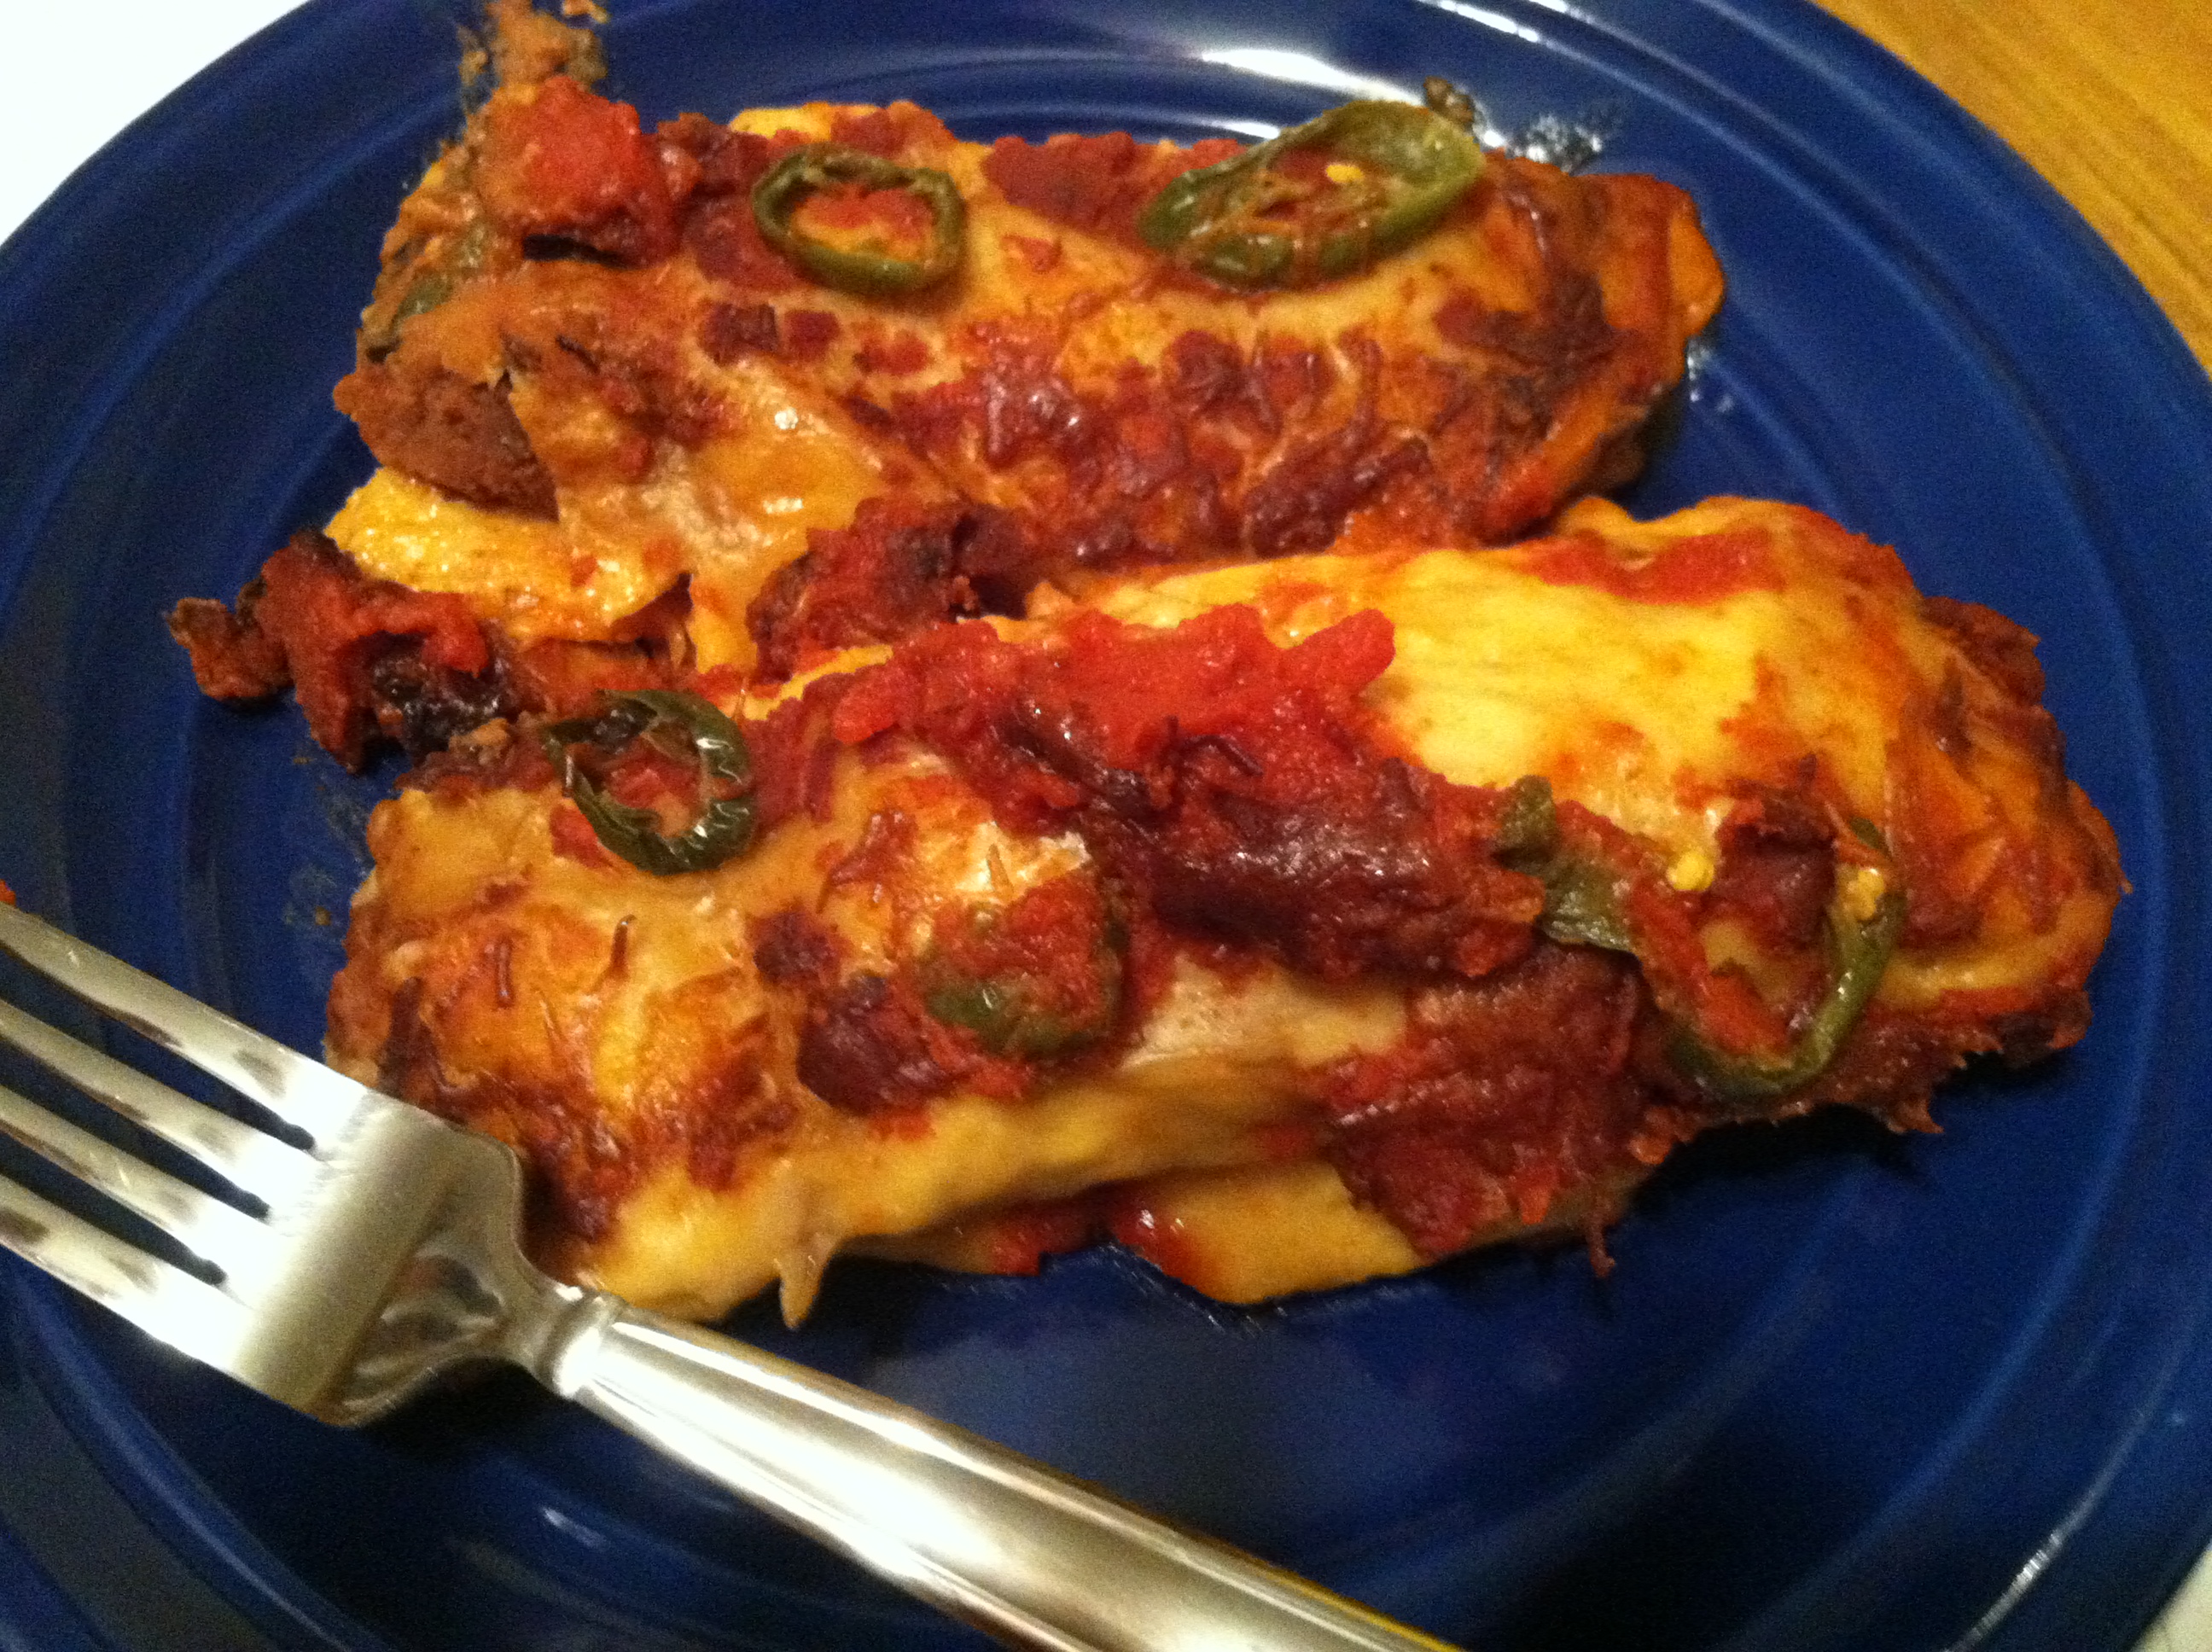
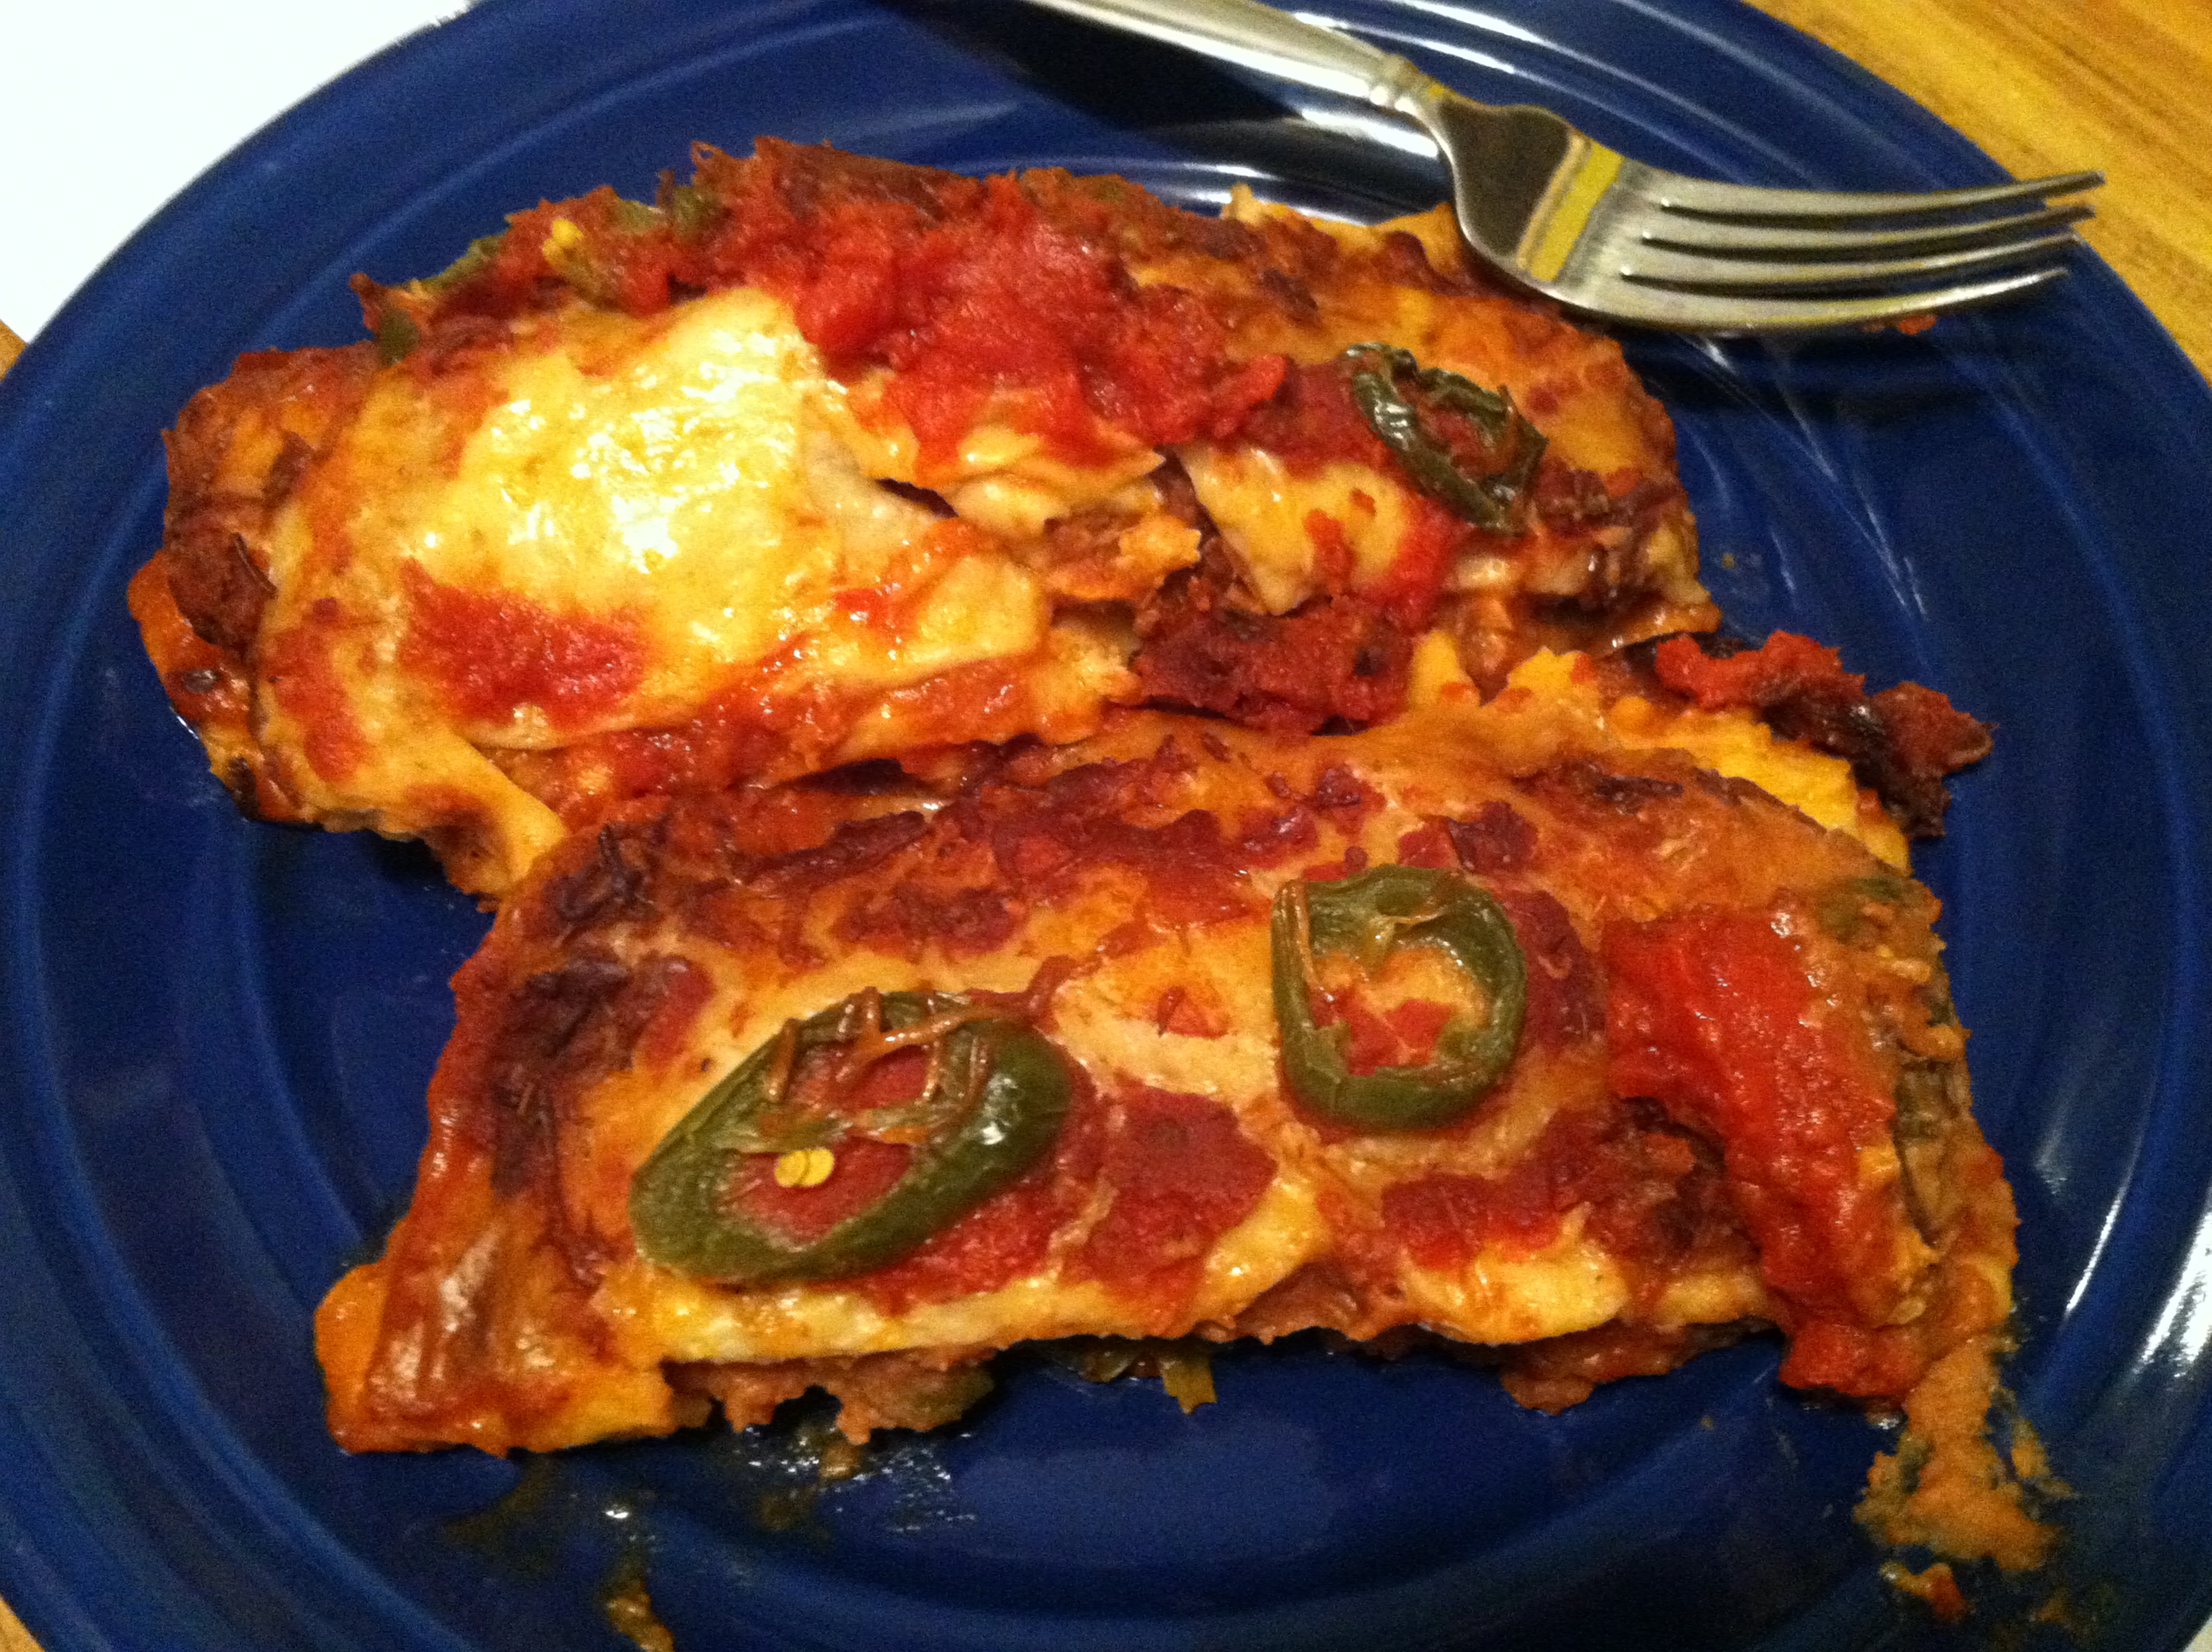
They bake up perfectly, soft on the inside with a little bit of crisp, and just the right amount of heat.
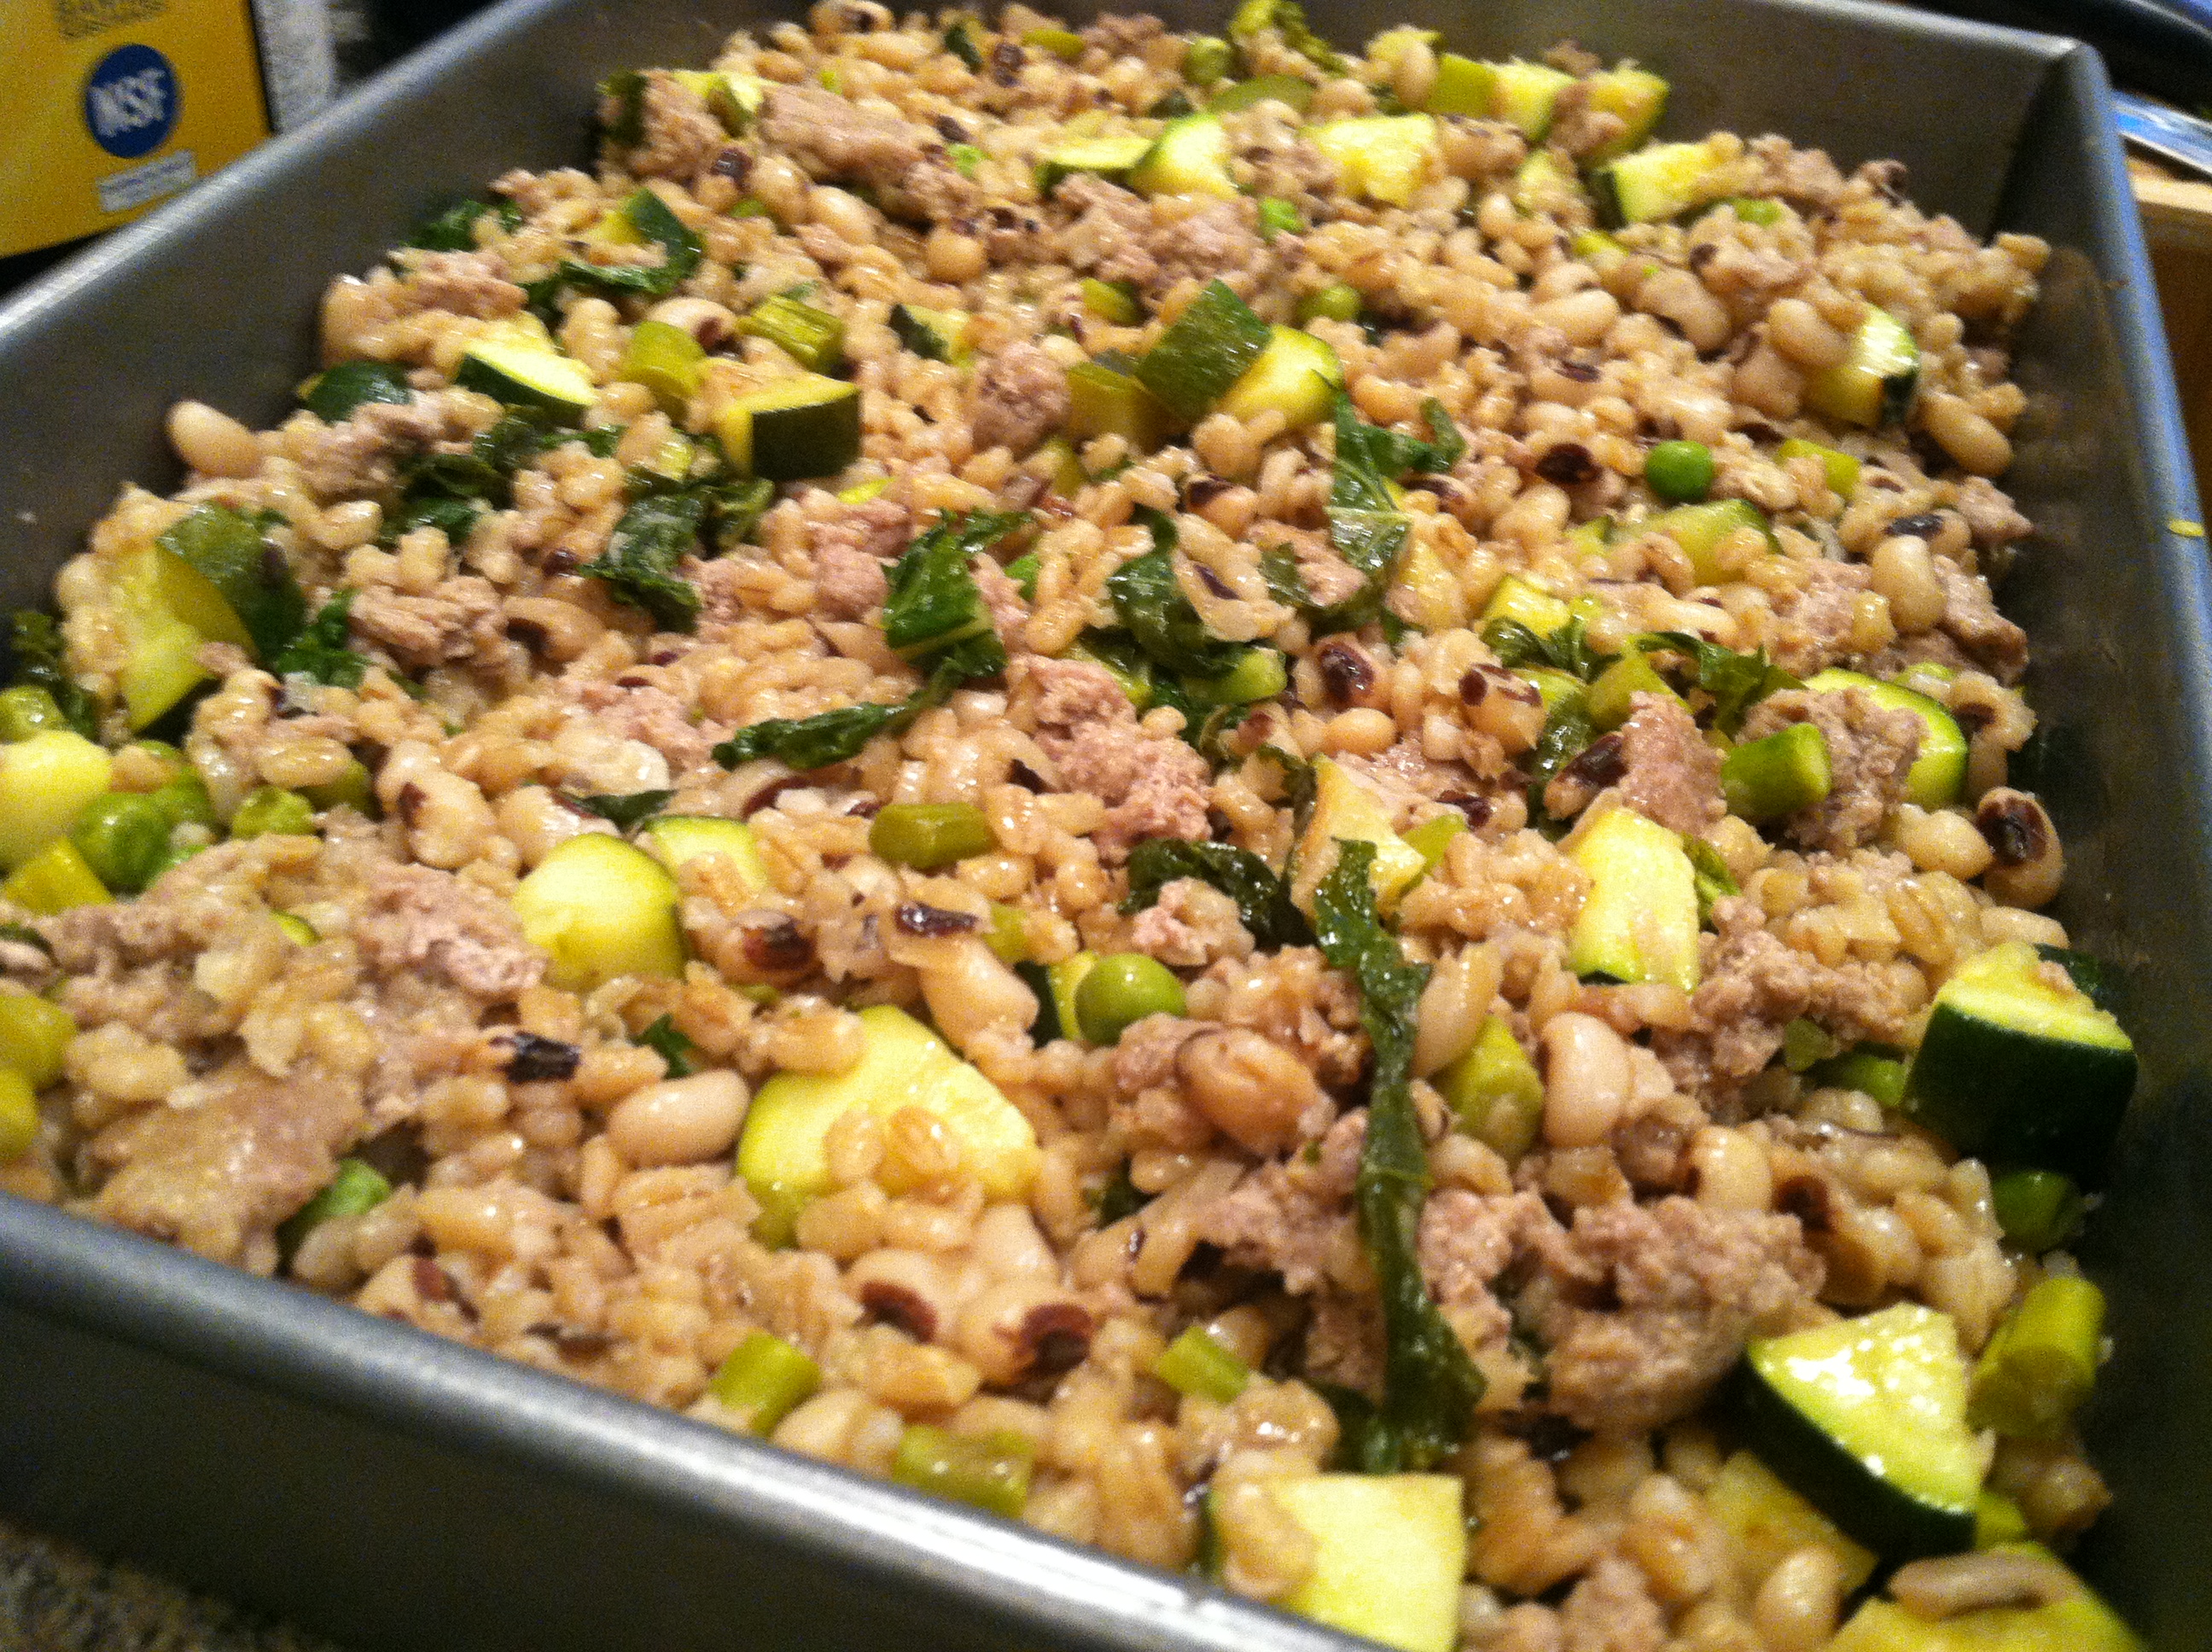
Sometimes, you just have no ideas in your head. You open the cupboards and refrigerator and sift through half-bags of random ingredients, cans you forgot you had, and sad wilted veggies. And then inspiration strikes!
This was one of those times.
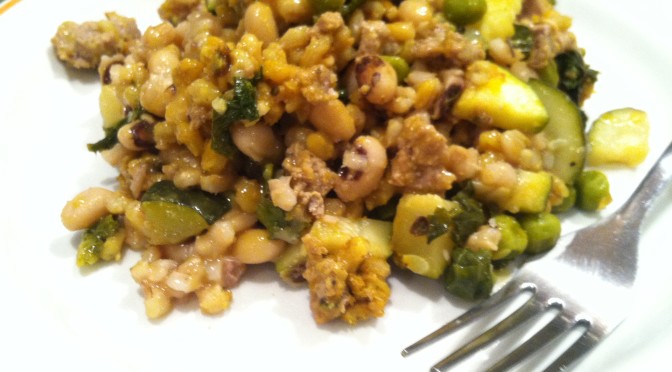
I had half a bag of barley, as well as half a bag of black eyed peas. In the fridge, I had a few spears of asparagus, and half a small zucchini. I also had some cooked turkey, which seemed appropriate to add.
Ingredients:
1 cup zucchini slices
1 cup diced asparagus
1/2 cup greens (spinach, kale, mustard greens)
1/2 cup diced mushrooms
1 cup black-eyes peas (or other dried bean)
1 cup pearled barley
Salt, pepper, turmeric
2 1/2 cups water or broth
Optional: 1/2 cup cooked turkey
Step 1: In a pot on the stove, bring the water or broth to a boil. Add in the beans & barley, cover, and simmer for about 35-40 minutes. If they get dry, add more water as needed.
Step 2: In a pan, add all the diced veggies with a little water or oil, and cook on medium heat, covered, for 10-12 minutes. (If using ground turkey or beef, add and cook here)
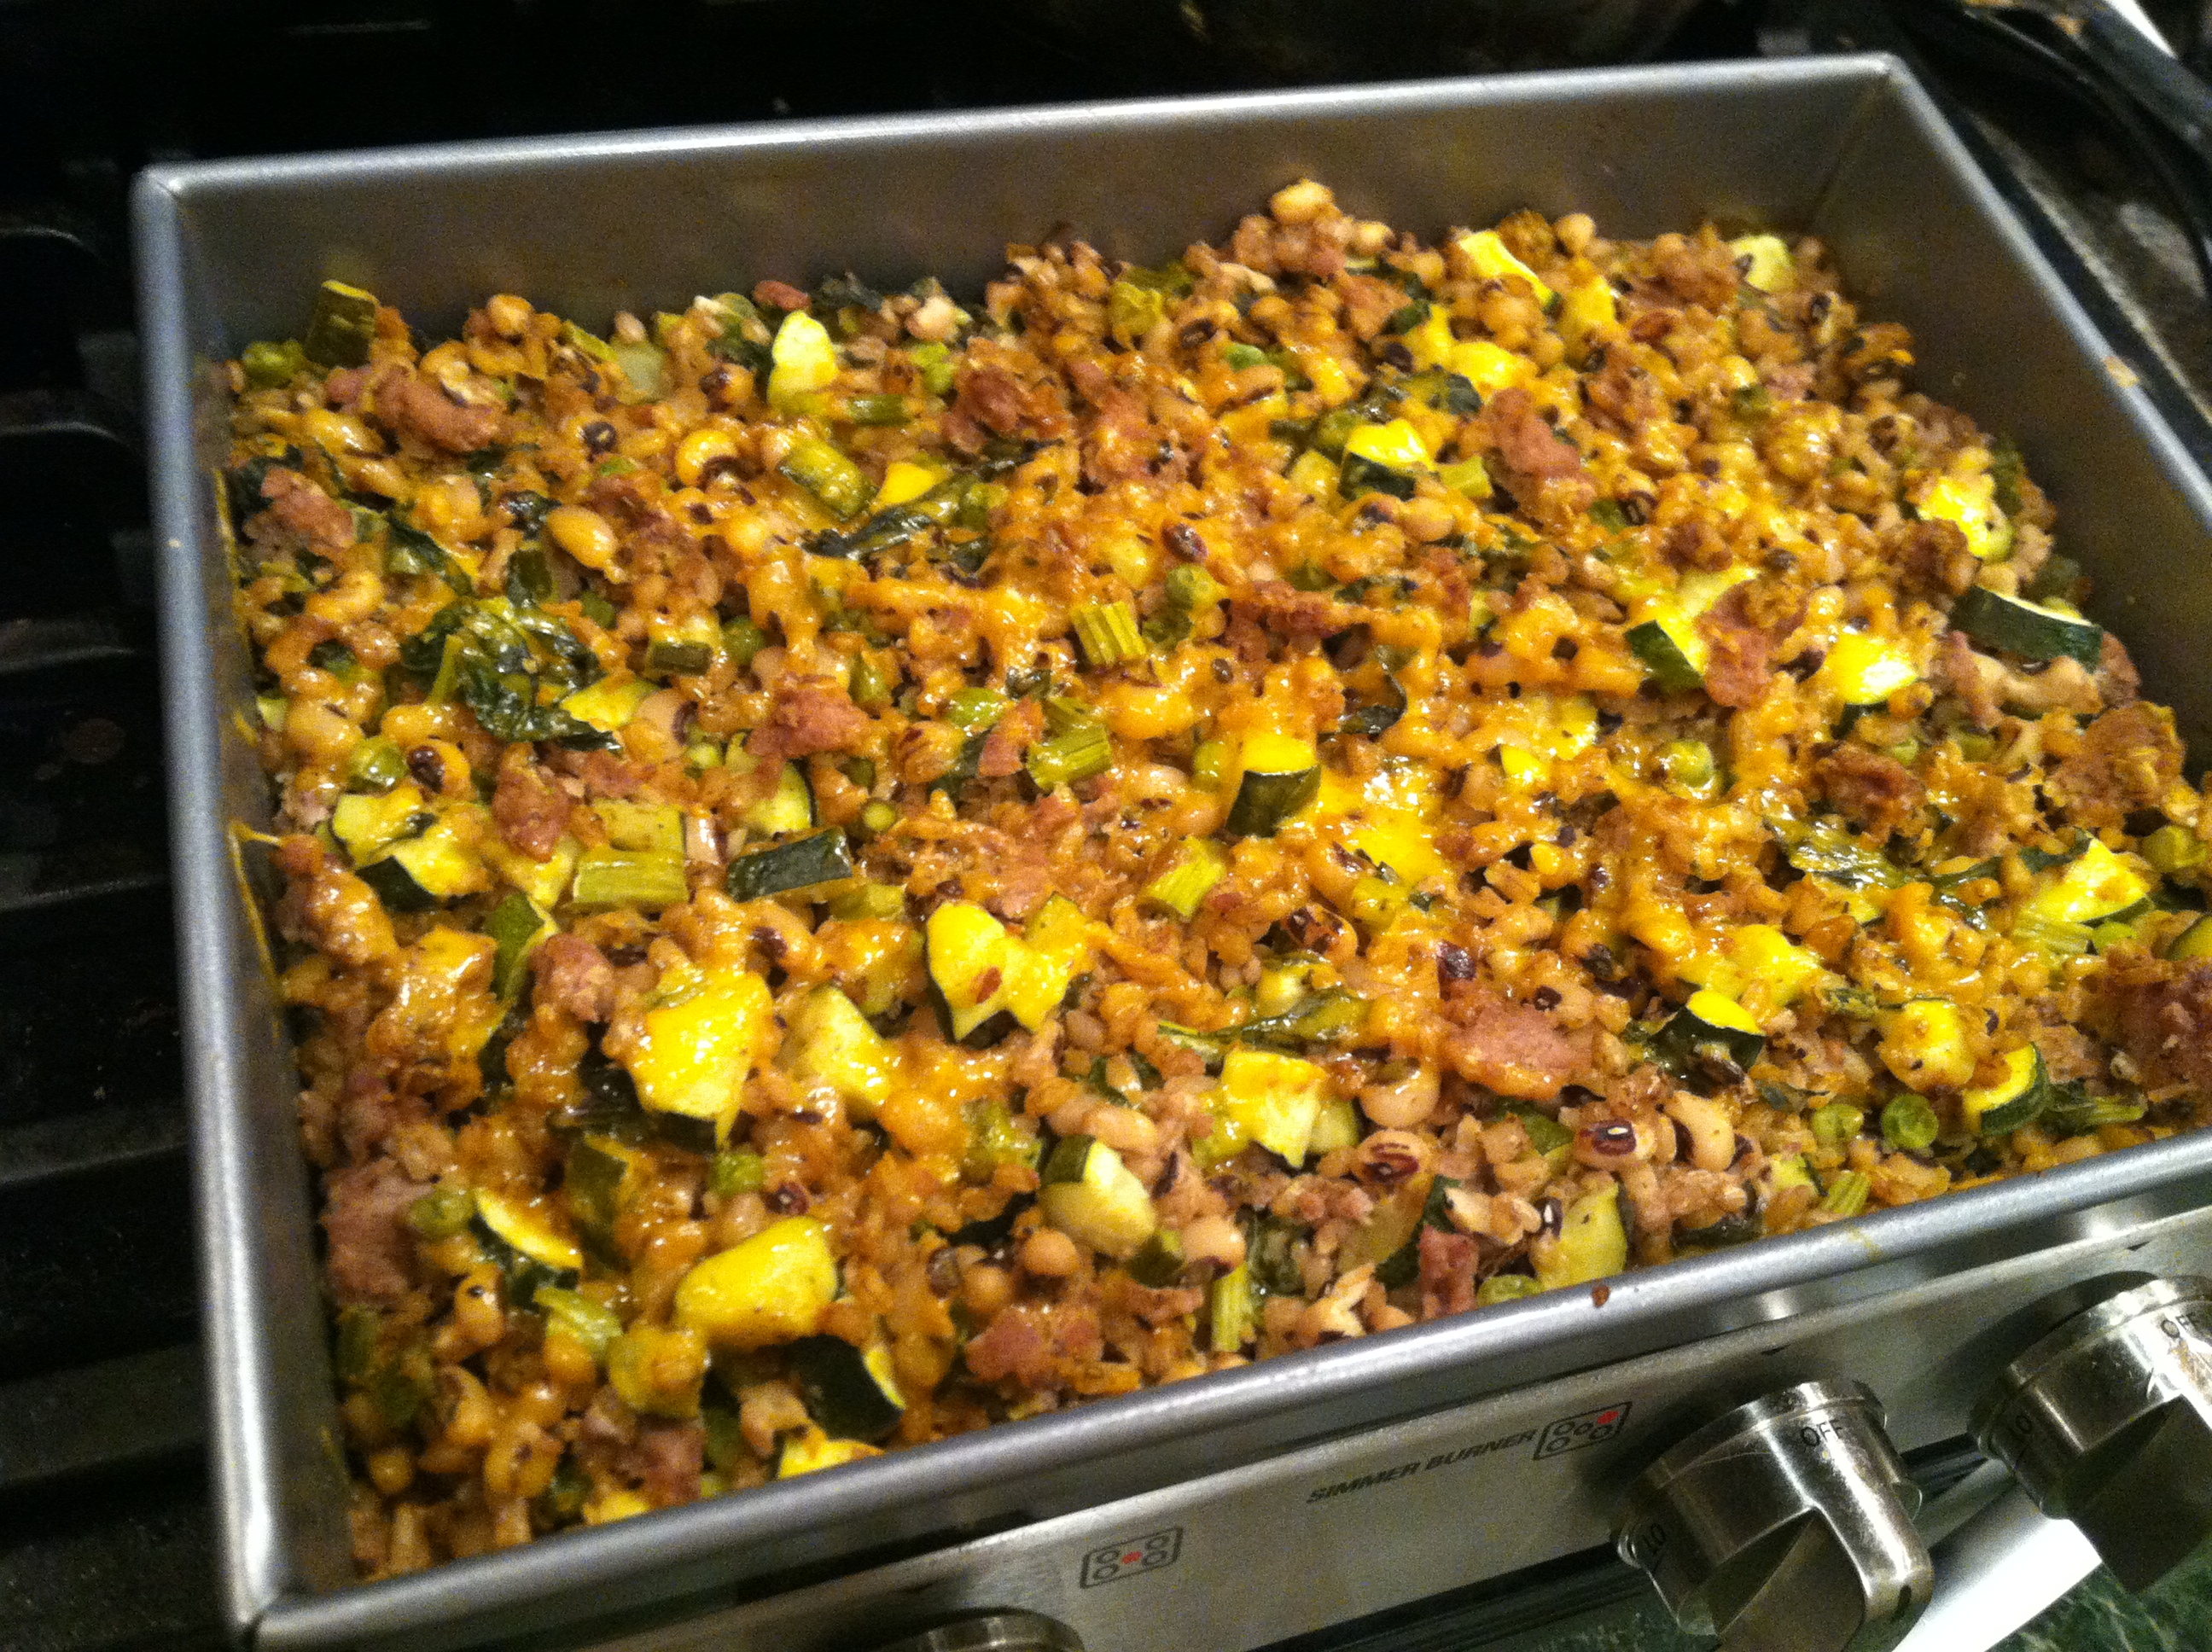
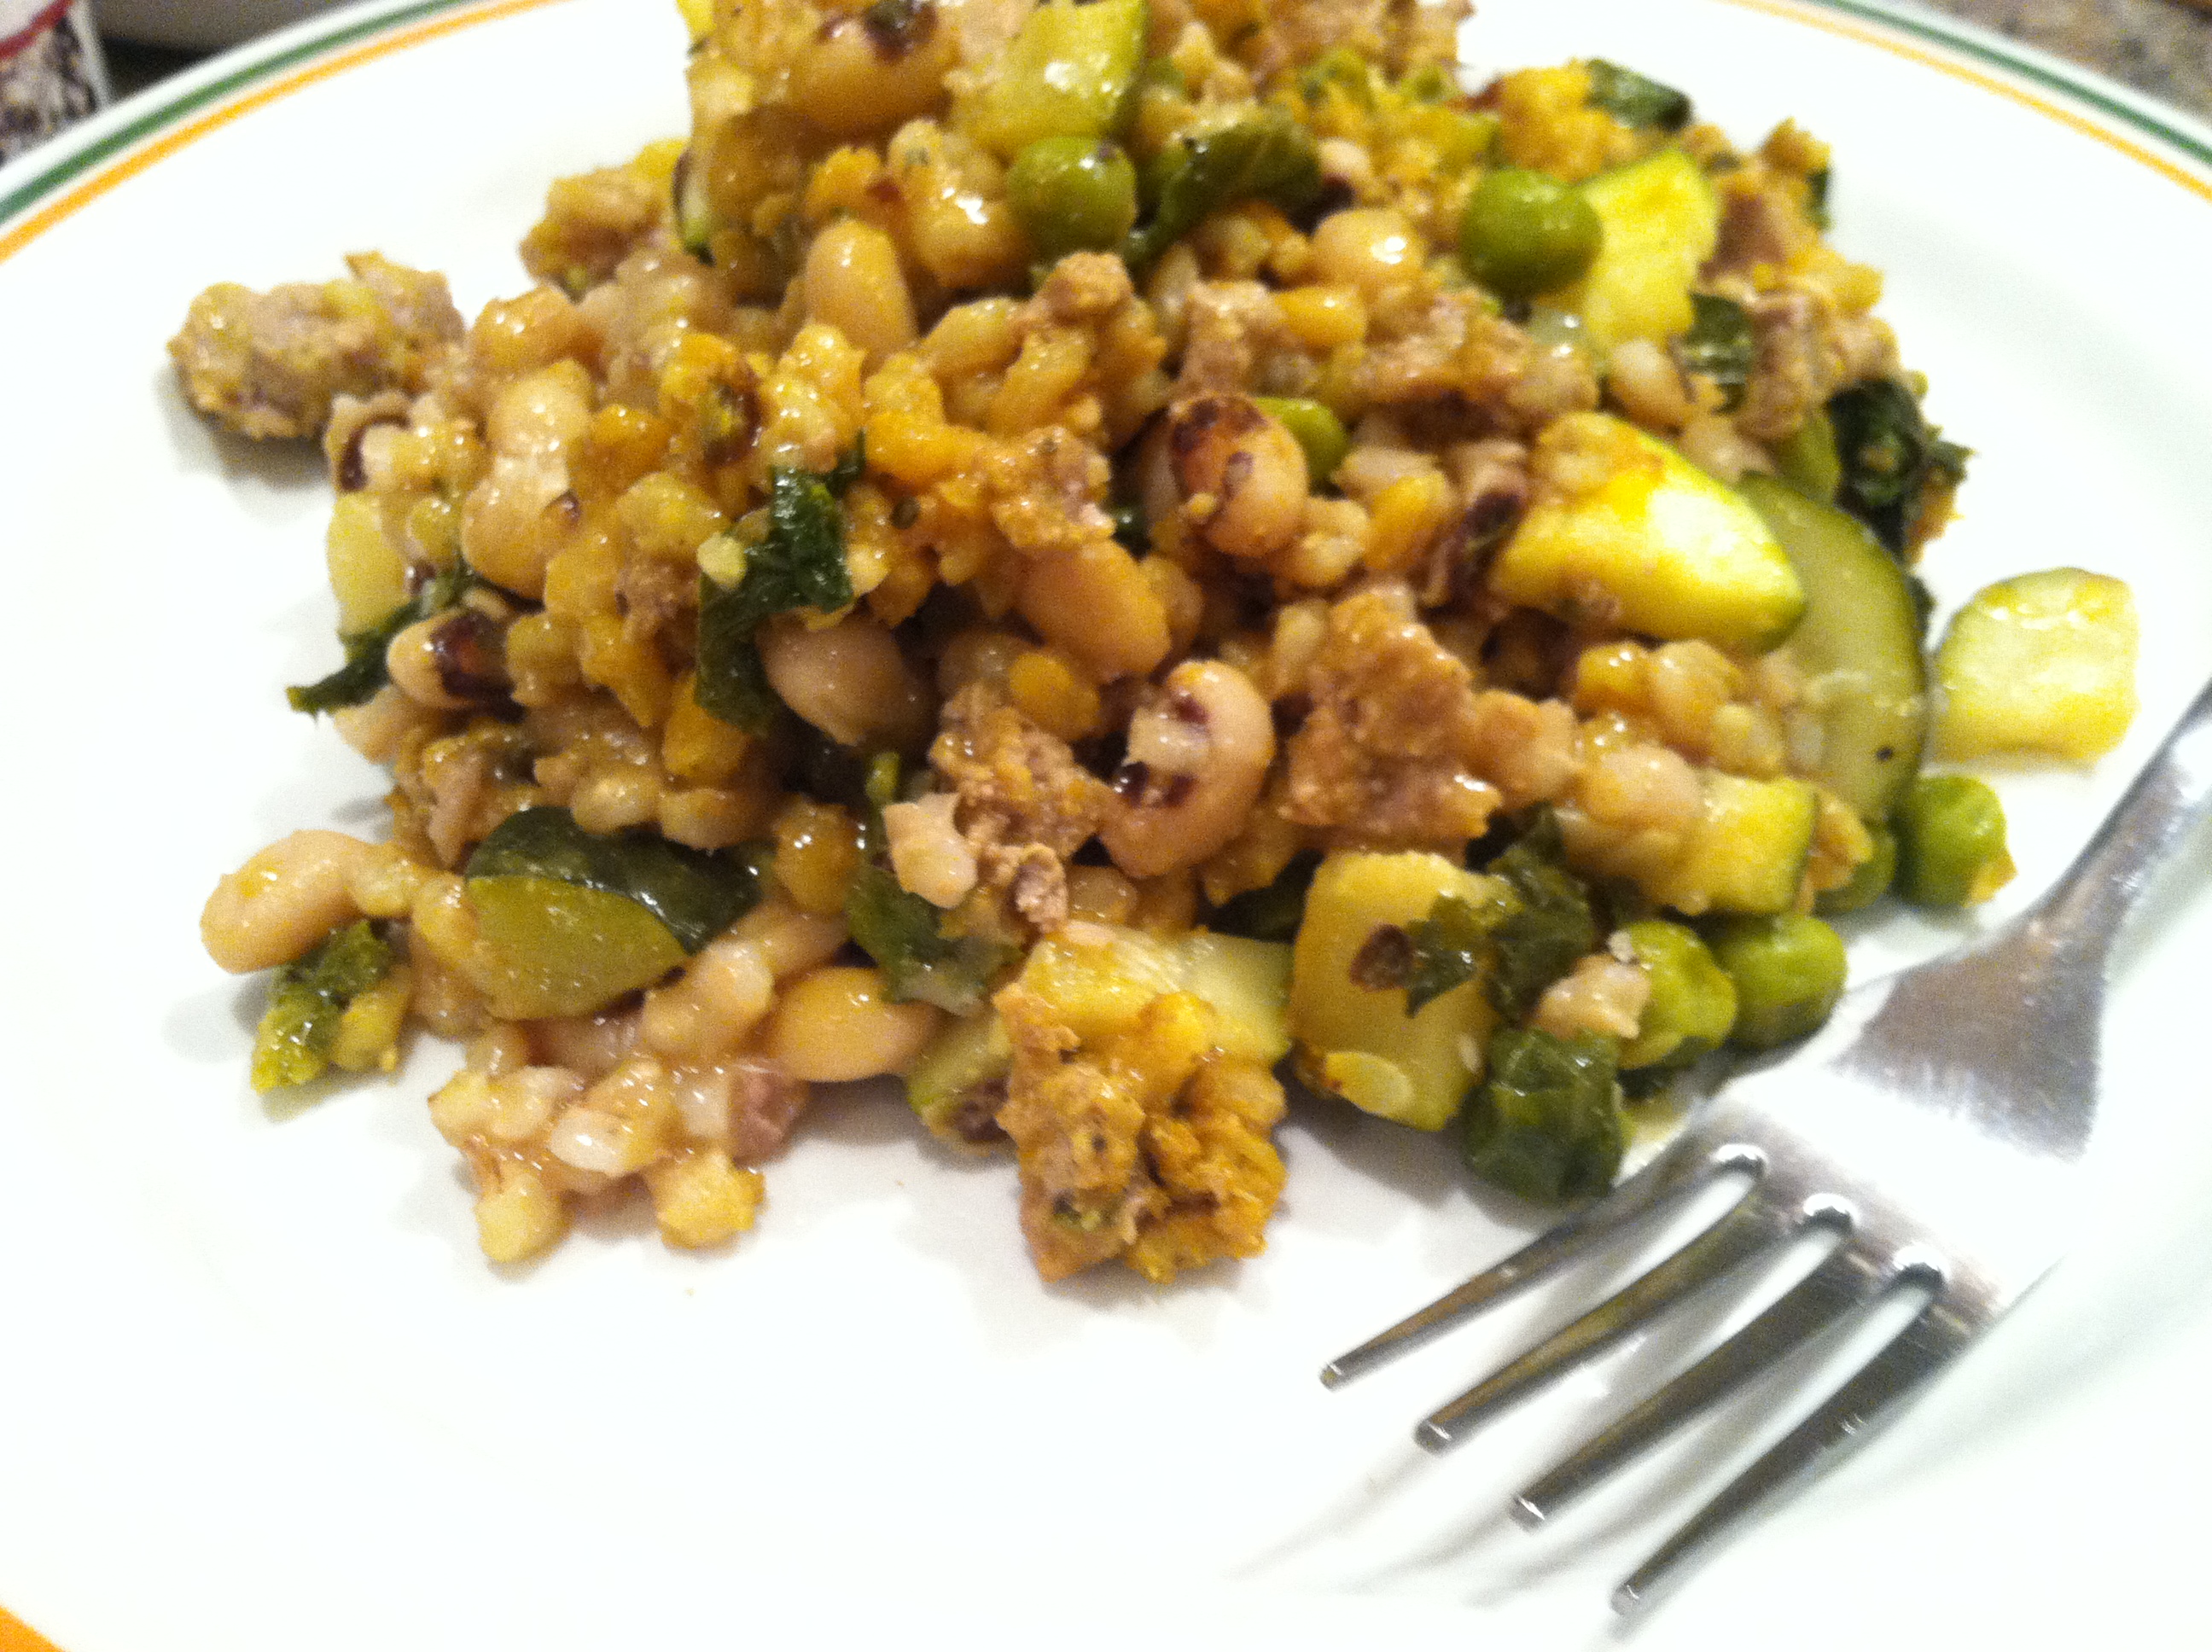
Step 3: Once the peas & barley are softened, mix with the vegetables in a large baking pan. Add seasonings to your taste, I used garlic salt, black pepper & some turmeric (hence the yellow color). Bake at 350 for 15-20 minutes, until heated through. Serve & enjoy!
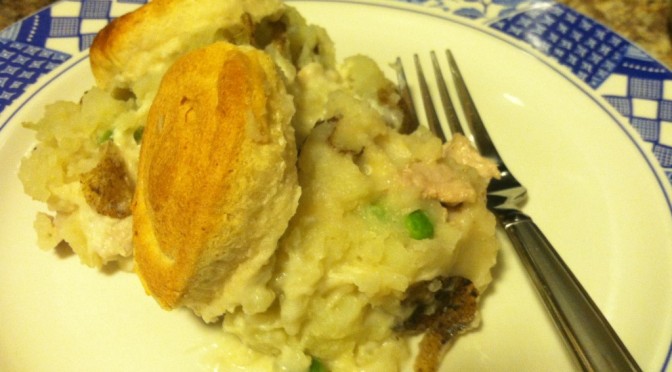
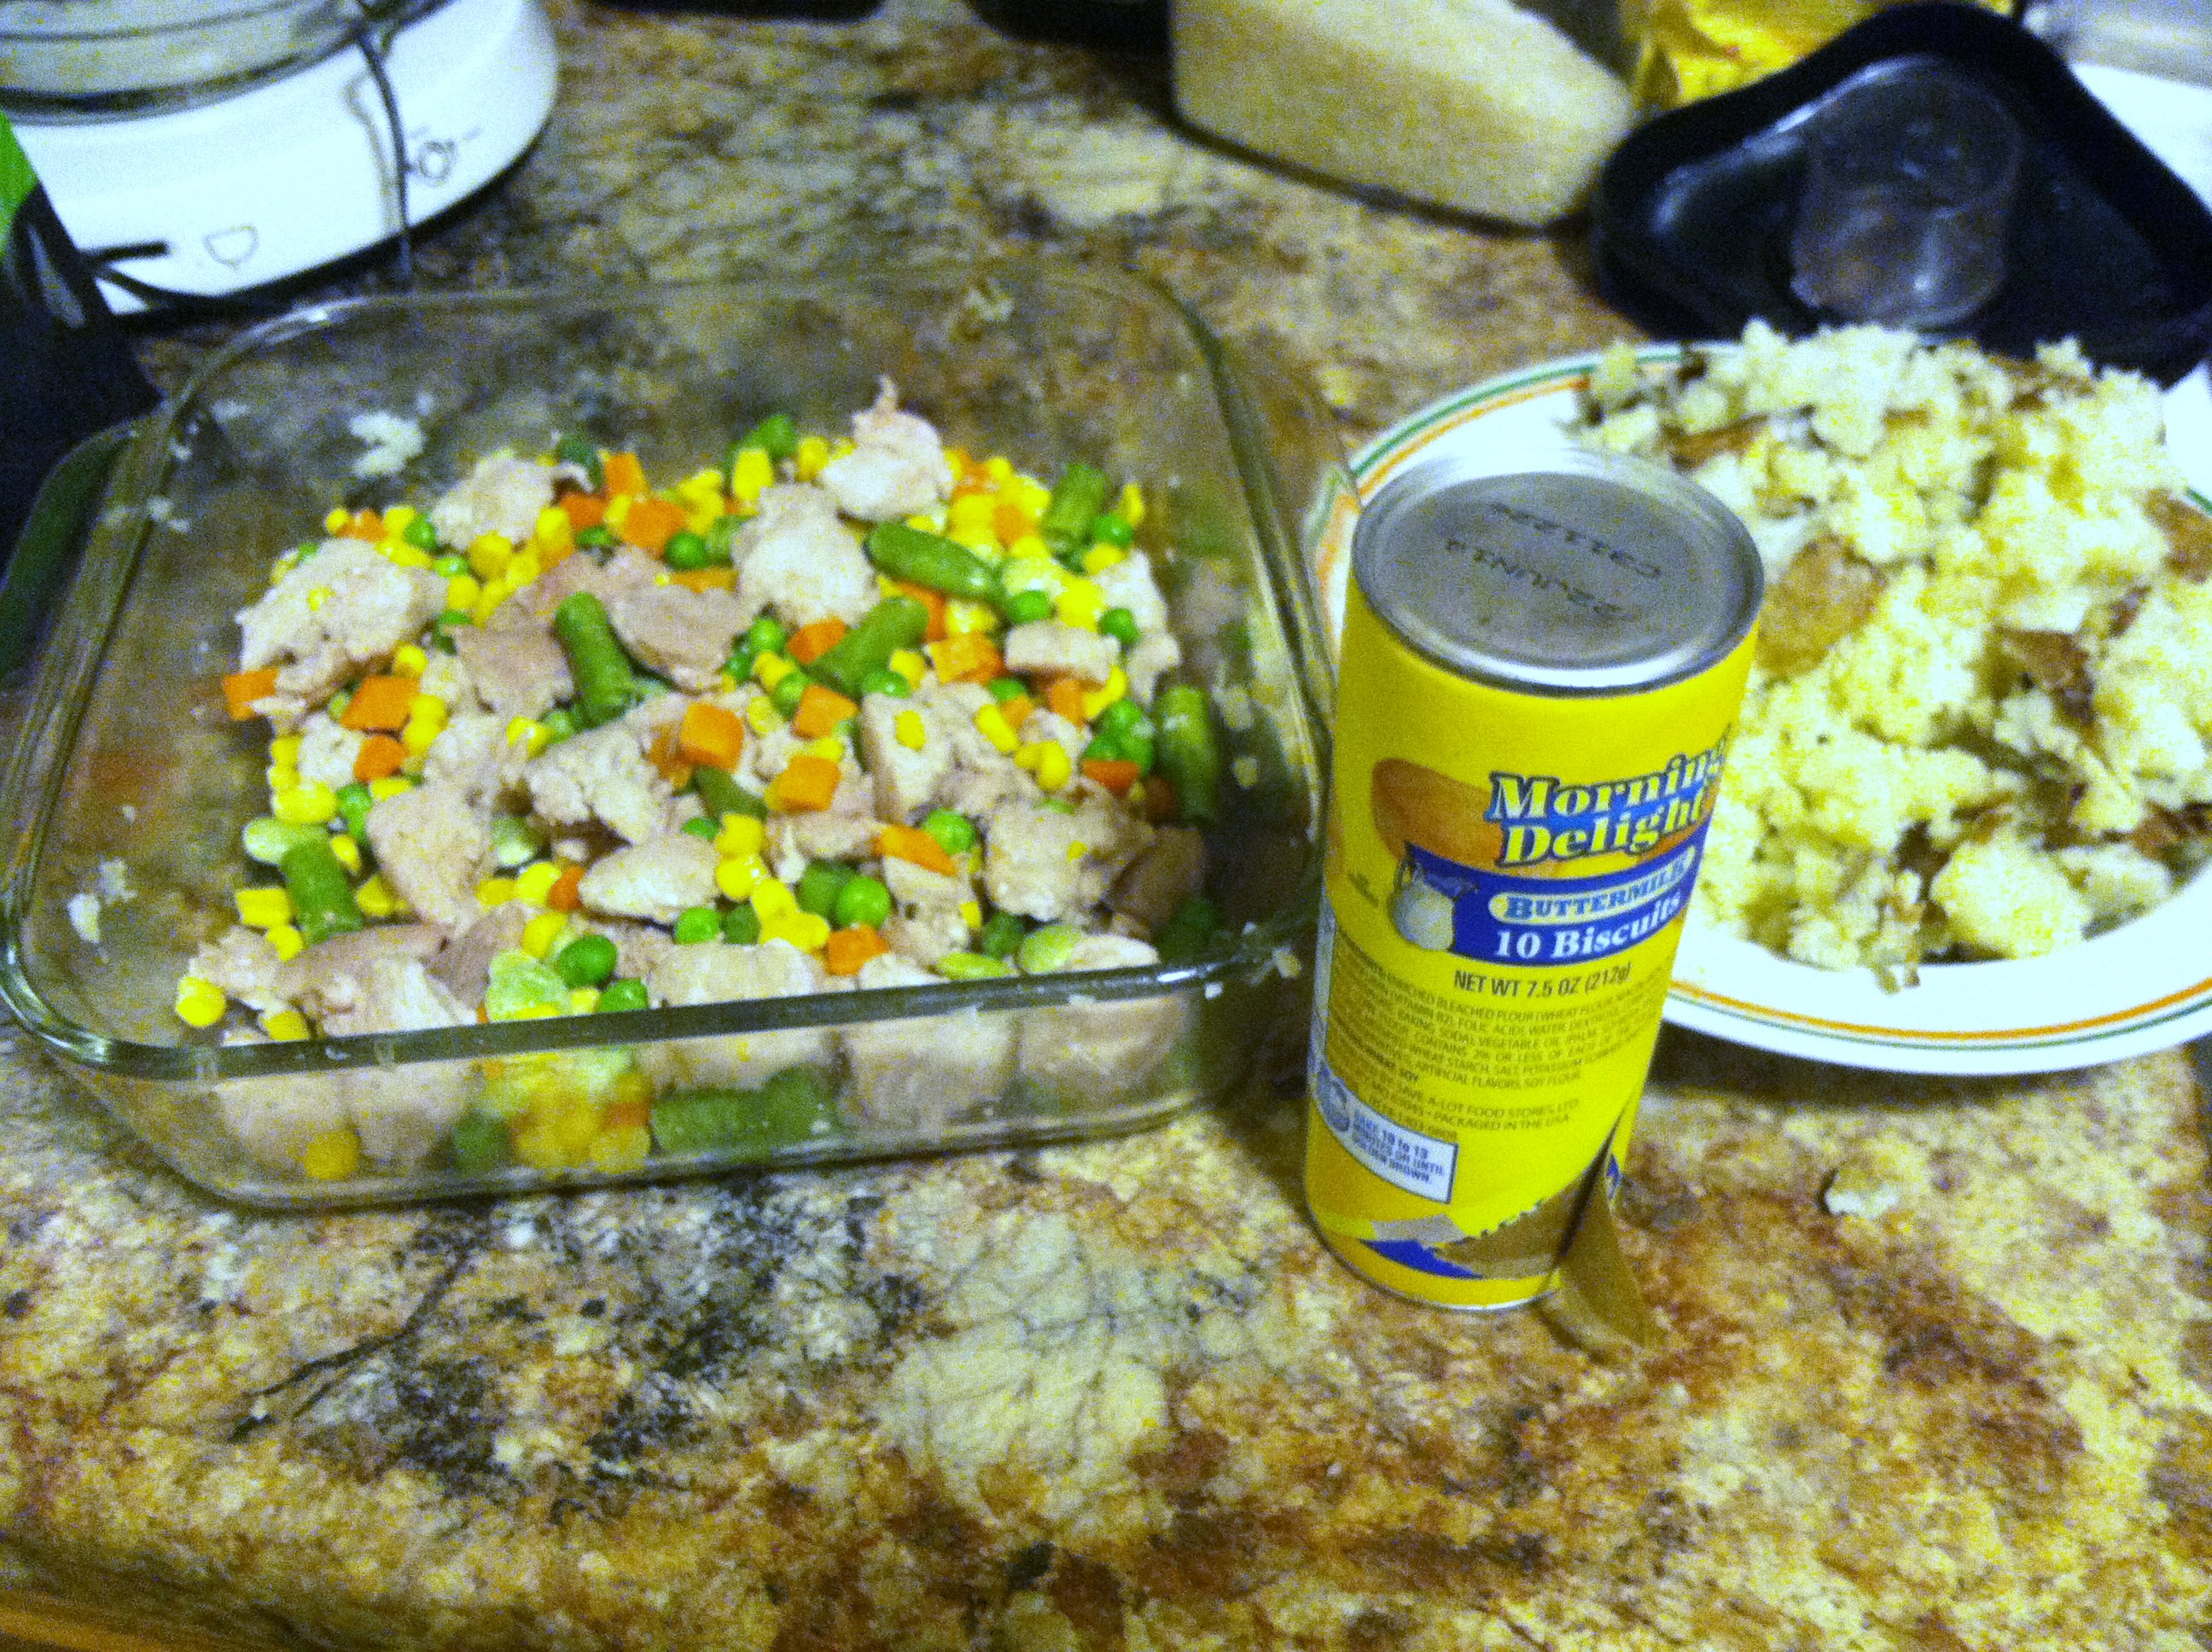
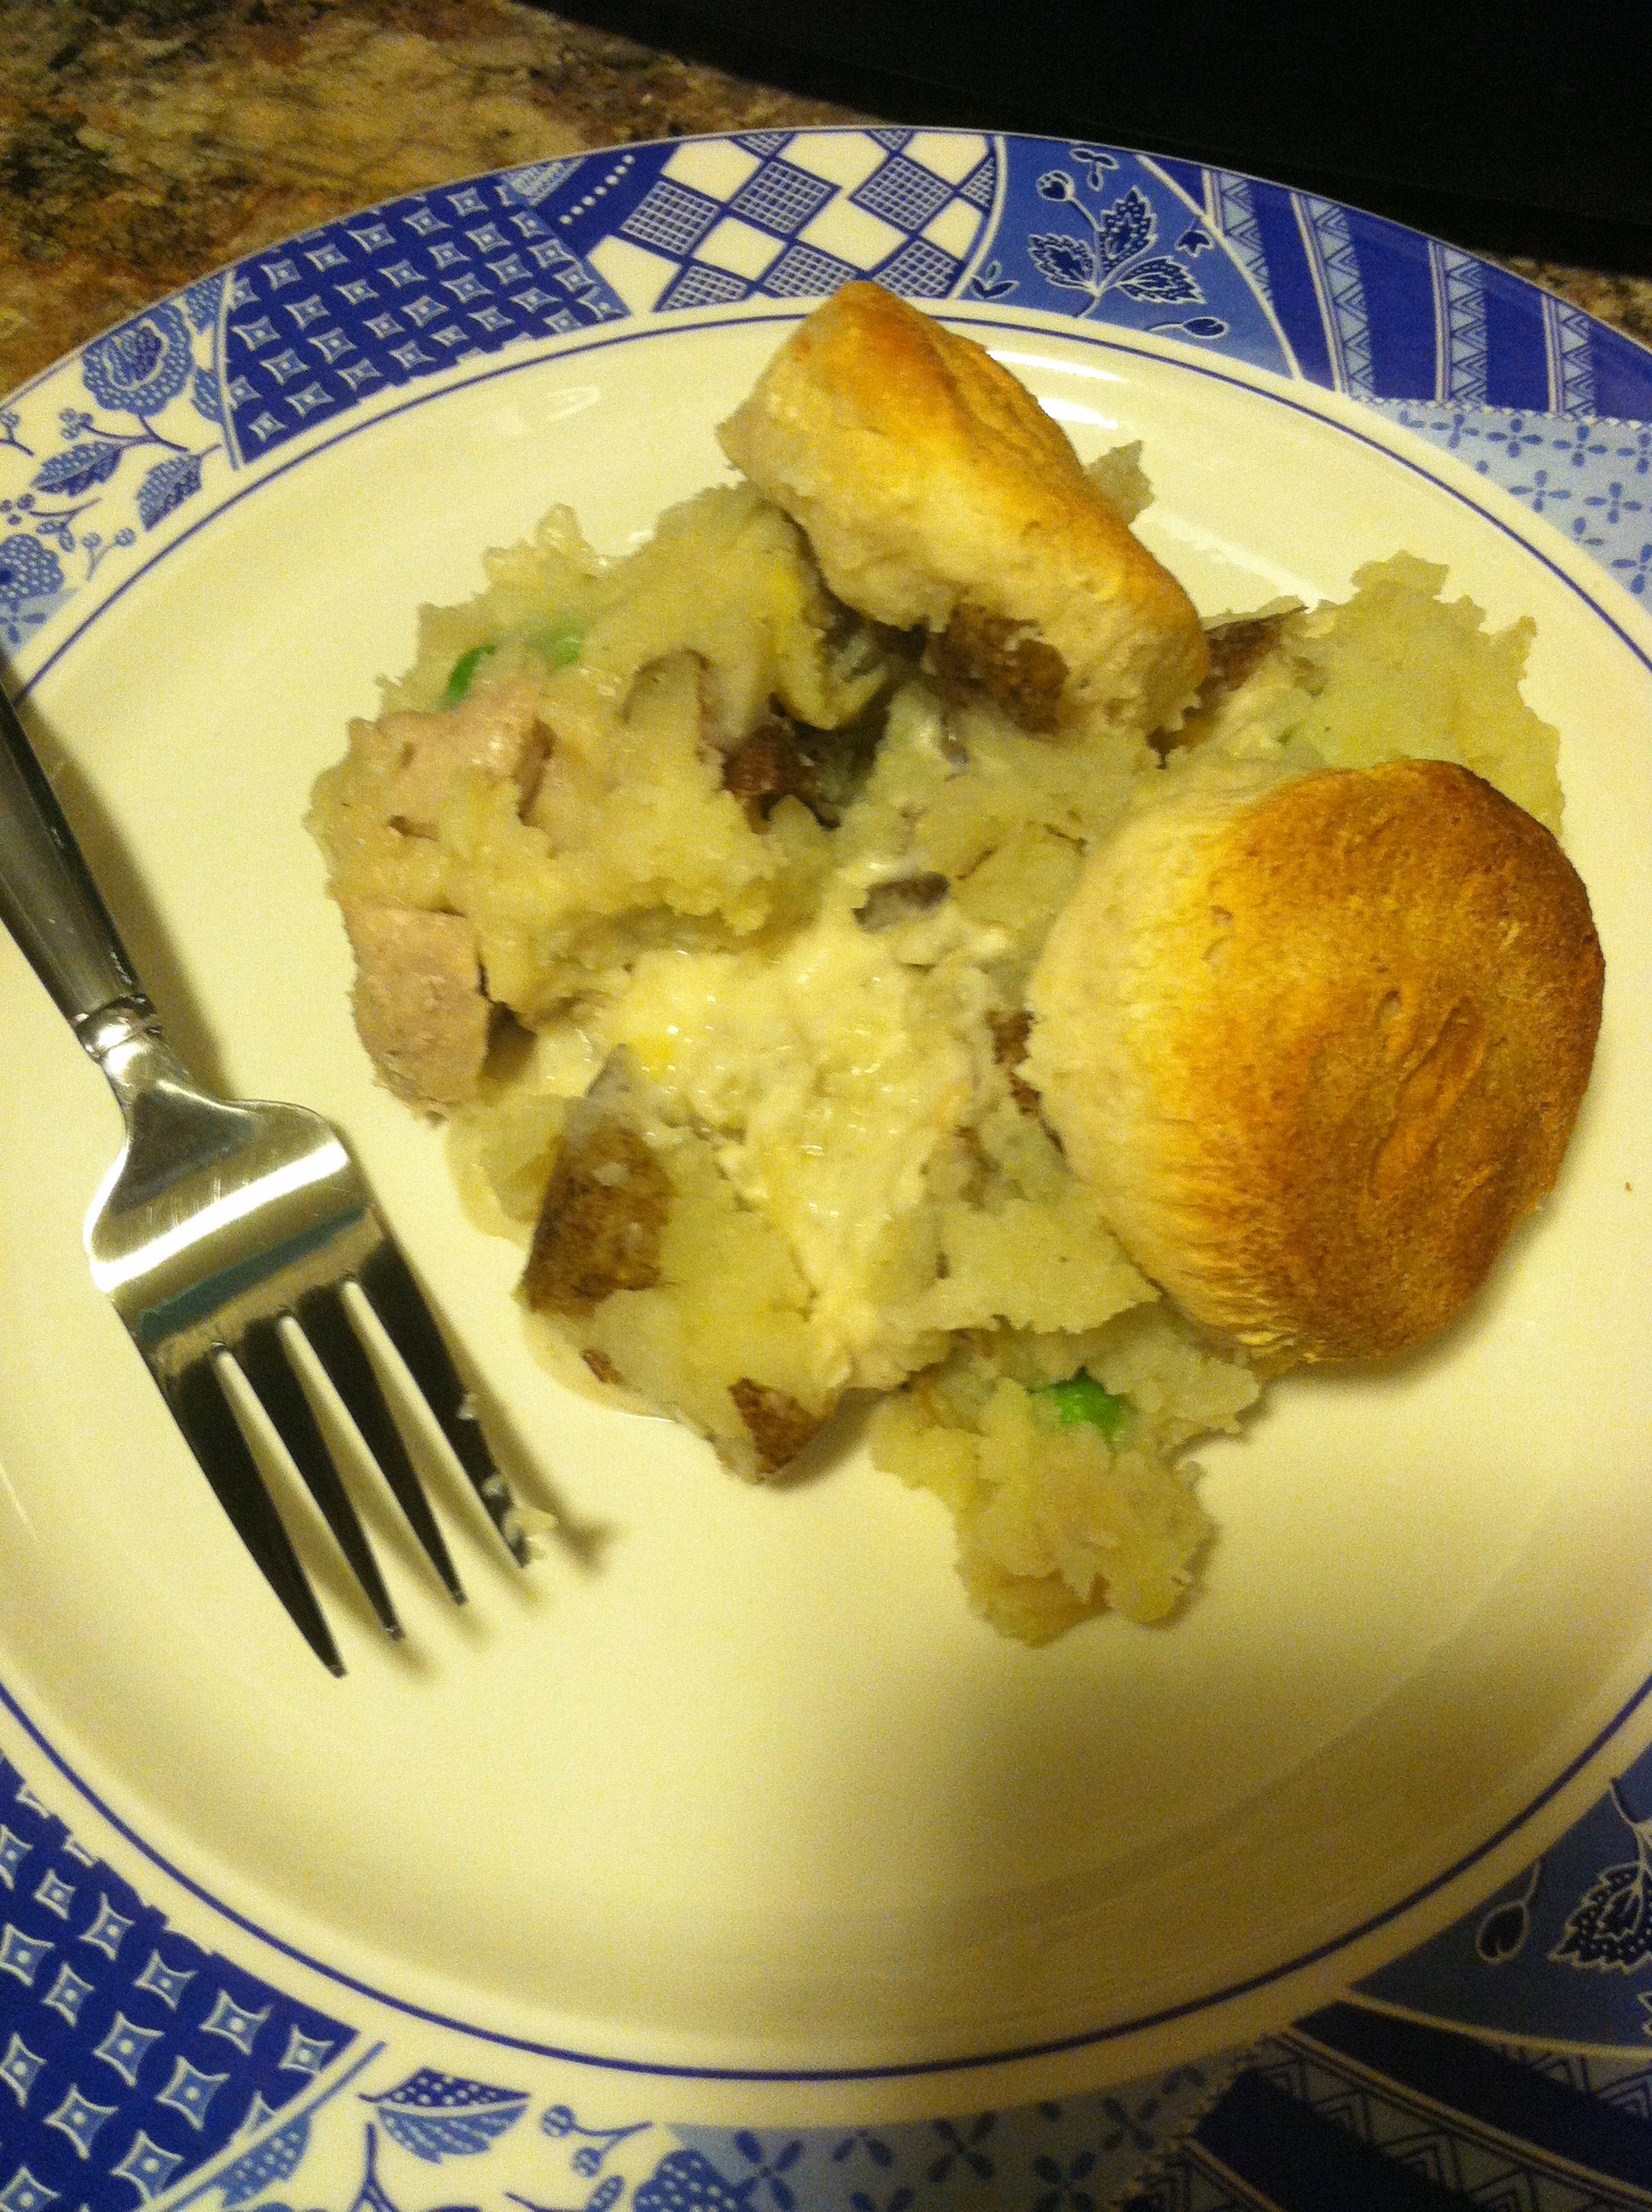
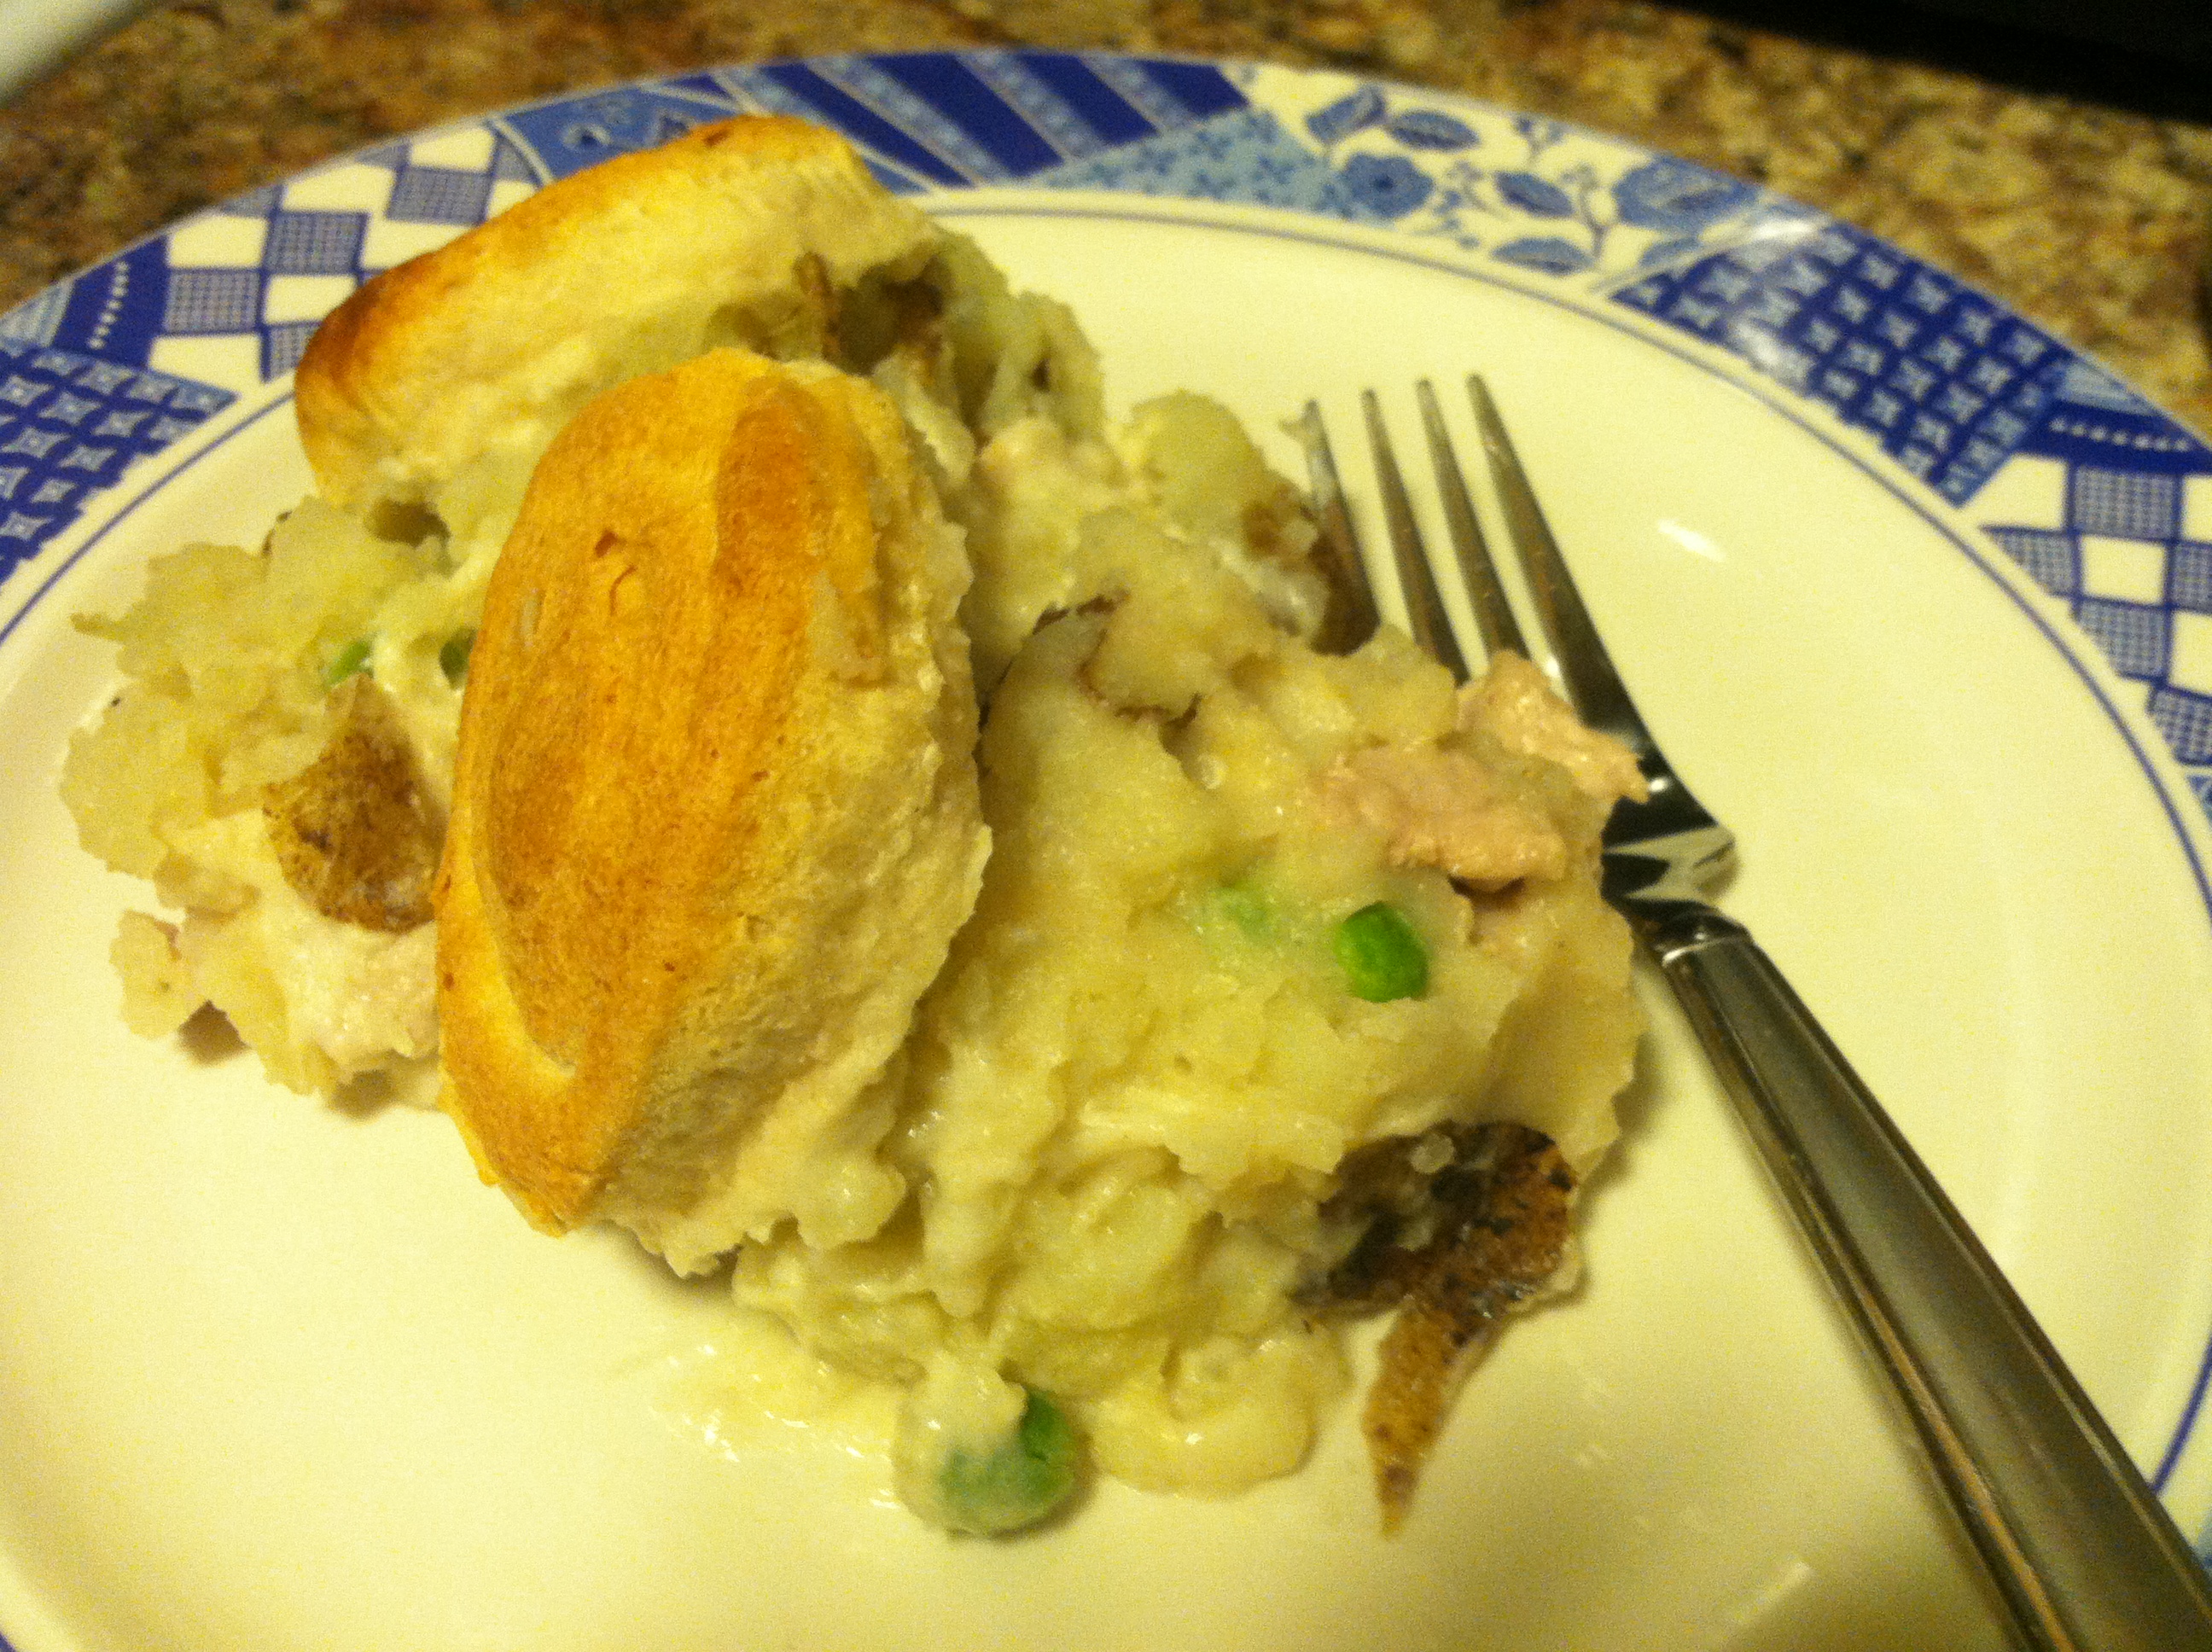
This is a super simple recipe I came up with when I had made pork chops and mashed potatoes, then had copious amounts of leftovers. It is so easy, and takes only 5-6 ingredients. To save even more time, you could use raw pork chunks, and store-bought mashed potatoes. If interested in other Shepherd’s Pie recipes, read my earlier posts.
Or even one step further, use dried potato flakes in the liquid. Then you will not have a top layer, but will cut down on steps. You can use whatever type of veggies you like, or not use them at all. I just like to try to stuff vegetables into anything and everything. Frozen mixed vegetables are a cheap and healthy way to pack in extra vitamins & filling fiber.
Ingredients:
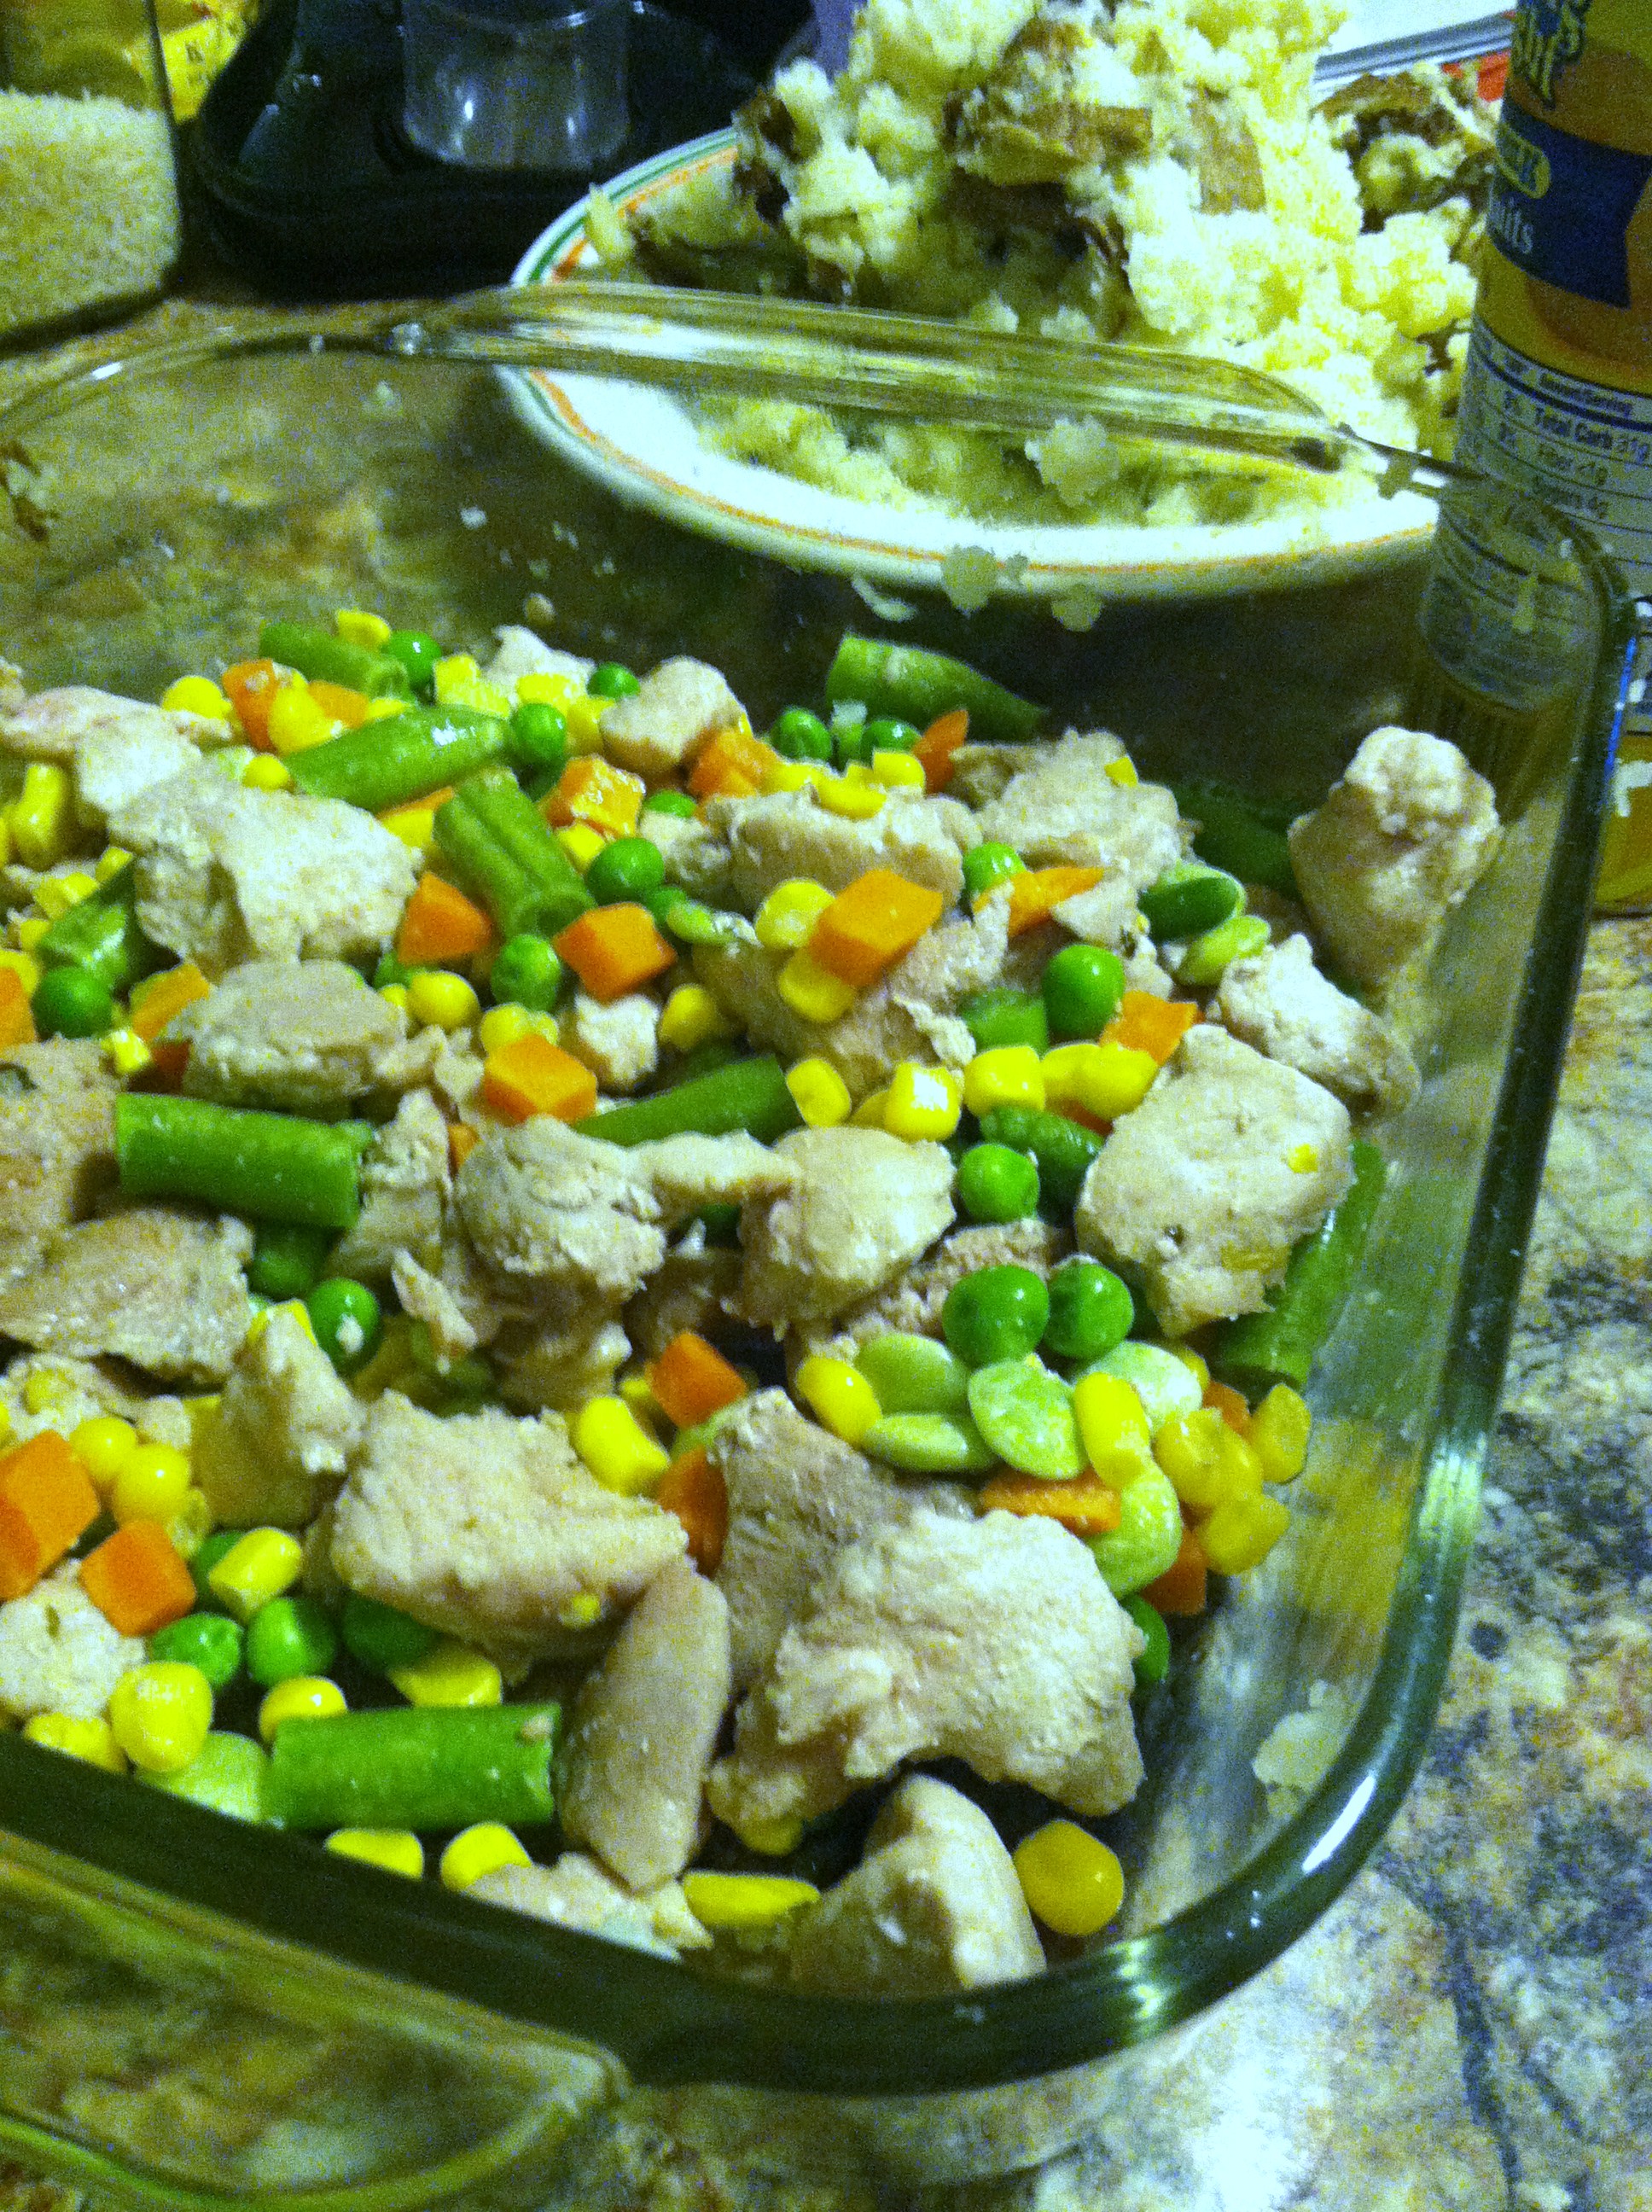
2-3 small pork chops, diced
1 cup frozen mixed vegetables
1 can biscuit dough
1 1/2 cups mashed potatoes
1/2 cup milk
2-3 tbsp flour (or 2-3 tbsp potato flakes)
Step 1: If cooking the mashed potatoes, simple microwave on high 8-10 minutes, or cook in the oven at 350 for 15 minutes, until you can mash them with a fork. Cook the pork chops on medium heat in a skillet for 4-5 minutes, then turn and cook other side 2-3 minutes. Cut to make sure there is no pink inside.
Step 2: Spray an oven-safe baking pan, and layer in the veggies and the pork chops. It is best to thaw the veggies, or you will end up with extra-watery pie as they thaw.
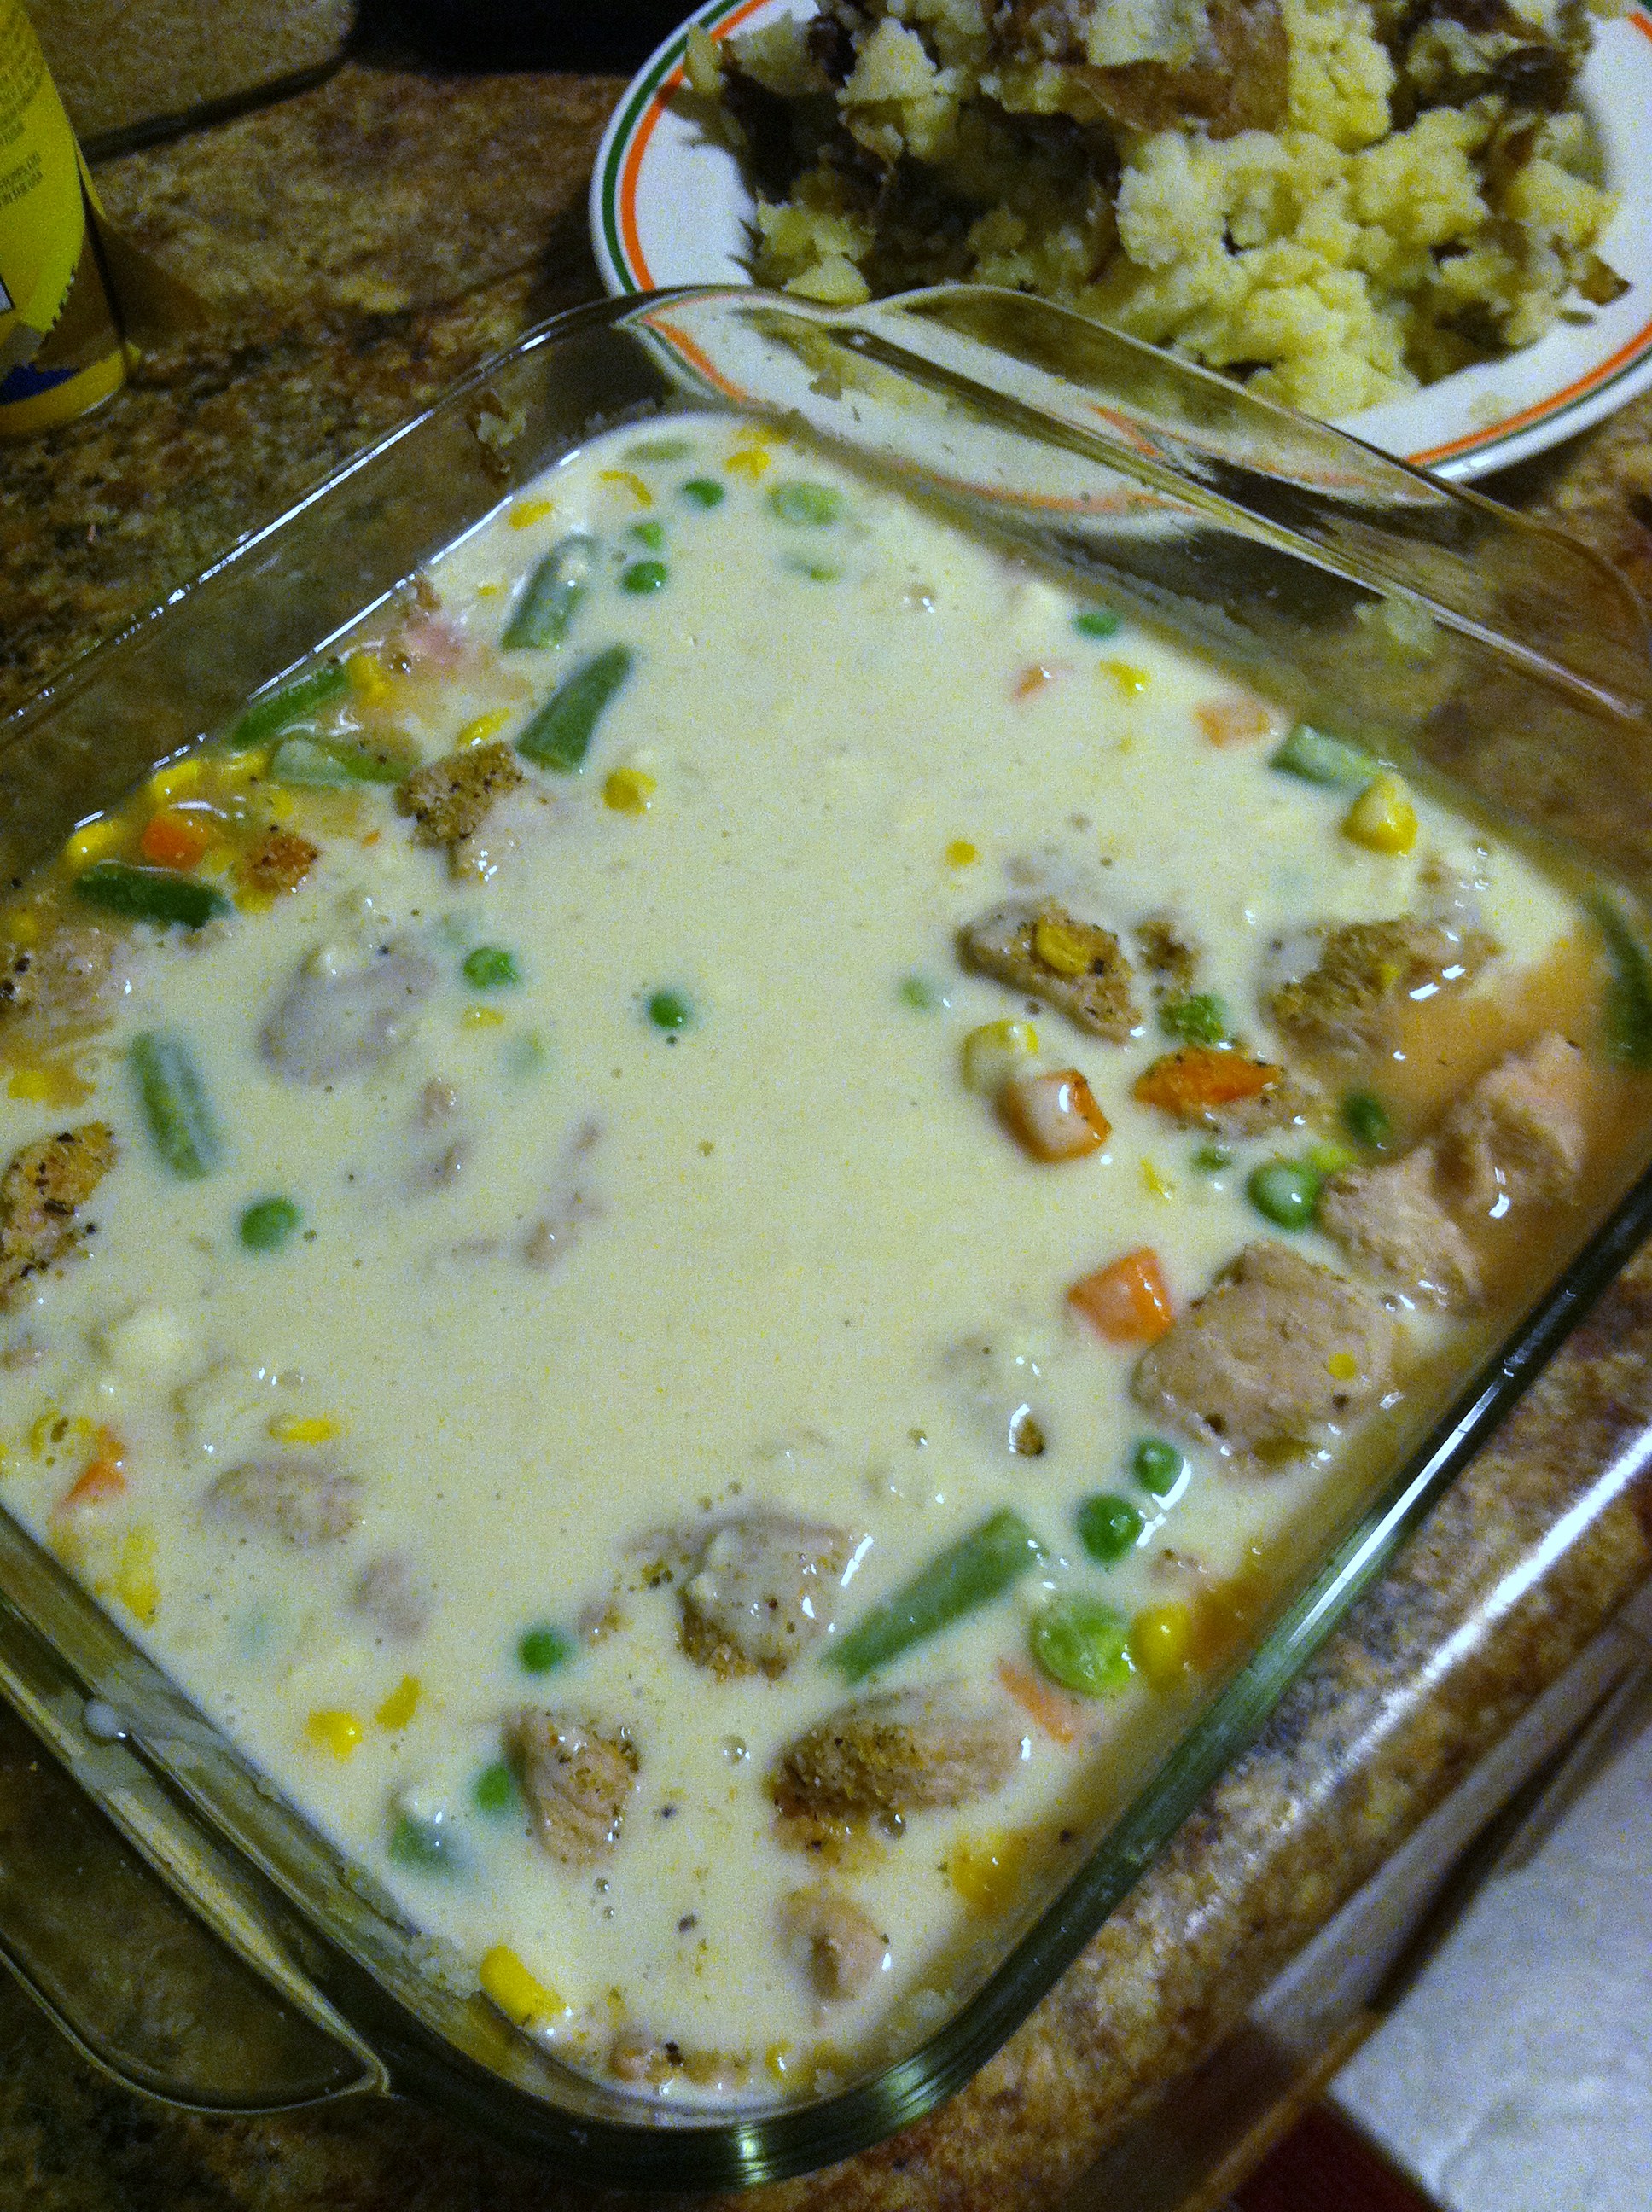
Step 3: In a pan, combine the milk and flour. Heat until just simmering, and ensure all flour dissolves. You could also use cornstarch, or dried potato flakes. Or cream of potato soup.
Step 4: Pour the milk mixture over the veggies & pork.
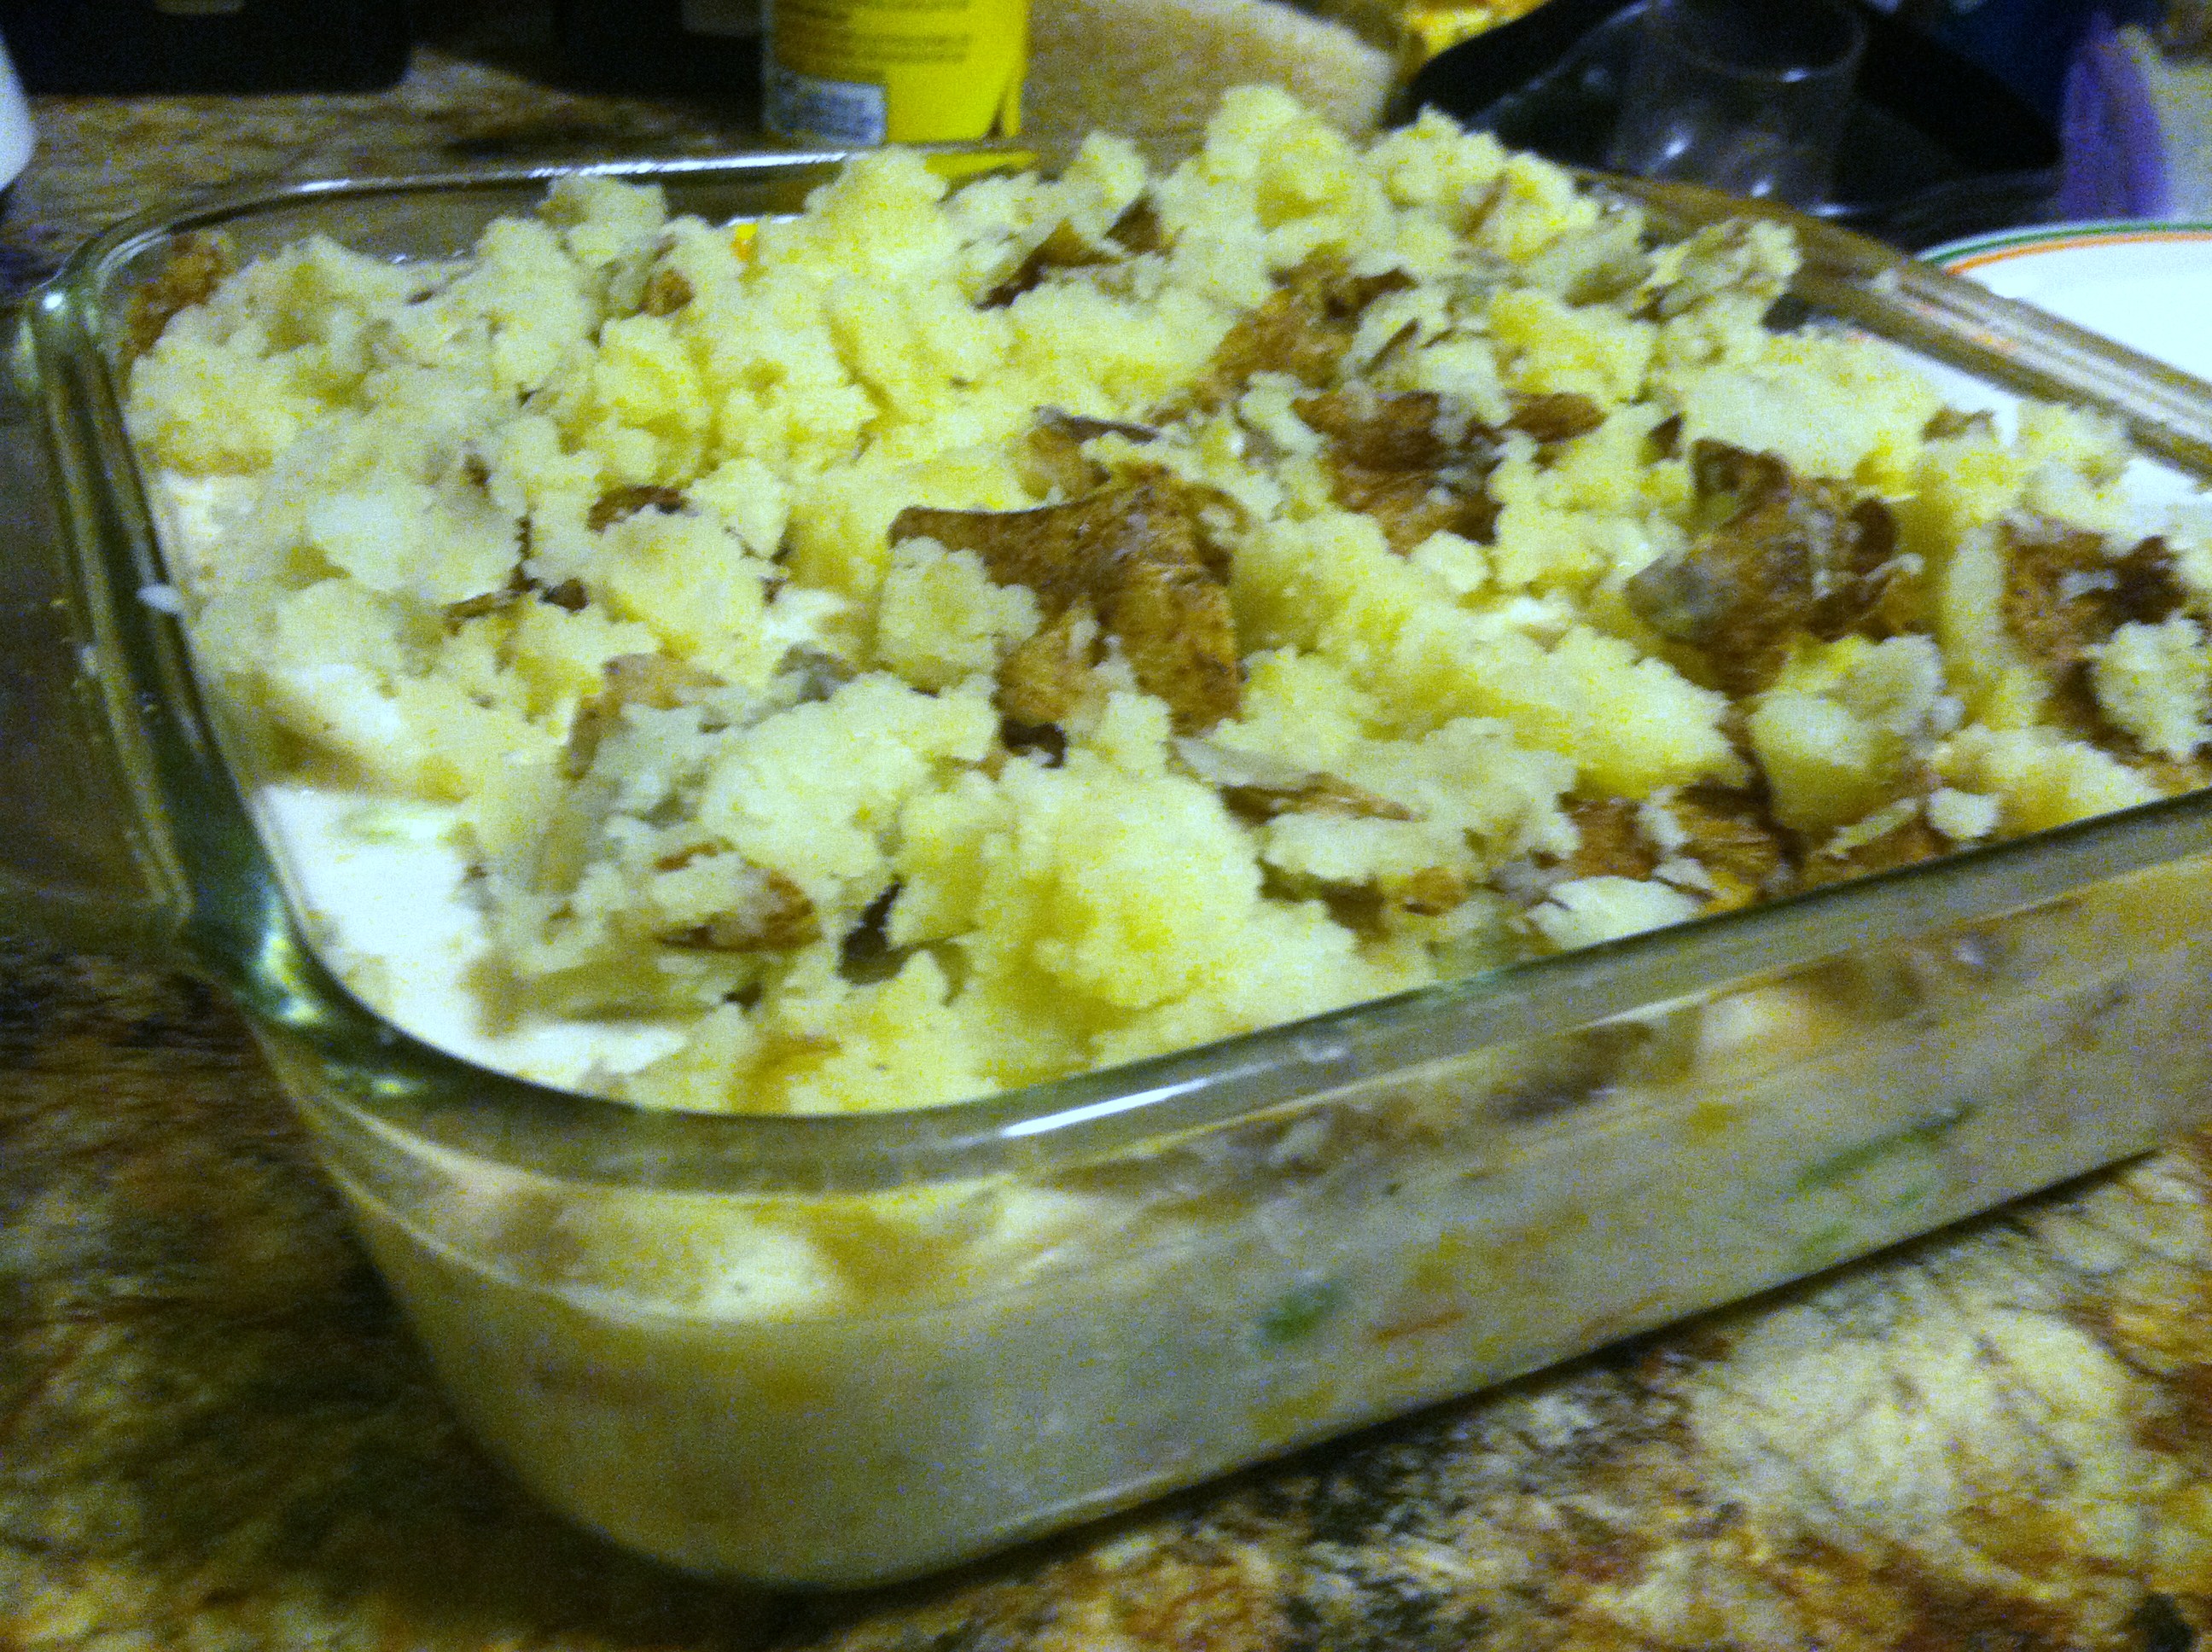
Step 5: Cover in a layer of mashed potato. Season with salt, pepper, garlic, onion powder, paprika, anything you like. Spread out the raw biscuits on top of the potato layer.
Step 6: Bake in the oven at 350 for 20-25 minutes.
With the Fourth of July weekend coming up, I’m sure many readers will be hosting or attending picnics, barbeques, and other backyard get-togethers. A huge fan of casual parties myself, I am always on the lookout for fast, easy to put together side dishes that aren’t too expensive to feed a crowd. A good example is my prior post on BBQ Baked Beans.
Enter the pasta salad.
Pasta salads are insanely versatile. They adapt well to just about any type of veggie, meat, or cheese, with tons of creative dressing/sauce options as well. You could try a Greek mix of feta, banana peppers, onions, and kalamata olives, or a club mix of ham chunks, cheddar cheese, and crumbled bacon, or how about an Italian combo with salami, pepperoni, pepperocini, and swiss.
For this recipe, I had a pre-mix box ranch & bacon pasta salad, and decided to jazz it up a bit with some canned chunk chicken and fresh diced veggies. You can also use a pound of any type of pasta (the small shapes work best here, like shells, elbows, or penne), spices you like, and some crumbled bacon.
Step 1: Dice your zucchini and tomatoes, and drain the chicken. Get the water boiling for the pasta, and boil 8-10 minutes.
Step 2: In a pan, cook the zucchini for 5-7 minutes, until beginning to brown. Add the tomato and chicken, and cook until heated through.
Step 3: Drain the pasta, and mix in the veggies. Add the toppings included (or spices & cooked crumbled bacon) and the Ranch dressing. Stir well. Add more or less as needed.
This cooks up a nice big batch, and can feed a hungry crowd. The Ranch flavor works great with the bacon, pasta, and chicken. You can also use dried Ranch seasonings and milk or sour cream to achieve a similar yet different taste. As a bonus, you’ve snuck in a serving of veggies per cup!
Happy partying & God bless the USA!
This post contains links to Amazon affiliate products. Clicking these links and purchasing these items contributes to the maintenance of this blog without affecting your purchase price. Thank you.
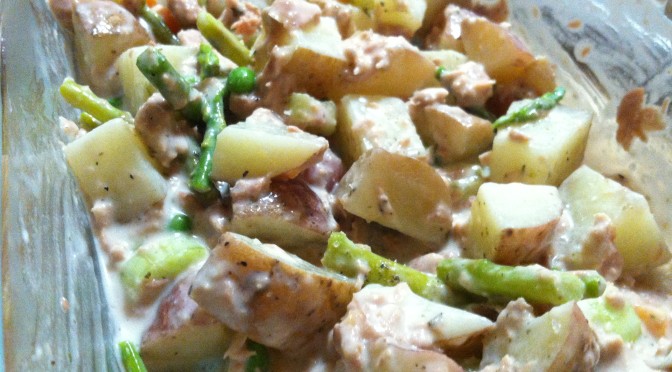
I’ve never been a huge fan of potato salads. They are usually overly-fatty-creamy, with cold mushy potatoes and bits of who-knows-what. Just not appetizing. But then I read this in some magazine once, and since I had asparagus and red potatoes already, decided to give it a whirl.
With a bit of a twist and crossover of tuna salad and potato salad, and easy on the saucy things, it sounded much more delicious than your usual potato salad rotting in the picnic sun. And by substituting in Greek yogurt for some of the heavier dairy per usual it becomes slightly healthier.
Ingredients:
2 pounds redskin potatoes
1/2 cup frozen mixed vegetables (or just peas)
10-12 spears asparagus
2 tbsp plain Greek yogurt
2 tbsp mayonnaise
1 can tuna, drained
1/2 cup skim milk
Salt, pepper, dill, oregano, etc.
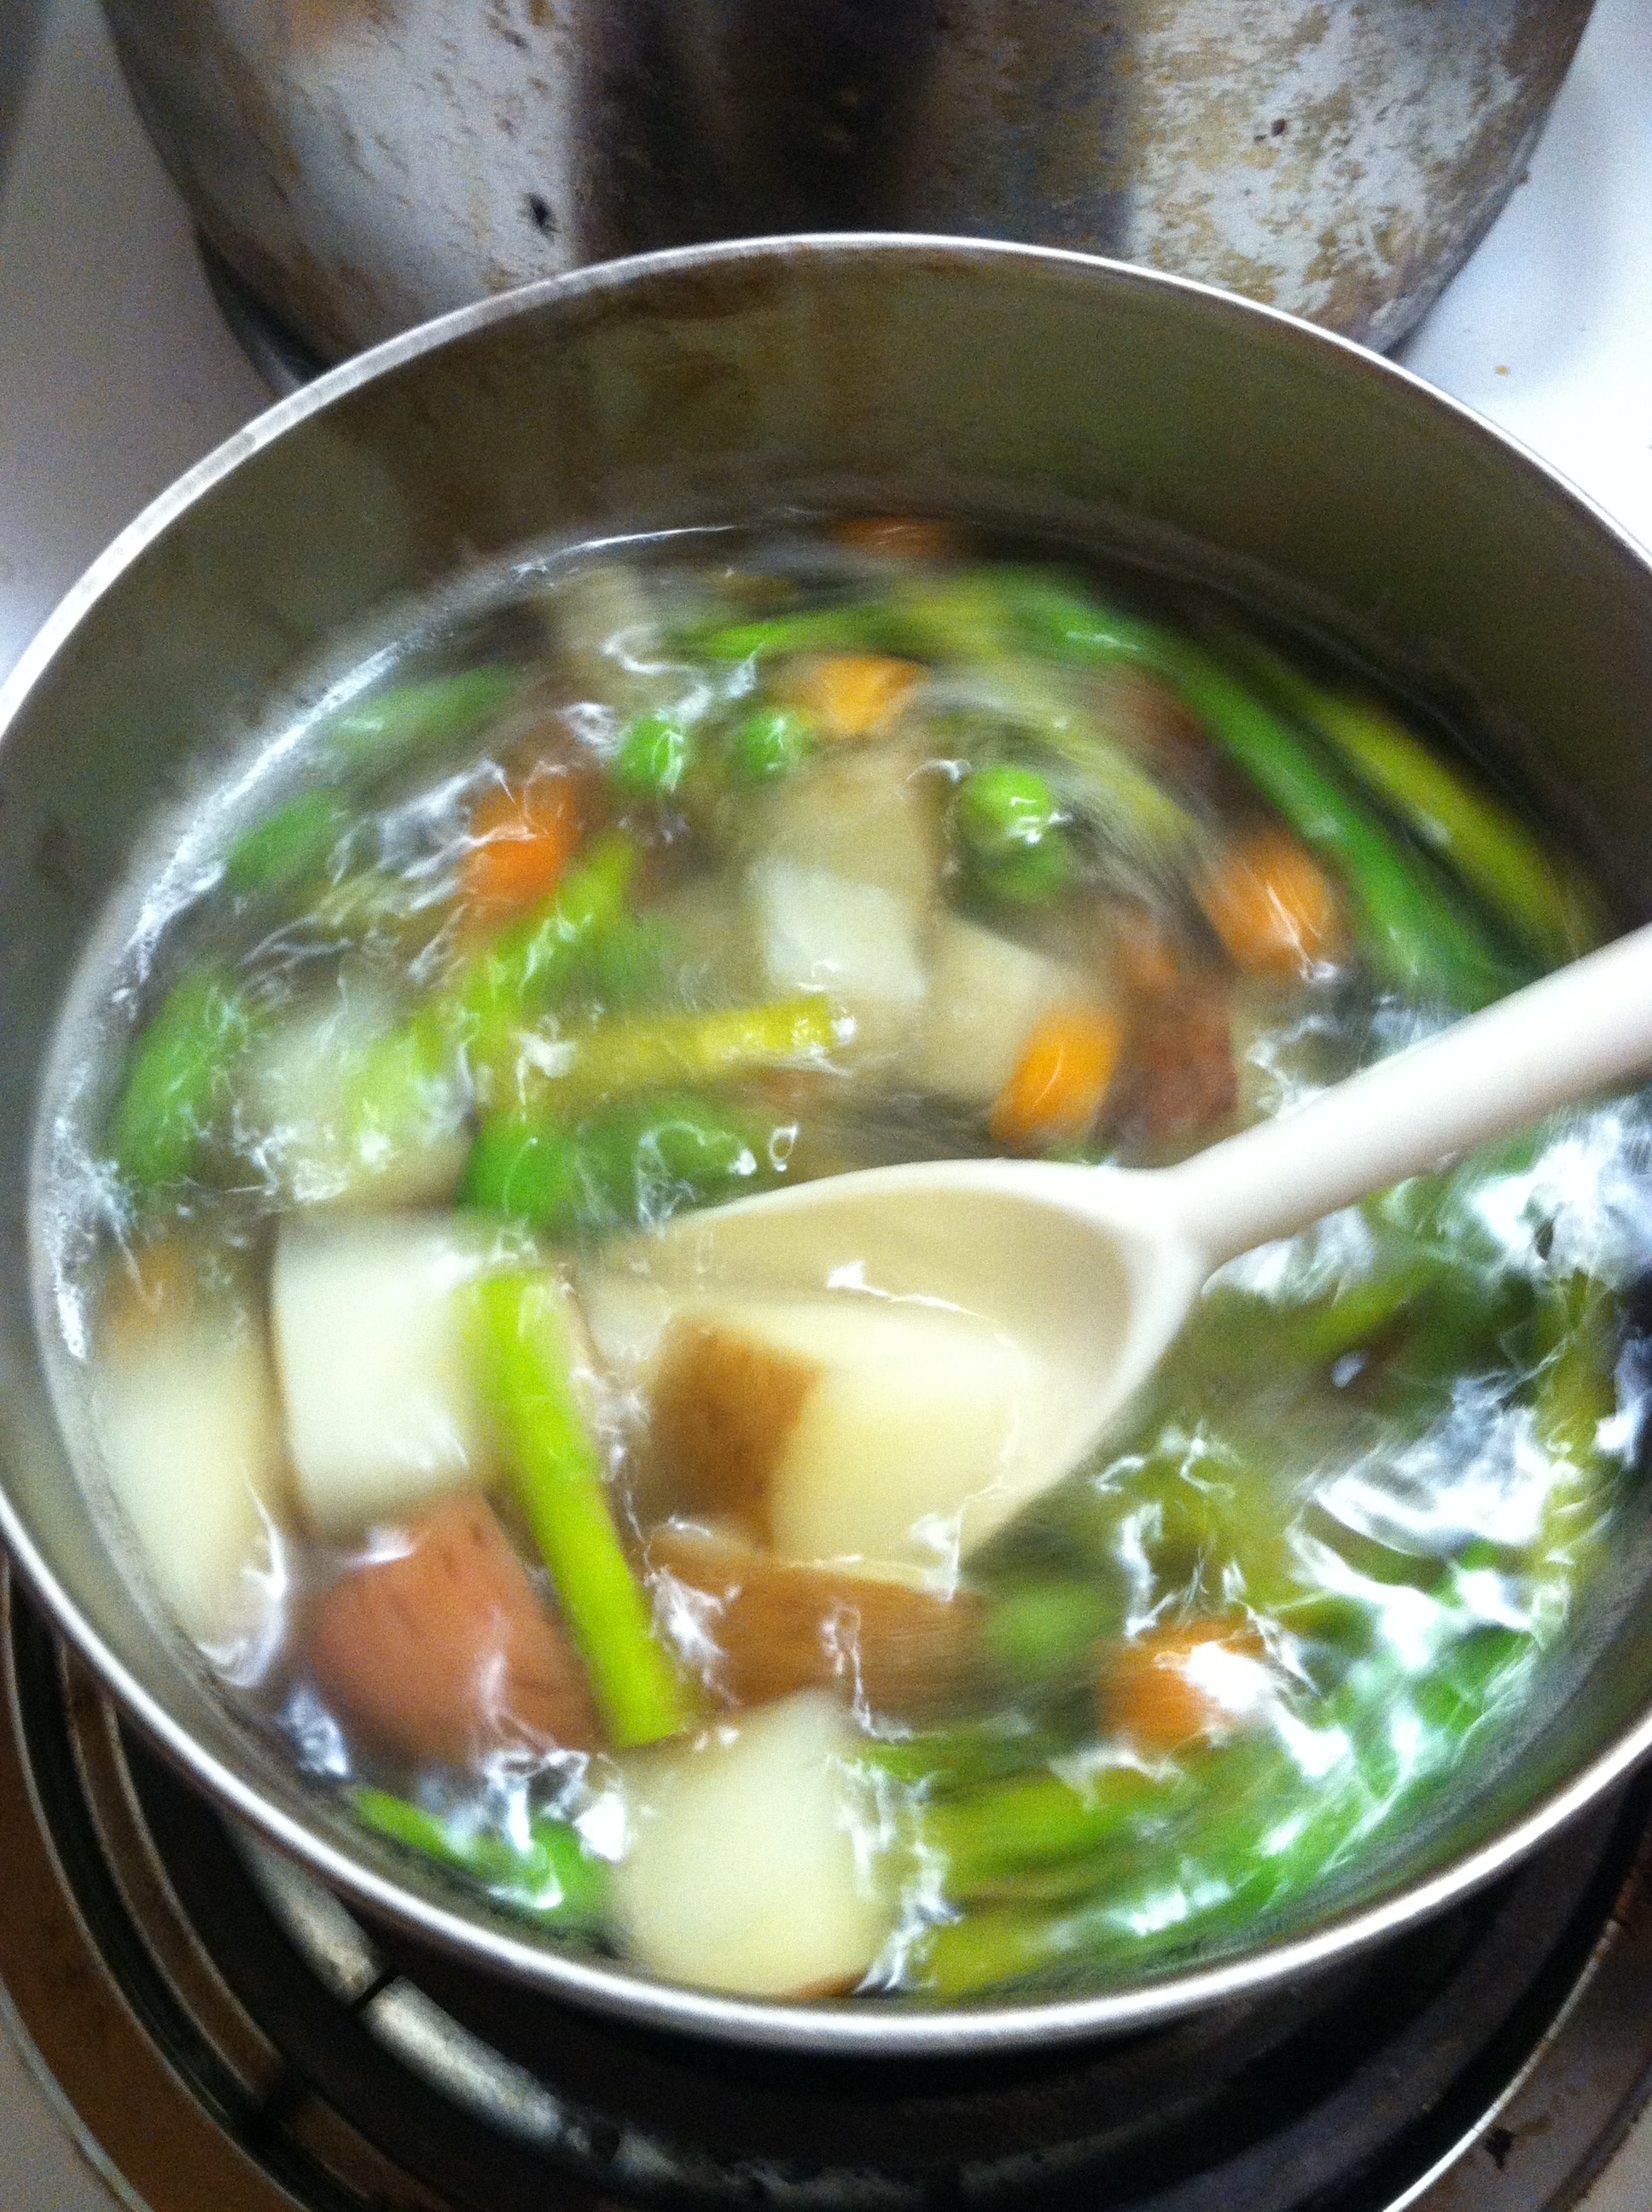
Step 1: Dice your potatoes, and bring a pot of water to a boil. Add the potatoes and cook 5-7 minutes. Add the chopped asparagus and frozen veggies and cook another 3-5 minutes.
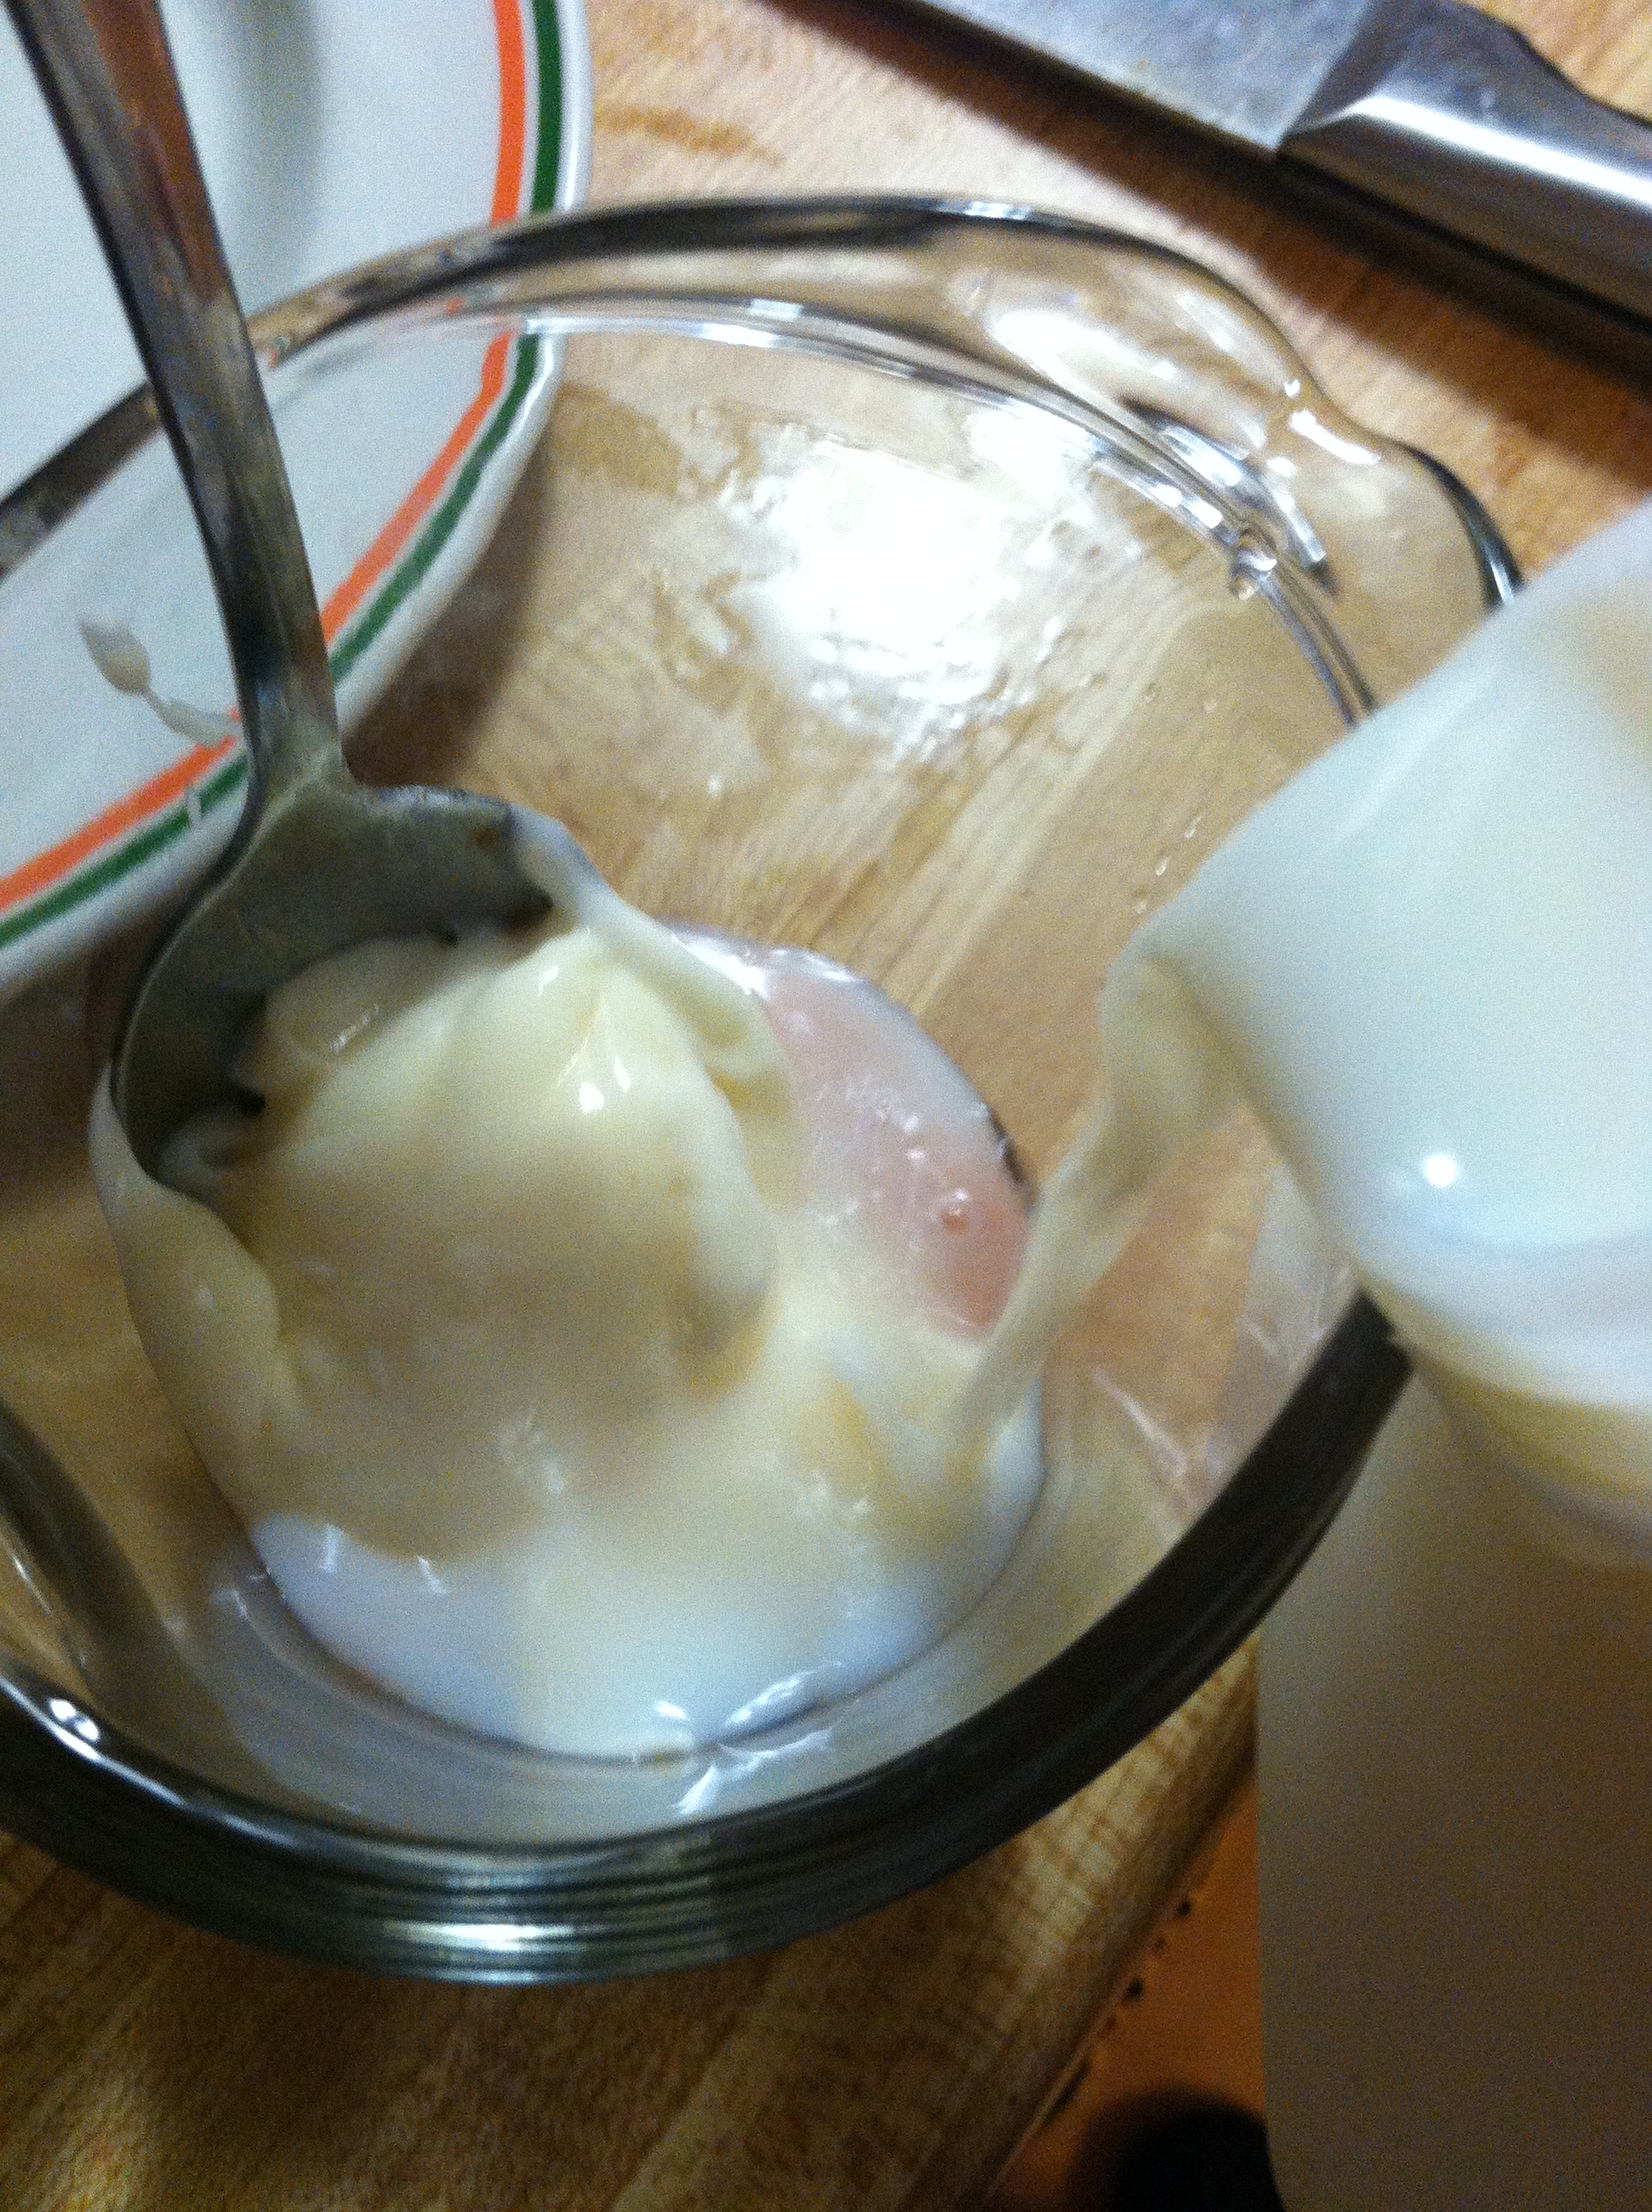
Step 2: Mix the yogurt, mayo, and milk in a small bowl. Use more or less milk to make it your desired consistency.
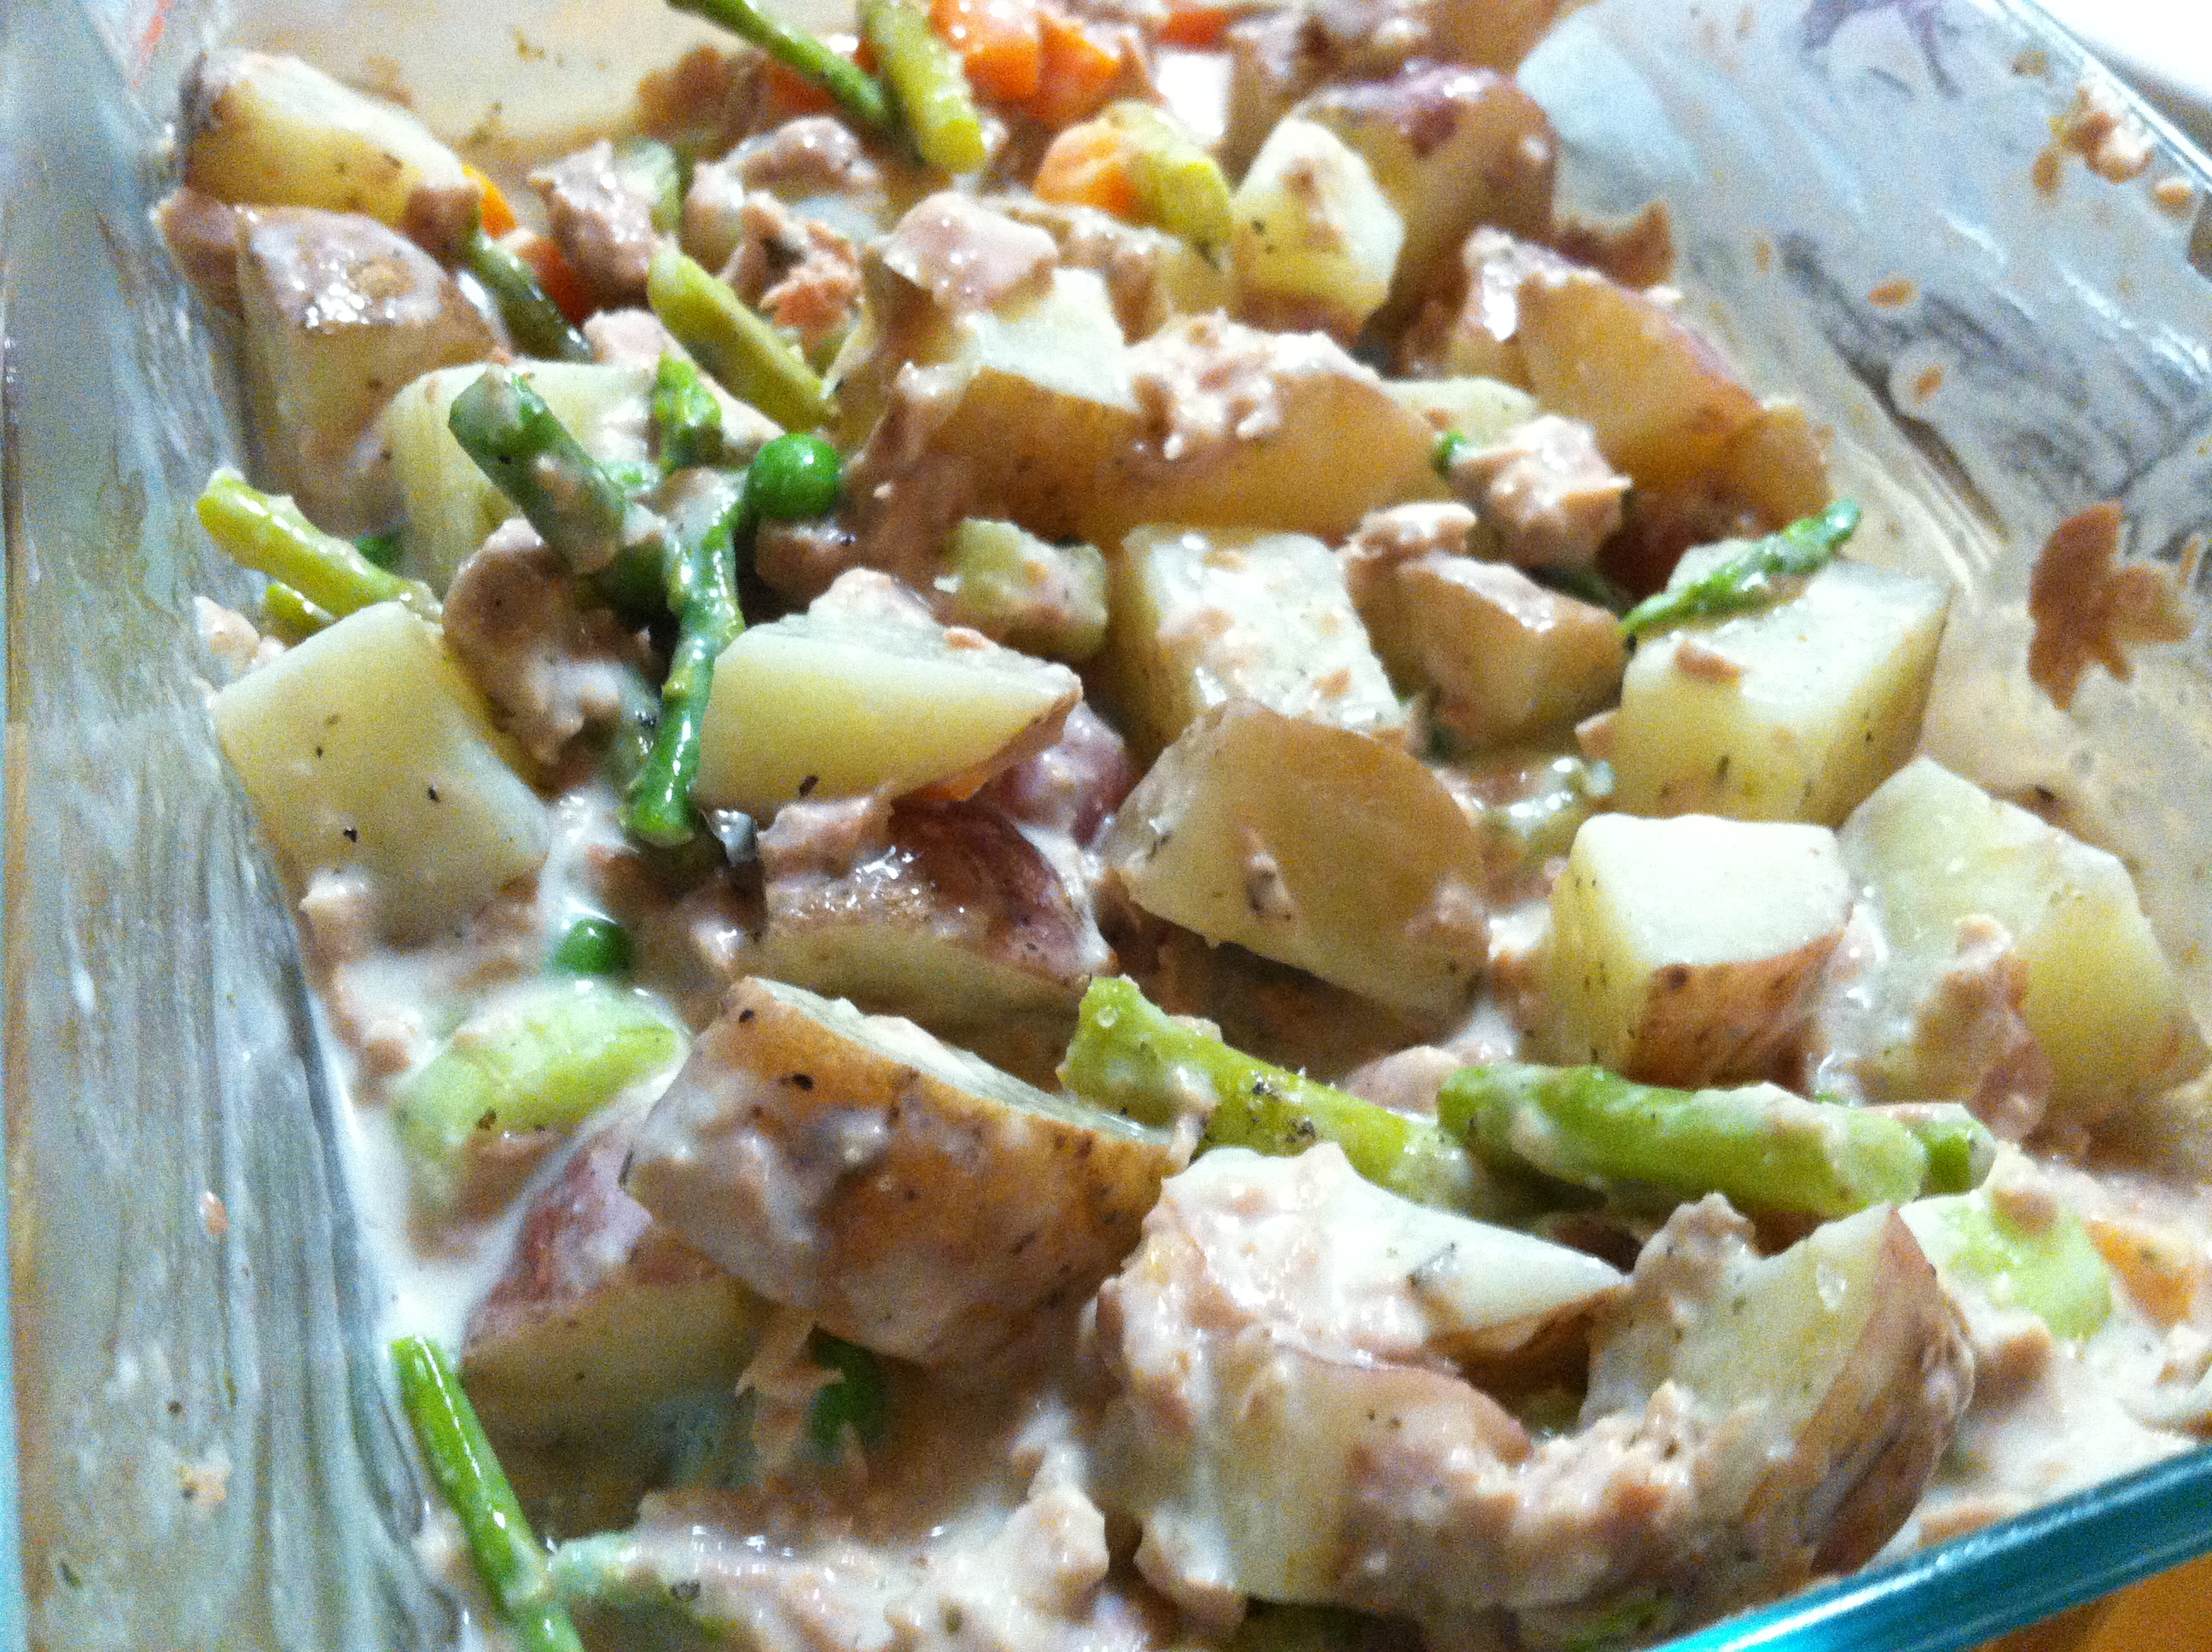
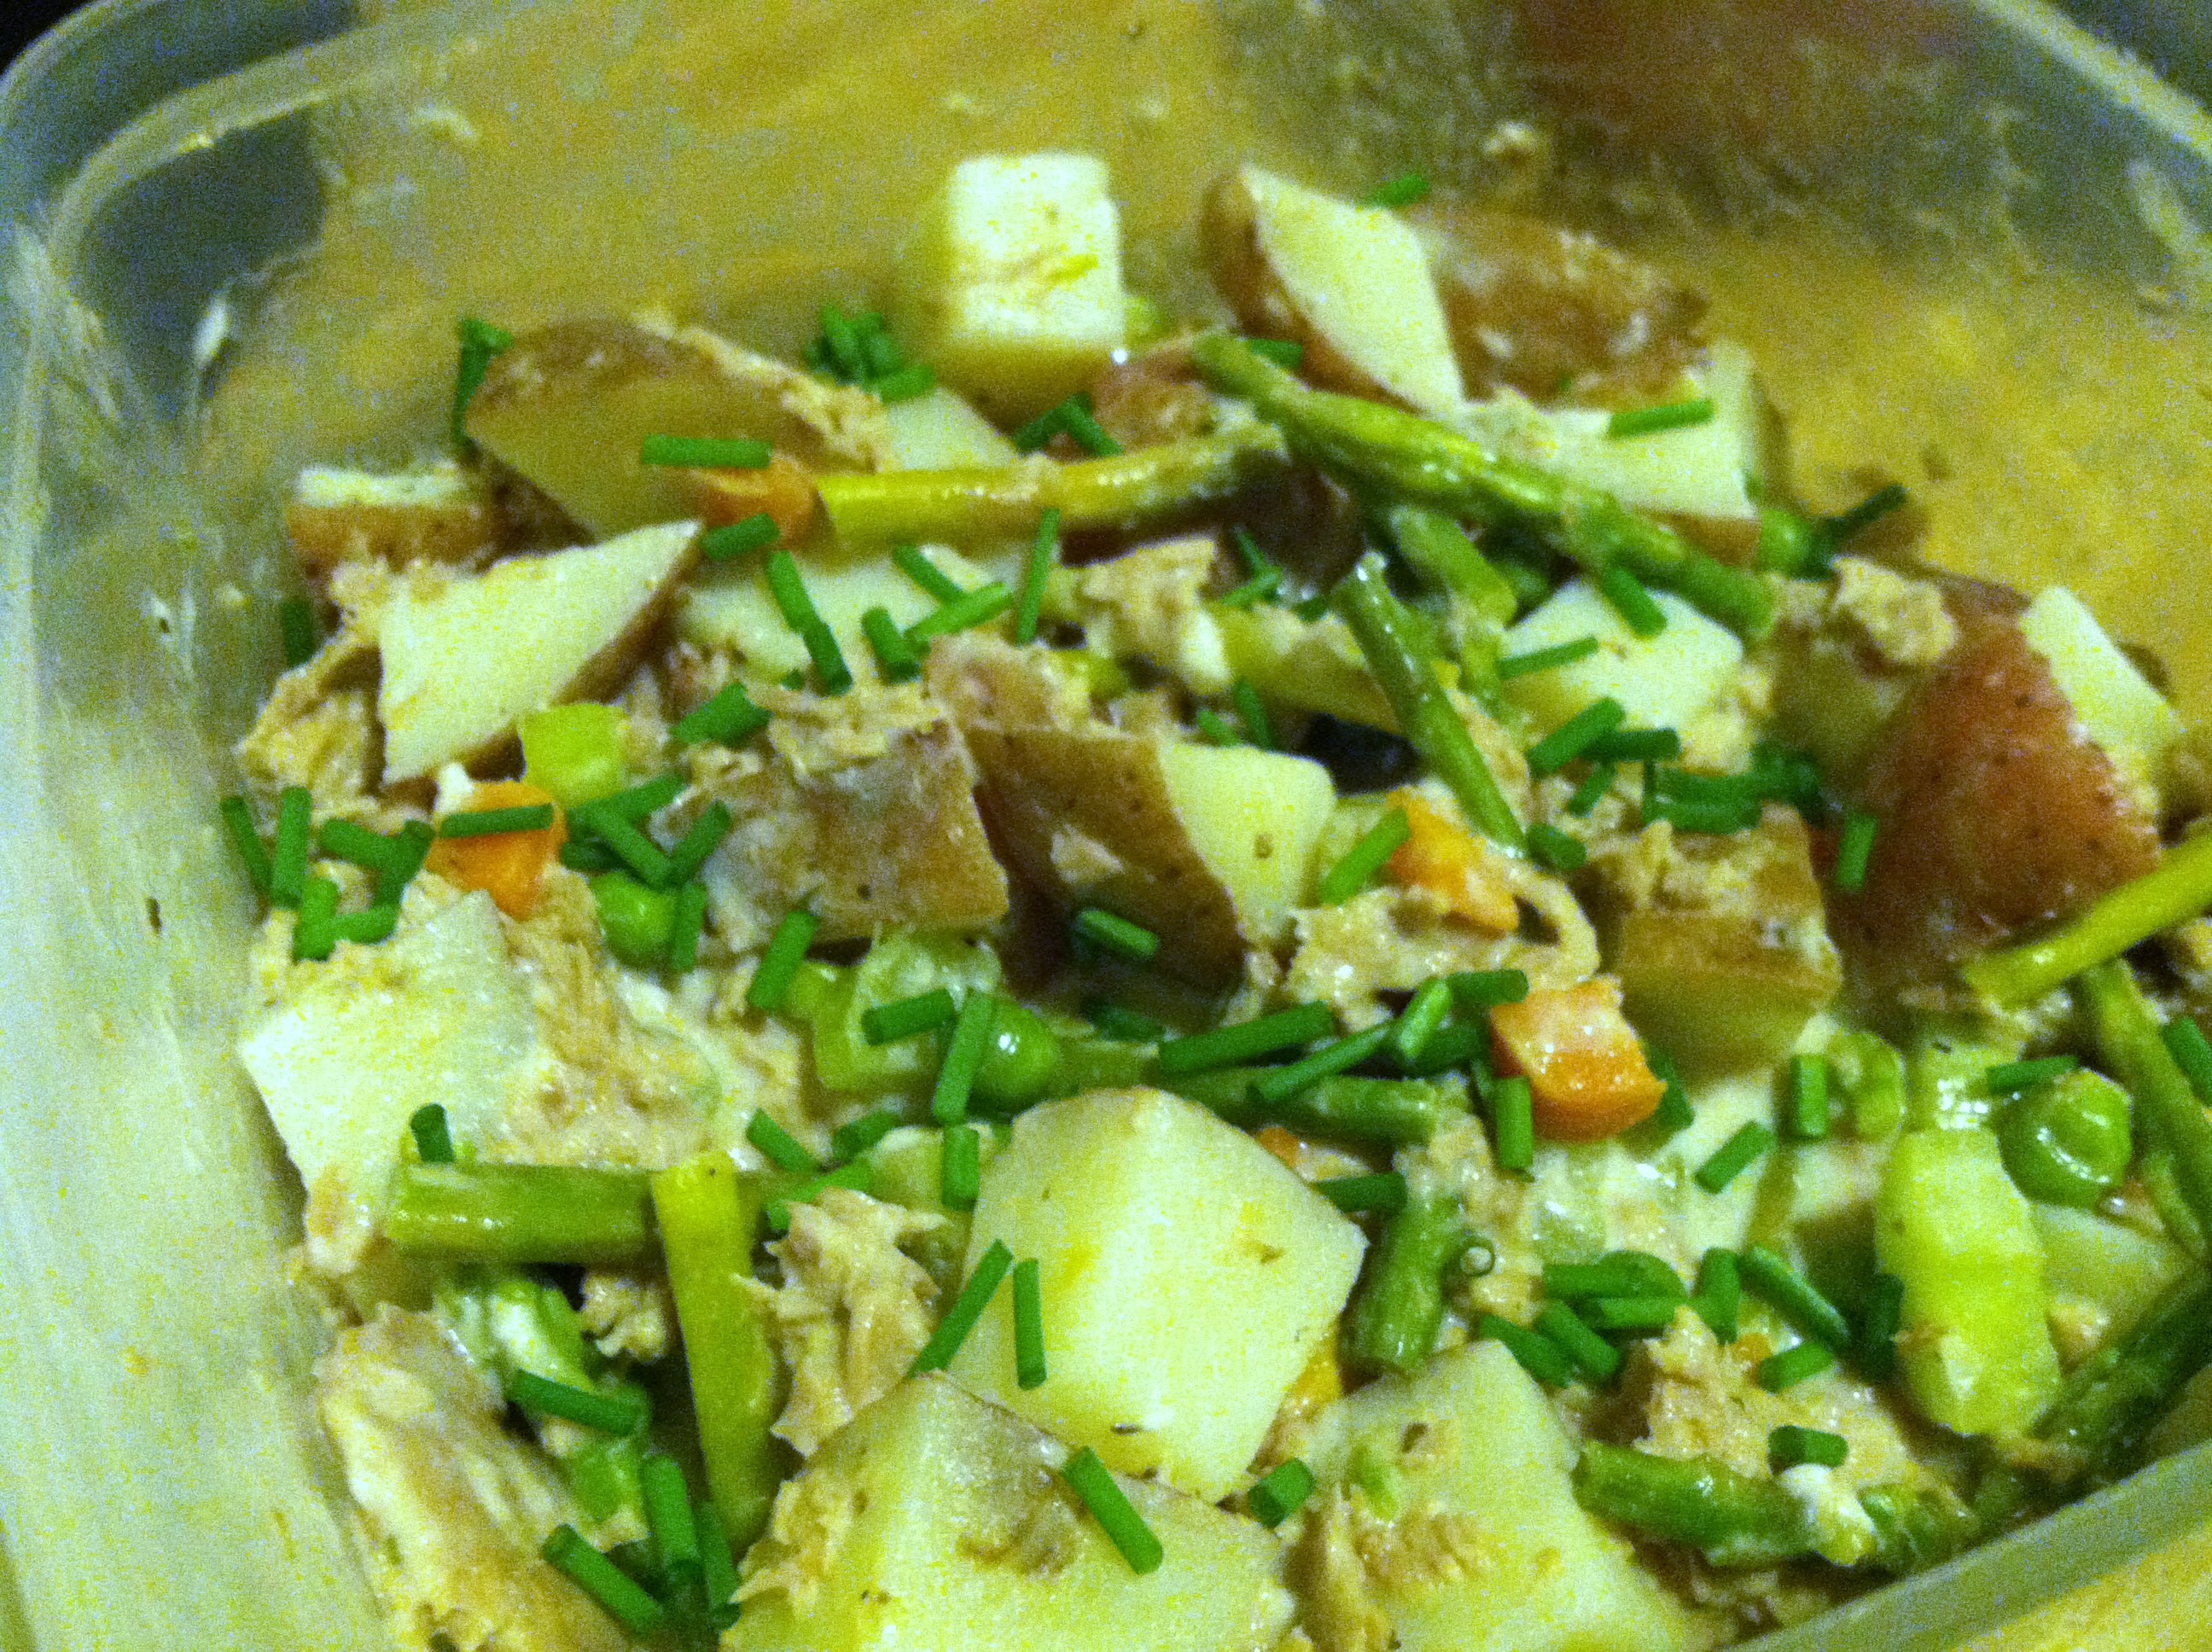
Step 3: Drain the potatoes and vegetables. In a large bowl, combine the tuna, potatoes, and cream dressing. Season as desired, mix well.
This recipe makes enough for three good-sized servings. The SO and I each had some for dinner, then I packed up the rest for lunch the following day.
This is tasty warm right after combining, or cold right out of the refrigerator, making it a great dish for leftovers.
For my third and final test of Walmart Grocery To Go service, I decided I would go with ways to preserve meals and plan ahead. Because everyone is busy and convenience is king in today’s over-stimulated and demanding world, being able to plan ahead and cook meals in advance can save you on a hectic week night.
In preparation, I ordered several different sizes of Zip-Lock baggies, quarts, gallons, sandwich size, and snack bags.I got zip-and-steam bags, which you can put fresh veggies into, seal, then steam them in the microwave, and Crock Pot liners, for easier clean up. I ordered a few foil roaster pans with lids, for lasagna and casseroles to freeze.
I got many items which can be stored long-term and used in a variety of dishes, including black beans, pinto beans, Jasmine rice, chickpeas, split peas, black-eyed peas, barley, quinoa, and lentils. These will become soups, stews, curries, and chili. Dried fruits such as dates and apricots and raisins, and cashews and mixed nuts for trail mixes and granola bars.
I also ordered a few games, SkipBo and Phase 10, because it is always nice to have cards on handy when bored during a cold winter night or when friends come to call.
This order came around noon on Valentine’s Day, which I was spending alone. Because the S.O. had already moved to Connecticut to start a new job! Super exciting I know. More on that later.
The delivery guys were very sweet, and made sure to ask if I was okay with a substitution they had to make. If something you ordered is out of stock, they notify you by email, and then you have to verbally agree to it before you can accept the order. You have the option to send it all back and wait until what you wanted is in stock again, which is nice if you had your heart set on something.
So, one weekend or weeknight, when you have a few hours to cook, pick 2 or 3 recipes which store frozen well. Take stock of your refrigerator and cabinets for ideas. Almost all vegetables lend themselves well to soups and stews. Rice or potatoes are easily made into many dishes.
Be flexible; if you don’t have ground beef but have leftover chicken breast, you can still make a mean white bean chicken chili. And don’t be afraid to experiment!
Now that you’ve chosen your recipes, gather all your ingredients. Spend some time chopping and peeling, feeling the texture of the vegetables, the lovely colors, the smells and tastes. Cooking is the best way to get back in touch with what we eat, and thus are putting into our bodies.
Once you have two or three pots happily simmering, you can entertain yourself elsewhere. Taste as you go, remembering that you will need to re-season when you reheat the dishes, as flavors may dull over time.
Now you can portion out your home-cooked goodies into individual or family-sized portions. Soups and stews can be spooned into freezer bags and laid flat to freeze. Lasagnas and casseroles can be assembled and baked in the roaster pans and then frozen to be thawed and re-heated in the oven later.
Word on the street is that this super important football game is happening this weekend. News to me. Glad my mom cares as much as I do (read; not at all) since she is in town!
However, Tyson Crispy Chicken Strips is sponsoring a recipe contest, and of course when she is in town, we have to cook together! So this worked out great.
After much brainstorming and asking friends for ideas, we settled on one of the most versatile bases we know: biscuit cups. The base of all these following combinations is the humble buttermilk biscuit. Then they can be topped with all manner of mouth-watering concoctions.
The top three: chicken-bacon-ranch, Buffalo chicken dip, and chicken-barbeque-tater tots.
The Buffalo dip can be served on its own, it is so stinking addictive! Seriously people. Spoons.
Chicken Nests
Ingredients:
1 can biscuits
1/2-1 cups filling
Sprinkle of cheese
Buffalo Chicken Dip
Ingredients:
2 Tyson fully cooked chicken breasts
Biscuit dough
1/2 c sour cream
1/2 c cream cheese
1/2 c ranch dressing
1/2 c shredded cheddar
Hot sauce to taste
Step 1: In a bowl, mix the sour cream, cream cheese, ranch, and hot sauce. Thaw and chop or shred the chicken breasts, and mix in.
Step 2: Mix the cheese in well. Use later to fill biscuit cups. Alternatively, you can heat this dip in the microwave or the oven, and serve with chips. Or spoons.
Step 3: Spread biscuit dough in the bottom of a sprayed muffin or tart tin. Put about 1 mounded tablespoon into the center. Sprinkle a little cheddar on top.
Step 4: Bake in a 400 degree oven for 8-11 minutes, until biscuit dough is puffed and slightly browned on top.
Chicken Bacon Ranch
Ingredients:
Biscuit dough
1-2 Tyson fully cooked chicken breasts
3-4 pieces bacon
2-3 tablespoons Ranch dressing
Shredded cheddar cheese
Step 1: Chop up or shred the chicken. Spread the biscuit dough in the bottom of a sprayed pan.
Step 2: Cook and drain the bacon, and crunch it up. On top of the biscuit dough, add 1 tbsp chicken, 1 1/2 tsp ranch, and a sprinkle of bacon. Top with a pinch of cheddar.
Step 3: Bake in a 400 degree oven for 8-11 minutes.
BBQ Chicken Tater Bites
Ingredients:
Biscuit dough
1-2 Tyson fully cooked chicken breasts
2-3 tbsp BBQ sauce
Handful of tater tots
Sprinkle of shredded cheddar cheese
Step 1: Spread biscuit dough in the bottom of muffin or tart pans. Chop the chicken and layer 1 tbsp in the dough.
Step 2: Pour 1 1/2 tsp BBQ sauce on top of the chicken. Plop a tater tot on top, and cover with shredded cheddar cheese.
Step 3: Bake in a 400 degree oven for 8-11 minutes. If using a muffin tin rather than a tart tin, bake an extra 4-5 minutes.
These are the muffin-tin sized cups, same recipes but add about three times as much of each filling. The size makes for a great dinner, especially if served with extra sauces on the side. These can also be frozen, and re-heated for lunches and snacks later.
Muffin sized and tart sized
These are the hot tarts right from the oven. Cheese is all bubbly, and they all smell amazing.
Served on a vaguely football-shaped serving tray
I can’t even tell you how fantastic these things turn out!!!
Every one of these flavor combinations is totally delightful.
They are super delightful, and very customizable. You could top with just about any combination you prefer. Add spinach, or caramelized onions, use other meats or just cheeses.
The larger muffin sized ones are very filling, with a larger filling-to-dough ratio if that’s what you’re looking for.
They also make for a very nice presentation.
Serve with extra dipping sauces. Ranch, BBQ sauce, and hot sauce.
Add some carrots and celery to your ranch, or make some extra Buffalo Dip on the side as well. Great finger foods, I guarantee these will not last long!
Diced tomatoes, olives, or green onions can also be a nice topper.
This post contains affiliate links. See Partnership page for more.
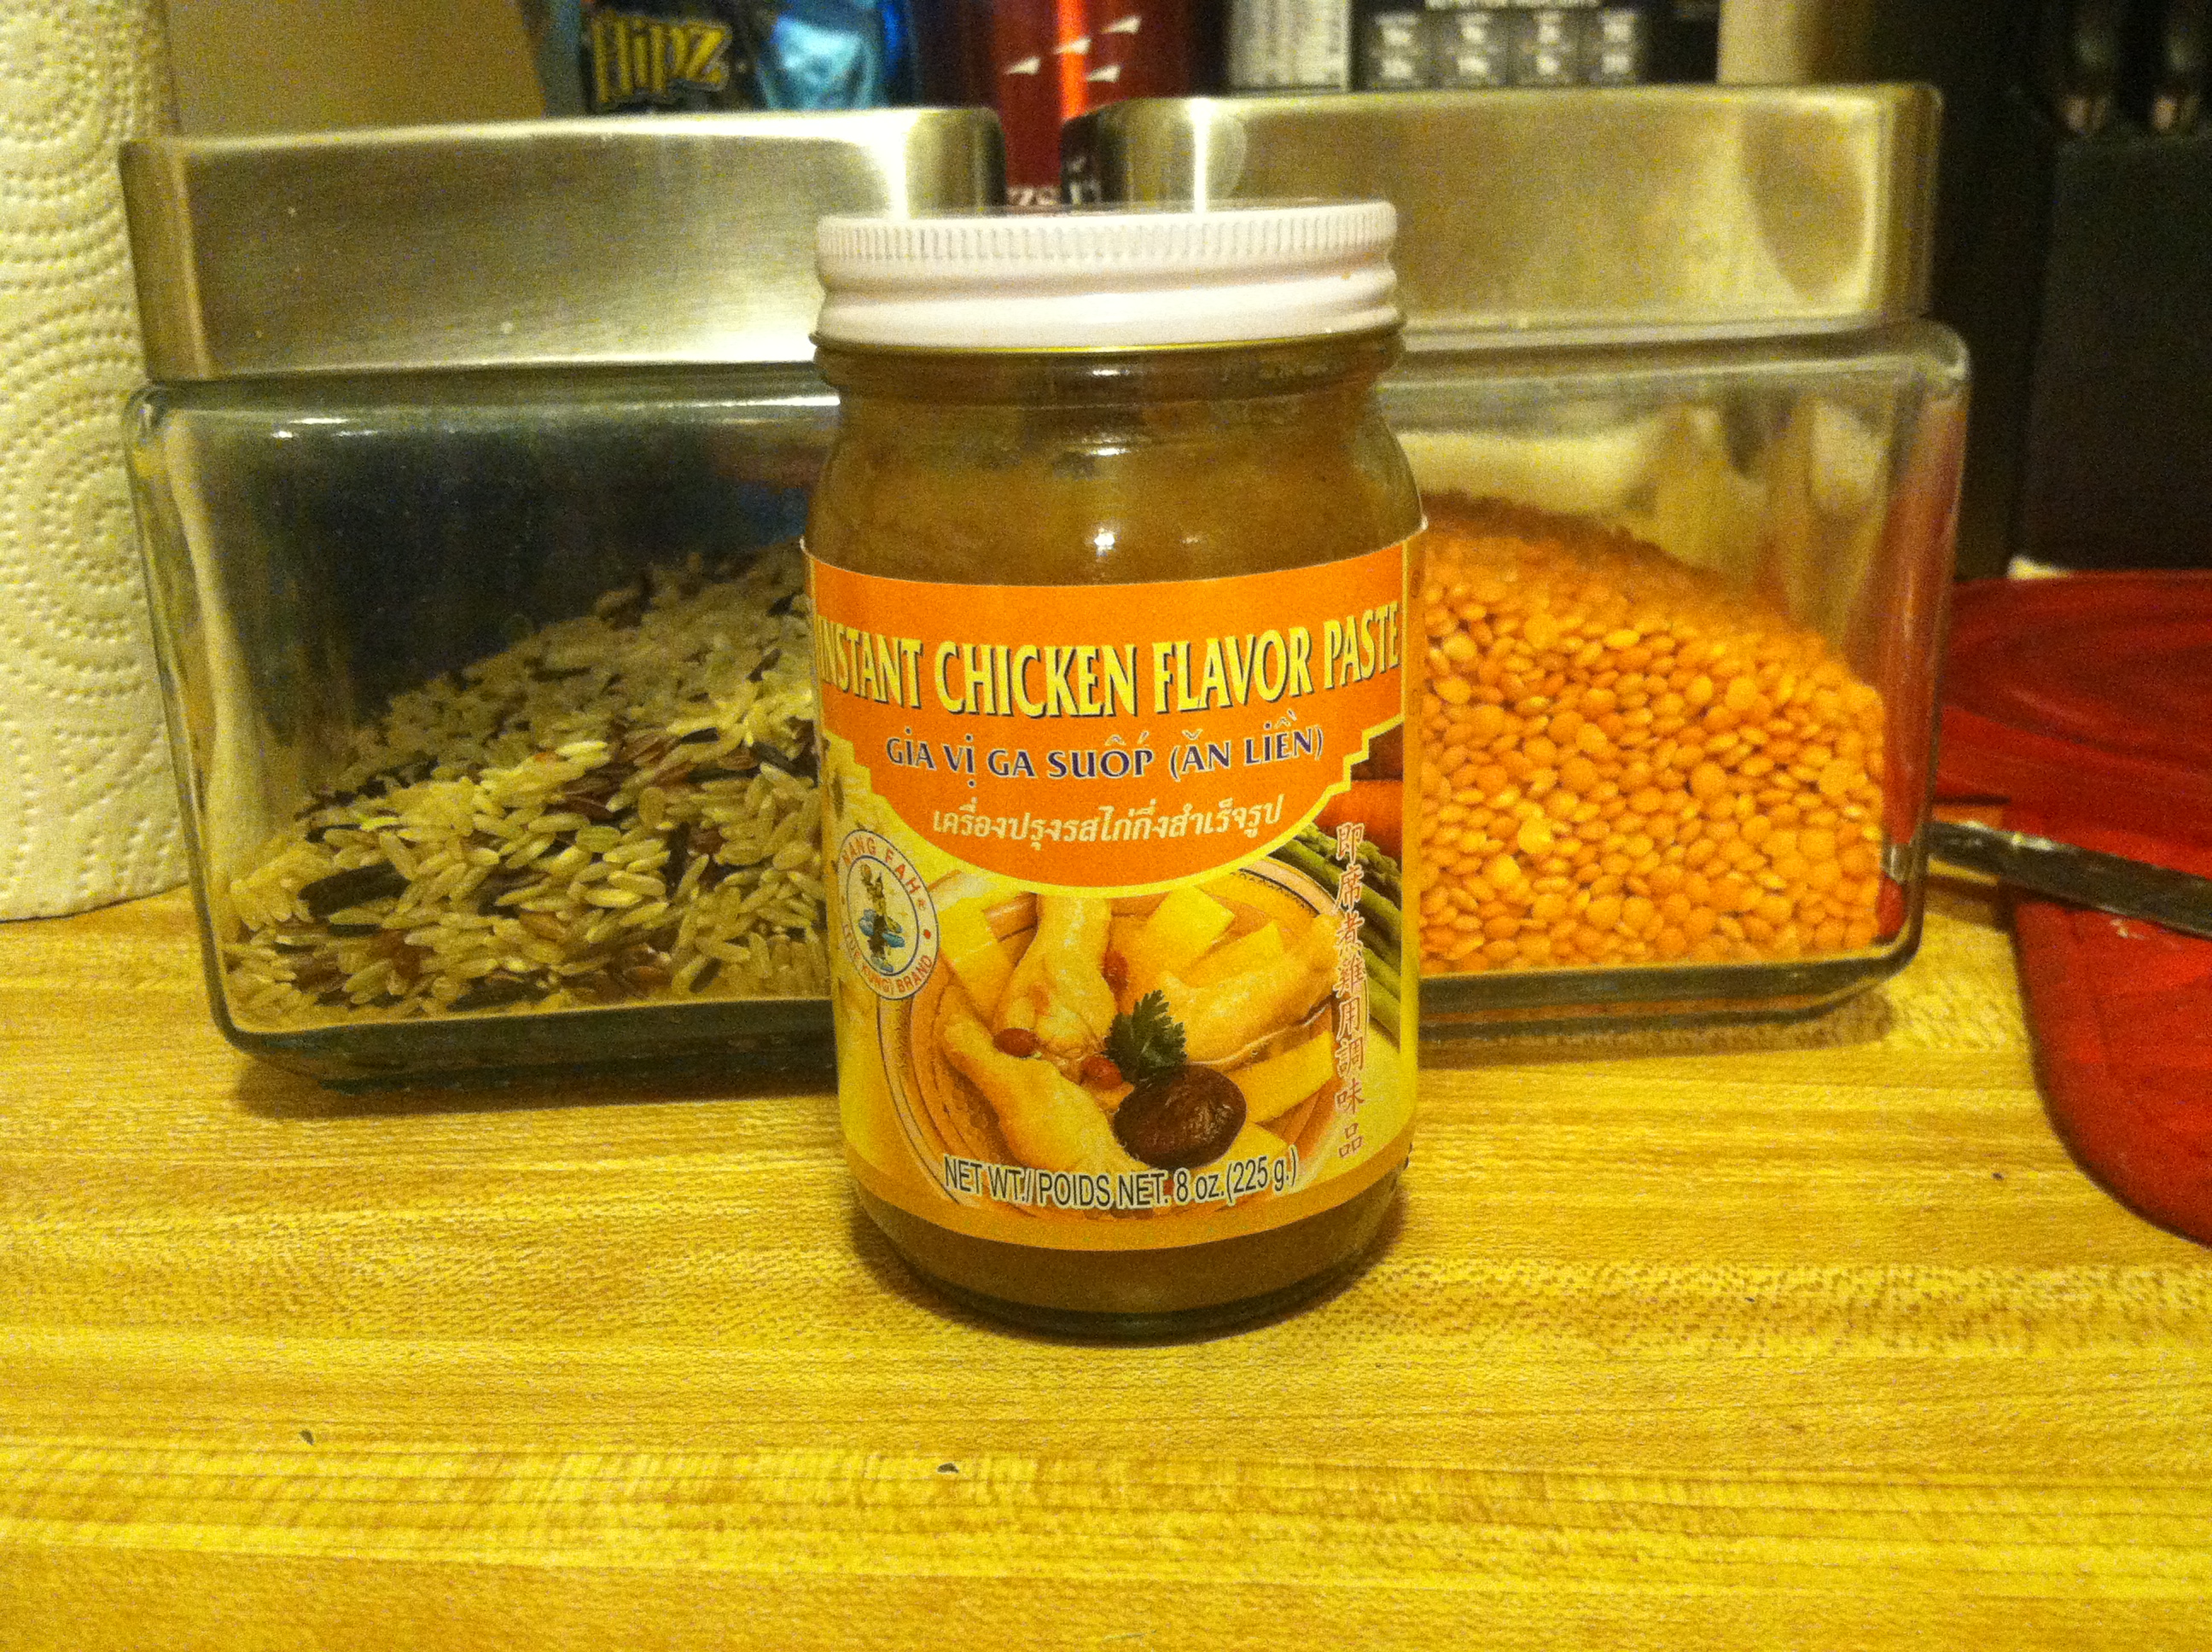
This recipe came together on a whim, just because I had recently purchased some pretty ingredients at Sprouts. I wanted something hearty and healthy, but also quick and not too time intensive. Lentils are filled with fiber, and wild rice is packed with vitamins.
Toss in a few veggies and broth, and we have a well-rounded meal. I had some diced ham left over from a few days prior, so I threw that in as well. Feel free to not use that to keep this dish vegetarian, and just bulk up on more added veggies, whatever you got in the fridge.
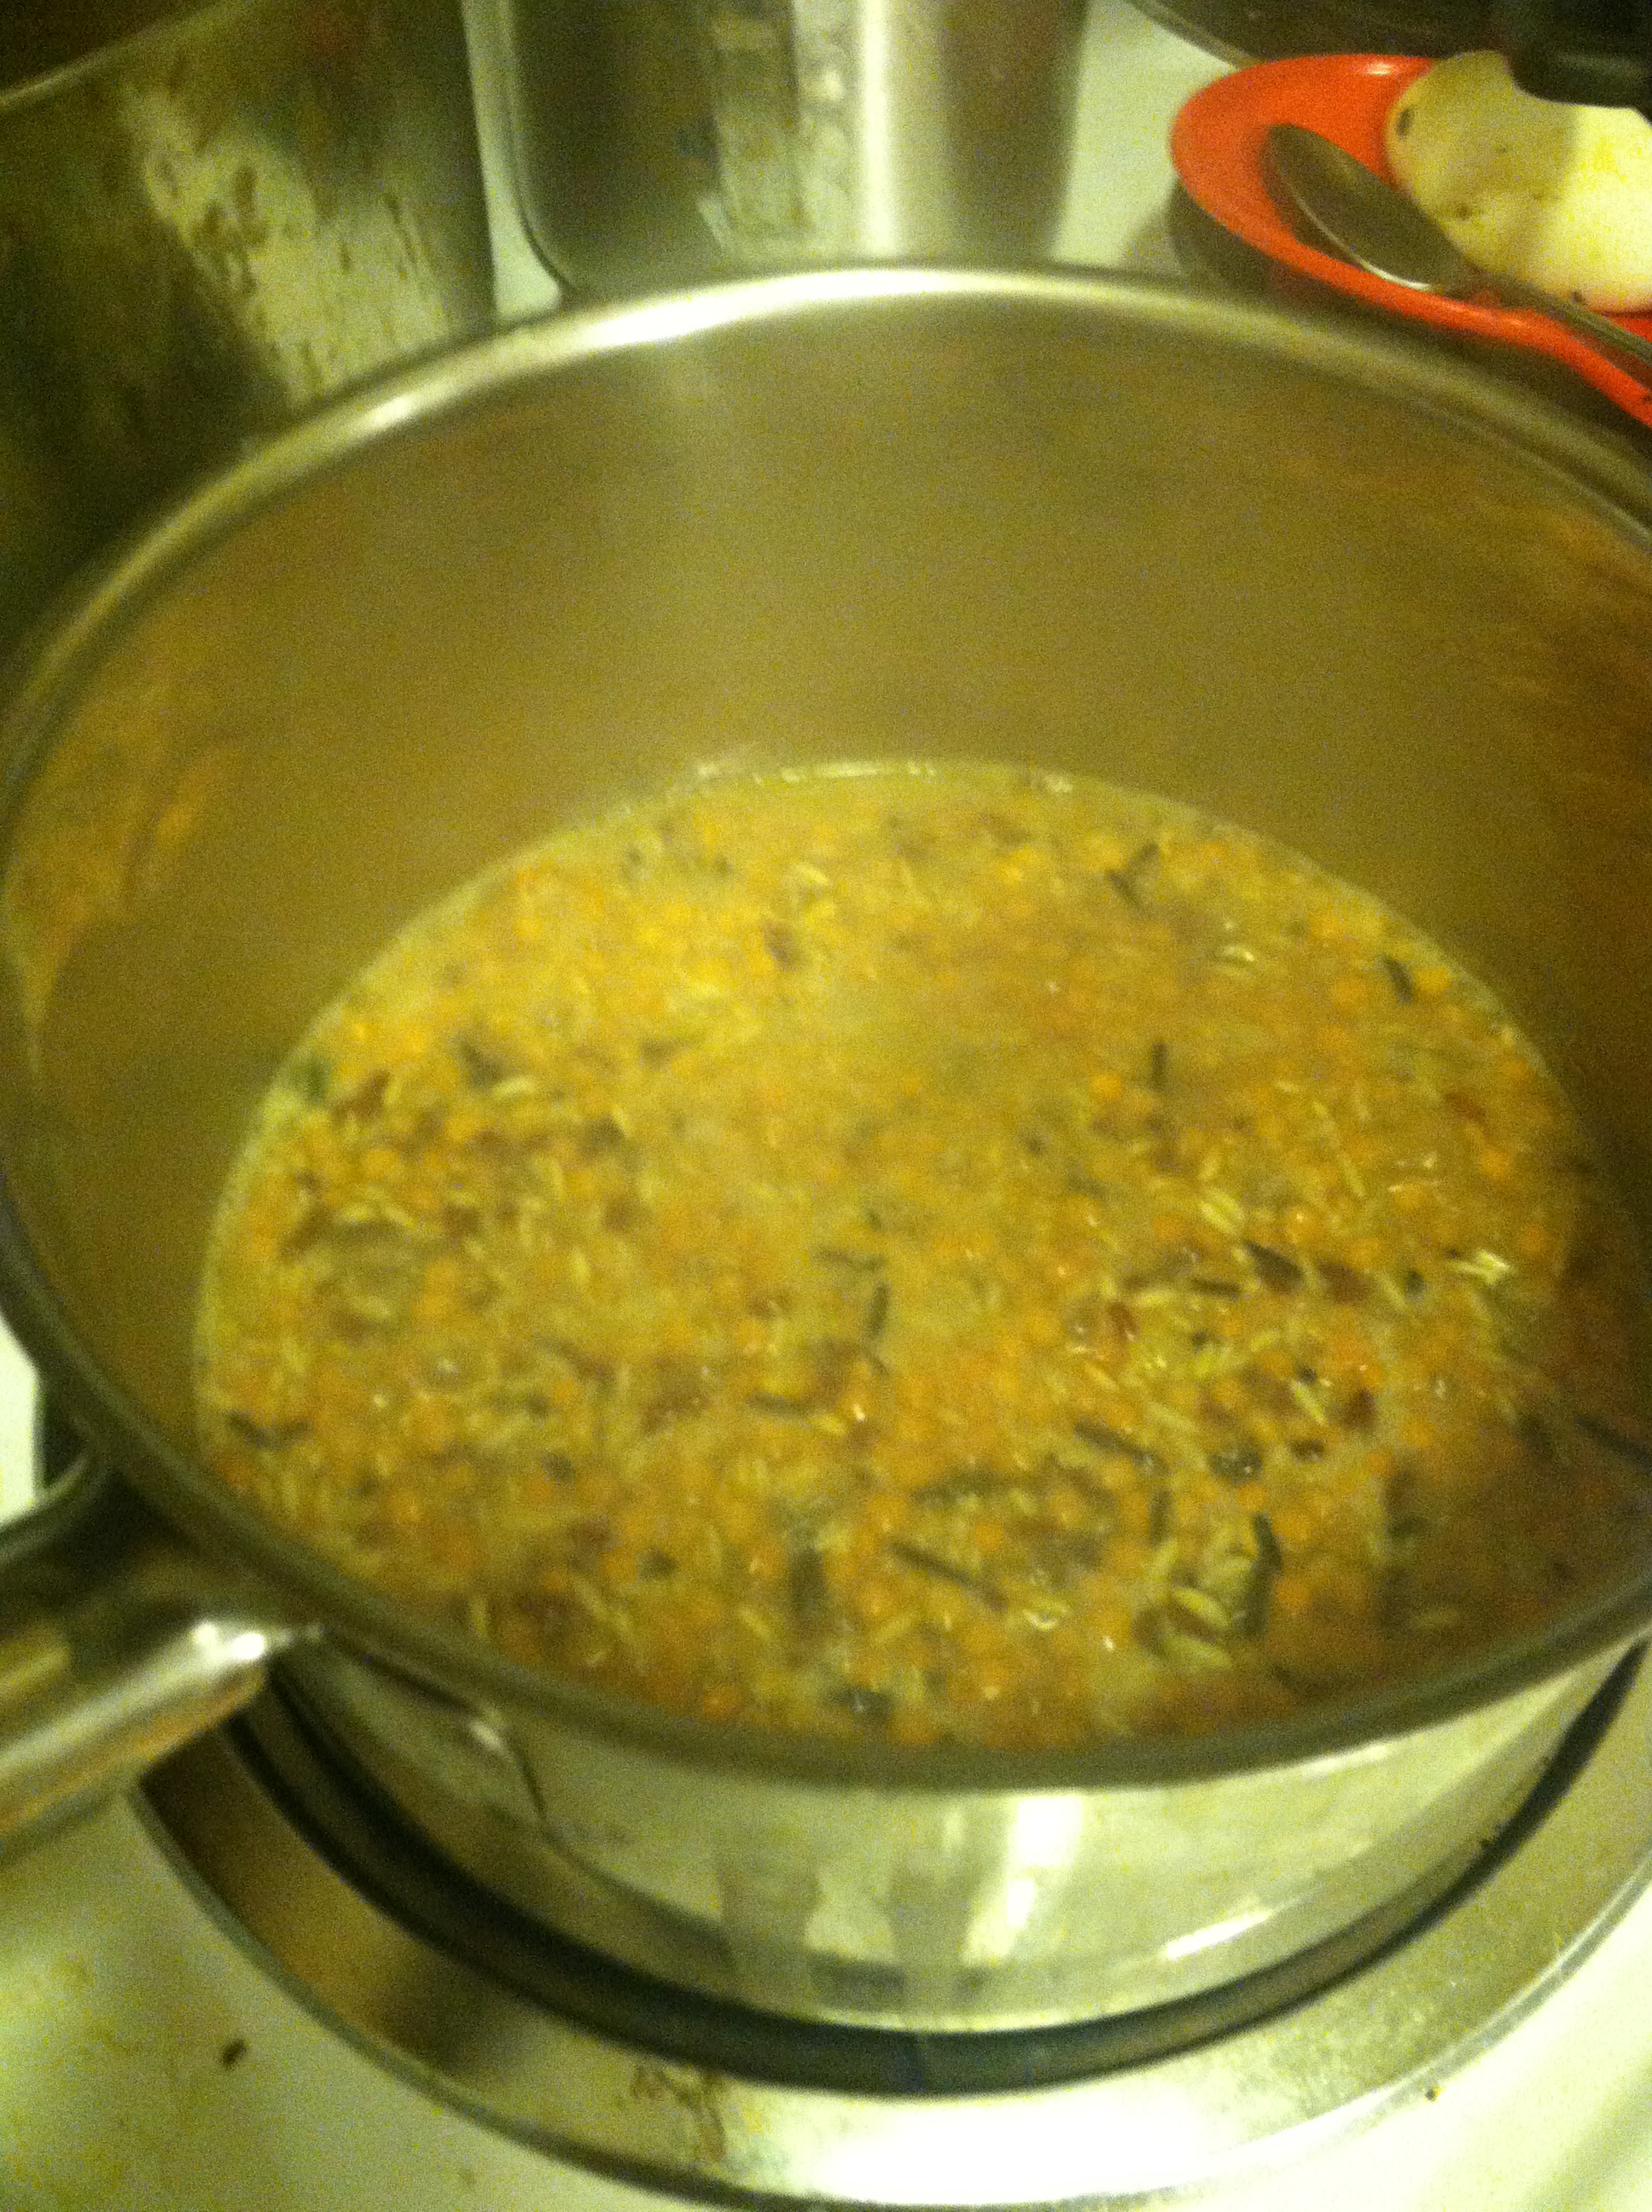
Step 1: In a small pan, mix the rice and lentils with the water or broth. Bring to a boil, then simmer 30-40 minutes. Stir frequently to avoid sticking, and add water if needed.
Step 2: Slice the onion and pepper thinly, and cook in the oil in a pan over medium heat until softened, about 5-10 minutes.
Step 3: Take the lentils and rice off the heat and put into a large bowl. Mix in the cooked veggies and meat if using. You could also add in any fresh herbs if you want, like parsley, sage, or garlic.
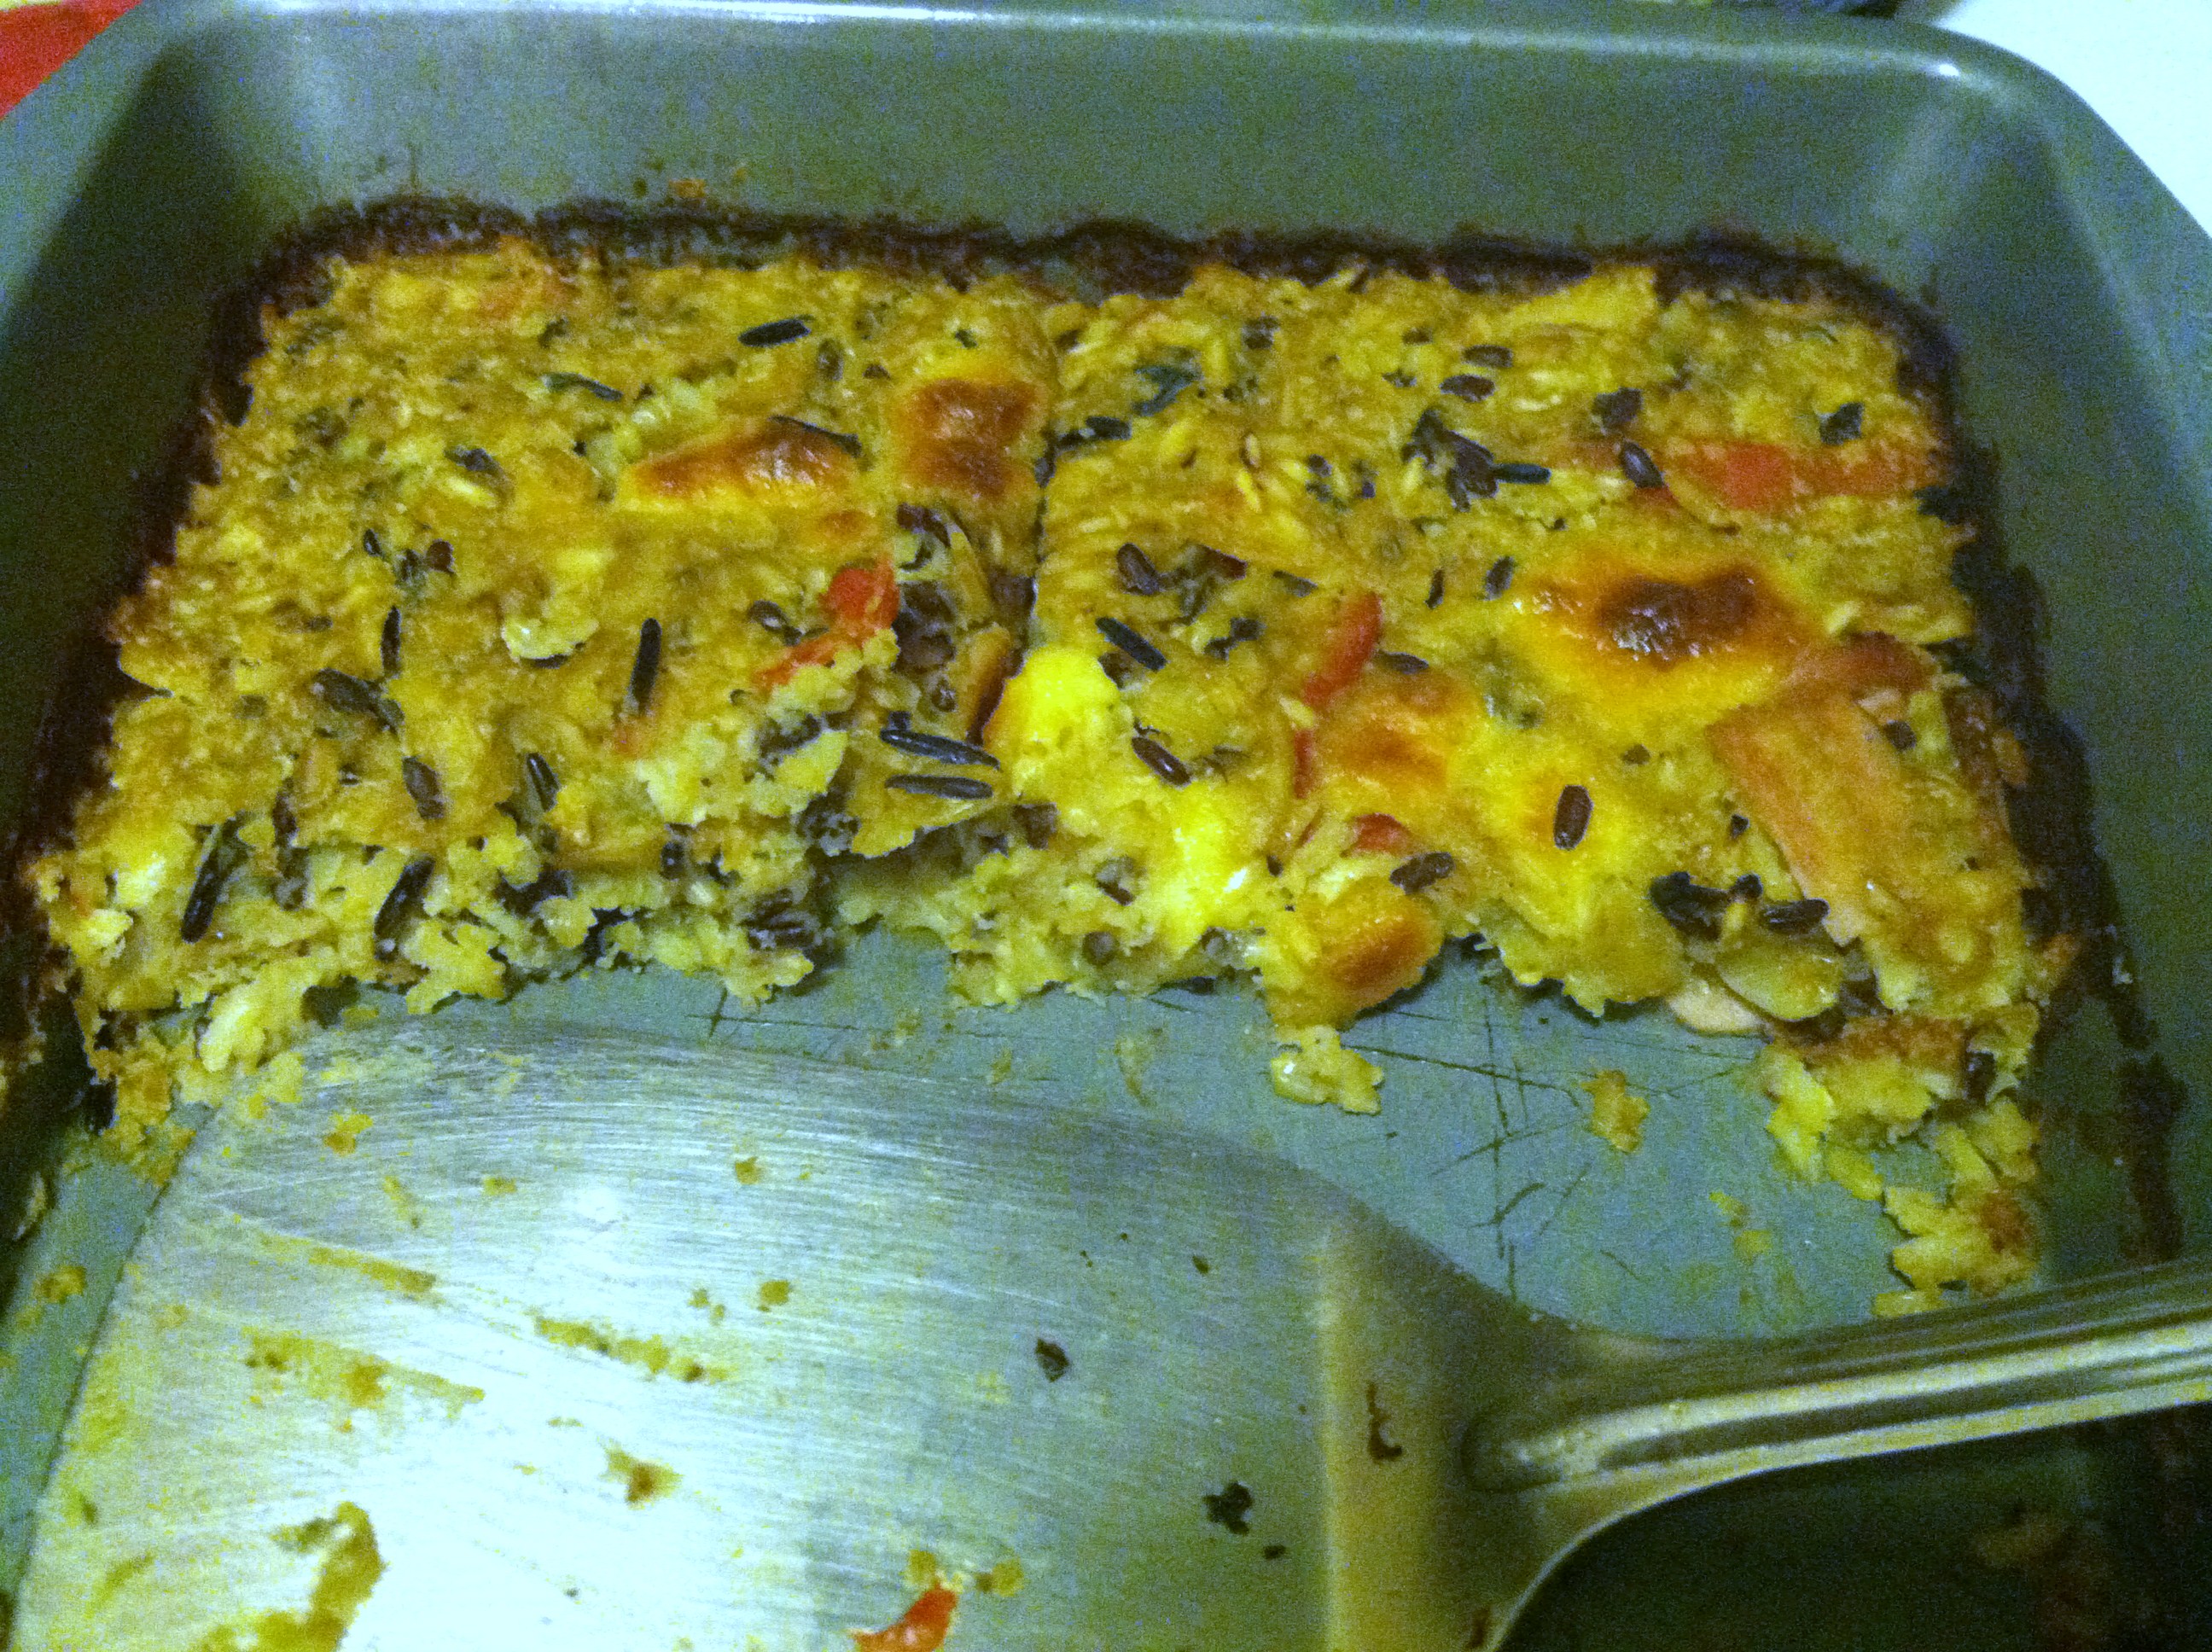
Step 4: Pour the rice and lentils into a greased 8×8 pan, and bake at 350 for 20-30 minutes uncovered. This develops a nice crisp coating on the rice bake.
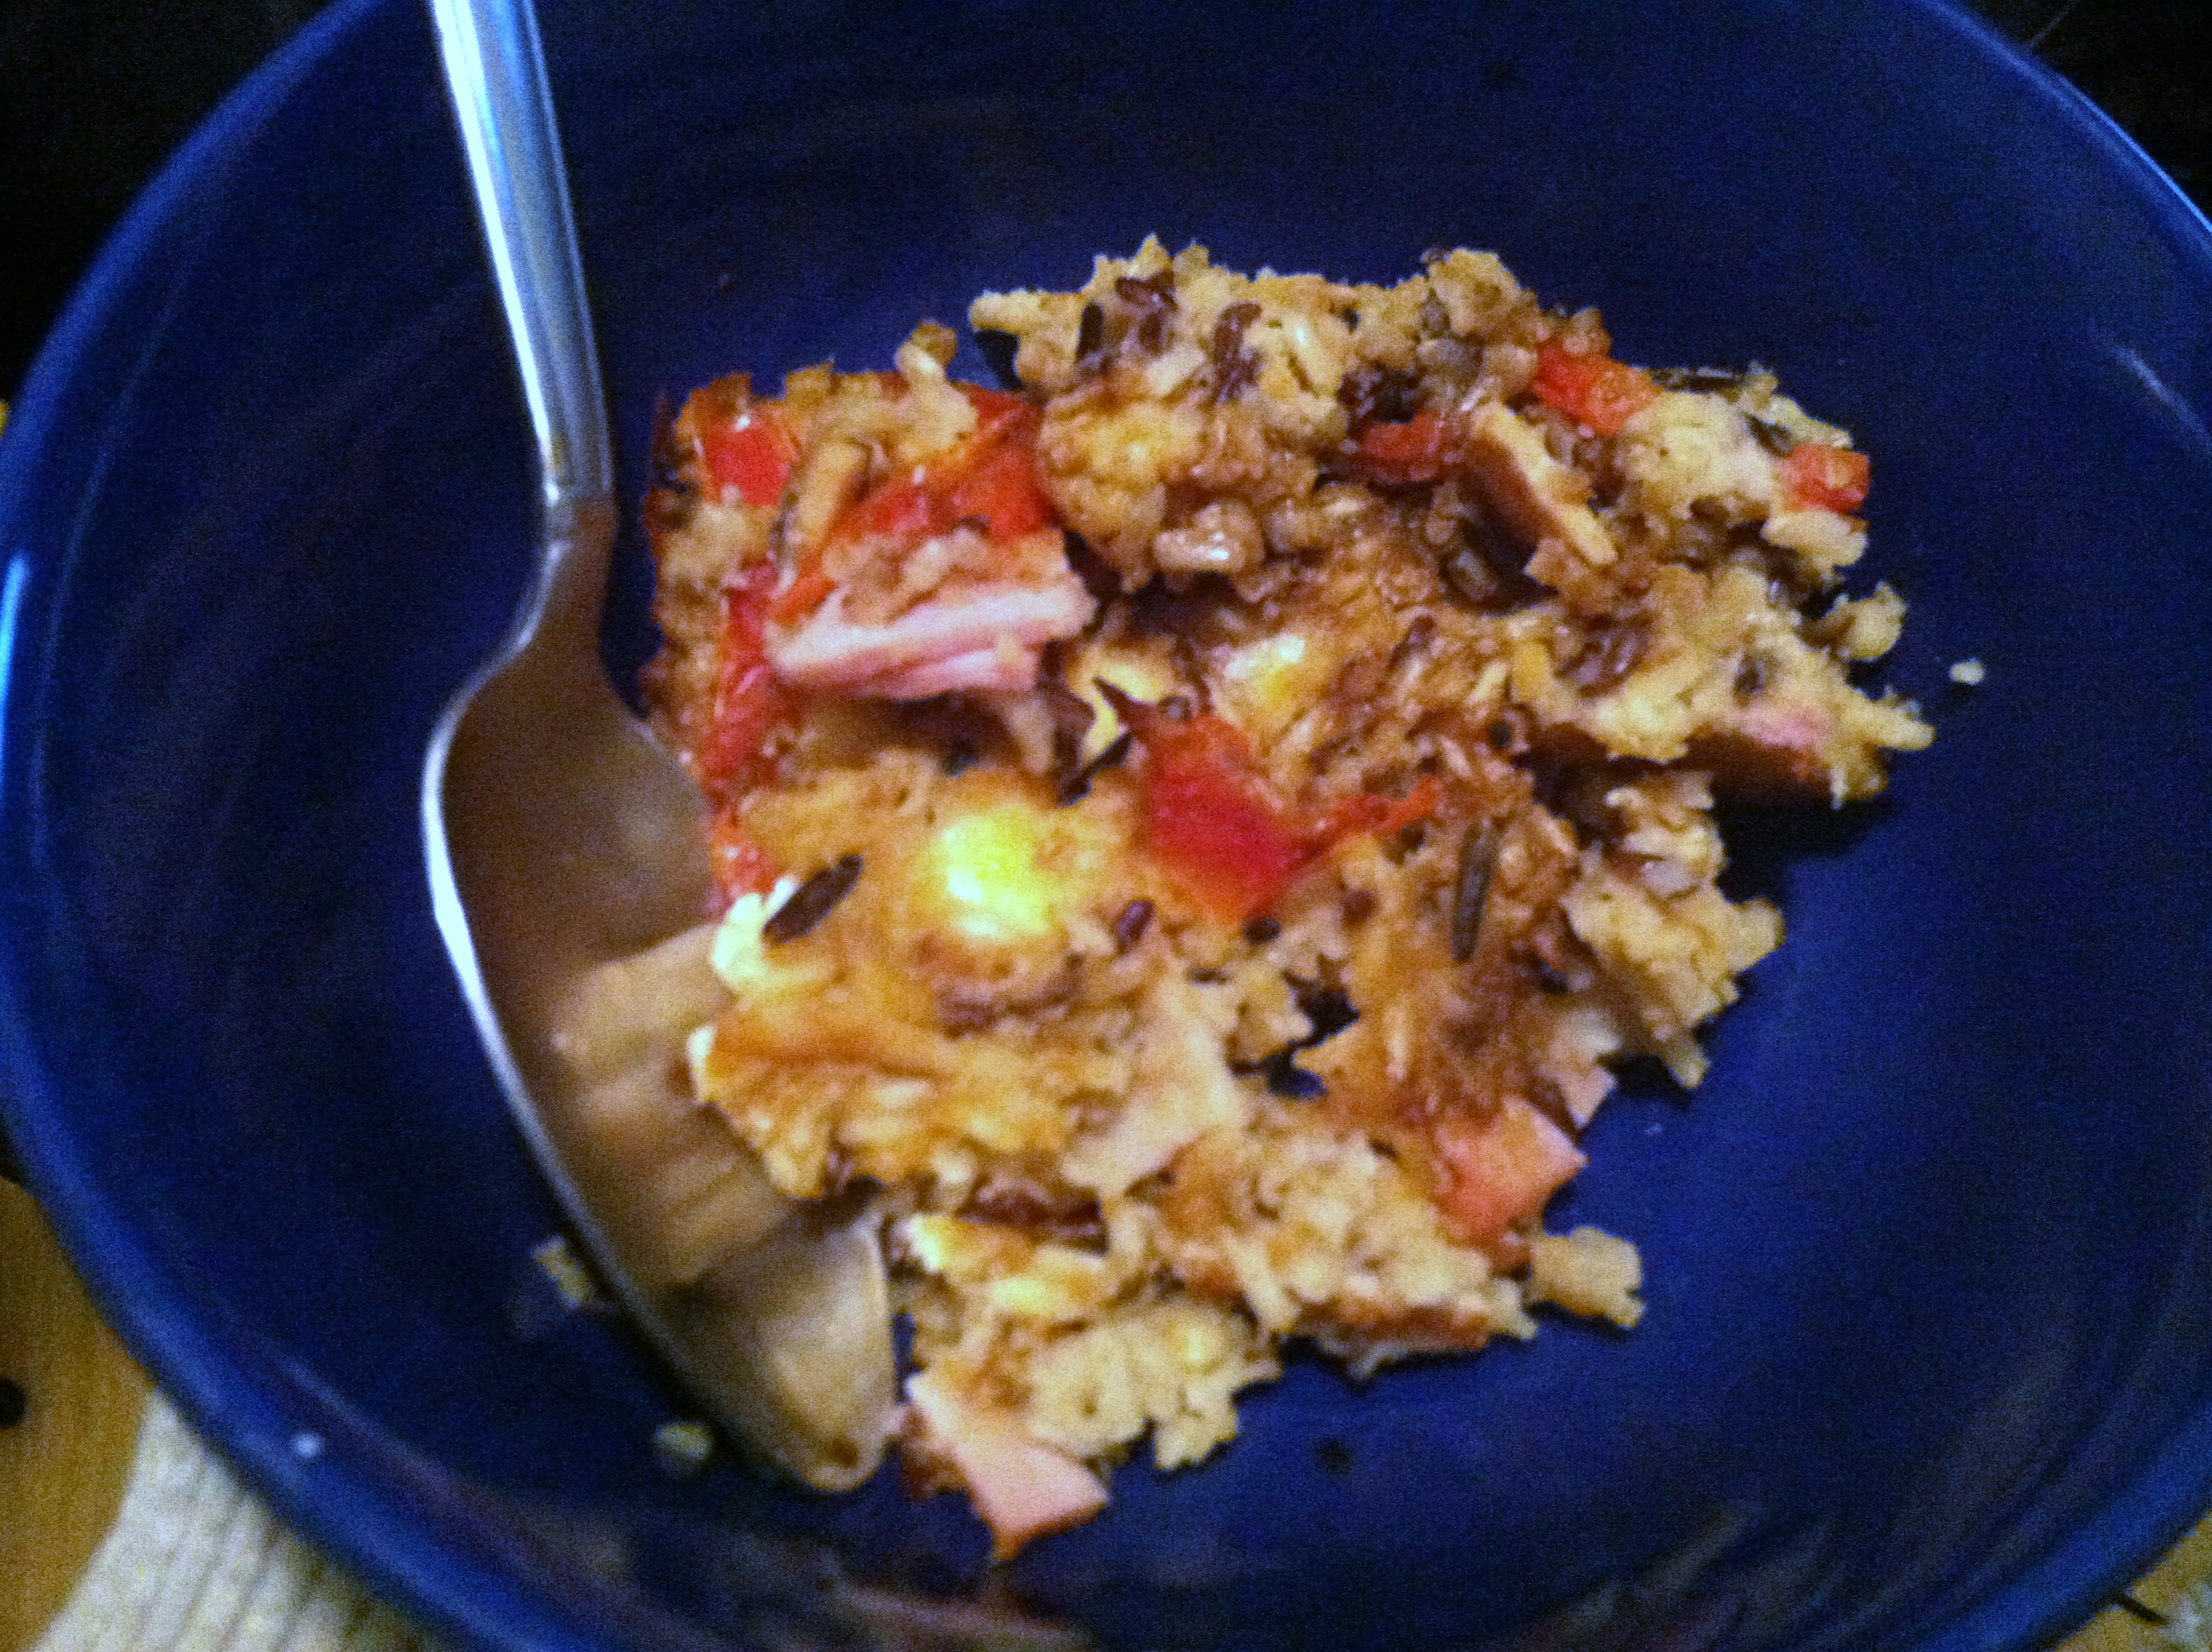
This makes about four hearty servings. Even the picky carnivore loved it!
This page contains links to Amazon Affiliate products.
By clicking on these links and purchasing products you use every day, you help pay the bills and keep the Budget Epicurean bringing you hot, fresh, tasty ideas for your waistline and wallet.
I earn a small commission from each purchase, without affecting the price you pay. Thank you.
As any home cook knows, the best recipes are the ones that combine as many of the following characteristics as possible:
Delicious – the family will eat it
Fast – not too much prep or cook time
Cheap – won’t break the budget
Easy cleanup – because who likes dishes?
Healthy – because duh
Luckily for you, this recipe combines all those things! In one pan, in under 30 minutes, using frozen, canned, and pantry items, you can have a family-pleasing, heart-healthy, budget and waistline friendly meal on the table.
Ingredients:
2 large frozen chicken breasts (or thawed)
2/3 cup lentils (or other bean if canned)
1 can diced tomatoes
1 cup water or stock
1 pound pasta
1 cup chopped veggies and/or fresh spinach
Seasonings of choice – I used garlic salt and some dried onion
Step 1: In a pan, combine the lentils, water, tomatoes, and chicken. Bring to a boil, then simmer covered. Cook for 10-15 minutes and turn chicken.
Step 2: Add the pasta (and more water if you need it) and bring back to a boil. Simmer covered another 7-8 minutes.
Step 3: Add in any fresh chopped veggies for the final 5 minutes or so of cooking.
The spinach I threw in last. You could also make this in a crock pot on low for several hours. Make sure the chicken is fully cooked (cut into it and be sure there is no pink) before serving.
If you want to turn this into a soup, you could do so easily by adding more water. If you want a thicker sauce, let boil uncovered a few minutes to thicken.
The fusion of food, fun, frugality, and curiosity.