Category Archives: Dessert

Mom’s Special Cranberry Sauce


With Thanksgiving just around the corner, I am getting ready for cooking up all the associated goodies.  If you are lucky enough to have a mom, aunt, grandmother, etc who has special family recipes that have been passed down over generations, do yourself a favor and start to learn those recipes.  Instead of watching cartoons or football, get into the kitchen and help out.  You never know when it will be your turn to feed yourself, your family, or your whole neighborhood.

This recipe is passed down from my fiancee’s mother.  It is hands-down his favorite Thanksgiving dish, so much so that his mom usually makes a double recipe just so he can have one whole batch to himself.  I also doubled the recipe, and it was still all gone within two days.  You can easily multiply this recipe to make as much as you need, this makes about 10 cups of sauce.

It is a perfect blend of tangy cranberry and sweet from the sugar.  The orange juice and orange peel gives it a nice depth of flavor, and you can adjust the other spices such as cinnamon, nutmeg, clove, allspice, etc to your own liking.

IMG_6402

Ingredients:

  • 1 can crushed pineapple
  • 1 cup white sugar
  • 1 cup brown sugar
  • 1 16 oz bag cranberries
  • 1 cup orange juice
  • 1/4 cup grated orange peel
  • 2 tbsp cinnamon

IMG_6403

Step 1: Put the orange juice in a pan and bring it to a boil.  Rinse the cranberries and add them to the pot.

IMG_6407

Step 2: Add the sugars and the entire can of crushed pineapple.

IMG_6406

Step 3: Then add the spices.  You might want to make sure you use a pot that will be big enough to hold everything…

IMG_6404

Step 4: Grate the orange peel.  Try not to get any white pith in there. Add it to the pot,  mix well.

IMG_6419

Step 5: Simmer for at least 1 hour, until the cranberries begin to burst and liquefy.  It will thicken as you cook it down, and will thicken even more upon cooling.

This stuff is so good, I don’t even have a picture of the finished product! The recipe is great for doubling or tripling, and freezes well.  This can easily be made up to a month ahead of time, and simply reheated the day of, for an easy time-saver.

Cranberry Orange Muffins


One of the best things about fall is all the wonderful scents and flavors that come into season.  Of course the powerhouse is Pumpkin Spice, undisputed king of the fall flavors.  But I’m more of a fan of the littler-known seasonal delights, like nutmeg, fall squash, citrus, and cranberries.

IMG_7535

And of course, cranberries & oranges go together like peanut butter and jelly in the fall. Cranberry & orange tastes great on chicken, pork, or fish, they go together in relish for your Thanksgiving turkey, or baked into bread, cookies, and of course muffins!

These muffins are light and moist, with a lovely sweet tang from the juice and the berries. Perfect for snacking, quick breakfasts, or midday snacks. These muffins can also be frozen in single layers and popped into baggies for an on-the-go treat later. Simply microwave or pop in a toaster oven for a warm fluffy breakfast.

IMG_7517

Ingredients:

  • 1 large orange
  • 1 cup orange juice
  • 1 egg
  • 2 tbsp vegetable oil
  • 1 cup fresh, dried, or frozen cranberries
  • 2 cups flour
  • 1/2 cup brown sugar
  • 1 tsp baking powder
  • 1 tsp baking soda

IMG_7518

Step 1: In a large bowl, mix together all the dry ingredients (flour, sugar, baking powder & soda, ) and in another bowl mix all the wet ingredients (egg, oil, juice). You can juice an actual orange for the juice if you have the ability.

IMG_7520

Step 2: Grate the peel of one orange, and mix it into the wet ingredients. Mix the wet into the dry ingredients, and fold together until moist. Add in the cranberries. If you’re using frozen cranberries, thaw and drain them first so your batter doesn’t get too watery.

IMG_7523

Step 3: Either spray muffin tins with cooking oil or line them with muffin papers. Pour about 1/3 cup of batter into each opening. Bake at 350 F for 25-30 minutes, until the muffins are browning on the top and a toothpick inserted in the middle comes out clean.

IMG_7528

Remove your lovely muffins and let them cool enough to take out of the pan. Then enjoy at least one (or three, I won’t tell!) while they’re still warm.  MMMM MMM! So delicious with coffee, hot tea, or some fresh hot chocolate.

IMG_7529


[amd-zlrecipe-recipe:46]

Red, White, Blue & Good For You!


My, how time flies when you’re having fun! Can you believe it’s nearly time to celebrate Independence Day by eating ourselves sick and blowing things up? It’s the American way.

I’ll leave the blowing things up and lighting things on fire part to my fiance; as for me I will be covering creative kitchen duty. The grill will be fired up all weekend long, patriotic beverages will be flowing, and family will be sharing stories and laughs as we wait for dusk and fireworks to light up the sky.

Hope you find some last-minute inspiration here for your own Fourth Festivities! God Bless America.


Yes, I know these aren’t red, white & blue, but rather green, but still… aren’t they adorable?! And if you find a way to make basil blue, bless your heart and patent that immediately. Or share with me…

Caprese Appetizers on a Stick

Caprese Party Skewers

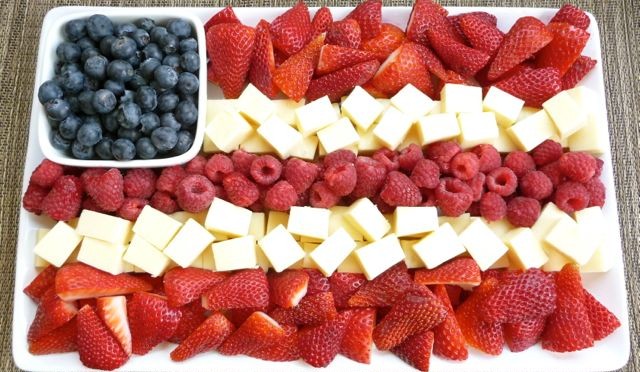
How about a patriotic fruity salsa to get the party started? Serve with blue tortilla chips, or a white or dyed-red hummus. This would also be a delicious salad topper.

Red White and Blue Salsa

Red, White and Blue Salsa

For a hearty main dish that impresses with its presentation, look no further! Lasagna is always a sure crowd-pleaser, and is easy to adapt to vegetarian, vegan, or gluten-free diets based on the pasta noodles and contents.

Flag Lasagna

4th of July flag lasagna

Since that grill is fired up anyways, why not make your burgers make you want to sing the national anthem? Bleu cheese is tangy, tasty, and naturally punny on this national holiday. Stock up on thick tomatoes for slicing & some stinky cheese for some delightful:

Red White & Bleu Burgers

Red White and Bleu Burgers | 2CookinMamas

And of course, no picnic or party is complete without something sweet. We all have a sweet tooth, some more voracious than others, and luckily red & blue are natural berry colors! Therefore, strawberries, raspberries, blackberries, & blueberries lend themselves well to patriotic desserts.

What is cuter than a personal-sized-serving of a refreshingly light dessert? Not much!

Strawberry Shortcake in a Jar


For a bolder presentation piece that is super simple to create, how about this pretty berry tart? Guests, family, and friends will be wowed at whatever design you dream up on top.

Summer Berry Tart

Summer Berry Tart

If you have molds already, you should definitely use this opportunity to whip up these delicious and quite healthy popsicles! In great American flair, these striped refreshers will keep the heat of the day at bay. Beware though, these colors will run in the sun!

Red White and Blueberry PopsiclesRed, White and Blueberry Popsicles (GF, DF, SF, V) - A Dash of Megnut

Last but certainly not least, we can’t forget to hydrate!

Of course, the best option is water; add a few fresh berries for a splash of color, or some sparkling water for interest. You can do the same with tea or lemonade, or dye it red or blue.

For the grown-ups in the crowd who like to imbibe during the celebrations, below is a great resource for several types of cocktails of varying ingredients and degree of strength. Use your best judgment and safety first always! Especially if sparklers are involved.

1. Fourth of July Cocktail 2. Strawberry Sucker 3. Watermelon Mint Cooler 4. Patriotic Margarita 5. Red, White and Blue HYPNOTIQ Blue Martini

Patriotic Cocktails

Happy Fourth!

Less Than 5: Strawberry Banana Yogurt Parfait


As we enter fresh berry season, many rejoice. The sweet, juicy taste of summer is hidden in the rounded flesh of raspberries, the soft skin of blueberries, and the bold redness of strawberries. There is nothing quite like a handful of fresh berries from the farmer’s market, or picked yourself, right off the bush.

Once you get tired of stuffing berries by the handful into your mouth (if is a better word…) you can then try several other delightful ways to enjoy them, including adding frozen or fresh berries to smoothies, making crepes or pancakes, or in desserts like blackberry pie or raspberry crumble.

For versatility alone, I love berry parfaits. They make a great breakfast, or mid-afternoon or post-workout snack. I’ve written before about my raspberry and honey yogurt parfait, and this is another variation.

Strawberry & banana are two flavors that just complement each other well, so it is only natural to pair them together here with crunchy granola, protein packed yogurt, and healthy cinnamon spice. And the best part is that you can enjoy a healthy parfait year-round! Frozen berries work just as well here, and are great for making overnight and refrigerating. By morning it is soft and ready to go.

Ingredients:

  • 1/2 cup plain Greek yogurt
  • 1/2 cup fresh or frozen strawberries
  • 1/2 banana, sliced
  • 1/4 cup granola
  • Sprinkle of cinnamon
  • Optional: 1 tsp sugar

IMG_4798

Step 1: Put the yogurt in a small bowl. I have a mini snack-sized one I use often, it’s just the right amount.

IMG_4797

Step 2: Layer the berries, banana slices, and granola. Sprinkle the cinnamon on top and enjoy! You could use any type of berries here, and can change up the yogurt to use a flavored one if you like.


Mascarpone Stuffed Cinnamon Rolls


With Mother’s Day just around the corner, you may be asking yourself what is a good way to show your mom just how special she is. You could buy a Hallmark card, but that’s just an over-priced poem someone else wrote. You could take her out to brunch, that’s always nice. But how about you one-up that and make something special for her yourself!?

I know, you may not think you have the time. But why not ask if she’d like to be included in the baking? We all know no one cooks just the way mom does. And baking is a great way to bring family together. “So Much Good Happens When We Bake.”

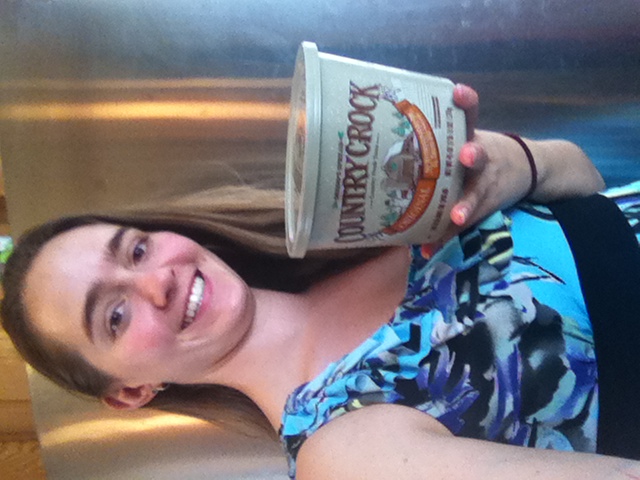
This post is part of the Culinary Content Network’s “Celebrating Mom” series, sponsored by Shedd’s Spread Country Crock.

photo 1
This recipe became a fast favorite in our house since mom saw a recipe from Pillsbury online last Christmas.

photo 2

Now we make it our own with a variety of fillings and toppings. Feel free to experiment yourself. Try ricotta, cream cheese, cottage cheese, or goat cheese. Use any dried fruits, jams, honey, or maple syrup. As long as there are biscuits, sugar, Country Crock, and love, they are sure to delight!

Ingredients:

Step 1: Heat the oven to 350 degrees, and grease a round pan or 8×8 square pan. Mix any nuts and/or fruits you are using in a small bowl.

Step 2: Lay out two shallow bowls or plates, one with the melted Country Crock and one with the cinnamon & sugar.

Step 3: Put about 1/2 tbsp of mascarpone cheese in the center of one biscuit round, sprinkle in a pinch of nuts & dried fruit, and pinch the sides up all around it. Roll it into a ball, making sure the cheese is completely covered.

Step 4: Roll each biscuit ball in the melted Country Crock, and then in the cinnamon & sugar. Place seam-side down in the greased pan. Once all biscuits are stuffed, spread the remaining Country Crock over them and sprinkle with remaining walnuts & cranberries.


Step 5: Bake at 350 for 25-35 minutes, until biscuits are nice and brown. Mix 1 cup powdered sugar and 2 tbsp milk into a thick glaze. Drizzle over warm rolls right as you take them out of the oven.

 
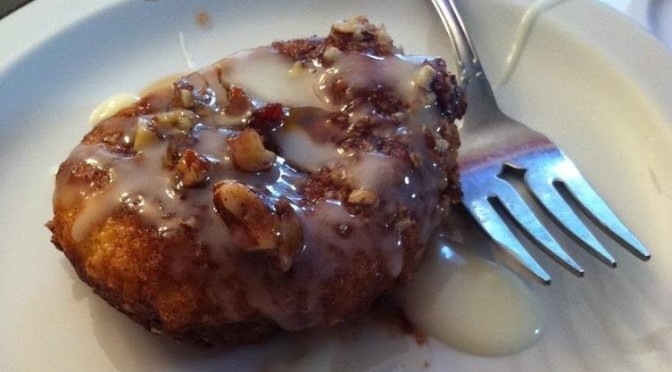
These things are simply incredible. Warm, gooey, sweet, and irresistible.
Who wouldn’t want to wake up to these?? Make them anytime really. Maybe every day, if you’re also a marathon runner…

What will you do for Mother’s Day?

[amd-zlrecipe-recipe:21]

This post contains affiliate links. If you buy products using these links, the price you pay is not affected yet a portion of the proceeds help to maintain this blog. Thank you.

Raspberry Yogurt Parfait


As spring brings fresh berries to fruit, you may find yourself with a huge bounty and need ways to eat them all up before they go bad or the season ends (tear…).

Not to worry, I love berries and love to find ways to enjoy them. First of all, snap up deals now while you can. Don’t bother thinking you’ll buy too much, that’s not possible. Freeze any you can’t eat within a week in a single layer, then put into a freezer bag.

These frozen berries will last for months, and will be great mind-winter in a smoothie, a fruit crumble, on top of oatmeal, as ice cubes/garnish in cocktails, or in a pie. Try raspberries, blackberries, strawberries, and blueberries.

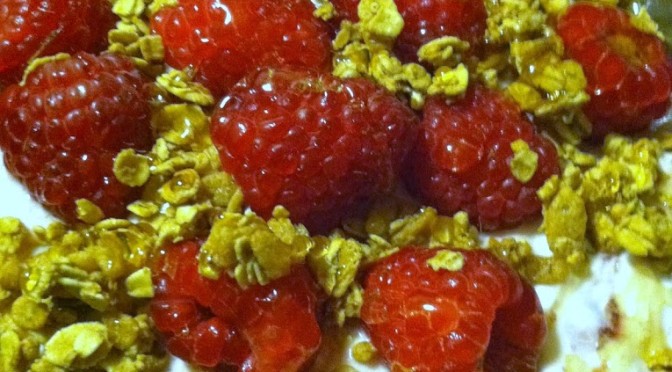
But while they are still fresh and at their best, my favorite way to eat them (other then just washed, by the handful) is in a yogurt parfait. The perfect start to the day, healthy snack at any time, or after-dinner treat, a parfait is just tasty.

And with fresh biotic-boosting yogurt, seasonal berries and fiber-rich granola, it is also a super healthy choice. Just steer clear of sugar-laden yogurts or granolas. Best to make it yourself, but if not choose organic, pasture-fed yogurt if you can, and granola with whole ingredients like oats.

Ingredients:

  • 1/3 cup fresh berries
  • 1/2 cup plain greek yogurt
  • 1/3 cup raw granola
  • 2 tbsp (local if possible) honey
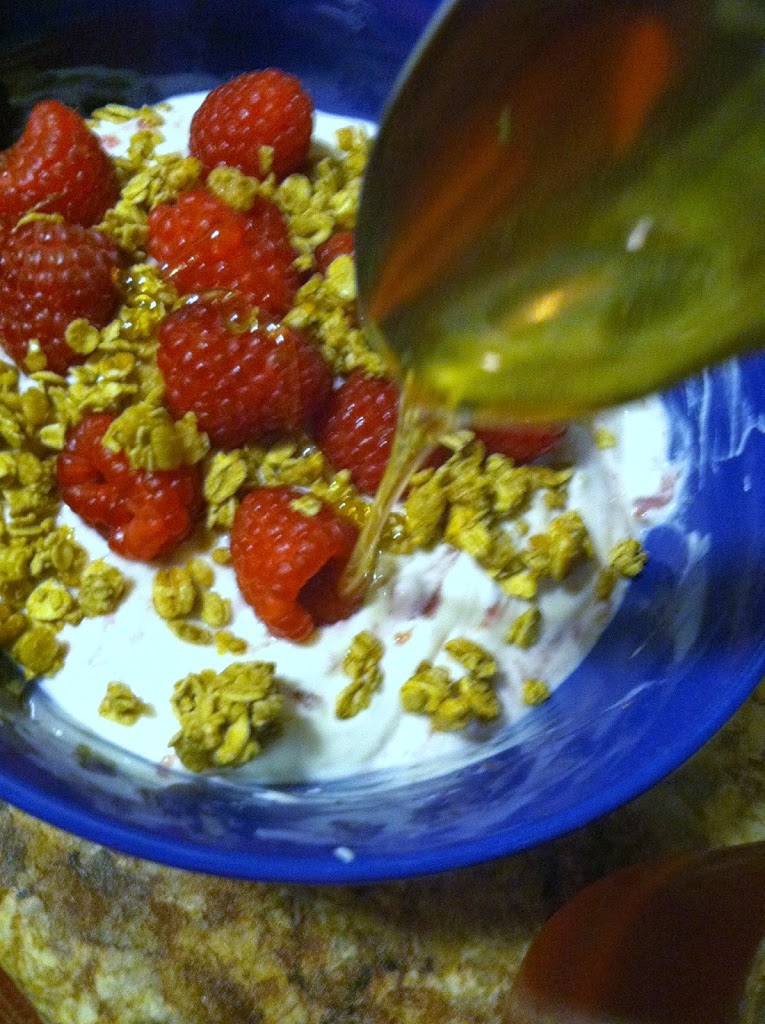
Step 1: Add the yogurt to a bowl, and sprinkle berries on top. You could put it in a blender and pulse a few times if you want the berries incorporated.
Step 2: Sprinkle the granola on top. You can use plain raw oats too, or a healthy cereal.
Step 3: Drizzle your honey on top. You could also use agave nectar, maple syrup, or no sweetener at all.
Enjoy your bowl full of happiness!

Vegan Dark Chocolate Peppermint Cocoa


As I continue to read and learn more about food and nutrition, I become more convinced that the closer to vegan one eats, the better for one’s health.

Many people think that being vegan is restrictive and boring, that you can only eat raw vegetables forever. That is definitely not the case. As veganism becomes more mainstream, tons of websites and blogs pop up with brilliant recipes and ways to add more vegetables grains fruits and nuts to your life. Though you may have more nuts in your life than you want right now…
Anywho. I believe in moderation, and though you should always strive for a healthy diet, any diet that includes no treats is bound to fail over time.

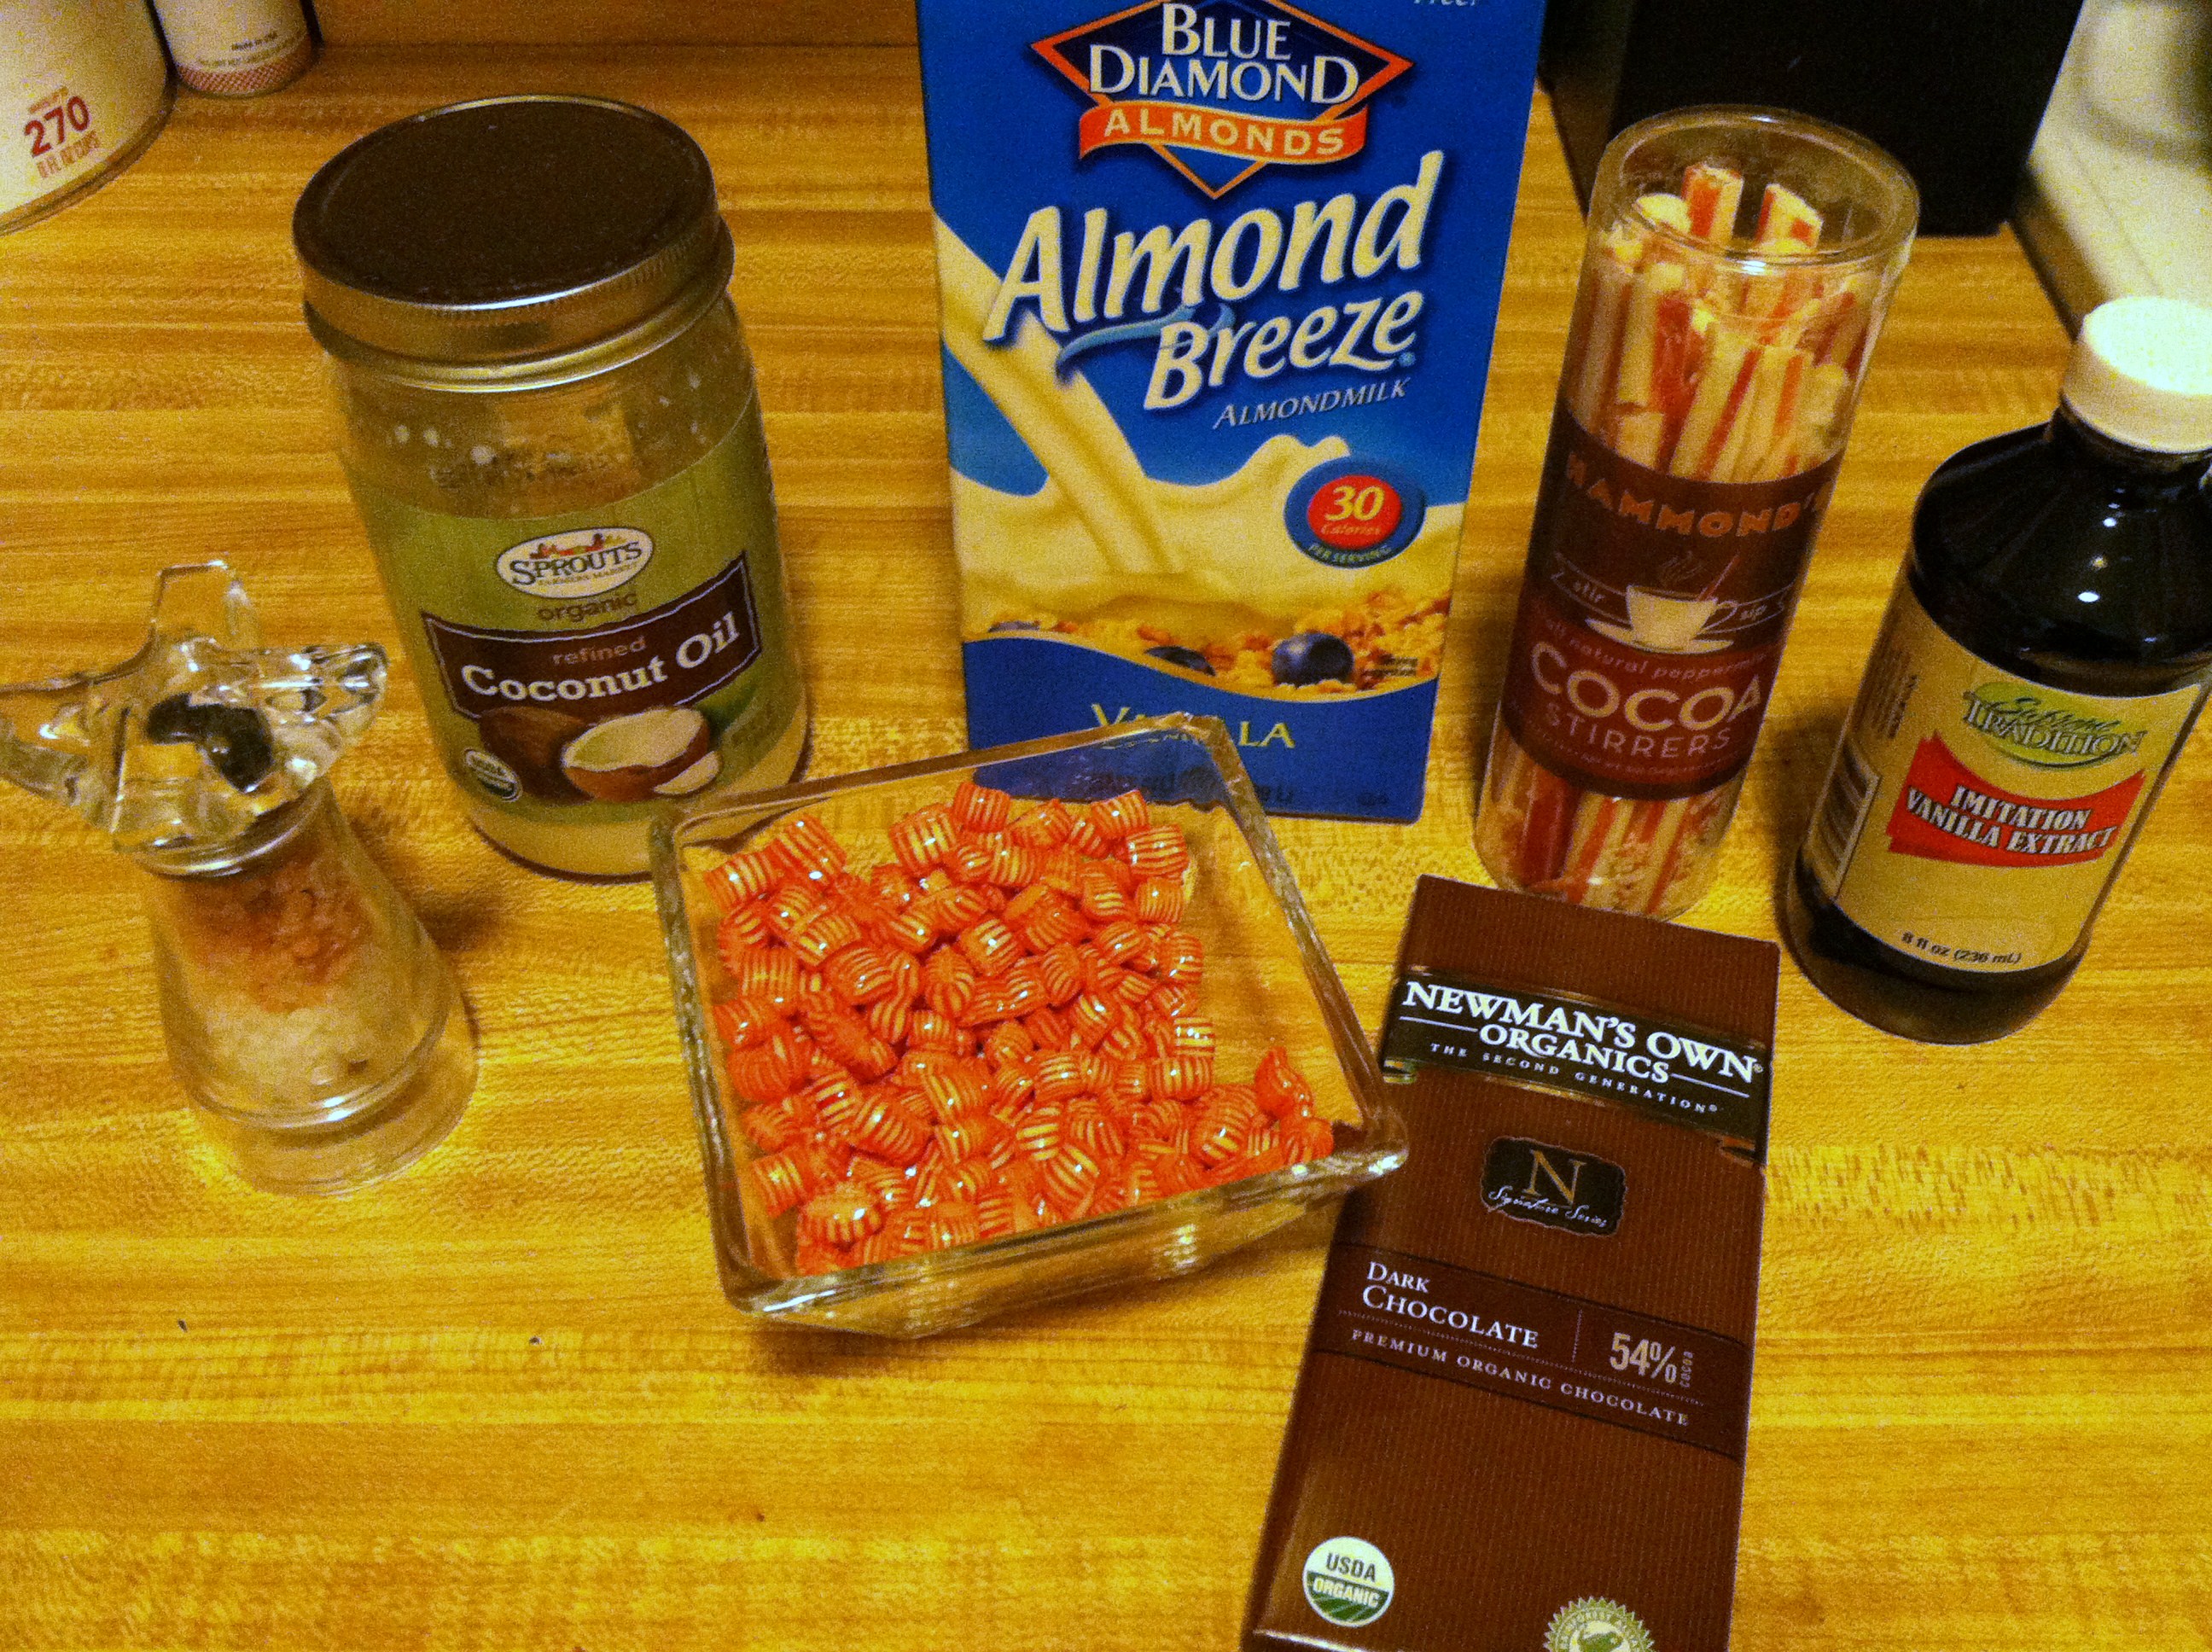
IMG_7717

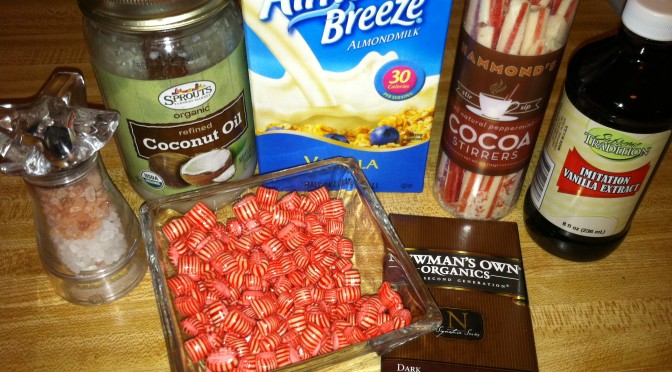
This recipe is an amalgamation of several I browsed online mixed with what was in my cabinets. Read labels to ensure it truly is vegan, if you choose.

Ingredients:

  • 2 cups almond (or other plant-based) milk
  • 2 tbsp peppermint candies
  • 2 tbsp coconut oil
  • 1 large bar organic dark chocolate
  • 1 tbsp vanilla
  • Sprinkle of sea salt

IMG_7715

Step 1: In a sauce pan, slowly heat the milk until just below a simmer.

IMG_7718

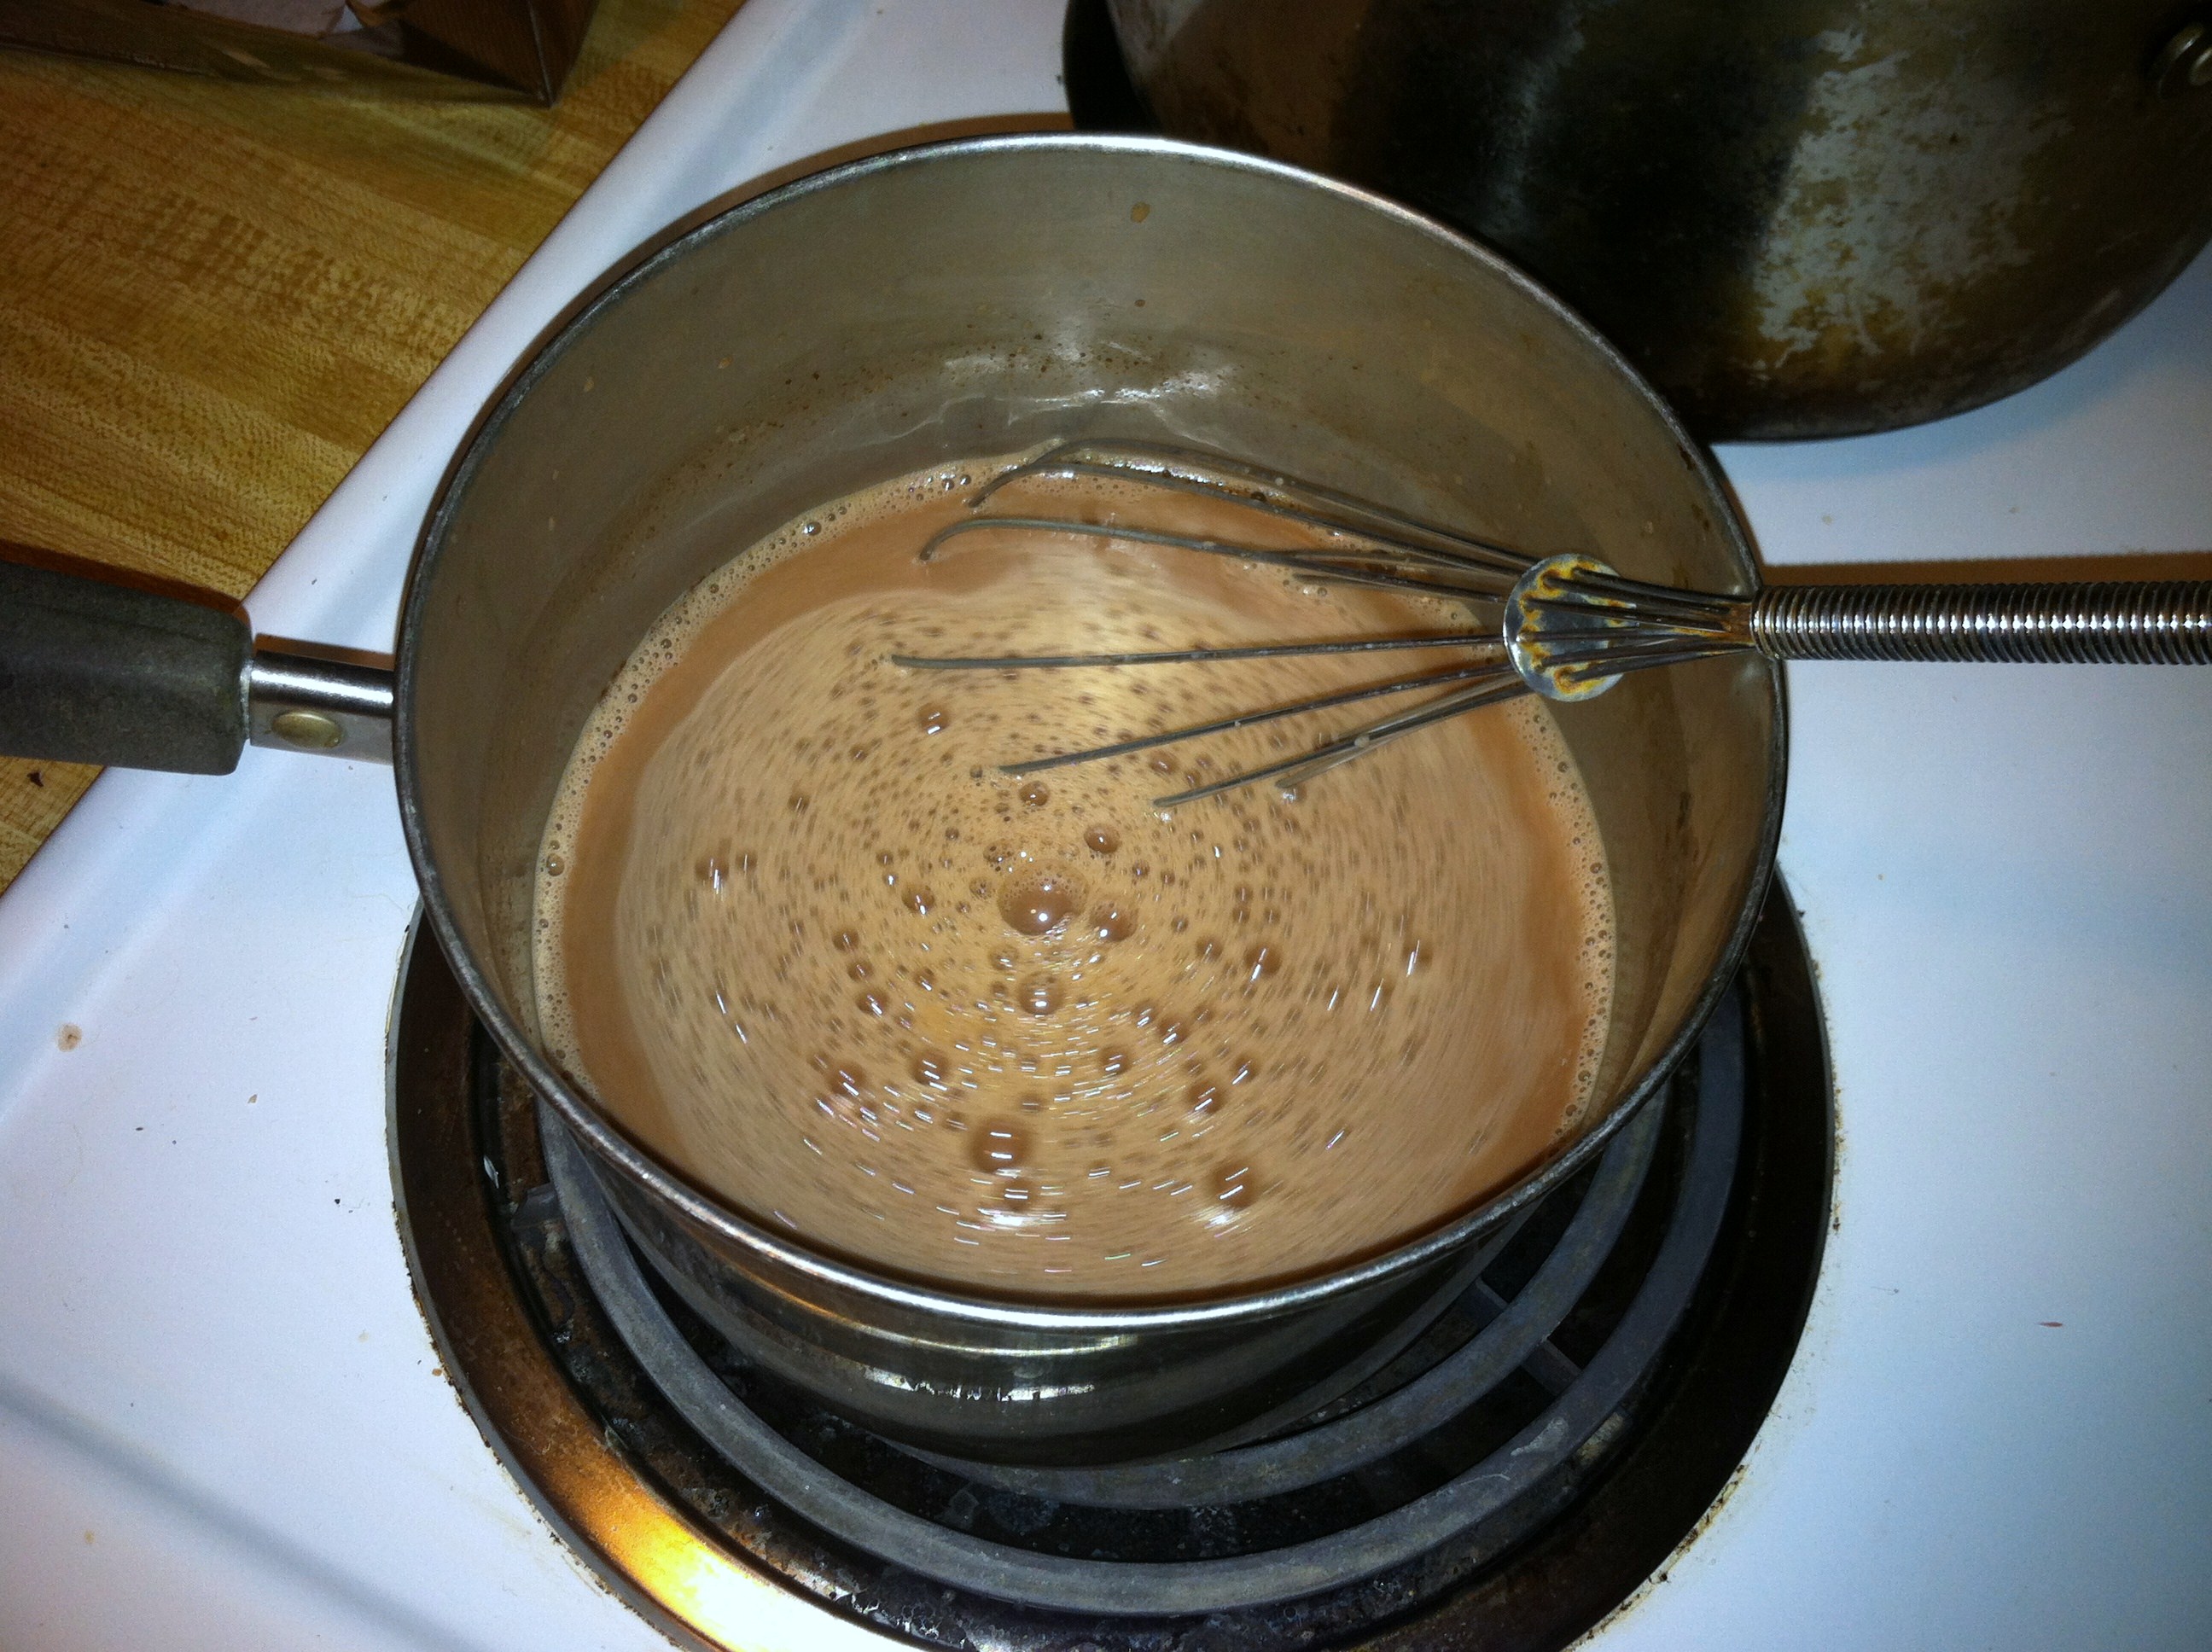
Step 2: Add the coconut oil and dark chocolate, broke into pieces. Mix constantly until dissolved, not letting it boil. Add the peppermint candies and continue mixing until melted.

IMG_7721

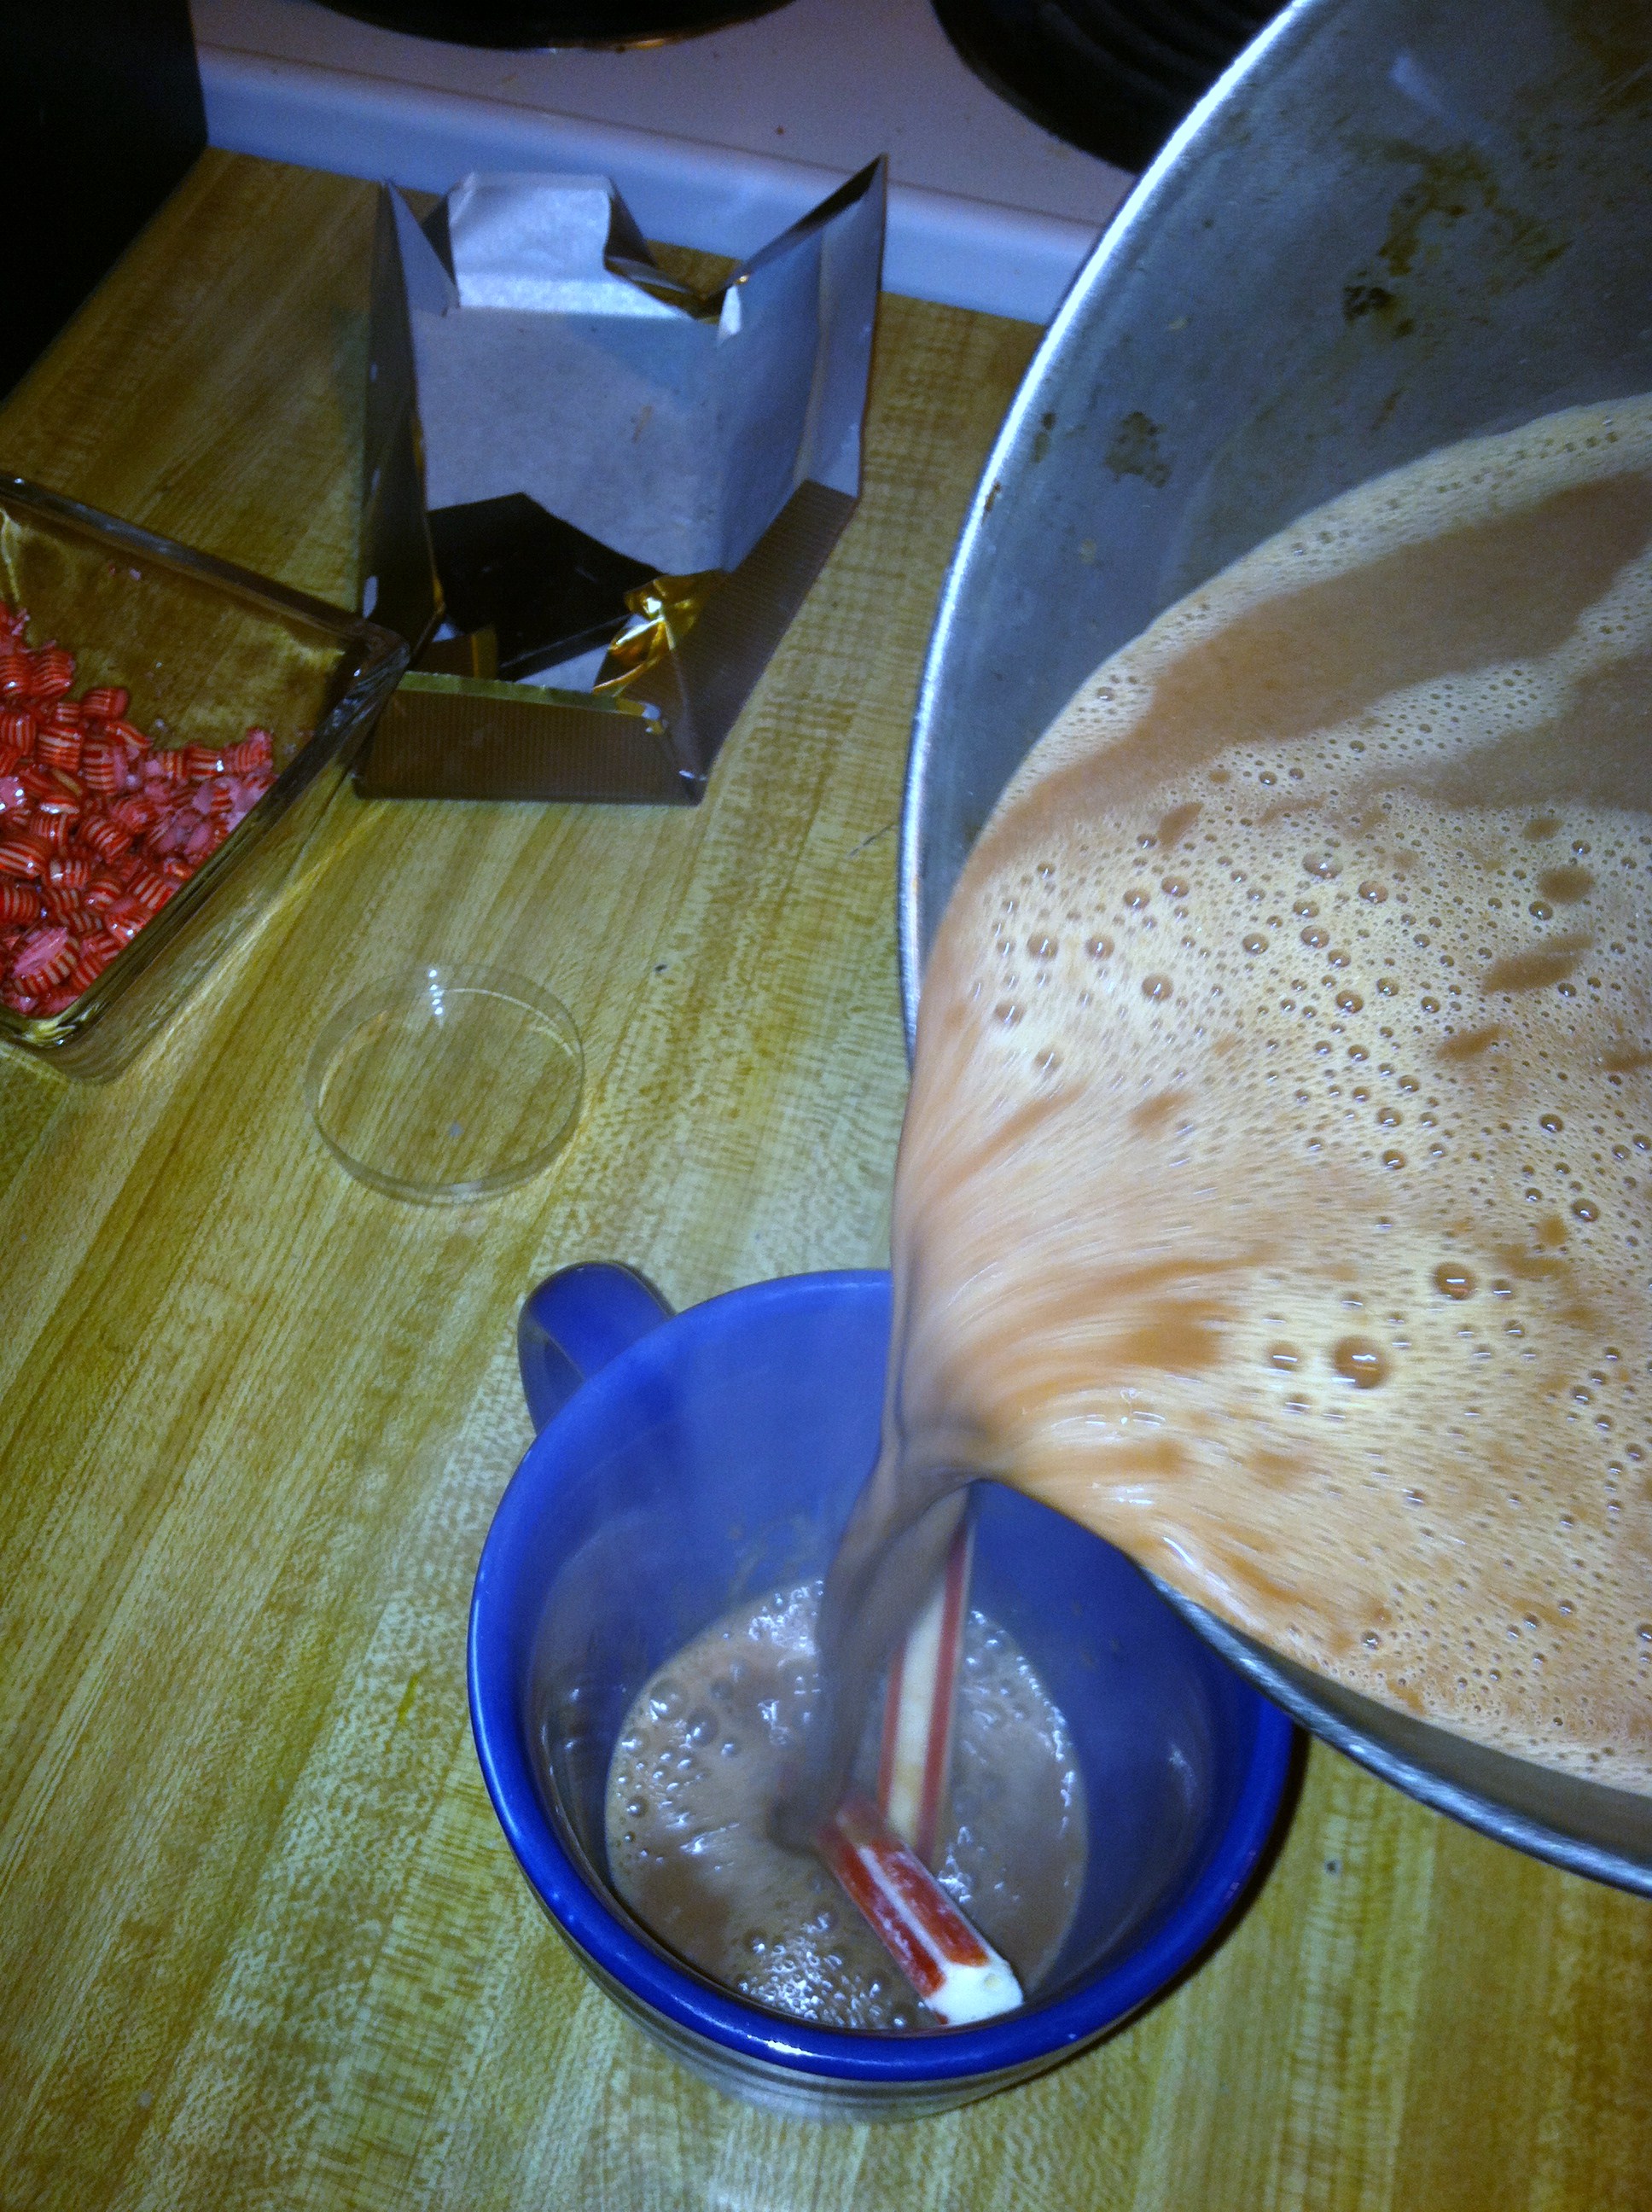
Step 3: Pour into mugs, optionally with a peppermint stir stick. Also optional include marshmallows, whipped cream, and/or cinnamon.

IMG_7723

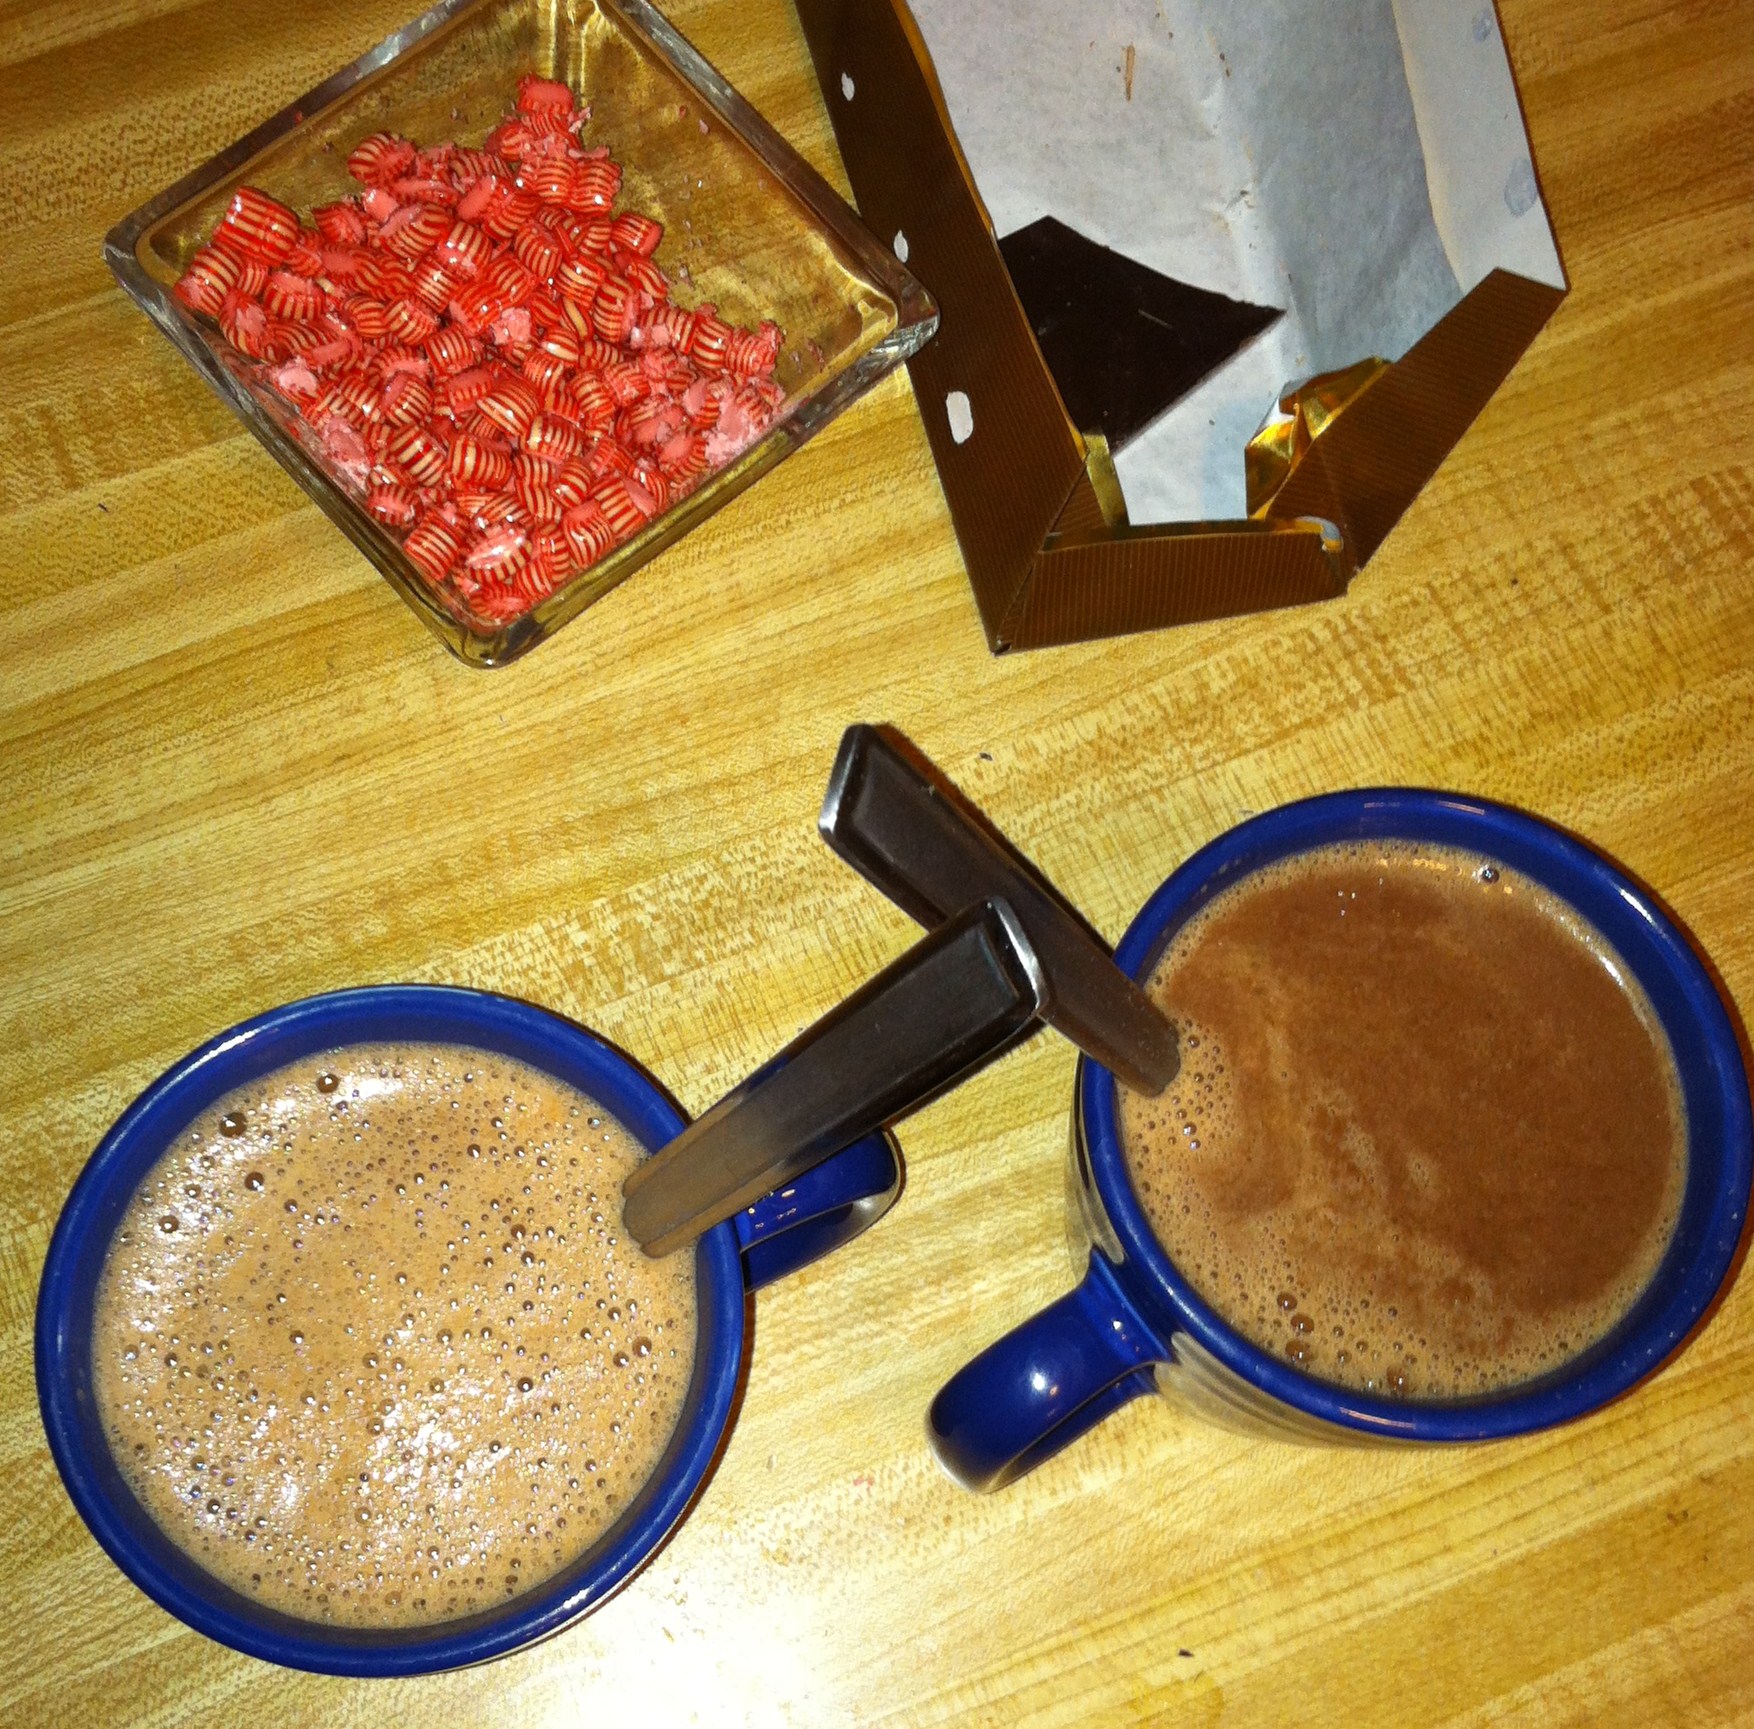
This is a fabulous beverage to enjoy on a chilly winter evening! Not to mention absolutely delicious.

IMG_7727


[amd-zlrecipe-recipe:8]

Super simple peppermint meringues


As a holiday or any day treat, meringues are so simple to make if you follow one simple rule: beat the crap outta the egg whites. Oh, and don’t let ANY fats touch the mix. Easy right?

And with less than 5 ingredients, and only 20 calories per meringue, these are an awesome holiday treat to have out at your party or give as homemade gifts.

I’ve made meringues before, with vanilla and a peppermint candy crushed and sprinkled on top. These take mint to a whole new level. I made a big batch, to give out to coworkers and neighbors. The swirl of color makes them cheery, and the peppermint flavor is very strong, so feel free to cut it down if you don’t want that.

Recipe makes about 4 dozen.

Ingredients:

  • 4 egg whites
  • 1 cup sugar
  • 1 tbsp peppermint oil
  • Sprinkle of sea salt
  • Optional: few drops food coloring

IMG_6253

Step 1: Separate the eggs into whites and yolks. If you want to be super cautious, break each egg into one bowl, then combine them all in a separate bowl. This ensures absolutely no yolk gets in. The fats in the yolk will ruin the meringue and cause it to not rise.

IMG_6257

Step 2: Beat the crap out of the egg whites. Seriously, let it go for about 20 minutes. The eggs should bubble, then begin to “fluff” up. Continue until soft peaks form. That means if you dip a spoon in, it can pull up a peak, but it flops over when you remove the spoon.

IMG_6261

Step 3: Add in the sugar and the peppermint flavoring. You could also try anise, vanilla, lemon, almond… let your imagination run wild. Sprinkle in about 1/4 tsp of salt, and continue to beat until stiff peaks form. If you stick in a spoon, you can pull up peaks that then hold their shape.

IMG_6262

Step 4:You can either put it into ziplock bags with a hole snipped in the corner and pipe it onto cookie sheets, or just use a tablespoon to plop dollops on.

Bake in the oven at 250 for 1 1/2 to 2 hours, or until fully hardened. You can also prop the door open and leave them overnight. I use a foil sheet so they are easier to remove. Also, you can add in a drop of food coloring at step 3 for fun holiday swirls!

IMG_6256

Bonus tip: If you put the yolks in a container with 1/4 tsp of salt or sugar per 4 yolks, you can freeze them for later use. The salt or sugar will keep them from becoming “gummy” for longer. Just mark if you added salt or sugar so you know which recipe to use them in.
Easy Apple Crumble


This is one of my all-time favorite desserts! Apples are in abundance in the fall, but readily available all year round. So there is no excuse not to make this often.

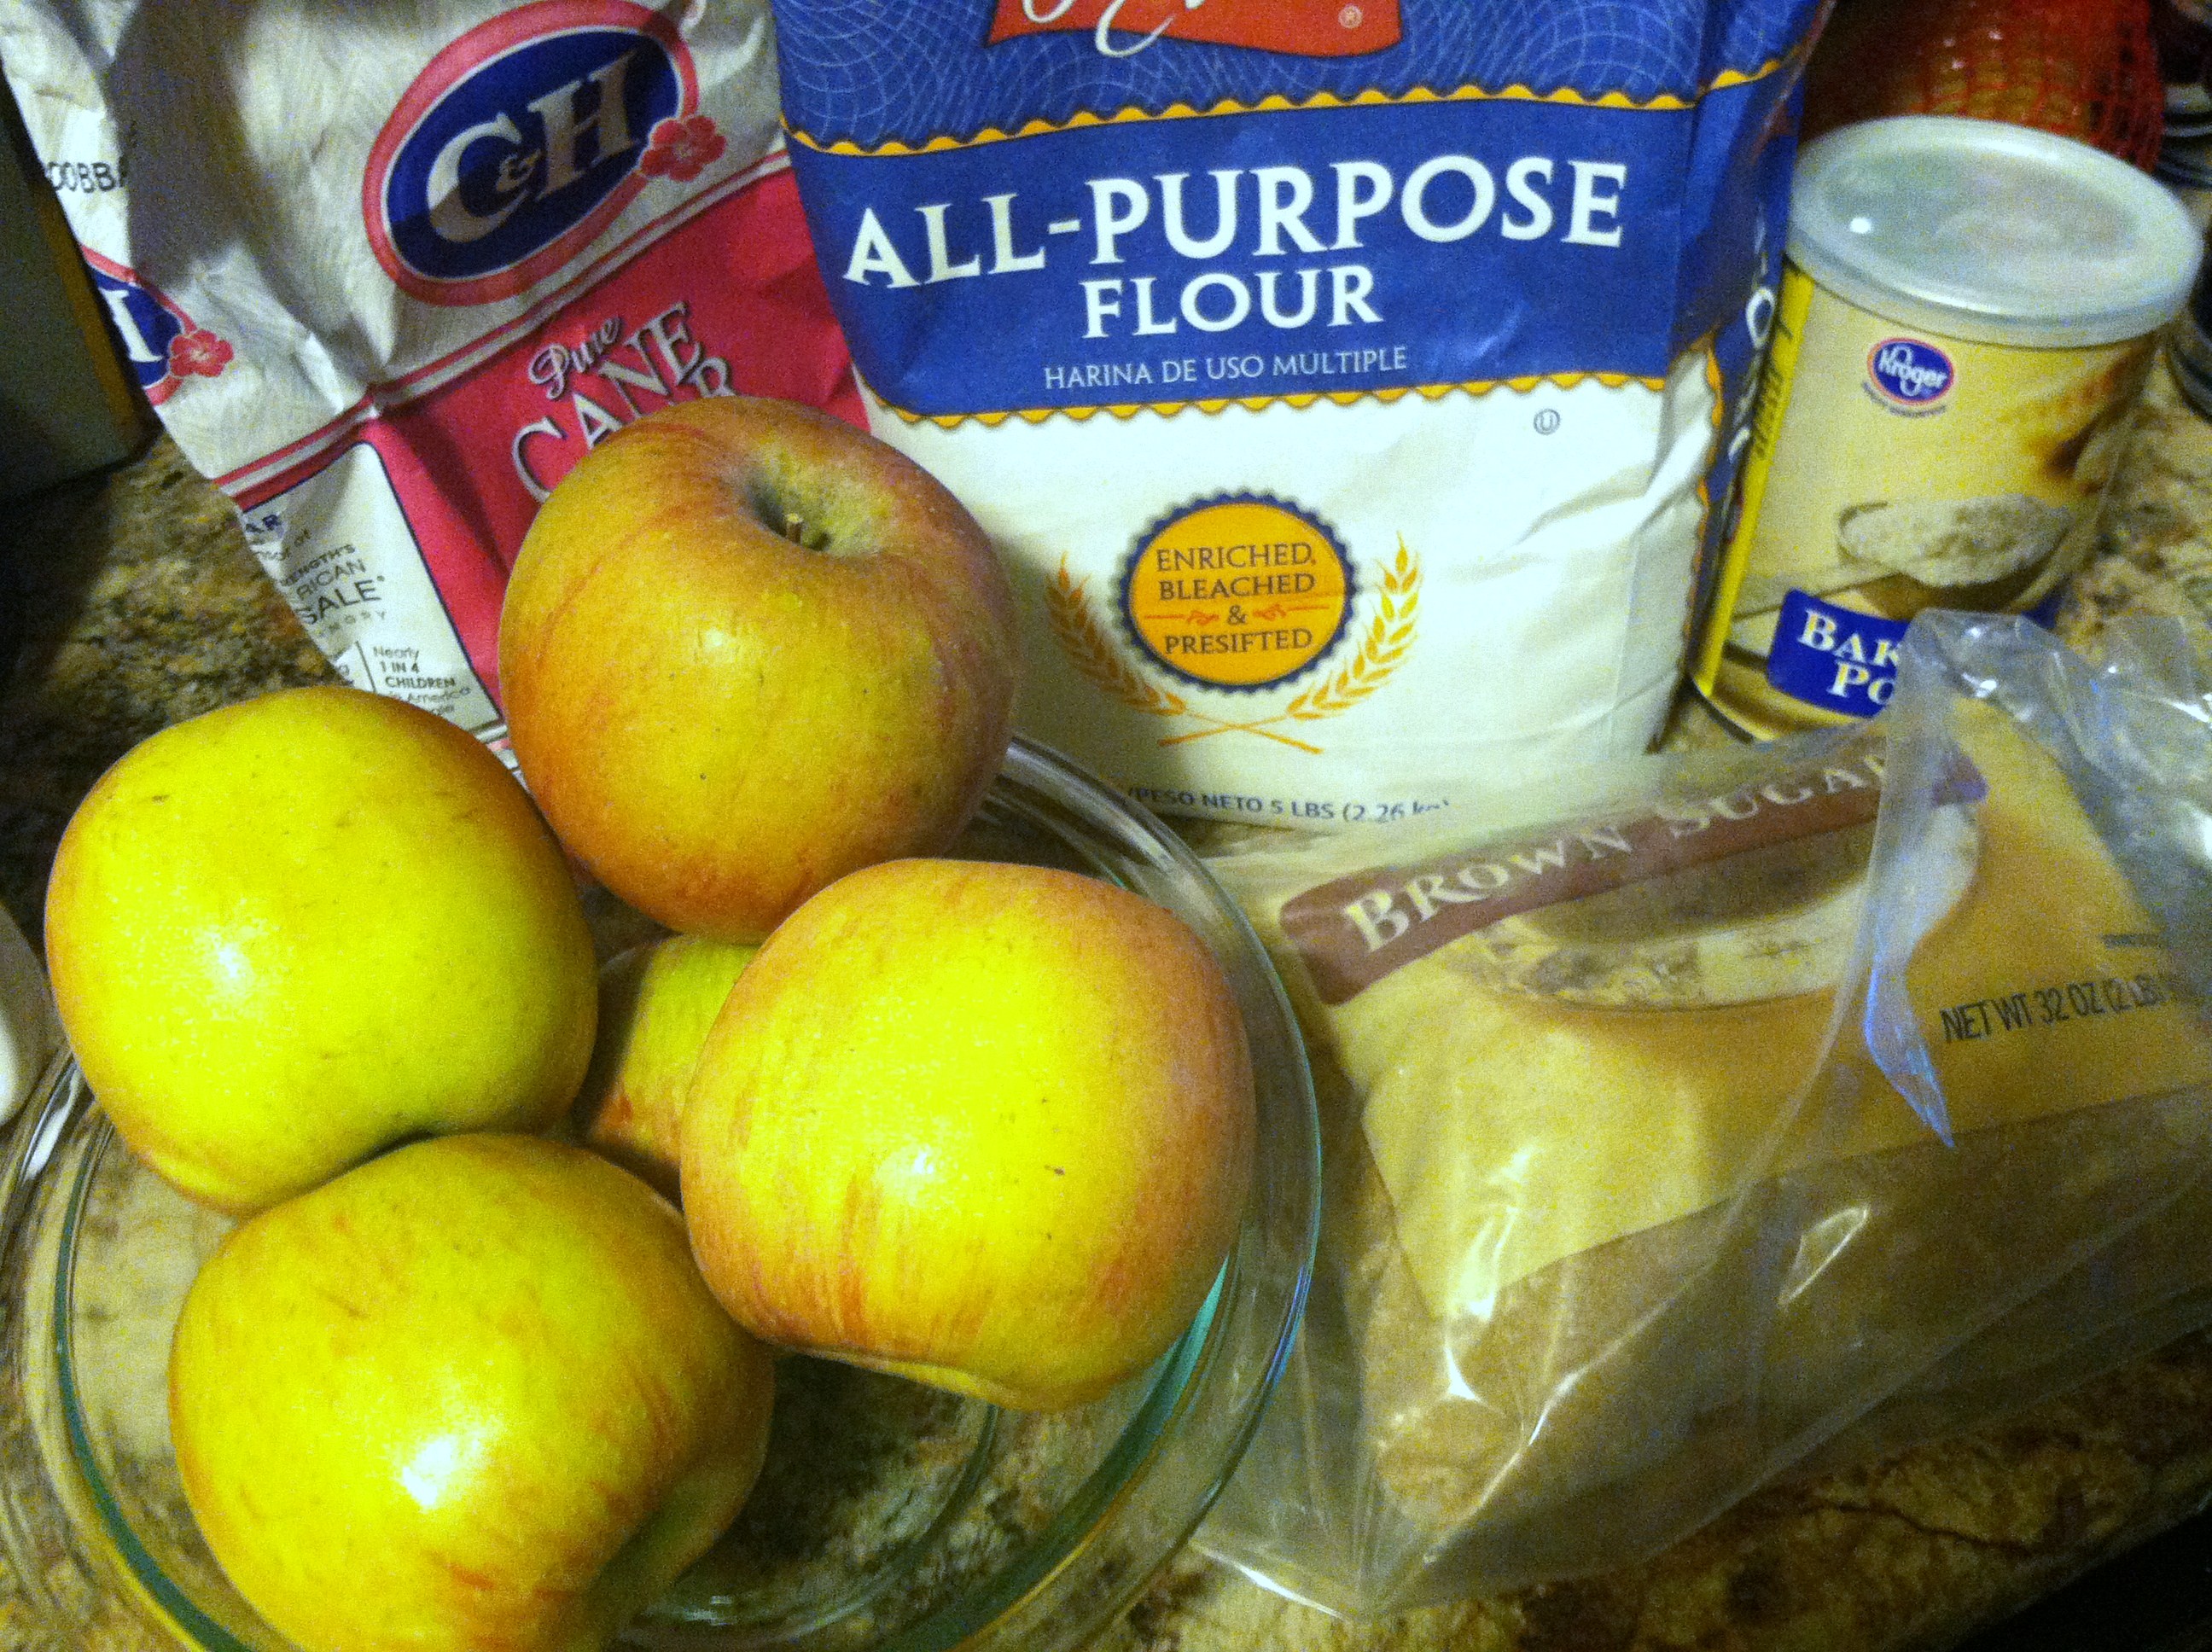
Ingredients:

  • 2-3 pounds apples
  • 1 cup flour
  • 1/3 cup sugar
  • 1/3 cup brown sugar
  • 1 tbsp baking powder
  • 1 cup oats
  • 1 stick butter
  • 1 tbsp vanilla
  • 1/2 tbsp cinnamon
  • 1/2 tbsp nutmeg

IMG_4517

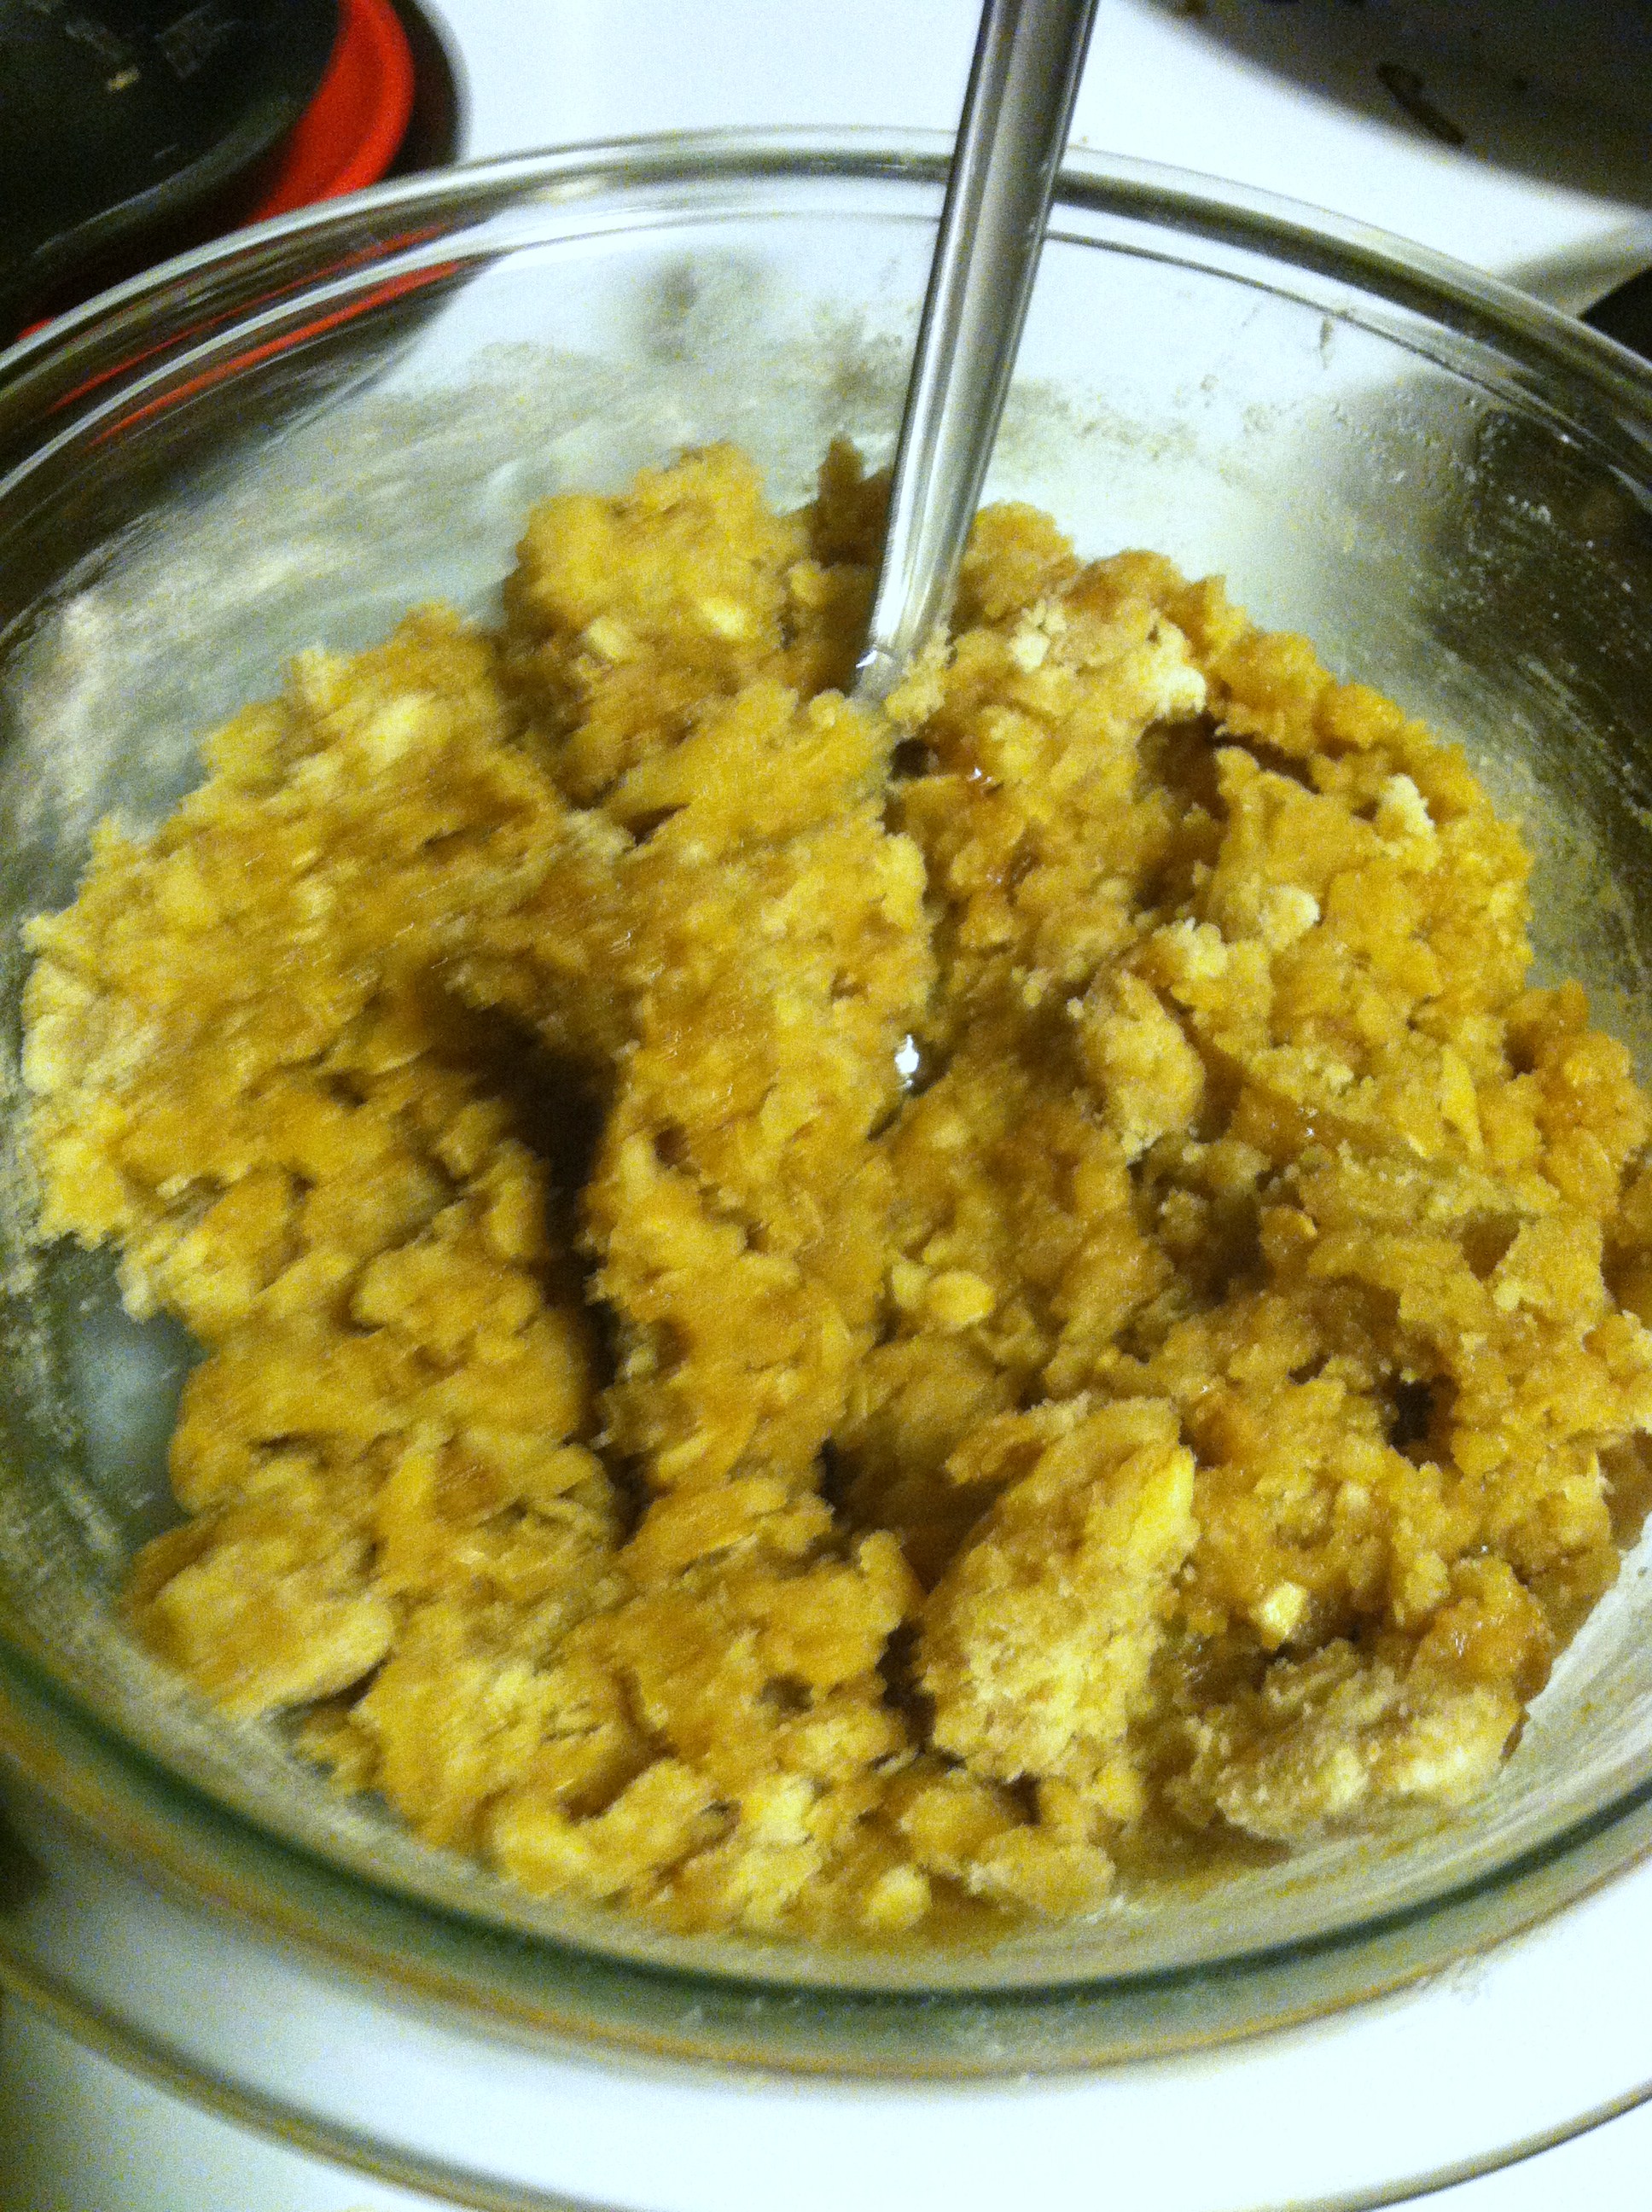
Step 1: In a large bowl, mix the oats, flour, sugar, baking powder, and half the cinnamon and nutmeg.

IMG_4518

Step 2: Melt the butter, and mix that in to form a crumbly dough.

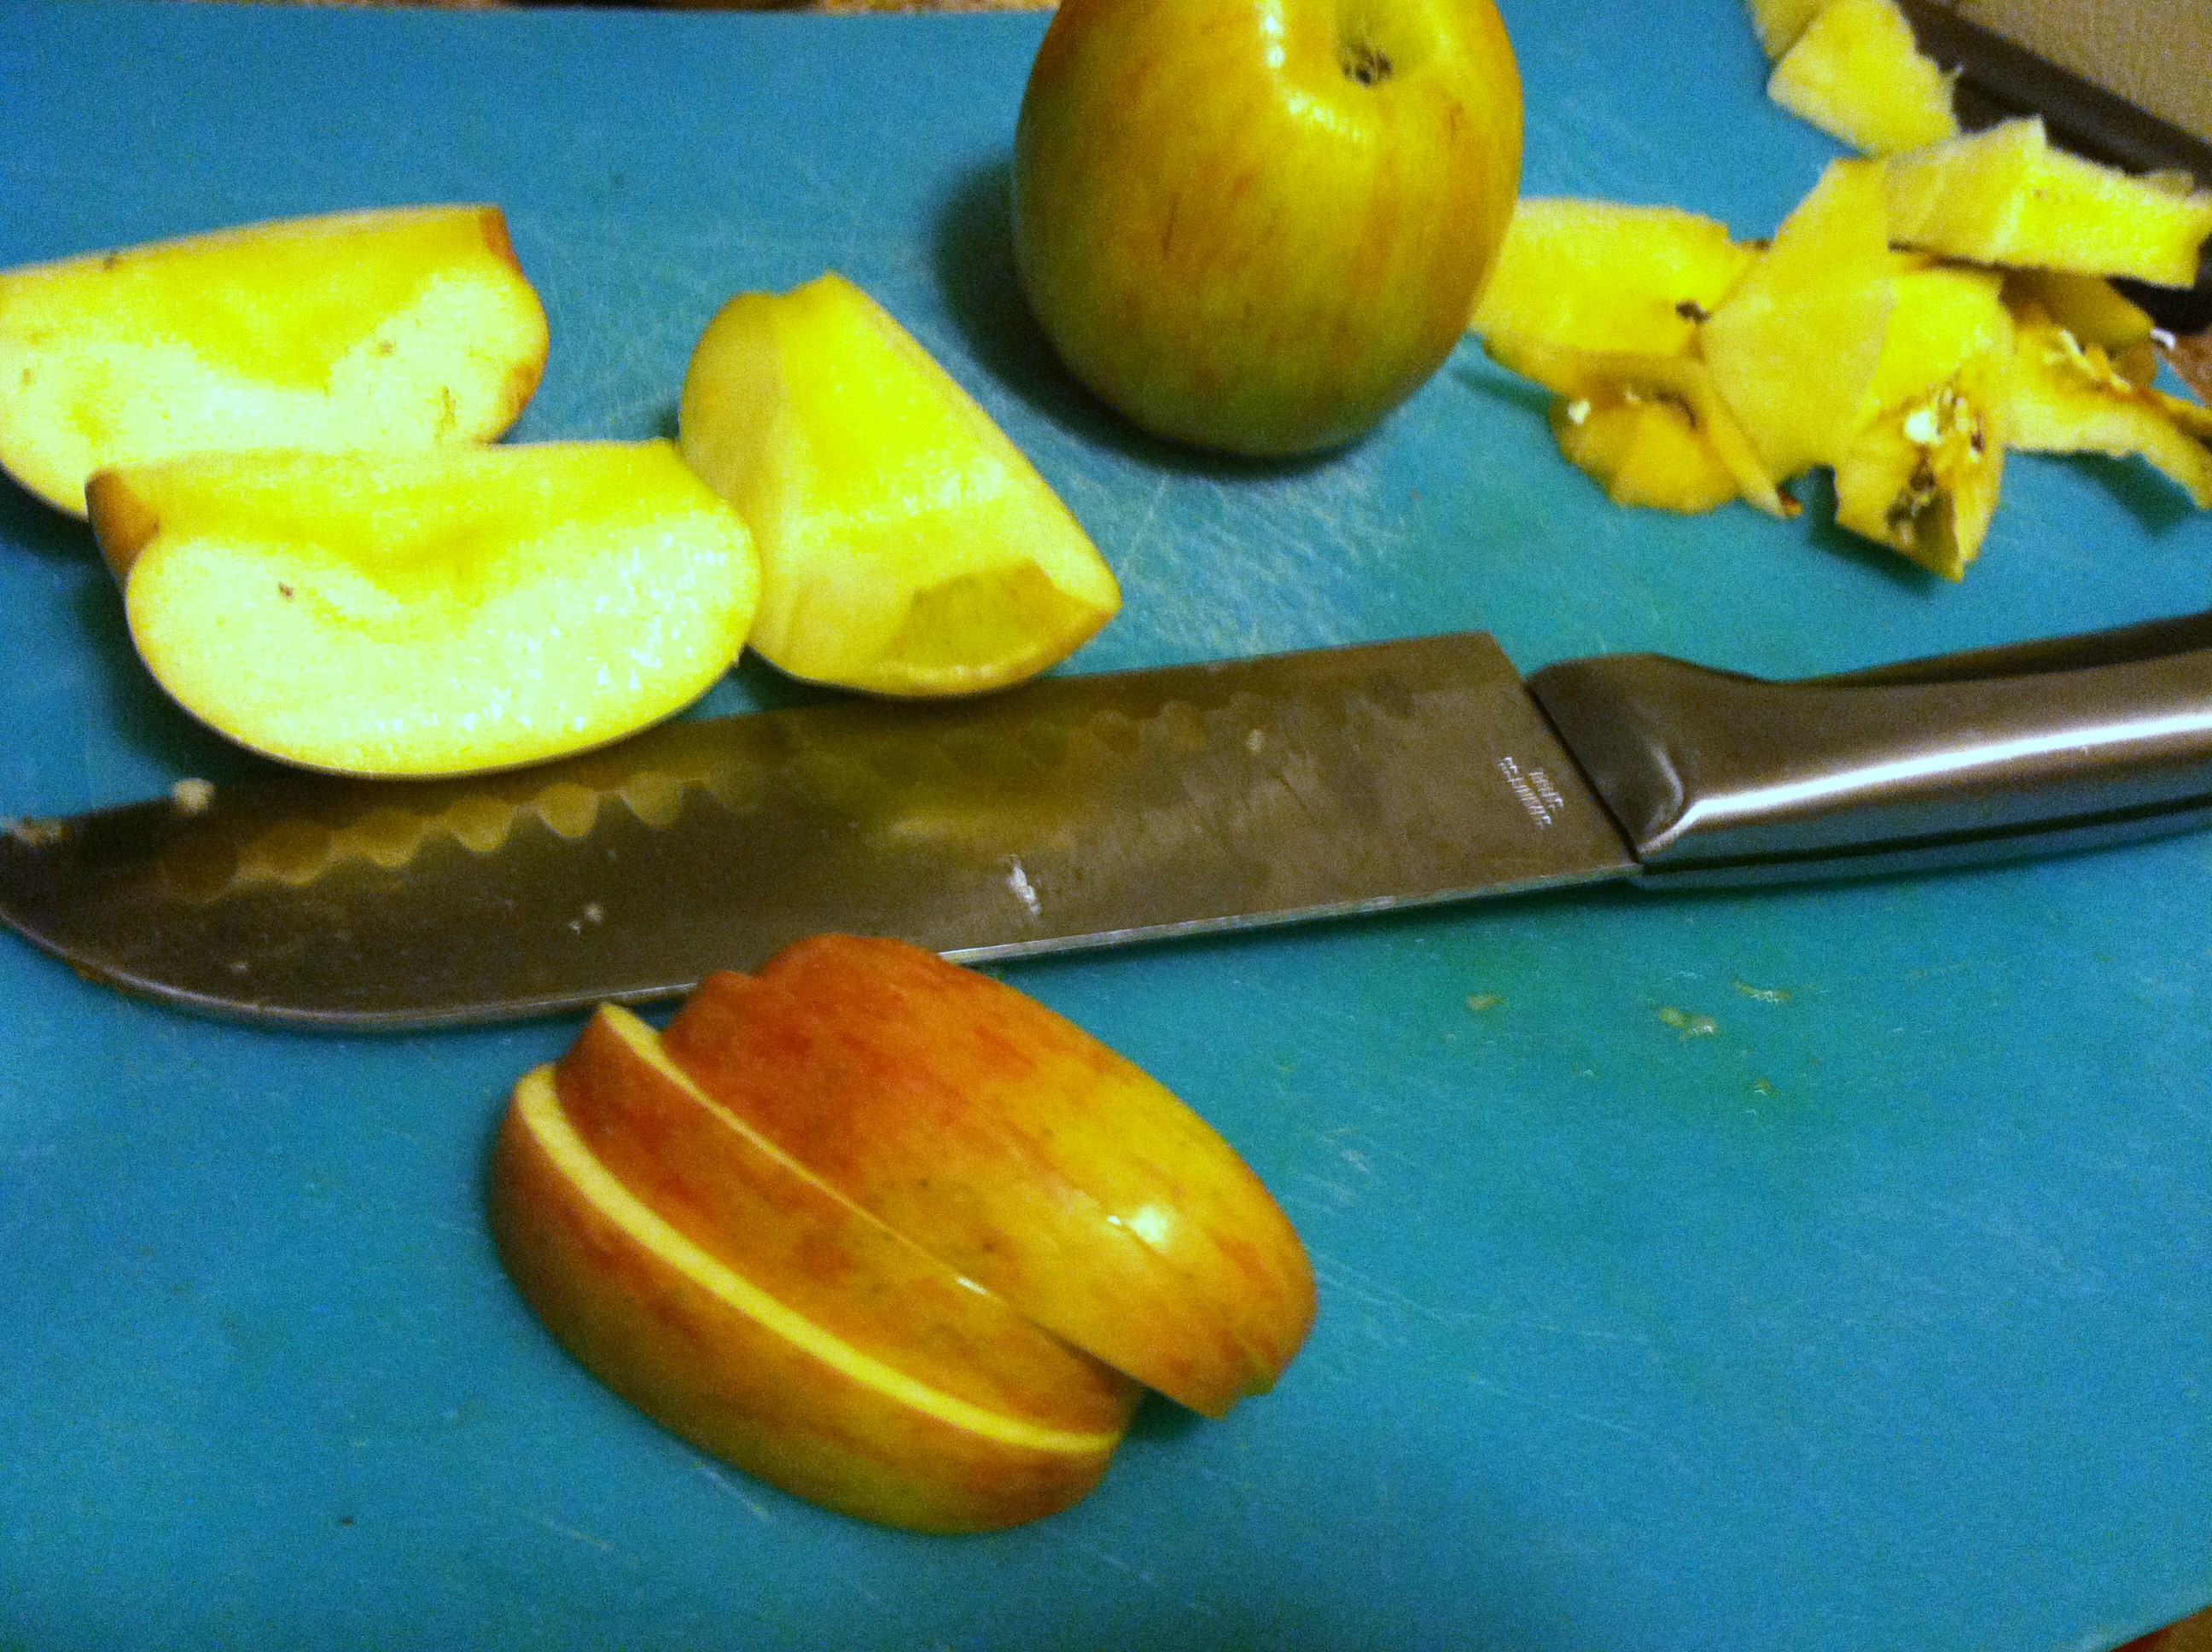
IMG_4521

Step 3: Slice up all the apples. You can peel them first, or leave the peel on. I like leaving the peel on for extra nutrients and texture.

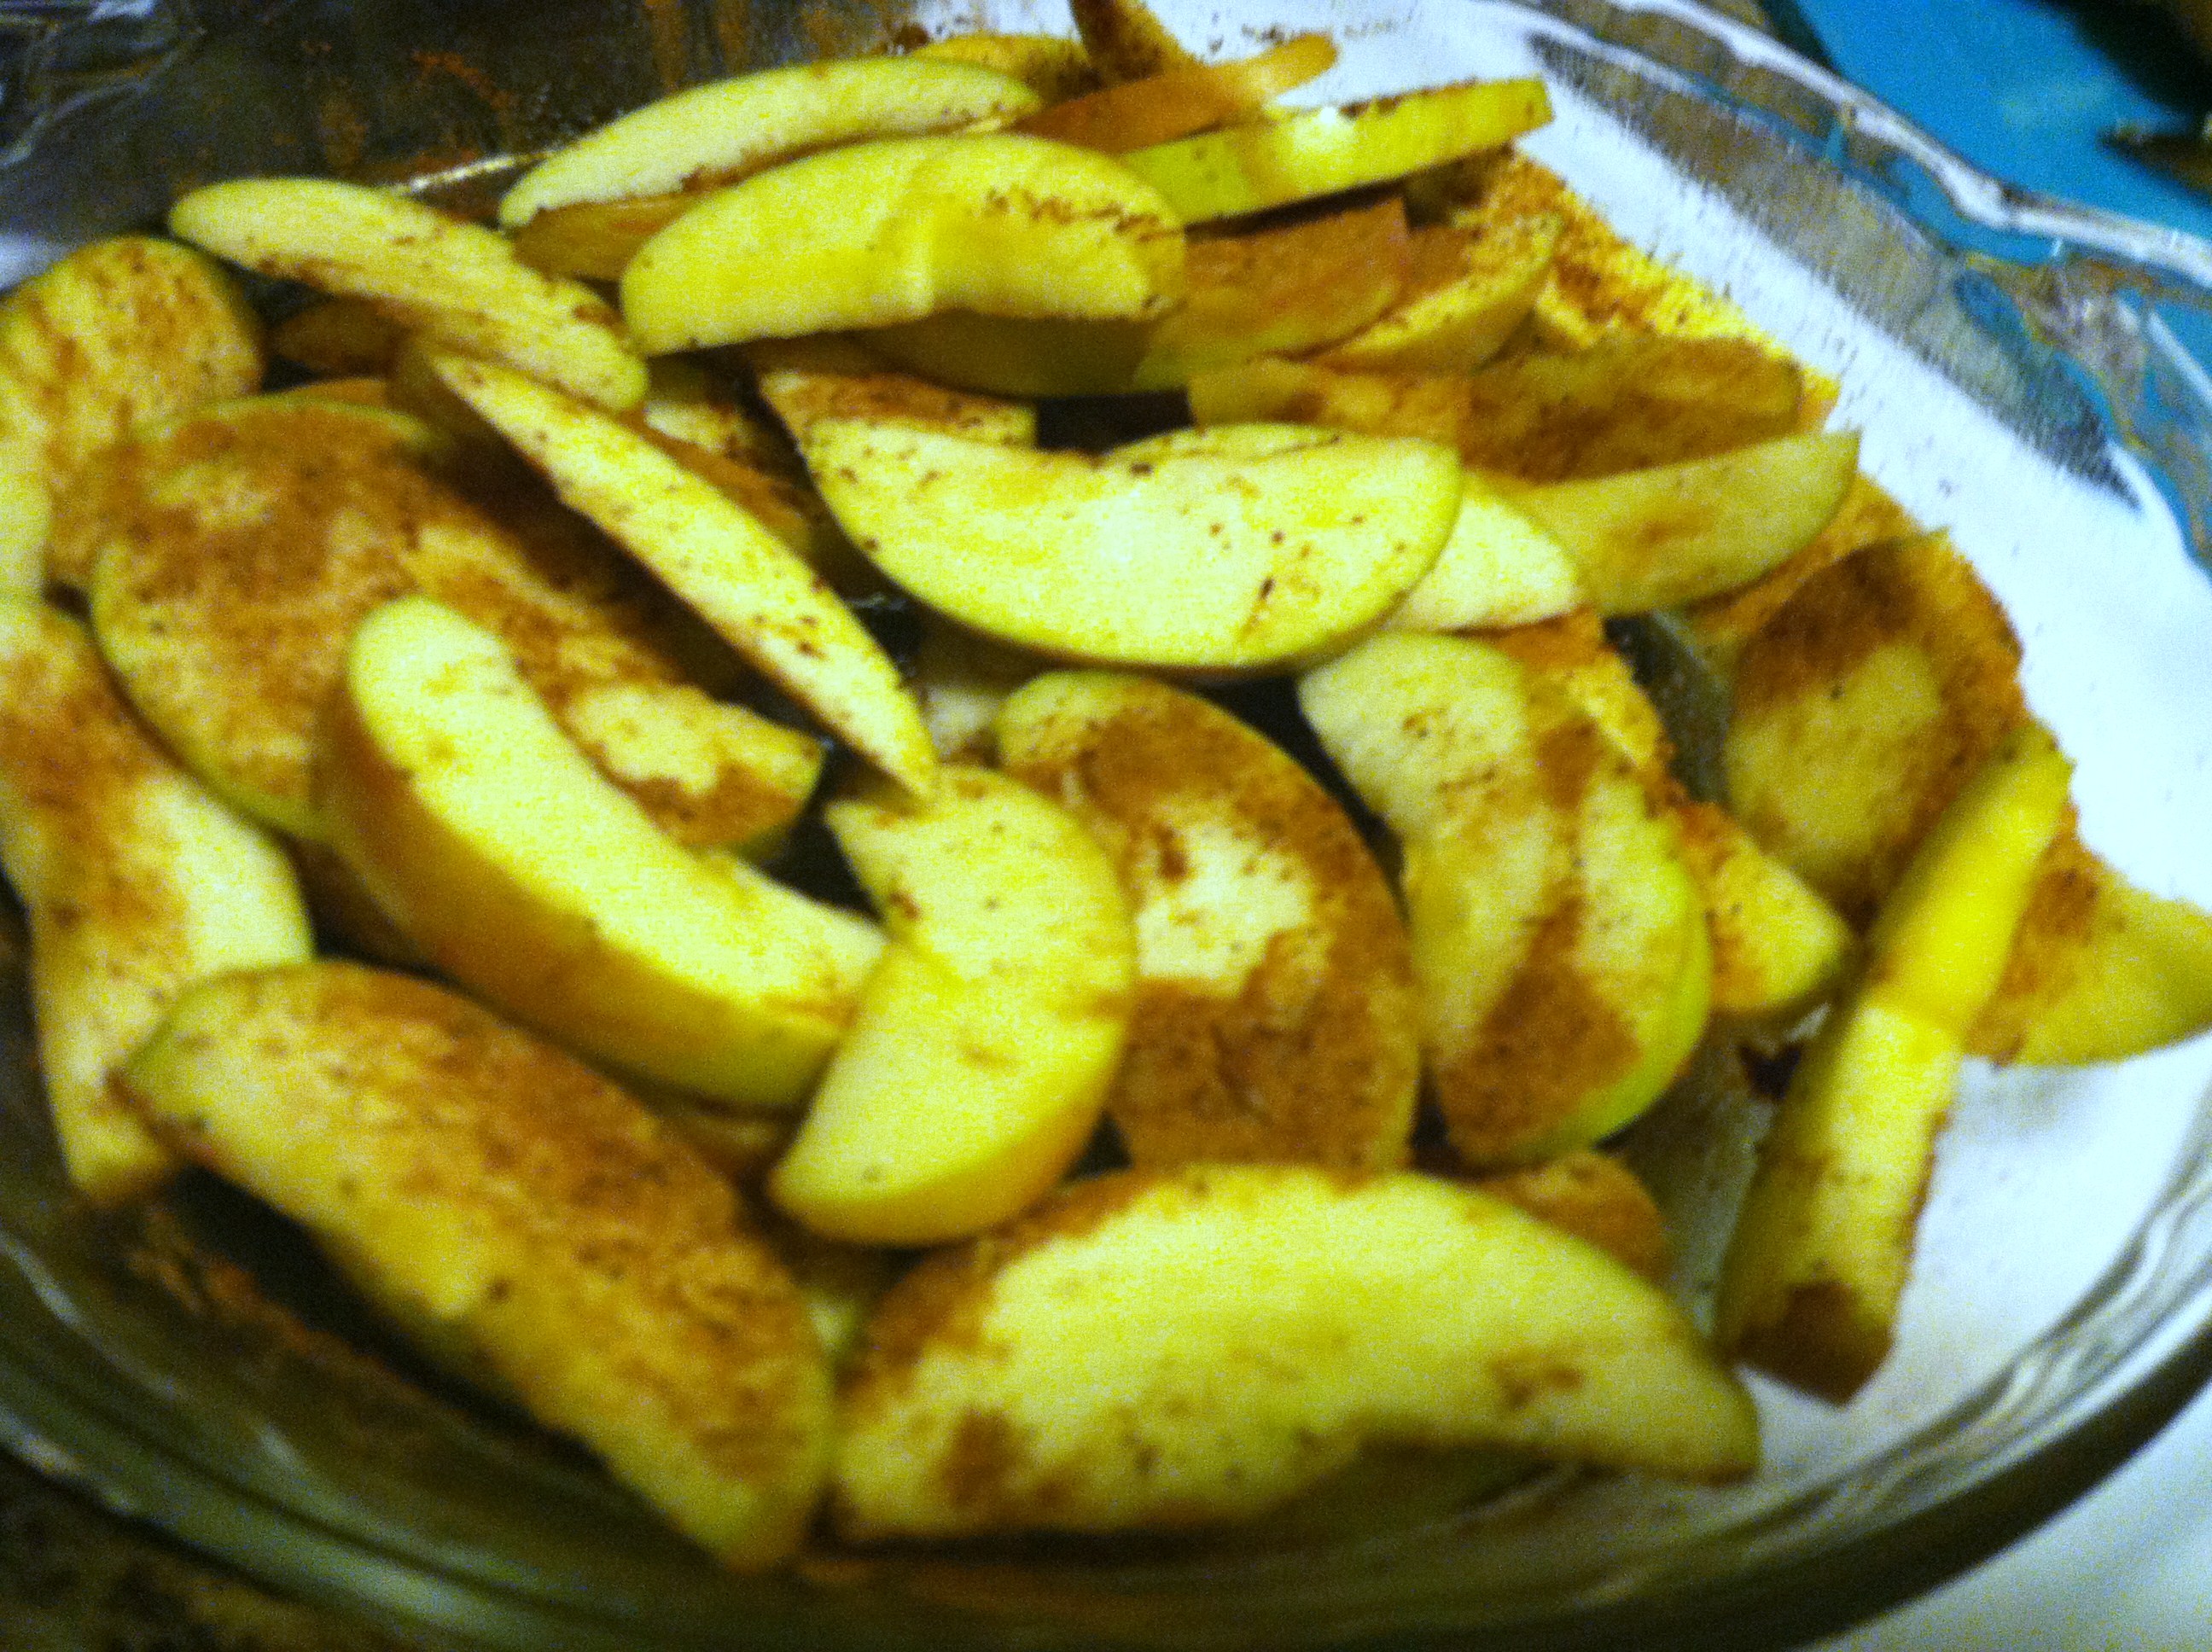
IMG_4519

Step 4: Sprinkle the rest of the cinnamon & nutmeg and a little sugar over the apple slices. Layer them in a sprayed pie pan or 8×8 pan.

IMG_4528

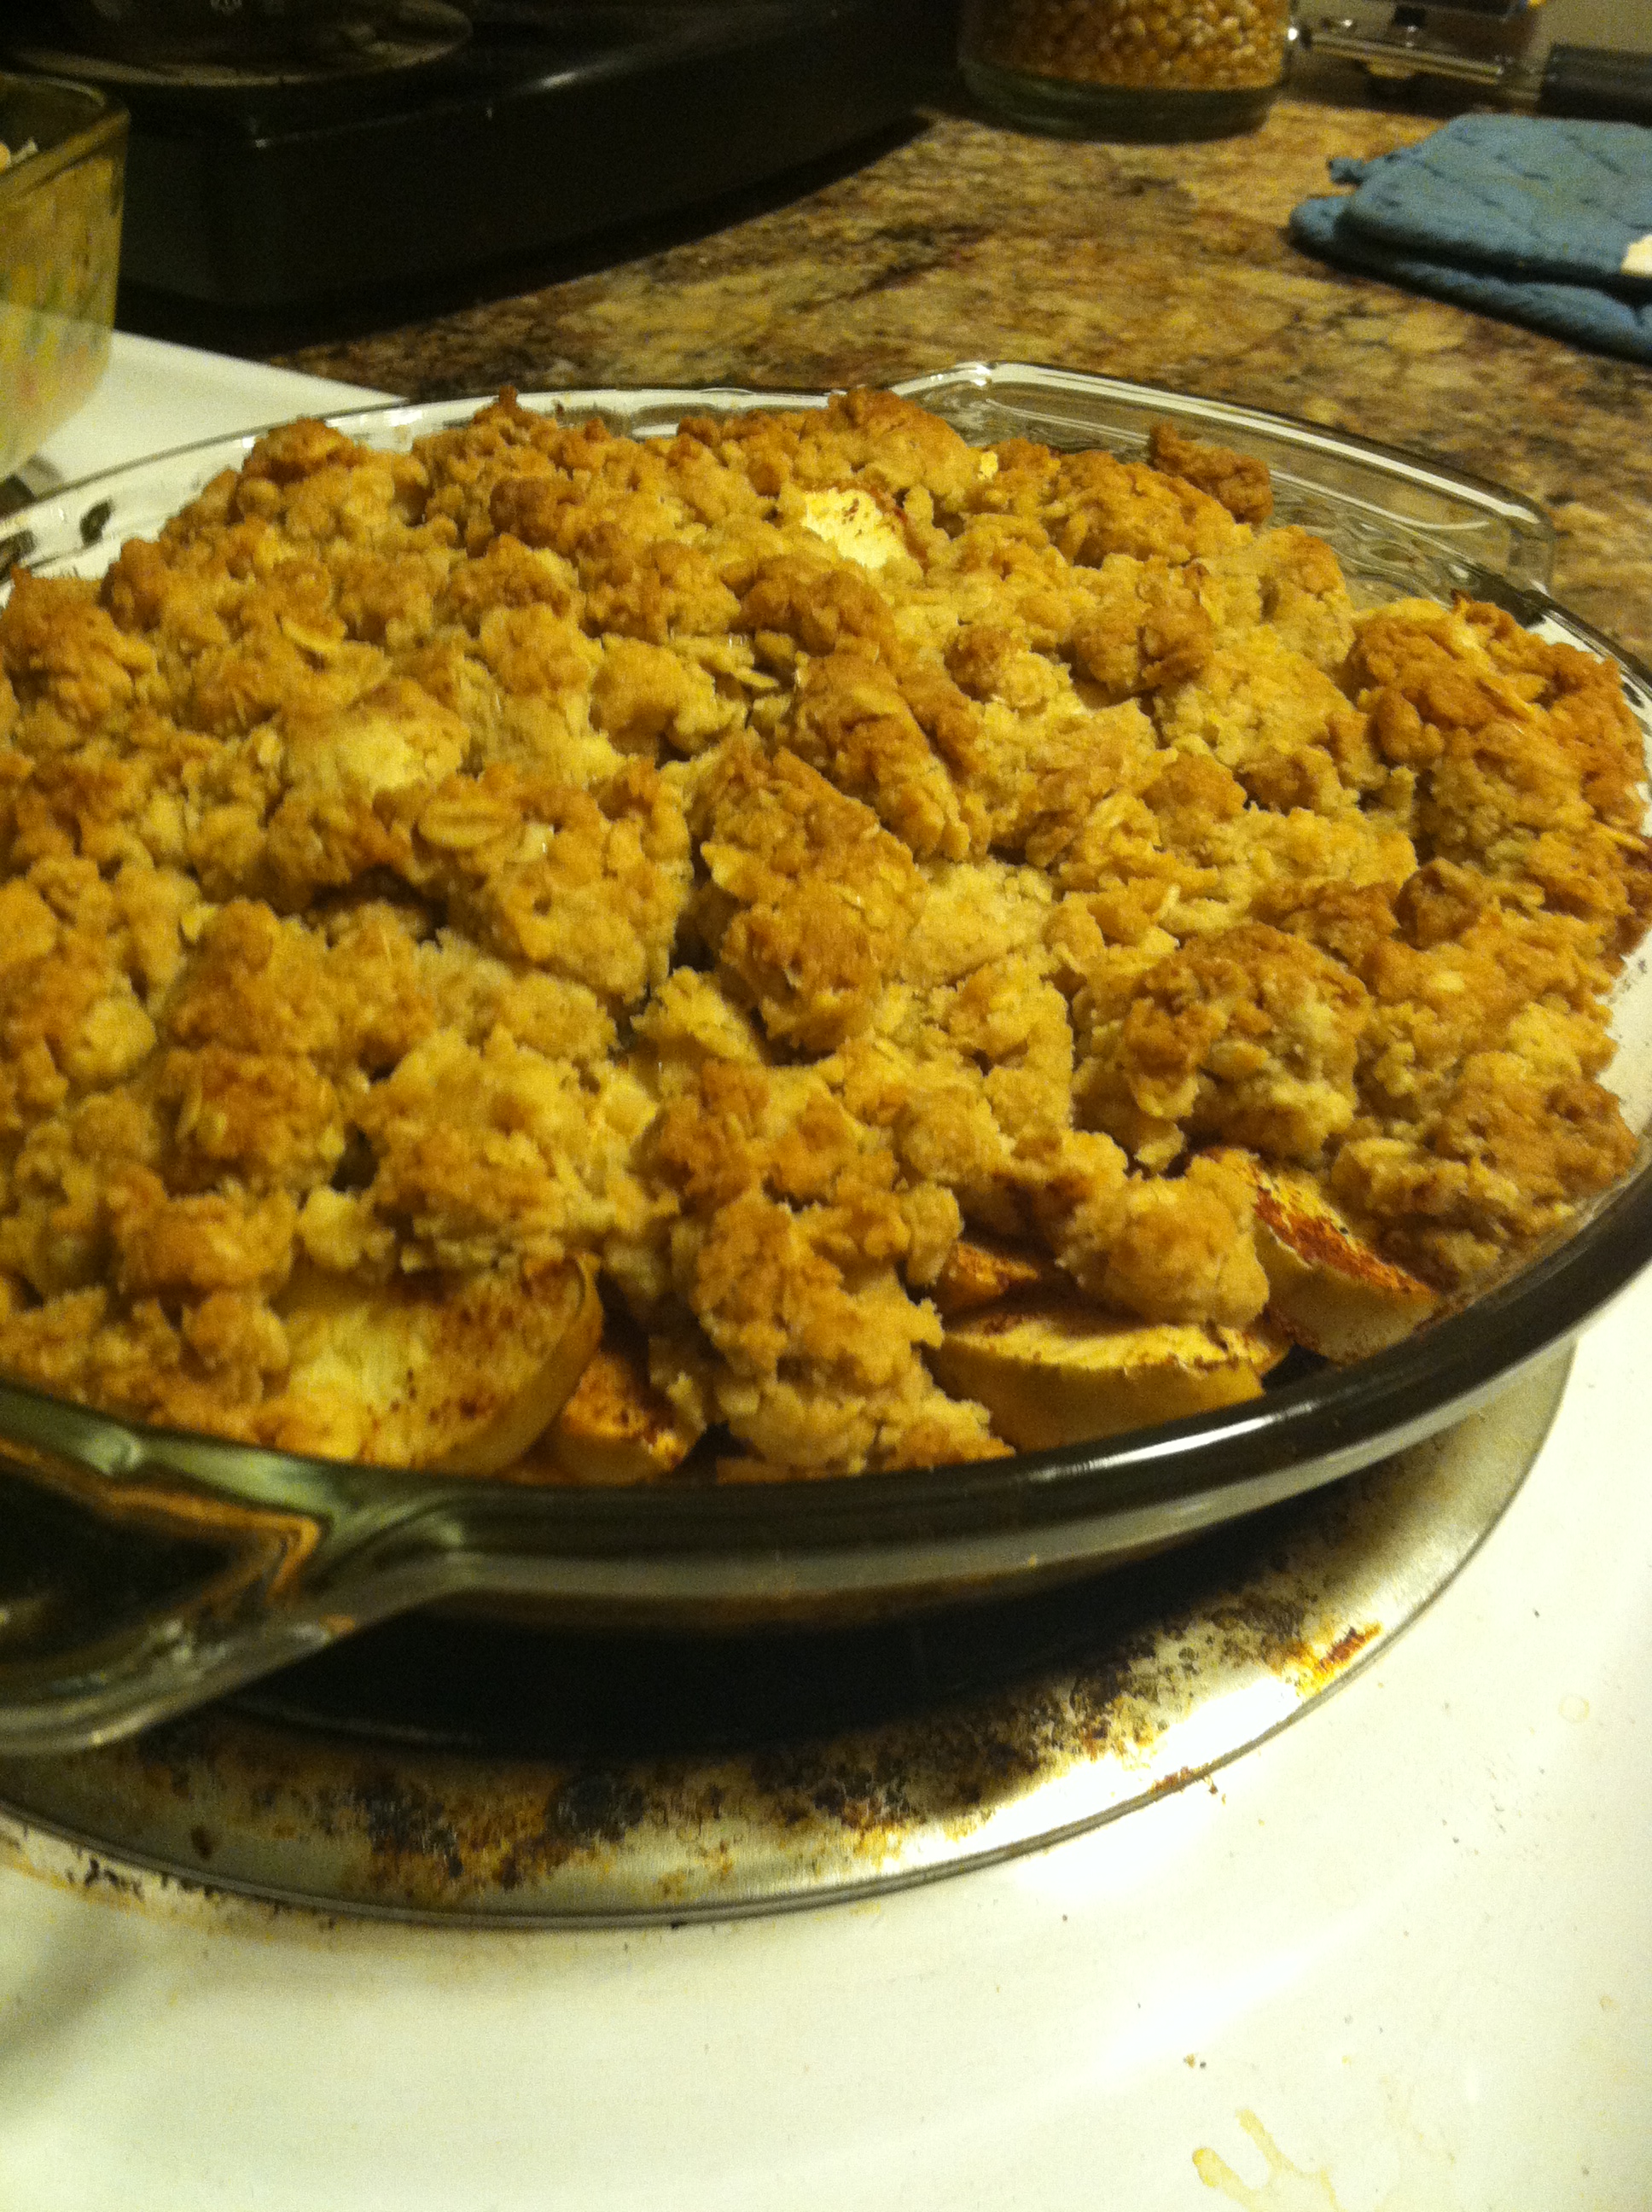
Step 5: Bake at 350 for 45-60 minutes, until top is nicely browned and apples are soft and bubbly.

IMG_4531

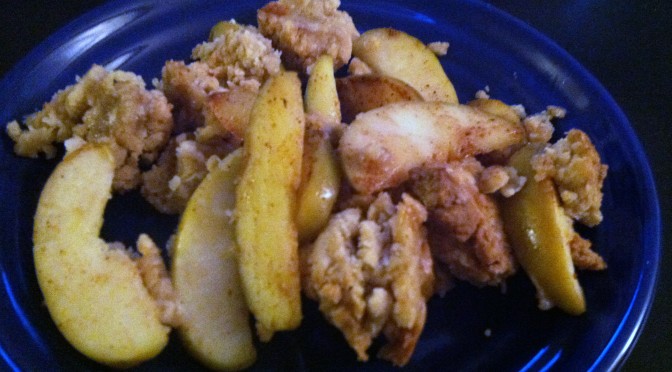
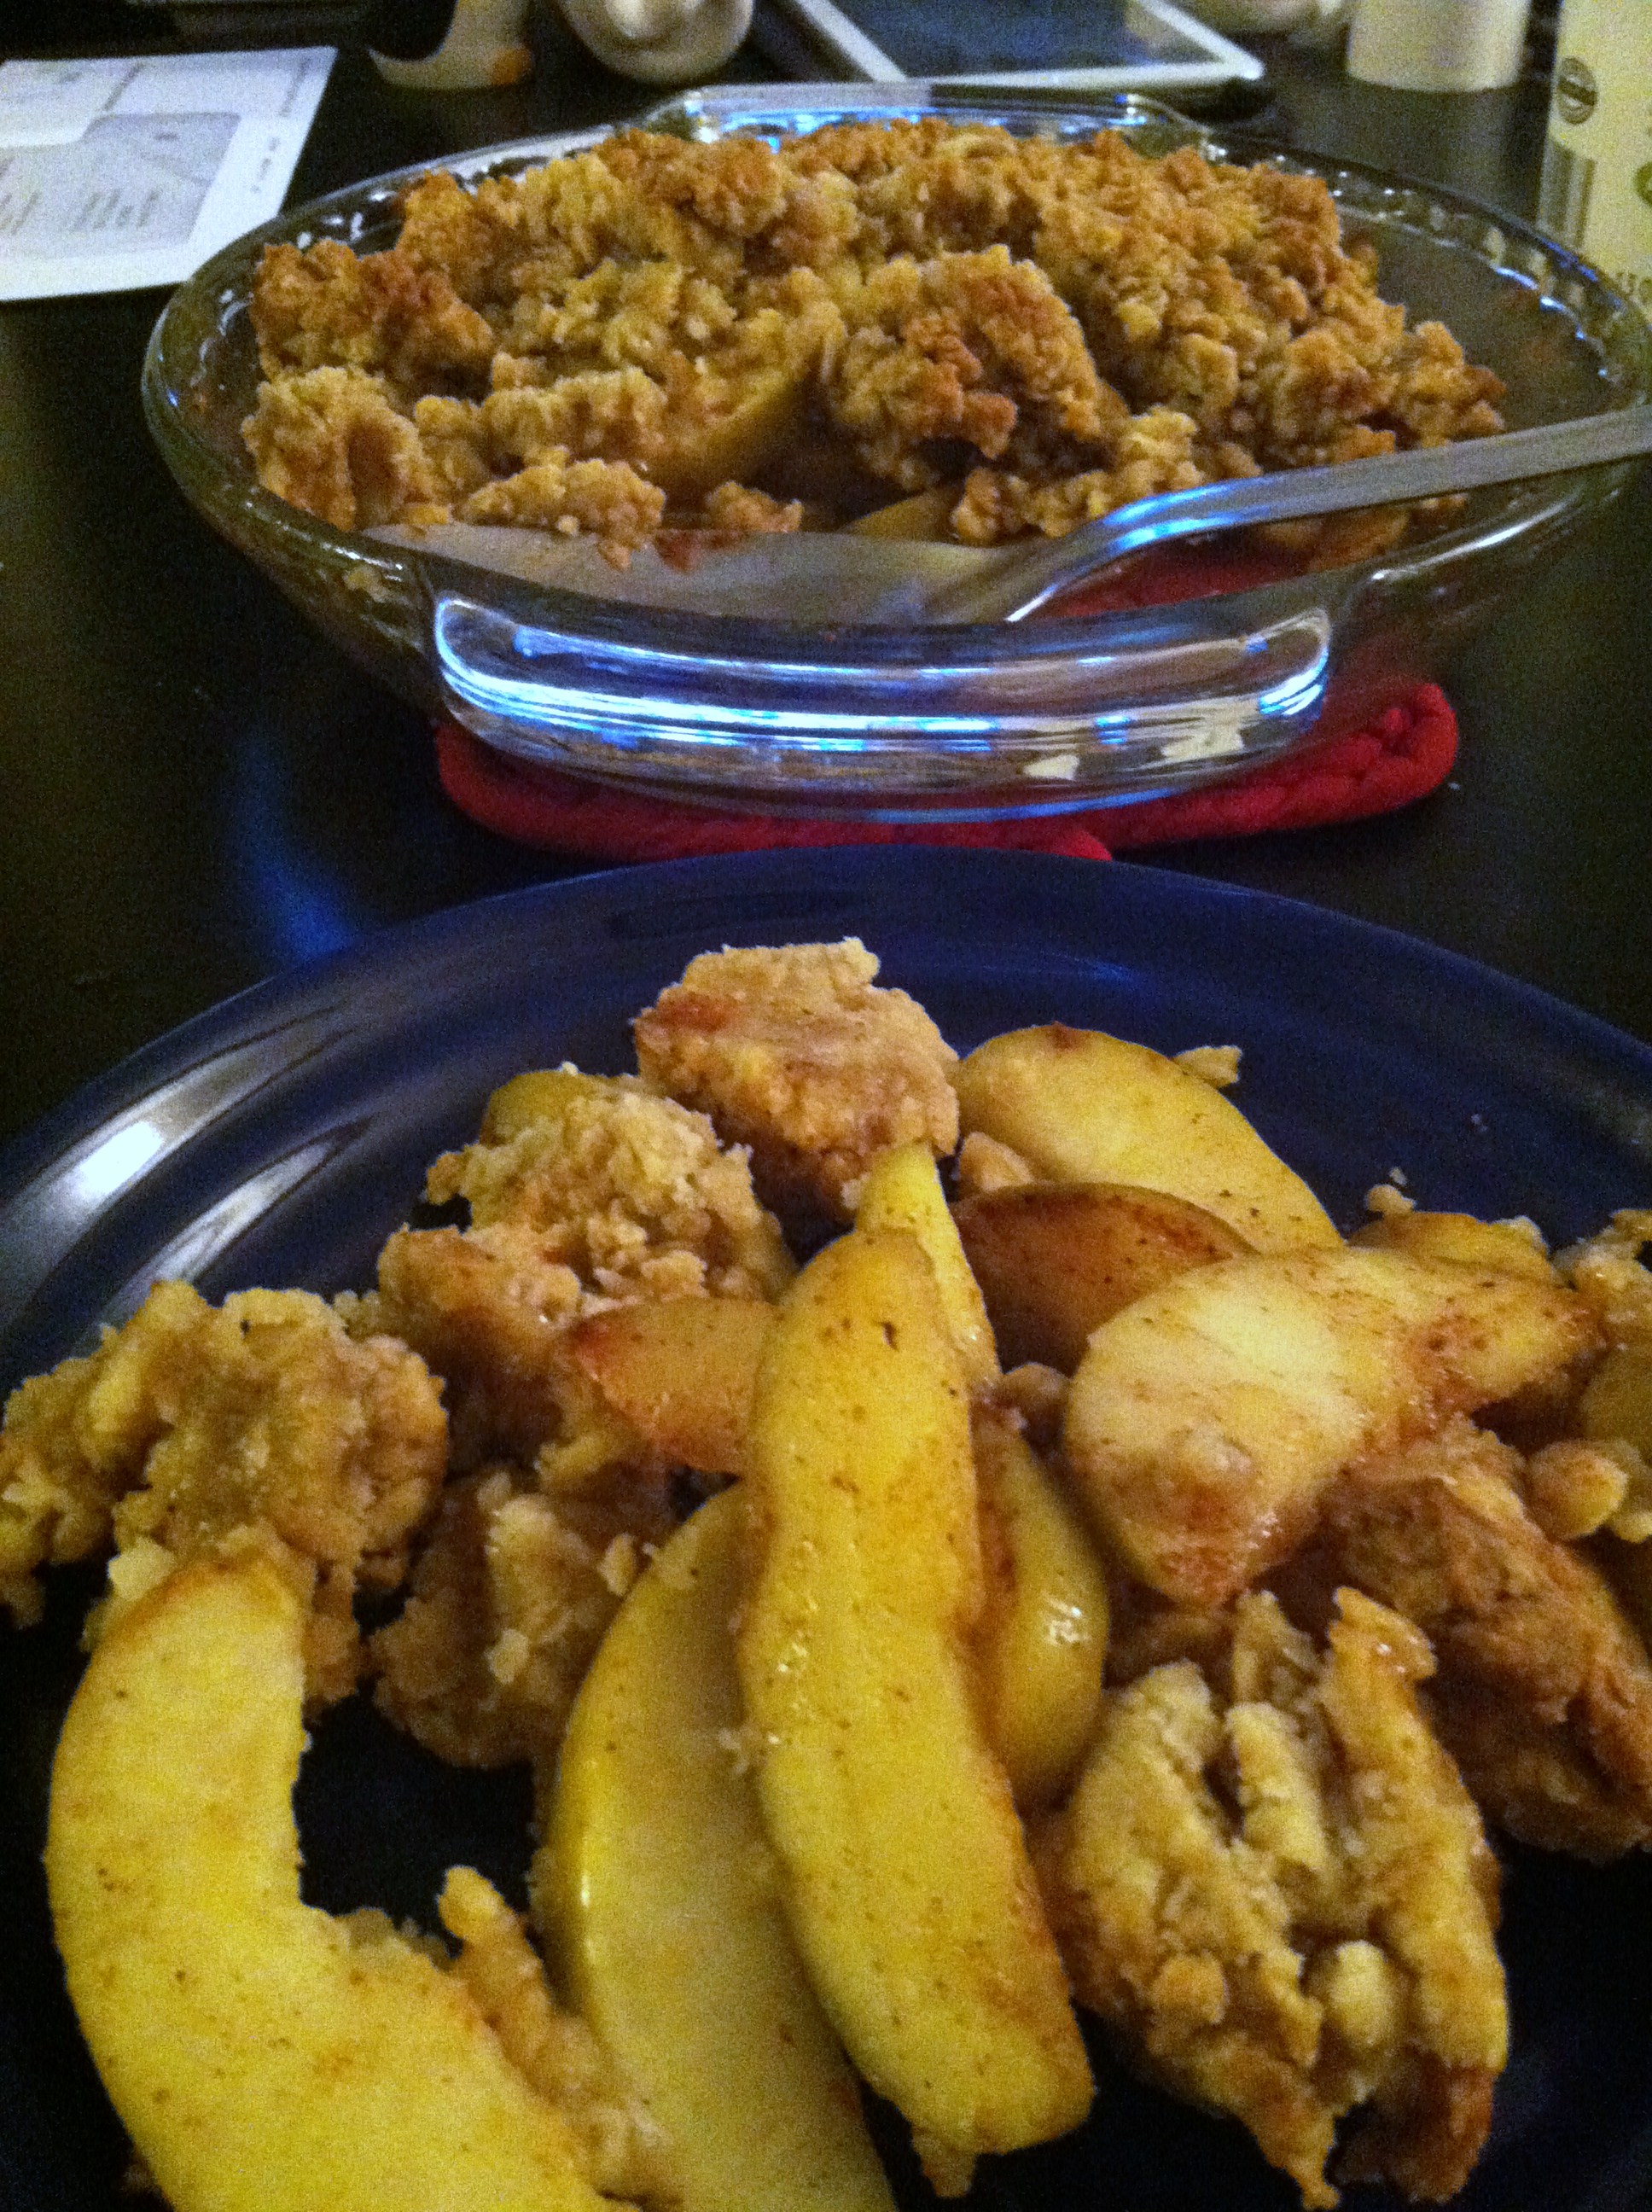
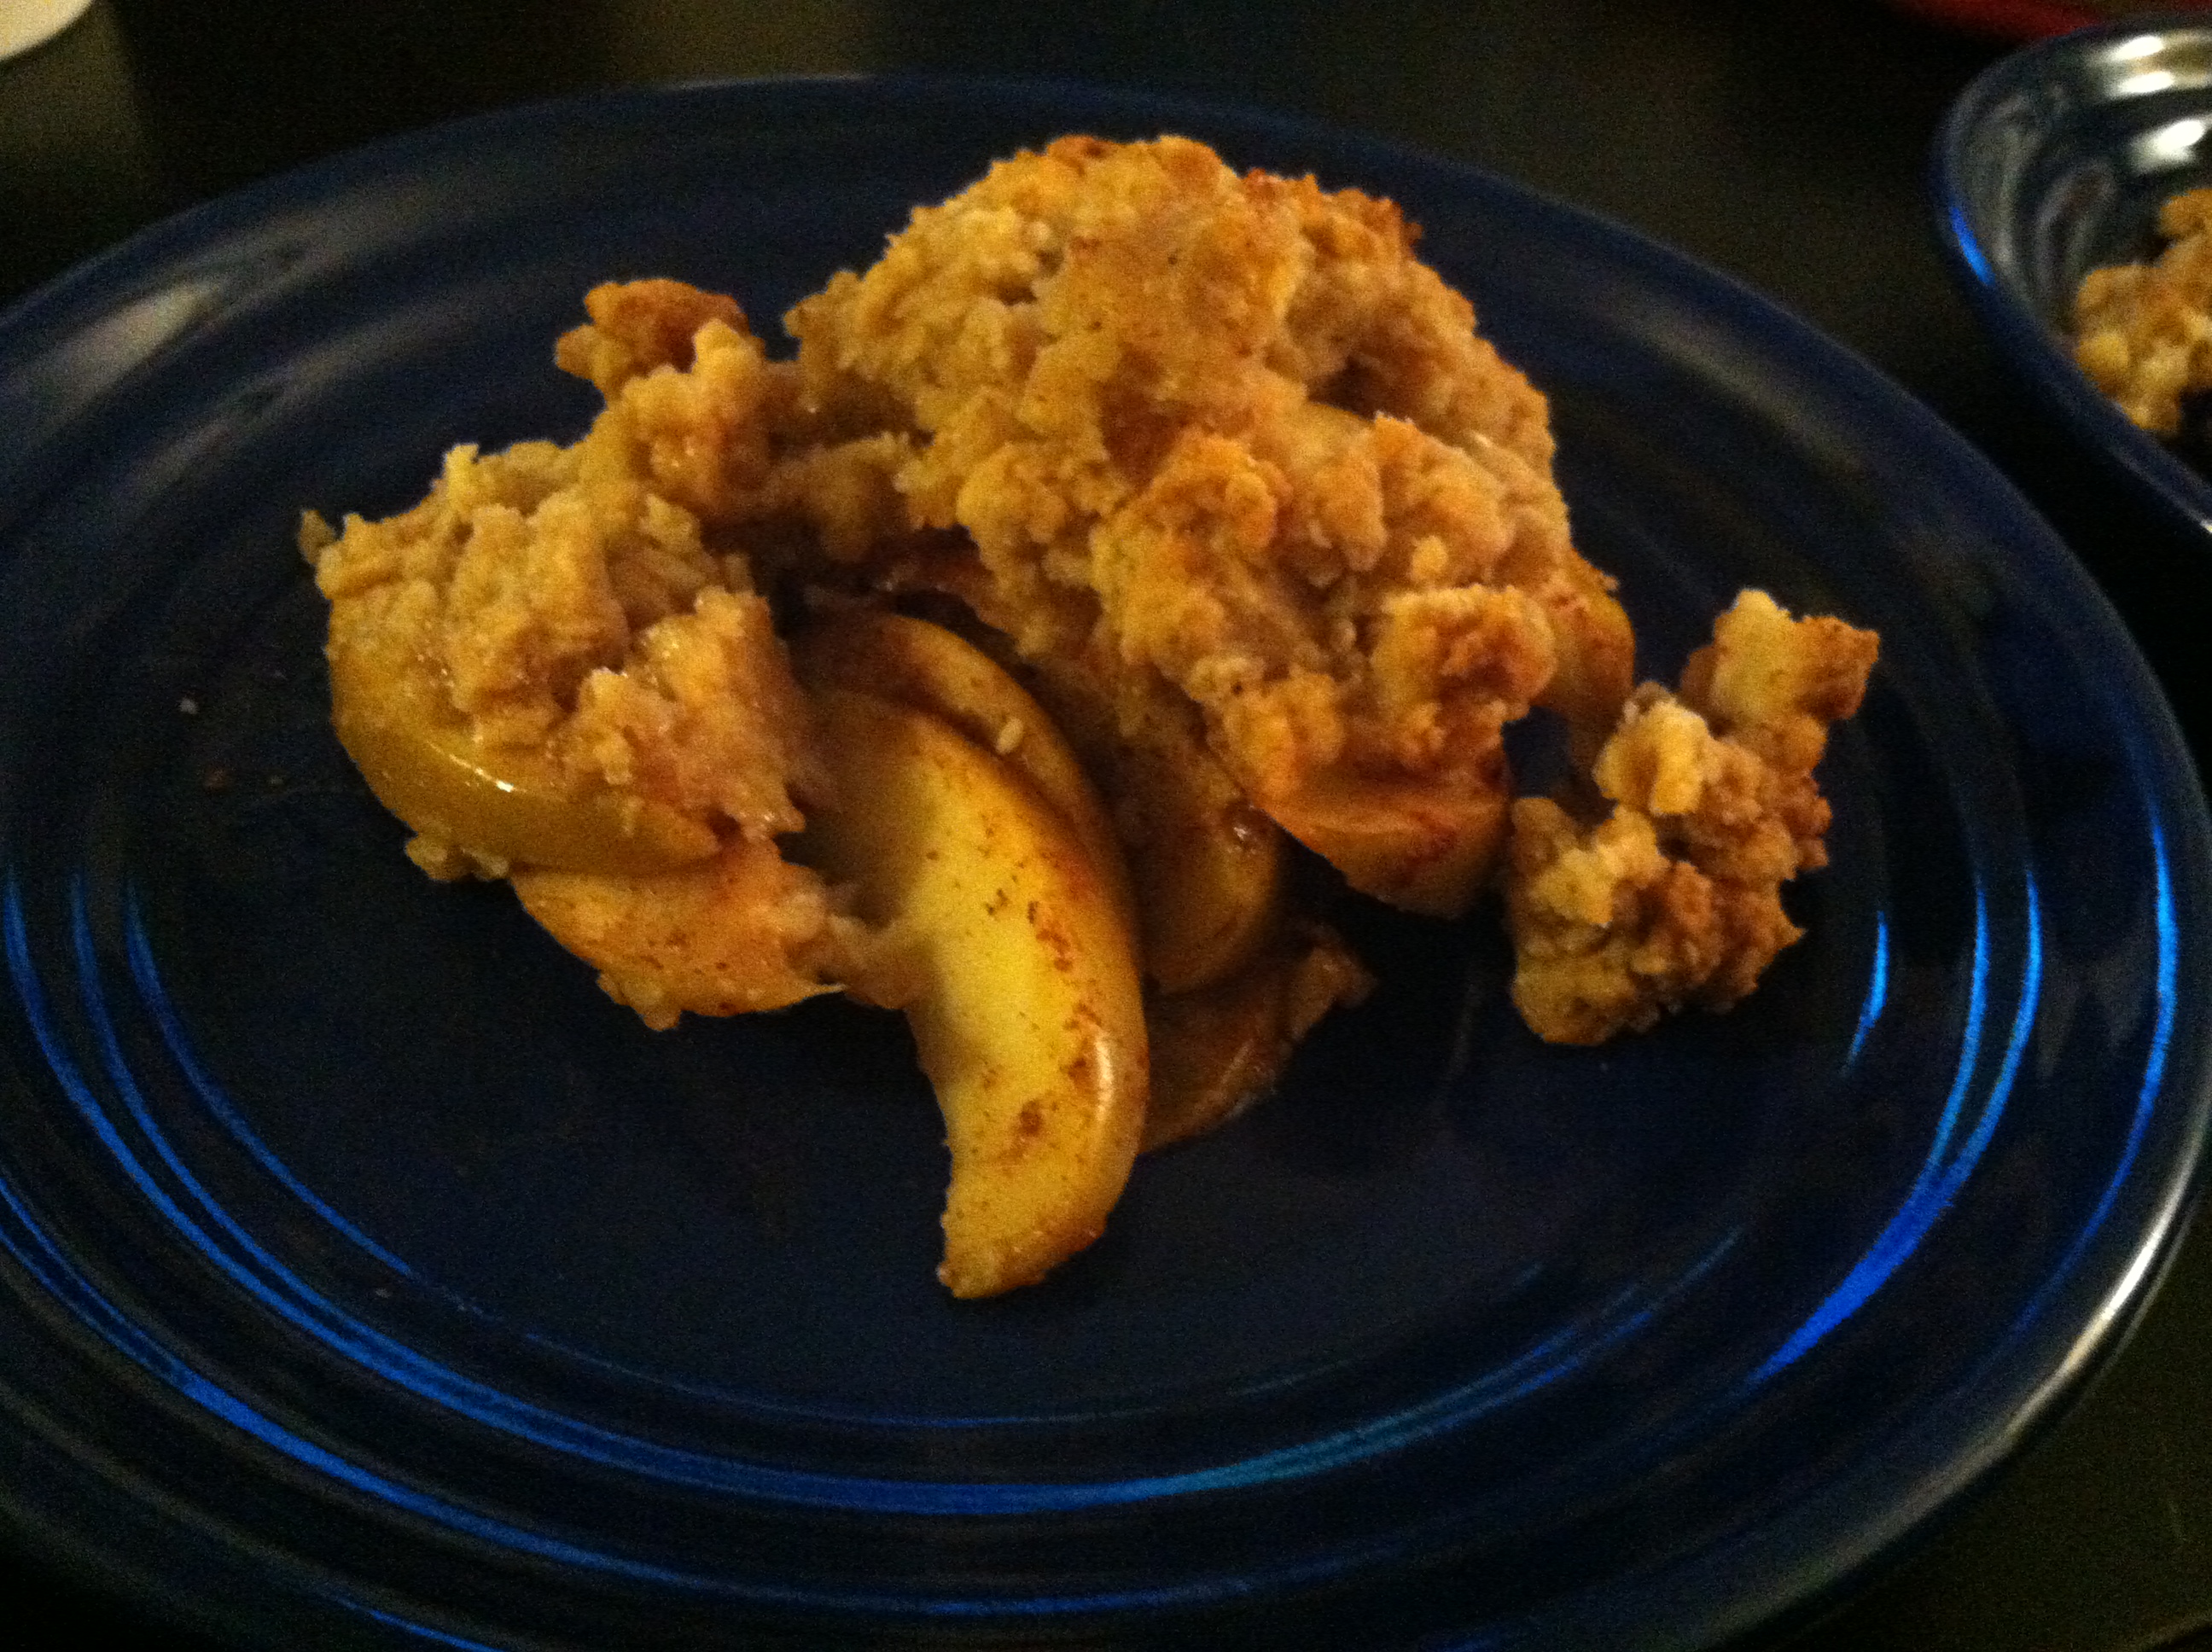
This makes your whole house smell amazing, and it just delicious! Make one today for yourself, your family, friends, a dinner party… and watch everyone fall all over themselves telling you how delicious it was and asking for the recipe.

IMG_4534

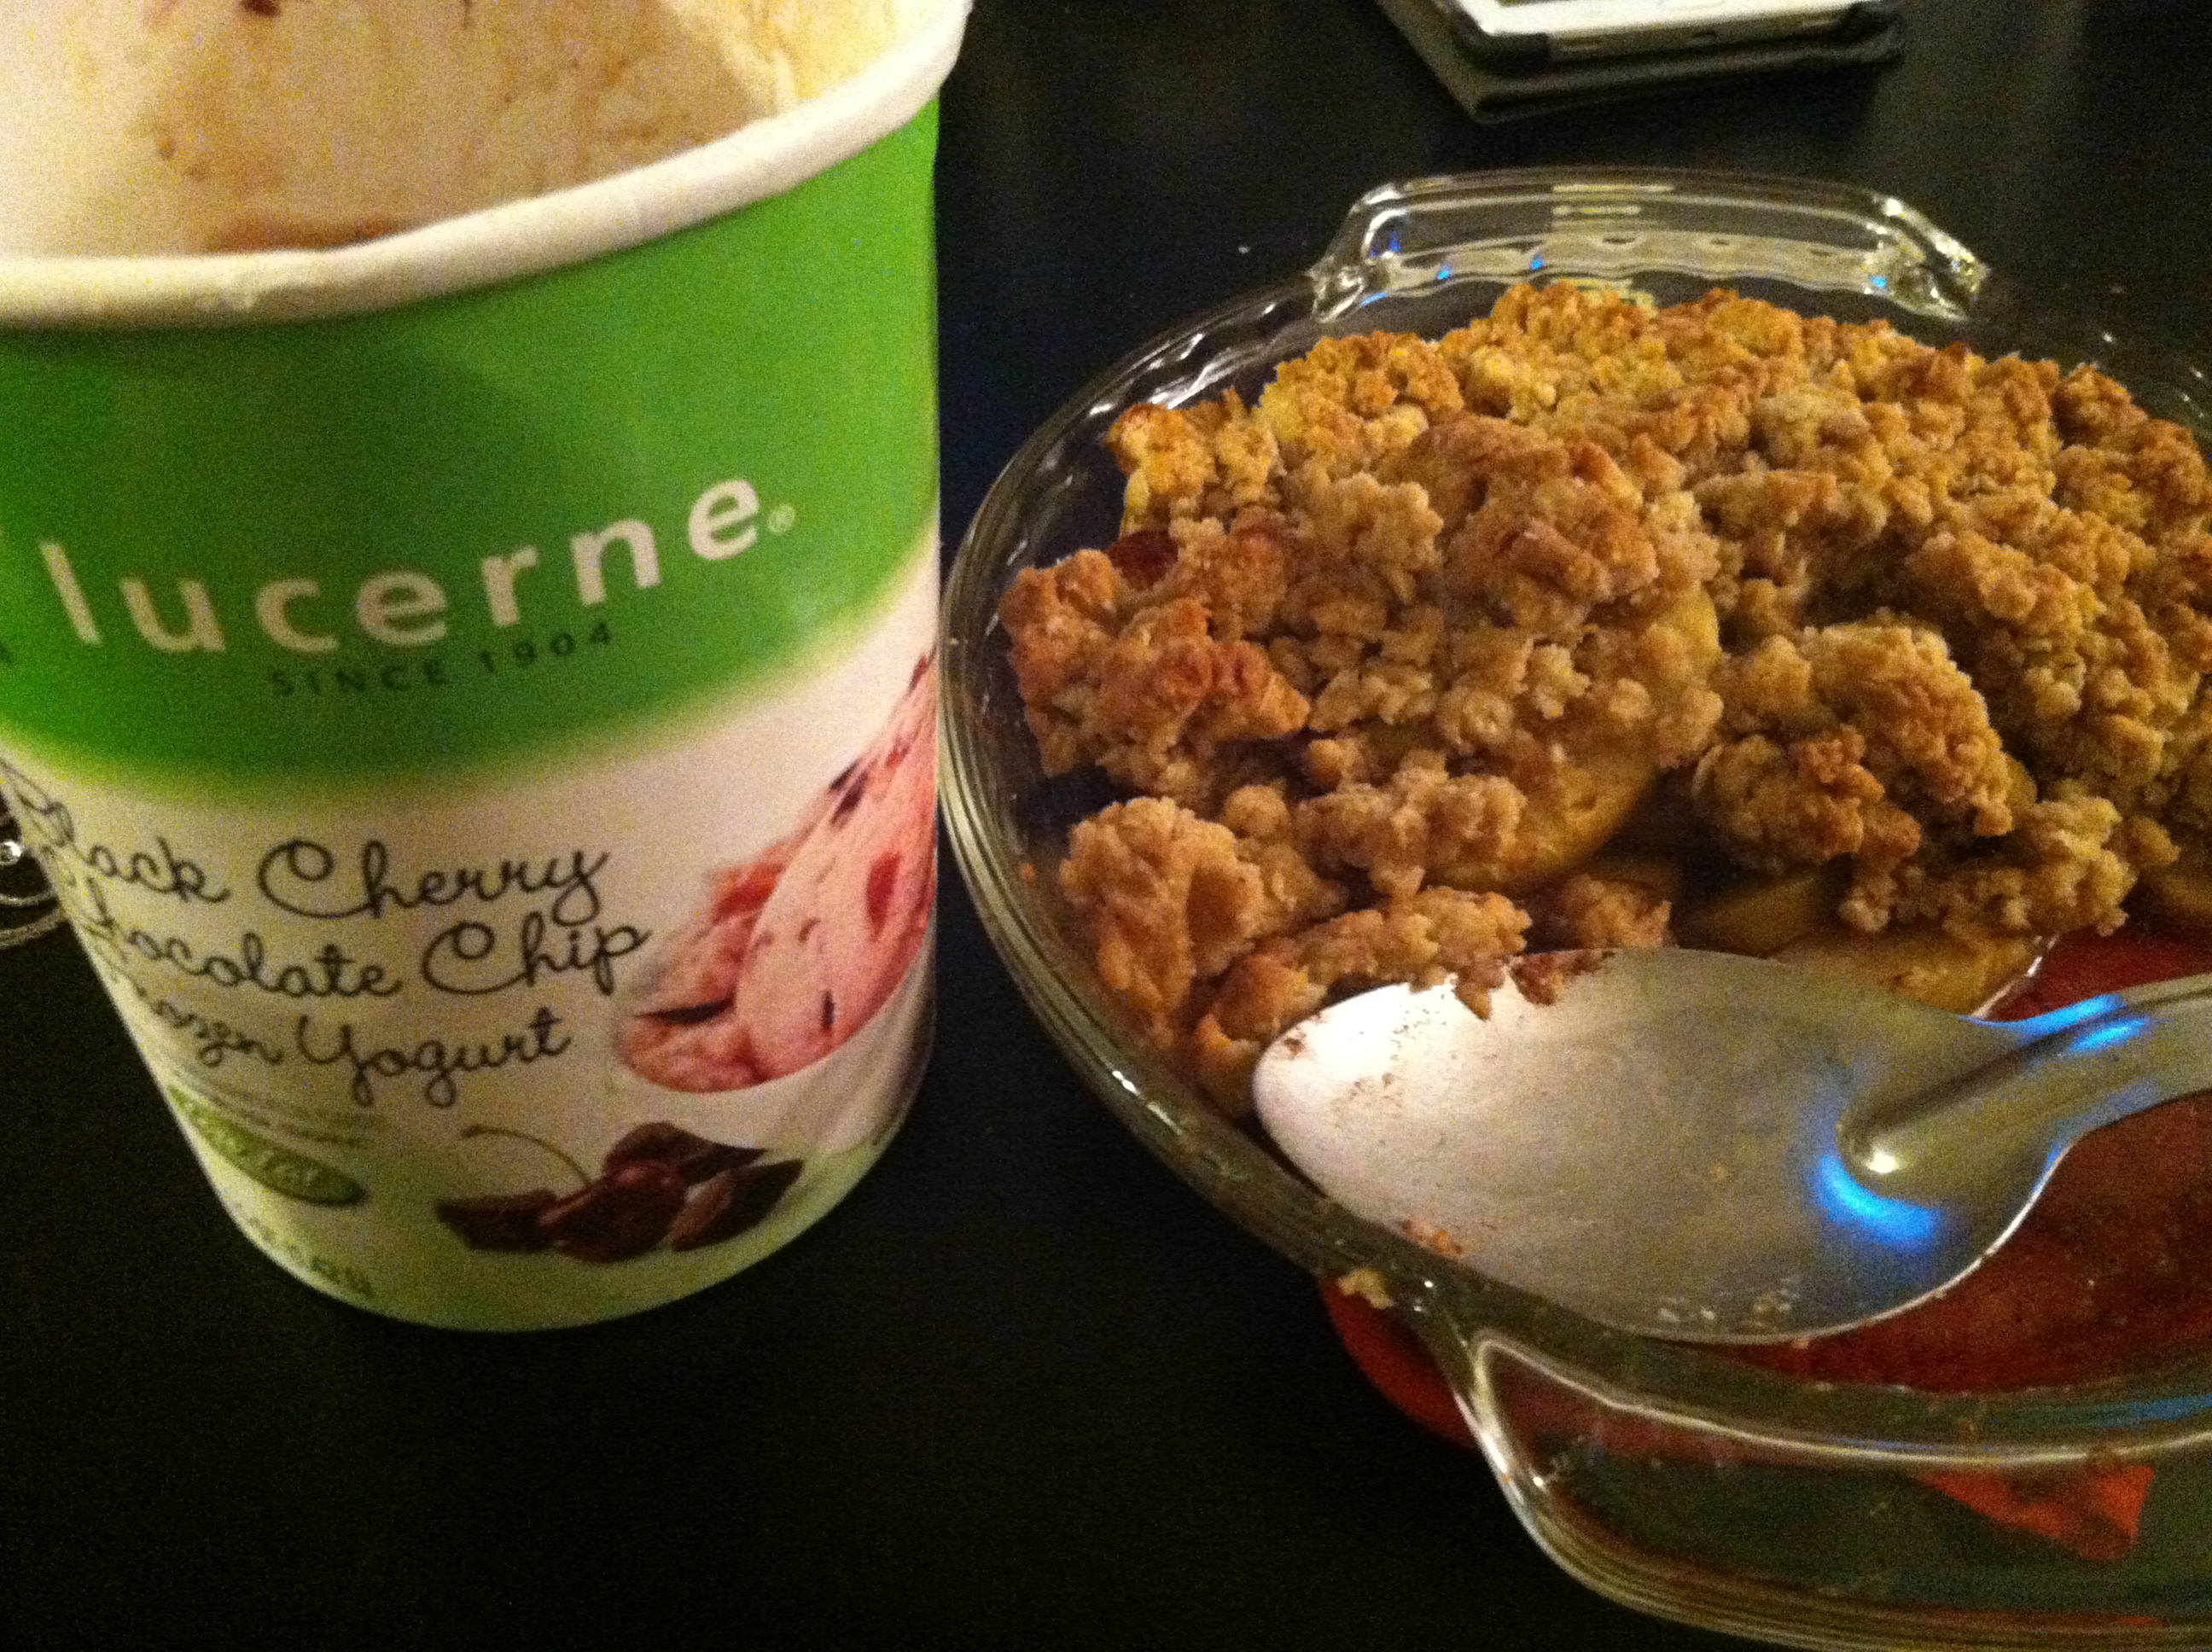
It is also even better served hot with ice cream on top!

IMG_4535

Share some apple-cinnamon love this holiday season. Enjoy!

IMG_4536

Apple Mango Muffins

.
Muffins are an awesome breakfast and snack food, when you make them yourself. The problem with most store-bought muffins is that they add in preservatives to keep them fresh far longer than is normal, tons of sugar to make them tasty and your body crave it, and other crappy additives and chemicals to fool your brain and tongue into loving them and wanting more.
.
As I wrote in my vegetable scraps article and all about juicing, fruit and vegetables peels and scraps can sometimes be worked into muffin recipes to make them more nutritious and fiber-full, as well as help reduce food waste. This does depend on the type of scraps you have, so use common sense. If you juice a cucumber, grapefruit, tomato, and celery, that would likely make some weird-tasting muffins. But if you juice all fruit, save that pulp for this recipe.
.
.
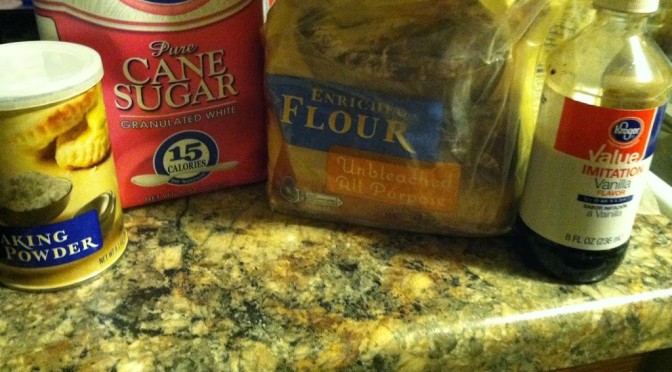
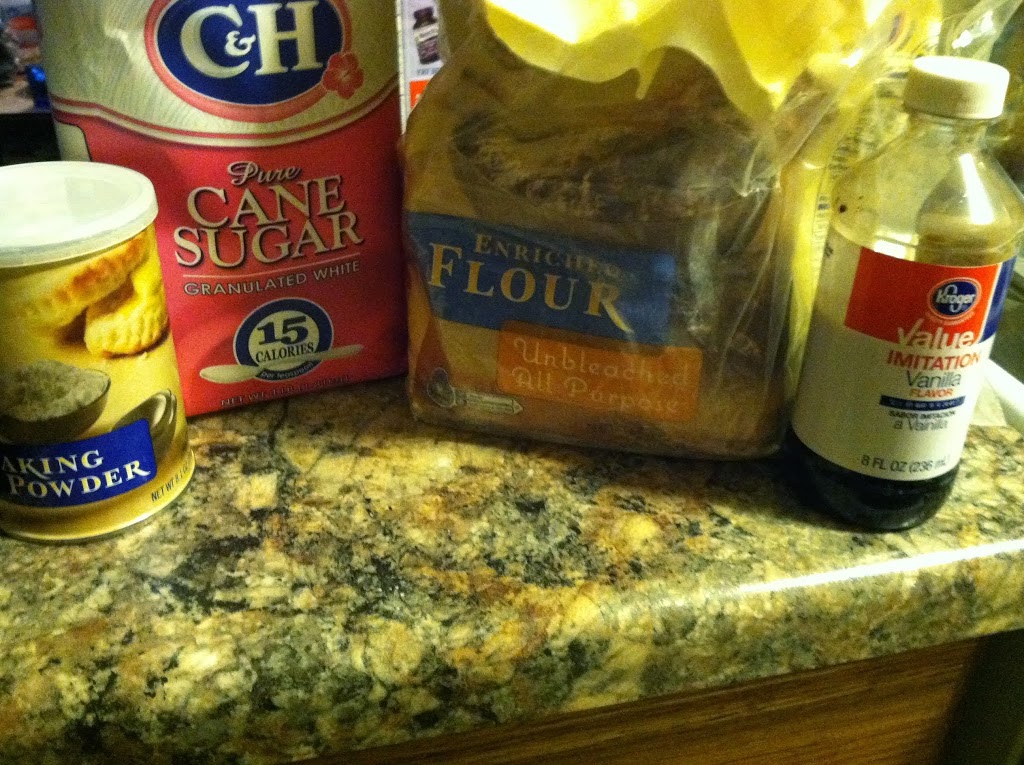
Ingredients:
  • 3 cups flour
  • 1 cup sugar
  • 1 tbsp baking powder
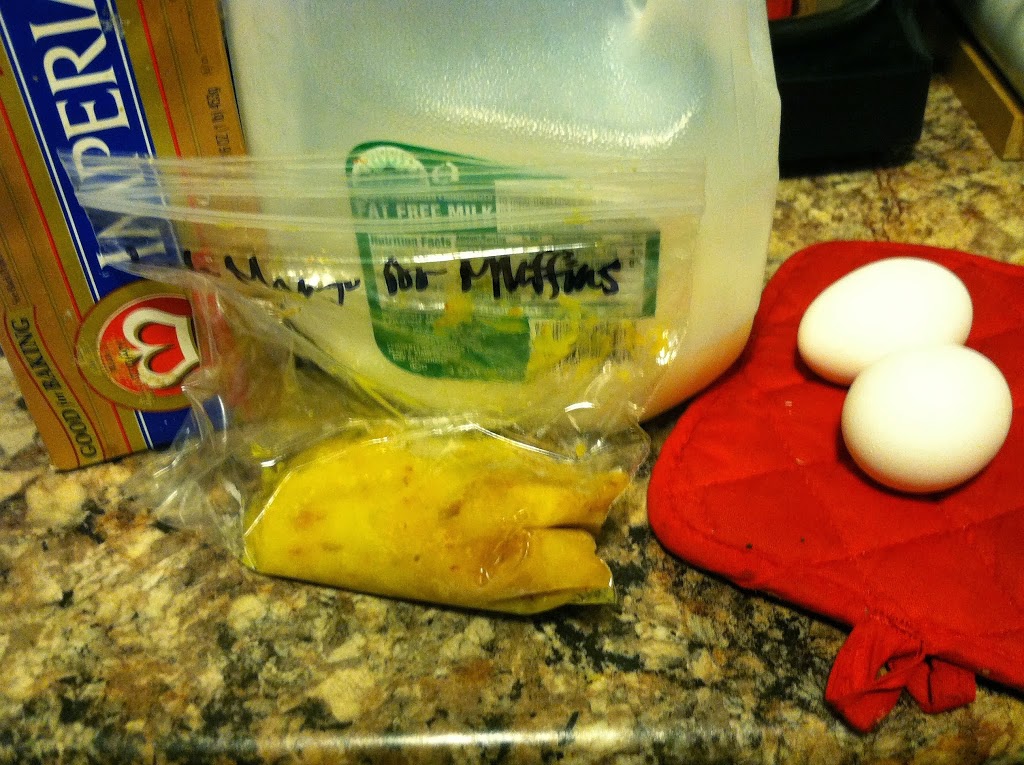
  • 2 egg
  • 1 cup milk
  • 1 tbsp vanilla flavor
  • 1/2 stick butter or margarine, melted
  • 1/2 cup fruit pulp – (in this case apple and mangoes which I juiced)

Step 1: In a large bowl, combine the wet ingredients (milk, eggs, vanilla, butter, fruit) and mix. In another bowl, mix all the dry ingredients (flour, sugar, baking powder). Pour the wet into the dry and mix well.

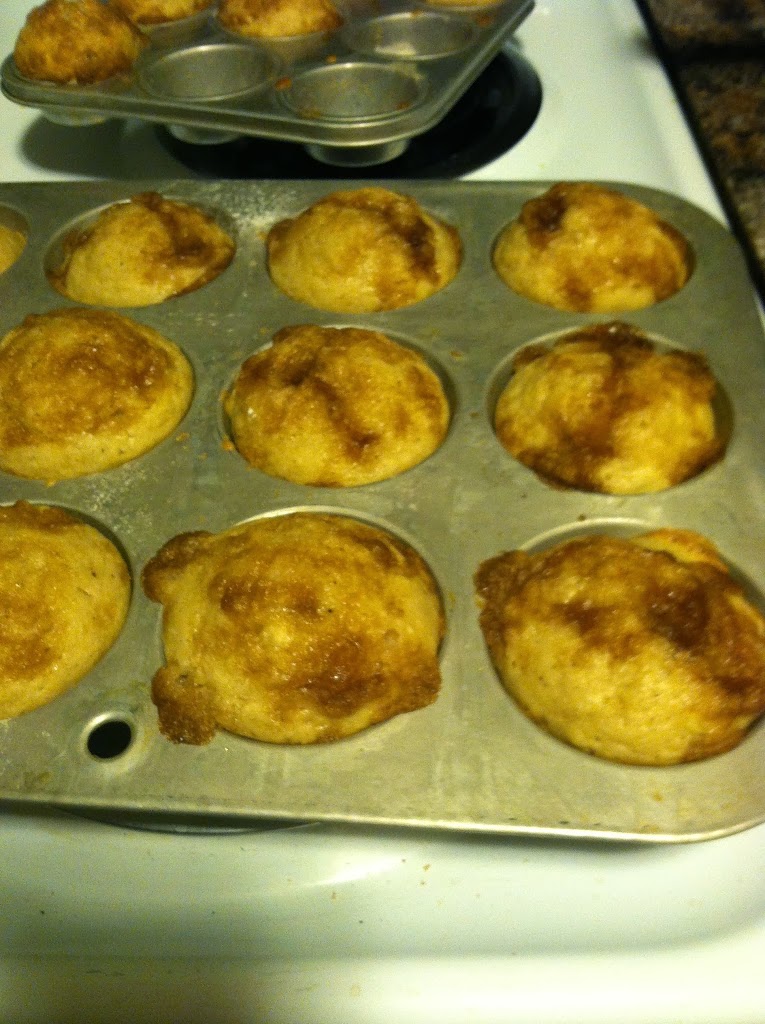
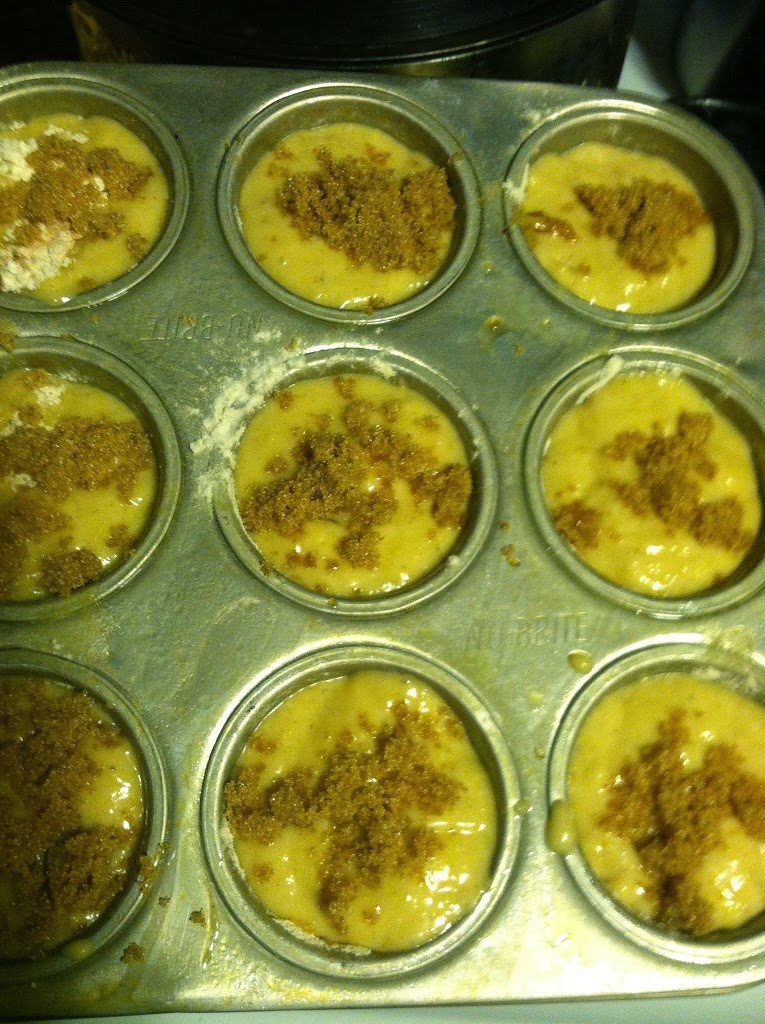
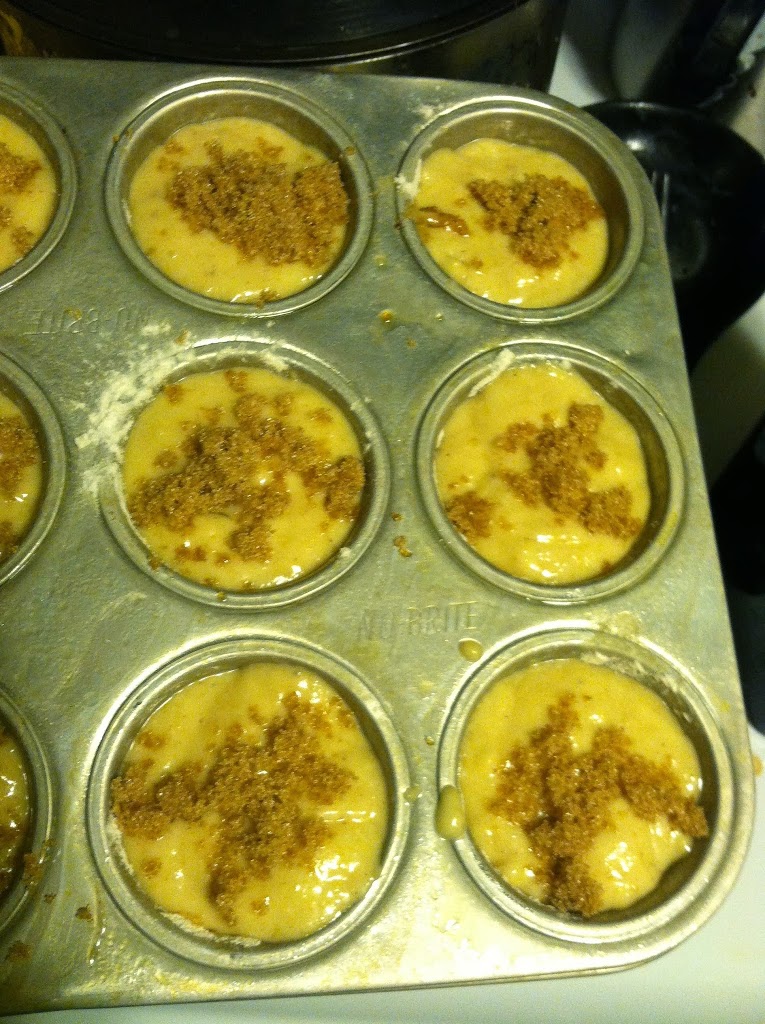
Step 2: Line 2 muffin pans with paper or spray with cooking oil. Pour about 1/3 cup batter into each muffin cup. You can see I also sprinkled a little extra brown sugar on top.
Step 3: Bake in an oven pre-heated to 400 degrees for 20-25 minutes, until fully fluffed and golden brown.
Step 4: Remove and let cool.
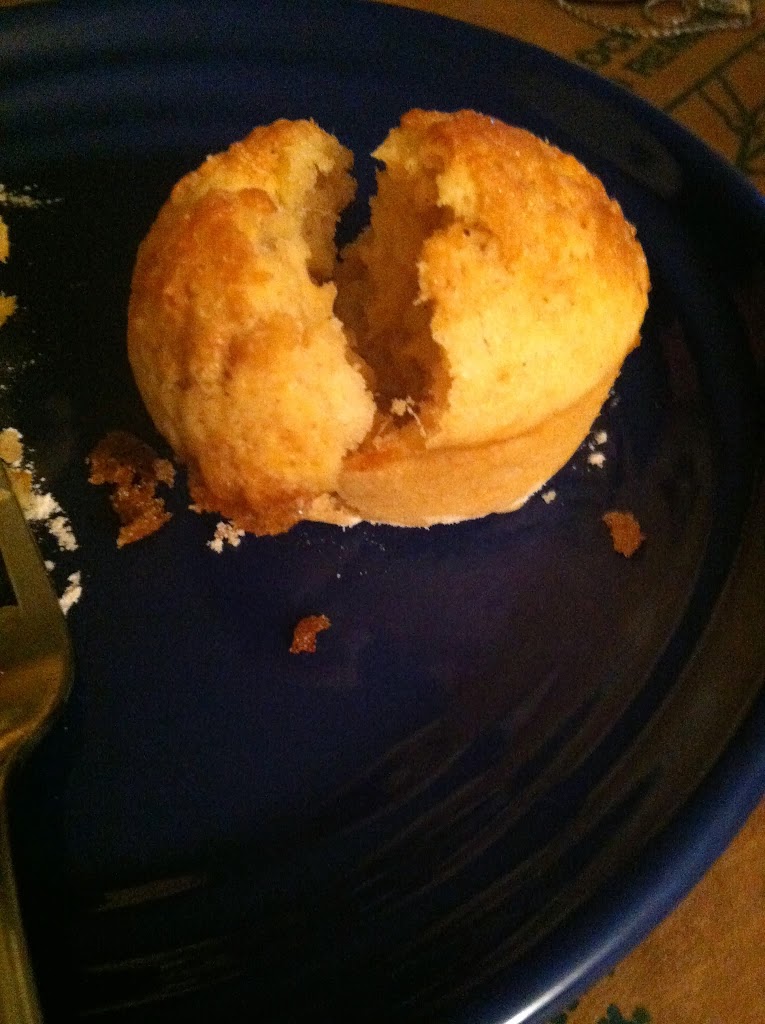
Now you have fresh baked muffins to enjoy! You can freeze these for easy on-the-go breakfasts and snacks throughout the week. The flavor can be whatever you want to add, get creative and try different combinations of fruits, vegetables, or nuts.