.
Everyone needs a little sweetness in their lives, but not everyone has the time or inclination to spend hours baking. Microwaves to the rescue! There is an endless amount of baked goods you can make in the microwave. Rather than collect recipes from all around the web, I found Number 2 pencil’s post that does exactly that, a collection of over 30 mug recipes!
This recipe I came up with one night when I wanted something sweet but was too tired to cook an entire pie or whatnot. I had apples, so naturally wanted apple crisp. Apple crisp has always been a favorite of mine, it is perfectly balanced and sweet, and satisfies my sweet tooth every time. So with less than 5 ingredients and less than 5 minutes, you can have a bowl of your very own hot and fresh microwave apple crisp!
Ingredients:
1 apple, sliced
3 tbsp brown sugar
1/3 cup quick oats
2-3 tbsp butter/margerine
Optional: cinnamon and/or nutmeg
Step 1: Cut the apple into thin slices and place in a bowl.
Step 2: Mix the sugar, oats, and cinnamon if using. Pour over the apple slices.
Step 3: Dot the butter over the oats, and microwave for 2-3 minutes on high. Time will depend on the strength of your microwave.
Let cool just enough to hold, maybe add a scoop or two of ice cream, and enjoy!
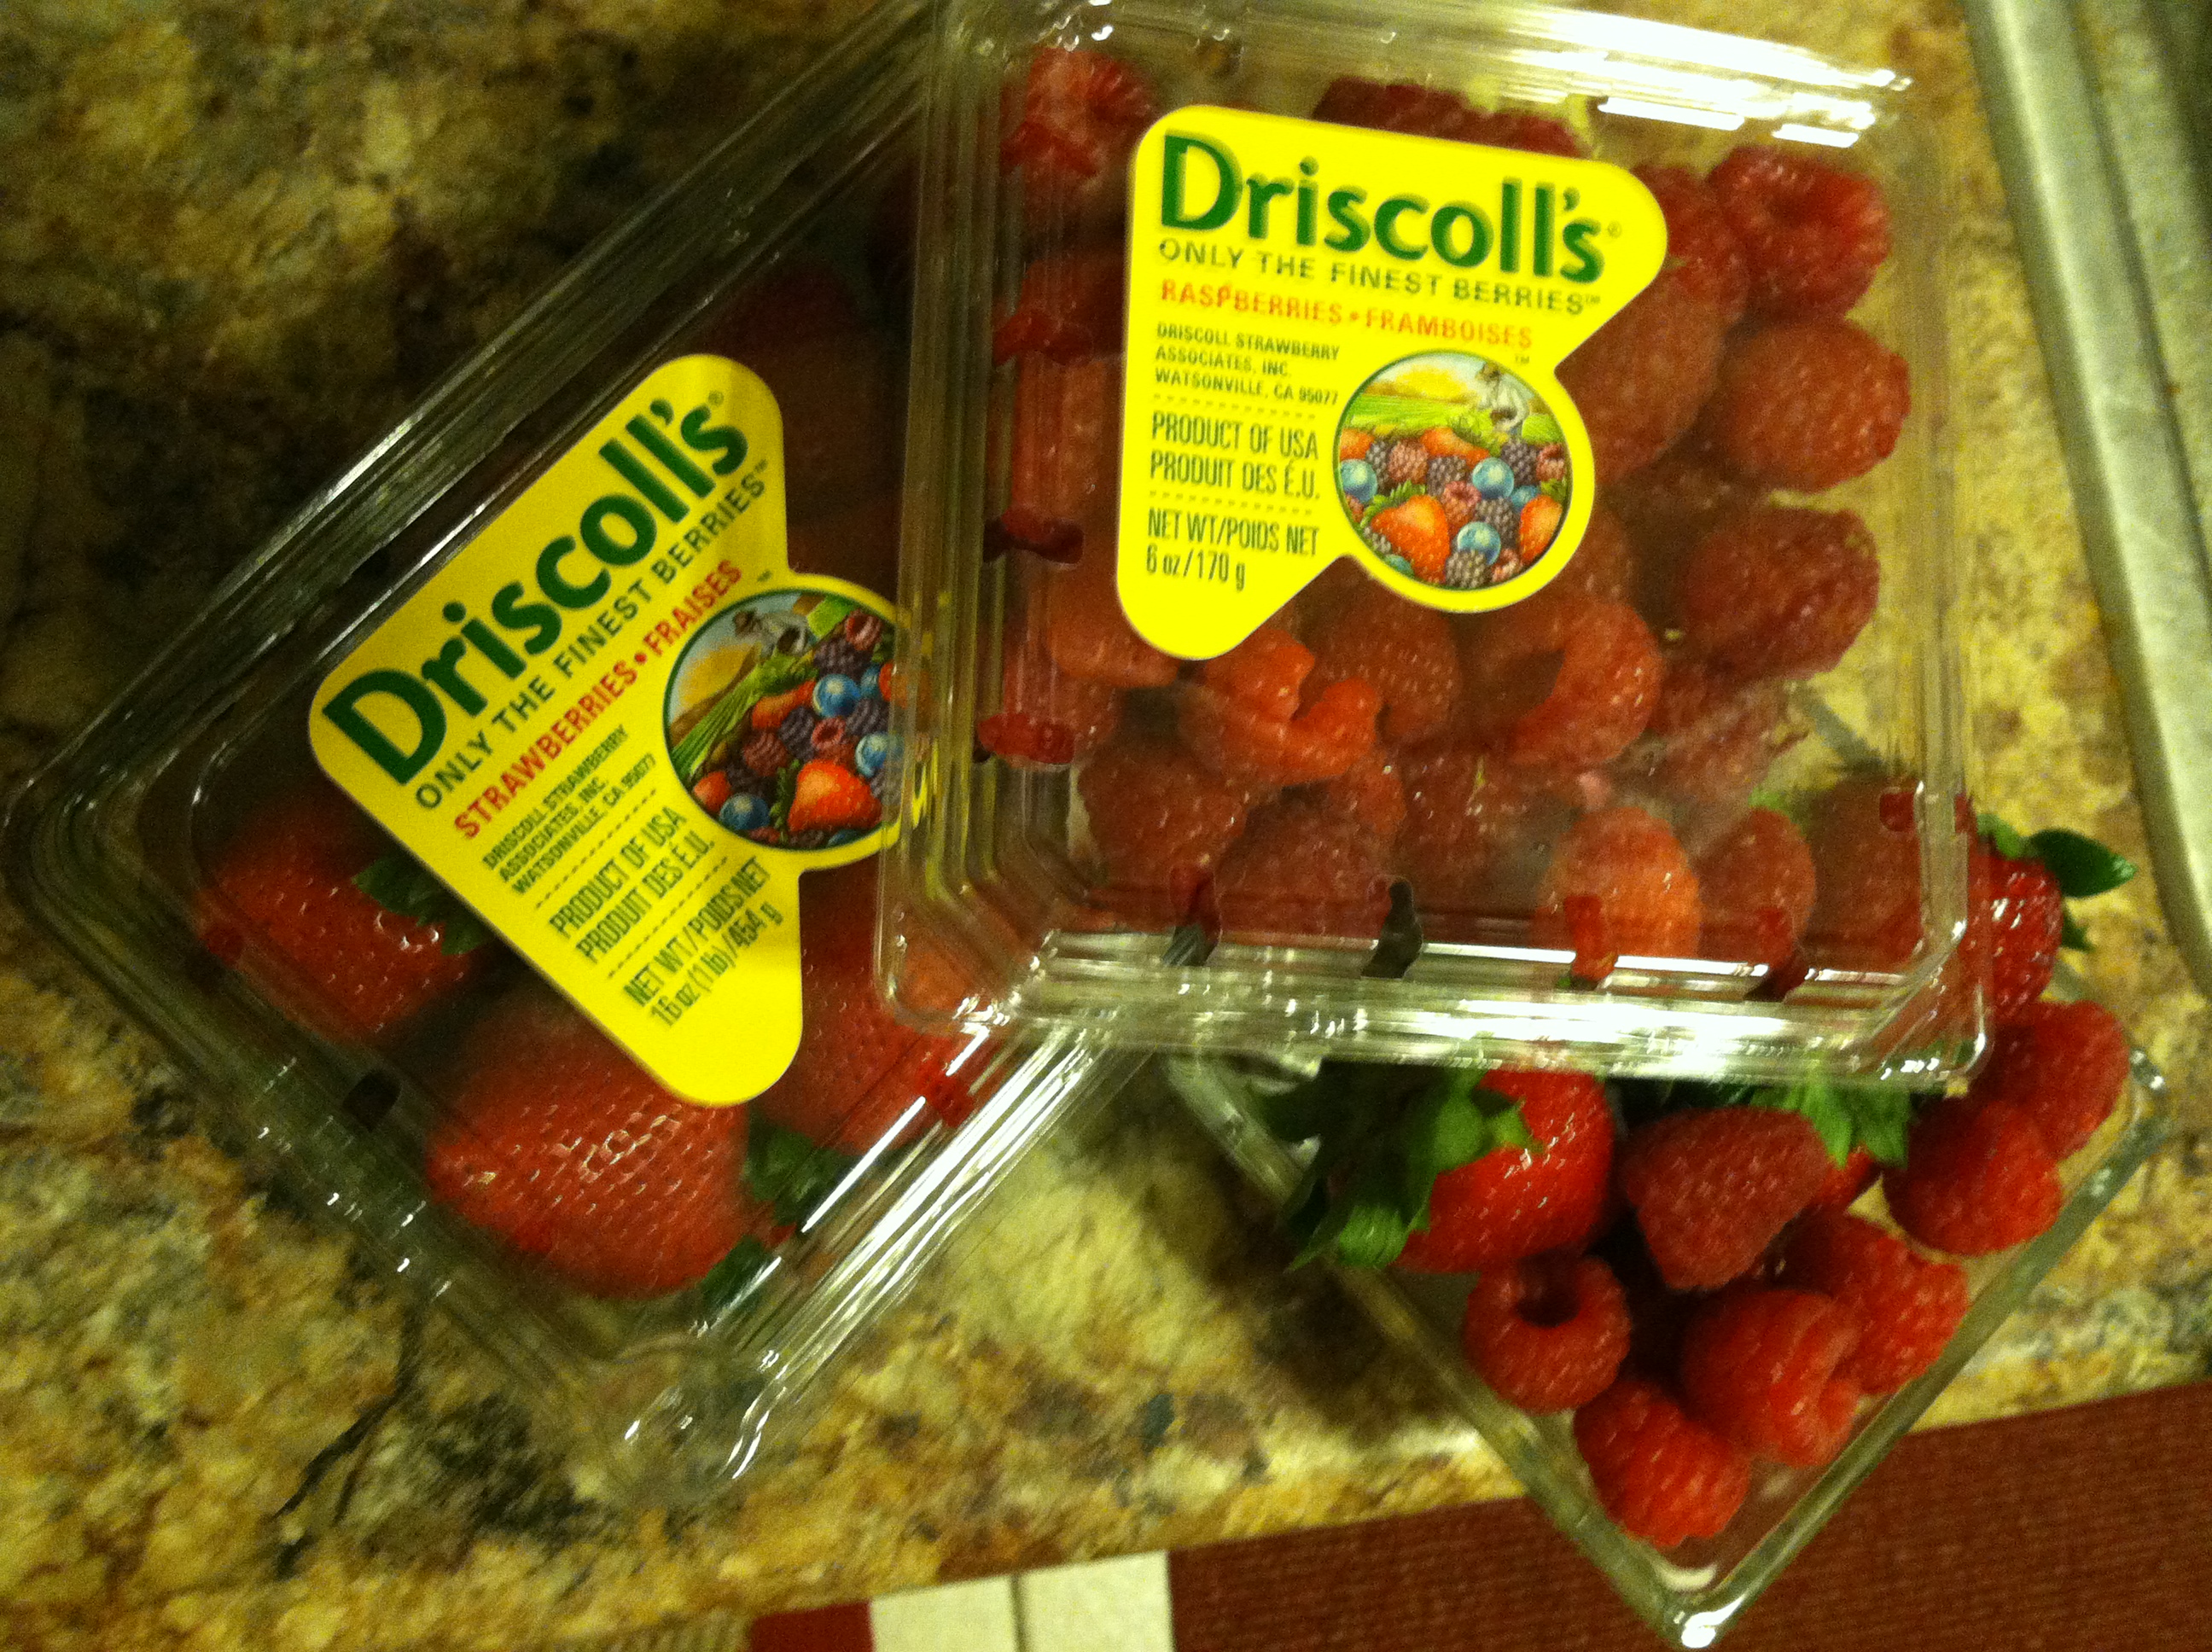
This post was developed in association with The Daily Meal and Driscoll’s in honor of National Strawberry Shortcake Day this June 14th! #Driscollsberry @strawshort
As the days grow longer and hotter, we crave fresh, juicy fruits and light, refreshing desserts. Every foodie’s favorite thing about summer is the abundance of fresh produce rolling in. From farmer’s market kale to home-grown lettuce to ripe berries, summer is a fresh food paradise.
Driscoll’s has been committed to growing strawberries for over 100 years. Each berry is loaded with vitamin C, folate, fiber, potassium and antioxidants. Driscoll’s ensures year-round availability by growing strawberries in multiple locations. However, the summertime strawberries carry with them the warmth of the sun and long days to ripen, and are best used at the peak of the season.
Therefore, in celebration of summer, fresh berries, and sweet deliciousness, I decided to make the world’s finest Strawberry Shortcake. This was to be no ordinary biscuit with berries sprinkled on top. I searched the world wide web for inspiration, considered all kinds of crazy flavors, and took apart each element of the classic cake to come up with this recipe.
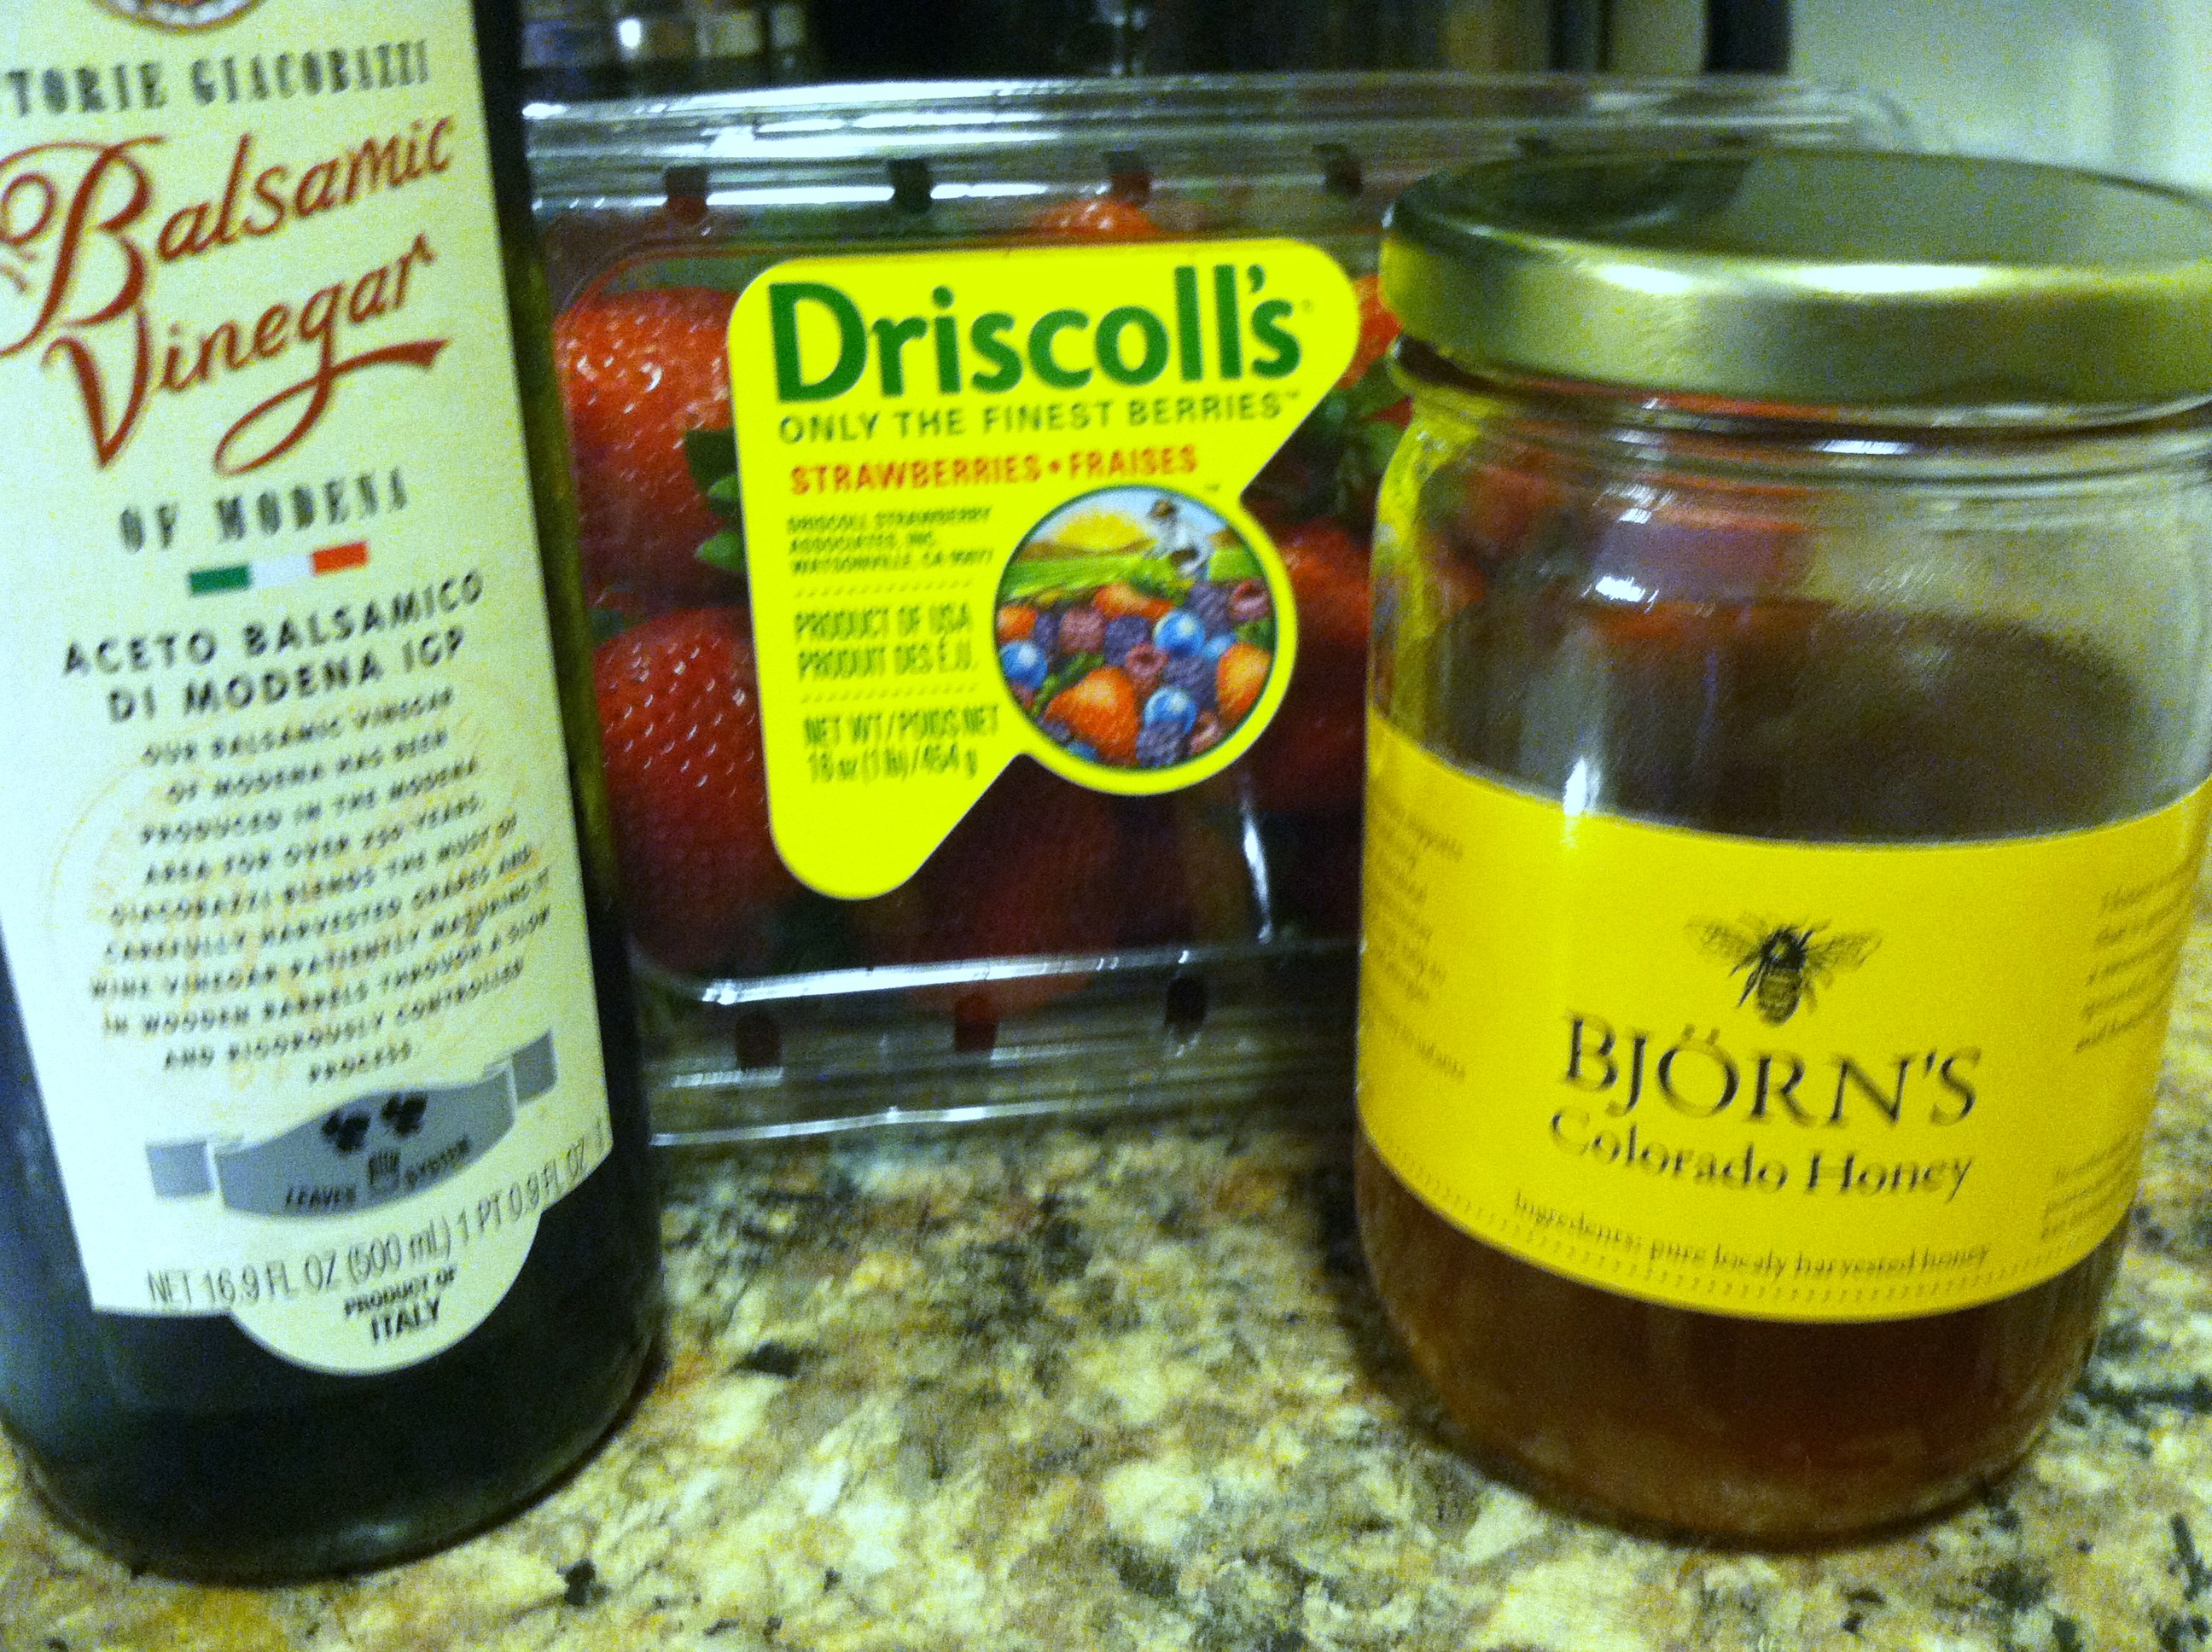
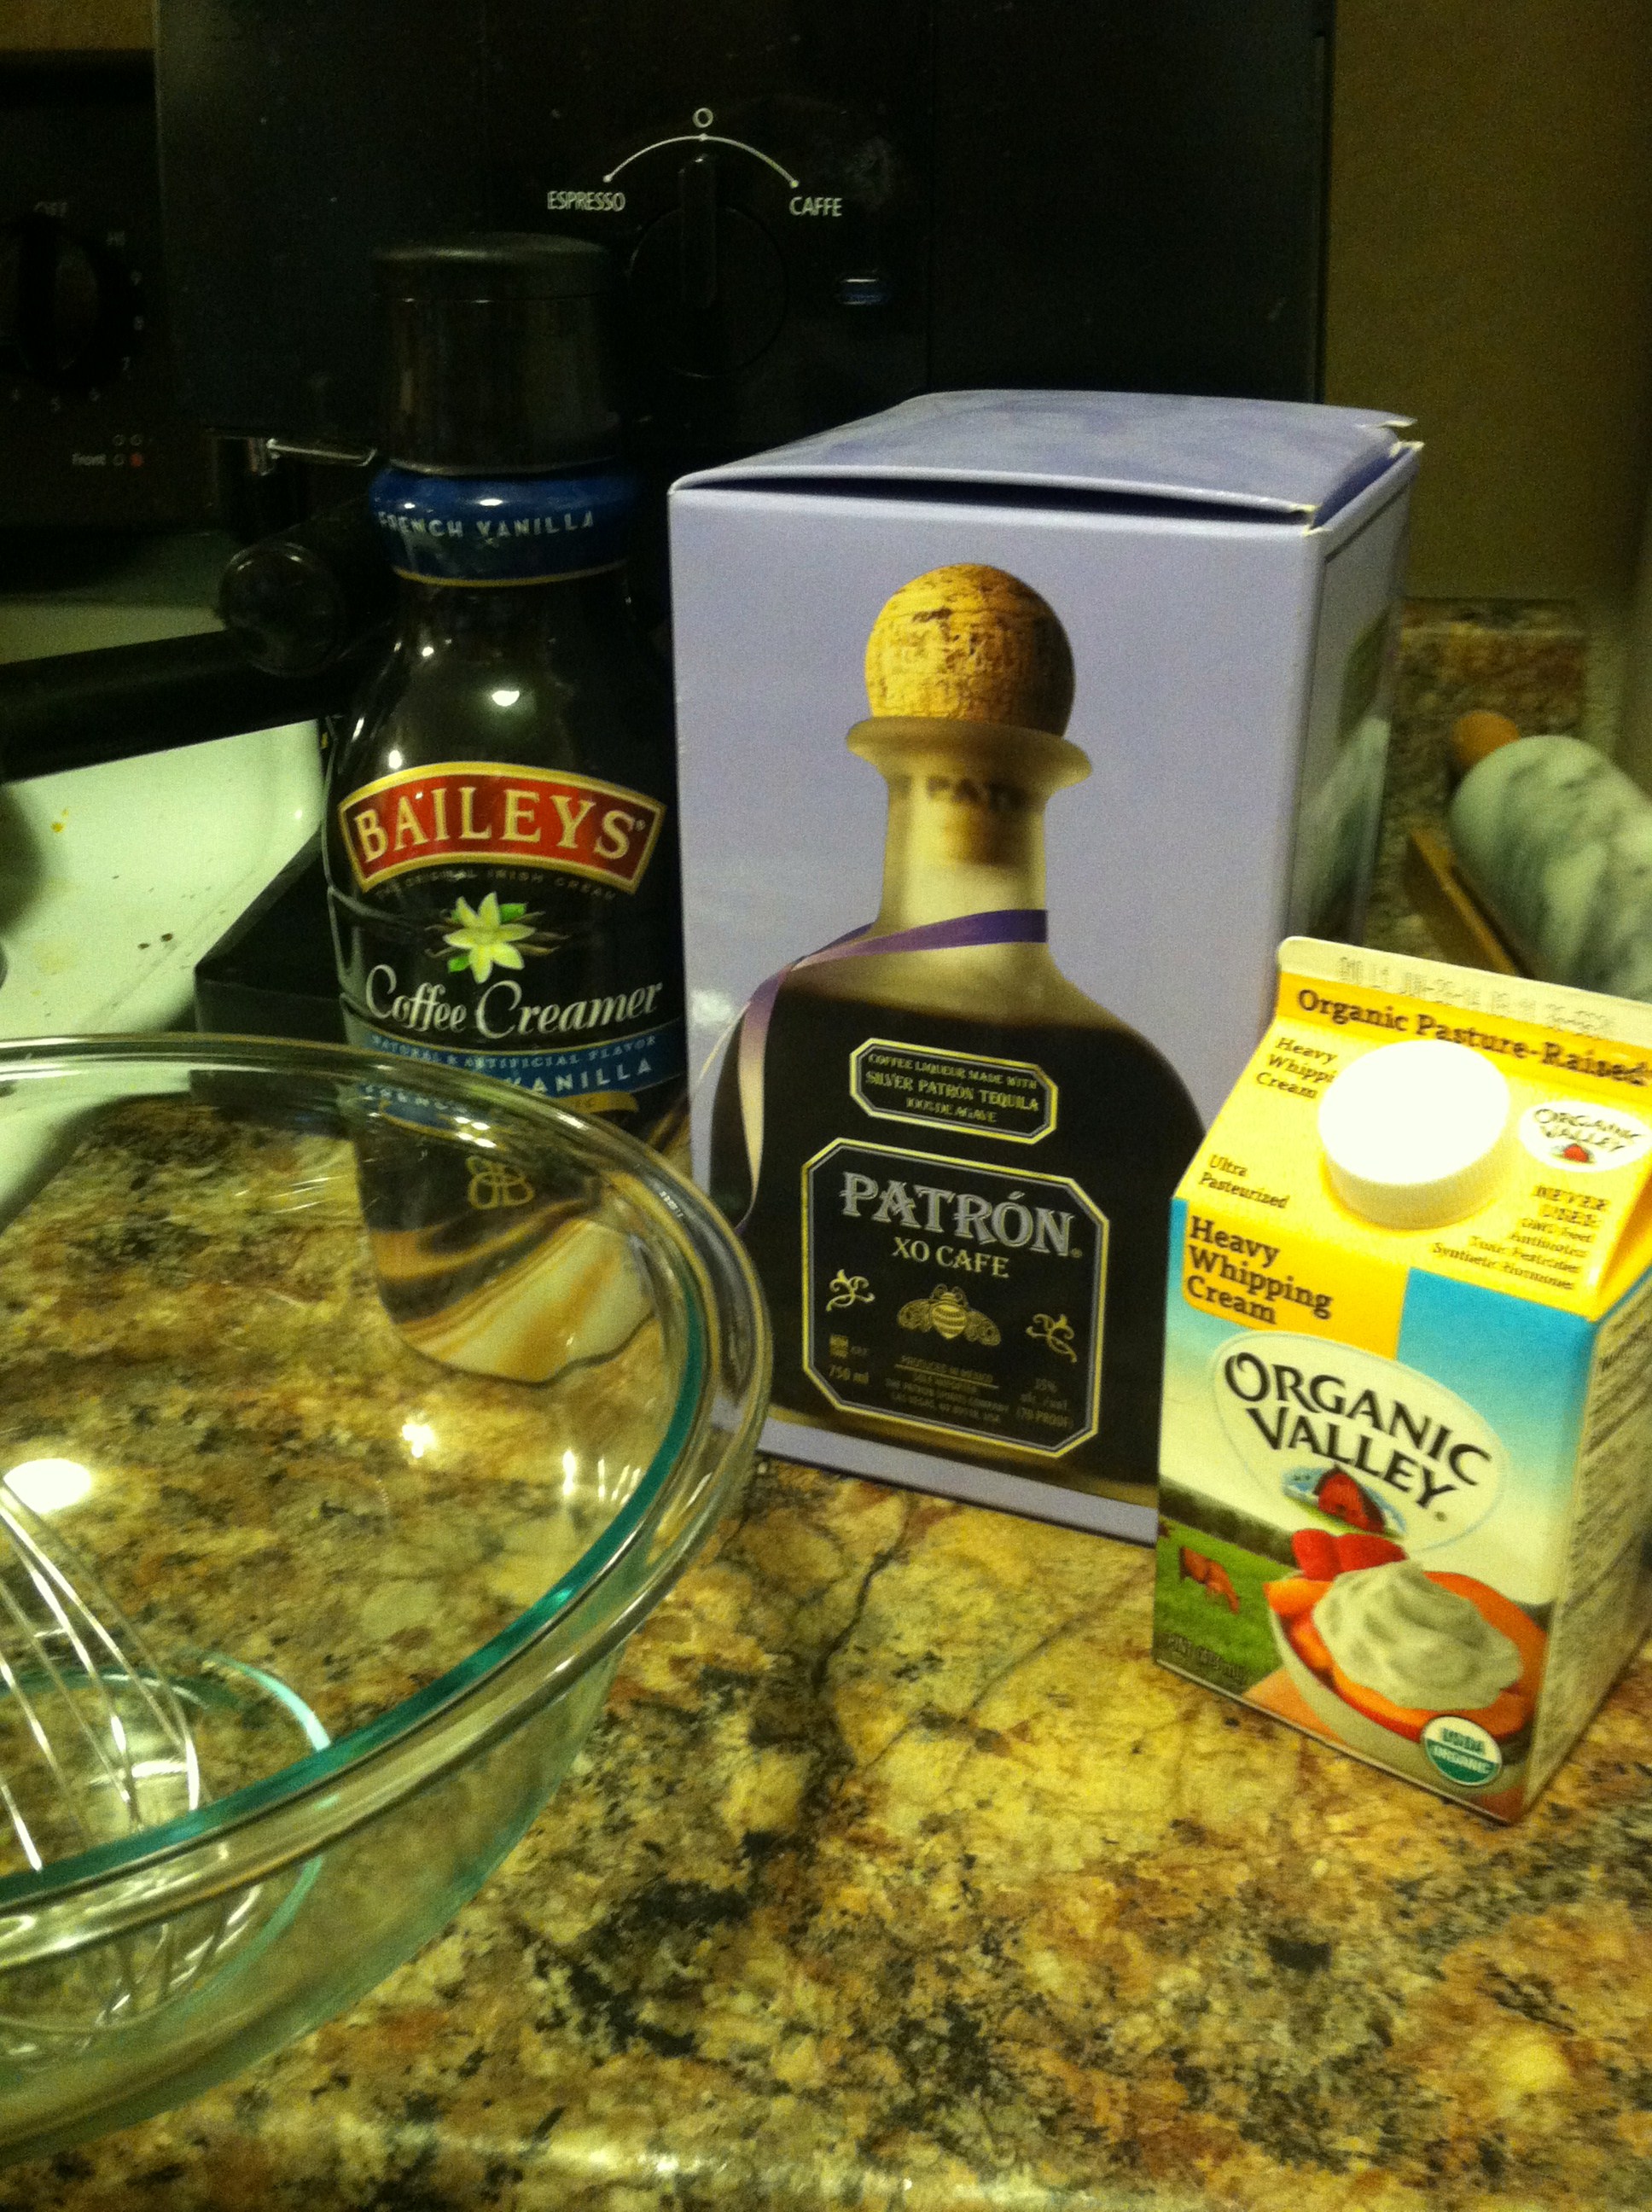
Dense, moist, and decadent chocolate shortcake. Thinly sliced plump Driscoll strawberries bathed in sweet and tangy balsamic vinegar and local Colorado honey, and the tour-de-force, a homemade French Vanilla whipped cream spiked with Patron Cafe.
If you aren’t salivating by now, just keep scrolling for the pictures…
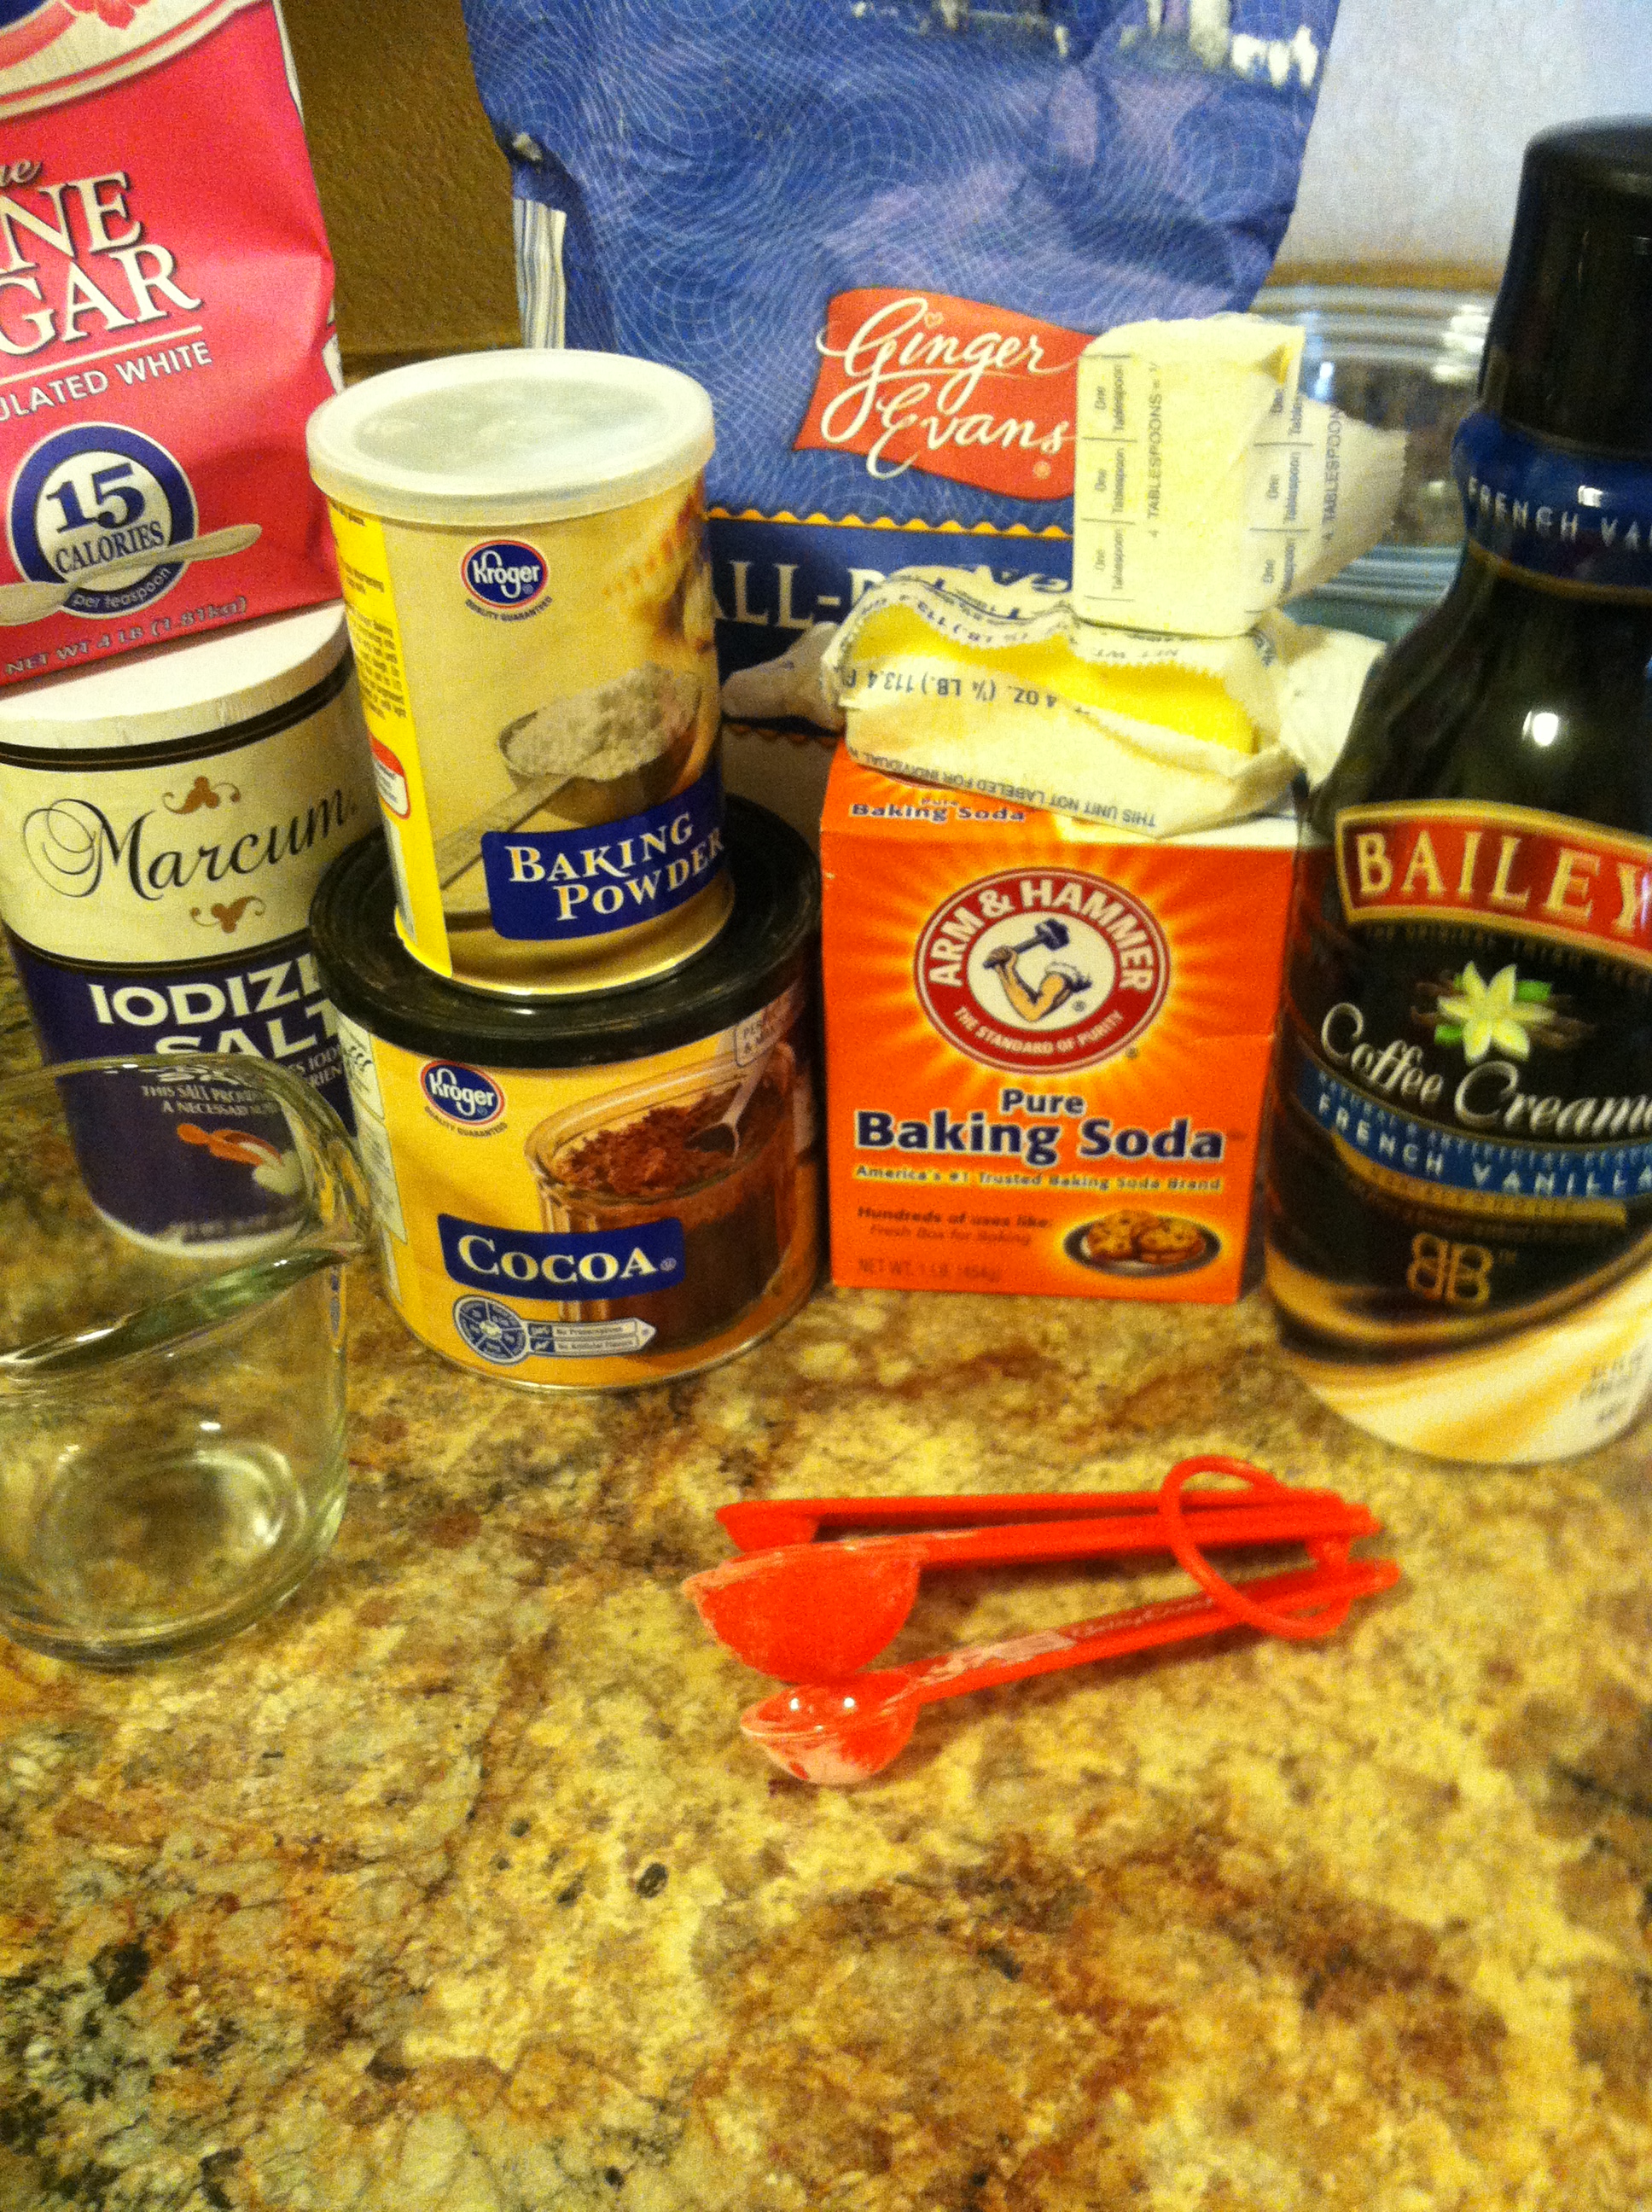
Shortcake Ingredients:
1 1/2 cup flour
3 tbsp granulated sugar
2 tbsp cocoa powder
1 1/2 tsp baking powder
1/2 tsp baking soda
1/4 tsp salt
1/4 cup cold butter (4 tbsp)
1/2 cup milk
For the strawberries:
2 cups strawberries
1/4 cup balsamic vinegar
1/4 cup honey
For the whipped cream:
1 cup heavy whipping cream
2 oz French Vanilla coffee creamer
2 oz Patron cafe (or other coffee-flavored liquor)
3 tbsp powdered sugar
This may seem intimidating, but trust me, it takes less than 30 minutes altogether. And the only ingredient I had to specifically go buy was the heavy cream. You can omit the Patron if you don’t like the taste or the alcohol content as well. Let’s jump in.
Step 1: Preheat your oven to 400 degrees F. In a large bowl, mix your dry ingredients. Flour, baking powder, baking soda, cocoa powder, salt, sugar. Sift together if you do things that way.
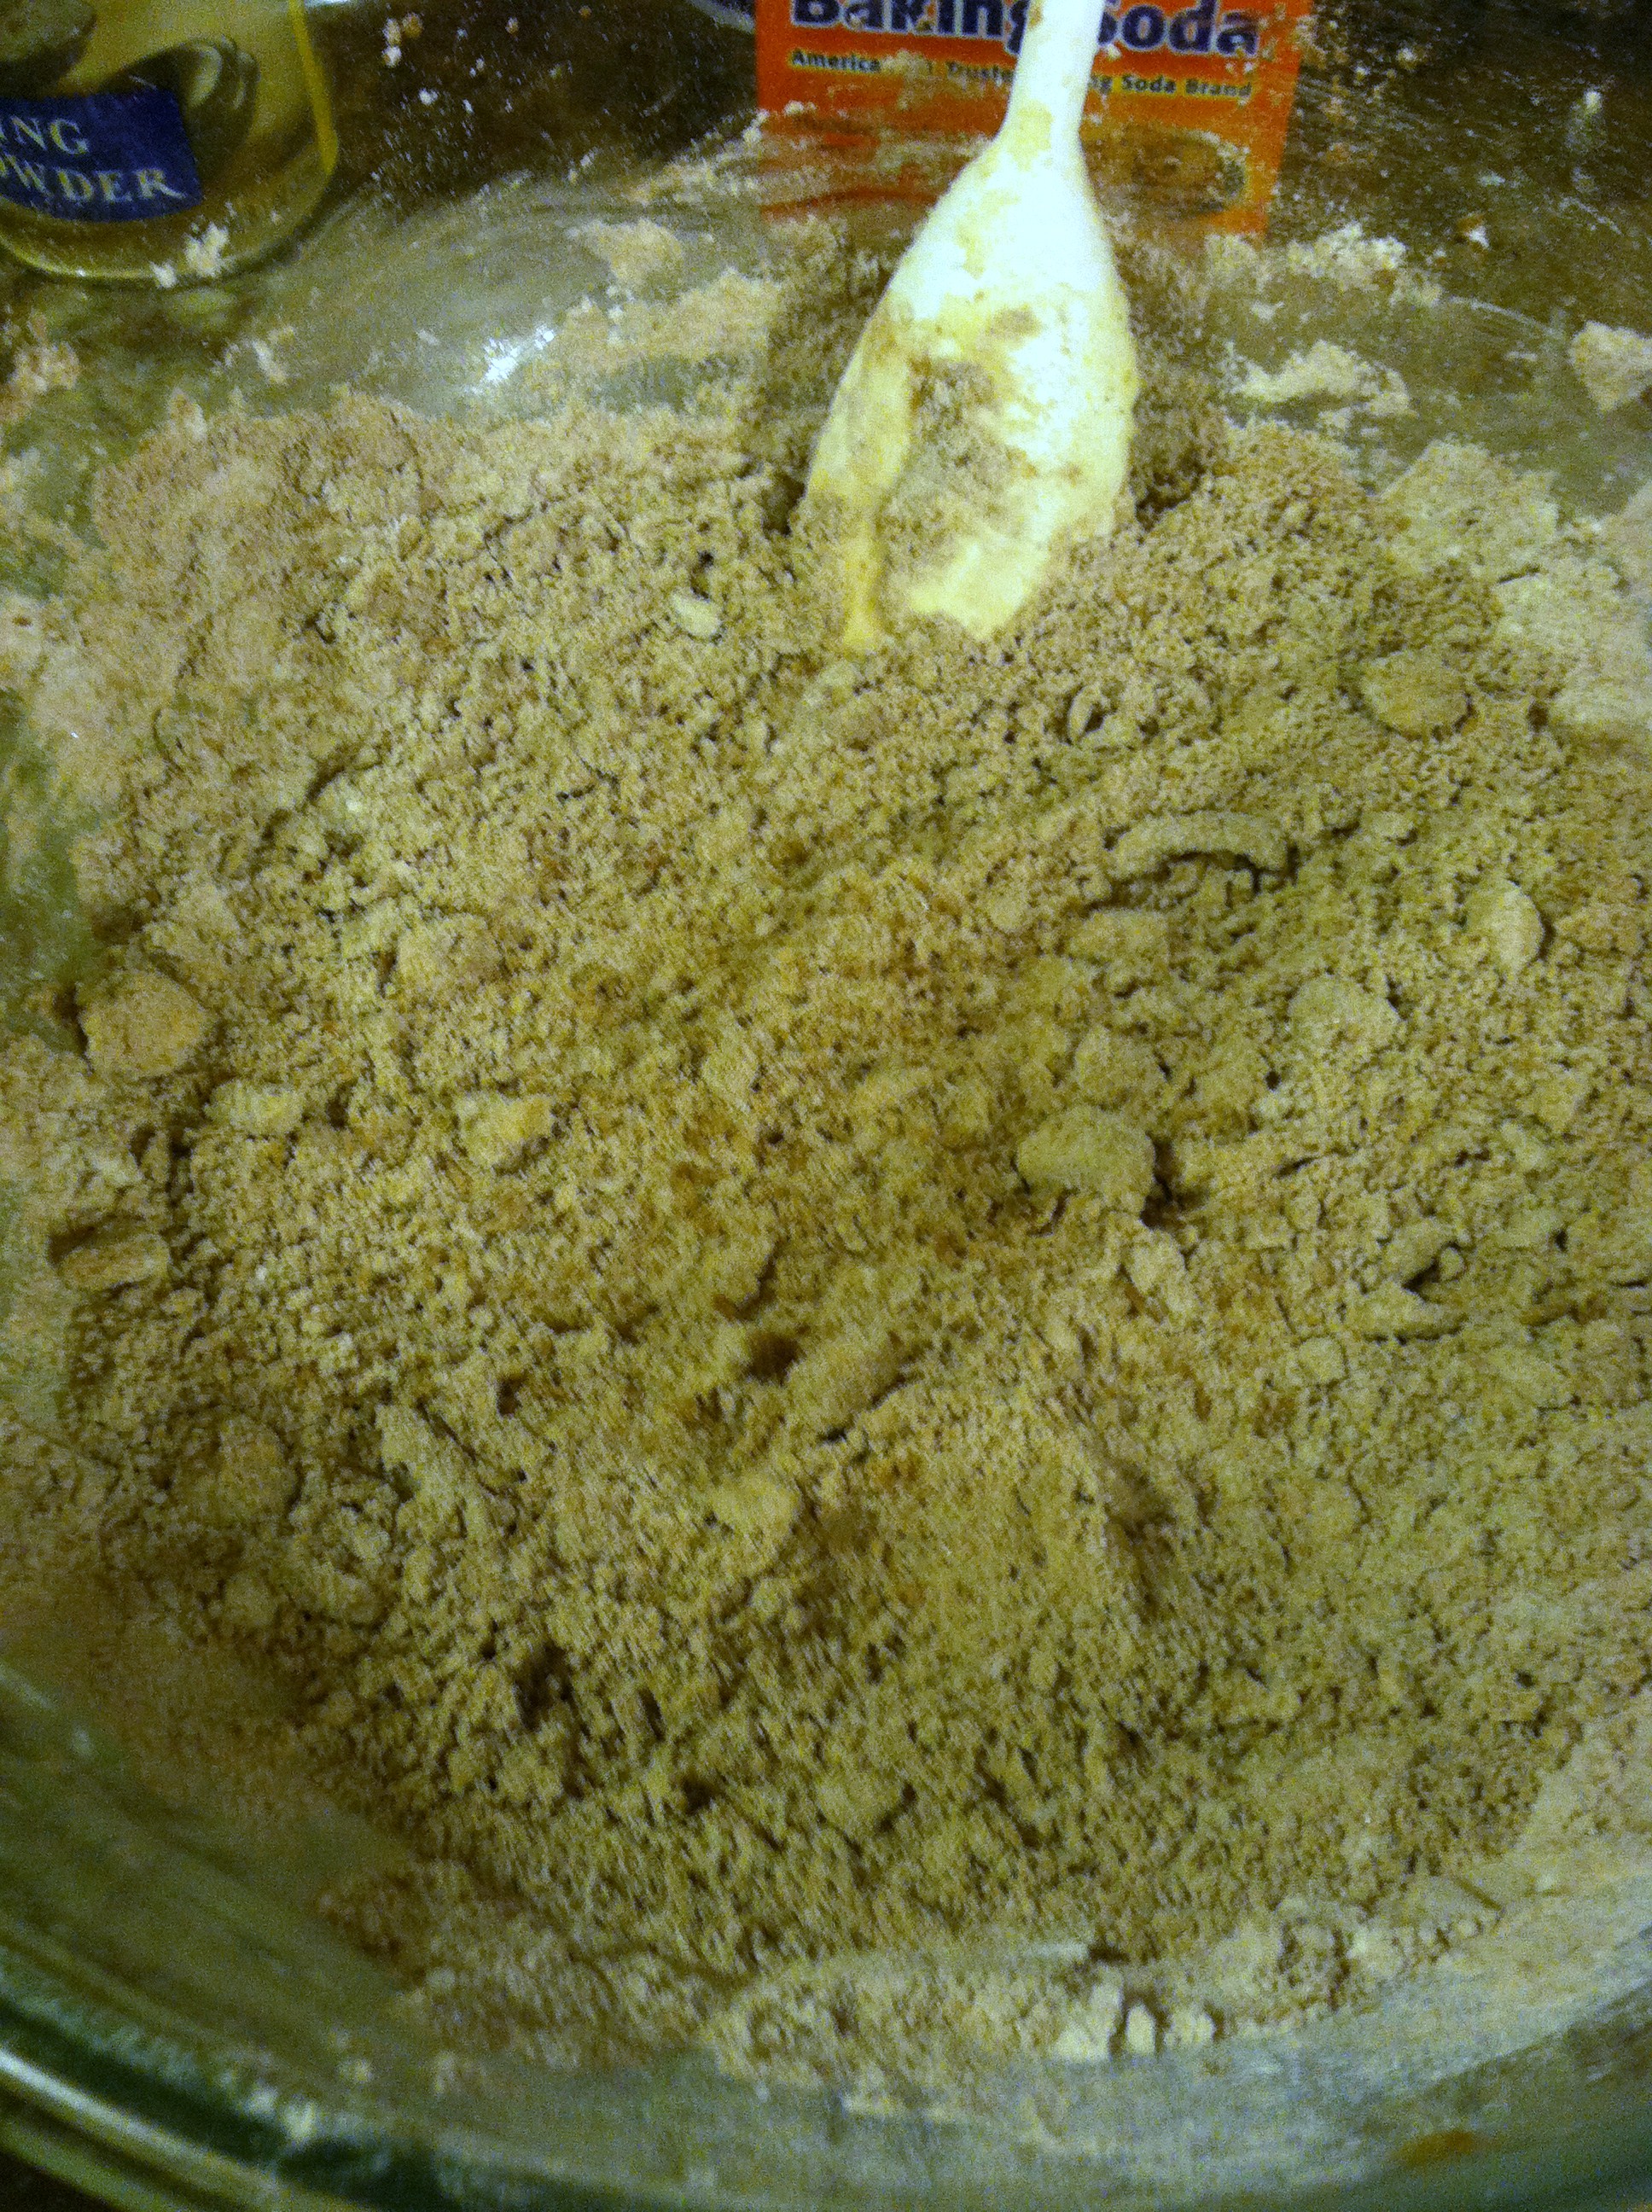
Step 2: Cut in the cold butter or use a pastry cutter, until it resembles coarse crumbs.
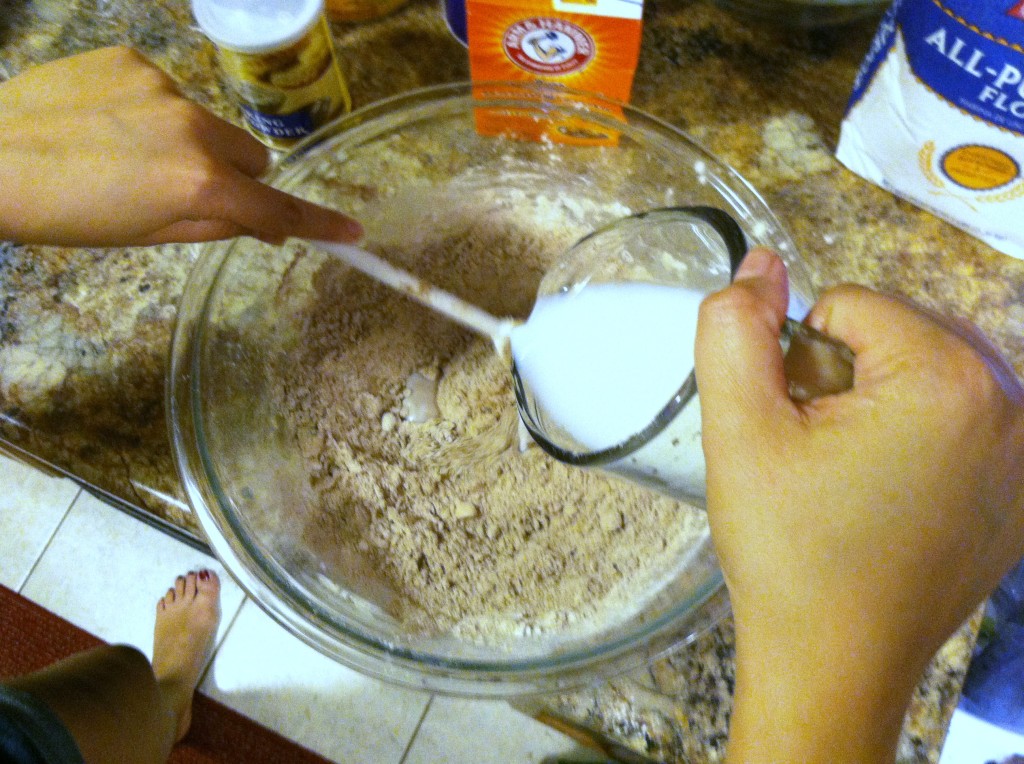
Step 3: Stir as you pour in the milk. Batter should be just wet, and a bit sticky.
Step 4: You can just drop the batter onto a wax-paper-covered cookie sheet, but I chose to bake mine in cupcake pans for shape. Pour about 1/4 cup into each well.
Step 5: Bake at 400 for 15-17 minutes, until beginning to brown on top. Remove from the oven and cool.
Meanwhile, chill a bowl and whisk in the refrigerator or freezer to make the whipped cream.
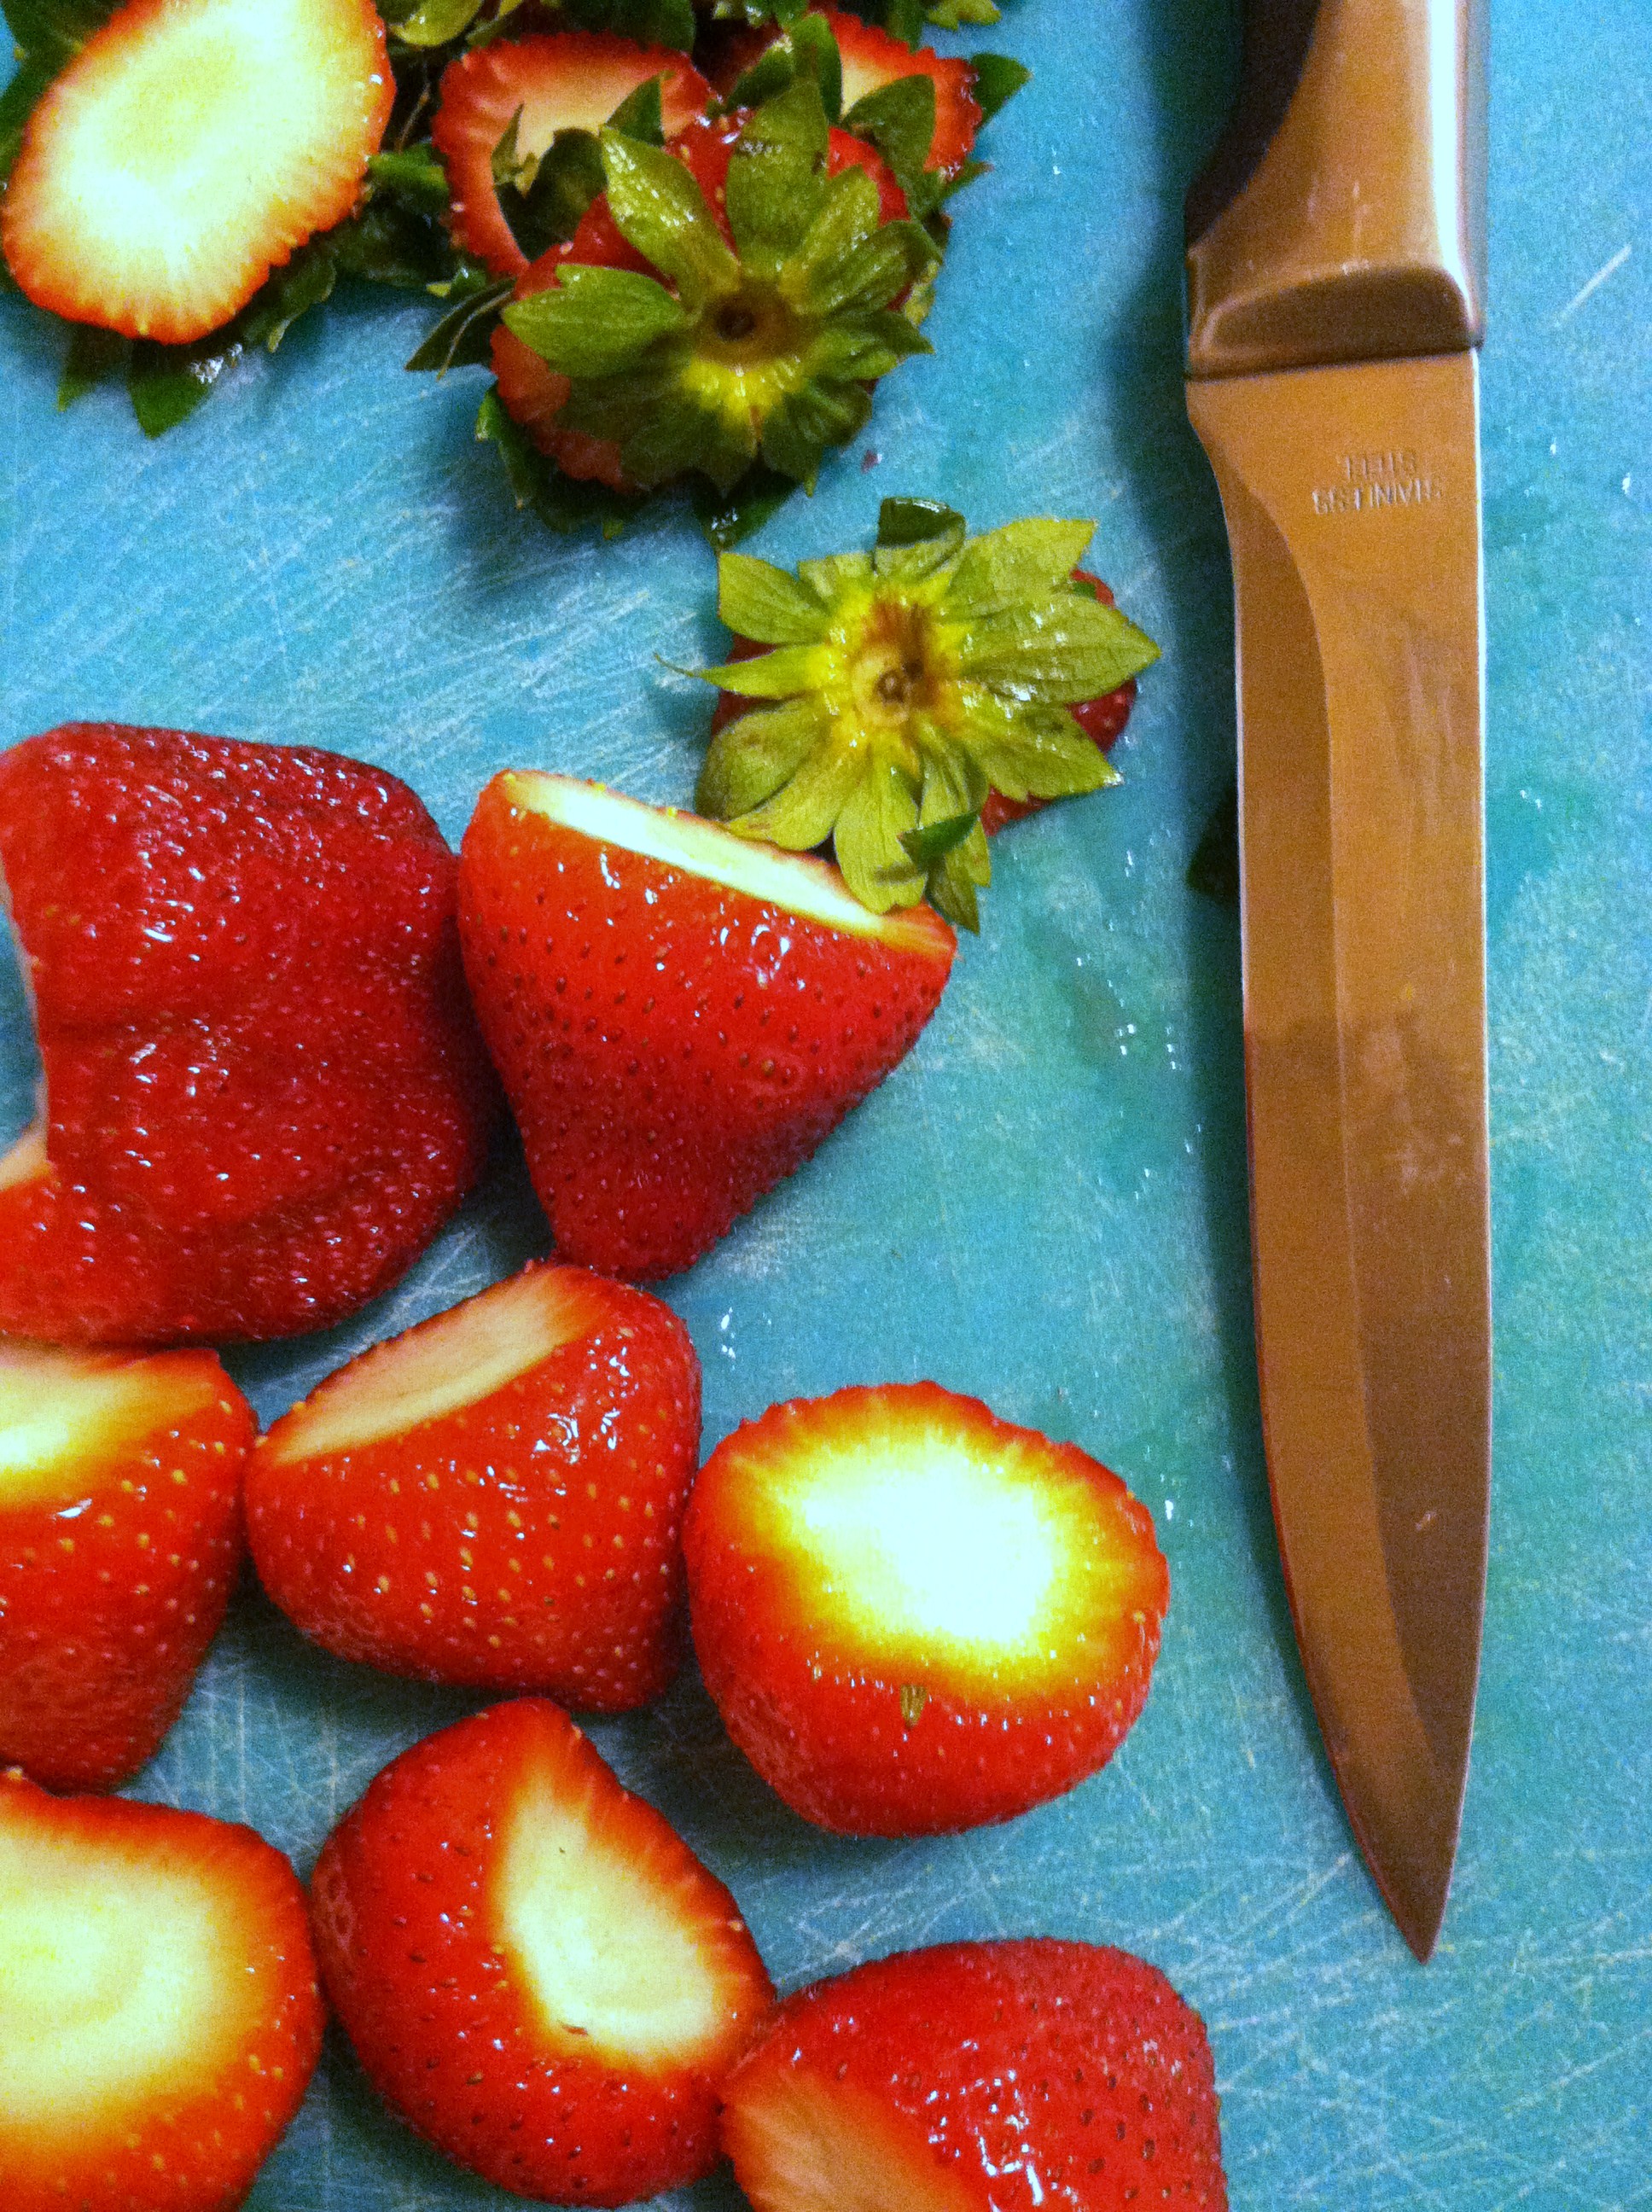
Step 6: Cut the tops off the strawberries, then stand them on end and cut into thin slices.
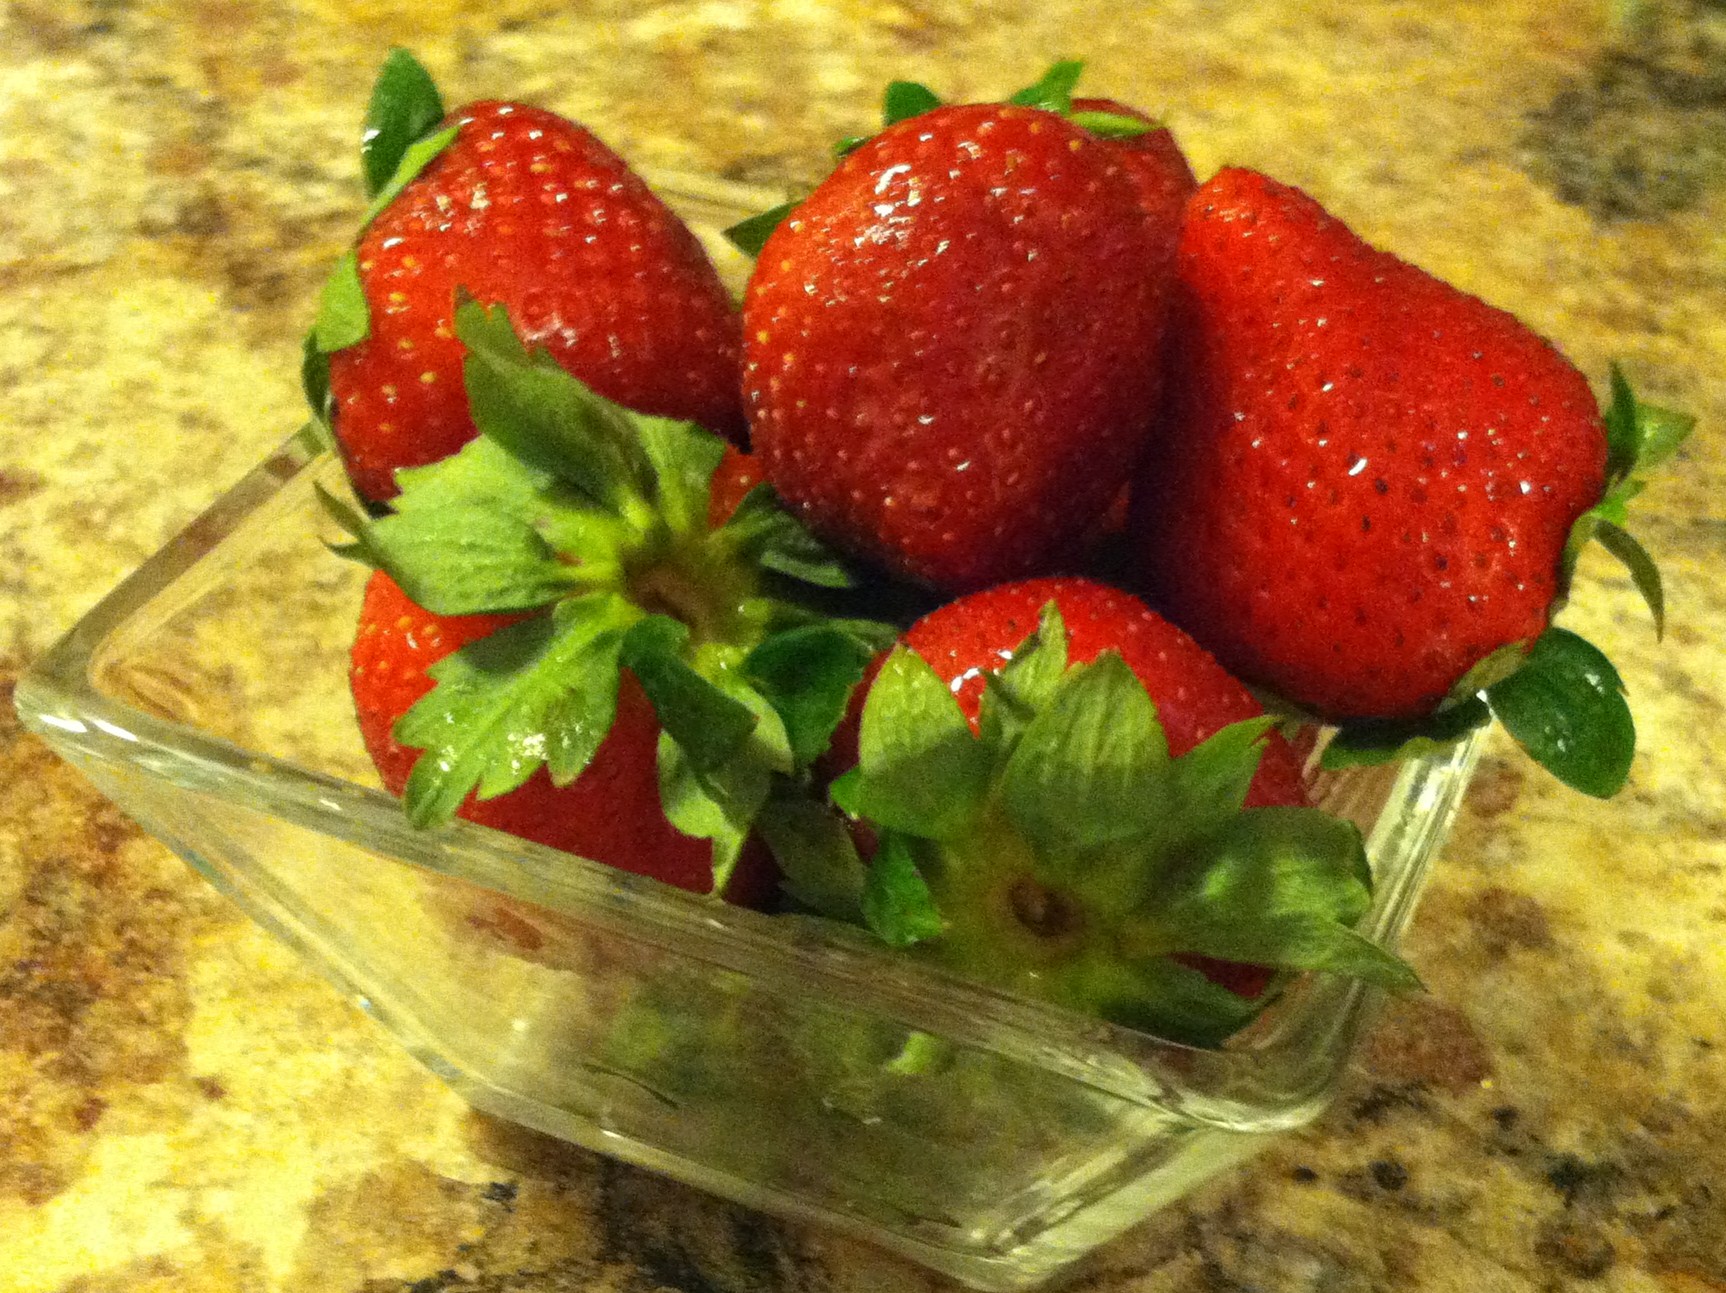
I will totally not tell if you sneak a few as you’re cutting. Fresh strawberries are hard to resist! I know I had a few…
Step 7: In a bowl, mix the balsamic vinegar and honey. You may need to microwave for 15-20 seconds to get the honey and vinegar to mix well. Dump the sliced berries in, and mix well to coat. Set aside.
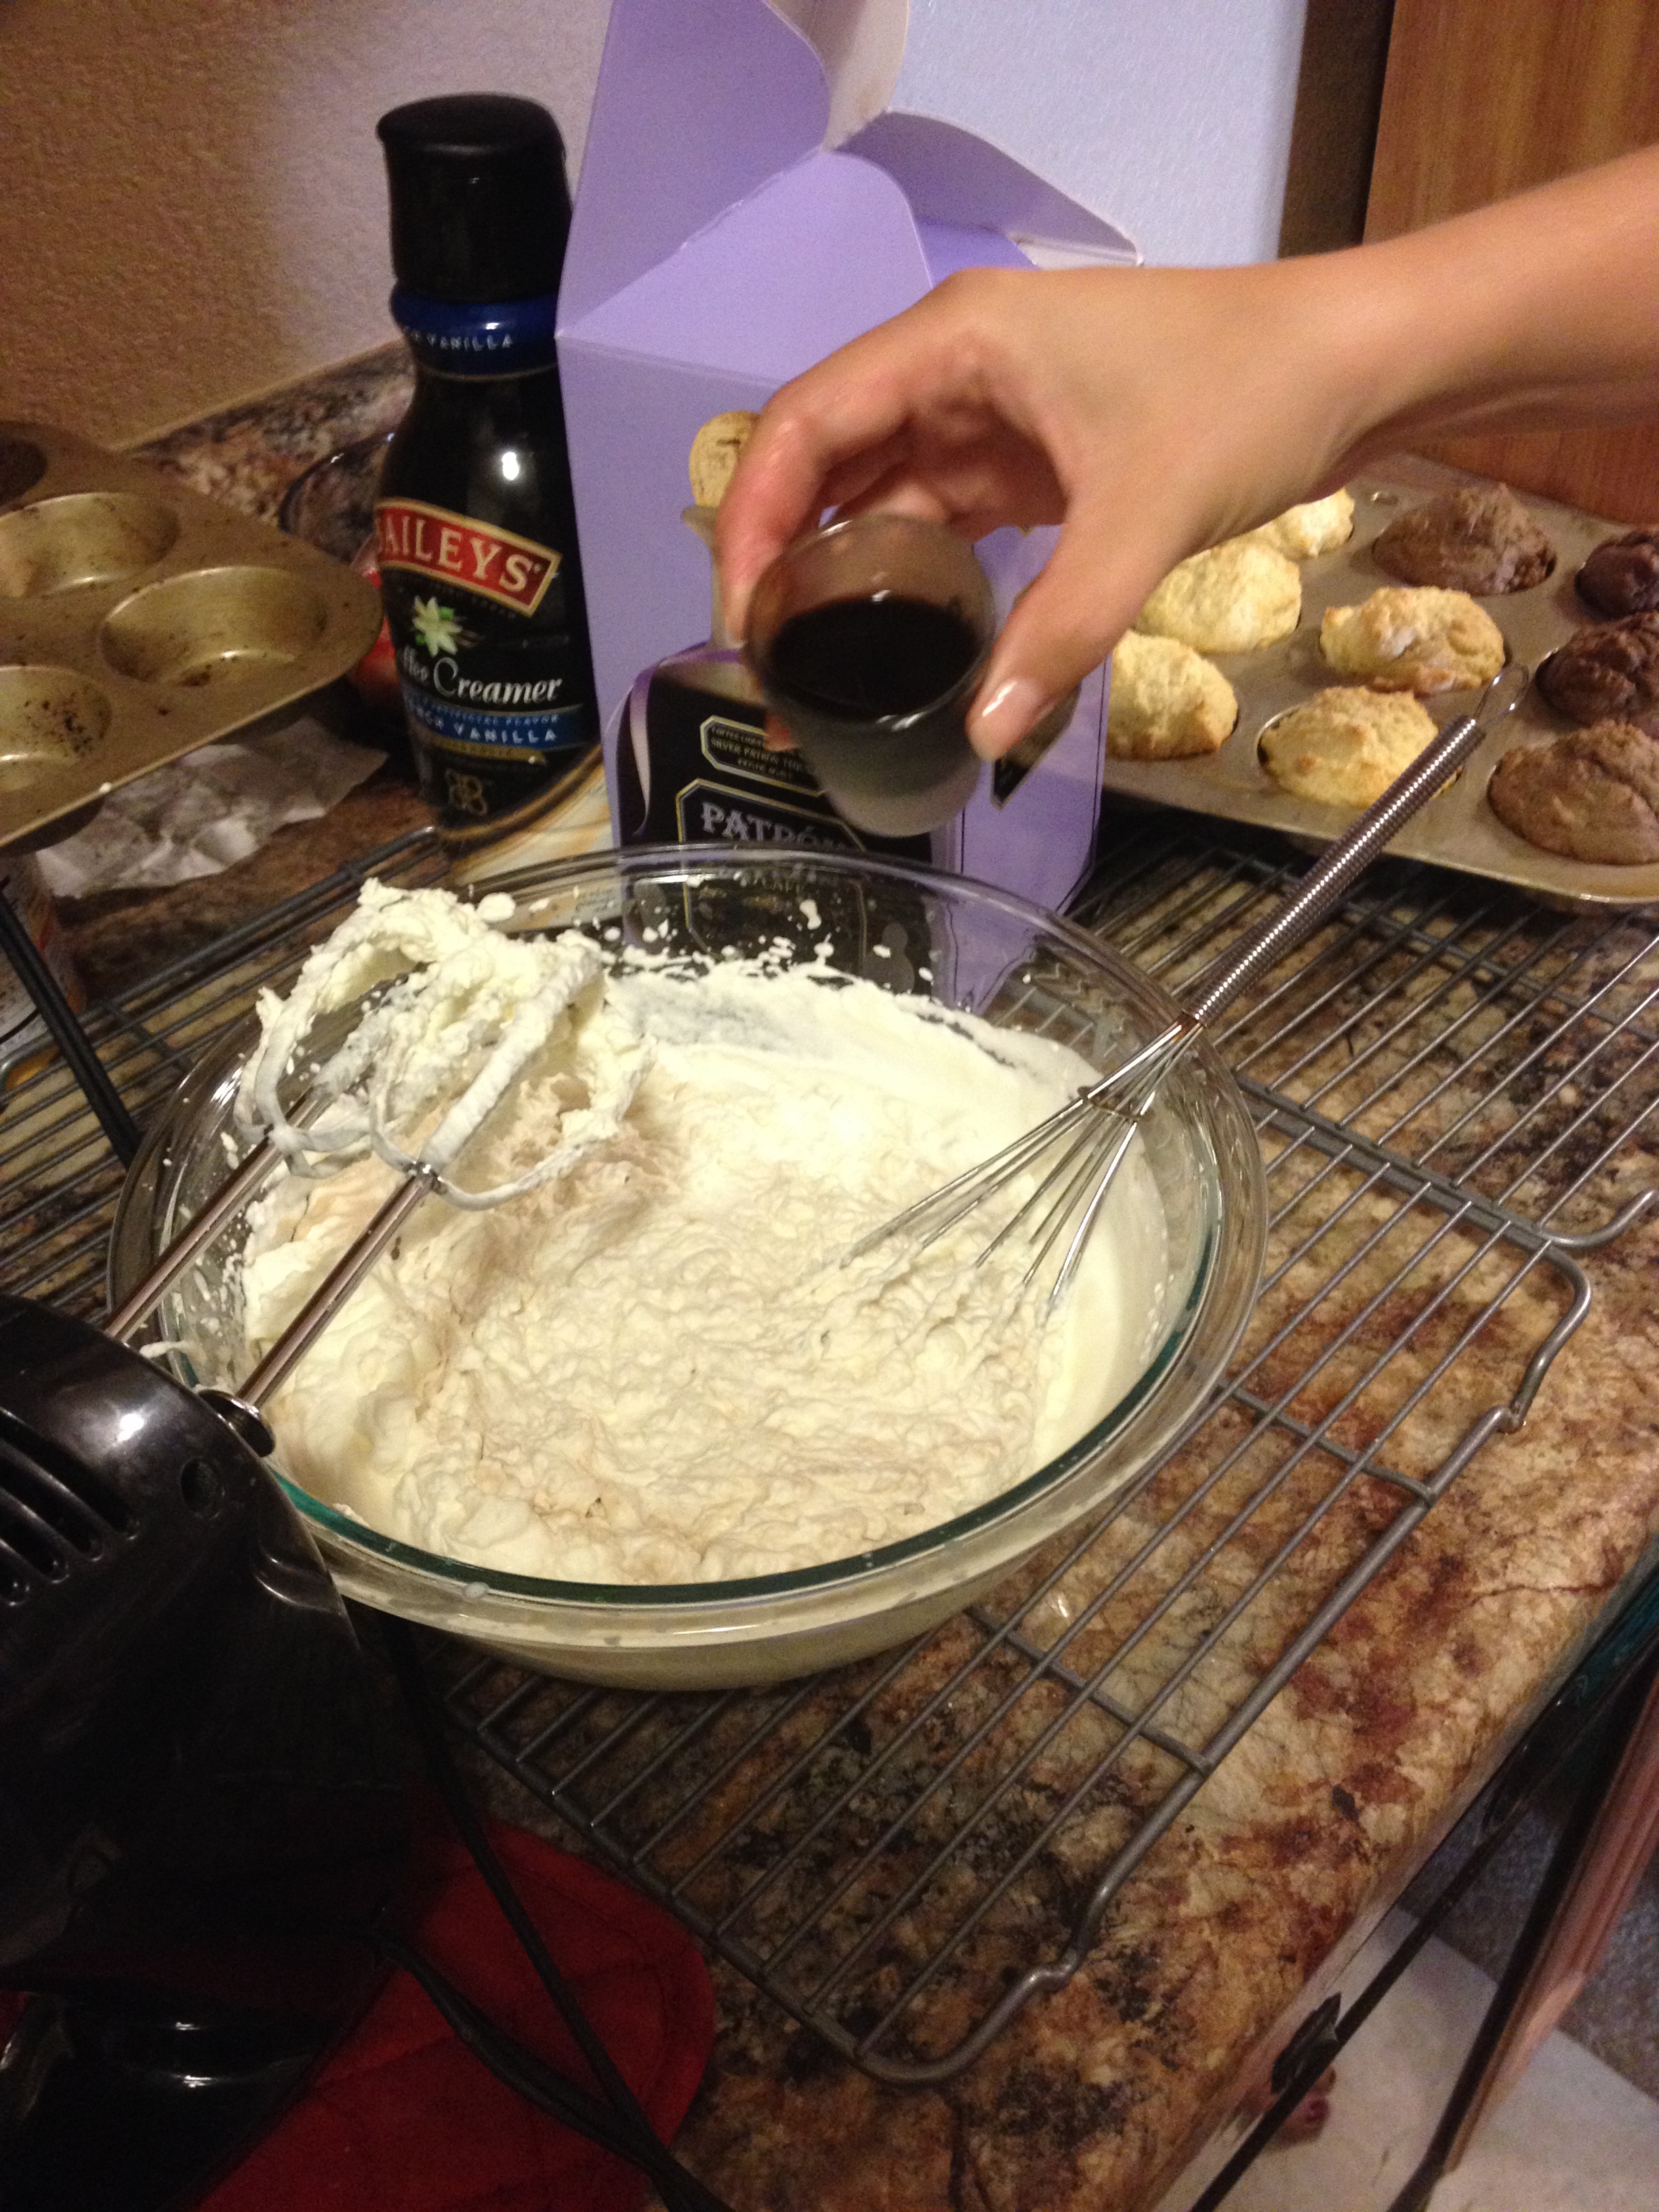
Step 8: The home stretch, whipped cream time! Take out your cold bowl and whisk. Pour in 1 cup heavy whipping cream, and then whip the crap outta the cream.
The cream will start to thicken, and form stiff peaks. Add the 2 oz of creamer, powdered sugar, and Patron. Mix well again. Be sure to not over-beat it though, you don’t want alcoholic butter. Or maybe you do…
As you can see, my arm got tired and I resorted to a hand mixer. =)
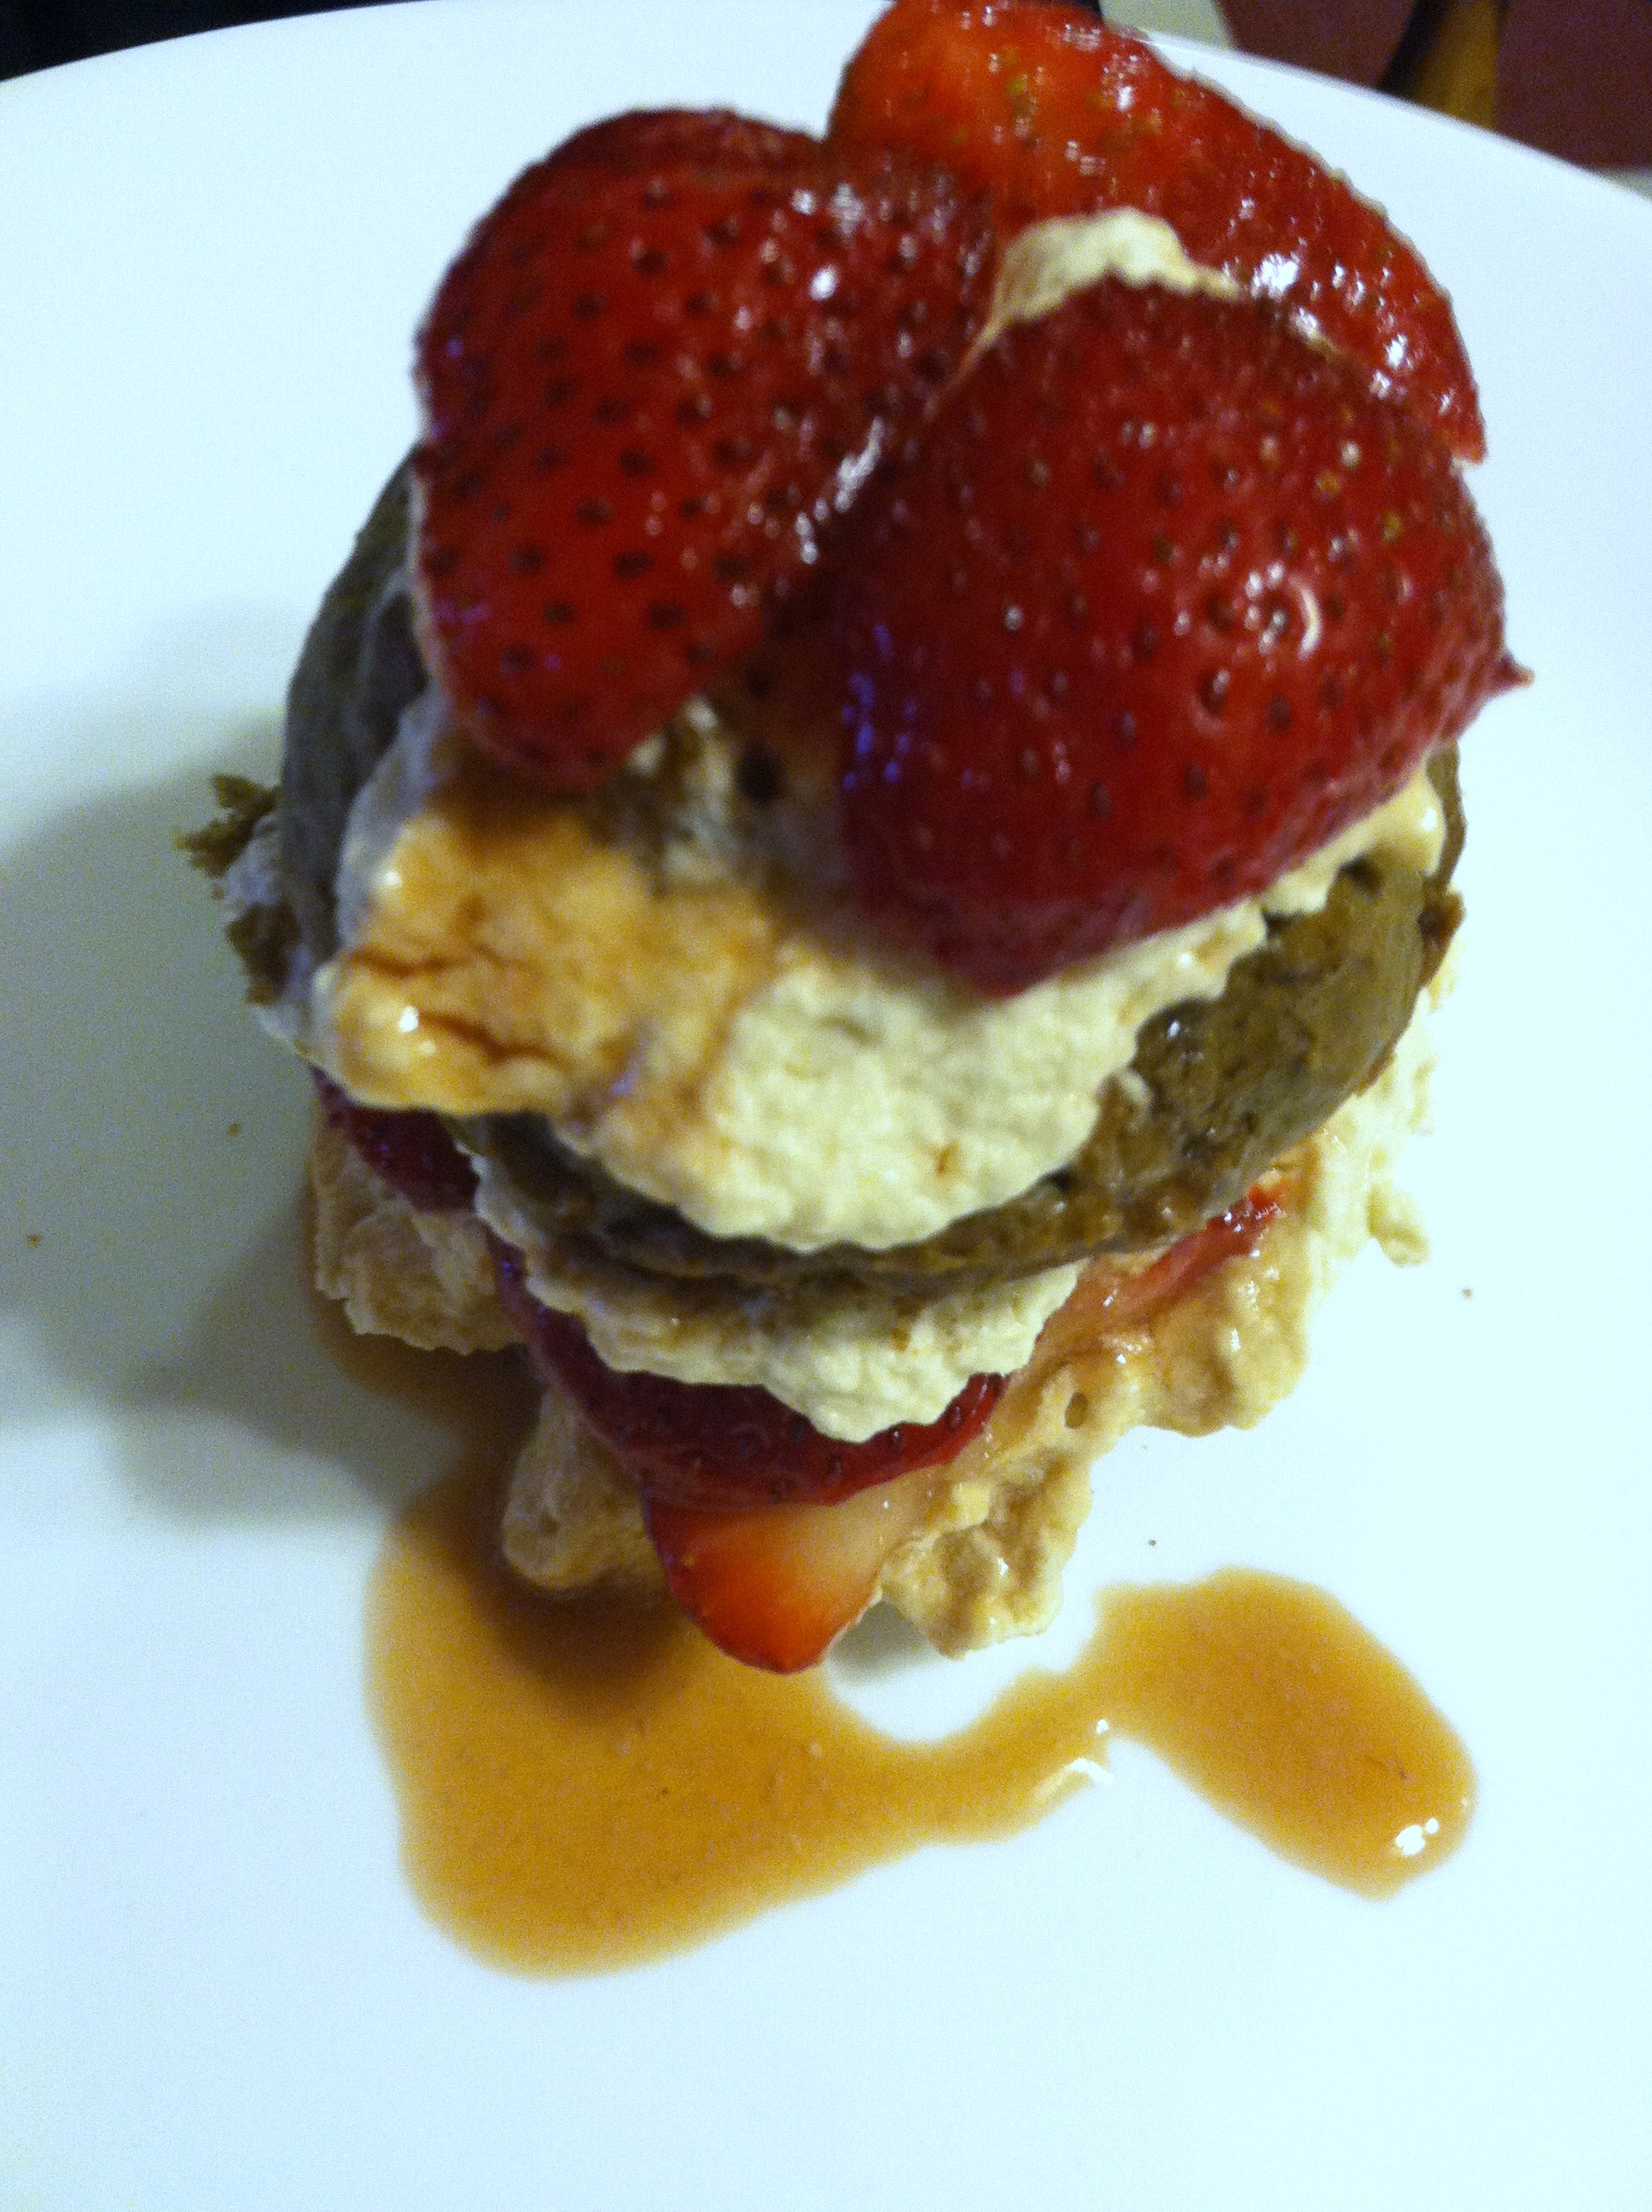
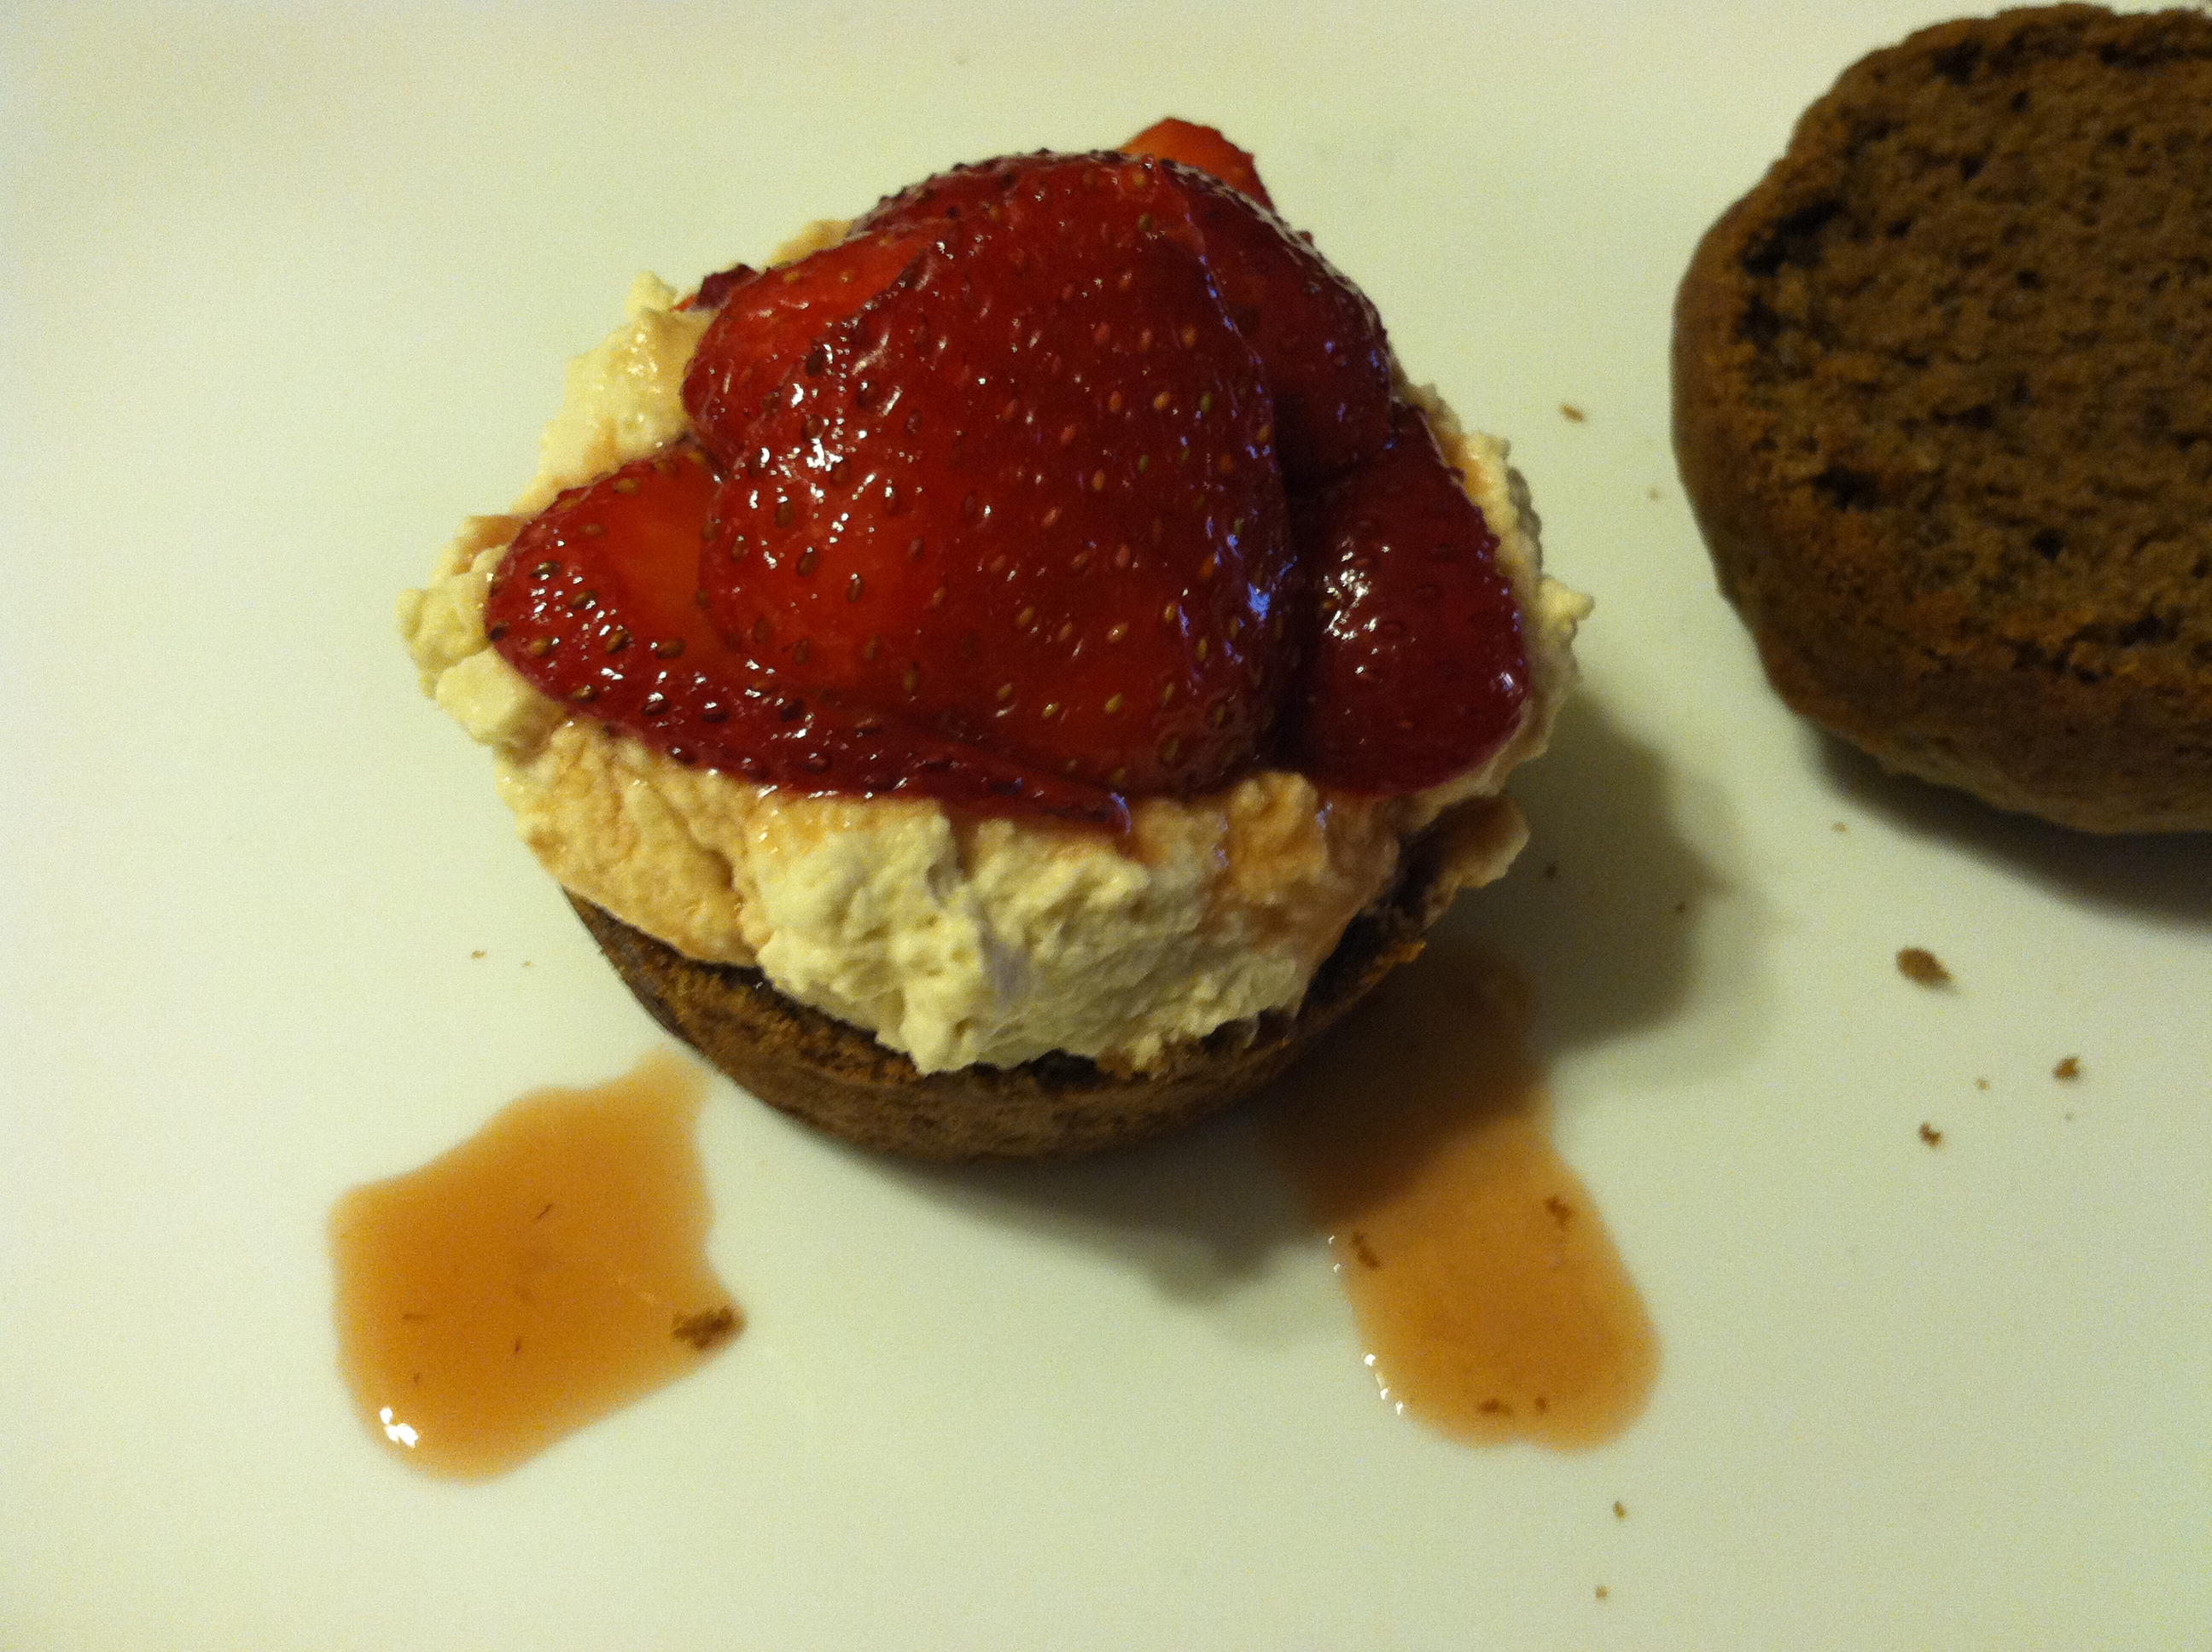
Step 9: Now you have all three ingredients to assemble your masterpiece. Cut the cooled shortcupcakes in half, and smear on some cafe cream. Add a few slices of berries, and a drizzle of the extra juice.
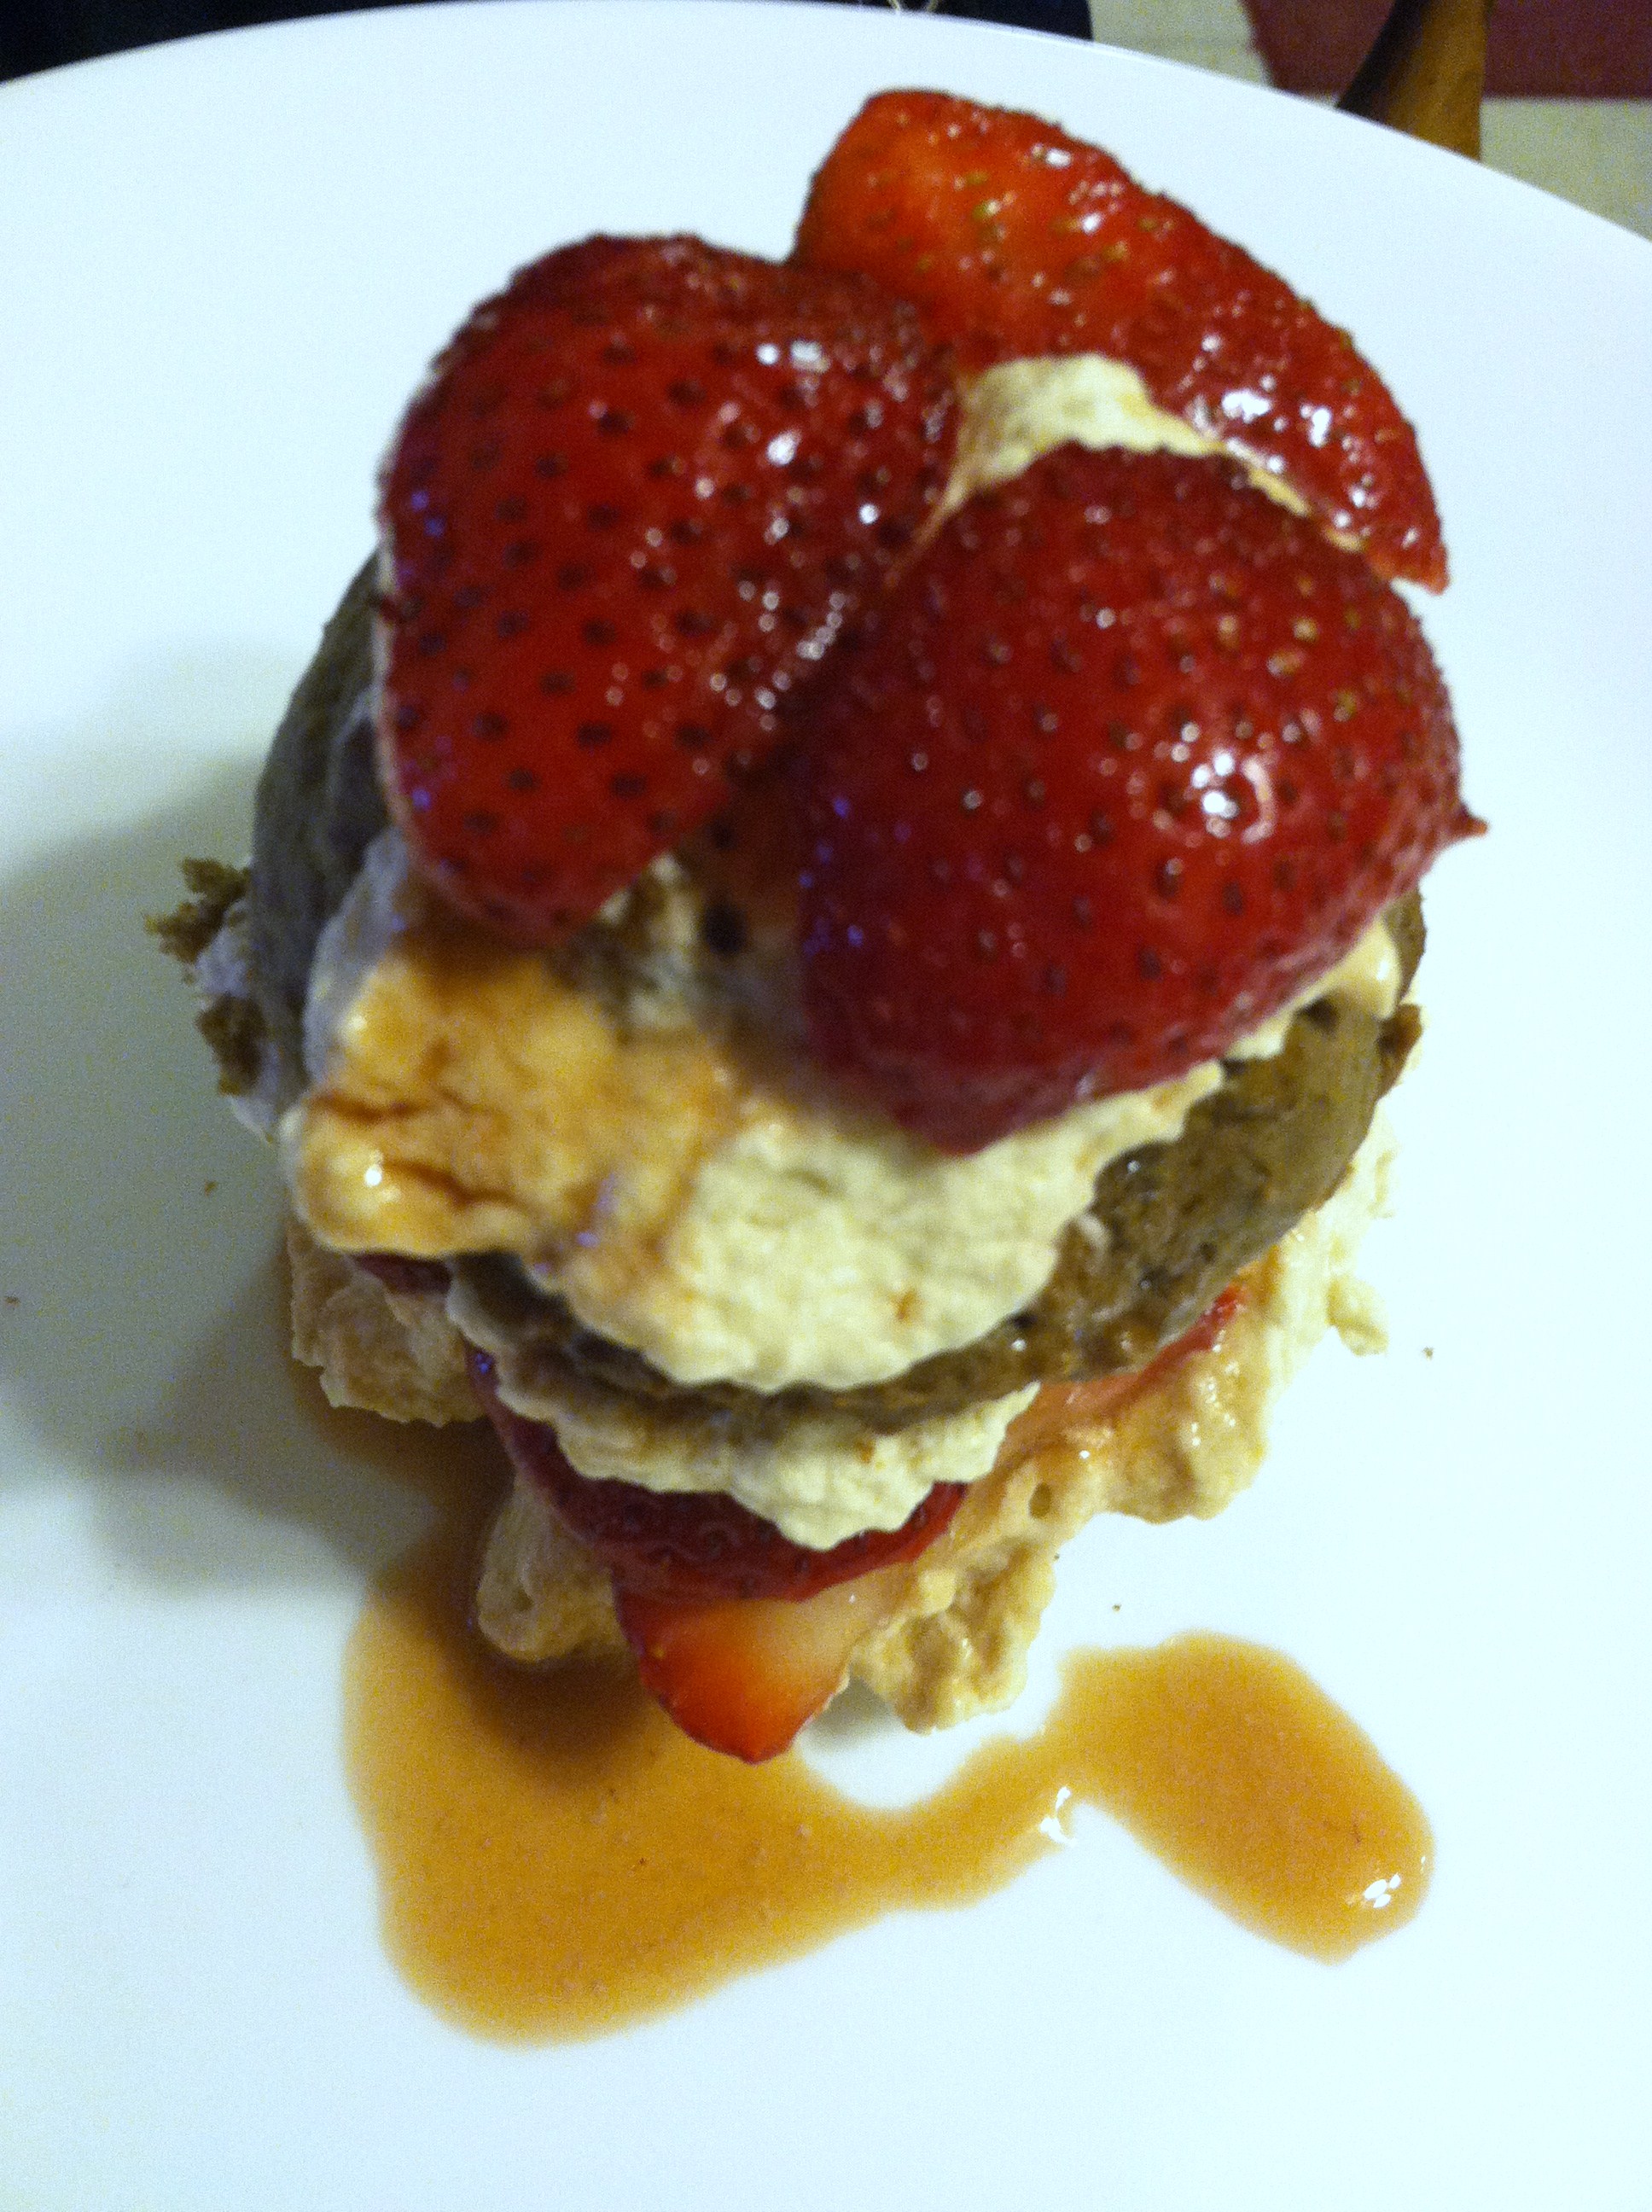
Put the top layer on, smear on some more cream, and top with berry slices.
And there you have it! A delicious, fresh, unique dessert to wow a crowd or make a summertime picnic extra special. This recipe makes enough for 8 small cakes, you can easily double it to make a larger 9 inch round pan.
The cake is flaky on the outside, yet moist on the inside, with just a hint of cocoa flavor. The whipped cream adds a mysterious bite, with a chocolate-complementing essence of coffee. Likewise, the balsamic vinegar is a unique, yet balancing tang to the coffee-chocolate notes, and the honey is just the right amount of sweet without being overwhelming. The longer you let the berries soak, the more they will take on this amazing flavor combination. You might want to make extra to just eat with a spoon!
Now the next time you have a birthday, office gathering, garden party, or dinner you know where to turn for a uniquely impressive dessert that’s sure to bring compliments for years to come!
Since it is March 14 (or 3.14) it is international Pi Day, the day to celebrate the number pi. The Roman symbol above is how we write pi in math class. It is defined as the circumference of a perfect circle divided by its diameter, or the distance around the outside divided by the distance perfectly halfway across.
Conveniently, Albert Einstein was also born on March 14th. But as for the number, possibly it’s biggest (and only) claim to fame is that it is infinite. There is quite literally no end to the digits if you calculate it out exactly.
The digits of pi have inspired people to memorize strings of thousands of numbers, competitions, “the million digits of pi”, create poetry and music with these numbers. There is even a PiDay organization with a website that has all kinds of fun facts and stories about Pi.
If you want to know more about how Pi Day began, and how Americans celebrate, check out CNN’s article “How America celebrates Pi Day“.
A clever t-shirt showing how “PIE” in a mirror is 3.14 Pi!
In honor of this unique number I’m posting a special recipe, for pie of course!
Because blackberries were on sale this week, that is the fruit I chose. However, you can use any berry or fruit you like, including frozen.
Ingredients:
2 pie crusts (I cheated and store-bought. If you’re baking-savvy or brave, you can try making your own pie crust, like this one from Pioneer Woman)
4 cups blackberries
1 cup sugar
1/2 cup flour
1 tsp salt
2 tbsp milk
3 tbsp butter (or Country Crock)
Step 1: Let the dough thaw for 10-20 minutes on the counter top, if it broke at all smush it back together with your fingers.
Step 2: Combine all ingredients but butter and milk in a large bowl to coat the berries with flour and sugar. Pour into your bottom crust. Place little chunks of butter around on the top.
Step 3: Place the other crust on top, and make sure to cut some hole to vent. I of course had to go full-nerd and cut “3.14” into the pie.
Step 4: Brush the top with milk (or egg) to make sure it gets nice a golden. Bake on a baking sheet in the middle of the oven at 400 for 12-15 minutes, until nice and bubbly and golden.
Cut yourself a nice slice along the radius and enjoy!
This is so amazing warm out of the oven, topped with vanilla ice cream or cool whip. It’s warm and sweet and melty… MMMM! It is also amazing as breakfast with a cup of hot coffee. =) And because you desperately need to know the millionth digit of Pi: 3.14159265358979323846264338327950288419716939937510582097494459230781640628620899862803482534211706798214808651328230664709384460955058223172535940812848111745028410270193852110555964462294895493038196442881097566593344612847564823378678316527120190914564856692346034861045432664821339360726024914127372458700660631558817488152092096282925409171536436789259036001133053054882046652138414695194151160943305727036575959195309218611738193261179310511854807446237996274956735188575272489122793818301194912983367336244065664308602139494639522473719070217986094370277053921717629317675238467481846766940513200056812714526356082778577134275778960917363717872146844090122495343014654958537105079227968925892354201995611212902196086403441815981362977477130996051870721134999999837297804995105973173281609631859502445945534690830264252230825334468503526193118817101000313783875288658753320838142061717766914730359825349042875546873115956286388235378759375195778185778053217122680661300192
Just kidding. But if you really do want to know all one million go here. Are you doing anything to celebrate Pi Day?
Sometimes in life, our good intentions drive us to over-buy on produce. Then we have cabbage rotting in the crisper, wilted kale and celery, oranges drying out on the counter, or brown-spotted bananas on the table. But this is not always a bad thing. Wilted veggies can be put in the freezer to become vegetable stock at a later date. Fruits that aren’t moldy can be juiced or put into smoothies. And my favorite thing to do with mushy, old bananas is to make banana bread. This is why I never worry about buying too many bananas, because I know the ones that get old and turn brown are going to be made into a delicious breakfast or anytime treat! If I only have one, I put it in the freezer until I accumulate 3 or 4 bananas. Then it’s game on. For this version I got the basic recipe from Simply Recipes and added some extras of my own. Ingredients:
3 or 4 ripe bananas, smashed
1/3 cup melted butter
1 egg, beaten
1 cup sugar (can easily reduce to 3/4 cup)
1 teaspoon vanilla
1 teaspoon baking soda
Pinch of salt
2 cups of all-purpose flour
1/2 cup fresh or frozen blueberries (or blackberries)
1/2 cup dried cherries
Step 1: Mash the bananas in a bowl. Add the wet ingredients: egg, butter, vanilla. In a separate bowl, mix the dry ingredients: flour, sugar, baking powder, salt, blueberries and cherries. Pour the wet into the dry and mix well.
Step 2: Spray an oven-safe bread pan with oil, and bake at 350 for 30-40 minutes, until browned on the outside and a fork comes out clean in the middle.
This bread is soft on the inside with a perfectly crunchy top crust. The blueberries and cherries are chewy sweet surprises in every bite! I think this bread is perfect for adding all sorts of fruit goodies, you could use any berry you like. Healthify it with whole wheat flour, or add flax seeds. Use splenda or nutrisweet instead of regular sugar. Use applesauce instead of an egg to make it totally vegan. The possibilities are endless!
And for only 228 calories a slice, this is a great grab-and-go breakfast or evening snack to ward off a sweet tooth without breaking the calorie bank.
Nutrition Facts
12 Servings
Amount Per Serving
Calories
228.3
Total Fat
5.8 g
Saturated Fat
3.4 g
Polyunsaturated Fat
0.4 g
Monounsaturated Fat
1.5 g
Cholesterol
29.1 mg
Sodium
147.7 mg
Potassium
167.5 mg
Total Carbohydrate
42.1 g
Dietary Fiber
1.7 g
Sugars
22.2 g
Protein
3.2 g
Vitamin A
4.3 %
Vitamin B-12
0.8 %
Vitamin B-6
10.9 %
Vitamin C
6.1 %
Vitamin D
1.7 %
Vitamin E
1.4 %
Calcium
0.9 %
Copper
3.6 %
Folate
11.8 %
Iron
6.5 %
Magnesium
3.9 %
Manganese
10.4 %
Niacin
7.3 %
Pantothenic Acid
2.1 %
Phosphorus
4.1 %
Riboflavin
9.3 %
Selenium
10.7 %
Thiamin
12.1 %
Zinc
1.8 %
*Percent Daily Values are based on a 2,000 calorie diet. Your daily values may be higher or lower depending on your calorie needs.
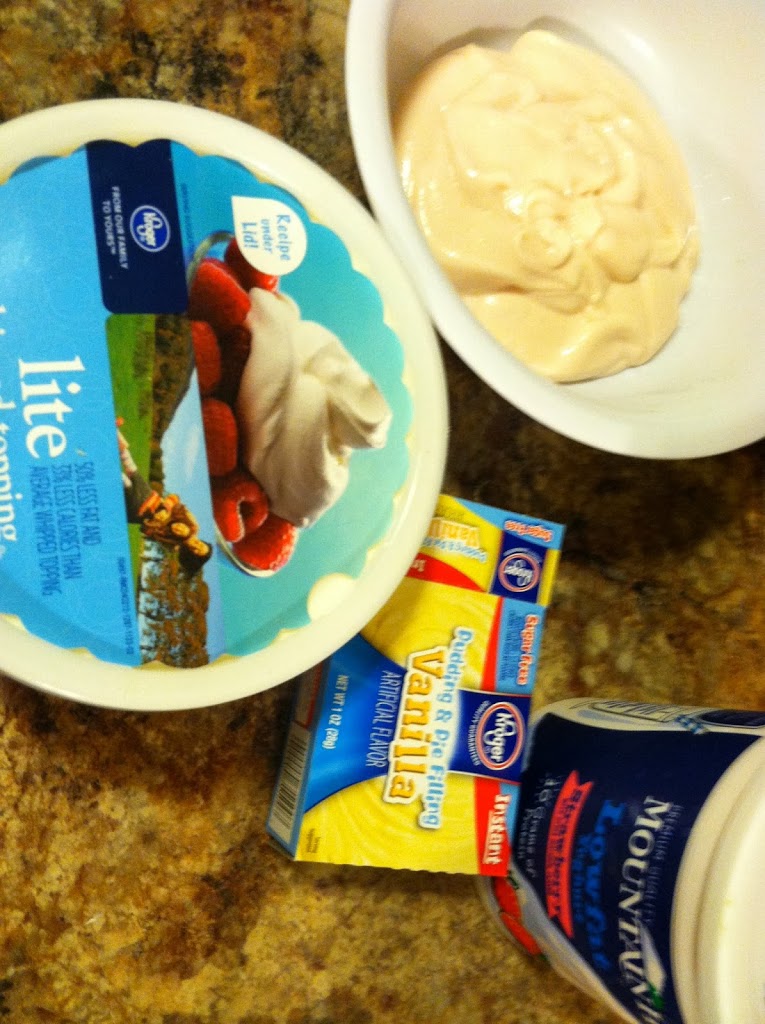
This is one of the few things I tried making for a Valentine’s Day bake-off competition. I chose my top three from a wide variety of online resources and did a test run. This one came out amazingly delicious, but it is harder than you might think to get it to roll up all pretty. So for aesthetic reasons this one didn’t make the cut. If you’re curious, the other of the top three were my Dark Chocolate Cherry Truffles, and my favorite, which did win the baking competition, were the I Choose You Pokeball red velvet cupcakes. Anywho, if you don’t care what it looks like, but only what it tastes like, or are an expert roller, then please try this! It was splendid. Ingredients: 1 box angel food cake mix Water 1 container whipped topping 1 box vanilla pudding mix 1 cup strawberry yogurt Food coloring (optional)
Step 1: Mix the angel food cake and water (you can make an angel food cake from scratch, and bless your heart if you can!) and bake in a 9×13 pan. It was recommended that you line the pan with wax paper, and I really wish I had because that cake sticks.
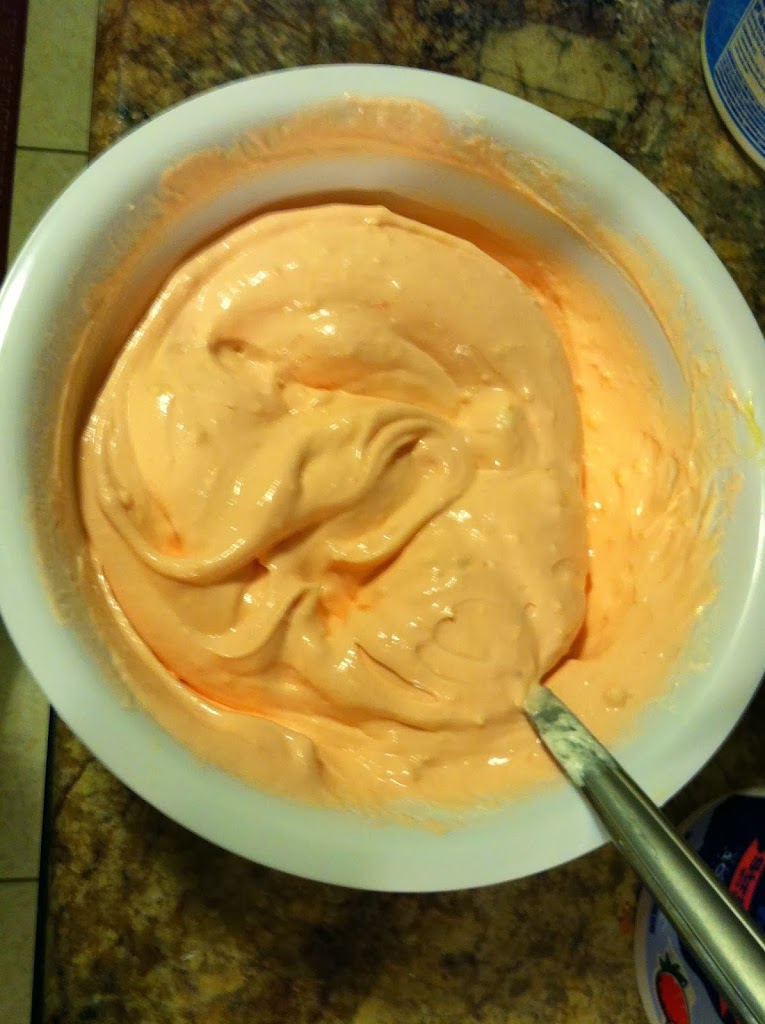
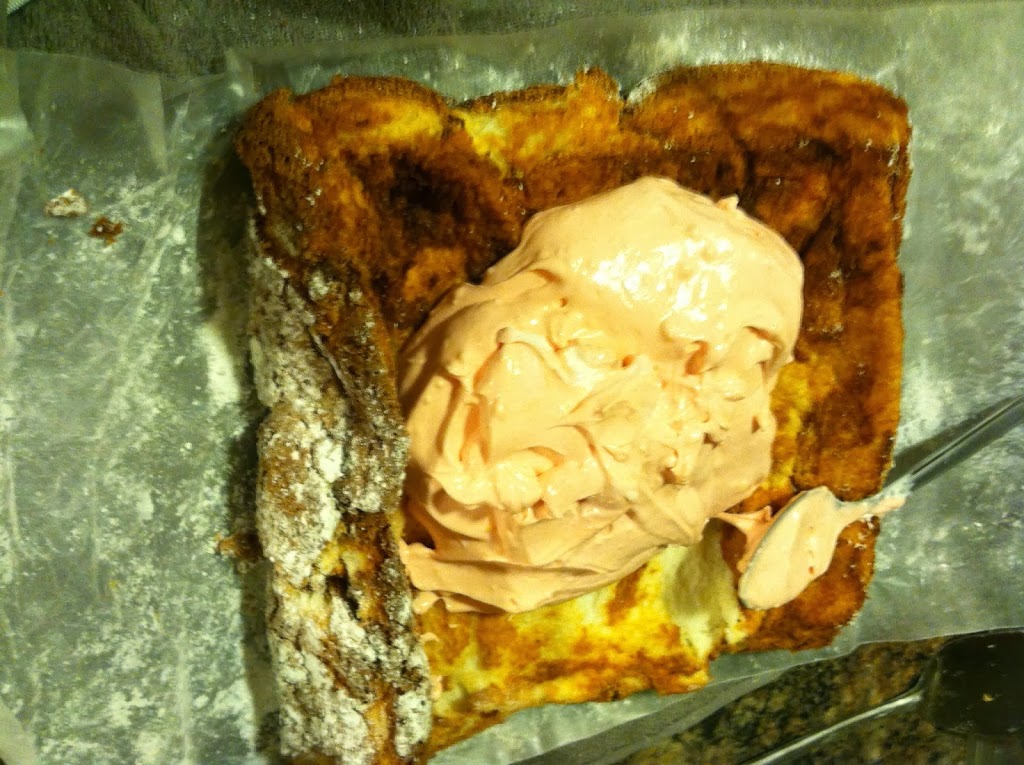
Step 2: In a separate bowl, mix the pudding, whipped topping and yogurt. Add red food coloring if you want brighter pink filling.
Step 3: Let the cake cool a bit, rolled in a wax-paper-covered paper towel. Then unroll, and spread the filling over it. Sprinkle the wax paper with powdered sugar as well.
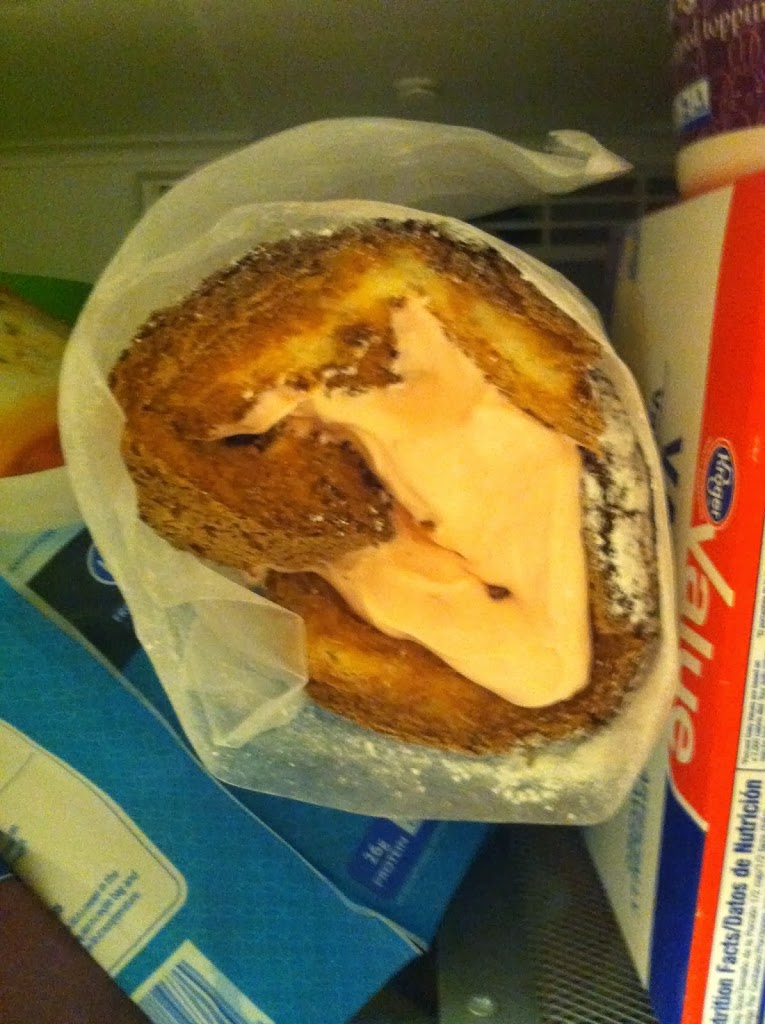
Step 4: Roll it back up, and freeze for about 30 minutes. You can leave it in there, just thaw for a few minutes before cutting.
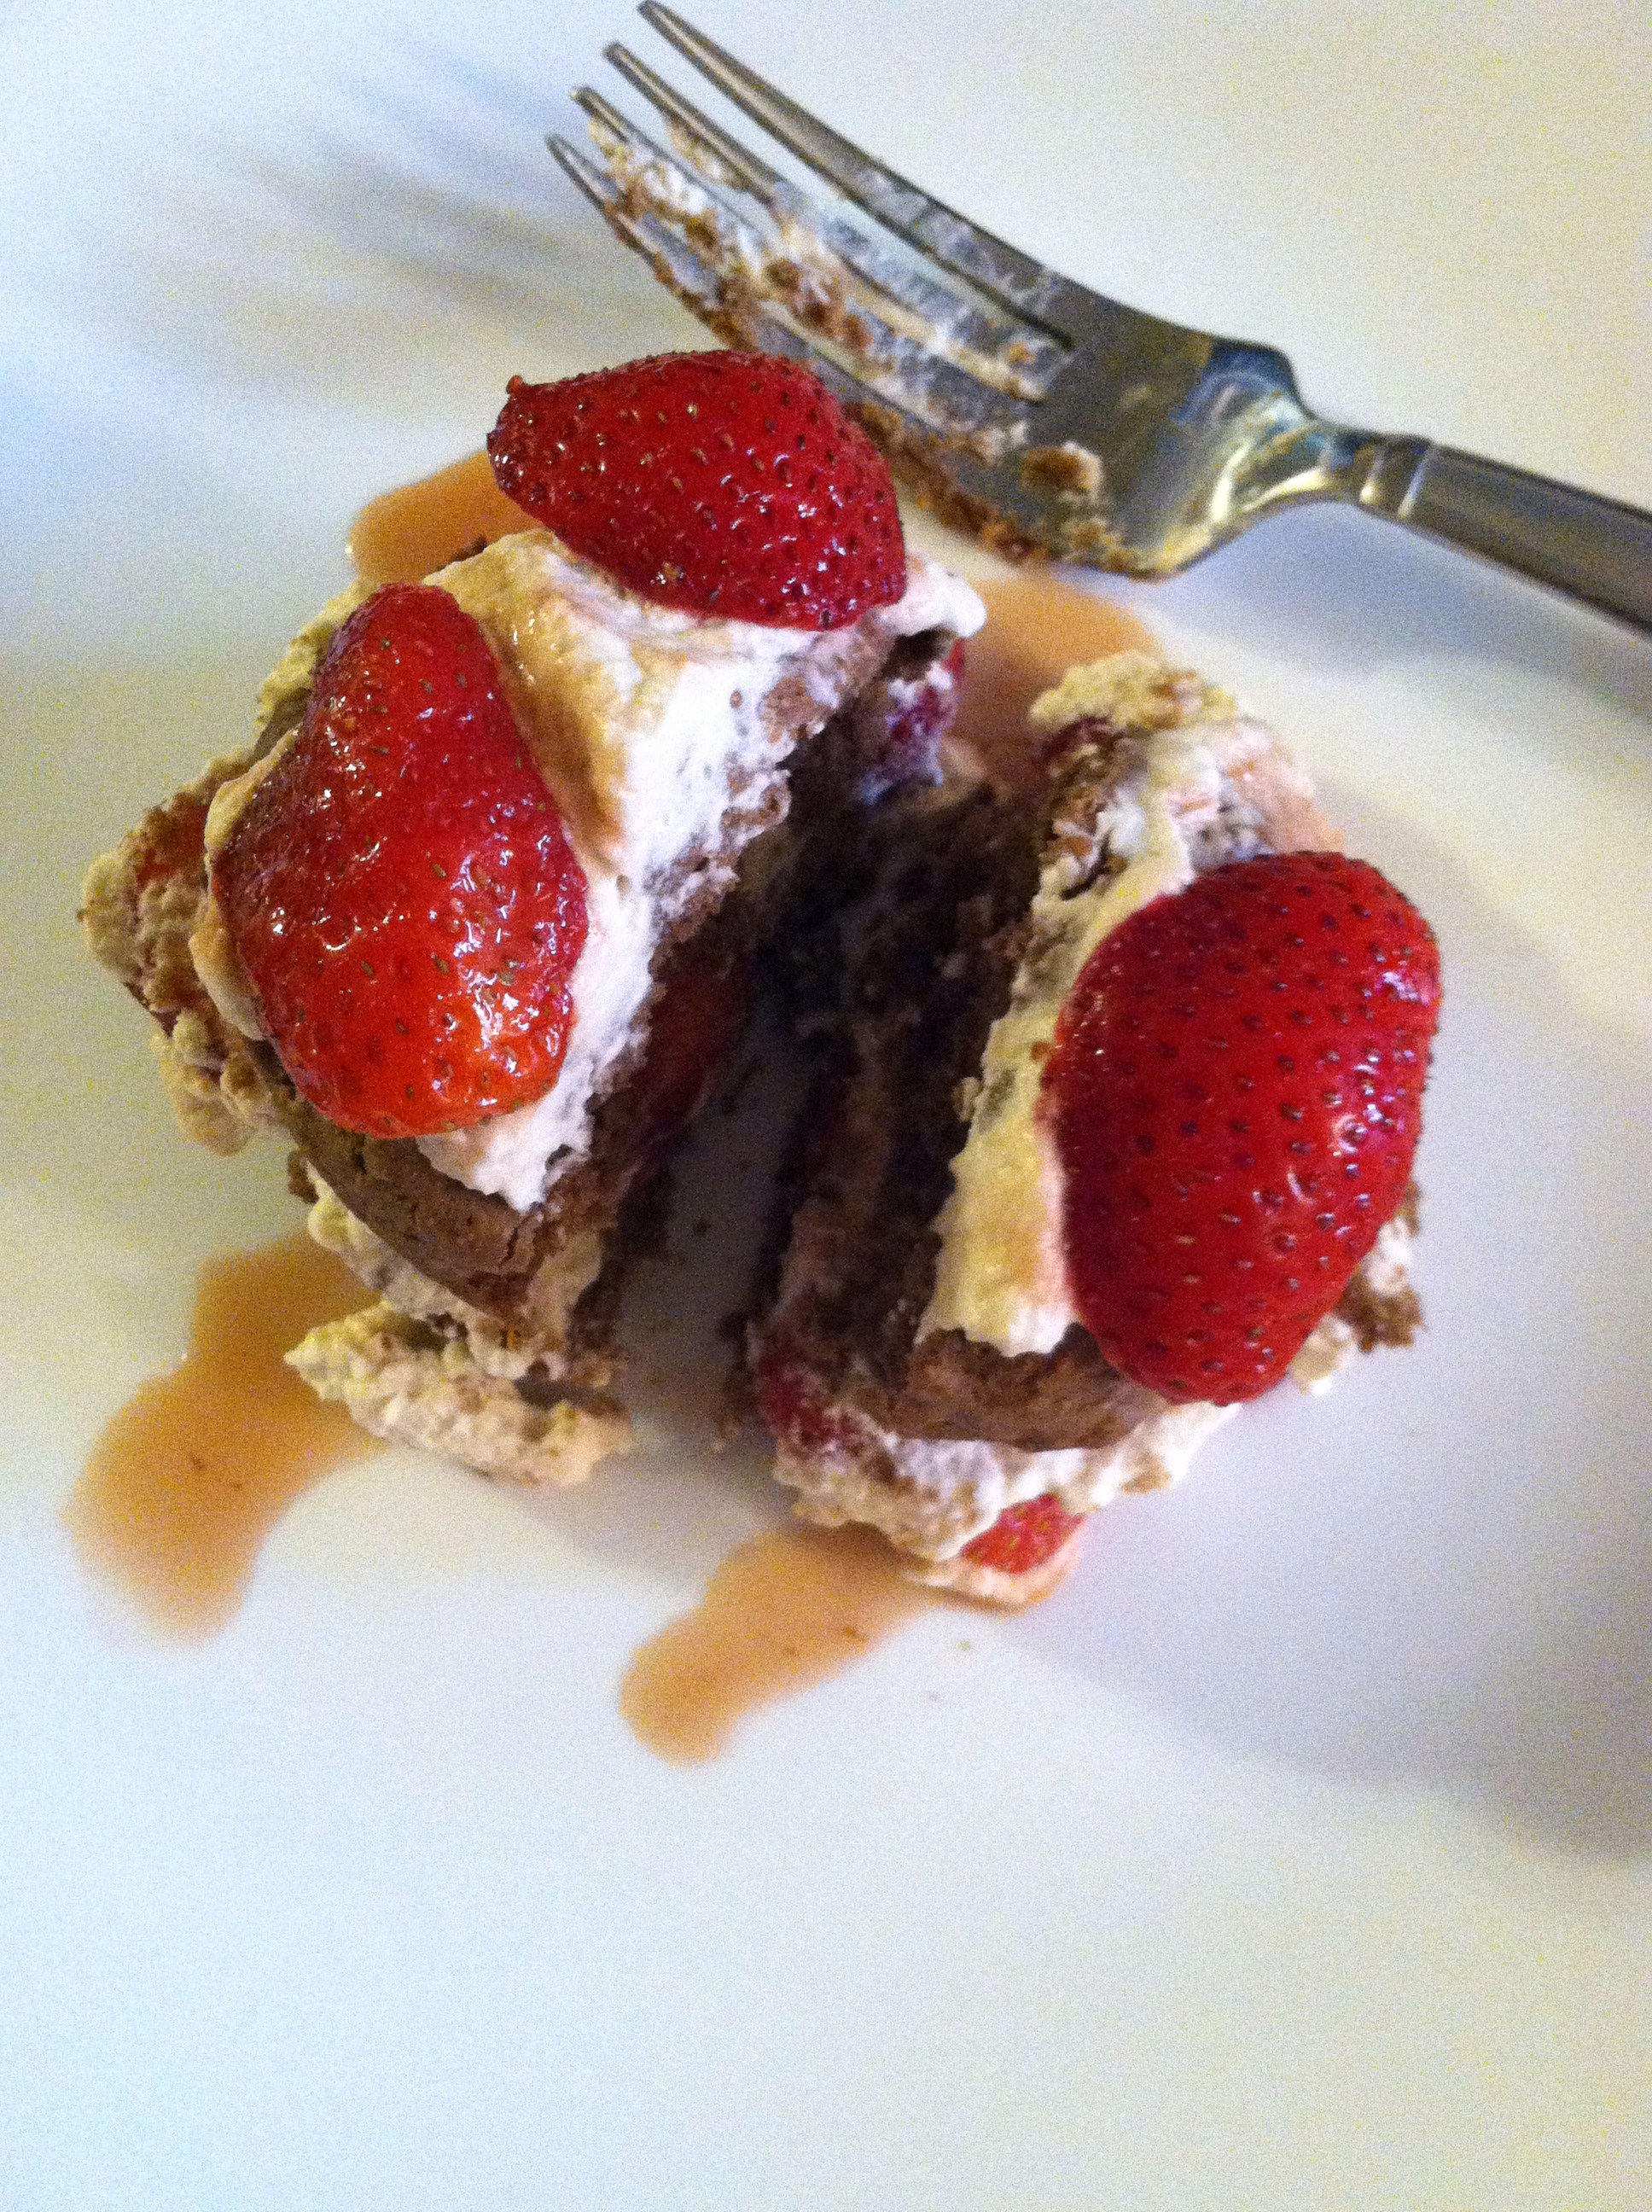
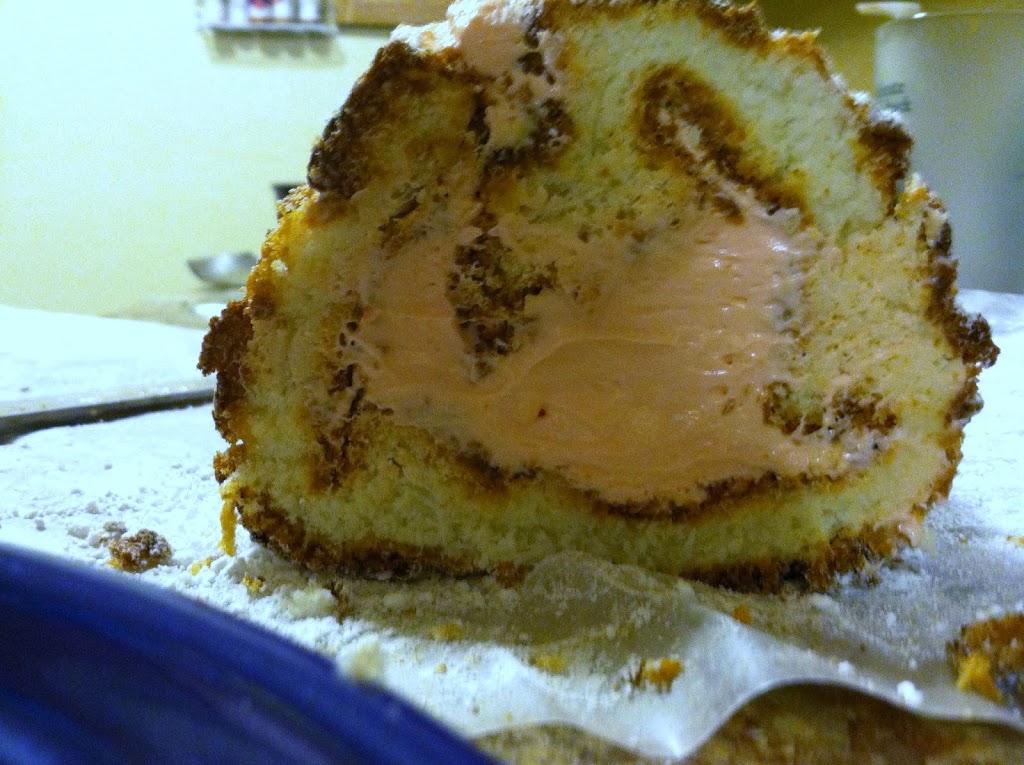
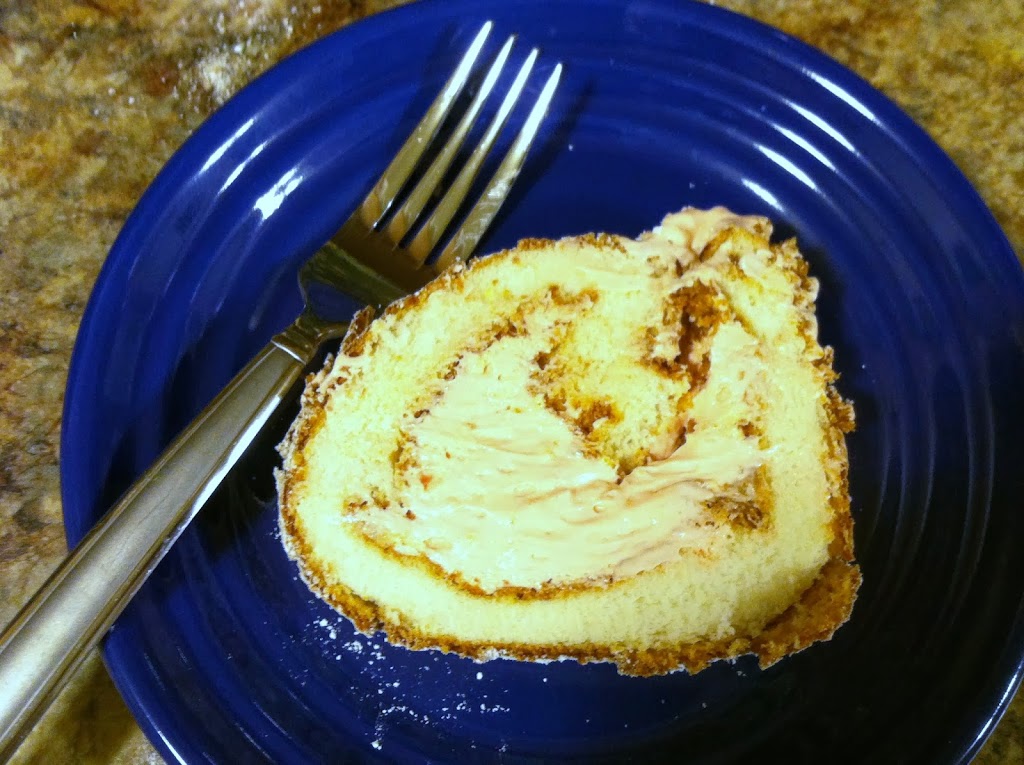
The filling was just slightly strawberry, light and fluffy without being overly sweet. It was a perfect balance to the airy angel food cake.
I had one slice alone, then another with vanilla ice cream. It would also be delicious with cut up strawberries. I may pull this one out again in the summertime too. mmmmmm….
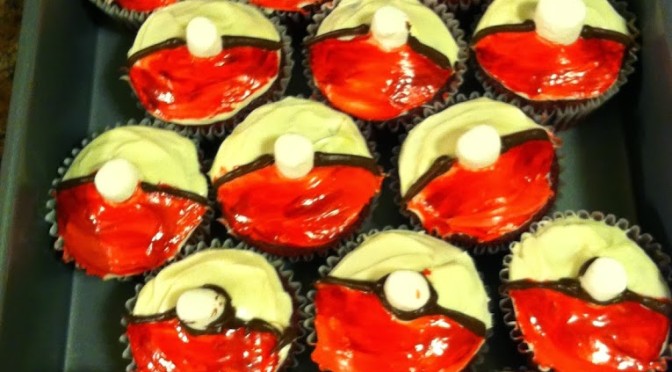
When I saw these online somewhere, I knew they HAD to happen! I wish I’d kept the original website I saw these on. Anyway, anyone who grew up roughly in the 1990s-now knows all about Pokemon, and these aDORable poke ball cupcakes will bring back fond memories and warm fuzzies.
These would be perfect for a Valentine’s Day party or gift, or any kid’s birthday party who is obsessed with Pokemon, or Pokemon GO. Complete with “I choose YOU” accents, these would steal the heart of any geek! #GeekLove
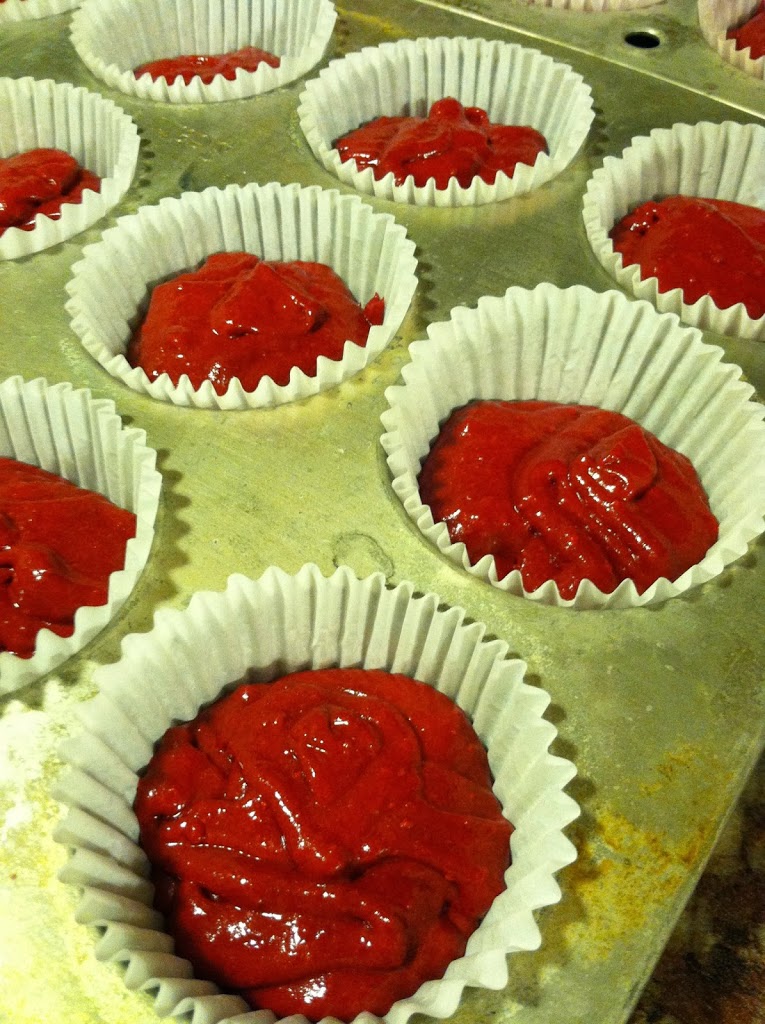
Step 1: I cheated and used a box mix. Sorry, but a girl’s gotta pass classes. Make the cake mix, and pour into a greased muffin tin or use cupcake liners.
Step 2: Bake at 350 for 14-18 minutes, until cooked through and springy to the touch. Cool fully.
Step 3: Spread white icing all over the cupcakes. Then put a dot of red food coloring on one side, and smear it carefully over half of the icing to make the two-toned look. (This makes the red vibrant, if you mix it into the icing it will turn out more pink).
Step 4: Put a mini marshmallow in the center, then pipe chocolate or black icing down each side to separate the white and red halves. There you have it, an edible, adorable PokeBall.
You could also pipe the words “I choose you” onto a few to make sure the not-quite-as-geeky get it. Just put some icing in a ziplock bag, and cut a tiny corner off. No need for expensive pastry bags.
This is a recipe I tried in preparation for a Valentine’s Day baking contest. Everybody loves truffles, I know I do. And my boyfriend loves anything cherry. Therefore I decided to try making some chocolate cherry truffles to share. They were very simple to make, and I’m sure could be customize to whatever dried fruit or flavor you desire. Have fun, and make sure to make enough to share and to keep for yourself!
Ingredients: 1/2 cup dried cherries 1/2 cup vanilla vodka 12 oz dark chocolate (mixed kinds) Powdered sugar Cinnamon sugar
Step 1: Soak the cherries in the vodka for at least 30 minutes. They will absorb the flavor and the alcohol.
Step 2: In 30-second bursts, slowly melt the chocolate until smooth. Mix in the soaked cherries.
Step 3: Form into 1 inch balls and refrigerate until solid. Roll in topping of your choice.
These would also be delicious and adorable if covered in milk chocolate or drizzled with colored white chocolate. In fact, truffles are great anytime, not just for a holiday. Share the love.
I’ve had a love affair with everything you can make homemade for quite some time now. From homemade oven-baked bread (that didn’t work very well… I need to try that again), to perfect pancakes, applesauce muffins, and even infused liquor, I love when I can take a few simple ingredients and make a whole lot of something I otherwise would have to buy at the store. Someday soon I will foray into making my own yogurt, bagels, kombucha, and sauerkraut too.
.
One thing I’ve had in the back of my mind to try was soft pretzels. They seemed like an easy enough task, though I wasn’t sure. History claims that a very long time ago, AD 610 according to TLC Cooking, a monk was frustrated with his class and had some leftover bread dough. He rolled the dough out into rolls and made the iconic pretzel shape to resemble hands crossed in prayer. Originally called “pretiola”, Latin for “little reward”, they were quickly re-named “brachiola” which means “little arms”. They reached Germany, where they became a huge hit and were known as bretzels. This translated in America to pretzels, and so the famous street/fair/and sports event food took its place in our history.
.
So when I found on Sally’s Baking Addiction a 30 Minute Pretzel recipe, I knew I had to try it. However, my favorite soft pretzel is the Auntie Anne’s cinnamon raisin with glaze, so rather than a plain salt that’s what I was after. With a few tweaks, I was sure I could re-create that $6 treat for far less. This recipe ended up making 8 medium-sized pretzels. I’m sure you could cut it in half for one, or make smaller ones for young-uns. You can also omit the cinnamon and use less sugar and just roll in sea salt for regular soft pretzels and dip in mustard or cheese. In fact, I think I’ll need to make another batch of plain this weekend…
.
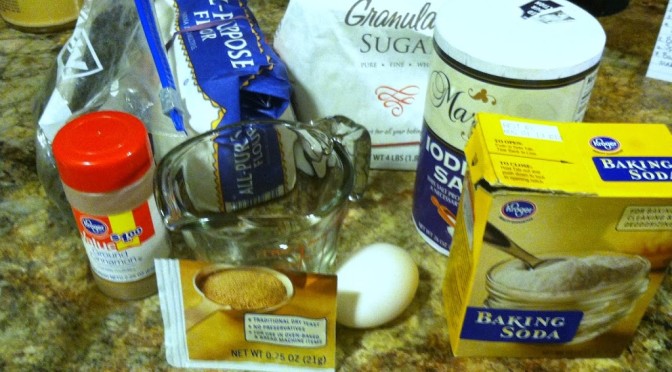
Ingredients:
1.5 cups water
1 packet yeast
1 cup sugar or brown sugar
2 tsp salt
2 tbsp cinnamon
1/4 cup raisins
4 cups flour plus extra
2 eggs, beaten
.
Step 1: Pour the yeast into 1 1/2 cups warm-ish water and stir. You don’t have to wait for anything to rise, just mix it well.
Step 2: Mix all dry ingredients in a large bowl. (Flour, sugar, salt, cinnamon, and raisins). Add in the yeasty water and mix with your hands. Add more flour if needed. Once you have a fairly rubbery dough, break off a fist-sized chunk and place on a floured surface.
Step 3: Roll the dough out into a long strand, then cross it over into the pretzel shape. I’m actually going to try making letters and other shapes next time.
The next step is optional. Rumor has it boiling in baking soda water gives pretzels that chewy texture and browned color. Boil 1 cup baking soda in 9-10 cups water. Dunk the pretzels, and let boil for 5 minutes, then dry on a rack before baking. **Oh wait… it said 30 seconds. That could explain a lot. Only leave them in the boiling soda water for 30 seconds if you do this step**
A little hint: putting a wooden spoon across the top of a pot keeps it from boiling over. At least up to a certain point.
My post-baking conclusion was that while the boiling did cause a different color and taste, I like the pretzels without the baking soda step better, so I won’t be doing that in the future. However feel free to experiment yourself, maybe the altitude has something to do with it… #ColoradoBakingProblems
Step 4: Beat the eggs in a flat bowl/plate and coat the pretzels fully.
Step 5: Brush on some butter and cinnamon/sugar if you want extra sweetness. Bake the pretzels at 425 for 10-15 minutes, until nicely browned. Make sure to watch for burning.
Step 6: To make the glaze, take 1 cup powdered sugar and mix in 2 tbsp melted butter, 1 tsp vanilla flavoring, and 1-3 tbsp milk (depending on the consistency you want).
Drizzle the glaze over your pretzels and enjoy!
Warm and chewy right out of the oven, these pretzels were fantastic! Just as good, if not better, than anything I’ve had from a mall or baseball field. Will definitely be making these regularly, they are so easy and take less than a half hour total time. . National Pretzel Day is April 26, so you have plenty of time to practice and perfect your favorite recipe! . 80% of all pretzels in the United States are made in Pennsylvania, where the hard pretzel originated. Unfortunately the Pretzel Museum in Philadelphia has closed, but they leave behind some fun facts: . Pretzels without salt are called baldies. An 1859 parade in New Orleans featured a float carrying a pretzel-baking machine. An average pretzel has 3.5 grams of fat and 260 calories. German kids wear pretzels around their neck for good luck on New Year’s. Pretzels top some Christmas trees in Austria. A page in the prayer book used by Catharine of Cleves depicts St. Bartholomew surrounded by pretzels which were thought to bring good luck, prosperity and spiritual wholeness. . For lots more fun facts on pretzels check out the TLC website.
The exact origins and first creator of the confection known today as fudge is widely debated, though by most accounts it was invented in the U.S. over 100 years ago. The most popular theory is that it resulted from a batch of caramels gone wrong, or “fudged”, hence the name and the grandmotherly curse “Oh, fudge!”. For two possible stories of how this came about check out the BBGees “History of Fudge Explained“.
Ingredients
For most candies and caramel, you do not cause crystallization. However, for fudge crystallization is required. The crystals are small enough that there is no grainy texture. Original recipes call for boiling mixtures of milk, cream, and sugar. They were also famously touchy; one had to use precise measuring, accurate temperatures, and constant stirring to achieve that perfect soft texture. Since not everyone has a candy thermometer, the recipes were adapted for home cooking to make the results easier and more reliable. Corn syrup, marshmallows, marshmallow cream, peanut butter, nuts, and sweetened condensed milk, among other ingredients, are included in various fudge recipes. The Nibble has a great article on the history and original fudge recipes.
Process
Almost all fudge recipes call for sugar, cream, and butter to be heated to the “soft ball” stage. This term, according to Exploratorium: The Science of Cooking, refers to how the mixture reacts when dropped into cold water, it will form a soft ball. This happens at 235-240F (110-116C) degrees. Other stages, determined by the highest heat the liquid reaches before cooling, include the Thread, Firm Ball, Hard Ball, Soft Crack, and Hard Crack stages.
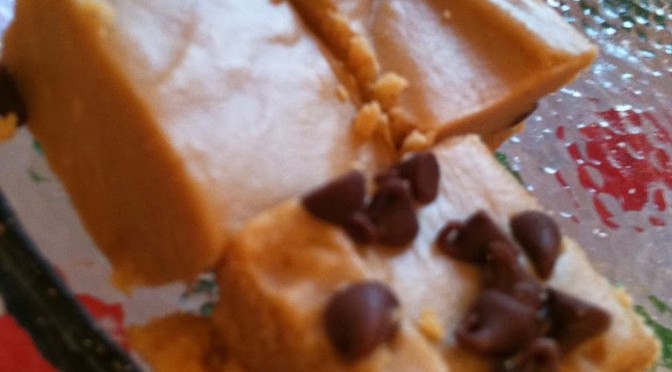
In case you haven’t had enough sweets during December, I discovered the world’s easiest fudge recipe while at home. Now when you have that irresistible craving for the creamy sweet stuff, you don’t have to run out to a store. Just pull two simple ingredients from the pantry and within minutes you have a gooey batch of the sweet stuff.
Recipe
Ready? Ingredients: 1 jar peanut butter 1 jar icing (vanilla is best, but what the heck, go wild and try chocolate, or cream cheese)
Mix well. Microwave 2 minutes. Refrigerate until solid and cut into squares.
As I was researching easy recipes for an earlier post, I came across several cookie recpies I wanted to try. However, I don’t have the time, money, or calorie allowance to try them all. So only 2 or 3 will get chosen and featured in December.
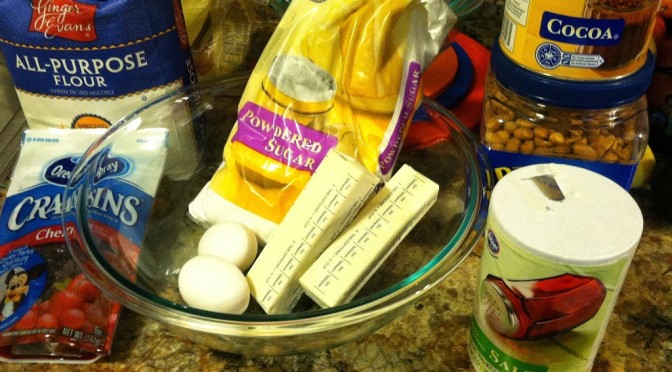
This one came up repeatedly with variations, and I had most of the ingredients already, so I decided to try my own version. Ingredients:
1 cup powder sugar (+ extra)
2 sticks of butter, melted
2 egg yolks
1 cup nuts
1/2 cup dried cranberries
1 tbsp cocoa powder
1 tbsp vanilla
2 cups flour
1 tsp salt
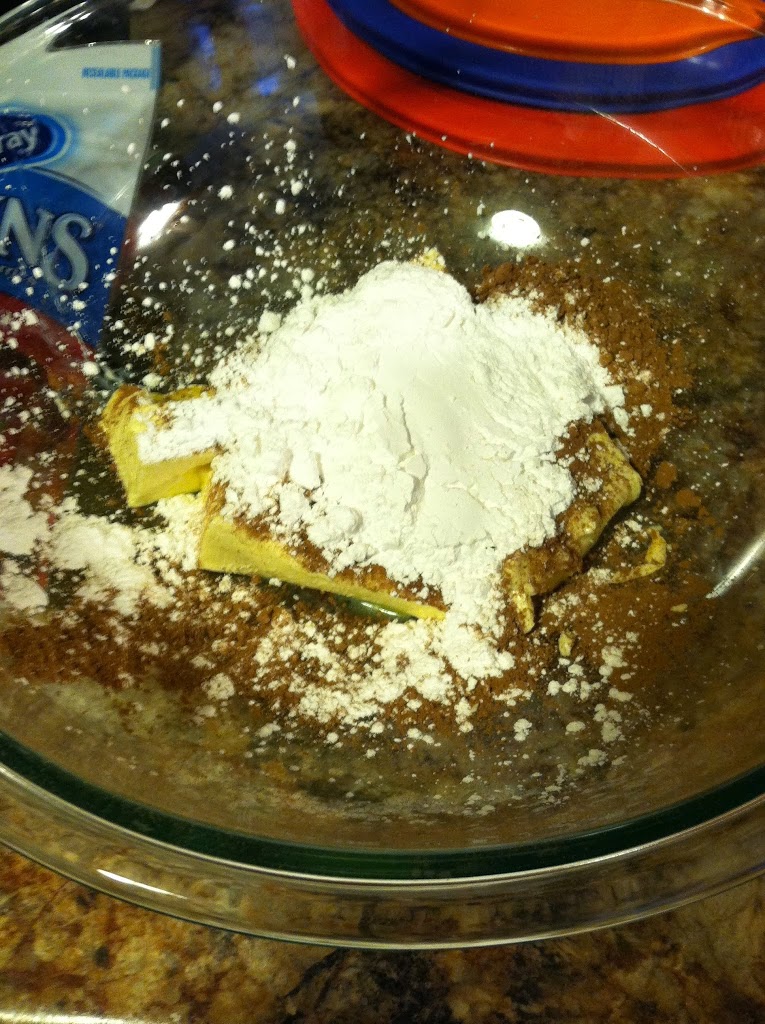
Step 1: In a large bowl, beat the powder sugar, butter, and cocoa powder until smooth and creamy.
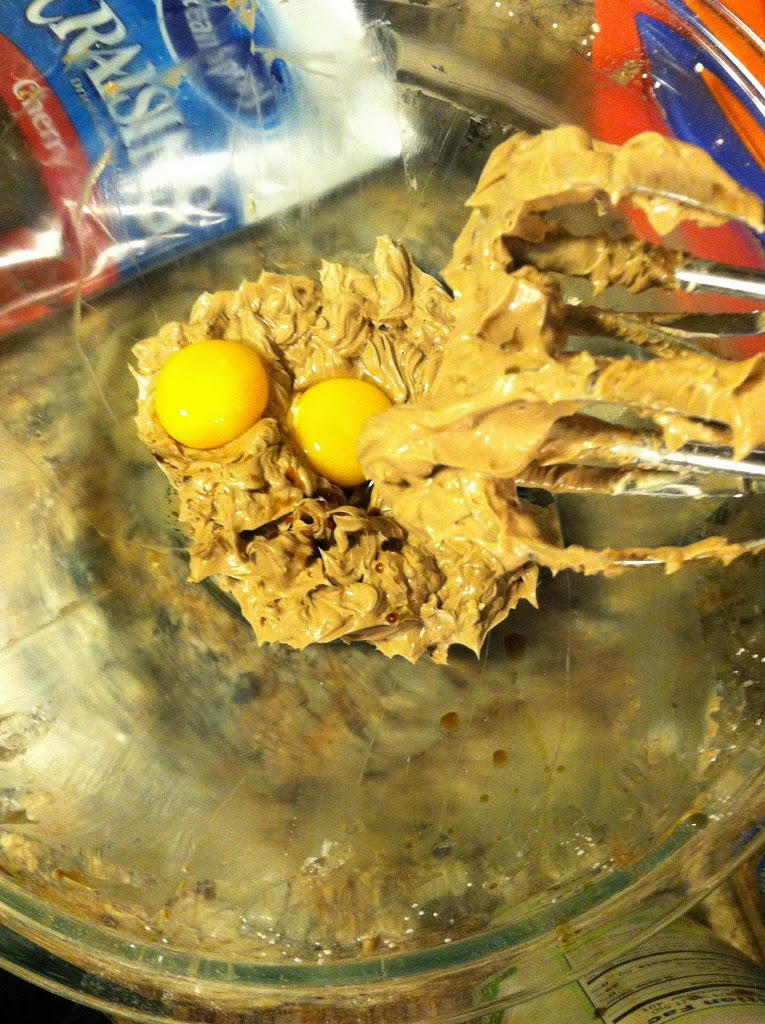
Step 2: Use a spatula to scrape down the sides. Add the egg yolks and 1 tbsp vanilla and mix again. I saved the whites for the next day’s breakfast.
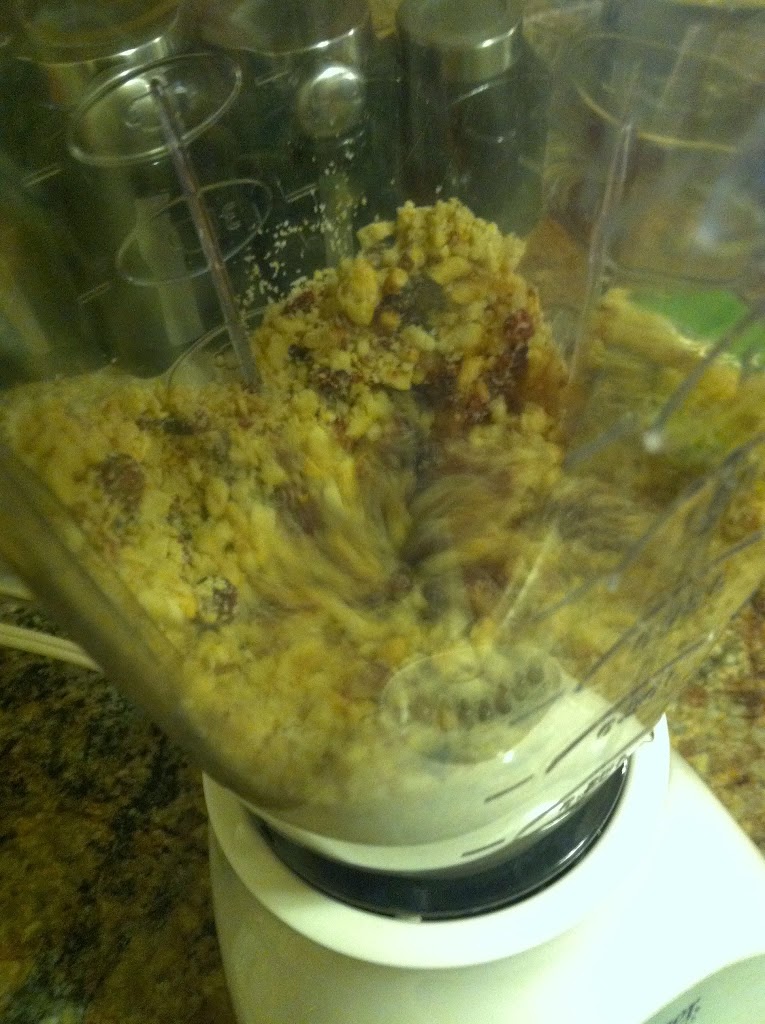
Step 3: In a blender, combine the nuts and cranberry and pulse until you get a paste-like mixture. You can use whatever kinds of nut you like, I had cashews and almonds.
Step 4: Mix the nut/berry and flour into the chocolate/ sugar/ butter mixture. The dough will be sticky and very thick. Refrigerate for 30-60 minutes.
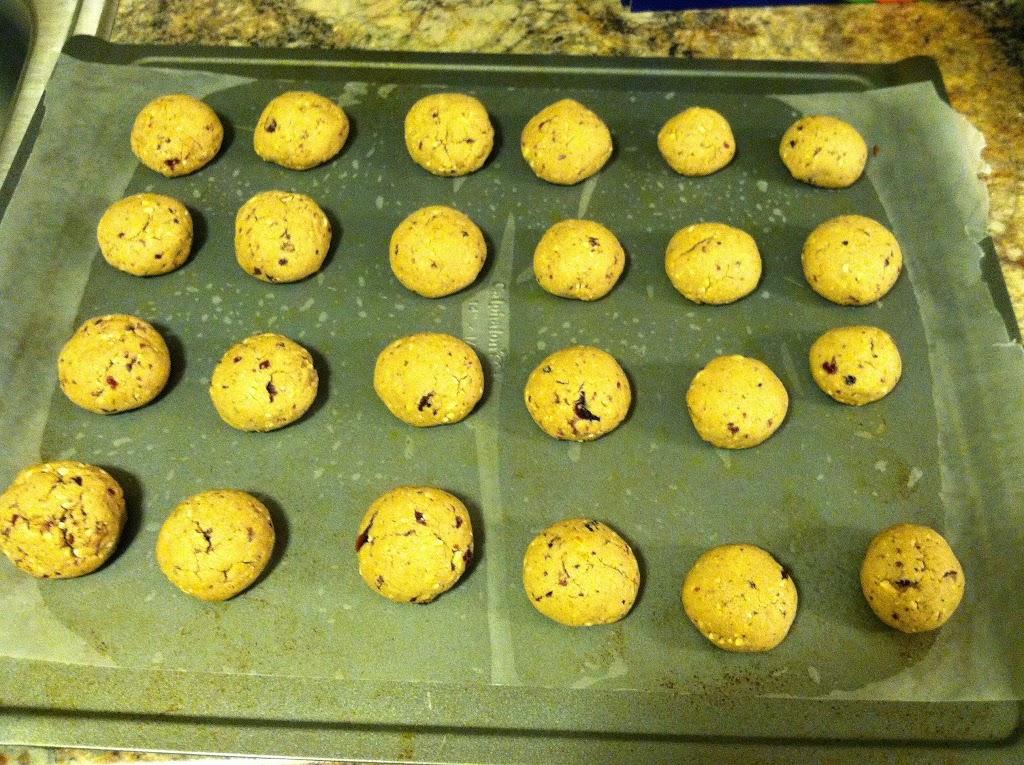
Step 5: Drop by teaspoons onto a cookie sheet lined with wax paper. Bake at 350 for about 40 minutes, or until solid.
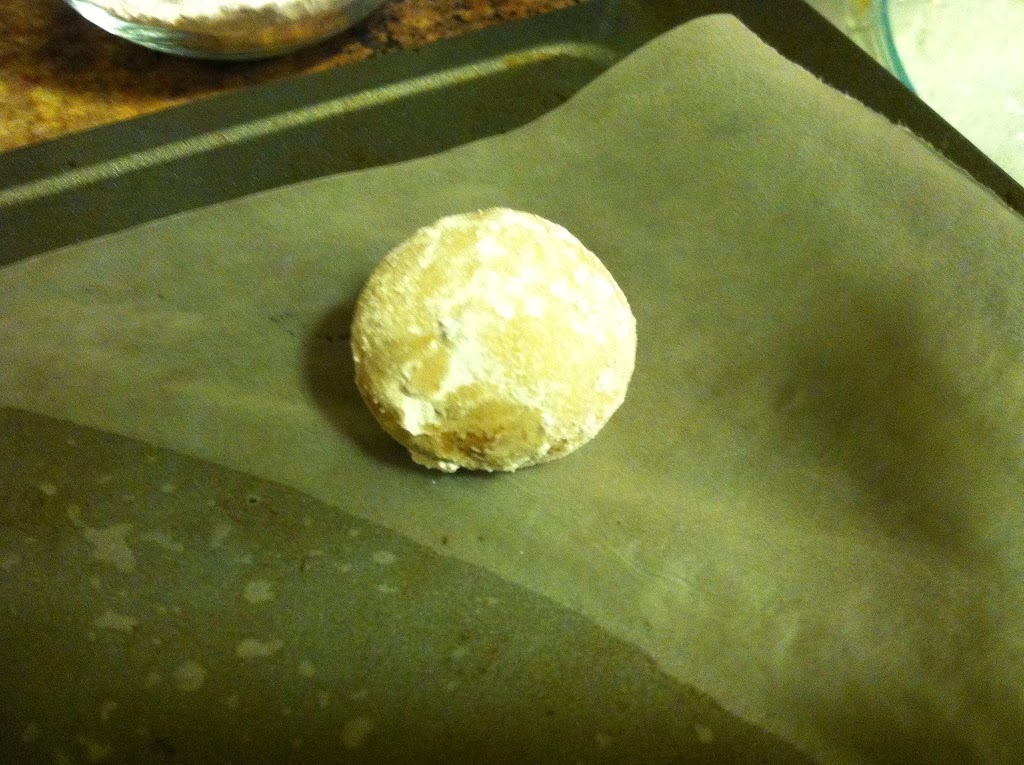
Step 6: Let cool completely, then roll in powdered sugar.
These light little sugar balls are mostly solid but a little crumbly. The cranberry’s tartness is enhanced by the nuttiness, subtle cocoa flavor, and sweet, smooth powdered sugar.
They are the perfect size to pop in your mouth, try to keep track of how many handfuls you’ve had!
Do you have any favorite cookie recipes to share?
The fusion of food, fun, frugality, and curiosity.
















 Pretzels without salt are called baldies.