Category Archives: Dessert

Easy Christmas Cookie Recipes


COOOOOOOKIES!!!

‘Tis the season to bake cookies, fa-la-la-la-la, la-la-la-la. Then we eat them by the dozen, fa-la-la-la-la, la-la-la-la.

As December marches by and we scramble for last-minute gift ideas, deck the halls, and trim the tree, we also spend more time in the kitchen whipping up seasonal sweets and indulging in others at the office, family parties and get-togethers.

Some are ambitious and organized and already have seven dozen of seven different kinds stocked away in the freezer. Others whip out the plastic at the bakery to save themselves time and hassle. 

This tree gave its life to make our living room look awesome last year.

But if there’s anything my family rocks at, it is Christmas baked goods! I was raised in a sugar-filled, flour-covered kitchen during the holidays and would have it no other way. We have plenty of unique cookies due to our Hunkie heritage (is that a real word? It means Slovak/Polish/Hungarian) like the finger-scalding Lily my aunt and brother sacrifice layers of skin for each year, the much-fought-over Clothespins using actual wooden clothespins which have the spring air of yesteryear soaked up inside them, the hours-long, love-filled process in which you can NEVER have too much apricot filling that creates epic Kolachi rolls,  and my personal favorite sugar-filled and sugar-coated diabetes-inducing dream, the simple, buttery, Cracker Cookie.

Christmas dessert spread, awwyeah.

I personally have assisted in the making of each of these treats in years past as well as several others, and as I’m sure you know there is quite a variety of difficulty levels in cookie-baking. But let me assure you that no matter how pressed for time, nor how tiny your kitchen, you can create some Santa-worthy treats in no time.

Pre-mixed dough

Your first option is of course the pre-mixed dough you cut and stick in the oven. I am definitely not going to scoff at that, most are darn tasty, plus you can save some in the fridge to just nibble on. Chocolate chip is of course a favorite, but sugar and other types have a strong presence too. They have rolls of it, blocks, whole tubs if you have an appetite or lots of guests. You can get creative with cut-outs and shapes, add your own mix-ins like coconut, mint, or toffee, or just go old-school.

Brickles and Brittles

Brickles and brittles are typically any liquid syrupy mixture poured over a solid base. The syrup hardens, and you then break it apart into chunks. There are many variations, and most are quite simple and quick. Here are three favorites:

Saltine cracker simple brickle
This disappears faster at our house than the paper wrapping off of gifts. It is overwhelmingly rich and sugary. You might want to make two batches…

Ingredients:
1 box of saltine crackers
1 cup sugar
1/2 pound butter
1 tsp vanilla
3 cups chocolate chips

1. Line a pan with heavy-duty foil and preheat oven to 350. Lay out the saltines in a single layer.
2. Melt the butter and sugar in a pan, stirring constantly. Once smooth and bubbling, remove from heat and stir in vanilla, quickly pour over the layer of crackers. 
3. Bake for 7 minutes, the sugar and butter will melt and bake into the crackers. Spread the chocolate chips evenly over the hot butter with a spatula and it will melt. Bake another 2 minutes, then let cool. Place in the freezer overnight, then break into pieces. Store refrigerated or frozen.

Peppermint Bark
For those who like white chocolate and enjoy the minty symbol of the season, the peppermint, this is a perfect present. With only five ingredients and two steps, you can have a batch of this made in about two hours. Just in time for guests to arrive, or to wrap up some in pretty packages for a party hostess gift.


Ingredients:
2 tbsp oil, divided
8 oz semisweet or dark chocolate
1/2 tsp peppermint extract
8 oz white chocolate, divided
25 crushed peppermint candies or 10 canes

1.  Grease a 9×9 pan and line with wax paper. In a double boiler melt the dark chocolate and 1 tbsp oil until smooth. When completely liquid, add 1/4 tsp peppermint extract and pour evenly into the covered pan. Spread half the peppermint over the chocolate and refrigerate until hard. 
2. In a double boiler melt the white chocolate and other tbsp oil. When smooth, add the other 1/4 tsp peppermint extract. Pour over the dark chocolate layer, and add the rest of the peppermint and press in. Refrigerate until fully hardened, and break into small pieces.


Peanut Brittle
This one is a bit more time intensive, but still simple. It is also a great frugal gift, everyone loves homemade candy. Be sure to have all the ingredients ready and measured out, you have no time to waste once begun. From BettyCrocker recipes.

Ingredients:
1 1/2 cup sugar
1 cup corn syrup
1 cup water
3 tbsp butter
1 pound unroasted peanuts
1 1/2 tsp baking soda
1 tsp water
1 tsp vanilla

1. Mix 1 tsp water, 1 tsp vanilla, and 1 1/2 tsp baking soda and set aside. Heat oven to 200 and keep two cookies sheets warm inside the oven. 
2. Mix sugar, water and corn syrup in a pan. Stir over medium heat until 240 or a small amount dropped into cold water forms a ball. 
3. Stir in butter and peanuts, cook further until 300 degrees or a small amount dropped into cold water forms brittle threads. 
4. Remove from heat, and quickly stir in baking soda mixture. Pour half mixture onto each heated cookie sheet, and let cool completely. Break into pieces and store in air-tight container.

My favorite no-bake recipe:

This chocolate peanut butter no-bake cookies recipe from AllRecipes is one of my favorites.

Ingredients:
1 3/4 cup sugar
1/2 cup milk
1/2 cup butter
4 tbsp cocoa powder
1/2 cup peanut butter
3 cups quick-cook oats
1 tsp vanilla

1. Combine sugar, milk, butter and cocoa in a pot and bring to a boil for 1 1/2 minutes. The recipe cautions against boiling too long, or not long enough.
2. Remove from heat, stir in the peanut butter, oats and vanilla. Drop by teaspoonfuls onto wax paper and let cool.

Simple chocolate chip cookies

Chocolate chip, the classic all-American cookie. Amazing any time of the year, they are a crucial part of any holiday dessert spread. You can use semi-sweet, sweet- or dark chocolate chips, or get real crazy and use butterscotch, white chocolate, or a mixture. This quick recipe from Cookie-Smart makes about 2 dozen.

Ingredients:
2 cups flour
3/4 cup brown sugar
3/4 cup sugar
1 cup chips
1 tsp salt
1 tsp baking soda
1 egg
1/2 cup butter
1 tsp vanilla

1. Preheat the oven to 375. Mix the flour, sugars, chips, salt and baking soda in one bowl. In a separate bowl, mix the egg, melted butter and vanilla.
2. Mix both bowls together well, use your hands if you don’t mind. Dough should be slightly sticky yet firm. 
3. Drop by rounded tablespoons onto a greased cookie sheet or wax paper. Bake at 375 for 8-9 minutes until golden brown.

Simple sugar cookies  

Endlessly versatile, sugar cookie dough can have any number of mix-ins added to it. But it is also a classic on its own. Adapting to cookie cutters as though made for each other, sugar cookies can become blank canvases for snowmen, Santas, wreaths, and tree creations. This recipe from RealSimple is real simple.

Ingredients:
2 1/2 cups flour plus extra
1/4 tsp baking soda
1/4 tsp salt
1 cup butter
3/4 cup sugar
1 egg
1 tsp vanilla

1. In a bowl, mix the flour, baking soda, and salt. In another bowl, beat the butter and sugar until smooth, then whisk in the egg. 
2. If you have a stand mixer, lucky you! Use that and slowly add in flour while mixing. Otherwise, loosen up those biceps and slowly mix the flour into the sugar/egg/butter mixture. Dough should be stiff. Refrigerate about an hour before rolling out to 1/4 inch thick and cutting into shapes.
3. Bake at 350 for 12-15 minutes, until beginning to brown. Let cool and decorate.

Turn round sugar cookies into snowmen with big marshmallows and creative decorating!

What about vegetarian/vegan goodies?


In case you are vegetarian/vegan or someone in your family is, there is this vegan, gluten-free version from TwoPeasAndTheirPod. By using almond milk and coconut oil it eliminates the butter and dairy products. I think shredded coconut comes from the devil, but if that’s your thing then enjoy!

The website OhSheGlows also has oodles of vegan, raw, lowfat, gluten-free, etc recipes so check it out!


Do you have any simple to make holiday treats you wait all year long to indulge in?

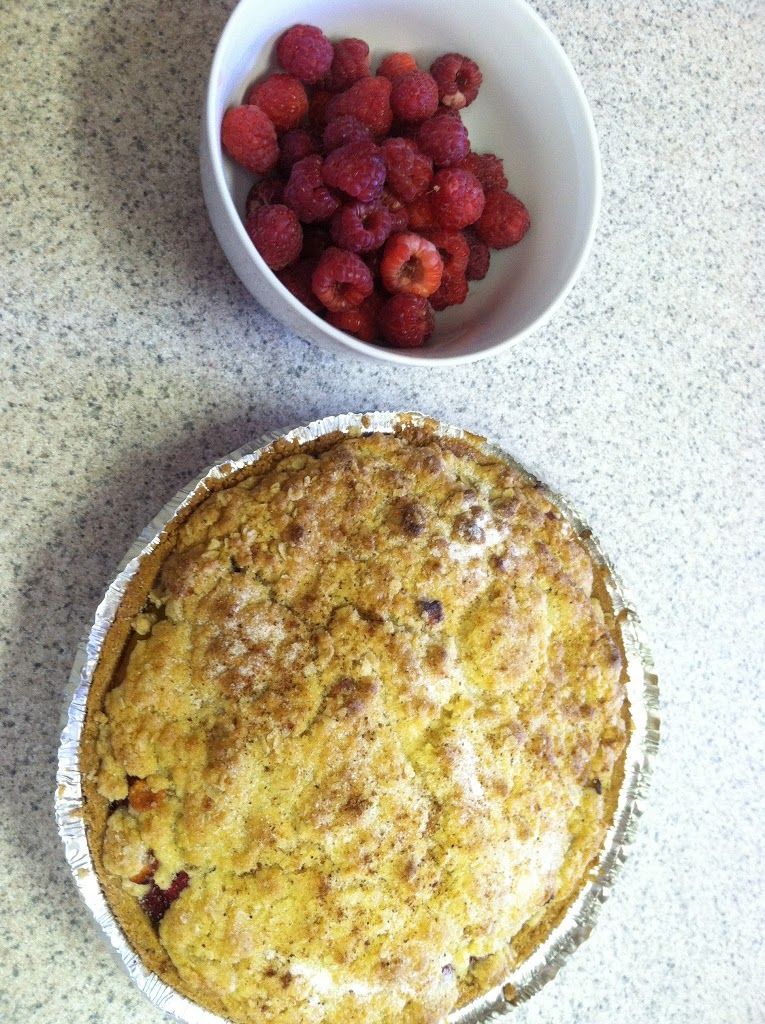
Fresh-picked raspberry and peach crumble

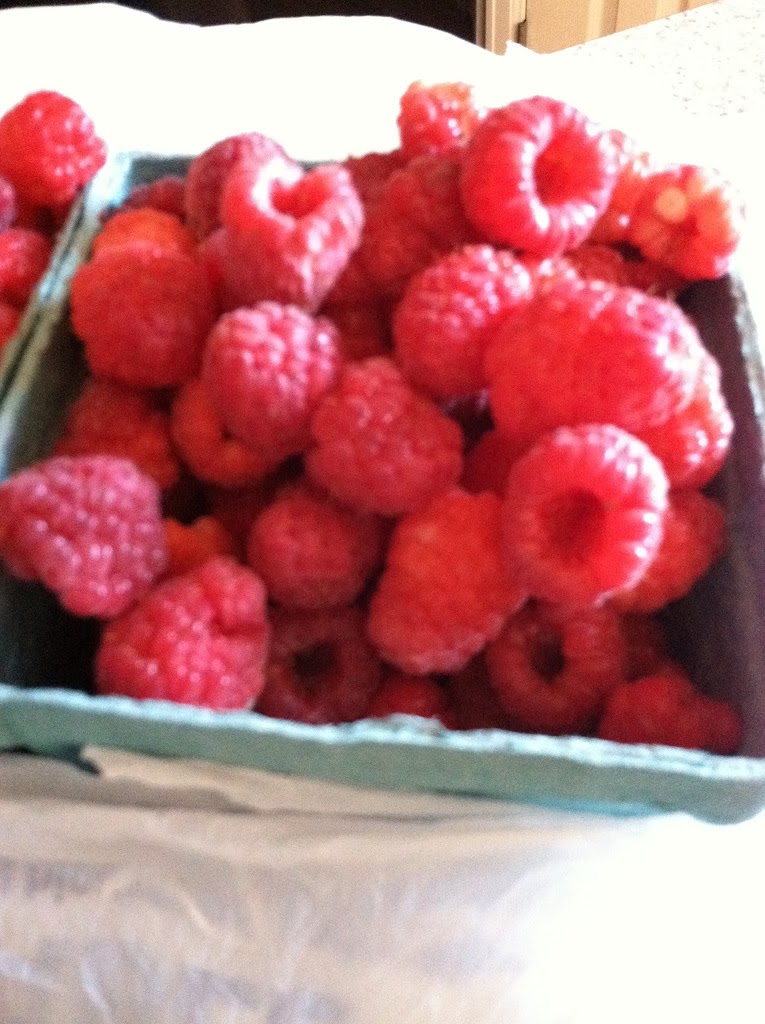
There is a farm near me where you can pick your own berries. They vary by season and demand from blueberries and strawberries to raspberries and even apples. There is also a small market where they sell farm-grown produce, pastured chicken eggs and meat. Needless to say I’ve found a little patch of heaven. So I took advantage of a beautiful Saturday morning to go berry picking with my oh so patient boyfriend, and came home with two gorgeous pints of raspberries. I had one more pie crust I’d picked up cheaply last month, so naturally I made a pie with them.

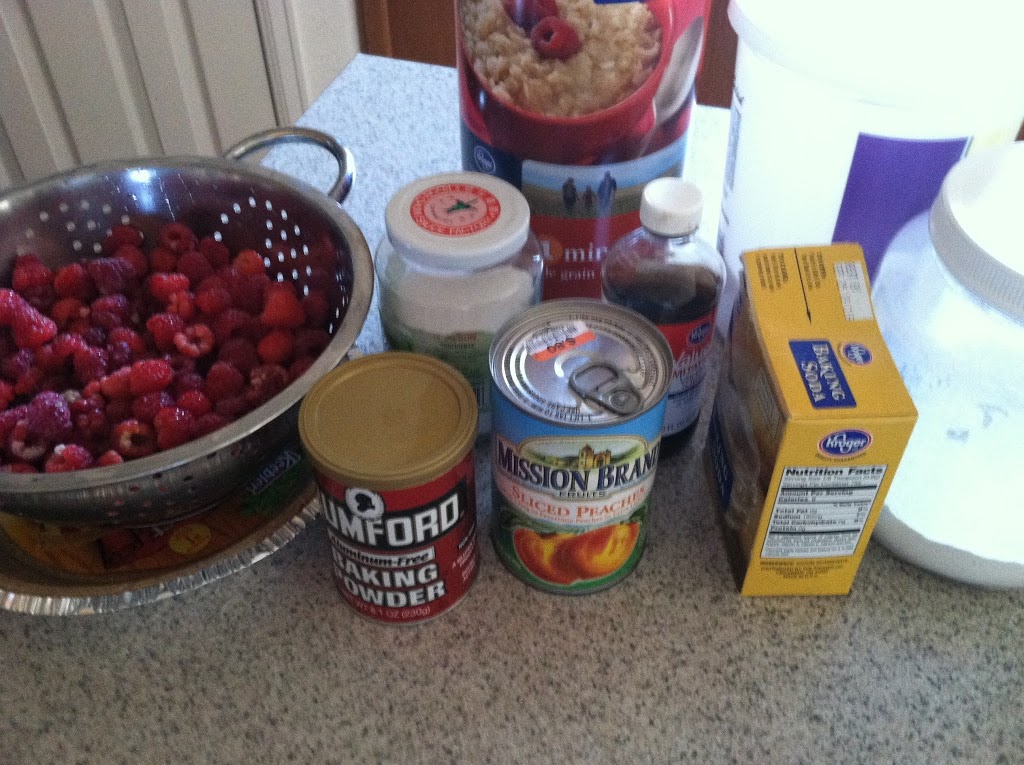
Ingredients:
1 pint rinsed raspberries
1 can peaches
1 pie crust

1 cup flour + 2 tbsp
1 cup sugar + 1 tbsp
1/4 cup butter
1/2 cup oats
1 tbsp vanilla
1 tsp baking soda
1 tsp baking powder
Pinch of salt

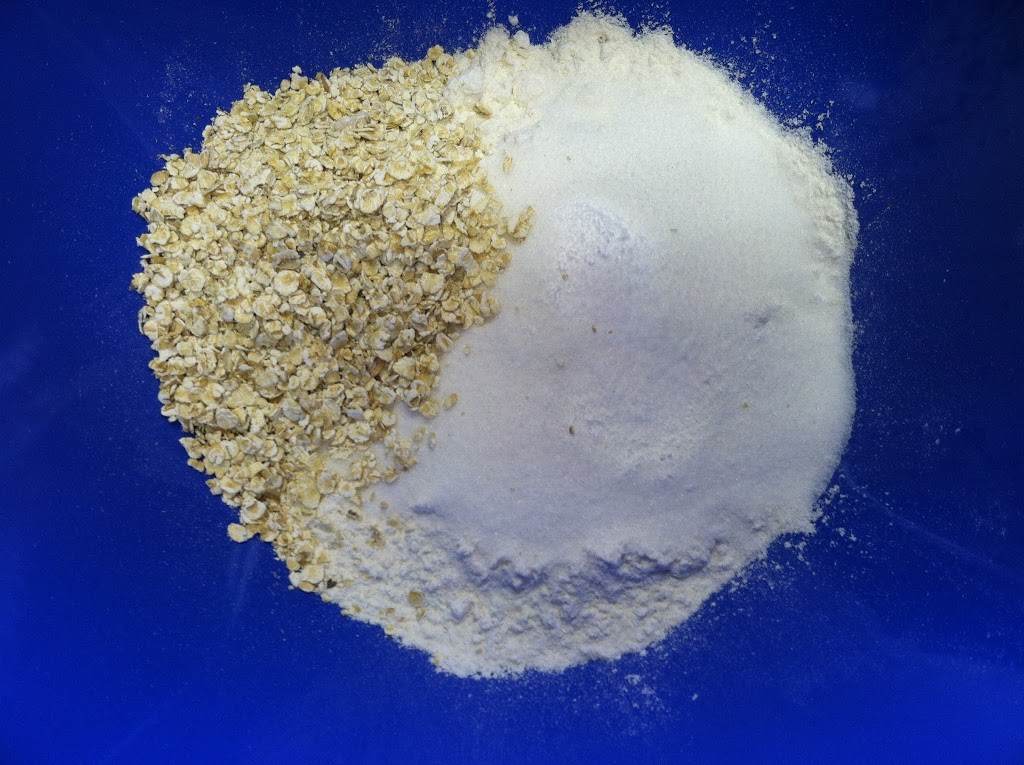
Step 1: Mix the dry ingredients – flour, sugar, oats, baking soda and powder,  and a pinch of salt.

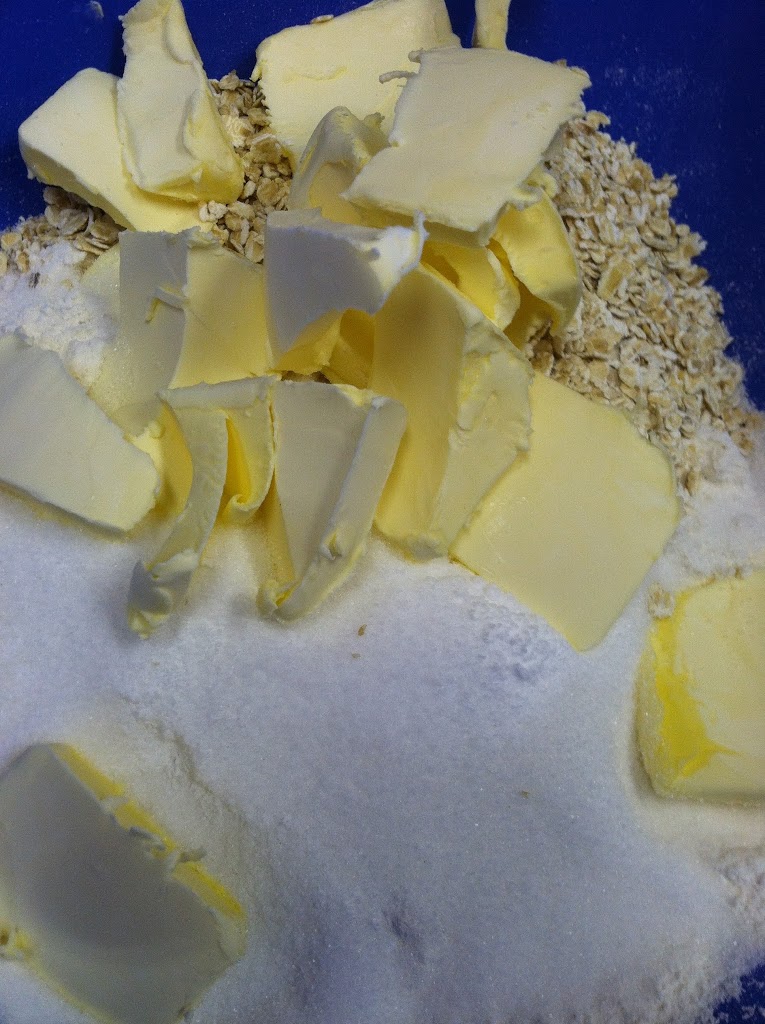
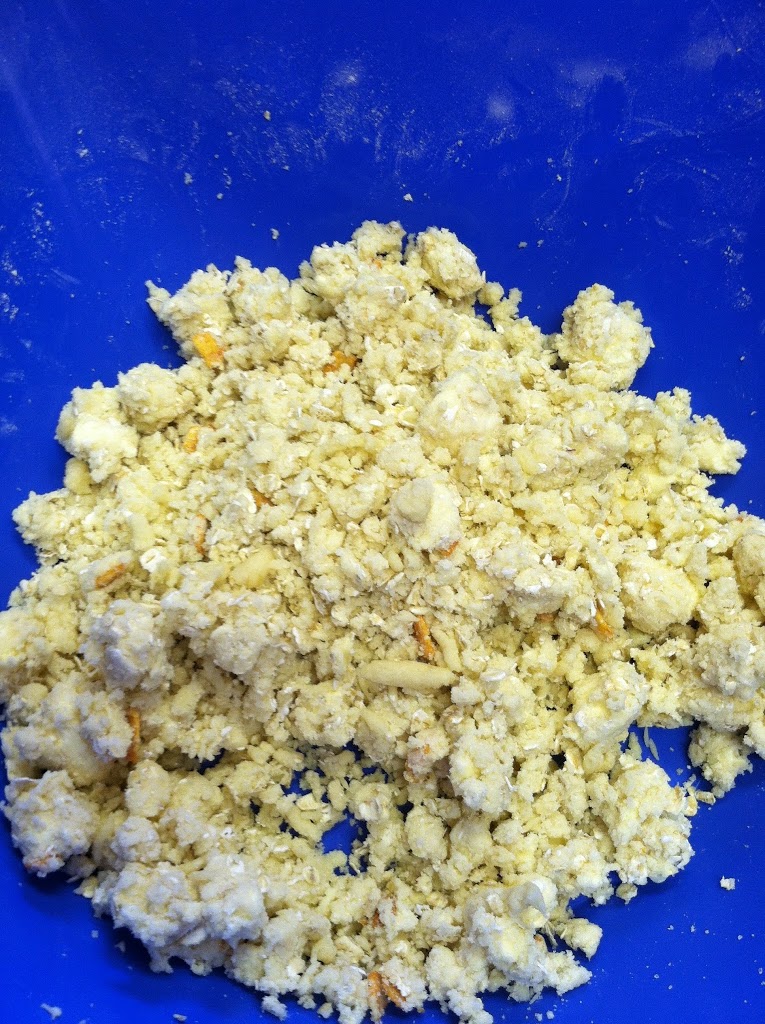
 Step 2: Add the cold butter in chunks, mix well. I’m not cool enough to have a pastry cutter, so I just squished it all together with my hands until well mixed. It should be a crumbly, tasty mess.

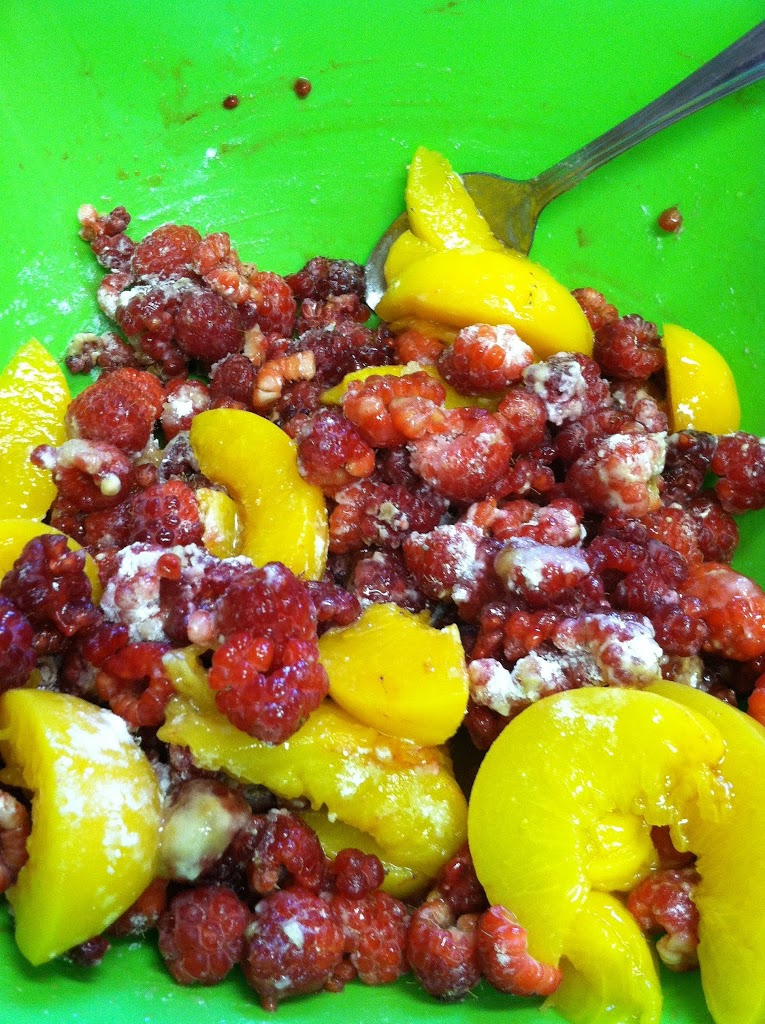
Step 3: Drain the peaches, place in a bowl with the raspberries. Sprinkle on 1 tbsp vanilla, 2 tbsp flour and 1 tbsp salt, mix.
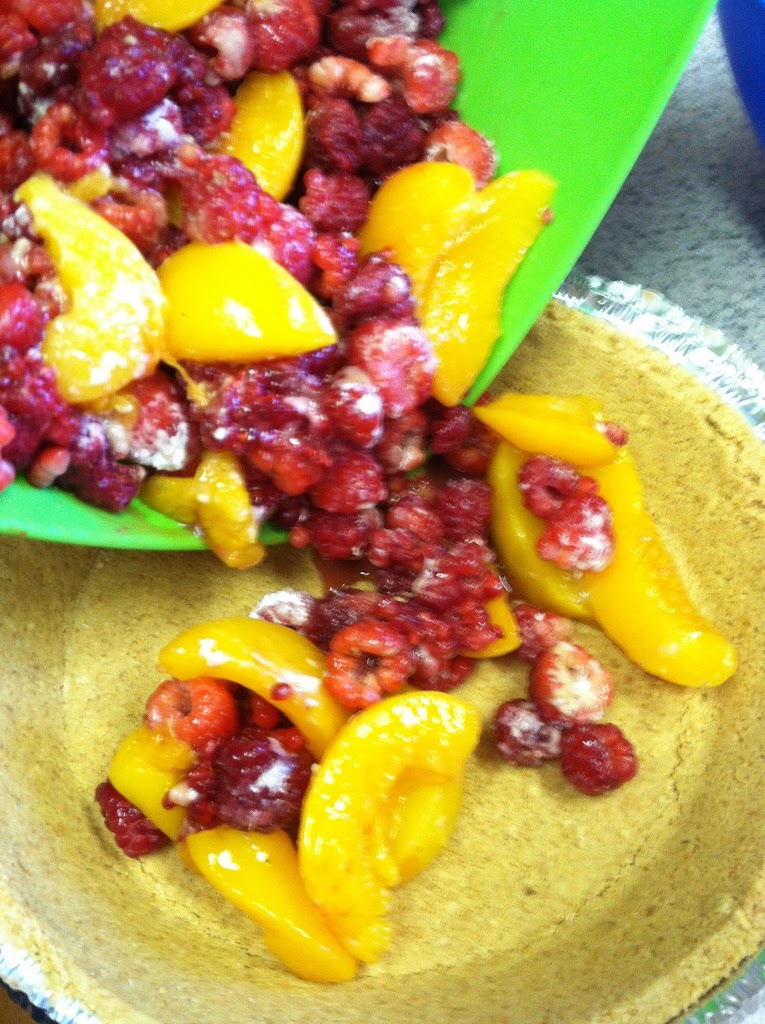
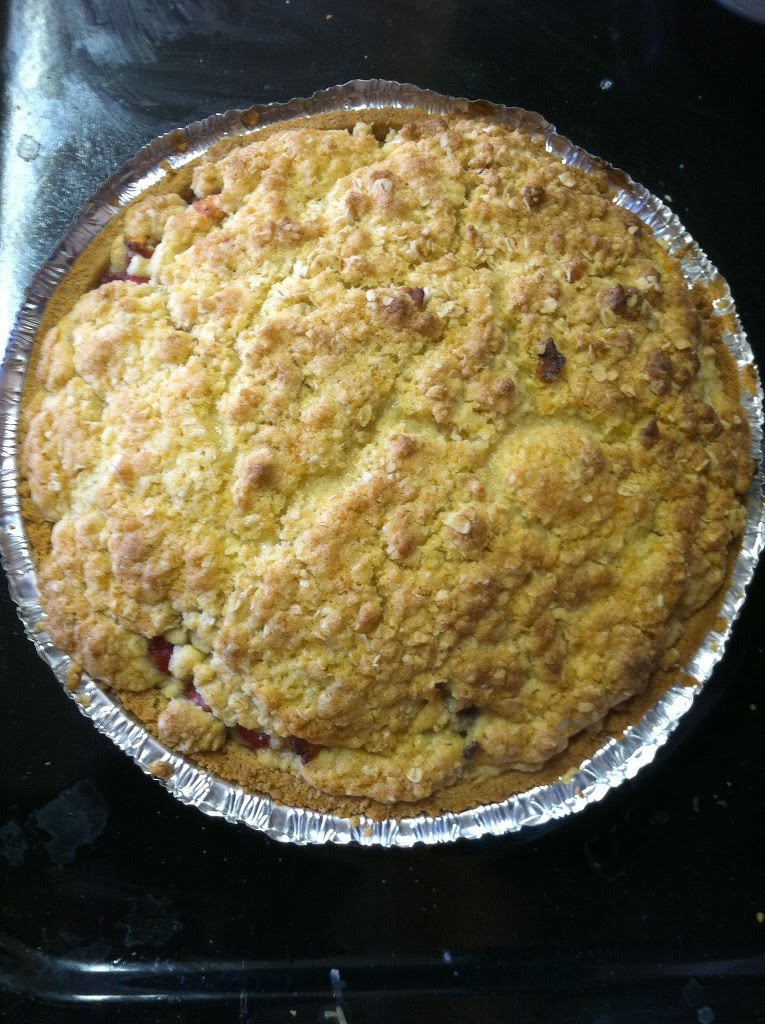
Step 4: Pour the fruit mix into the pie crust and cover with the crumble mixture.

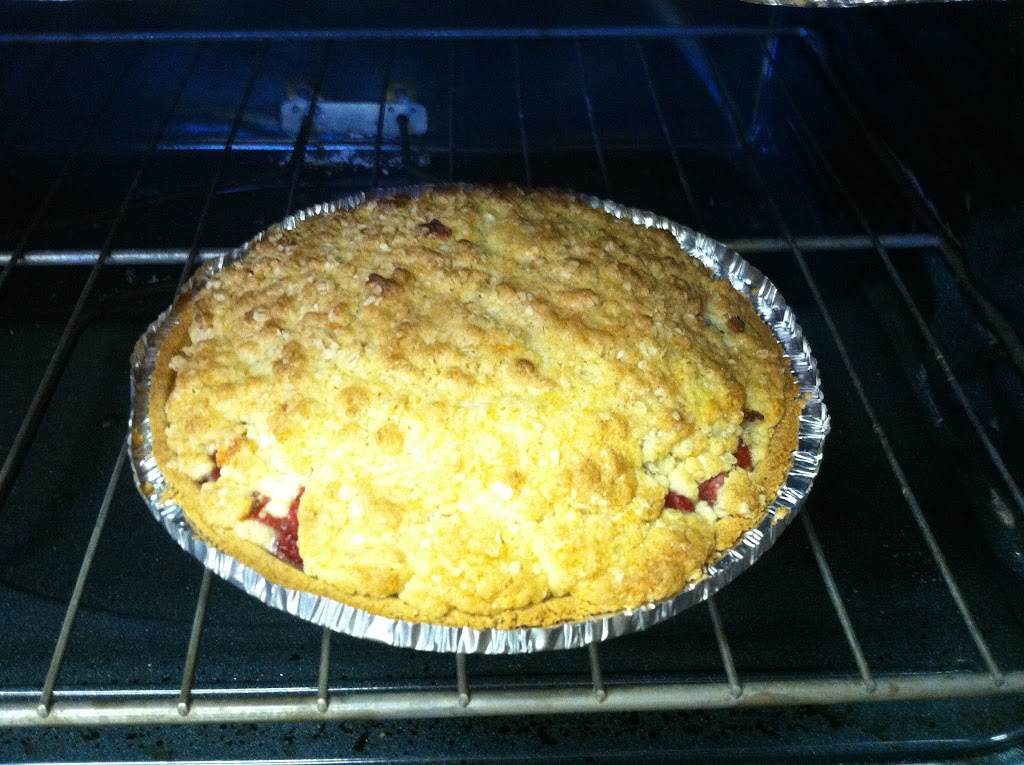
This is what it looks like just before going in the oven. Drool.

 Step 5: Bake at 375 for 20 minutes, until crisp is browned and fruits are bubbly.

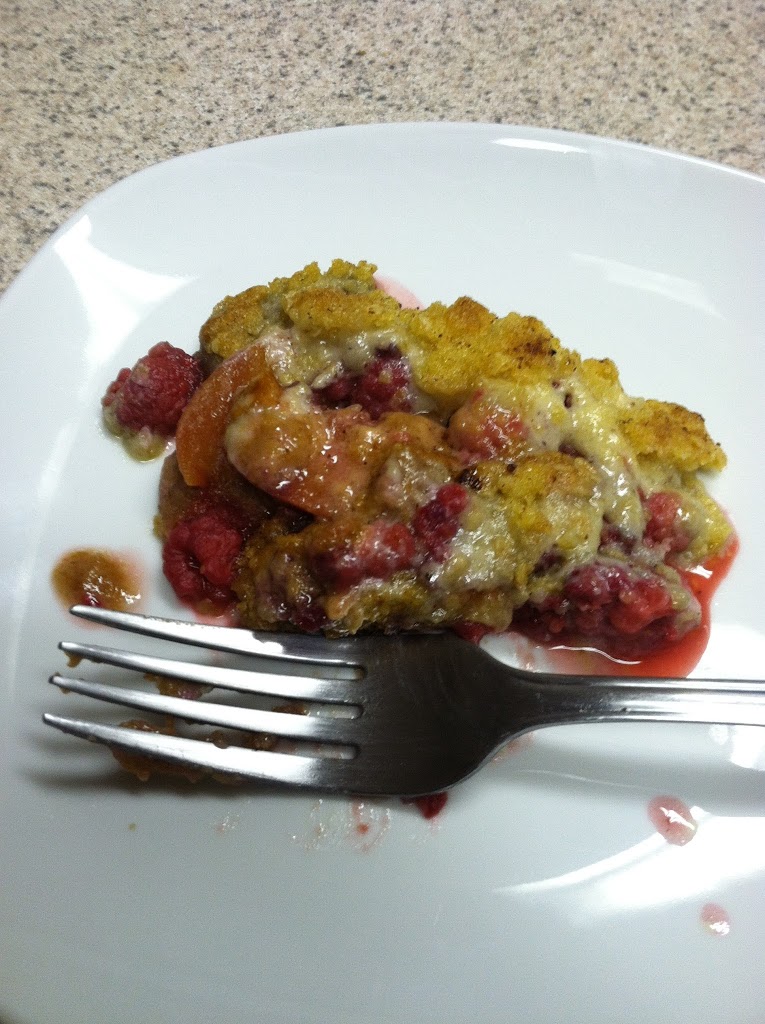
 YES PLEASE.

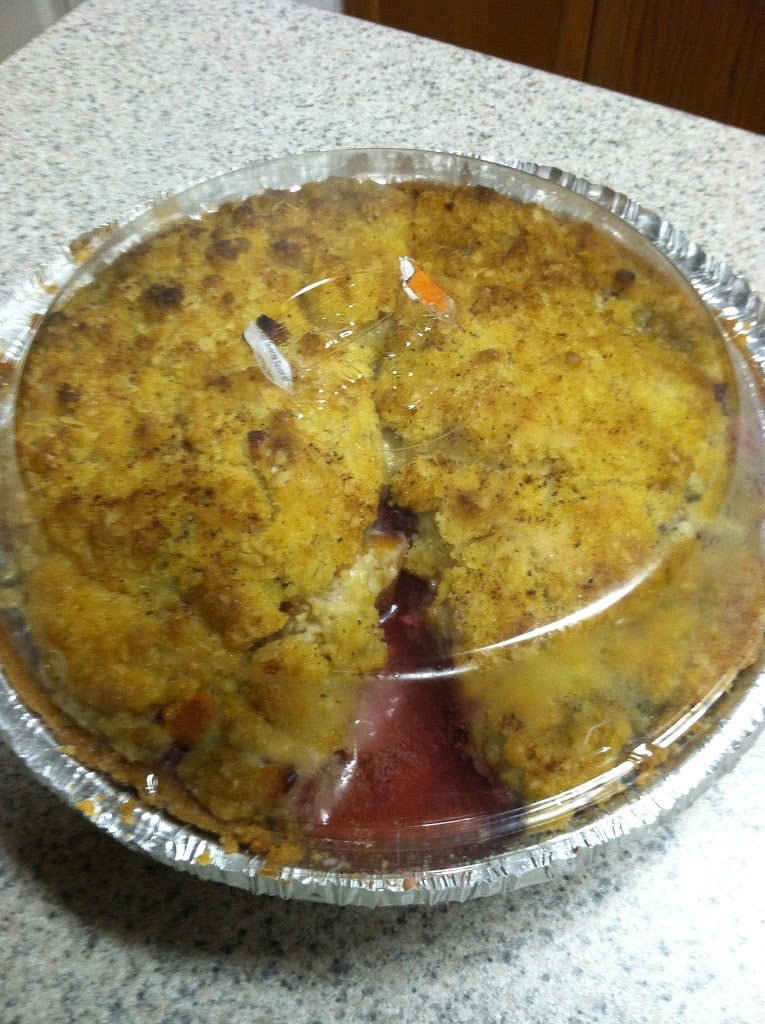
 The pie crust cover conveniently doubled as a lid. The day after, the berry juices start to pool. Anyone know how to avoid this, besides cornstarch?

This would be simply amazing served warm over french vanilla ice cream. In fact, I’ll be going to the store later today…

Peaches & Banana Cream Pie

This was inspired by what I had around the house. I bought a pie crust cheap a month ago, and we had some fruits that were getting to the mushy use-me-soon stage. All the pie recipes I found were for banana cream pie, some more complicated than others. One suggested just using banana pudding, so I thought, why not just add the peaches to it? Turns out pudding takes a long time to solidify, so maybe use less milk…

Ingredients:
1 pack vanilla pudding
1 pack banana pudding
5 cups skim milk
2 ripe bananas
2 ripe peaches
1 pie crust
Handful raspberries (because I had them)

 Step 1: Line the pie crust with sliced up banana.

Step 2: Mix the pudding and milk. Blend up the peaches (I used 1 1/2 and saved half for garnishing the pie) and add to the pudding. Since I’m lazy I just blended all of it. Also threw in a few raspberries for color.

 Step 3: Pour the fruity pudding mixture over the banana slices. Any extra pudding just refrigerate for later.

 That’s it! Refrigerate for at least an hour, or until the pudding sets. Garnish with pieces of fruit if you like.

We waited over 2 hours and it was still rather liquid, so we put it in the freezer. Bad idea, defrosting it the next day lead to total mush, plus the crust was now mush too. I’d definitely recommend using maybe half the milk suggested next time… Still tastes delicious! Use whatever fruits you like, kiwi, strawberry, blueberry, pears. You could play with pudding type, maybe try butterscotch or chocolate too.

August’s new food: Young Thai coconut pina cooladas


I have a friend who is Asian, and as such eats some foods I, as an American, have not yet tried. I was over her family’s house, and I was offered coconut milk. I said sure, not realizing they meant a real coconut, which her aunt promptly chopped open with a giant butcher knife, stuck in a straw and handed to me.

Fresh, raw coconut water is strange at first, but very refreshing. It has a hint of sweetness, and is supposed to be helpful in reducing inflammation and fever because of its cooling properties.

So now my friend and I had two young coconuts to take home, and I had to make something out of them. I considered coconut cream pie (not the kinda cheater version I made earlier) but it usually uses a more mature coconut because the flavor gets stronger with age.

So the other thing that naturally comes to mind (for those of age) was pina cooladas. I’d never liked them much, but hey, it’s probably better when I make it, most things are. =)

Ingredients:

  • Meat of 2 young coconuts
  • 1 can pineapple chunks with juice
  • ~1/4 cup lemon/lime juice
  • ~1/3 cup cherry rum
  • Lots of ice

Step 1: Cut at an angle around the top of the coconut. Then stick a knife point into the hull, and cut a circle out of the top. Pop the top off with the knife and enjoy the tasty juice, or use it in the drink or other smoothies.

Step 2: Scoop out all the meat with a spoon and put it into a bowl or right into the blender.

It might be difficult, so use the spoon to pry the meat from the edges first.

Step 3: Add the coconut meat, pineapple, lemon or lime juice and rum. (To taste)

Step 3: Add ice and blend well. Pour into a beverage container and enjoy!

pina coolada

This would be adorable for a party with some pineapple wedges or maraschino cherries. I read some recipes that used cherry juice or cherries too, hence the cherry rum. The coconut is smooth and cool, the pineapple acidic and bright, the cherry sweet and tart and the lemon juice adds that citrus zing.

A great summertime beverage, and quite healthy for you too (minus the booze part).

Minty vanilla meringues

.
I have been thinking about making meringues for a long time, but thought it took a lot of eggs. One day I just started looking up recipes, and found out it takes as few as 2 egg whites! So I decided to give it a whirl. Turns out meringues are ridiculously easy to make, the hardest part is whipping them for 20 minutes… Then you just leave them alone for a long time. They come out airy and crunchy and just delicious! The best part is, they’re only 20 calories each!
.
Ingredients:
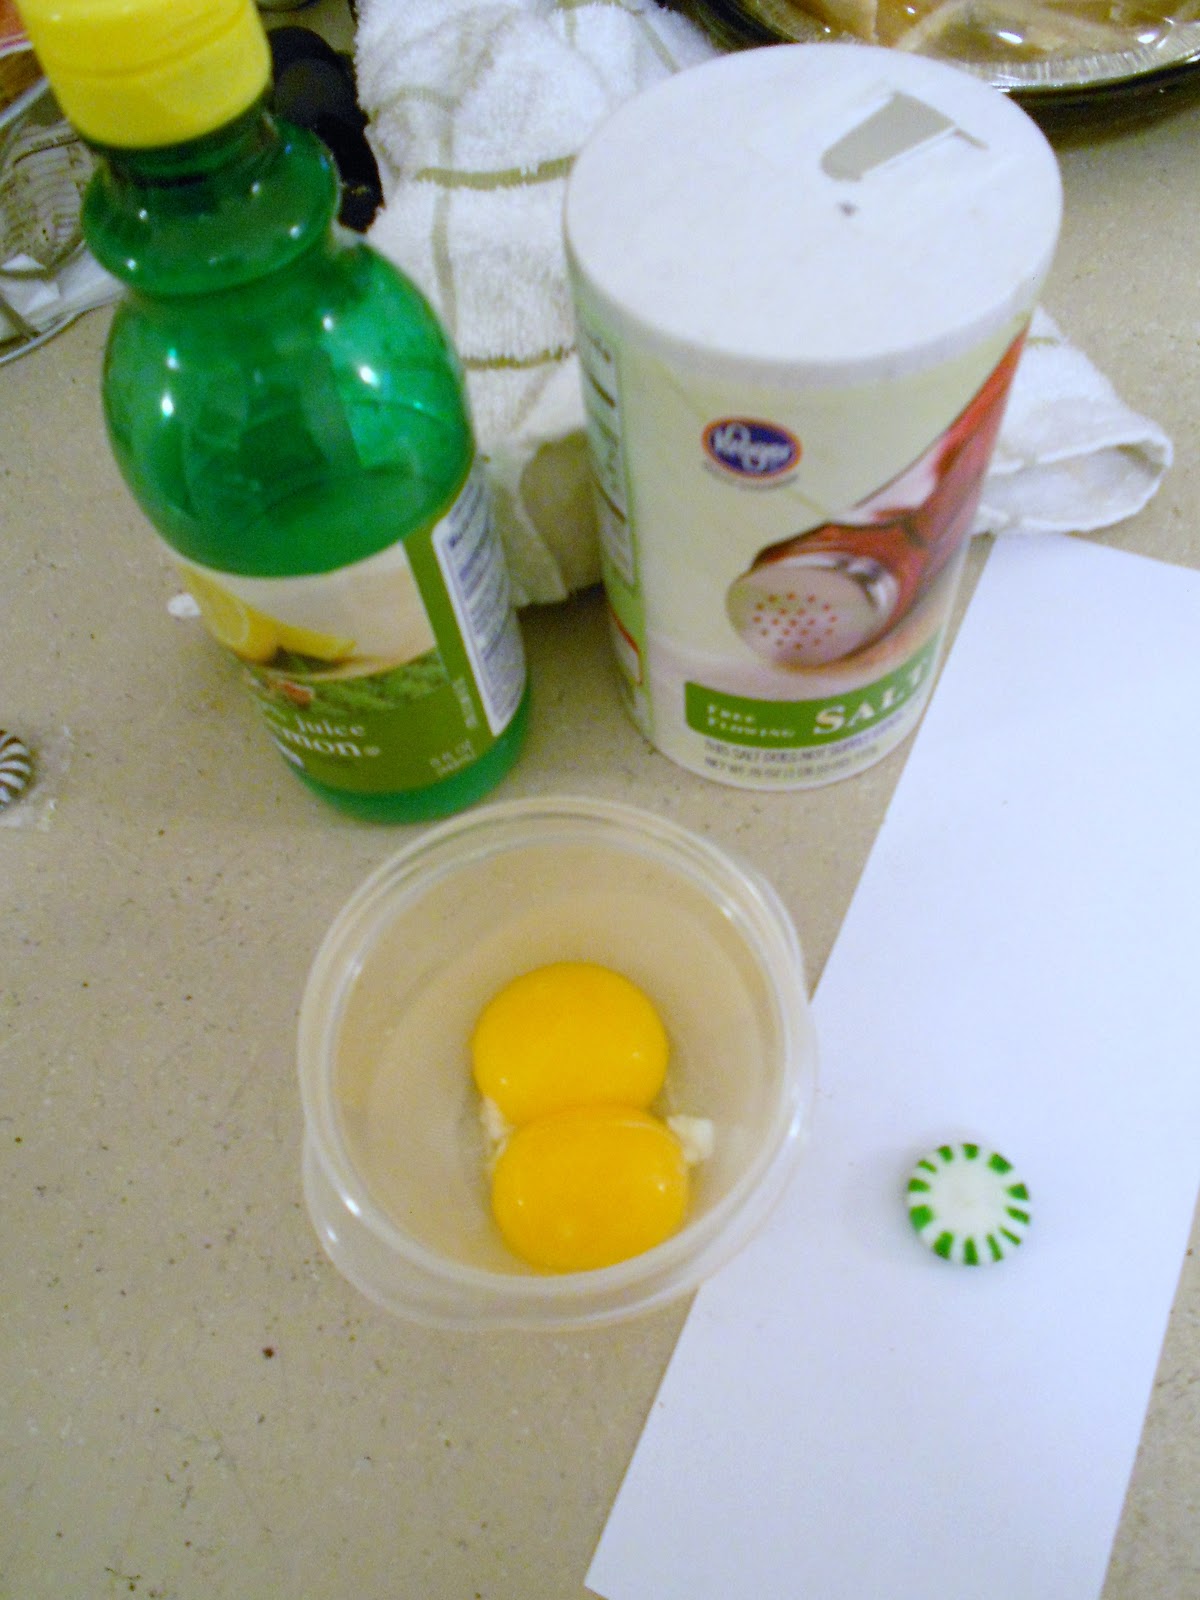
2 egg whites
1/4 tsp lemon juice
1/2 cup sugar
1/4 tsp salt
1/2 tsp vanilla
1 peppermint candy
 Step 1: Separate the egg whites from the yolks. I saved the yolks for breakfast the next day. 
.
Step 2: In a small bowl, beat the egg whites just a minute. Add the lemon juice and slowly add the sugar while beating. Then add the vanilla and salt, and beat for a long long time, until the whites form stiff peaks.

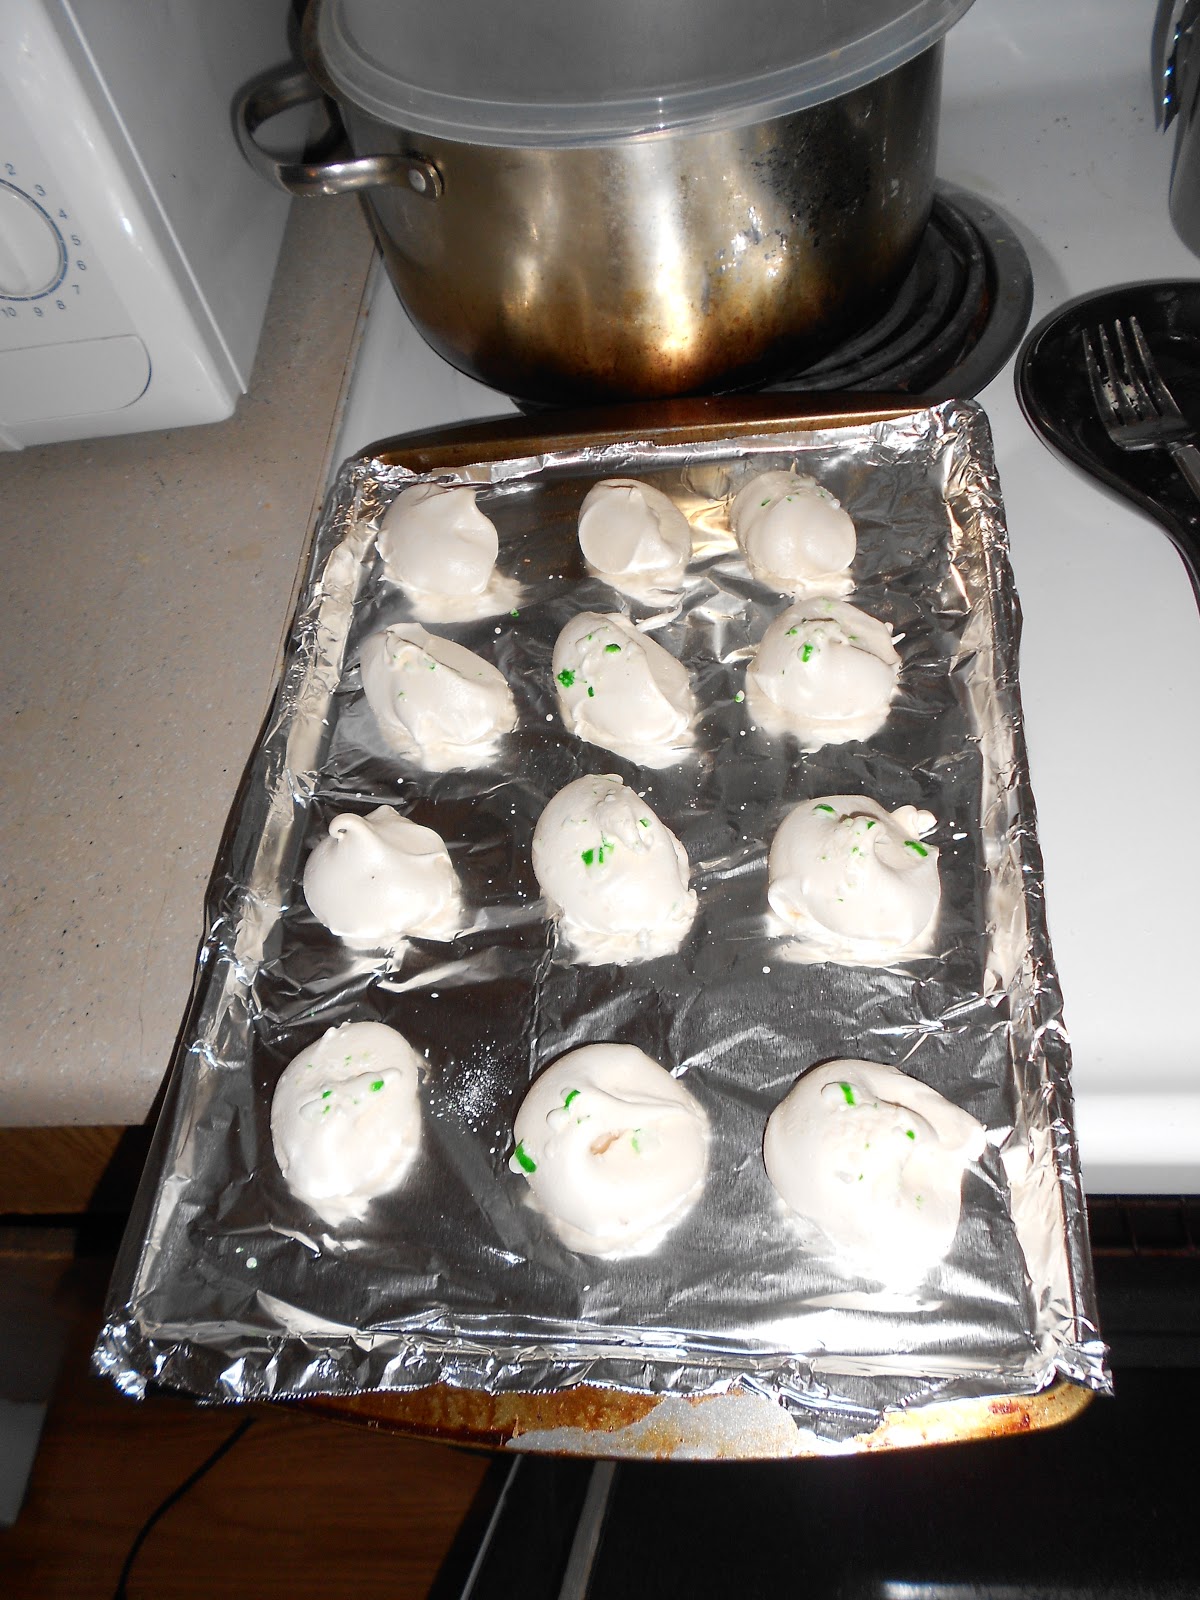
Step 3: Once the whites are well beaten, drop by teaspoons onto a foil-covered pan. If you want minty ones, crush a peppermint candy & sprinkle it on top of the meringues.

Step 4: Bake at 220 for 2 1/2 hours. Don’t peek or open the oven, just trust that they are ok.

Let them totally cool, then remove from the pan. Enjoy!

Nutritional Info
  • Servings Per Recipe: 24
  • Amount Per Serving
  • Calories: 20.0
  • Total Fat: 0.0 g
  • Cholesterol: 0.0 mg
  • Sodium: 31.4 mg
  • Total Carbs: 4.8 g
  • Dietary Fiber: 0.0 g
  • Protein: 0.4 g

Carrot Cake Cupcakes

I was in the mood for something sweet but that I could rationalize was good for me. My sister’s birthday party was having red velvet cupcakes, so I thought why not make some myself?

And to pretend they’re good for me, I would make carrot cupcakes!

So I found this recipe on Food Network and followed it (mostly) for some of the most delicious cupcakes ever! I cheated and didn’t make my own icing, I used Betty Crocker cream cheese frosting. However, it doesn’t affect the light, moist deliciousness.

 Ingredients:

  • 1 1/4 cups flour
  • 1 tsp baking soda
  • 1/4 tsp salt
  • 1/2 tsp cinnamon & nutmeg
  • Sprinkle ground ginger
  •  3/4 cup brown sugar
  • 1/4 cup vegetable oil
  • 2 eggs
  • 1 cup shredded carrots
  • 1/2 cup applesauce
  • 1/2 tsp vanilla
  • Handful chopped walnuts

Step 1: Mix the flour, salt, baking soda, and seasonings in a small bowl.

Step 2: In a separate bowl, mix the sugar, eggs, and oil. Add the vanilla, walnuts, carrots, and applesauce and mix well.

 Step 3: Mix the dry ingredients into the wet until well blended.

 Step 4: Spray or line cupcake tin with 12 liners. (It actually made 13).

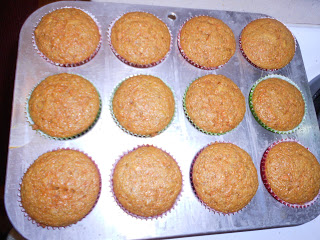
 Step 5: Bake at 350 for 20-23 minutes, until nicely browned and a toothpick comes out clean.

Step 6: Let cool completely, then frost and enjoy!

These cupcakes were so deliciously moist and light, it is easy to rationalize having 2… or 3…

Coconut cream pie

Well, since I had almost a whole can of cream of coconut leftover from my Indian curry, I didn’t want to waste it. So I looked online forever trying to find a recipe for which I had all the ingredients. With some creativity, I could doctor this recipe for coconut cream pie and make a dessert to go with the curry.
Ingredients:
1 can cream of coconut
1/2 cup flour
3 cups skim milk
4 egg yolks (I saved the whites to make breakfast omelettes the next day!)
1 tbsp vanilla flavoring
1 tsp almond flavoring
3 tbsp butter
1 package Jiffy pie crust mix
4 tbsp cold water

 Step 1: Mix coconut, milk and flour in a pan and bring to a boil. Simmer on low heat until mixture gets nice and thick.

 Step 2: While boiling milk mixture, add water to Jiffy mix, and roll flat. Bake the crust in the oven at 350-400 for about 10 minutes, or until golden brown.

 Step 3: Slowly stir the hot milk mixture into the beaten egg yolks, then put back into the pan and simmer 5 more minutes.

 Step 4: Pour the whole thing into the pie crust, and let it cool. Once cool enough to touch, you can refrigerate until ready to eat.

I added a sprinkle of cinnamon on top, but if I had whipped cream you better believe I would put that on it too! This is perfect for me because I like the flavor of coconut, but absolutely hate the texture of shredded coconut. Win-win.

Crock Pot miracles – Stuffed Peppers & Strawberry Apple Crisp

.
Crock Pots are miracle workers for students, busy moms, professionals, anyone who is pressed for time but still wants a healthy, home-cooked meal at the end of the day. As a full-time graduate student writing her thesis, with 2 other jobs and several PhD interviews to prepare for, I have been running a pretty hectic schedule lately.
It goes something like this:
7am – wake up, go to lab, begin an experiment.
8 am – rec, run or elliptical.
9 am – home, shower, breakfast, maybe an hour of free time.
10/11 – meetings.
12-2 find time for lunch.
Afternoon – classes and more experiments.
4 – 9: work or write, depending on the day.
So, in the one hour of free time I had the other morning, I realized I had 3 red bell peppers, minute rice, and ground beef. Plus two old apples and baking supplies I hadn’t used in ages. Therefore…

Crock pot stuffed peppers:
3 red bell peppers
1 pound ground beef
1 cup rice
1 can tomato sauce
Spices to taste (garlic, italian, black pepper)
Step 1: Brown the ground beef and cook the rice.Step 2: Cut tops off peppers and remove seeds. In a large bowl, mix the cooked rice and beef and 1 can tomato sauce, plus any spices. Stuff each pepper with mixture.
Step 3: Put in Crock Pot on LOW for 2-4 hours.
Dinner and dessert, will be ready and waiting when I get home.
The pepper, exploded on my plate. =)


Dessert went from plain apple crisp to strawberry apple crisp because I couldn’t find any plain oatmeal. So I made do with what I had. And I’m glad I did!

Crock Pot Strawberry Apple Crisp:
2 apples, 1 red & 1 green
1 packet strawberries & cream oatmeal
1 cup brown sugar
1/2 cup white sugar
1/2 cup flour
1/4 cup butter/margerine
Cinnamon, nutmeg, vanilla extract

Step 1: Dice the apples and mix in a bowl with a sprinkle of cinnamon and nutmeg. Put apples into a sprayed slow cooker.

Step 2: Mix the sugars, oatmeal, flour, butter, 1 tbsp. vanilla and another sprinkle cinnamon and nutmeg in a separate bowl.

Step 3: Sprinkle a tbsp sugar over the spiced apples in the crock pot, and cover with crumble mixture. Cook on LOW for 2-4 hours. The sugars carmelize, the apples are soft and tangy, it tastes like heaven warm with a scoop of vanilla ice cream!!!

This is so completely fabulous I can’t even describe it!