- 1 1/2 cups cooked pasta
- 1/2 cup cottage cheese
- 1 cup frozen broccoli
Category Archives: Less than 5
These recipes take less than 5 ingredients, less than $5, and/or less than 5 minutes
Less than 5: Microwave Apple Crisp
.
Everyone needs a little sweetness in their lives, but not everyone has the time or inclination to spend hours baking. Microwaves to the rescue! There is an endless amount of baked goods you can make in the microwave. Rather than collect recipes from all around the web, I found Number 2 pencil’s post that does exactly that, a collection of over 30 mug recipes!
This recipe I came up with one night when I wanted something sweet but was too tired to cook an entire pie or whatnot. I had apples, so naturally wanted apple crisp. Apple crisp has always been a favorite of mine, it is perfectly balanced and sweet, and satisfies my sweet tooth every time. So with less than 5 ingredients and less than 5 minutes, you can have a bowl of your very own hot and fresh microwave apple crisp!
Ingredients:
- 1 apple, sliced
- 3 tbsp brown sugar
- 1/3 cup quick oats
- 2-3 tbsp butter/margerine
- Optional: cinnamon and/or nutmeg
Less than 5: Big-kid Ramen
It turns out to make a decently healthy meal, for way less than a dollar per serving. Ever since then, when I have a random Ramen craving, I give in with the justification that at least it’s “big kid” Ramen. Now you can too!
- 1 package Ramen noodles
- 1 cup frozen mixed vegetables or spinach
- Optional: 1 egg, thinly sliced meats, shrimp, tuna
- Spices (I used parsley, parmesan, and red chili pepper for kick)

Step 1: Heat the noodles and 2-3 cups water for 3 minutes in the microwave, or pour in boiling water. Let stand for 3 minutes.
Step 2: Add the vegetables and egg. Break the yolk so it doesn’t explode. Microwave another 3 minutes.
Step 3: Stir in seasoning packet and spices, enjoy!
The chili flakes gave it a nice bite of heat, and I like the frozen mixed veggies because of the corn and carrots’ sweetness. You can get creative with this. Use tofu, beans, tuna, chicken. Any cooked vegetable will work well. I’m partial to the chicken flavoring only, but there are beef and shrimp flavorings too.
For 0.10 (noodles) + 0.10 (egg) + 0.10 (frozen veg) = $0.30
Not a bad meal!
What do you put in your Ramen?
How to cook a whole Brisket
Beef brisket is by far one of my favorite cuts of meat. Brisket comes from the chest area of a cow, and is chock full of connective tissue called collagen. This is what can cause meat to be tough and chewy. This is also why brisket requires a loooooooong cooking time. Chefs and home cooks will all have varying opinions on the best rubs, sauces, and ways to cook brisket.
In my opinion, there really isn’t a wrong way, as long as brisket is being served I’m a happy camper!
If you’re intimidated by trying to cook such a large chunk of meat (since stores usually sell it by the whole brisket, i.e. the entire chest muscle) you can probably ask a store butcher to cut it into smaller sizes. But let me assure you, if I can pull this off in my tiny apartment kitchen, you sure can too!
Do be aware that a whole brisket is typically upwards of ten pounds. Though some part of that is the “fat cap“, a thick band of fat connected to the meat, and you probably want to cut that off before eating. But leave it on for the cooking part, as it helps keep the meat tender and juicy, and tasting awesome!
If I had a huge grill, I would use that baby on low and slow all day. Since I don’t have that, I made due with baking in the oven. And I’m totally not mad about that. I used mustard as the base for the rub, to get it to stick, and to add flavor. And made the rub from some spices I had around the house. You can change it up to use whatever spices you want, add some BBQ sauce, get creative.
Ingredients:
- 1 14 pound beef brisket
- 1 cup yellow mustard
- 1 cup pork rub spices
- 1/4 cup dried onion
- 1/4 cup garlic salt
- Ground white pepper
- Black pepper
- Paprika
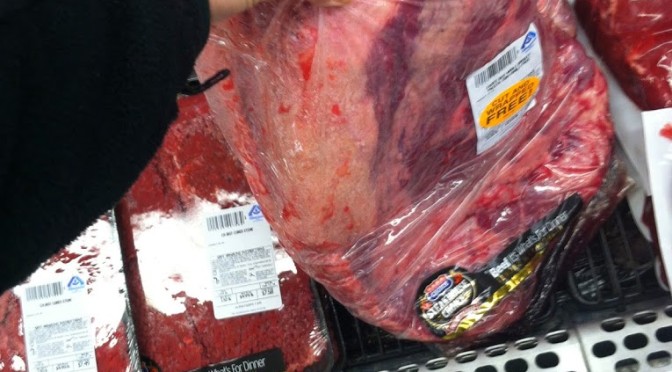
This is what the brisket looks like a the store. Quite the hunk of beef.
Step 1: Smear a healthy amount of mustard all over the brisket, flip it, and cover the other side too. Use your hands and get all around the edges and in the crevices.
Step 2: In a small bowl, mix together all the spices.
Sprinkle the spice mixture liberally all over the meat. This is very thick, so it’s pretty dang difficult to over-season at this stage. Rub it all over so you get a crispy, flavor-filled crust.
Beautiful.
Step 3: Place the brisket in an oven-safe pan with the fat cap upwards, so all the delicious melting fat will drip through your meat and keep it moist. Cover with foil and place into an oven set at 275. Add a cup of water or beef broth to keep it moist.
Now the hard part. Wait. This baby needs to cook for about 6-8 hours, low and slow.
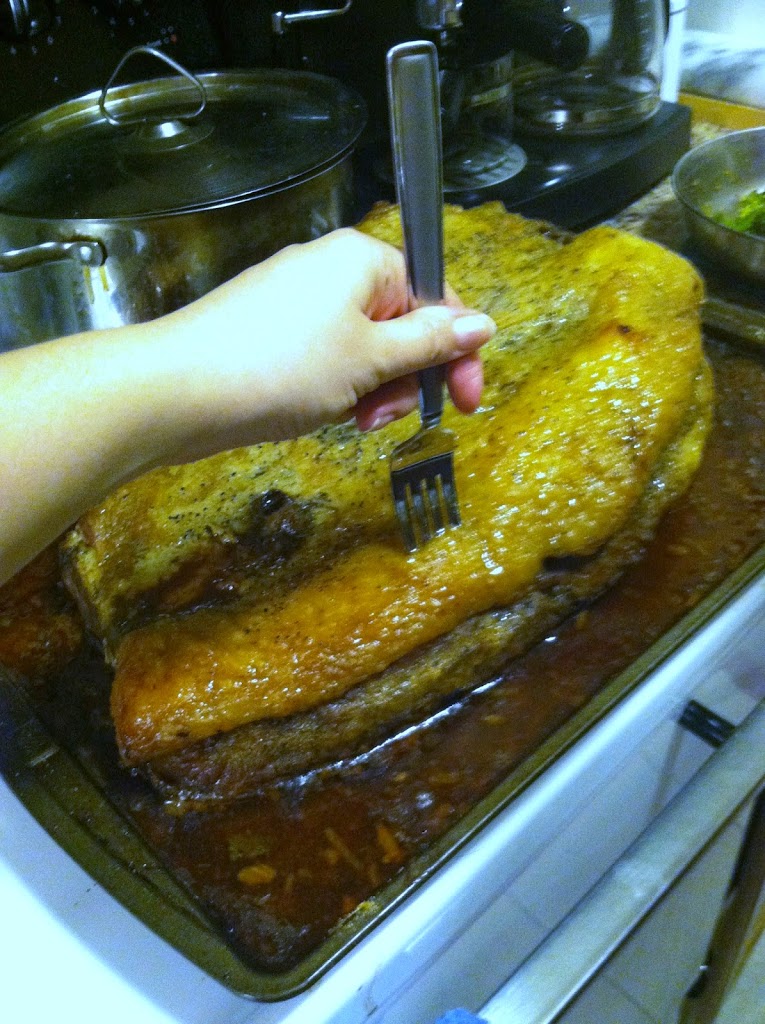
When there is no longer any pink, or if you have a meat thermometer make sure it reads 150 or more, your brisket is ready to be enjoyed!
This. Meat. Is. Amazing.
I served the brisket with roasted whole new potatoes and onion, and steamed broccoli the first night. There were leftovers all week, and no one was upset about that. Made some pulled brisket BBQ sandwiches, brisket salad, just ate chunks of the salty, beefy goodness cold.
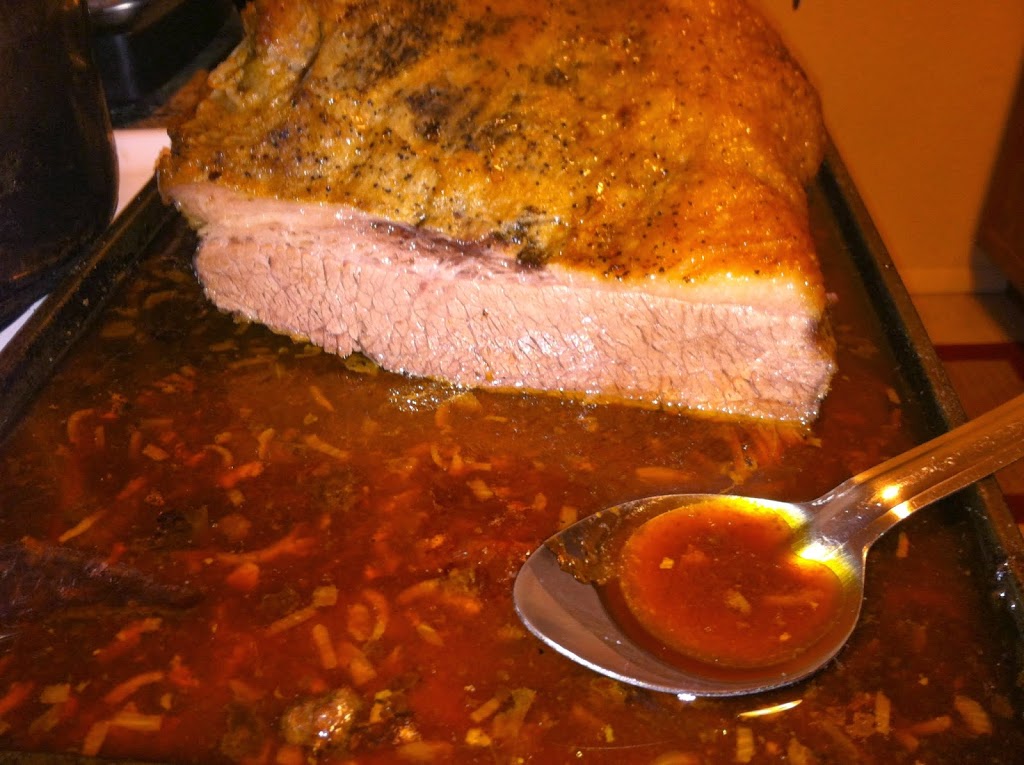
The drippings were delicious too, but had a lot of the melted fat in it.
That didn’t stop us from using the drippings as a gravy!
Wooooooooooooooooooooooooooooooooow was this good. Makes me consider changing careers to be a cattle farmer, just so I can have this once a month. Then I’d probably also have a heart attack within a decade… Worth.
Cinco de Mayo drink: Margarita Spritzer
Happy Cinco de Mayo!
Most people will be celebrating early since the 5th of May is a Monday, so I figured I’d post this early as well.
As with most holidays, I always wonder how they started and what they really mean. As I dug into the history of this one, I was surprised and learned quite a bit.
Most people tend to think this holiday commemorates Mexico’s Independence Day, but that is not true. Mexico’s independence day is actually September 16th, not May 5th. The 5th of May is the day a Mexican city won a huge battle with the French. For a great 2-minute video, check out the History Channel.
In 1861, Mexico was so far in debt to so many countries that the president Benito Juarez declared that they could not pay back any countries they owed. This made the French super mad, and they invaded. Good cheese isn’t cheap, you know.
So the French rampaged across Mexico, winning battle after battle. Then on May 5, 1862, in the state of Puebla, the Mexicans finally defeated the French, despite being less prepared, not well trained or equipped, and outnumbered 2:1 on the battlefield!
The French quickly regrouped and eventually took Mexico City, but that euphoria of an unlikely victory tasted sweet. Just like a cold margarita. The victory was so inspiring, American generals began using it as “inspiration for the Union struggle in the Civil War”. (*All quotes from the History Channel video mentioned above)
Mexican-Americans, and Americans of all kind, took to remembering that battle every May 5th with food, drinks, parades, dancing, game, and bullfights (from About.com “Cinco de Mayo – the Basics“). Over time, the holiday died down in most of Mexico, except in Puebla where the battle was originally won. However, north of the border we never got out of the habit, and Cinco de Mayo is still celebrated every year with margaritas, Meixcan food, and other festivities. And now you know the “surprisingly American history behind this Mexican holiday”.
So to celebrate these brave Mexican fighters who didn’t want their tacos replaced with baguettes, make yourself a big ol’ pitcher of these Margarita Spritzers! With less “extras” and sugar, this version of the lime classic is lower on calories but big on taste, and how hard it hits is up to how much tequila you pour!
This margarita requires NO triple sec, the source of most margarita’s zing and pucker, but it’s also a sugar bomb with calories galore. This is a super simple recipe, with endless customization choices.
Ingredients:
- 1 oz gold tequila
- 1 oz simple syrup*
- 1 oz lime juice
- 1 cup soda water (lemon-lime flavor is best)
- Salt for rimming if you like
- Fresh lime slices for garnish
Step 1: *Simple syrup – add 1 cup sugar, 1/2 cup brown sugar, and 2 cups water to a pot. Bring to a gentle boil, or at least heat until all sugar is dissolved. Chill for ~1 hour.

Step 2: On two flat plates, pour onto one a tbsp lime juice and on the other some sea salt. Take a glass, and rub the rim in the juice. Then swirl it around in the salt so it sticks.
Step 3: In a shaker, combine (per drink) 1 oz tequila, 1 oz simple syrup, and 1 oz lime juice. Shake with ice until cold.
Step 4: Pour over ice in rimmed glass, and top with soda water. Stir and garnish as desired.
Try any juice you like in place of lime; cherry, pomegranate, strawberries. I’m a total purist and prefer simply lime over ice, but you can blend it if you must. Check out CookingChannel‘s list of top 20 Margarita Recipes for inspiration.
This 5th of May, raise a glass to those brave Mexicans who kept the French in France and enabled this long tradition of May festivity. ¡Que viva México!
What do you do on May 5th? Do you celebrate Cinco de Mayo? Do you have any special margarita recipes I need to know about?
Perfect refried beans – low-fat, high protein!
Refried beans, known as frijoles refritos, are a staple in Mexican and Mex-inspired cuisine. It translates into “well-fried beans”, which is an accurate description. Most often pinto beans are used, though sometimes pink or red kidney beans can be used as well.
The beans are fully cooked, and any water or broth is drained from them. Then they are mashed well, and put into a frying pan to be cooked again over low heat. Refried beans tend to be made with bacon grease and/or lard and/or bacon added, which sure boosts the flavor, but also may boost your hip size.
It’s super simple to make your own at home with only three ingredients, and no added fat.
Ingredients:
- 1 can pinto beans, drained (use no added sodium kinds if you can find it. you can also make your own from dried)
- 2-3 bay leaves
- 1 tbsp cumin
Step 1: Drain the beans. Rinse them as well if not low-sodium to remove some excess sodium.
![]() |
| *Side note: bean cooking water is apparently awesome for watering gardens or house plants. So if you cook beans from raw, keep that in mind! |
Step 2: Pour the beans into a frying pan. Add about 1/4 cup water, and cook on low until the water bubbles and beans are heated through. Mash with a fork or potato mashed until mostly soft and creamy.
Step 3: Add bay leaves and cumin. You can also add salt and pepper if you like. Mix well, continue to cook on low heat for 10 minutes to an hour. Add more water periodically if they seem to dry out too much. Enjoy as a side dish, on tacos or burritos, or with eggs at breakfast.
Think Geek has more in-depth info on how they are prepared and when to eat them, Food Timeline has a neat comparison of various historical accounts of what refried beans are and when they originated, and Wikipedia covers why the mistranslation into “refried” is wrong on two counts.
What is your favorite way to cook beans?
Grapefruitcello
History of Limoncello
Limoncello is a traditional liquor of Italy, with competing areas laying claim to its origin, including Sorrentini, Amalfitani, and Capresi. Production began sometime in the 1900s, but the businessman Massimo Canale first trademarked the name “Limoncello” in 1988 (source: Taste of Sorrento).
There are many other competing stories, such as limoncello being used in coastal towns to fight the morning chill, or its use among monks in monasteries to keep them cheerful between prayers.
Limoncello has been growing in popularity as people begin trying their hands at home-brewing all types of alcohols, from wine and beer to whiskey and kahlua. The beauty of this type is that there are only four ingredients: citrus peels, alcohol, sugar, and water.
It does not depend on a specific type of alcohol, rum will work just as well as vodka. It also can vary between which type of citrus peel you use. The steeping time is typically at minimum one month, but I’ve read up to a year.
By soaking the peels in the alcohol, you are sucking out all the depth of flavor and aroma from the peel’s essential oils into the liquid. This infusion is what can then bring flavor to other beverages. It is claimed that limoncello as an aperitif before or after a meal is a great digestive aid, and it is also sometimes enjoyed when mixed with champagne.
Typical Recipes
Limoncello is made by soaking the peel only of citrus fruits, most often lemons, in liquor for an amount of time. It is then strained and to it is added sugar dissolved in water. The liquid is then cured a little longer. It is then ready to be drunk as an aperitif or added to cocktails.
According to Discover Italian Foods, the traditional recipe calls for: 13 Sorrento or Amalfi lemons, 2 L good quality alcohol (type not specified), 650 g sugar (2 & 3/4 cups), and 1 L pure water. Soak the peels in the alcohol in a cool, dark place for one month. Filter, then make the syrup by boiling the sugar and water. Mix and store in the freezer.
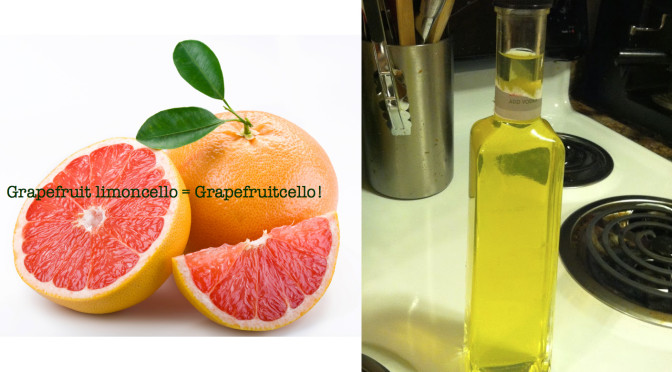
Keep in mind that all of these recipes calling for limoncello can also use any steeped liquor using citrus peels. You can make this with oranges, lemons, limes, tangelos, or grapefruit. As long as you make sure to only take the peel and not the pithy white inside, you’re good to go!
I decided to start small, and as I only had one gigantic grapefruit, that is what I started with. I scaled back the average recipe and made just one bottle of grapefruitcello.
Ingredients:
- 1 large grapefruit
- 1 cup plain vodka
- 1 cup sugar
- 1 cup water
- ~time~
Step 1: Peel 1 large grapefruit and place peels in a glass jar. Pour the vodka over it and cover. Let sit in a cool, dark place. Mine only sat for 2 weeks rather than the traditional month or longer.
Step 2: Prepare the simple syrup by mixing the sugar and water and bring to a boil. Strain the liquor to remove the peels. Let syrup cool, then add to the filtered infusion.
Step 3: I’m storing this is the refrigerator for now. It probably won’t last too long!
This made about 150 mL of grapefruitcello. The taster shots were darn good, I can’t wait to mix up some tangy cocktails using this!
Limoncello cocktails
Limoncello can be drunk cold by itself between courses or after meals, you can use it in baking, or it can be added into cocktails for depth of flavor. This post from The Vintage Mixer is right up my alley in determining how to mix a cocktail.
Simply take 1 ounce limoncello, add 2-3 oz any complimentary liquid (juices, club soda, tea), add an additional liquor if you desire (1 oz gin, whiskey, rum), and garnish with something pretty! The website Limoncello Quest also has a massive list of creative drinks which use limoncello.
I’m going to try a variation on a vodka cranberry and a lemon drop martini. Since I used grapefruit to make the grapefruitcello, I don’t need grapefruit juice.
Ingredients:
- 1 oz grapefruitcello
- 1 oz vanilla vodka
- 2 tbsp lime juice
- 1/2 cup cran-cherry juice (or whatever kind you like & have)
- Top off with sparkling water
Step 1: I had frozen lime juice cubes so I threw one of those in, as well as some re-freezable ice cubes so it didn’t get watered down. Add 1 shot (1 oz) of the grapefruitcello and 1 shot of vanilla vodka (bought pre-flavored or make your own by adding vanilla beans to plain vodka). Add in about 1/2 cup juice, and top it off with sparkling water.
I added a slice of lime wedge and a pretty stir stick, and my new signature cocktail is complete! Pretty and delicious. And with under 200 calories, about 15 g of sugar, and no fat, you can justify another one!
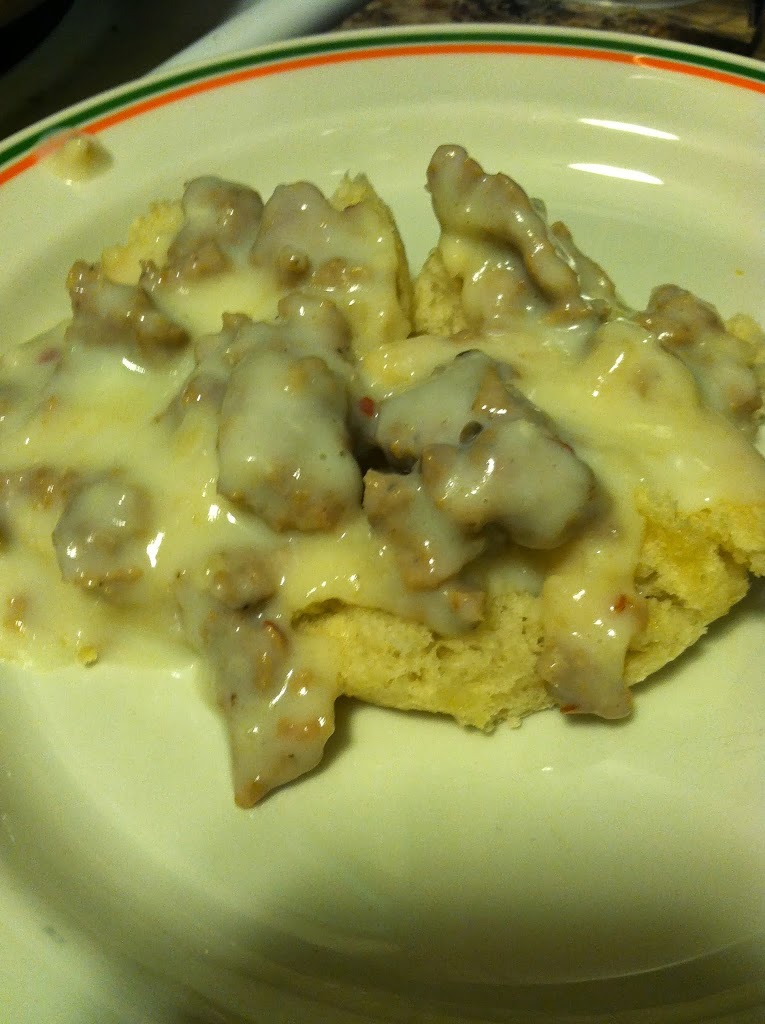
Sausage gravy & biscuits
If you asked my family if ever they thought they’d see the day where I not only willingly ate sausage gravy and biscuits, yet alone cooked it myself, they would call you crazy.
For the longest time I was very against sausage in any form; ground, patties, links. Well, I’m living proof that tastes change over time. The more times I tried sausage gravy & biscuits, the more I liked it. However, I am also aware that commercial gravy is horrific for you. I had a can of biscuits in the fridge and sausage was on sale $3/pound at my farmer’s market.
I couldn’t resist buying a nice, fresh ground pound of sausage and trying my hand at this artery-clogging breakfast favorite. Turns out, it is actually quite easy. I did cheat and use canned biscuits rather than make my own. But the gravy is more art than science, use your own judgment and tastes when adding milk and flour to make it the consistency you want. You could also use cornstarch to thicken it rather than flour for a gluten-free option.
Pro tip: this sausage gravy would be great over just about any meat or grain, like chicken and mashed potatoes, or ham and rice.
Ingredients:
- 1 pound sausage
- 1 can biscuits
- 1 cup milk
- 4 tbsp flour
- Salt & pepper
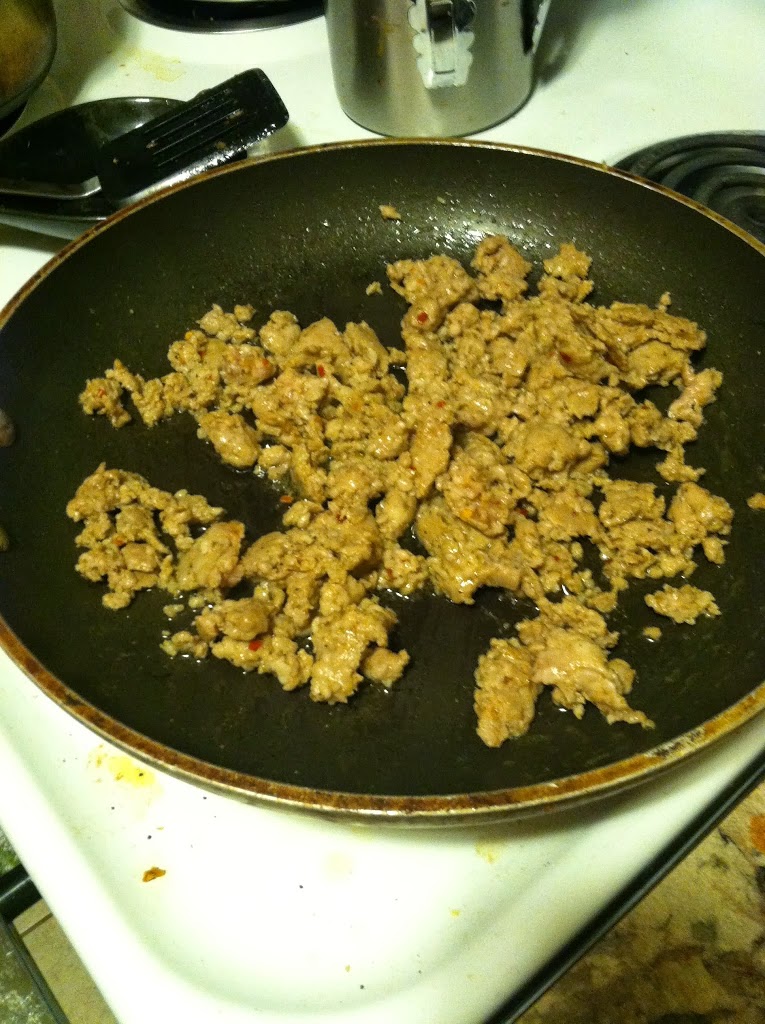
Step 1: Brown the sausage in a frying pan. Once fully cooked, remove the sausage, drain the fat and set aside.
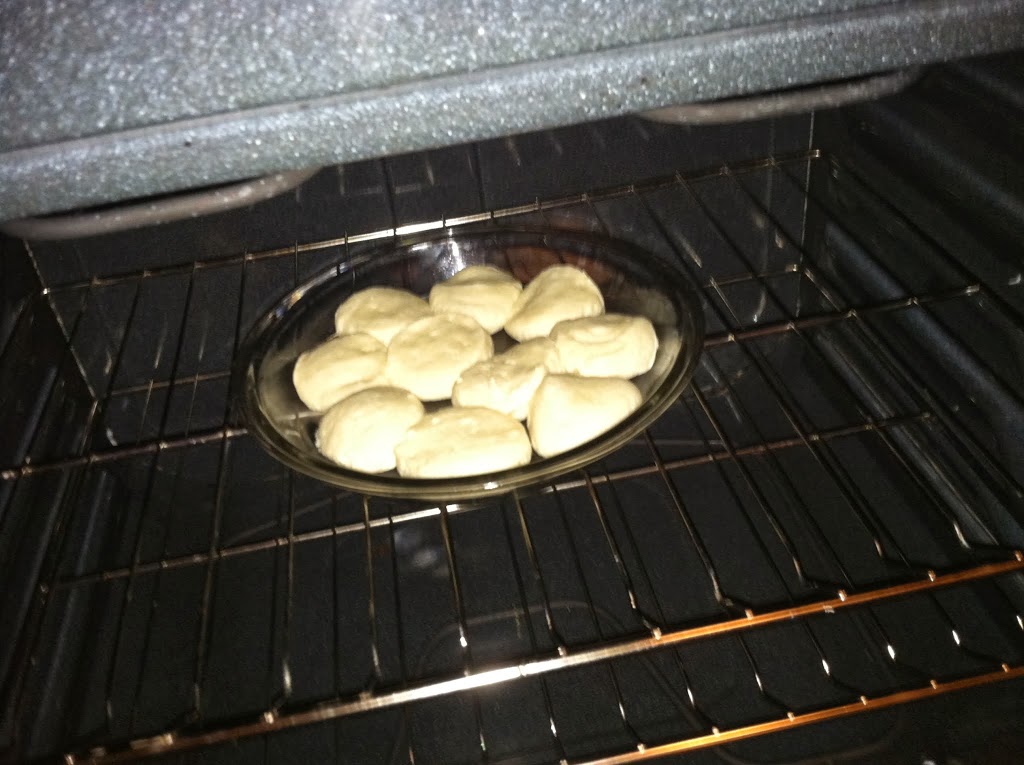
Step 2: Bake the biscuits in a 350 oven for 10-12 minutes.
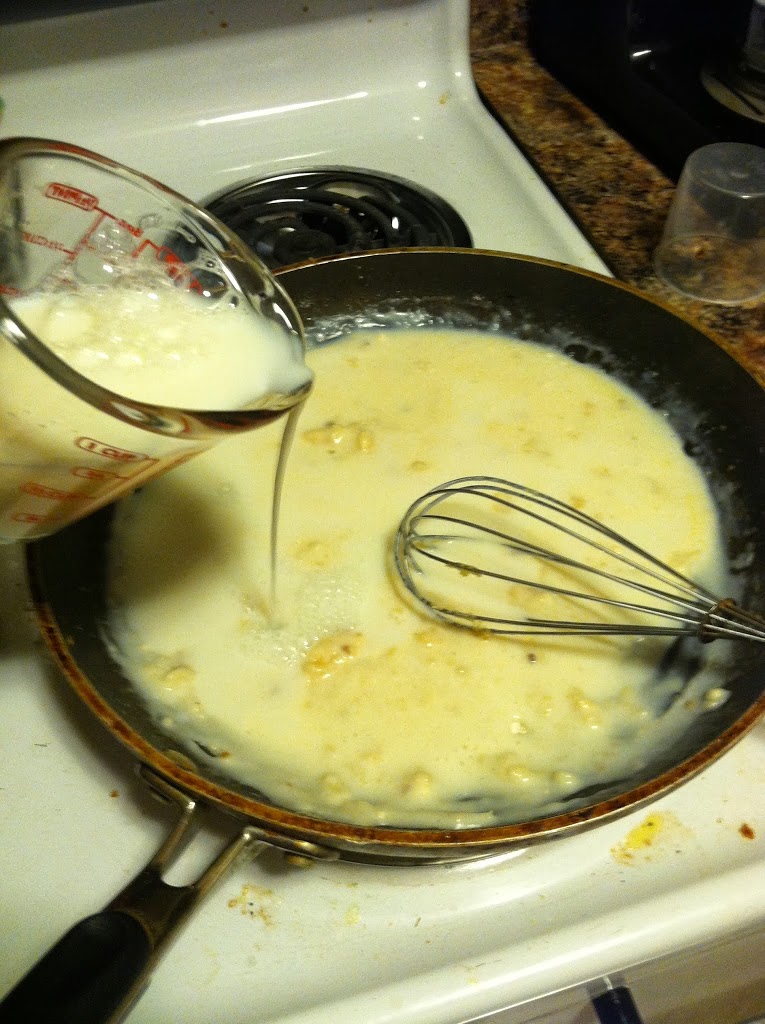
Step 3: Add the flour to the pan you cooked the sausage in, slowly whisk in the milk. Add all the milk, and bring to a simmer. Add salt and pepper to taste.
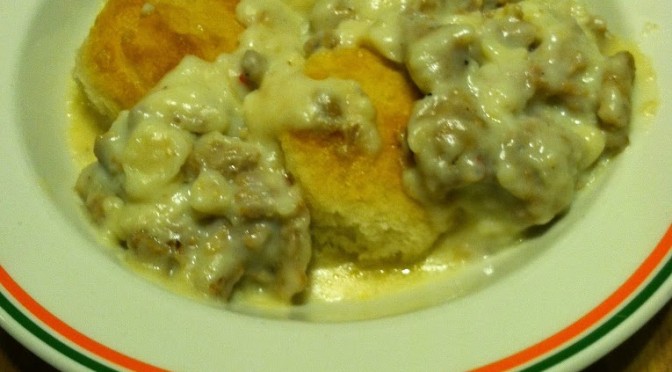
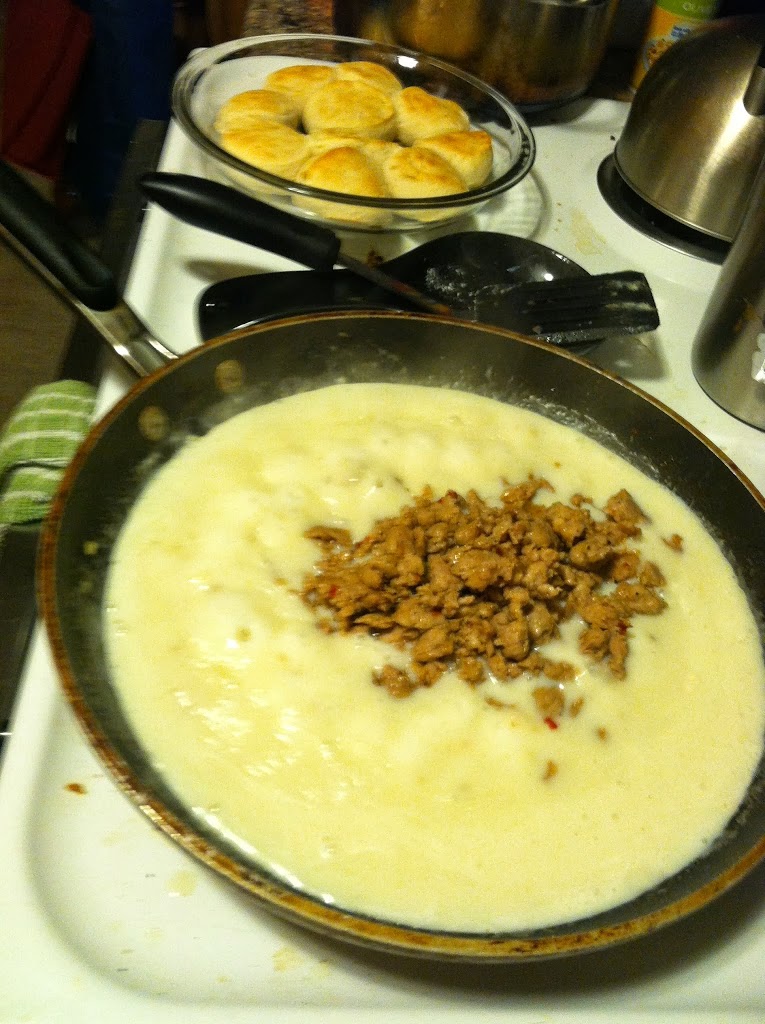
Step 4: Add the cooked sausage back in and mix well. Pour over warm biscuits and enjoy!
![]() |
| I can feel my taste buds cheering, and my arteries crying… |
Slow cooker ham & corn rice casserole
This is another creation born of needing to use up items left in the pantry. You’ll notice two themes in most recipes from times where I am either very busy (being a student) or in a state of flux (like moving), I use the slow cooker a lot, and recipes get a little weird.
I prefer the term “creative” but let’s not argue semantics.
Anyhow, the best template for any meal in a rush is “meat + carb + vegetable/fruit + liquid”, and I use it a lot.
You can have literally endless variations, and in fact nearly every meal ever is based on this formula.
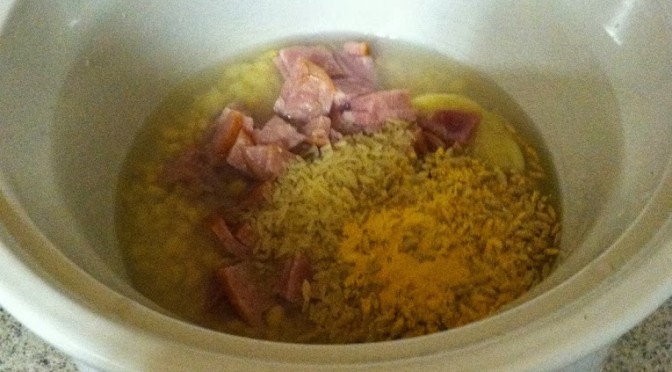
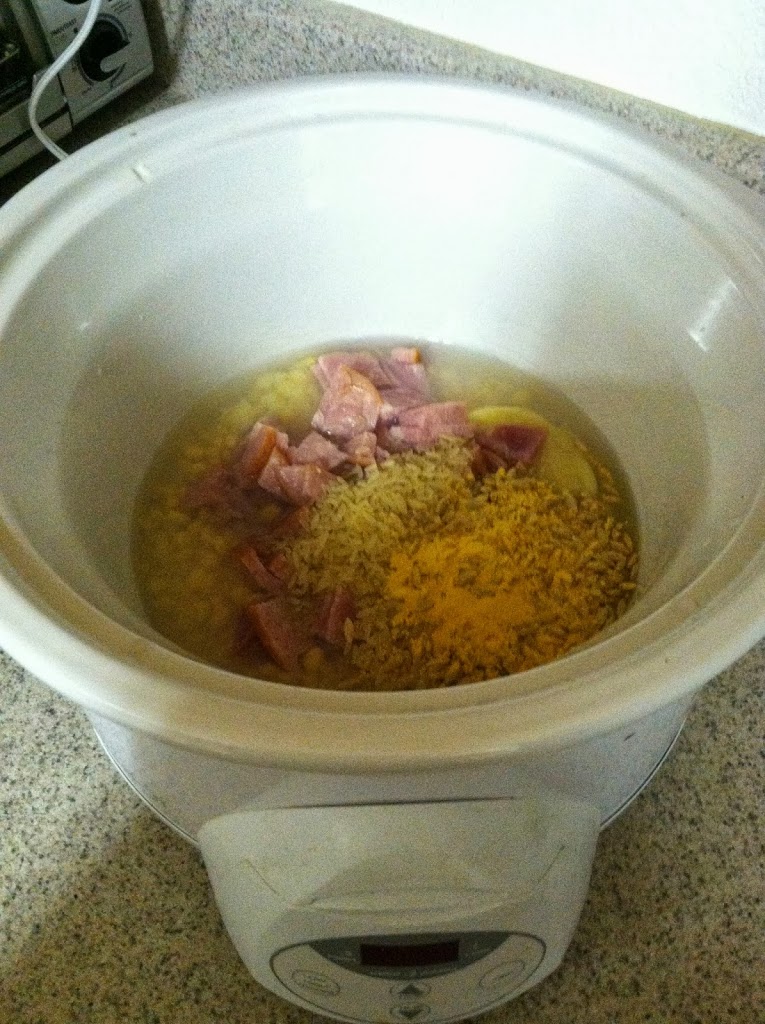
For this recipe, I simply checked my food box and freezer to see what was left, then followed the formula with things I thought might go well together. This is what ended up happening.
Ingredients:
- 1 cup cubed ham
- 1 box rice pilaf with seasoning packet
- 1 can corn with liquid
- 1 can cream of chicken soup
- 1 cup water
Step 1: Mix all ingredients in the slow cooker. Set on low for at least 4 hours; I left it for about 9 all day.
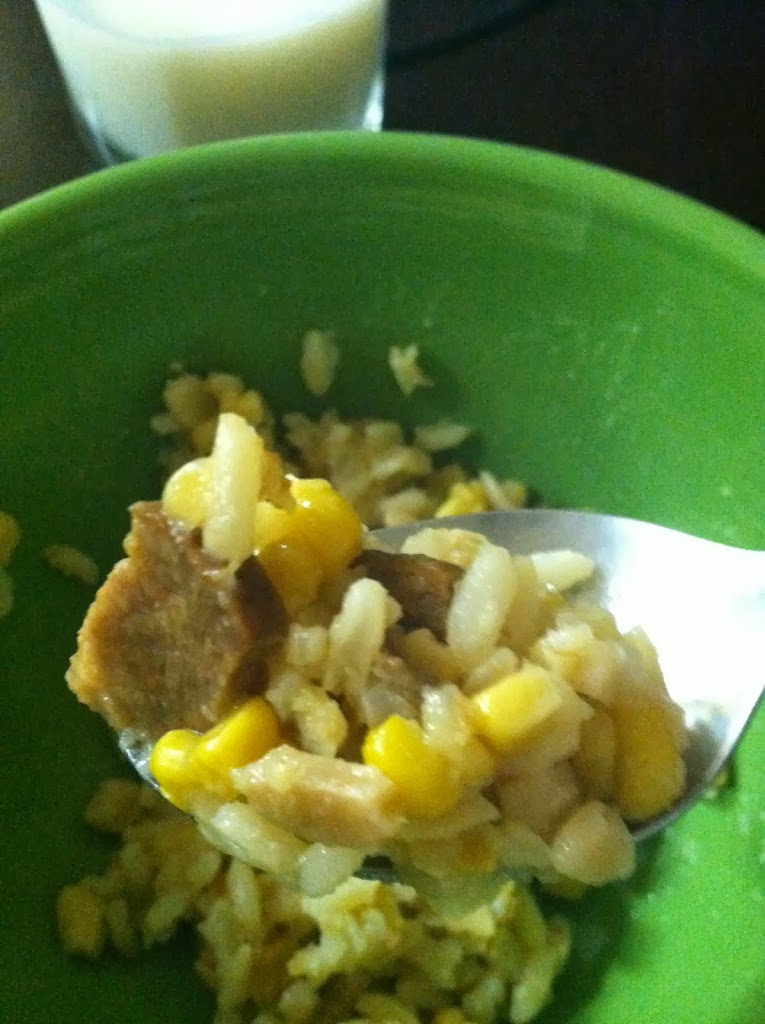
The rice didn’t end up being overly mushy, which I worried about, and the corn gave it a nice sweet flavor. Ham paired with this well, though I think chicken would’ve been even better based on past experience with the flavor of rice pilaf and the fact that I used cream of chicken soup rather than mushroom or celery.
But overall it was tasty, couldn’t be easier, used up a box and two cans from the pantry, and lasted for about 6 servings, so I call that a success.
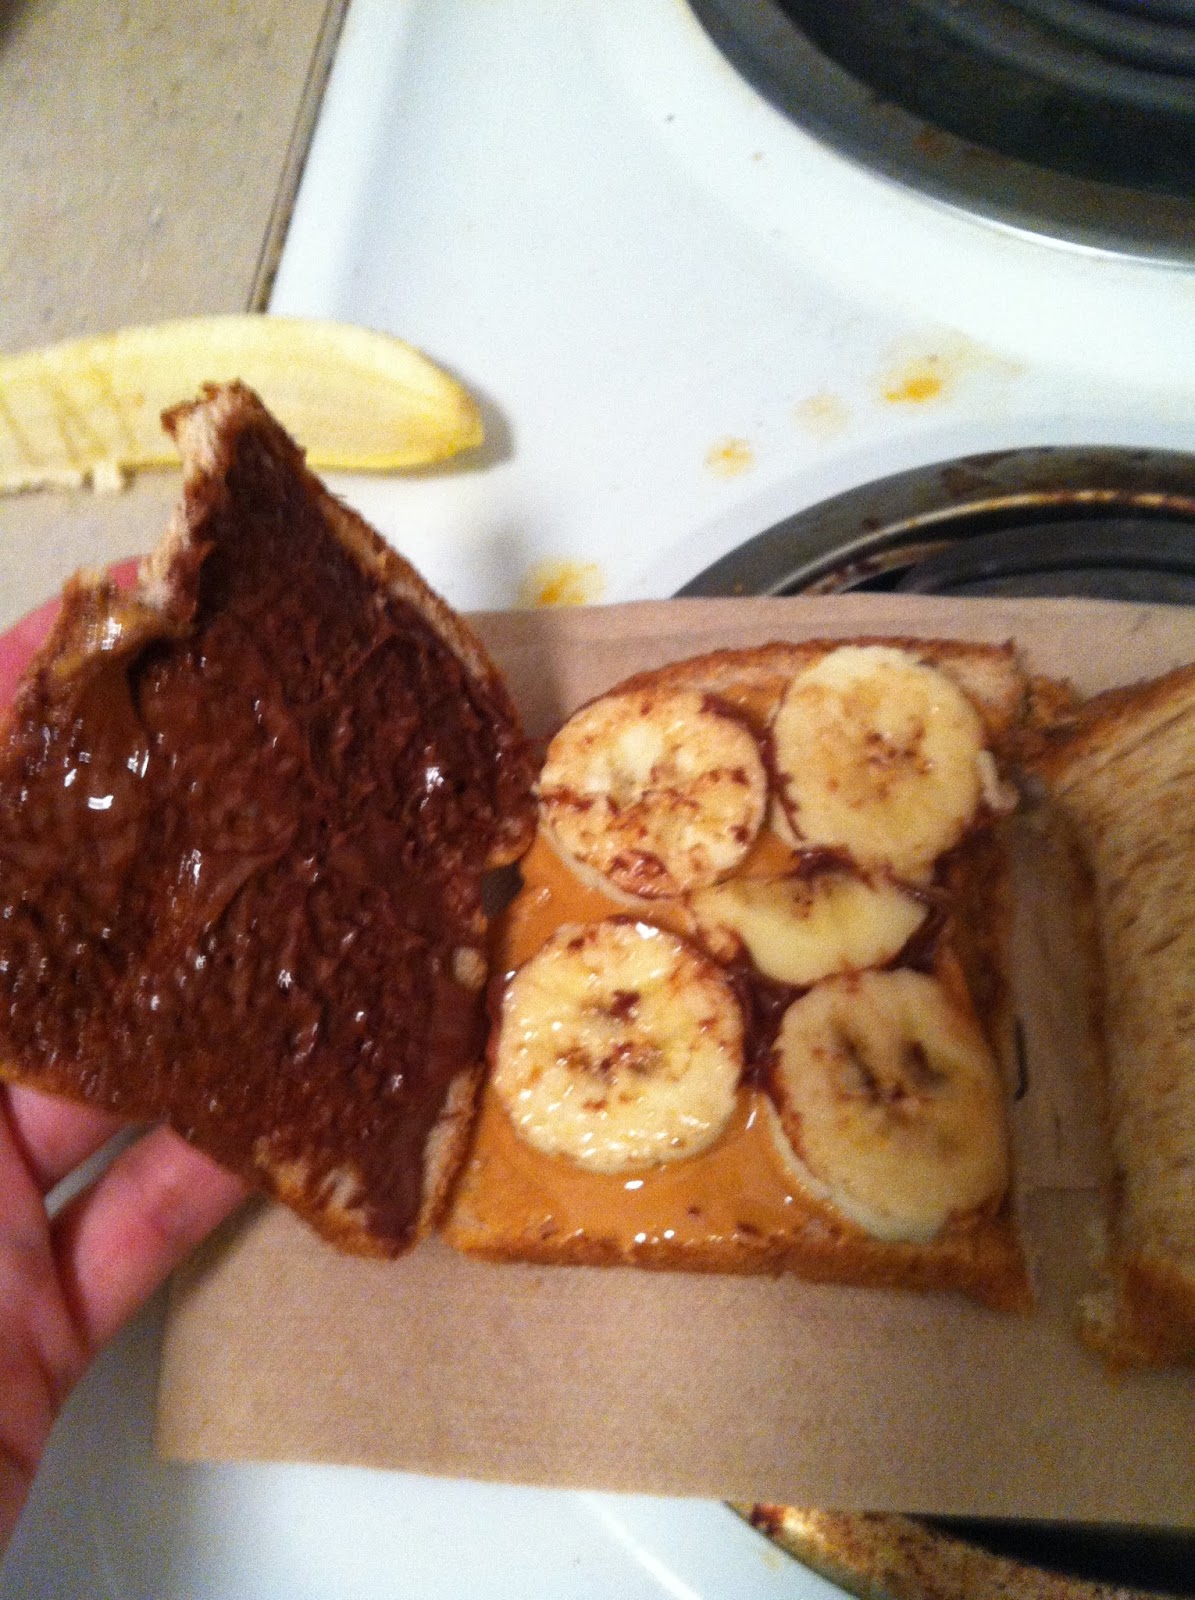
Peanut butter, banana and Nutella sandwich
- 2 slices wheat bread
- 1 tbsp peanut butter
- 2/3 banana, sliced
- 1 tbsp Nutella spread
It was gooey, filling and delicious. Even after being smashed in a backpack with 2 water bottles for 3 hours.
Might I suggest honey if you don’t have Nutella, or a semi-melted chocolate bar. Maybe try some marshmallow fluff instead of the peanut butter if you’re allergic to nuts. I bet peaches or pears would work well too, sliced thinly. I might need to go try all these combos now…