Category Archives: Main Dishes

Easy Veggie Steamed Rice


On its own or as a side dish, vegetable steamed rice is one of my new absolute favorite go-to dishes. It is fabulous for using up leftovers in the crisper drawer before they are unusable. It is a good way to hide extra veggies for people who don’t love their taste. You can try new vegetables without having to fully commit. And it is endlessly variable.

The basis of this particular recipe was a bag of broccoli slaw that was on super sale, I had to have it. But you can only eat so much slaw at a time, so I had to find some creative ways to use it up. I’ve also been eating a more vegan diet, so I bulked it up a bit to make it a full meal. Feel free to add in a meat of your choice like chicken or shrimp, sauces you like such as terikayi or soy, and switch up the veggies.

Ingredients:

  • 1 c uncooked rice
  • 2 cups water or broth
  • 1-2 cups veggies
    • I used: 1/3 cup broccoli slaw, 1/3 cup diced bell pepper and onion, and about 1/2 cup raw spinach
  • Handful smashed almonds or peanuts
  • Soy sauce to taste

IMG_7452

If you have a rice cooker, this entire thing can be cooked together. Same goes for a crock pot. If you don’t have one of those option, you can boil the rice and fry the veggies separately and then mix together.

IMG_7453

Step 1: Put the rice, water, and veggies into the rice cooker, and turn on. Alterntively, place in a small slow cooker and cook on low 1-2 hours. Or, boil the rice according to package, and stir fry the veggies in 1 tbsp. oil until soft, then mix.

IMG_7451

Step 2: This is not required. If you want, heat 2-4 tbsp. oil in a pan, and add the cooked rice and veg. Cook for 5-7 minutes, until rice begins to brown and crisp, and flip with a spatula. Cook the other side until brown, then serve hot.

Three Bean Vegan Chili


Chili is one of my absolute favorite comfort foods. It couldn’t be easier to put together, just throw all the ingredients in a crock pot and let it do the heavy lifting while you go to work, school, travel, write, hike, shop, whatever you do all day. Then come home to a hot, delicious, healthy meal that makes the whole house smell divine.

This is seriously the most perfect cold-weather dinner of all time.

White Bean Chicken Chili is definitely on my top ten for Crock Pot meals, but since I’ve been on a bit of a vegan kick lately, I wanted to make a chili with no meat or animal products that was equally delicious and satisfying. And that’s exactly what I did, and you can too!

Don’t tell those you serve that it’s vegan, and they likely won’t even know.

Ingredients:

  • 1 can diced tomatoes (with green chilis if you want kick)
  • 1 small can tomato paste
  • 1 can pinto beans
  • 1 can black beans
  • 1 can white cannellini beans
  • 4 tbsp. chili powder
  • 1 tsp paprika
  • 1 tsp ground ginger
  • 1 tsp garlic salt
  • 1 tsp cumin powder

IMG_7580

Step 1: Open all the cans, and pour directly into the crock pot. Leave the tomato juice, but if you want to drain and rinse the beans to cut down on extra sodium, you totally can.

IMG_7583

Step 2: Cook in crock pot on low 6-8 hours, or high 2-4 hours. That’s it! Other addition you could make: chickpeas, really any other type of bean, crushed garlic, diced onion, carrots, celery, bell peppers, hot peppers, tomato juice, tomato sauce, hot sauce…   IMG_7587

IMG_7586

I made a batch of corn bread using Jiffy mix and a can of corn to serve with the chili. Yes, the carnivore had to add a handful of cheese, but progress is progress. Baby steps.

Since this makes a crap-ton of chili, some ideas to use up the remainder include chili cheese dogs, chili mac n cheese, and topping baked potatoes with a scoop for a filling meal or snack.


[amd-zlrecipe-recipe:9]

Recipe Review: Smashed Potatoes with Avocado Garlic Aioli from Oh She Glows


Vegetarianism and Veganism is consistently growing in popularity nationwide as society becomes aware of the health benefits of whole foods and the dangers of processed foods. Along with this awareness comes a rise in health-related blogs and recipes. I’m a big fan, as I’m always in search of new, fun combinations of food. Especially when it’s healthy foods.

Speaking of healthy foods, today the winner of a FREE copy of dietician Sharon Palmer’s book “Plant-Powered For Life” was Katy Dyer!! This book has over a hundred fabulous plant heavy recipes, as well as 52 tips for a year of healthy living habits. Incorporate one tip per week for a total life makeover. Congratulations!

One of my favorite discoveries in terms of new food blogs is the vegan goddess Angela at Oh She Glows. She has oodles of fabulous recipes, almost all of which I am antsy to try myself. Angela has a knack for combinations and substitutions that makes you say “Why didn’t I think of that! Sounds great!”

I reviewed her Chia Fresca last week, and found it to be a very strange beverage. However, it is surprisingly pleasing and a nice change if plain water bores you. In addition, chia seeds have a healthy dose of omega-3 fatty acids, especially useful if you are following a vegan or vegetarian diet and can’t get what you need from fish or eggs.

IMG_7871

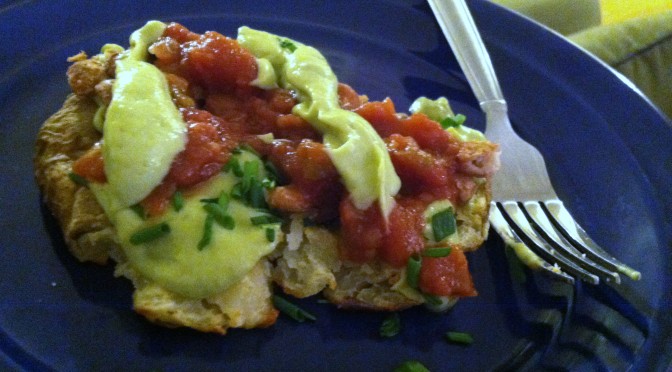
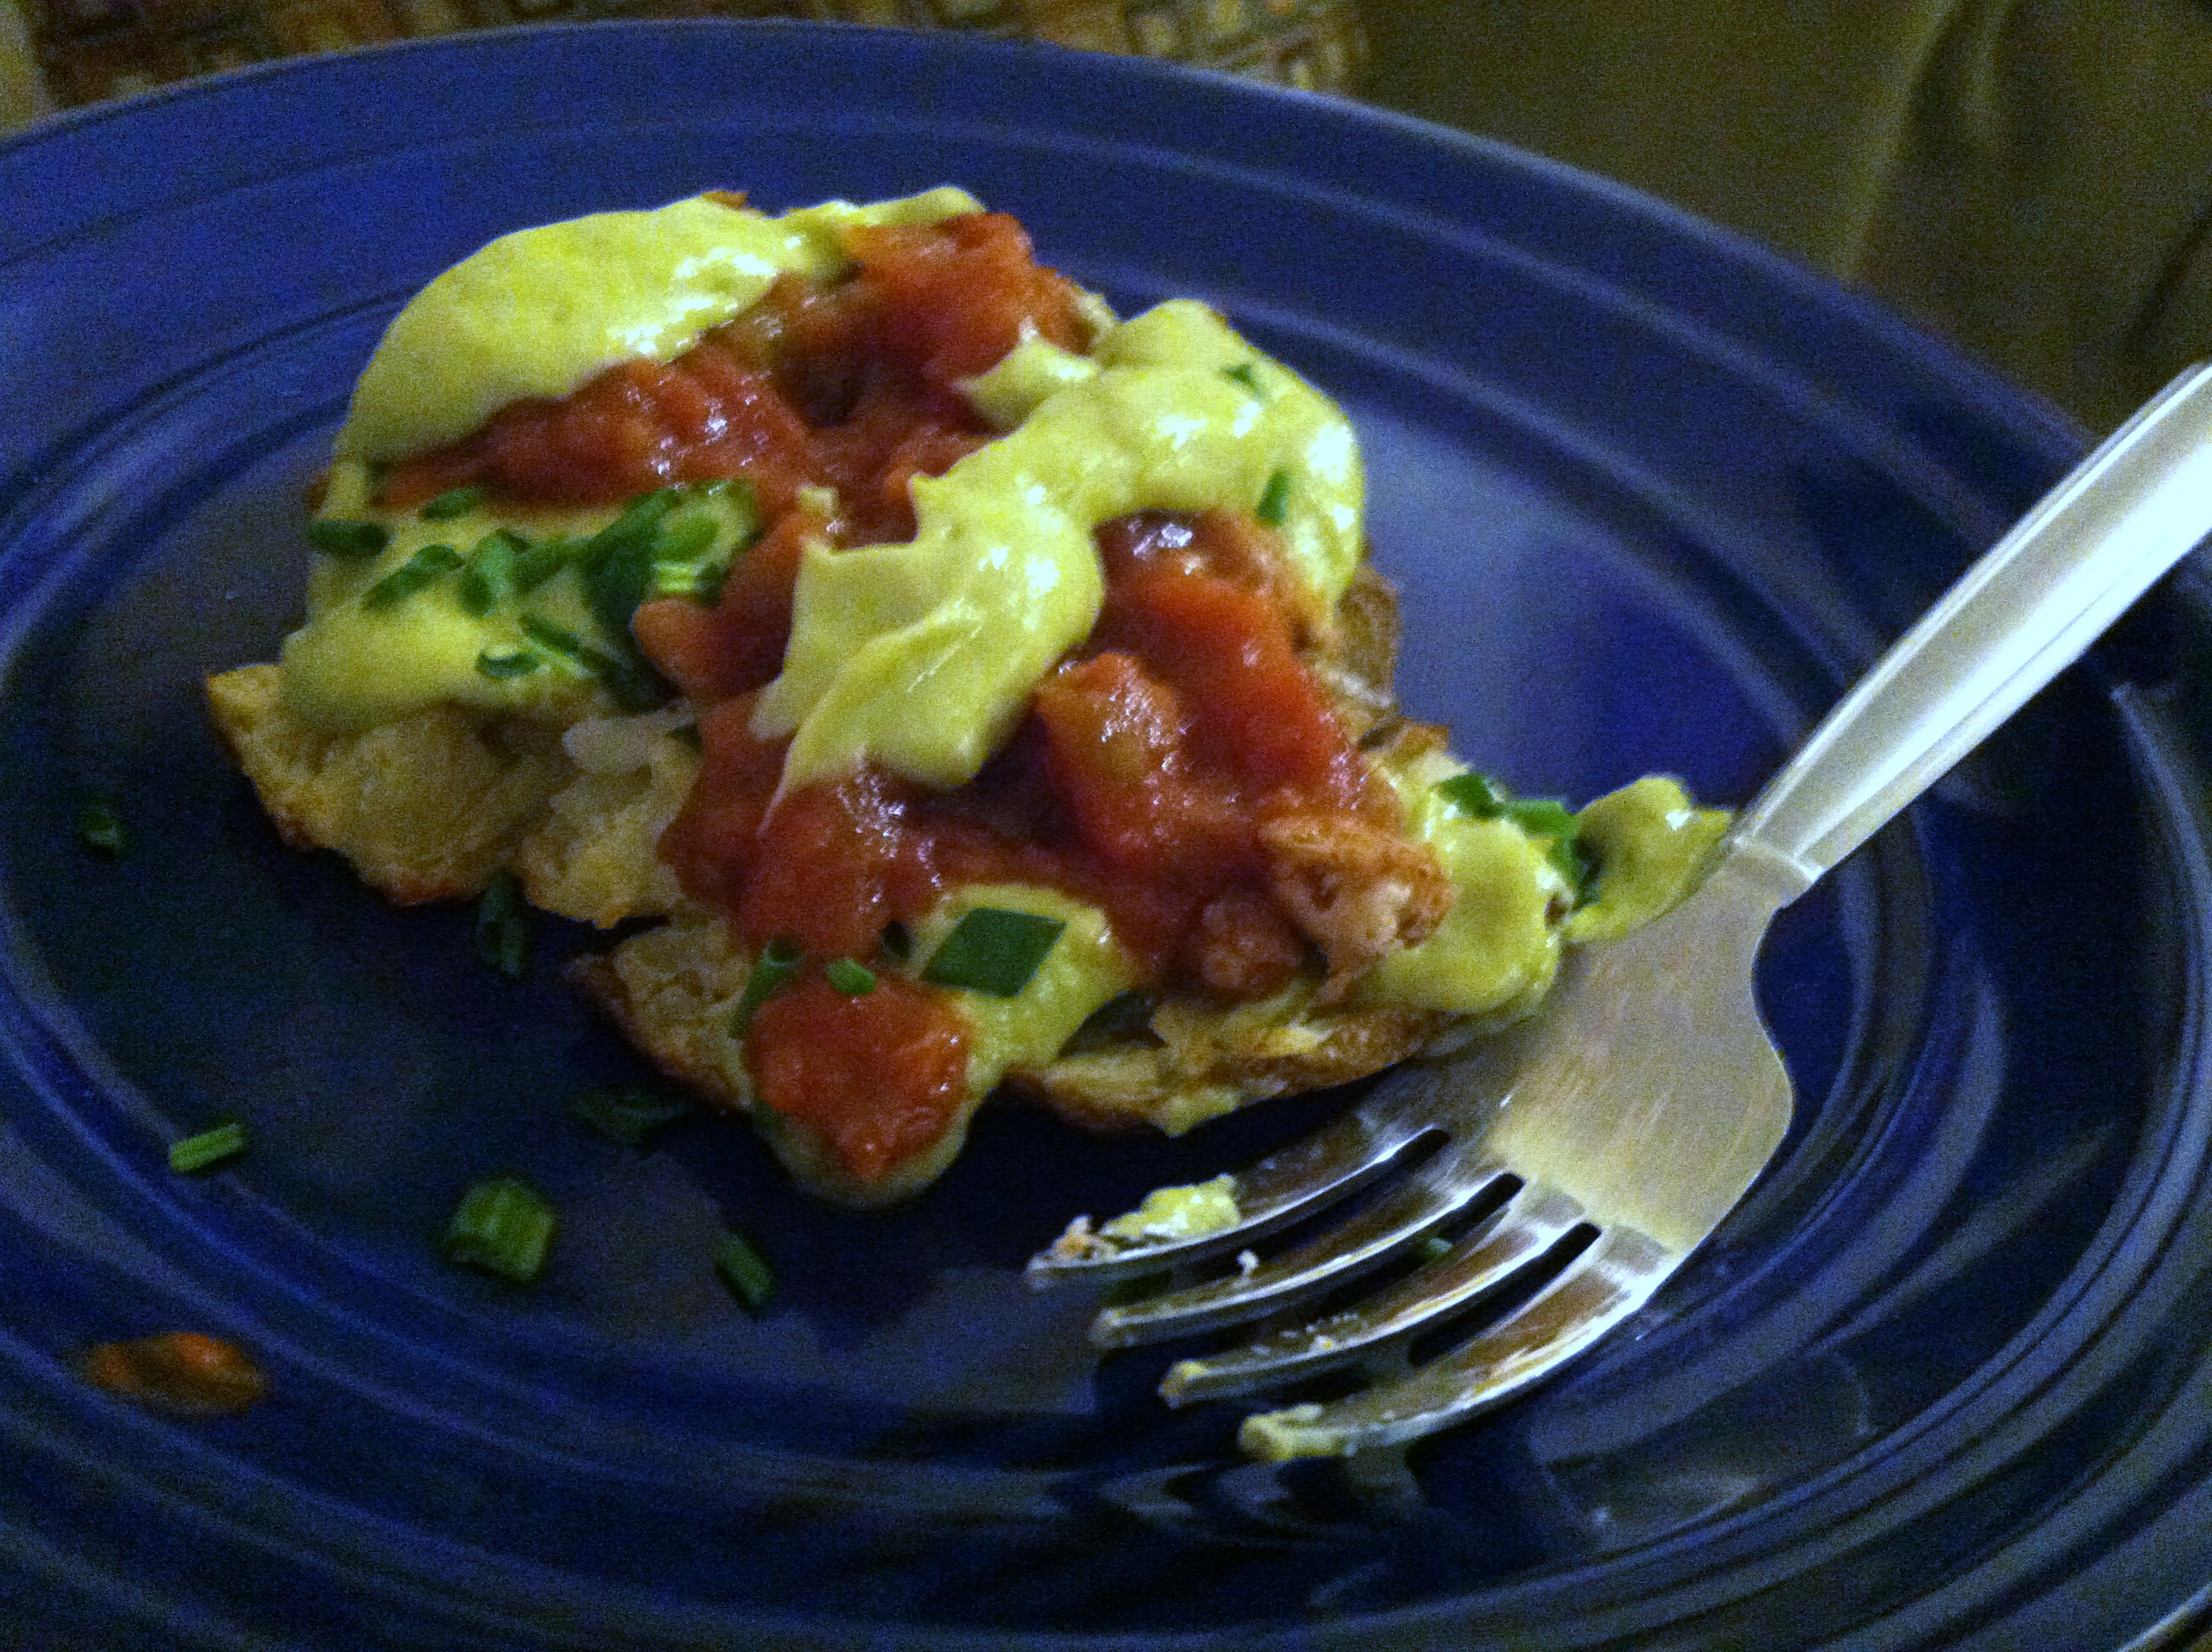
This review is my take on her Crispy Smashed Potatoes with Avocado Garlic Aioli.  It is totally vegan, but you would never know it if you weren’t told. Avocado is a fabulous substitute for many dairy products because of its creamy texture, especially when blended. When combined with salsa, it made a satisfying and healthy meal. You could also top with black beans, grilled onions and mushrooms, or steamed broccoli.

IMG_7862

Ingredients:

  • 4 medium potatoes
  • 1 avocado
  • 2 cloves of garlic
  • 1 tbsp lemon juice
  •  1 tbsp veganaise or plain yogurt
  • 1/2 cup salsa
  • Sea salt
  • Diced garnish: green onion, parsley, etc

IMG_7863

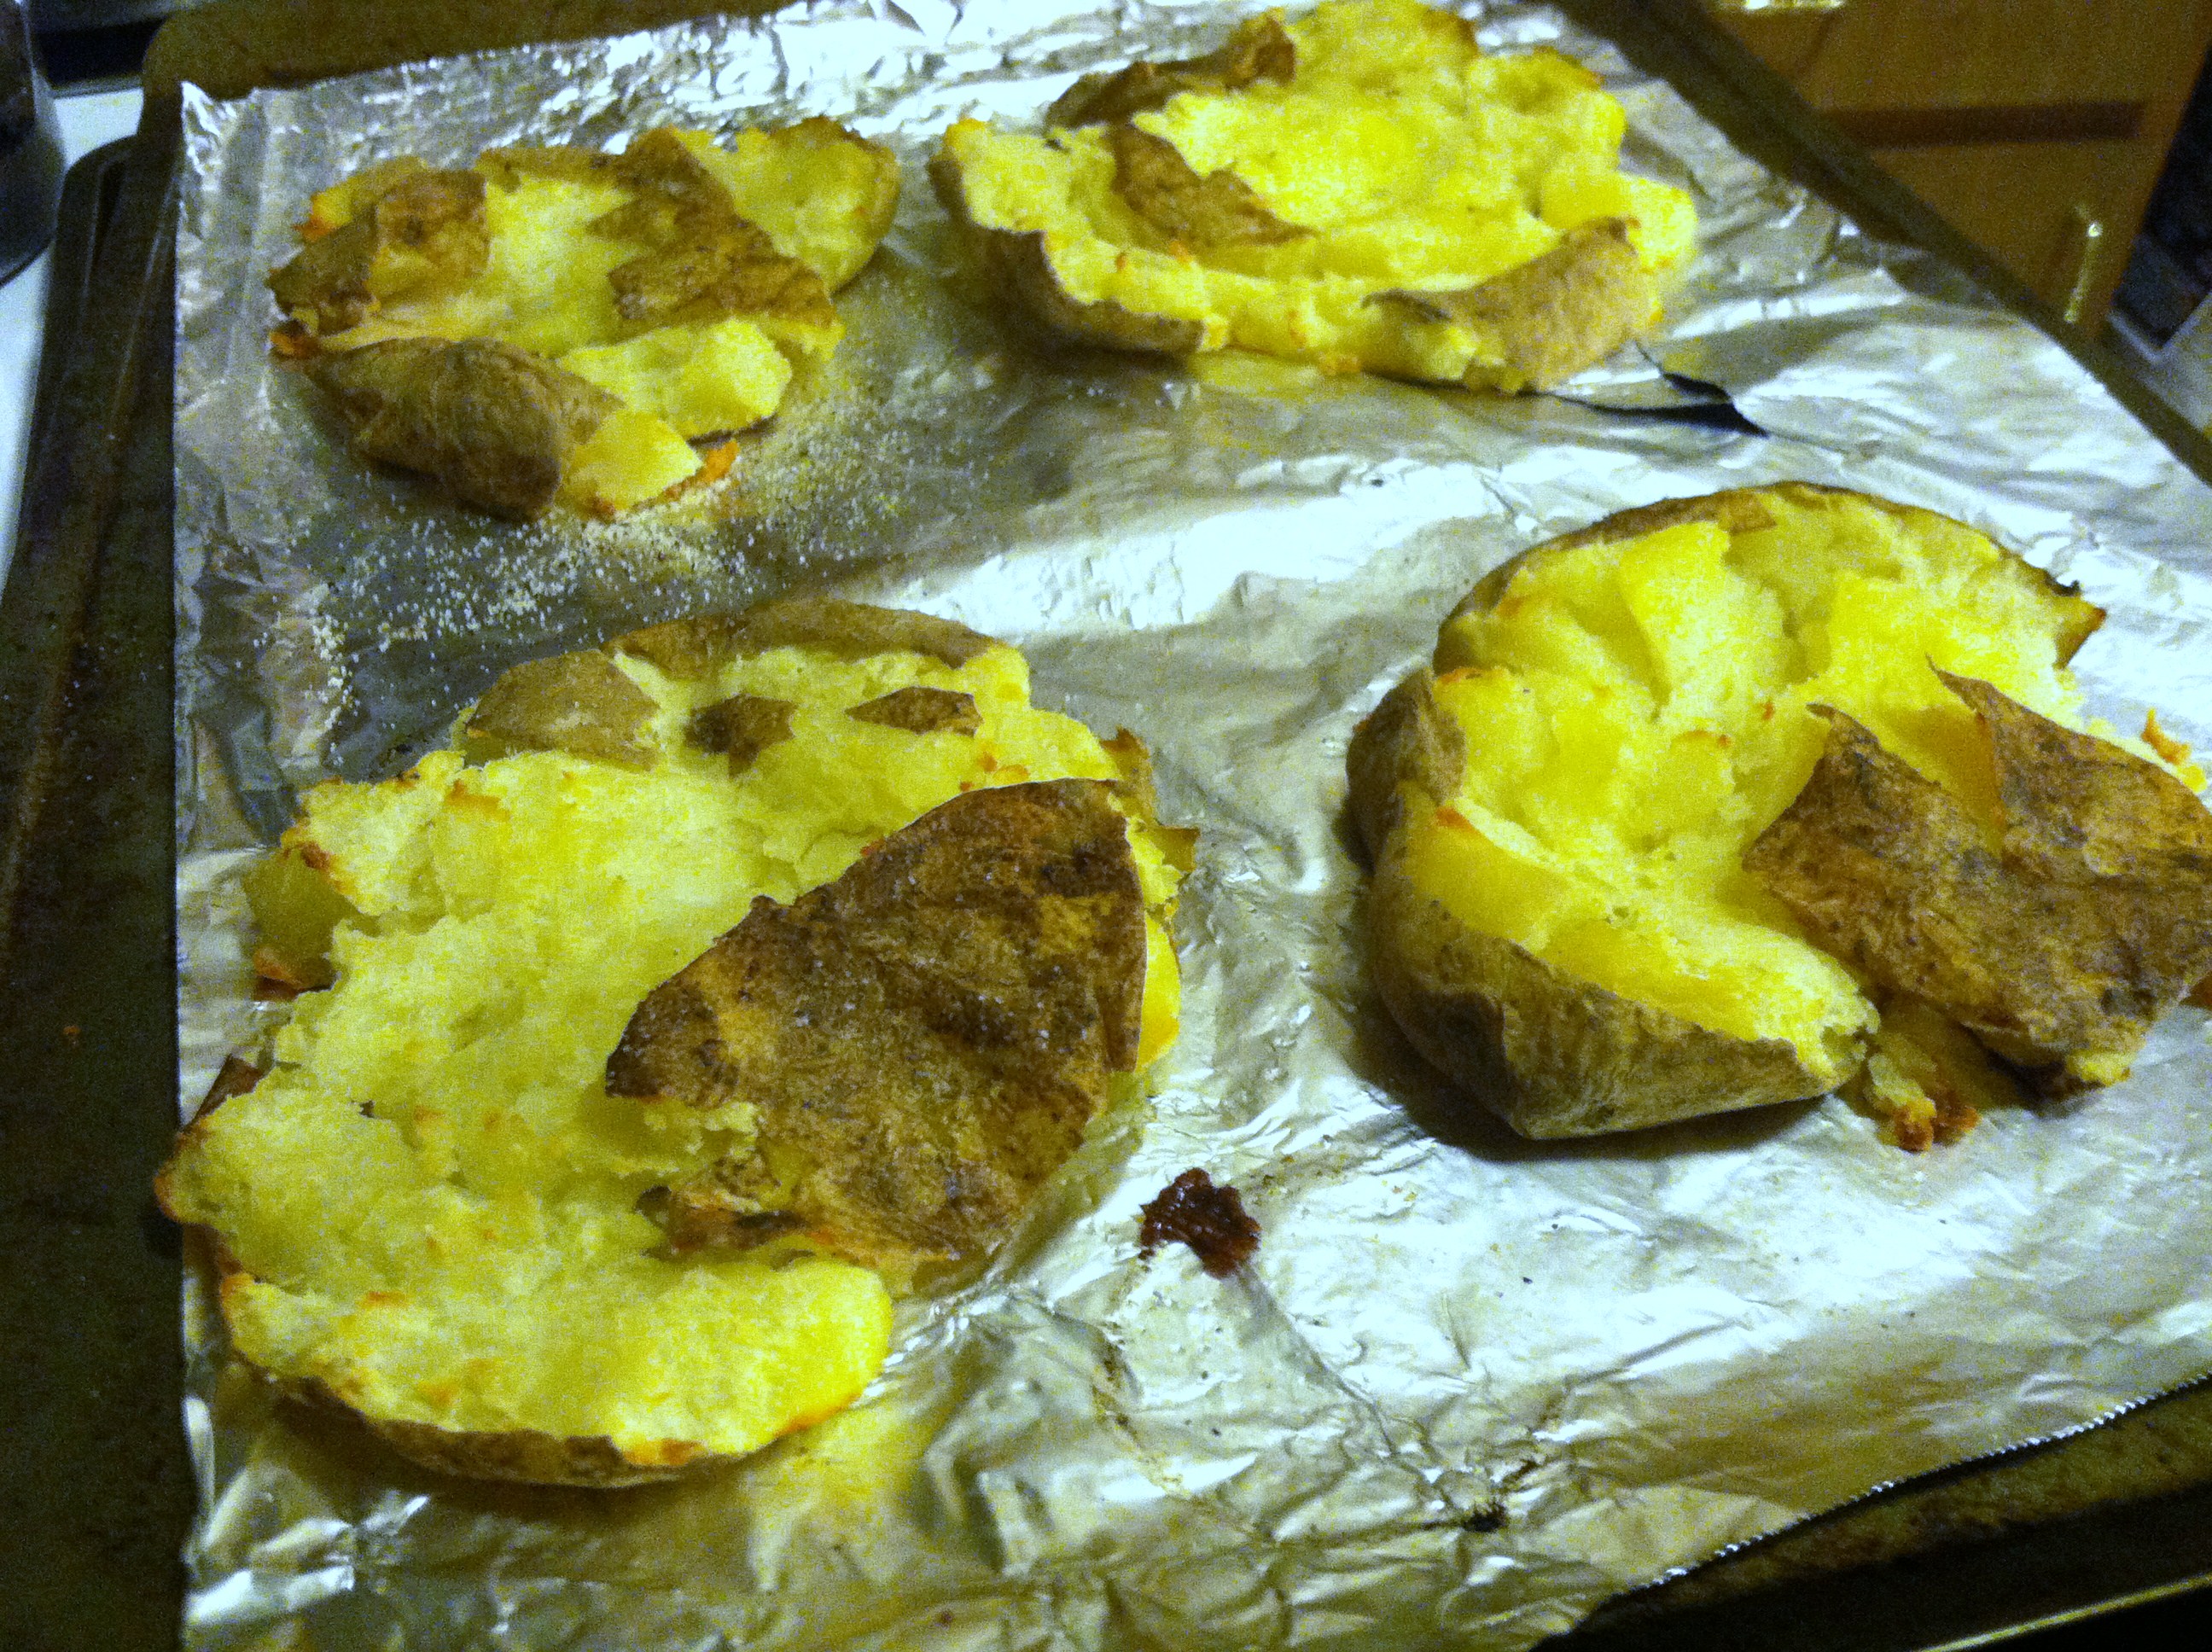
Step 1: Rinse the potatoes and poke a few holes with a fork. Bake at 350 for 25-30 minutes. Take them out and let cool a little, then smash them with a spoon or bottom of a glass.

IMG_7865

Step 2: In a blender, combine the veganaise, peeled and pitted avocado, lemon juice, and a sprinkle of sea salt. Blend well. If it is not smooth enough, add some  warm water, lemon juice, or olive oil to thin.

IMG_7870

Step 3: Pour 2 tbsp salsa and 2 tbsp avocado aioli over top, and sprinkle with garnish.

This combination is absolutely delightful. The avocado aioli is delicious on its own, and could probably be used anywhere aioli can be used. I loved the salsa, and think adding heated beans as well would perfectly round this out. This would also make a great side dish for many other main courses. Even the meat eater declared this a winner!

Power Greens & Beans Salad


If you’re looking to fill up, super-charge your cells, up your fiber intake, and feel AWESOME for around 300 calories a plate, look no further!

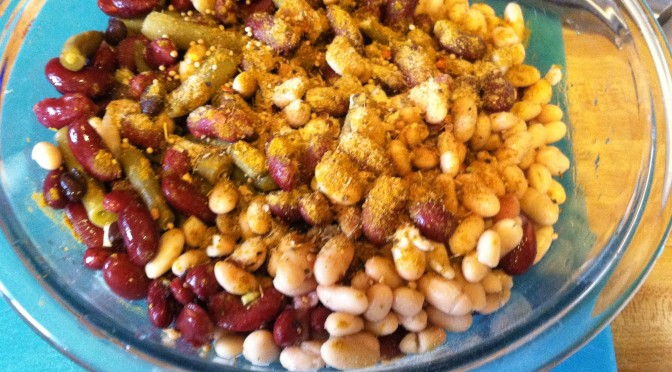
This phenomenal salad uses a strong base of mixed greens (romaine & spinach) combined with the vegan four-bean salad from a previous post, and topped with fresh green onion to create a super heart-healthy, cholesterol-reducing, vitality-restoring super salad!

(Claims not investigated by the FDA. I made all this up so far.)

But seriously folks, this is delicious, and there is so much gorgeous color and fiber here, it might be a challenge to finish the whole plate! And with the vinaigrette from the four bean salad, you don’t even need dressing, which is where a lot of salad calories tend to come from.

So you can feel really super awesome about eating this.

Ingredients:

  • 4-5 romaine leaves, chopped or torn
  • 1 cup fresh spinach
  • 1 cup vegan four bean salad
  • 2 green onions, chopped

IMG_7099

Step 1: Create a giant bed of greens on your plate. The more the merrier!

“Oh no, not more green leafy vegetables!” — Said no one’s internal organs ever.

IMG_7100

Step 2: Smother the greens in the bean salad. Chop the green onions on top and that’s all there is to it. Enjoy your phenomenally healthy and tasty lunch/dinner/whatever.

Optional substitutions: Use any kind of leafy green here, kale would also work, even iceberg if you must. If you don’t like green onion, use any other fresh herbs. You can also add other toppings like raw nuts or seeds, croutons, olives, sliced peppers, etc.


[amd-zlrecipe-recipe:6]

Chicken Nests Three Ways: Super Bowl Snacks brought to you by Tyson


Word on the street is that this super important football game is happening this weekend. News to me. Glad my mom cares as much as I do (read; not at all) since she is in town!

However, Tyson Crispy Chicken Strips is sponsoring a recipe contest, and of course when she is in town, we have to cook together! So this worked out great.

After much brainstorming and asking friends for ideas, we settled on one of the most versatile bases we know: biscuit cups. The base of all these following combinations is the humble buttermilk biscuit. Then they can be topped with all manner of mouth-watering concoctions.

IMG_8050

The top three: chicken-bacon-ranch, Buffalo chicken dip, and chicken-barbeque-tater tots.

IMG_8069

The Buffalo dip can be served on its own, it is so stinking addictive! Seriously people. Spoons.

Chicken Nests

Ingredients:

  • 1 can biscuits
  • 1/2-1 cups filling
  • Sprinkle of cheese

IMG_8038

Buffalo Chicken Dip

Ingredients:

  • 2 Tyson fully cooked chicken breasts
  • Biscuit dough
  • 1/2 c sour cream
  • 1/2 c cream cheese
  • 1/2 c ranch dressing
  • 1/2 c shredded cheddar
  • Hot sauce to taste

IMG_8039

Step 1: In a bowl, mix the sour cream, cream cheese, ranch, and hot sauce. Thaw and chop or shred the chicken breasts, and mix in.

IMG_8042

Step 2: Mix the cheese in well. Use later to fill biscuit cups. Alternatively, you can heat this dip in the microwave or the oven, and serve with chips. Or spoons.

IMG_8044

Step 3: Spread biscuit dough in the bottom of a sprayed muffin or tart tin.  Put about 1 mounded tablespoon into the center. Sprinkle a little cheddar on top.

IMG_8047

Step 4: Bake in a 400 degree oven for 8-11 minutes, until biscuit dough is puffed and slightly browned on top.


Chicken Bacon Ranch

Ingredients:

  • Biscuit dough
  • 1-2 Tyson fully cooked chicken breasts
  • 3-4 pieces bacon
  • 2-3 tablespoons Ranch dressing
  • Shredded cheddar cheese

IMG_8041

Step 1: Chop up or shred the chicken. Spread the biscuit dough in the bottom of a sprayed pan.

IMG_8048

Step 2: Cook and drain the bacon, and crunch it up. On top of the biscuit dough, add 1 tbsp chicken, 1 1/2 tsp ranch, and a sprinkle of bacon. Top with a pinch of cheddar.

IMG_8065

Step 3: Bake in a 400 degree oven for 8-11 minutes.


BBQ Chicken Tater Bites

Ingredients:

  • Biscuit dough
  • 1-2 Tyson fully cooked chicken breasts
  • 2-3 tbsp BBQ sauce
  • Handful of tater tots
  • Sprinkle of shredded cheddar cheese

IMG_8052

Step 1: Spread biscuit dough in the bottom of muffin or tart pans. Chop the chicken and layer 1 tbsp in the dough.

IMG_8053

Step 2: Pour 1 1/2 tsp BBQ sauce on top of the chicken. Plop a tater tot on top, and cover with shredded cheddar cheese.

IMG_8080

Step 3: Bake in a 400 degree oven for 8-11 minutes. If using a muffin tin rather than a tart tin, bake an extra 4-5 minutes.


IMG_8058

These are the muffin-tin sized cups, same recipes but add about three times as much of each filling. The size makes for a great dinner, especially if served with extra sauces on the side. These can also be frozen, and re-heated for lunches and snacks later.

IMG_8060
Muffin sized and tart sized


IMG_8063

These are the hot tarts right from the oven. Cheese is all bubbly, and they all smell amazing.

IMG_8068
Served on a vaguely football-shaped serving tray


IMG_8070 IMG_8071

I can’t even tell you how fantastic these things turn out!!!

IMG_8072

Every one of these flavor combinations is totally delightful.

IMG_8073

They are super delightful, and very customizable. You could top with just about any combination you prefer. Add spinach, or caramelized onions, use other meats or just cheeses.

IMG_8084

The larger muffin sized ones are very filling, with a larger filling-to-dough ratio if that’s what you’re looking for.

IMG_8087

They also make for a very nice presentation.

IMG_8089

Serve with extra dipping sauces. Ranch, BBQ sauce, and hot sauce.

IMG_8093

Add some carrots and celery to your ranch, or make some extra Buffalo Dip on the side as well. Great finger foods, I guarantee these will not last long!

IMG_8094

Diced tomatoes, olives, or green onions can also be a nice topper.


This post is sponsored by Tyson Crispy Chicken Strips and The Daily Meal.

Vegan Four Bean Salad


This dish was cooked up (pun intended) for a work potluck I had. I wanted a dish that didn’t take too much time and effort, since I would put it together the day of, maybe even the night before. And it needed to be something that made a lot, to feed a lot of people, but on a penny budget.

In comes my old best friends, beans, to the rescue! Beans are delightful, cheap, and filling. They come in endless variety too, so when you put several kinds together you get a healthy, hearty, and also pretty dish.

This is a very easily customizable adaptation of your typical “three-bean” salad, in that I simply added an extra type of beans. Here I used canned, but you can slash the cost even further by starting with dried beans, and cooking them in a crock pot on low overnight to rehydrate. Then drain and refrigerate until needed.

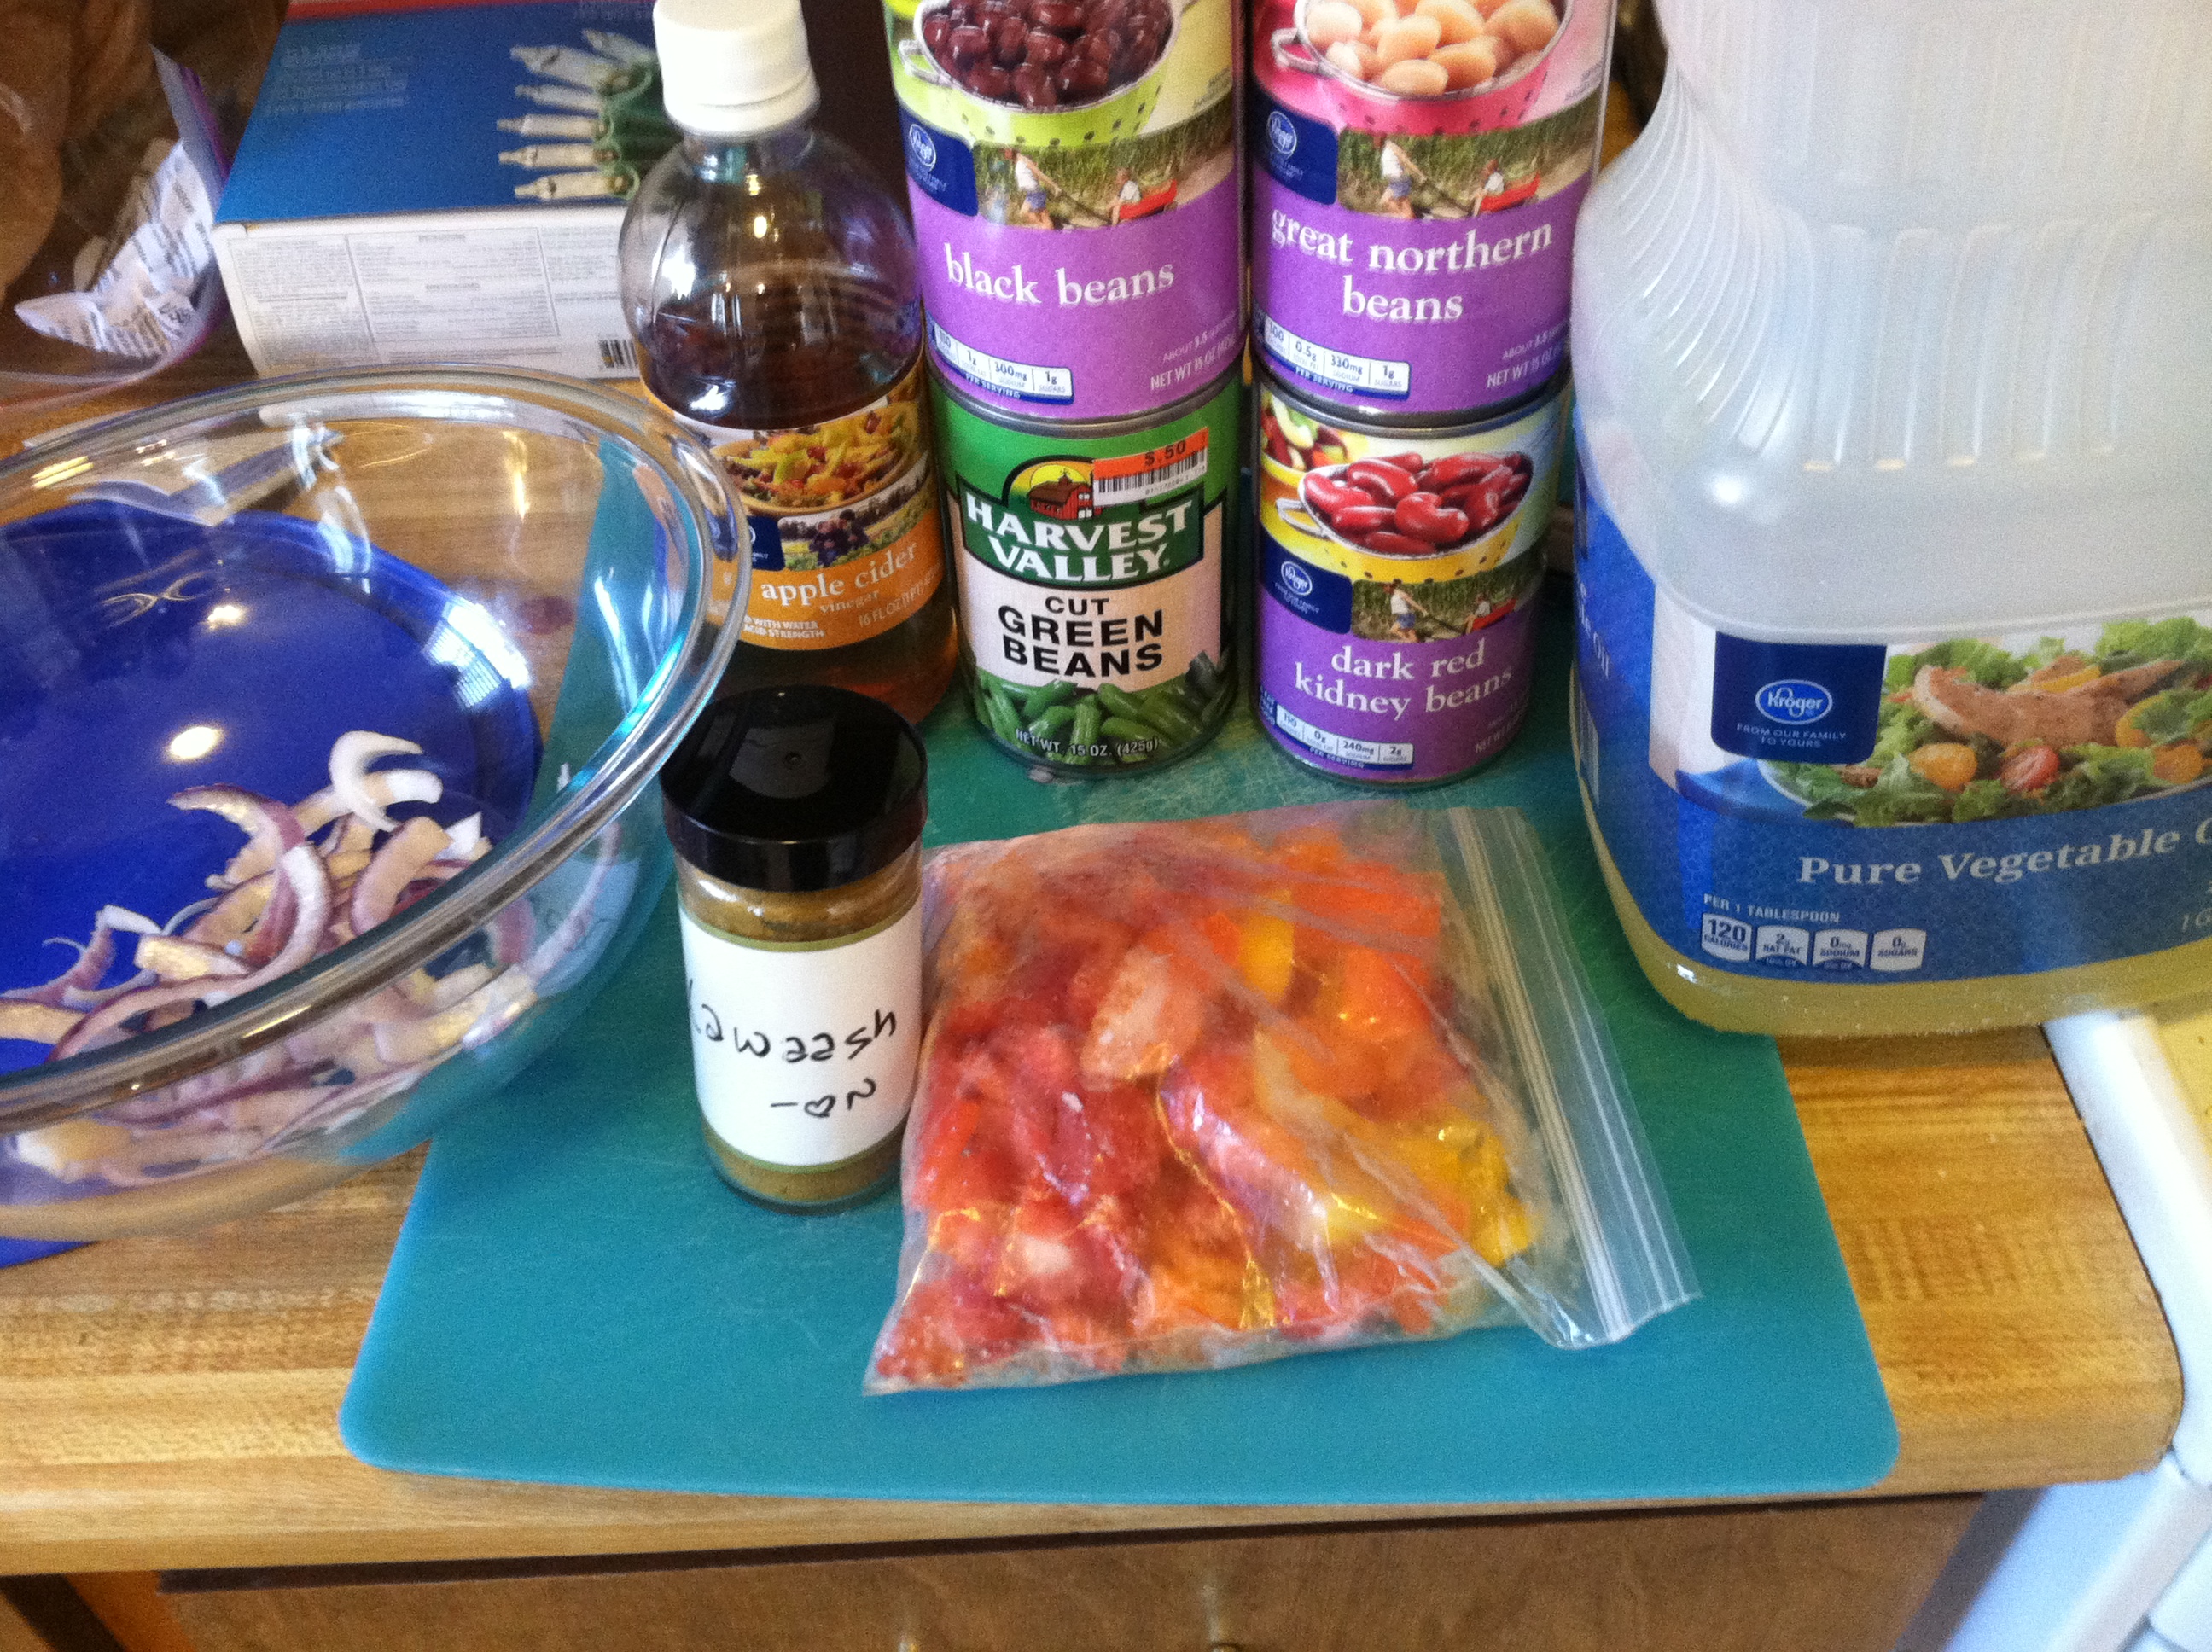
Ingredients:

IMG_6948

Step 1: Open all the cans, put the beans in a colander and rinse them several times with cold water. This helps remove some of the excess sodium and any preservatives that might have been in the canned juices. Mix in a large bowl with the peppers and onion.

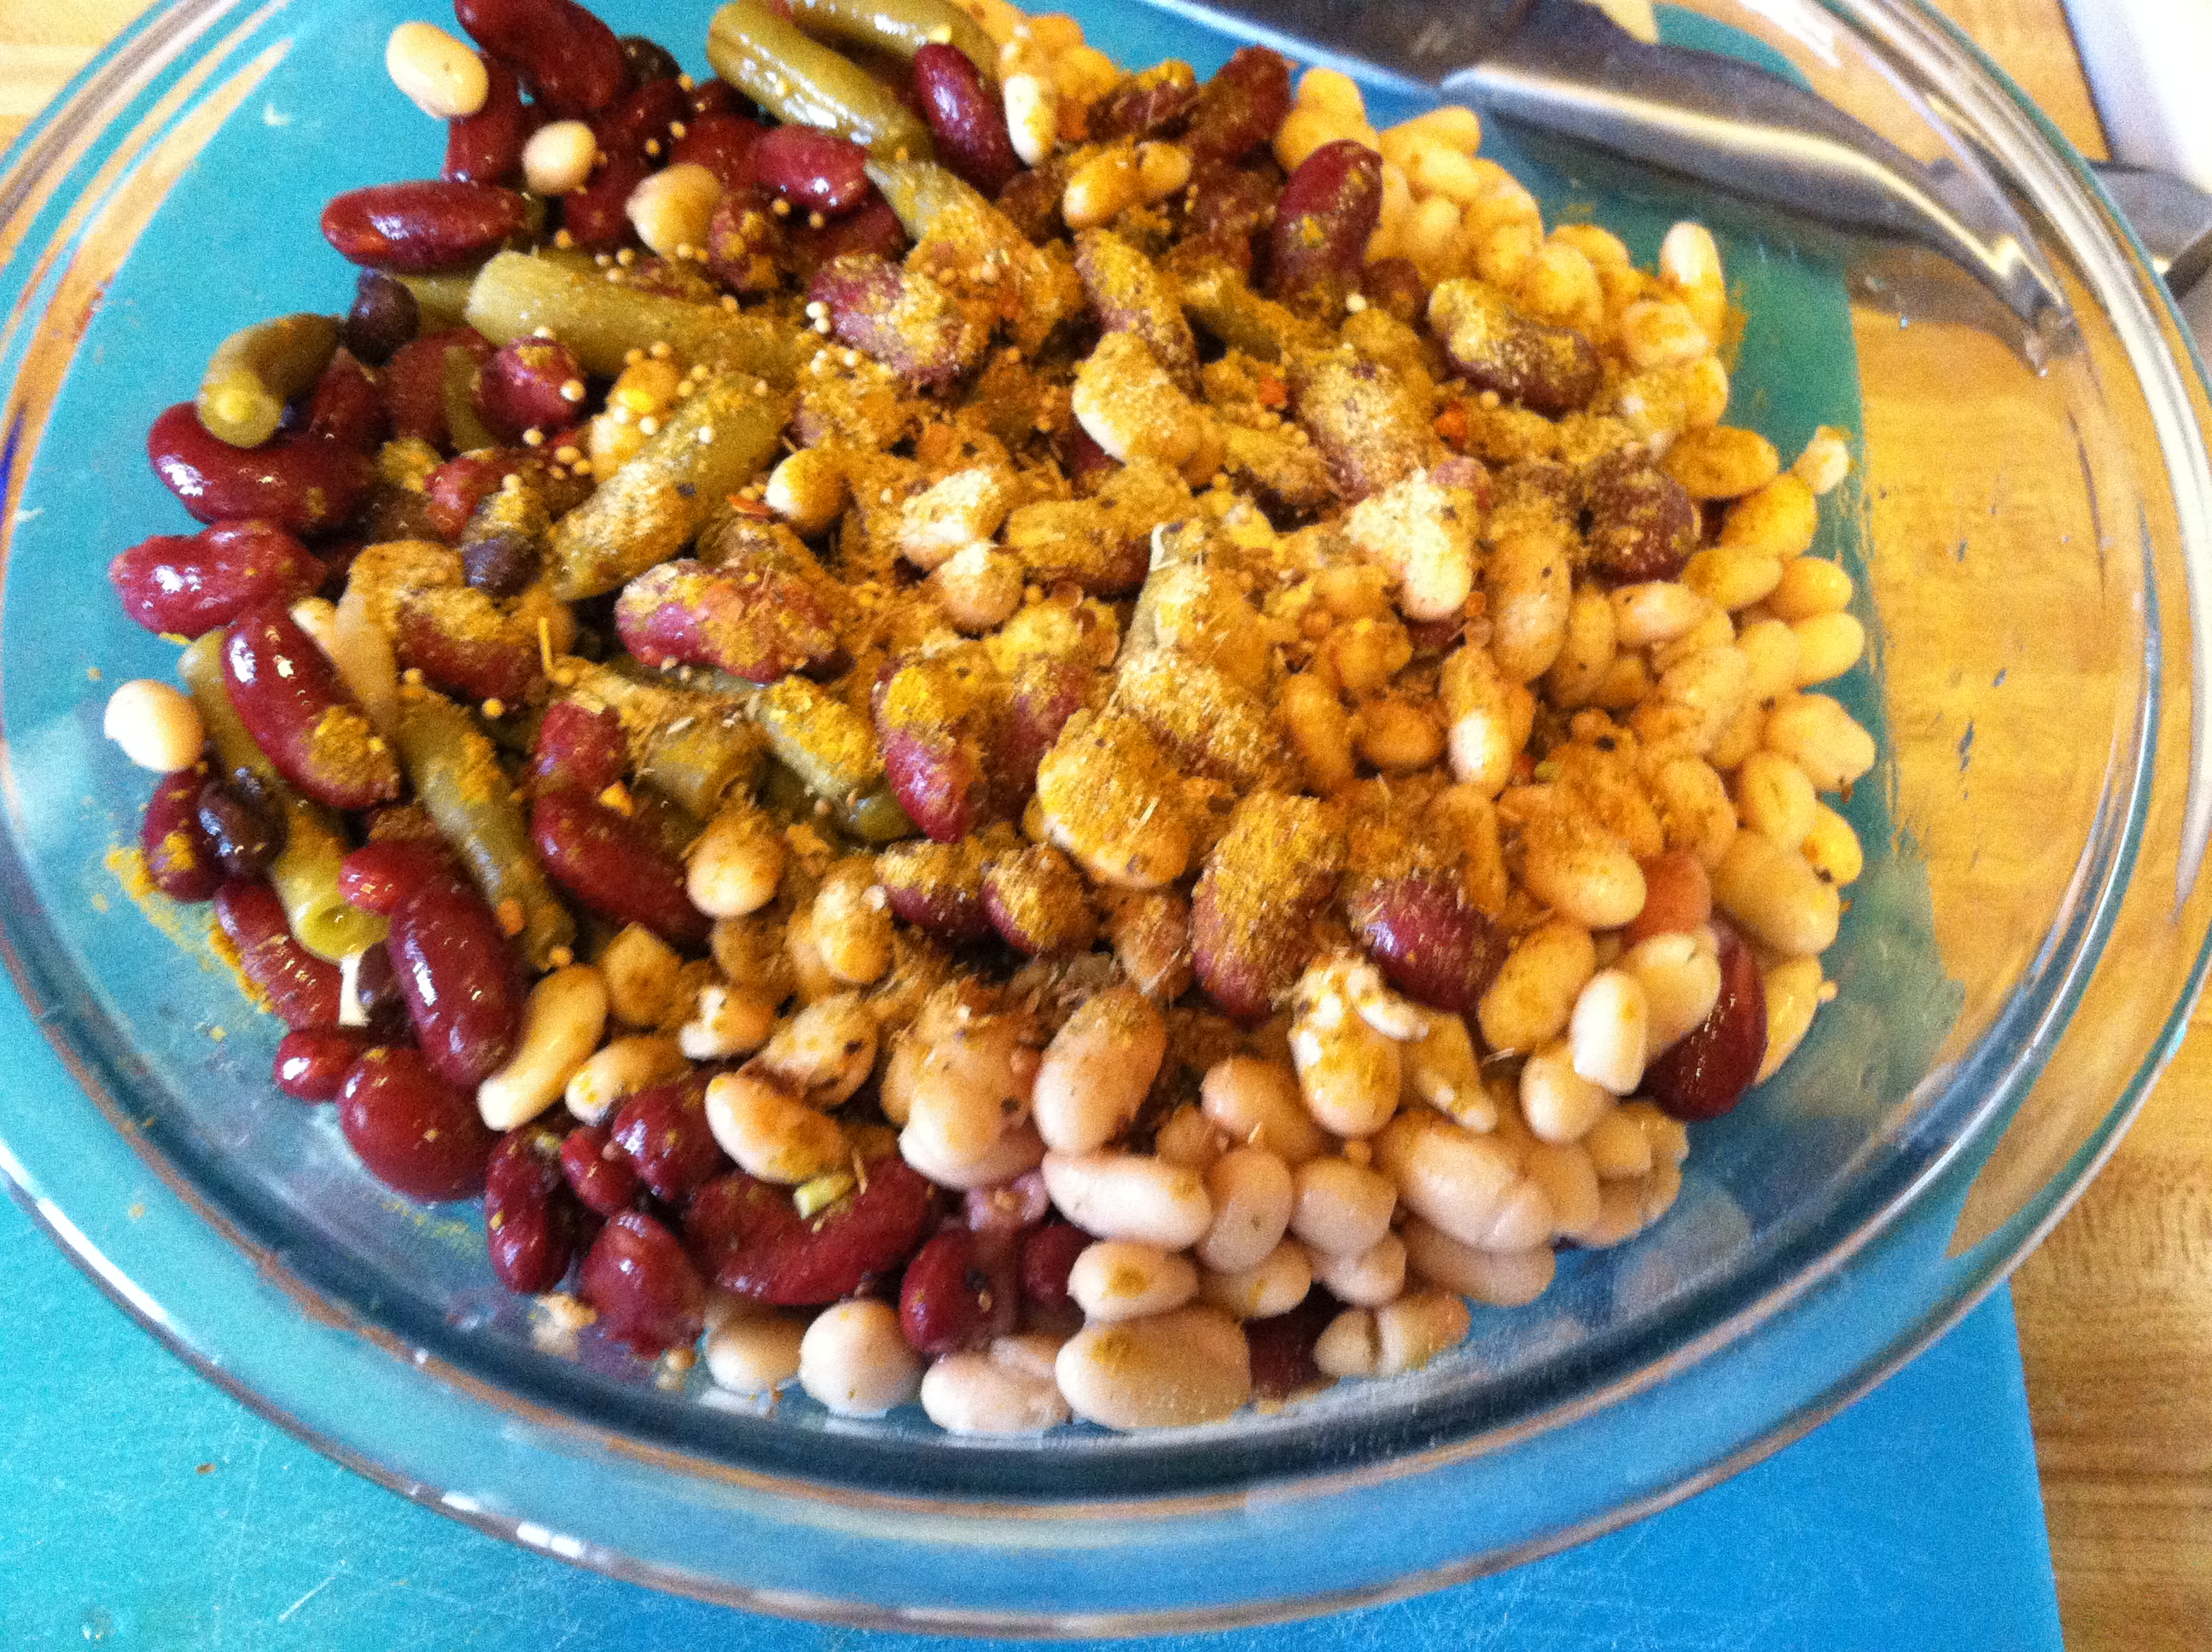
IMG_6949

Step 2: Combine the vinegar and oil, and pour over the mixture. Add the spices, and mix everything up.


This post contains links to Amazon Affiliate Products. When you purchase items using these links, I make a small commission to keep this blog going, without affecting the price you pay. Thank you!

Walmart Grocery To Go – Part 2


This is part two of my experience with the Walmart Grocery To Go service.

This second order was in anticipation of a birthday party. My boyfriend got lucky, our birthdays are exactly one day apart. No excuse for forgetting my birthday, ever.

So we were both at home in our respective states for the holidays, meaning we did not get to celebrate our birthdays together. We decided when we got back we would throw a joint party for all our friends to come hang out and tell stories of their holidays too. This would be the first time we all saw each other in about a month.

I had placed the order a few days ahead of time, and set the delivery for between 6-8PM on Thursday. We had dinner, watched a movie. It was 6:30… 7:30… 8… 8:30… 9. I called the customer service line to figure out what was going on. The representative was refreshingly helpful and kind, he really was awesome. If only all customer service was like this.

However, what he found out was that the location I had ordered from was running four hours behind, and no one could contact the driver of the delivery truck, though my order was apparently already loaded onto the truck.

My order might not be delivered until after 1am… do I still want it? Ummm… no! I’m not staying up way past midnight when I have to wake up the next day at 5:30AM for work.

So I thought he cancelled it, yet I still got a call from someone around 11, who left me a voicemail telling me the same thing, my order will be delivered around 1am, do I still want it?

No.

However, there were no delivery times available the next day, which was the planned day of the party. I could go pick up the order at the store after noon, did I want to do that?

No, thank you.

The whole point of delivery, is that it is delivered. I don’t have to drive a half hour and go into the store to pick it up then load it into my car, drive home, and unload it all.

Needless to say, I was frustrated.

However, three of the people we invited had other things happening that weekend anyways, so we moved the party date to the following weekend. Good news for Walmart I guess.

So I rescheduled the delivery. And as a bonus for having messed up, they increased my budget a little and gave me free delivery again. Something is better than nothing I suppose. Now the delivery was set for the following Thursday night, same time, 6-8PM.

Thankfully, this one showed up on time, right around 6:45.

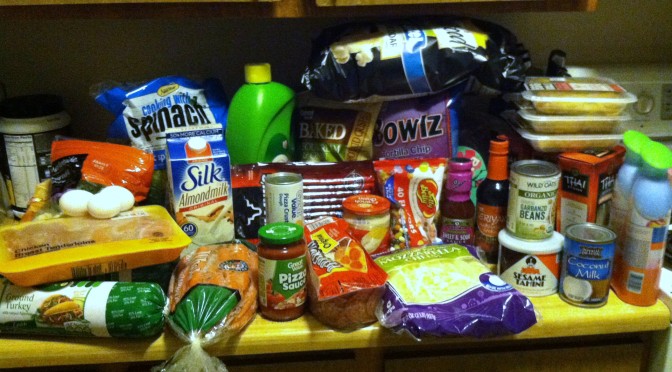
IMG_7746

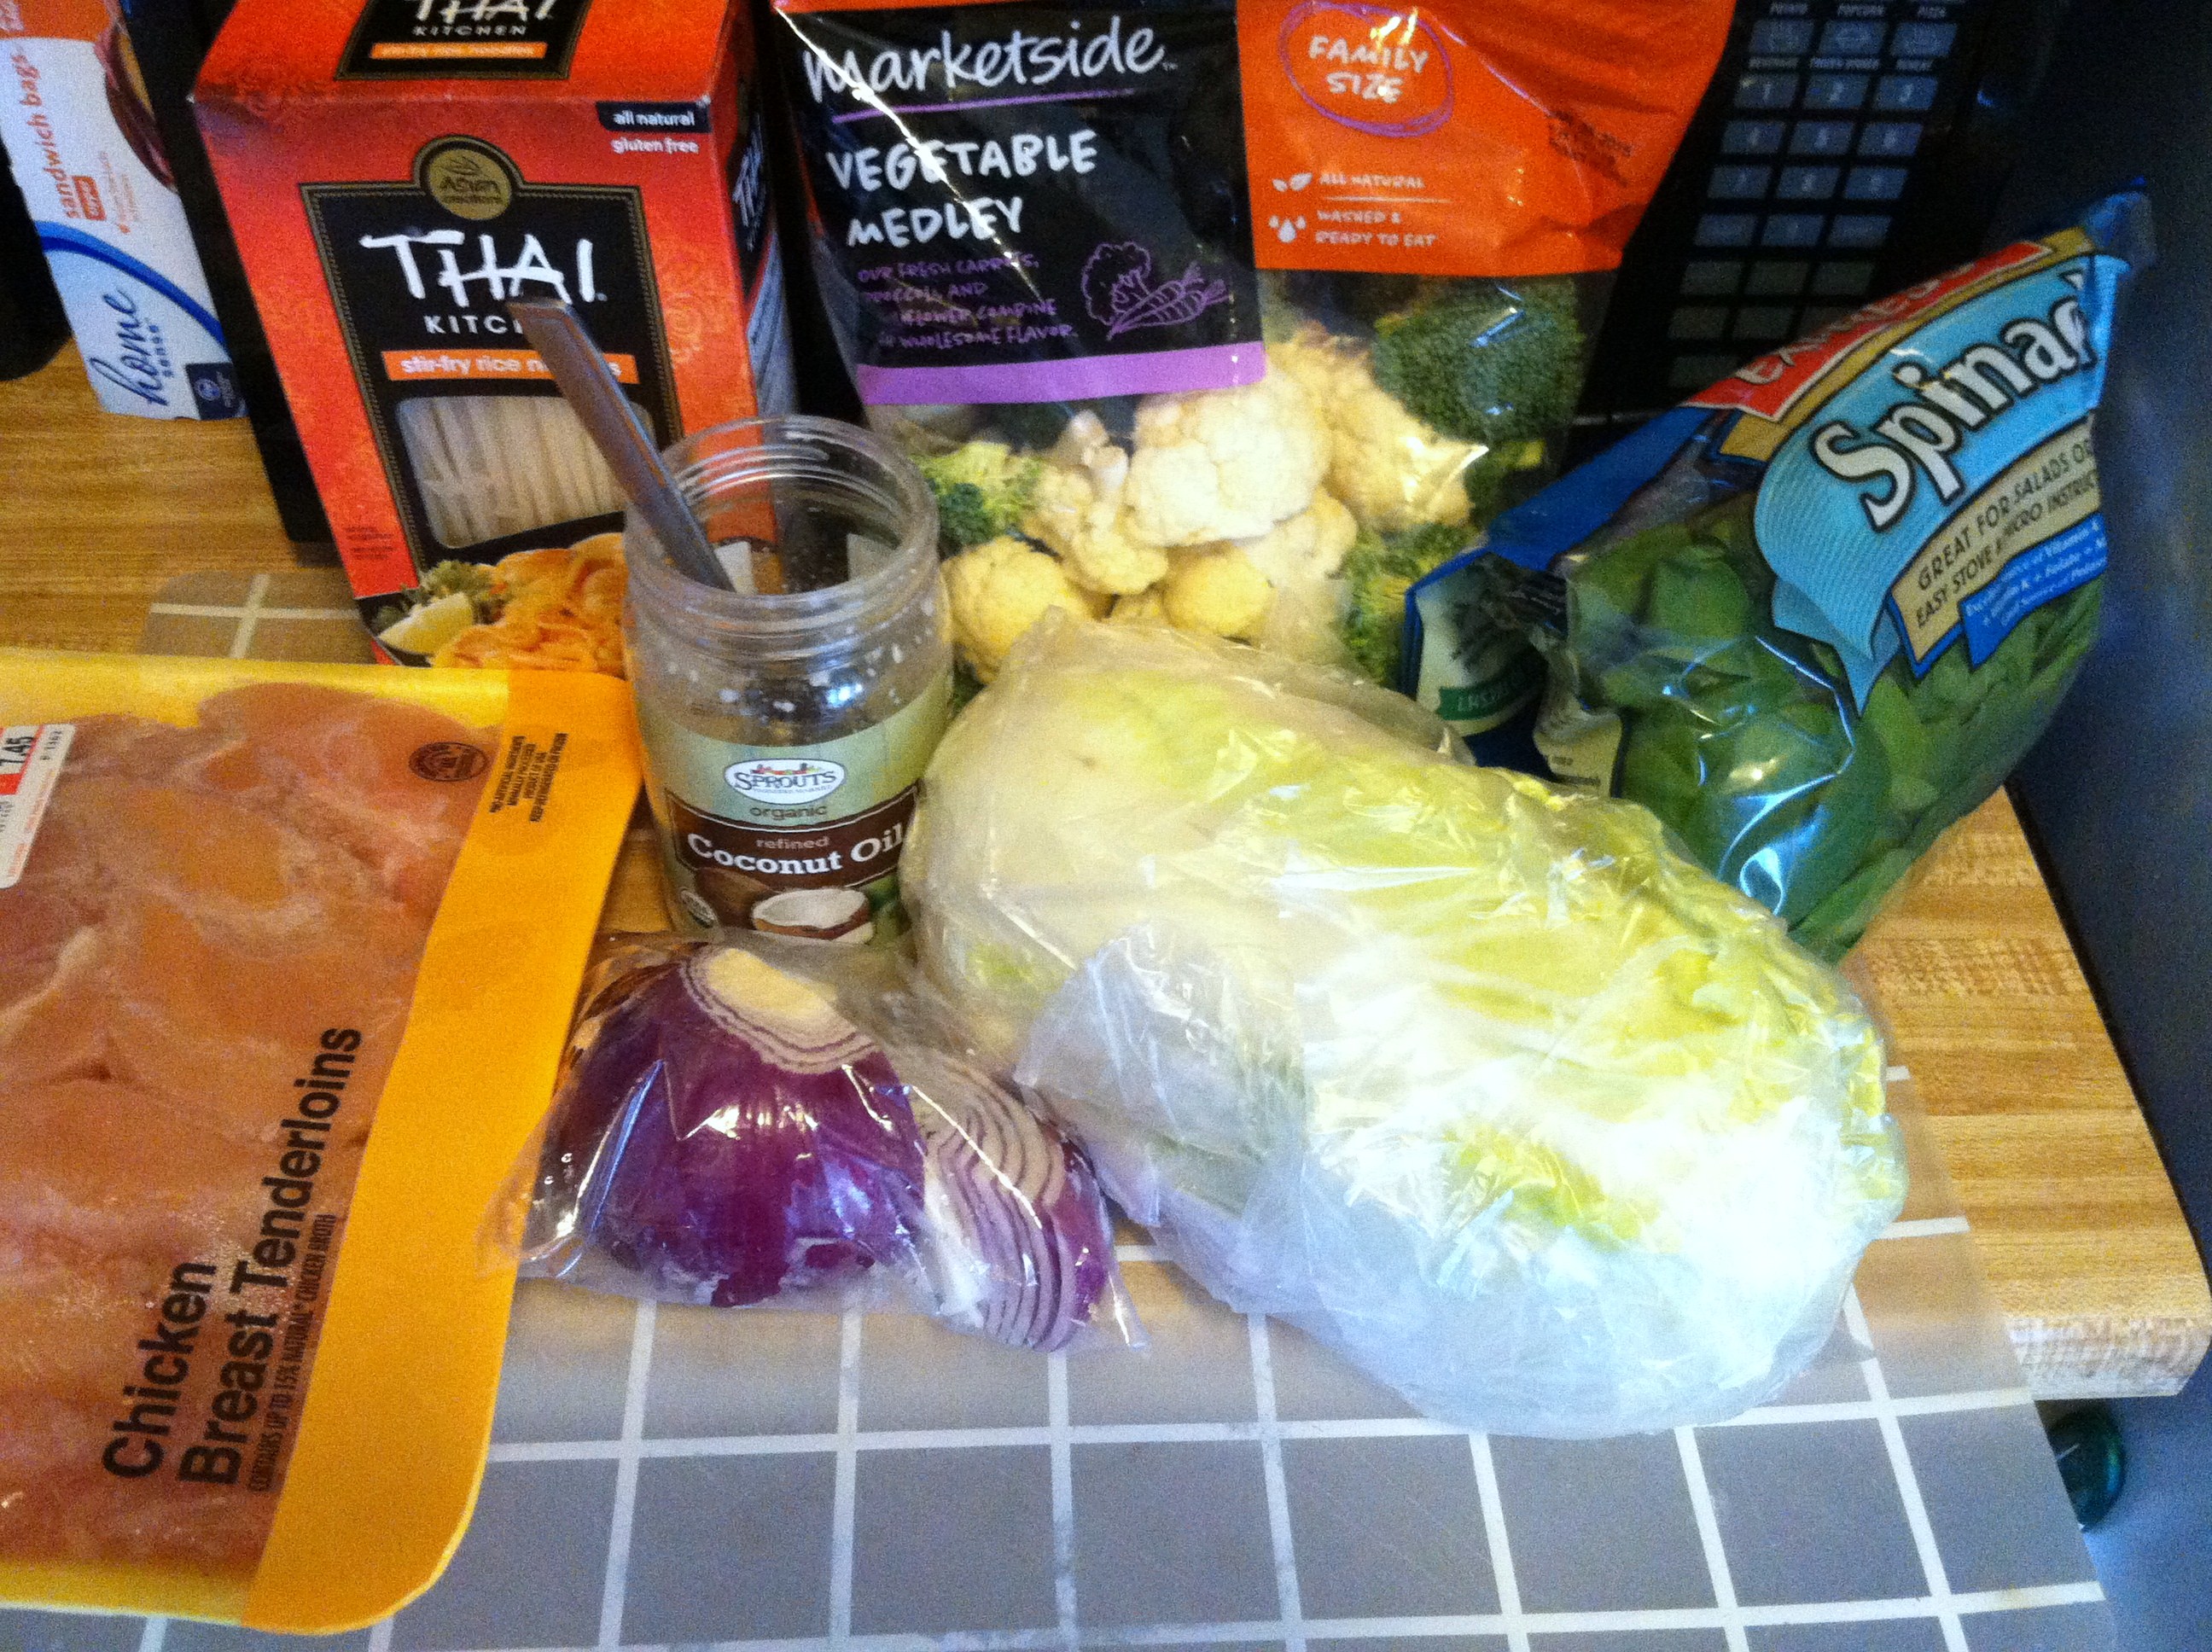
I had decided to go with an Asian theme for dinner. I stocked up on some stir-fry noodles, teriyaki sauce, fresh veggies and chicken, sweet & sour sauce, and egg rolls. I already have some chop sticks I bought forever ago, so I busted those out too.

There was one item out of stock (the bok choi for stir fry) and a substitution of Lays brand dip for the Walmart Great Value brand. That wasn’t a problem, because the substituted brand was actually more expensive, but they do not charge you the difference.

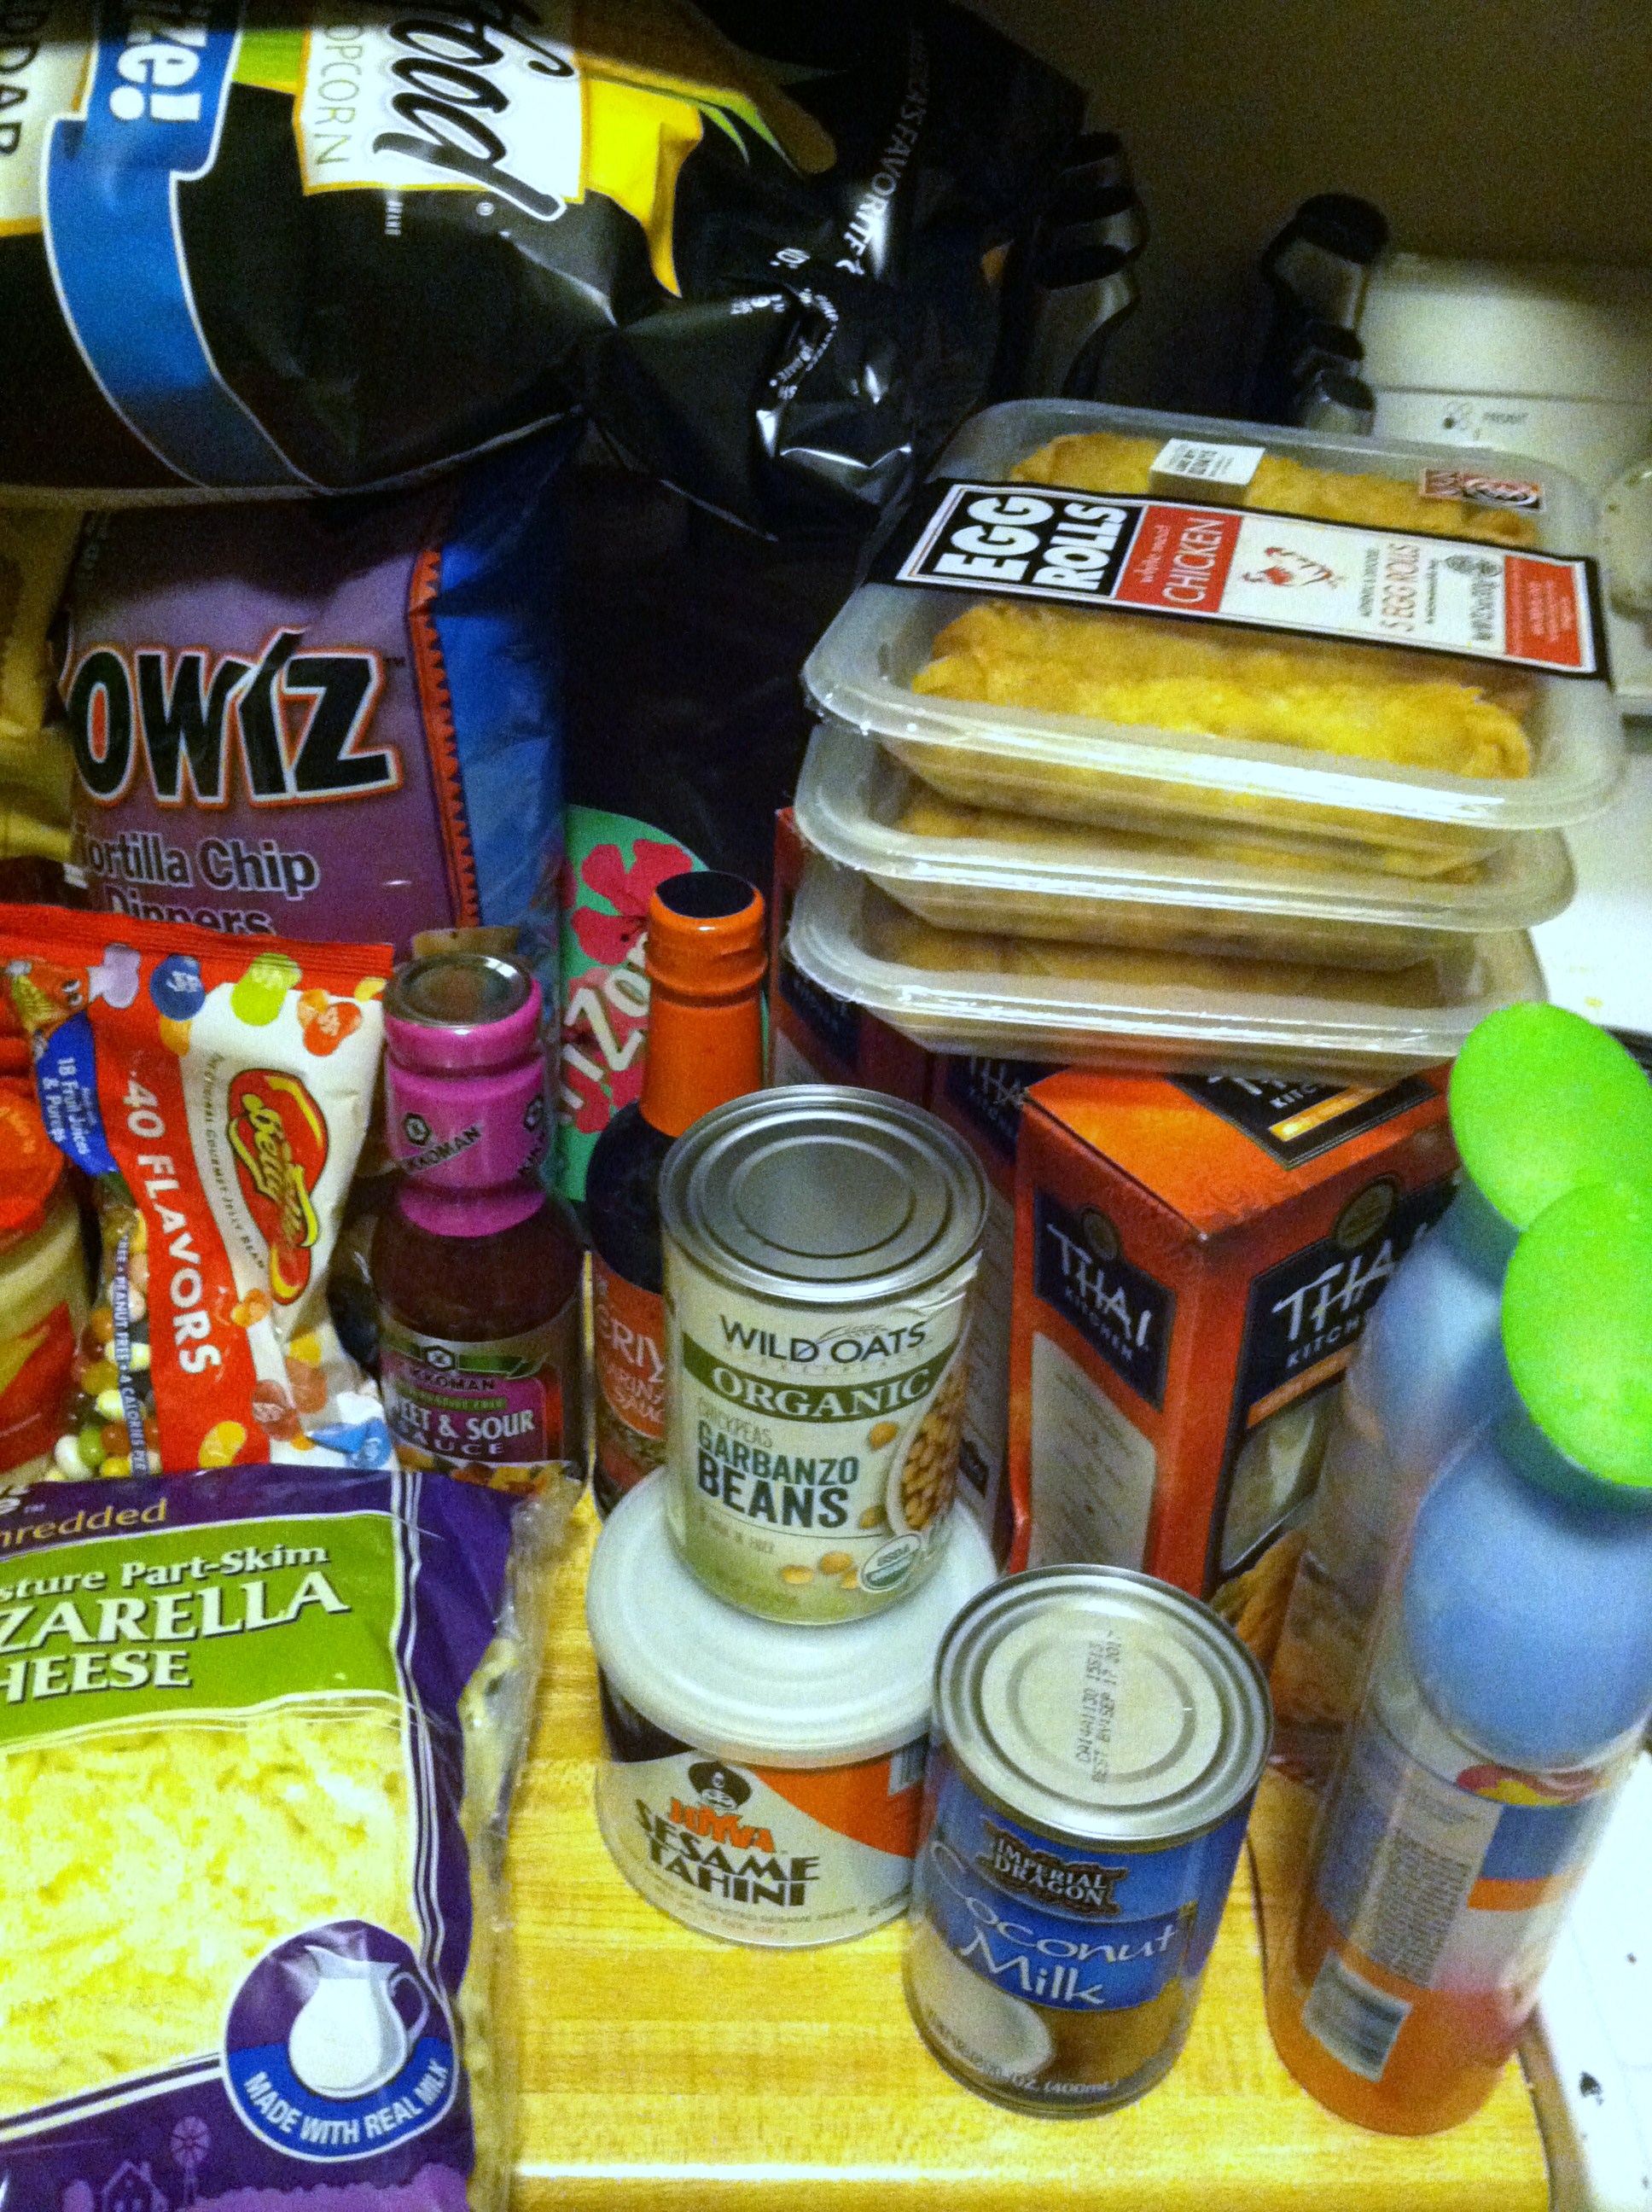
IMG_7750

Then for the “party” portion after dinner, I got several types of chips and French onion dip. A few cans of chickpeas and a can of tahini so that I can make my own hummus. Several party size bags of white cheddar popcorn (pretty sure the “white” part is crack. Cause for real, I can eat an entire bag in a day), and jelly beans.

IMG_7749

In terms of the rest of the party experience, I also decided to get some “Island Fresh” Febreze so my house smells pretty, as well as Suave clinical strength deodorant, so I smell pretty too! And bonus for those readers over 21, beer is an option on Walmart Grocery. Count me in for a 24-pack of the 16 oz cans of Budweiser. For after the party, I got a gigantic bottle of lemon scented Cascade, to make dish clean-up easy breezy.

On to the cooking!

Chicken Teriyaki Stir Fry

IMG_7773

Ingredients:

  • 2 boxes Thai stir fry noodles
  • 2 cups shredded Napa cabbage
  • 1 cup julienned bell peppers
  • 2 cups broccoli/cauliflower
  • 1 cup shredded spinach
  • 1/2 red onion, sliced
  • 1 small bottle teriyaki sauce (or make your own)
  • 3-4 pounds chicken breast strips
  • 2 tbsp. cornstarch or flour to thicken sauce
  • Sriracha or hot sauce, to taste
  • 4 tbsp coconut oil

IMG_7760

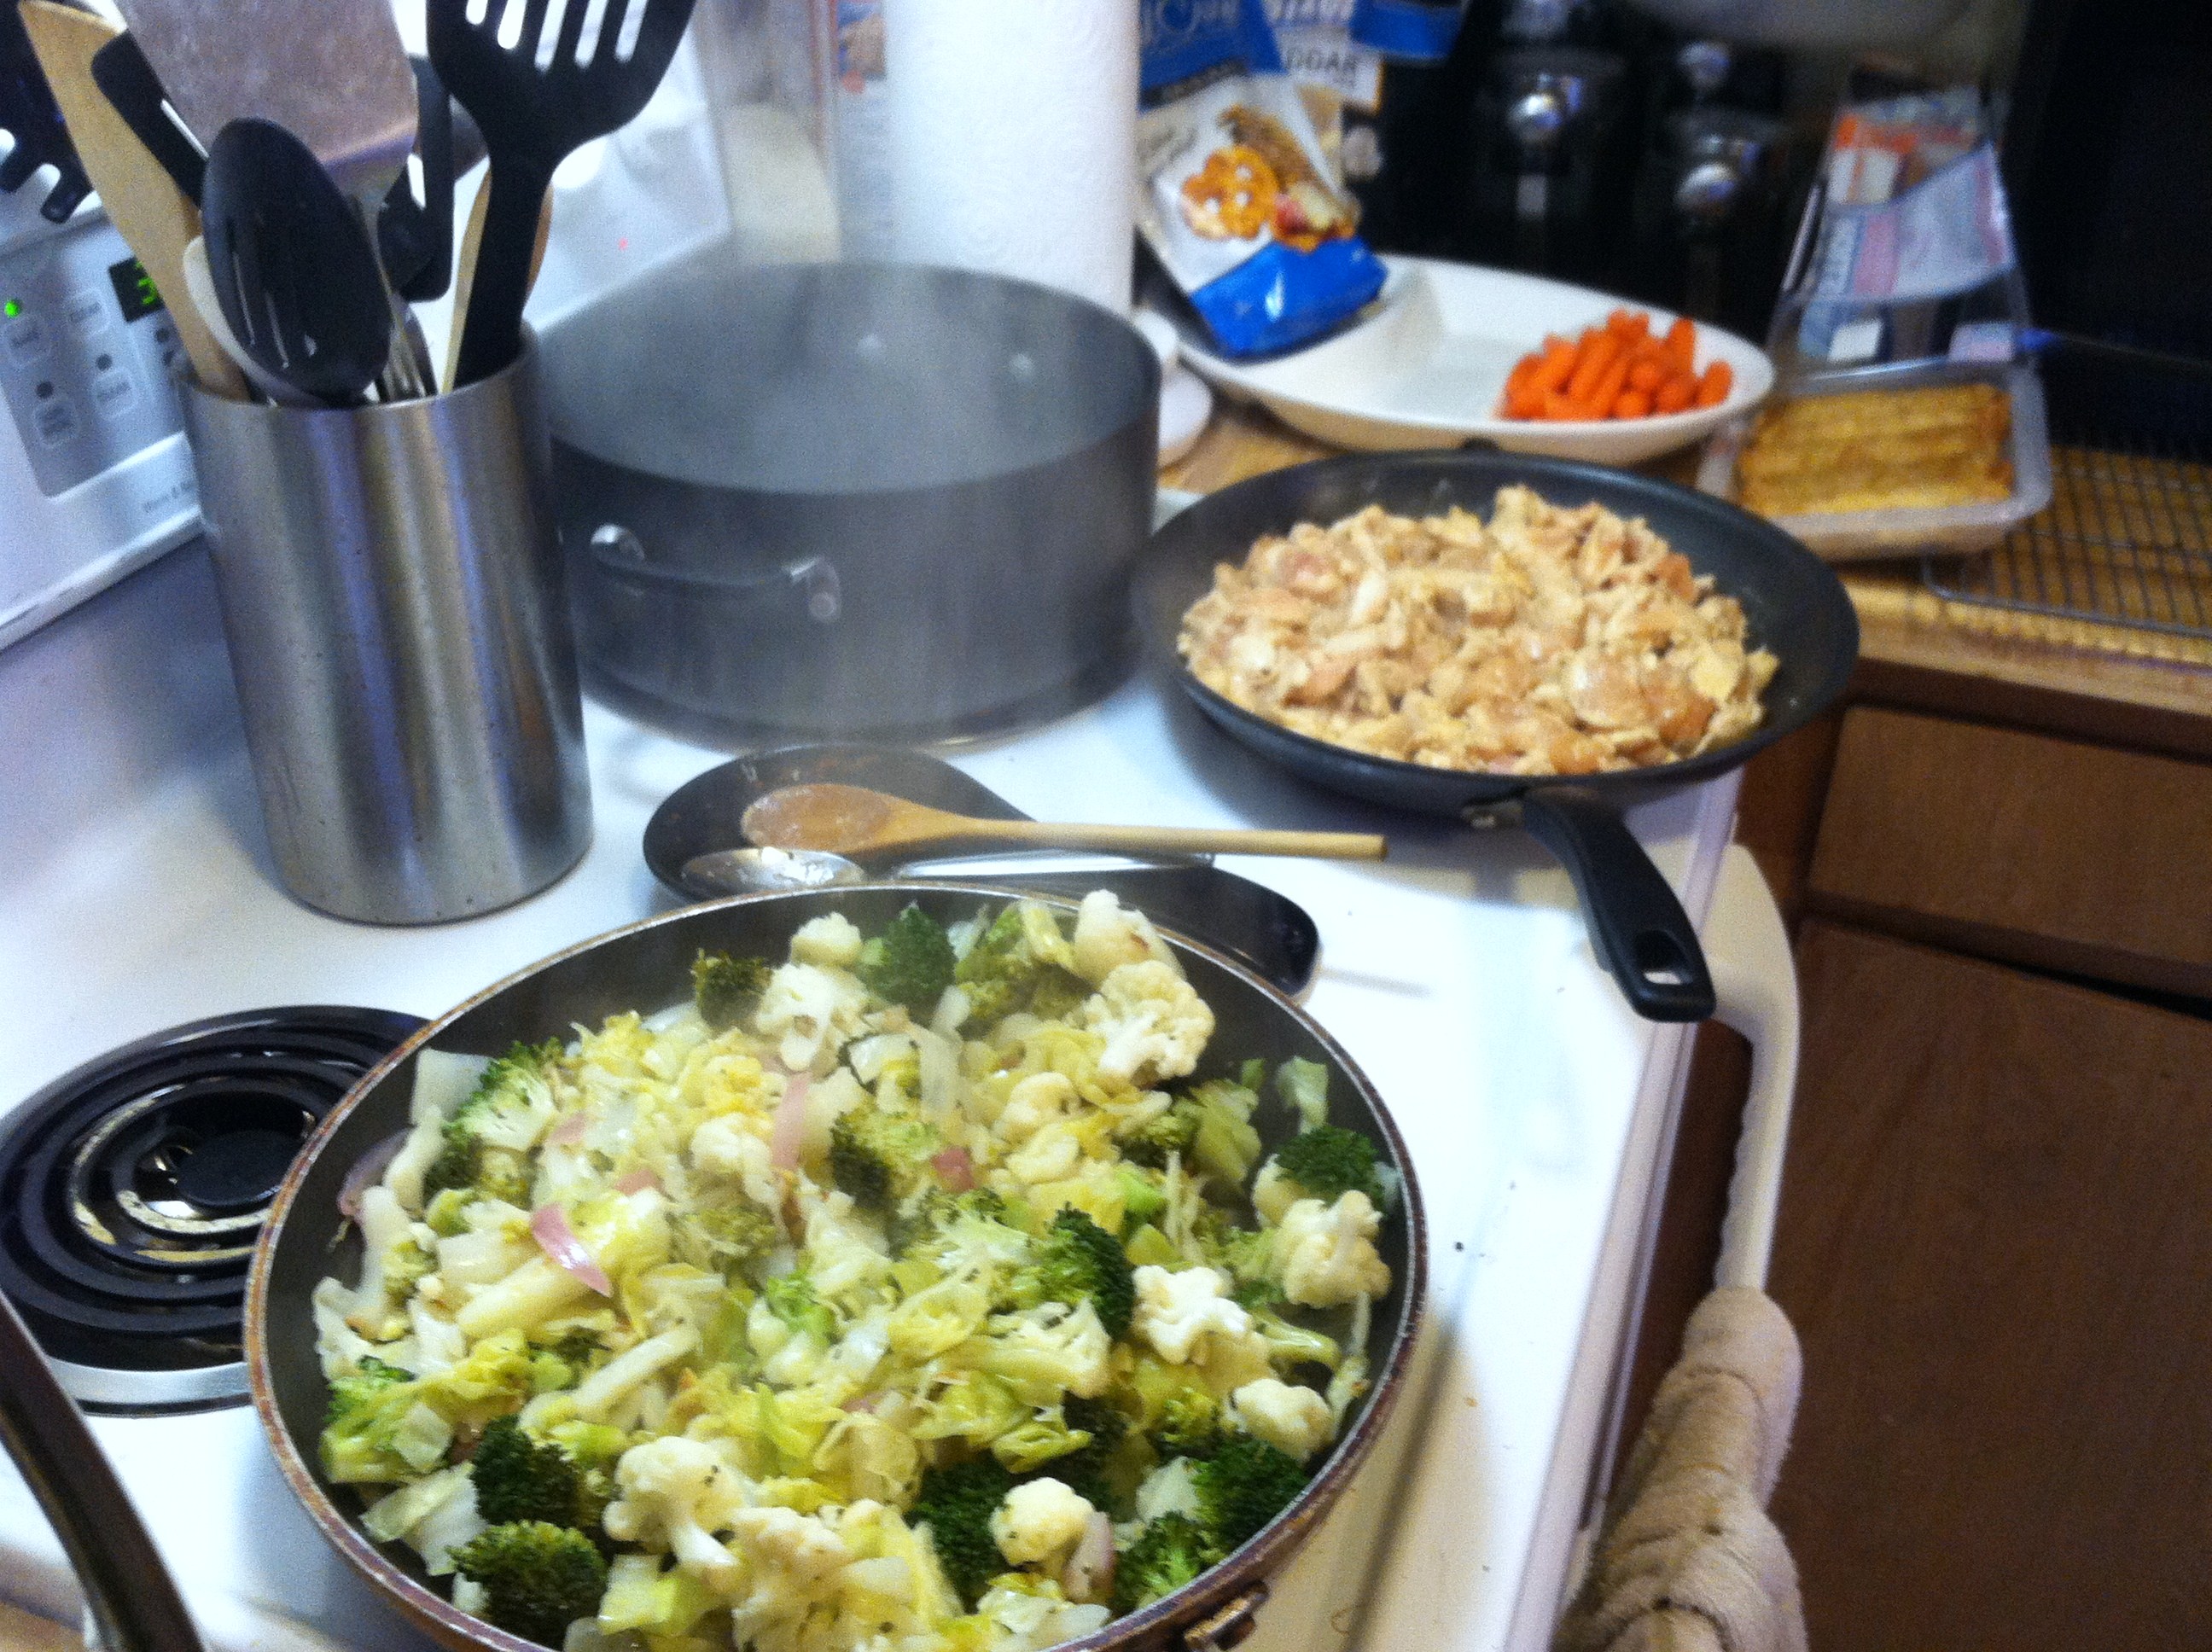
Step 1: Bring a pot of water to a boil, and boil your noodles 7-9 minutes. In a large frying pan or wok, heat the coconut oil. Add the peppers, broccoli, and/or cauliflower and cook 5-6 minutes, covered. Then add the spinach, cabbage, and any spices/hot sauce. Cook another few minutes, until all veggies are soft.

IMG_7762

Step 2: Either in a separate pan, or remove the veggies and keep warm, cook the chicken strips 8-10 minutes both sides, until no longer pink in the center. Pour on the terikayi sauce, heat to simmering. Add the cornstarch and whisk to combine. Cook until sauce thickens. Combine with veggies.

Step 3: Strain the noodles, and add to the pan. Mix everything well, and heat through.

IMG_7765

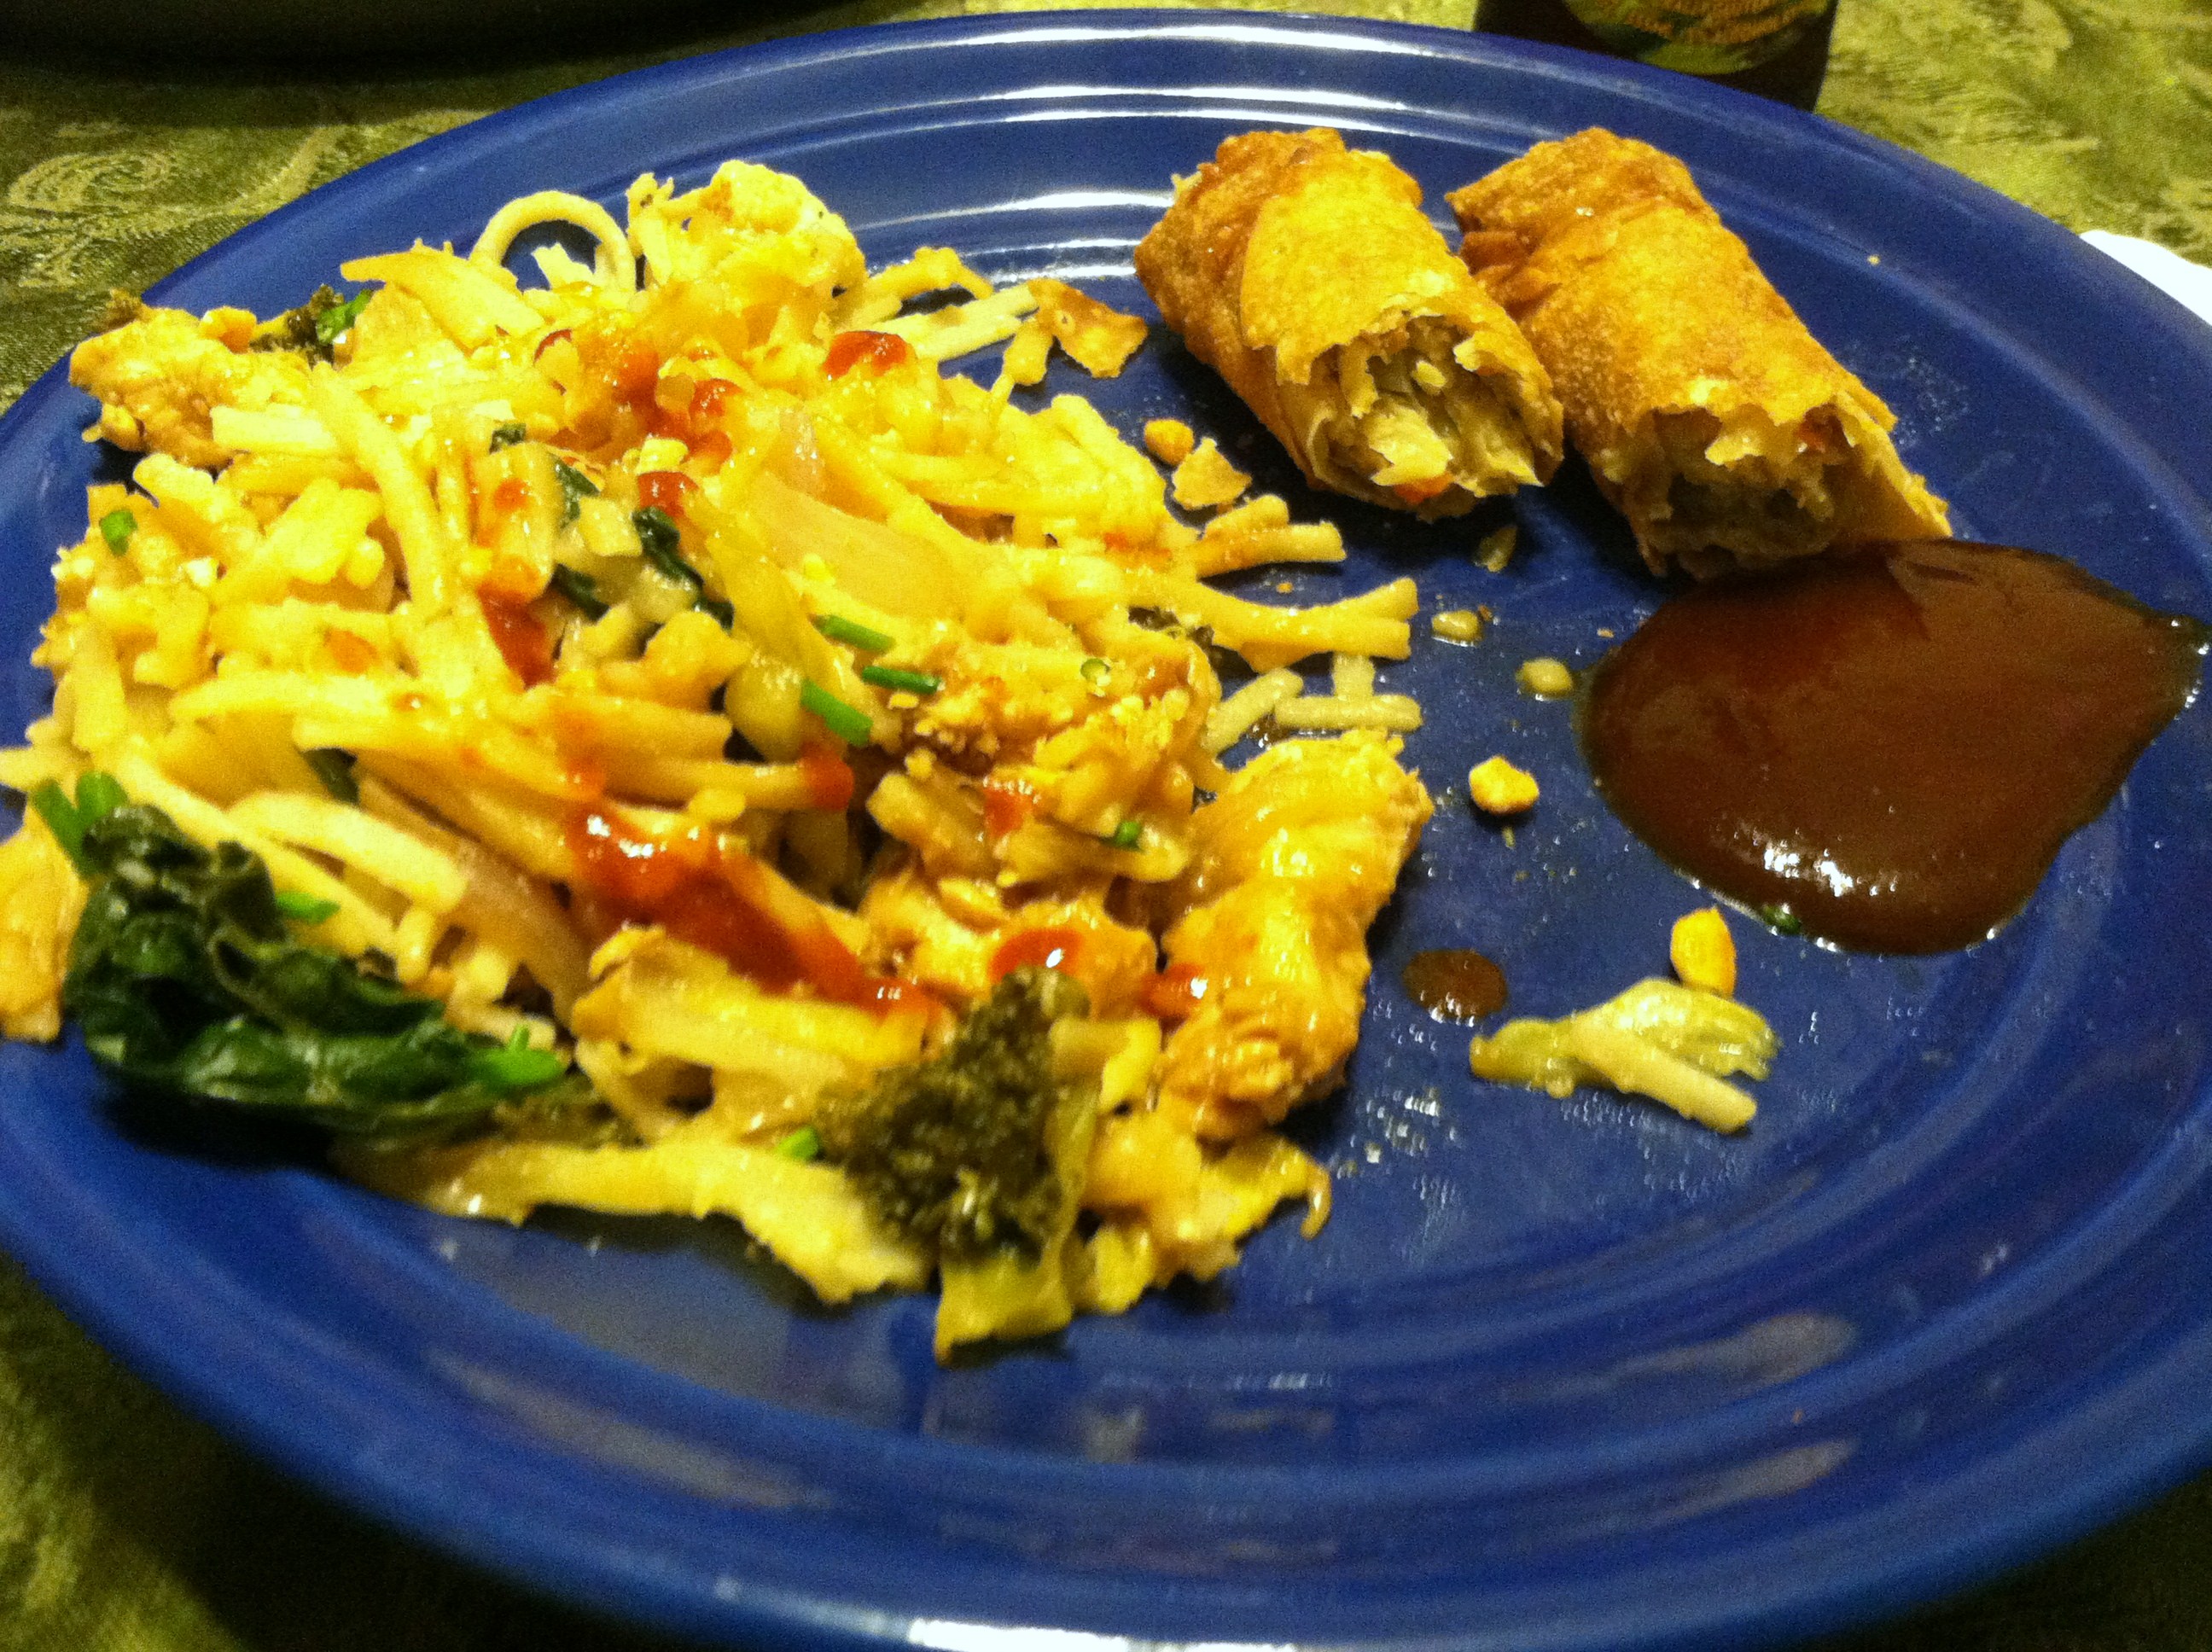
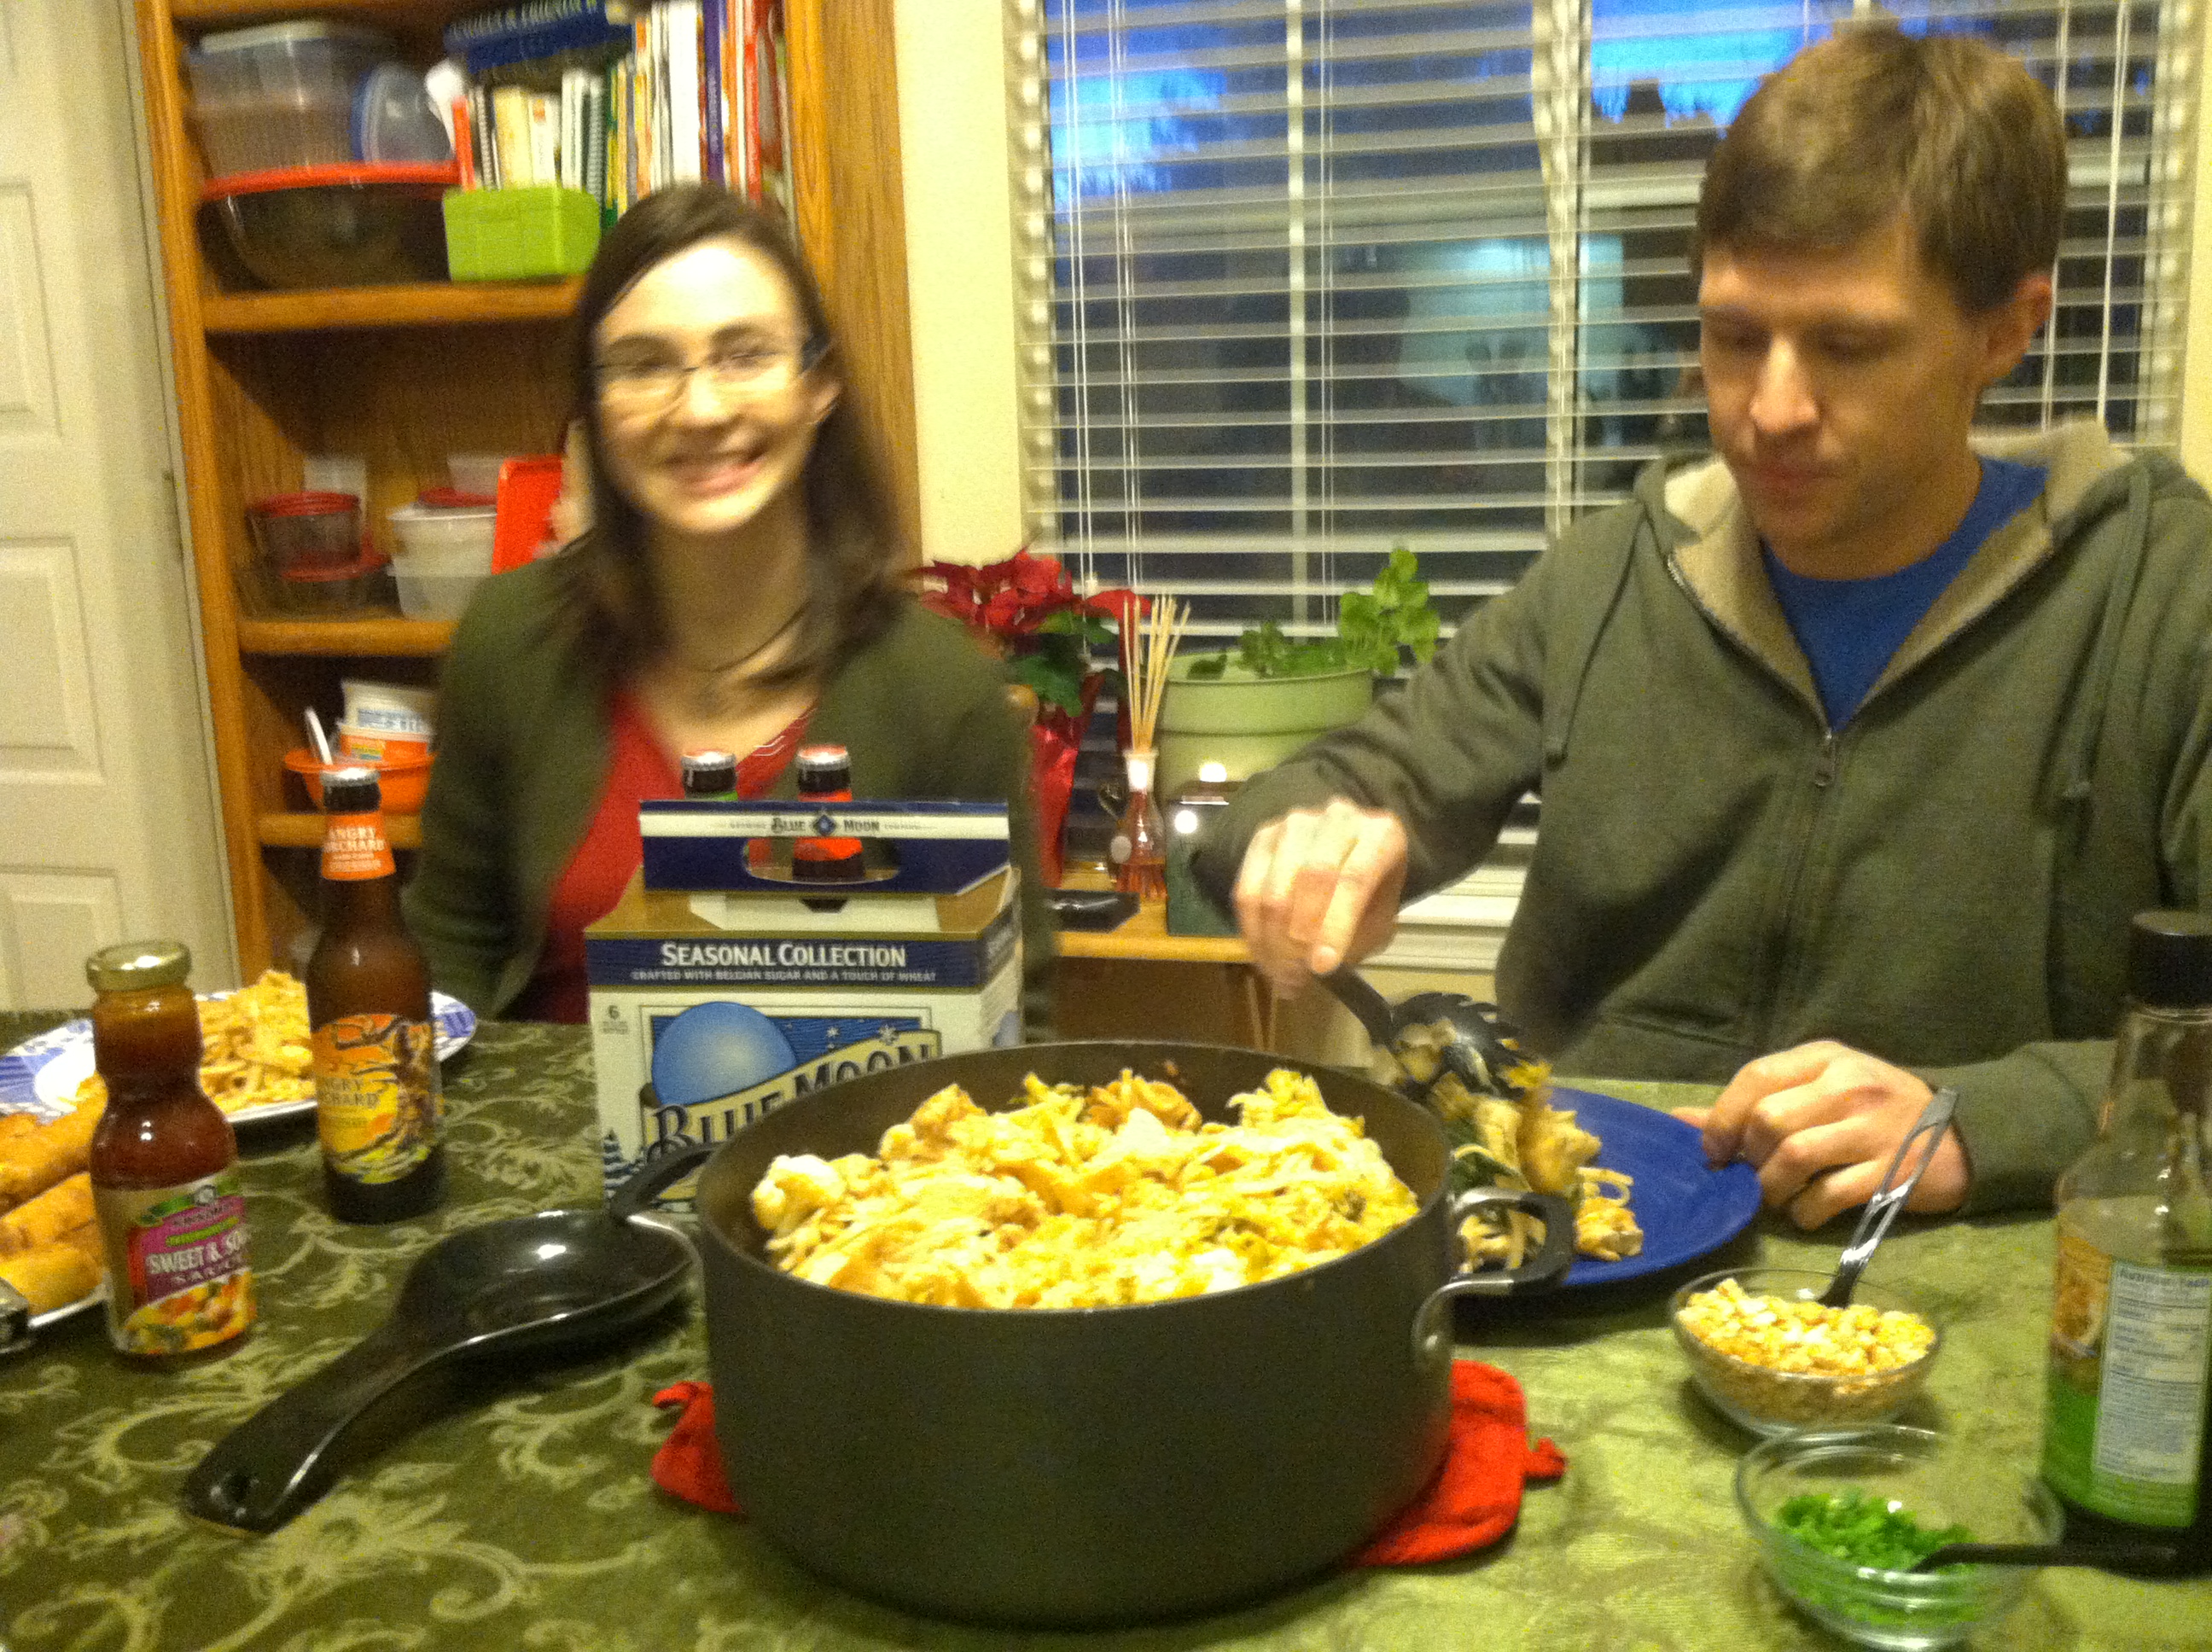
We had a lovely dinner together, sharing stories and catching up. The stir fry was a hit! The teriyaki sauce is delicious but thinner than I thought. I added some cornstarch to thicken it up and it worked like a charm.

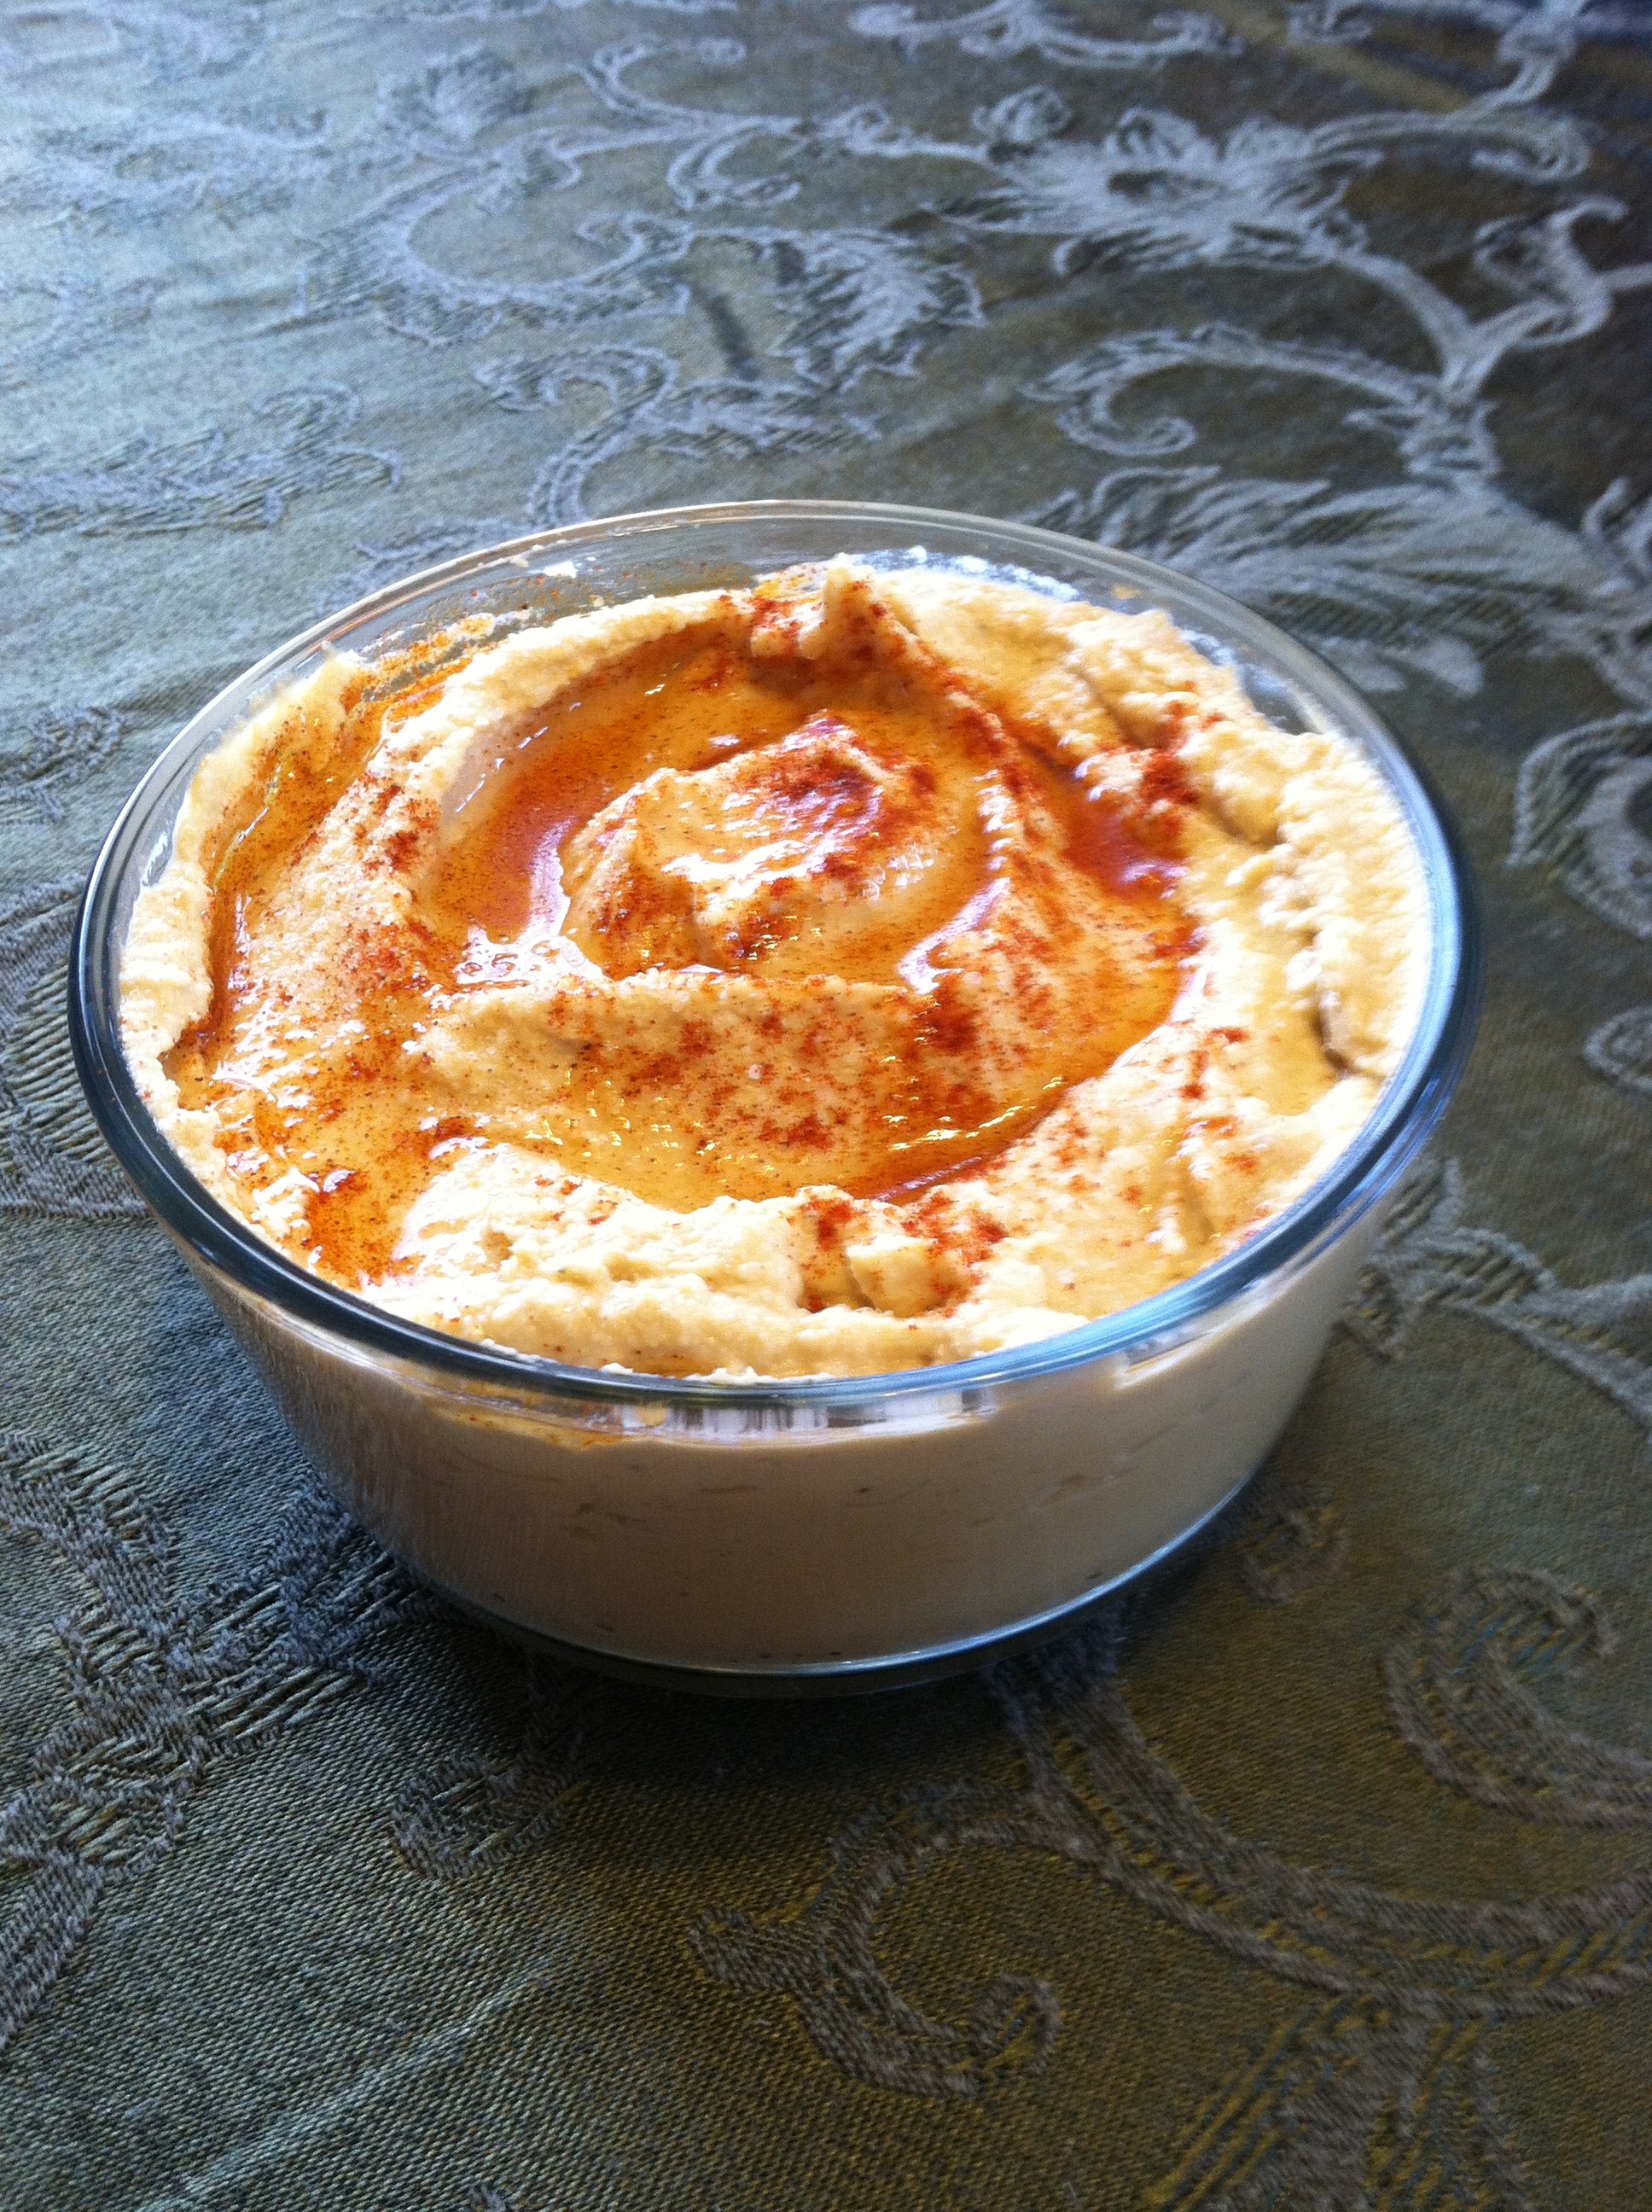
Homemade Hummus

IMG_7759

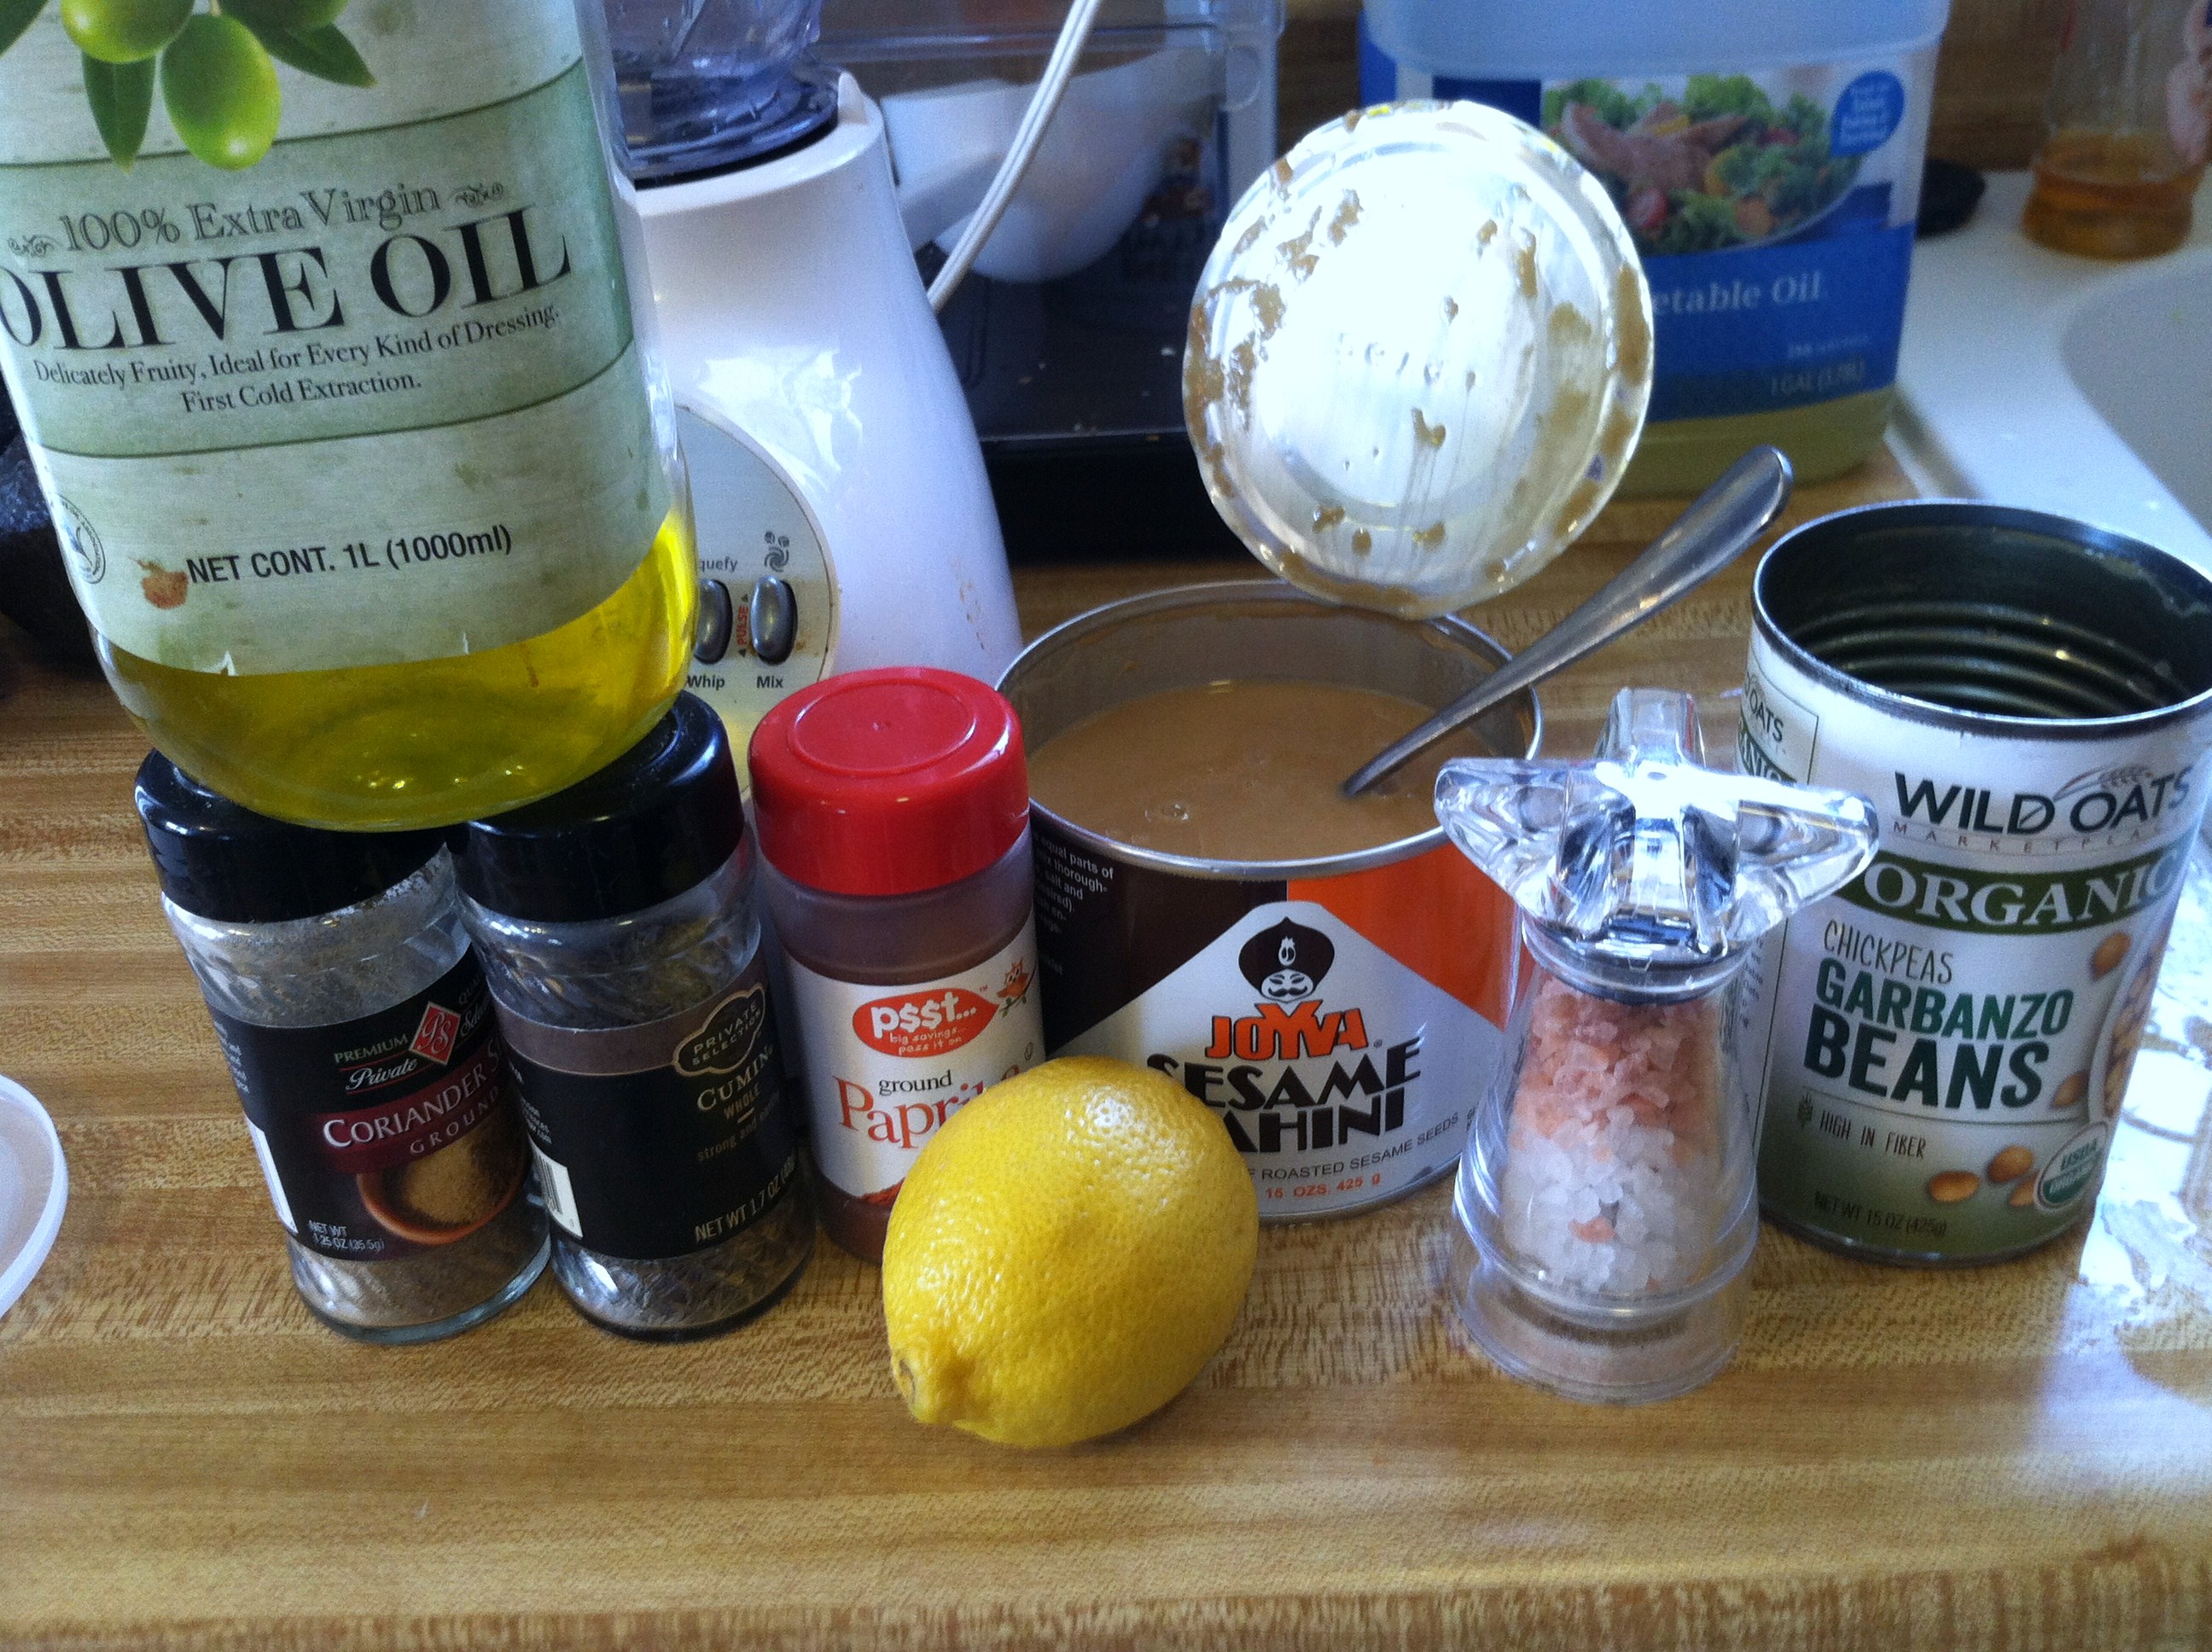
Ingredients:

  • 1 15-ounce can chickpeas/garbanzo beans
  • 1/4 cup fresh lemon juice, about 1 large lemon
  • 1/4 cup tahini
  • 1-3 garlic cloves, depending on taste
  • 2 tablespoons olive oil
  • 1/2 to 1 teaspoon sea salt
  • 1/2 teaspoon ground cumin
  • 2 to 3 tablespoons warm water
  • Dash of ground paprika for serving

Optional: black or red pepper, roasted red peppers, dill, cilantro, parsley, cooked edamame, roasted beets

IMG_7756

Step 1: Add the tahini and lemon juice to a food processor or blender, and blend on high for at least 1 minute, up to 10. According to this recipe from Inspired Taste, this makes all the difference in a smooth, store-bought-like consistency.

Step 2: Open the can of garbanzos, and put in a colander. Run cold water over them for several minutes to remove any toxins & excess sodium. If you wish, add to a microwave-safe bowl and microwave for 2-3 minutes to soften them. Then add to the tahini paste and blend another 4-5 minutes.

IMG_7757

Step 3: Add the garlic cloves, olive oil, and sea salt to taste, along with any other desired ingredients. If you don’t have tahini, try peanut butter or almond butter. You can use whatever spices sound good to you. Roast some beets and add them for a shocking pink hummus or a cup of cooked edamame for a delicate green boost of protein and fiber. Get crazy!

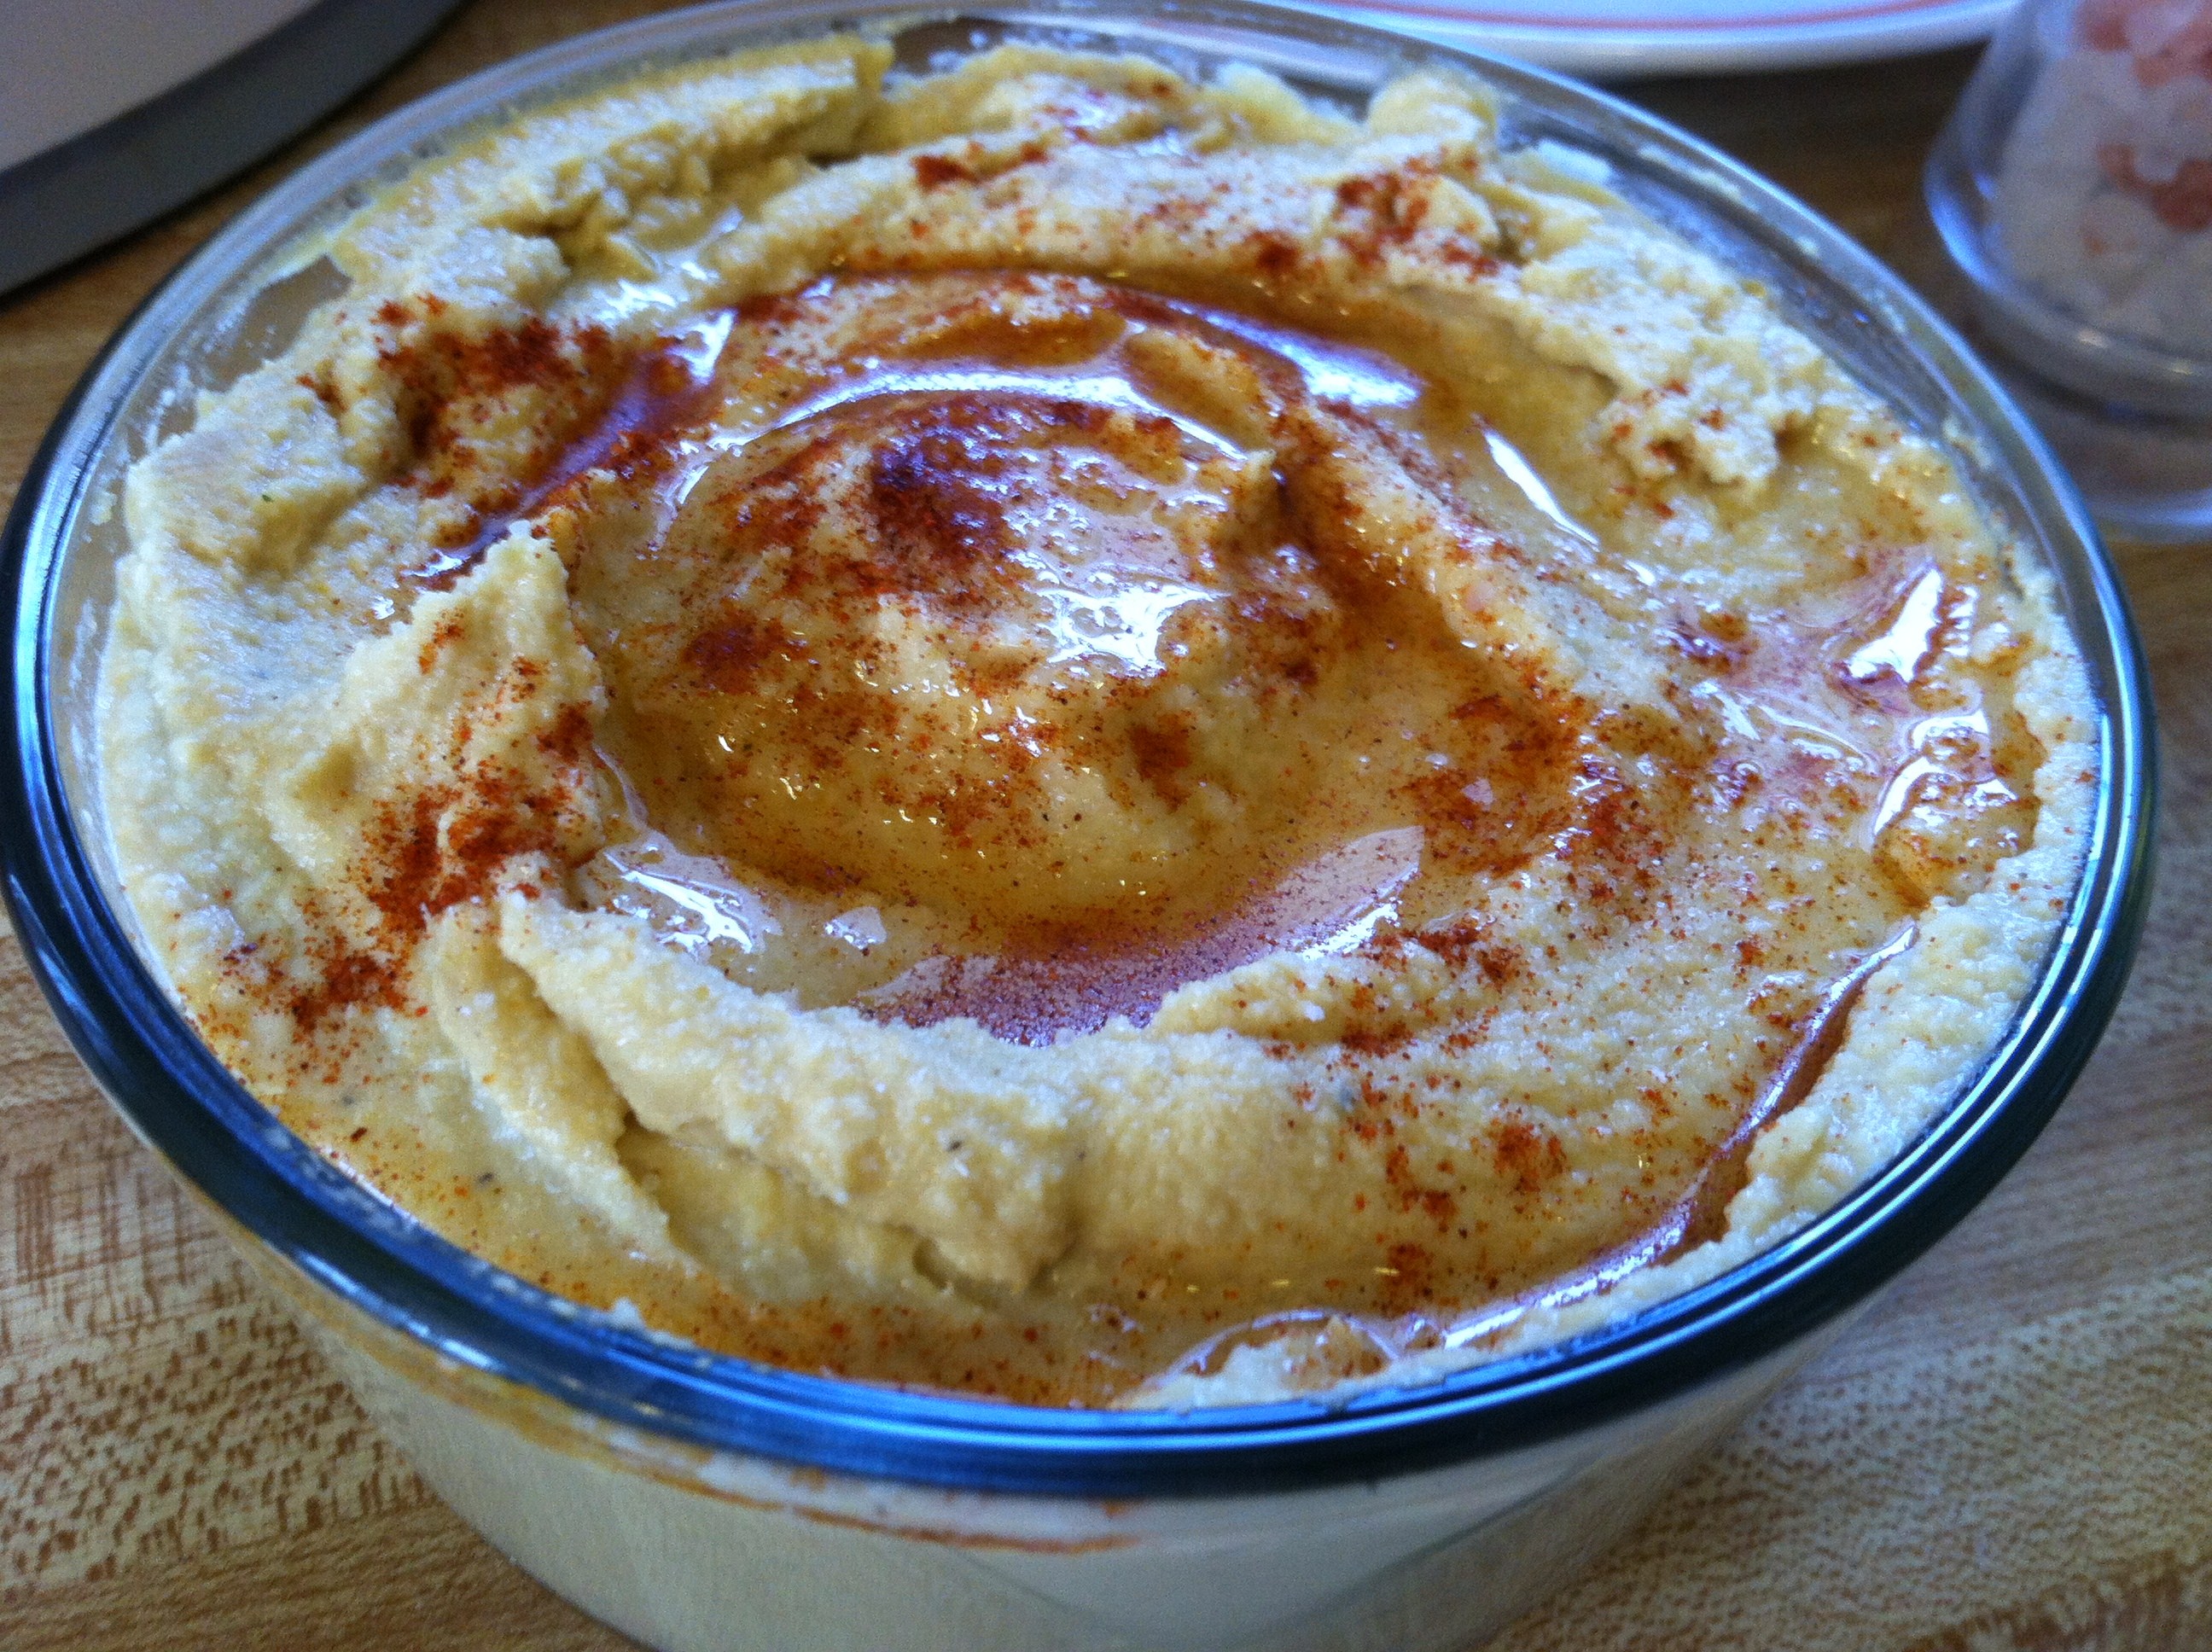
Step 4: Blend everything well until the desired consistency, adding a few tbsp water if needed. Use a spatula to pour into a bowl, and garnish with some olive oil, a dash of paprika, and/or some fresh herbs. Enjoy alone, on sandwiches, or with fresh crudités.

IMG_7789

Several games were gifted to us during the holidays, one of which is always a huge hit at parties: Cards Against Humanity. With game-play much like Apples to Apples but with a much more… “mature” card content, our group of friends loved it.

If your friends (and you) like intricate games with a lot of thought and strategy, you might want to look into Betrayal at House on the Hill.  In this game, you are a band of brave explorers who find a haunted house. You go through the house discovering new rooms. Based on the rooms you find, different events can happen.

IMG_7788

At some point during the game, “the Haunting” is triggered. The game decides who becomes the Traitor, who must now try to accomplish their goal to the detriment of their former friends, whilst the Heroes now try to defeat them first.

With 50 different unique stories, and endless unpredictable variations, this game will keep us entertained for a long time to come!

One whole bag of the white cheddar popcorn disappeared within the first two hours, and the homemade hummus was way better than even the freshest deli purchased tub. No one commented on the Island scent, but no one said it smelled bad either, so that’s a win. And the lemon Cascade works great for clean dishes with no streaks, and just a hint of lemon scent.

All in all, this delivery was far more trouble and frustration, though it worked out in the end. If I had this planned for an event that actually happened the day it was planned and my delivery just didn’t show up until after midnight, I would be extremely displeased. They did try to make it right after the fact, but we are at 50% (one of two deliveries were positive experiences).

One more delivery remains, so stay tuned!


This post contains affiliate links.

Couscous & Beans with White Fish


This post contains affiliate links. See Partnership page for more.

Since I made my own canned pinto beans, I’ve kept them in the refrigerator so that there’s little risk of botulism growing. This means that I’ve also been coming up with ways to use them up quickly, so beans have been featuring in meals all week in various ways.

I made a Red Beans & Rice that was absolutely delicious and will be part of my usual meal rotation now, and used my beans in stuffed bell peppers. Now I am considering a pinto bean hummus. Is that blasphemy? I don’t care.

This is a great way to get your fiber for the day and sneak in some extra veggies. Even if you don’t like fish, this blend of flavors and textures may change your mind.

Ingredients:

  • 3/4 cup couscous (cooked)
  • 3/4 cup beans
  • 1/2 cup frozen diced peppers and onions
  • 1/2 cup spinach
  • 1 3 oz white fish fillet
  • 2 tbsp lemon juice or vinegar
  • Salt & pepper & paprika

IMG_7468

Step 1:  To cook couscous, take about 3/4 cup water and heat in microwave 2-3 minutes, until near boiling. Pour over 1/2 cup couscous and let sit, covered, for 10-15 minutes.

IMG_7469

Step 2: Meanwhile, in a pan combine the frozen veggies, spinach, and beans. Cook 5-7 minutes, stirring often so nothing sticks. The spinach should wilt to a fraction of its size, and the veggies will soften. Fluff the couscous with a fork, and pour veggies on top.

IMG_7470

Step 3: In the same pan, add the white fish and spray lemon juice over it. Sprinkle with salt and pepper and cook 4-5 minutes. Flip, and cook the other side another 2-3 minutes, until it is fully white and flakes easily with a fork. Add more lemon juice if you want.

IMG_7472

Step 4: Put the fish on top of the whole bowl, sprinkle with more seasonings, and dig in!

IMG_7474


[amd-zlrecipe-recipe:2]

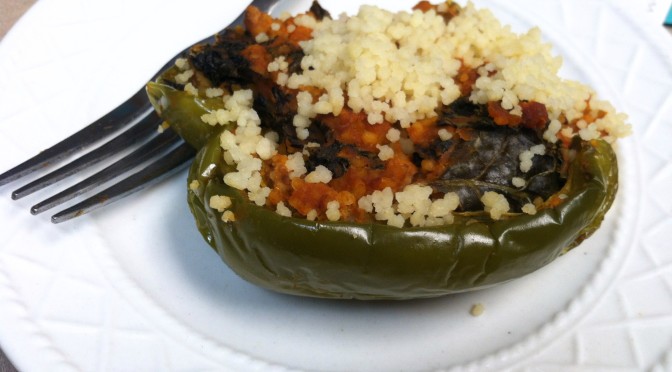
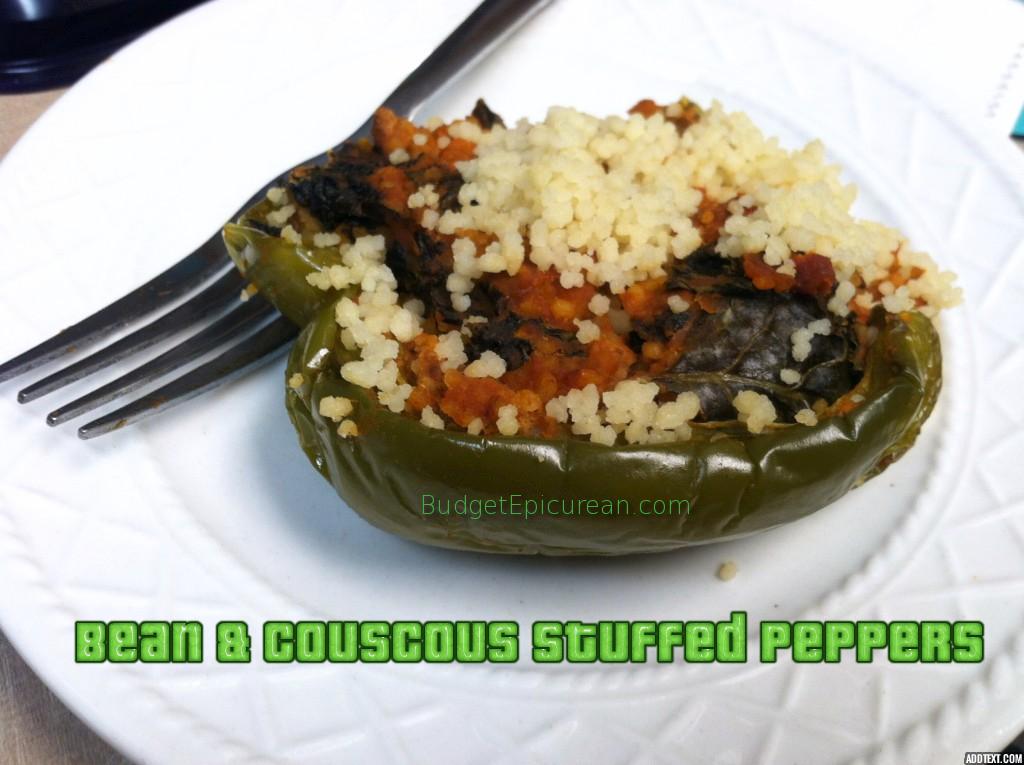
Bean & Couscous Stuffed Peppers


So you might know I’ve been on a bit of a bean kick lately. I love how affordable (read: cheap!) dried beans are and so I’ve been trying to incorporate them more into my daily cooking.

I’ve already found that I can indeed can my own beans. For mere cents per jar this is a great savings over buying them at the store for 60-90 cents per can.

I had already made Red Beans & Rice, and I totally love beef & rice stuffed peppers, and couscous stuffed peppers. I figured beans are a natural option for stuffing, since they are high in fiber and protein, and are good at binding together other ingredients. This is another recipe that turned out accidentally vegan. I’m on a roll and I like it!

addtext_com_MjAwOTM3MTY4NDgy

Ingredients:

  • 3 bell peppers any color
  • 1 cup cooked couscous
  • 2/3 cup cooked beans, mashed
  • 1 can tomato sauce, or 1/2 cup pizza/pasta sauce
  • Handful torn kale
  • Garlic salt or other seasonings to taste

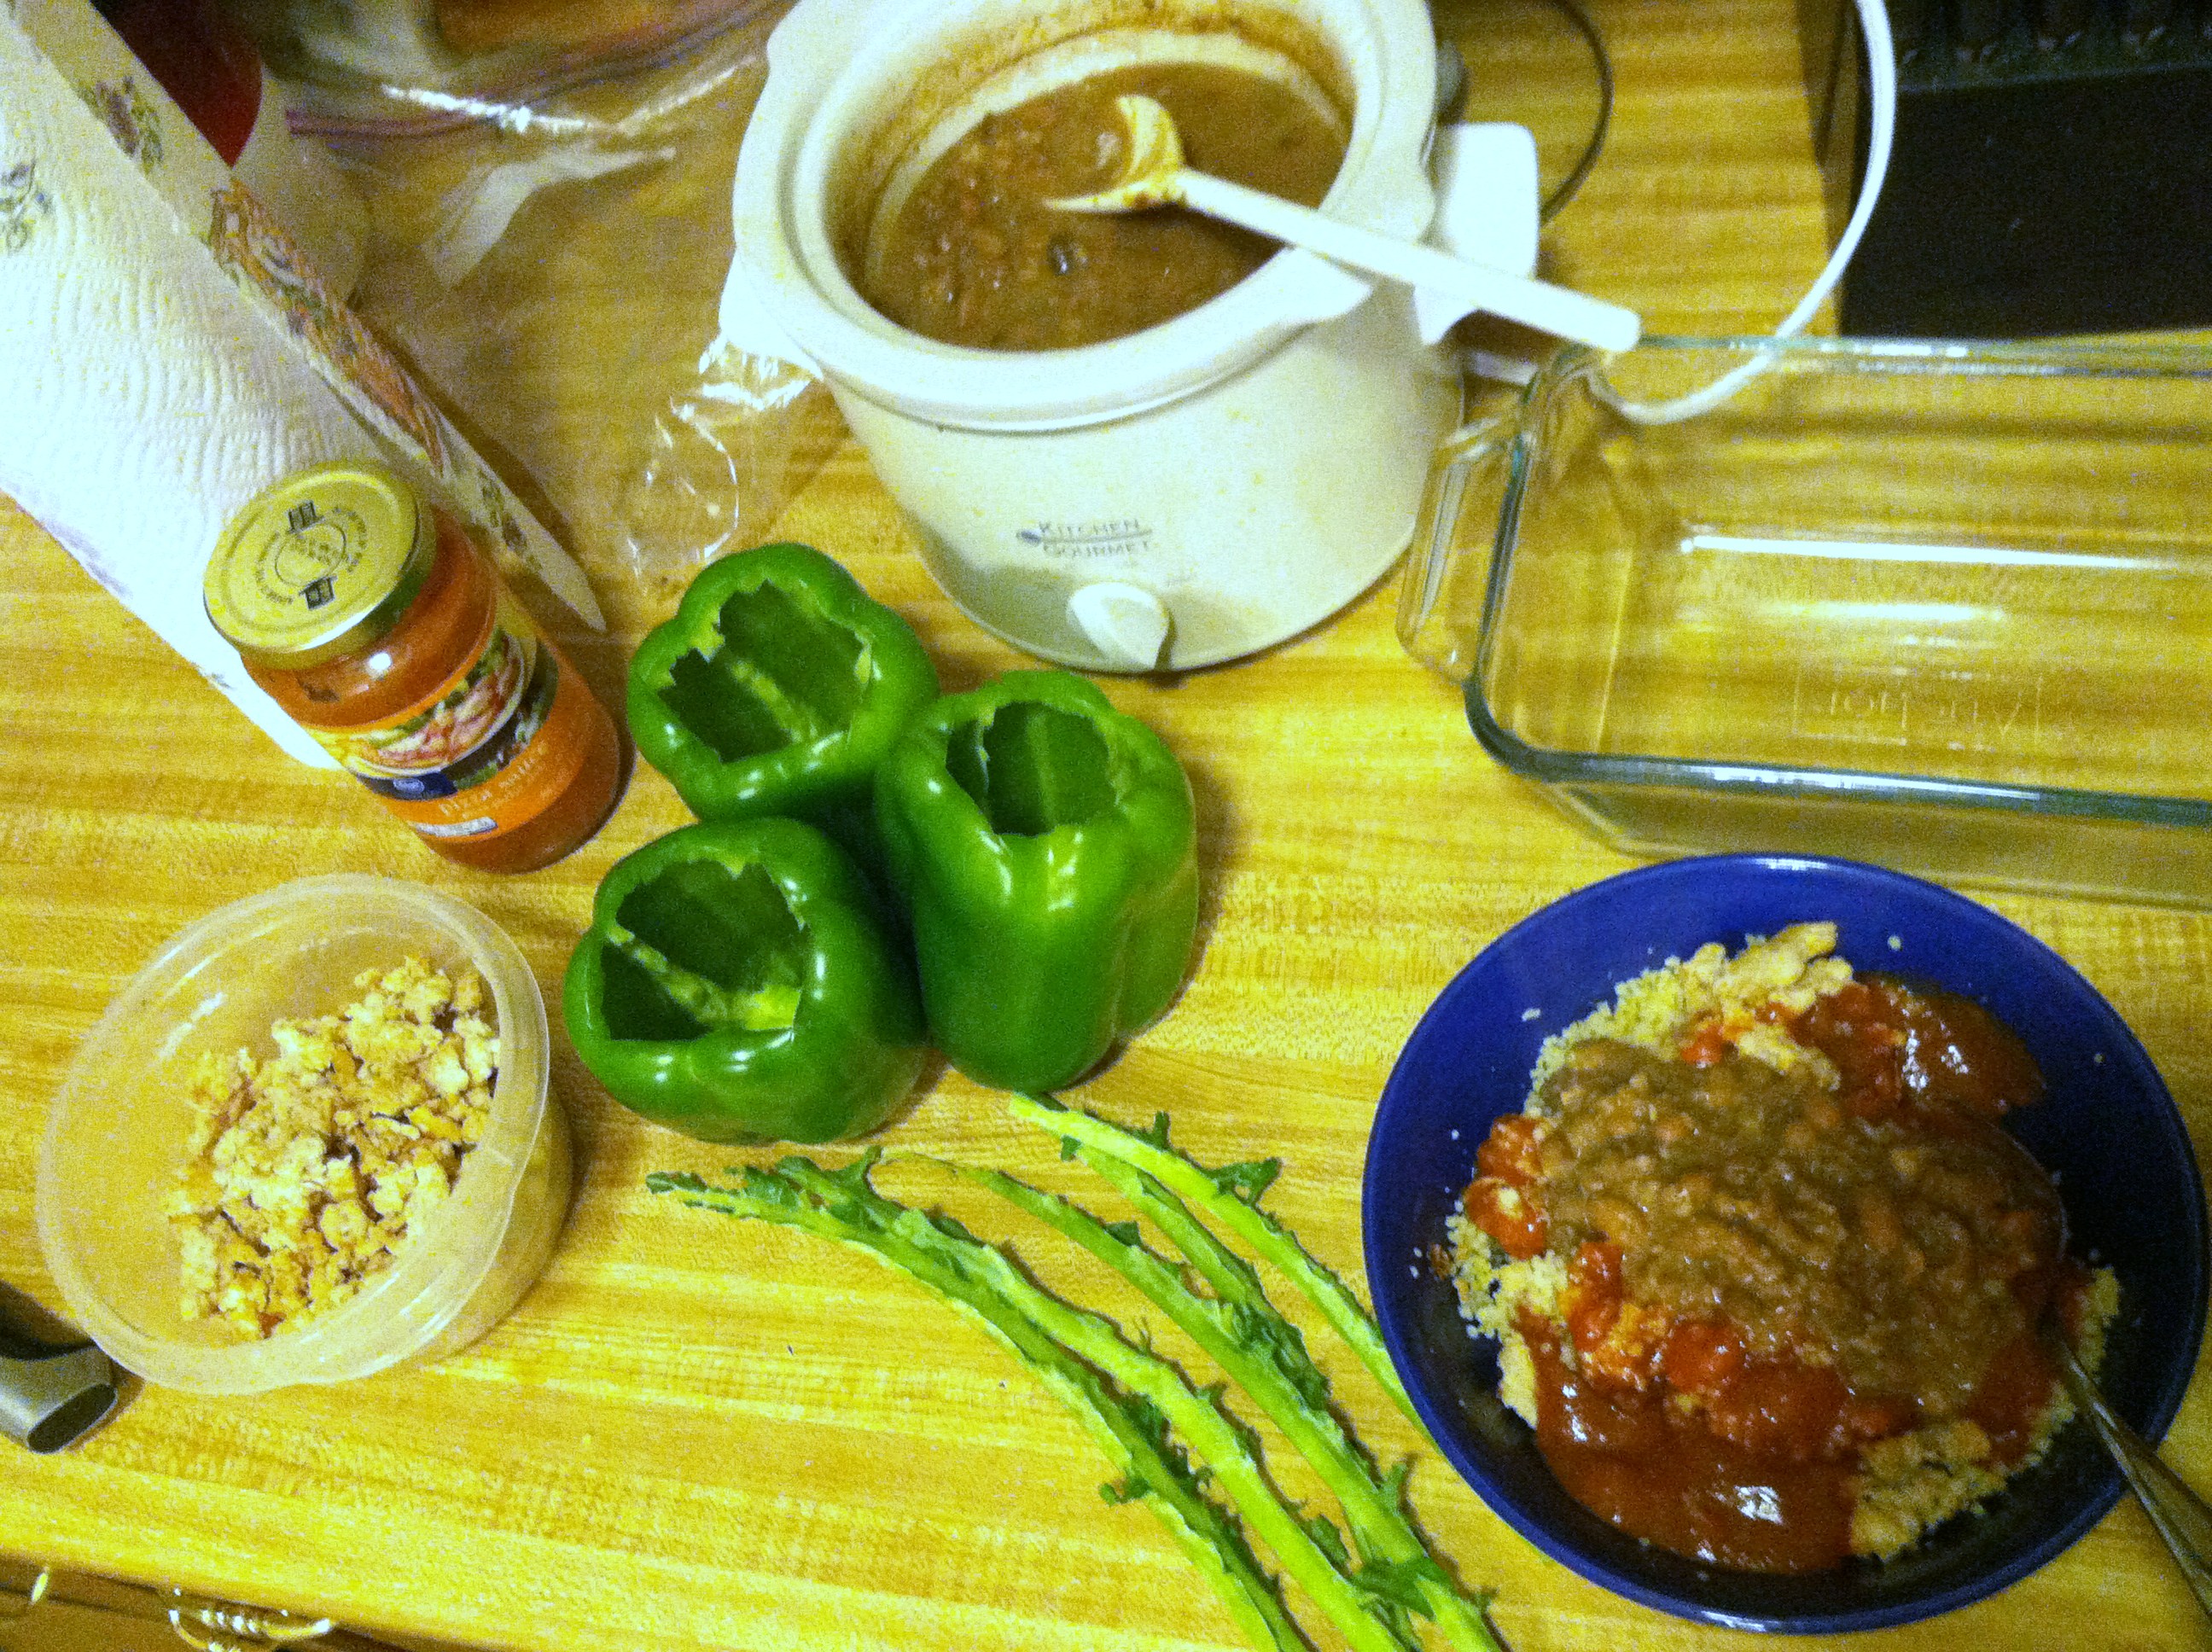
IMG_6925

Step 1: If you haven’t already, cook the couscous by covering with boiling water, then waiting 5-10 minutes to absorb. Fluff with a fork. I cooked the beans overnight in a crock pot, then mashed them.

IMG_6926

Step 2: Cut the tops off the peppers and discard seeds. In a bowl, mix the couscous, beans, sauce, seasonings, and kale. Stuff 1/3 of the mixture into each pepper. If you reserve a little sauce you can pour that on top.

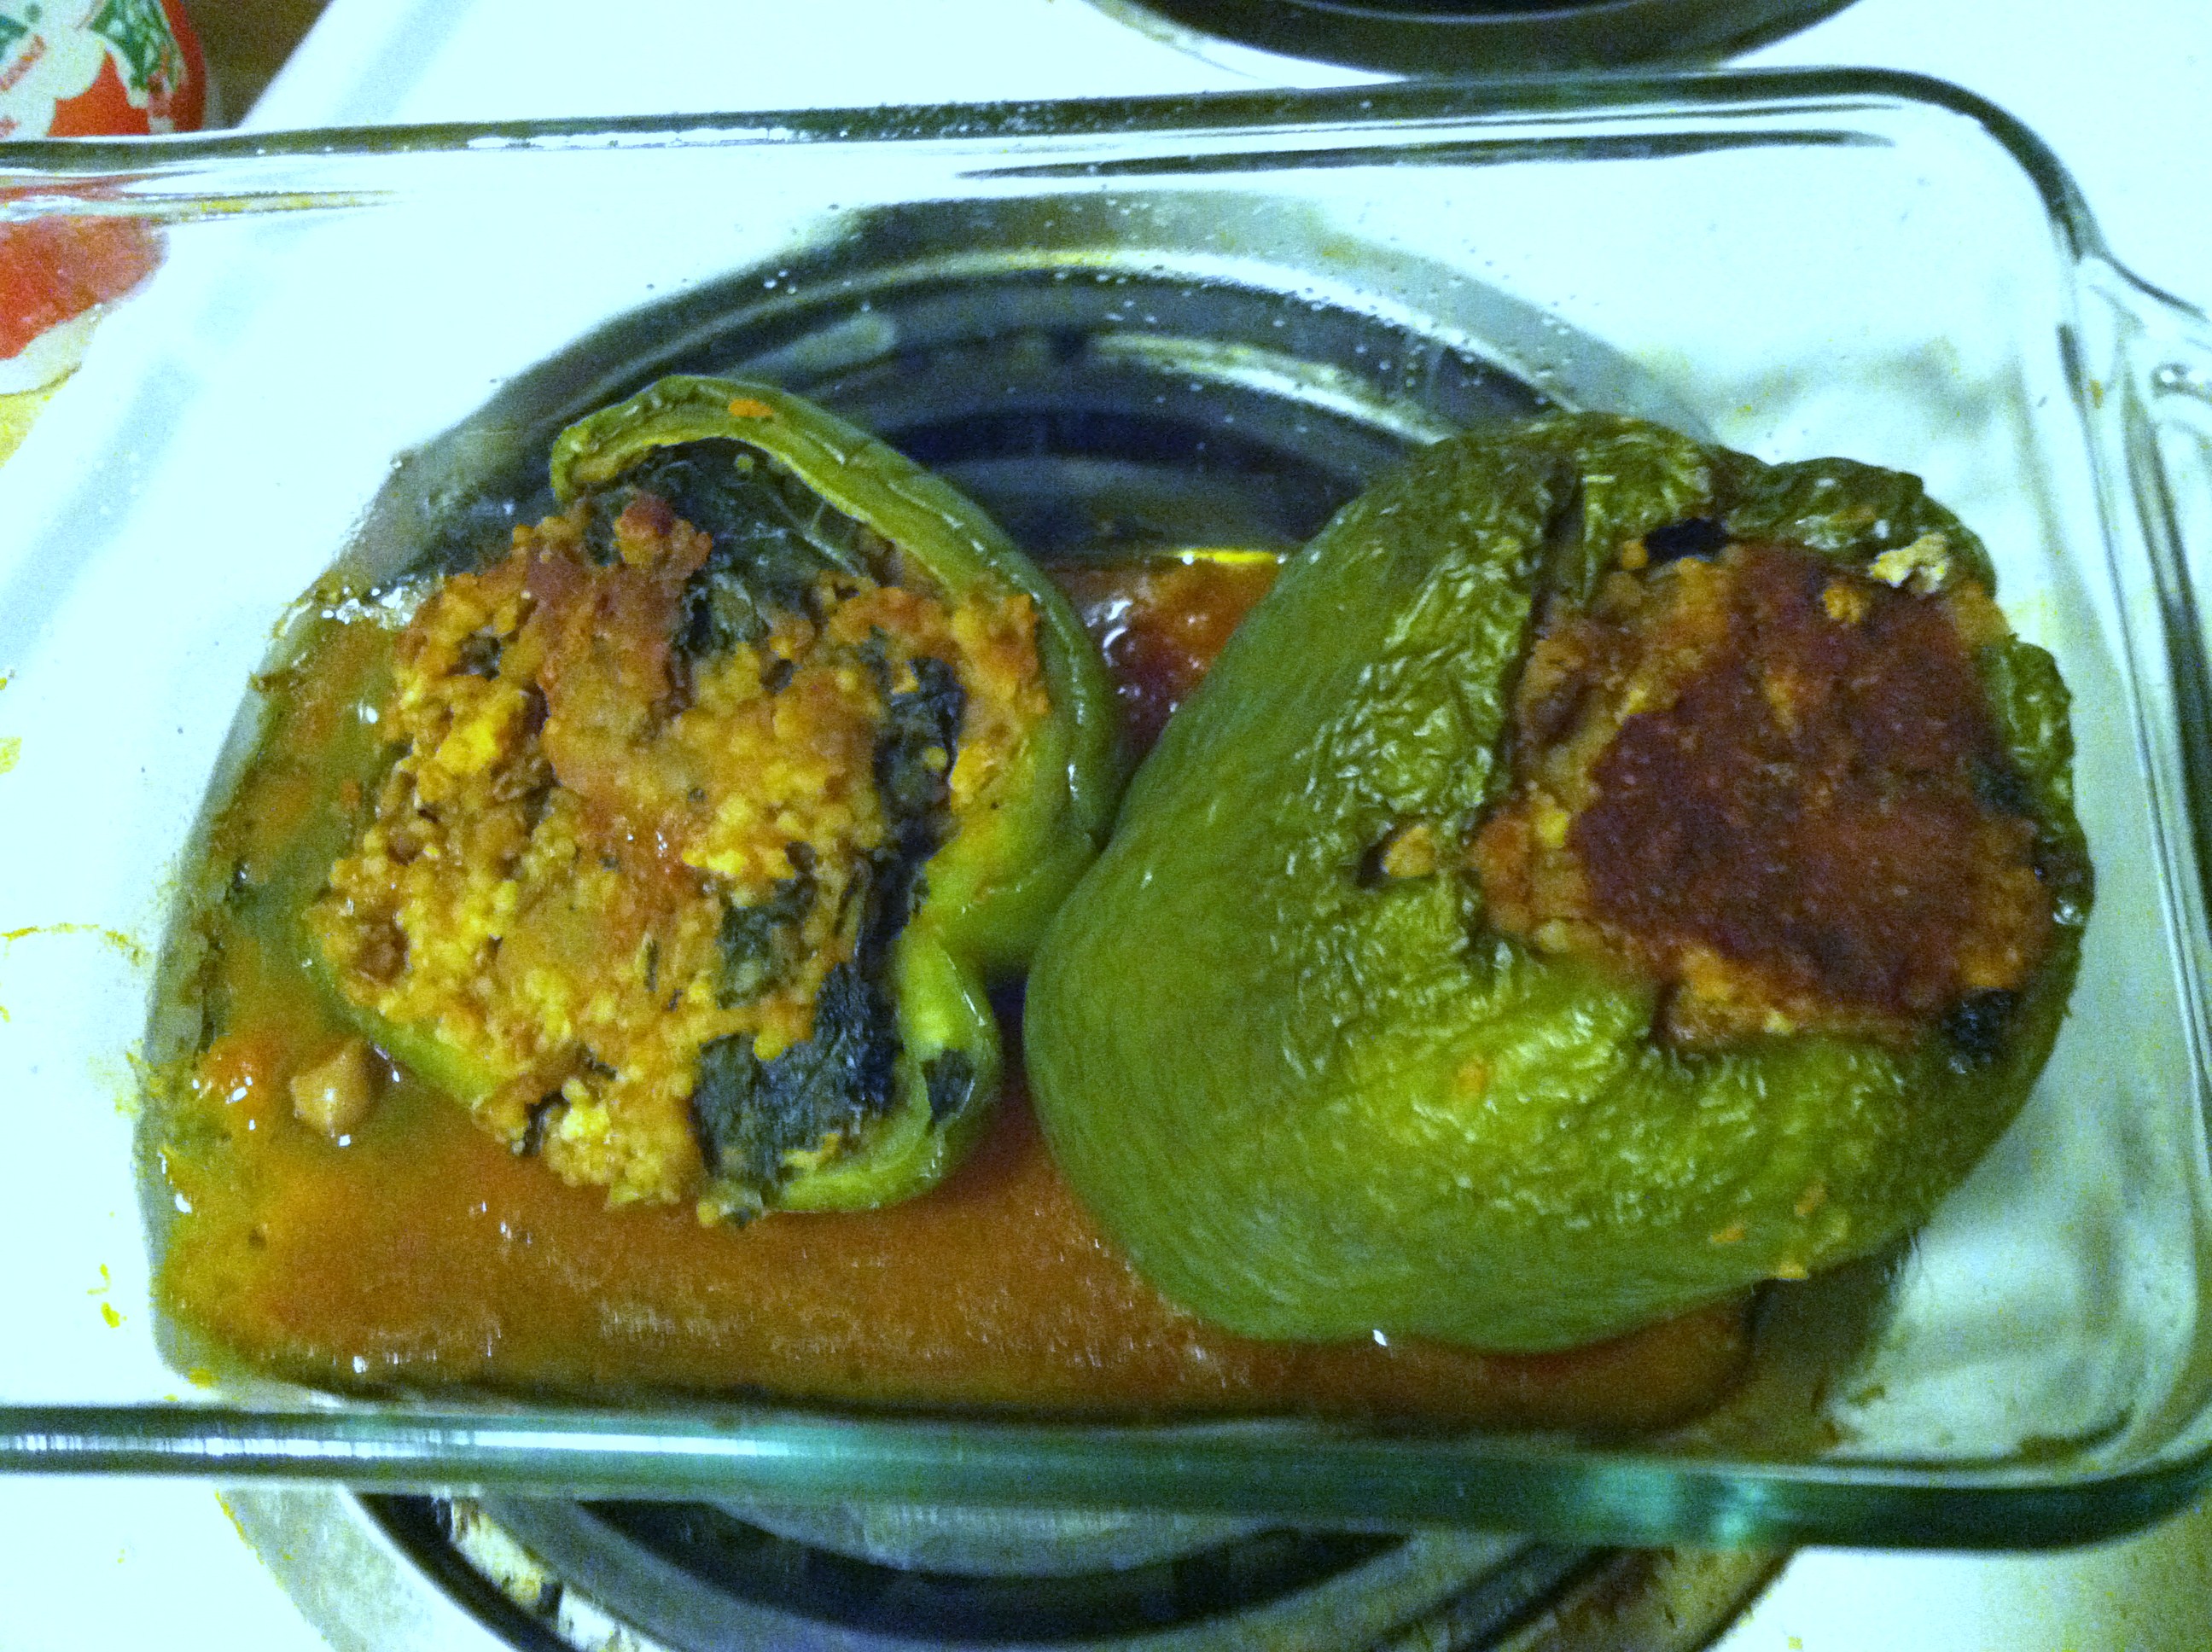
IMG_6933

Step 3: Bake at 350 for 25-30 minutes, or until the outside of the peppers becomes soft to the touch and easily pierced with a fork.

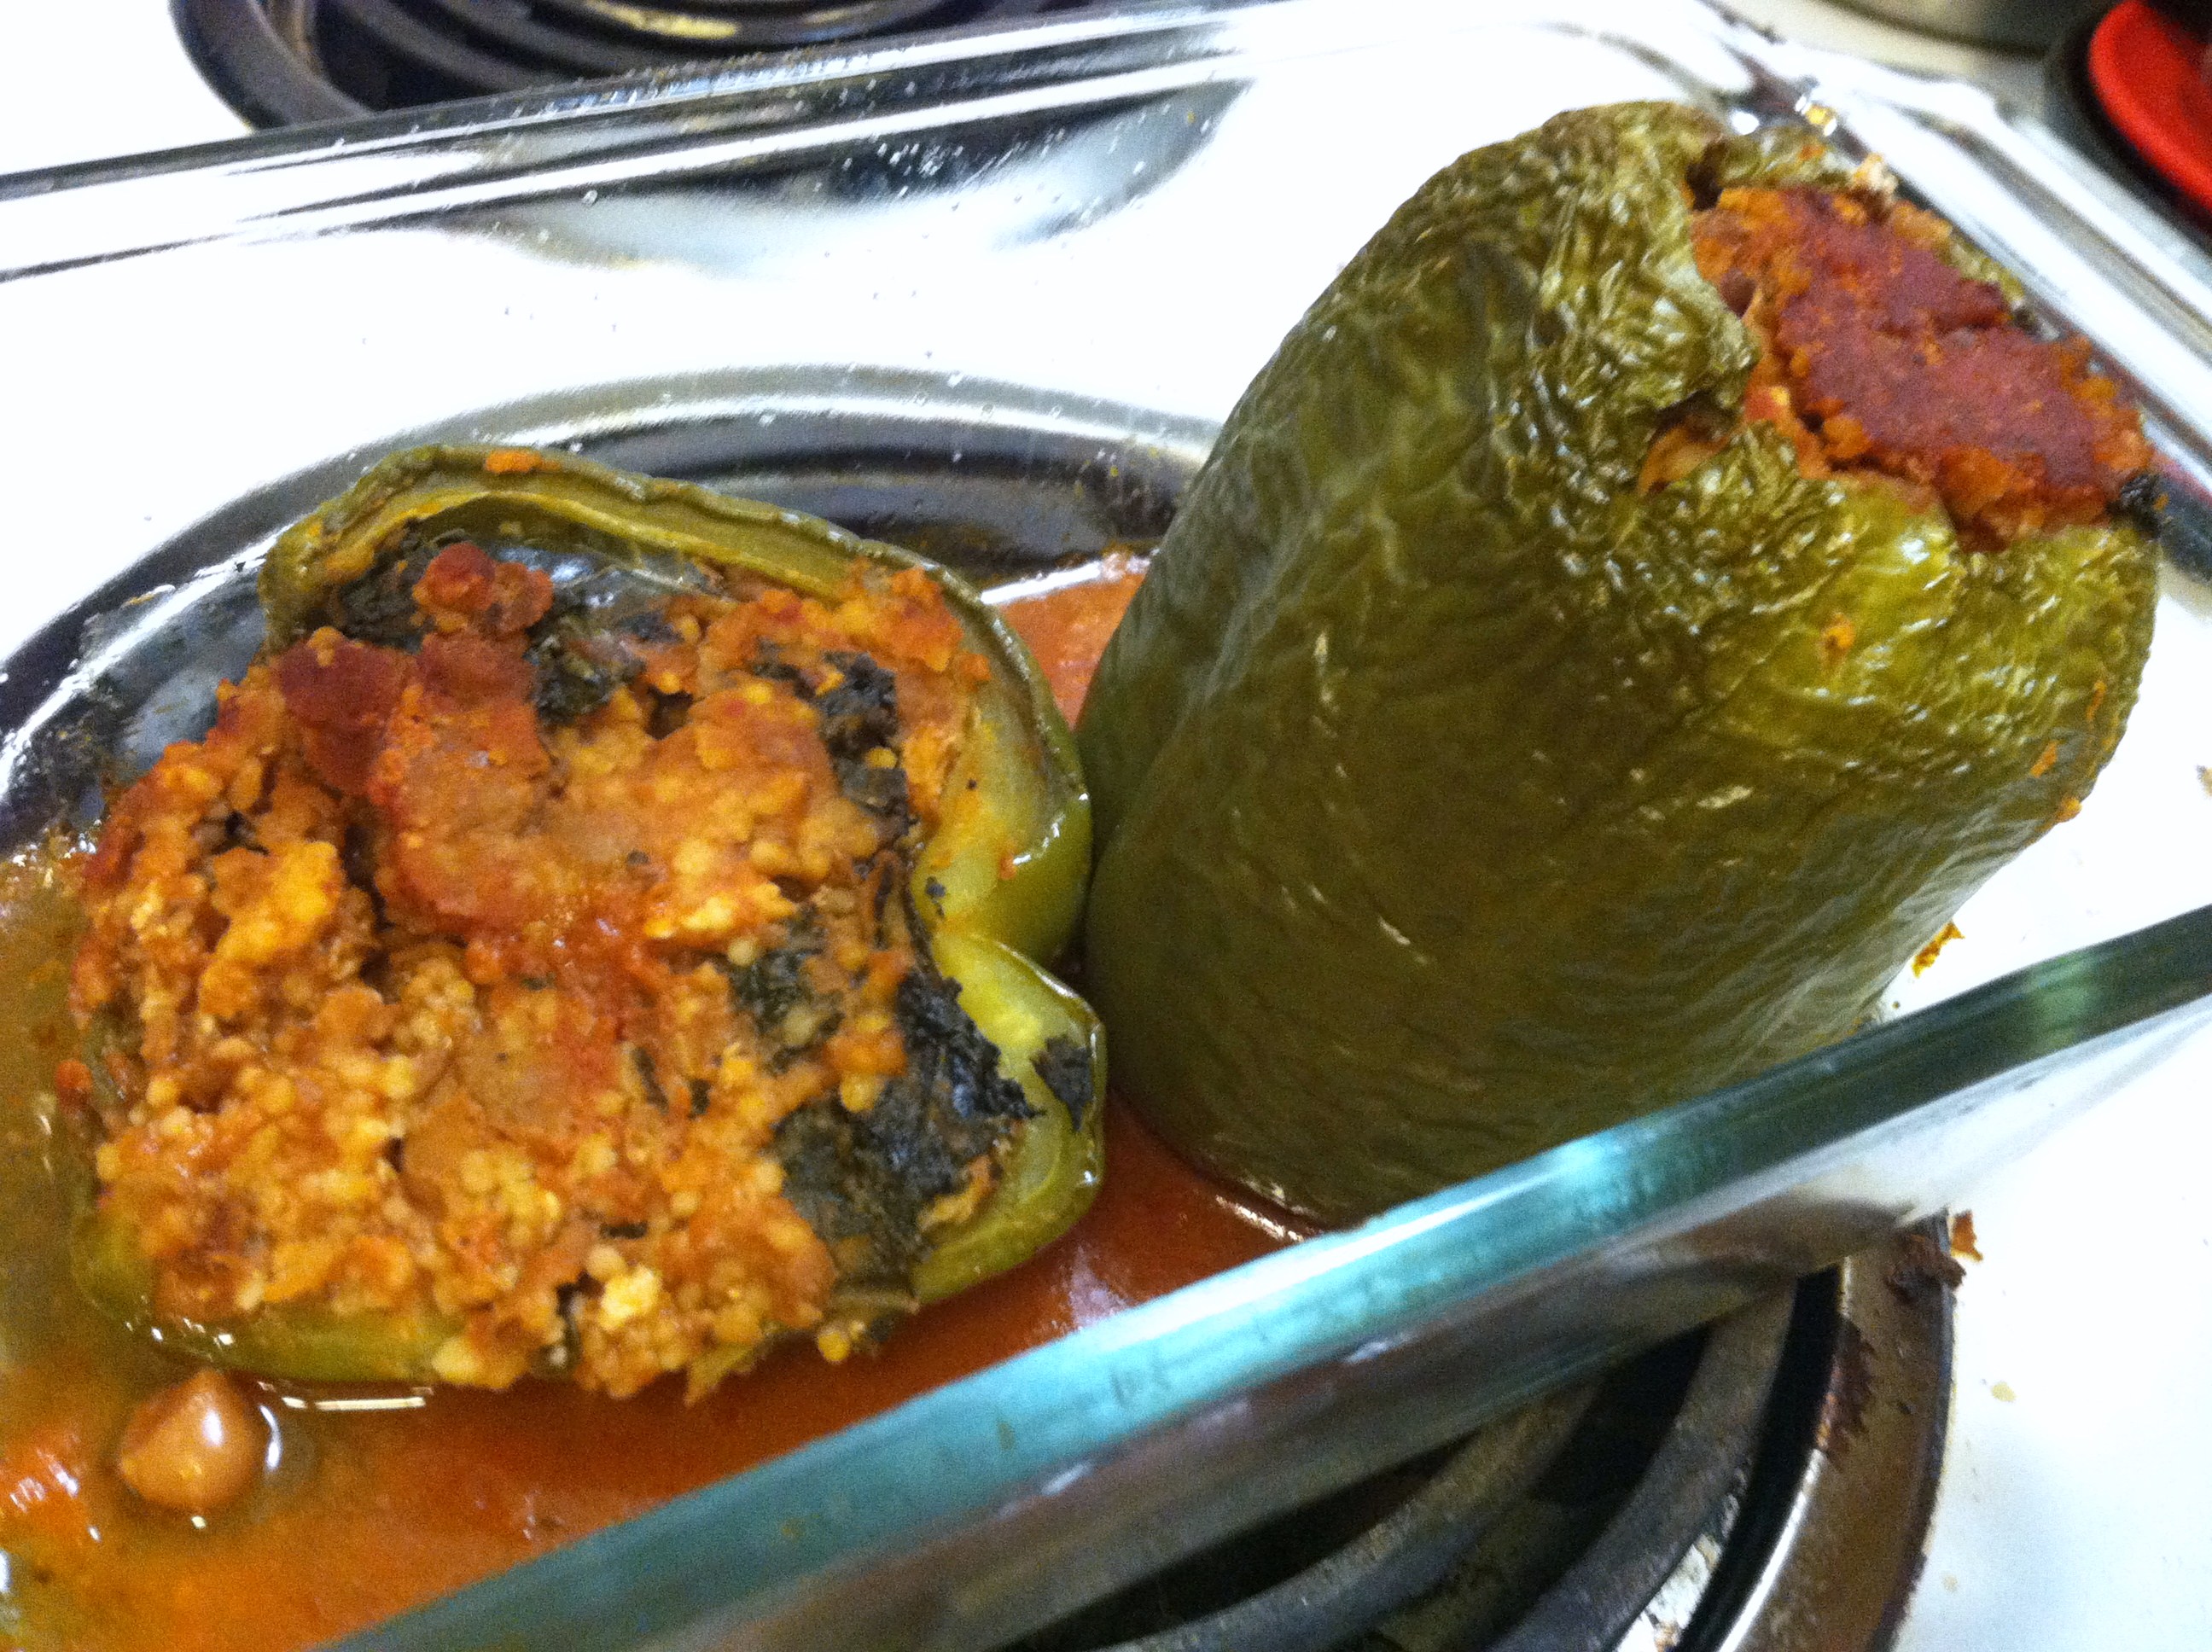
IMG_6935

These are amazing hot out of the oven or reheated the next day. Recipe can easily be doubled for a big family or to make meals for the whole week.


[amd-zlrecipe-recipe:5]

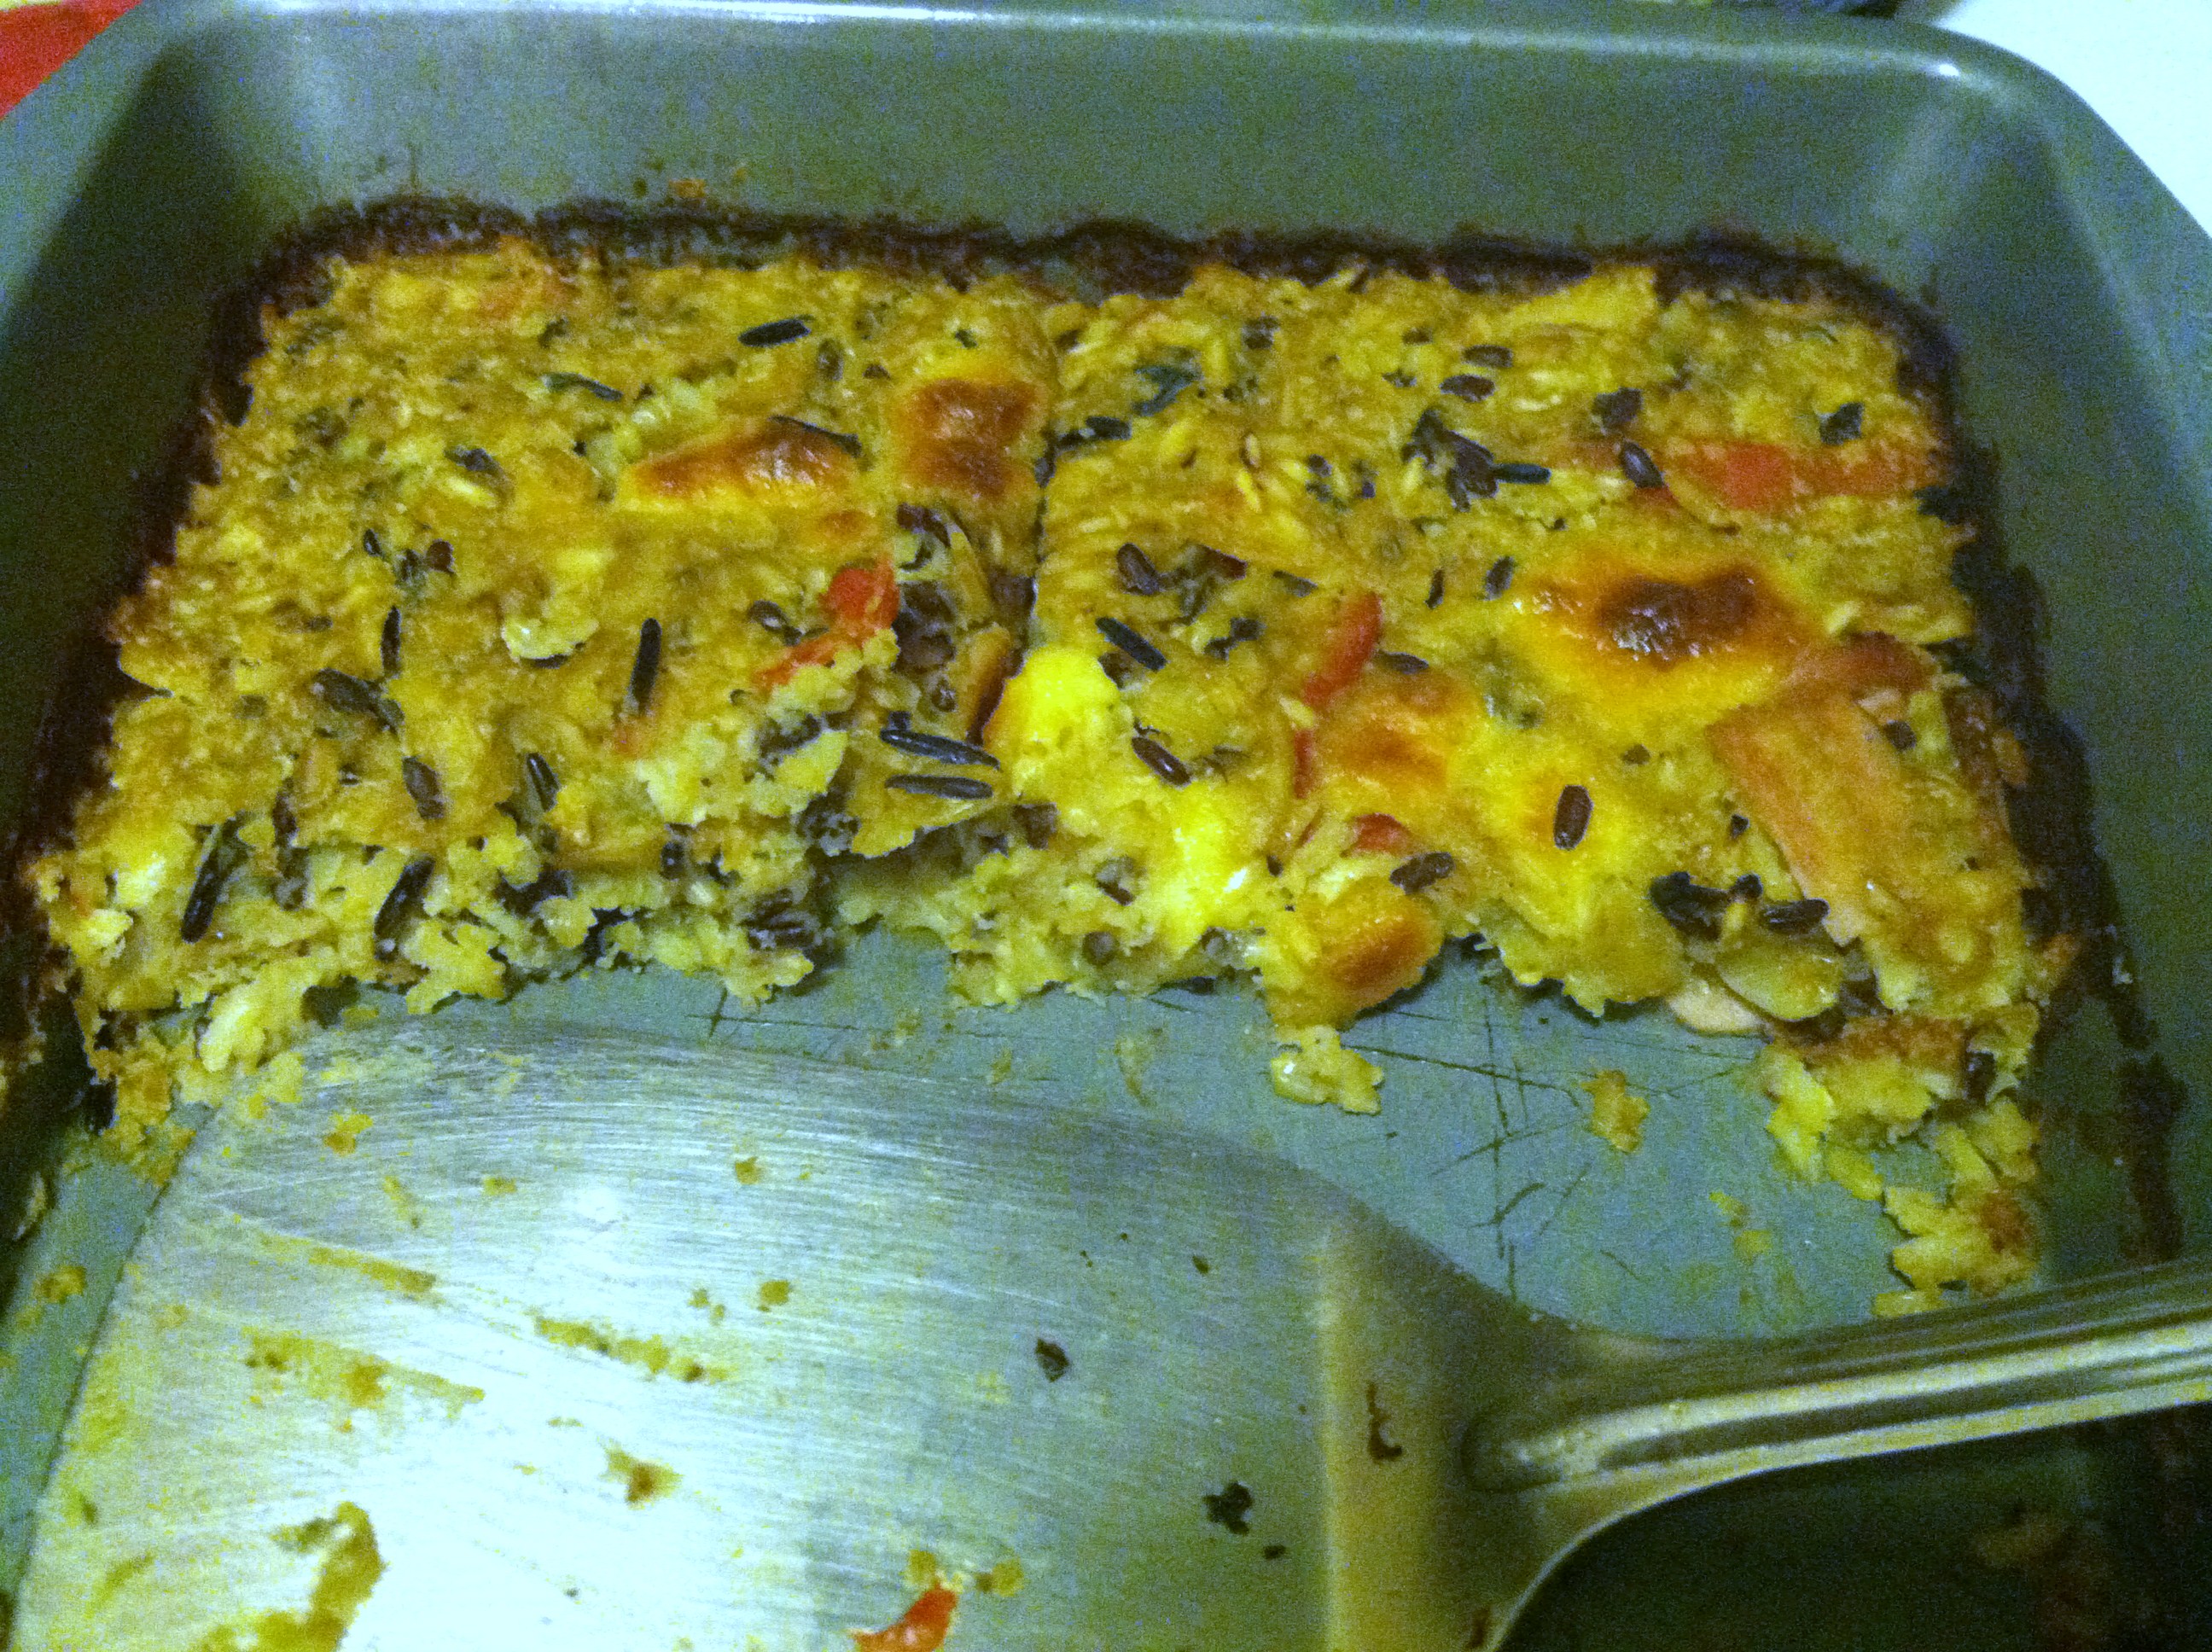
Lentils & Wild Rice Bake


This post contains affiliate links. See Partnership page for more.

This recipe came together on a whim, just because I had recently purchased some pretty ingredients at Sprouts. I wanted something hearty and healthy, but also quick and not too time intensive. Lentils are filled with fiber, and wild rice is packed with vitamins.

Toss in a few veggies and broth, and we have a well-rounded meal. I had some diced ham left over from a few days prior, so I threw that in as well. Feel free to not use that to keep this dish vegetarian, and just bulk up on more added veggies, whatever you got in the fridge.

Ingredients:

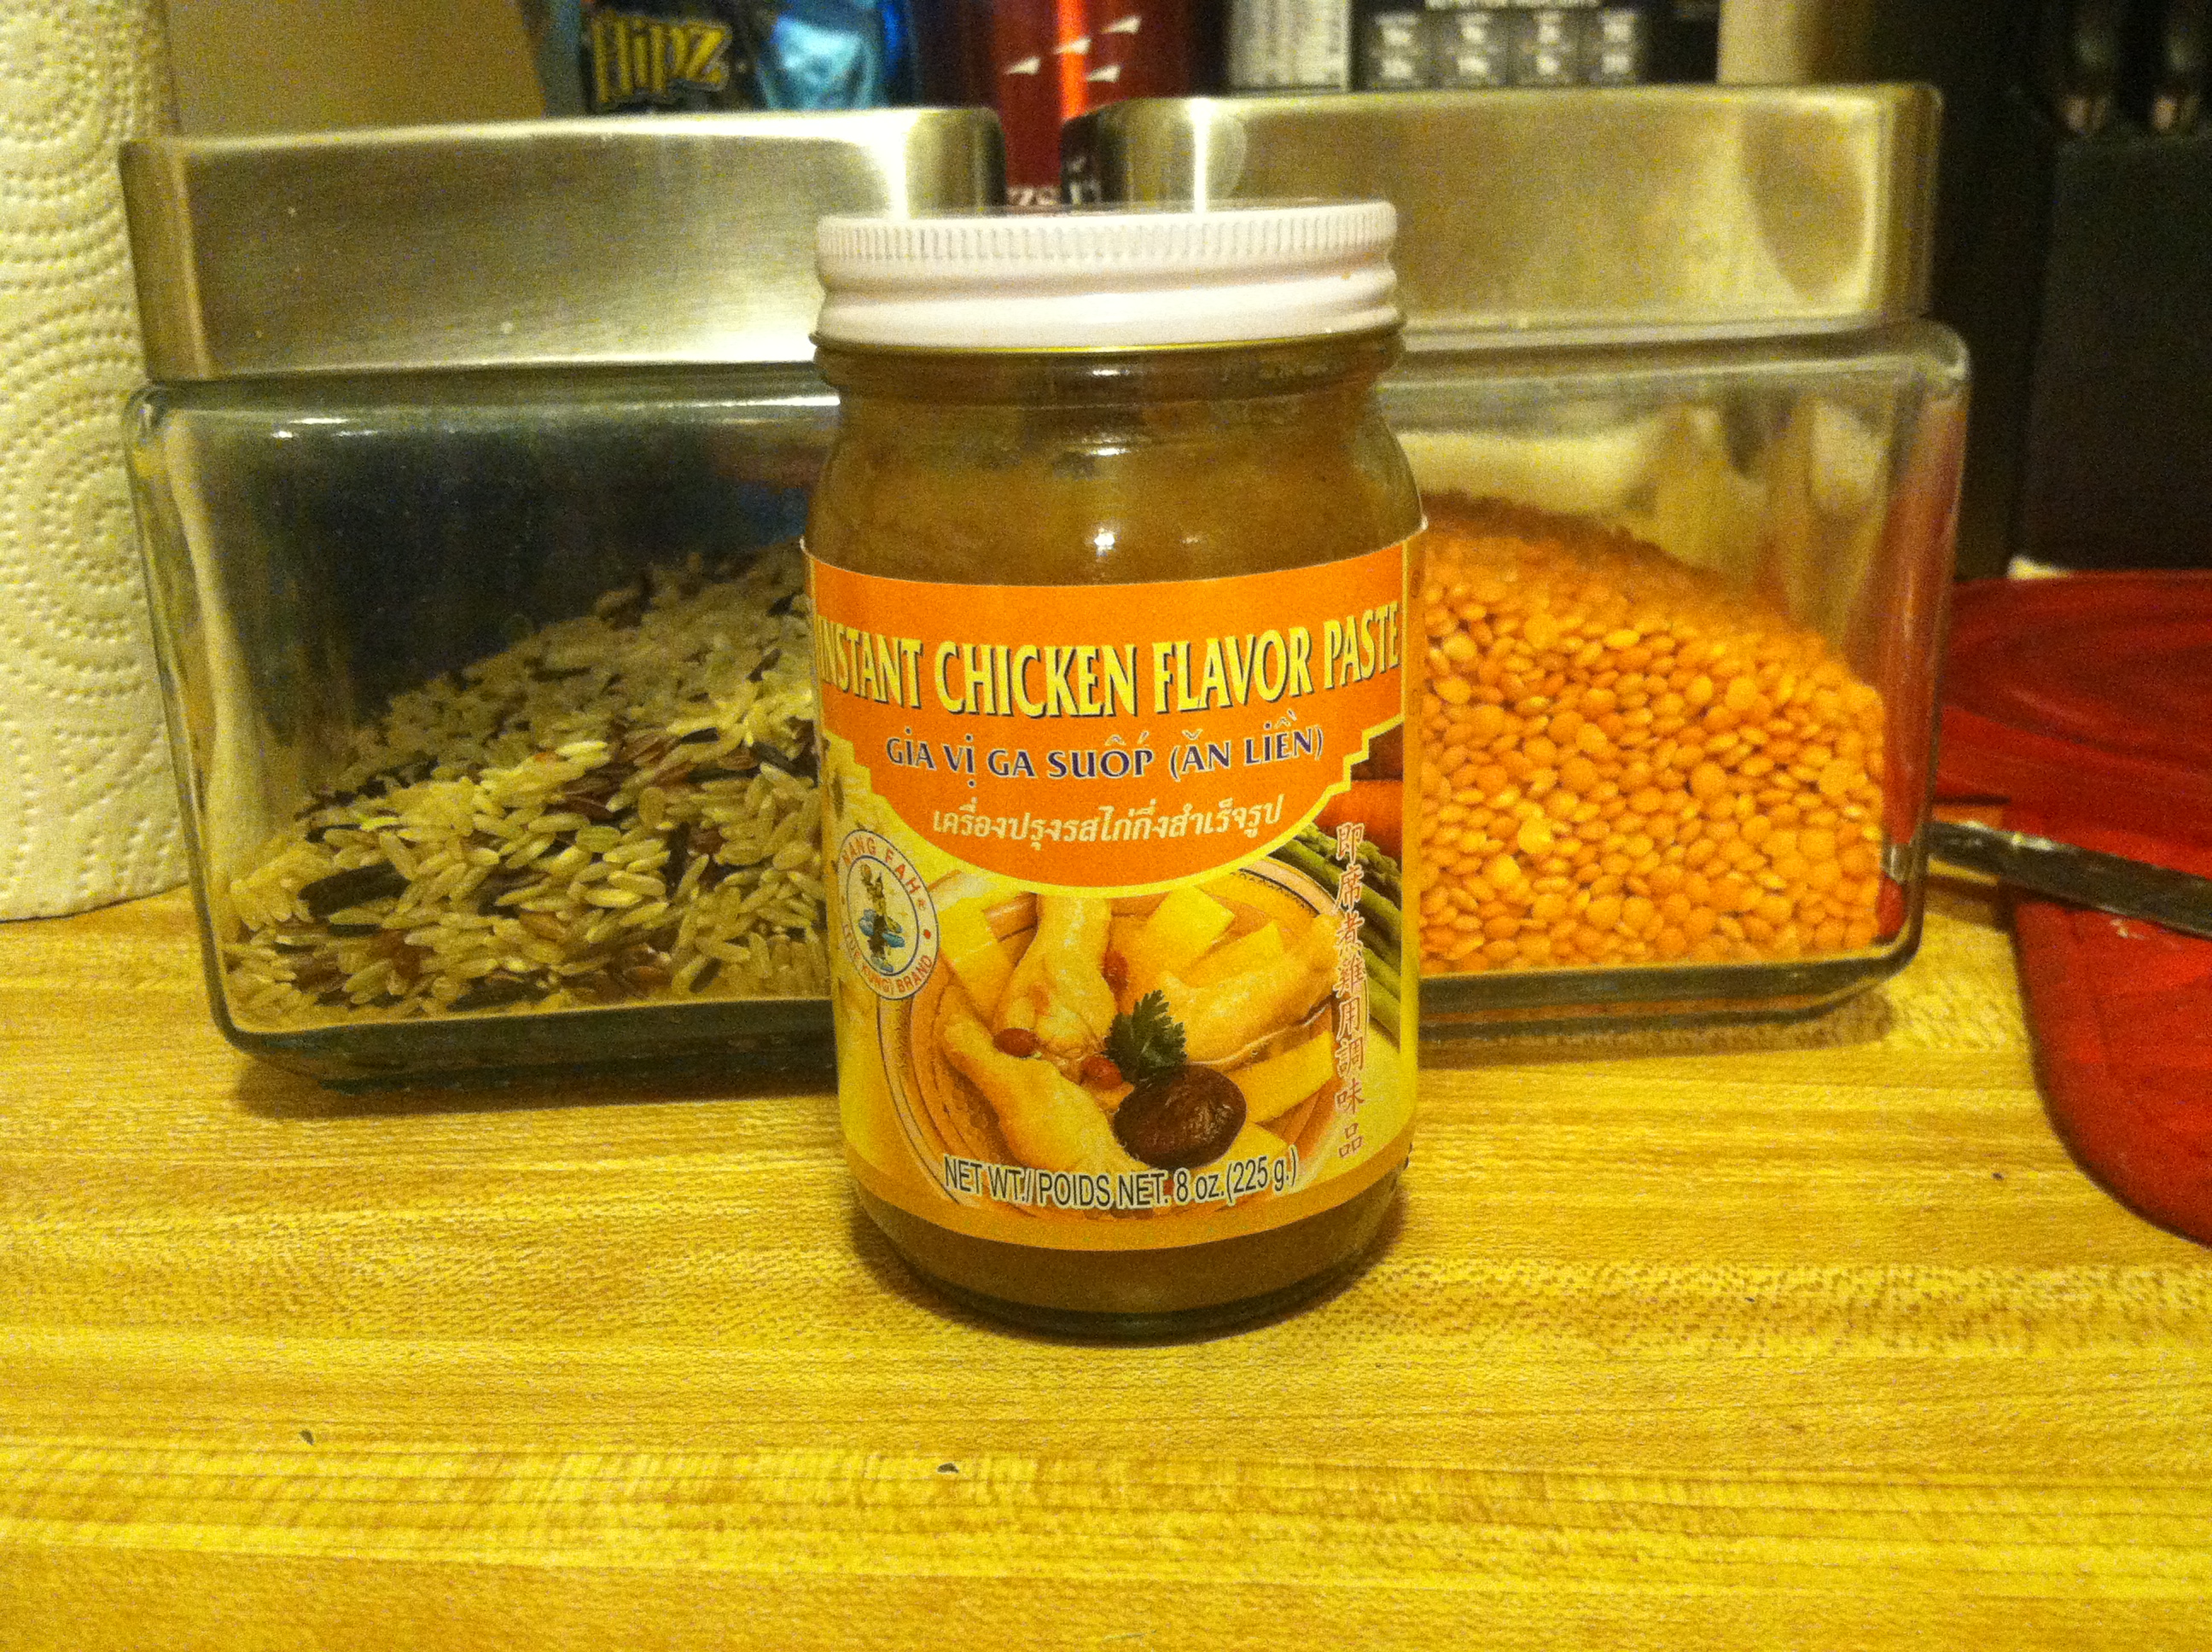
IMG_6231

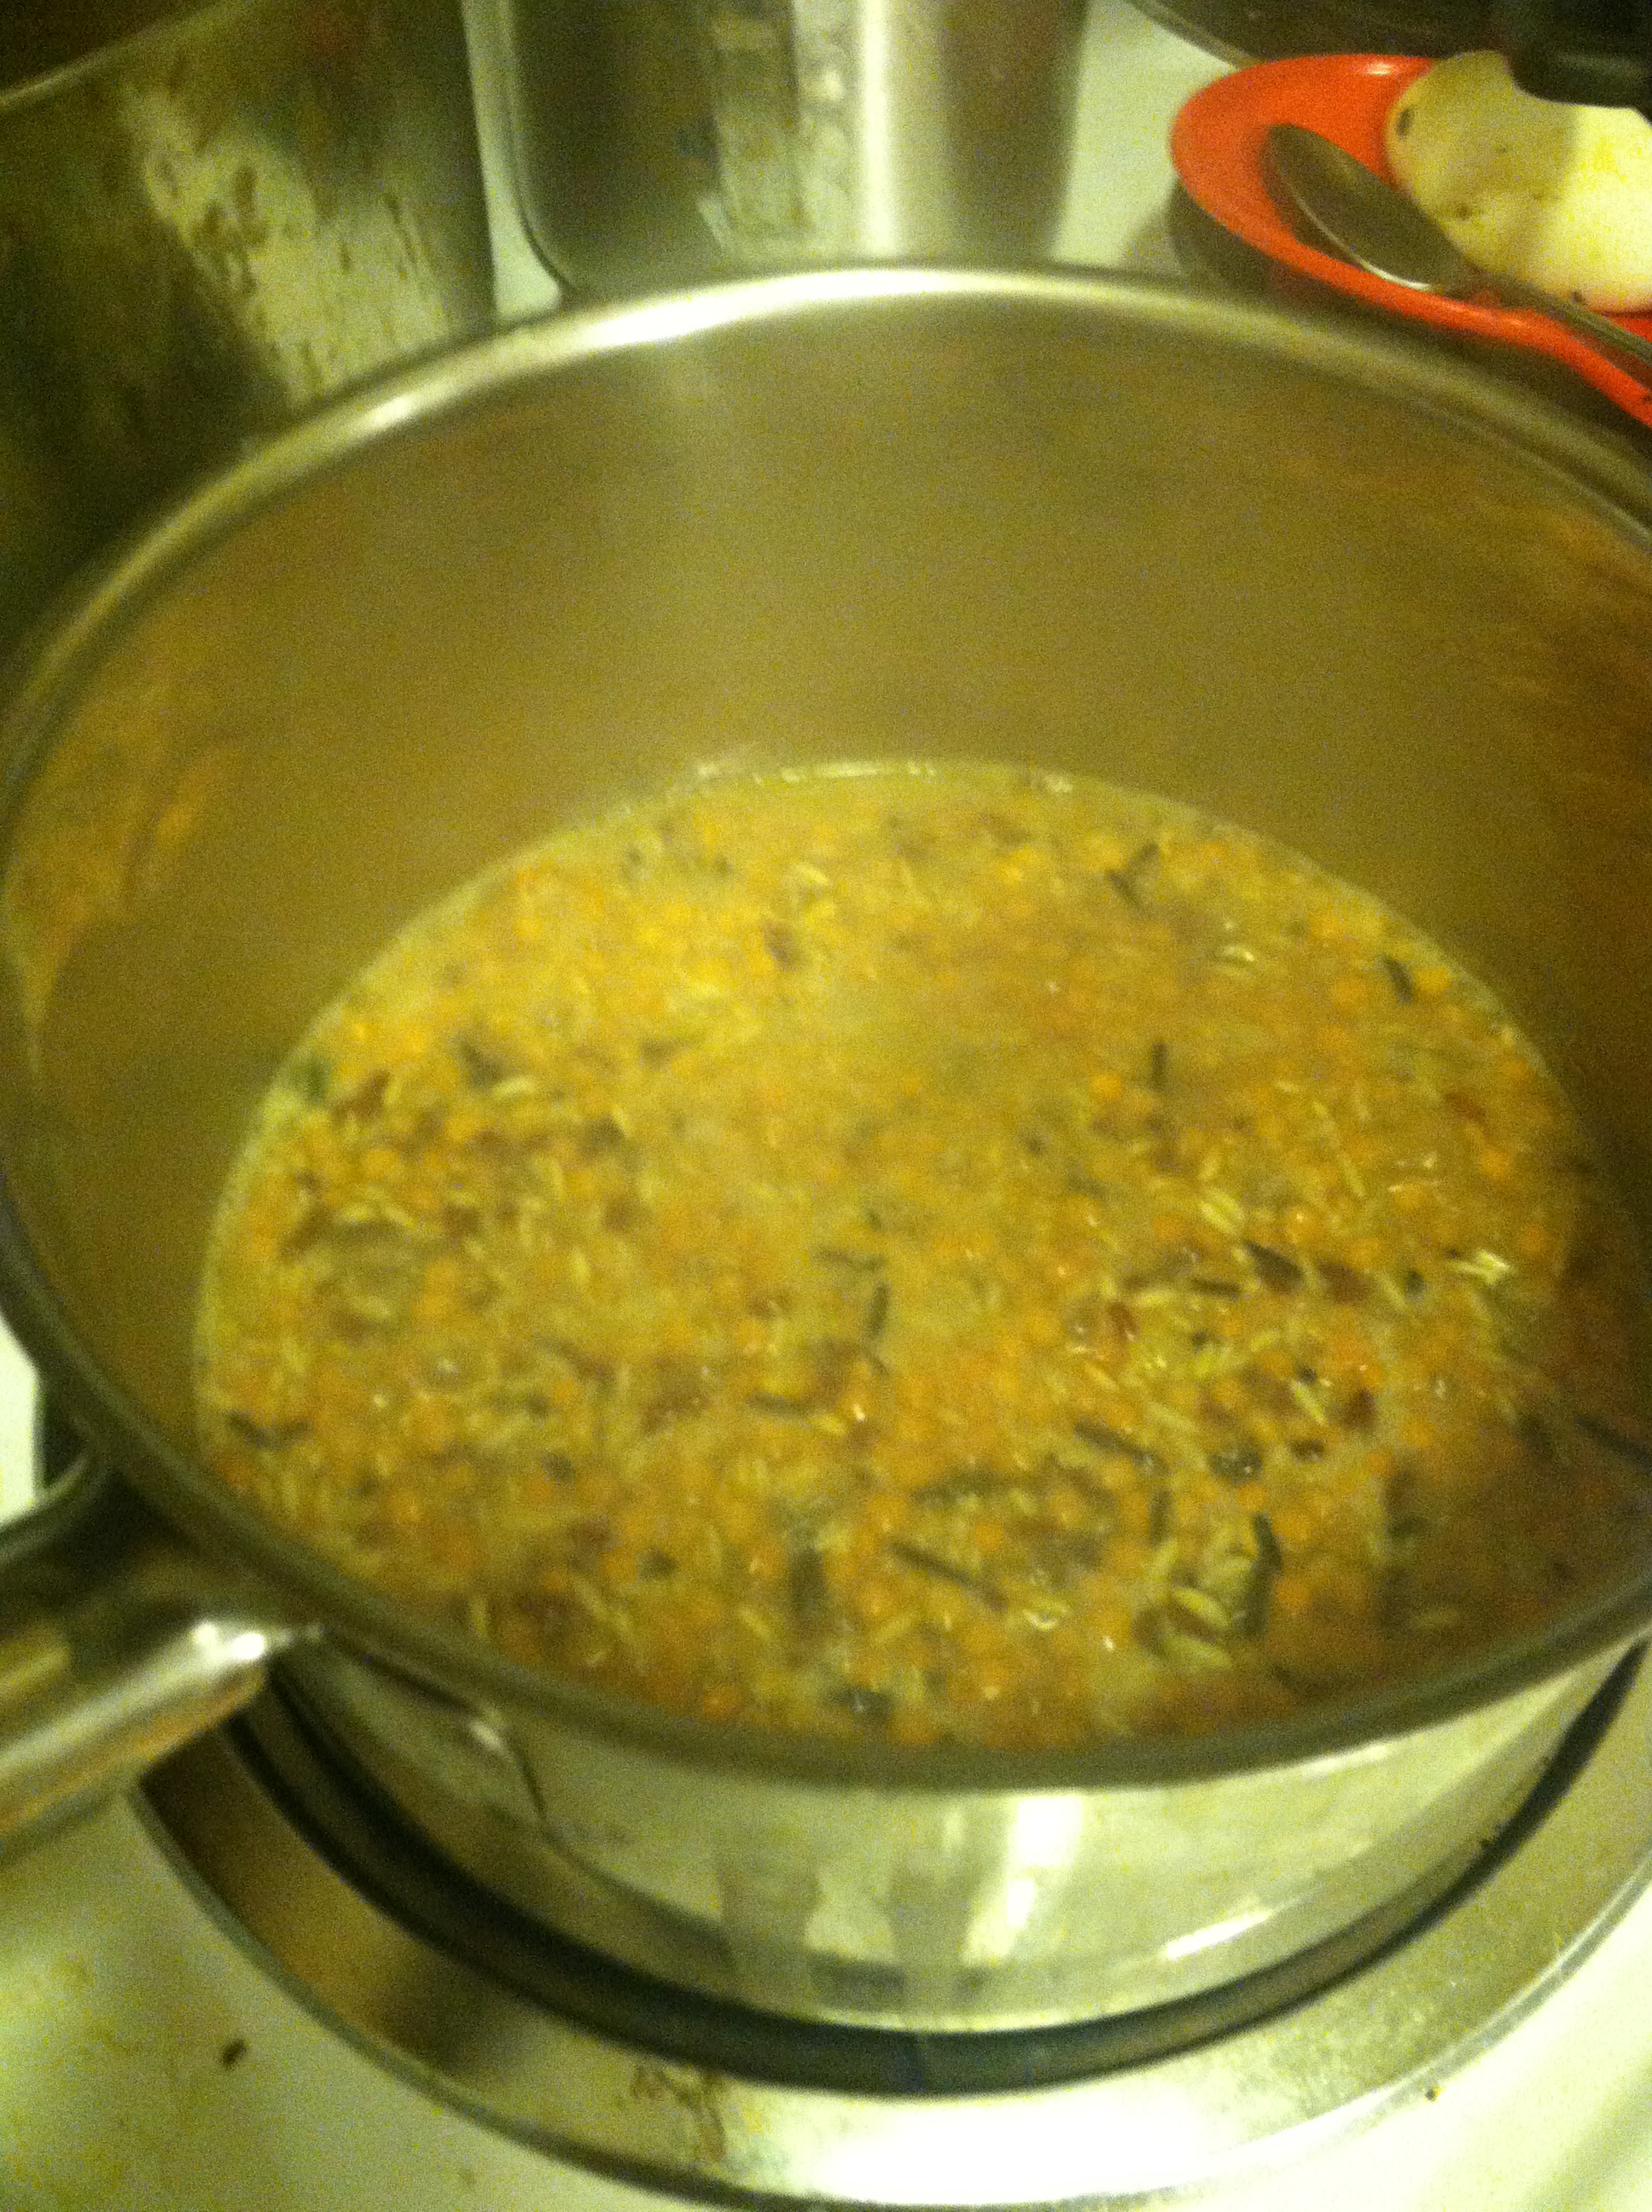
Step 1: In a small pan, mix the rice and lentils with the water or broth. Bring to a boil, then simmer 30-40 minutes. Stir frequently to avoid sticking, and add water if needed.

IMG_6232

Step 2: Slice the onion and pepper thinly, and cook in the oil in a pan over medium heat until softened, about 5-10 minutes.

IMG_6235

Step 3: Take the lentils and rice off the heat and put into a large bowl. Mix in the cooked veggies and meat if using. You could also add in any fresh herbs if you want, like parsley, sage, or garlic.

IMG_6237

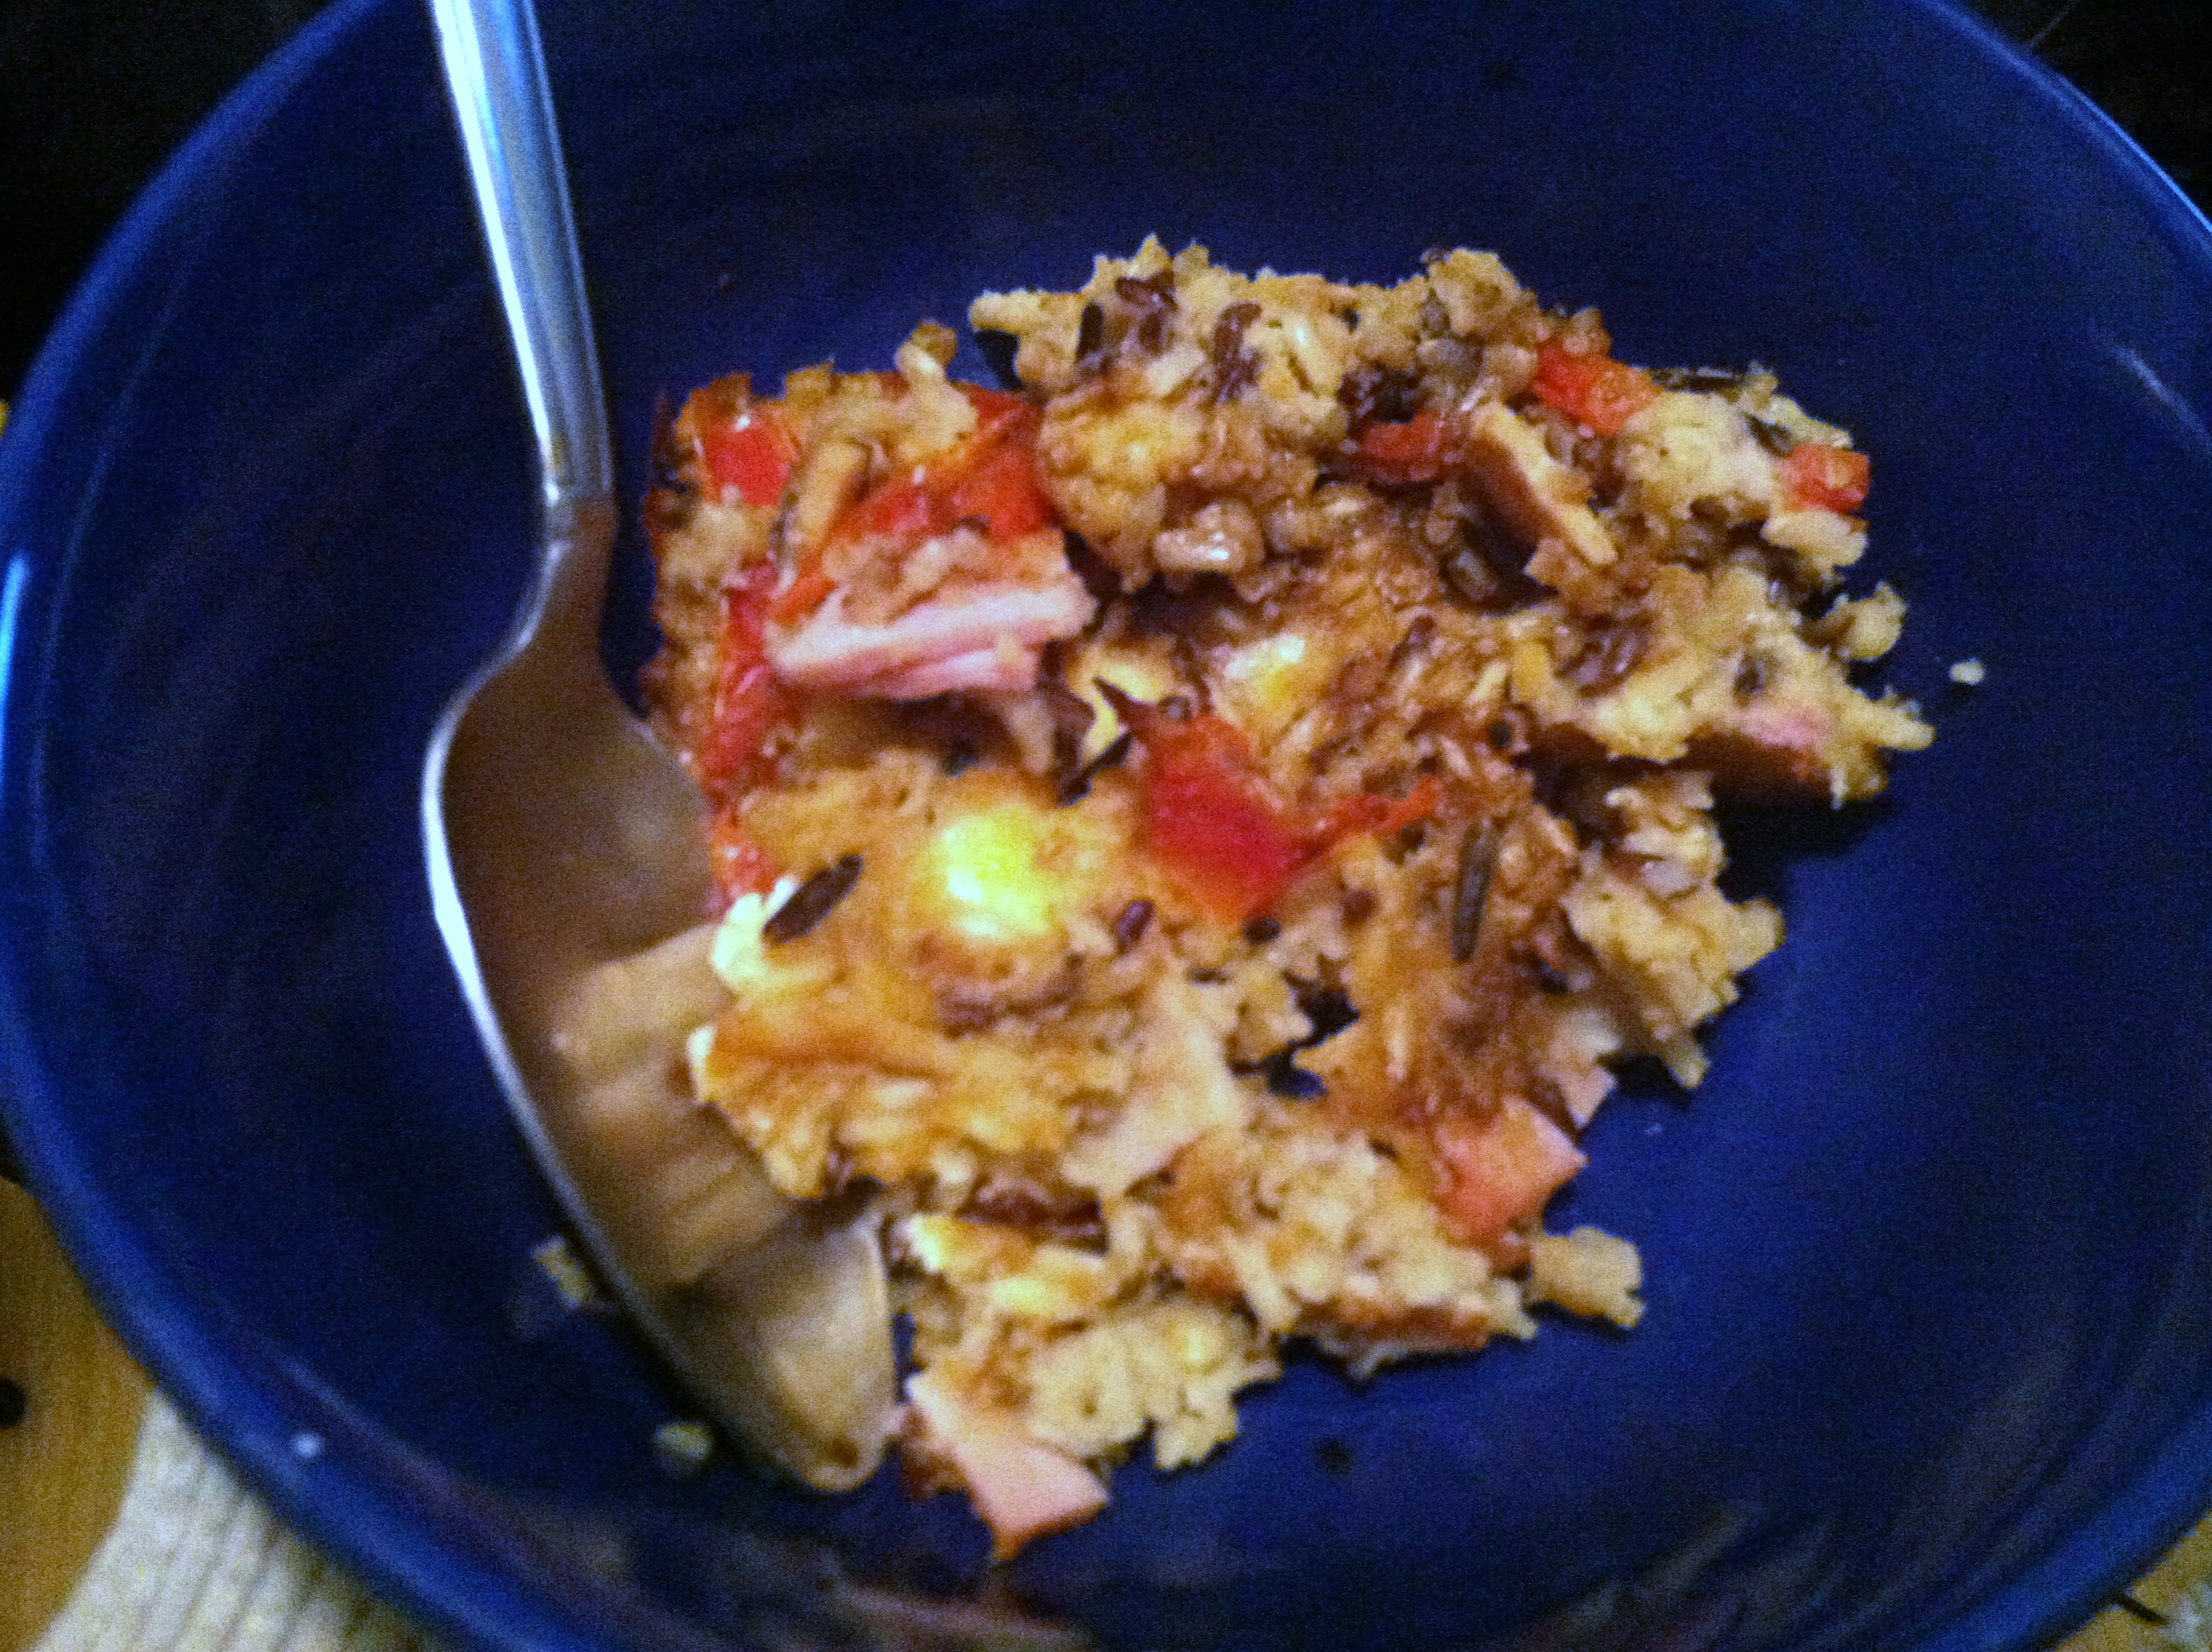
Step 4: Pour the rice and lentils into a greased 8×8 pan, and bake at 350 for 20-30 minutes uncovered. This develops a nice crisp coating on the rice bake.

This makes about four hearty servings. Even the picky carnivore loved it!


This page contains links to Amazon Affiliate products.

By clicking on these links and purchasing products you use every day, you help pay the bills and keep the Budget Epicurean bringing you hot, fresh, tasty ideas for your waistline and wallet.

I earn a small commission from each purchase, without affecting the price you pay. Thank you.


[amd-zlrecipe-recipe:1]