Category Archives: Main Dishes

Crockpot White Bean Chicken Chili

Chili is definitely in my top ten favorite winter dishes. I suppose really all year, but especially in winter it’s nice to cook up a hot batch of thick, delicious chili to enjoy at the end of a chilly day. (See what I did there?)

There are also endless variations, from vegetarian chili, to Skyline chili like in southwest Ohio (go to Columbus or Cincinnati and have some if you don’t know what I’m talking about), chili over noodles, meatless chili, bean-less chili, sweet chili… you get the idea.

There are chili cook-offs all over the nation, there is even an International Chili Society. That’s how serious some people take this stuff. Their webpage explaining the history of chili is pretty fascinating.

Now, hardcore chili con carne people who believe beans have no place in chili and pasture raised longhorn beef is the only meat good enough to earn the name, will not like my laissez faire approach to chili. I’ve been known to throw in all manner of vegetables, use various preparations of tomatoes besides juice, and use all kinds of types of meat.

This version is a kind of white bean chicken chili, but it got a little Jen makeover, as most things coming through my kitchen do.

Ingredients:

  • 2 large boneless, skinless chicken breasts
  • 1 can diced tomatoes with chilies
  • 1 can corn
  • 1 can navy beans
  • 1 can kidney beans
  • Dash chili powder
  • Optional: 1/2 cup milk


Step 1: Spray the Crockpot and add the chicken breasts. Turn it on low.

Step 2: In a blender or food processor, liquefy the can of kidney beans (or any other type really. This just adds a thicker, creamier texture) after you drain the can. Add water or some milk if you need to.

Step 3: Add the liquid beans plus all the other cans, milk, and any spices you want. (Garlic, onion, hot sauce, etc)

Step 4: Cook on high 4 hours or low 4-6. Take the chicken breasts out and shred them with two forks. Put back into the chili, stir and let sit another hour or eat immediately.

Top with whatever you like. I used plain Greek yogurt and shredded cheese, but salsa, cornbread, or avocado would also be delicious.

This chili is such a perfect combination of creamy and light. It has just a hint of spice from the diced tomatoes with chilies, but you could kick it up a notch easily by adding jalapenos or other peppers, or sprinkling on some hot sauce.

You could also use two cans white beans, kidney, black beans, whatever you have in the pantry. I’d really recommend not skipping the pureeing though, it totally adds that little ‘something’. I had leftovers for three days, and was not upset about it!

What’s your favorite kind of chili?

Chicken Liver Pasta


Now I may have lost many of you on the title alone. But trust me. Have I ever steered you wrong? If you hate liver & onions, that’s ok. If you’ve never had liver, then you can’t say you don’t like it!

Liver is an extremely inexpensive meat per pound, because most people don’t know what to do with it, or don’t like it. Their loss is my gain. And yours.

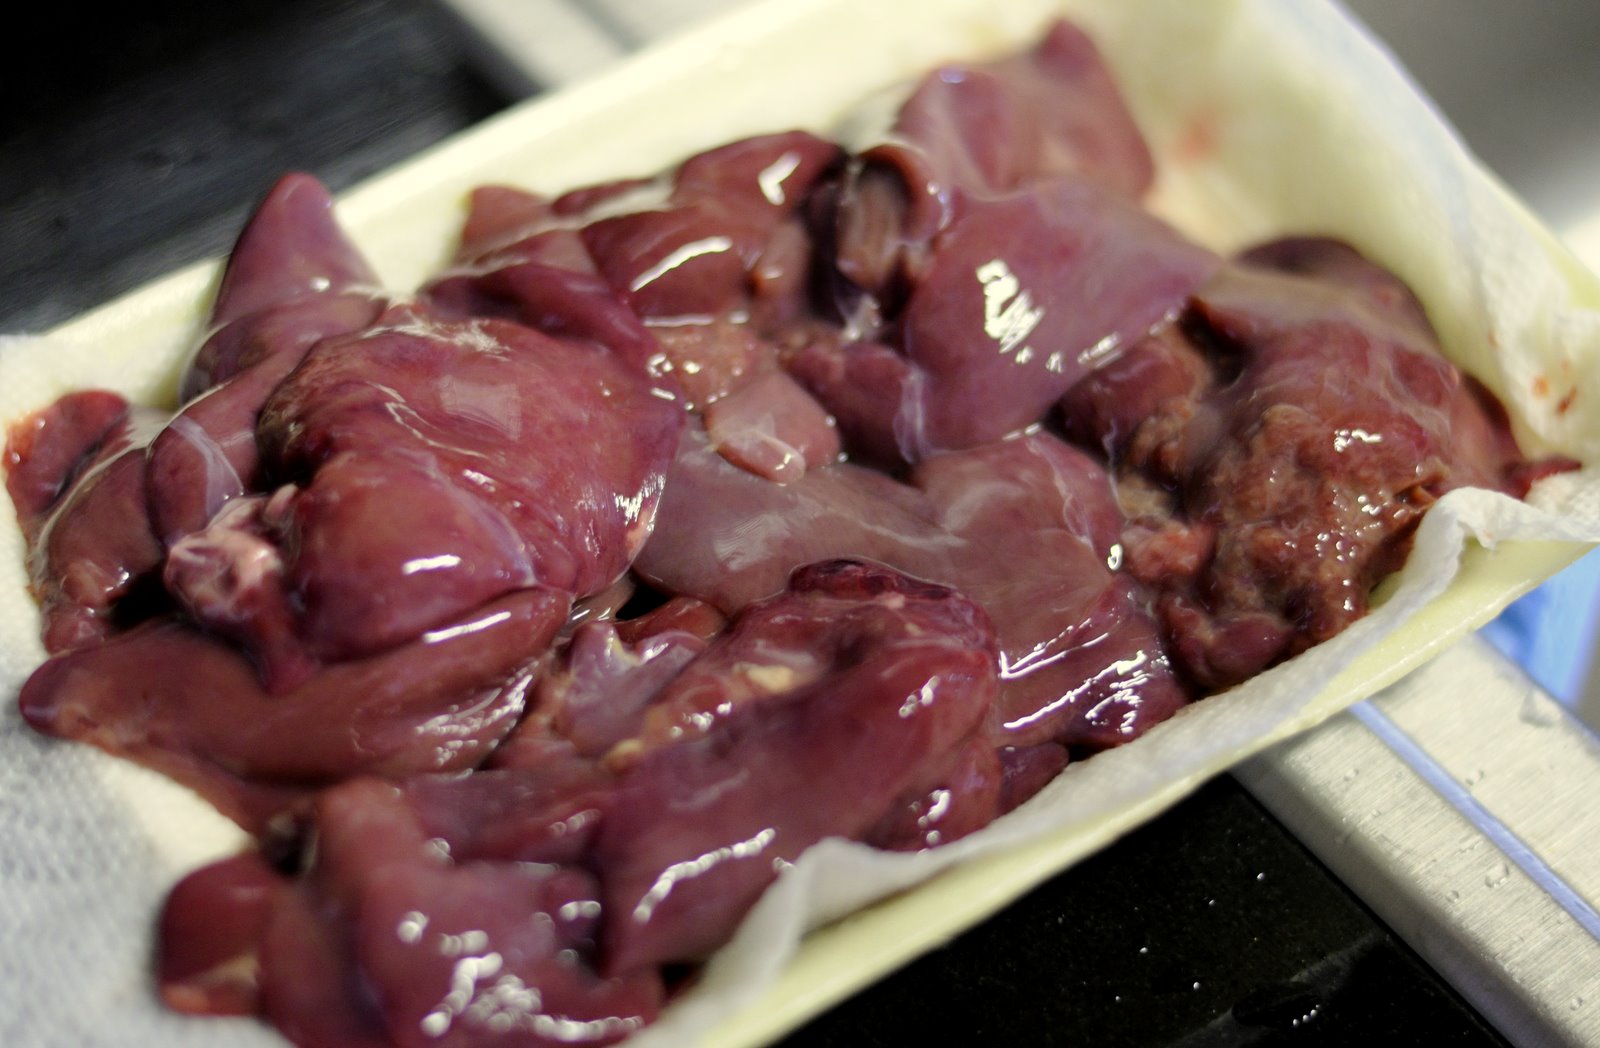
IMG_6428

Beef liver is what liver & onions is typically made from, because it is much larger. Chicken livers are a lot smaller, and are perfect for this recipe which requires blending them into a sauce. They cook up quickly, and easily fit in the blender. It is up to you, I imagine beef liver would taste similar.

Organ meats (offal) were traditionally a large part of many cultures. However it seems they are not thought of much and even spurned in today’s society; where we can all basically afford whatever cut we want. But every animal killed for a steak, wing, or ham contains edible parts like the liver, kidney, and even heart.

Some avoid liver because they are concerned that it stores toxins, since the liver’s main job is to detoxify chemicals and drugs in the body. Chris Kesser sets the record straight: “While it is true that one of the liver’s role is to neutralize toxins (such as drugs, chemical agents and poisons), it does not store these toxins. Toxins the body cannot eliminate are likely to accumulate in the body’s fatty tissues and nervous systems.”

So eating liver will not cause you to ingest a bunch of toxins. It will cause you to ingest large amounts of all kinds of vitamins and micronutrients though. Gram for gram, liver has more copper, iron, vitamins A, C, D, and E, B vitamins, and P, K, Mg than apples, carrots, or lean red meat in most cases combined.  Of course, where the liver comes from is important. A grass-fed, naturally raised cow’s liver is much healthier than a CAFO animal fed antibiotics, growth hormones, corn, and packed in too tight to lie down.

If you are lucky enough to already like liver, rock on! Keep eating that superfood. And hopefully you will love this recipe, as a new and exciting way beyond the typical onions or pate to enjoy liver. If you don’t like liver, give this a try anyways and see what you think. Blended up with other veggies and pasta, you may not even notice. Look for it in the frozen section if you can’t find it in the meat aisle.

Ingredients:

  • 1 pound pasta (I used bowtie)
  • 1 pound chicken livers
  • 1/4 cup cream or milk
  • 1 can diced tomatoes
  • Handful chopped kale or spinach
  • Garlic salt
  • Grated Parmesan cheese

IMG_6427

Step 1: Boil the pasta for 7-9 minutes. While that’s boiling, cook the livers over medium heat until only slightly pink, then turn heat off. Drain pasta and put in a large fry pan.

IMG_6431

Step 2: In a blender, combine cooked livers, milk, and garlic salt to taste. Blend well and coat pasta. Add in can of diced tomatoes and greens. Cook another 10-15 minutes, until greens are wilted and everything is heated through.

IMG_6429

Serve with a sprinkle of Parmesan cheese on top. That last tiny hit of saltiness really makes this sing. It is a bit gamey, but I absolutely loved it! Which is good, because it made about four meals’ worth for me.


Do you ever eat liver? If so how do you cook it?

New Years’ Day Lucky Tradition: Kielbasa and Sauerkraut

It’s almost 2014! 

I must admit I am a huge fan of almost all edible things pig. Bacon of course is in a league of its own. But ribs, chops and roasts are also all delicious and versatile to prepare. For New Year’s Day, my family has always had kielbasa and sauerkraut for good luck. You could also make a pork roast and sauerkraut.

According to a Nosh blog, the reason for this good luck is because pork from a “fat” pig represents an abundant year to come, and the sauerkraut from ‘green’ cabbage represents wealth. Thinking about this tradition made me wonder what was in sauerkraut and where it comes from. This lead to hours of research into the various parts and cuts of pork.

Stay tuned after the recipe if you want to know more! =)

Kielbasa & Sauerkraut Recipe

  • Ingredients:
  • 1 small pork roast (2-4 lb) or 2-4 pounds kielbasa
  • 1 bag of sauerkraut (or jar, or if you’re ambitious you can ferment your own)
  • 1 can/bottle of beer, 12 oz
  • 1 cup brown sugar

Step 1: Place roast or kielbasa in a slow cooker. Mix the beer and brown sugar. Pour over the pork, then cover with kraut. Cook on high for ~4 hours or low 6-8 hours.

Enjoy on NYD! May your 2014 be full of success and joy.

Photo from Pressure Cooking With Lorna Sass
Pork roast & sauerkraut on NYE


So what about the rest of the pig?

Generally speaking, pork tends to be less expensive than beef. For reasons I won’t discuss in this post, it is always a good idea to look for humanely raised pork, or best case scenario to be part of a CSA (which stands for Community Supported Agriculture) and get part of a farm-raised pig. Find one near you here.

They usually raise a set number of pigs based on how many shares are purchased, then will slaughter them and divide up the meat for you. However, I understand most people don’t have the time, space, money, or energy to commit to a half or whole pig, wait half a year, then bring home a hundred pounds of meat in various cuts and store it. Therefore, this is more of a guide to what you’ll find at a typical grocery store and what you can do with it.

This photo is from CloveGardens website and shows the various cuts of pig.

The CloveGardens site also has photos of every cut of meat, including less well-known cuts and parts you wouldn’t normally think of using like the feet, snout, and organs. If you’re feeling adventurous you can ask your butcher, or try an ethnic market. The most typical cuts you find at a North American grocery store are chops and roasts. 

Ham

This is the upper part of the thigh, and is what we think of when we think of a holiday ham. Often oven roasted and marinated or glazed. Holds up to slow cooking methods, and tastes great paired with sweet glazes like brown sugar, maple, honey and/or pineapple.

Pork Chops (aka pork loin end chops, center loin chops, rib chops, end cut chops, top loin chops, pork blade chops)

Many different cuts of meat can be called pork chops. They can be bone-in or boneless, in various sizes and thicknesses. Typically, thicker-cut chops with the bone still in tend to be the juiciest and most flavorful. These are great for pan-frying and grilling. Boneless chops are also great for frying or grilling, but can fall apart easier in longer methods like slow cookers or braising. Pork blade chops are from the blade roast, and tend to be fattier and tougher than chops from other cuts. They can be tenderized by marinating beforehand, and can be cooked with longer methods.

Pork Roast (aka pork tenderloins, rib roasts, pork legs, top loin roast, sirloin roast, hipbone roast, end roast, butt and shoulder-see below)

Like chops, there are many cuts that get sold as a roast. They are defined as cuts which stand up well to oven or slow cooker roasting. 

Pork Rib Roast(aka pork center loin roast, pork roast)

The ribs can still be inside or the ribs may have been removed. These cuts are extremely flavorful and juicy, but still pretty lean. If you want to cook it with the slab of attached fat for flavor, simply carve it off before serving. 

Pork Blade Roast (aka pork rib end roast, rib end pork loin, 7-rib or 5-rib roast)

The blade roast comes from the back/shoulder areas, and is fattier than most other cuts. This makes it less expensive but very flavorful. If the bone is still in, you can ask the butcher to crack it between the ribs to carve it easier.

Pork Loin (aka tenderloin, loin chop)

Cuts from the loin come from along the back and sides of the spine and are the leanest, most tender cuts. This makes them easy to overcook, so try to avoid long cooking times. There are three sections, the Blade end, Center portion and Sirloin end. The Blade end is closest to the shoulders and like the Blade Roast tends to be fatty. The Center portion is in the middle, it is the leanest and most tender, which makes it usually the most expensive. The Sirloin end is nearest the rump, and is typically bony and lean. All can be pan-fried, braised, or slow cooked.

Hocks and Shanks

This is the shin area of the pig’s legs. A hock with skin removed is called a shank. They are often smoked, and make good additions to soups to add flavor. 

Pork Ribs 

The ribs are generally cut into three seperate sections, all of which are great for smoking, braising, oven roasting, or grilling. And all are great slathered in BBQ sauce. Country-style ribs or pork blade end ribs are the meatiest and fattiest of cuts, but they aren’t as easy to eat with your fingers. They can be bone-in or boneless. Pork back, or baby back ribs are the middle ground of meatiness and easier to pick up. Pork spareribes are the least meaty, but have the most popular texture for finger foods. They are tender-chewy, and are the least fatty cut.

Pork Shoulders & Butts

Though named differently, both cuts are from the shoulder of the pig. Technically they are different cuts. The “butt” (aka Boston butt or shoulder) comes from a thicker section with more marbling. This makes it ideal for pulled pork or other barbecue styles. The “shoulder” is usually the triangular piece of meat attached to the butt. Both are great braised, slow roasted, BBQ-ed, slow cooker style, or in stew. They can essentially be used interchangeably.  

Bacon and Sausage

Ahhh the longtime favorite, bacon is unique in taste and is revered worldwide for it meaty, smoky deliciousness. Used to flavor all types of dishes and soups, as a centerpiece of breakfasts, and wrapped around just about anything, bacon is a versatile meat. It does not come off the hog looking like bacon. First the ribs and belly are removed from the loin. The belly here does not refer to the actual stomach but rather the fatty underside of the pig. The spare ribs are cut away, then the pork belly is sent through the long process of curing, smoking and eventual slicing up into bacon. Sausage on the other hand, can be made from just about any part of the pig that is not used elsewhere. Anything that was left from de-boning other cuts, high quality meat that can’t be turned into a roast or chop, or pieces that didn’t end up elsewhere all get mixed together. They are seasoned in various ways and ground, sometimes multiple times. This is then sold as bulk sausage, patties, or put into casing for links, most often the pig’s own intestines. (Seriously).

For a great, thorough article on the various parts of the pig and how to use lesser known cuts see this website for Sugar Mountain Farm in Vermont, which has its own USDA approved butcher site on the farm. They use as much of the whole pig, nose-to-tail, as they can, which I totally approve of!

For an article which sub-divides these types of cuts even further and includes photos, see here. They also have pages for cuts from beef, lamb, and veal if you’re curious and I don’t cover them soon enough. 

If you have a solid stomach and want to see photos and a description of each step in the pork processing process (redundancy, check), check out this blog post from Chico Locker & Sausage Co.


Nutrition information such as calories, protein and fat content will vary greatly depending on the type of cut and how it was prepared. According to Nutritioninfo.com the average nutrition data from one pound of raw meat cooked is:

Pork contains plenty of protein, iron and selenium and no gluten. However it is high in cholesterol, so you should try to control portion sizes to 3-6 oz per serving, and as in all things use moderation. Pork is safe to eat when cooked to an internal temperature of 160 F, so use a meat thermometer if you have one. Generally speaking, when oven roasting you should cook it at least a half hour per pound of meat. 

Do you have any New Year’s Eve or Day traditions?

Thanksgiving Meal Under $20


The time of giving thanks is approaching! Everyone knows the beloved American holiday featuring a rather large, ugly bird. Kids drawn pictures of feathered Native Americans and buckle-hatted Pilgrims gathered around the cornucopia and a turkey drawn from your hand’s outline. 


But like most American holidays the original meaning has become commercialized and veered a bit from the original. The first Thanksgiving meal happened in fall of 1621, sometime between mid-September and mid-November. It was to give thanks for a successful harvest, and the Pilgrims joined the local Wampanoag tribe to eat fowl, fish and deer, and probably local plants like berries, plums and boiled pumpkin. 

After that, it was not immediately a national holiday. That didn’t happen until George Washington proclaimed Thursday, November 26, 1789, a “day of public thanksgiving and prayer” in honor of our new nation and brand new Constitution. Even then the holiday was not a set annual day. During Lincoln’s presidency, when he needed a way to unite the states, he turned to Sarah Josepha Hale, writer of the famous “Mary Had a Little Lamb” rhyme. She thought the holiday would be a way to infuse the nation with hope and belief in itself and the Constitution. Thus Lincoln declared the last Thursday in November a national holiday.

FDR caused a bit of a ruckus when he tried to change the date, causing TWO Thanksgivings in 1939 and 1940. Sounds awesome, two days of paid vacation, stuffing yourself and football right? Not so much, because some states kept the traditional date while others followed the President. Thus it caused some familiar discord as people had different days off, schools had to reschedule tests and vacations, and it sure is lucky airplanes weren’t around yet, because that would have caused a lot of date-change booking fees. Congress finally got around to making it into law that the fourth Thursday of November was the official and forever Thanksgiving Day.

If you’re heading into T-Day with a lot of things to be thankful for, but a large bank balance isn’t one of them, fear not. You can still have a stellar feast, and for less than an Andrew Jackson. 


Now, for the remainder of this post I will make a few assumptions. Don’t be offended if they don’t apply to you. Adjust the advice accordingly.

1. You will be feeding 2-4 people.
2. You want turkey and not a ham.
3. You want the most “traditional” American dishes.
4. You have twenty dollars.
5. You have basic cooking equipment and knowledge.
.

Ok, so for the “traditional” American feast, the most common dishes are:
*The Turkey
*Stuffing
*Mashed Potatoes
*Green Bean Casserole
*Cranberry Sauce
*Pumpkin Pie
.
That’s what we need to make, as inexpensively as possible. If those don’t sound right or aren’t quite what you want, try here for thousands more Thanksgiving day recipes. 
.
*The Turkey (free – $7)
Here we have a few options. You aren’t likely to find a whole bird under $20. There are a few ways around it. Some stores run specials leading up to T-day such that you purchase a certain amount of groceries and get a free bird. If you had planned spending $100 in groceries into your budget anyways, pick up that free bird! If not, you still have choices. One option is to purchase only turkey drumsticks rather than the whole bird. I just saw these at a store, four drums for $5-7. Your other option is to purchase mini hens/ducks or a whole chicken. If the people you’re cooking for won’t care what type of fowl they eat, this can get you a bird for $4-7 as well.

*Stuffing ($1 – $3)
If you’re good with boxed types, keep an eye on sales. These can be picked up for $1 or less per box, and you’ll probably need at least two. If you want to make your own, you’ll need a loaf of stale bread, 2 cups stock, seasoning, and 1 cup diced & sauteed celery/carrot/onion. all together the ingredients shouldn’t cost more than $3. Mix it all and bake at 350 inside the bird or in a casserole dish for 30-40 minutes.

*Mashed Potatoes ($1 – $3)
Again, if you don’t mind the boxed stuff, I’ve seen this at the dollar store as well as on sale for $1 or less. To make your own, peel and dice about a pound of potatoes per person. Boil the potatoes in salted water until soft, about 10 minutes. Drain and put back into the pot. Mash or use a hand blender. Add in garlic salt, butter, sour cream, and/or milk to your desired taste and consistency.

*Green Bean Casserole ($2)
A good old stand by favorite, this is nothing more than a can of cut green beans mixed with a can of cream of mushroom sauce. If you’ve been good about sales you should be able to get at least two cans of each for less than $2. You can also be fancy and use a pound or two of fresh green beans, cleaned and boiled. The fanciest is to add some french friend onions or crushed potato chips on top.

*Cranberry Sauce ($1 – $2)
Buy a can of this jello like fruity goop for $1 or less, it will probably not all be eaten. Or you can get yourself a bag of fresh cranberries on sale. Mix 1 cup water, 1 cup sugar and the cranberries in a sauce pot. Bring to a boil, then simmer for about ten minutes, or until cranberries burst. At this point you can add anything you like, such as cinnamon or nutmeg, chopped almonds or pecans, orange zest or blueberries or raisins. Cool and then put in the refrigerator until served.
.
*Pumpkin Pie ($1 – $3)
If you get lucky and find a frozen or fresh pie on sale you like, go for it. However if you want the homemade touch, take 1 can pumpkin puree, 1 can sweetened condensed milk, 2 eggs, and pumpkin pie spice (or combination cinnamon, nutmeg and allspice) and a pie crust. Mix all ingredients and pour into the crust. Bake at 425 for 15 minutes, then reduce heat to 350 and bake another 30-45 minutes, until set.
.
Total: $6 – $20
.
So you see you can indeed enjoy an all-American thankful feast for under $20. Also of note, there are lots of things that go on deep sale during the holidays that you use other times of the year. If you’re an avid baker and find a 4 for $1 sale on condensed milk, snap that up! If celery is .50 per pound, buy a whole bunch and freeze some for soup, or use it at Christmas. Especially if you have a big freezer, when the birds left are taking up space the day after Thanksgiving, head to the grocery store after your Black Friday shopping for steep discounts on fowl, and freeze it for Christmas or any time of the year. Happy bargain-hunting!
.

If you have any budget-friendly holiday tips, please share!
.

Also if you’re willing, please take this short survey to help me improve this blog for you, the readers.  https://www.surveymonkey.com/s/H6PVBY9 

Sausage gravy & biscuits


If you asked my family if ever they thought they’d see the day where I not only willingly ate sausage gravy and biscuits, yet alone cooked it myself, they would call you crazy.

For the longest time I was very against sausage in any form; ground, patties, links. Well, I’m living proof that tastes change over time. The more times I tried sausage gravy & biscuits, the more I liked it. However, I am also aware that commercial gravy is horrific for you. I had a can of biscuits in the fridge and sausage was on sale $3/pound at my farmer’s market.

I couldn’t resist buying a nice, fresh ground pound of sausage and trying my hand at this artery-clogging breakfast favorite. Turns out, it is actually quite easy. I did cheat and use canned biscuits rather than make my own. But the gravy is more art than science, use your own judgment and tastes when adding milk and flour to make it the consistency you want. You could also use cornstarch to thicken it rather than flour for a gluten-free option.

Pro tip: this sausage gravy would be great over just about any meat or grain, like chicken and mashed potatoes, or ham and rice.

Ingredients:

  • 1 pound sausage
  • 1 can biscuits
  • 1 cup milk
  • 4 tbsp flour
  • Salt & pepper

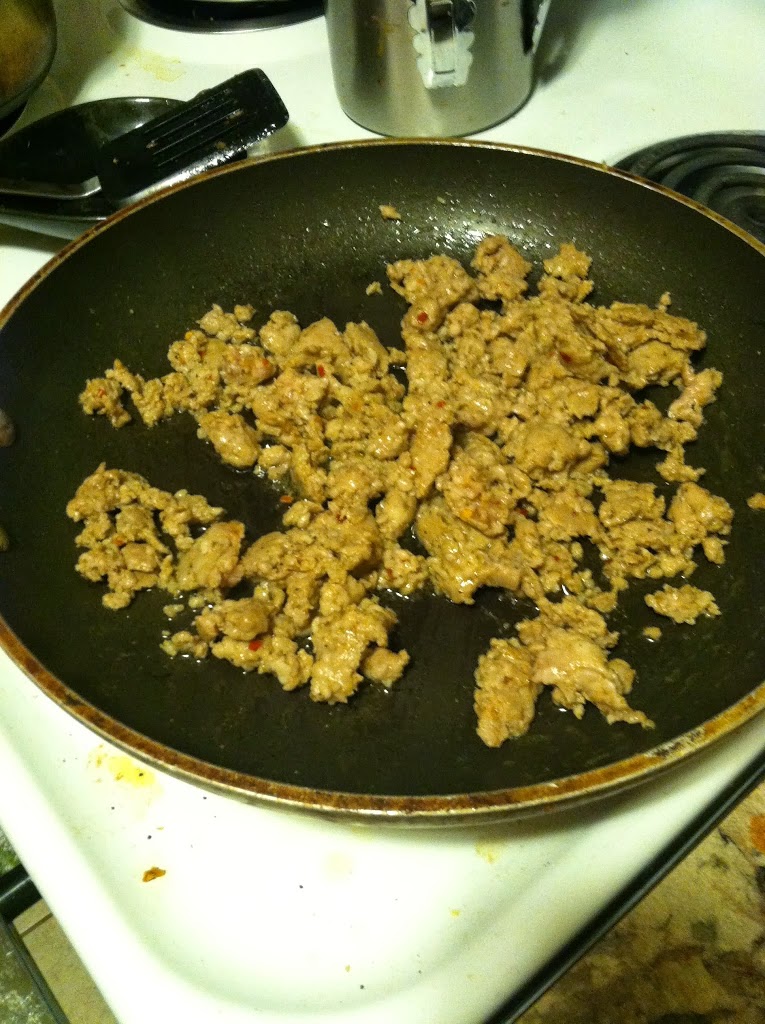
Step 1: Brown the sausage in a frying pan. Once fully cooked, remove the sausage, drain the fat and set aside.

Step 2: Bake the biscuits in a 350 oven for 10-12 minutes.

Step 3: Add the flour to the pan you cooked the sausage in, slowly whisk in the milk. Add all the milk, and bring to a simmer. Add salt and pepper to taste.

Step 4: Add the cooked sausage back in and mix well. Pour over warm biscuits and enjoy!

[amd-zlrecipe-recipe:16]
I can feel my taste buds cheering, and my arteries crying…

Oven Roasted Whole Chicken


When I moved into my new apartment, I went on a stock-up grocery trip as I always do. One thing that was on sale was whole chicken (90 cents a pound or something). Since I had already brined and roasted a whole pheasant, I figured a whole chicken shouldn’t be much more difficult. So I got one and stuck it in the freezer.

Then one day I decided it was starting to get cold enough to count as fall, and chicken soup is great fall weather food! Of course, I roasted the meat and just enjoyed some tasty baked chicken meat first. The carcass is in the crock pot today to make stock for chicken soup.

I took out the bird, made a nice brine*, and roasted it the next day. And it turned out tender and amazing!

*If you don’t want to brine it overnight first, don’t worry about it. Skip right to the roasting part.

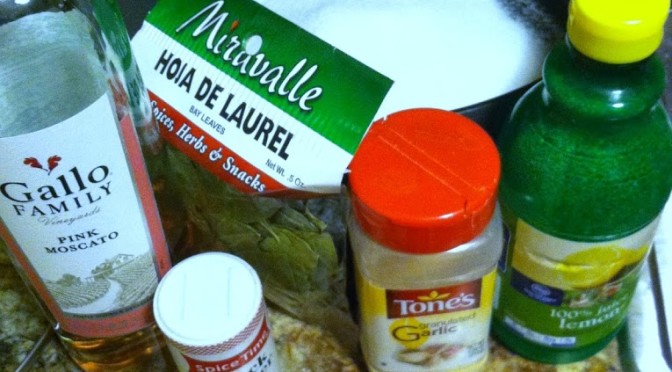
Ingredients for brine:

  • 1 cup salt
  • 1 cup white sugar
  • 1/4 cup lemon juice
  • 1 cup pink moscato (because I had no open white wines)
  • 5 bay leaves
  • sprinkle garlic, sprinkle black pepper
  • About a gallon of water

Step 1: Mix all ingredients in a pot large enough to hold the whole bird. Add water to the top (once bird is added, not before, or you’ll spill everywhere. Not that I’ve ever done that…).

Step 2: Stick it in the refrigerator overnight (or at least for 4 hours. You can put it in there in the morning, head off to work and finish roasting it later that night too). I had to put my milk sideways on the bottom shelf to make room for a day, but I feel it is well worth the space-hogging.

Ingredients for the bird:

  • 1 whole frozen chicken, thawed overnight
  • Several gobs of margerine or butter
  • 1 whole apple, lemon, orange, and/or onion cut into quarters (I used one whole Gala apple)
  • Salt, pepper, and paprika

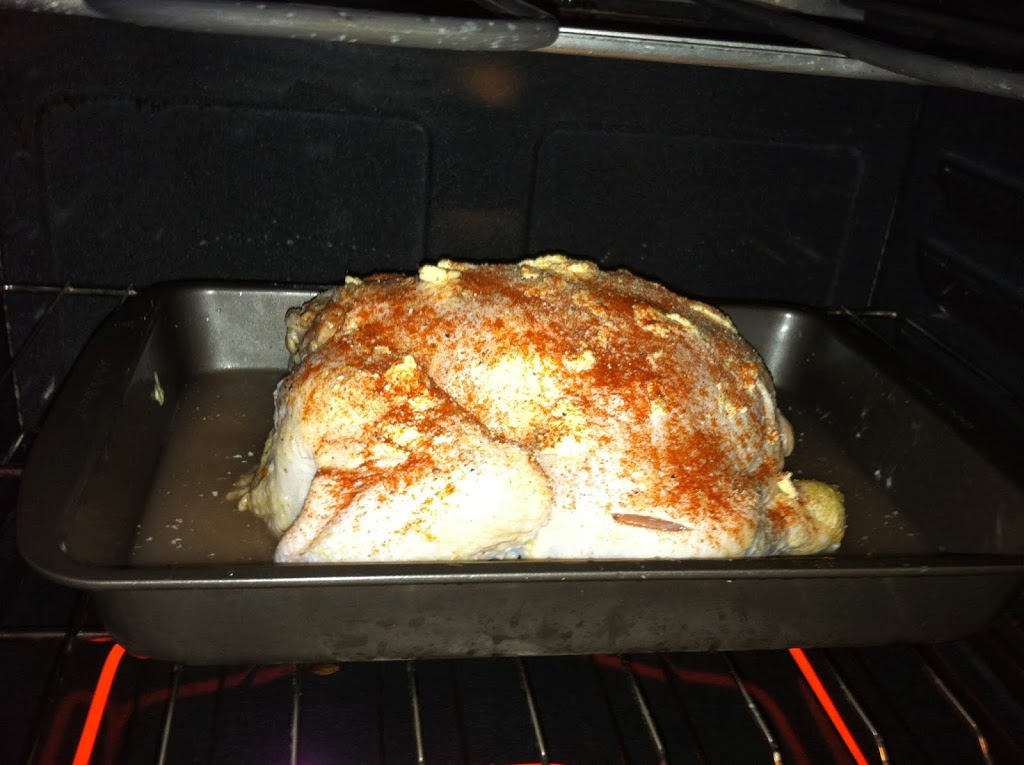
Step 3*: Take the bird out of the liquid, and pour the brine down the sink. Wipe off any moisture with a paper towel and place in a large baking pan. Rub it down all over with margarine. I despise raw chicken, so this part is super disgusting for me, but it is a necessary evil of epicuriosity. (*IF you skip brining, this is where to start)

Shove some butter chunks under the skin if you can too. If there are bits and pieces inside the cavity, take those out and dispose of or cook separately. Then sprinkle it all over with spices, and shove the aromatics (apple, onion, lemon) up the butt. Sorry, inside the cavity…


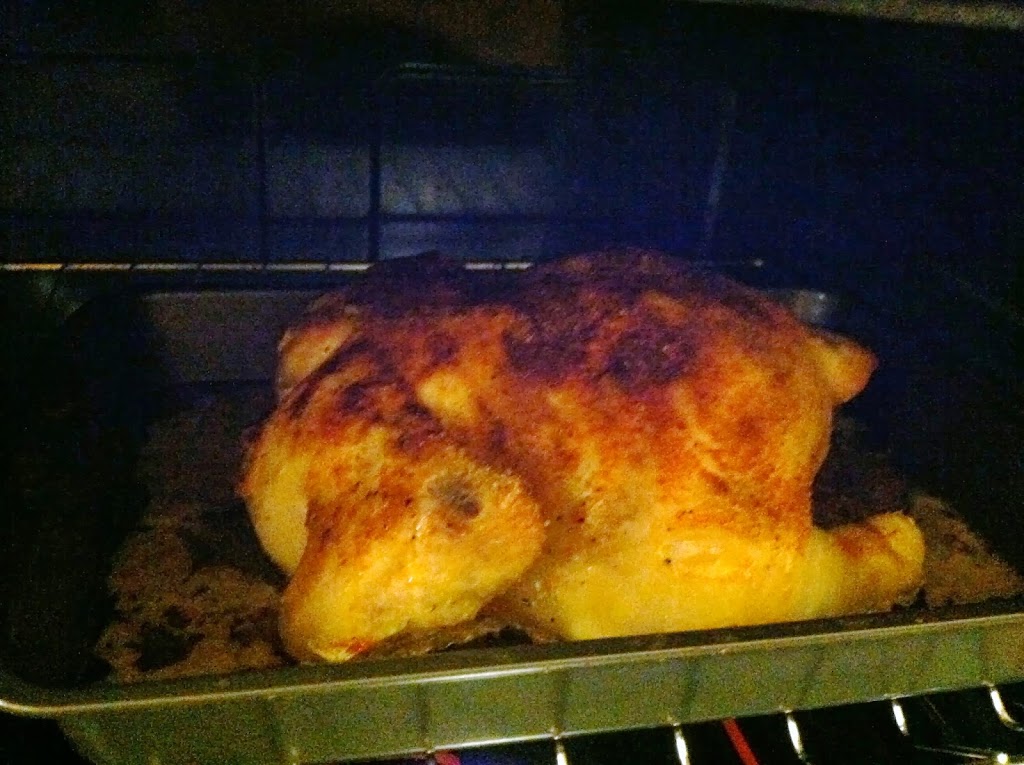
Step 4: Put the bird breast-side down into an oven at 425 for 15-20 minutes covered with aluminum foil. Flip it over, take the foil off, and roast uncovered for another 10-15 minutes. This will lead to a nice crispy outside skin. Then lower the heat to 375 for about another hour, or until the temperature is at least 165 F.


Once it’s all nicely browned and roasted, it looks and smells divine!


Take the aromatics you stuffed it with out and discard (or compost it). Use the meat any way you like! It is tender and moist and super flavorful. Not bad for $5 a bird.


I served it with broccoli cheddar rice and candied carrots on the side. Perfection.

Now I think I also need to work on learning how to properly carve the thing rather than just stabbing and sawing until a piece falls off…

Peanut butter, banana and Nutella sandwich

.
This was a spur of the moment creation while packing for a hiking trip. We were attempting a 14-er (peak higher than 14,000 feet) and it would be a 5-7 hour climb round trip. When I do long hikes I like more than just a few granola bars and trail mix.
.
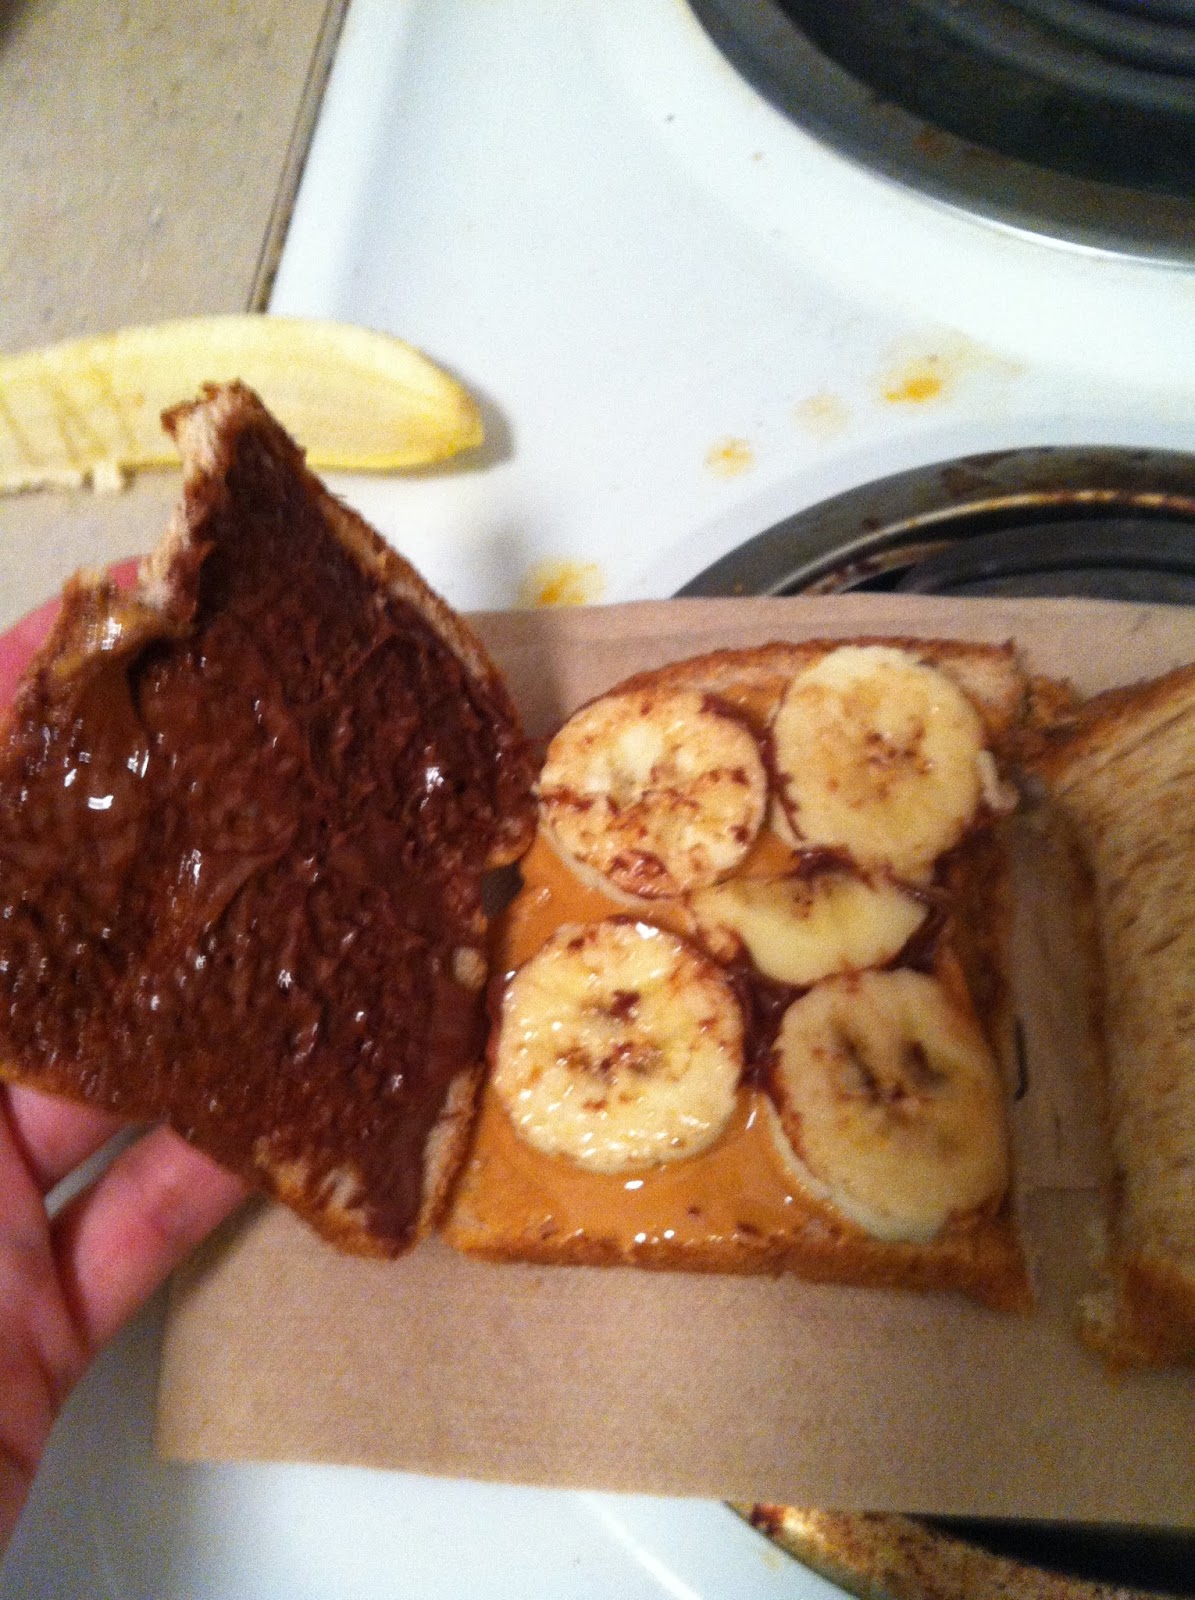
So I made a peanut butter sandwich, then noticed a banana on the counter about to go bad. Sliced that guy up and added it on top of the Jif. Then I remembered I had bought Nutella a few weeks before and it was in the refrigerator still, so that was the finishing touch on this buttery, peanutty, fruity delight.
Ingredients:
  • 2 slices wheat bread
  • 1 tbsp peanut butter
  • 2/3 banana, sliced
  • 1 tbsp Nutella spread
Step 1: Spread the peanut butter on one slice of bread. Spread the Nutella on the other. Slice up the banana, and layer the slices on the bread. Sandwich together. Enjoy immediately, or pack up in a baggie or Tupperware for later.

It was gooey, filling and delicious. Even after being smashed in a backpack with 2 water bottles for 3 hours.

Might I suggest honey if you don’t have Nutella, or a semi-melted chocolate bar. Maybe try some marshmallow fluff instead of the peanut butter if you’re allergic to nuts. I bet peaches or pears would work well too, sliced thinly. I might need to go try all these combos now…

Easiest steak stir-fry

.
Anyone who doesn’t have a personal chef is a fan of meals that are fast and easy to make. Bonus if it happens to NOT be grease-laden, deep-fried, double-wrapped hatred of yourself. Aka some semblance of nutritional value. At least to me that’s a priority.
.
This is one of my standby all-time favorite recipes, used from the lowly days of undergrad’s first apartment until the present, it has never failed me yet. Once the individual ingredients are made, they are very versatile, and remain so even after mixing.
.
Ingredients:
1 cup rice (I used easy brown)
1-2 cups frozen veggie, any you like
1 can red kidney beans, rinsed
*You can stop here for a filling vegan/vegetarian snack or meal, or continue to carnivorize it
2 tbsp sriracha, if you like it hot
4 tbsp soy sauce
1 cube frozen veggie stock or ice cube
1 small steak (or pork or chicken…)
.
Step 1: Mix 1 cup water and 1 cup rice, microwave on high 10 minutes. Let sit for 5, then fluff with a fork.

Step 2: Put frozen veggies and beans in a bowl, microwave 5-10 minutes while waiting for rice to absorb the water.

Step 3: Mix rice, beans and veggies. Sprinkle on some garlic salt and enjoy from here, or….

Step 4: Pour on the sriracha and soy sauce

Step 5: Put the steak in a frying pan on medium heat, add extra soy sauce if you like, and the cube of liquid. Cover and cook on medium for about 5 minutes, until nice and brown. Flip and cook on the other side 5 minutes.

Step 6: Remove steak and cut into bite-size pieces. Return to the pan along with the rice, veggies and beans and mix well. Heat through, and enjoy!

This is quite customizable based on what type of vegetables and meat you like, you can use white or brown rice, and mix up the type of beans too. Try Italian seasoning, or garlic salt, or Worchestershire. The sky’s the limit!

Mediterranean Chicken & Couscous

.
I got this recipe from somewhere because I had some green olives in my fridge and no idea what to do with them. I don’t like them much, but this recipe sounded crazy enough to try, and boy did it turn out fantastic! The ingredients don’t sound like they should go together, but seriously try it!
.
Ingredients:
1 boneless, skinless chicken breast, cut in half
~5 prunes, diced
~6 green olives, cut in 1/4
1/4 cup cashews
1 1/2 cups vegetable or chicken stock
1/2 cup couscous
garlic salt
black pepper

Step 1: Cut the chicken and place in a frying pan with 1/4 cup stock. Cook about 10 minutes per side, until golden brown. Meanwhile heat 1 cup stock to boiling in microwave and pour over couscous. Let sit covered for 5 minutes, then fluff with a fork.

Step 2: Dice up the prunes and olives. Add to the chicken and cook another 5 minutes or so. Add more stock if it boils off. Toss in cashews and any spices.

Step 3: Serve 1 half of chicken over 1/2 cup cooked couscous. Honestly, the mixture of salty and sweet and nutty is fantastic, and I think couscous is the perfect grain but you could use rice or noodles or mashed potatoes too.

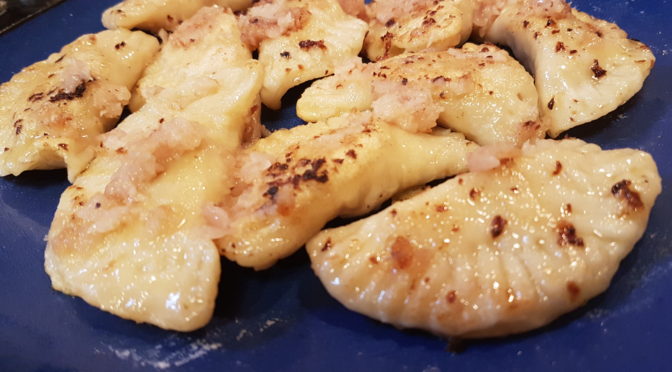
Easy Mashed Potato Pirogi

As a Hungarian-Slovak-Polish American, pirogi are a critical part of many holidays. And any day of the week really. I had never attempted making them, but since we had recently made FIVE POUNDS of mashed potatoes, I decided to give it a try with the leftovers.

Since the potatoes are not my recipe, I can’t put the mashed potatoes on here, but they were great! I know it involves sour cream, cream cheese, cheddar cheese and butter…. Anyways, start with any mashed potatoes as the filling. And the dough is super-easy to make!

Ingredients:

  • 1 16 oz tub of sour cream
  • 3 cups of flour
  • Mashed potatoes (~1 cup)
  • 1/2 stick butter
  • 1/2 onion, diced

Seriously, it’s that easy!

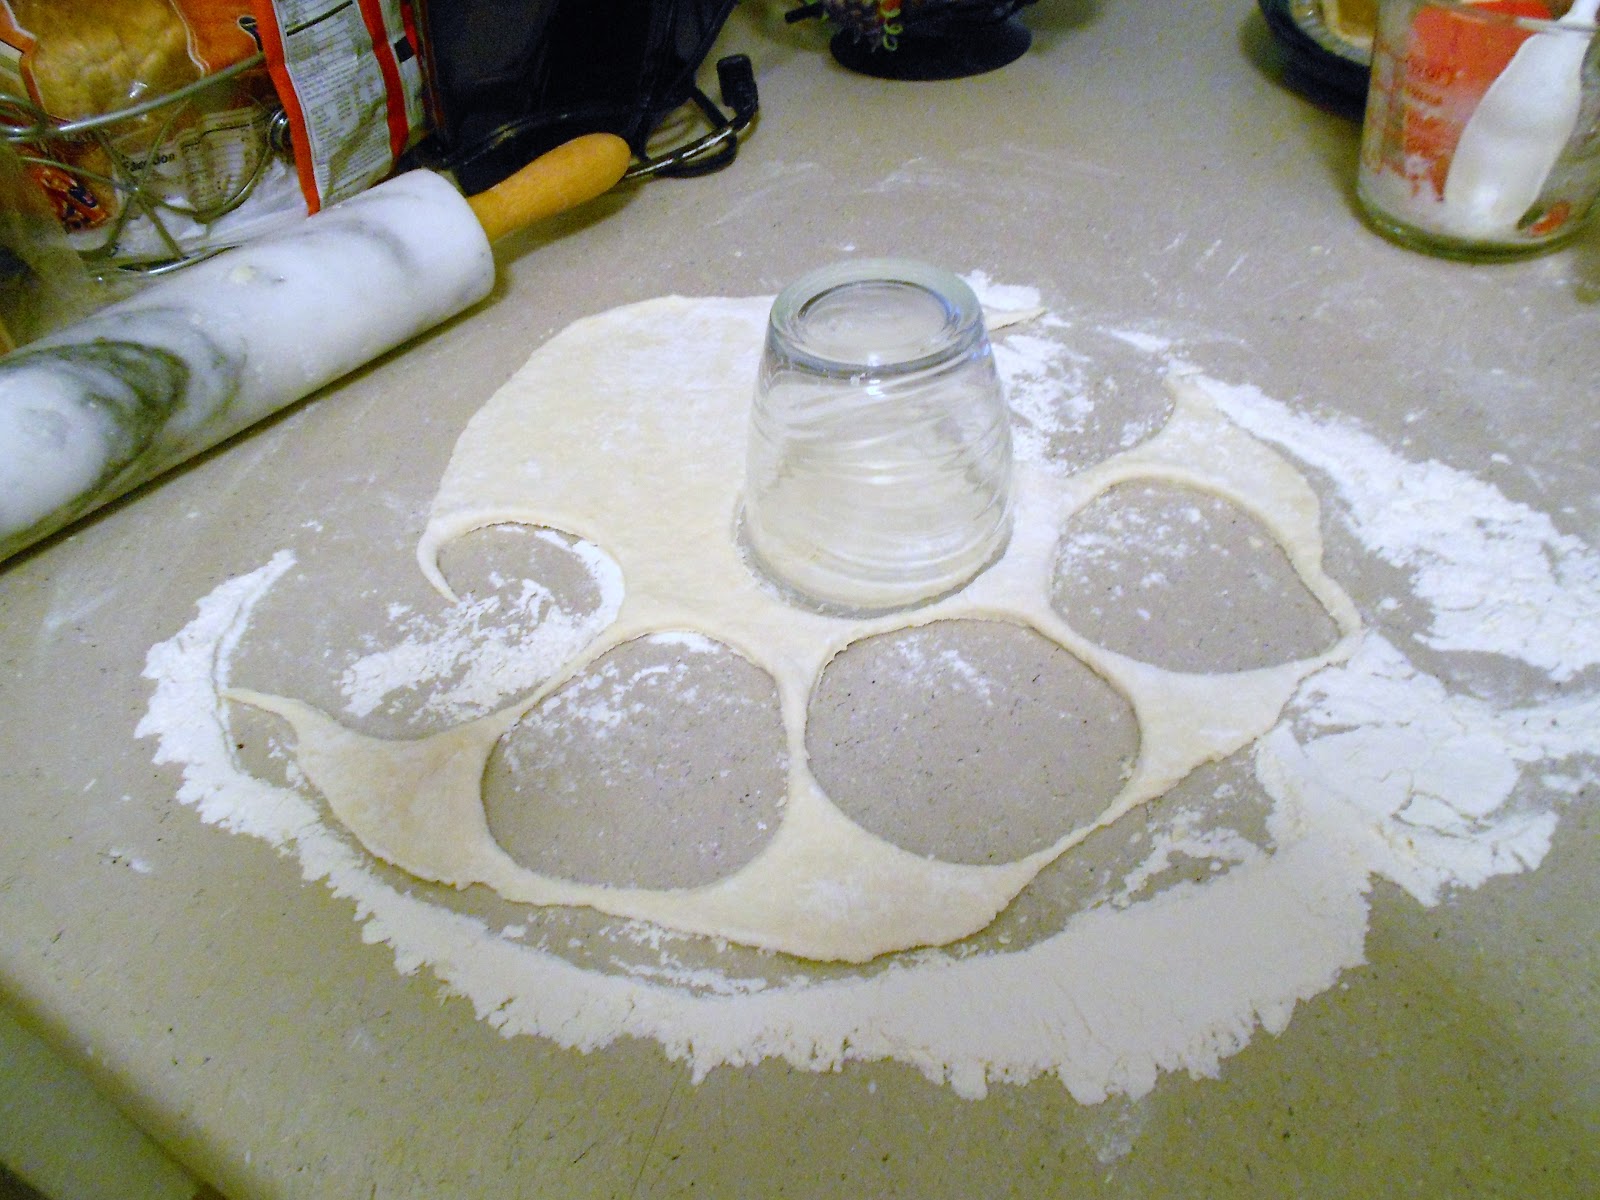
 Step 1: Mix the flour and sour cream well until it forms a dough. Roll it out on a floured surface.

 Step 2: Using a small cup or other cutter, cut out ~3inch circles of dough. You can re-roll the pieces about 4 times.

mashed potato pierogi

 Step 3: Place ~1 tsp of mashed potatoes in the middle of the circle of dough. Press the sides together to make a half-moon shape. Crimp the edges with a fork.

 Step 4: Drop into boiling water and simmer for about 5 minutes to cook the dough. Drain.

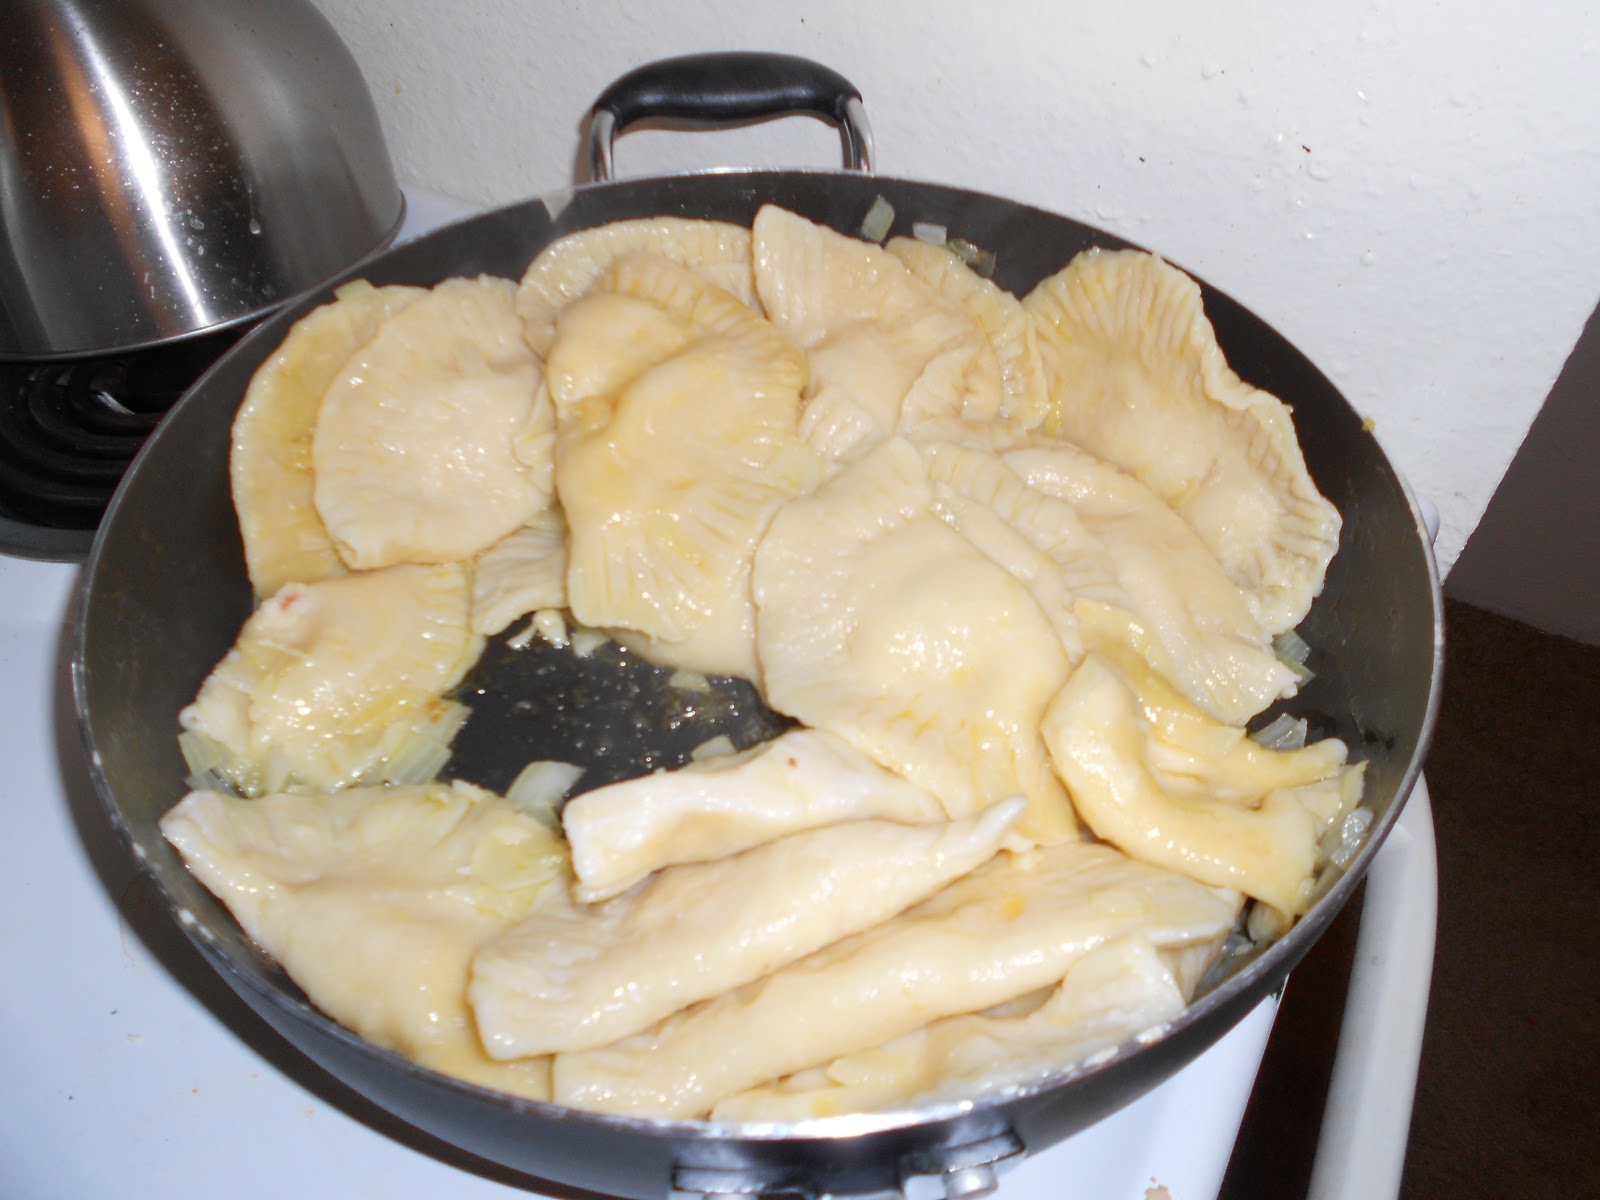
 Step 5: Melt a half stick of butter (or as much as your arteries can handle!) and cook the onions until translucent and slightly browned.

Step 6: Fry the pirogi in the butter & onions about 3 minutes, until yellow-brown on both sides. Enjoy!

They weren’t quite as good as my grandma’s or mom’s, but pretty darn good for a first attempt! And I have the rest of forever to perfect my techniques.