Category Archives: Vegetarian

Red Beans & Rice


A long-standing frugal classic, Red Beans & Rice is claimed to have originated in Louisianna. History says that this dish was typical of Monday nights, because Monday was wash day. Laundry was once a very time and labor intensive task, with water to boil, hand-scrubbing each piece of clothing, wringing it out, and hanging it to dry on a line.

This meant little to no time to also cook a complicated meal. Since Sundays were traditionally a ham, the leftover ham bone would be simmered with the beans slowly all day. With the trifecta of veggies (celery, onion, and bell pepper) and some seasonings (garlic, sage, thyme, and/or bay leaf) it is then served over white rice for a simple, cheap, yet hearty meal.

Sometimes sausage is added into the beans, or at the end of cooking, and sometimes pork chops are cooked on the side. Though usually cooked using a ham bone, sausage, and/or bacon grease for flavoring, it is very easy to make vegetarian or vegan. I used some of my home-canned beans for this recipe.

Ingredients:

  • 2 cups cooked rice
  • 2 cups cooked beans or 1 1/2 cup dry
  • 1/4 red onion
  • 2-3 garlic cloves
  • 1/4 bell pepper
  • 2 sticks celery
  • 2 tbsp olive oil
  • 3-4 bay leaves
  • Green onion
  • Optional: black pepper and/or hot sauce
  • Optional: 1/2 cup sliced sausage or ham

IMG_6373

Step 1: Chop the onion, celery, garlic, and bell pepper very small. Put in a pan with the olive oil, and cook on medium heat 10-15 minutes.

IMG_6375

Step 2: If you want to use sausage or ham, now is the time you can add it to the pan and cook it until no longer pink. If you want it to be vegetarian, feel free to not include sausage.

IMG_6376

Step 3: Either using canned beans, or pre-soaked and cooked beans, add to the pot with the veggies. Add water to cover, and bring to a boil. Simmer for 1-2 hours.

IMG_6377

Step 4: Add the bay leaves and 1 tsp black pepper to the pot. Simmer another hour.

IMG_6379

Step 5: This is optional, but will make your beans much creamier. Take out 1/4 to half the beans, and put into a blender with some cooking liquid. (You can do this before you add them to the pot so you are sure to not include any sausage bits).

IMG_6383

Step 6: Add the blended beans back into the pot. This thickens the liquid considerably. Mix well and heat through.

IMG_6385

Step 7: Remove the bay leaves, cook up a batch of white rice, and serve with some chopped green onion or chives on top.

IMG_6386

This meal is super hearty and will fill you up for hours. It also costs just a few cents per serving, especially if you can your own beans and grow your own green onion.

IMG_6389

Recipe Review: Food Babe’s “Ravishing Red Juice”


For those of you who don’t know, the “Food Babe” aka Vani Hari, is a food activist, passionate foodie and educator, and creator of fabulous health-promoting recipes. Any questions you have about your food, or questions you didn’t even know you should have asked, check her out.

You may know that I have a juicer, and am trying to incorporate more fresh juice into my diet, if only as an easy way to get more veggie goodness. I love me some vitamins and phytonutrients! So one day I was reading through some of Food Babe’s writings, and found her juicing advice and recipes. There was one in particular that intrigued me: The Ravishing Red Juice.

Getting its ravishing red color mainly from beets, this juice has blood-cleansing capabilities, immune-boosting ginger, and hair/skin/nail magic from carrots. Toss in some cooling cucumber and power greens, this baby is the complete package! And for those who don’t like juices because of the bitterness, SUGAR is made from BEETS! So yeah, this juice basically has all the ingredients to totally rock.

I altered Vani’s recipe slightly by throwing in half a lemon because I had a bag and I love citrus in everything, and leaving out the apple since I had none of those and the beet sweetened it enough for me. If you want your juice even more palatable throw in the apple, sure. Other than that, let the good times roll!

IMG_6342

Ingredients:
  • 2 thick carrots
  • 1 big red beet
  • 2 stalks celery
  • 1 cucumber
  • 2 inches of fresh ginger root
  • 3 full kale leaves
  • Handful of parsley

IMG_6344

Step 1: Wash all your veggies well and shake off excess water. Cut up the veggies, and get your juicer and two glasses ready.

IMG_6345

There are two ways to do this. You can either juice everything into one big cup then split it up (or drink a mega-juice!) or you can split up all the ingredients into two even piles.

IMG_6348

Step 2: Alternating between hard ingredients (like carrots, cucumber, lemon) and softer ingredients (kale, parsley), juice all your veggies. The beets give up this glorious, deep magenta-red juice that gives the drink its name.

IMG_6350

Step 3: Mix your drink to ensure no pulpy chunks, and enjoy! The slight tang of ginger and lemon effectively erases any bitterness from the palate. The beet juice is delightfully sweet, but not overpowering. And if you want it overly sweet, like I said add in some apples or even berries.


To health, wealth, and vitality.

<3 BE


Mock-Caprese Goat Cheese Bruschetta

….

Bruschetta is a classic Italian appetizer or snack, consisting of bread rubbed with garlic and topped with chopped tomato, olive oil, salt and pepper. Outside of Italy, bruschetta has become a word used for toast topped with just about anything. The most popular is diced tomato with olive oil and mozzarella or other cheese.

Caprese salad, or “insalata Caprese” is another Italian antipasto, or appetizer. Created to resemble the colors of the Italian flag, red, white and green, it consists of thick slices of tomato, fresh mozzarella cheese, and fresh basil leaves. Normally topped with olive oil and balsamic vinaigrette.

Since these are two of my favorite Italian appetizers, I decided to combine them into one delicious bite. However,  at the time I had no fresh mozzarella. Nor basil. Hence, the “mock-caprese”. However, you could use realistically any white cheese, and any fresh herb, and I’m sure it would be tasty.

Ingredients:

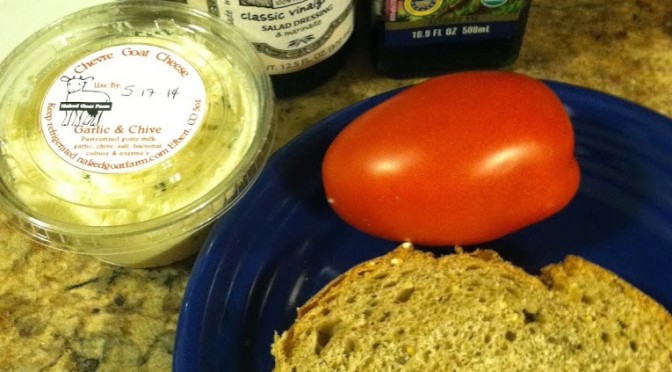
  • 1 thick slice farmhouse bread (or other whole wheat slice)
  • 1 fat, fresh Roma or beefsteak tomato
  • 2 tbsp garlic & chive goat cheese (or 1 thick slice mozzarella)
  • 1 tbsp olive oil
  • 1 tbsp balsamic vinegar
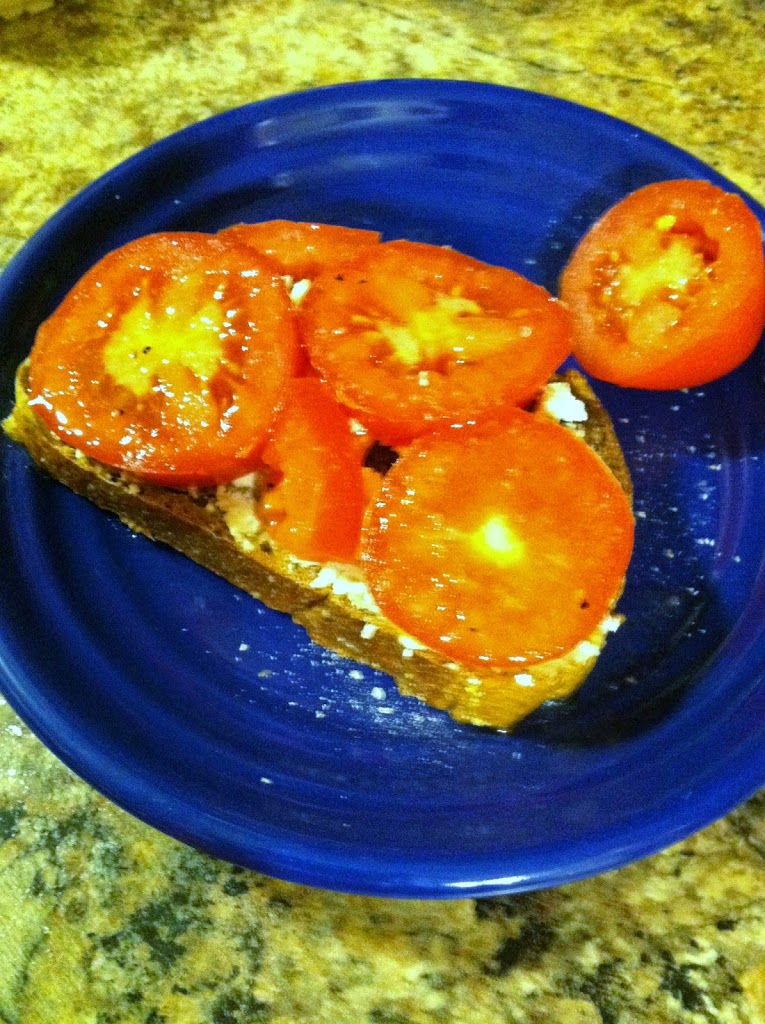
Step 1: Spread the goat cheese over the slice of bread, either with or without toasting it first.
Step 2: Slice the tomato into thick rings and put on top of the cheese.
Step 3: Drizzle with olive oil and balsamic. If using fresh herbs, layer them on top now.

You could easily scale this up for a lovely party appetizer, or make as few as will satisfy a snacking crave.

Ramen Broccoli Slaw


A quick search of the web brings up literally thousands of possibilities for using Ramen noodles. That classic salty cardboard noodle we all know and love can be elevated so far beyond fake chicken broth.

This Ramen Broccoli slaw is a delightful side dish for any reason. Take it to a picnic, a house party, the big game next Sunday, a birthday, a holiday celebration. It is tart yet sweet, borderline healthy (but I won’t tell if you won’t) and sure to be a crowd-pleaser.
Best of all, it takes just a few minutes to whip together, so you can make it the day or a few hours ahead, stick it in the fridge, and forget about it until it’s time to run out the door or set the table.

Ingredients:

  •  1/2 bag or box broccoli slaw mix
    • You could make your own by shredding 1 head broccoli minus the crowns, and 1 large carrot
  • 1 pack Ramen noodles (save the seasoning for something else)
  • 1/4 cup vegetable oil
  • 1/2 cup white vinegar
  • 1/2 cup sugar
  • 1/4 cup chopped peanuts
  • 1/4 cup raisins or craisins
  • 1/4 cup diced strips red bell pepper
  • 1/2 bunch green onions

IMG_5087

Step 1: In a large bowl, whisk the sugar, oil, and vinegar together. Crush the Ramen noodles up a bit and put them in the bowl. Stir well to coat.

IMG_5088

Step 2: Add the broccoli slaw, pepper, green onion, and raisins. Mix well and refrigerate at least one hour and up to overnight. The longer you let it sit, the softer the noddles are.

IMG_5089

Step 3: Just before serving, toss in the chopped nuts. Obviously you can omit this if there are any nut allergies or you just don’t like them.

IMG_5096

Versatile and simple, this humble side is extremely cheap (depending on what you add into it) and not too bad health-wise. Of course you can use homemade cabbage slaw, or whatever other diced/shredded veggies you have on hand.


Mexican street corn


A trend that swept food magazines and websites for a while, I finally gave in and had to try Mexican street corn. For those of you who haven’t heard of it, this is a handheld side dish and/or snack comprised of cooked corn on the cob, mayonnaise, chili powder, and usually cotija (crumbly white cheese).

Very simple to make, it sounds unusual but I was pleasantly surprised. The sweet crispy corn mixes with the mayo and sharp chili powder spices in a cohesive taste. Try it and see how you like it.

Ingredients:

  • 2 ears corn
  • 2 tbsp mayonnaise
  • 2 tsp chili powder
  • 2 tbsp crumbly cheese if you have it

IMG_4800

Step 1: Cook the corn with the husk still on it. There are a few options here. Boil for 15 minutes, soak in water for 1 hour then grill 15 minutes, or microwave 8-10 minutes. Yes, you can microwave the whole ear, and the husk will steam the kernels.

IMG_4801

Step 2: Carefully peel back the husk, leaving it attached. Corn will be hot. Smother it in the mayo, then sprinkle on the chili powder.

IMG_4802

You can then use the end of the corn and the husk to hold while you enjoy your ethnic portable snack!


Less than 5: Quick Miso Soup


I am a huge fan of most all Japanese foods, especially sushi. As evidenced from my ill-fated attempts at Salmon Nigiri and Lazy Won-Ton Soup, I am by no means a Japanese chef. But I do try, so I feel like I get some credit for that.

This is my super fast and easy imitation miso soup. Keep in mind I had no miso paste, which kinda makes the soup… so if you do, add that! If not, this is sort of close. You will need some specialized ingredients, but honestly most common grocery stores like King Soopers are now carrying similar items in their “ethnic” section.
Ingredients:

  • 1 bunch scallions
  • 1 tbsp duck paste (you can use chicken bouillon too)
  • 2-3 sheets seaweed
  • 1/2 block tofu
  • Optional: 1 pack ramen noodles

IMG_4837

Step 1: Slice the tofu into small squares. Cut the seaweed into strips. Slice all the green part of the scallions diagonally.

IMG_4838

Step 2: Bring the water to a boil and stir in the duck paste or chicken bouillon. Add the scallions, seaweed, and tofu. And that’s it!
IMG_4839

This soup is delightfully salty and packs a heavy umami punch.

IMG_4840

Add some glass or ramen noodles for extra filling power. You can have this soup as an appetizer, part of a light lunch, or as a whole meal. Quite healthy, if you’re ok with a high-ish sodium content… you can omit the bouillon but the taste will suffer.

Acorn Squash Mac-n-cheese

This is a recipe similar to one I have shared earlier on how to make Butternut Squash Mac-n-cheese. You could probably substitute in any winter squash you have on hand for the sauce. The acorn squash here gives it a subtly sweet flavor, and packs in TONS of fiber and extra vitamins. Try adding some squash to your mac n cheese, I bet the kids won’t even know!

Ingredients:

  • 1/2 acorn squash
  • 1 box macaroni and cheese
  • 1 cup spinach

Step 1: Cut the acorn squash in half and roast, cut sides down, on a pan with 1 inch of water at 350 for 1-1.5 hours. Or you can microwave, cut side down, on high for 10 minutes, flip and 10 more minutes.

Step 2: Use a fork or spoon to pull the flesh out of the cooked sqash and mash it or put through a blender.

Step 3: Make your macaroni, and in the last minute of boiling add the spinach. Drain and add the cheese sauce.

Step 4: Stir in the squash, top with an extra sprinkle of cheese or breadcrumbs if you like, and serve!

Barley & Kale Veggie Salad


Fall is the time for bumper crops of kale. As the current “It” vegetable, we know all about how healthy kale is for you. But even though kale chips are amazing, sauteed kale in greens makes a great side dish, and Zuppa Toscana is a definite crowd-pleasing soup, sometimes you need a new way to enjoy this power green. If you like light, fresh, great-cold-or-room-temp dishes, this baby’s a winner!

I’ve been meaning to try more grain and veggie salads, and this seemed like the perfect opportunity to do so. Kale is on sale for 0.99 per bunch, organic! You can’t pass up that kind of deal. So with a fridge full of kale and a hankering for something new, I made up this recipe. It turned out fabulous! The combination of tomato and cucumber and onion crunch with the soft cooked barley and fresh kale leaves is really addicting.

The best part about it? It makes a crap-ton, and per 2 cups is under 100 calories! So you can stuff yourself on this all you like and feel good about it. Have it for lunch, as an afternoon snack, before dinner to dull the appetite. There really isn’t a bad time for this.

Ingredients:

  • 1 bunch kale, rinsed, torn and stems removed
  • 1/4 red onion, sliced thinly
  • 1 cucumber, rinsed, skin-on, diced
  • 2-3 large tomatoes, diced
  • 2-3 green onions, chopped
  • 1 cup barley
  • 1/3 cup olive oil
  • 1/4 cup red wine vinegar
  • 1/4 cup apple cider vinegar
  • Salt & pepper to taste


Step 1: Cook the barley in 1 1/2 cups water by bringing to a boil, then lowering to a simmer. Cover, and cook 20-30 minutes, until all water is absorbed and barley is soft. Add more water if needed during cooking. Let cool.


IMG_5441

Step 2: Chop all your veggies and place in a large bowl. Mix the oil and vinegars, and salt & pepper if using. Pour over the veggies.

IMG_5443

Step 3: Combine the cooled barley with the veggies and mix well. Now you have a giant side dish, snacks all week, or a super healthy and vegetarian main course.


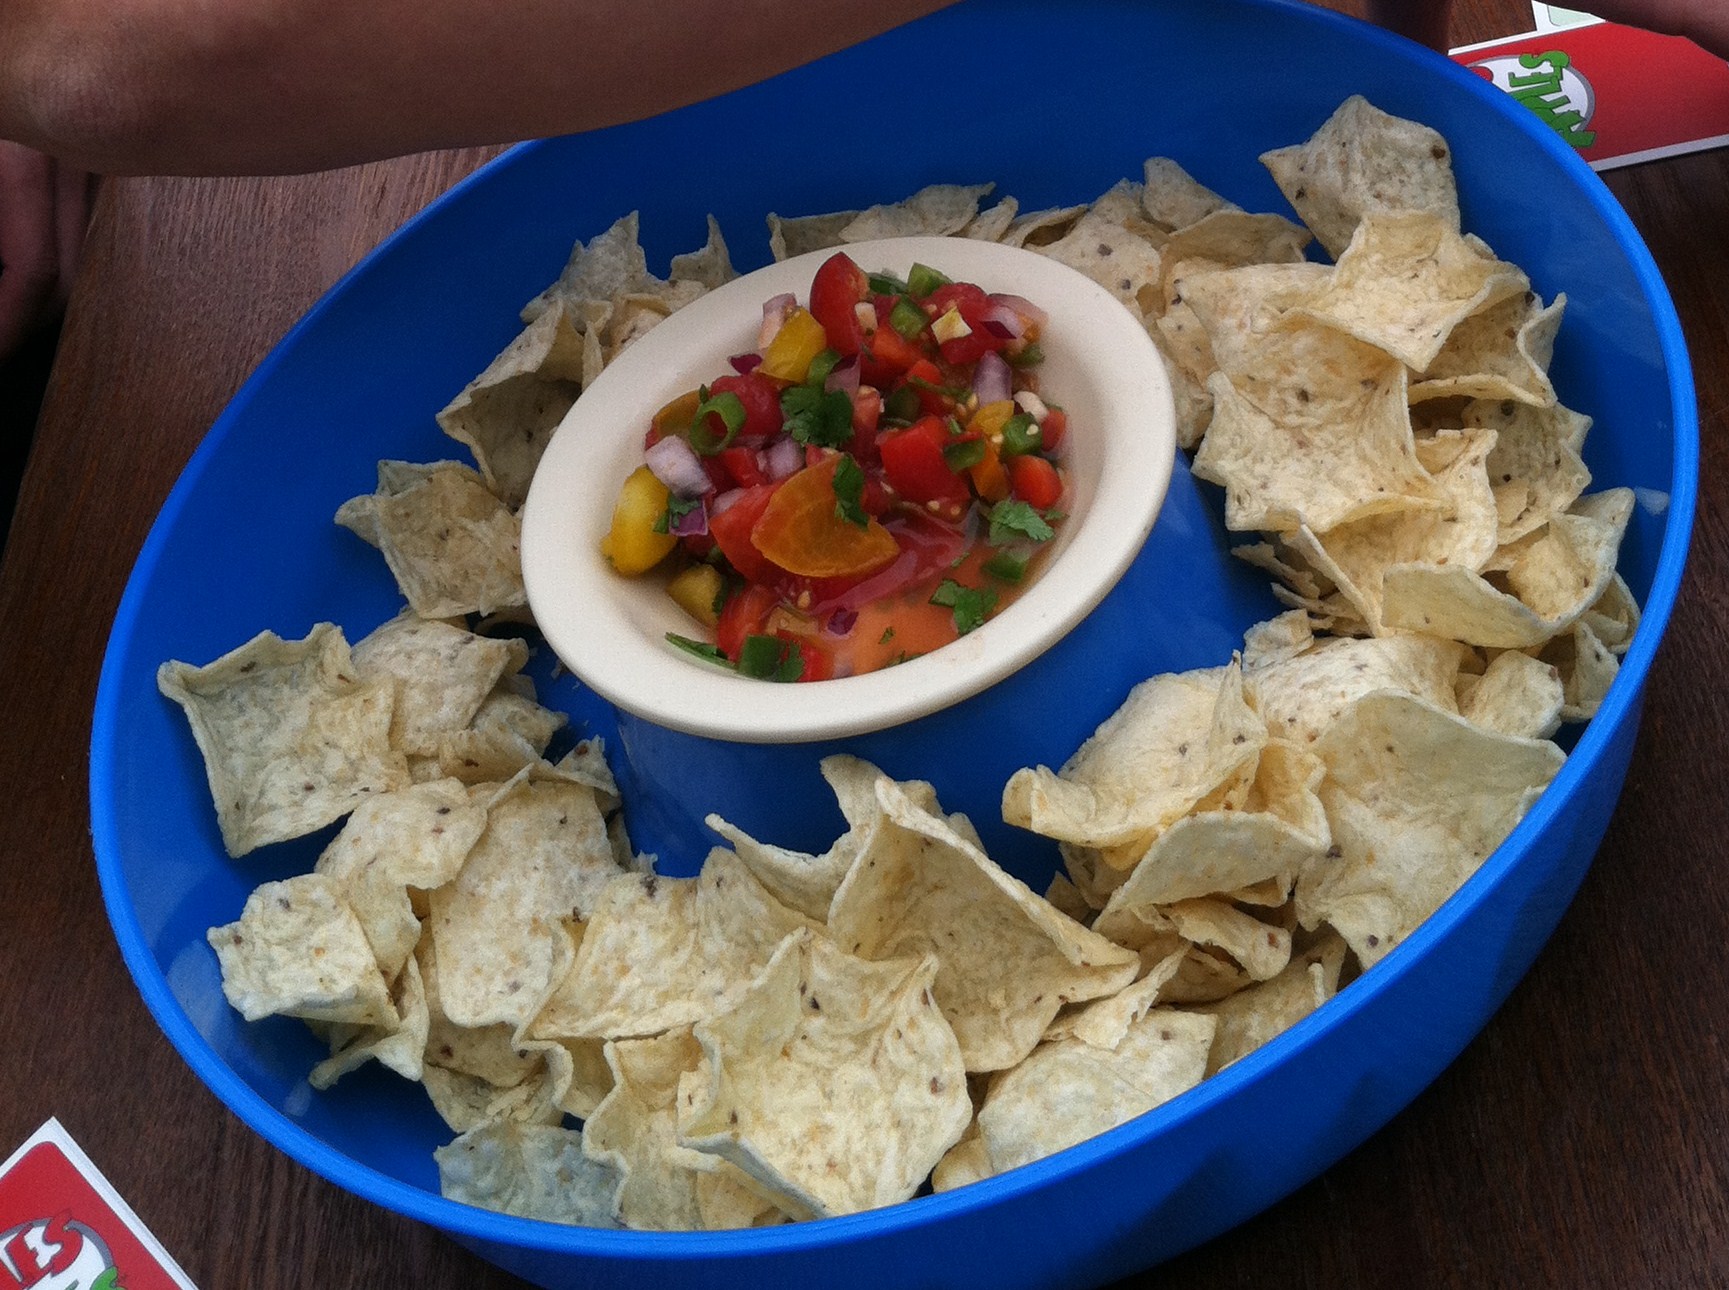
Fresh garden salsa


Salsa is a beloved condiment in many cultures. The ingredients can vary widely, but basically always contains tomatoes and chilies of some sort. “Salsa” is the Spanish word for sauce, and may come in many forms such as pureed until smooth, a combination of smooth and chunky, or the uniformly diced pico de gallo.

Salsa can be wickedly spicy to light and fruity. See Wikipedia for a long list of salsa types. Basically any fresh fruit and/or vegetable, diced or blended, with or without fresh herbs, can be called a salsa.

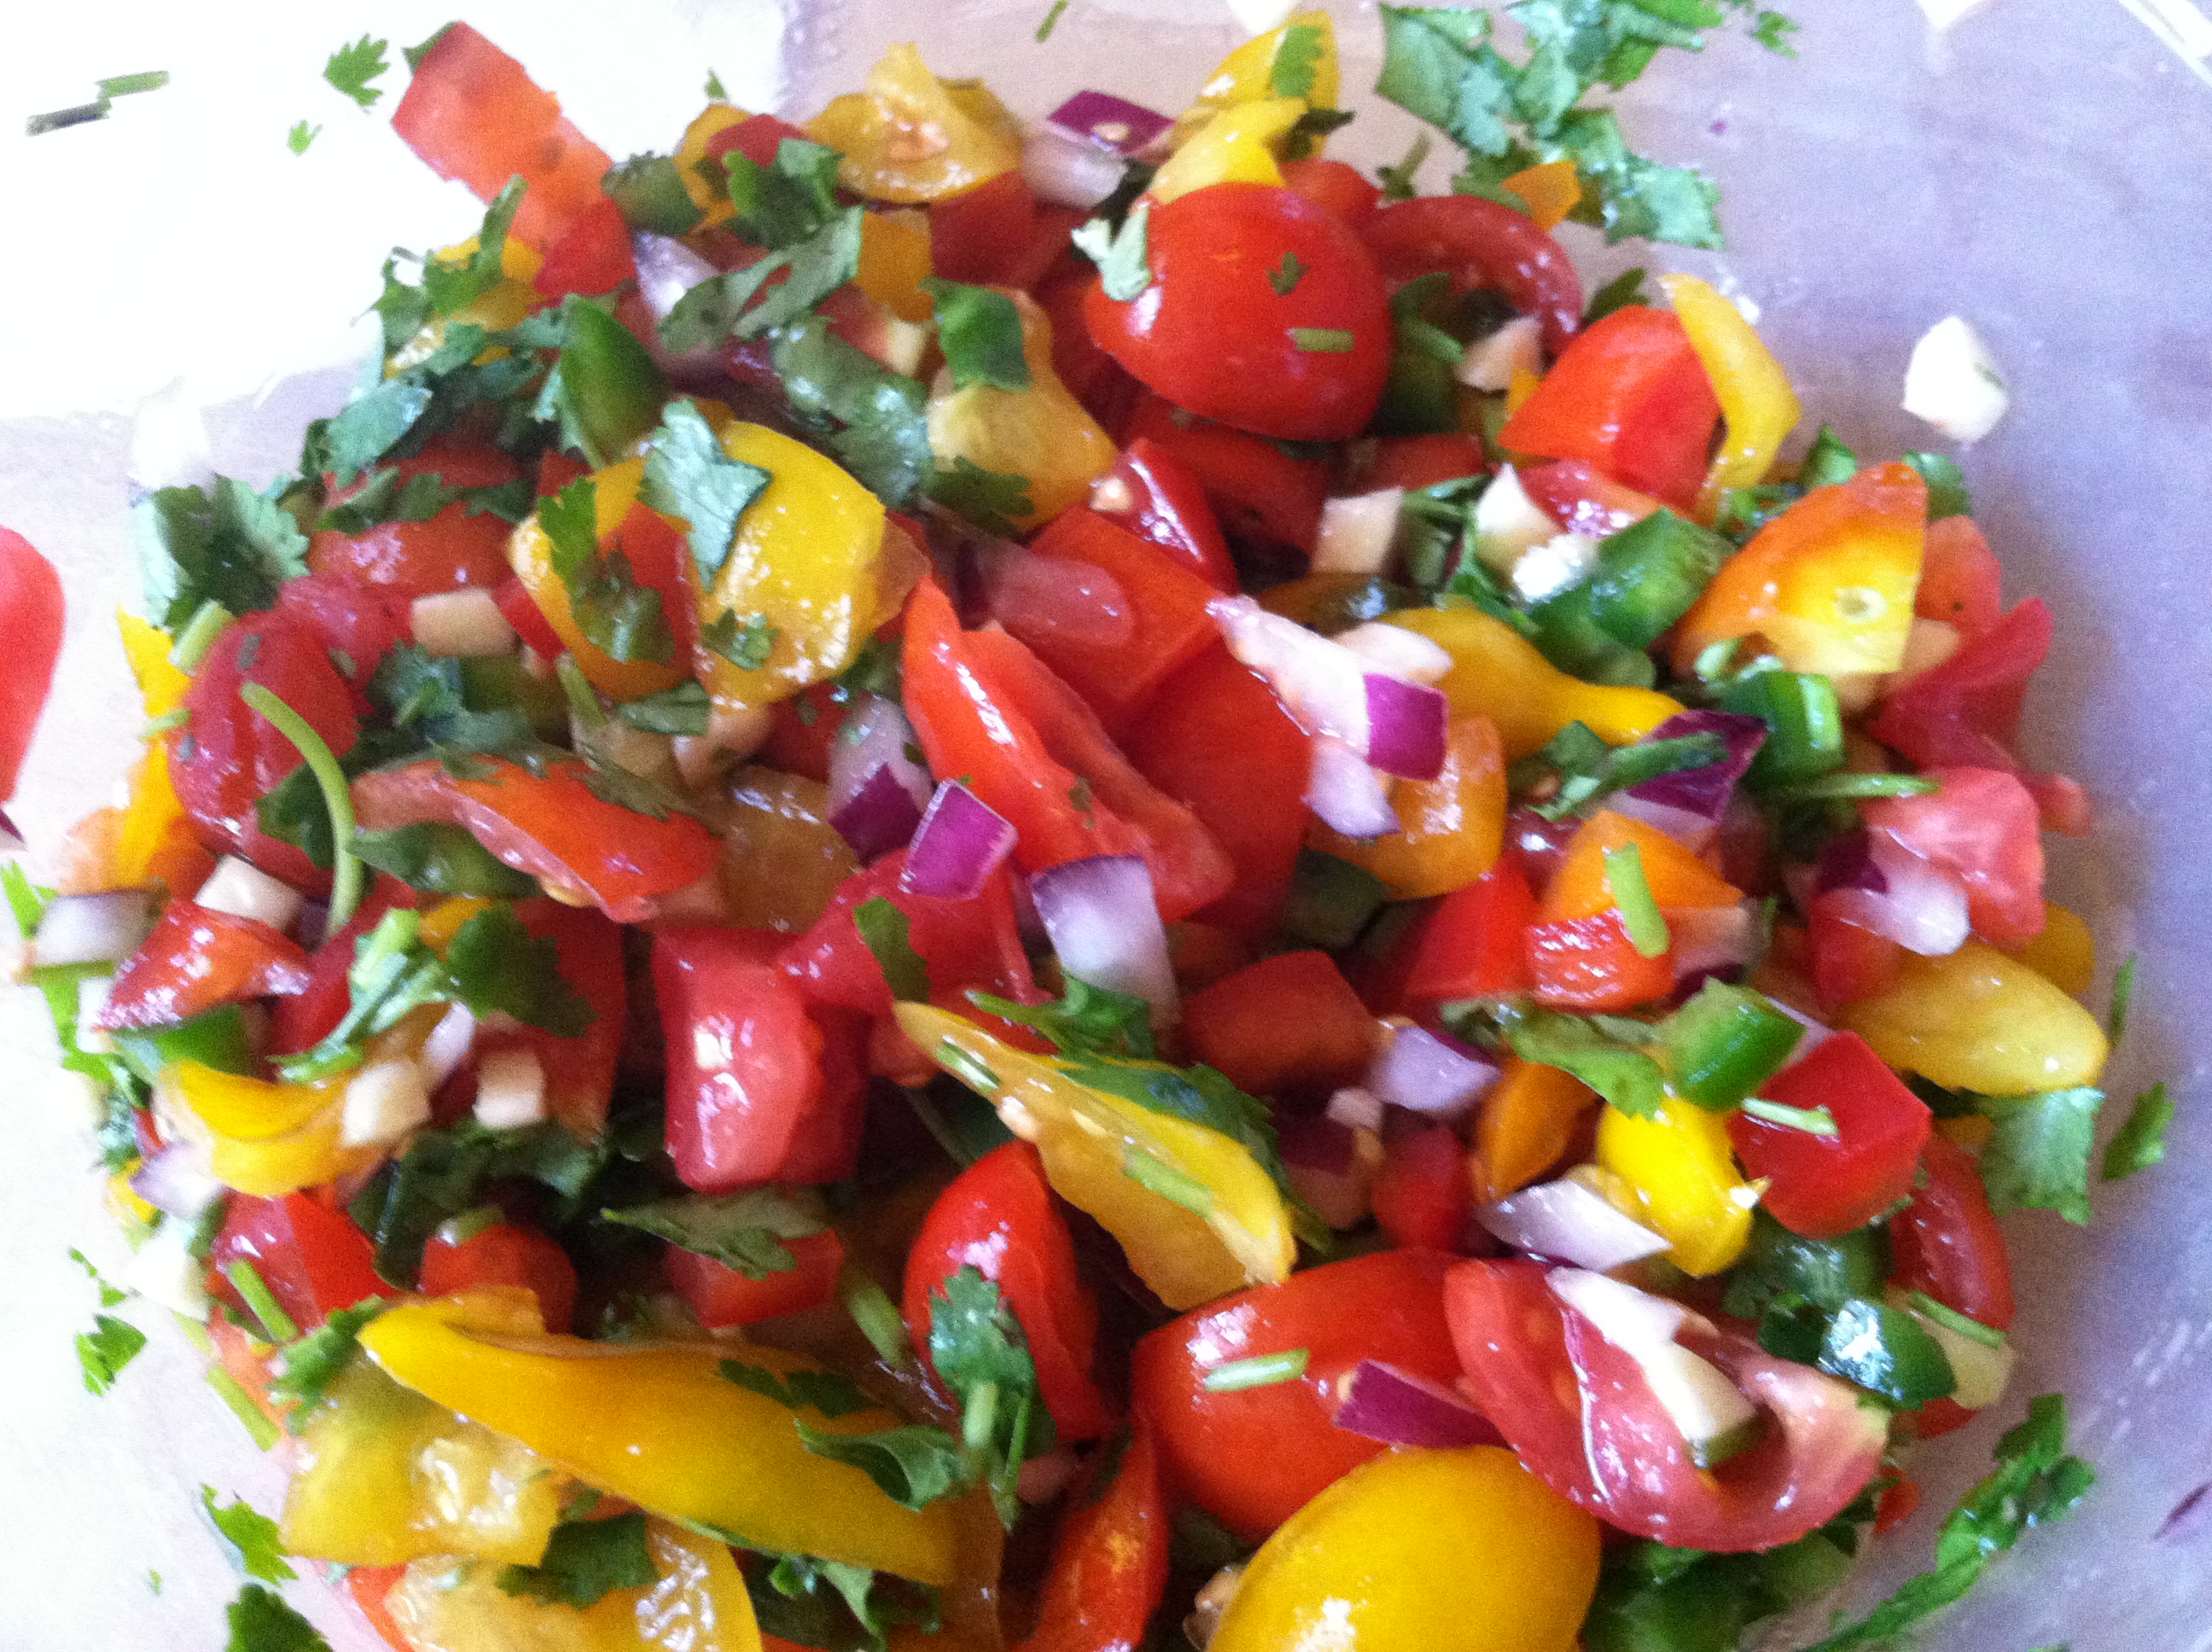
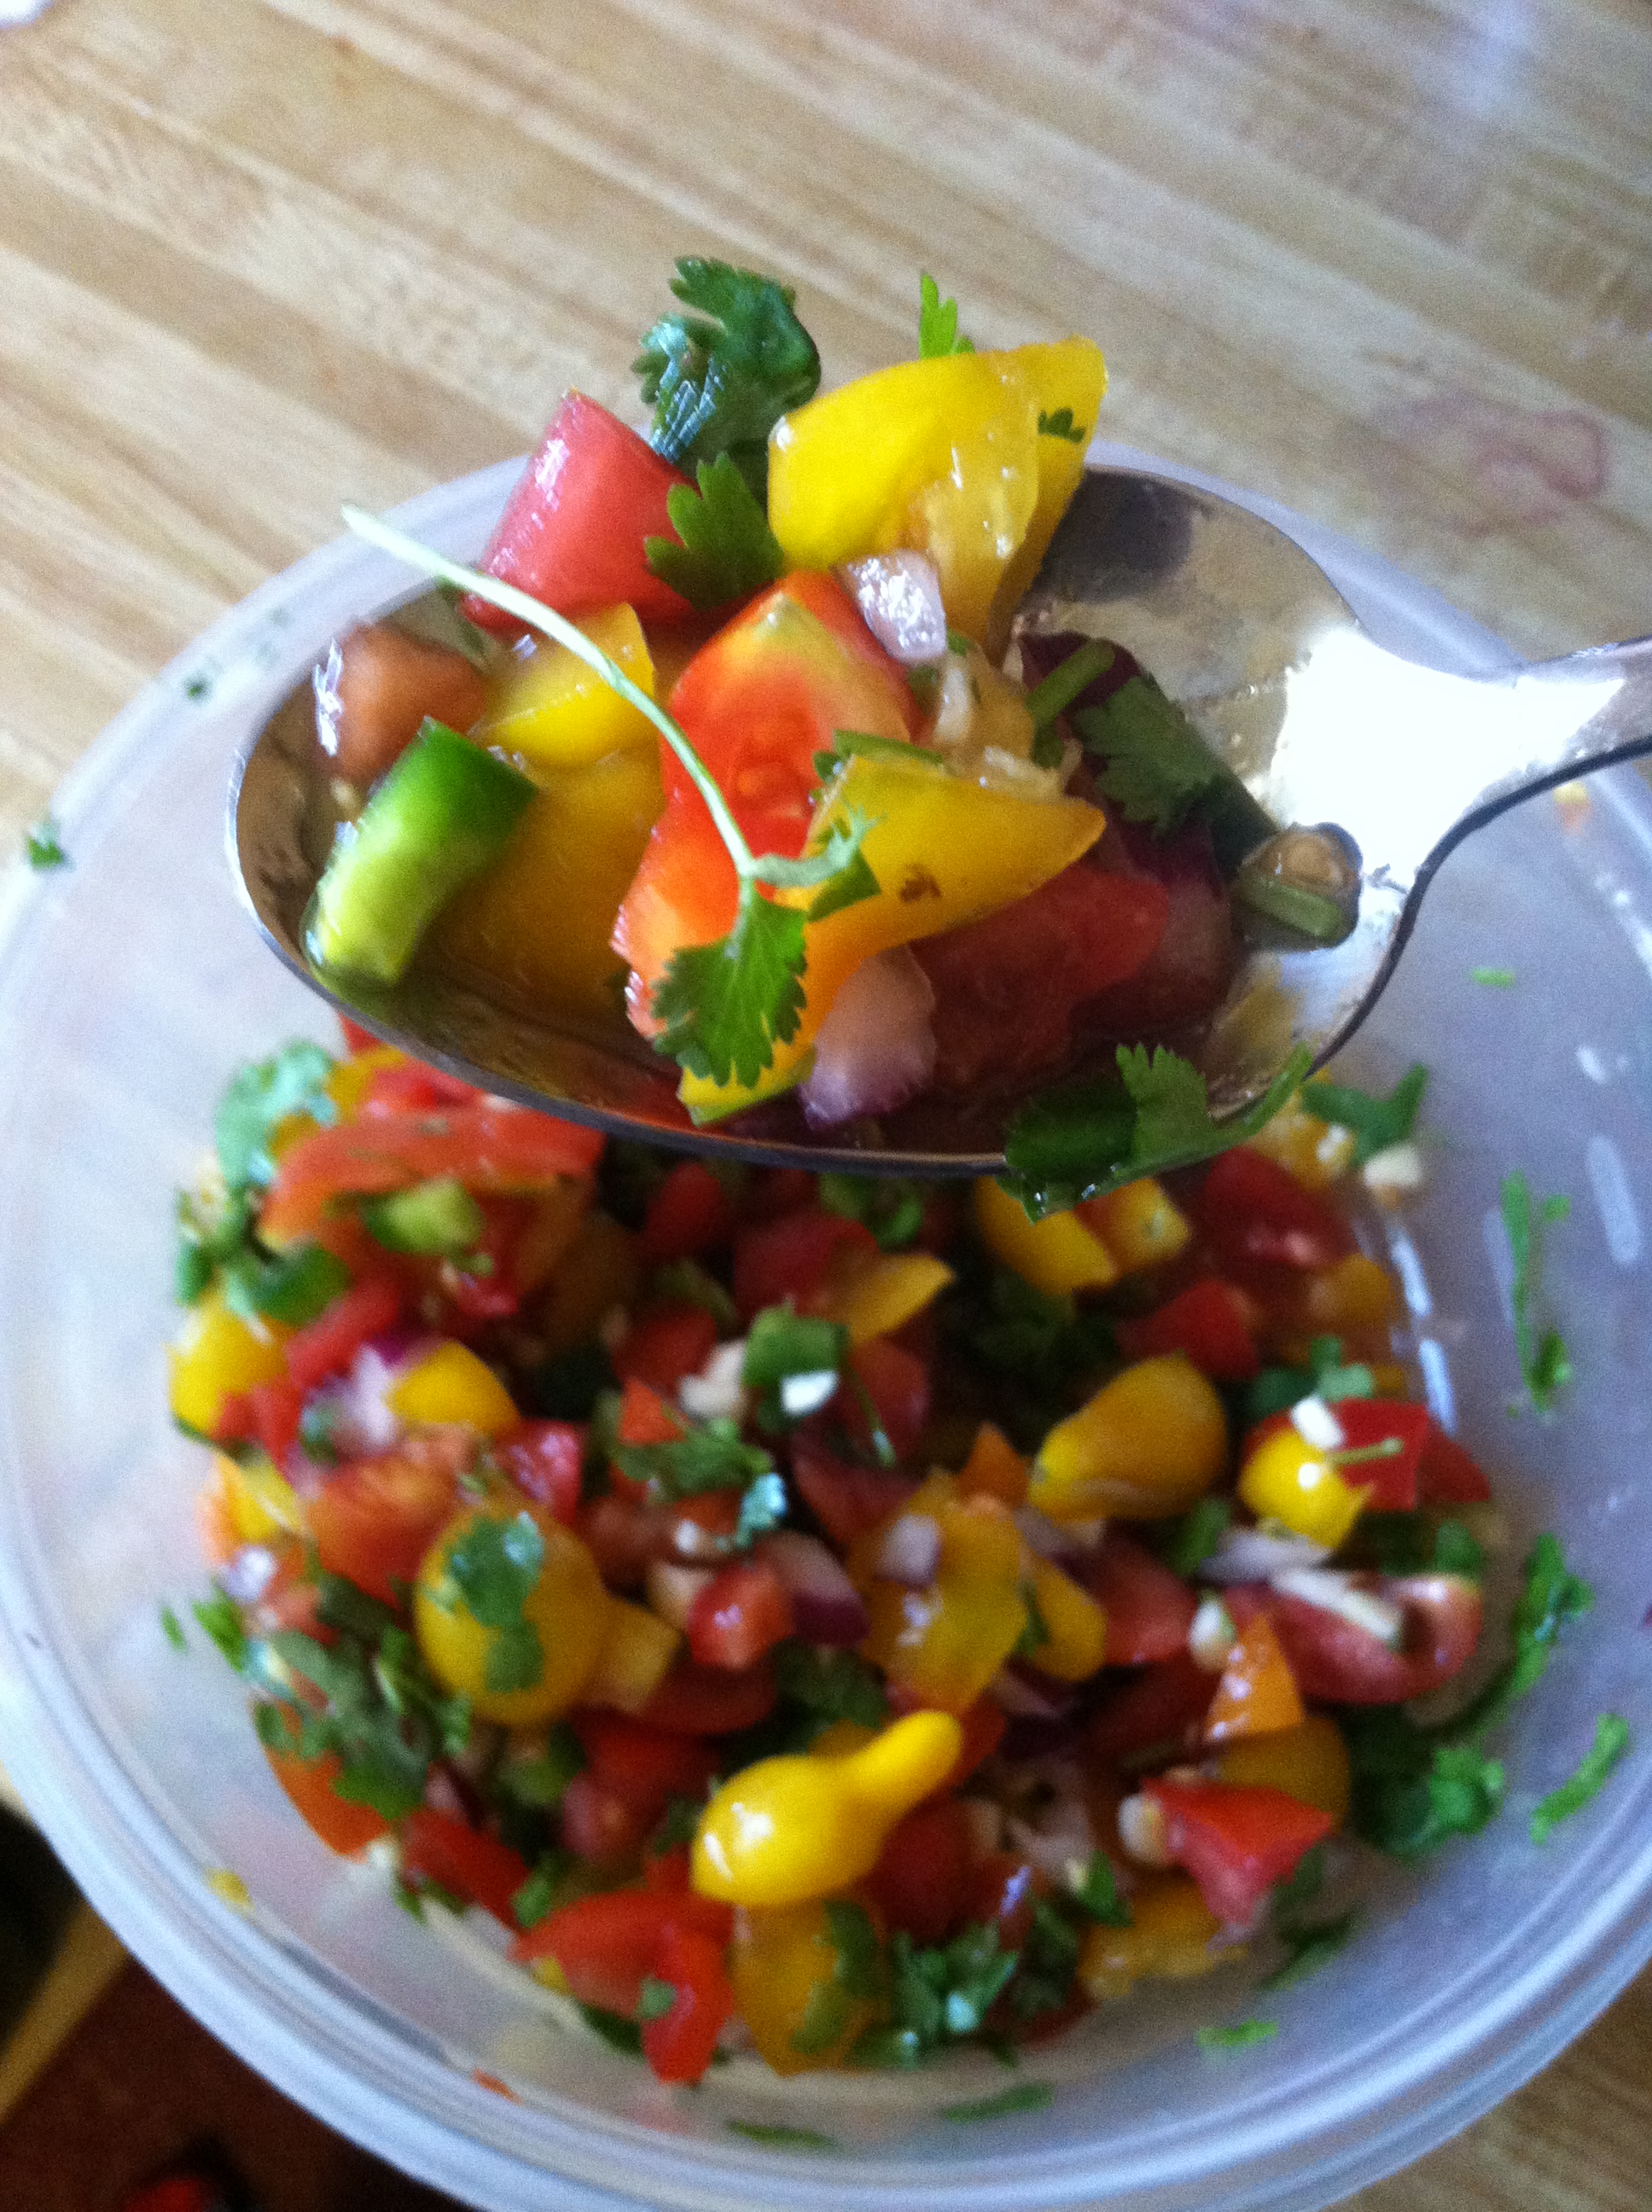
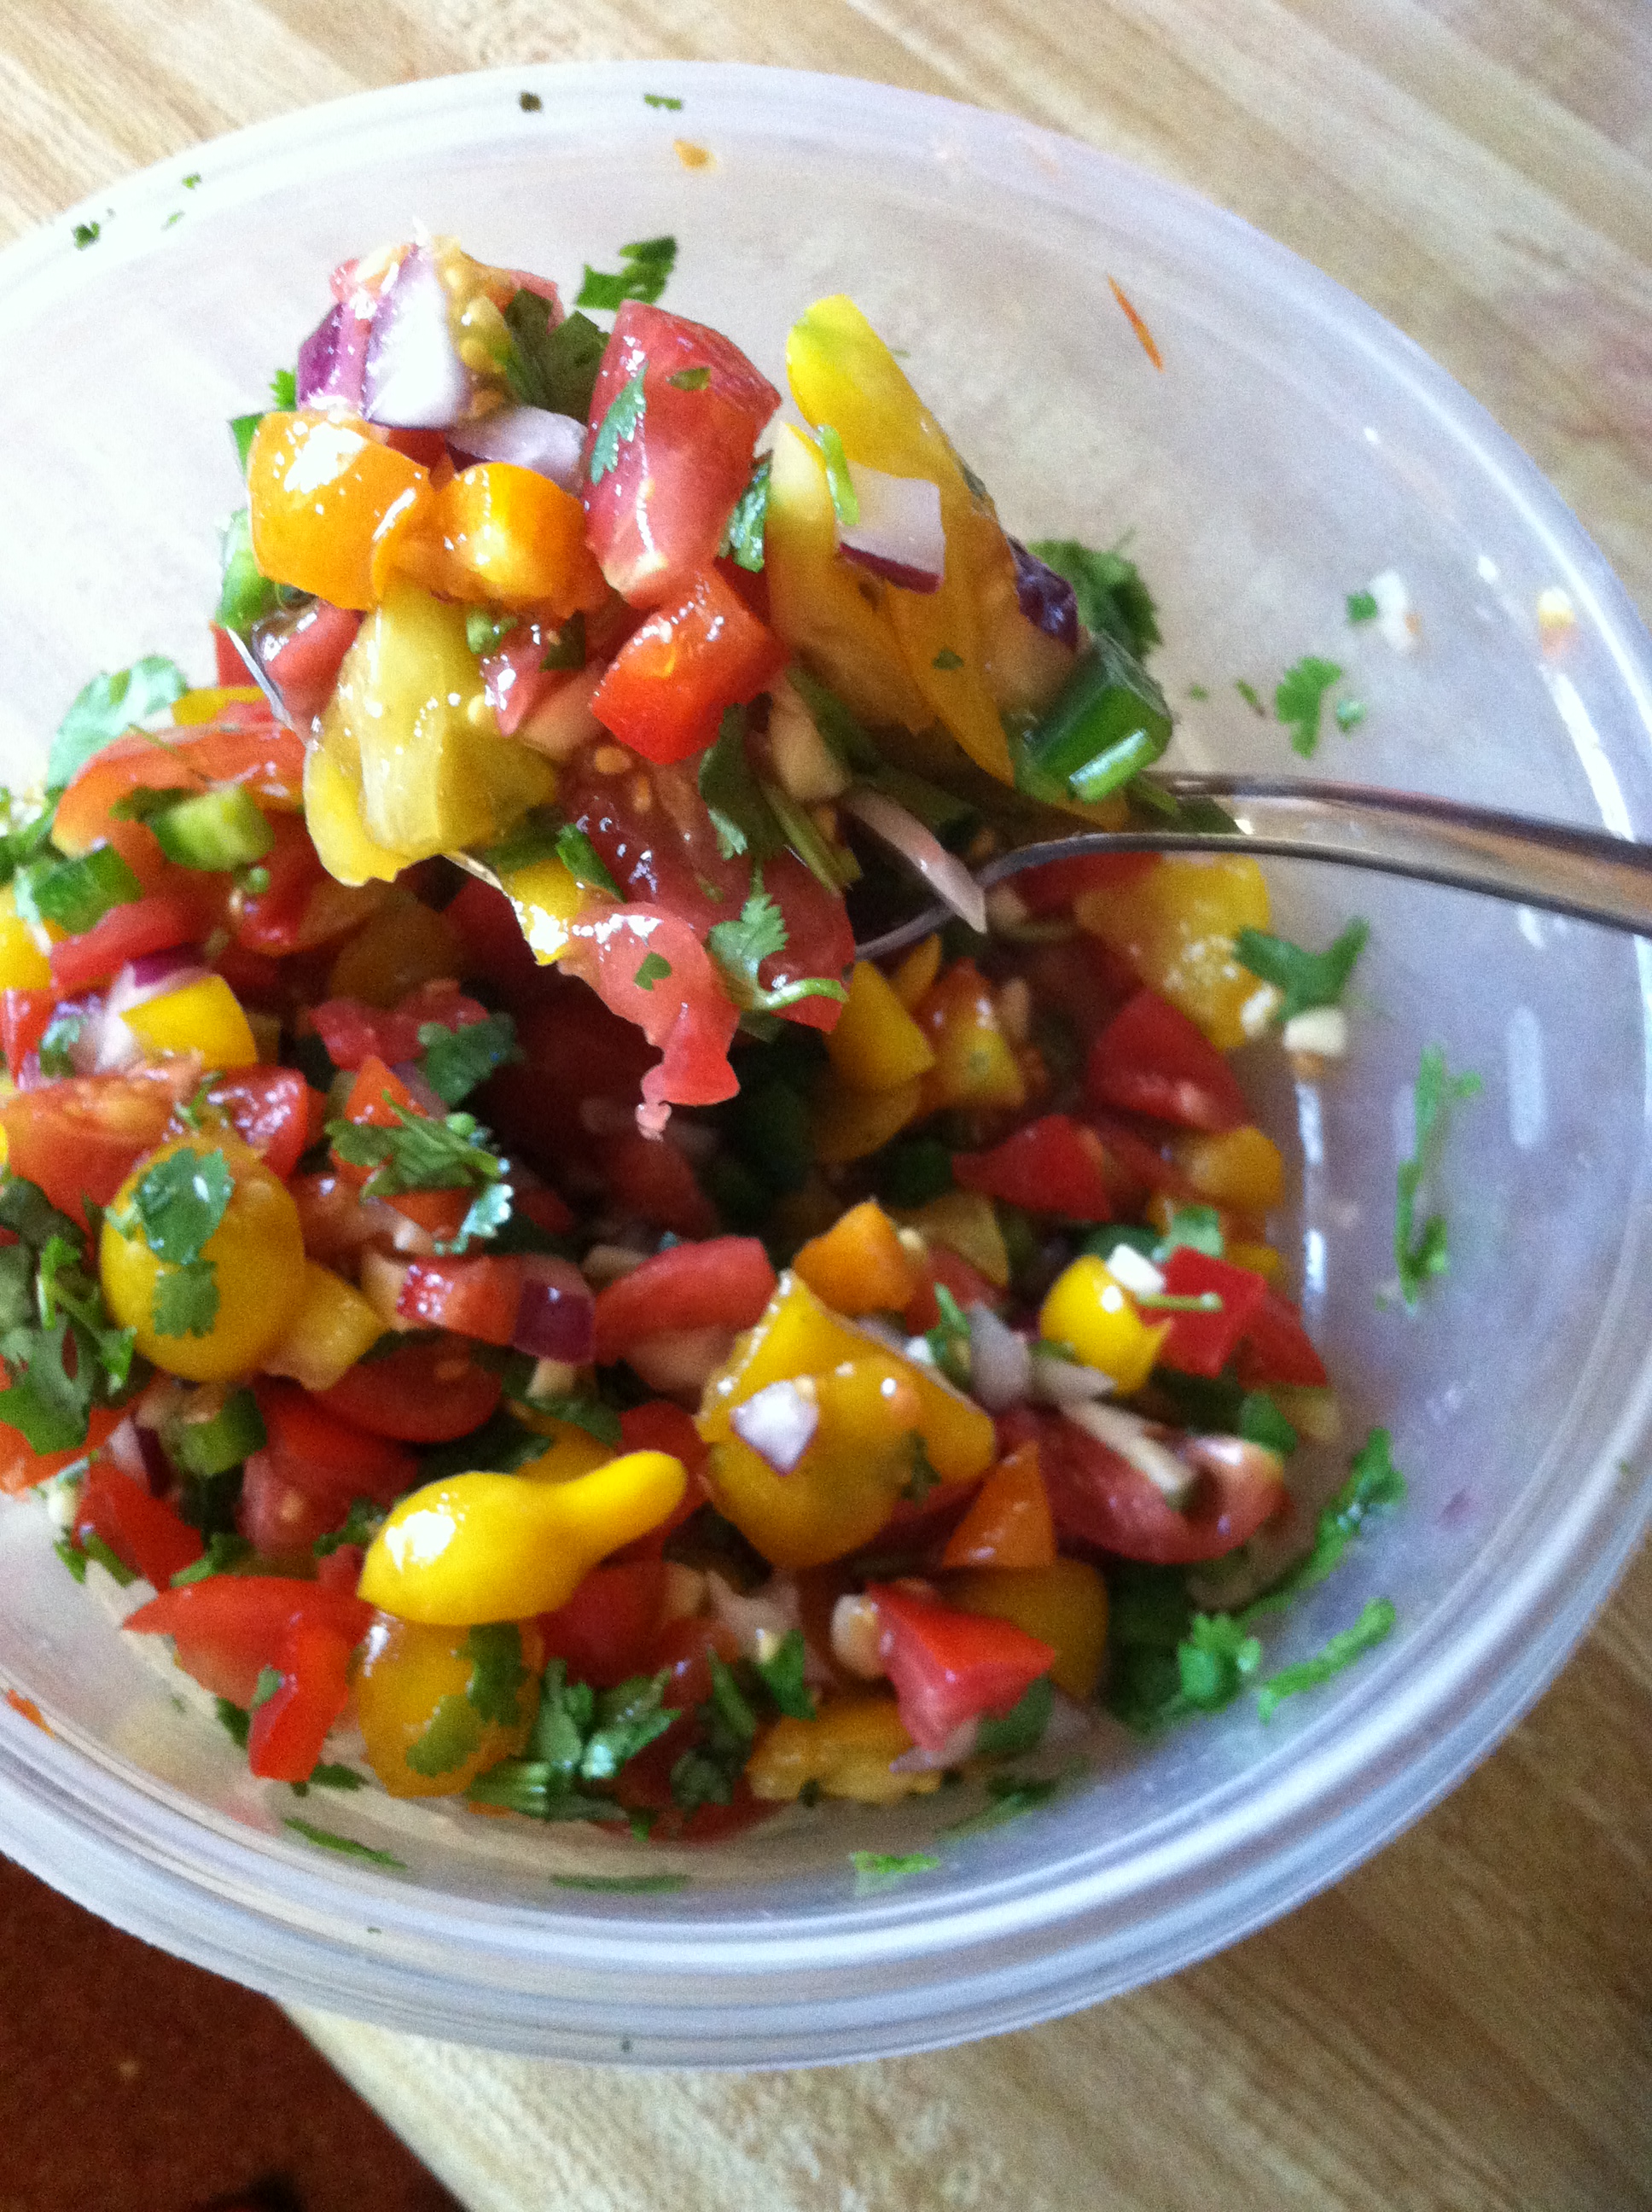
Fresh salsa right out of the garden, just lightly diced, is my favorite kind. I like to see the chunks of what I’m eating in bright technicolor on my tortilla chip. This salsa is amazing on its own, or you could spoon it over fresh white fish fillets, onto tacos, or into a soup with rice, beans & diced chicken.

Ingredients:

  • 2 cups cherry or pear tomatoes
  • 2-10 large tomatoes, diced small
  • 1/4 red onion, diced
  • 3-5 garlic cloves, diced
  • 2 jalapenos, diced
  • 1/2 cup bell pepper, diced
  • Handful fresh cilantro, chopped
  • Handful fresh chives, chopped
  • 4-5 tbsp lime juice, or juice of 2 fresh limes
  • Sea salt to taste

IMG_5158

Step 1: Dice up all your tomatoes and onions. This part takes a little time, but is well worth it. It is up to you how big to dice, or you can puree part of the tomatoes or all of them. Totally up to you.

IMG_5284

Step 2: In a large bowl, mix the tomatoes, onion, garlic, peppers, herbs, and lime juice. That’s really all there is to it!

IMG_5160

This salsa is wonderfully fresh and vibrantly colored. It is super healthy for you, so throw it into everything, or just eat spoonfuls!

IMG_5159

Rainbow burrito


Burritos are one of my favorite ways to sneak in extra vegetables. Because you can’t really see them, you can put all kinds of rainbow goodies in there and help your heart and health with little effort.

Obviously, sub in 1 cup of whatever veggies you have on hand. This is what I had, and it made a pretty breakfast.

Ingredients:

  • 1-2 strips red bell pepper
  • 1 slice turkey bacon
  • 1-2 strips orange bell pepper
  • 2 eggs, scrambled
  • 1-2 strips green bell pepper
  • 2 med purple cauliflower florets
  • 1 10 inch tortilla

IMG_5307

Step 1: In a frying pan, saute the veggies until soft when poked with a fork.

Step 2: Add the eggs, and cook 5-7 minutes, stirring every so often, until everything is cooked.

IMG_5308

Step 3: Pour it onto a warm tortilla and wrap it up, tucking in the ends. You can add in sriracha or other sauces if you like. Enjoy!