True Stories of Juicing

.

Raw Juice: what’s fact and what’s hype?
 
For several years now I’ve been dabbling in “healthy stuff” like juicing. As most things do, it began as just a curiosity, what’s it all about. I read articles and books and opinions of people who have tried juicing in various ways and for various amounts of time. There are some super-intense proponents of juicing, like this guy. His name is Joe Cross, and he claims juicing saved his life. He has a documentary on Netflix and free online called “Fat Sick and Nearly Dead” as well as a blog. Before you think “ok, crazy extremists who make these claims just want us to buy their juicer”, let me say that recognized sources like WebMD and even Dr. Oz tout the benefits of juicing while giving adequate attention to the possible drawbacks.

Fruit and vegetable juices retain most of the chemicals which make them so good for us in the first place, like chlorophyll, anthocyanins, antioxidants and flavonoids. It is important to note that although adding juice to a well rounded, healthy diet is an excellent idea, beware falling into thinking that juicing is the only or best way to be healthy, or that only juices are good for you and you should avoid whole foods. That is not at all what I’m saying. Juicing also takes out all the fiber from these wonder foods, fiber that your body needs for its normal digestive process. For a list of nearly 50 more fascinating raw food juice facts, check this out.

Now, before you rush out and buy a $300 juicer, consider your needs. Are you just beginning to dabble in this juicing craze? Do you just want a healthy beverage now and then, as well as pulp to put into soup and muffins? Are you already a hard-core health nut ready to begin adding daily juices to your diet? There are two types of juicers, a centrifugal juicer or a masticating juicer. Centrifugal machines work by chopping the food into tiny pieces and spinning it to separate the juices. They are typically smaller and less expensive. You won’t get as much of the nutrients, but they do the job. Masticating juicers work by mashing and grinding the food, producing a thicker, pulpier juice with the majority of the nutrients. They are typically larger and more expensive. You can check out a wide array on Amazon (not an affiliate link. I will get no benefit if you look or buy). 

Funny story, my juicer was actually free. I’m a member of an online community called SparkPeople which has nutrition and exercise trackers, recipes, articles, community boards and much more. I highly recommend it if you want a simple, informative website to keep track of your health stats. Anyways, there was a forum about juicing, and I posted in it that I was curious about juicing. It lead to several conversations about types of juicers, uses, etc. A fellow member sent me a personal message saying that she had just gotten a newer, larger juicer as a gift and had an old one she didn’t need anymore. Of course I was skeptical, but sure enough two weeks later a gorgeous little blue and white juicer showed up! 

My gorgeous gift, courtesy of a kind fellow Spark-er!


I was thrilled, and thanked her profusely. Since then I’ve dabbled on and off with various types of fruits and vegetables and recipes, and learned a little along the way. Following is a list of rules I’ve determined for myself. They may not all work for you, but enjoy learning from my experience.


Jen’s Five Juicing Rules: 

1. Take the time to cut off the peels. Seriously, juicing the peels too gives the final juice a bitter, sour taste that is not really pleasant, regardless of what other goodies are in there.Of course, mine is a centrifugal juicer, not meant for large pieces of whole fruit. If you have a masticating one, it might be ok.

2. Know the limits of your machine. If you have one of the huge, fancy juicers you can pretty much throw a whole watermelon into, good for you! Most likely you do not, so know how large of a piece of food your machine can handle at a time, and if you’re doing a large batch clean it a few times throughout to keep it from clogging up.

3. Wash your juicer immediately once finished. Dried on fruit and vegetable bits are gross, start to smell, and are much harder to scrape off the inside of a fruit chute than fresh.  I promise the chlorophyll and phytochemicals in your juice won’t fall apart in the time it takes to give it a quick rinse.

4. Always throw in a little something sweet. Even the most hard-core purist who drinks three glasses of green juice a day has to admit kale, spinach and carrots alone don’t taste super great. Especially if you’re just starting out with juicing, give yourself some slack and add some apple juice or berries to everything.  

5. Don’t be afraid to try new things. I juiced anything I could get my hands on for a while. Sure I made some mistakes (see the list at the end of things that are HORRIBLE juiced) but I also found a lot of new fruits and veggies I didn’t know I liked. 

Prepping for juicing: lots of fresh fruits and veggies
This will become many tasty beverages for the week.
Mmmm green juice, that’s the best way to start the day.

Things that are seriously gross when juiced:
Cabbage
Potatoes
Mushrooms
Garlic – maybe for cooking, but holy cow this stuff is strong! Gag-inducing, even in small amounts.


Things that will overwhelm the taste (use small amounts only):
Grapefruit
Ginger
Lemons
Limes

Best things for juicing:
Apples
Carrots
Celery
Cucumber
Spinach
Oranges
Pears
Berries (most of them)
Pineapple
Lemon/lime/grapefruit


Now that you know the facts, go ahead and find yourself a juicer (Amazon, Ebay, Walmart, Christmas present, Craigslist…) and get to creating! The Beginner’s Guide to Juicing is a great article full of helpful information, reviews of different types of juicers and blenders, and includes more recipe ideas.

Some recipes to get you started:

Citrus Refresher
~2 oranges, peels cut off
~2 apples
~2 large carrots
~1 lemon and/or lime

Green Machine
~1 large handful spinach or kale
~4 stalks celery
~1 large cucumber
~1 apple
~1 lime

Cold Crusher
~2 oranges
~1/2 a grapefruit
~1 apple
~1″ chunk ginger
~1 lemon

If you have any juicing stories, advice or recipes, please share!

Save

Ratatouille niçoise

There are several recipes or types of food which I’ve heard of, tried, or seen but have not yet tried to cook myself. One of those is ratatouille. The 2007 Disney movie brought the dish into the main stream consciousness with its adorable main character, Remy, a rat who just wanted to be a great chef. Ever since then it’s been in the back of my mind as a ‘make this someday’ dish.

Ratatouille the dish is traditionally a French dish consisting of stewed vegetables. It originated in the French province of Nice, and comes from the Occitan language “ratatolha” and the French word “touiller” meaning to toss food. There are similar dishes in many other cuisines, including the Catalan samfaina, the Majorcan tombet, the Spanish pisto, the Italian caponata, Greek tourloú, and Filipino pinkabet. French chef Michel Guérard came up with a new version called Confit byaldi for the Disney movie. It can be served as a side dish, or made a whole meal when served over rice.

In my version, I pulled together several variations, and used what I had available in my kitchen. I had planned on a potato leek soup sometime this week, but silly me had only bought one leek, so into the ratatouille it went. While I’m at it, I’ll throw the potato in there too. Oh, and a single turnip I had bought for who knows what reason. Also I had no fresh tomatoes, but my pantry is never without a can of diced tomatoes.


Ingredients:
3 zucchini (I just happened to have three different colors, so at least it’ll look pretty)
1 turnip
1 potato
1 leek
1/2 red onion
3 large bulbs garlic
1 leek
1 can diced tomatoes
2 tbsp butter or margarine
1/4 green bell pepper, sliced

Step 1: Slice the onion into thin strips, dice up the garlic, and slice the leek. Add them and the bell pepper to a frying pan on low with the butter and cover.

Let that cook and caramelize, stirring occasionally, while you preheat the oven to 350 and proceed to the next step. 

Step 2: Slice the zucchini into thin coins. Peel and slice the potato and turnip as well.

 Step 3: Layer the potato, turnip, and zucchini in a casserole pan.

Step 3: To the pan add the can of diced tomatoes. Bring to a boil, then pour over the vegetables in the casserole dish.

Step 4: Cover in foil and bake at 350 for 45 min to an hour. You’ll know it’s ready when the slices are soft when poked with a fork.

I also took the foil off after 45 minutes and let it bake another 15 minutes to evaporate some of the juices. You can now serve it over rice or couscous, with fresh crusty bread, and/or sprinkle on some mozzarella. Deliciously vegetarian and very low fat and low calorie. Bake up a batch, put on the Ratatouille movie or some classic Julia Child and enjoy!

If you have a favorite French recipe, anecdote of your trip Paris or first year of chef school, or a story of attempting a French recipe that ended unfortunately, please share here!

The times they are a-changing…

Ok world, listen up. Things are changing around here, and changing soon. Rather than recipes only, sometimes I will include informative posts about things related to the world of cooking. Don’t panic, you can still find plenty of culinary inspiration here. I will continue posting all my cheap, easy, fast, fun, filling, creative recipes. To that I will add an enrichment of reader’s knowledge on all topics food, cooking and budgeting.

There will also be some tweaks to the layout and a re-naming. From my very first post on this fledgling blog to today,  many things have changed and yet many things have stayed the same. I have survived four years of undergraduate education, a masters degree, a thesis, many experiments, tests, quizzes, long nights, various jobs in restaurants and libraries, and have many great memories. I am no longer in college, but my philosophy of trying new, fun recipes while keeping it cheap and simple has remained. This blog is all about the creative fusion of new, strange ingredients with classic old standbys all while staying within a budget. 

Thus the name has evolved into “Budget Epicurean” to reflect the philosophy that eating inexpensively does not necessarily mean eating flavorlessly. A meal made for pennies can bring you great taste and joy. You can literally have your cake and eat it too!

Epicureanism is actually a system of philosophy based on the thoughts and teaching of Epicurus, a materialist from around 300 BC. He believed that “pleasure” is the greatest good, but unlike hedonism, he claimed that the way to attain such pleasure is to live modestly and to gain knowledge of the workings of the world and the limits of one’s desires. The ultimate form of happiness was a state of freedom from fear (ataraxia) as well as freedom from pain (aponia). Today epicureanism is meant to imply a love of the finer things in life like art, food, and sensual pleasures even to excess. However a true follower of Epicurus knows that happiness does not come from over-indulgence but from balance, prudence, and contentment.

So from now on, look for new posts every Tuesday, Thursday, and Sunday! 
 

Keep being fabulous, guys!

If you have any comments, suggestions, or wish to write a guest post, please shoot me an email. Keep on creating. Thanks for reading!

Easy Halloween Themed Treats (no tricks!)


Halloween is easily one of my favorite holidays. I love to dress up, I love cooking and eating, I love candy (who doesn’t?!?) and I love throwing parties. And I have a confession: I’m in my mid-twenties, and I went trick-or-treating last year. Don’t judge just because you’re jealous. Never say no to free candy (unless given to you by a creepy stranger. Wait a minute…)

This year I decided to throw a Halloween party for some friends, and began planning far in advance. I love cute themed dishes, and picked some of the simplest sounding ones. I made a big list of what I thought was the best ideas, and didn’t really keep any recipes, I just made it like I thought it should be made. But if you’re the type who wants a list and steps to follow, then continue reading below and enjoy! If you have a favorite Halloween or fall-themed dish, please share in the comments! (Or email me with “Halloween treat” in the subject heading). The one I think sounds tastiest may appear on a future post!

Mystery Shots
These were test tubes filled with all sorts of delicious and terrifying ingredients! I had coffee, soy sauce, sriracha, dish soap, eggnog, orange juice, apple juice, grape juice, cranberry juice, water, rum, vodka, juiced carrot, cabbage or bell pepper. Obviously if the party involves kids don’t use alcohol and maybe not as many gross ones. But get creative, you can put in whatever you want! And use food coloring to hide the natural color of things, it keep them guessing.

Blood & Guts Potato Skins
Wash as many potatoes as you’ll have guests and cut potatoes in half. Spray a baking pan and bake cut-side down at 350 for about an hour. Scoop out the cooked insides and place in a bowl. Add a can of tomato sauce and salsa until stuffing is reddish and goopy. The salsa is supposed to make it look like chunks of gore. Re-fill the skins and bake another 10-15 minutes, serve. I added some refried beans to some, thinking it looked kind of like mud.

String Cheese Severed Fingers
Cut string cheese in half, use a knife to carve knuckles about halfway down. Make a slice half an inch from the edge, and insert a slivered almond as the ‘nail’.

Mummy Dogs
By far the most adorable thing, and likely the only way I’ll ever make pigs in a blanket from now on. Cut hot dogs in half. Unroll a tube of crescent dough and make half inch slices. Wrap a small piece around the top, and a larger piece around the bottom 2/3. Bake at 350 for 10-15 minutes, until golden brown. Use mustard or ketchup to draw eyes.

Monster Wedges
Cut unpeeled, washed apples into quarters such that they can still stand alone. Remove the seeds and stem. Cut another small wedge halfway down, insert slivered almonds randomly for teeth. Use whatever candy and either syrup or cream cheese or peanut butter to stick on eyes.

Severed Hand ice cubes
For these, you need some gloves and some time. Fill gloves with water and tie well, put in freezer for several hours. When it’s floating in your beverage, they look like severed hands. I used cranberry juice to make a red, ‘bloody’ one, you can use food coloring in the water for any color.

On the topic of beverages, dry ice is definitely worth investing in! It was only $1.29 per pound at my local grocery store, and 5 pounds was plenty to last the whole night, throwing in small pieces as they evaporated. It bubbles and smokes, and causes real ‘cauldron’ noises! People of all ages are guaranteed to be fascinated by this.

Orange and Black Fruit Kebabs with Toffee Dip
Alternate chopped cantaloupe with blackberries and blueberries to create colorful skewers. The dip is 1 package cream cheese, softened at room temperature, 1 tsp cinnamon and nutmeg, 1/4 cup coffee creamer in some holiday flavor (caramel, apple, toffee, pumpkin, etc) and 3/4 cup brown sugar. Mix well, and sprinkle toffee bits over top. You could also drizzle on caramel, mix in a tub of whipped cream, or mix toffee or chocolate into the dip. Party-goers said this should be eaten with a spoon!

Dirt Cake
Make a package or 2 of chocolate pudding and refrigerate. Crush up a handful of Oreos in a plastic bag with a rolling pin or your fist and sprinkle on top as the ‘dirt’. Add gummy worms and viola! A dessert no kid (or grown-up) can resist. You can get creative and add mini tombstones, trees, ghosts etc to look like a real graveyard too.

Doritos Pumpkin Cheese Ball
Unfortunately I didn’t get a picture of this, but trust me when I say it is adorable! Mix 2 packs cream cheese, softened, with onion soup mix or dried onion, 1/4 cup sour cream and 2 tbsp ranch dressing. Make it into a ball, roll it in mashed-up doritos chips, wrap in plastic and refrigerate at least an hour before serving. Use the stem of a green bell pepper as the pumpkin top.

 Have a spook-tacular Halloween!

Souppa like Zuppa Toscana

I still had some sausage left over from my sausage gravy & biscuits, plus half a bunch of kale that hadn’t been made into kale chips. (If you’ve never tried kale chips, I definitely recommend it! Kale is super good for you but can be bitter, and this is a super simple way to get your leafy greens). A quick internet search for “sausage and kale” quickly showed a trend towards this “Zuppa Toscana” that Olive Garden makes (don’t sue me please!) that lots of people claim to mimic.

Well as any loyal reader knows, I’m not a ‘by-the-book’ recipe follower, so I just took the general idea and ran with it. What happened was a simple, delicious soup that quite frankly surprised me with how tasty it was. With really only 4 ingredients and 30 minutes, a warm, filling and complex soup for dinner can be yours!

Ingredients:
1/2 pound sausage
1/2 bunch kale, shredded
2-3 large potatoes, diced
6 cups water
4 chicken bouillon cubes
3 tbsp cornstarch
Italian seasonings

Step 1: Brown the sausage in a frying pan. Drain most of the fat and set aside.

Step 2: Dice the potatoes into thin wedges. There’s no right or wrong way really. Most copy-cat recipes use redskins but I only have russet so those will do. Drop them into a pot with enough water to cover and bring to a boil. Cook for about 8-10 minutes, until soft when poked with a fork.

Step 3: While the potatoes boil, rip the kale into bite sized pieces, discarding the stems. When the potatoes are soft, drain and put back into the pot.

Step 4: Add water, bouillon, seasoning, kale and sausage. If you’re on a super budget the spices and bouillon aren’t required, just kicks up the flavor a notch. If you’re flush with cash, try adding half heavy cream and half chicken stock to make a creamier base soup. Of course, if you’re rolling in Benjamins you could also just go out to Olive Garden for dinner tonight…and we should be friends. Email me k?

Step 5: Bring to a boil and then simmer for about 20 minutes. In a cup, combine some hot soup water and the cornstarch and mix. Once it’s all dissolved add it to the pot. This will help it to thicken. Also not completely required, but I like a little body. You could use flour for the same purpose.

The flavors combine beautifully into a rich soup that I thoroughly enjoyed. I would definitely make this again. If only I had some salad and bread sticks to go with it.

Butternut Squash Soup

I recently had a dinner party, and in the spirit of the season (fall) I decided to make butternut squash soup as one of my main dishes. Earlier I posted about butternut squash macaroni & cheese, if you have one and soup just isn’t your thing. No reason not to enjoy the bounties of fall, regardless of texture preferences.
So as per usual, I googled around and pulled from several recipes and what I had in the house to come up with this. It received universally positive reviews! I made a large amount since I was feeding 6, you can cut everything in half for a smaller number of people.
Ingredients:
2 squash, halved and seeded
2 carrots
2 celery sticks
1 small chunk peeled raw ginger (about 1 inch)
1 white onion
4 chicken bouillon cubes
5 cups water
1 package cream cheese
Cinnamon, nutmeg and coriander seasoning

Step 1: Place halved squash on a baking pan with a little water. Bake at 350 for 35-45 minutes, until soft when poked with a fork.

Step 2: While the squash are baking, boil the carrots, celery, onion and ginger in chicken water until tender.

Step 3: Scoop the squash out of the skin and blend in a blender. There’s a surprisingly large amount of flesh in there, I had to do it in three batches. Add hot water from the pot to thin it out. Blend in the cream cheese, the vegetables and chicken stock as well, put it all back into a large stock pot.

Step 4: Add a healthy dose of cinnamon, nutmeg and/or coriander, adjusting to your tastes. Bring to just a simmer, and enjoy.

This is a great taste of fall, good on its own or I’m sure you could pair it with any number of dishes. You could probably mix and match too, if you wanted to try pumpkin or acorn squash instead. You could add milk or half and half to make it creamier, or omit the cream cheese & chicken bouillon to make it vegan.

Sausage gravy & biscuits


If you asked my family if ever they thought they’d see the day where I not only willingly ate sausage gravy and biscuits, yet alone cooked it myself, they would call you crazy.

For the longest time I was very against sausage in any form; ground, patties, links. Well, I’m living proof that tastes change over time. The more times I tried sausage gravy & biscuits, the more I liked it. However, I am also aware that commercial gravy is horrific for you. I had a can of biscuits in the fridge and sausage was on sale $3/pound at my farmer’s market.

I couldn’t resist buying a nice, fresh ground pound of sausage and trying my hand at this artery-clogging breakfast favorite. Turns out, it is actually quite easy. I did cheat and use canned biscuits rather than make my own. But the gravy is more art than science, use your own judgment and tastes when adding milk and flour to make it the consistency you want. You could also use cornstarch to thicken it rather than flour for a gluten-free option.

Pro tip: this sausage gravy would be great over just about any meat or grain, like chicken and mashed potatoes, or ham and rice.

Ingredients:

  • 1 pound sausage
  • 1 can biscuits
  • 1 cup milk
  • 4 tbsp flour
  • Salt & pepper

Step 1: Brown the sausage in a frying pan. Once fully cooked, remove the sausage, drain the fat and set aside.

Step 2: Bake the biscuits in a 350 oven for 10-12 minutes.

Step 3: Add the flour to the pan you cooked the sausage in, slowly whisk in the milk. Add all the milk, and bring to a simmer. Add salt and pepper to taste.

Step 4: Add the cooked sausage back in and mix well. Pour over warm biscuits and enjoy!

[amd-zlrecipe-recipe:16]
I can feel my taste buds cheering, and my arteries crying…

Mixed seafood linguini in lemon-butter sauce

I’m very thankful that I have the ability, when I’m at the grocery store and see a bag of mixed seafood on sale, I can just throw it in my cart and think nothing of it. That’s exactly what happened last week. I saw the mixed seafood on sale, and decided seafood linguini was for dinner that night.

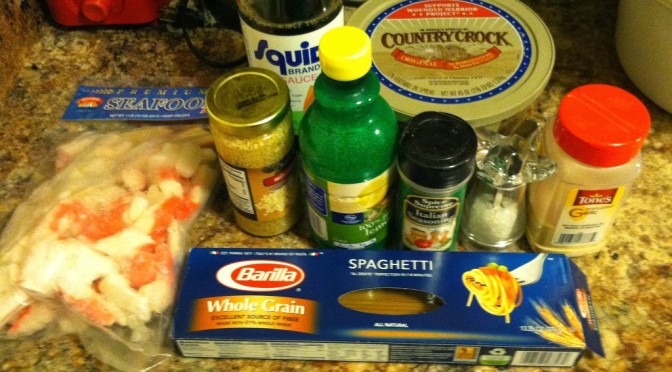
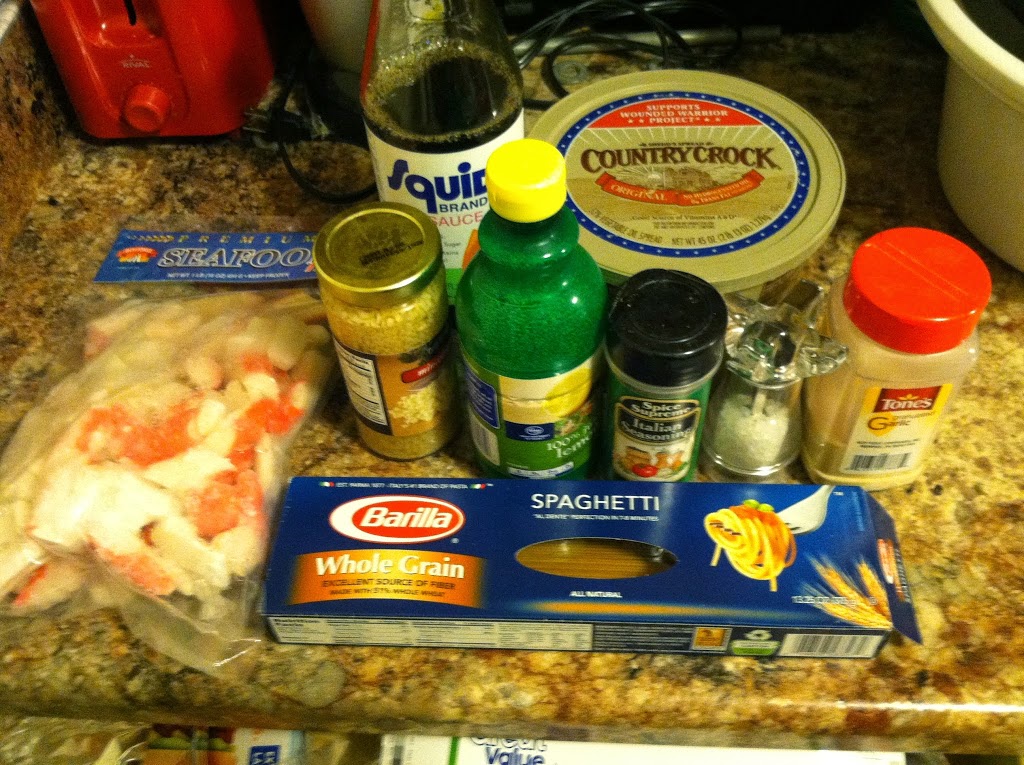
Ingredients:
1/2 lb pasta
1 lb bag mixed seafood
1/2 bag frozen mixed vegetables
1 tbsp garlic
1/3 cup butter/margerine
1/3 cup lemon juice

Sprinkles of garlic, italian seasoning and sea salt
(I added a few squirts of fish sauce because I have that. Because I’m weird. But it’s salty and goes great with seafood.)

 
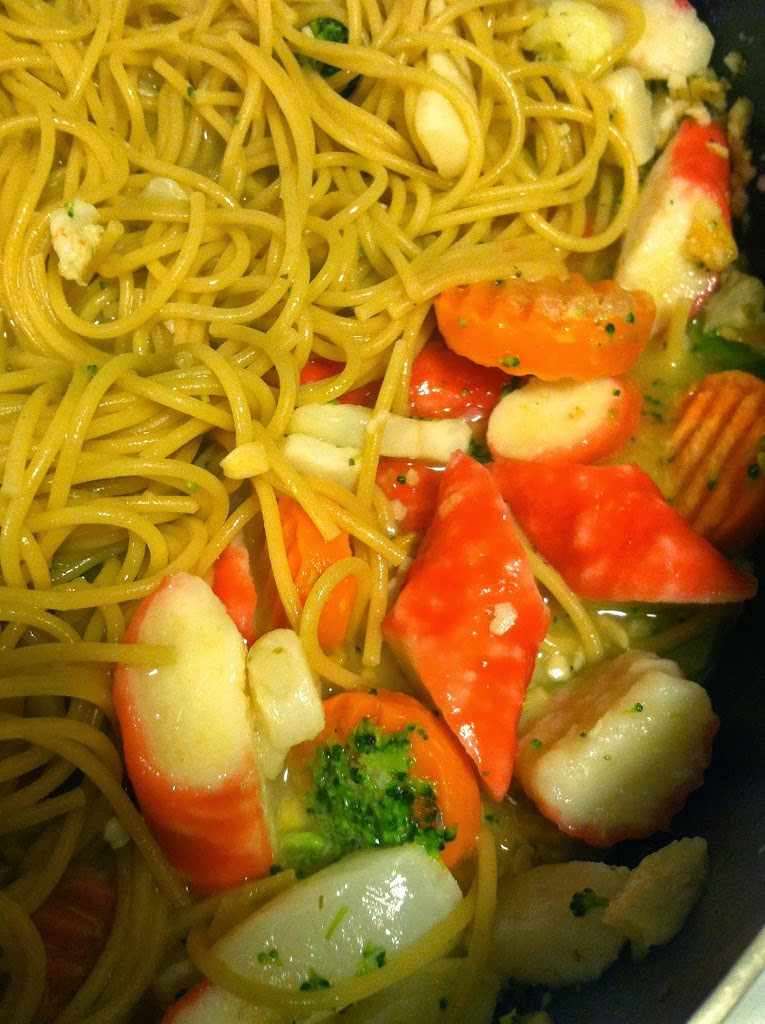
Step 1: Boil the pasta. While it’s boiling, throw all the other ingredients into a pot. The lemon, butter and spices will coat the seafood and veggies. Simmer with a lid for about 5 minutes, then without a lid for another 10 or so. 
 

 Step 2: Once the pasta is done (~7/8 minutes) throw that in the pan to coat with sauce. You can adjust by adding butter, oil, lemon juice, or white wine as needed. Cornstarch or flour can thicken the sauce too.

 Once the seafood is soft, and the vegetables give when poked with a fork, or you’re hungry, it’s done!

Pumpkin seed makeovers

One of my favorite parts of fall is carving pumpkins and roasting the seeds. Salty, crunchy, the perfect snack. A friend of mine decided to try branching out and putting weird things on the seeds we roasted. Here are our concoctions and my humble opinions thereof.

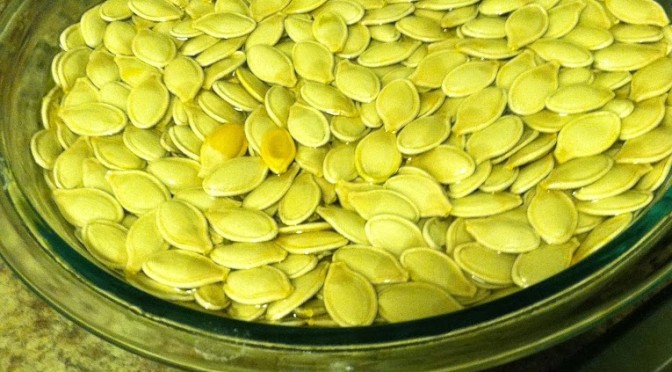
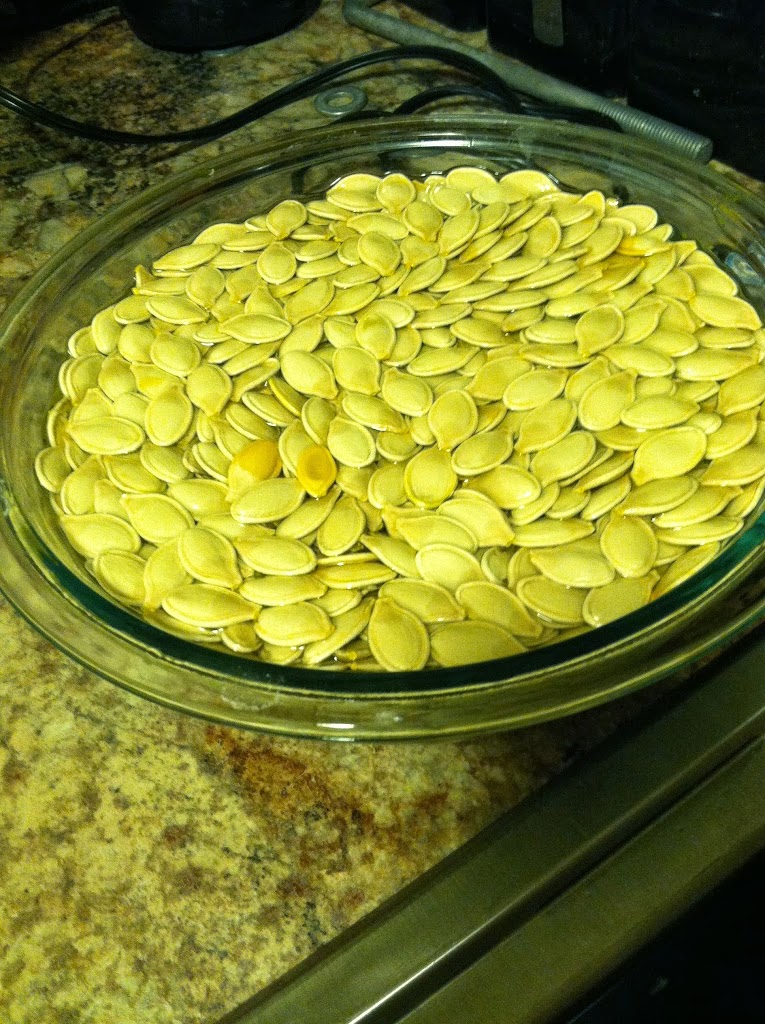
 This is the batch I made the day before, soaked overnight in salt water. They were simply roasted with olive oil and sea salt. My favorite, the old classic.

Indian spices: turmeric, curry powder & coriander
Brown sugar and cinnamon sweetness
Chili powder and chipotle pepper
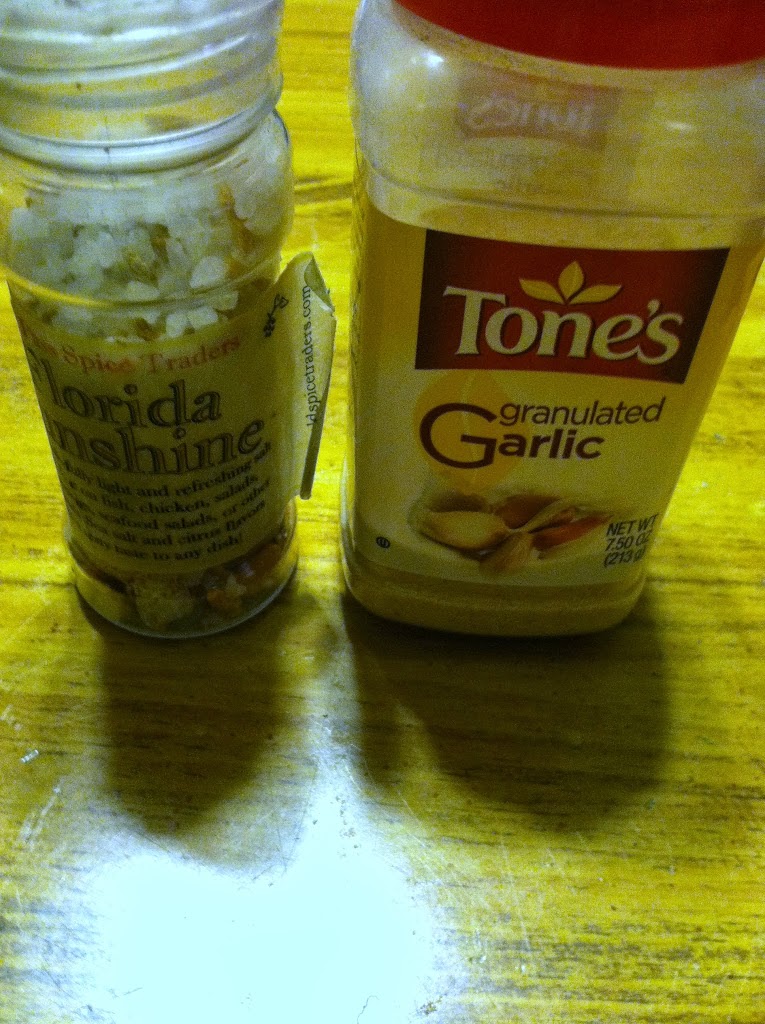
Garlic and salt, a classic combo

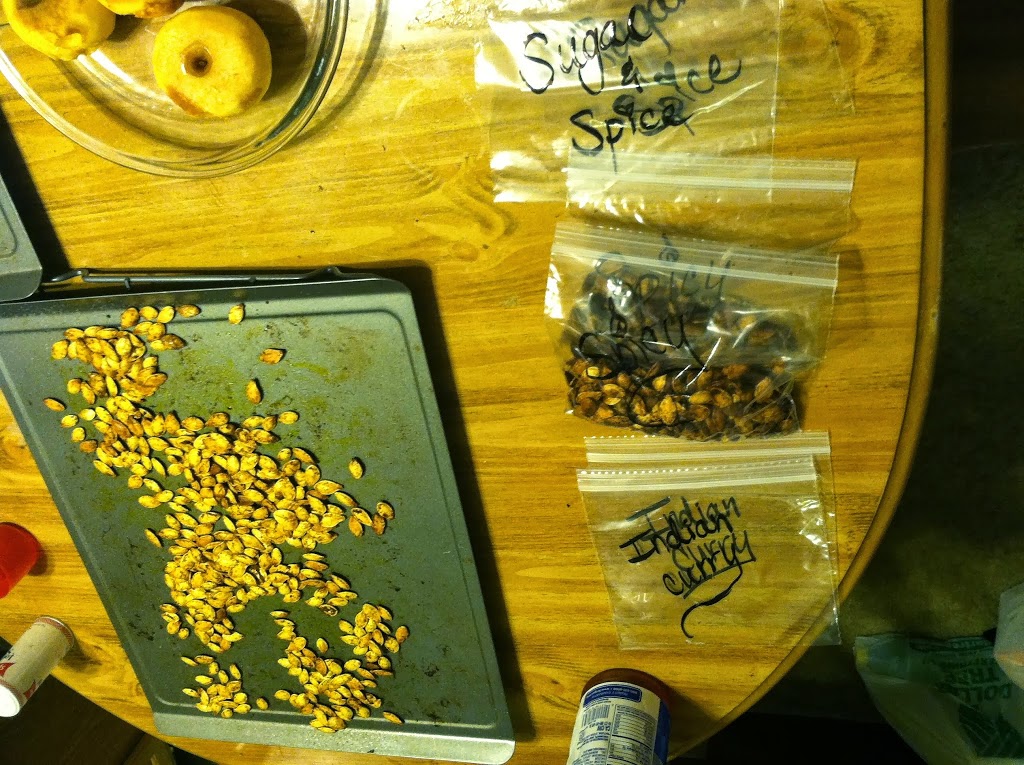
All four batches of seeds, mixed with oil and a bit of salt each

Step 1: Mix seasonings, 2 tbsp oil and some salt into each batch.
Step 2: Spread the seeds in a single layer over a cookie sheet.
Step 3: Bake at 350 for 10 minutes, mix around so nothing burns, bake another 10 minutes.

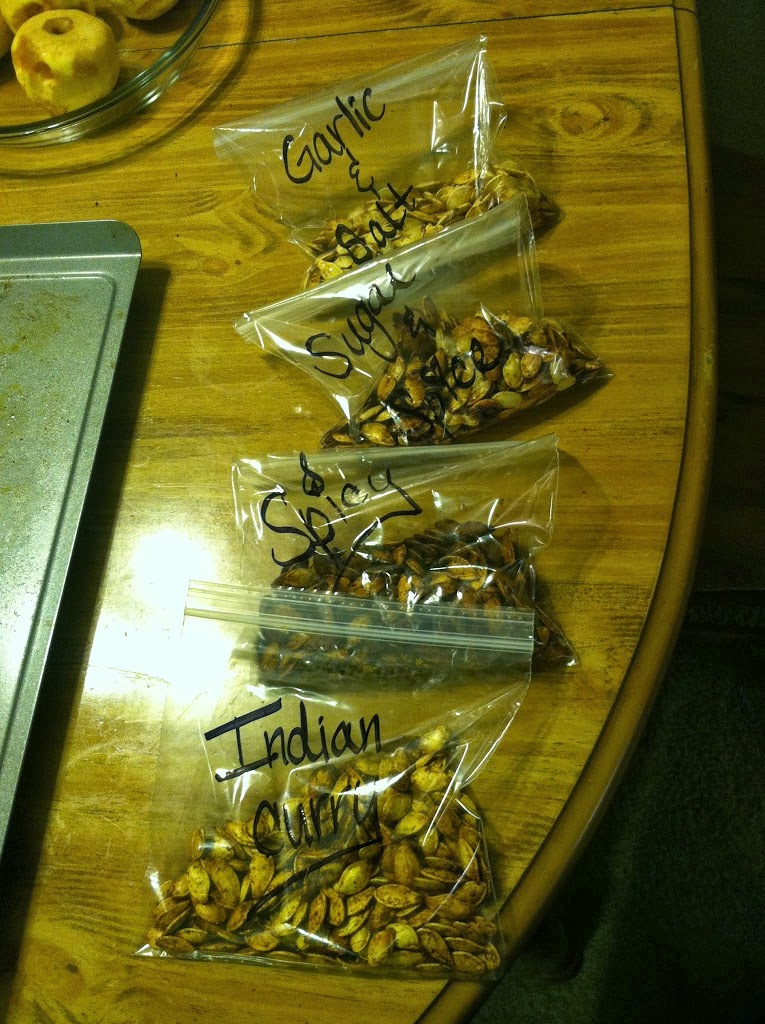
 Each batch was put into its own labeled baggie.

The garlic salt was good, like original with garlic. The curry had a strange aftertaste. The spicy ones were nearly too much for me but tolerable. And the sugar ones caramelized and burnt into clumps… so as much fun as it was, I’ll stick with the classics. But now you know.

Everything bagel with lox & cream cheese

Since I was first introduced to lox during my undergraduate studies I’ve been in love. Lately I’ve been noticing that it’s more and more popular in restaurants, which makes me happy. Unfortunately it is rather more expensive for smoked salmon than an egg. Therefore, any chance I get to make it myself I jump at. Last week salmon went on sale at the grocery store, and that was my cue. I was a happy camper for almost a week of breakfasts.
The fanciest of places also have capers, lemon, and tomato and onion slices. I’m not terribly fancy though.

Ingredients:
1 everything bagel (or whatever kind you like. Onion, wheat, regular.)
2 tbsp cream cheese
1 oz or so smoked salmon (also known as lox)

Step 1: Spread the cream cheese over the bagel.
Step 2: Rip pieces of salmon and place it around the bagel. See if you can hold yourself to only an ounce… I did but only because I wanted it to last.
Step 3: I also sprinkled lemon juice and sea salt over each half.

The fusion of food, fun, frugality, and curiosity.