Creative Recipes for Thanksgiving Leftovers


Since Thanksgiving was already a few days ago, you readers may be tired of turkey sandwiches by now. Or perhaps you went to a potluck and didn’t get saddled with 10 pounds of leftovers, but want to take advantage of steeply discounted holiday foods at the store. Either way, this list of leftover options is sure to help empty that fridge to make room for more culinary masterpieces!

table

First of all, Peter at Feed Your Soul 2 has already made a handy list for his Friday Five collection all about Thanksgiving Leftovers. And if you’d like a super simple casserole recipe to use up all the leftovers in one delicious swoop, try Jeanette’s Layered Thanksgiving Leftovers Casserole.

The Turkey

turkey

The golden centerpiece of the Thanksgiving table, the turkey is a classic. And with the deals offered this time of year (0.50 per pound, what?!) you can’t pass that up. Even if you just scooped up an extra on sale and now it’s in your freezer, these recipes are great for using up that extra fowl.

From Gina’s Skinny Recipes, we start our day with a Turkey & Sweet Potato Frittata. You know I’m a huge fan of frittatas for their adaptability and ease. See the ham section.

If you shred up the turkey meat, you can easily replace chicken for this south-of-the-border Meat & Cheese Enchiladas

Likewise, just replace the shredded chicken with shredded turkey in this White Bean Chicken Chili for a new twist

From Southern Living, try some Turkey Tostadas with Cranberry Chipotle Sauce for a double whammy

For a long list of 16 more amazing turkey recipes from around the food blog-o-sphere, check out This List Here.

The Ham

Ham_Color_adjusted_2

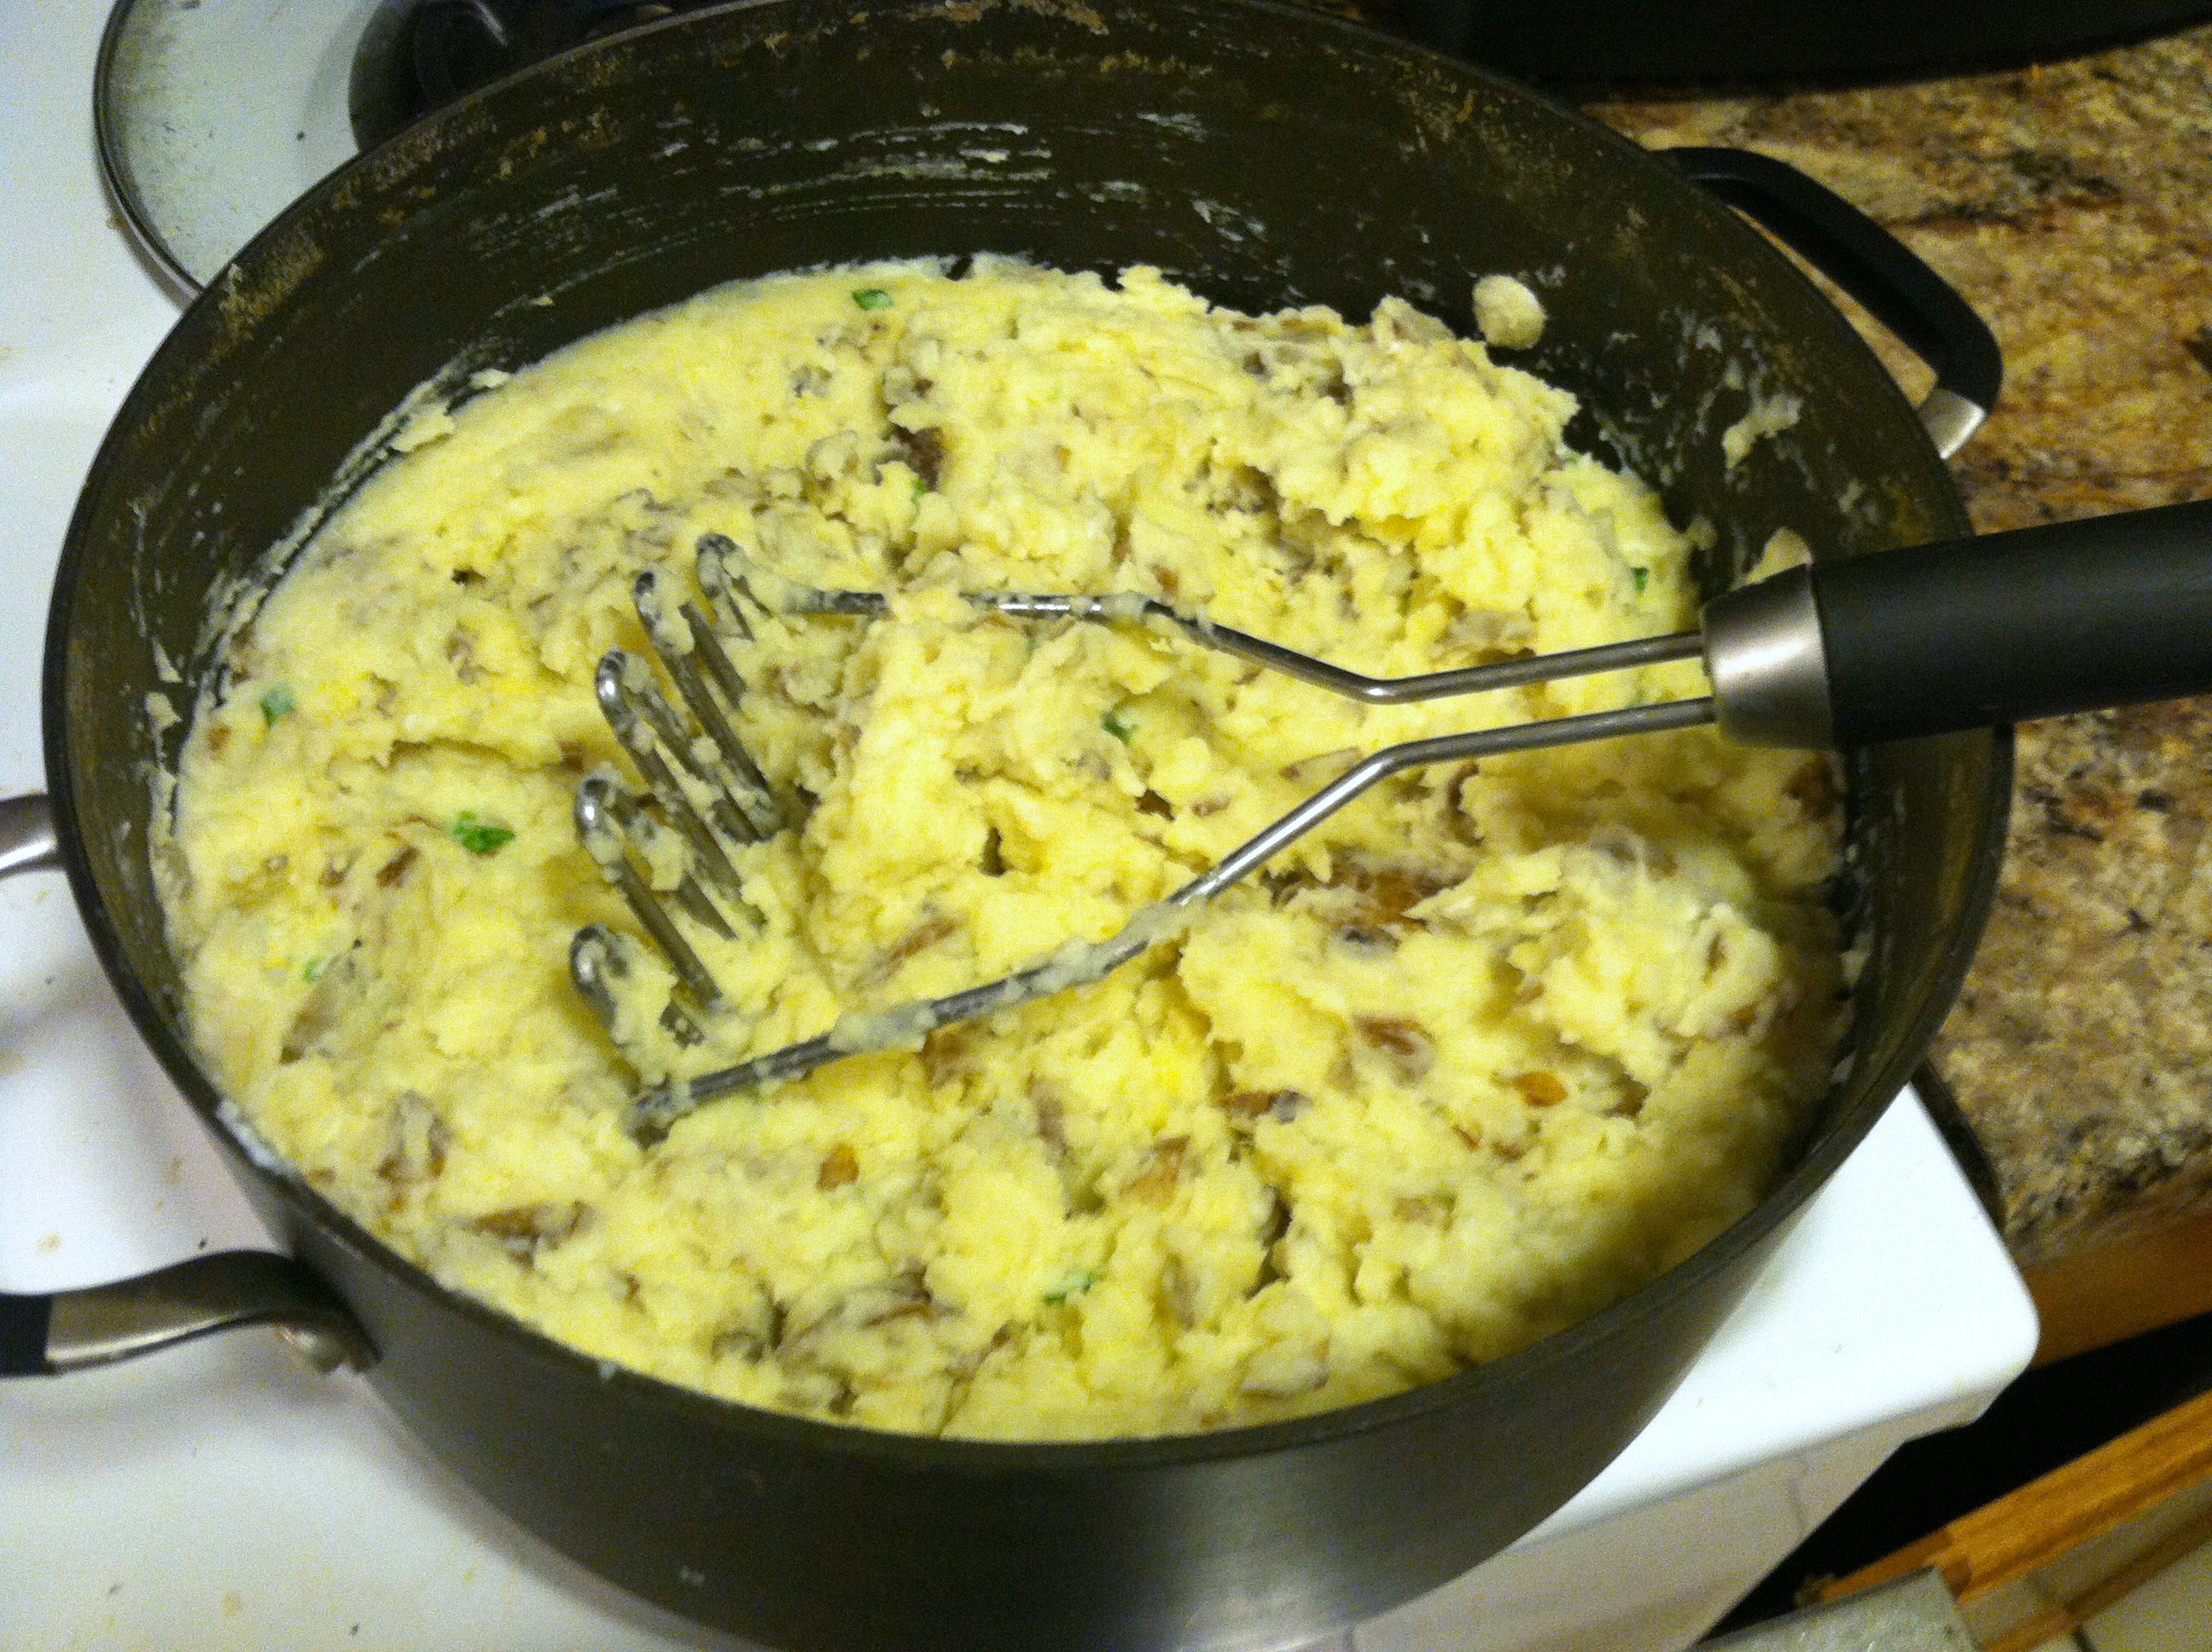
A classic for a reason, Scalloped Ham & Potatoes is a delightful comfort food great for using up both ham and extra potatoes that didn’t get mashed.

As the turkey frittata above mentioned, I love putting anything into scrambled eggs, like this Ham & Greens Frittata

Your Home Based Mom has a great list of tried and true recipes her family loves for using leftover ham

On a chilly winter day, try this comfort food classic of Ham & Potato Soup from All She Cooks. You might even be able to sneak in some leftover mashed potatoes to score a double

The Potatoes
IMG_4644

For adorable, portable snacks little ones and grown-ups alike will love, make these Cheesy Mashed Potato Puffs from The Kitchn

This is a simply brilliant recipe from the One Ingredient Chef: Vegan Lentil & Sweet Potato Shepherd’s Pie

Try whipping up a loaf of easier-than-you-think Sweet Potato Bread

Potatoes are a great base for latkes, and you could use any other filler in there, including turkey meat. Or switch it up from fowl and pork and try my Salmon Latkes

Stuffing/Dressing
stuffing

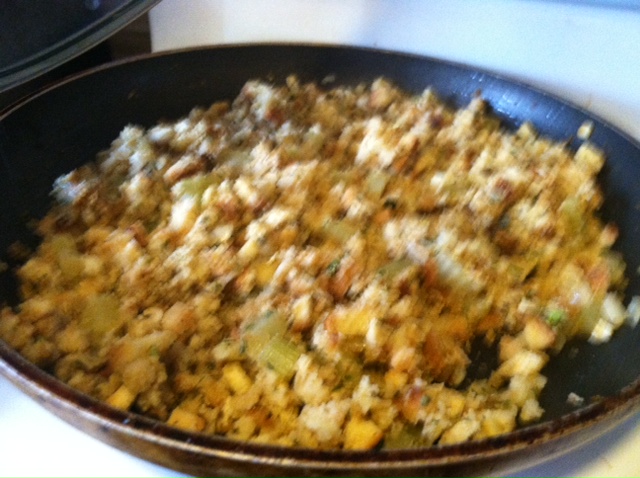
Whether you call it stuffing or dressing, made by hand or from a Stove-Top box, Thanksgiving is incomplete without the starchy side dish. If you have a bowl or three in your fridge, try some of the recipes below to revamp your bread bits.

While there are ten great leftover recipes in this post by Trisha, the Stuffing Waffles are by far the most intriguing to me!

Pull off a dinner-party worthy main dish with little effort with my Stuffing-Stuffed Pork Chops

Try this triple-threat of Turkey, Mashed Potato & Stuffing Patties from the Pocket Change Gourmet

Half Hour Meals has a great list of 7 ways to use stuffing ranging from stuffed mushrooms to meatloaf

Cranberry sauce
cranberry

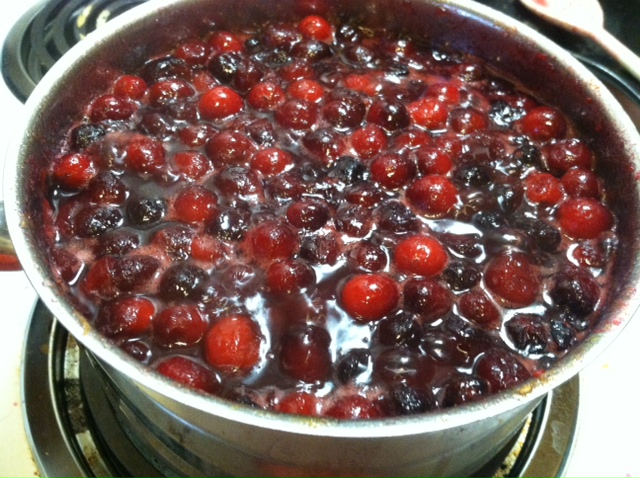
There are tons of ideas out there, I’ve been seeing lots of versions of the Cranberry-Grilled Cheese this year. Here’s a great list of 9 different cranberry ideas, I particularly like mixing it into plain cream cheese as a different and delicious bagel topping!

Brittany Angell has a gigantic list of 35 Ways to Use Leftover Cranberry Sauce with a plethora of ideas that might inspire you to use cranberry sauce year-round

Green Bean Casserole
fresh-from-the-oven-green-bean-casserole

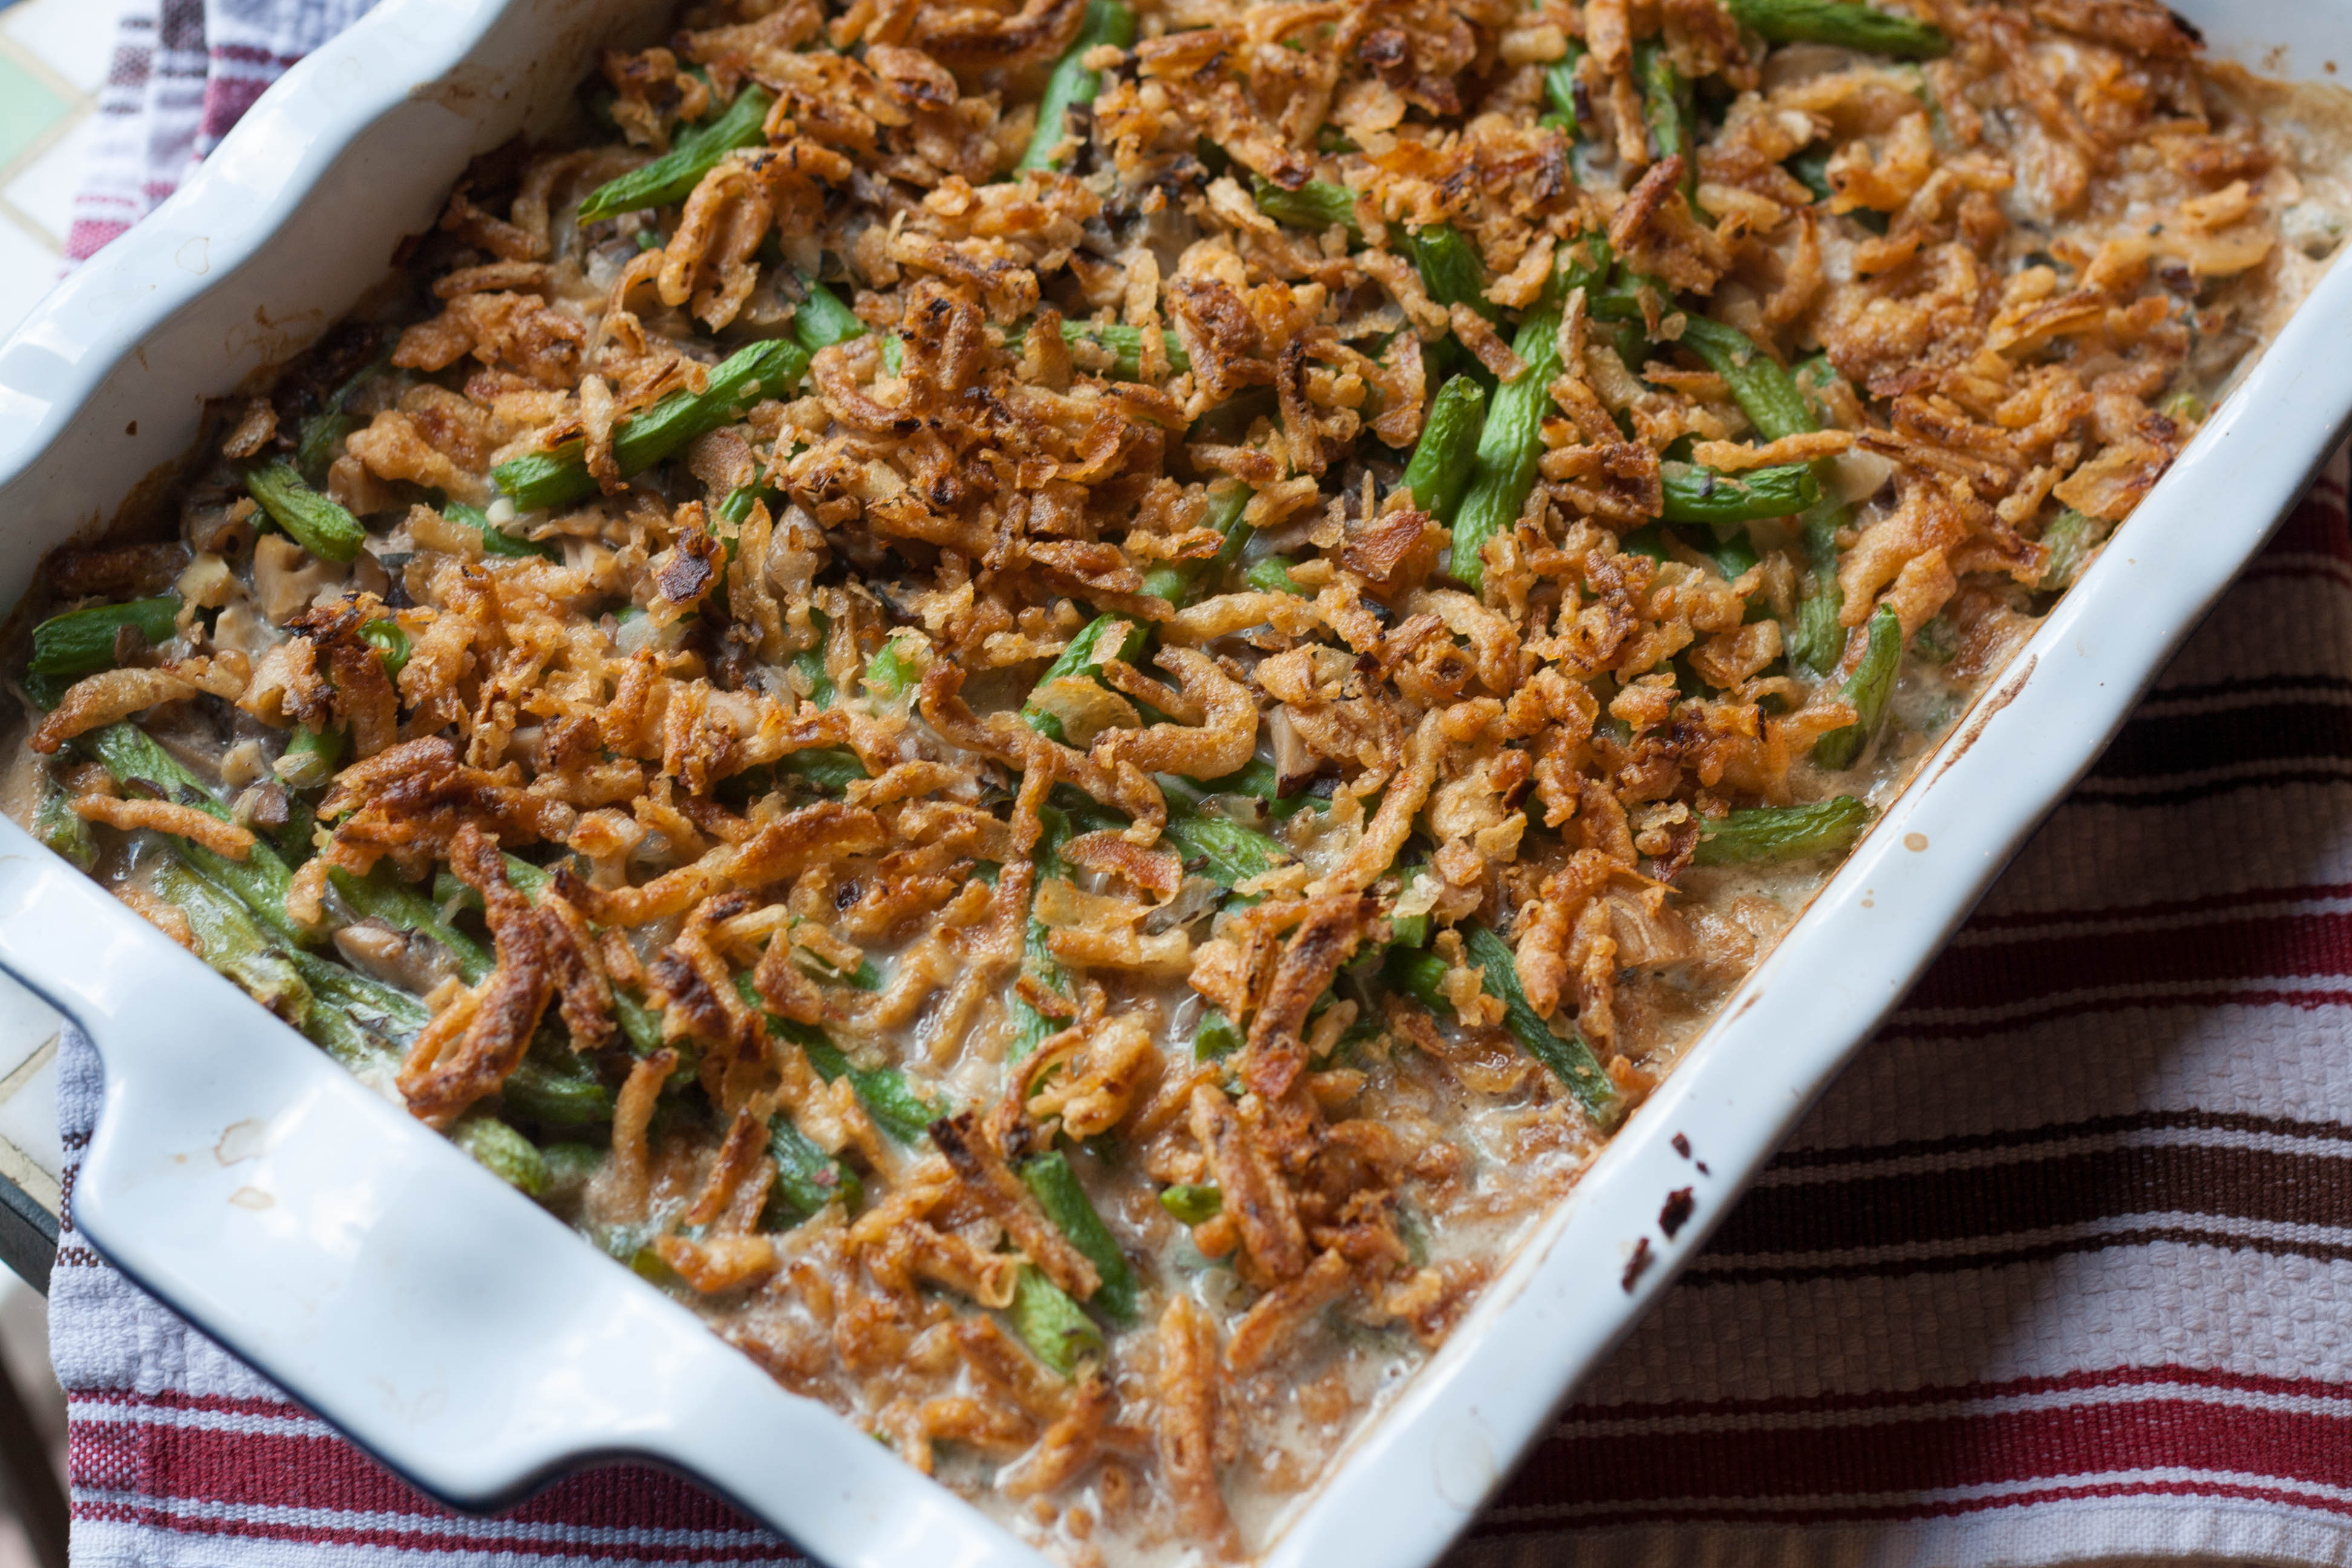
Kevin here put together this Green Bean Casserole Pasta on the fly, but it is brilliant and the cream sauce just kind of works. Must try.

Similarly Greta puts leftover roasted Brussels sprouts in pasta and claims even kids will eat it!

Chef Pete brings us a Turkey, Green Bean & Stuffing Strudel, as well as a “Thanksgiving Cosmo” drink recipe for excess Cranberry Sauce

plate

Of course, if you are tired of cooking at this point and just can’t summon the energy to re-purpose those leftovers, the classic Thanksgiving Leftover Sandwich will do.

Keep in mind that many of these freeze well, so if you just can’t face the gallon of cranberry sauce or two pounds of turkey breast, stick it in a freezer safe plastic bag or container and wait out the holidays. Perhaps a cranberry brownie will sound better in February, or by Easter you can use up those ham chunks.

Hope all my readers had a delicious and thankful Thanksgiving this year!


What do you do with leftovers?

Giving Thanks


Happy Thanksgiving dear readers! I am so thankful for each and every one of you.

I sincerely hope that your Thanksgiving day is filled with good food, friends, family, and stories. Laughter and hugs and sore stomachs from wayyyyy too much to eat.

For some light reading to avoid the football madness or post-turkey nap, see my post from last year on how to do Thanksgiving under $20 , or read about the history of Thanksgiving and why it should be “thanks-giving”.

Or check out some more awesome food bloggers’ Thanksgiving ideas and leftover uses:

Chewingthefat Thanksgiving daily
TheSimpleDollar leftovers roundup
FeedYourSoul2 dessert roundup

(This is not permission to ignore your family in favor of your smart phone or tablet! Pay attention to what your Aunt Edna is saying, you never know how many more holidays you have.)

In honor of that train of thought, some things I am thankful for this year:

  • My amazing, supportive family, who love me from far away
  • My amazing, supportive S.O. who keeps me going daily
  • Finally getting a house & a yard! (renting. but still.)
  • Puppies!
  • Friends who keep in touch through big life changes
  • H Mart. Y’all not from Denver, you just don’t know.
  • Flowers
  • A car that keeps working, despite my lack of attention
  • Jobs that are mostly rewarding and fun
  • Cool people with good stories
  • Board games
  • All the lovely people who have read, shared, supported this blog!

1957692_10102311011621190_4353835963171798343_o

What are you thankful for?

Ramen Broccoli Slaw


A quick search of the web brings up literally thousands of possibilities for using Ramen noodles. That classic salty cardboard noodle we all know and love can be elevated so far beyond fake chicken broth.

This Ramen Broccoli slaw is a delightful side dish for any reason. Take it to a picnic, a house party, the big game next Sunday, a birthday, a holiday celebration. It is tart yet sweet, borderline healthy (but I won’t tell if you won’t) and sure to be a crowd-pleaser.

Best of all, it takes just a few minutes to whip together, so you can make it the day or a few hours ahead, stick it in the fridge, and forget about it until it’s time to run out the door or set the table.

Ingredients:

  •  1/2 bag or box broccoli slaw mix
    • You could make your own by shredding 1 head broccoli minus the crowns, and 1 large carrot
  • 1 pack Ramen noodles (save the seasoning for something else)
  • 1/4 cup vegetable oil
  • 1/2 cup white vinegar
  • 1/2 cup sugar
  • 1/4 cup chopped peanuts
  • 1/4 cup raisins or craisins
  • 1/4 cup diced strips red bell pepper
  • 1/2 bunch green onions

IMG_5087

Step 1: In a large bowl, whisk the sugar, oil, and vinegar together. Crush the Ramen noodles up a bit and put them in the bowl. Stir well to coat.

IMG_5088

Step 2: Add the broccoli slaw, pepper, green onion, and raisins. Mix well and refrigerate at least one hour and up to overnight. The longer you let it sit, the softer the noddles are.

IMG_5089

Step 3: Just before serving, toss in the chopped nuts. Obviously you can omit this if there are any nut allergies or you just don’t like them.

IMG_5096

Versatile and simple, this humble side is extremely cheap (depending on what you add into it) and not too bad health-wise. Of course you can use homemade cabbage slaw, or whatever other diced/shredded veggies you have on hand.


Blender chili


I know, the title of the post has you doubtful already. But stick with me, this will be the healthiest chili your husband/kids/friends/you ever ate without knowing it!

One of my all-time favorite ways to sneak healthy veggies into foods without detection is by juicing or blending them. This removes the physical give-away chunks that usually trigger the “ew” factor. You can get people to eat all kinds of yummies if they don’t know it’s there! I won’t tell if you don’t.

Ingredients:

  • 1 pound ground beef or turkey (omit for vegetarians)
  • 1 can diced tomato
  • 2 cans kidney beans (or any kind)
  • 2 large carrots
  • 2 sticks celery
  • 1 cup leafy greens; spinach or kale
  • 1-2 cans tomato sauce
  • 2 tbsp garlic salt
  • 6 tbsp chili powder
  • 2 tbsp black pepper
  • Sriracha to taste

Step 1: In a large pan, cut up the celery and carrots. Cover with water, and bring to a boil. You will blend these once cooked.

Step 2: Brown the ground beef or turkey if using. Drain the excess fat.
Step 3: Once the carrots are soft when poked with a fork (9-15 minutes) strain and add the carrots, celery, leafy greens, and one can of beans to a blender. Blend on high until completely liquid. This preserves the vitamins as well as fiber content from your veggies while masking the flavors. Add more water if needed while blending.
Step 4: Add the other whole can of beans to the meat, along with the diced tomatoes (best with green chilies for extra heat!) and the tomato sauce.
Step 5: Add in the veggie-licious paste and mix well. Sprinkle on the spices, mix, and taste test. Add more of whatever is needed to please the palate.
And there you have it! Super nutrient-packed chili that will still taste great and stick to your ribs. Delicious served with hot fresh cornbread, or over spaghetti like cincinnati chili.

Lingonberry-Pear Shots


This is something that sounds exotic, but if you live anywhere near an IKEA you can obtain delicious lingonberry extract for about $5. I bet you could find it online or at a local grocery store too, if you look. Or substitute in whatever berry you enjoy instead. Apple, raspberry, pumpkin, cherry, blueberry…

I recommend something red, because the red juice and pear layered is very festive. This would be adorable at a holiday party or get-together.

Ingredients:

  • 1/2 oz lingonberry extract
  • 1/2 oz rum
  • 2 tbsp pear juice
  • Small piece of pear

IMG_4538

Step 1: Pour in the juice concentrate. This should be the heaviest, so if you pour the other layers carefully they shouldn’t mix.

IMG_4539

Step 2: Splash in 2 tbsp pear juice. I opened a can of pears and used the juice in there, plus the fruit as garnish.

IMG_4540

Step 3: Carefully pour on the rum, cut a slit in the pear and wedge it onto the glass.

And there you have it! Totally adorable lingonberry-pear shooters. You could also make this into a full-out beverage by using 1-2 cups sparkling flavored water and adding rum, berry, and pear juice.

Mexican street corn


A trend that swept food magazines and websites for a while, I finally gave in and had to try Mexican street corn. For those of you who haven’t heard of it, this is a handheld side dish and/or snack comprised of cooked corn on the cob, mayonnaise, chili powder, and usually cotija (crumbly white cheese).

Very simple to make, it sounds unusual but I was pleasantly surprised. The sweet crispy corn mixes with the mayo and sharp chili powder spices in a cohesive taste. Try it and see how you like it.

Ingredients:

  • 2 ears corn
  • 2 tbsp mayonnaise
  • 2 tsp chili powder
  • 2 tbsp crumbly cheese if you have it

IMG_4800

Step 1: Cook the corn with the husk still on it. There are a few options here. Boil for 15 minutes, soak in water for 1 hour then grill 15 minutes, or microwave 8-10 minutes. Yes, you can microwave the whole ear, and the husk will steam the kernels.

IMG_4801

Step 2: Carefully peel back the husk, leaving it attached. Corn will be hot. Smother it in the mayo, then sprinkle on the chili powder.

IMG_4802

You can then use the end of the corn and the husk to hold while you enjoy your ethnic portable snack!


How to: Make a simple wreath for under $10

.
This is a fun holiday craft I took on last year with really impressive results. You will be amazed by how gorgeous a piece you can make in just a little time with things you can find in your neighborhood. Could be a good kids craft or bonding time for couples. Just be careful if using real pine, the needles of some can really be sharp.
.
Since you can use real pine branches, this wreath is super cheap. Just make sure you are collecting from a tree you own or are allowed to use… Then embellish with other things from nature, or some cute colorful things you can pick up at a craft store or Goodwill.
.
You will need:
  • Several pine branches (real or fake)
  • Super glue/hot glue
  • Craft wire
  • Pine cones or other forest accessories
  • Embellishments, preferably in pretty colors like red, silver, green, or gold. You could go with any color theme you like.
  • Optional: Glitter, ribbons, etc.
Step 1: Begin forming the branches into a circular shape. Just move the branches around and piece it together into what looks best. Use the wire to hold pieces together once you like the look
Step 2: Once the branches are held together well, you can also hot glue them. Then start strategically placing your accessories. Intersperse colors with neutrals, like I did with the red fake berries and the pine cones.
Step 3: Spread glue around, and sprinkle with glitter for a little extra shine. If you don’t have a nail or hanger on your door, you can also now hot glue a thick ribbon onto the wreath to hang it.
.
And now you can enjoy your unique, homemade holiday decoration. This would also be a great frugal Christmas gift.

Home-canned peaches


When I was a kid growing up, I remember all-day-long canning sessions at my grandmother’s house. We would get the whole family together for steamy, tomato-scented days of carrying bushels of fresh tomatoes down from the giant overgrown garden, slicing and dicing, pushing them through the enormous, older-than-my-mom tabletop canning device, squeezing out seeds, stems, juice, skins, pulp.

Pouring thick red liquid into piping-hot Bell canning jars, just out of the rolling, boiling water, screwing on the lids and popping them back into that steamy water bath. Placing them in rows upon rows along the kitchen table, and listening for the “pop” “pop” “pop” of lids being sealed.

Lining those jars, still warm from the boiling water, along the shelves of the basement pantry. Knowing that meant months later, in the dead of winter, we could have huge platters of pasta with sauce that taste like summertime, and know that I helped make that happen.

IMG_5104

That may sound quaint and overly-dramatic, but canning has always stuck with me and is something I desperately hope to continue into my adult life. I think our American lives of over-abundance and convenience takes a lot of the charm, knowledge, and wisdom out of feeding ourselves. We know nothing of how “food” is created, we just go to the grocery, pick out the boxes and cans, put them in the microwave and sit down in front of the TV to “eat” it.

I love the feeling of looking at something I personally created, start-to-finish, especially if it involves food I myself grew, picked, or somehow preserved. There is nothing like it. Sometime when your store has a sale on produce you like, give it a try and see for yourself.

Not only is home preserving fun and good for the soul, it is also good for the waist and pocketbook! Canning or freezing your own food lets you control what is put into it and avoid massive amounts of sodium, preservatives, colorants, etc. in commercially preserved foods. And though canning supplies may be a healthy chunk of change to begin with, you can re-use jars and rings nearly forever, with only new lids to buy each season.

Now, there are some dangers to home canning. Always read up on proper methods on how to can or otherwise preserve food so you and yours don’t end up sick. Take a look at the CDC article on avoiding botulism,  the USDA Complete Guide to Home Canning article with tips and tricks, or Foodsafety.gov Home Canning advice.

This is my most recent adventure, when Colorado Palisade Peaches were at their prime. They are legendary for good reason, with such perfectly firm yet soft flesh and oodles of juice to drip down your chin. I of course ended up over-buying, and rather than commit the mortal sin of wasting produce, decided to can the excess.

You can use the outline of this recipe for just about any fruit, homemade salsa, or pre-cooked vegetables (like carrots, green beans, or beets). For more recipes specific to fruit types, head over to PickYourOwn.com, a wealth of home preservation tips. For tips on individual types of veggies, SimplyCanning.com has a whole library.

IMG_5110

Ingredients:

  • About 2 pounds peaches
  • 1 cup sugar
  • 2 cups water
  • 3-5 canning jars, lids, and rings
  • Large pot
  • Optional: Tongs, Funnel, Pressure canner

Step 1: Cut the peaches into slices. It is up to you if you want to peel them or can with peels on. To peel them, boil for 5 minutes, then submerge in ice water. The peels should slide off. I left the peels on cause I’m lazy and I like the extra nutrition.

IMG_5105

Step 2: Mix the sugar and water and bring to a boil. Stir in the peach slices, and simmer 5-10 minutes.

IMG_5106

Step 3: While peaches are cooking, bring a huge pot of water to a boil with your jars, lids and rings inside. This sterilizes the jars. You can also run them through the dishwasher.

Step 4: After boiling the jars, use the tongs to pour the water out of them. Fill the jars with the peaches, using a spatula to press them down and squish in the edges. Leave 1/4-1/2 inch space, and put the lids on.

Step 5: Put the jars back into the boiling water, and process for 15-20 minutes. Make sure the jars are fully submerged. This will help kill any microbes, and seal the jars.

IMG_5108

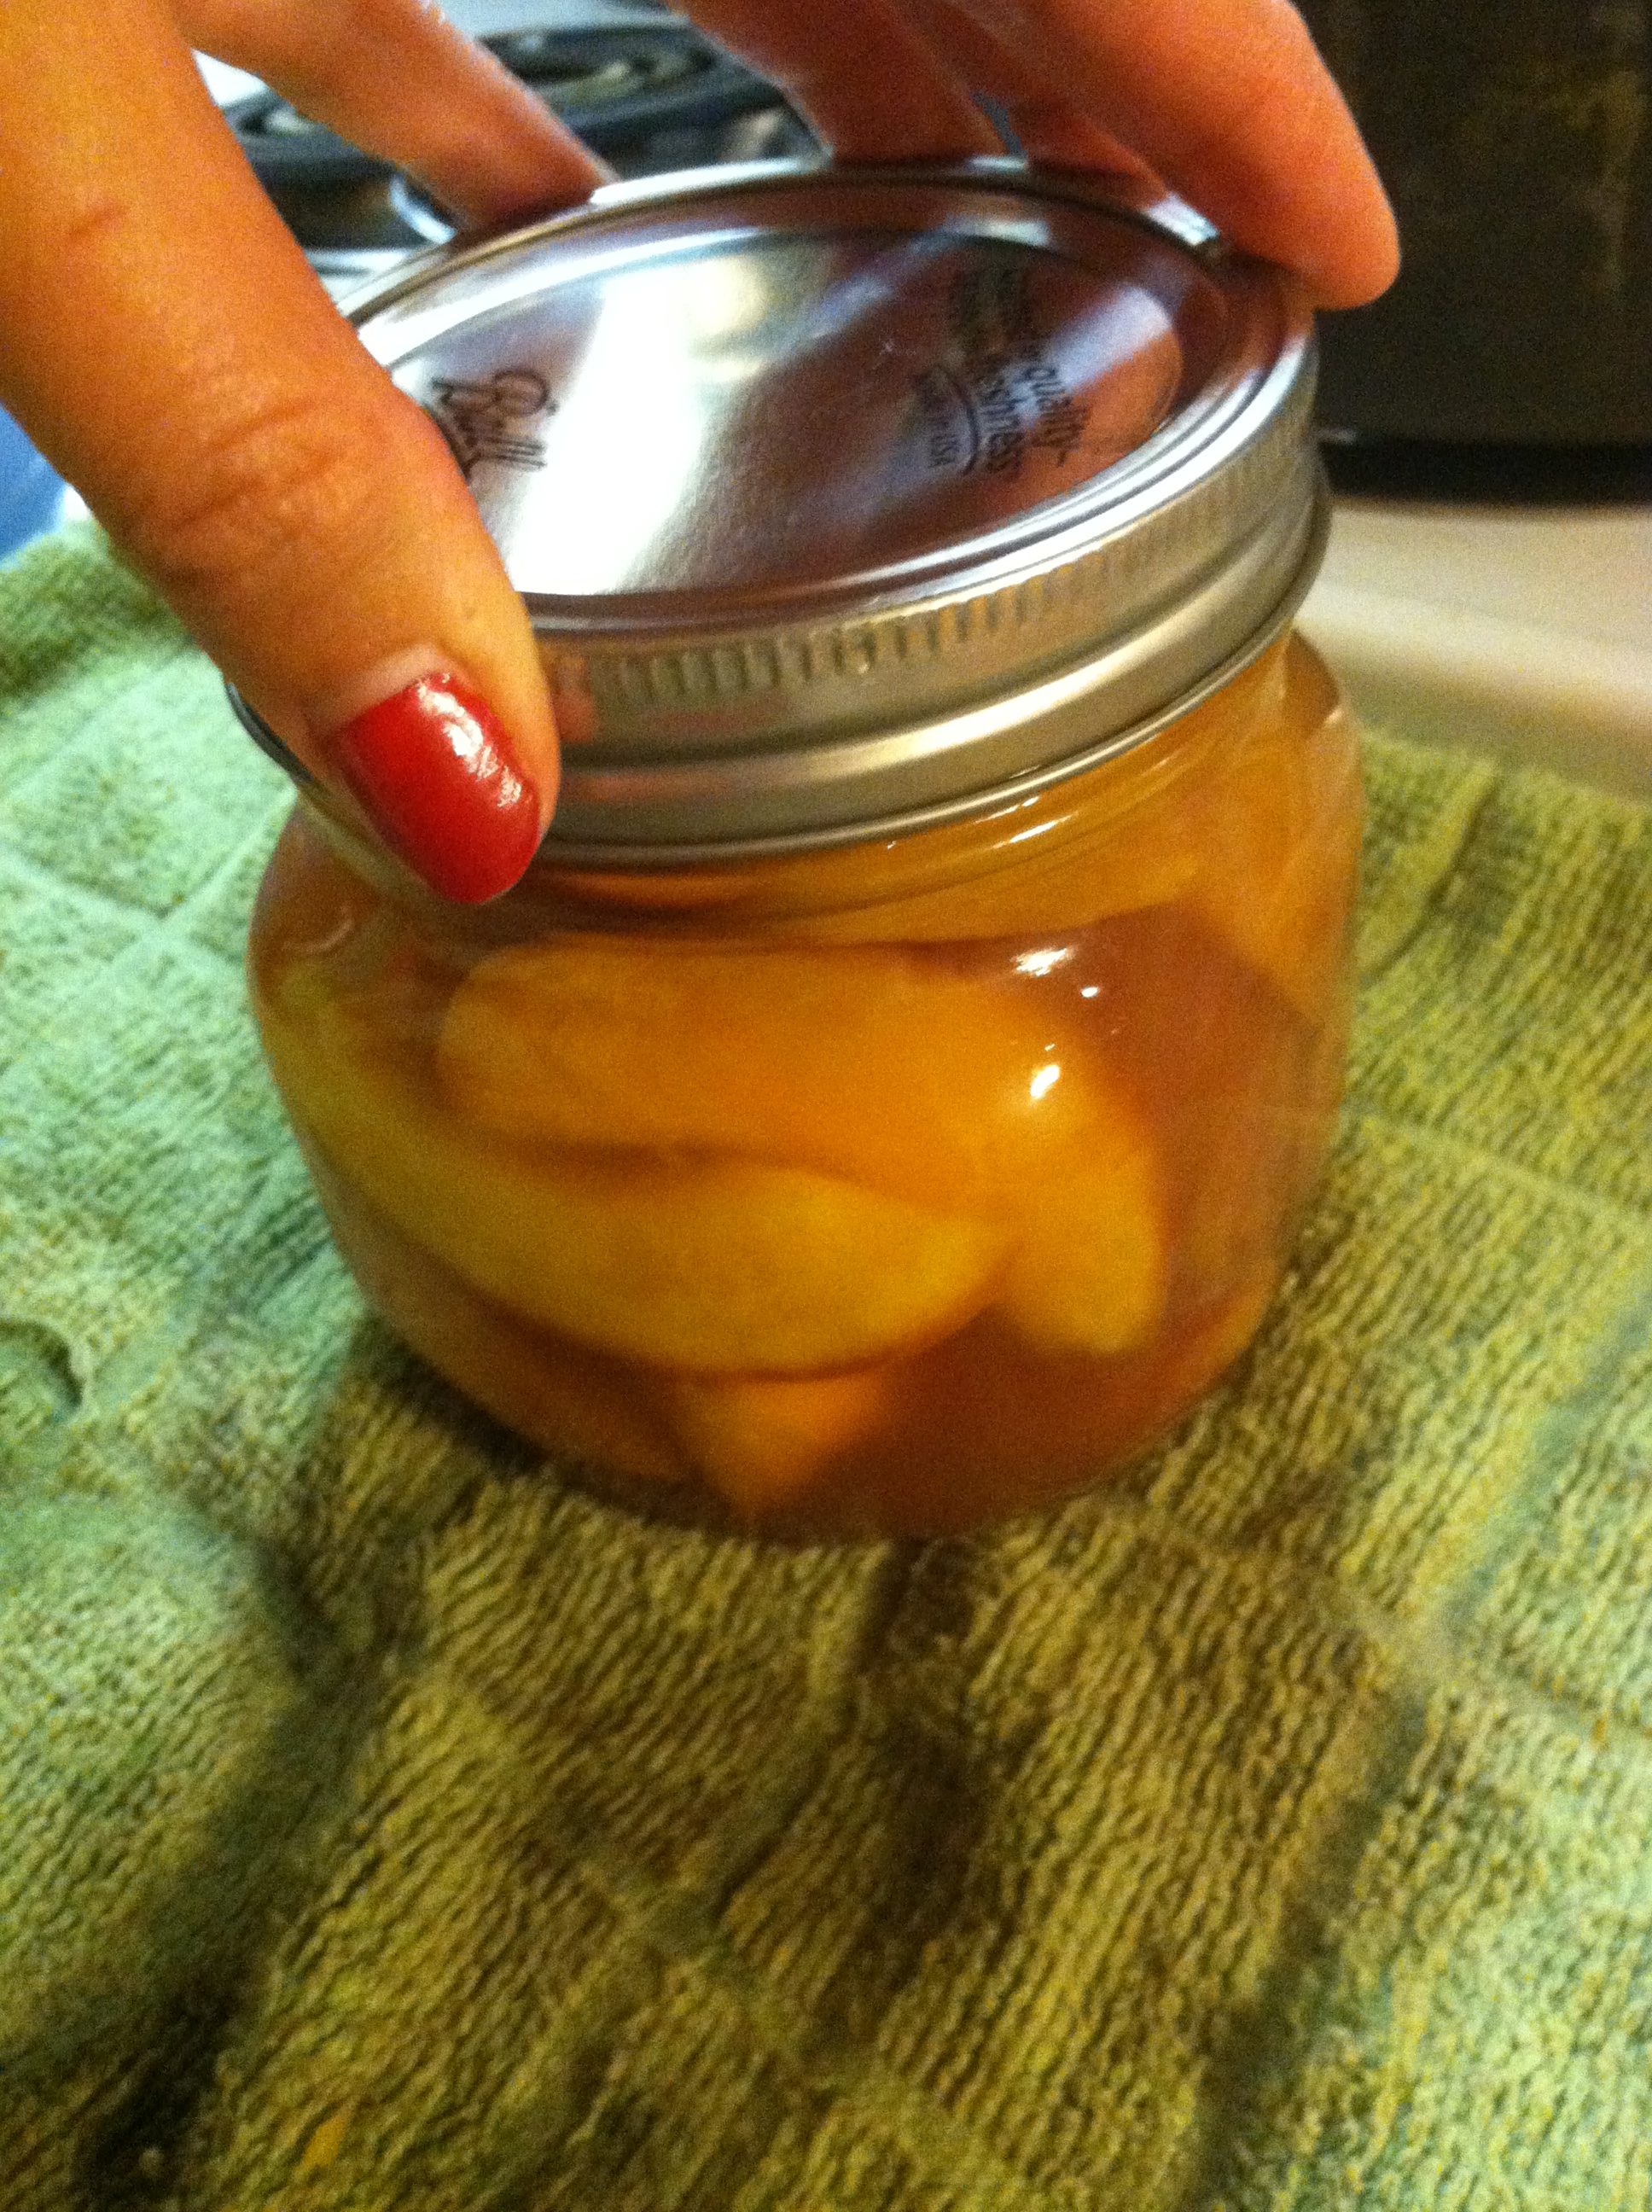
Step 6: Use the tongs to remove the jars, and place on a towel or hard surface to cool. Don’t disturb the jars for 6-12 hours, or until you hear the “pop” sound of the lid sealing. If after overnight cooling any jars have not sealed (the lid won’t be sucked in, and sort of springy when you push on it) put those jars in the refrigerator and use within one month.

It is normal for some canned fruit to change color slightly over time. But if you notice extreme discoloration, a bright red, or green color, get rid of that food immediately!

Jars processed this way should be stored in cool, dark, dry areas and are good for quite a long time. If properly processed, they are theoretically good forever. But I doubt they will last that long! 😉

Happy canning!

One pot chicken pasta


As any home cook knows, the best recipes are the ones that combine as many of the following characteristics as possible:

  • Delicious – the family will eat it
  • Fast – not too much prep or cook time
  • Cheap – won’t break the budget
  • Easy cleanup – because who likes dishes?
  • Healthy – because duh

Luckily for you, this recipe combines all those things! In one pan, in under 30 minutes, using frozen, canned, and pantry items, you can have a family-pleasing, heart-healthy, budget and waistline friendly meal on the table.

Ingredients:

  • 2 large frozen chicken breasts (or thawed)
  • 2/3 cup lentils (or other bean if canned)
  • 1 can diced tomatoes
  • 1 cup water or stock
  • 1 pound pasta
  • 1 cup chopped veggies and/or fresh spinach
  • Seasonings of choice – I used garlic salt and some dried onion

IMG_4820

Step 1: In a pan, combine the lentils, water, tomatoes, and chicken. Bring to a boil, then simmer covered. Cook for 10-15 minutes and turn chicken.

IMG_4821

Step 2: Add the pasta (and more water if you need it) and bring back to a boil. Simmer covered another 7-8 minutes.

IMG_4822

Step 3: Add in any fresh chopped veggies for the final 5 minutes or so of cooking.

IMG_4823

The spinach I threw in last. You could also make this in a crock pot on low for several hours. Make sure the chicken is fully cooked (cut into it and be sure there is no pink) before serving.

If you want to turn this into a soup, you could do so easily by adding more water. If you want a thicker sauce, let boil uncovered a few minutes to thicken.

Less than 5: Quick Miso Soup


I am a huge fan of most all Japanese foods, especially sushi. As evidenced from my ill-fated attempts at Salmon Nigiri and Lazy Won-Ton Soup, I am by no means a Japanese chef. But I do try, so I feel like I get some credit for that.

This is my super fast and easy imitation miso soup. Keep in mind I had no miso paste, which kinda makes the soup… so if you do, add that! If not, this is sort of close. You will need some specialized ingredients, but honestly most common grocery stores like King Soopers are now carrying similar items in their “ethnic” section.

Ingredients:

  • 1 bunch scallions
  • 1 tbsp duck paste (you can use chicken bouillon too)
  • 2-3 sheets seaweed
  • 1/2 block tofu
  • Optional: 1 pack ramen noodles

IMG_4837

Step 1: Slice the tofu into small squares. Cut the seaweed into strips. Slice all the green part of the scallions diagonally.

IMG_4838

Step 2: Bring the water to a boil and stir in the duck paste or chicken bouillon. Add the scallions, seaweed, and tofu. And that’s it!

IMG_4839

This soup is delightfully salty and packs a heavy umami punch.

IMG_4840

Add some glass or ramen noodles for extra filling power. You can have this soup as an appetizer, part of a light lunch, or as a whole meal. Quite healthy, if you’re ok with a high-ish sodium content… you can omit the bouillon but the taste will suffer.