Category Archives: Appetizers

Cherry Pepper Poppers


Cherry Peppers, also known as pimiento peppers, are a common sight on an antipasti bar. Pickled, or stuffed with prosciutto and cheese, these little babies are sweet but with a slight kick that endears them to all lucky enough to taste one. While jars of pickled or stuffed hot or sweet cherry peppers can cost you upwards of $10, you can plant just one bush and have more than enough to make your own to last all year.

photo 3

The cherry peppers grow “upside-down”, with the stem end underneath the developing fruits. They start green and mature to red. Contrary to most peppers, the green ones actually tend to have more “bite” while the riper red peppers are sweeter overall. It does depend upon your particular strain and your water/soil compilation, as the cherry peppers I am able to obtain had more bite than I bargained for!

I am blessed to live in a nice community in which the majority of my neighbors garden, and love to share their bounties amongst the locals. One guy has a literal football field sized garden, just for the ‘therapeutic effects’. Methinks he also is a generous guy who loves sharing his love of gardening & food. =)

Anyhow, this guy has some pretty legit pepper and tomato heirloom strains, passed down through many generations of Italians. These hot/sweet cherry peppers came from him. He has told me of his family’s recipe to stuff them, but I didn’t have any prosciutto, capicola, or mozzarella on hand, so I did a super-quick-and-easy stuff that I sometimes do with jalapenos, and it came out pretty tasty!

photo 1(1)

If you don’t have your own peppers, or access to a neighbor who shares, you could try a local farmer’s market, or the grocery store in mid to late summer. Any mild to hot pepper would work, however. You can also substitute in whatever type of cheese you prefer, and use just about any thinly-sliced deli meat. Additionally you can just use a nice cheese and no meat for a vegetarian appetizer.

These itty-bitty pepper poppers are perfect as an appetizer. They are super simple and will surely impress at your next picnic, barbeque, birthday, or tailgating party.  This recipe makes about a dozen, but you can easily scale up or down based on how many you need/have. They are also pretty “pinchy” (my family word for spicy) so if you have picky palates you might want to soak them in vinegar overnight first.

Ingredients:

  • 1 dozen cherry peppers
  • 1 oz cream cheese
  • 2 slices deli ham or bacon

photo 2(1)

Step 1: Cut the tops off of the peppers. Use a small spoon to scoop out the seeds (and save them for next year!). Tear the ham into small pieces and line the hollow pepper with a slice or two.

photo 3

Step 2: Take a teaspoon and spoon in a chunk of cream cheese, until pepper is fully stuffed. Each pepper will be a slightly different amount based on how large it is.

photo 2(1)

Step 3: Bake at 250F for 10-15 minutes, until cheese is melted and pepper are soft. Let cool until you can touch them, and then try not to wolf down the whole plate in one sitting. Or do. No judgment.

If you make oodles of these and still have peppers out the ears, you can try making your own pickled peppers, just like Peter Piper!

photo 4


[amd-zlrecipe-recipe:41]

Preserving Hot Peppers


Peppers are probably the kind of plant which has most wow-ed me with its prolific seeds. Every time I crack open a bell pepper to make stuffed peppers, or hollow a jalapeno to make poppers, there are mounds of seeds inside. Even in the tiniest pepper, there are likely more seeds than you can count on just your hands.

Pro tip: you can save these seeds and dry them out, and then plant your own pepper garden! Just one jalapeno may produce dozens of plants. Yes, even peppers you buy at the grocery store. Just cut the stem side off, scrape the seeds away from the ribs inside, and dry them on a piece of paper. Store in a cool dark place until you’re ready to plant outside or in a container.

photo 1(1)

Another thing that is amazing about peppers is the sheer variety. From the mild sweet bell pepper to the jalapeno, habanero, or even the ghost chili, there are literally thousands of varieties. Peppers can spontaneously mutate, so even if you save seeds year to year, you can get new color patterns or heat levels. The amount of water and sun, location and type of soil can also affect the peppers.

I’ve been trying, for the past few years, to get more brave about cooking and eating spicier foods. The chemical that makes peppers taste hot & spicy is most often capsaicin. This compound irritates mucous membranes and causes inflammation, and pain if in too high a dose. However, capsaicin also has many health benefits for your heart, blood pressure, anti-diabetes, and more.

photo 4

One of the ways I’ve found to incorporate more spicy foods into my cooking is by using jarred jalapenos. These little guys store forever, and add a bit kick to pizza, salads, sandwiches, chili, pasta, and more. I’ve bought jalapenos in a jar at the store, but this year I had access to an heirloom Italian jalapeno variety, as well as several others like cayenne, poblano, and red cherry peppers.

Thus, I needed a way to use them all up. As state, peppers are very prolific. On one plant, I’ve seen nearly 100 peppers, if the fruit is tiny. No joke.

So given all the health benefits, and the fact that I cannot use them up fast enough before they spoil, jarring seemed like the best way to preserve the summer’s spicy bounty. Turns out, they are ridiculously easy to make. Just look on a jar of peppers at the store, you will see there is likely fewer than ten ingredients. This homemade version needs three.

You can of course can hot or regular peppers, but you must use a pressure canner, not a water bath. There are significant botulism risks if you do not use a pressure canner. However, by adding vinegar, you are effectively pickling the peppers. This prevents harmful bacterias and other nasties from growing. I also store mine right in the fridge.

photo 2(1) copy 2

Ingredients (this makes about a pint):

  • 1-2 cups of peppers (all one kind or a variety)
  • 1/2 cup white vinegar
  • 1 tbsp sea salt

photo 2(1)

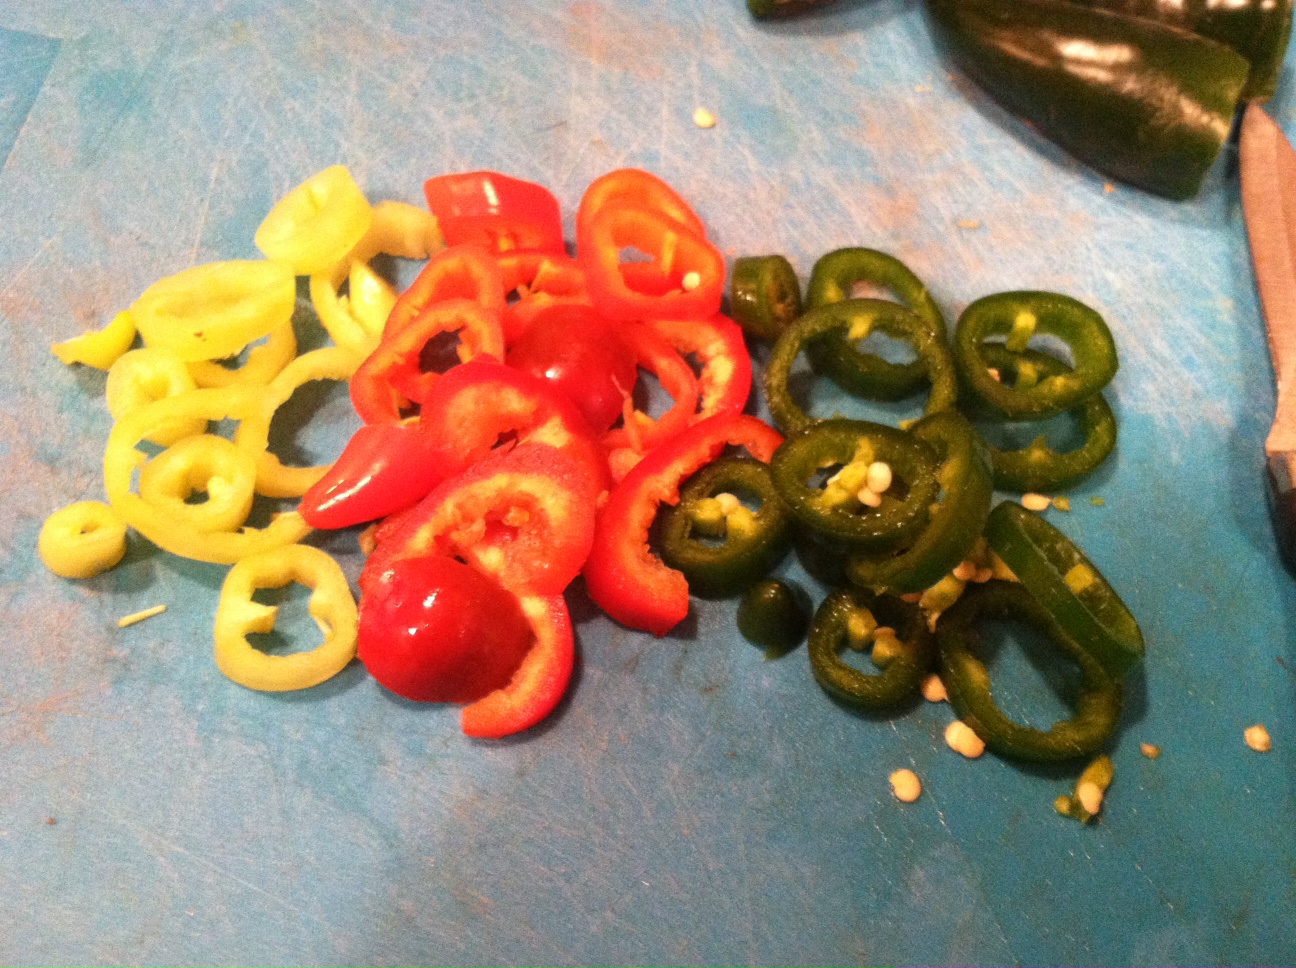
Step 1: Cut the tops off the peppers, then cut down the side ribs and pull out the seeds. Leave the seeds in if you want it extra spicy. Also, it is highly recommended to wear gloves while cutting hot peppers! I made the mistake of not wearing gloves the first time, and my hands were on fire for days.

photo 1(1) copy 2

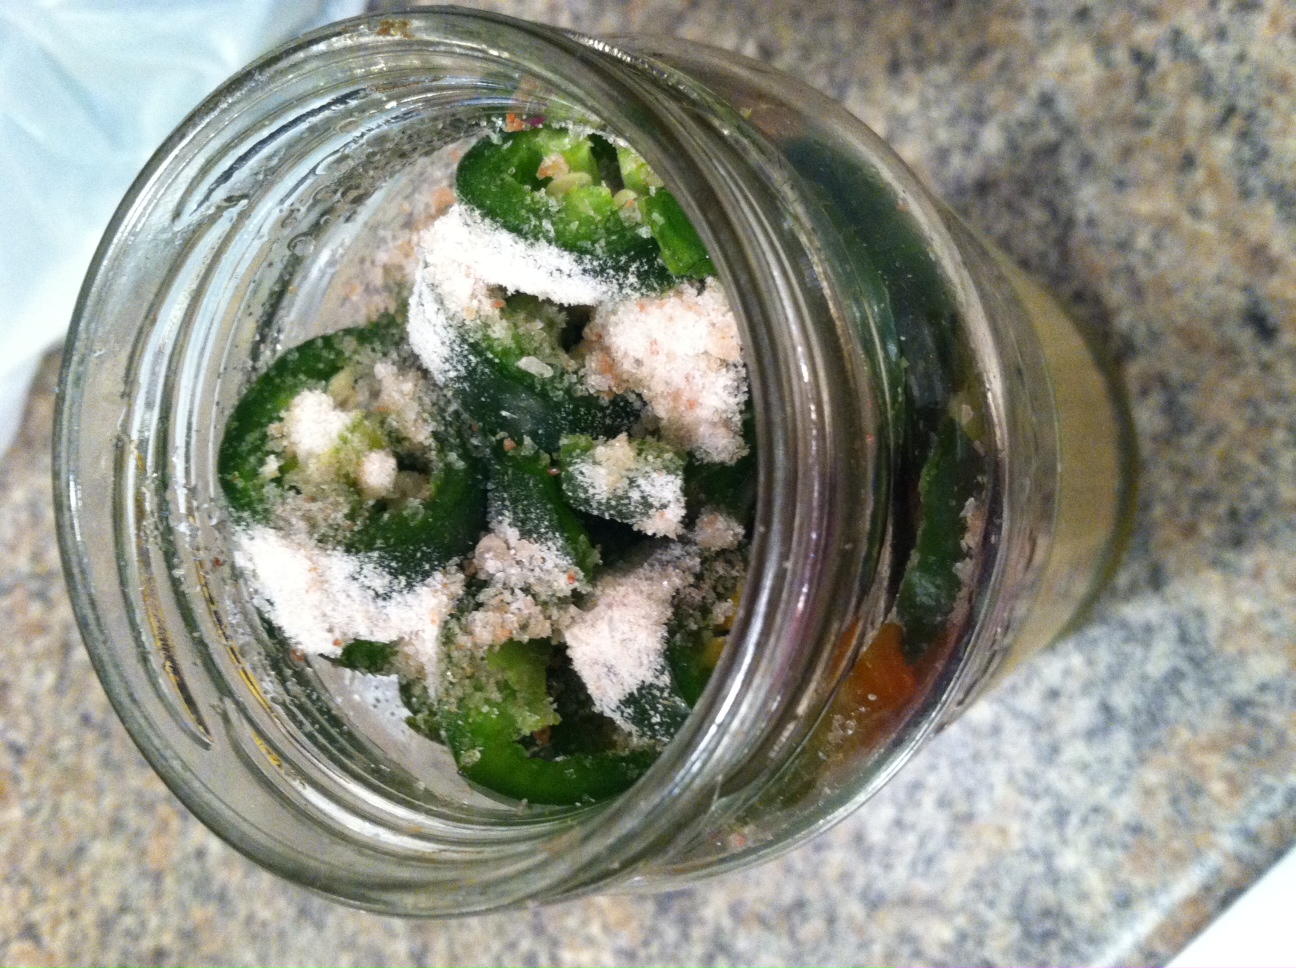
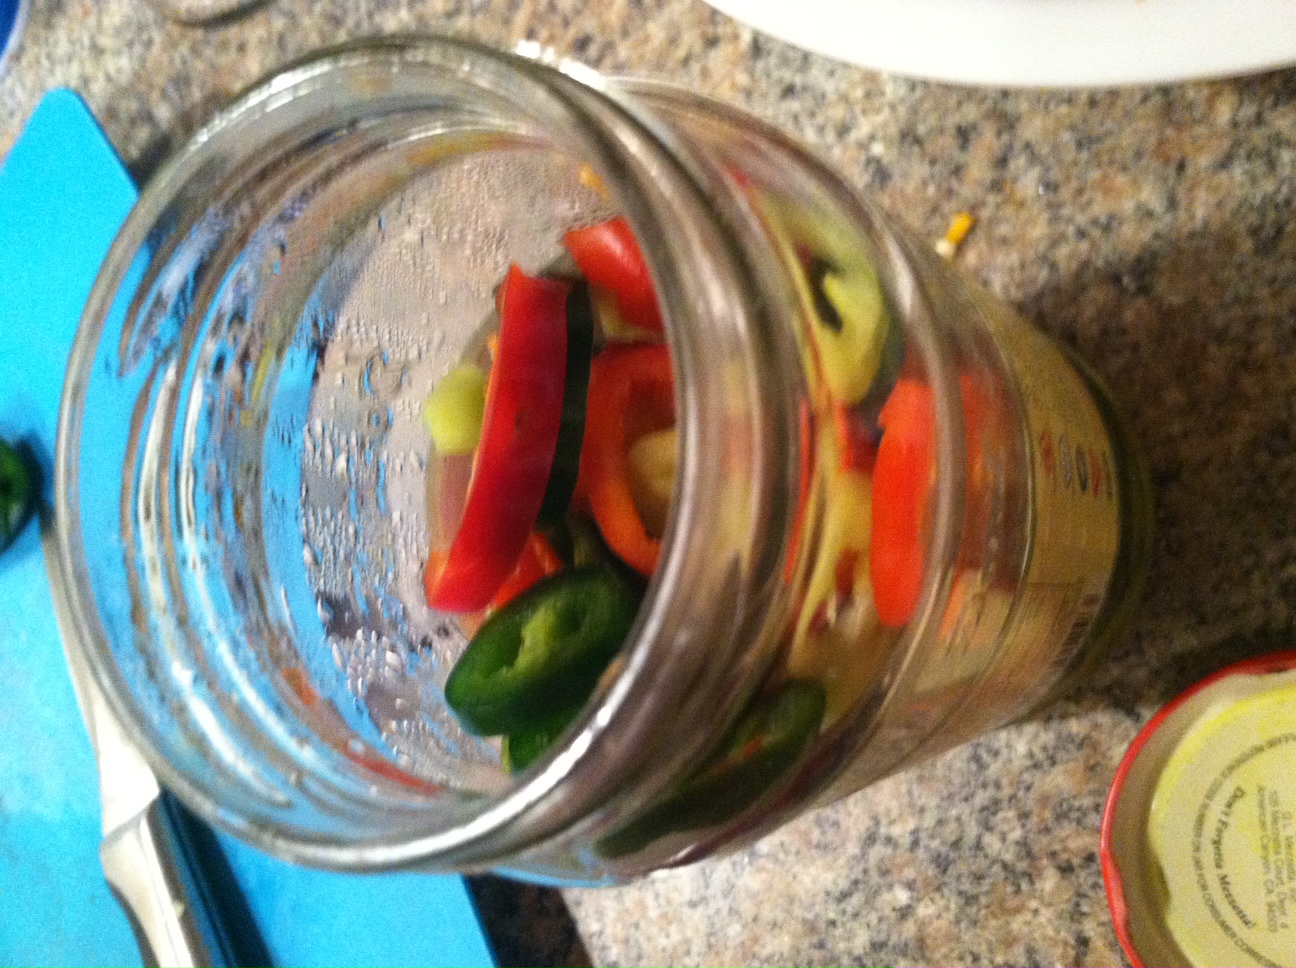
Step 2: Shove all your pepper rings into the jar. Cover with the vinegar about 2/3 full. Pour on the sea salt.

photo 4 copy

Step 3: Add distilled water to the top of the jar, then close it and shake it up, until the salt dissolves. You can of course actually can them, using glass mason jars and steam or pressure canning methods. These processed jars can be stored at room temperature for a longer period of time.

photo 3 copy

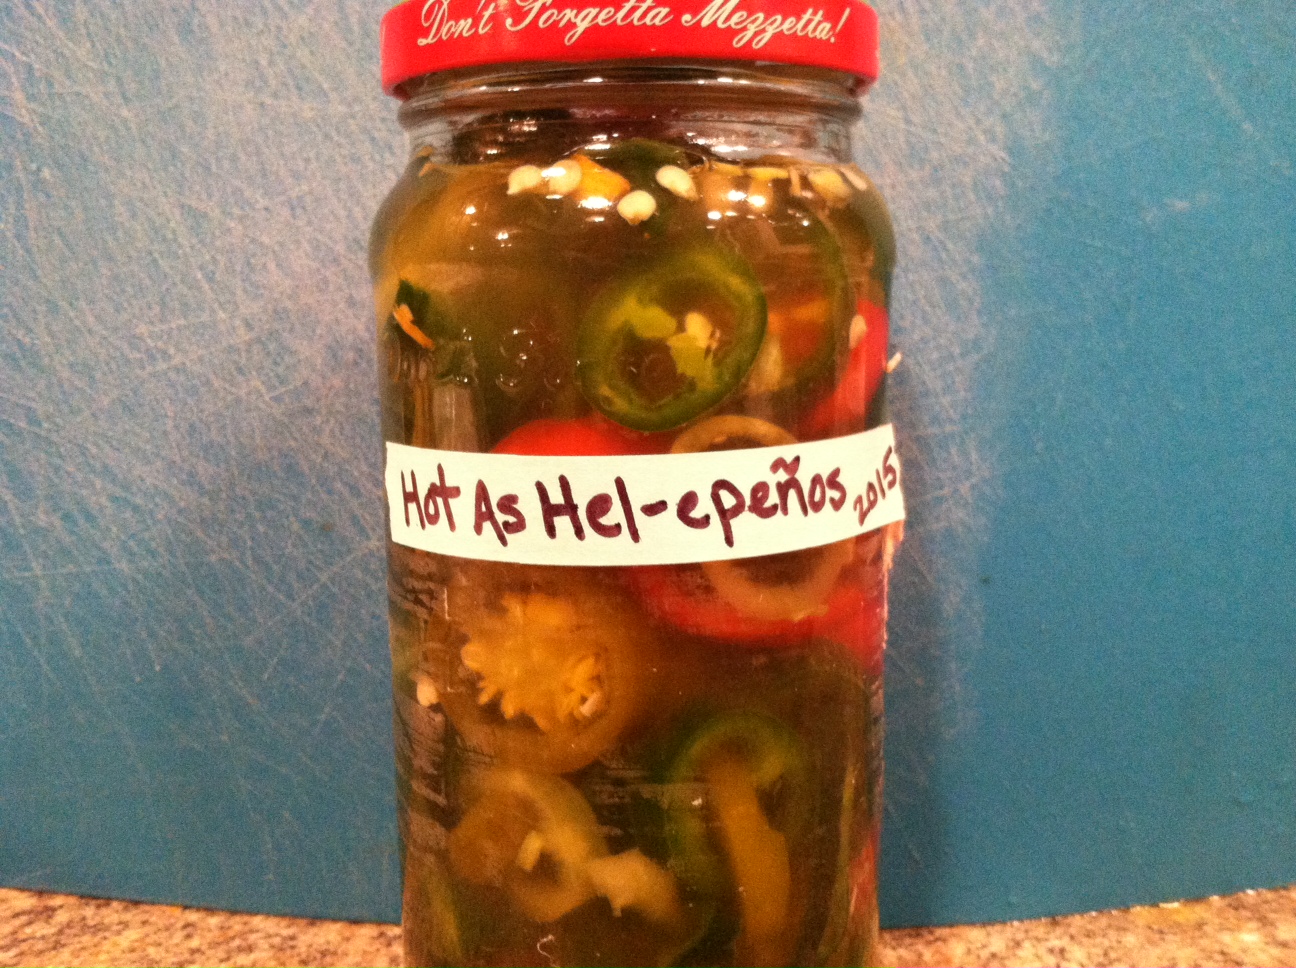
Put the jar in the fridge, and it will be there until you’re ready to use them!

These peppers can make a great little gift, especially if you layer multi-colored peppers in a clear jar. They are quite pretty. These peppers can be eaten as is, on pizza, in soups or chili, and more. It will keep in the refrigerator for several months.

photo 1(1) copy

For a great way to bring back the warm thoughts of summer during the bitter cold of winter, try planning out your garden for spring! Go to websites like Pepper Joe’s Gardening Tips, Hot Pepper Seeds, or the Almanac to find answers to questions, tips on what types of species grow best where you live, organic and heirloom seeds, and more.


[amd-zlrecipe-recipe:38]

Lean Green Tuna Salad


We all have hectic days where we just don’t have time to pack a lunch with heart-shaped cheeses, individually peeled grapes, and 3-4 servings of vegetables included. Whether for yourself or some back-to-school young’uns, packing so many lunches all year long can get tiresome.

But don’t give up! As stated over and over again in financial writing, bringing a lunch is nearly always cheaper than a similar meal out at a restaurant, or even “fast casual” food places. While articles like the Simple Dollar point out that there is a large margin of what a brown bag lunch may cost, just keep track yourself for one week and you will soon see.

Even if you have the smallest of fast-food options (maybe half a $6 sandwich, and half the next day, for a total per day of $3, not including any drinks or extras), it is easy to create incredibly cheap meals for yourself at home, or even pack lunches which you can assemble wherever you are when it’s time to eat. Sometimes for even less than $1 a day!

IMG_0579

And with a little creativity, you can create these easy, cheap meals, and actually make them healthy too!  We’re talking several levels above ramen noodles, folks. Just check out my “less than 5” section for a plethora of ideas.

More ideas:

IMG_0574

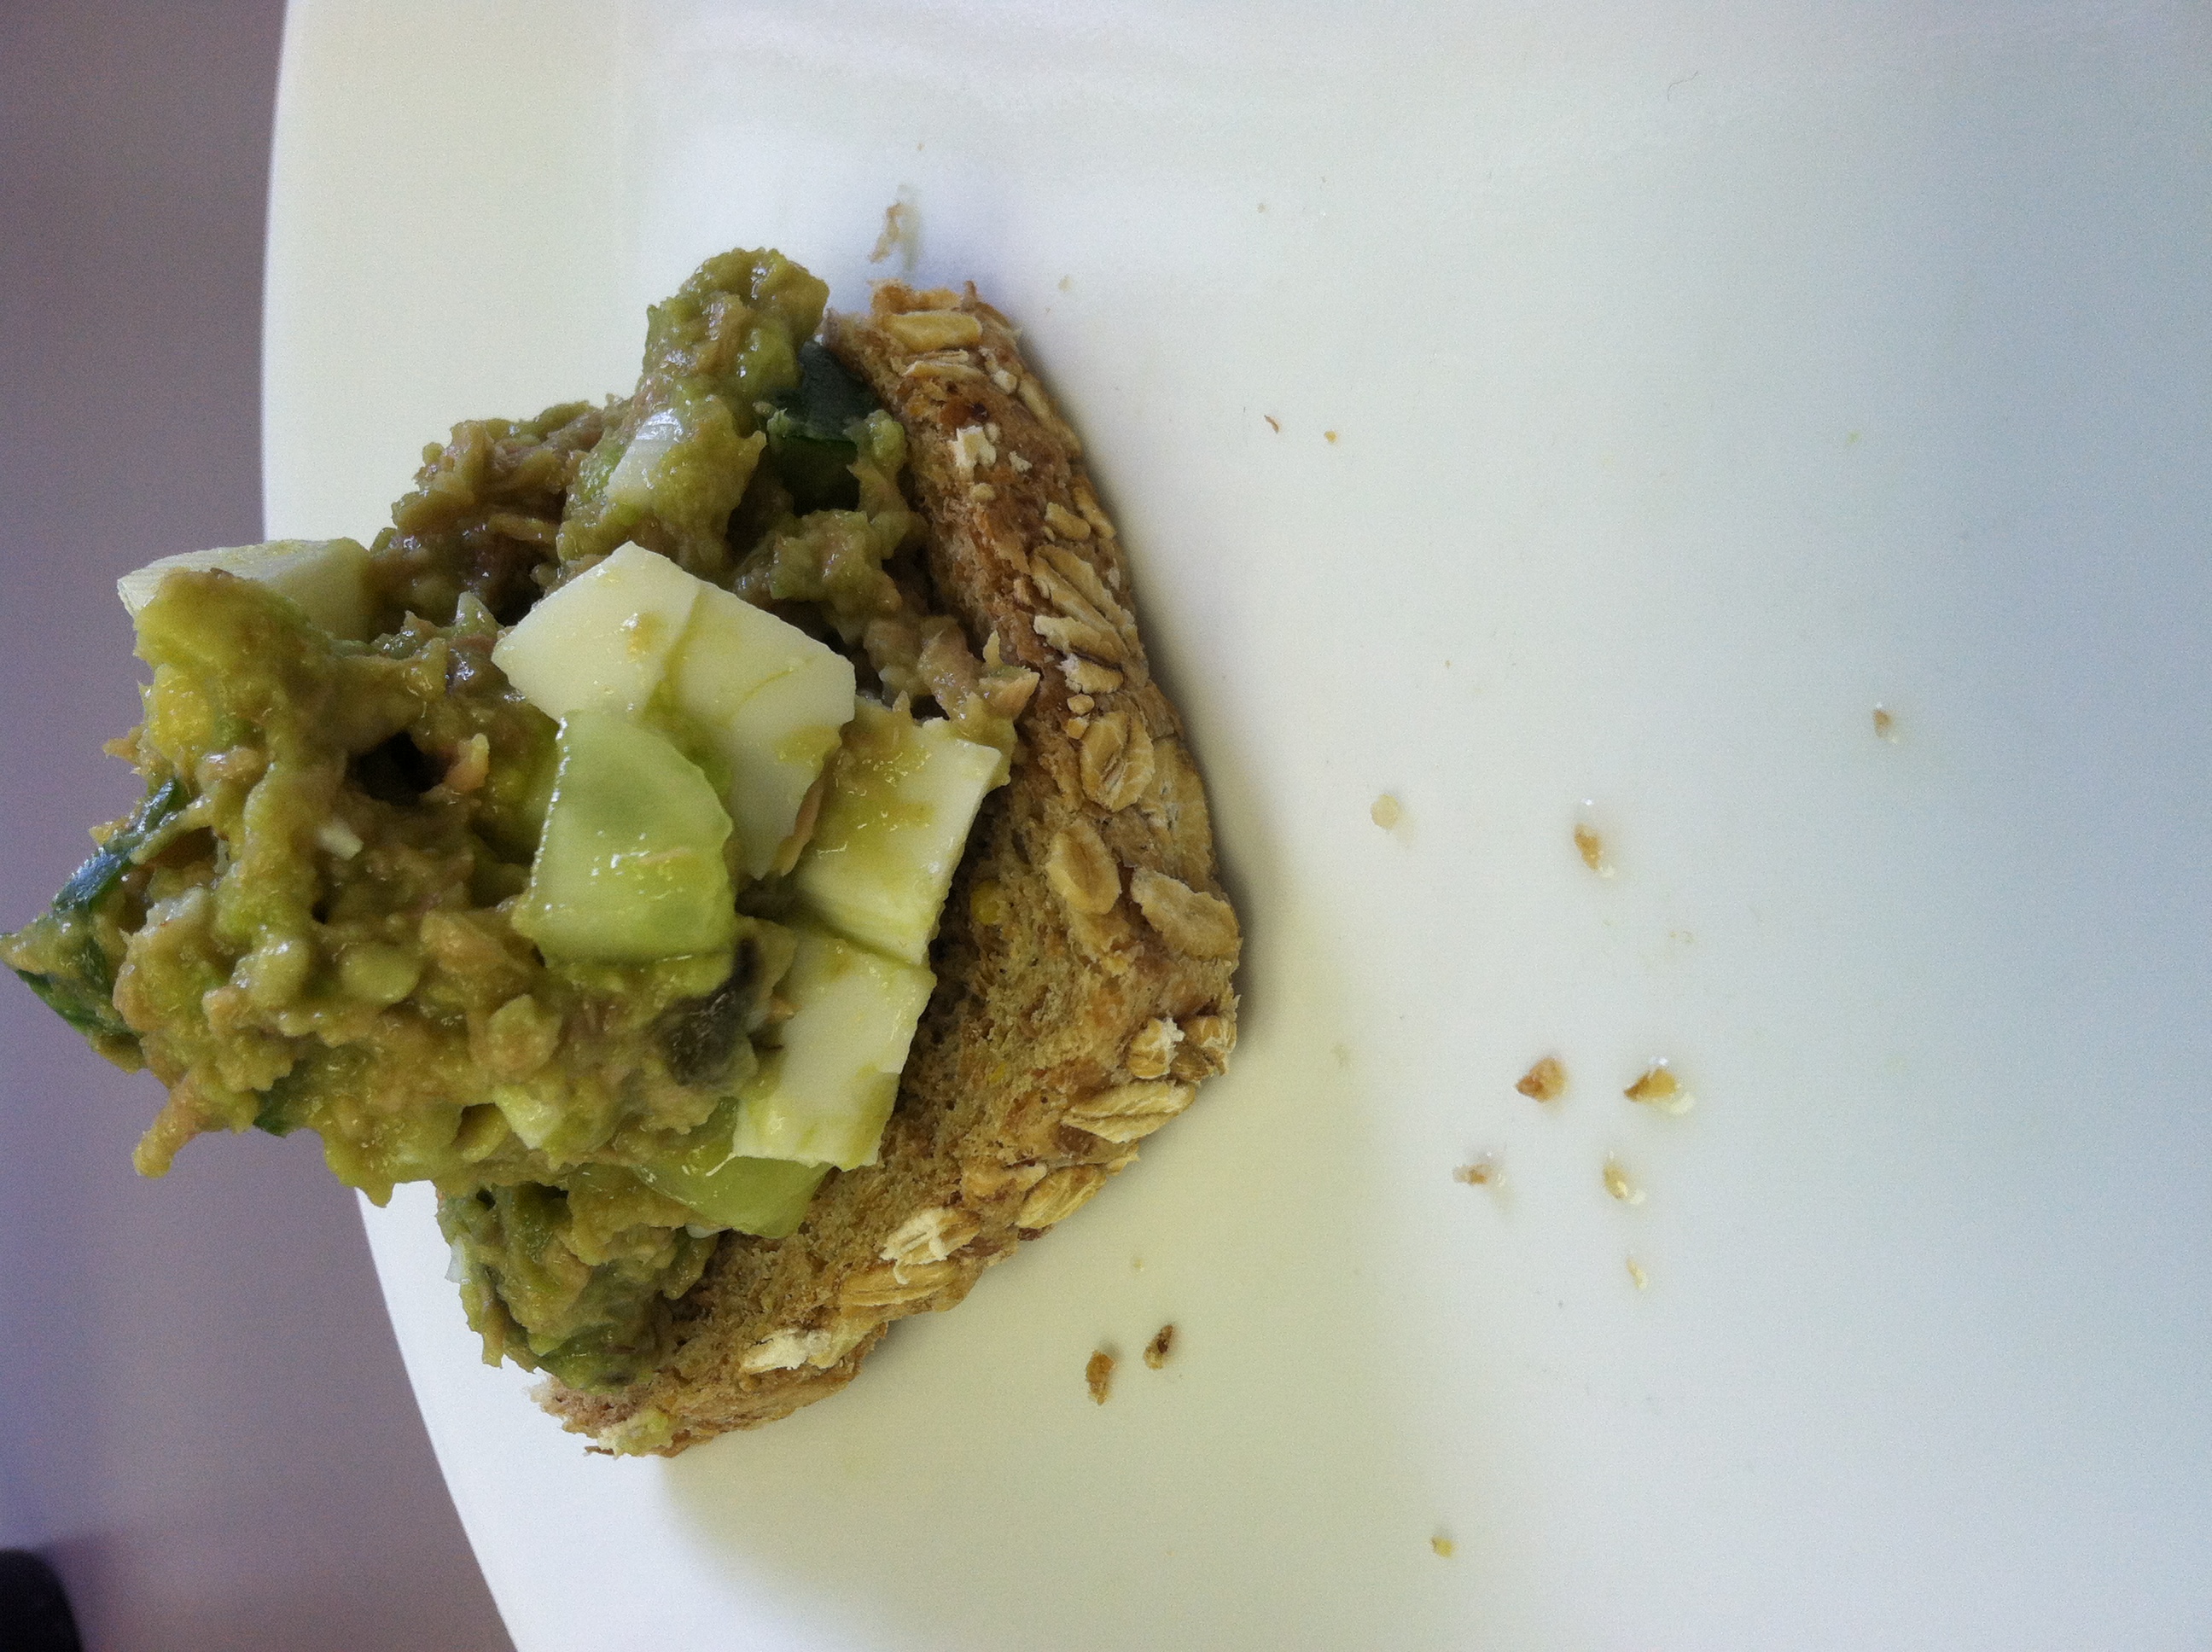
This recipe is a healthified tuna salad. By adding several kinds of vegetables you bulk up the salad with fiber and vitamins, and adding an egg gives the already 16g of protein an extra 6g boost. If you’re truly hard core, you can even forego the mayonnaise and just add lemon juice for a dash of flavor.

This is borderline vegetarian, if you are lacto-ovo vegetarian. It is extremely healthy, especially if you omit mayo. You can pack all the ingredients in a cooler and assemble at your desk or at school. If you buy tuna on sale, you can get it for $0.30 a can. 1/2 avocado + 1/2 cucumber is slightly less than $1.

Add another $0.50 or so for one egg and a few cents for lemon juice and any seasonings, and you have a hefty lunch/appetizer/dinner for about $2. Add a few big leaves of romaine for a dinner of tuna salad wraps, or serve over a big bed of lettuce with some nuts and berries for a more filling option.

Ingredients:

  • 1 can or pouch chunk tuna in water
  • 1 hard boiled egg
  • 1/2 cucumber, diced
  • 1/2 avocado
  • 2 tbsp lemon juice
  • 2 tbsp mayonnaise

IMG_0576

Step 1: Open the tuna and drain. Rinse the cucumber and dice into small chunks. You could use celery here, or peas, or shredded carrot. Whatever vegetable you like to add bulk and nutrition.

IMG_0577

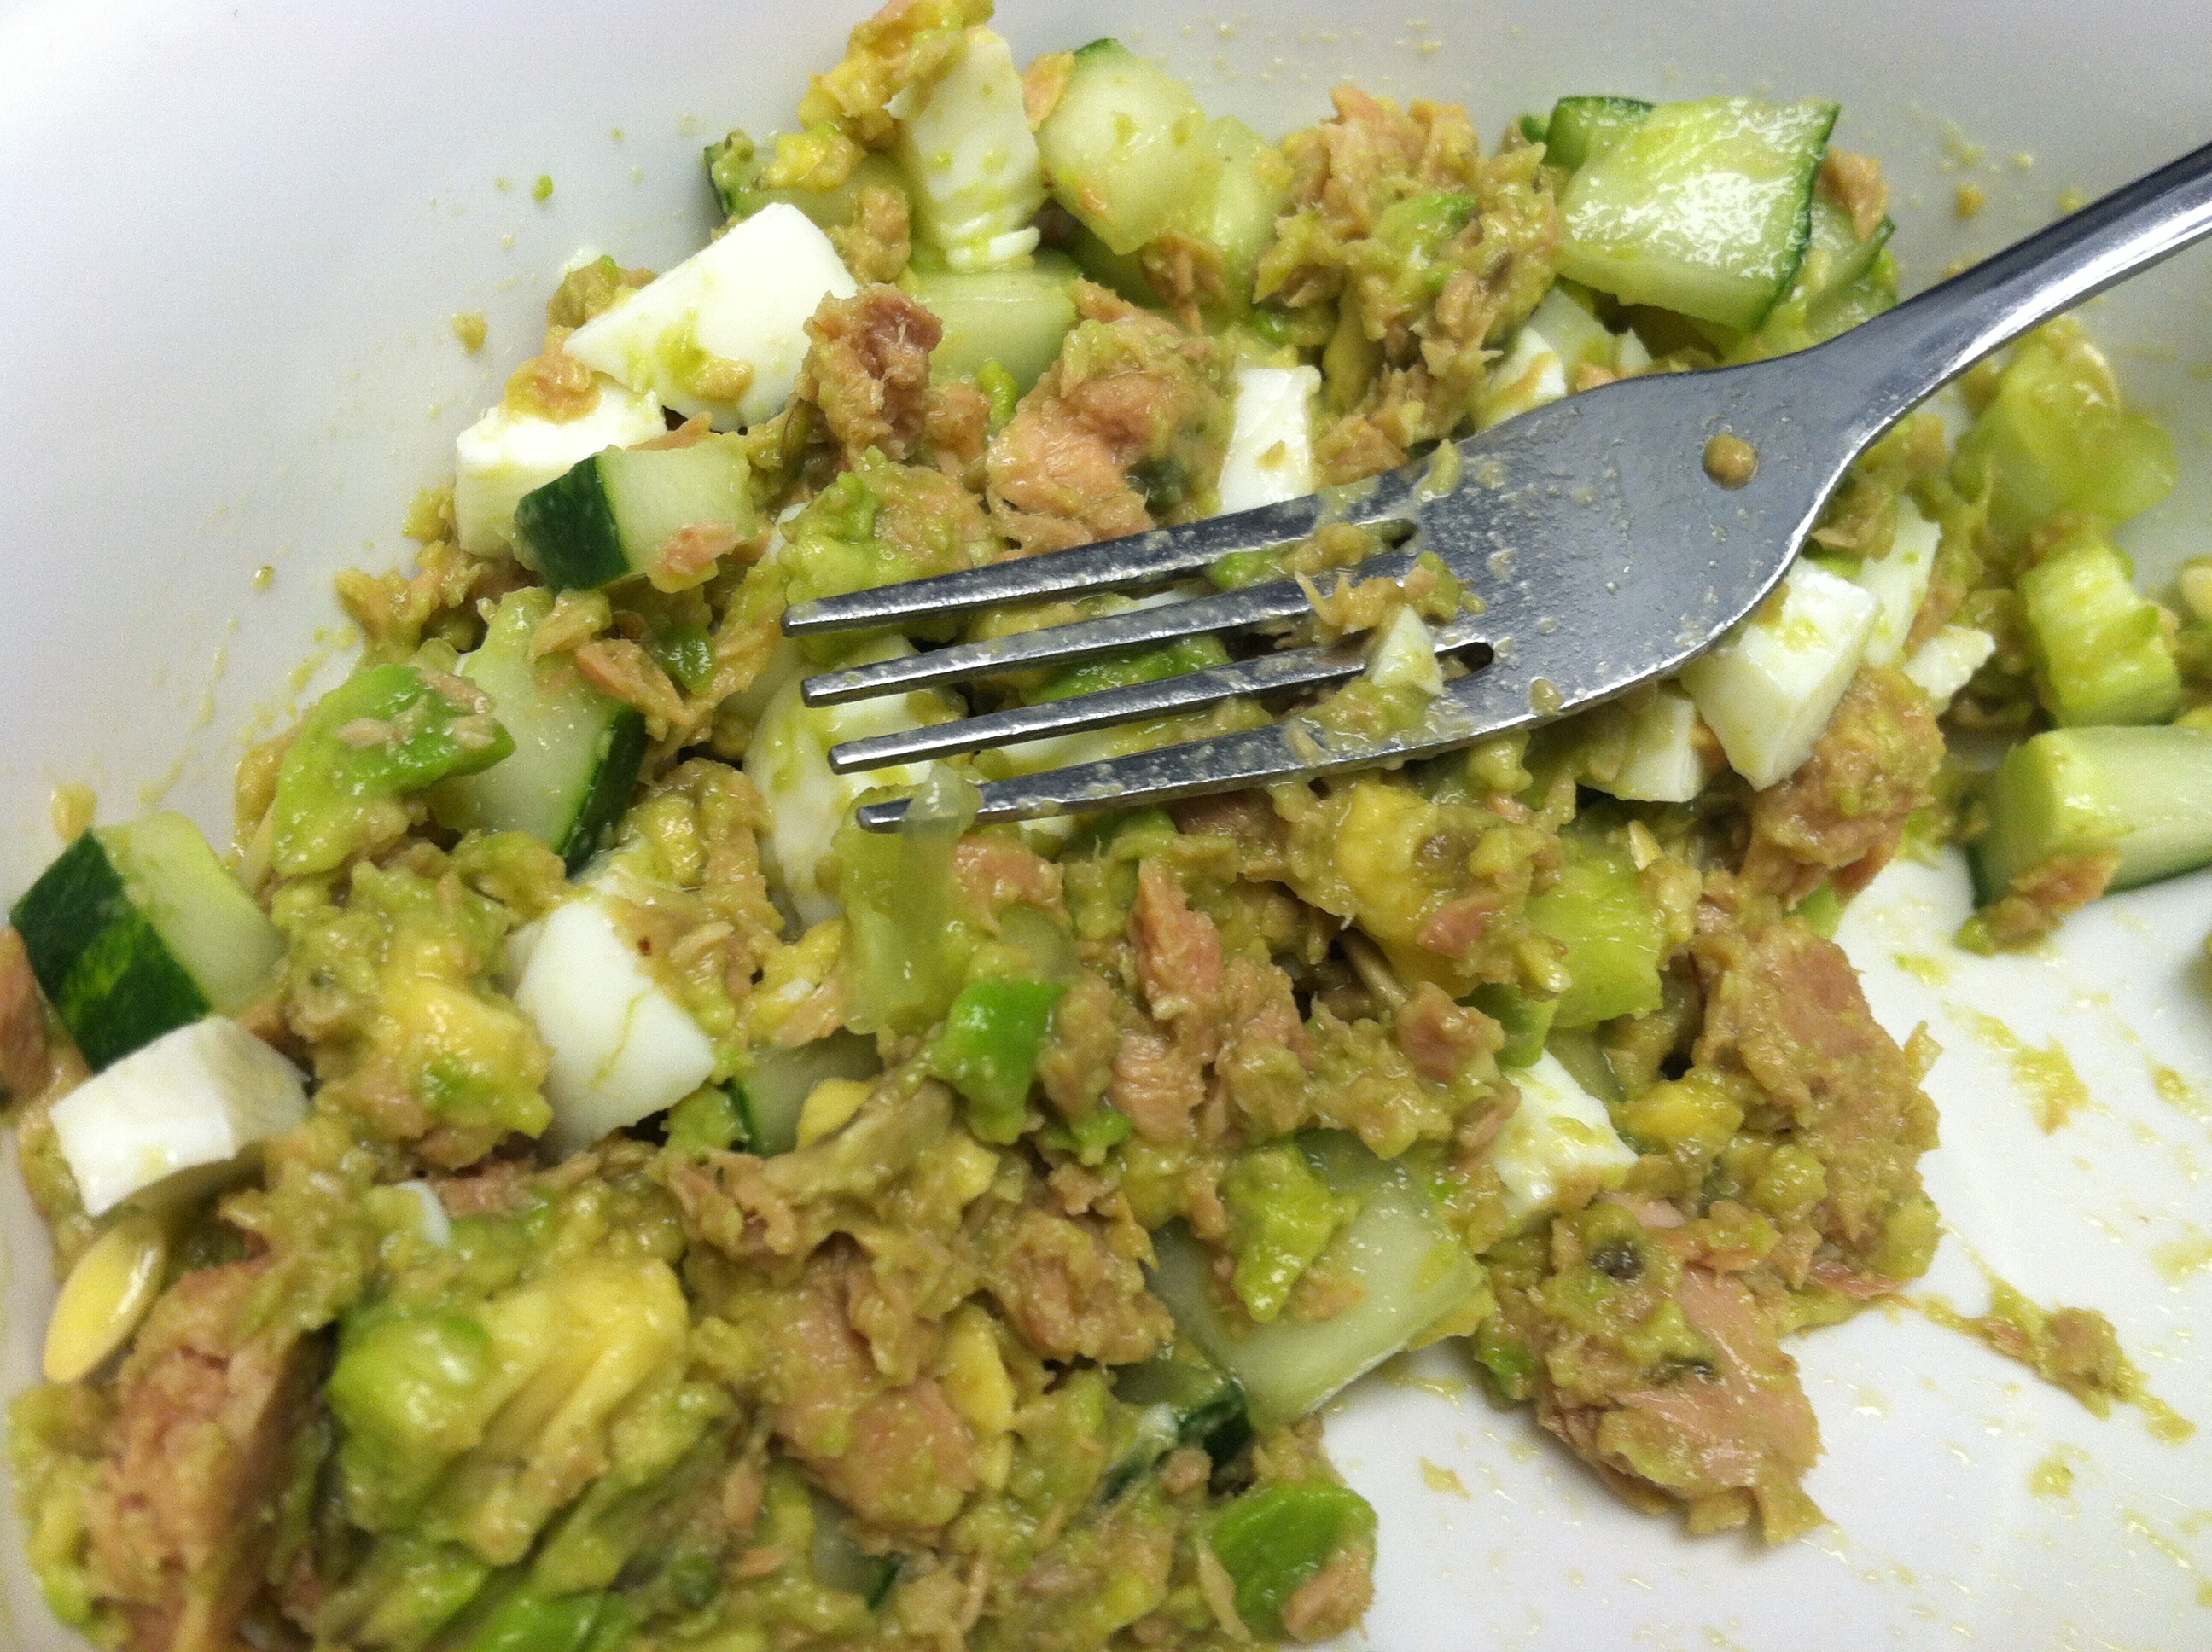
Step 2: Cut the avocado in half and scoop out the seed. In a bowl, combine the tuna, lemon juice, and mayo. Mix well. Add the cucumber and avocado, smash it around until well combined. Dice the boiled egg, and mix that in.

Season with garlic salt and black pepper if so desired. Serve with slices of bread, a wrap or pita, or whole wheat crackers.

[amd-zlrecipe-recipe:35]

Fried Green Tomatoes with Basil Mayo Sauce


While fried green tomatoes are usually considered a southern dish they can be found in northern homes as well. The northern version is more likely to be made with white flour rather than corn flour or corn meal. Also, green tomatoes tend to be prepared at the end of the season in the north when the remaining fruit is harvested before the first frosts, whereas green tomatoes are picked throughout the season in the south.

IMG_0567

They certainly pre-date the movie Fried Green Tomatoes at the Whistle Stop Café, released in the early 1990’s.

“Lovers of tomatoes are very fond of them, sliced green as apples are sliced, and fried in butter.  Some persons are fond of them sliced and fried after being dipped in butter.  The green tomatoes, which the season will not permit to ripen, may be turned to good account by using them fried.”  – The New England Farmer.  Oct. 14, 1836.

Traditional preparation of fried green tomatoes begins by cutting the tomatoes into approximately 1/4-inch (~1 cm) slices. They are then seasoned with salt and pepper, coated with plain, coarse cornmeal, and shallow fried in bacon fat for a few minutes each side, or until golden brown.

Shallow frying is preferred, as the tomatoes do not float in the oil, which allows the weight of the tomato to press the cornmeal to the underside of the tomato. Alternatives include using breadcrumbs or flour instead of cornmeal, and frying in vegetable oil or other fat.

A ‘wash’ may be used; in this case, the sliced tomatoes are first dipped in a liquid before the cornmeal is added. This liquid is usually buttermilk, or occasionally beaten egg. Using beaten egg results in a slightly firmer texture than using buttermilk. ‘Washes’ are used because cornmeal does not readily stick to raw green tomatoes.

Adding the liquid helps the cornmeal stay in place during the cooking process. This also results in the coating on the tomato becoming thicker and less crunchy when compared with tomatoes cooked without a ‘wash’.

These fried green tomatoes were made with the first big, juicey green gems on the vine at the beginning of the season, because I just couldn’t wait any longer for them to redden. You can eat these at any time throughout the growing season, and if you live in colder climates it is a way to use up unripe fruit before the first frosts kill them off.

Served with a tasty, tangy basil mayo, these are amazing appetizers, party bites, or a vegetarian main or side dish. They are best served hot and fresh, as the coating loses its crunch over time.

 Basil Mayonnaise Ingredients:

  • 1/2 cup mayonnaise
  • 2 tbsp brown mustard
  • 1 tbsp lemon juice
  • 1/2 cup packed basil leaves
  • 2 cloves garlic

IMG_0553

Step 1: Rinse the fresh basil well and drain. In a blender, combine the basil, mayo, garlic, mustard, and lemon juice.

IMG_0555

Step 2: Blend well until combined. Place in a shallow dish to dip, can refrigerate up to 3 days ahead of time.


Fried Green Tomatoes Ingredients:

  • 3 medium unripe, green tomatoes
  • 1 cup flour
  • 2 eggs
  • 1 cup breadcrumbs
  • 1/2 cup cornmeal
  • 2 cups vegetable oil

IMG_0552

Step 1: Rinse the tomatoes well to make sure there is no residue or dirt on them. Slice into 1/4 – 1/2 inch thick slices.

IMG_0556

Step 2: Beat the two eggs lightly. Place the flour, scrambled egg, and cornmeal/breadcrumb mixture onto three separate shallow plates. Put the oil in a frying pan, and heat to medium (just below when it would start simmering).

green_tomato_flour

Step 3: Dip the green tomato slices one at a time into the flour and flip to coat both sides.

IMG_0558

Step 4: Dip the floured slice into the egg mixture & slush it around to fully coat.

IMG_0562

Step 5: After the eggs, dip into the cornmeal & breadcrumb mixture, and flip to fully coat.

IMG_0559

Step 6: Place the tomato slices into the hot oil, make sure they aren’t touching. Cook for 5-7 minutes, until the breading becomes brown and crispy. Flip and fry the other side another 5-7 minutes.

IMG_0566

Step 7: Place on a cooling rack or paper towels to drain the oil. Serve hot with the basil mayonnaise on the side.

Hope this helps you enjoy more of summer’s bounty!


[amd-zlrecipe-recipe:34]


Review: Three Sheets


Tucked away on Elm Street in New Haven is a tiny unassuming “friendly neighborhood gastropub” called Three Sheets.

It has gone through many changes over the years, under different names and different locations, but today it is a cozy, welcoming dive bar with a creative atmosphere. I had happened upon it during  a ‘brunch and board games’ meeting. Always a fan of good food and new friends, I welcomed the opportunity to try some local flavor.

IMG_9388Open Monday to Thursday, 3 p.m. to 1 a.m.; Friday, 3 p.m. to 2 a.m.; Saturday, 11 a.m. to 2 a.m.; and Sunday, 11 a.m. to 1 a.m.

With typical dive-bar murkiness, this place was at once sketchy and friendly. Tattooed and pierced bartenders and servers abounded, and there were handfuls of clear regulars grouped around the bar and at tables, despite it being 1pm on a Saturday.

IMG_9382

The menu behind the bar immediately intrigued me. With plenty of good old bar-eat standbys like burgers and wings, they also have a ton of creative and unique choices, such as “Stuffies”, fried pickles, “Koolickles”, and a Banh Mi. They also offer oodles of tasty sounding sauces and toppings for anything your heart desires, like smoked catsup, remoulade, yellow BBQ, or kimchi. Plus rotating chef’s and drinks specials.

This is my kind of place.

Their Facebook page has periodic updates about what bands are playing (always NO cover and 21+) and what the daily house specials are. They say: “the following items which are all made IN HOUSE. Smoked clams, chicken pastrami, ham, bacon and pulled pork. Our jalapeno poppers are slow roasted and hand stuffed. We pickle our own vegetables and eggs. Our beef, breads, and clams are locally sourced… Oh, did I mention hand rolled sushi?”

Yes please.

I had to start the night (afternoon?) with a local craft beer. The bartender suggested Two Roads Hefeweizen, made right here in Stratford CT.

IMG_9381

The No Limits Hefeweizen was a nice, fruity wheat beer, perfectly refreshing for a hot summer day. I enjoyed the can, and the fact that they gave me a chilled glass to go along with it. I had tasted the Two Roads “Road Jam” previously as well, and it is even more powerfully berry flavored.

However, the “Lil Heaven IPA” is the opposite of my taste preferences, and I ended up tossing out half a six-pack because I just couldn’t drink it. Those who like extremely bitter beers would totally love this type. All the same, this brand is a great New England brewery, and I will keep trying their beers as long as I’m here.

The front area is the bar, right next to a cozy room containing several tables & chairs, and a tiny elevated stage area. I have not attended any free concerts here yet, but it is now on my New Haven to-do list. We played several games with a group of about 20, with multiple games on-going simultaneously.

IMG_9385

Through the hallway, you are led to a back room with more seating, a food-order area leading to the kitchen, pool tables, and a large chalkboard wall. There is plenty of chalk provided to indulge your creative side. I believe there is a back door, but we did not investigate if there was a porch area or not.

IMG_9386

It has that ‘dirty’ in a ‘gritty dive-bar’ way, but was well-kept. From what I could see through the kitchen window, everything was in fact being freshly prepared in house. Speaking of food…

While there were many tempting items on the menu, the Beet Reuben in particular called to me. Roasted beet slices on whole grain rye bread (which I believe is from another CT local, the tasty bread experts WholeG Bakery), with kimchi, thousand island dressing & Swiss cheese. I’m not a huge fan of swiss or 1000 island, but they are requisite for a proper reuben. And I adore kimchi.

IMG_9384

BEET REUBEN                                                                      $10

roasted beets sliced and served on whole g rye bread with kimchi, thousand island, and swiss.

The bartender took my order and told me ‘ok it will be out in a few minutes’. I don’t know if they are all just that good, or I got lucky & it was a slow day. But I sat down, played some games, and as I was halfway through enjoying my hefeweizen another waitress magically appeared and handed me a steaming plate.

The bread was perfectly crispy, everything was exactly the right temperature. The spicy kimchi mixed with the creamy tang of the thousand island, the sliced beets were soft and sweet like candy, and the whole thing made me look at Ruebens in a whole new light. I don’t think the usual roast beef & coleslaw combo will have quite the same magic anymore.

The fries were also the right amount of salty, and were so good that even though my fiance hadn’t wanted to order any food, after he tried one, he ended up eating almost the whole order! If I’d been more hungry, or not completely enthralled with my sandwich, I would have gotten a second order. As it was, this sandwich was more than enough to satisfy, and I had to stuff down the last bite. It was totally worth it.

All in all, this is a cute little gem that during the day is tame enough to bring the kids, but has it’s rough side too. The food prices vary in affordability, but are reasonable given the taste standard and the portion sizes. With entertainment, public events all the time, great drink specials and killer food, this is a gastropub I’d be happy to re-visit again and again.

  • Taste: 8.5
  • Atmosphere: 7
  • Value: 7

Resources & Further Reading:

New Haven Register Review
Three Sheets Website
Their Facebook Page

Address: 372 Elm St, New Haven, CT 06511

Chia, Quinoa & Greens Salad


For an awesome, easy lunch/side dish/snack that you can take on the go or whip up without heating the kitchen on a smoldering summer day, try this salad packed with power players. This would easily be layer-able in a mason jar, to take to work or school or anywhere on the go, or throw together right out of the fridge. It also tastes good made in advance if you use hardy greens that are amenable to some marinating.

IMG_9376

The base of any good green salad is of course the greens. Leafy greens are the super-veggies of the plant kingdom, and it is REALLY tough to have too much. There are plenty of species whose only food is leafy greens. We should try to emulate that as much as possible.

According to author, dietitian, and nutritional educator Jill Nussinow MS, RD, “Greens are the number 1 food you can eat regularly to help increase your health” (WebMD). Leafy greens are packed with vitamins & minerals, as well as heart- and gut-healthy fiber and plant-based chemicals, many of which we haven’t even discovered yet.

Leafy greens include kale, collards, mustard greens, beet greens, romaine, spinach, arugula or rocket, swiss chard, broccoli,  cabbage, and even iceberg. Start with a big heaping handful, at least 1-2 cups.

Next up is the buzz-worthy quinoa (pronounced keen-wah). Quinoa was domesticated 3,000-4,000 years ago in South America. It is a psuedocereal with edible  seeds, closely related to amaranth and buckwheat.  Quinoa contains essential amino acids (which our body cannot make on its own) like lysine, as well as an exceptionally high protein content, and minerals such as calcium, phosphorus, and iron. It is also gluten-free, making it a great “grain-like” choice for those with Celiac’s disease or a gluten intolerance.

The raw seeds have a soapy coating (called saponins) that make them unpalatable to birds. This is handy because the crops need less protection. However, that means most quinoa crops must be processed before sale for humans, so that we are able to eat it without feeling like we just licked a Dawn dish soap dispenser.

And our final power player here is the chia seeds. Chia seeds are a massive nutrition powerhouse, with just one ounce (2 tablespoons) containing 11 g of fiber, 4 g of protein, and about 100 calories while also providing about 1/3 your recommended manganese, magnesium, and phosphorus. There are claims that some ancient cultures would survive solely on chia seeds in times of duress.

Chia is easy to incorporate into baking, simply sprinkle a tbsp or two into any batter, from pancakes to muffins to oatmeal. You could also try a refreshing Chia Fresca as a beverage to get some chia in your life. While a little weird at first, it is a great habit to start to get enough water every day.

And finally, we top it off with whatever fresh veggies you are partial to. Just make sure to incorporate a variety, and at least 1/2-1 cup total. A tbsp of other nuts or seeds is also a great addition. Steer clear of too-high-fat toppings like cheese, meats, or even eggs. Add spices to taste.

Ingredients:

  • 1 1/2 cups mixed greens
  • 1/2 cup cooked quinoa
  • 1 tbsp chia seeds
  • 1/2 cup julienned carrot & cucumber
  • 1 stalk celery, diced
  • Handful grape tomatoes, cut in half
  • 1 tbsp sunflower seeds
  • 2 tbsp vinaigrette

IMG_9377

Step 1: Lay down your greens. Mix in your quinoa. (To cook: mix 1 cup with 2 cups water, bring to a boil. Cover, turn off heat. Let stand 10 minutes, fluff with a fork.)

IMG_9378

Step 2: Add in your vegetables, sprinkle chia on top.

Step 3: Whip up a fresh, super-simple vinaigrette by mixing 1 tbsp lemon juice, 1 tbsp olive oil, and 1 tbsp vinegar in a bottle, then shaking. Or drizzle on 1-2 tbsp of bottled dressing.

IMG_9380

If you want to make a portable layered salad, add ingredients in the exact opposite order: dressing on the bottom, then hard veggies, soft veggies, quinoa & greens.

Homemade hummus & Flatbread


If you haven’t jumped on the hummus bandwagon yet, you should definitely consider it! Hummus is super heart-healthy, especially when made at home. And it is so very easy! Just put all the ingredients into a blender and whir for a minute or two, and presto! A tasty, healthy, fiber-full dip or snack.

This recipe is a basic recipe, great for pre-dinner appetizers, a party snack, or really anytime. You can get creative with roasted peppers, beets, green veggies, or really anything you set your mind to. Feel free to experiment with different nut butters if you don’t want to buy tahini. I’ve also made black bean hummus before, so you don’t even have to use chickpeas.

Ingredients:

  • 1 can chickpeas
  •  1/4 cup tahini
  • 2-3 cloves garlic
  • 1/4 cup olive oil
  • 4-6 tbsp lemon juice
  • Optional: Dash of paprika

IMG_5745

Step 1: Place all ingredients into a blender. Blend on high until well mixed. Taste, and add more of this or that until it’s perfect.

IMG_5748

It’s best to serve with fresh cut veggies, or toast your own pita chips. To make pita chips, spray a cookie sheet with oil, and place 2-4 tortillas on it. Bake at 350 for 8-10 minutes, until crispy but not burnt. Cut into wedges. Enjoy!

Italian Cucumbers & Tomatoes


In the summer heat, with the garden beginning to produce bumper crops, there is nothing better than a refreshing side dish you can pick from your own yard (or farmers market or grocery store) and have ready in under ten minutes. This can be served room temperature or refrigerated, and is easy to make ahead for a party later or the next day, but fast enough to be ready like, now.

IMG_9288

Cucumber has cooling properties, and tomatoes have tons of trace minerals and compounds. Put the two together, and you’ll always get something delicious with a side of healthy. Feel free to mix it up with whatever herbs you have handy. I had chives, but dill, parsley, mint, or basil would also go nicely here. You could also add in feta or goat cheese if the spirit moved you.

Oh, and if you don’t have or don’t like bottled Italian dressing, feel free to quickly whip up your own vinaigrette. Combine one from each of the following: 1/4 cup (white vinegar, apple cider vinegar, balsamic vinegar, lime juice, lemon juice) + 2-3 tbsp (olive oil, vegetable oil, coconut oil, palm oil). Optional additions: mashed or diced garlic cloves, fresh/dried herbs, salt and/or pepper, and infused oils or vinegars.

Ingredients:

  • 1 cup cherry tomatoes (or 2 large, diced)
  • 1/2 large cucumber, diced
  • 2-3 tbsp chopped herbs
  • 1/2 cup Italian dressing (affiliate link)

IMG_9283

Step 1: If using cherry tomatoes, cut in half. If using large round tomatoes, dice into quarters or eighths. Rinse the cucumber well, and cut half into small cubes.

IMG_9284

Step 2: Dice your herbs, feel free to combine more than one kind too. Mix it all together in a bowl and drizzle on the dressing. Toss to coat.

IMG_9300

This awesome side dish has graced many a backyard barbecue over the years, and will continue to do so for a very long time. It can be left in the refrigerator overnight, and up to 3 days. The longer you leave it, the more water will come out of the veggies though, so by the third day it gets a little soggy. I bet you’ll finish it all in one sitting anyhow. 😉

Below is the total nutrition information for this dish. It makes about 4 servings at 1/2 cup each.

Nutrition Facts


User Entered Recipe
  1 Serving 
Amount Per Serving
  Calories 281.4
  Total Fat 18.2 g
  Saturated Fat 1.6 g
  Polyunsaturated Fat 0.1 g
  Monounsaturated Fat 0.0 g
  Cholesterol 0.0 mg
  Sodium 903.2 mg
  Potassium 261.5 mg
  Total Carbohydrate 25.4 g
  Dietary Fiber 1.4 g
  Sugars 12.1 g
  Protein 1.2 g
  Vitamin A 27.7 %
  Vitamin B-12 0.0 %
  Vitamin B-6 3.6 %
  Vitamin C 99.1 %
  Vitamin D 0.0 %
  Vitamin E 0.7 %
  Calcium 2.7 %
  Copper 3.0 %
  Folate 6.5 %
  Iron 6.7 %
  Magnesium 4.8 %
  Manganese 6.8 %
  Niacin 1.9 %
  Pantothenic Acid     2.9 %
  Phosphorus     4.6 %
  Riboflavin 2.4 %
  Selenium 0.1 %
  Thiamin 2.7 %
  Zinc 2.2 %
*Percent Daily Values are based on a 2,000 calorie diet. Your daily values may be higher or lower depending on your calorie needs.

Red, White, Blue & Good For You!


My, how time flies when you’re having fun! Can you believe it’s nearly time to celebrate Independence Day by eating ourselves sick and blowing things up? It’s the American way.

I’ll leave the blowing things up and lighting things on fire part to my fiance; as for me I will be covering creative kitchen duty. The grill will be fired up all weekend long, patriotic beverages will be flowing, and family will be sharing stories and laughs as we wait for dusk and fireworks to light up the sky.

Hope you find some last-minute inspiration here for your own Fourth Festivities! God Bless America.


Yes, I know these aren’t red, white & blue, but rather green, but still… aren’t they adorable?! And if you find a way to make basil blue, bless your heart and patent that immediately. Or share with me…

Caprese Appetizers on a Stick

Caprese Party Skewers

How about a patriotic fruity salsa to get the party started? Serve with blue tortilla chips, or a white or dyed-red hummus. This would also be a delicious salad topper.

Red White and Blue Salsa

Red, White and Blue Salsa

For a hearty main dish that impresses with its presentation, look no further! Lasagna is always a sure crowd-pleaser, and is easy to adapt to vegetarian, vegan, or gluten-free diets based on the pasta noodles and contents.

Flag Lasagna

4th of July flag lasagna

Since that grill is fired up anyways, why not make your burgers make you want to sing the national anthem? Bleu cheese is tangy, tasty, and naturally punny on this national holiday. Stock up on thick tomatoes for slicing & some stinky cheese for some delightful:

Red White & Bleu Burgers

Red White and Bleu Burgers | 2CookinMamas

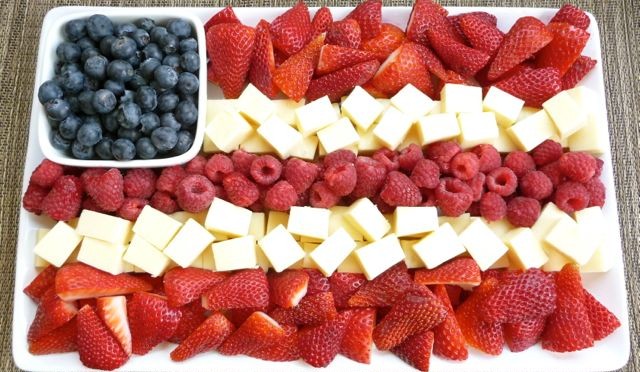
And of course, no picnic or party is complete without something sweet. We all have a sweet tooth, some more voracious than others, and luckily red & blue are natural berry colors! Therefore, strawberries, raspberries, blackberries, & blueberries lend themselves well to patriotic desserts.

What is cuter than a personal-sized-serving of a refreshingly light dessert? Not much!

Strawberry Shortcake in a Jar


For a bolder presentation piece that is super simple to create, how about this pretty berry tart? Guests, family, and friends will be wowed at whatever design you dream up on top.

Summer Berry Tart

Summer Berry Tart

If you have molds already, you should definitely use this opportunity to whip up these delicious and quite healthy popsicles! In great American flair, these striped refreshers will keep the heat of the day at bay. Beware though, these colors will run in the sun!

Red White and Blueberry PopsiclesRed, White and Blueberry Popsicles (GF, DF, SF, V) - A Dash of Megnut

Last but certainly not least, we can’t forget to hydrate!

Of course, the best option is water; add a few fresh berries for a splash of color, or some sparkling water for interest. You can do the same with tea or lemonade, or dye it red or blue.

For the grown-ups in the crowd who like to imbibe during the celebrations, below is a great resource for several types of cocktails of varying ingredients and degree of strength. Use your best judgment and safety first always! Especially if sparklers are involved.

1. Fourth of July Cocktail 2. Strawberry Sucker 3. Watermelon Mint Cooler 4. Patriotic Margarita 5. Red, White and Blue HYPNOTIQ Blue Martini

Patriotic Cocktails

Happy Fourth!

Chicken Bacon Ranch Pasta Salad


With the Fourth of July weekend coming up, I’m sure many readers will be hosting or attending picnics, barbeques, and other backyard get-togethers.  A huge fan of casual parties myself, I am always on the lookout for fast, easy to put together side dishes that aren’t too expensive to feed a crowd. A good example is my prior post on BBQ Baked Beans.

Enter the pasta salad.

Pasta salads are insanely versatile. They adapt well to just about any type of veggie, meat, or cheese, with tons of creative dressing/sauce options as well. You could try a Greek mix of feta, banana peppers, onions, and kalamata olives, or a club mix of ham chunks, cheddar cheese, and crumbled bacon, or how about an Italian combo with salami, pepperoni, pepperocini, and swiss.

For this recipe, I had a pre-mix box ranch & bacon pasta salad, and decided to jazz it up a bit with some canned chunk chicken and fresh diced veggies. You can also use a pound of any type of pasta (the small shapes work best here, like shells, elbows, or penne), spices you like, and some crumbled bacon.

Ingredients:

IMG_9498

Step 1: Dice your zucchini and tomatoes, and drain the chicken. Get the water boiling for the pasta, and boil 8-10 minutes.

IMG_9499

Step 2: In a pan, cook the zucchini for 5-7 minutes, until beginning to brown. Add the tomato and chicken, and cook until heated through.

IMG_9500

Step 3: Drain the pasta, and mix in the veggies. Add the toppings included (or spices & cooked crumbled bacon) and the Ranch dressing. Stir well. Add more or less as needed.

This cooks up a nice big batch, and can feed a hungry crowd. The Ranch flavor works great with the bacon, pasta, and chicken. You can also use dried Ranch seasonings and milk or sour cream to achieve a similar yet different taste. As a bonus, you’ve snuck in a serving of veggies per cup!

Happy partying & God bless the USA!


This post contains links to Amazon affiliate products. Clicking these links and purchasing these items contributes to the maintenance of this blog without affecting your purchase price. Thank you.