Category Archives: Beverage

Homemade Kombucha Part 2


I had to wait a week for my second batch, you only had to wait 2 days! No fair. =)

If you didn’t get a chance, go check out my post on Homemade Kombucha Part 1 for the intro on what kombucha is, and how to start making your own at home.

After your first batch has fermented for as long as you wish, you are ready to transfer your SCOBY to your next batch. It is the same process as previously, only now you have your baby SCOBY ready to go to ferment this fresh sweet tea.

IMG_9195

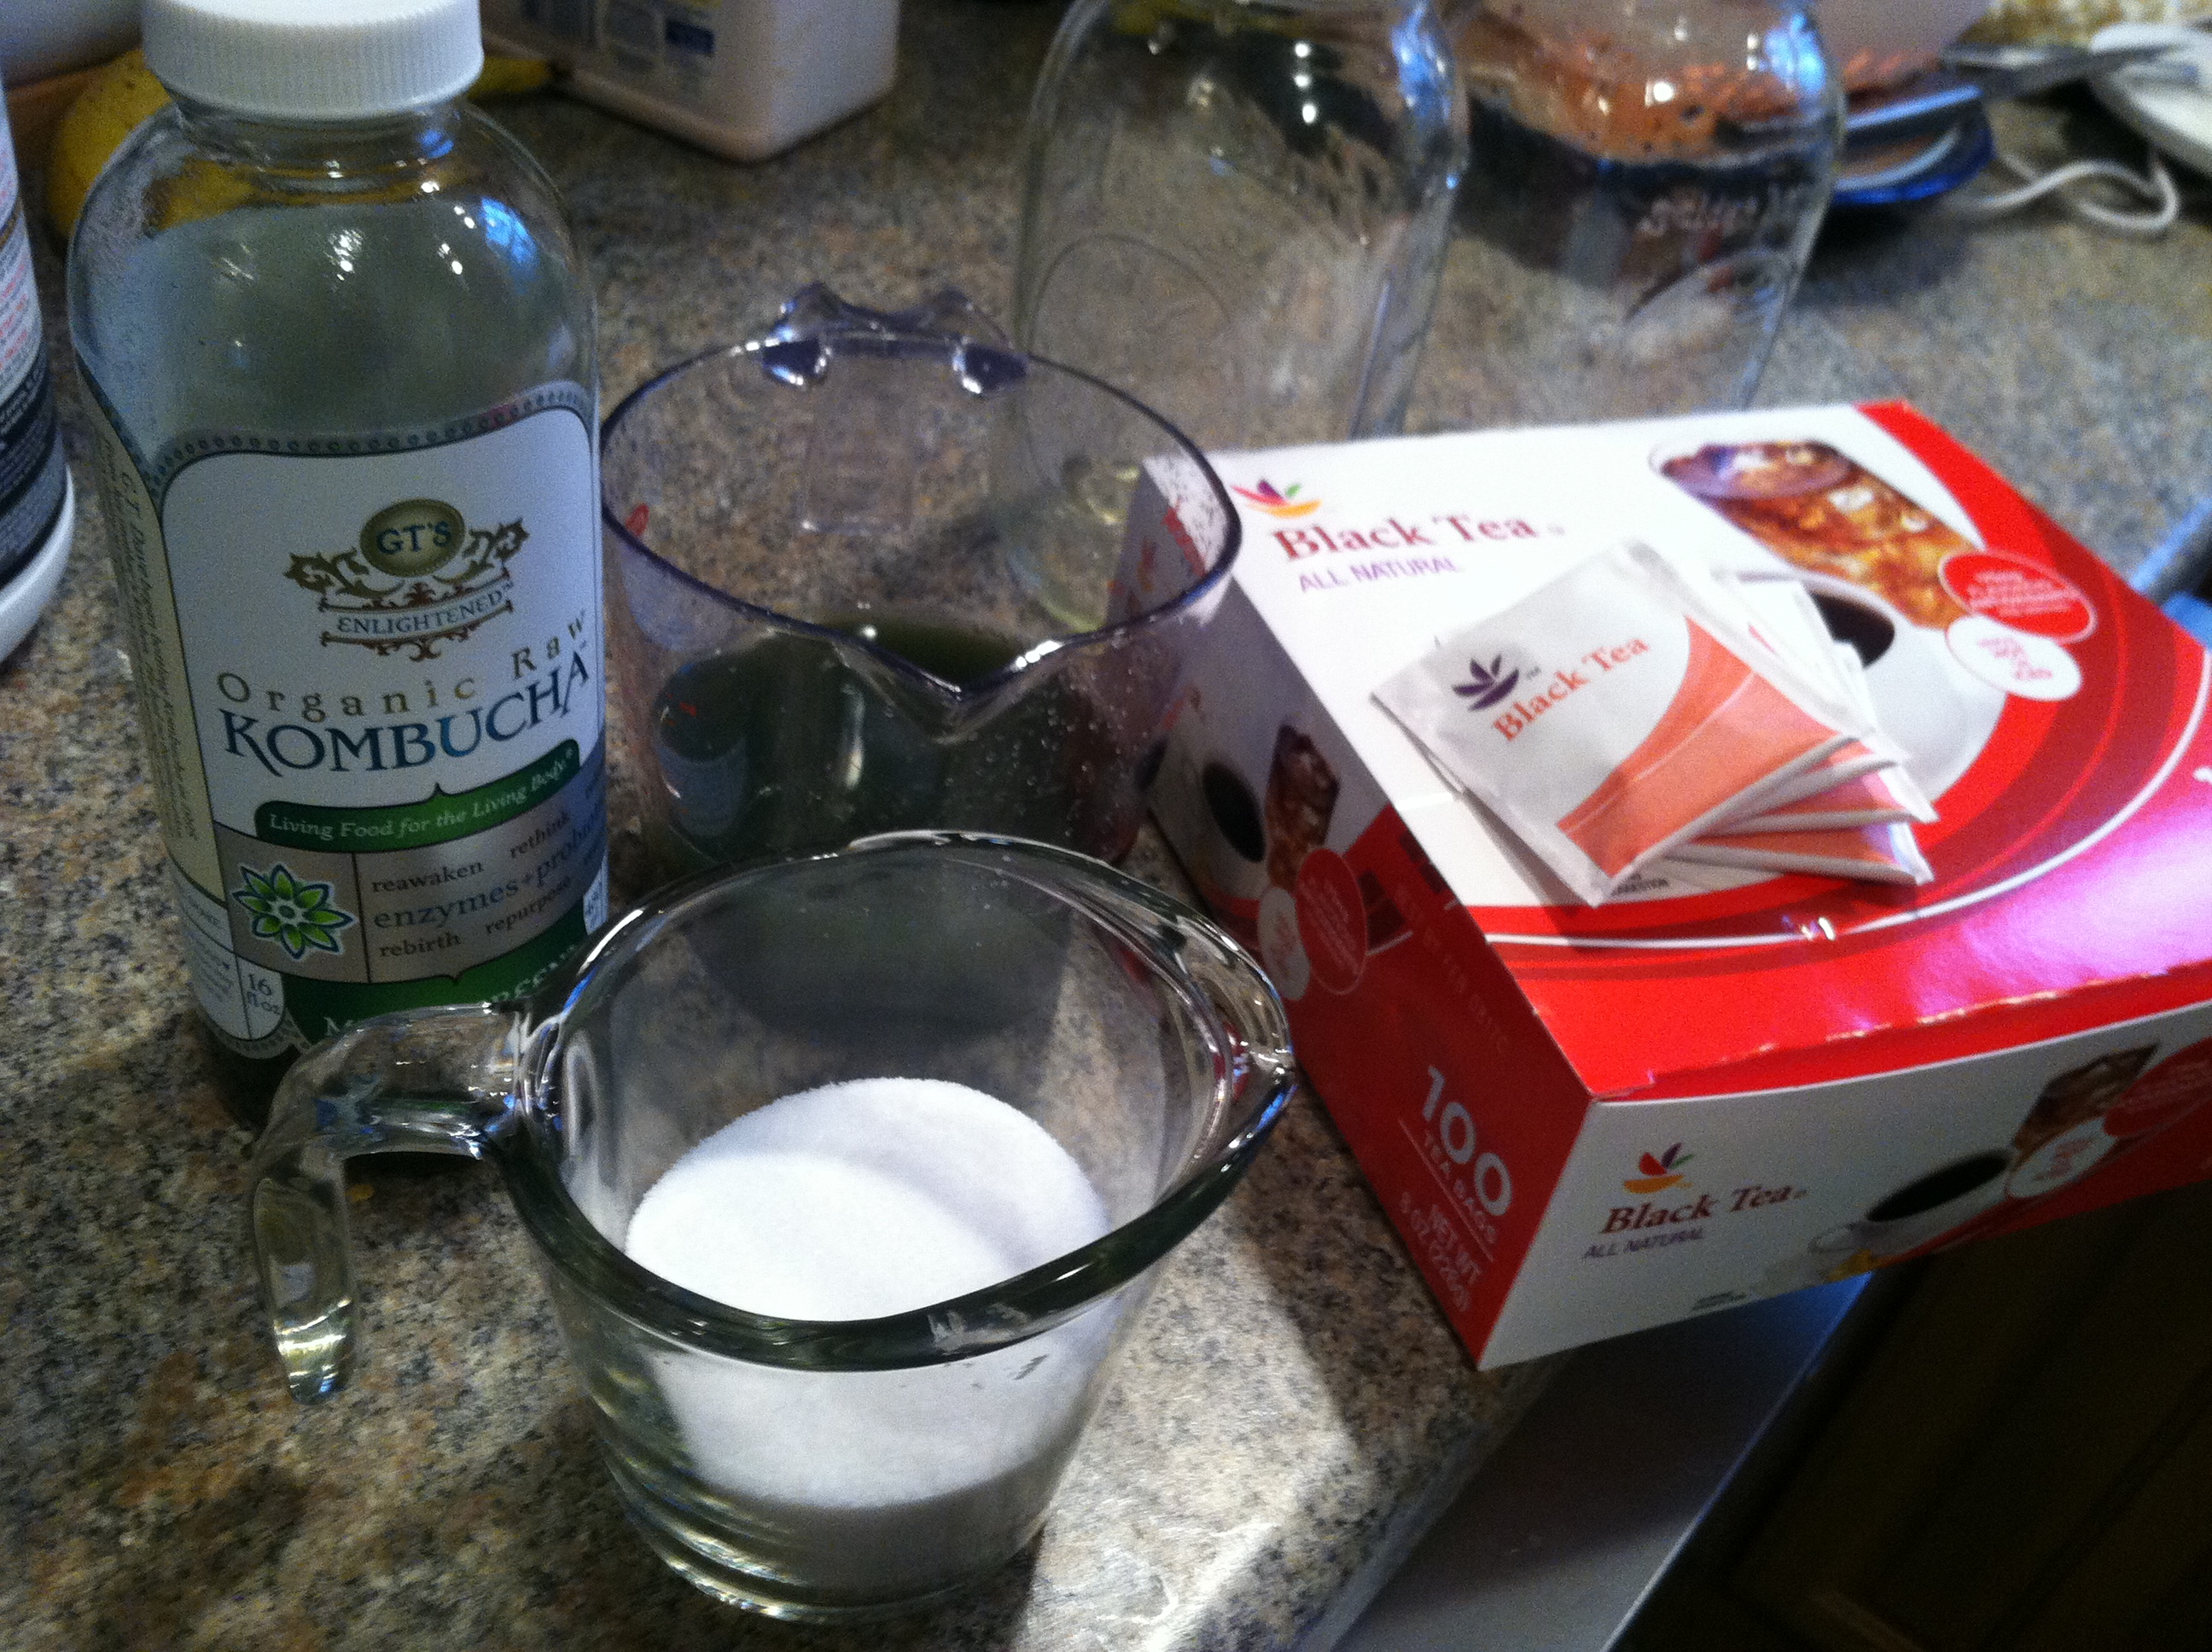
Ingredients:

IMG_9196

Step 1: Boil the water, mix in the sugar, and add the tea bags. Let steep and cool to room temperature. You cannot add a SCOBY to hot or even warm tea, or it may kill the bacteria & yeast.

IMG_9197

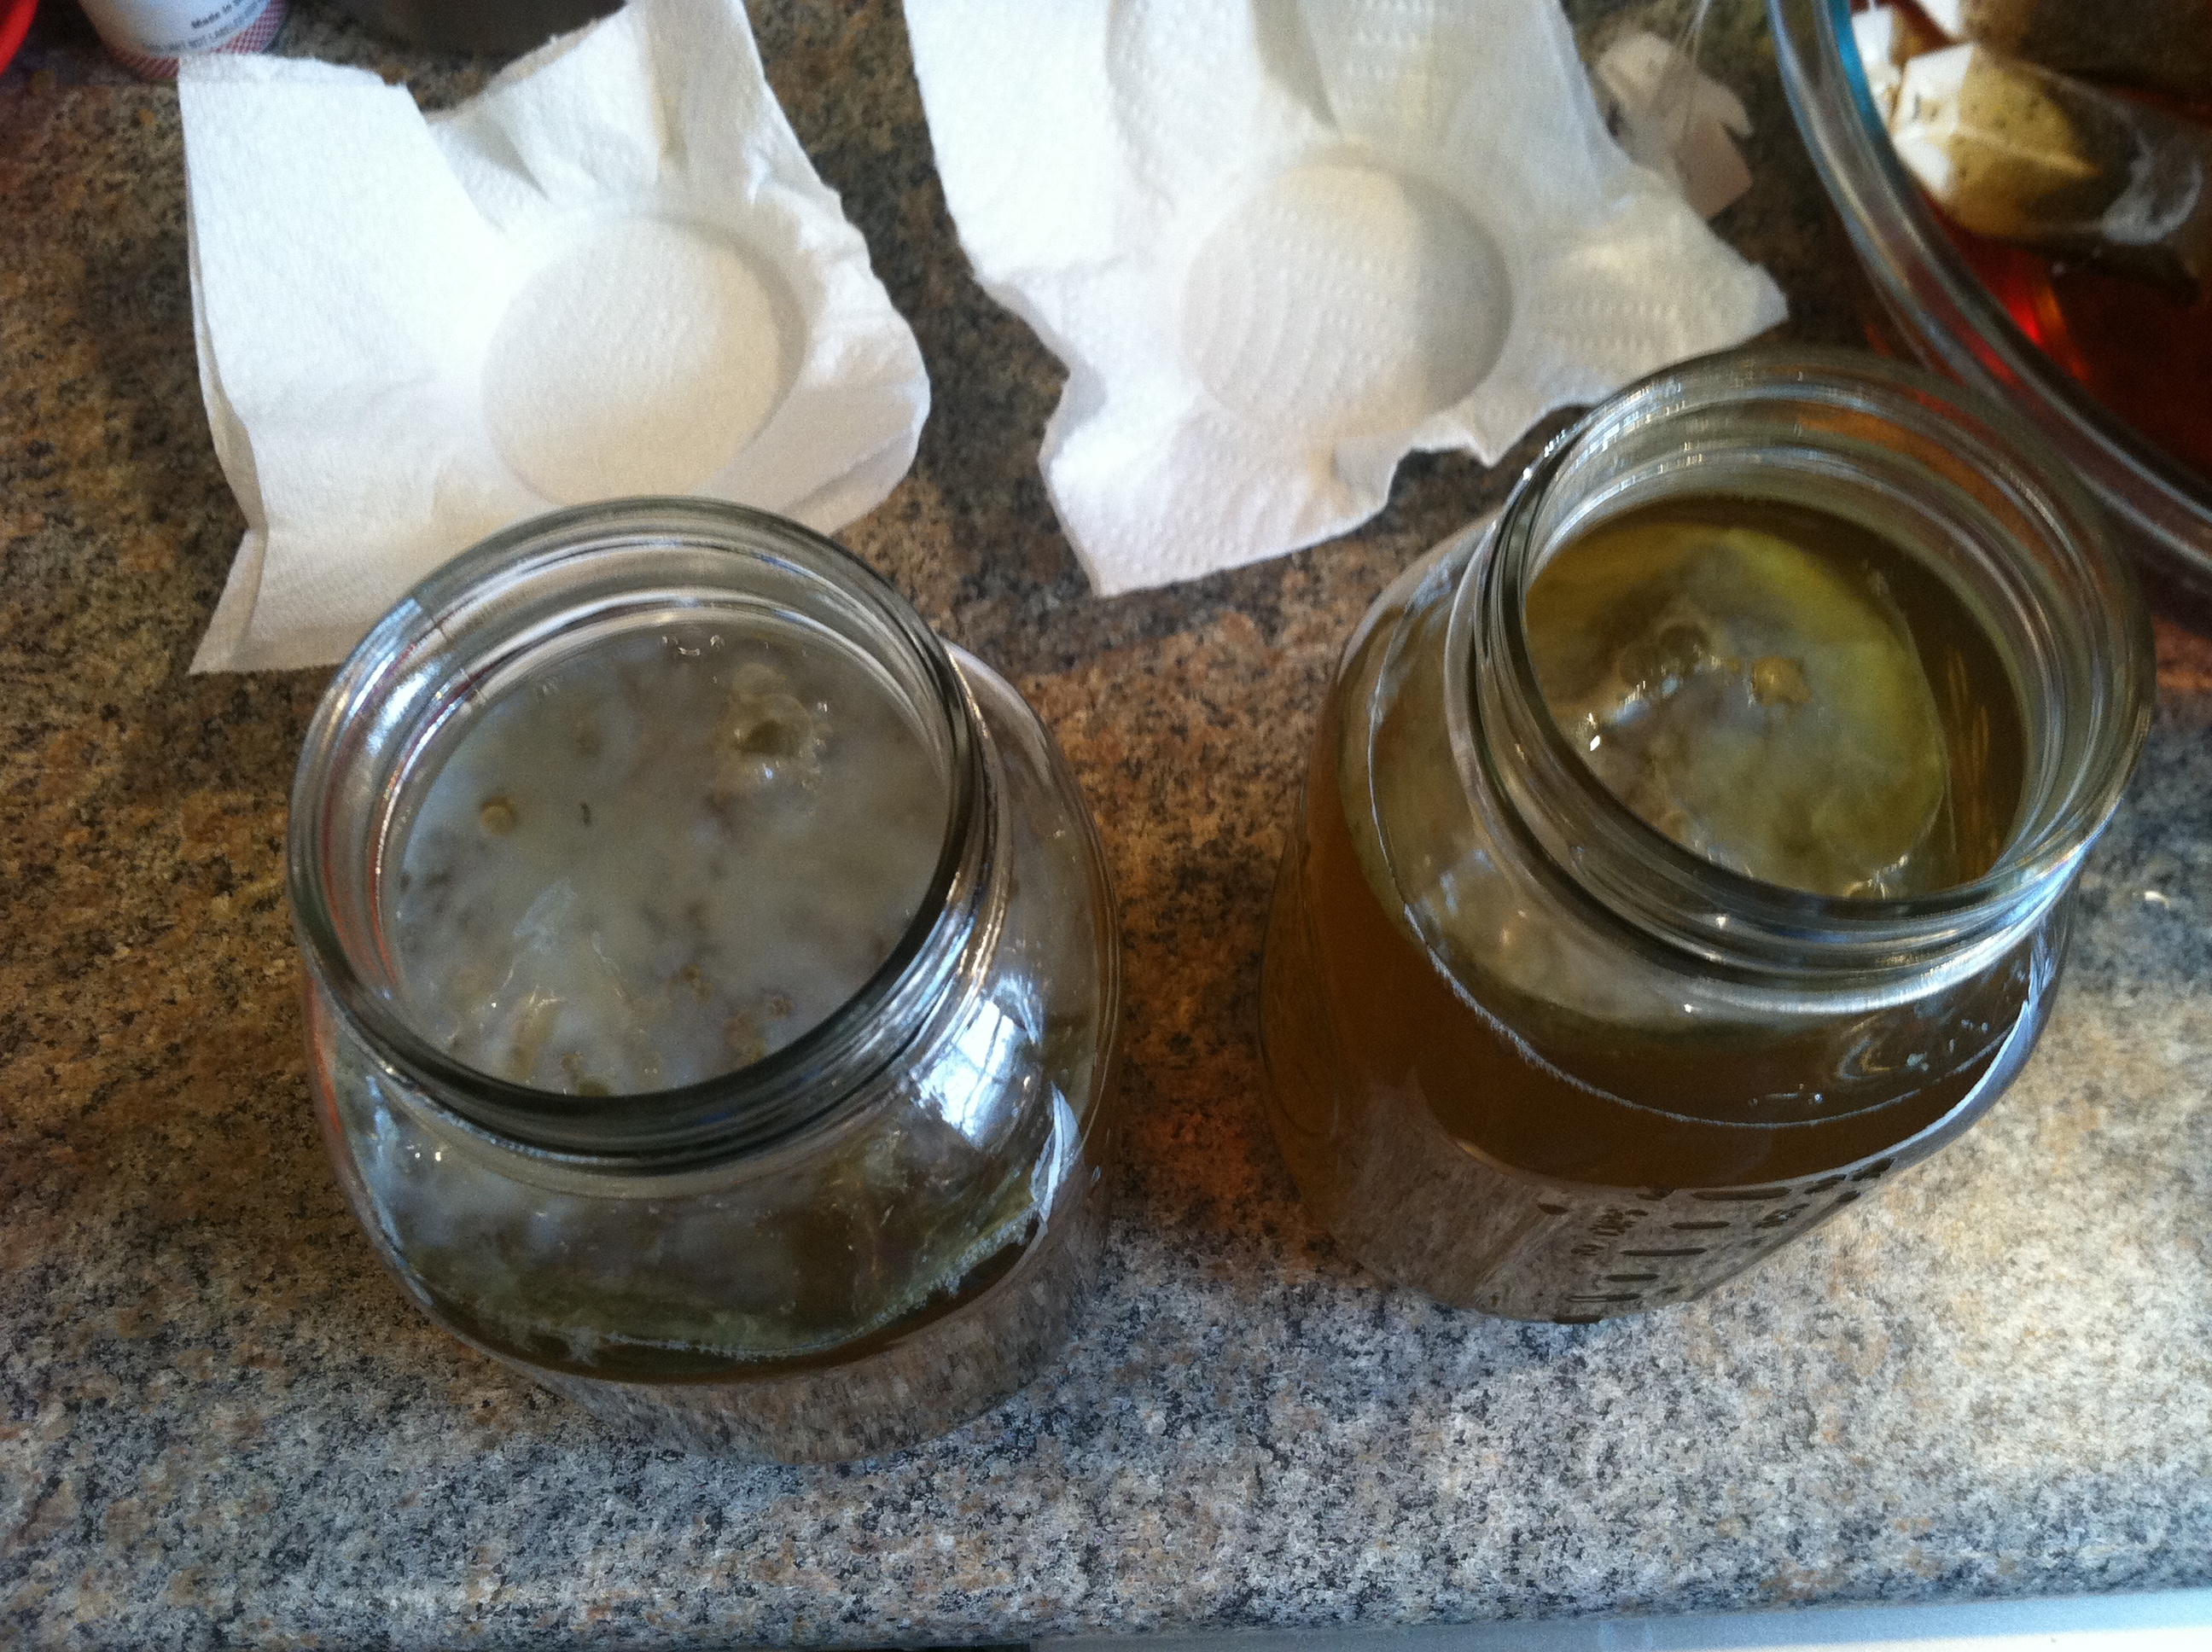
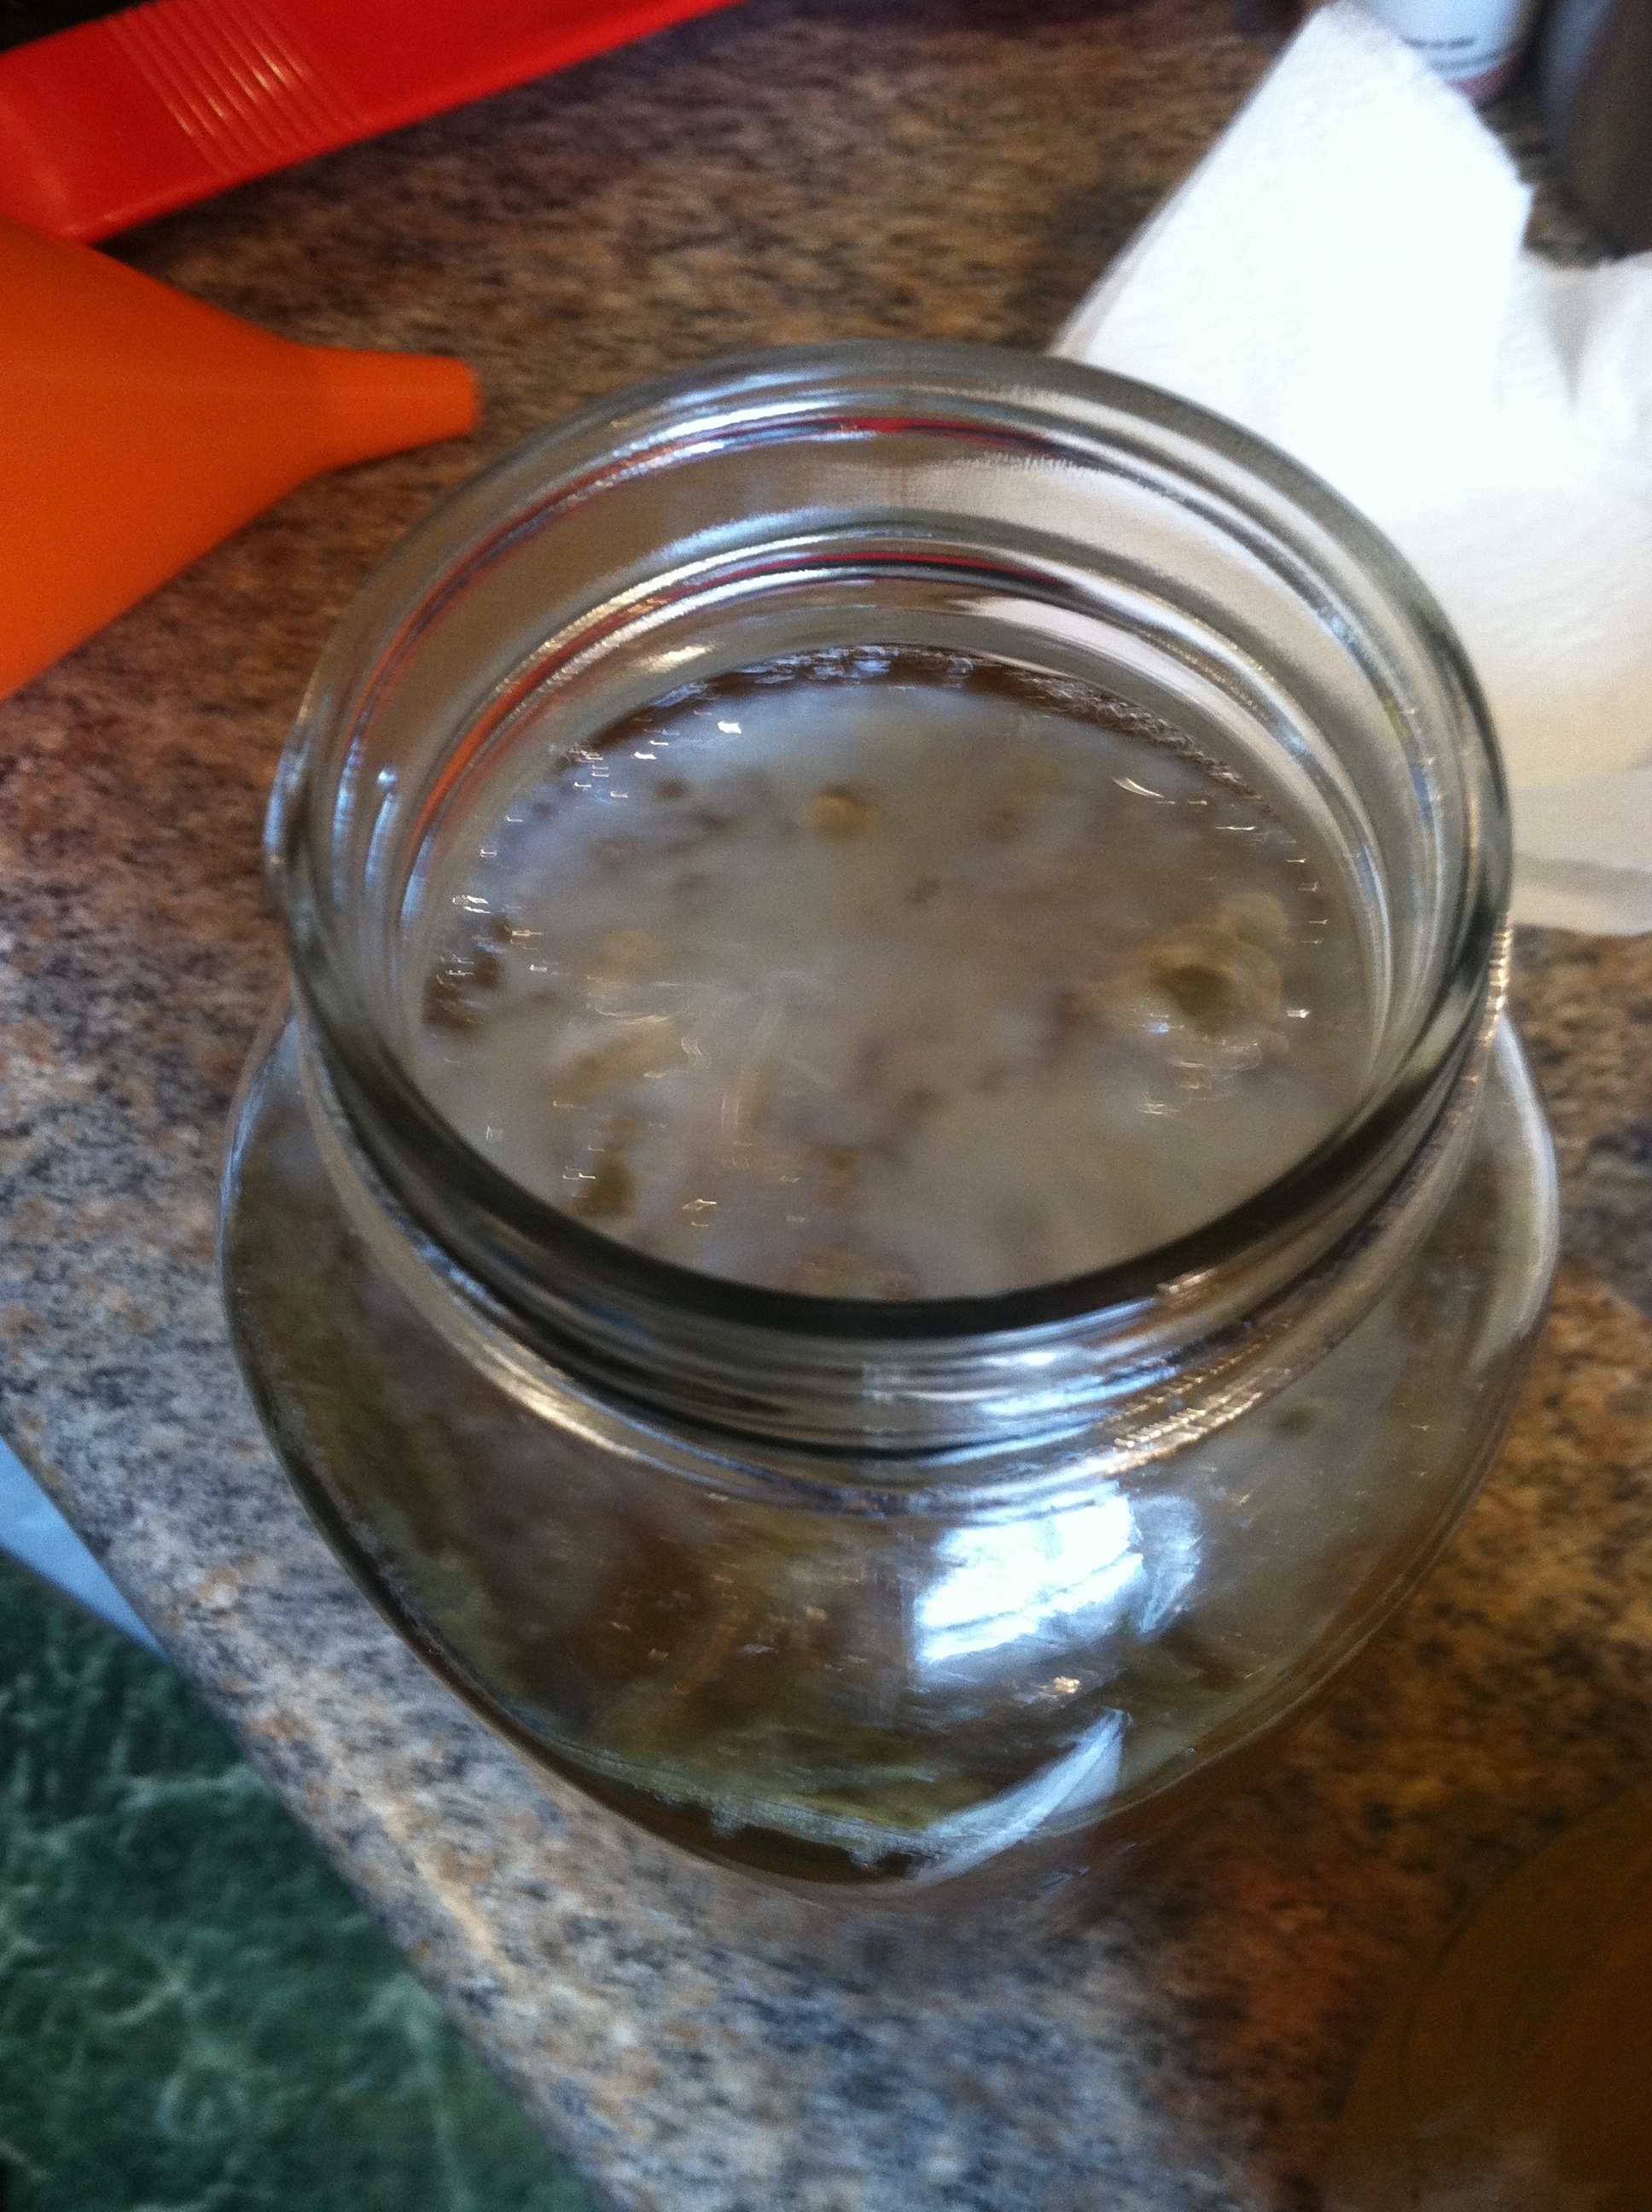
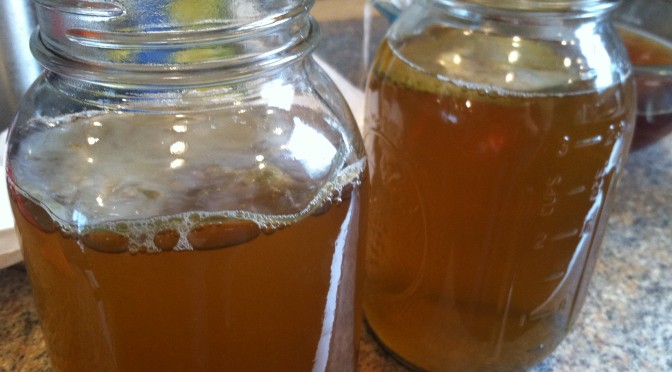
Step 2: Once cool, add the cup of starter kombucha liquid and pour the sweet tea into your clean, sterile containers. Take the SCOBY out of your first jars, it is ok to use your hands, as long as you’ve washed them first! This is what a baby SCOBY may look like if you used a green tea/spirulina starter kombucha…

IMG_9199

You can see how thin this first culture is, and that is ok. It will thicken with each batch of kombucha brewed. And, once it becomes very thick, it is actually recommended that you remove the bottom layer(s) and give to a friend to start a new batch or throw it out. Kombucha cultures can outlive their usefulness.

IMG_9201

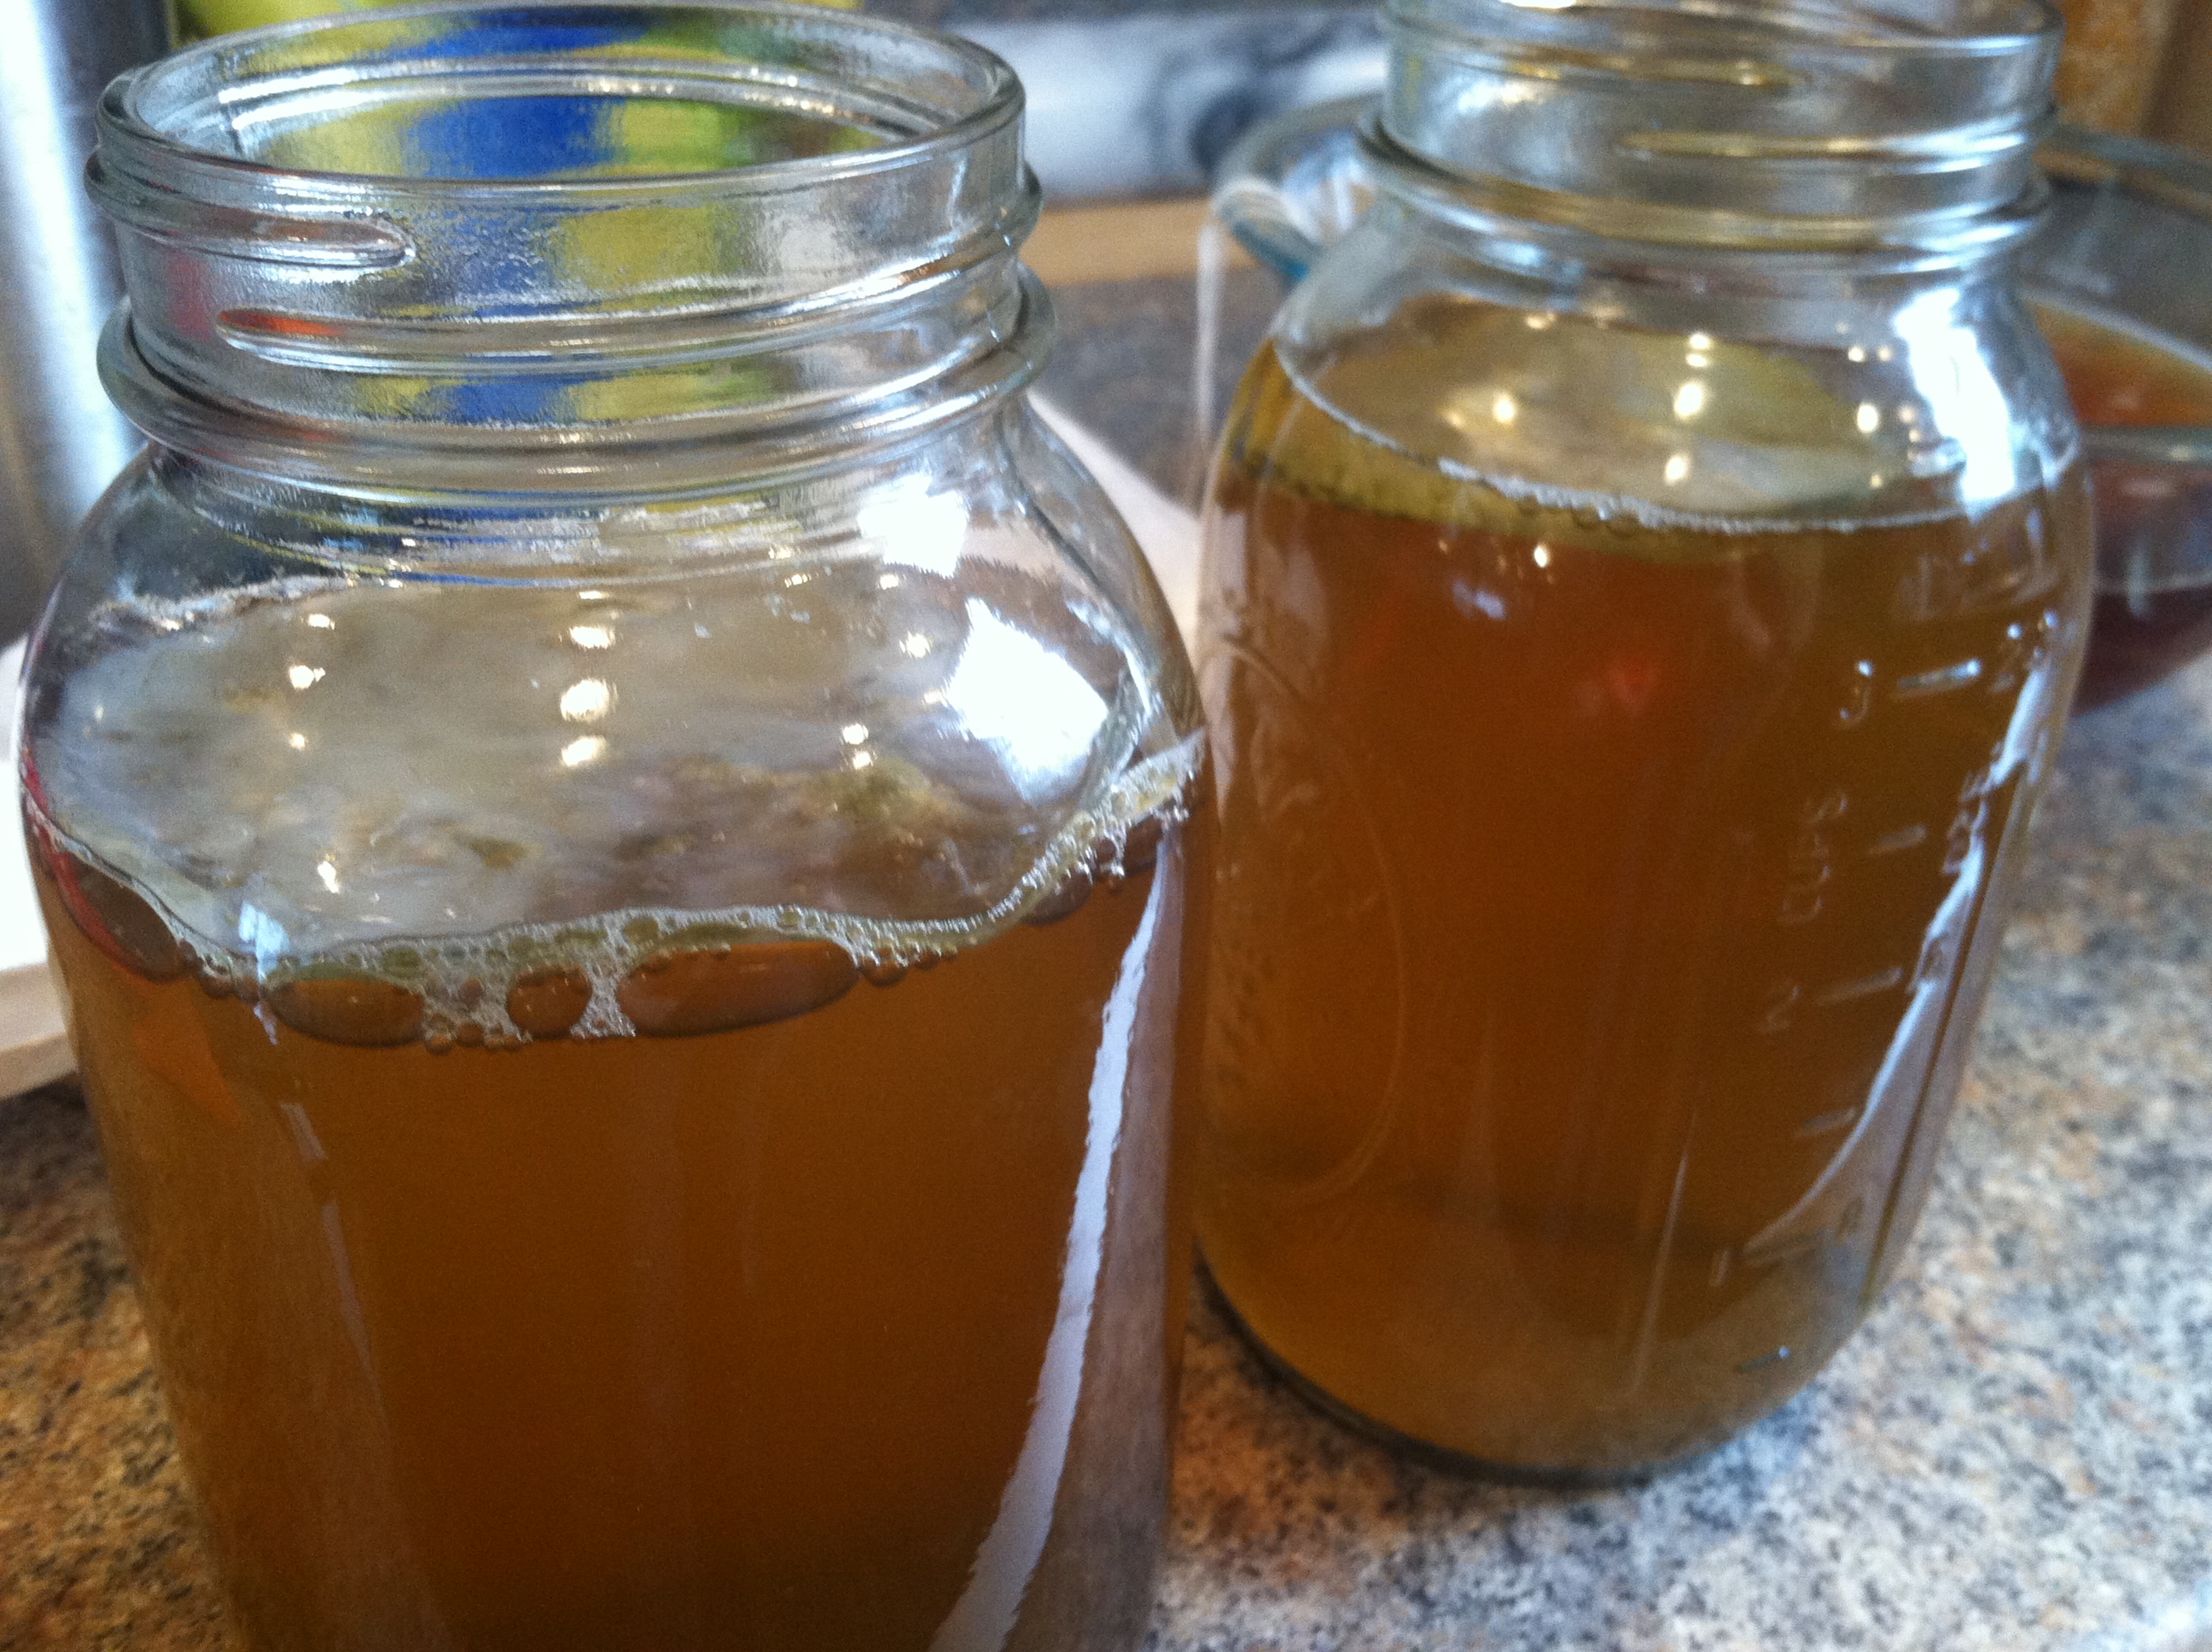
Step 3: Carefully place the SCOBY on top of your fresh sweet tea. It may float along the top, or it may sink to the bottom, it may even float around sideways. Those are all fine, a new culture will form along the top if your first SCOBY does not float.

Also, any size SCOBY can ferment any size container, the culture will grow to fit the size of the jar. Larger batches may take longer when transferring a smaller SCOBY to the larger container.

Step 4: Once the SCOBY is removed from the tea, you can now enjoy your kombucha! You can drink it as is, or refrigerate it for a week or so. If you’d like it more carbonated, simply close the jar, and leave in a cool dark place undisturbed for another 2-3 days. The probiotics inside will continue fermenting, and carbonate your drink.

And that’s all there is to it! Once you get used to the process, you can switch out your SCOBY and have fresh jars of kombucha ready to drink in about 10 minutes once a week. Once you have a thriving, healthy culture, you can continue propagating to as many batches as you please, or give some to a friend to try.

Since I’m still somewhat new to this homebrew kombucha, I haven’t had a chance to experiment much. But you know with me, there is some serious experimentation in my future! I’m going to let my culture get nice and strong, then branch out to green and maybe white tea. It is not a good idea to use any tea with oils in it, like earl grey or bergamot. Also if you do try different mixes, make sure to throw in a black tea batch in between so the SCOBY gets all the nutrients it needs to keep producing.

Then there are so many infusion possibilities! Once the kombucha tea base is made, I want to try adding lemon, lavender, strawberries, and rosemary. Maybe some raspberries or blackberries or mint. This project will keep me dreaming all summer long I’m sure!

What do you think? Is kombucha making something you’d like to try or have tried? Feel free to tell us your experiences in the comments!
Homemade Kombucha Part 1


For those who have not yet heard of this drink, kombucha (pronounced kom-boo-ch-ahhh) is a fermented sweet black tea made using a SCOBY – symbiotic culture of yeast & bacteria. This beverage has been around for a very long time, and is said to have originated in China. Because the drink is made by microorganisms, it contains the buzzworthy “probiotics”.

Probiotics basically means live bacteria or yeasts that are good for your health. Probiotics are great for your digestive health, immune system, liver, kidneys, and overall health. The beneficial bacteria and yeast in kombucha live together in a cellulose raft on top of the kombucha, and work together to cause a special type of fermentation. This uses up the sugar and caffeine in the beginning tea mixture, so the resulting drink is tart, carbonated, and relatively caffeine-free. There is a trace amount of alcohol; not enough to cause a noticeable effect, but in case you avoid alcohol that is important to note.

To make kombucha at home, you only need containers (preferably glass, wide-mouth mason jars), water, tea, sugar, and a starter SCOBY or culture. You can buy a starter SCOBY online, get one from a friend who makes kombucha, or do as I did and buy a bottle of raw, unpasteurized kombucha from the store. I show you how to do this all step by step in my awesome Homemade Kombucha video! (Also at the bottom of this post)

This recipe makes 2 quarts of kombucha each 7-10 days.

IMG_8998

Ingredients:

IMG_8999

Step 1: Get 7 cups of water boiling, and add your tea. Mix in the sugar so it dissolves. Let that sit and cool to room temperature. To speed up cooling, you can place the container with the tea into a larger container filled with ice or ice water.

IMG_9190

Step 2: Once cooled, add the cup of starter tea. If using store-bought, make sure it is an organic brand, and that it is raw and unpasteurized. If it has been pasteurized, there may not be any more live bacteria or yeast in there to start your new SCOBY. If using a mother from a friend or online, or a culture, stir that into the tea.

IMG_9191

Step 3: Fill your jars up to an inch or so from the rims. Place a clean paper towel or cloth over the opening, and rubber band, tie, or otherwise hold it in place. Now leave your jars in a cool, dark place where they won’t be disturbed for at least 7 days, and as long as you like.

IMG_9192

The first time you brew kombucha, your SCOBY may take longer than a week to get growing. Colder temperatures also make them grow more slowly. Don’t worry, let it ferment up to a month. If after 4 weeks nothing has happened, you may not have had enough active probiotics to make a culture. Just start over with fresh tea and fresh starter culture.

IMG_9193

After a day or two, you may start to see flecks on the surface of the kombucha, or bubbles. This is a great sign! After a few more days, you will see a thin film start to develop on top of the liquid. This is the beginning of your symbiotic colony. This layer will thicken over time with successive batches of kombucha.

IMG_9194

If your first SCOBY seems wavy, has holes or air bubbles, or differences in color, that is ok. But if you smell anything rancid, like mold or cheese, or see red or green or white fuzz growing, your kombucha has been infected with something you don’t want to drink,  and you should throw that batch out and start over.

This first batch may end up being too vinegary to drink, but you may also like the acidity. You can discard the batch, keeping the SCOBY you worked so hard to grow, or drink round one. I’ll show you how to transfer your brand new SCOBY into future batches in my next post!


Part 2 of how to make homemade kombucha is out! Once you have your SCOBY, here’s how to propagate it for future batches of fresh delicious tea.

With video! https://youtu.be/o5peIHOvKrY


More sources:


Vegan Dark Chocolate Peppermint Cocoa


As I continue to read and learn more about food and nutrition, I become more convinced that the closer to vegan one eats, the better for one’s health.

Many people think that being vegan is restrictive and boring, that you can only eat raw vegetables forever. That is definitely not the case. As veganism becomes more mainstream, tons of websites and blogs pop up with brilliant recipes and ways to add more vegetables grains fruits and nuts to your life. Though you may have more nuts in your life than you want right now…

Anywho. I believe in moderation, and though you should always strive for a healthy diet, any diet that includes no treats is bound to fail over time.

IMG_7717

This recipe is an amalgamation of several I browsed online mixed with what was in my cabinets. Read labels to ensure it truly is vegan, if you choose.

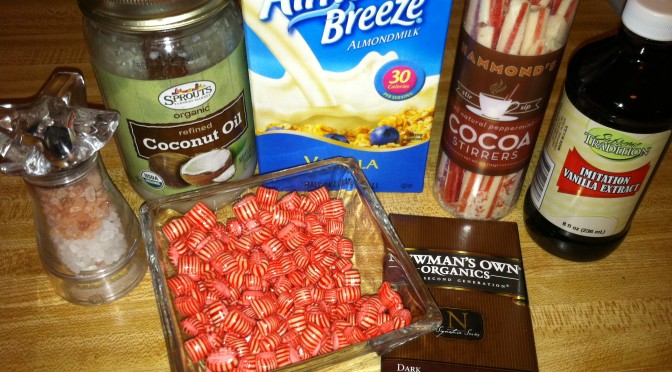
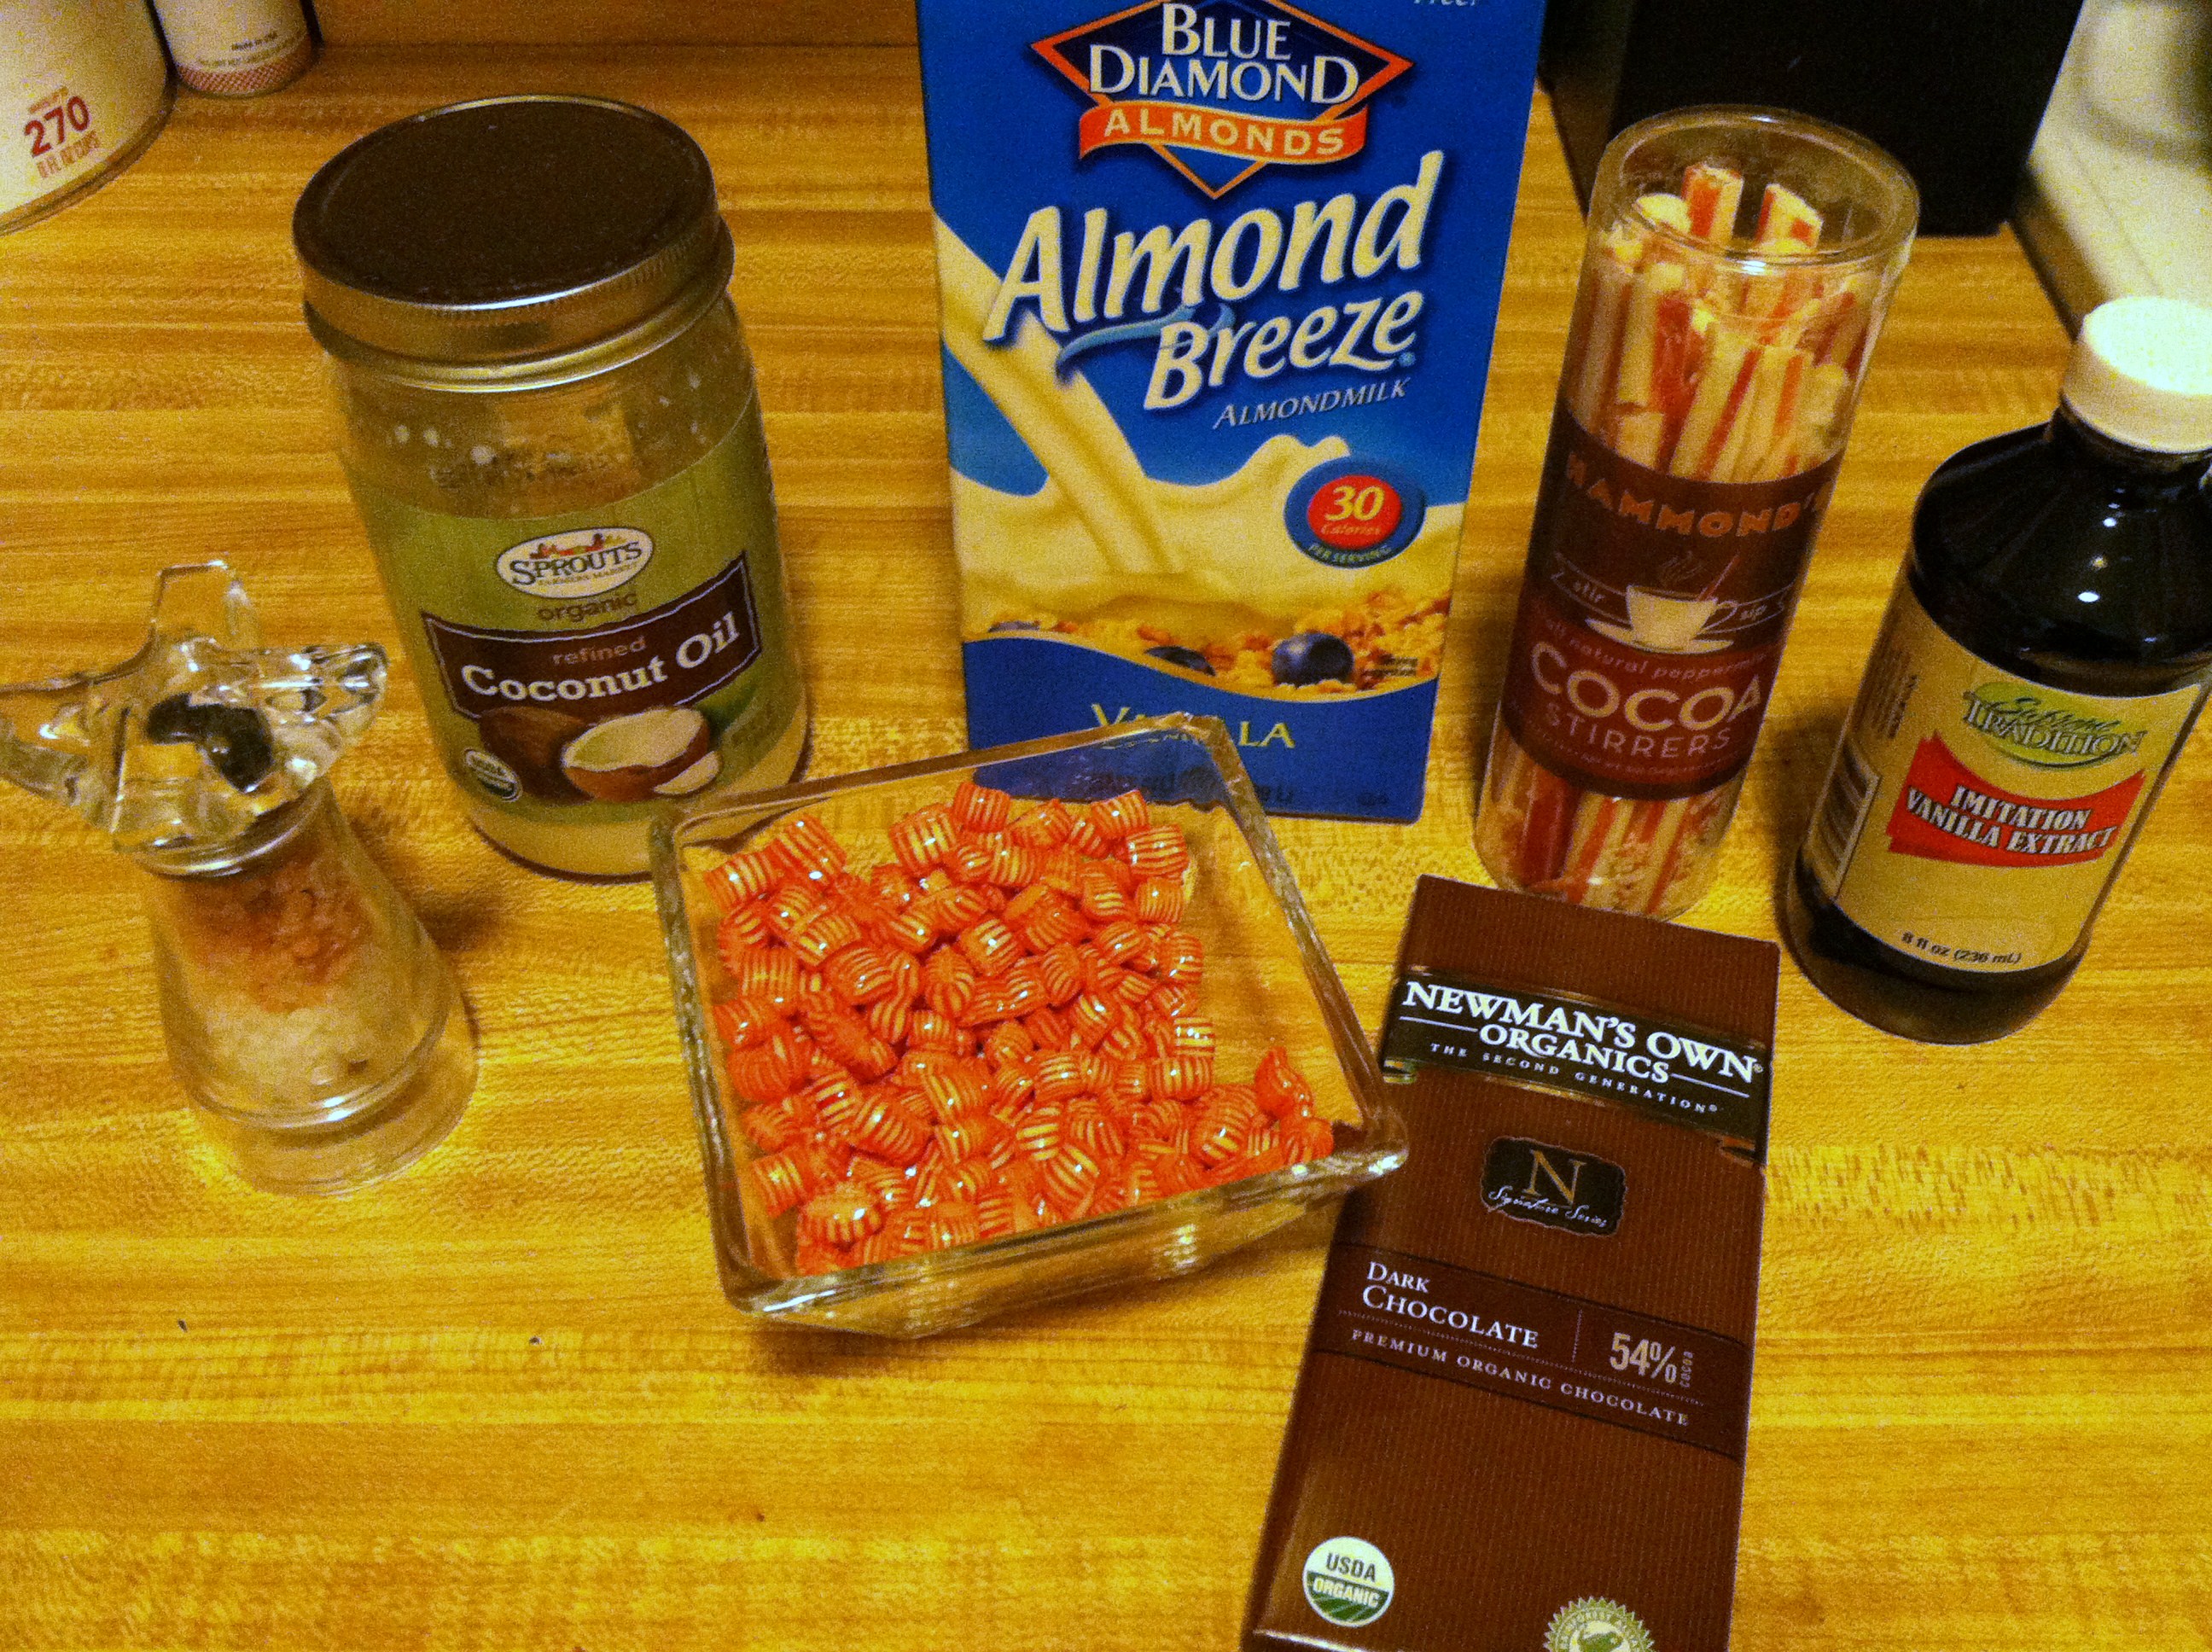
Ingredients:

  • 2 cups almond (or other plant-based) milk
  • 2 tbsp peppermint candies
  • 2 tbsp coconut oil
  • 1 large bar organic dark chocolate
  • 1 tbsp vanilla
  • Sprinkle of sea salt

IMG_7715

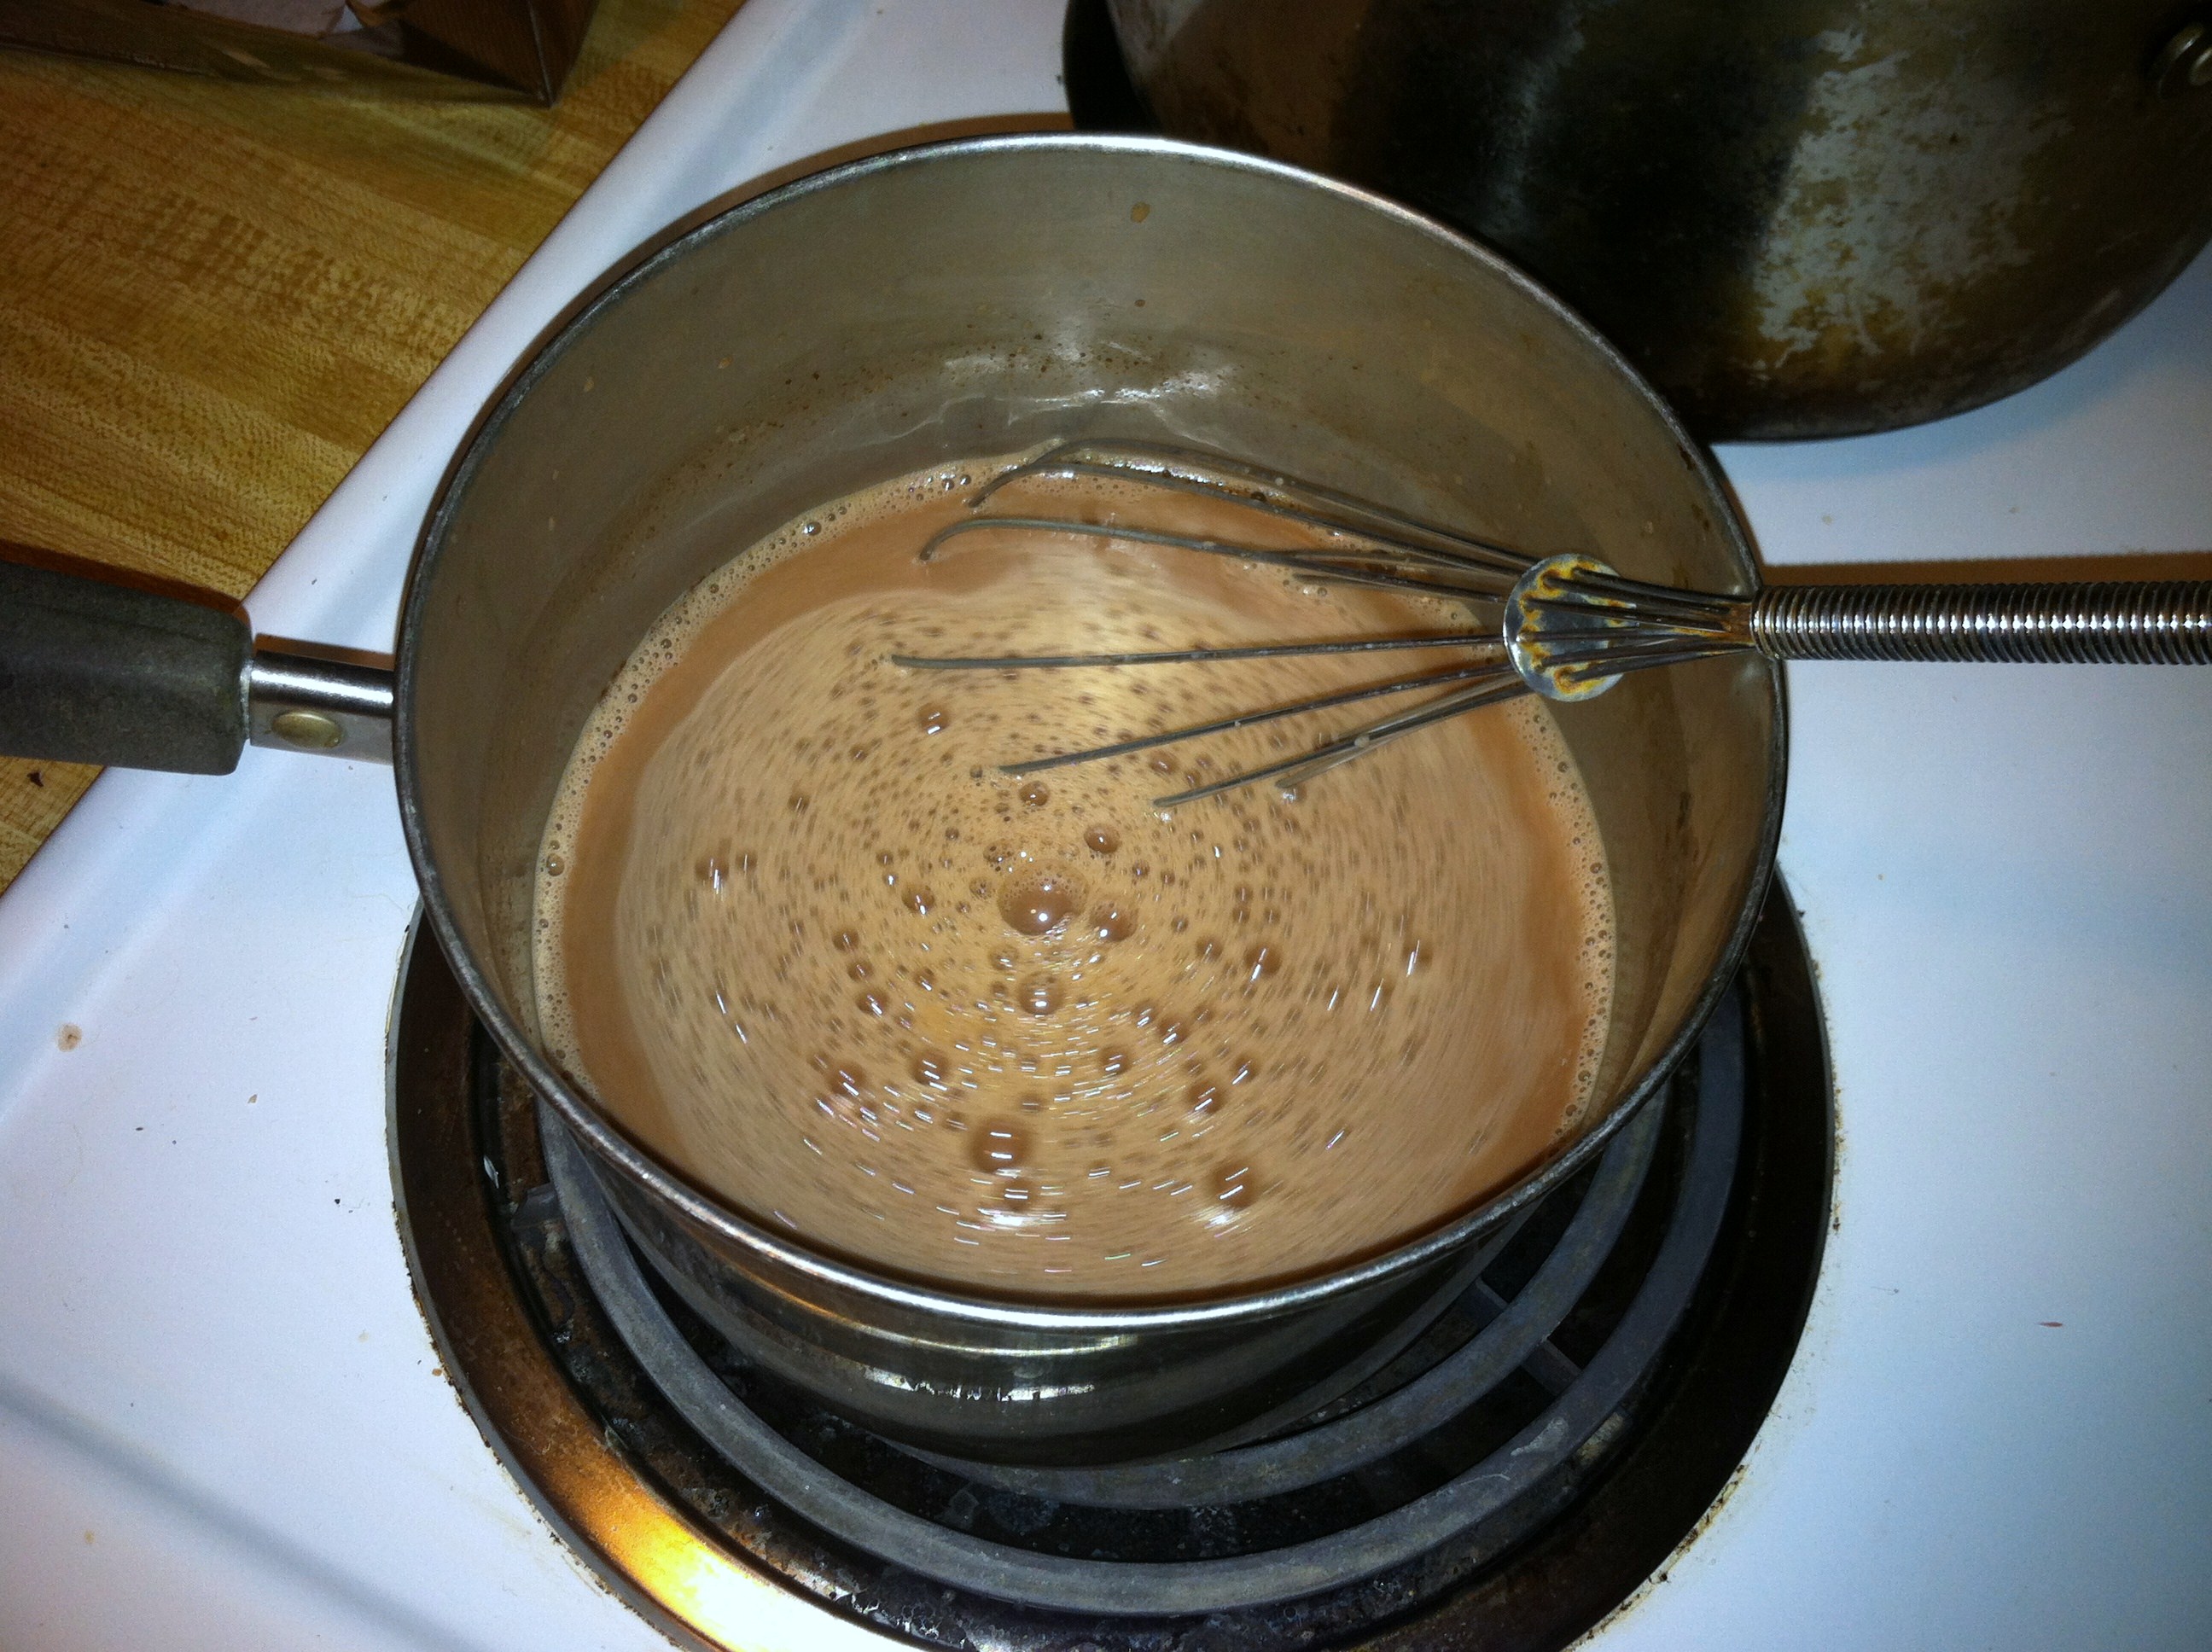
Step 1: In a sauce pan, slowly heat the milk until just below a simmer.

IMG_7718

Step 2: Add the coconut oil and dark chocolate, broke into pieces. Mix constantly until dissolved, not letting it boil. Add the peppermint candies and continue mixing until melted.

IMG_7721

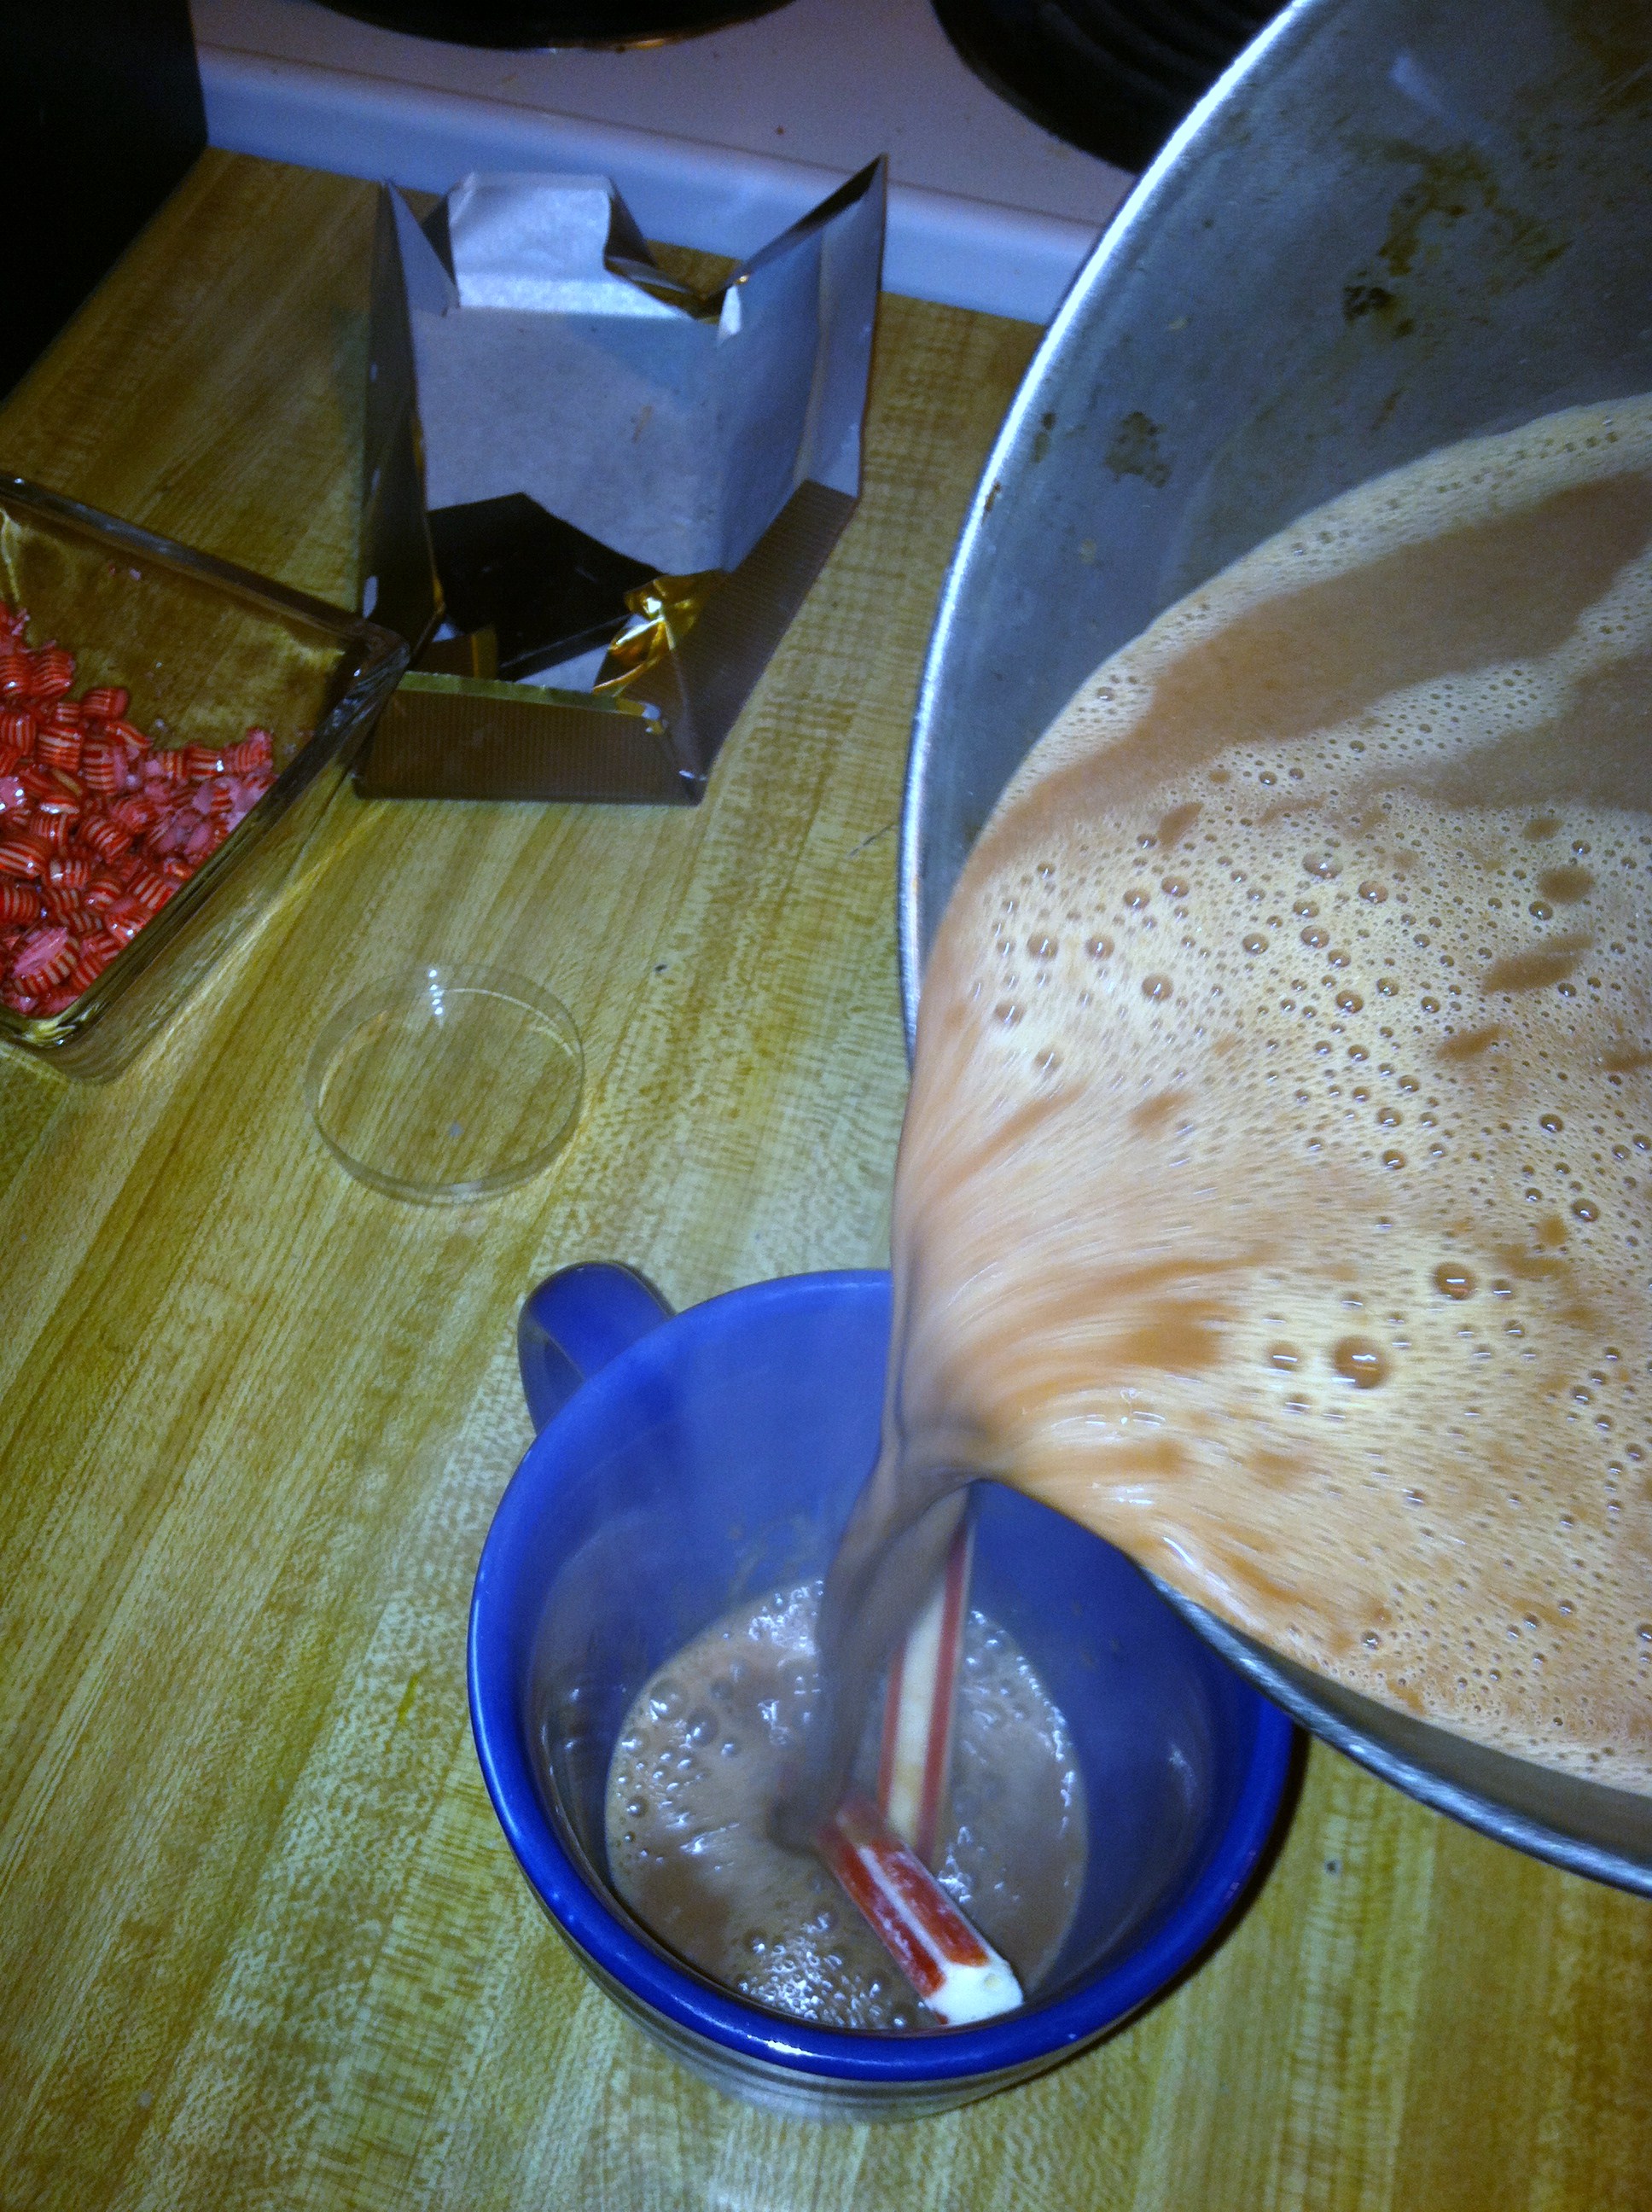
Step 3: Pour into mugs, optionally with a peppermint stir stick. Also optional include marshmallows, whipped cream, and/or cinnamon.

IMG_7723

This is a fabulous beverage to enjoy on a chilly winter evening! Not to mention absolutely delicious.

IMG_7727


[amd-zlrecipe-recipe:8]

Turmeric Ginger Juice


Juices are a great way to add in extra vitamins and minerals from fruits and vegetables if you feel you don’t get enough in your regular diet. They are not a substitute for real, whole fruits and vegetables, because you miss out on the peels, flesh, seeds, and fibers. However, they are tasty and a good option for a little extra boost.

Some fruits and vegetables are already well-known for their juicing abilities, such as apples, carrots, celery, or spinach. However, there are many herbs and spices which would also be beneficial to add to your morning or afternoon pick-me-ups.

Two of my favorites currently are both roots, turmeric and ginger. Turmeric is beginning to gain more fame in the cooking community for its gorgeous yellow coloring, delicious flavor, and many health-promoting capabilities. Turmeric has long been used in medicine. It is thought to help ease arthritis, heartburn, stomach aches, diarrhea, intestinal distress, bloating, as well as increase appetite, and decrease liver and gallbladder disorders.

Turmeric does contain compounds which may reduce inflammation and swelling, contributing to its ascribed powers of easing the above-named illnesses. Traditional Eastern medicine claims even more potential benefits, ranging from curing headaches and bronchitis to more serious diseases such as fibromyalgia, depression, and Alzheimer’s disease.

Ginger, meanwhile, is an herb with an underground rhizome which is the most-often used part of the plant in both medicine and cooking. Most often ginger is ascribed powers of curing any “stomach problems” such as motion sickness, colic, diarrhea, nausea, and stomach aches. Other potential benefits include its use as a gentle, natural laxative and relief from muscle soreness, back pain, or stomach pain.

Whether or not you want potential relief from any of these symptoms, it is great for your heart and cardiovascular health to include these two roots in your cooking routine. Ginger is a delicious flavoring agent in stir fry and tea, and turmeric gives rice and curries a pungent smell and vibrant yellow color.

One simple way to get these benefits and more is to juice your roots! That’s right, simply add small pieces of these fresh, or a tsp or two powdered right into your liquid concoctions. This recipe was adapted from Jim over at Be Mindful Be Human’s Turmeric and Ginger Milk.

Ingredients:

  • 1/4 fresh pineapple (or 1/2 can chunks)
  • 1 large carrot
  • 1-2 sticks celery
  • 2 apples
  • 1/2 fresh lemon
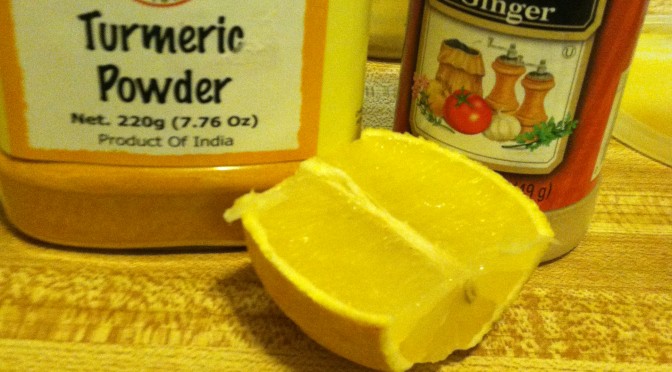
  • 1 tsp ginger (or 1″ piece root)
  • 2 tsp turmeric powder (or 1″ root)
  • 1/3 cup greens (spinach, kale)

IMG_7527

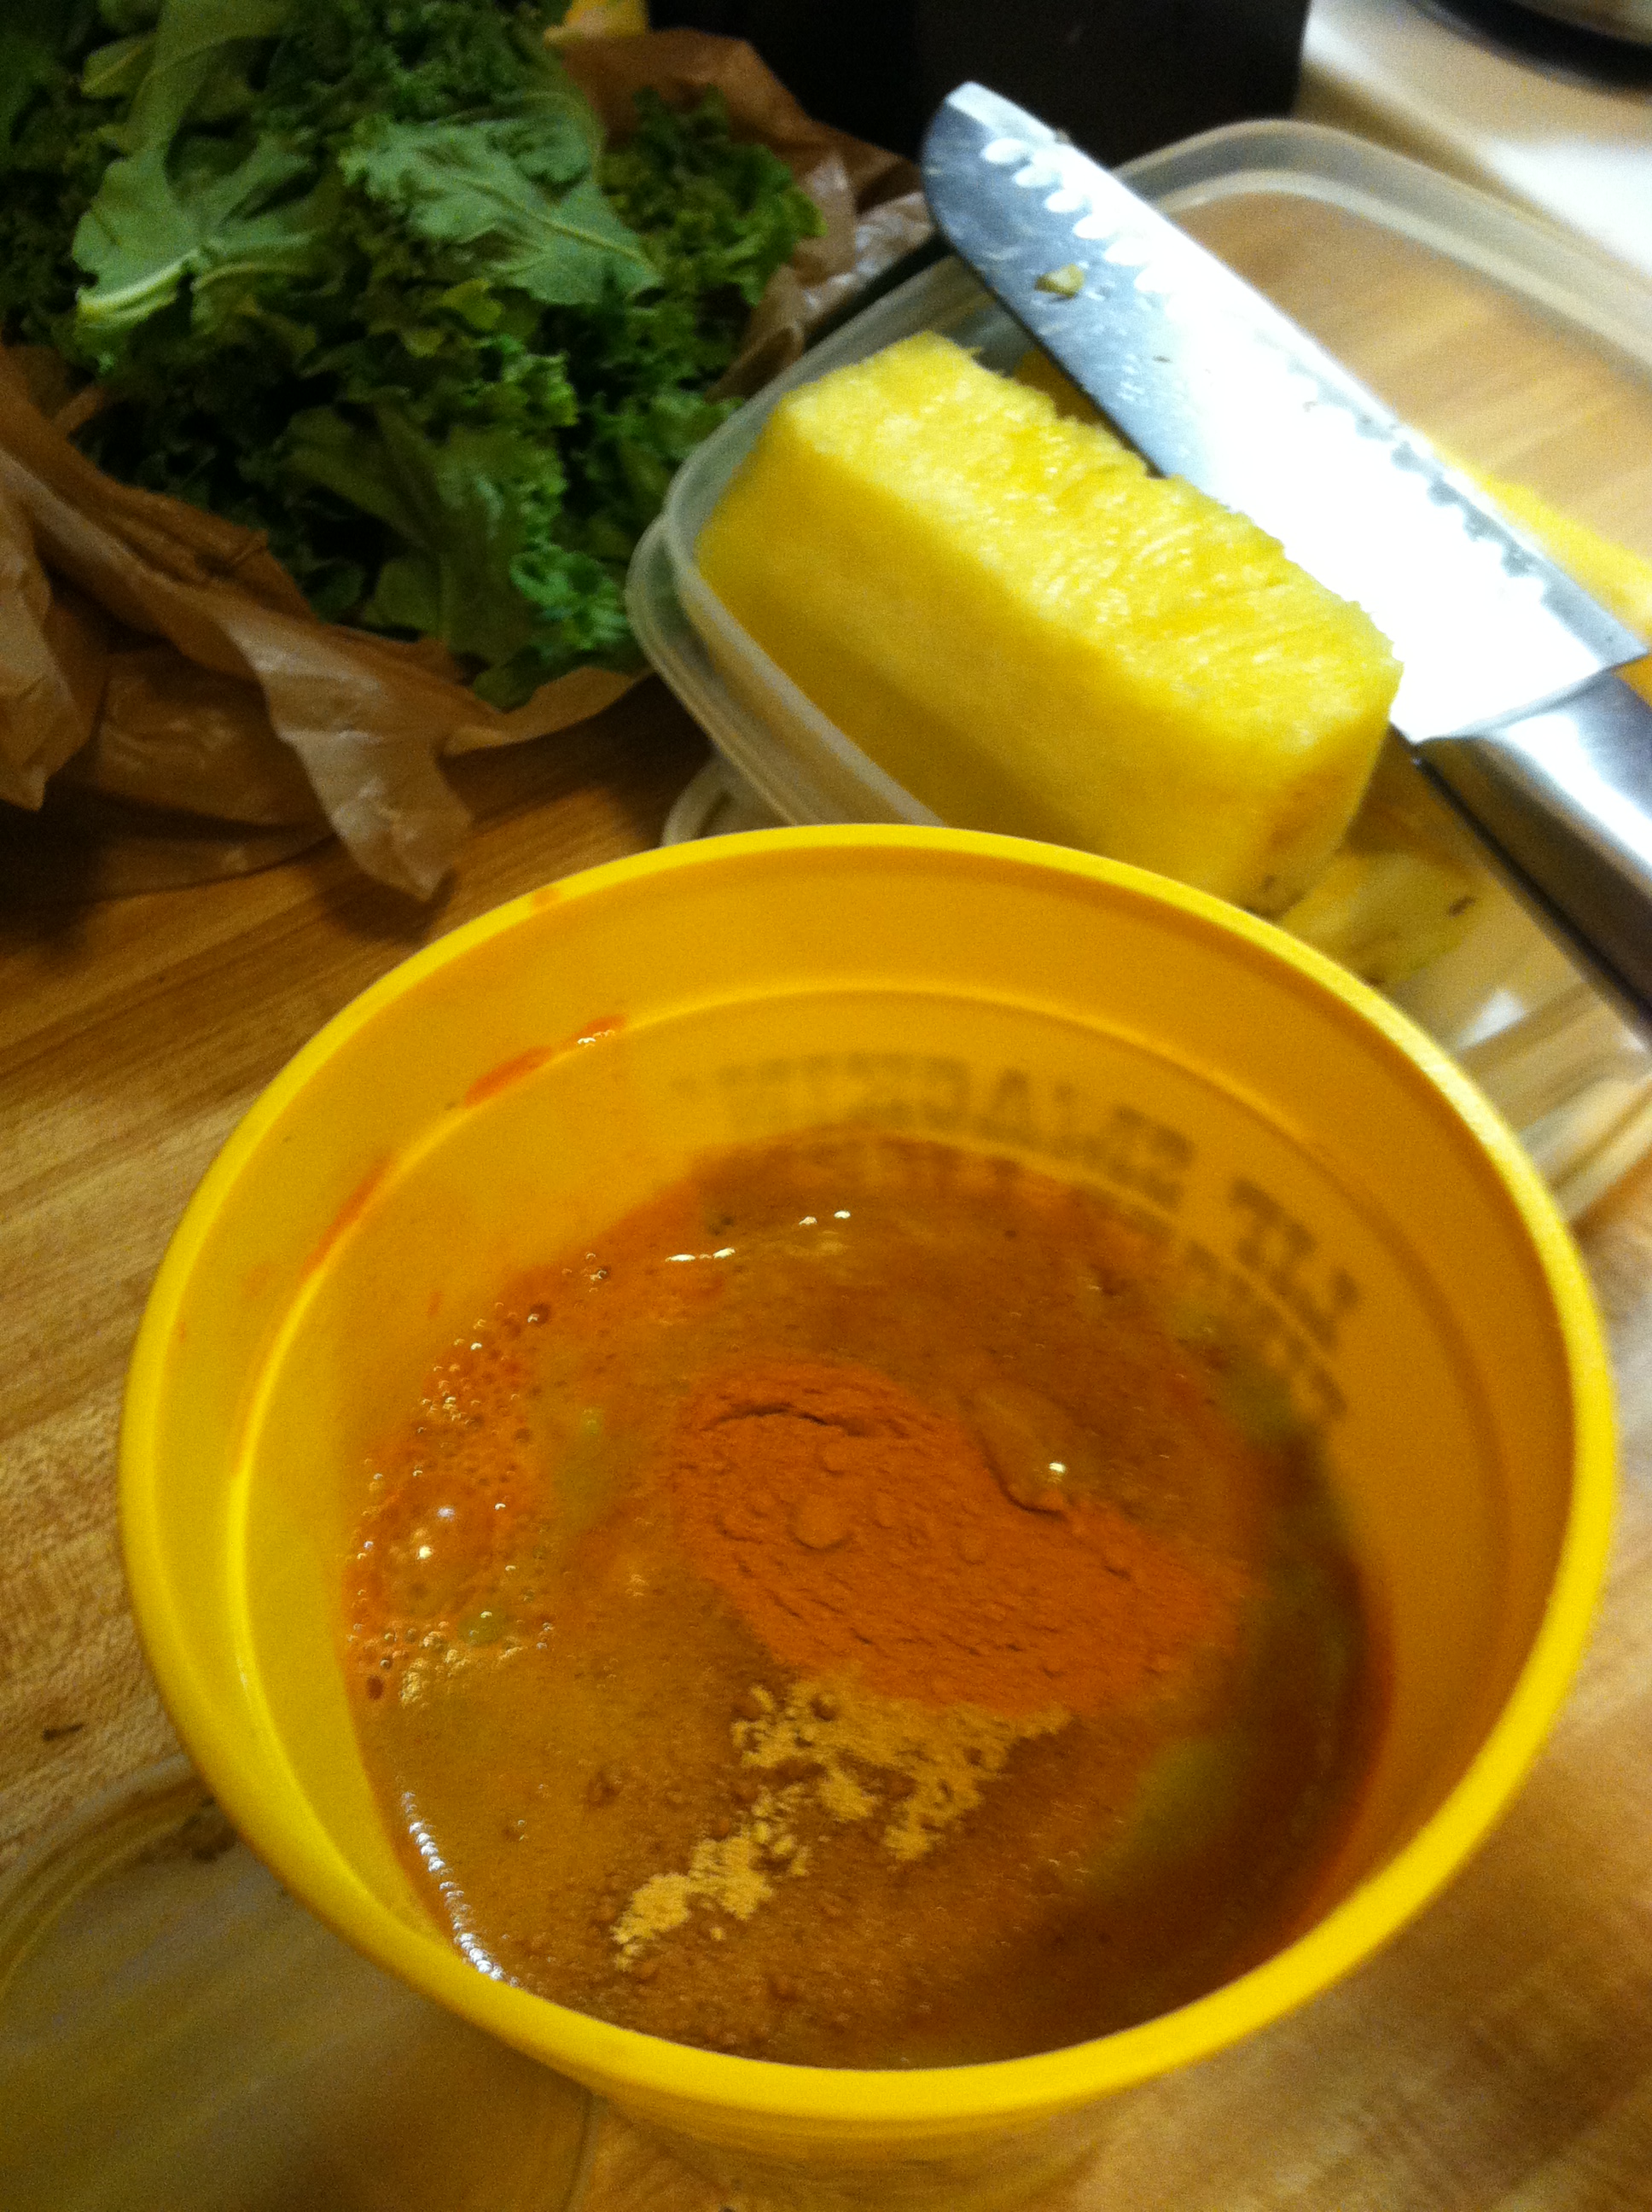
Step 1: Slice all your fruits and veg into a size your juicer can handle. Juice them all, alternating soft (greens) and harder (carrot, apple) pieces.

IMG_7525

Step 2: Add the ginger and turmeric, and stir well to mix. Fresh juices will often settle, and the micronutrients begin breaking down almost immediately, so try to enjoy within 20 minutes of juicing.


Recipe Review: Chia Fresca from Oh She Glows


As I research and educate myself about food and nutrition, I believe more deeply that plant-based foods have such phenomenal health-promoting powers, and want to incorporate more of them into my own life and cooking. I am constantly on the hunt for more ideas, tips, advice, recipes, and knowledge.

I have recently become aware of this fabulous vegan/veg-centered blog from Angela at Oh She Glows. Her story is inspiring, and her recipes even more so! With so much abundance of plant-based, fabulous foods, I will never again be without dinner ideas! Check it out yourself and you’ll see what I mean. My new foodie heroine.

So in browsing her many recipes, I came across this odd bird: The Chia Fresca. A popular drink in South America for centuries, it consists of water (or coconut water), chia seeds, lemon or lime juice, and usually sweetener.

For those who do not know, when chia seeds are soaked in water they produce a gel-like coating, much like tomato seeds. Chia seeds are so intensely hydrophilic (hydro = “water” philic = “loving”) that they can absorb up to NINE times the weight of the seed in liquid. That is just plain crazy awesome!

photo 2

Chia seeds also have two types of fiber, soluble and insoluble, which will help keep your whole digestive tract healthy. Their gel takes a long time for the digestive system to extract the water from, so it hydrates your whole system along the way. For more fun facts check out MySeeds.

Chia seeds are also a great source of Omega-3 fatty acids, so if you are vegetarian or vegan and cannot eat fish, this is a great option. Chia seeds are easily incorporated into any beverage, and can be used in cooking as well as a substitute for eggs or pectin in jellies and jams. That may be my next project.

Anywho, back on track.

The Oh She Glows chia fresca recipe called for 1 1/2 tbsp chia in 2 cups water, plus 1/2 a lemon or lime and sweetener to taste.

I tried exactly that, without the sweetener.

IMG_7458

No sweetener partially because I didn’t want to add sugar, and also because I like lemony water so I figured it is just that with a little chewy bonus.

IMG_7460

The chia seeds take 10 minutes or so to become fully gel-like. At first they sit on top of the water like a little film. Just keep stirring and be patient.

IMG_7462

I thought this was a little bit too much chia for me, and it clumped together a bit. So I experimented a little (of course). There are tons of other recipes and ideas of what you could add to the water. Cucumber was pretty tasty, and would have been even better if I had fresh mint leaves.

But I think my favorite was when I added lime juice and a little orange juice, and a smaller amount of seeds. The amended recipe is below.

Give chia a try, it is probably a love-or-hate kind of thing.

As the SO said when he saw it: “Are those bees?!”

photo 1

To his credit, he did try it. And he said he actually likes the bees. Success.

And then he went to “drink some bacon grease”. Life is all about the little victories ya know?


[amd-zlrecipe-recipe:3]


This post contains links to Amazon Affiliate products.

Homemade Energy Drink Mix


Want to start 2015 with plenty of energy?!

As someone dating a programmer, I know that Mountain Dew can be considered a food group. It seems we have an insomnia problem in America, with a new energy drink on the market every day.

Red Bull, Monster, Rock Star, Full Throttle, Amp, Boost.

Sure they give you a huge jolt of energy to get through the next final exam study session, afternoon slump, or laundry marathon. The problem is the added acids, chemicals, preservatives, and excessive amounts of sugar.

If you are trying to slowly rid your life of these things, but still love the energy rush, you can try making your own energy mix. I decided to take matters into my own hands and mix up something that would taste great and also serve the purpose of an energy drink without all the added extras.

You will need to invest in some bulk ingredients to make your own mix, but once you have them you can make your own energy drink mix for pennies per serving. That beats $1 or more per can by a long shot!

A really great site I’ve found for bulk powders, vitamins, and supplements is Bridge City Bulk. They have all types of vitamins, supplements, caffeine, match powder, and tons of organic teas I’m dying to try! Wherever you get yours from, make sure to carefully measure it and try to use a responsibly sourced dealer.

***A Very Important Disclaimer***
Caffeine is very dangerous in powdered form. You would need to drink hundreds of espressos to overdose naturally, but in powdered form it is far too easy to ingest way more than is safe. Generally it is recommended that you don’t consume more than 400 mg per day.

If you continue with this recipe, be very careful with measurements so that you are sure to not overdose, and do not drink more than 2 per day, or a total of 400 mg.

Ingredients:

IMG_5521

Step 1: Measure your ingredients. I measured out 3 grams of caffeine, and calculated the percent daily value of B vitamins in the final serving to determine how many vitamins to crush up and use. This will change depending on what type of vitamins and which source of caffeine you use. Be very careful when calculating measurements.

IMG_5522

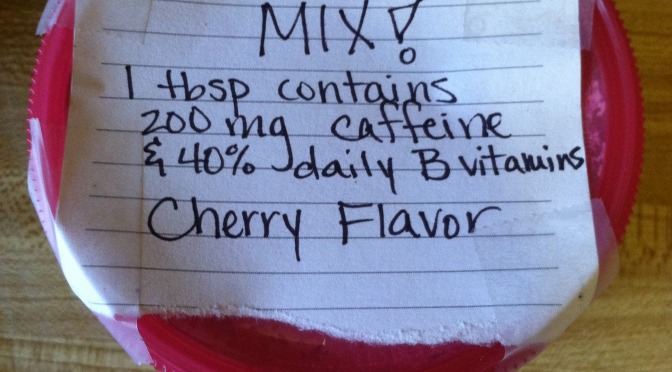
This recipe was designed to make 15 servings, so I then added enough drink mix to the vitamins & caffeine to equal 15 tablespoons. Thus the three grams of caffeine becomes 200 mg per serving. Add 1 tbsp of the mix to 16 oz of water and mix well.

You can customize this drink mix to whatever flavor you like, but because caffeine is extremely bitter alone, I wouldn’t recommend making this without some sort of flavored mix. Again, be sure to calculate and measure your ingredients and figure out your final serving sizes before trying this at home.


This post contains affiliate links. Buying products through these links does not change the price you pay, but a small portion of the profits helps maintain this blog. Thank you.

Vanilla White Russians


In anticipation of the upcoming New Year, I wanted to share this recipe for a twist on the classic White Russian.

“Common knowledge” dictates that one not ever drink milk with alcoholic beverages. That extends to pretty much any dairy product. I believe this is due to fear of it curdling in one’s stomach? Or perhaps the extra unpleasantness should it find its way back up.

Whatever the reason, the White Russian looks at that rule and laughs. Milk and alcohol dance a lively jig together on your taste buds, with sugar and coffee joining in. I highly recommend this uber-simple yet totally classy beverage for your bell-dropping soiree!

Made infamous by “the Dude” in the movie “The Big Lebowski“, this three-ingredient hard-hitting cocktail is like dessert in a glass.  Classically only three ingredients: vodka, Khalua, and heavy cream. Variations include different types of liquor, addition of chocolate, or as the Dude uses, powdered creamer (not recommending that route).

This particular variation I made because I happened to have Patron cafe rather than Khalua. Since Khalua is a coffee-flavored rum-based liquor, I figured a different coffee-flavored liquor would work just as well! And I do love the smooth taste of Patron, so I figured why not go for it?

And I also do not buy heavy cream, but did have some french vanilla coffee creamer. What a perfect cherry on top! (Speaking of, I bet something cherry, like amaretto or Disaronno, would also make a phenomenal addition!)

Ingredients:

  • 1/2 cup creamer
  • 1 oz Patron cafe
  • 1 oz vodka
  • 3-5 ice cubes

IMG_3908

Step 1: Fill a glass with a few ice cubes.

IMG_3909

Step 2: Pour about half a cup of creamer (or milk, or heavy cream) into the glass.

IMG_3910

Step 3: Add in one shot each of the Patron cafe and vodka.

IMG_3911

Stir it and and sip! This lightly coffee, hint of vanilla, just a tingle of liquor beverage goes down smooth. Watch yourself, just like real Russians these can be dangerous!


If you do choose to indulge in adult beverages, please have a designated driver and get home safely. Happy 2015 everyone!

Recipe Review: Food Babe’s “Ravishing Red Juice”


For those of you who don’t know, the “Food Babe” aka Vani Hari, is a food activist, passionate foodie and educator, and creator of fabulous health-promoting recipes. Any questions you have about your food, or questions you didn’t even know you should have asked, check her out.

You may know that I have a juicer, and am trying to incorporate more fresh juice into my diet, if only as an easy way to get more veggie goodness. I love me some vitamins and phytonutrients! So one day I was reading through some of Food Babe’s writings, and found her juicing advice and recipes. There was one in particular that intrigued me: The Ravishing Red Juice.

Getting its ravishing red color mainly from beets, this juice has blood-cleansing capabilities, immune-boosting ginger, and hair/skin/nail magic from carrots. Toss in some cooling cucumber and power greens, this baby is the complete package! And for those who don’t like juices because of the bitterness, SUGAR is made from BEETS! So yeah, this juice basically has all the ingredients to totally rock.

I altered Vani’s recipe slightly by throwing in half a lemon because I had a bag and I love citrus in everything, and leaving out the apple since I had none of those and the beet sweetened it enough for me. If you want your juice even more palatable throw in the apple, sure. Other than that, let the good times roll!

IMG_6342

Ingredients:
  • 2 thick carrots
  • 1 big red beet
  • 2 stalks celery
  • 1 cucumber
  • 2 inches of fresh ginger root
  • 3 full kale leaves
  • Handful of parsley

IMG_6344

Step 1: Wash all your veggies well and shake off excess water. Cut up the veggies, and get your juicer and two glasses ready.

IMG_6345

There are two ways to do this. You can either juice everything into one big cup then split it up (or drink a mega-juice!) or you can split up all the ingredients into two even piles.

IMG_6348

Step 2: Alternating between hard ingredients (like carrots, cucumber, lemon) and softer ingredients (kale, parsley), juice all your veggies. The beets give up this glorious, deep magenta-red juice that gives the drink its name.

IMG_6350

Step 3: Mix your drink to ensure no pulpy chunks, and enjoy! The slight tang of ginger and lemon effectively erases any bitterness from the palate. The beet juice is delightfully sweet, but not overpowering. And if you want it overly sweet, like I said add in some apples or even berries.


To health, wealth, and vitality.

<3 BE


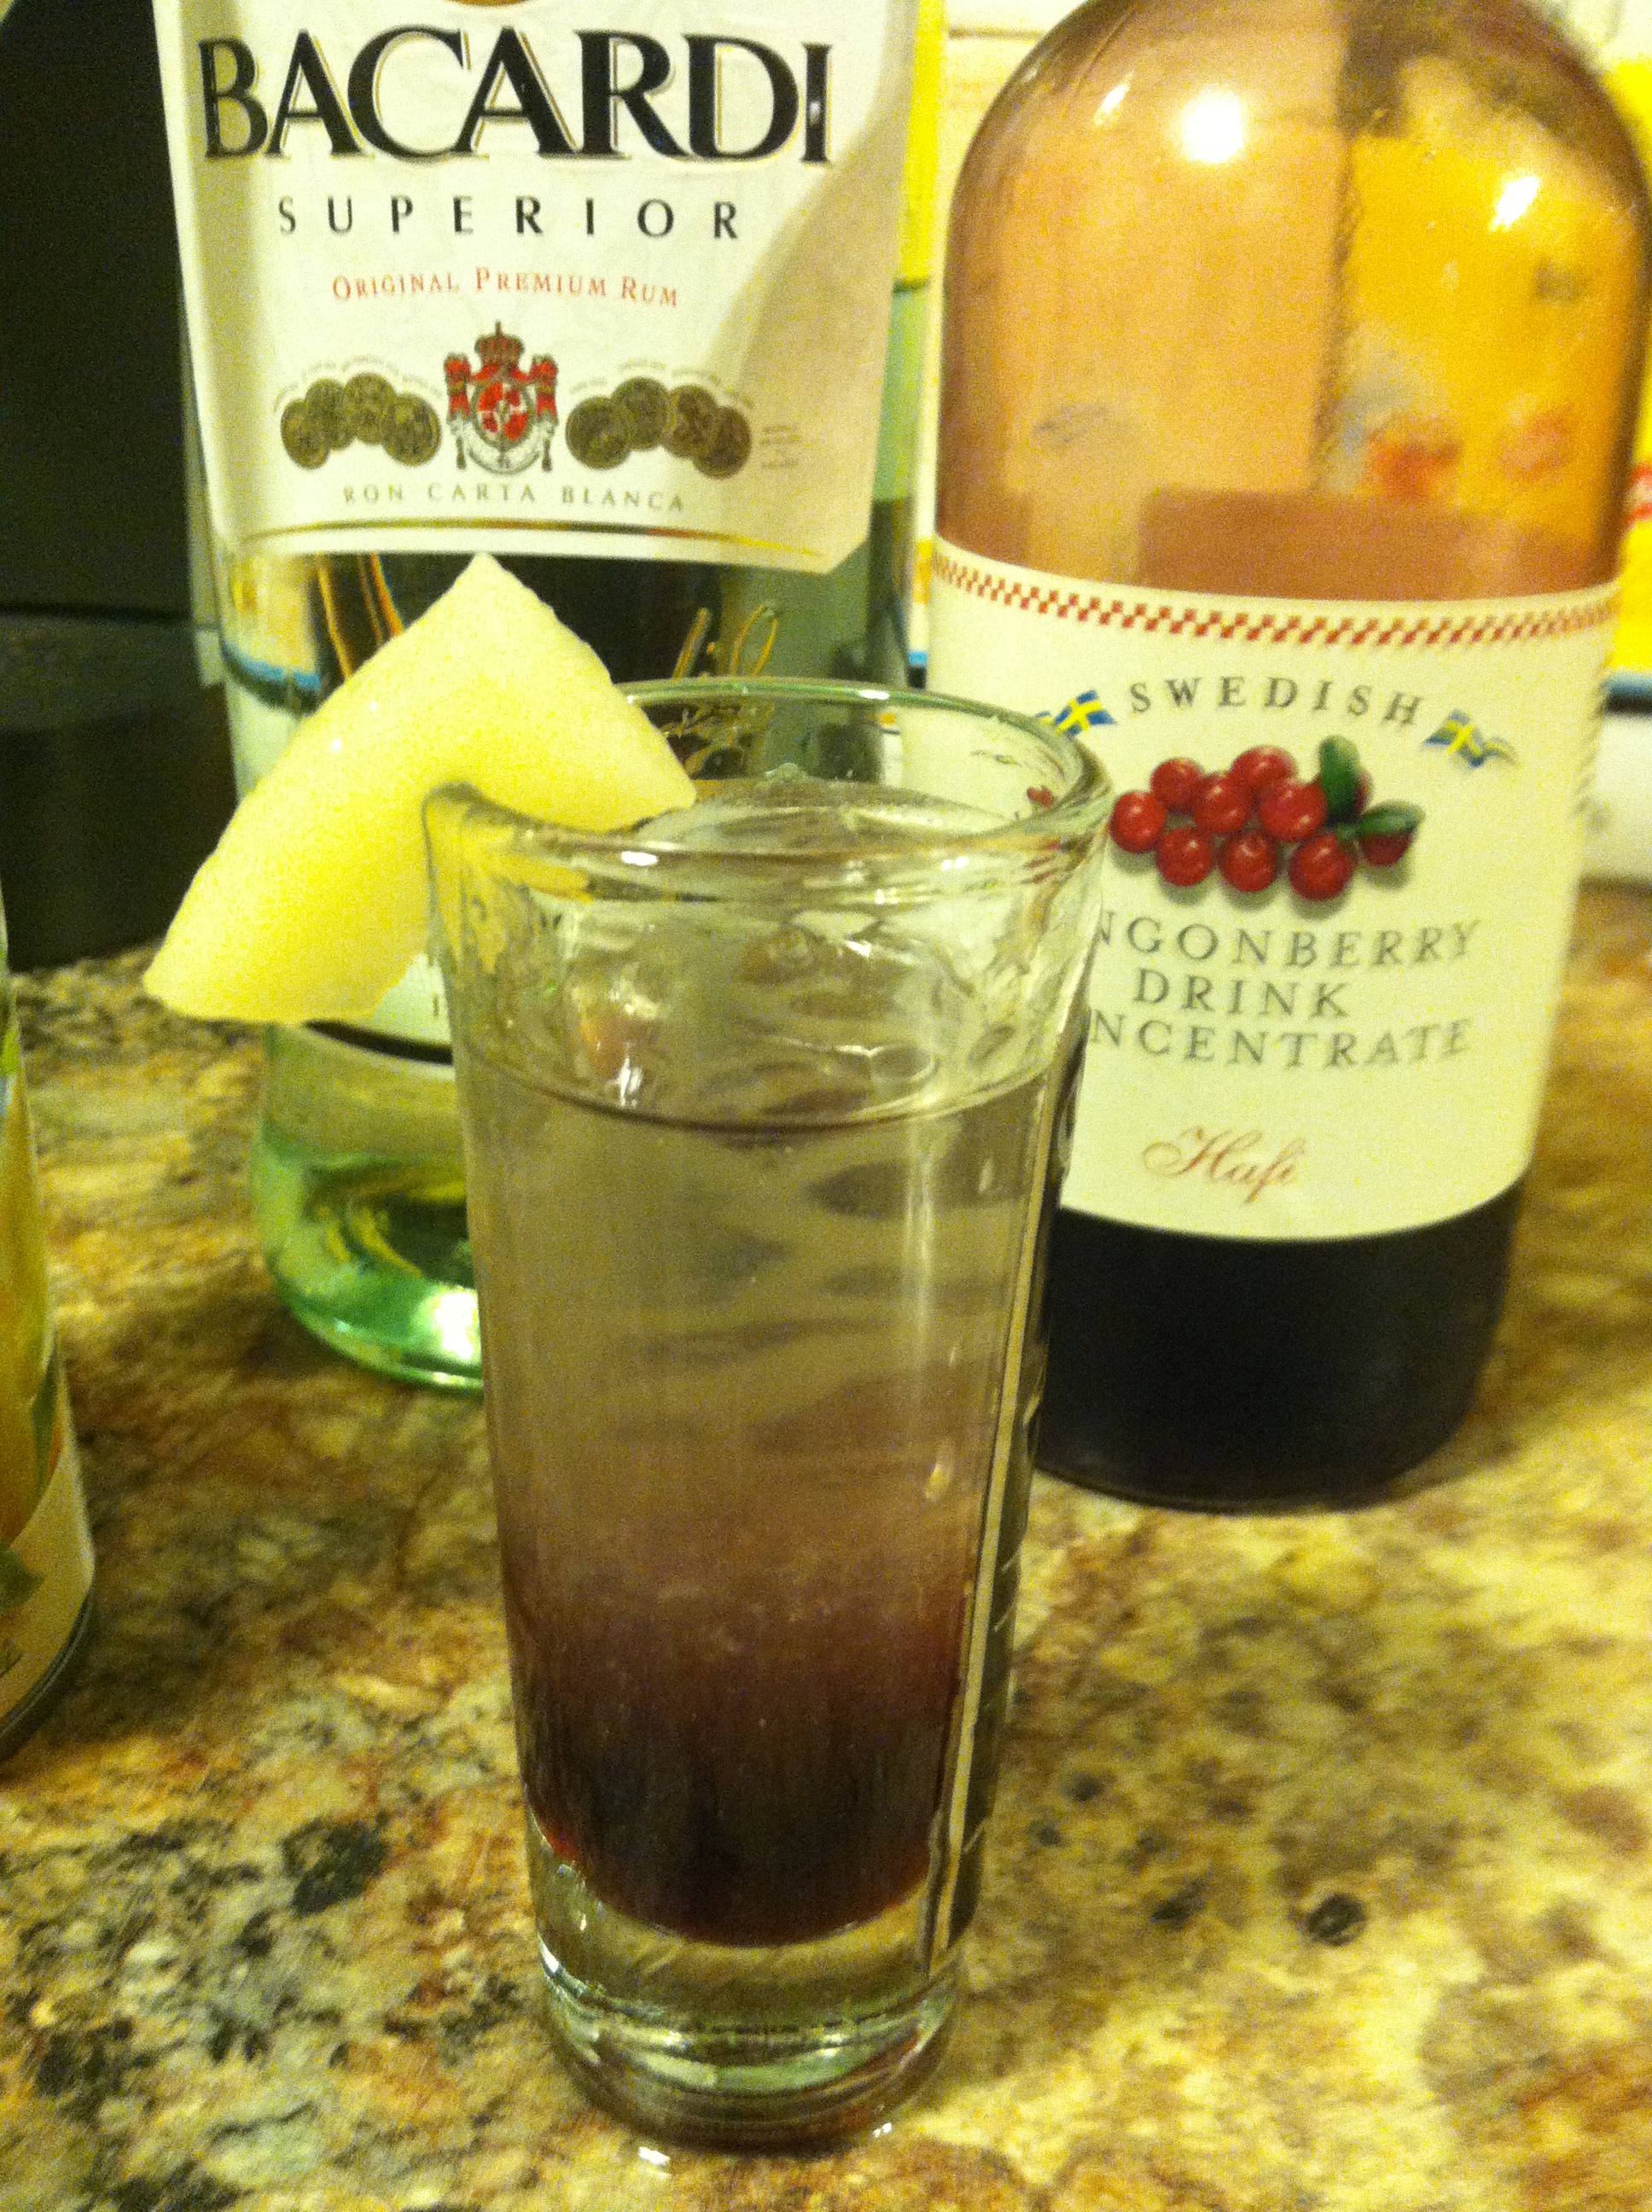
Lingonberry-Pear Shots


This is something that sounds exotic, but if you live anywhere near an IKEA you can obtain delicious lingonberry extract for about $5. I bet you could find it online or at a local grocery store too, if you look. Or substitute in whatever berry you enjoy instead. Apple, raspberry, pumpkin, cherry, blueberry…

I recommend something red, because the red juice and pear layered is very festive. This would be adorable at a holiday party or get-together.

Ingredients:

  • 1/2 oz lingonberry extract
  • 1/2 oz rum
  • 2 tbsp pear juice
  • Small piece of pear

IMG_4538

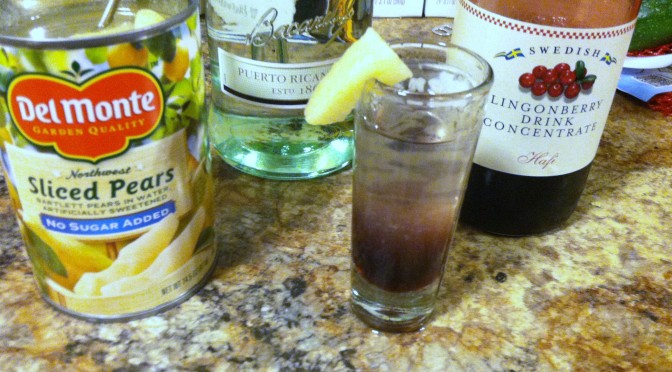
Step 1: Pour in the juice concentrate. This should be the heaviest, so if you pour the other layers carefully they shouldn’t mix.

IMG_4539

Step 2: Splash in 2 tbsp pear juice. I opened a can of pears and used the juice in there, plus the fruit as garnish.

IMG_4540

Step 3: Carefully pour on the rum, cut a slit in the pear and wedge it onto the glass.

And there you have it! Totally adorable lingonberry-pear shooters. You could also make this into a full-out beverage by using 1-2 cups sparkling flavored water and adding rum, berry, and pear juice.

Cranberry Wassail


As the weather cools off, we crave warm hearty meals and hot beverages to keep warm and for comfort. Wassail is a traditional holiday drink of mulled cider, usually drunk as part of wassailing, an old English drinking ritual to bring about a bountiful apple harvest the next year.

While we no longer follow this tradition of singing and drinking in apple orchards (though it sounds pretty fun…) you can make your own low-key version of wassail at home any time. Traditional wassail is made with a base of wine or hard cider, or even brandy or sherry, to which you add spices like cinnamon, nutmeg, or ginger, and add apples or orange slices and simmer it for hours.

This version requires a microwave and five minutes.

Ingredients (per cup):

  • 1 tbsp wassail spices
    • (if you don’t have this, make your own by combining 1 tbsp cinnamon, 1 tbsp nutmeg, 1 tbsp ginger, and 1 tbsp cloves)
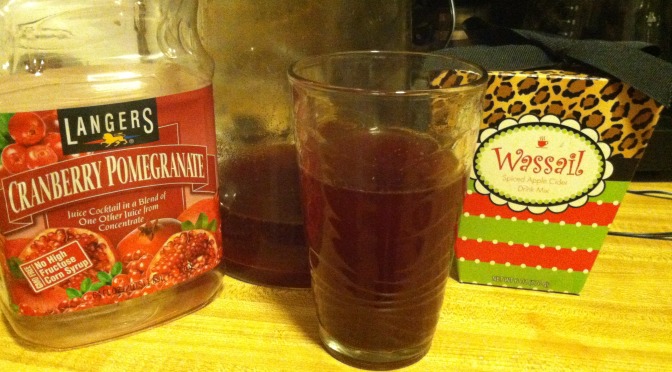
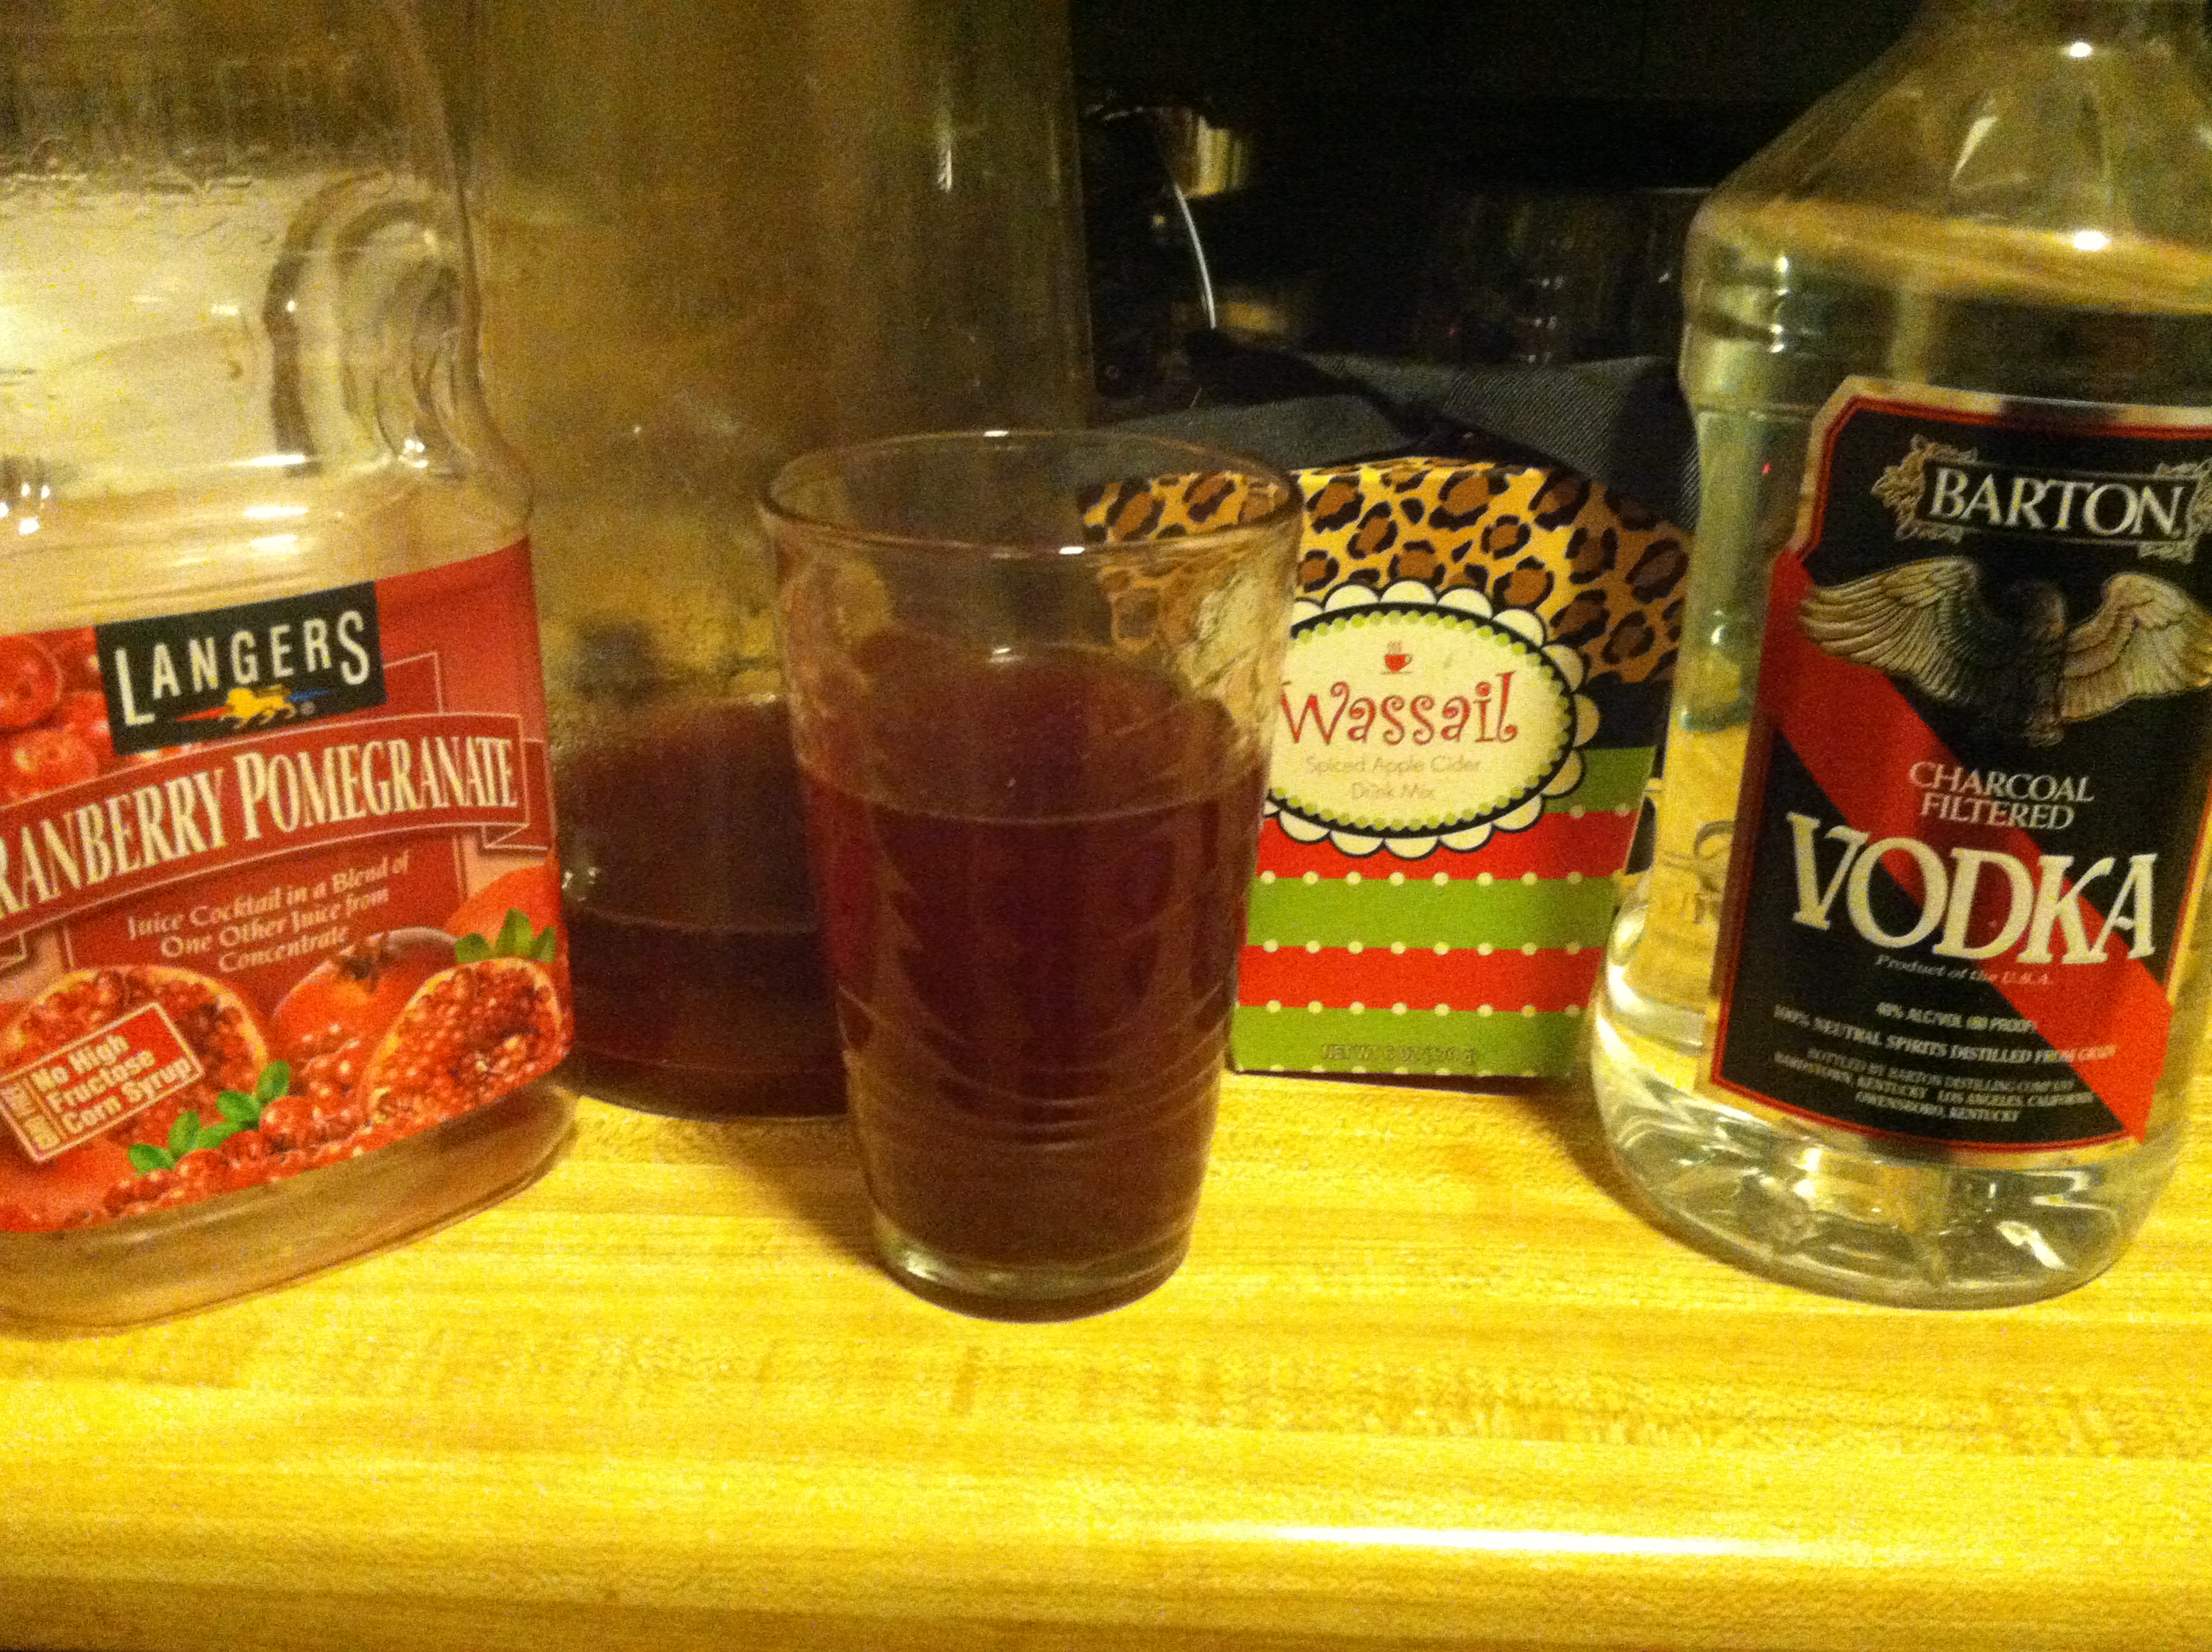
  • 1 1/2 cups any juice (I used cranberry pomegranate)

That’s it if you want it virgin, or add:

  • 1/2 cup rum, vodka, or brandy
  • or 1/2 cup red or white wine

IMG_5080

Step 1: Mix the spices into the juice, and microwave or heat on a stove until warm. Serve with a cinnamon stick stirrer to be fancy.

IMG_5081

Step 2: Optionally, add some red wine or hard liquor to really amp up the warming capability of the drink. A guaranteed holiday party pleaser.