Category Archives: Main Dishes

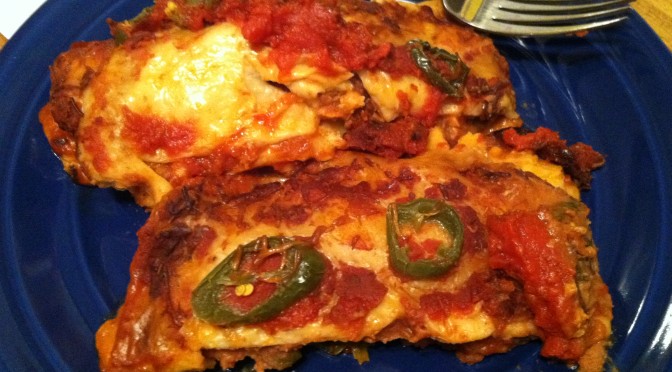
Crock Pot Chicken Enchiladas


A total workhorse in my kitchen, the humble Crock Pot (or slow cooker) is an absolute life-saver on weekdays when you just don’t have the time to cook, or to help prep ahead of time. There is something so satisfying about just tossing everything in the pot in the morning, then coming home after a long day to a house that smells like love.

(Food = Love, you see)

While the crock pot has certainly proven its worth time and time again with soups & stews like crock pot tortilla soup, chili, or red pozole with pork, and other favorites like apple sauce and cheddar broccoli rice, it is also awesome at making easy enchiladas!

IMG_8736

Enchiladas are a great one-pot meal, and can be made with any meat you like, or made vegetarian by using only beans, tofu, and/or cheese as the filling. This recipe adds a little spice to the meat mixture as well as using whole jalapenos for a kick. And I used regular old tomato sauce because I didn’t have any enchilada sauce.

So if you want to make enchiladas with no enchilada sauce, I got you.

Ingredients:

  • 12 10 inch tortillas (I used flour, but you can use corn too)
  • 1 boneless, skinless chicken breast, cooked & shredded
  • 1 can refried beans
  • about 1 cup salsa
  • 1/2 cup sliced jalapenos
  • about 1 cup shredded cheese

IMG_8729

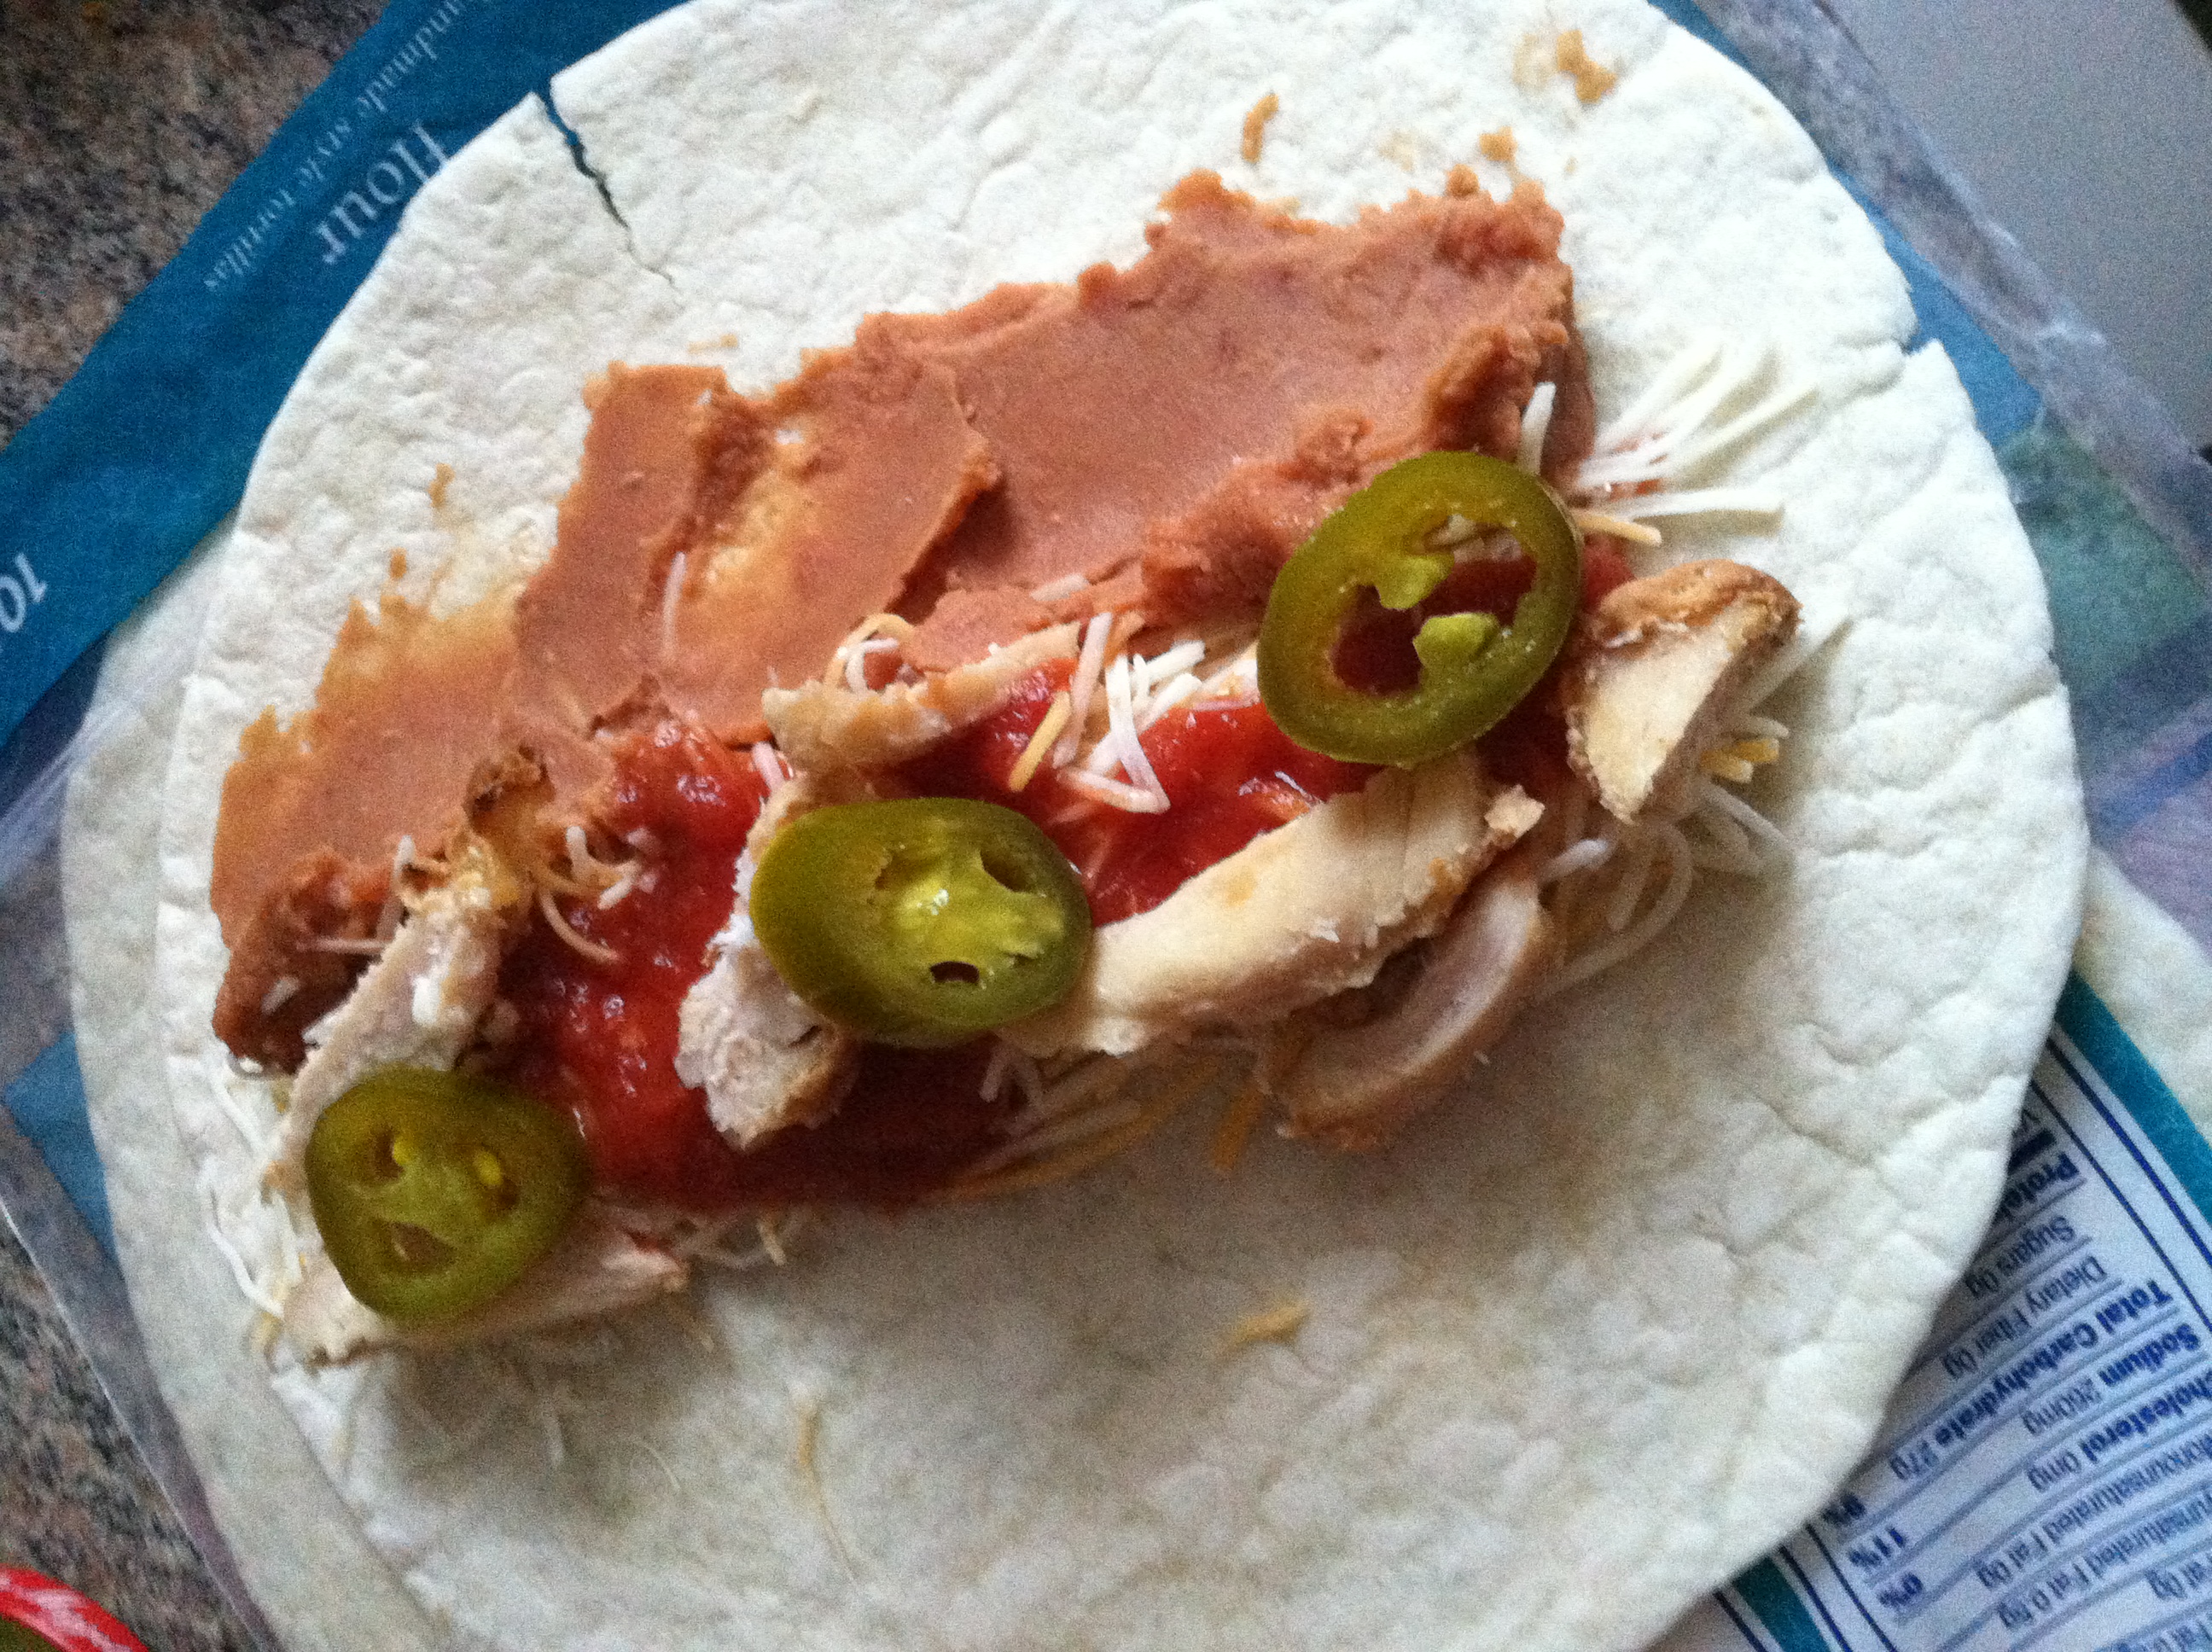
Step 1: Lay out your tortilla, and spread 1-2 tbsp of refried bean in the center. You can use regular canned beans of any kind as well.

IMG_8732

Step 2: Put a layer of shredded chicken on top of the beans, as well as some hot salsa, shredded cheese, and a few sliced jalapenos.

IMG_8733

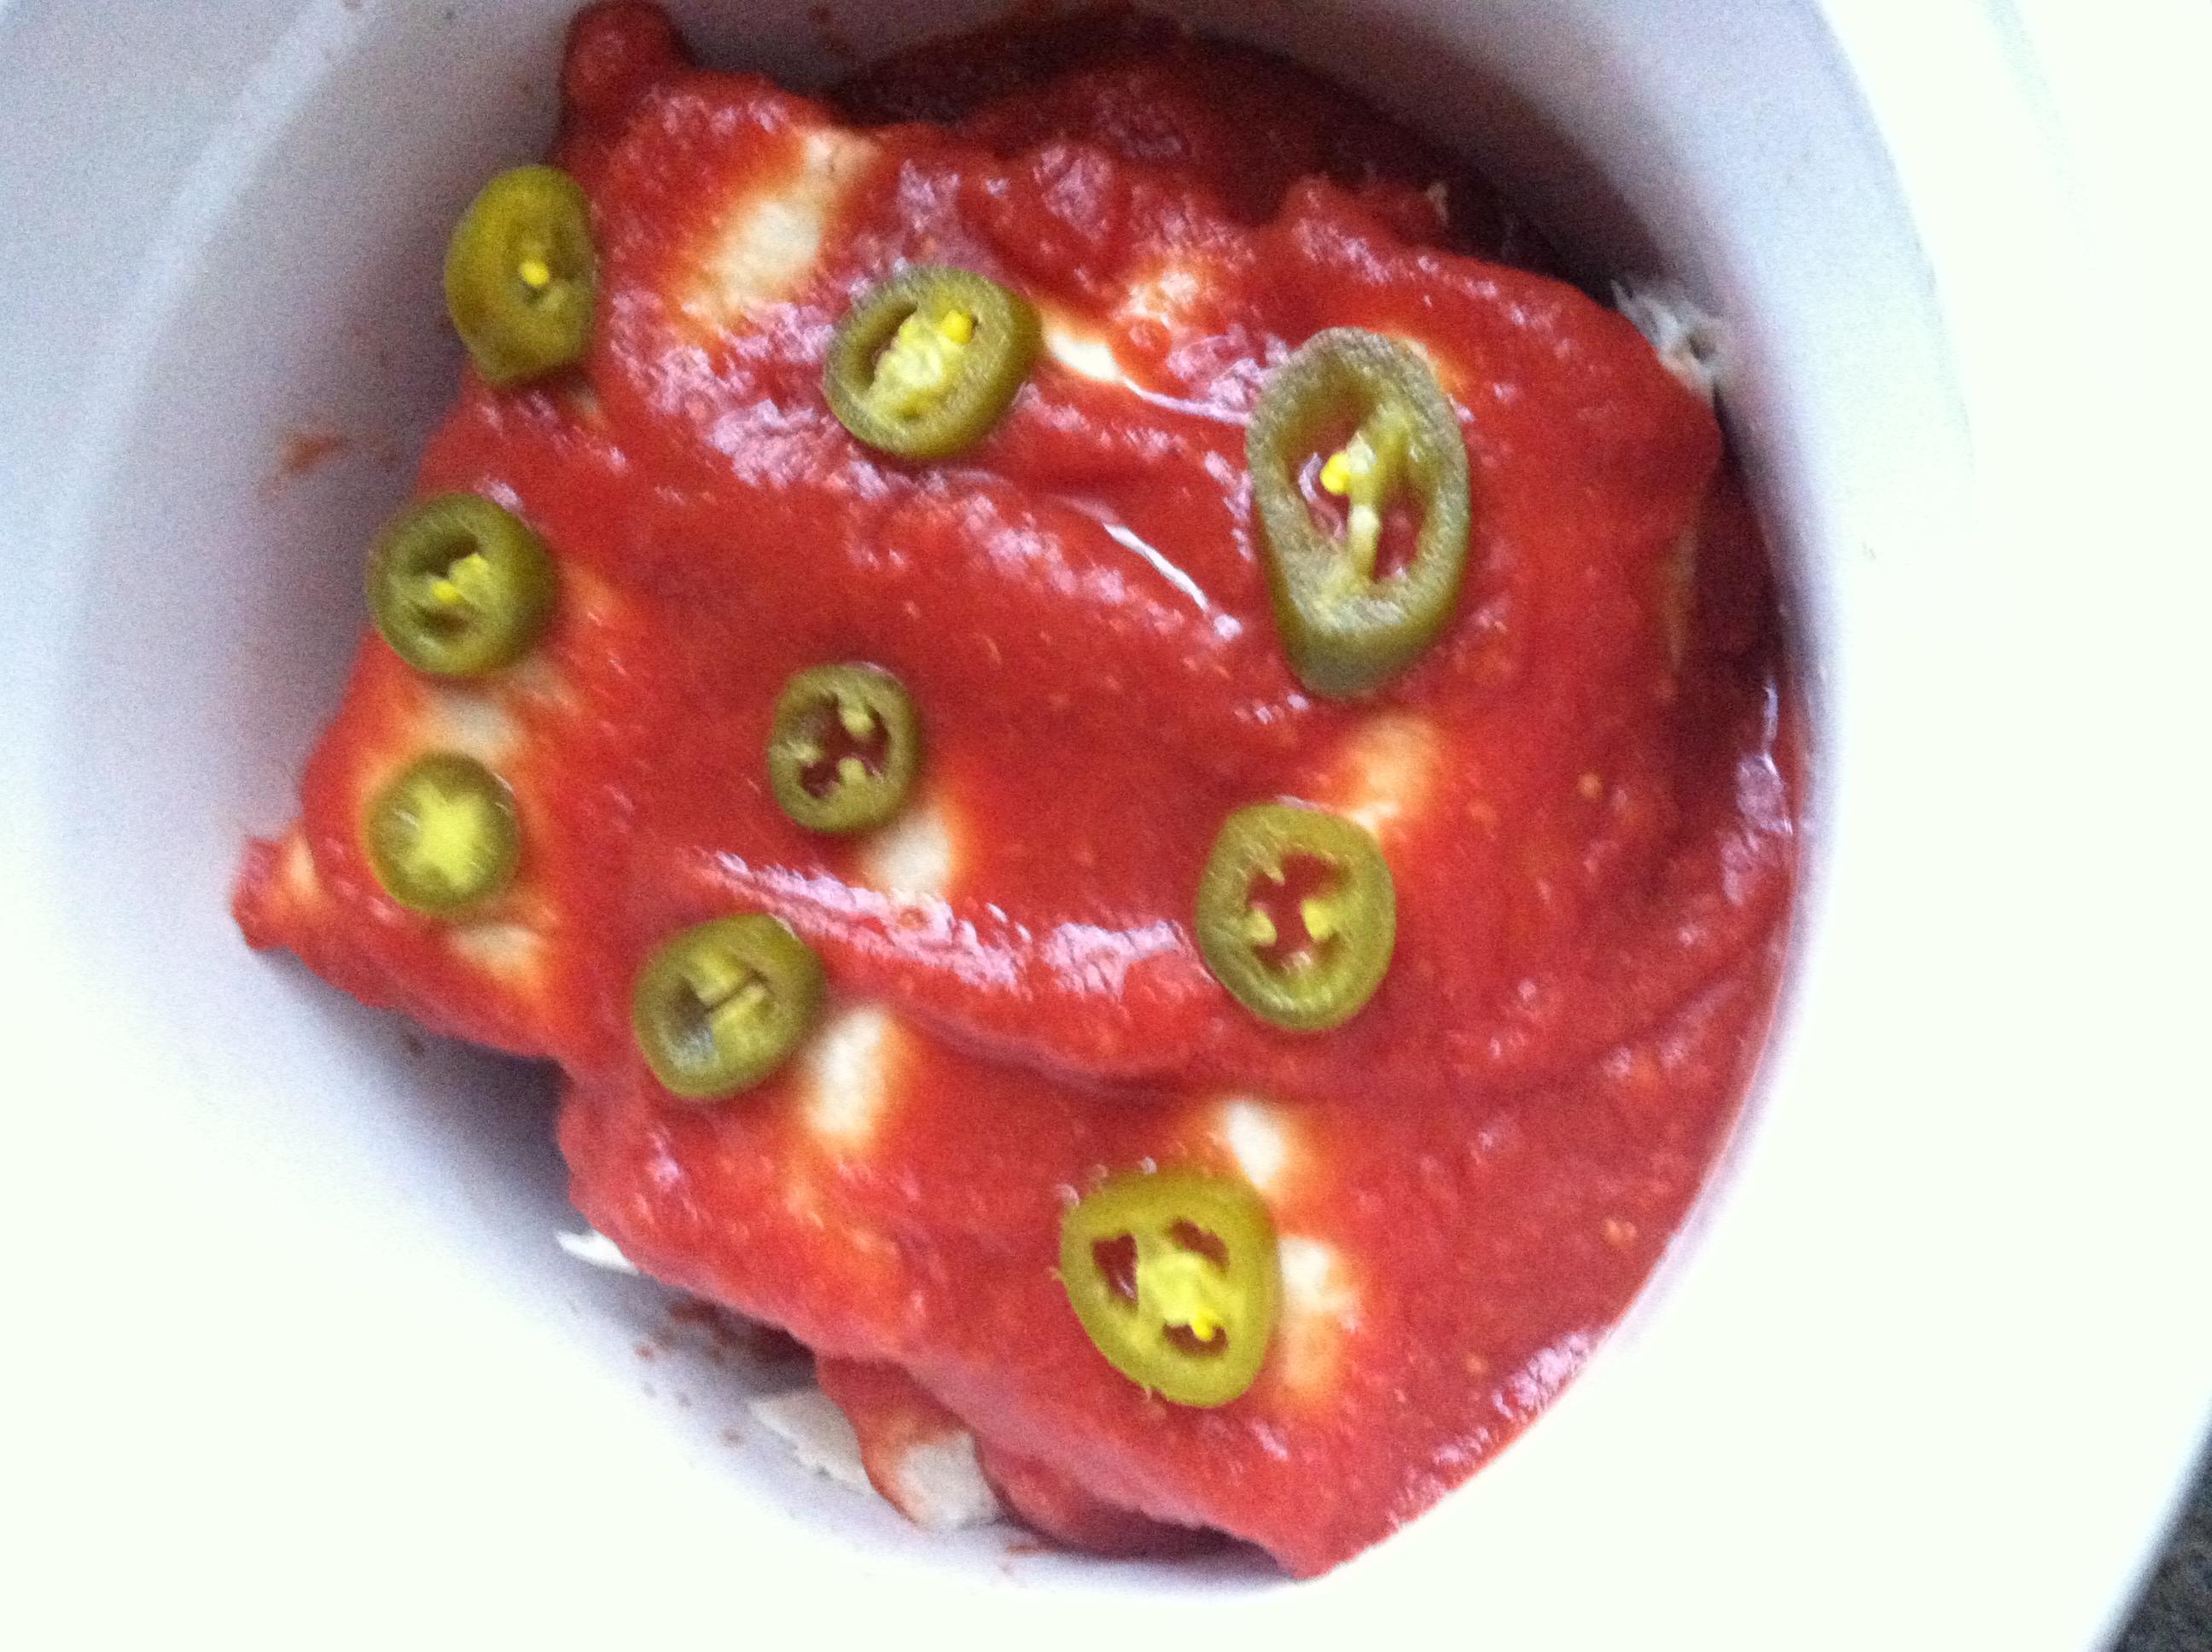
Step 3: Wrap the tortillas up like a burrito, and layer in a sprayed crock pot. Once you have a bottom layer of 2-3, pour on a few tbsp tomato sauce. Then layer on a few more. Repeat until you use up all the tortillas.

IMG_8734

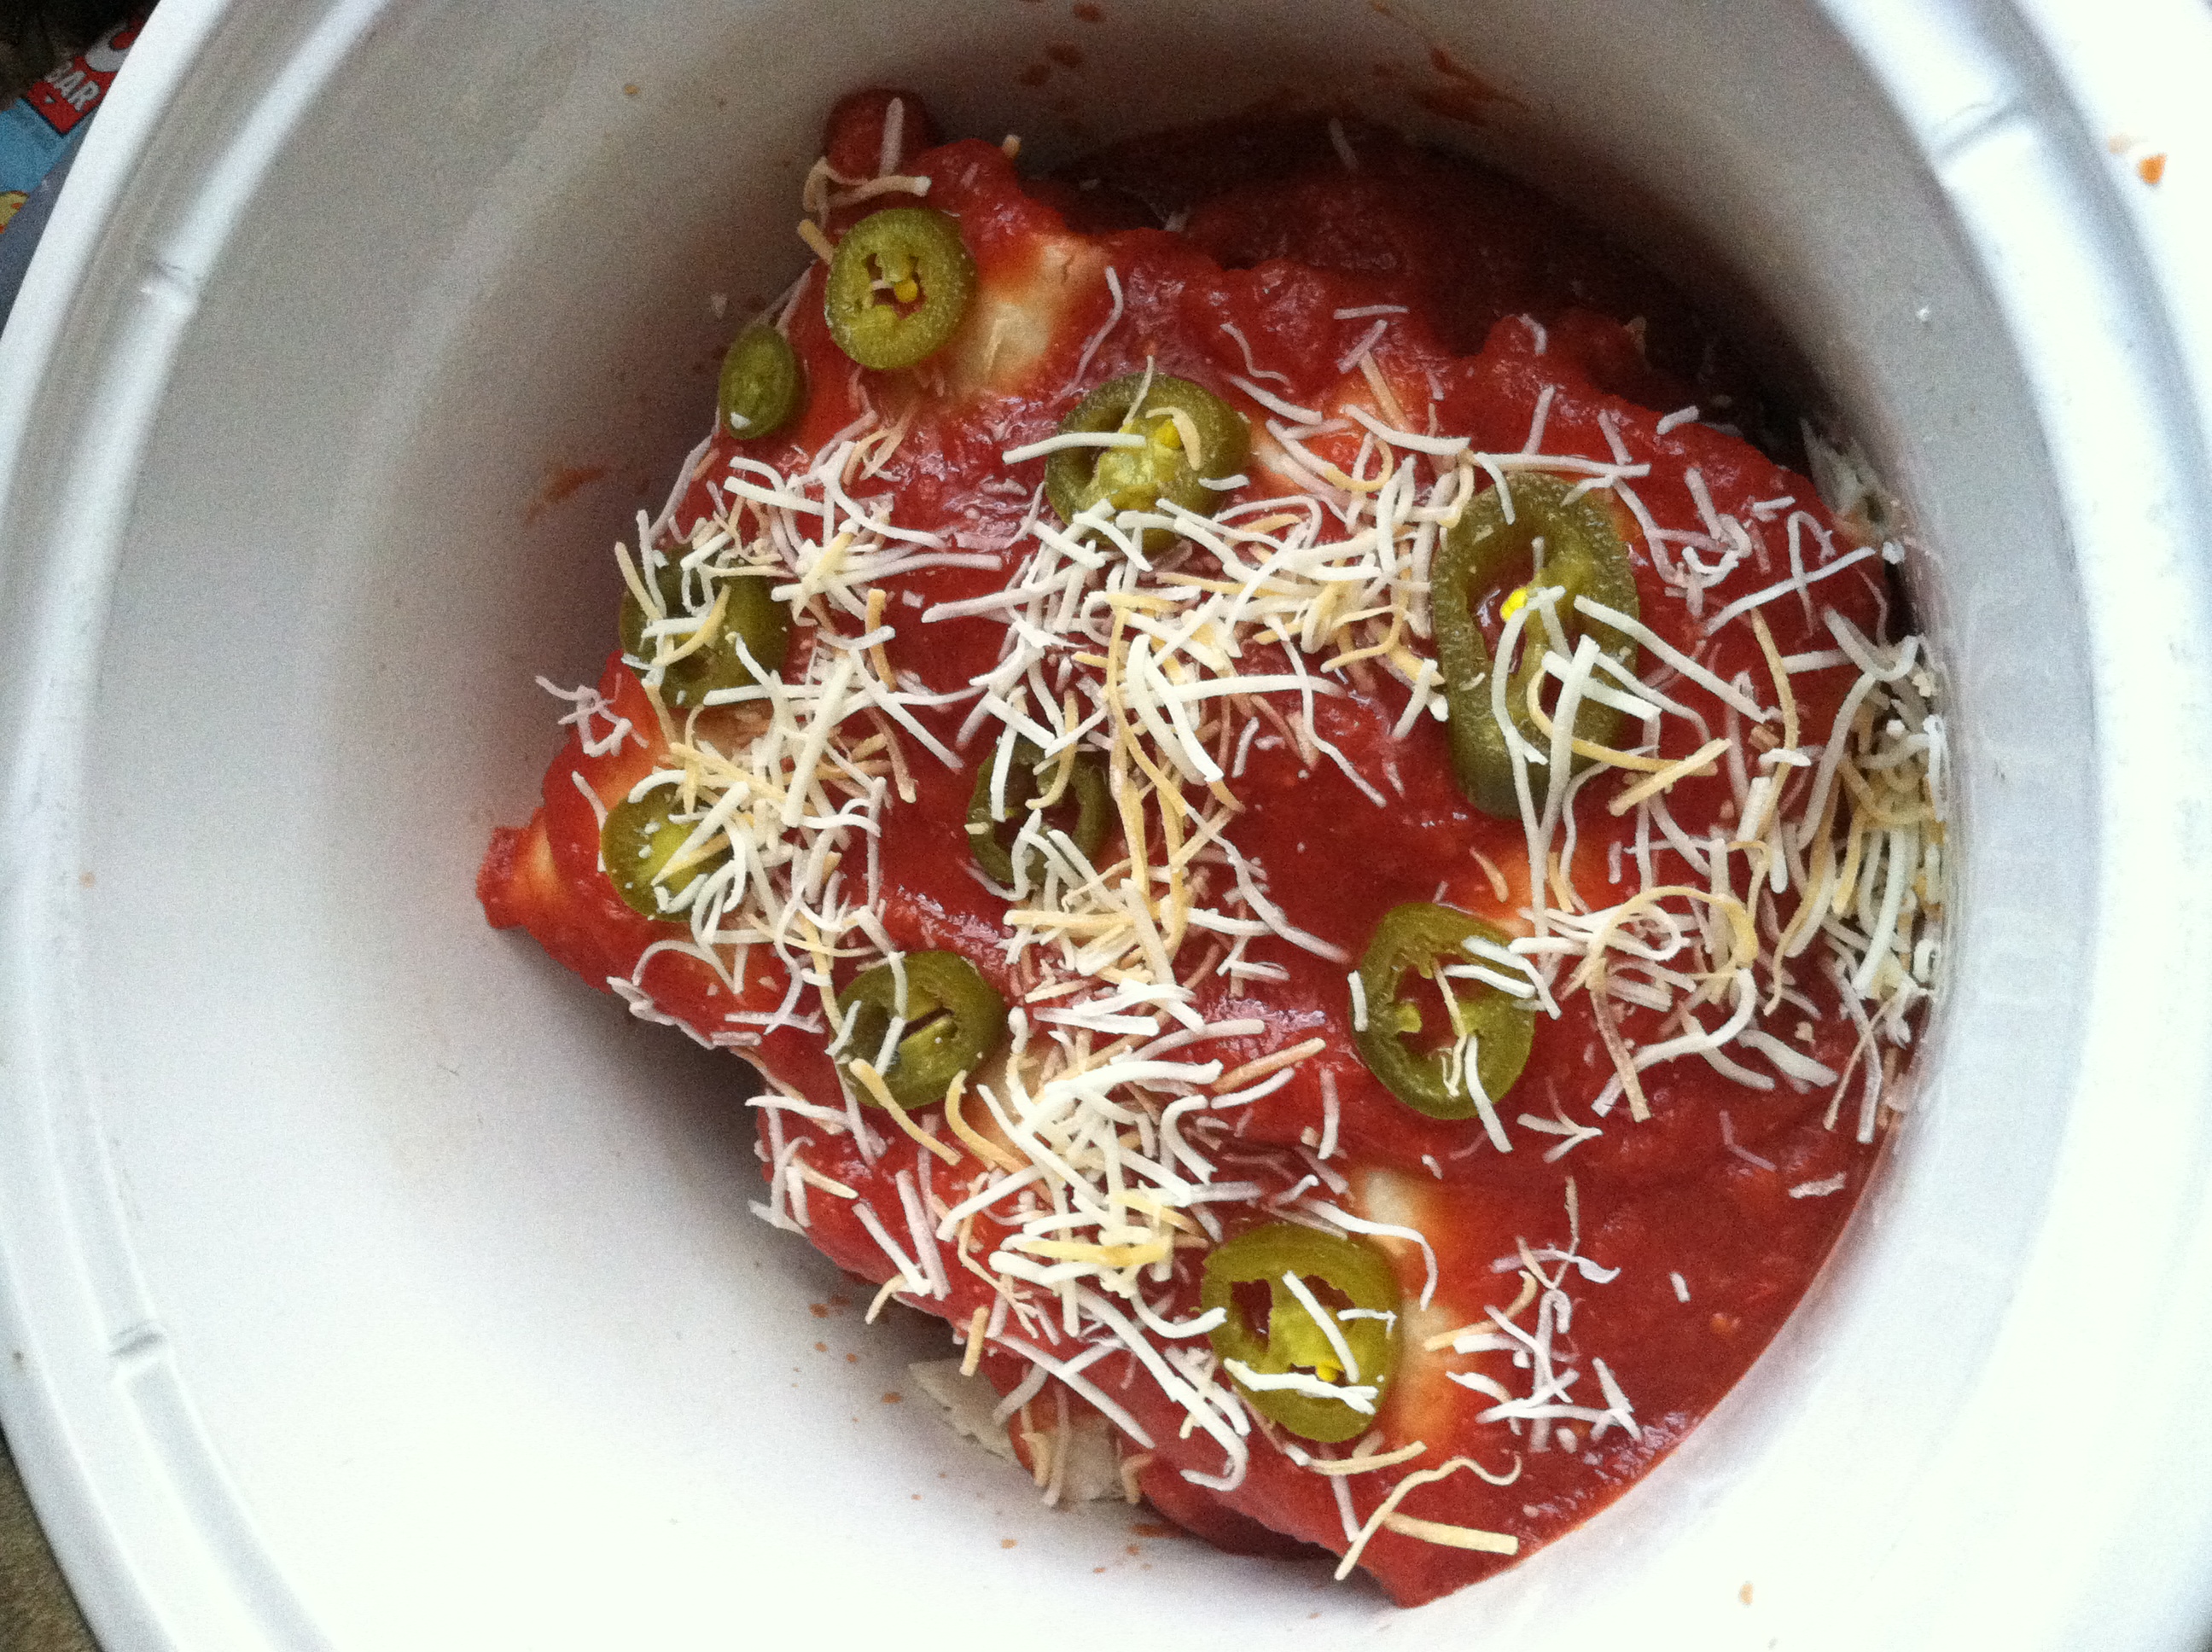
Step 4: Sprinkle the top layer with a little more cheese and some more jalapeno slices, then set the crock pot on low for 4-6 hours.

IMG_8735

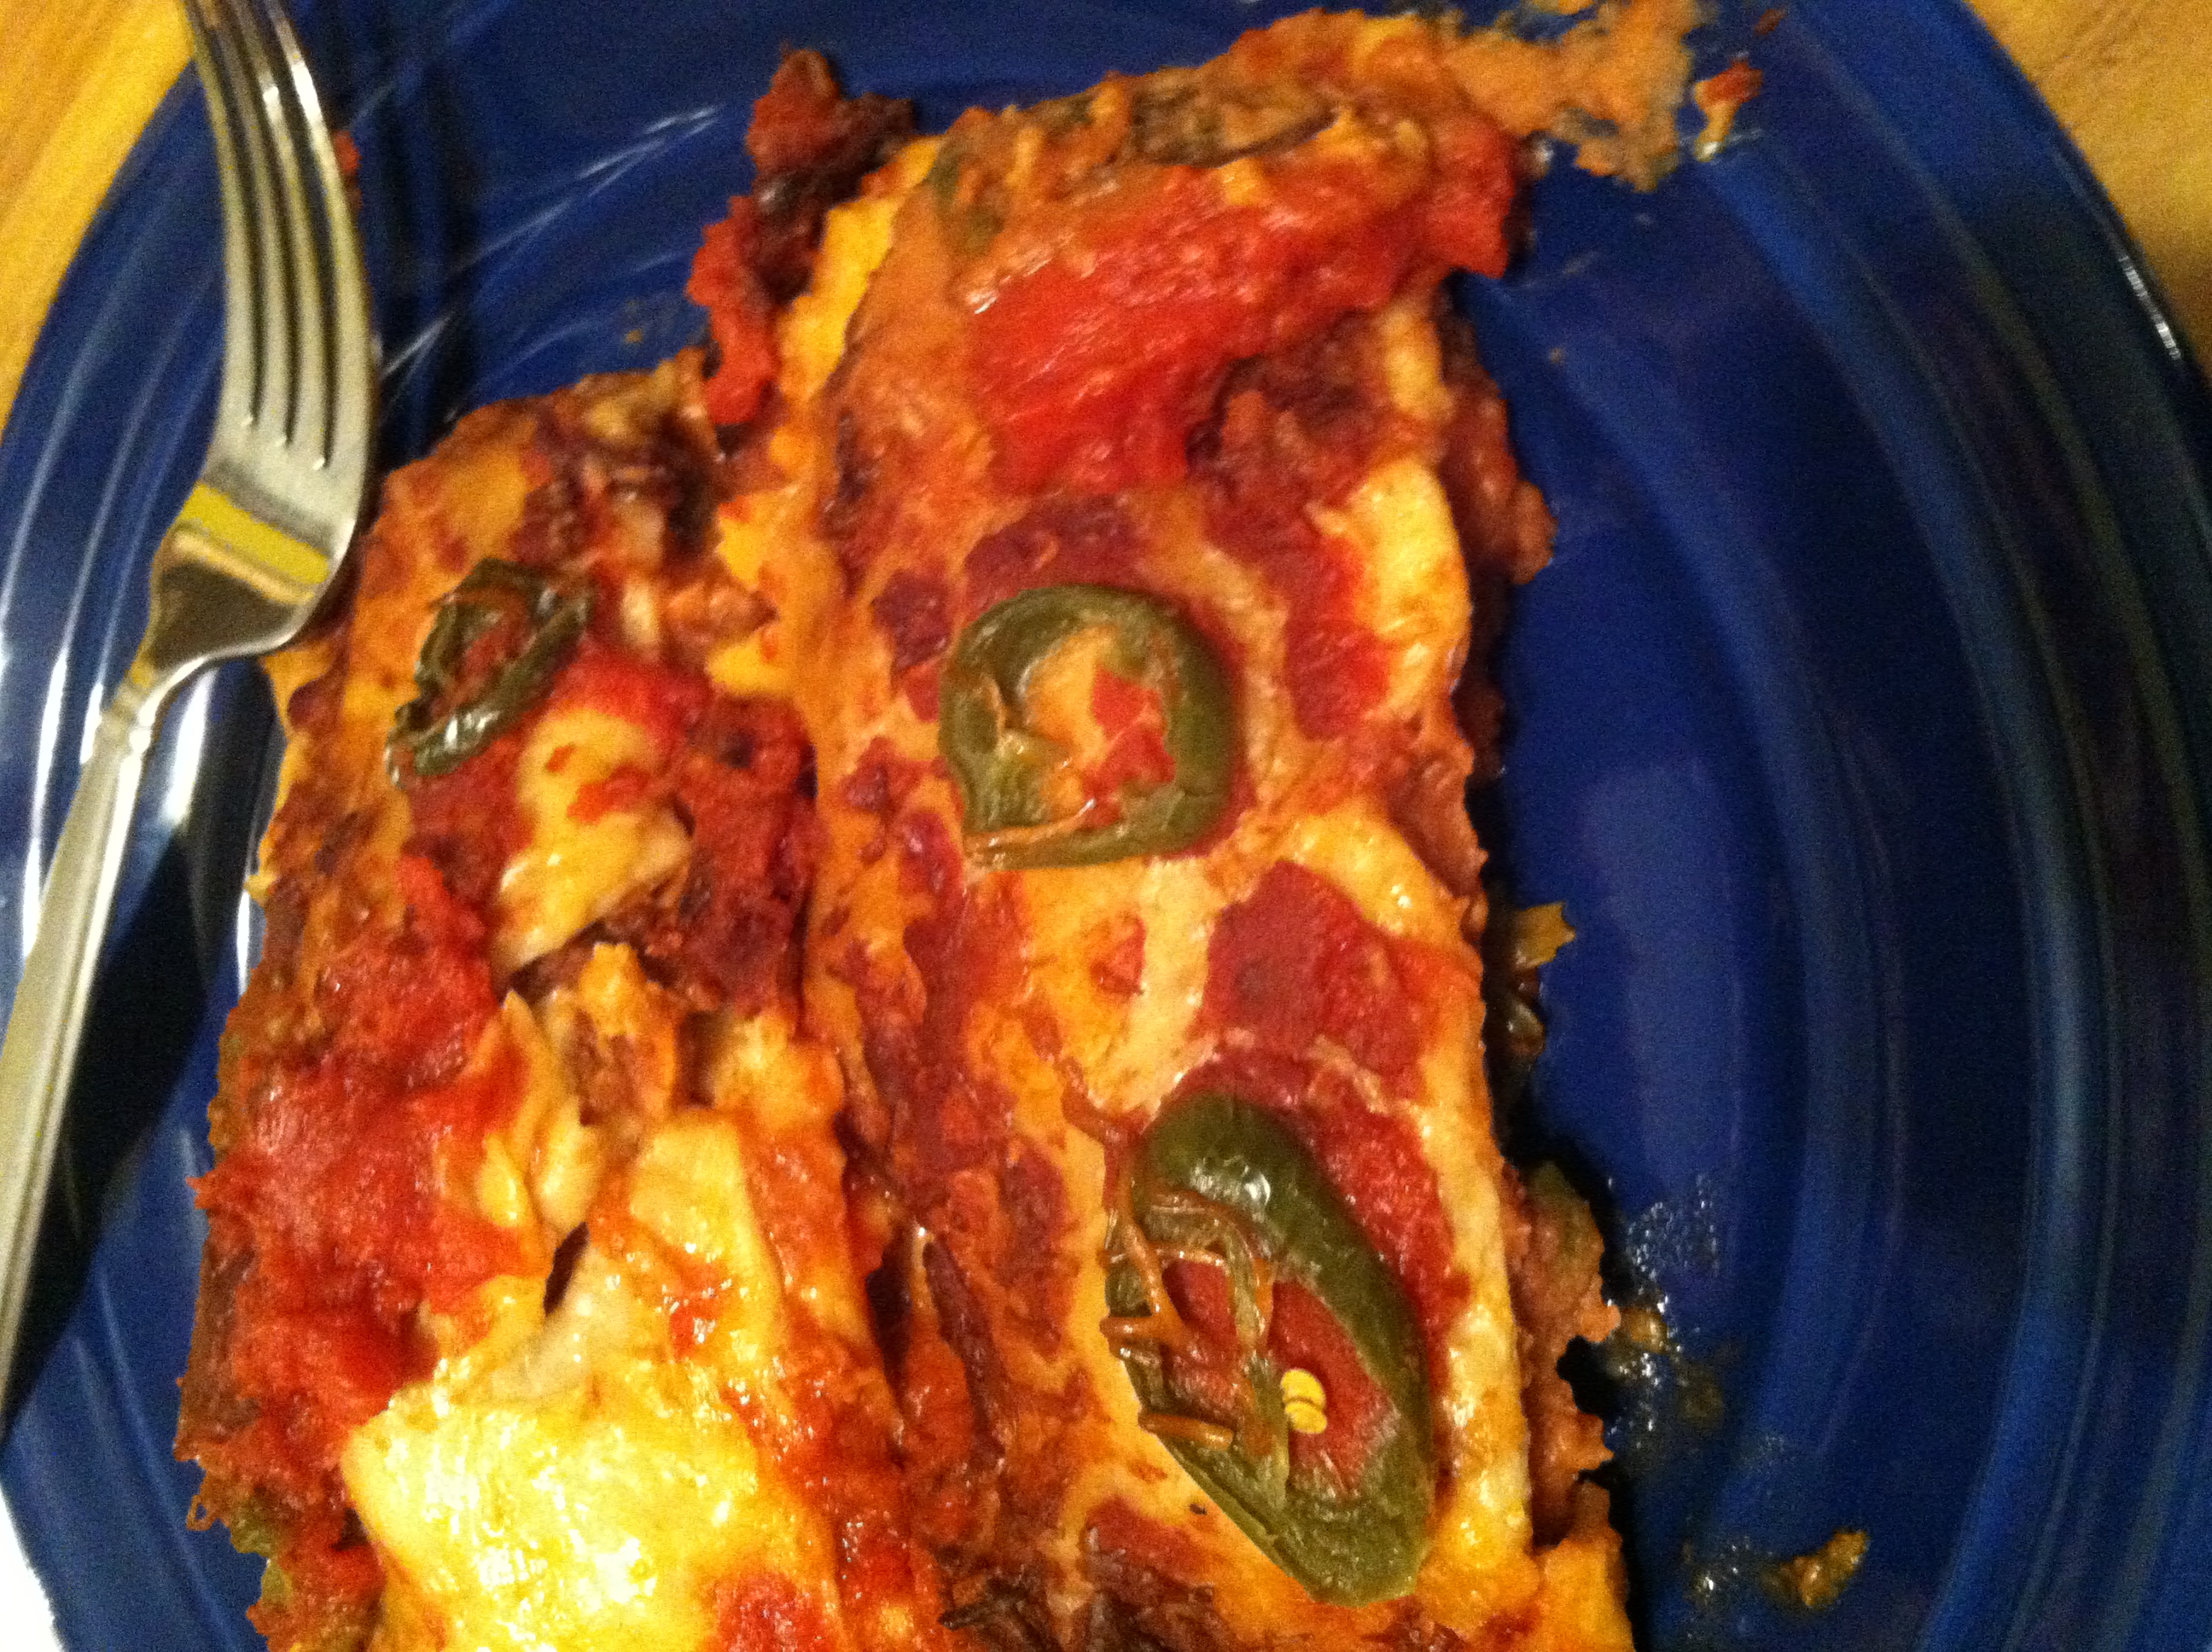
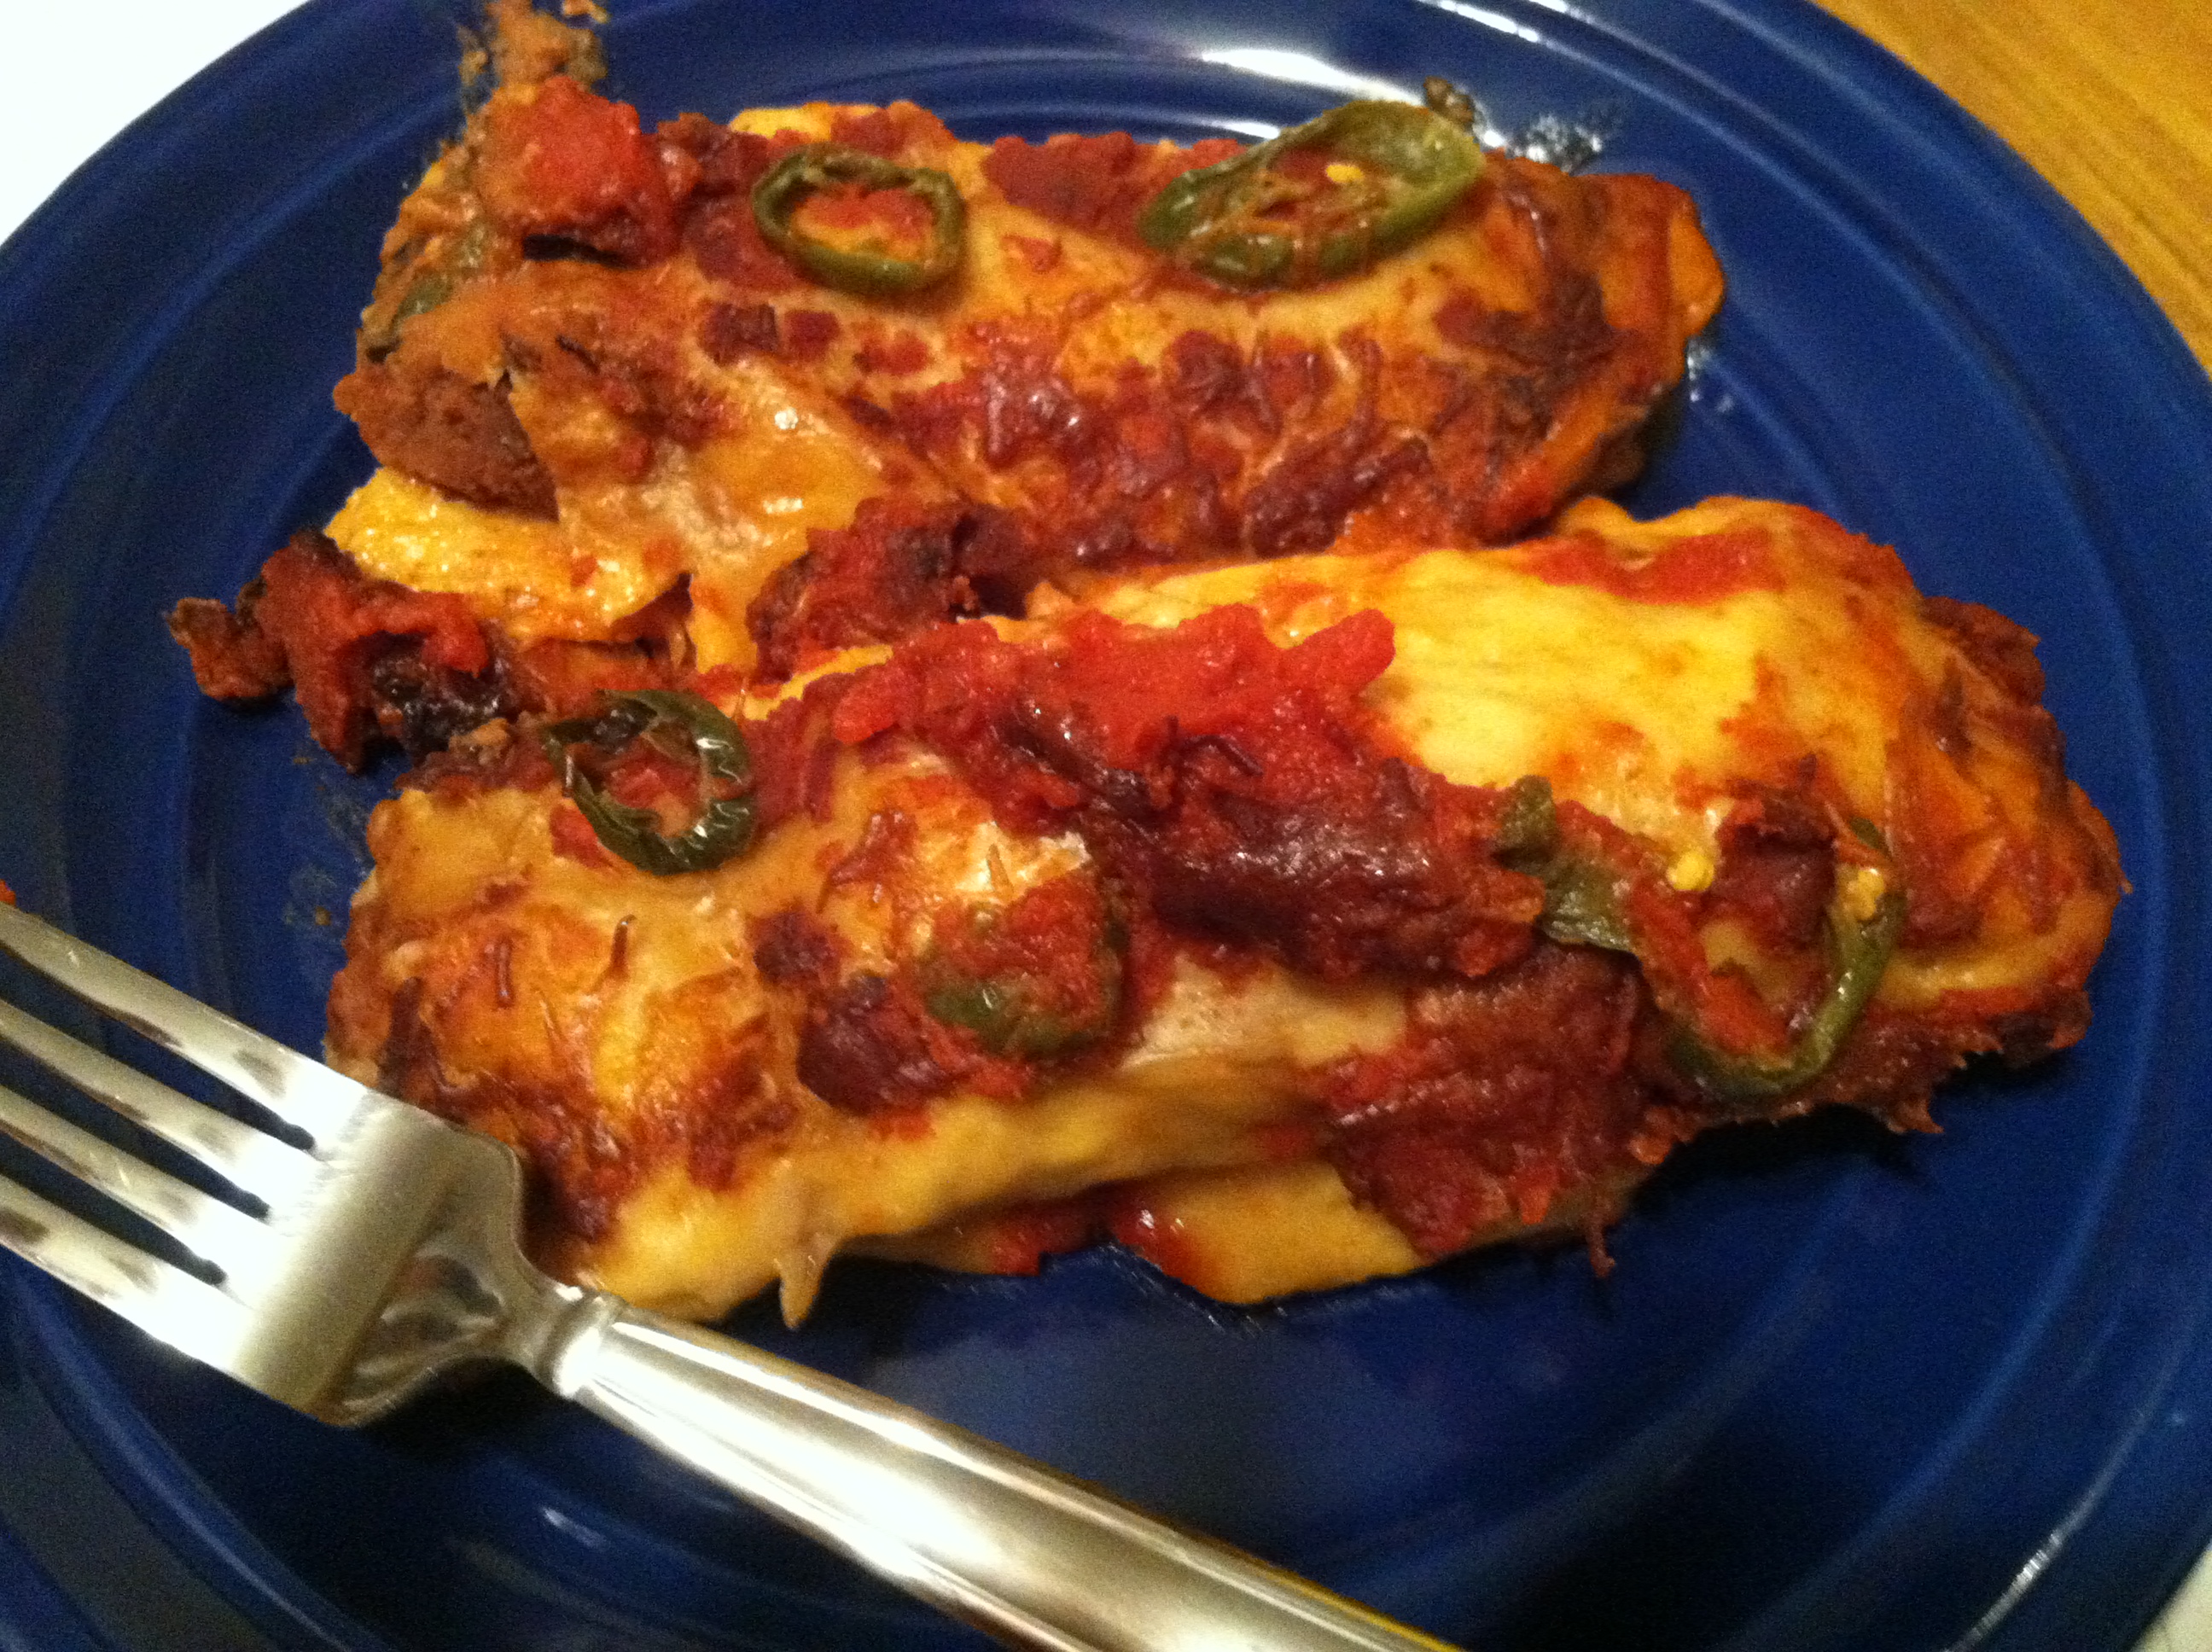
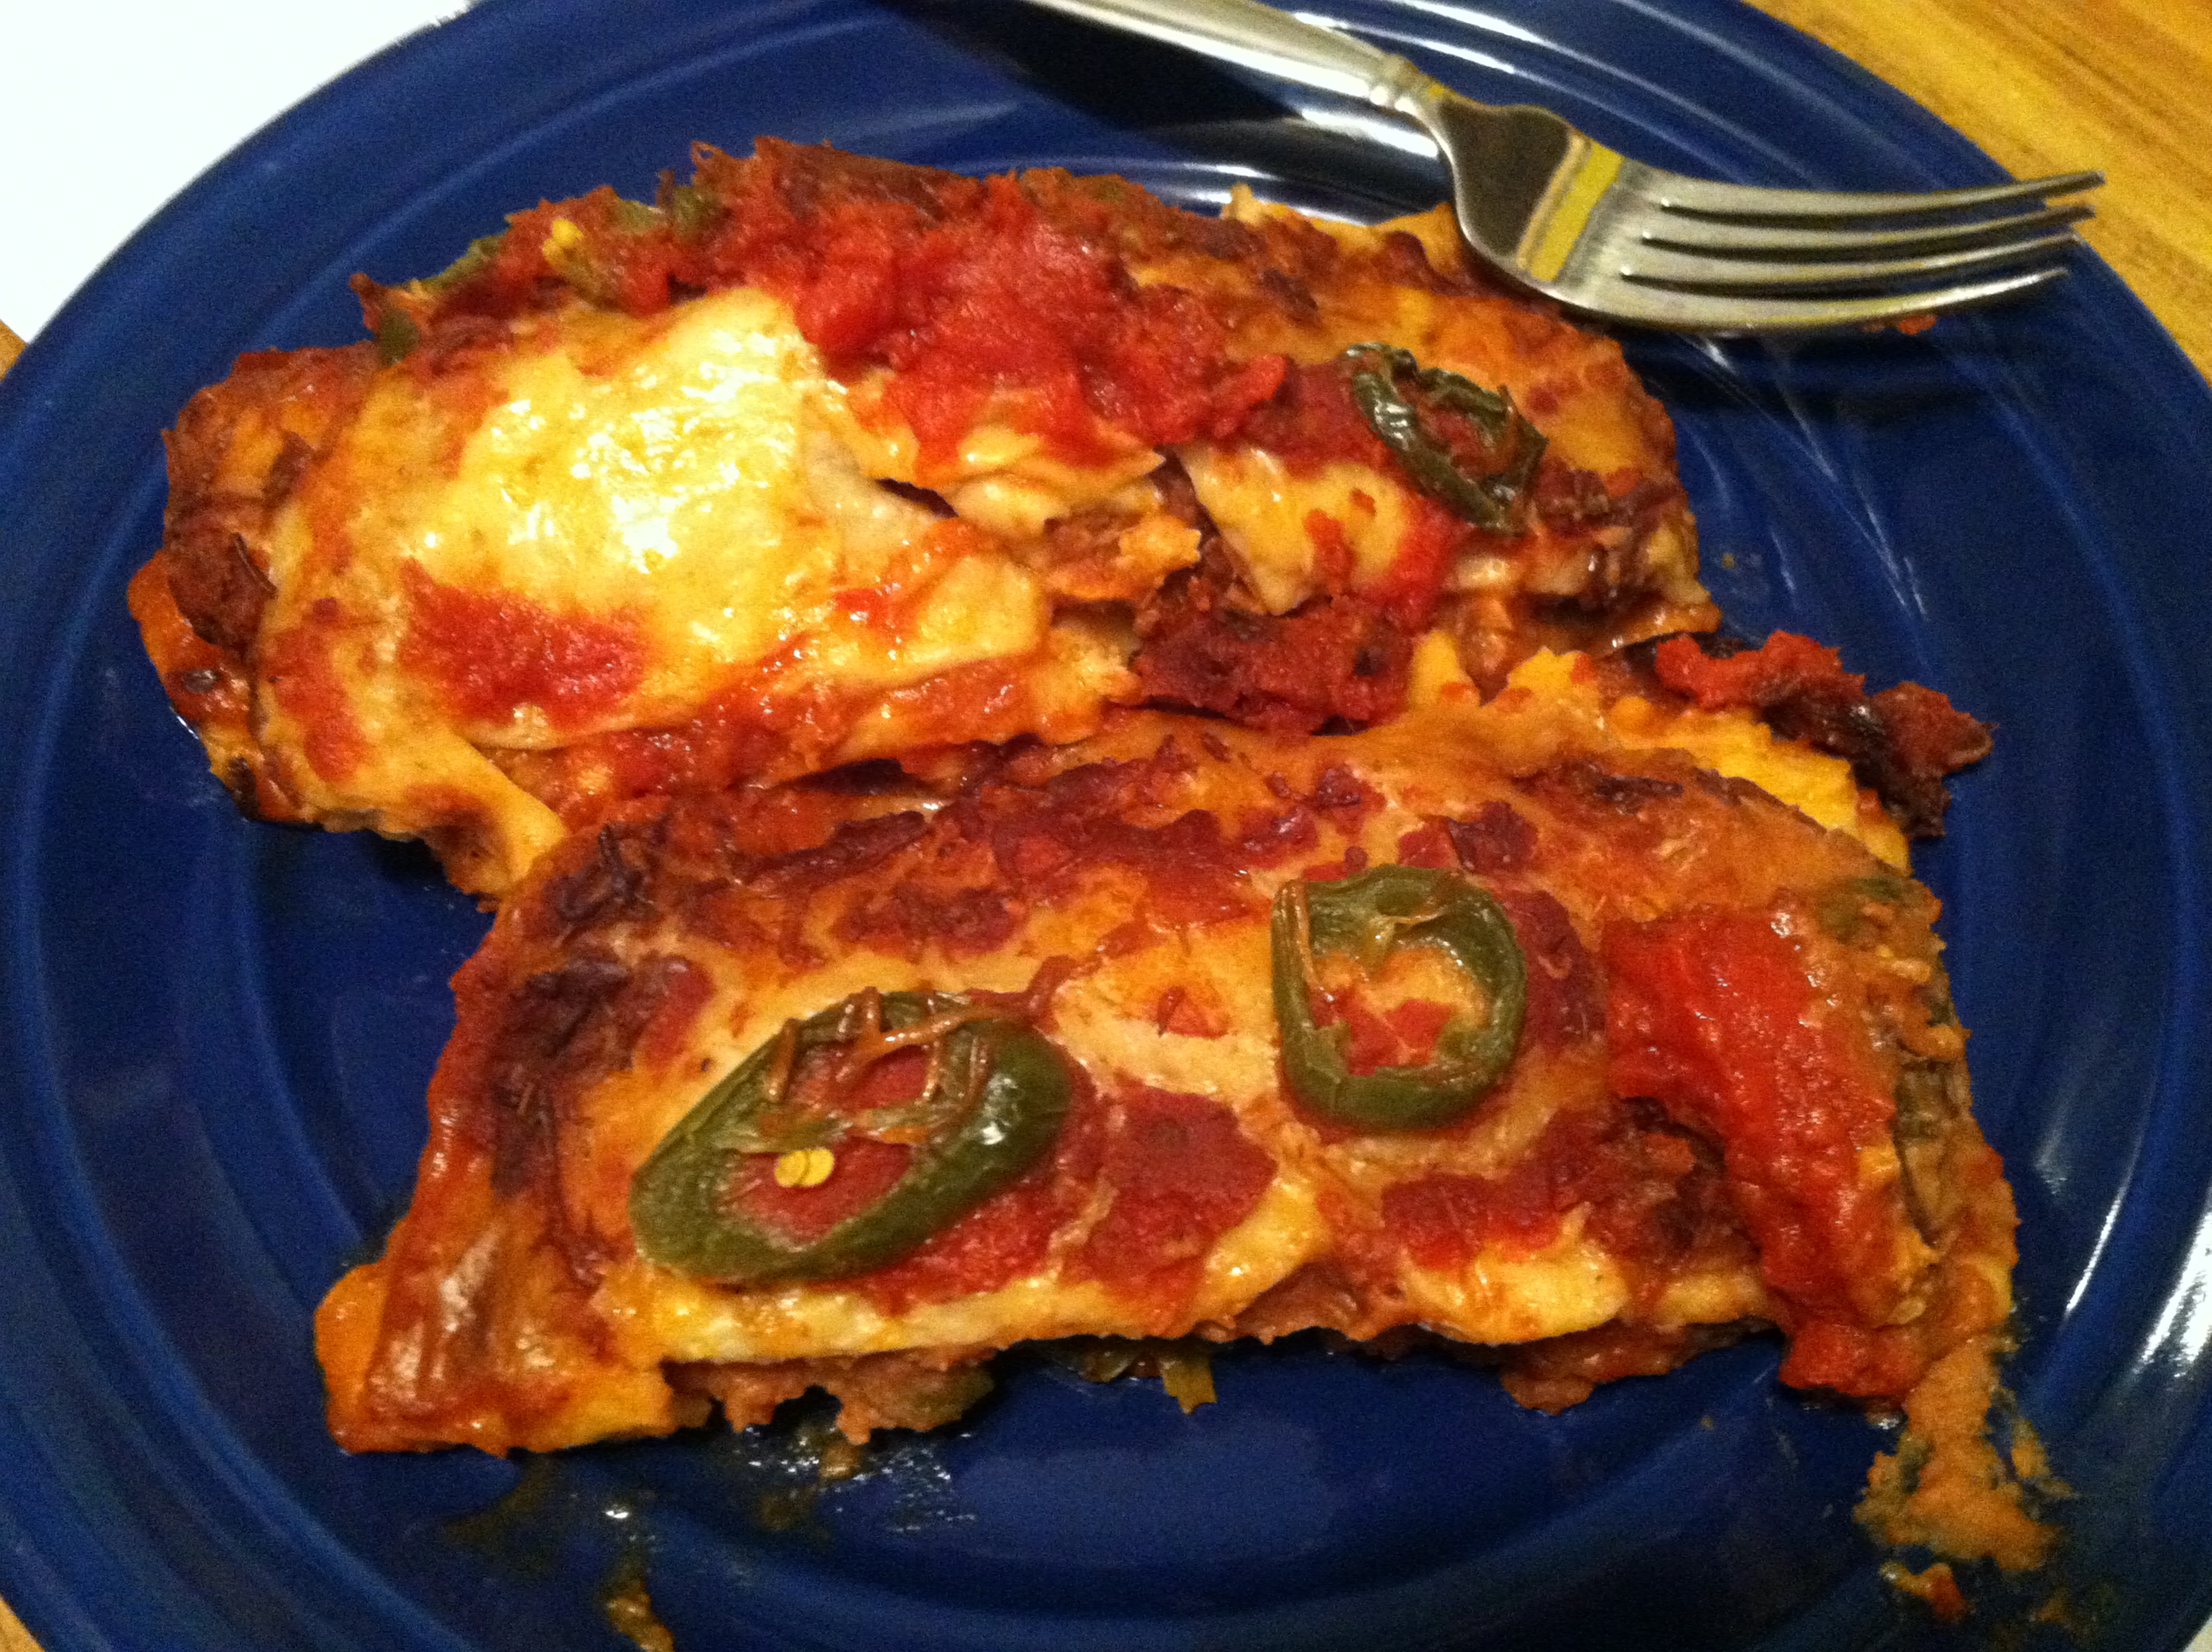
They bake up perfectly, soft on the inside with a little bit of crisp, and just the right amount of heat.

[amd-zlrecipe-recipe:32]

Savory Vegan Bake


Sometimes, you just have no ideas in your head. You open the cupboards and refrigerator and sift through half-bags of random ingredients, cans you forgot you had, and sad wilted veggies. And then inspiration strikes!

This was one of those times.

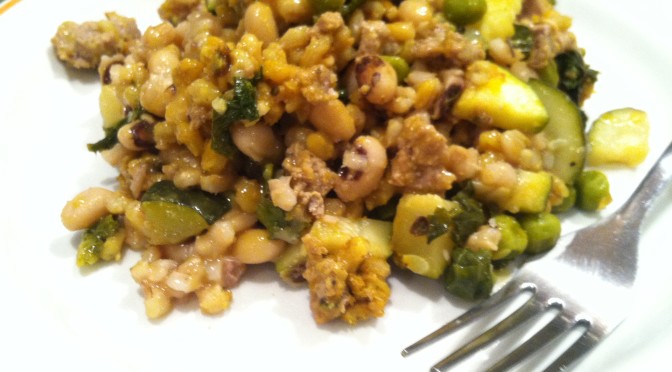
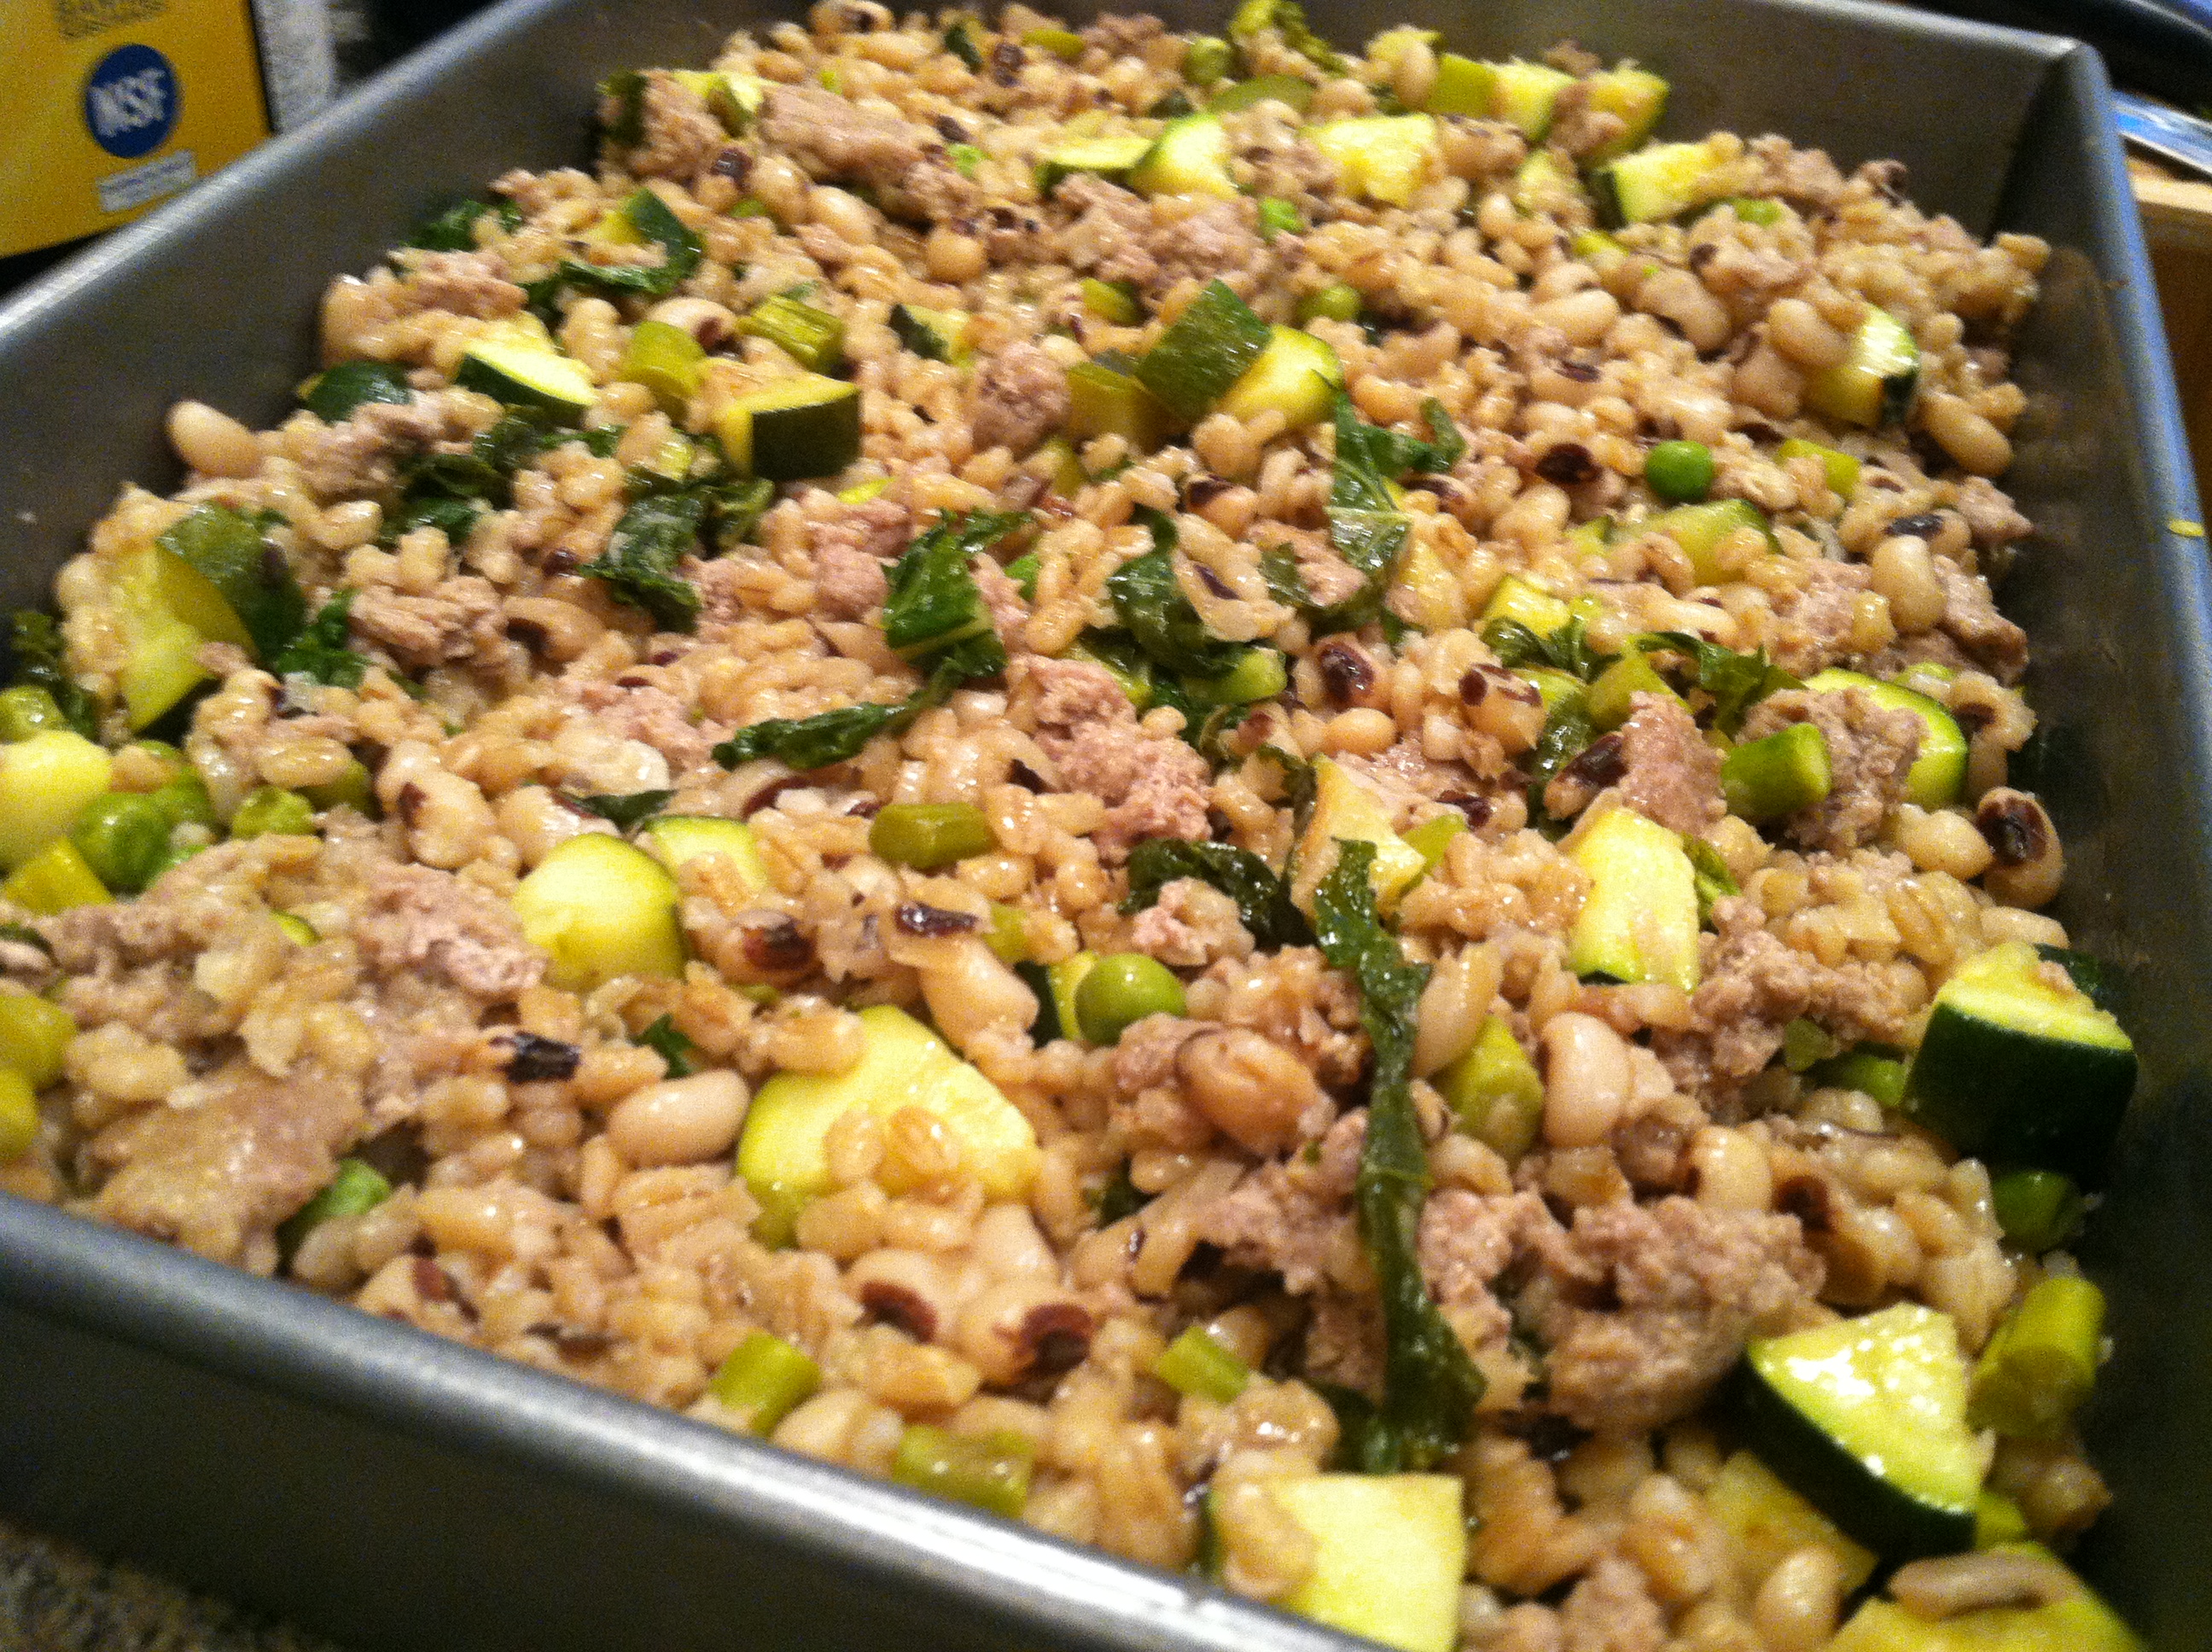
I had half a bag of barley, as well as half a bag of black eyed peas.  In the fridge, I had a few spears of asparagus, and half a small zucchini. I also had some cooked turkey, which seemed appropriate to add.

Ingredients:

  • 1 cup zucchini slices
  • 1 cup diced asparagus
  • 1/2 cup greens (spinach, kale, mustard greens)
  • 1/2 cup diced mushrooms
  • 1 cup black-eyes peas (or other dried bean)
  • 1 cup pearled barley
  • Salt, pepper, turmeric
  • 2 1/2 cups water or broth
  • Optional: 1/2 cup cooked turkey

IMG_8969

Step 1: In a pot on the stove, bring the water or broth to a boil. Add in the beans & barley, cover, and simmer for about 35-40 minutes. If they get dry, add more water as needed.

IMG_8970

Step 2: In a pan, add all the diced veggies with a little water or oil, and cook on medium heat, covered, for 10-12 minutes.  (If using ground turkey or beef, add and cook here)

IMG_8972

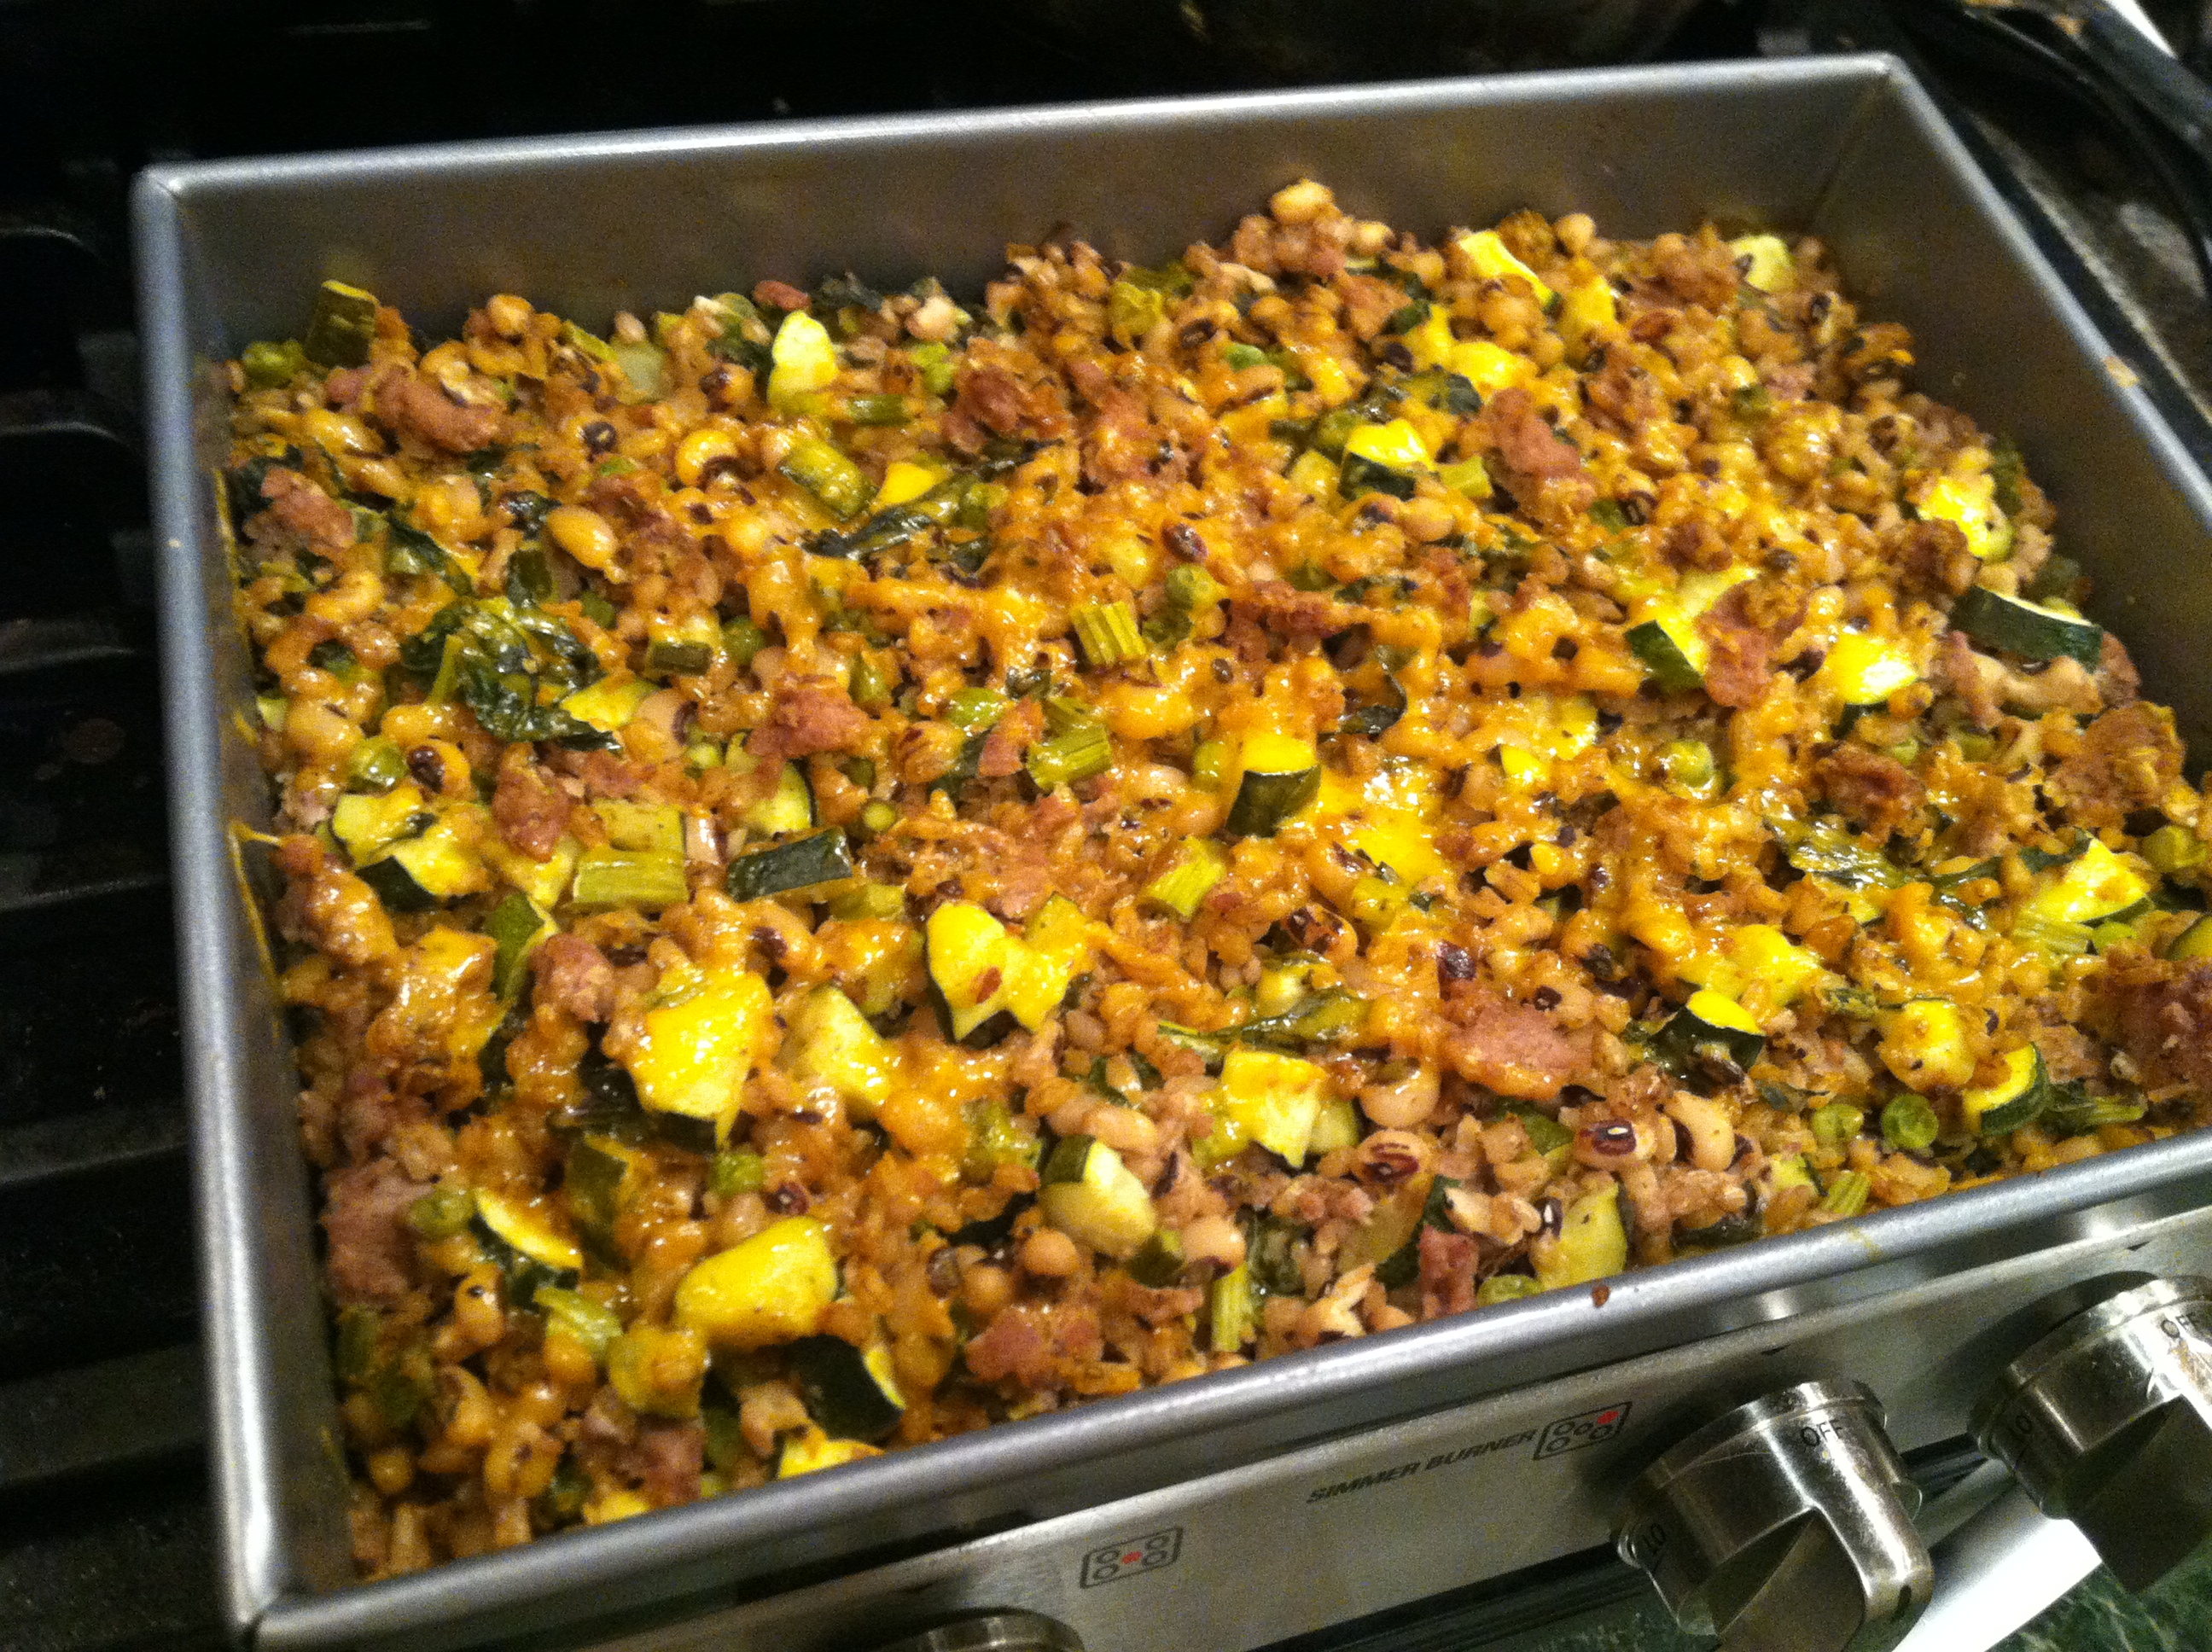
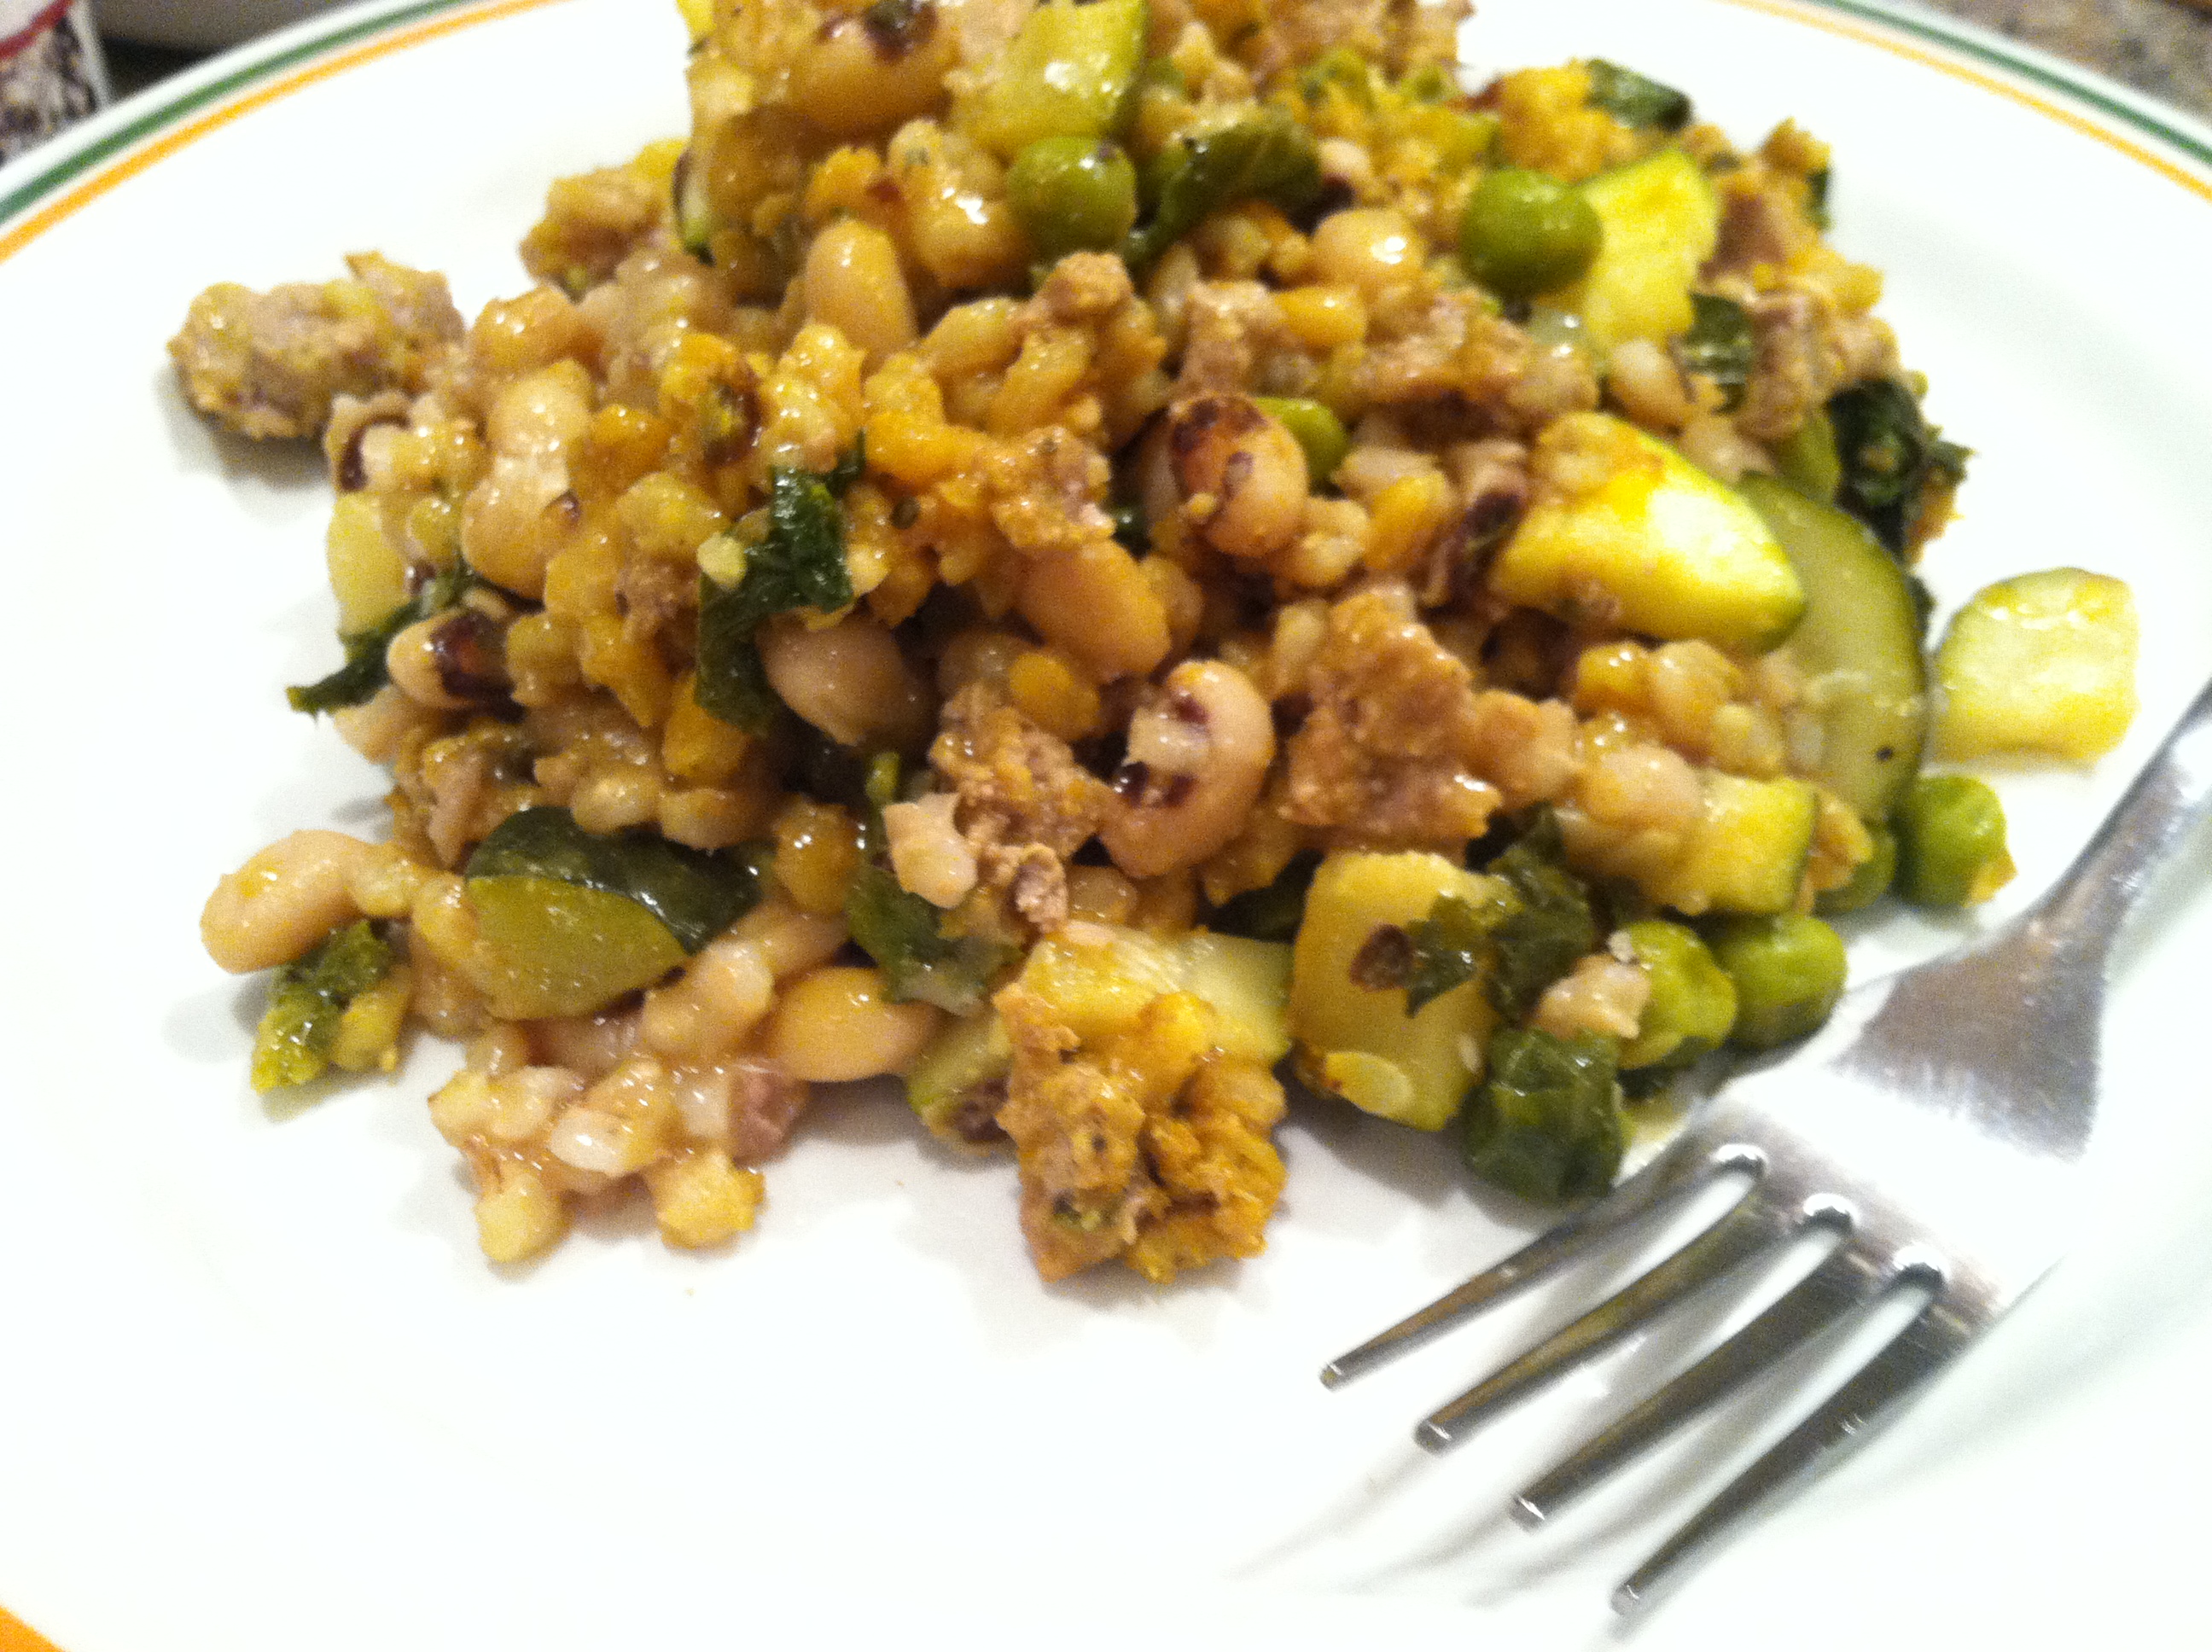
Step 3: Once the peas & barley are softened, mix with the vegetables in a large baking pan. Add seasonings to your taste, I used garlic salt, black pepper & some turmeric (hence the yellow color). Bake at 350 for 15-20 minutes, until heated through. Serve & enjoy!


[amd-zlrecipe-recipe:31]

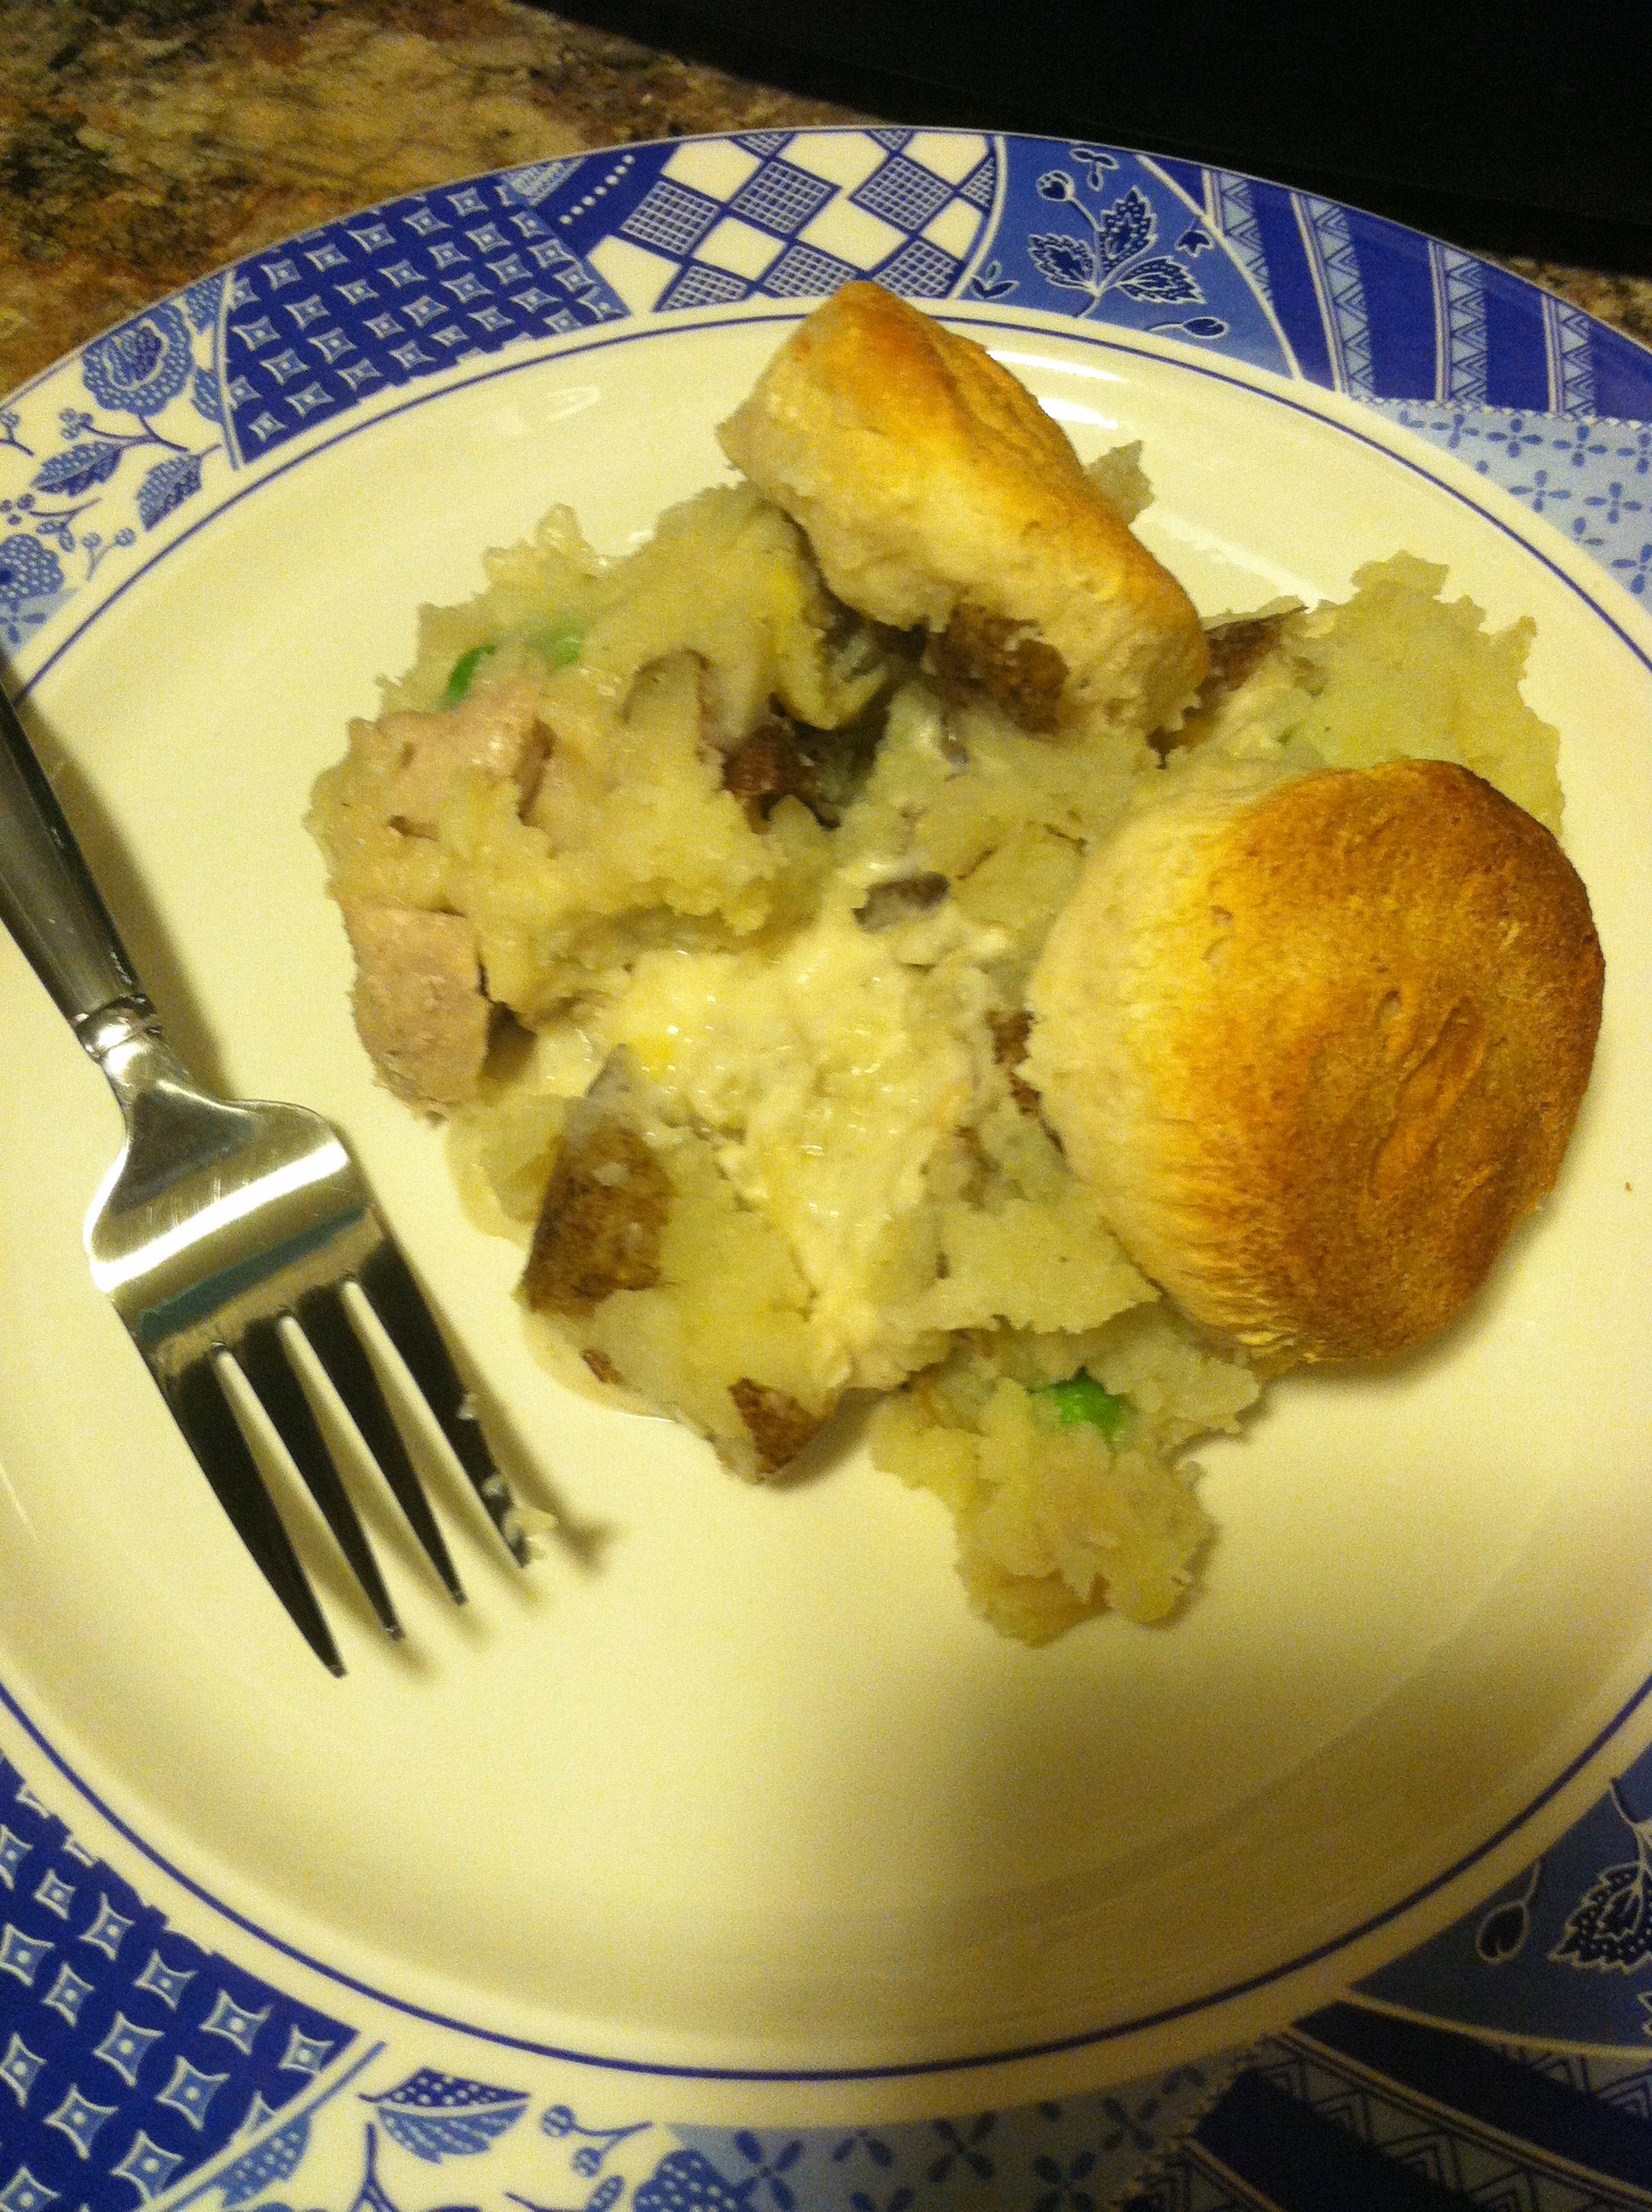
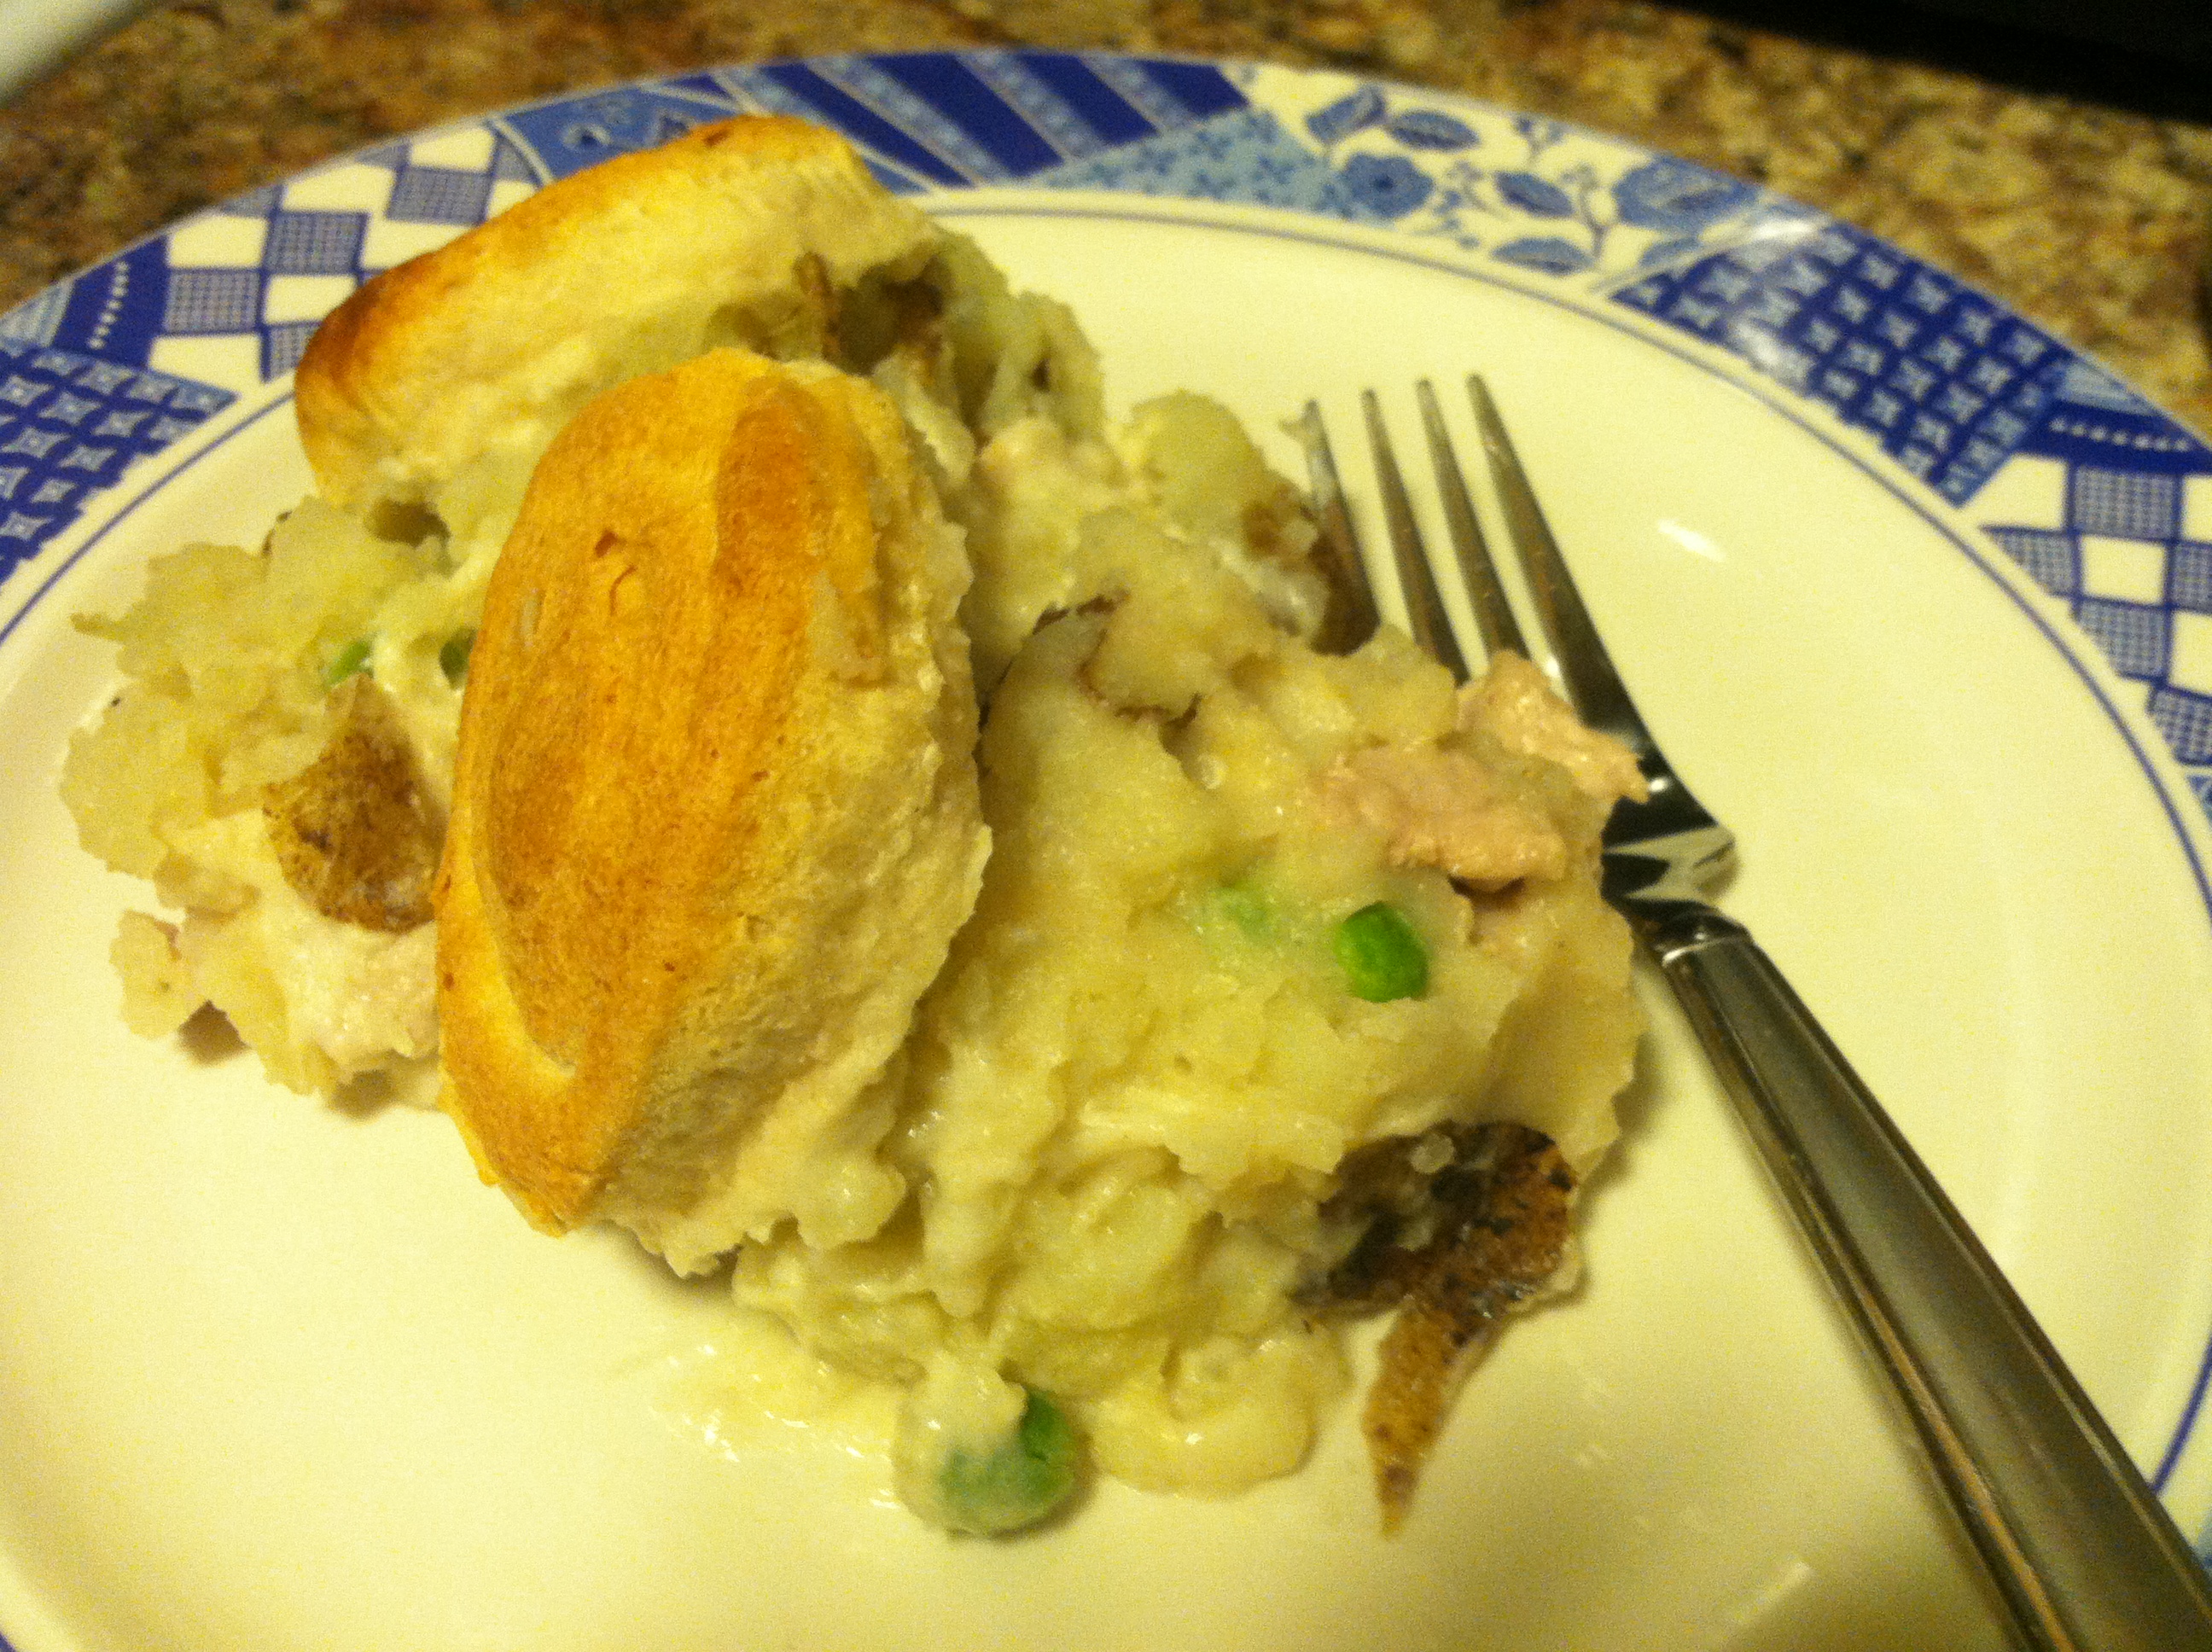
Pork Shepherd’s Pie


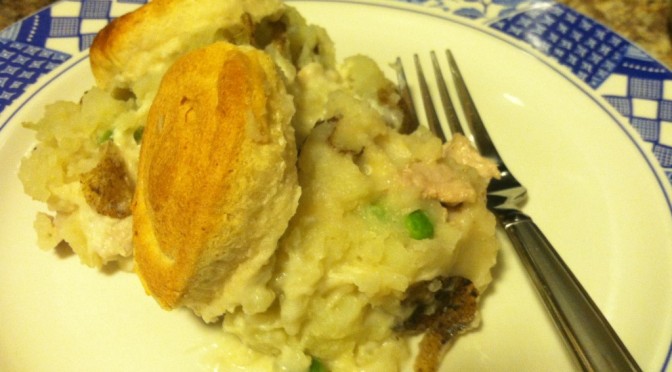
This is a super simple recipe I came up with when I had made pork chops and mashed potatoes, then had copious amounts of leftovers. It is so easy, and takes only 5-6 ingredients. To save even more time, you could use raw pork chunks, and store-bought mashed potatoes. If interested in other Shepherd’s Pie recipes, read my earlier posts.

Or even one step further, use dried potato flakes in the liquid. Then you will not have  a top layer, but will cut down on steps. You  can use whatever type of veggies you like, or not use them at all. I just like to try to stuff vegetables into anything and everything. Frozen mixed vegetables are a cheap and healthy way to pack in extra vitamins & filling fiber.

Ingredients:

  • 2-3 small pork chops, diced
  • 1 cup frozen mixed vegetables
  • 1 can biscuit dough
  • 1 1/2 cups mashed potatoes
  • 1/2 cup milk
  • 2-3 tbsp flour (or 2-3 tbsp potato flakes)

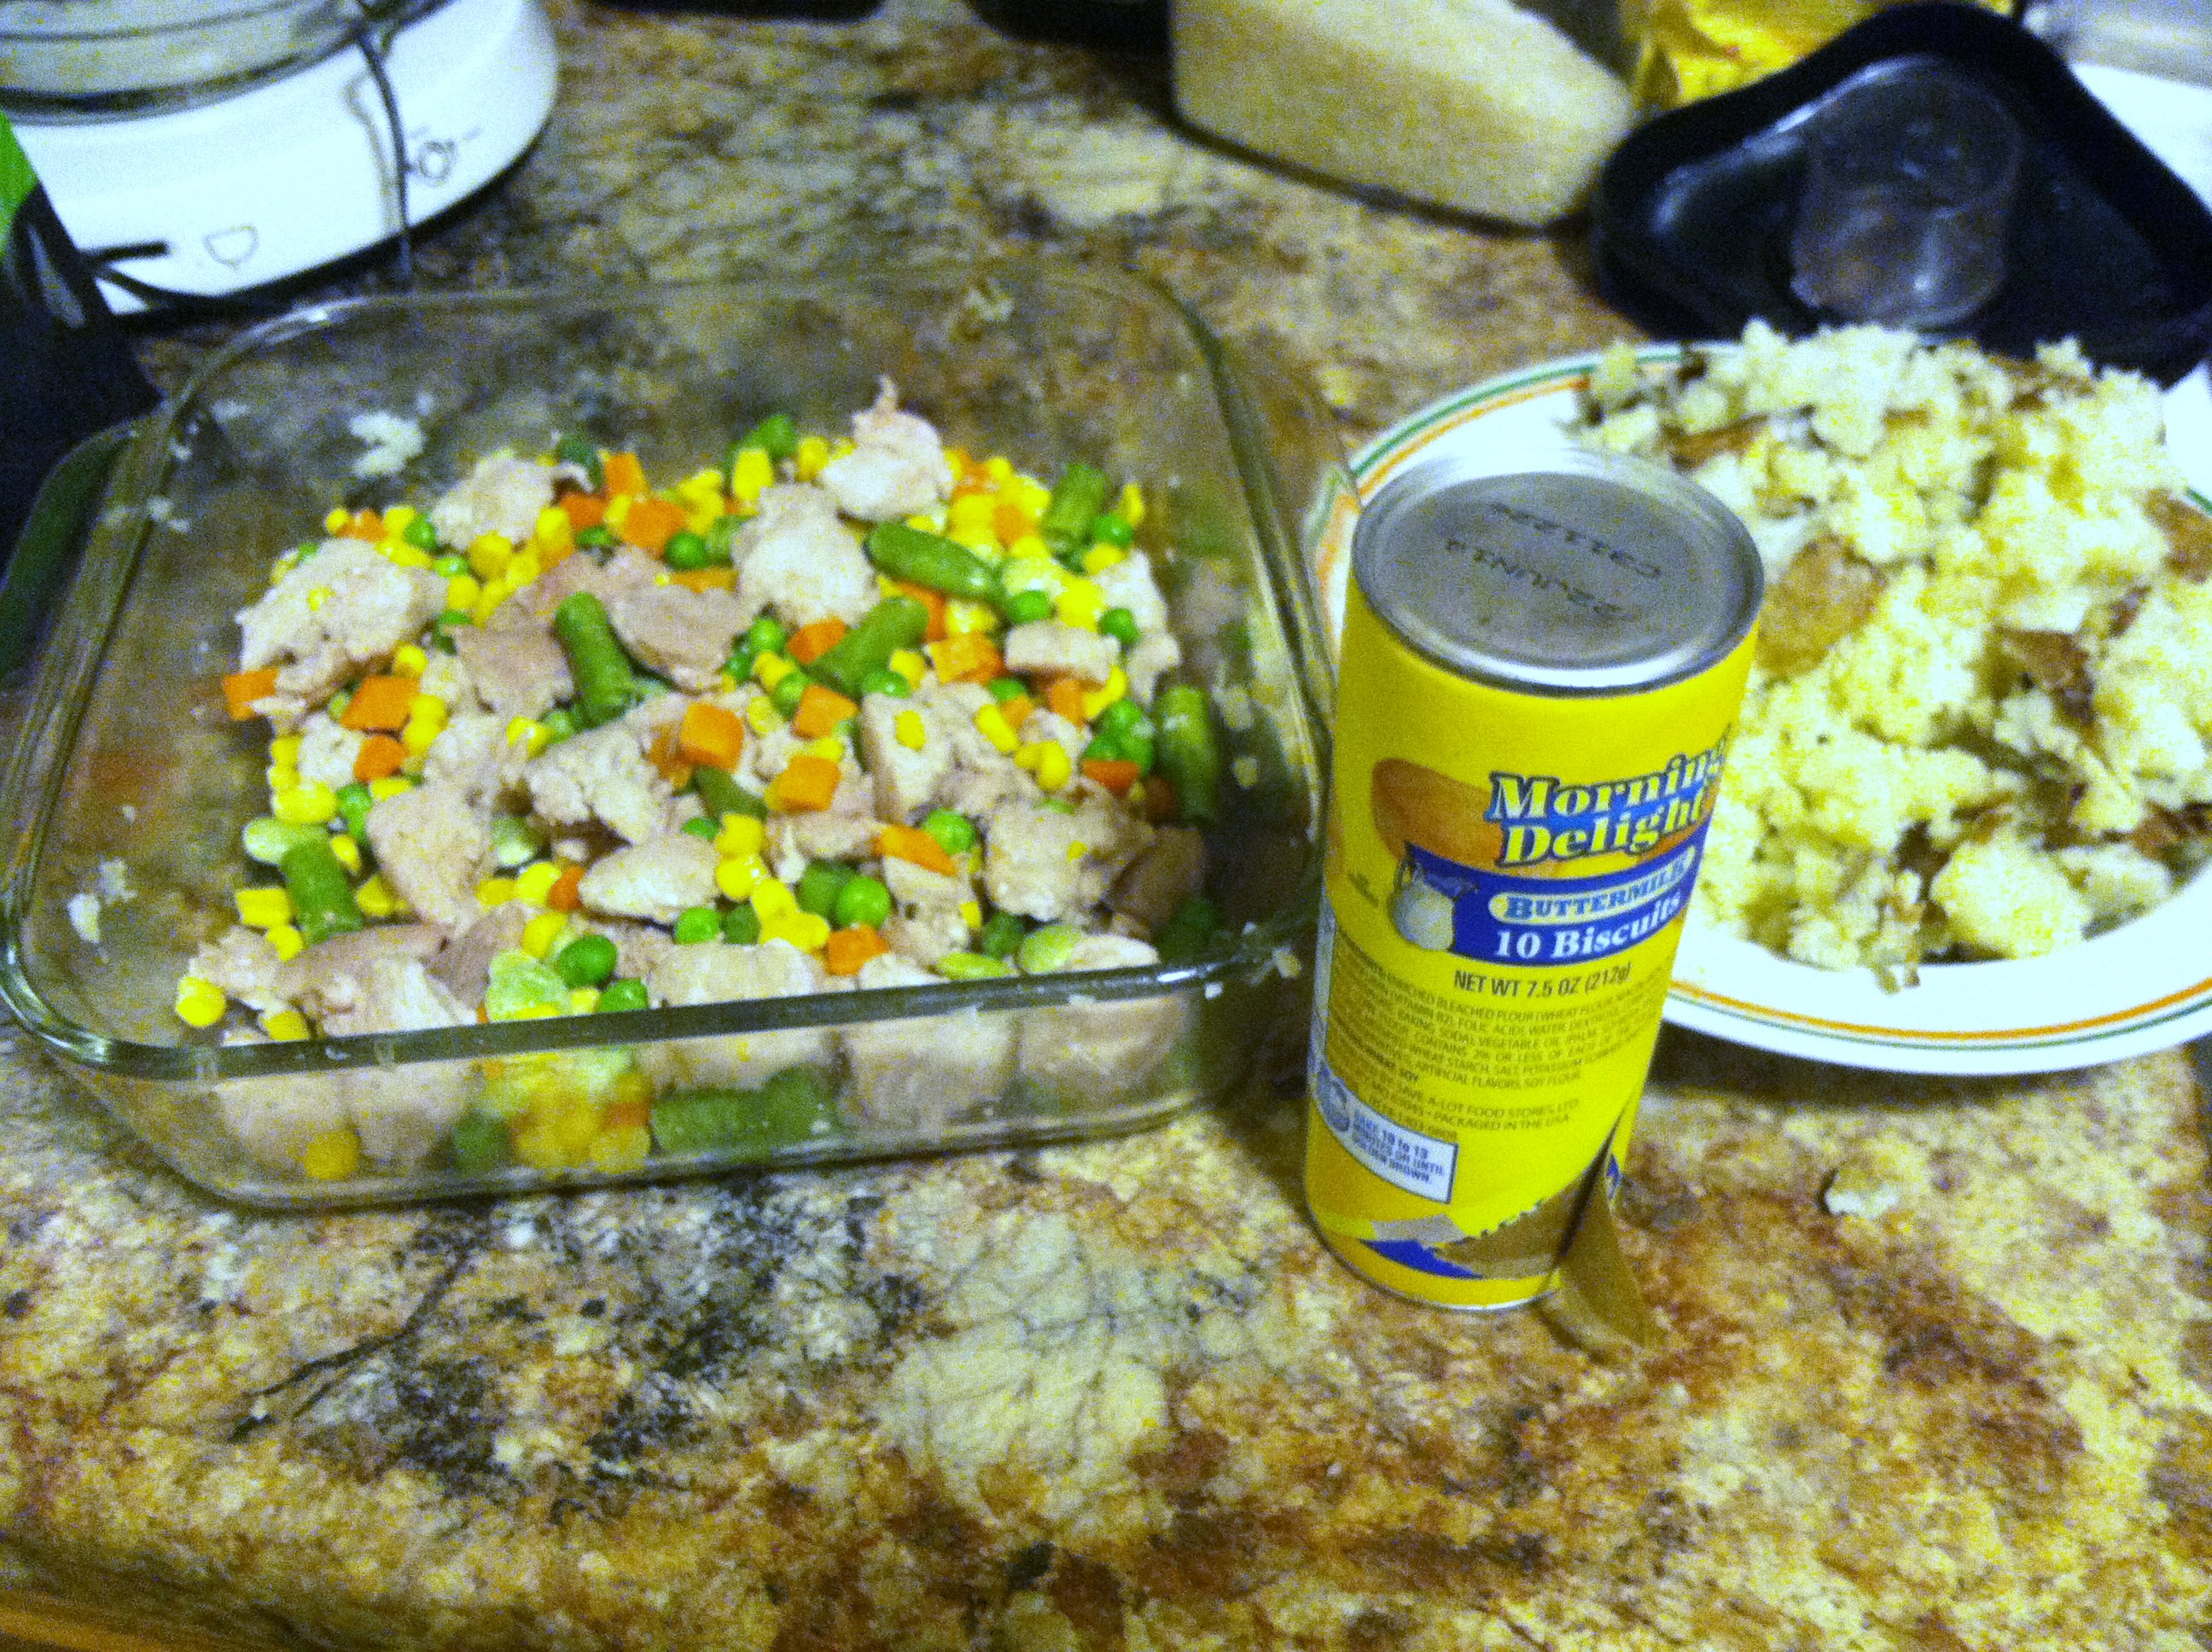
IMG_4511

Step 1: If cooking the mashed potatoes, simple microwave on high 8-10 minutes, or cook in the oven at 350 for 15 minutes, until you can mash them with a fork. Cook the pork chops on medium heat in a skillet for 4-5 minutes, then turn and cook other side 2-3 minutes. Cut to make sure there is no pink inside.

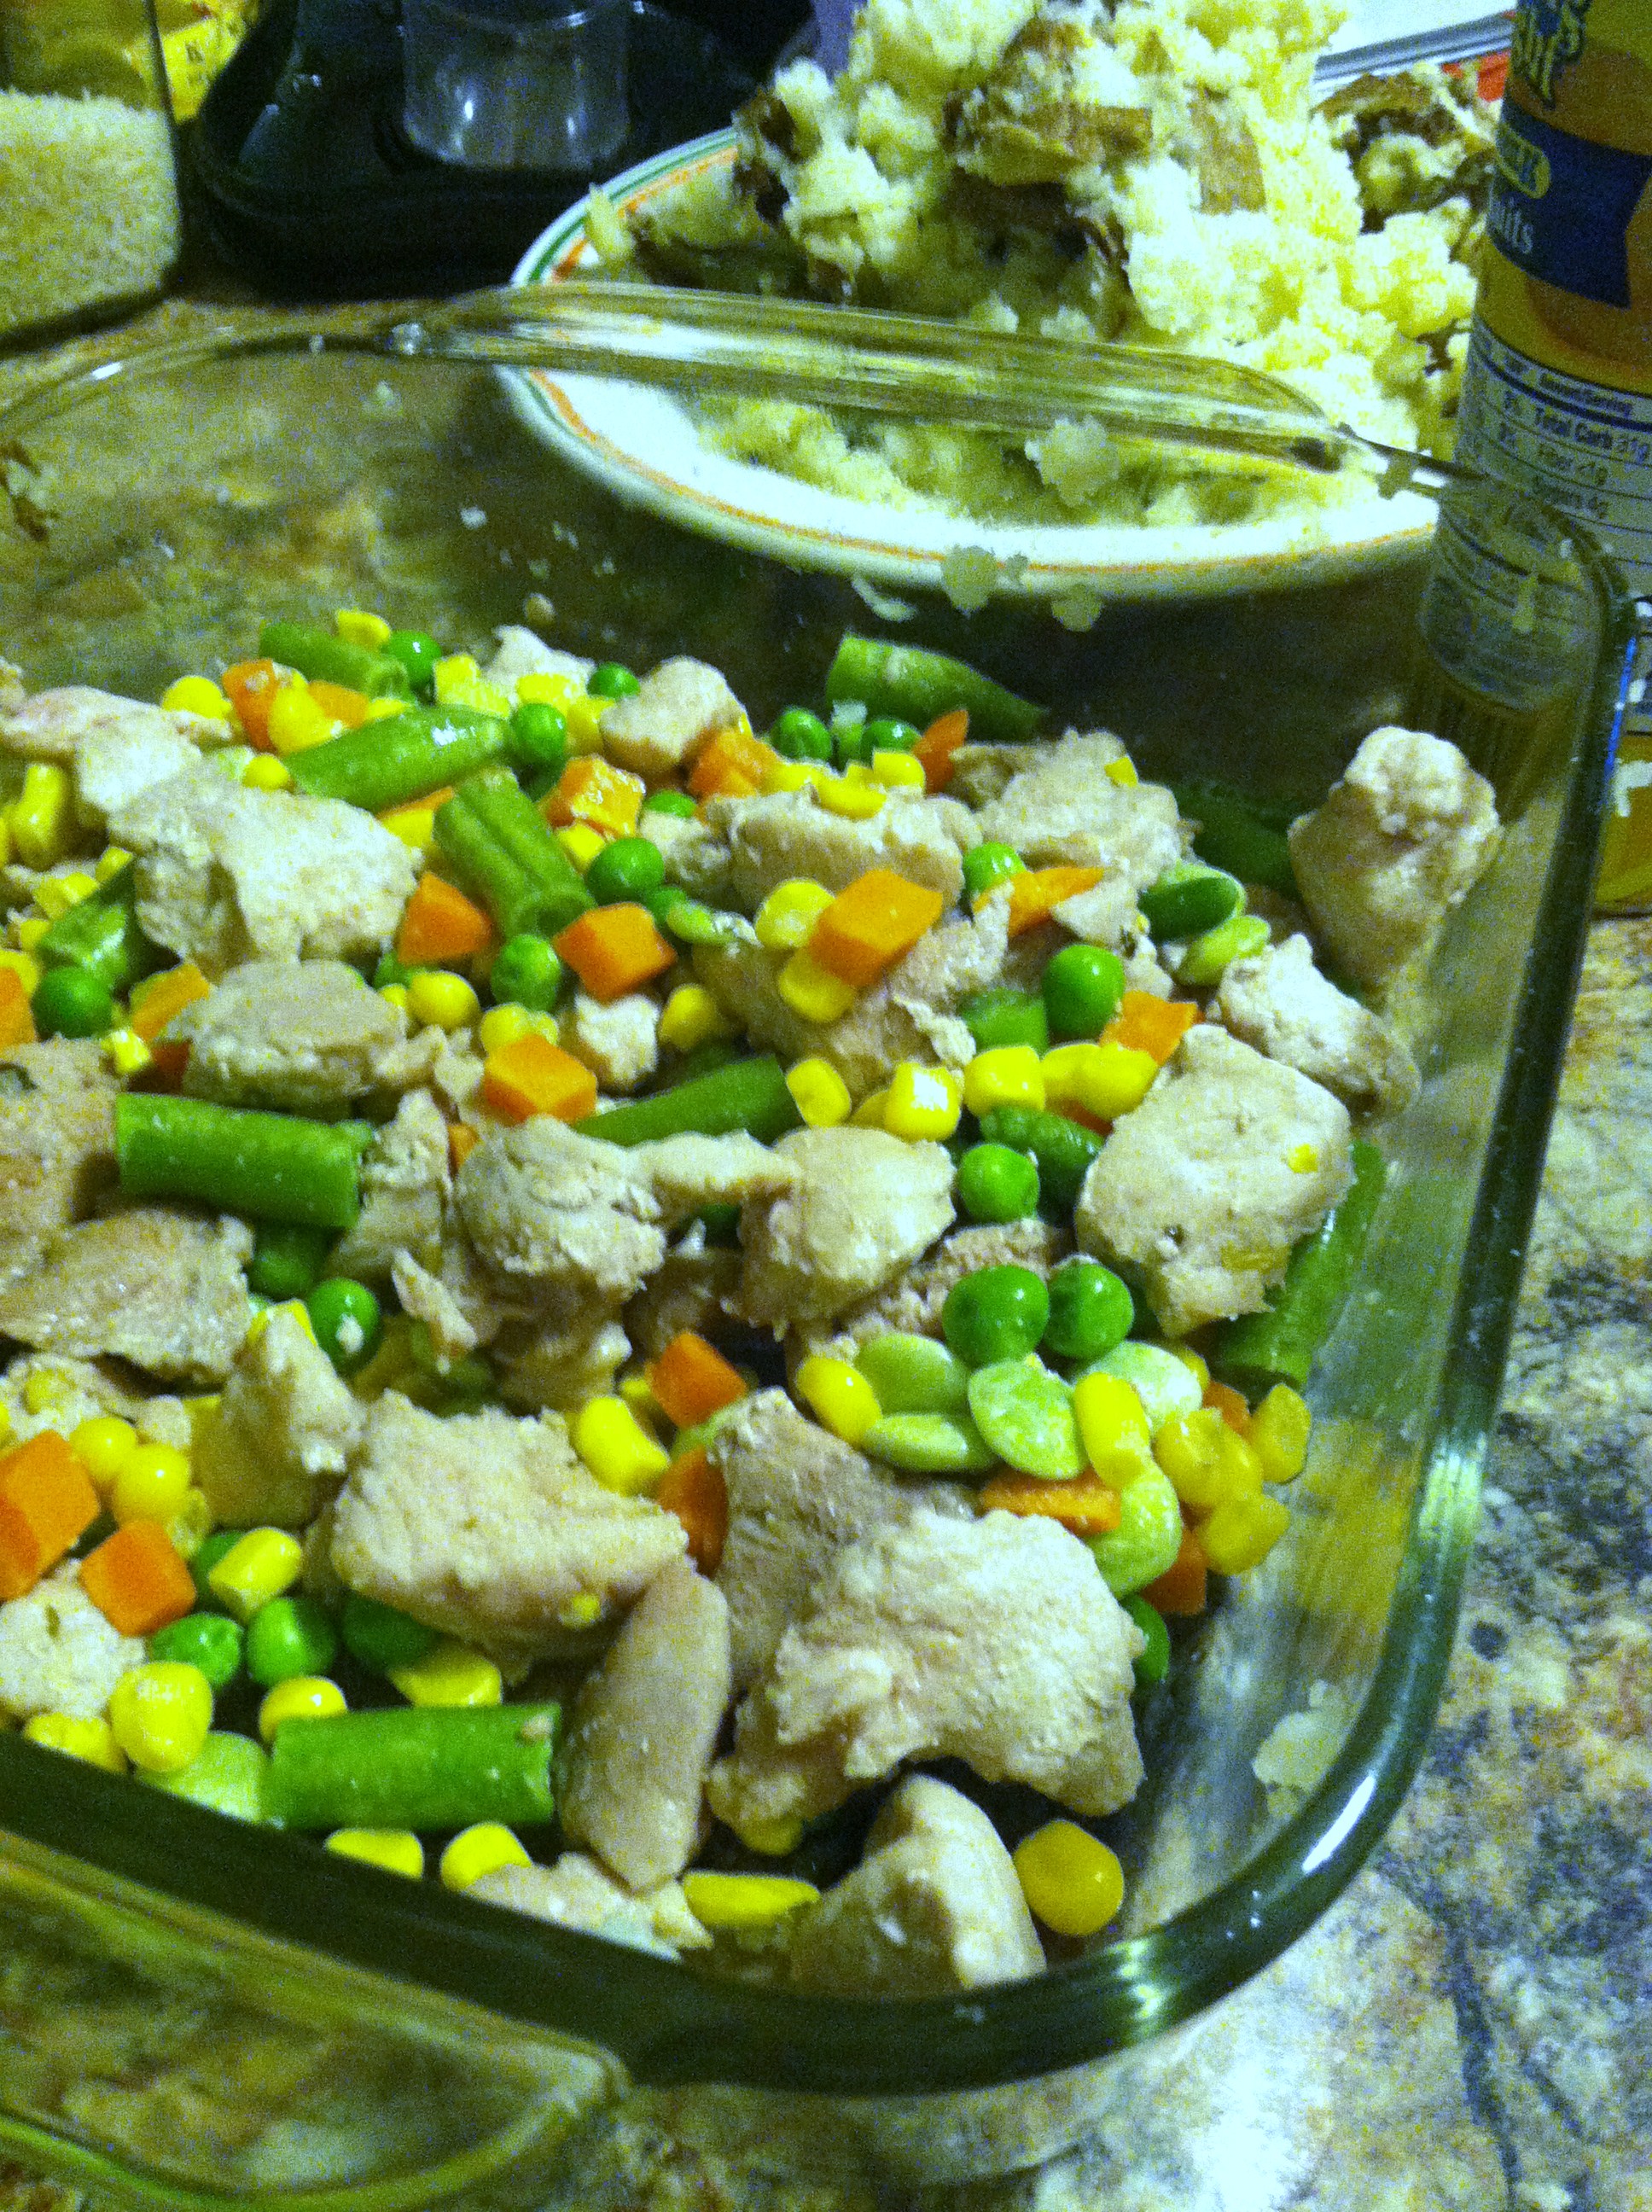
IMG_4512

Step 2: Spray an oven-safe baking pan, and layer in the veggies and the pork chops. It is best to thaw the veggies, or you will end up with extra-watery pie as they thaw.

IMG_4514

Step 3: In a pan, combine the milk and flour. Heat until just simmering, and ensure all flour dissolves. You could also use cornstarch, or dried potato flakes. Or cream of potato soup.

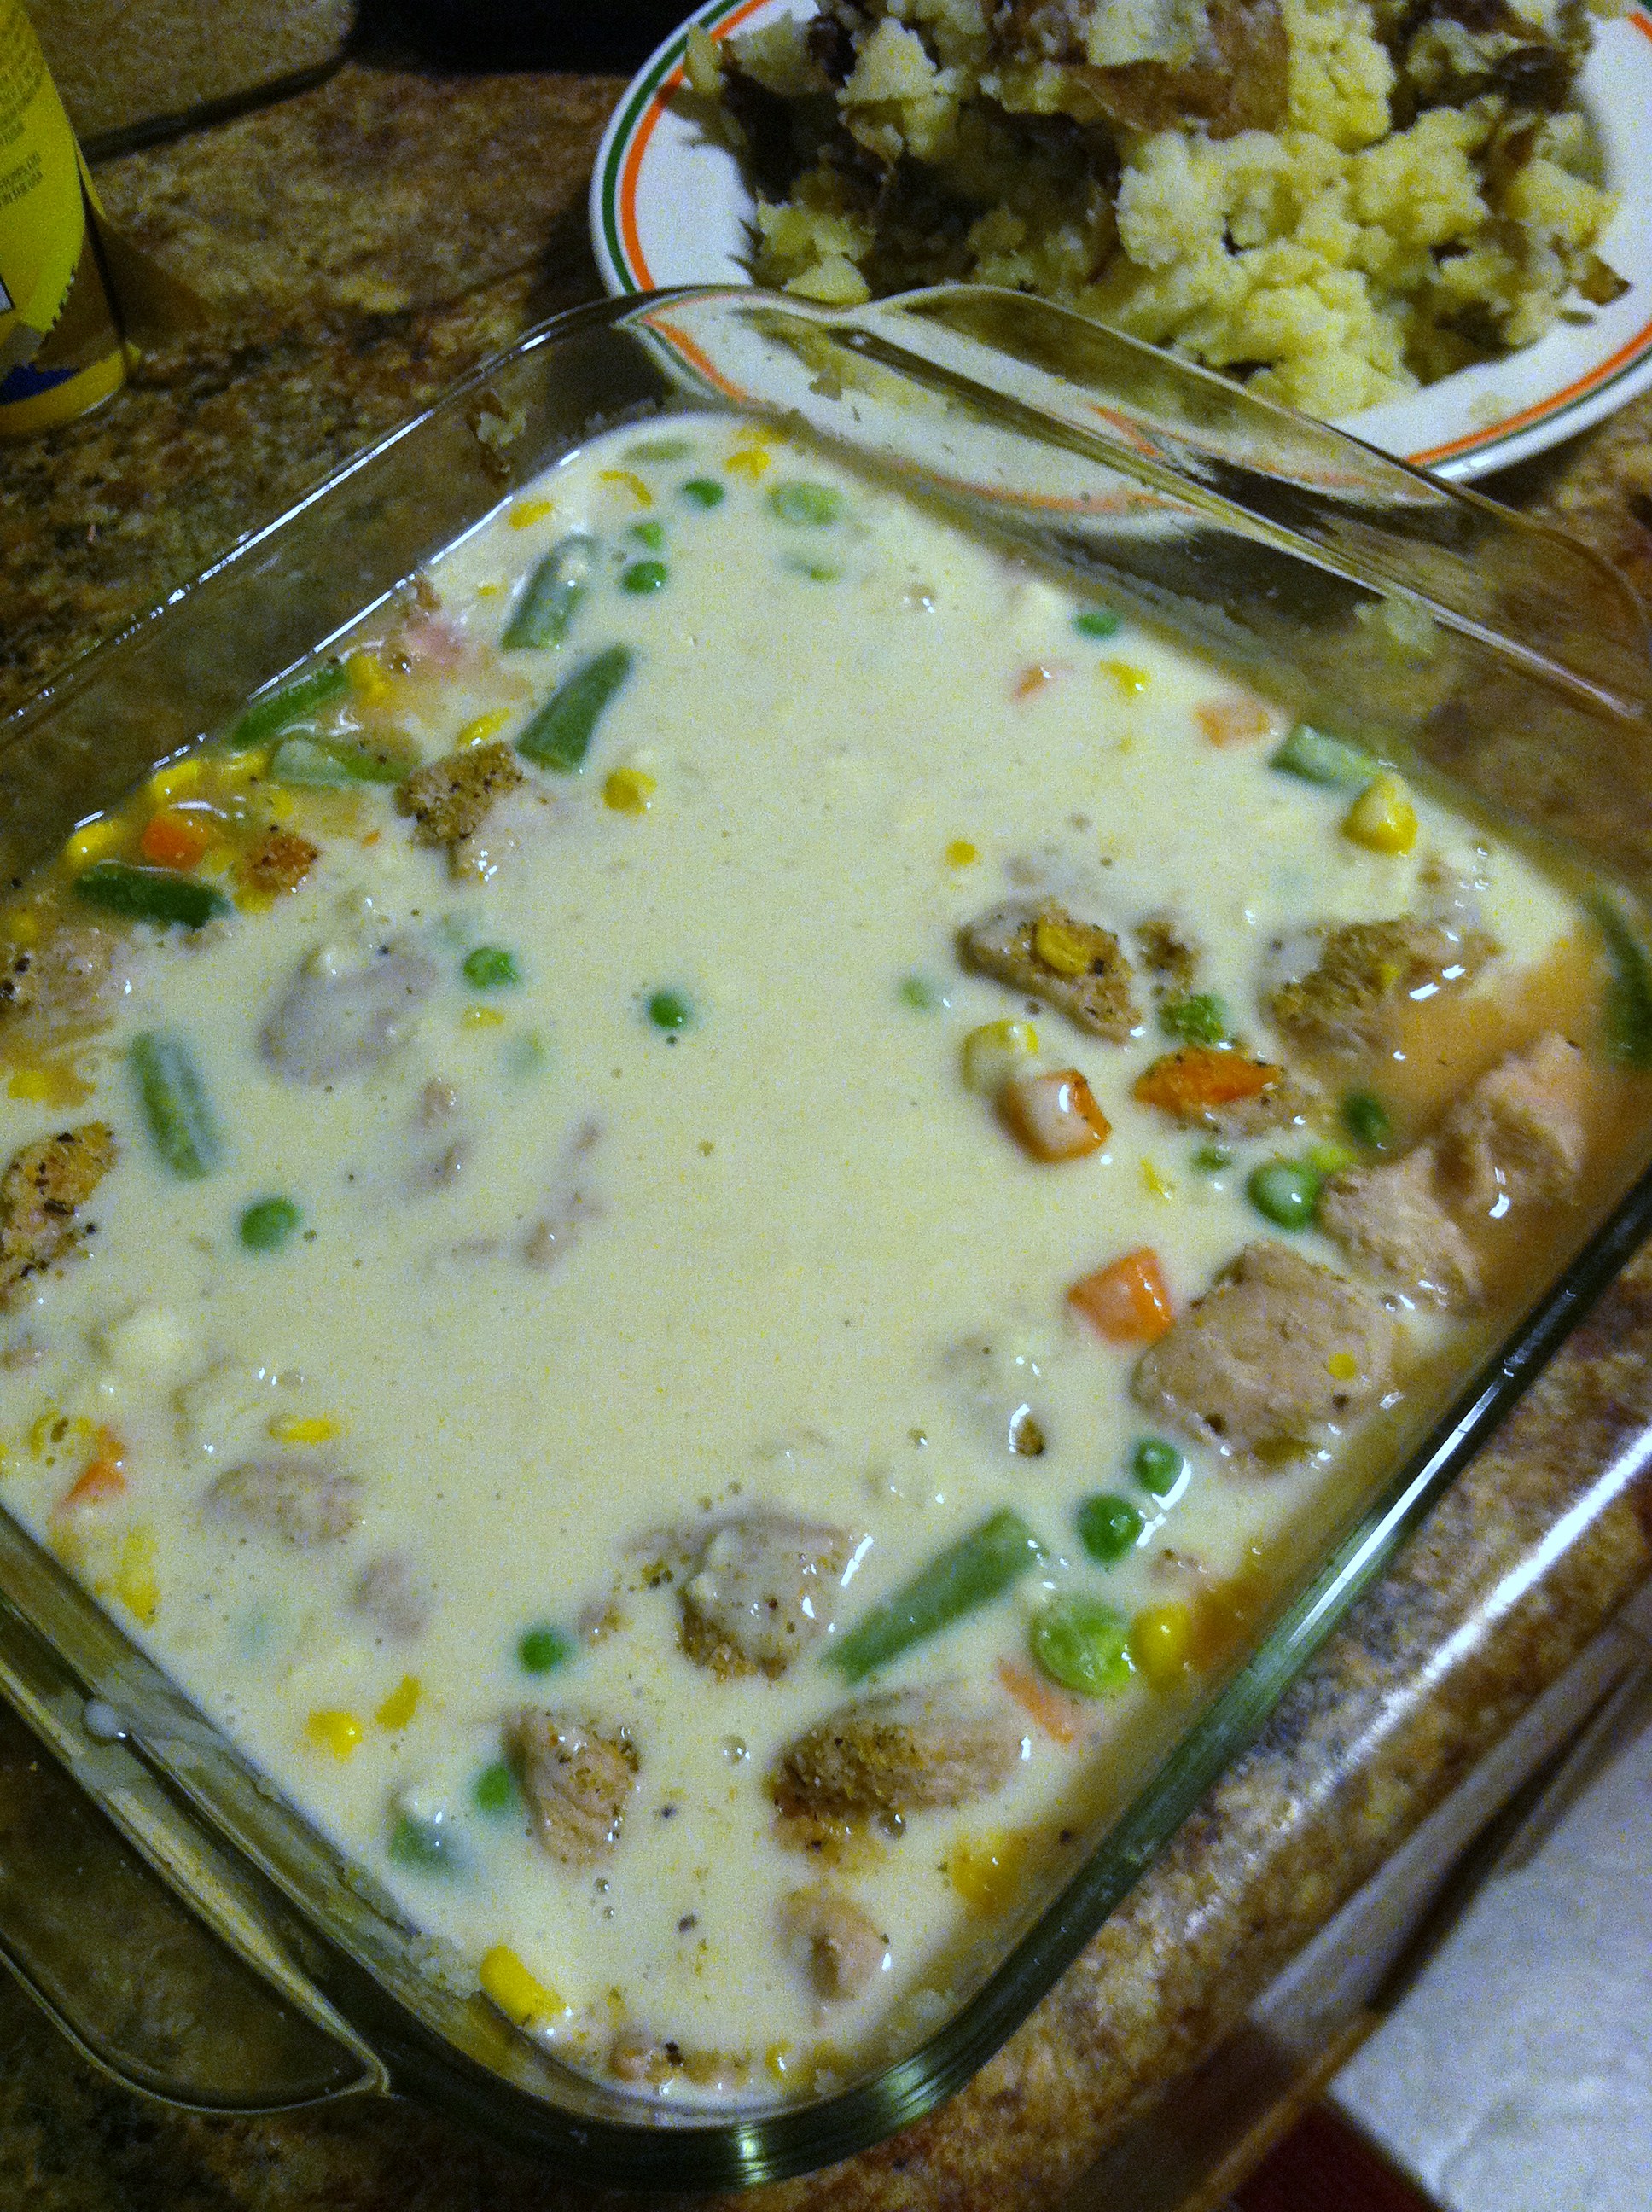
IMG_4515

Step 4: Pour the milk mixture over the veggies & pork.

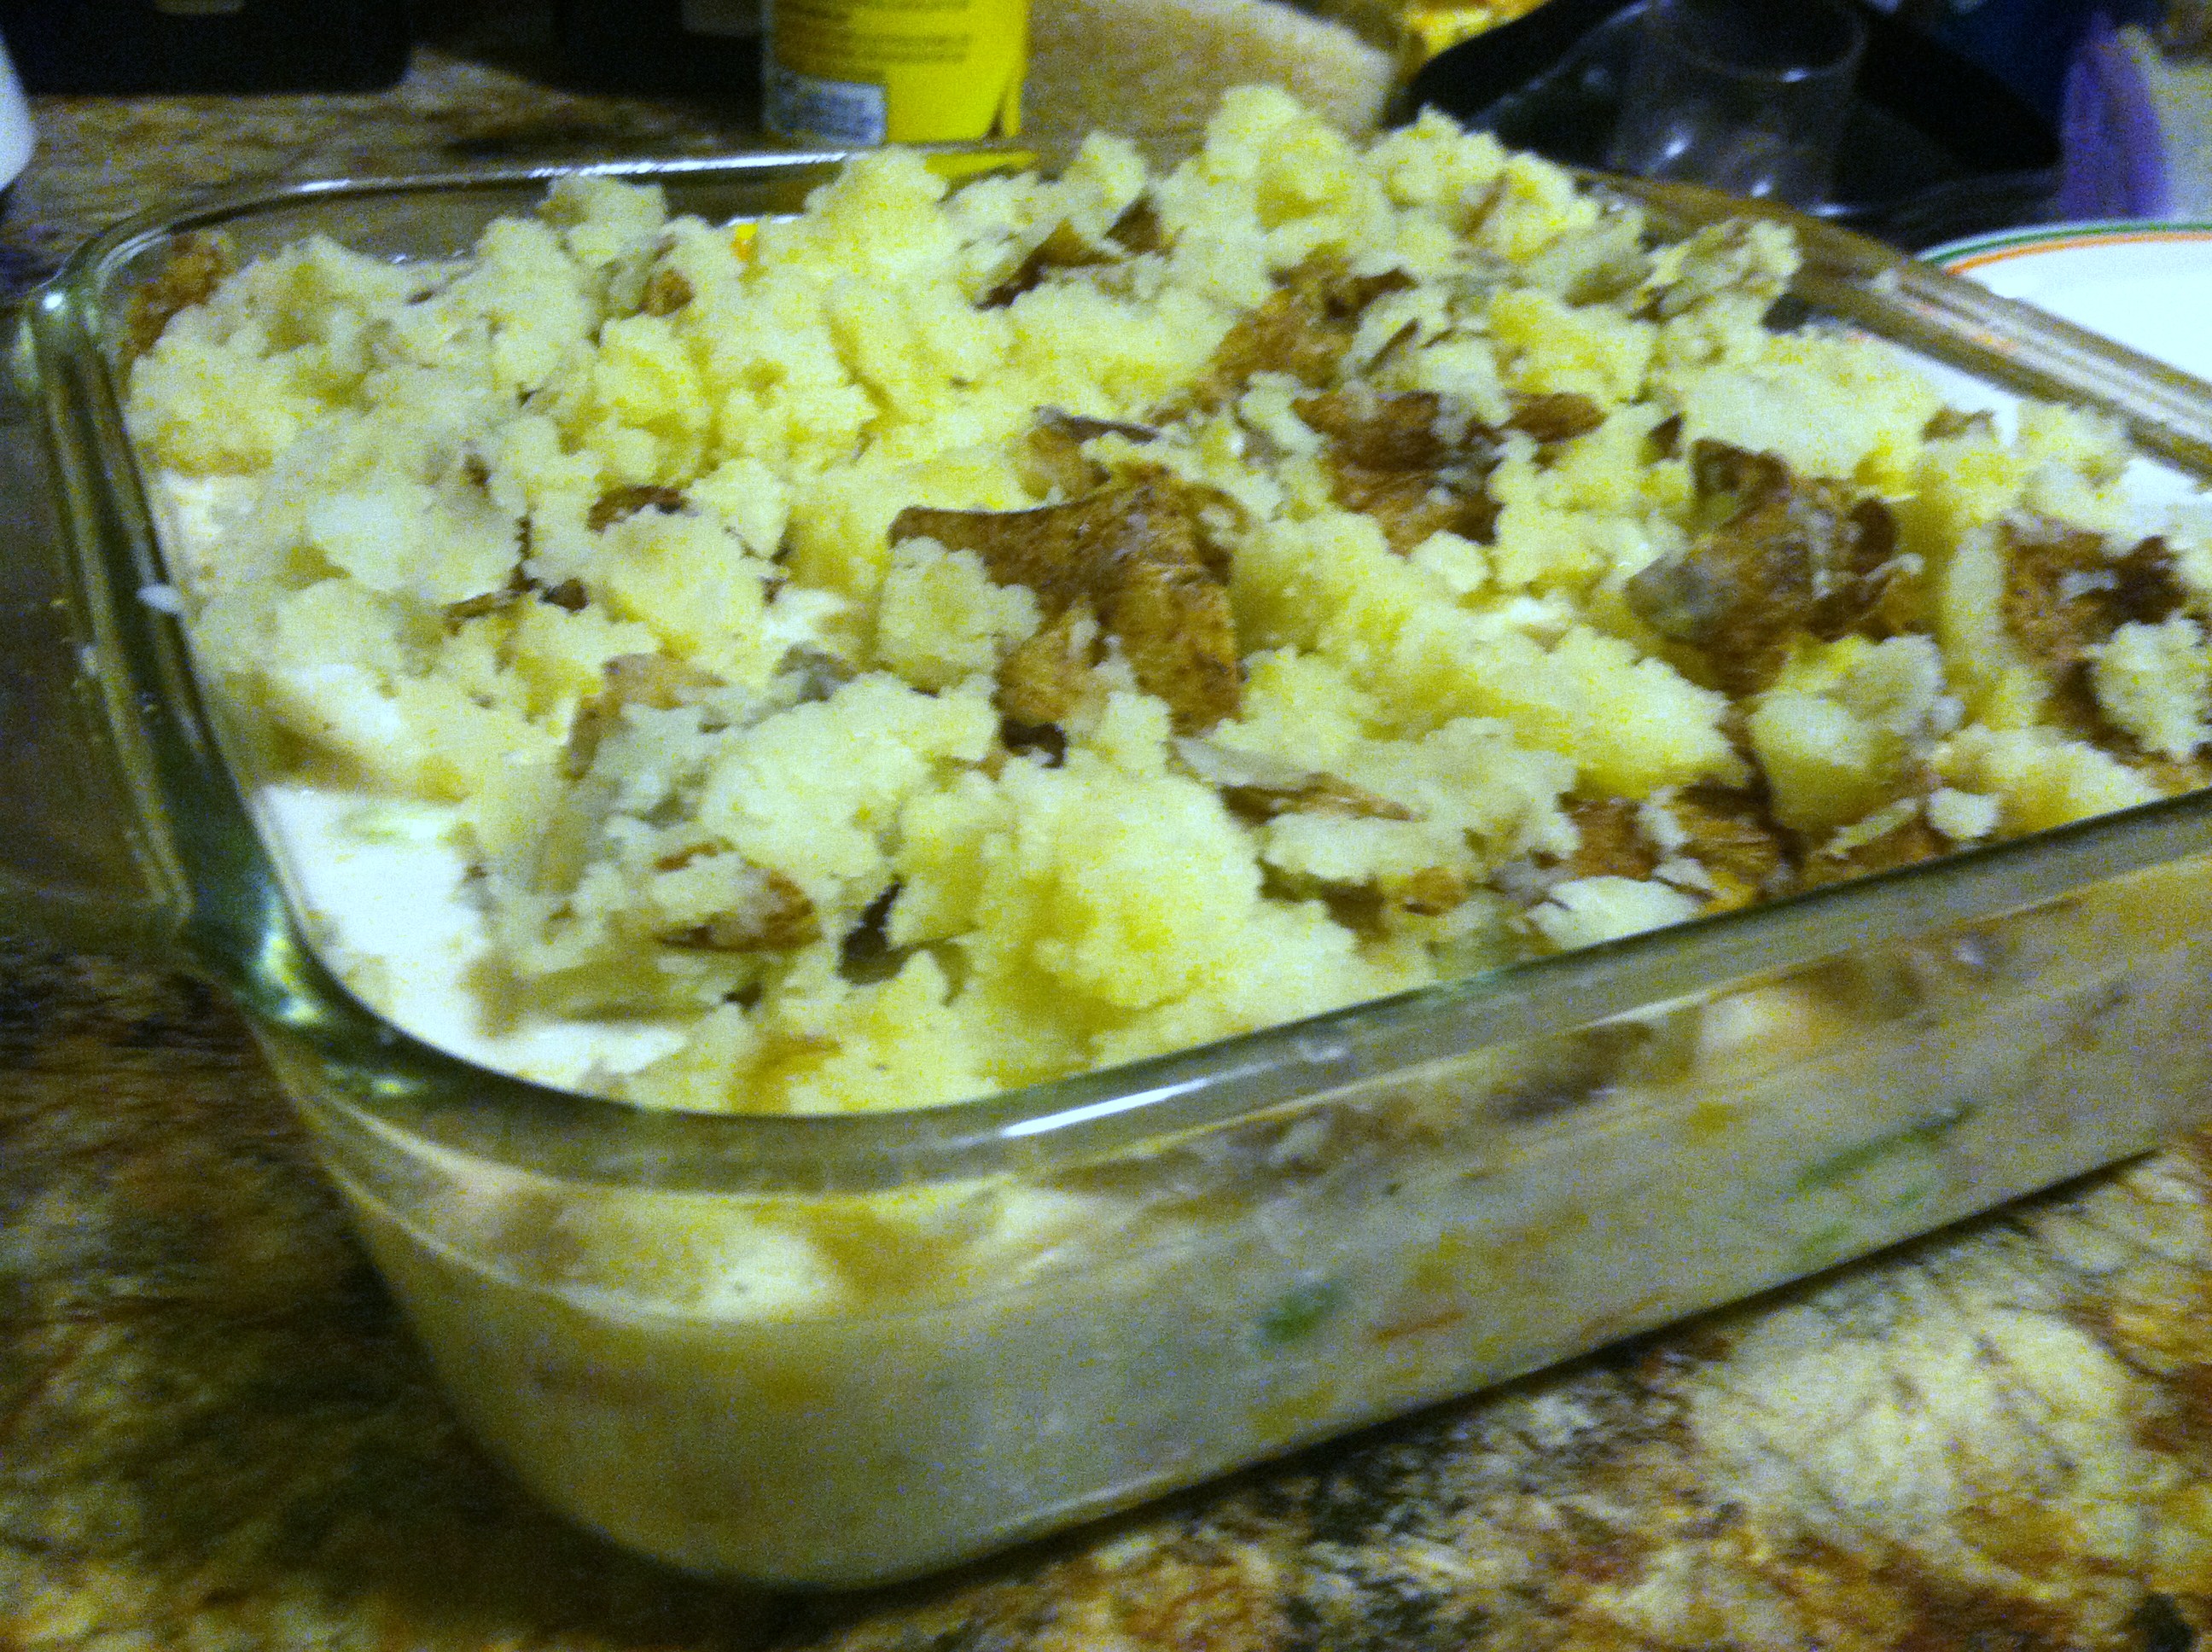
IMG_4516

Step 5: Cover in a layer of mashed potato. Season with salt, pepper, garlic, onion powder, paprika, anything you like. Spread out the raw biscuits on top of the potato layer.

IMG_4522

Step 6: Bake in the oven at 350 for 20-25 minutes.

IMG_4524

Quinoa & Bean Quesadilla


In the pursuit of creating meals which are both vegan and yet so delicious my total carnivore fiancee doesn’t even notice it’s vegan, you win some & you lose some.

IMG_9368

This was a definite win.

The way I see it, it has all the things a quesadilla should: meaty fillings (‘meaty’ like you feel full after eating it, not actual meat; in this case beans & quinoa), gooey stick-together-ness (avocado), and lots of flavor (roasted peppers & spices). Warmed up for a crunchy exterior with soft goodness inside, this will make everyone happy regardless of dietary preference.

This makes 2 servings. And best of all, you sneak in almost a whole cup of veggies per serving! I won’t tell if you won’t.

Ingredients:

  • 4 tortillas
  • 1 cup cooked quinoa
  • 1/2 cup bell pepper slices
  • 1 avocado
  • 1 cup cooked white beans
  • 1/2 cup spinach
  • Cooking oil
  • Optional: nutritional yeast

IMG_9361

Step 1: Cook your quinoa according to package. Likely you mix 1/2 cup quinoa with 1 cup water, bring to a boil, then cover & let sit 10 minutes. Fluff with a fork. Set up your station.

IMG_9358

Step 2: If you have the time, caramelize your pepper pieces by heating in a frying pan over medium heat just until they begin to char. This brings out their innate sweetness. If not, raw pepper will work just as well, the finished product may be crunchier.

IMG_9363

Step 3: On one tortilla, cut half the avocado, &  spread it around. This acts like a paste to hold your quesadilla together. Layer on half the spinach, and season as you wish. (Basil, garlic salt, cilantro, lime…)

IMG_9364

Step 4: On the other tortilla, layer the quinoa, beans (cooked according to directions, or from a can), peppers, and if using sprinkle on some nutritional yeast. It is not required, it just gives an extra ‘cheesy’ taste & you guessed it, nutrition. (You can also use dairy cheese if not vegan).

IMG_9366

Step 5: Spray or grease a frying pan. Place the one tortilla on top of the other, carefully, and place in the pan. Fry for 4-5 minutes, until golden brown and crisp, then carefully flip the whole thing. Use two spatulas if you need to. Crisp the other side 4-5 minutes.

IMG_9369

Cut with a knife or pizza roller, and enjoy! This baby is chock-full of good stuff, and creates a great taste & texture combo that really satisfies.


[amd-zlrecipe-recipe:29]

Simple soy sauce chicken

.
.
This is a super simple recipe that I’ve used time and time again. It is great on its own, or as the base of a more complex sauce. Feel free to experiment with adding new ingredients as you become more sure of your own tastes and what flavors go well together. Ideas include: slices of lemon or orange, zest from citrus, lime juice, apple cider vinegar, fish sauce, thyme, parsley, oregano, tomato paste, pureed anchovies, olives, crushed nuts…
.
Chicken is also a great meat for those on a budget. Especially if you buy dark meat like drumsticks or thighs, these are often on sale for 0.99/pound or less. You can also use chicken leg quarters, which includes both drumsticks & thigh meat. My sister, who is in college now, also loves this quick, easy, always-delicious chicken. Pair with a veggie or two & a carb for a filling, frugal meal in under 20 minutes.
.
Ingredients:
  • 2-4 pieces of chicken (thighs, drumsticks, or breasts all work)
  • 1/4 cup soy sauce
  • 2 tbsp diced garlic (or 3-4 cloves, chopped)
  • 2 tbsp lemon juice or vinegar
  • Sprinkle of garlic salt or S&P
Step 1: In a frying pan, lay the chicken in a single layer. If using breasts, spray the pan or spread around 1 tbsp oil first. If using drumsticks or thighs, the chicken should release some of its own fat while it cooks so it won’t stick.
Step 2: In a small bowl, combine the soy sauce, garlic, and lemon juice. Mix well, and pour over the chicken.
Step 3: Bring the heat to medium, and cook, covered, for 10-12 minutes. Flip, and cook the other side for 5-7 minutes.
Step 4: Poke with a fork or cut a small slice in the thickest part. Once you’re sure there is no pink inside, your chicken is ready!
This chicken is especially good when paired with fried rice, but it works well with any grain (white/brown rice, quinoa, barley, couscous) or potato (mashed, baked, boiled). I love fresh asparagus & boil-in-bag edamame was on sale, which rounded out this meal nicely.

Roasted Veggie Pizza with White Bean Sauce


Pizza is always delicious, and this is a healthier, fresh take on making your own. If you use pre-made dough it is a super cinch, but you could also go all-in and make homemade pizza dough too.

The sauce gets a new makeover by using white bean puree & ranch dressing to make a creamy white sauce that’s packed with vitamins and fiber. Feel free to use whatever veggies you have laying around. I love using oven-roasted veggies for their caramely flavor.

You can of course add meats as well. This sauce goes great with just about anything. To keep it hard-core vegan, make sure your Ranch dressing doesn’t have anchovies in it.

Ingredients:

  • 1 roll pizza dough
  • 1 can white beans or 1 cup cooked beans
  • 4-6 tbsp Ranch dressing
  • 1 cup roasted veggies
  • 1 cup spinach
  • 1/2 cup grape tomatoes, cut in half

IMG_9401

Step 1: Spray a cookie sheet or pizza tin and roll out your dough. Place on the pan and preheat the oven to 400 F.

IMG_9402

Step 2: Blend the beans in a blender or food processor, adding a bit of olive oil or warm water if needed to make a sauce. Mix in the Ranch dressing and spread over the pizza.

IMG_9405

Step 3: Sprinkle the veggies around the pizza, then toss on the spinach and the tomatoes. Season as desired.

IMG_9406

Step 4: Bake at 400 for 20-25 minutes, until crust is browned and cooked through in the center.

IMG_9411

Pretty much all vegetables work here: broccoli, cauliflower, onions, peppers, mushrooms, potatoes, carrots, tomatoes, greens, and more. Get crazy! I just sprinkled on some garlic salt & black pepper, and it was absolutely perfect.


Chia, Quinoa & Greens Salad


For an awesome, easy lunch/side dish/snack that you can take on the go or whip up without heating the kitchen on a smoldering summer day, try this salad packed with power players. This would easily be layer-able in a mason jar, to take to work or school or anywhere on the go, or throw together right out of the fridge. It also tastes good made in advance if you use hardy greens that are amenable to some marinating.

IMG_9376

The base of any good green salad is of course the greens. Leafy greens are the super-veggies of the plant kingdom, and it is REALLY tough to have too much. There are plenty of species whose only food is leafy greens. We should try to emulate that as much as possible.

According to author, dietitian, and nutritional educator Jill Nussinow MS, RD, “Greens are the number 1 food you can eat regularly to help increase your health” (WebMD). Leafy greens are packed with vitamins & minerals, as well as heart- and gut-healthy fiber and plant-based chemicals, many of which we haven’t even discovered yet.

Leafy greens include kale, collards, mustard greens, beet greens, romaine, spinach, arugula or rocket, swiss chard, broccoli,  cabbage, and even iceberg. Start with a big heaping handful, at least 1-2 cups.

Next up is the buzz-worthy quinoa (pronounced keen-wah). Quinoa was domesticated 3,000-4,000 years ago in South America. It is a psuedocereal with edible  seeds, closely related to amaranth and buckwheat.  Quinoa contains essential amino acids (which our body cannot make on its own) like lysine, as well as an exceptionally high protein content, and minerals such as calcium, phosphorus, and iron. It is also gluten-free, making it a great “grain-like” choice for those with Celiac’s disease or a gluten intolerance.

The raw seeds have a soapy coating (called saponins) that make them unpalatable to birds. This is handy because the crops need less protection. However, that means most quinoa crops must be processed before sale for humans, so that we are able to eat it without feeling like we just licked a Dawn dish soap dispenser.

And our final power player here is the chia seeds. Chia seeds are a massive nutrition powerhouse, with just one ounce (2 tablespoons) containing 11 g of fiber, 4 g of protein, and about 100 calories while also providing about 1/3 your recommended manganese, magnesium, and phosphorus. There are claims that some ancient cultures would survive solely on chia seeds in times of duress.

Chia is easy to incorporate into baking, simply sprinkle a tbsp or two into any batter, from pancakes to muffins to oatmeal. You could also try a refreshing Chia Fresca as a beverage to get some chia in your life. While a little weird at first, it is a great habit to start to get enough water every day.

And finally, we top it off with whatever fresh veggies you are partial to. Just make sure to incorporate a variety, and at least 1/2-1 cup total. A tbsp of other nuts or seeds is also a great addition. Steer clear of too-high-fat toppings like cheese, meats, or even eggs. Add spices to taste.

Ingredients:

  • 1 1/2 cups mixed greens
  • 1/2 cup cooked quinoa
  • 1 tbsp chia seeds
  • 1/2 cup julienned carrot & cucumber
  • 1 stalk celery, diced
  • Handful grape tomatoes, cut in half
  • 1 tbsp sunflower seeds
  • 2 tbsp vinaigrette

IMG_9377

Step 1: Lay down your greens. Mix in your quinoa. (To cook: mix 1 cup with 2 cups water, bring to a boil. Cover, turn off heat. Let stand 10 minutes, fluff with a fork.)

IMG_9378

Step 2: Add in your vegetables, sprinkle chia on top.

Step 3: Whip up a fresh, super-simple vinaigrette by mixing 1 tbsp lemon juice, 1 tbsp olive oil, and 1 tbsp vinegar in a bottle, then shaking. Or drizzle on 1-2 tbsp of bottled dressing.

IMG_9380

If you want to make a portable layered salad, add ingredients in the exact opposite order: dressing on the bottom, then hard veggies, soft veggies, quinoa & greens.

Country Style BBQ Ribs


What meat-eater doesn’t love ribs? I mean really, isn’t it just so satisfying to take a hunk of meat and bone and gnaw on it? Dripping BBQ sauce all over your hands and face and maybe other table mates, it is such a throwback to our caveman roots.

Summertime and grilling ribs go hand-in-hand. Unfortunately, ribs and my bank account staying full are not quite as cozy. A full rack of baby backs can run over $30, even at the grocery store. And if you order it already cooked in a restaurant with two people, the meal total can creep up towards triple digits.

While in the meat section of the grocery store, I came across a marked-down package marked “country style ribs”. Remembering these beauties from childhood, I decided to cook these up the way I remember them. My mom always cooked them this way, and they are fall-off-the-bone amazing. This lead me to question why there is such a disconnect between the different rib types.

IMG_9290

Thanks to AmazingRibs.com, I know more about pigs than I ever wanted to, and I even wrote an article about the different cuts of a pig before. The text following is from their website:

“Pigs have 14 rib bones. They are attached to the spine and are usually divided into four popular cuts: Baby back ribs, spareribs, St. Louis cut ribs, and rib tips. Starting at the top are the baby backs, closest to the backbone, nestled beneath the loin muscle. They are curved, round bones, close together, and most of the meat is on top of the bones, cut from the underside of loin muscle.

As you move further from the spine, the bones get larger, flatter, straighter, and wider apart with more meat between them. There is more fat marbling in the meat as you go further from the spine and closer to the belly. The front ribs are connected to the breast bone with a number of small bones and cartilage known as the rib tips. There are a number of other cuts, and they are all described below.”

pork cuts

As it turns out, Country-style ribs are not really ribs at all! They are actually pork chops, more meaty and less fatty than real ribs. They are cut from the front end of the baby backs near the shoulder. They respond well to brining before low and slow cooking. This is good news, because that is similar to how I cooked them.

Now, if you are thinking to yourself, “but I want ribs tonight, like now, I don’t want to have to wait to brine them!”

Have no fear! We skip the long 24-hour-brine and instead boil them in water with some vinegar added. This imitates the long brine in a much shorter time window. Finishing on the grill gives them the nice crispy outside char, and waiting to add sauce until the last minute ensures that the sauce is caramelized but not burnt.

Best of all, this is only 3 ingredients! (If you use store-bought sauce. I still think making your own is better, but that requires another 9-10 ingredients (which you probably have already)).

Ingredients:

  • 5-7 pounds country style ribs
  • 1-2 cups BBQ sauce (I recommend sweet & tangy homemade)
  • 1 gallon water
  • 1/2 cup white vinegar

IMG_9275

Step 1: Bring a large pot of water to a boil, and add the vinegar. Throw in the ribs, and boil about 15 minutes.

IMG_9276

Step 2: Drain the ribs, and fire up the grill. Once it’s nice and hot, line with aluminum foil (to prevent sticking, you can also spray the grill with oil before lighting and go right on the grate) and place the ribs on top. Close and cook 5-7 minutes, then flip and cook another 5-7 minutes.

IMG_9279

Step 3: Once nicely browned, coat thoroughly in sauce. Cover & cook again for just a few more minutes to caramelize the sugars.

IMG_9277

Let rest for a few minutes before serving. Then try to hold yourself back from eating a dozen at a time! Goes great with BBQ Bacon Baked Beans, mashed cauliflower potatoes, and Italian cucumber & tomato salad.

IMG_9299

Next time you have a picnic, party, or craving for something finger-lickin good, make up a few dozen of these and everyone is sure to be pleased.


Chicken Piccata with Zoodles


Ask any gardener, and they will tell you that by mid-to-late summer zucchini plants are going bananas, and you can’t give the stuff away fast enough! This is an awesome time of year, when zucchini can be had cheaply at the super markets and farmers markets (or maybe your neighbor, just ask nicely).

photo 2
My striped zucchini

Be prepared, there may be lots of zucchini recipes in the near future, especially since I planted 8 plants this year! Here’s an article with a dozen recipe ideas, I’m sure at least a few will find their way to my test kitchen in the upcoming months.

photo 1
The regular and grey zucchini

This recipe was my first experience with the new food craze of “zoodles”, the cute name for noodles made from zucchini. You can try to hand-julienne them, but a mandoline slicer makes the job far easier. Bascially, the whole zucchini gets shredded into thin noodle-like strands and cooked, then treated like pasta. But way healthier! You’ll get loads of vitamins, plus fiber.

This chicken piccata recipe makes enough for 4. You could easily cut this in half, or double it and freeze some, depending on your mood. I mixed half regular pasta and half zoodles for my first taste, but you can feel free to go all-in, or even use spaghetti squash pasta instead.

Ingredients:

  • 4 half chicken breasts
  • 1 pound pasta
  • 1 huge ripe zucchini
  • 3-4 garlic cloves
  • 1/4 cup lemon juice
  • 1/4 cup olive oil
  • 4-6 tbsp capers
  • Sea salt to taste

IMG_8767

Step 1: In a frying pan, heat up 1 tbsp oil. Dice the garlic into tiny pieces, and cut the ends off the zucchini. Add the garlic and chicken to the oil, and cover the pan. Cook on medium heat for 7-10 minutes, then flip and cook another 4-5 minutes, or until chicken is no longer pink at all.

IMG_8772

Step 2: Boil your pasta noodles 8-10 minutes. While pasta is boiling, take out the mandoline and slice the zucchini into thin strands*. Add the zoodles in the last 2-3 minutes of cooking with the pasta.

*See bottom of post for full instructions

IMG_8774

Step 3: Drain the pasta and zoodles. Add to the pan with the chicken, and pour in the oil, lemon juice, and capers. Cover, and steam cook 5-7 minutes.

IMG_8775

Once everything is heated through, place on plate, season to your liking, and serve! This is a double-portion, because my fiancee eats like a racehorse who just finished the Triple Crown.

IMG_8777

The capers and lemon juice give this dish a nice tangy flavor, while the zoodles add a mellow vegetal taste.  You could also use shrimp here, or broil or boil the chicken instead of pan-frying. Go forth and get your servings of sneaky veggies!


To make zoodles:

1. Set your mandoline to the thinnest setting. This will make long thin sheets. Add the comb to slice into noodles.

2. Place the zucchini flat on the mandoline top-to-bottom (lengthwise) and push down the mandoline face. This will cut the first layer. Move the zoodles from  underneath the mandoline to a plate.

3. Put the zucchini back to the top of the mandoline, now flat side down, and push down again. Continue until you have a very thin layer left. Hand-slice this layer, or be very very careful to not slice off your thumb!

Review: Sushi Palace


Seeing as this blog is the “Budget Epicurean” and part of that name entails being curious about new foods, I felt that it was time for a new food place review. If you will recall from my Austin, Texas review series, I rate places based on taste, atmosphere, and overall value. All honest opinions are those of the Budget Epicurean, and no goods, services, or payments were offered for this review.

  • Taste: 1 (wet toast) – 10 (your taste buds have died and gone to heaven)
  • Atmosphere: 1 (gas station bathroom) – 10 (best you’ve ever experienced)
  • Value: 1 (not worth it) – 10 (super duper deal)

There are several places I’ve been in the past few months and simply haven’t written up yet. This one is a definite stand-out, and somewhere I hope to go again soon. Perhaps this article will get me convinced to make reservations! And maybe I’ll see you there.

It’s no secret that I love me some good sushi. All-you-can-eat sushi buffets are one of my favorite places in the world. Sushi snobs may turn up their noses, doubters may worry about the fishy smell or taste, and environmentalists may debate the Earth-friendliness of over-fishing. But there is nothing better than stuffing yourself to discomfort with tray upon tray of rolls and nigiri.

Upon moving away from Denver CO and my precious Sushi Katsu, at which I’ve probably spent several hundreds of dollars over four years (best damn all you can eat deal in the area, fo sho), I needed to find a similar addiction in my newly adopted New England. It is not uncommon for my fiance and I to begin with at minimum 50 individual pieces. This is a tough order, as it also needs to be both delicious, and affordable.

Asking around yielded a place with locations in both North Haven & Hamden called Sushi Palace.

Screen Shot 2015-07-08 at 8.12.00 PM

Luckily for me, a friend was visiting from out of town who has a similar addiction to salty fish and rice, so we set off on our eat-till-it-hurts adventure.

We “began” our meal with three people, thus about 60 pieces between us. Several sashimi were ordered, along with a few rolls, the Rainbow roll, Dragon roll, Philadelphia roll & California roll among them.

IMG_9186

The individual sashimi slices were uniformly perfectly thick and even, with each fish’ unique flavor and texture shining through. My favorites in order: salmon, tuna, white tuna, yellowtail, red snapper. I’m normally not a huge fan of raw fish alone, I prefer some rice along with it, but this was all in all a great experience.

The only exceptions would be the  egg custard (tamago) and red clam (hokkigai). The egg custard was sort of tofu-textured with a hint of eggy and sweet, and the clam was a tough chewy texture, neither of which I totally enjoyed. However, you may have different taste and texture preferences, and find cold shoe leather enjoyable.

Screen Shot 2015-07-08 at 8.18.46 PM

Their menu is quite exhaustive, and the prices are reasonable. I wish to goodness I worked closer to either location, so I could waste one day a week’s pay on buying sushi for lunch daily.

IMG_9187

This is the dinner rush on a typical Thursday. Luckily we got to the place just around 5:30 and snagged one of 5-6 empty tables. Approximately 6pm, cue huge crowd and an out-the-door line. You have been warned.

IMG_9188

Round two of our main course consisted of “sushi”, of which the majority was salmon because that was our unanimous favorite. First big difference I noticed between Colorado and Connecticut: “sushi” in CO meant a roll, here it means “piece of raw fish with room temperature rice”. The CT definition of “sushi” is “nigiri” where I am used to.

No matter, we were ready to mow down a few more rolls and pieces. Of the three of us, we each had about enough room for about 10 more pieces. I can’t recall the name of one of the tempura-fried warm roll, but the hot mayo on top is super delicious! Several of their rolls have this as an option. If you are unsure, you could ask to taste it before ordering a roll drenched in the stuff.

We also got just a taste of the eel, or unagi. Eel is a delicious, flaky fish with a meaty, salty flavor, and is served with this amazing eel sauce that is slightly sweet and warm. This stuff is the bomb dot com yo! Give it a try, you might like it.

IMG_9189

And finally to round out the meal, we each finished off with a small bowl of ice cream. The flavors? Green tea and red bean. Oh yes. Too weird to not try. And it turned out that the bean ice cream has actual chunks of red beans in it, and the green tea is sweeter than I imagined it would be. I did not hate either taste experience, and might actually order a pint of the green tea on purpose.

In summary, an experience and spread well worth $30 for dinner. They have a huge regular menu, and a completely separate menu for the all you can eat option which is equally expansive. With options such as udon noodles, fried rice, beef teriyaki, and edamame, everyone is sure to find something they like. Overall rating:

  • Taste: 7
  • Atmosphere: 6
  • Value: 7.5

http://www.sushipalace.us/menu/menu.htm