How To Make Tortillas At Home

.
I love tortillas. They are so versatile, and save tons of money, because you can wrap up just about anything in a tortilla and it will taste great! You can use up leftover shredded pork, ground beef, chicken, eggs, and any type of vegetable pretty much.
.
The problem is, sometimes tortillas are pretty expensive, and we go through lots of them. I always stock up when they are on sale, but if you just run to the store any given day, you might pay upwards of $3 per pack of ten. That adds up over time, so I sought a way to make my own tortillas for pennies on the dollar. Keep in mind this is my first attempt, I’m sure they get prettier with practice. =)

Ingredients:

  • 4 cups flour
  • 2 tsp baking powder
  • 1/2 cup butter or vegetable oil or lard
  • 1 cup hot water
  • 2 tsp salt
Step 1: Mix flour, baking powder, & salt in a bowl. Cut in the butter and mix until it resembles coarse crumbs. I used butter here but as above, you can use vegetable oil, Crisco, or lard depending on your preference and pantry. There are many proponents of each type of fat, and I’m not taking sides.
Step 2: Pour in your hot (not boiling) water, and mix until dough comes together. You can always add another tbsp so go easy at first. I think I over-did it just a bit here. Let the dough rest in a warm place for about an hour, covered with a towel.
Step 3: Pinch off a piece of dough about the size of a golf ball. Flour your rolling surface and rolling pin, and roll out the dough into a roughly circular shape. Don’t worry if yours are misshapen, this is one of the many ways homemade tortillas are superior to cookie-cutter factory made tortillas.
Step 4: Heat up a cast iron or non-stick skillet to medium/ medium-high.
Toss your tortilla on there, and let ‘cook’ 1-3 minutes. You want it to not be raw anymore, but you also need to be careful to not burn them. This takes a little practice, so don’t feel bad if a few aren’t perfect. You’ll get it.
Step 5: Flip the tortilla so that both sides can get nicely browned. This one was pretty good for a first go. I think I rolled the dough a little too thick for this batch though. I got 12, and likely could have gotten more like 15.
Balls of dough resting before being rolled out.
My rolling area was quite cramped, so I had to do one or two at a time. That is probably for the best though, you want to keep the raw dough and the cooked tortillas covered so they stay moist and pliable. You don’t want to accidentally make tostadas after all.
Rolling the floured dough into circles.
Rollin, rollin, rollin….
Flipping the tortilla to flour the other side. Don’t want it to stick.
Wow, I actually look like I know what I’m doing! =)
This one got a little too crispy…
Careful how much oil you use in the pan, don’t want to fry them.
Stack your finished tortillas and keep them covered with a towel. I kept mine in the microwave to stay nice and warm and fresh.
These are far superior tasting to any store-bought tortillas. They do take some time and patience to master, but are very worth it in the end. Then use as you would any other tortilla, for breakfast burritos, a PB & banana wrap, lunch wraps, tacos, whatever! They are probably good enough just to eat warm. And I totally did that with a few.
.
What do you like to eat with tortillas?
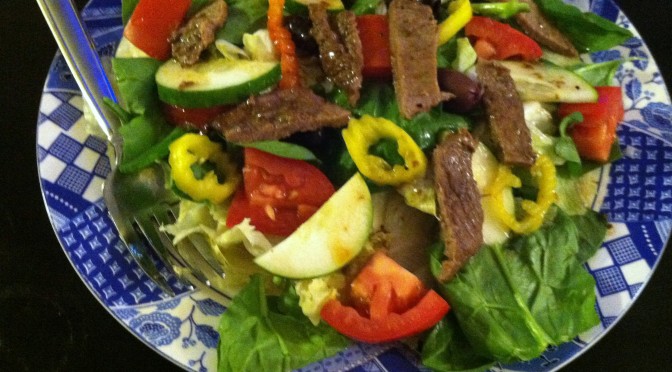
Steak Salad with Balsamic & Orange Dressing


Summer is meant for salads. Vegetables are fresh, lettuces are crisp, days are warm. Rather than turn on a hot stove or oven, a salad cools and refreshes. The possibilities for greens are endless, from plain Iceberg to hearty kale to spicy arugula to rainbow chard. On top of your crisp base you can build your masterpiece with any number of toppings.

Since I had recently purchased some steaks on sale, a steak salad seemed only natural. I had also recently procured some “Orange Muscat Champagne Vinegar” from Trader Joe’s, which I had heard is delightful as a dressing. So I decided to test that claim. (Spoiler: they were right.)

Ingredients:

  • 2 thin steaks (1-2 oz)
  • 4 tbsp Balsamic vinegar
  • 4 tbsp Orange vinegar
  • 3 tbsp olive oil
  • 1 cup spinach
  • 1 cup torn Iceberg lettuce
  • 1 roma tomato
  • 1/2 cucumber, sliced
  • Handful of banana pepper slices (optional)
  • Handful of Kalamata olives (optional)

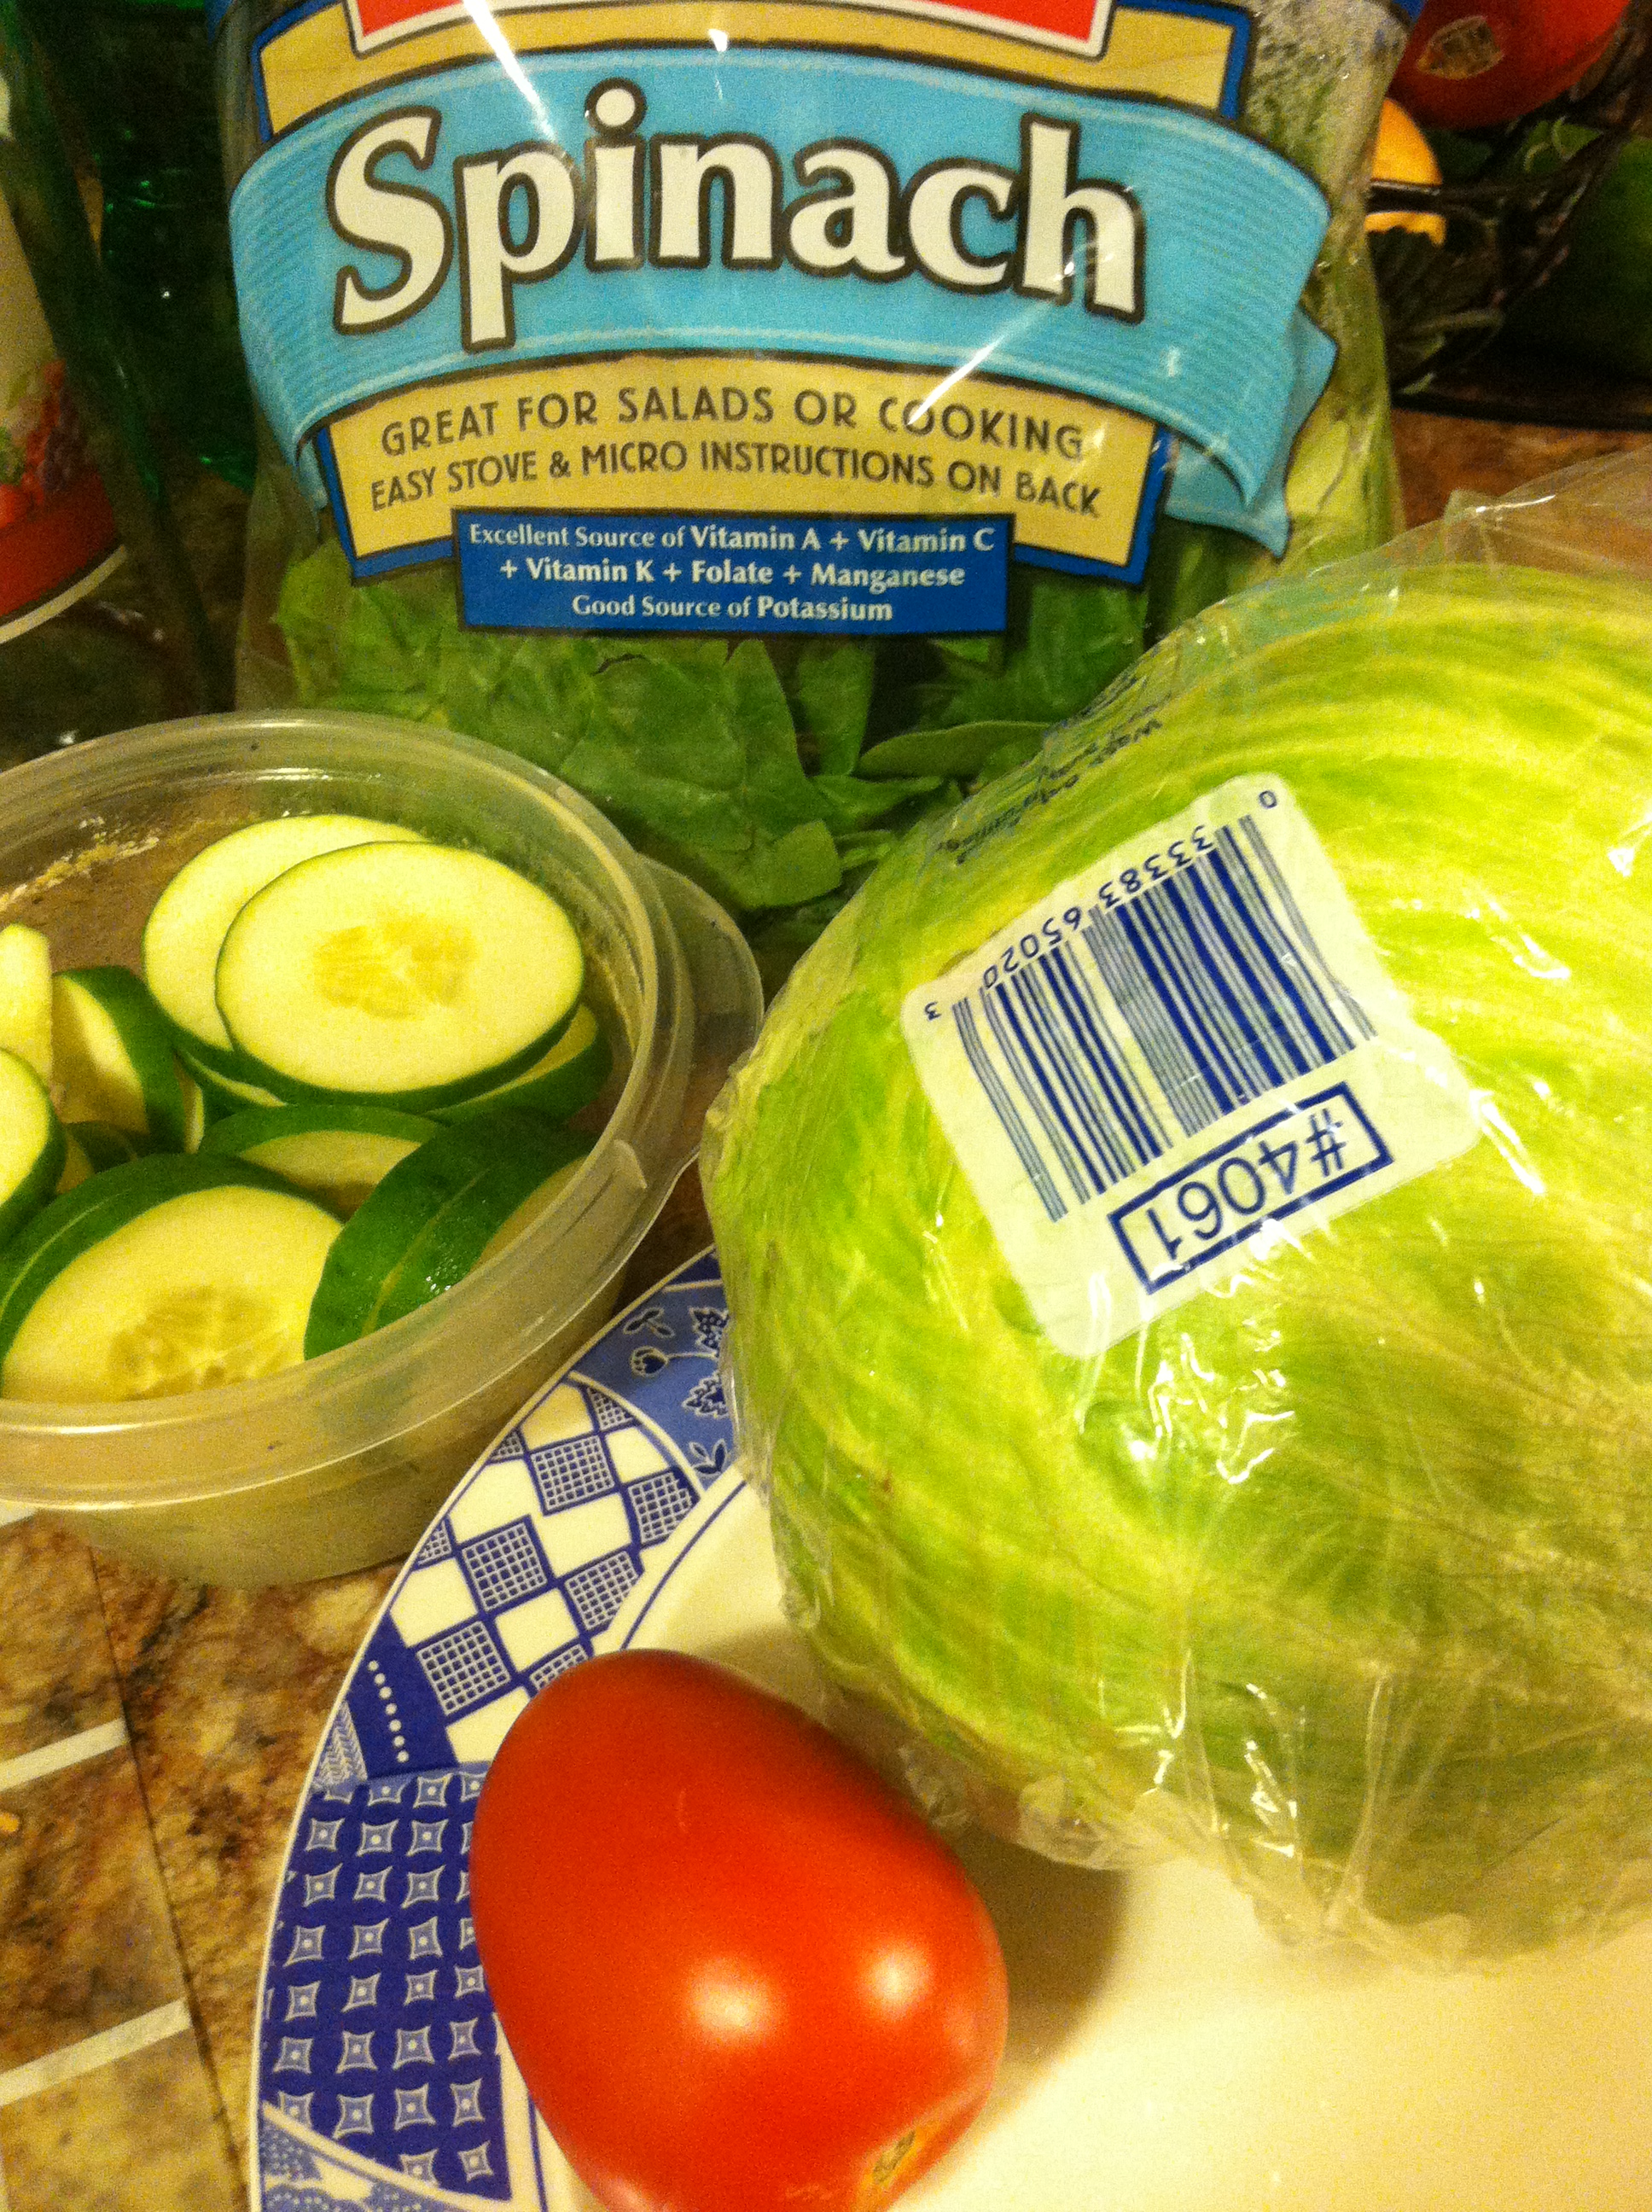
IMG_2634

You can of course use whatever greens you prefer for the base of the salad. Just make sure you have a hearty plate full! Gotta get those vitamins and minerals.

IMG_2635

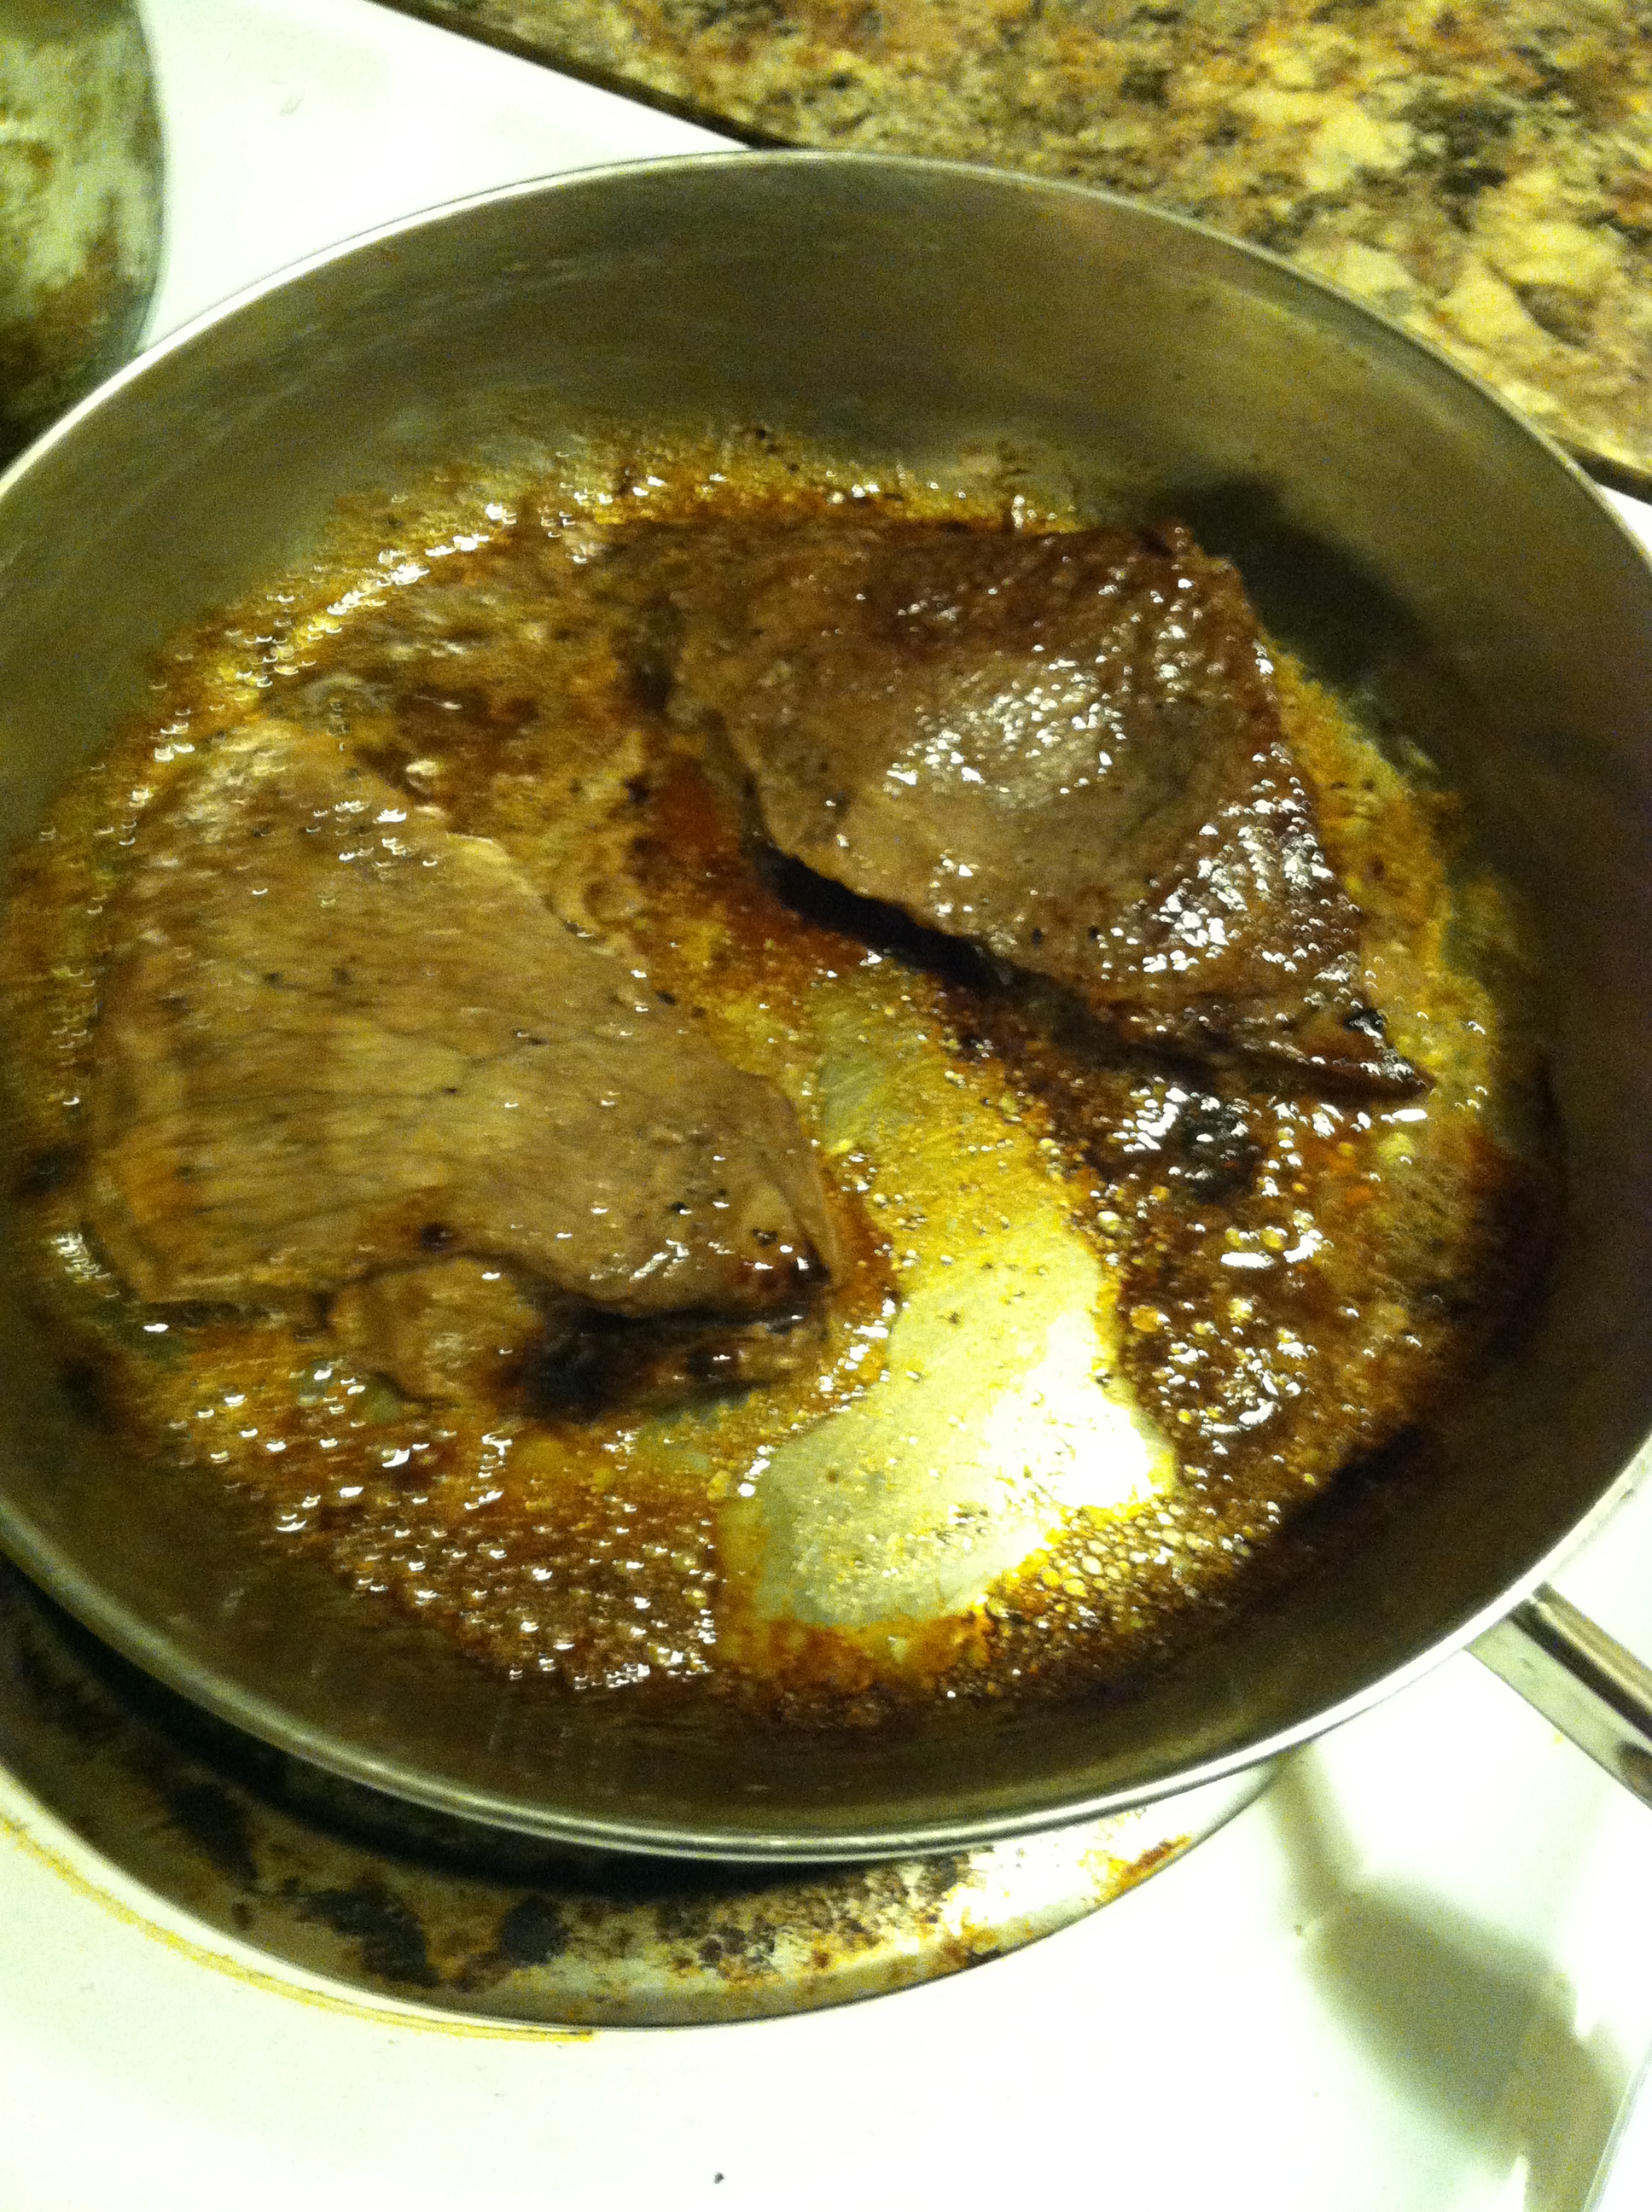
Step 1: In a frying pan over medium heat, cook the steaks with the balsamic vinegar for about 4 minutes per side, until cooked but not blackened. Don’t over-cook, you don’t want them tough like shoe leather.

IMG_2637

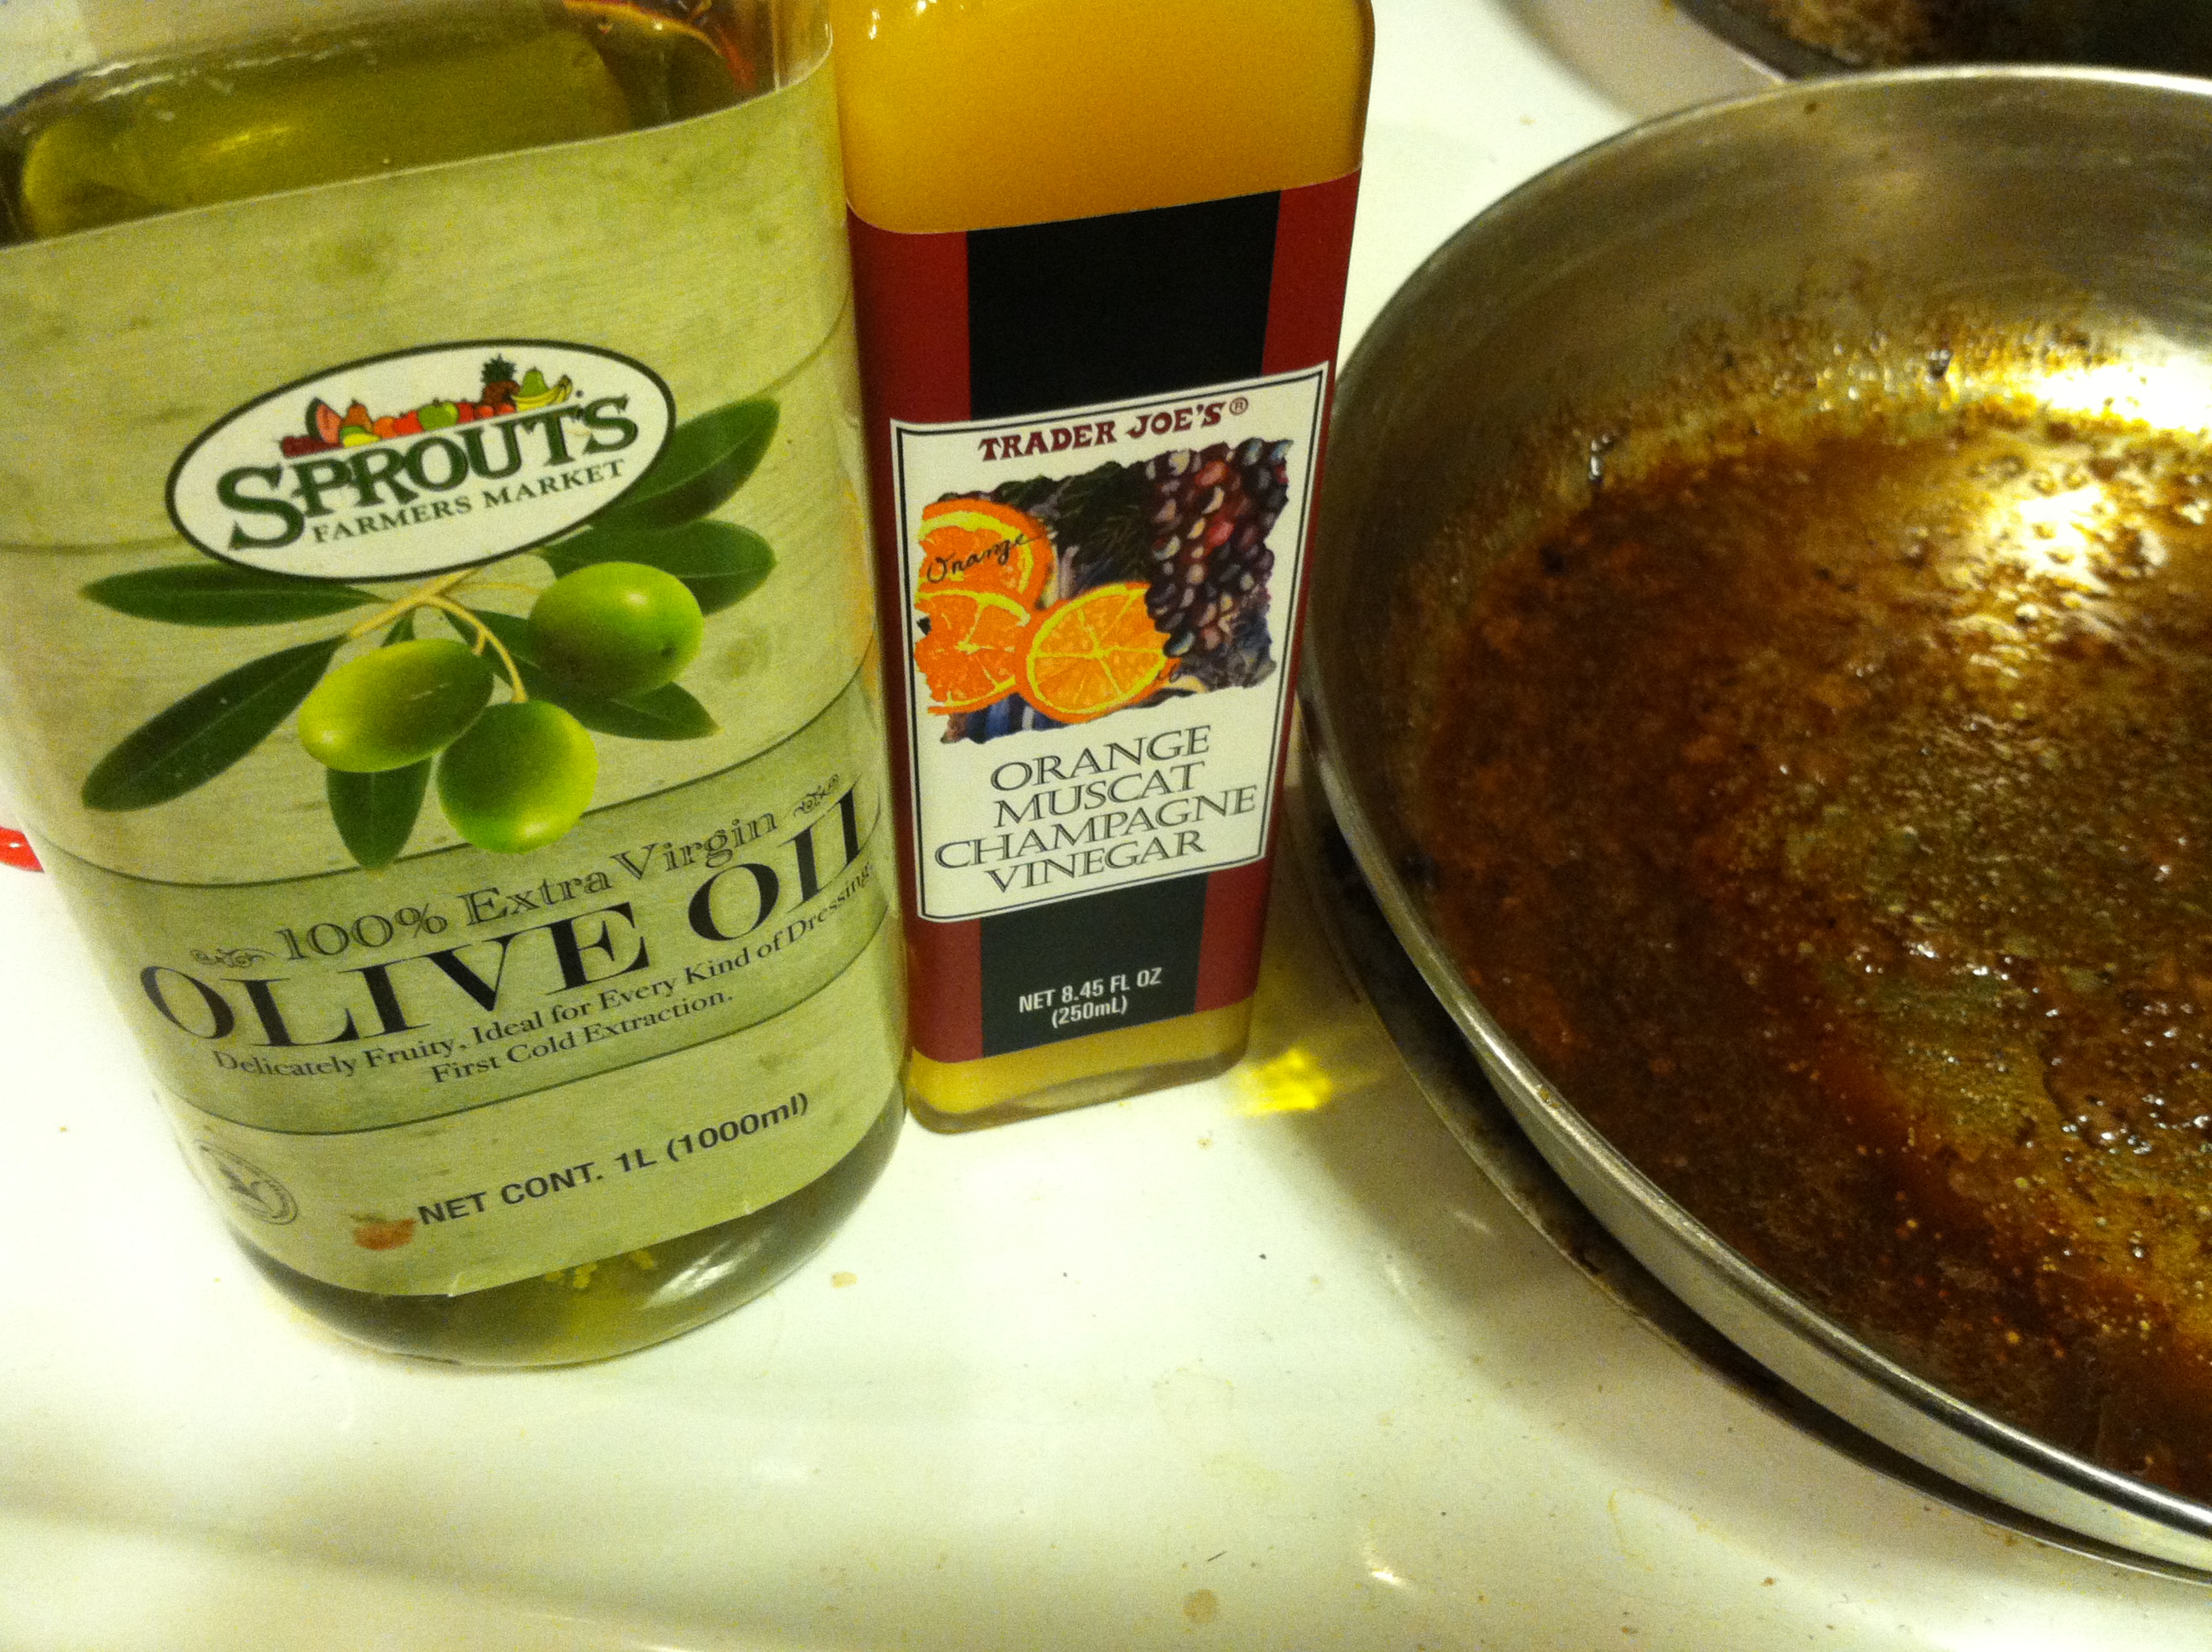
Step 2: Let the drippings in the pan cool, and add to a small bowl. Pour in the Orange vinegar and olive oil, whisk with a fork.

IMG_2640

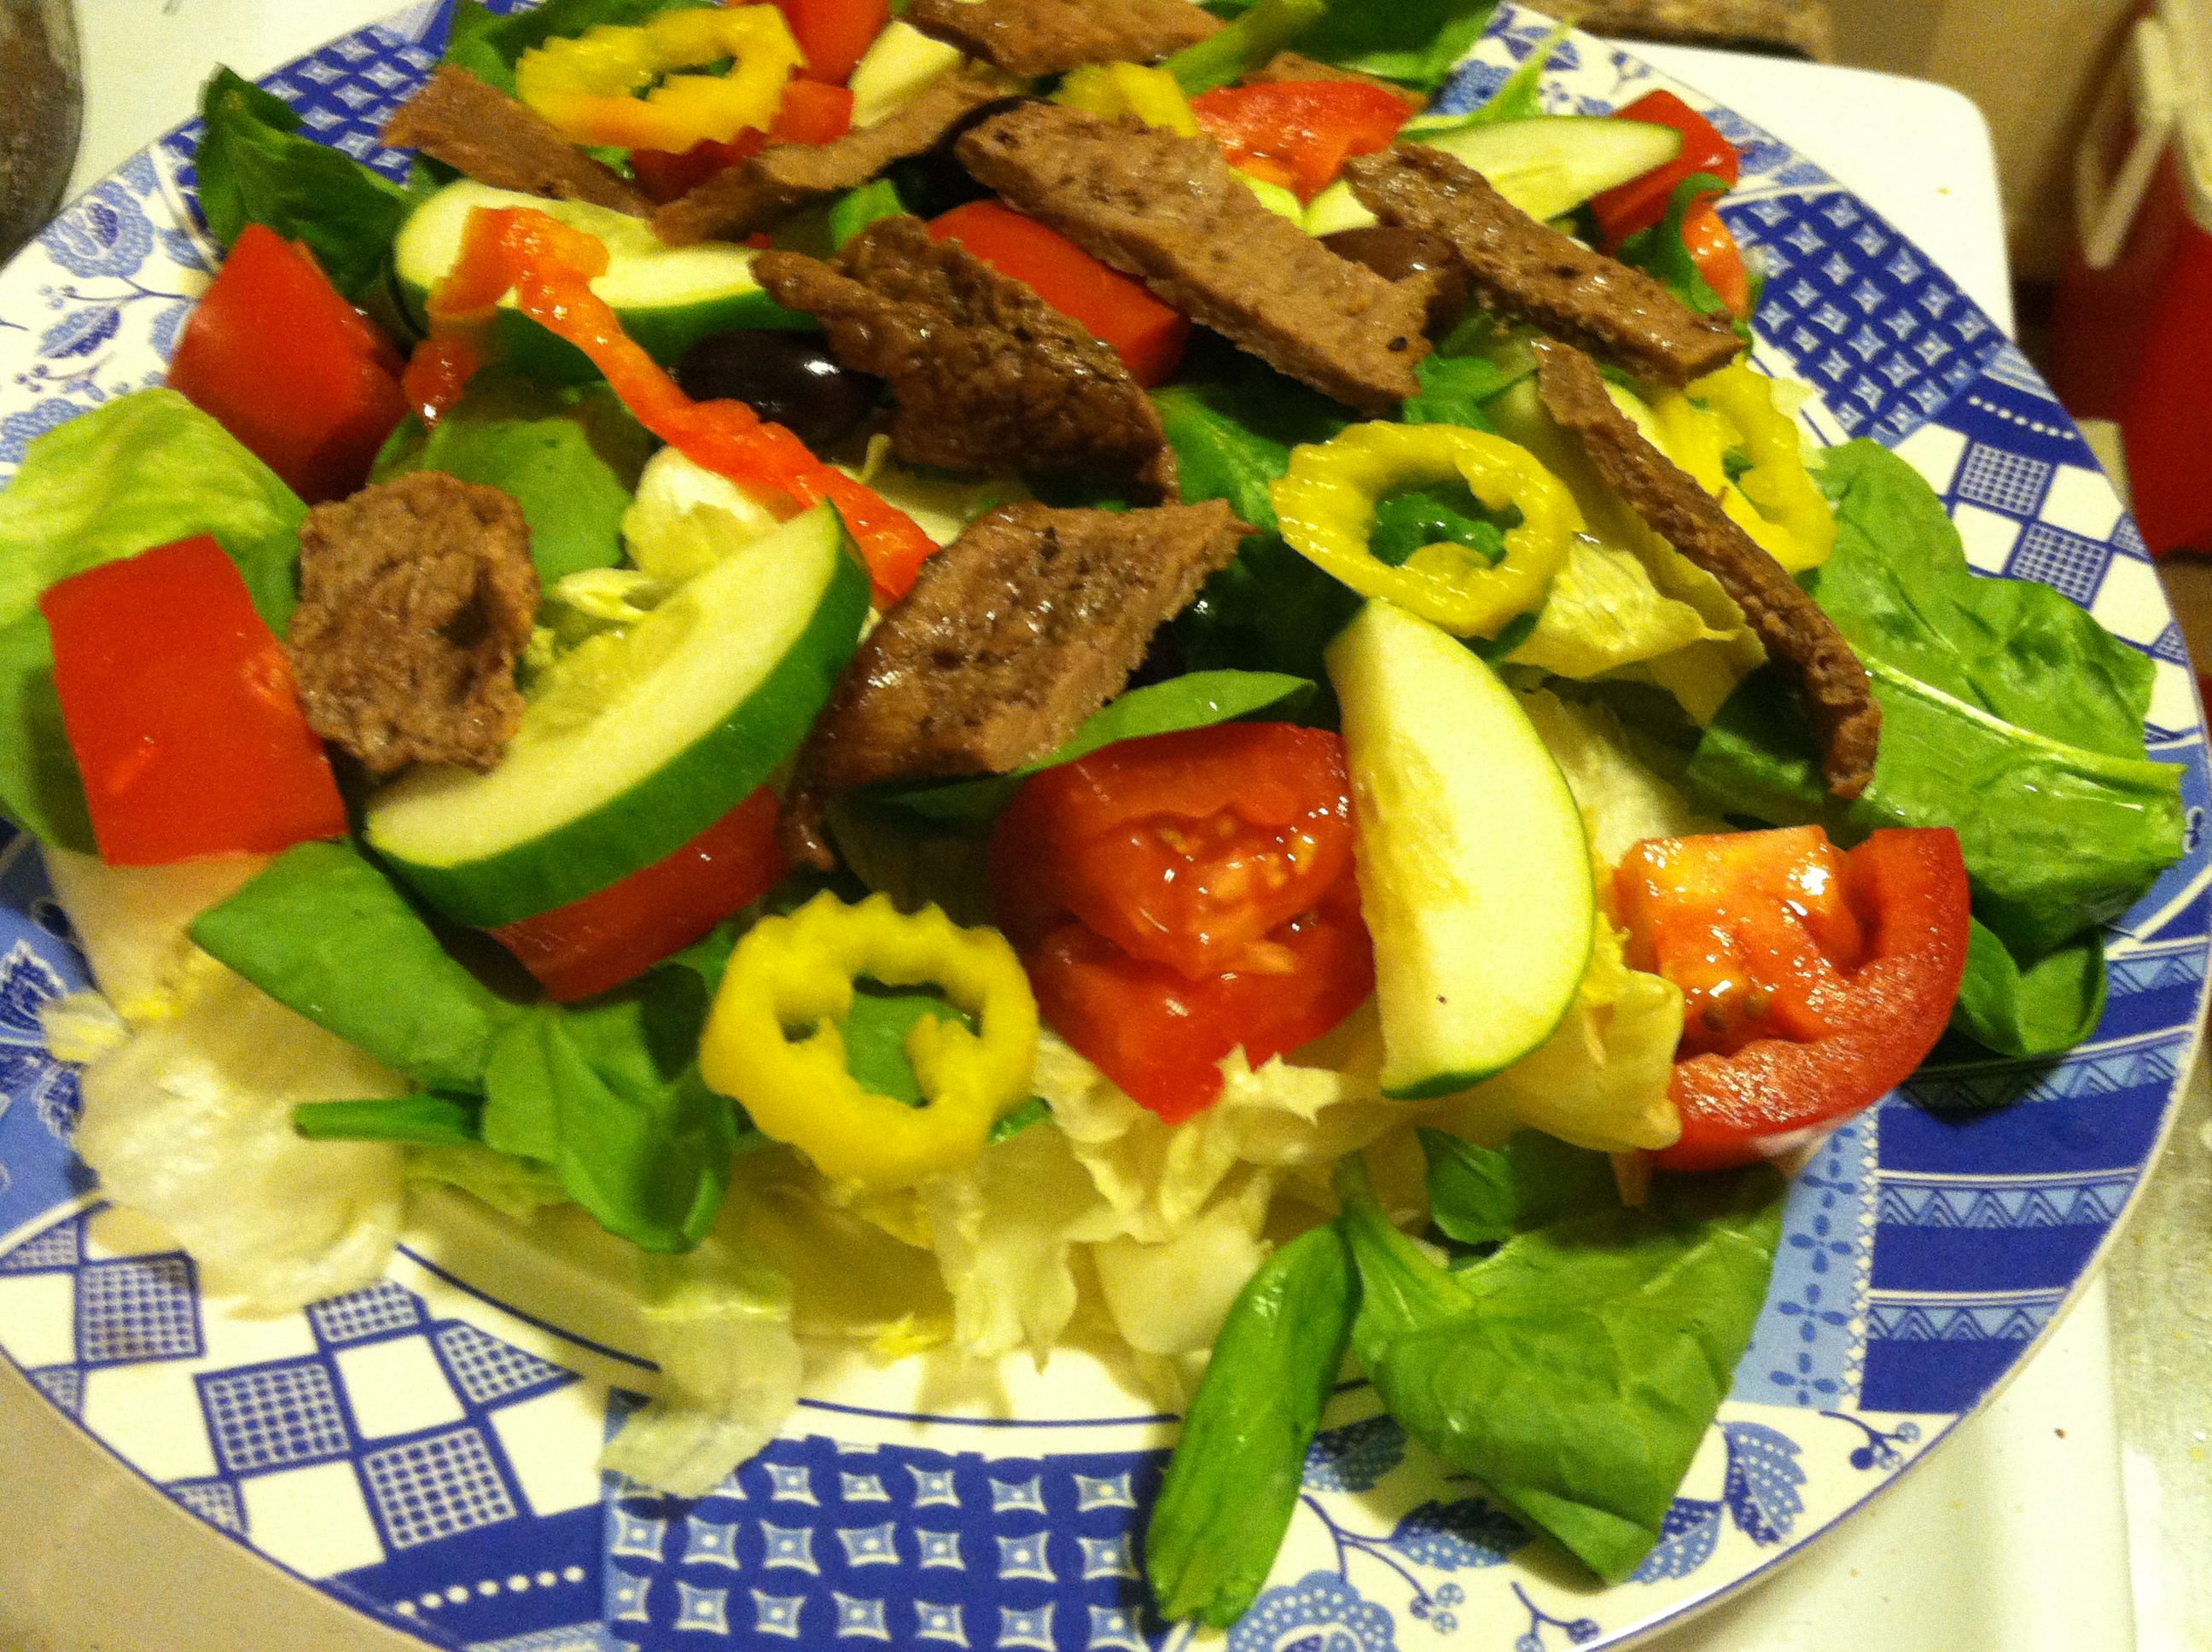
Step 3: Slice the steak into thin strips. Coat a plate with the salad greens, sprinkle on the toppings, and the hot steak strips.

IMG_2641

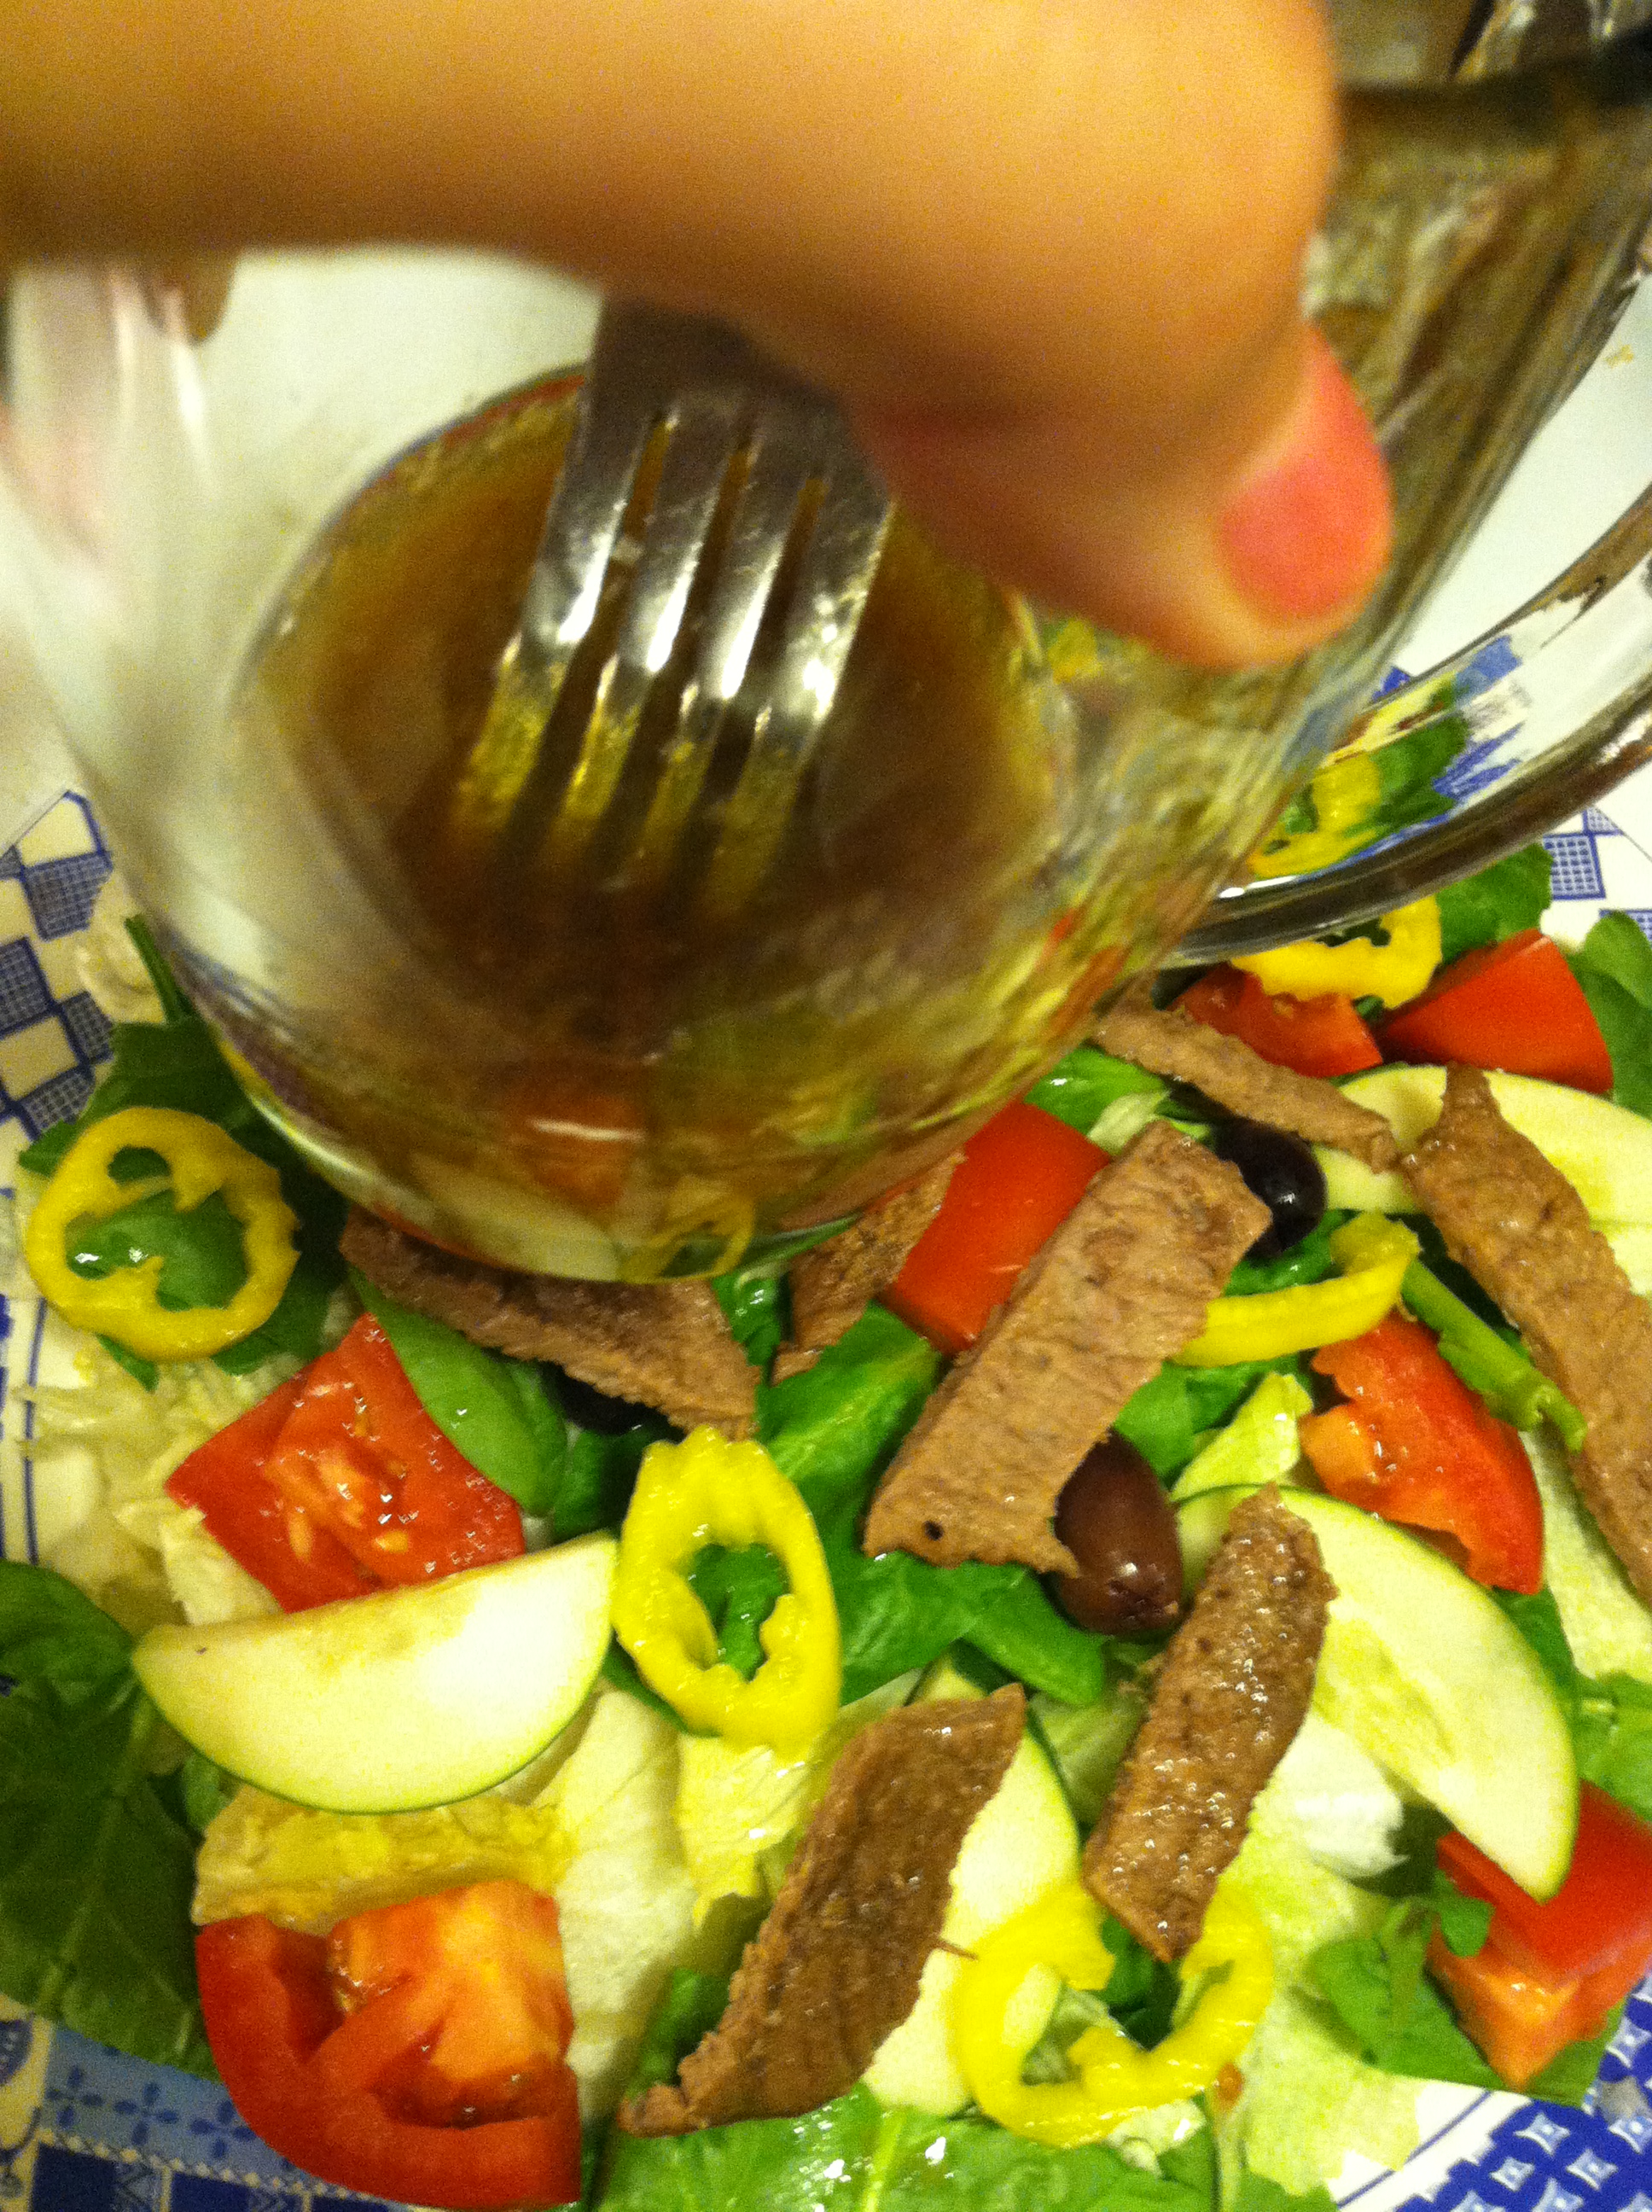
Step 4: Whisk dressing once more, pour over the salad.

IMG_2643

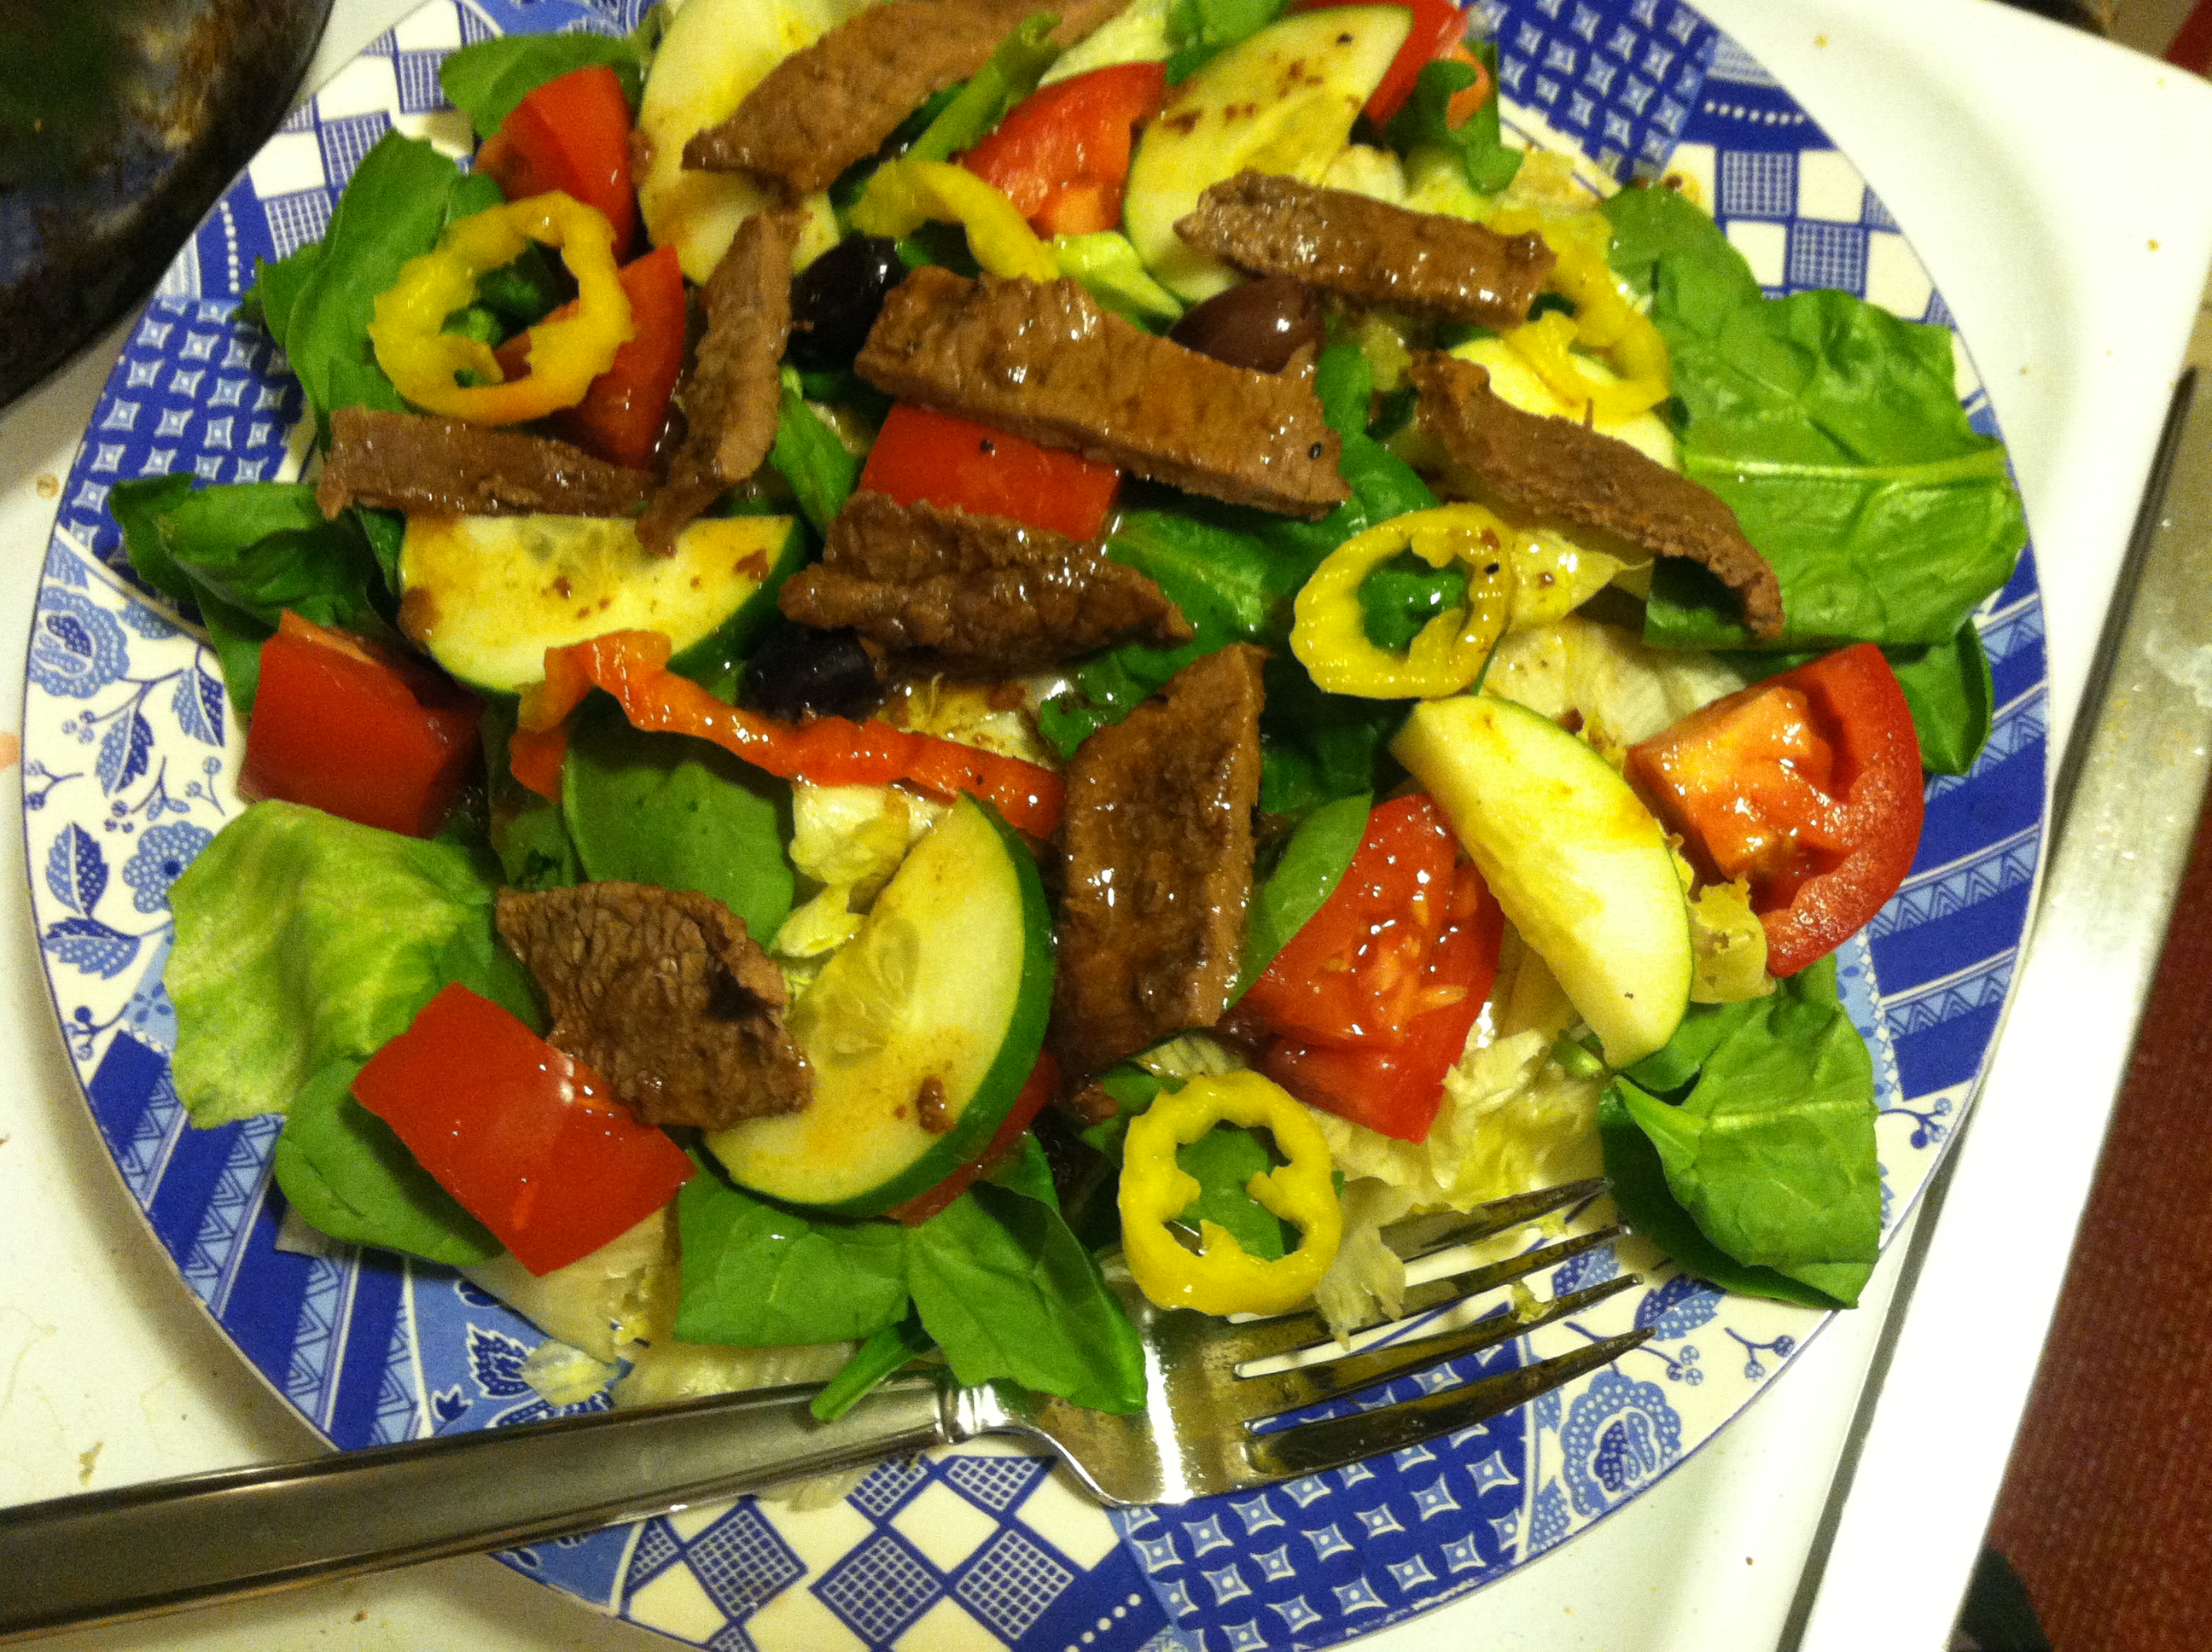
And there you have it! A hearty, healthy fresh steak salad. Isn’t it pretty? You know you want one.

You will get a nice tang from the two different vinegars, while the umami of the balsamic and the sweetness from the orange muscat champagne balance each other. Adding the pan drippings creates a depth of meaty flavor. The olive oil provides healthy fat in order to absorb all the delicious nutrients in your salad.

IMG_2644

If you aren’t a salad person, or make extra steak and want a different way to eat the leftovers, try the steak strips in a burrito! The balsamic marinade is a perfect way to complement the meatiness of beef. Wrap it up in a tortilla with some beans, cheese, and sour cream (this is actually sour cream substitute, made from coconut milk! Tons less fat with no taste difference!) and enjoy.

IMG_2649

Mmmmm beef and beans and cheese… For the I’m-not-worried-about-healthy nights. =)

As always, make it your own. Don’t like balsamic? Use apple cider vinegar or Worchestershire instead. Don’t have orange muscat champagne? Try a tbsp or two of honey to sweeten it up. And top however you please. Have a healthy summer!
 

Less than 5: Microwave Apple Crisp

.
Everyone needs a little sweetness in their lives, but not everyone has the time or inclination to spend hours baking. Microwaves to the rescue! There is an endless amount of baked goods you can make in the microwave. Rather than collect recipes from all around the web, I found Number 2 pencil’s post that does exactly that, a collection of over 30 mug recipes!

This recipe I came up with one night when I wanted something sweet but was too tired to cook an entire pie or whatnot. I had apples, so naturally wanted apple crisp. Apple crisp has always been a favorite of mine, it is perfectly balanced and sweet, and satisfies my sweet tooth every time. So with less than 5 ingredients and less than 5 minutes, you can have a bowl of your very own hot and fresh microwave apple crisp!

Ingredients:

  • 1 apple, sliced
  • 3 tbsp brown sugar
  • 1/3 cup quick oats
  • 2-3 tbsp butter/margerine
  • Optional: cinnamon and/or nutmeg
Step 1: Cut the apple into thin slices and place in a bowl.
Step 2: Mix the sugar, oats, and cinnamon if using. Pour over the apple slices.
Step 3: Dot the butter over the oats, and microwave for 2-3 minutes on high. Time will depend on the strength of your microwave.
Let cool just enough to hold, maybe add a scoop or two of ice cream, and enjoy!

Perfect Iced Coffee


If you ever tried to make an iced coffee at home only to end up with lukewarm, watery coffee; or if you’ve ever tried to make a homemade Frappuccino and ended up with cold coffee-scented water, this post is for you.

My friend B is a bit of a Starbucks addict. Any time the S word is mentioned, off we go for venti frappuccinos. Because of the significant toll this takes on your wallet, we started experimenting at home. Regular hot coffee is a no-brainer; it is far cheaper to brew your own in the mornings, saving you $1-4 per day. About $5 per pound of coffee and $1 for 100 filters will give you a few months of java.

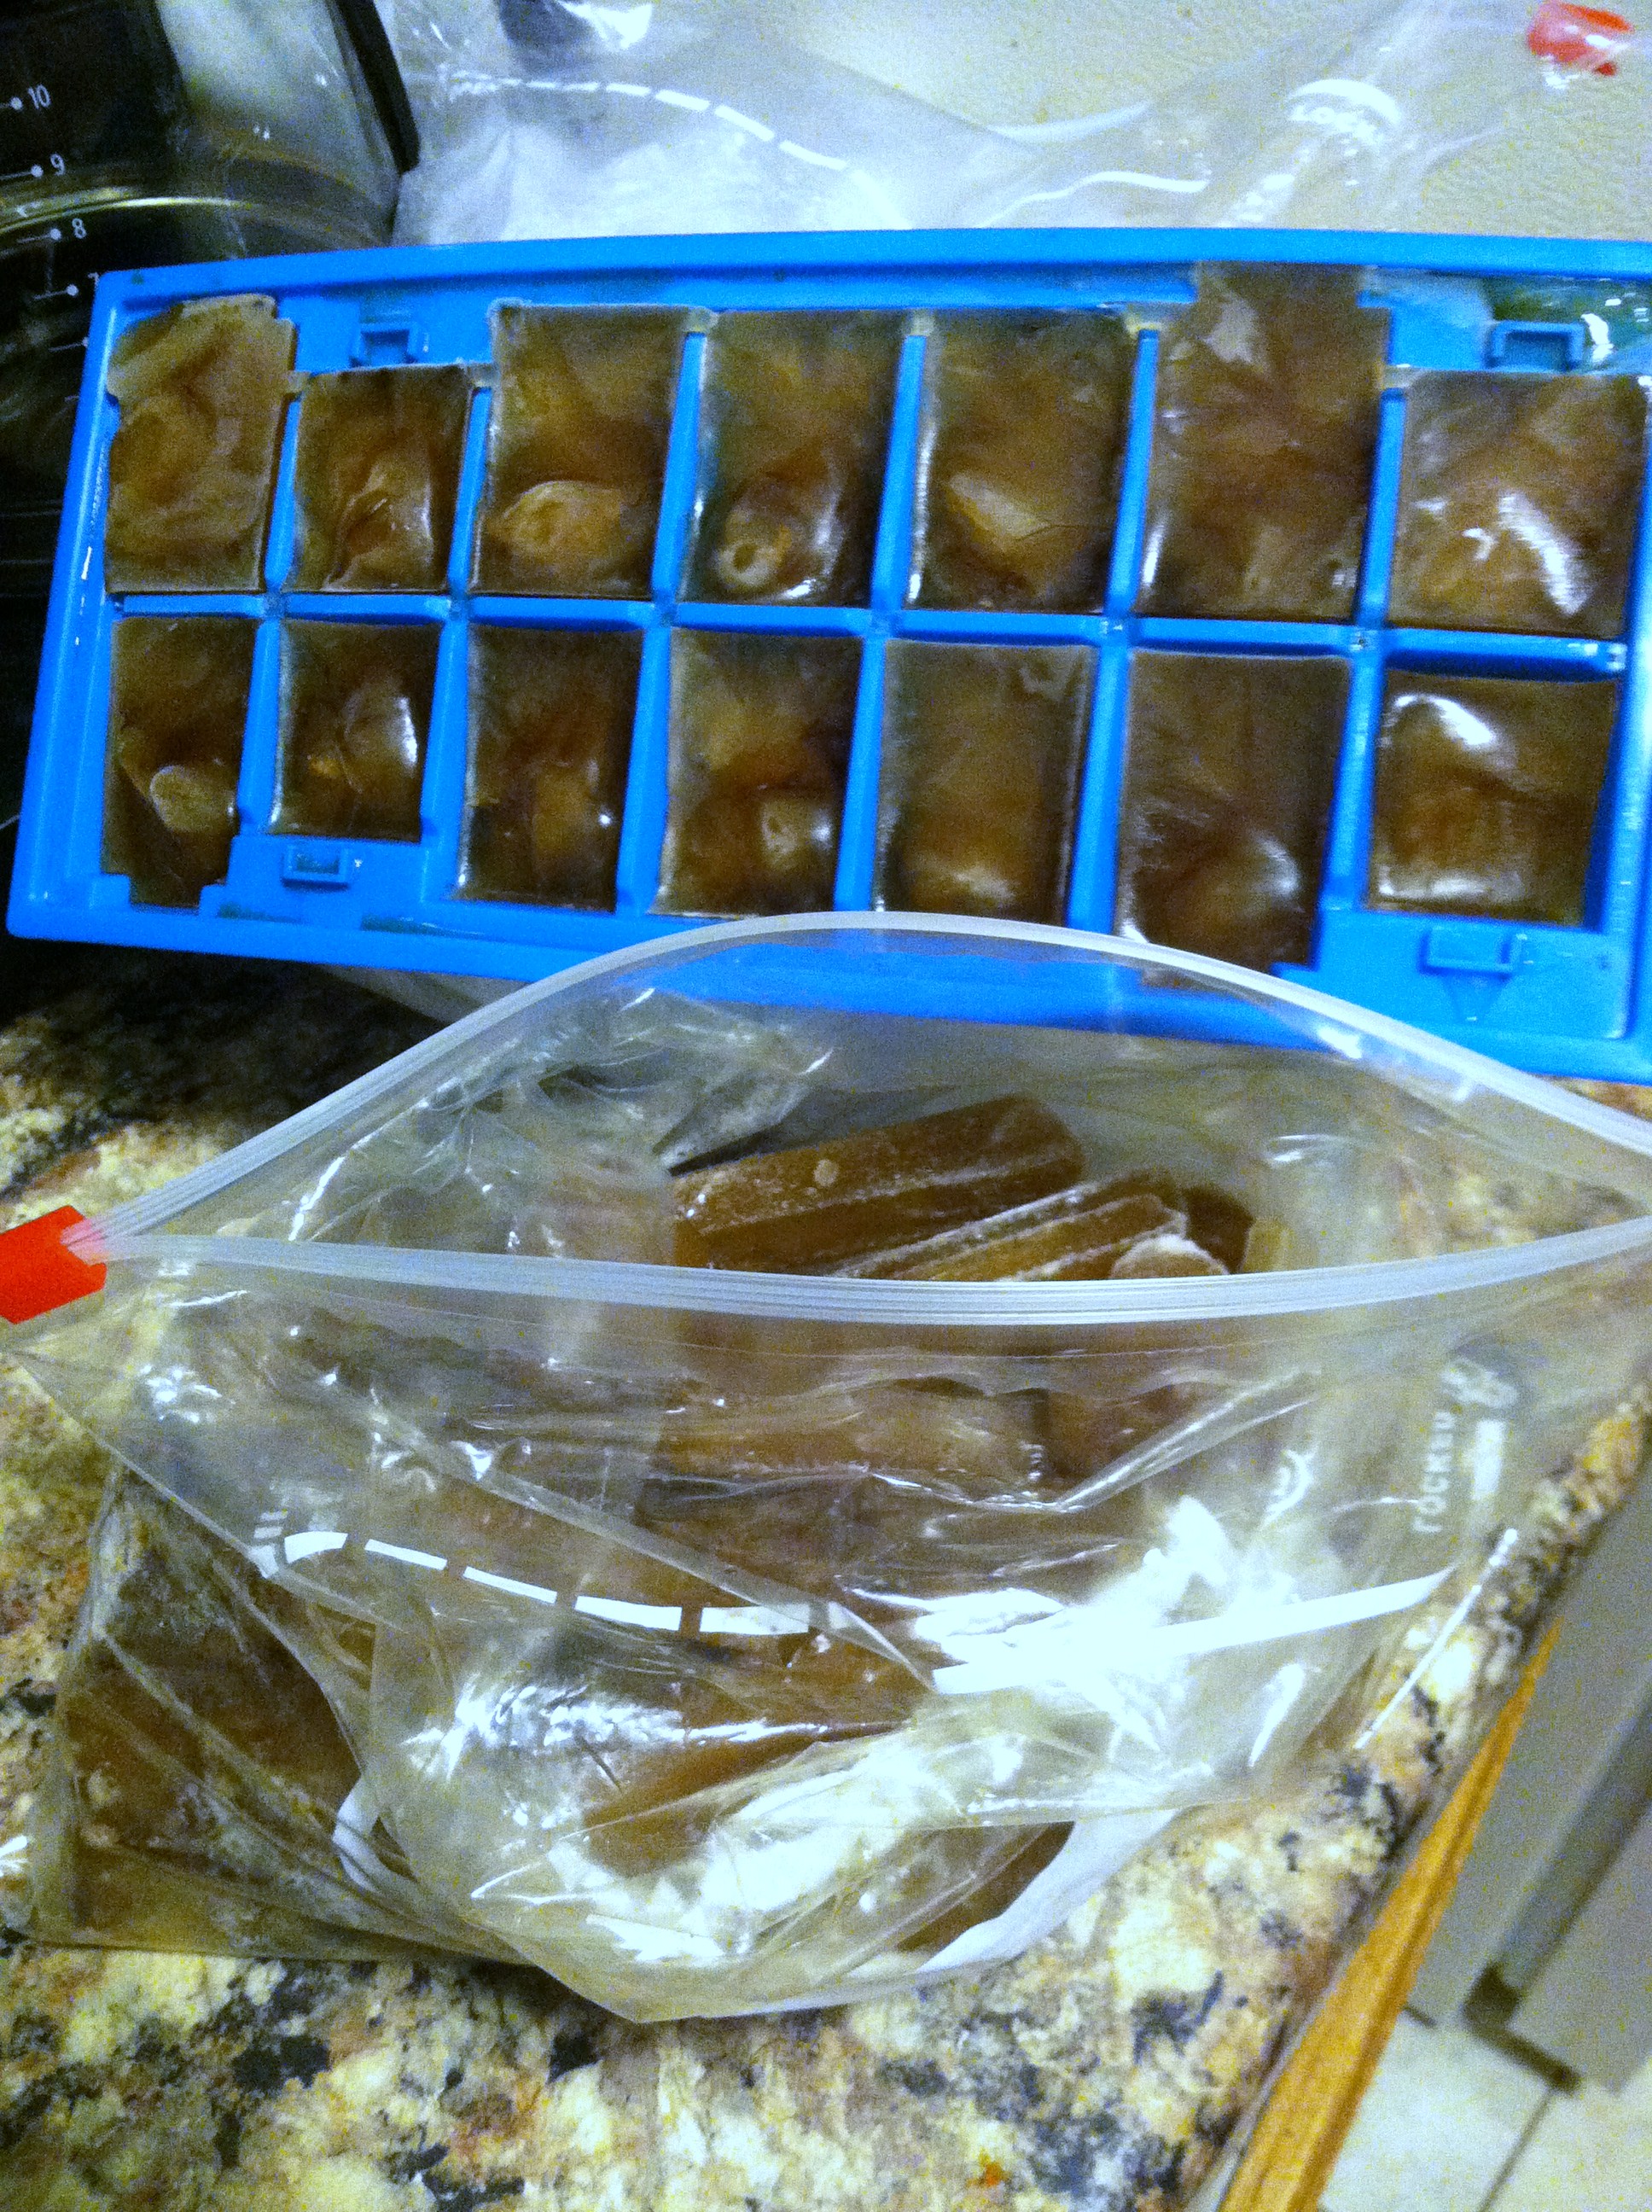
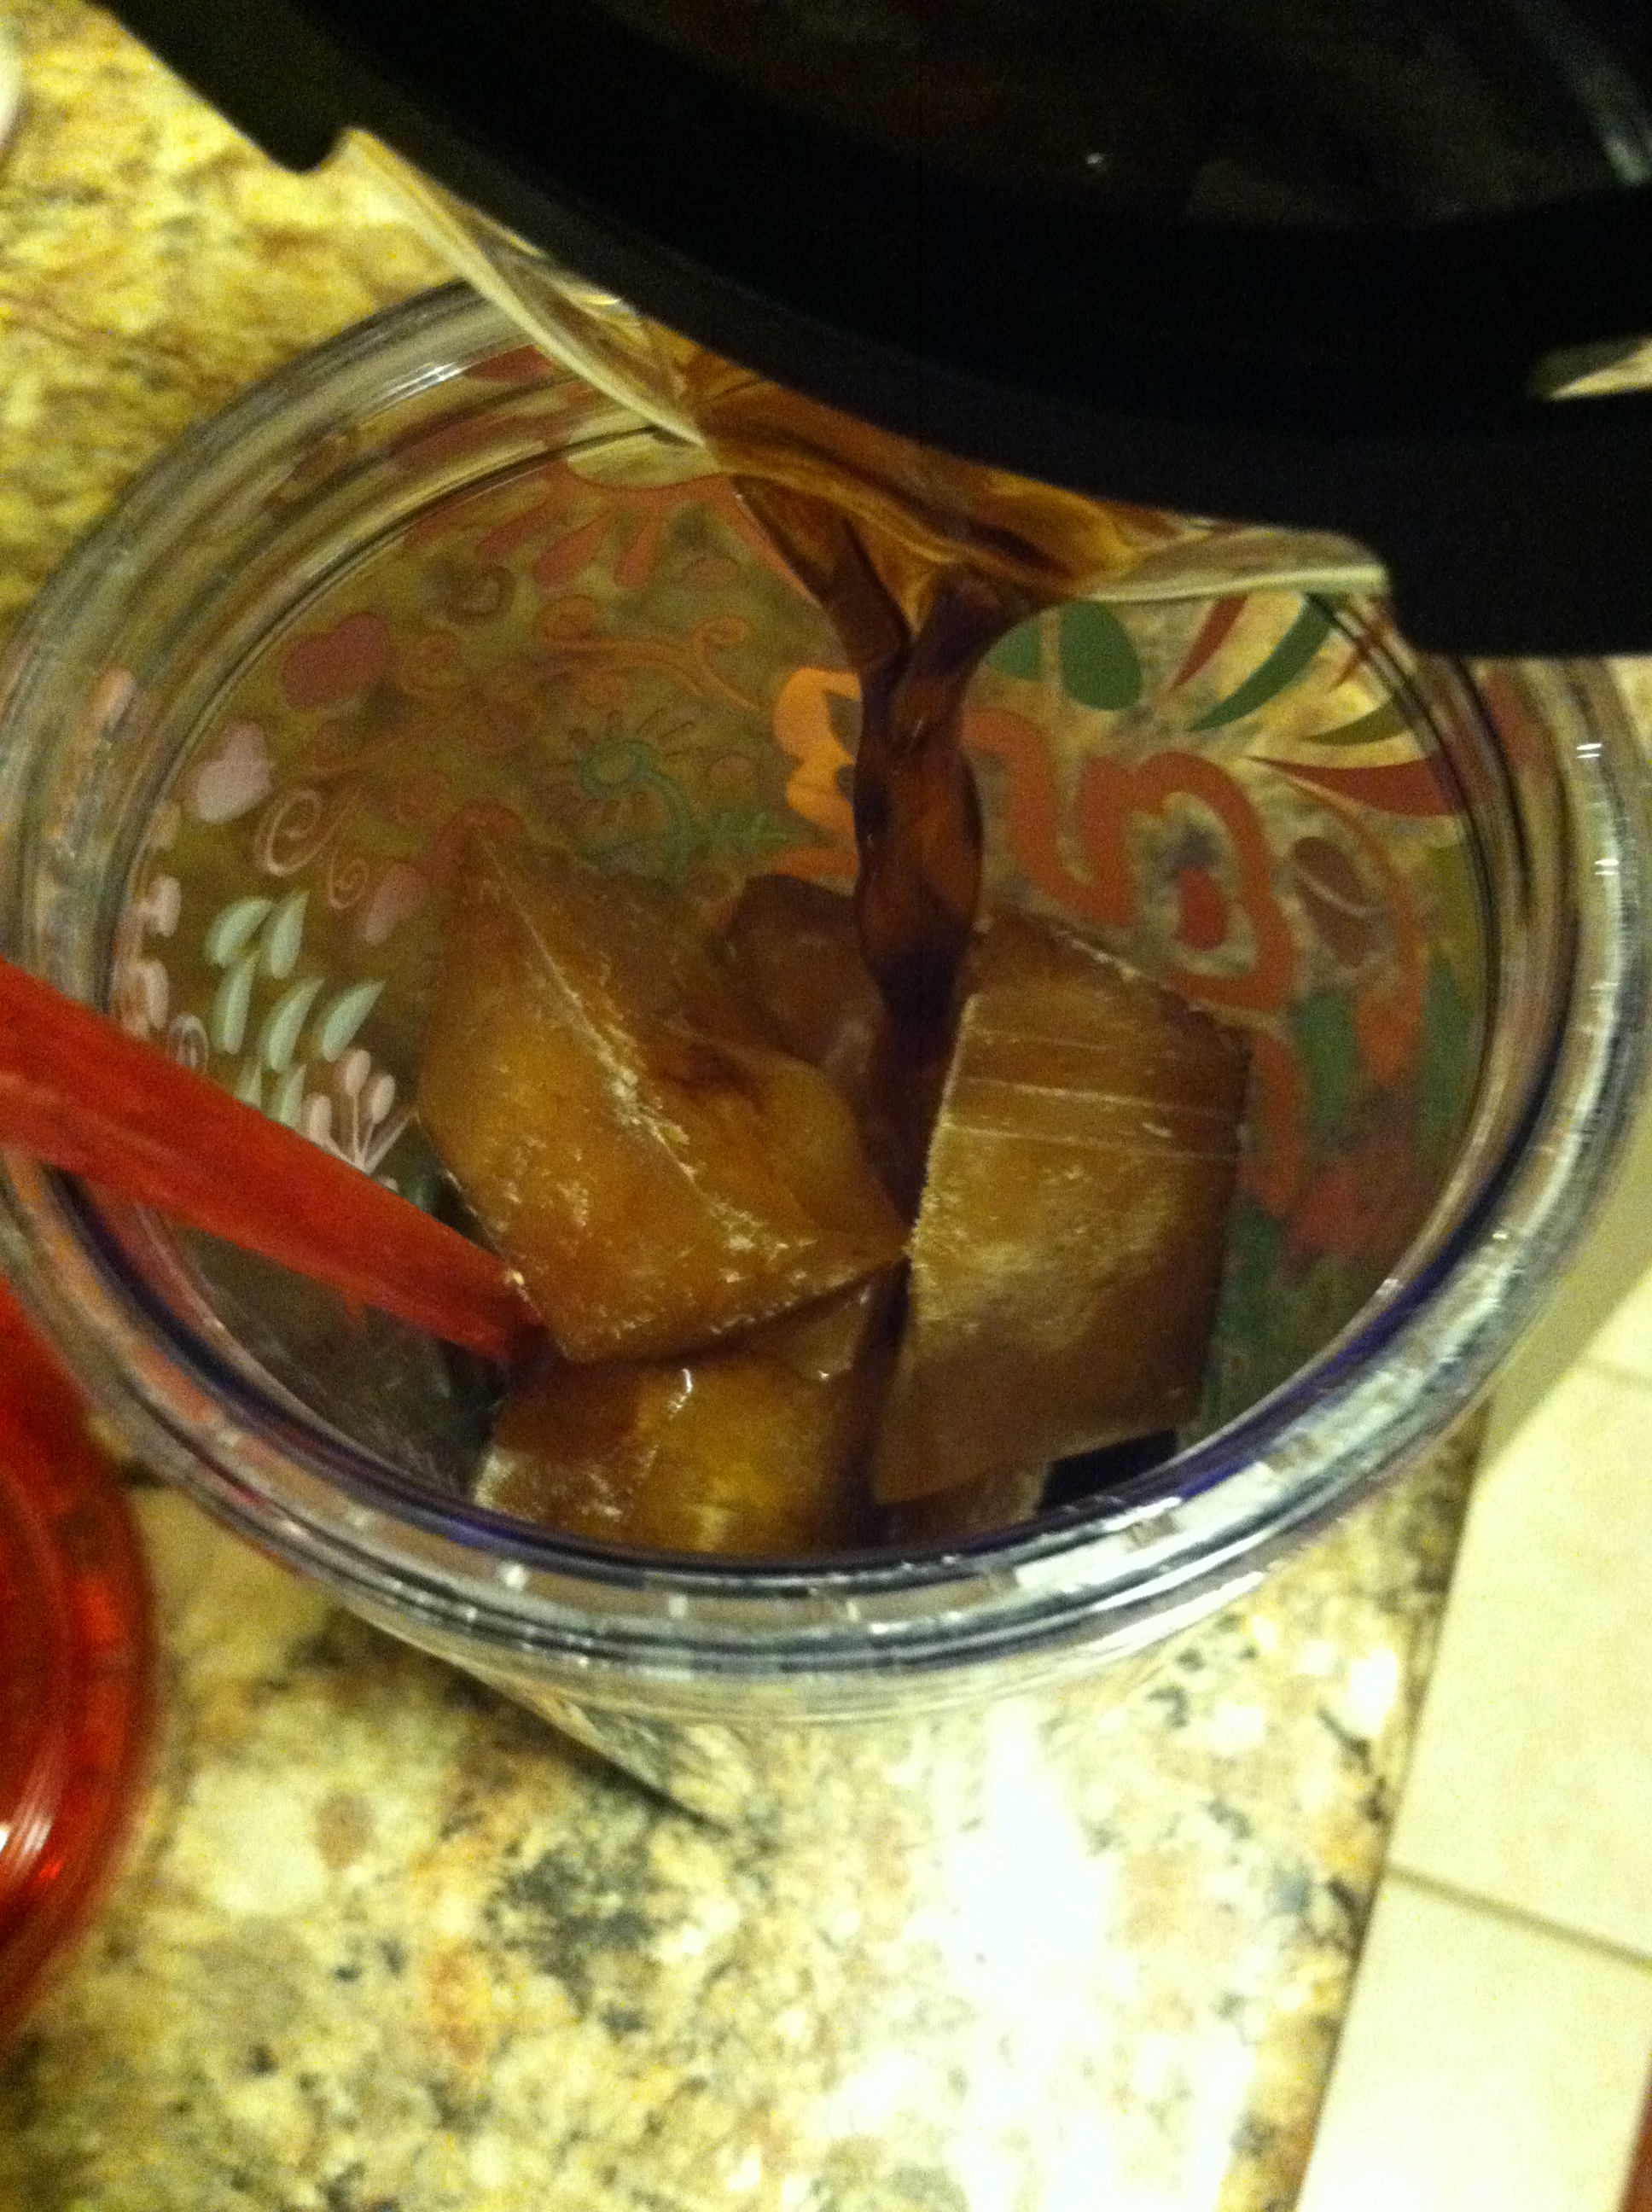
The problem is when it heats up outside, a steaming cup of coffee isn’t so desirable. When you pour hot coffee over frozen water, physics dictates that you end up with a watery, tasteless, lukewarm beverage. Then she came up with the most brilliant idea ever: freeze extra coffee into coffee cubes!

coffee cubes

We then pop these into a plastic bag in the freezer, and use them when the hankering for an iced coffee hits. They can also be blended into your own version of a frappuccino. Feel free to add in sugar, honey, creamer, cocoa powder, Hershey’s syrup…

IMG_2075

This saves money twice: extra coffee is not wasted, it is instead frozen for later. Also you can use that frozen coffee for two different types of frozen caffeinated beverages during the warm summer months.

IMG_2077

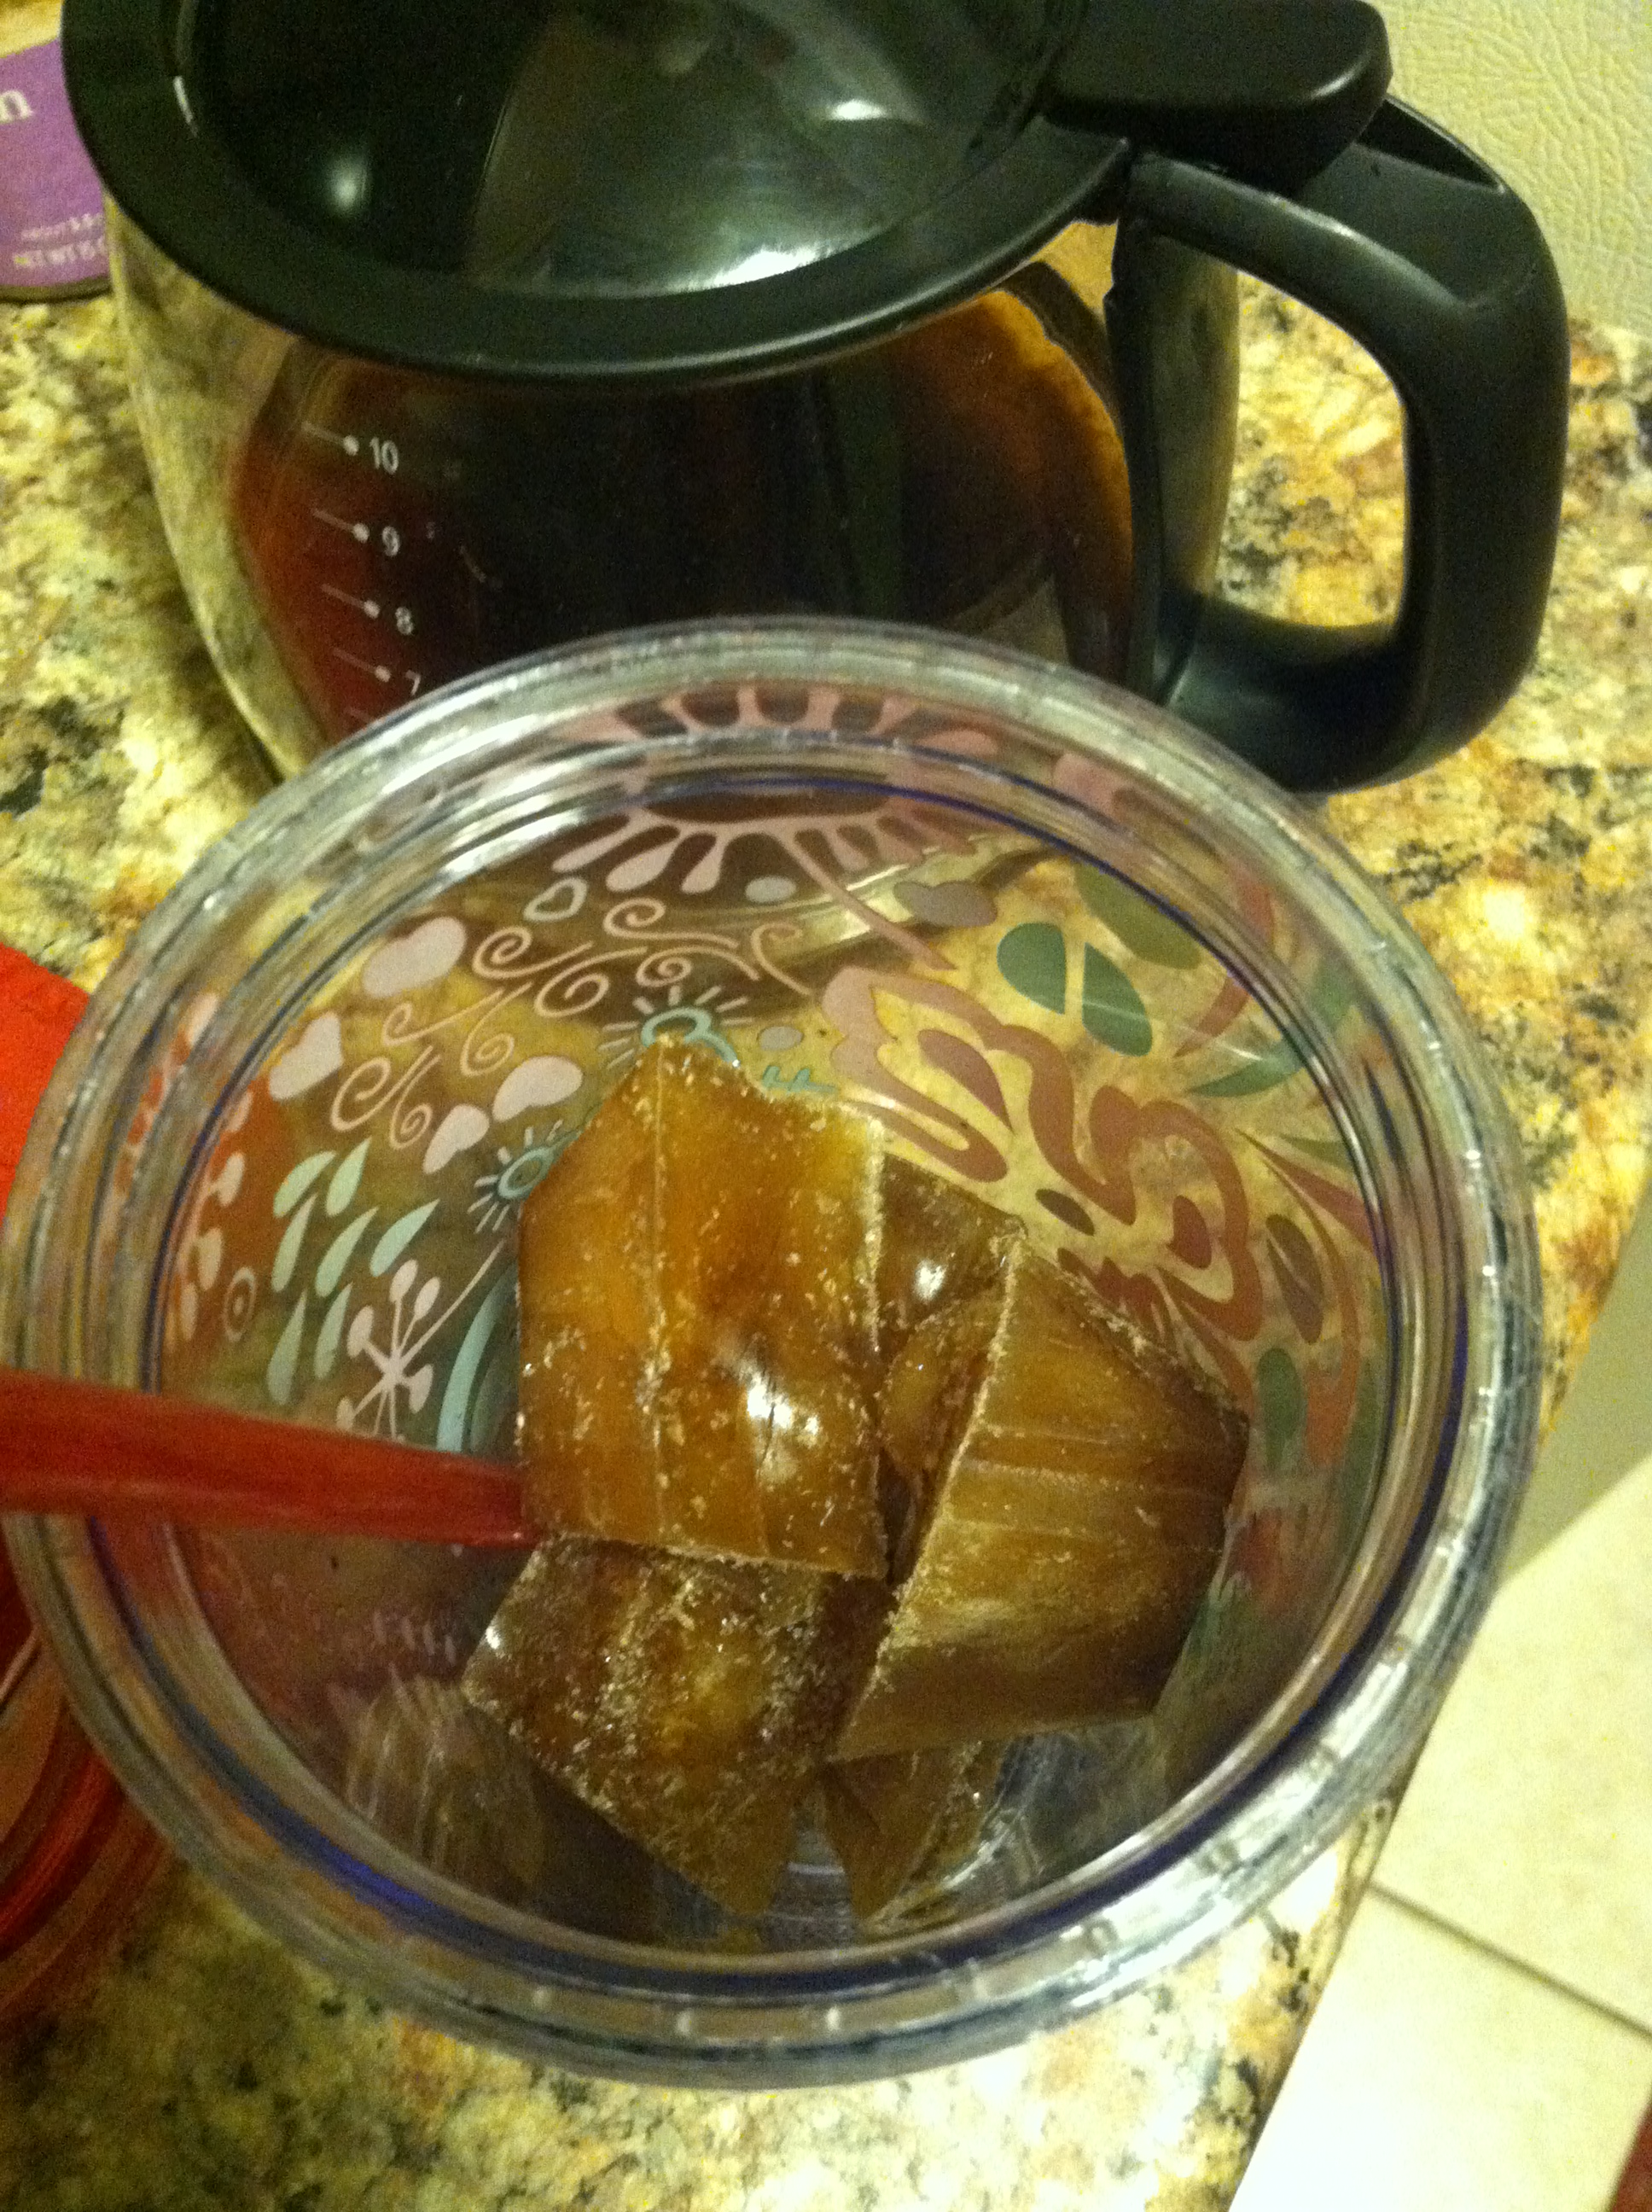
Step 1: Just fill your mug with coffee cubes, and pour more coffee over it. It is best to let the coffee cool down, or even put it in the refrigerator to chill before pouring. Physics still says hot liquid over frozen things will cause it to melt. =)

IMG_2078

Step 2: Add in your creamer and/or flavorings.

IMG_2079

Step 3: Give it a mix, and enjoy! Take your iced drink to work, school, the pool, a picnic, whatever. If you want a Frappuccino, simply fill a blender with coffee cubes, pour in a cup of cool coffee and flavorings, and blend until smooth. You can add whipped topping, cinnamon, Khalua… whatever your heart desires.

Iced coffee

Enjoy non-watery iced coffee every summer from now on!


Cherry Creek Farmer’s Market


If you have been following this blog, it’s no secret that I love fresh produce, and especially summertime farmers markets! And if this is your first visit here, now you know that I love fresh produce! =)

As such, when I moved to Colorado from Ohio, one of my first priorities was finding local markets. There actually was one right on my campus the first summer here. It was super convenient, but unfortunately not enough interest to continue it this summer. So I had to find new places to explore and get my fruits and veggie fix.

Wherever you are, Local Harvest has a great farmers market finder. You can also find farms, and local CSAs (Community Supported Agriculture) through their site. In Colorado, I’m so thankful that people love fresh, local produce as much as I and there is a website called Colorado Fresh Markets that lists several in the Denver area.

IMG_1063

I live quite close to the Cherry Creek area, so I enlisted a good friend of mine, and we set out one sunny Saturday morning to explore. We were greeted by amazing smells, quiet happy noises, and slow-roasting of the locally famous Hatch chiles.

IMG_1064

The Cherry Creek Shopping Center at the corner of 1st Avenue and University Blvd. fences off a huge area of parking lot for all the vendors. Open every Saturday from May 3 – October 25 from 8am – 1 pm and on Wednesdays June 18 – September 24 from 9am – 1 pm, you have two chances to enjoy the local bounty.

IMG_1065

As we walked around there was a good-sized crowd of people from all walks of life. There were many moms pushing strollers and holding toddler hands, ladies still pregnant with their husbands sweetly carrying bags and boxes, older couples, professionally dressed people, people in gym clothes or yoga pants, plenty of dogs on leashes.  Everyone was simply enjoying the day, no rushing, chatting with friends and strangers. Something about a Farmers Market turns everyone present into friends and time becomes irrelevant.

The range of vendors was just phenomenal. There were mutiple vendors touting hand-made soaps, candles, belts, clothing. Of course I was most interested in the foods, and there was food galore. Many different farmers were set up with tables laden with farm-fresh produce. Tiny plants, flowers, and herbs. Tomatoes, heirloom and not, cucumbers, watermelon, beets, carrots, potatoes, onion, lettuces, corn, exotic looking fruits.

IMG_1066

And there were so many types of cheese! Hard cheese, soft cheese, wedges, wheels. Cheese that was hard outside and liquid inside. Most vendors offer samples so you can try for yourself how silky smooth the “Snowdrop” cheese is.

IMG_1068

Live music is found in at least two different locations. Singers, guitars, and drums keep the mood calm yet festive.

IMG_1069

And the pastries! The breads! The rolls, cakes, doughnuts, pretzels! It’s a carbo-loader paradise. The homemade farm-fresh bread looks artisan and beckons to your nostrils to buy a loaf. And at 2 for $10, why not?! They are huge, and far healthier than a bleached, fortified store-bought bread could ever be.

IMG_1070

This doughnut company had such a clever name, “Glazed and Confused“. And they had very unique and interesting doughnuts, including the wildly popular right now maple bacon. They also had one inspired by the Girl Scout “Samoa” cookie.

IMG_1071

Crazy elaborate doughnuts seems to be a foodie trend that is not going away anytime soon. Luckily for them, because they are celebrating the opening of their brick-and-mortar location at 5301 Leetsdale Drive in Denver as of June 13th!

IMG_1072

I had to sample a dumpling from the Pierogies Factory, because due to my Polish/ Hungarian/ Solvak heritage, I have had literally dozens of pierogis in my life. I must say, their pork pierogi was the bomb. Not the same as a soft mashed potato pierogi like mom makes, but the pork was a totally unique flavor bursting with salty, herby goodness.

IMG_1073

And then we have The Real Dill, a local artisan pickle company. From Habanero Horseradish Dill to Jalapeno Honey, from Caraway Garlic to their Bloody Mary mix made with pickling juice, their flavors will blow your mind.

IMG_1074

And of course they offer samples of each! IF you try the Habanero or Aji Chile, may I recommend having lemonade or bread nearby?

IMG_1075

Then we started to realize that all these great smells and tiny samples had started our bellies to rumbling. The Farmers Market draws a crowd of food trucks, eager to impress. Each is as fascinating and unique as the next, but we eventually settled on Gyros.

IMG_1083

Oh. My. Word. This gyro meat…. so perfectly seasoned and flavorful, bursting with onions, garlic, and herbs. Piled onto thick, warm, homemade pita bread, and then slathered in dressed greens, tomato, feta, and kalamata olive.

IMG_1084

The half-size was more than enough, but they offer a full size, chicken, falafel, and vegetarian options as well.

IMG_1076

An example of some of the brighter characters that Farmers Markets attract.

IMG_1077

We were both looking to restock our honey stores, which had gotten low over the winter due to high tea consumption. And then we found these people. The lady who runs the stand is just the sweetest, friendliest woman you’d hope to meet. She regaled us with stories of beekeeping, and why bees are so critical to the future of our food.

IMG_1080

The tall, white-haired gentleman beside her is her son-in-law, and the inspiration for the name “Bjorns Colorado Honey”. Originally from Sweden, he met the lady’s daughter in Austria and they fell in love. She convinced him to move to Boulder and get married, and he became part of the family honey business. Ah, love. A jar of the honey ended up in both of our bags that day.

IMG_1078

They also make hand cream from parts of bee life usually discarded, the “propolis”. It is a resinous substance made by the bees to protect and seal their hives. It has many biomedical and cosmetic uses. According to WebMD, “Propolis seems to have activity against bacteria, viruses, and fungi. It might also have anti-inflammatory effects and help skin heal.” Clever.

IMG_1081

The huge hot pretzels for sale.

IMG_1085

Fresh hand-made strawberry lemonade to quench your thirst.

IMG_1086

My friend and I headed home after a long, fulfilling day at the Cherry Creek Farmers Market!


All in all, the farmers market was a blast. I went home with a huge loaf of farm-fresh bread, chive and garlic goat cheese, a jar of Colorado honey, and a belly full of happy. I also got a little hint of a tan! Bonus.

Farmers markets are a great way to make new friends, relax, and support local businesses and farms. Check out one near you this weekend!


Silly American attempts to make Salmon Nigiri

.
I absolutely adore sushi. There are few types I dislike. Something about the soft buttery fish and rice with copious soy sauce just makes me swoon. I know I violate rules by using as much sauce as I do, but I’m over it. Low blood pressure and all that. I flipping love soy sauce okay?
.
Oh, and not all sushi is raw fish. Common misconception. Actually the majority of sushi is not raw. You must have nigiri or sashimi to be sure it’s raw. And even then… probably some exceptions. The blog The M Resort has a handy guide for keeping sushi terminology straight. The main ones are sushi, maki, nigiri, and sashimi. I won’t even try to overwhelm you or myself with all the different nuances of flavor, texture, color, and types of fish, or vinegars, additives, and temperature’s effects on rice.
.
Sushi = any Japanese style fish roll, may or may not be raw, include vegetables, or be rolled in seaweed (nori).
Maki = rolled sushi using a bamboo mat. Typically rolled in seaweed, but can also use thinly sliced cucumbers.
Nigiri = raw slices of fish served over a hand-rolled slab of rice, no nori. Some sushi chefs add wasabi between the fish and rice.
Sashimi = raw slices of fish served without rice, as naked as it gets. Try it with wasabi and soy sauce mixed together.
So one day I’m grocery shopping, and see a gorgeous salmon fillet on sale that needs used today. As often happens when at the grocery store, just seeing one item sparks an idea, and today’s idea was “why not try to make my own sushi at home?” Don’t mind if I do. I did recently purchase a rice cooker (which I also flipping love) so hopefully that would make the process even easier.
.
I did nothing special to the fish itself, as I wanted its natural flavor. I did try to doctor up the rice, and made my own dipping sauce. I also had some dumplings in the freezer, which I thawed and fried to make a lovely lunch.
.
Ingredients:
1 8 oz salmon fillet
1 cup white rice
1 1/2 cup water
1/4 cup vinegar
1 tbsp sugar
1 tbsp salt
.
Garlic-Ginger Dipping Sauce:
1/4 cup soy sauce
1/4 cup fish sauce
1 tsp diced garlic
1 tsp sriracha
1 in piece ginger, peeled and sliced
1 tsp sugar
2 tbsp olive oil
1 tbsp cornstarch
.
Step 1: Put the rice and water in the rice cooker and cook. Alternatively, cook the rice in the microwave or stove-top according to package directions.
Step 2: White rice is cooking, mix all dipping sauce ingredients in a small bowl, and heat 3 minutes in microwave. Whisk well and set aside.
Step 3: Slice the fish fillet as thinly as possible on the diagonal. Once rice is cooked, let cool to room temperature. Add vinegar, sugar, and salt and mix well.
Step 4: Take a tbsp of rice, and form into an oblong oval shape with your fingers. Press a thin slice of fish onto the rice and place on plate. Repeat with all fish slices.
Step 5: Fry dumplings according to package if you have them. Place dipping sauce on a plate with the nigiri.
Step 6: Enjoy! While not as good as a sushi restaurant, it was dang good for my first attempt. You better believe anytime fresh fish is on sale I will be trying this again.
.
You could use really any type of filleted fish, and if you want to get real crazy, buy some nori (seaweed) sheets and make rolls. Add in avocado, carrots, cucumber, cream cheese… the possibilities are endless. Sushi is a great vegetarian and vegan option, you can even make dessert sushi! Give it a try.
.
What’s your favorite type of sushi?

Chicken & Cheese Enchiliadas

.
It’s no secret that I love all Mexican foods. I’ve written about how I made the perfect refried beans, many variations on tacos, and the simple pizza-like toastadas. I’ve been meaning to tackle a particularly intimidating recipe for a while: enchiladas.
.
You may not think enchiladas are intimidating, but for whatever reason I kept thinking it would be hard to make these. Then the s.o. requested it, I had a big stack of tortillas in the fridge, and so I was like, ok it’s time.
Turns out, they weren’t so scary after all. And damn delicious.
.
Ingredients:
2 boneless, skinless chicken breasts
7 tortillas
2 tbsp taco seasoning
2 tbsp butter
1/2 cup refried beans
1 cup shredded cheese mix
1 can tomato sauce
1-2 tbsp sriracha
I used large flour tortillas here, I know corn is the norm. But trust me, no one was upset about these. Give it a try, or go ahead and use corn if that’s what you have.
Step 1: Cook the chicken either in the oven, frying pan, or poach in boiling water. Use two forks to shred it finely. Cook in a pan with a little butter and taco seasoning.
Step 2: In each tortilla, spread a few tbsp beans, a handful of shredded chicken, and sprinkle on some cheese. Roll up, and place with the seam-side down in a sprayed oven-safe pan.
Step 4: Once the pan is full, sprinkle more cheese over top, then pour the tomato sauce over everything. Use as much as you need to cover the tops, but not to soak them. (Sidenote, I hate the taste of regular enchilada sauce at restaurants, that’s why I went the homemade tomato sauce version. If you like it or have a jar of enchilada sauce at home, feel free to use that.)
Step 5: Squirt on a thin layer of sriracha and/or hot sauce, and bake at 350 for 30-40 minutes.
We ended up having two each, and the leftovers didn’t last more than a day. These could be made in the crock pot as well, simply assemble and leave on low all day. Make sure to add extra sauce so they don’t burn if you go that route.
Serve with a little sour cream on top to cut the spice if that’s your thing.
.
You could make the vegetarian by adding extra grilled veggies or tofu instead of chicken, and just feel free to add in some onions and peppers regardless of what else is in there.
.
What’s your favorite Mexican food?

Slow Cooker Red Pozole with Pork


So I’ve been tutoring a high school kid in Biology for a year. He’s great, as are his parents. And his mother is a large part Native American. She is an amazing cook, I often show up to tutor and/or leave to tempting smells wafting from the kitchen. They are kind enough to ask me to share their dinner with them quite often.

As I love cooking myself, typically I have dinner already started in the Crock pot or at least plans, so I decline. However, one night she was serving up this thick, red stew that smelled too irresistible. This was my first introduction to pozole.

IMG_2065

Pozole means “foamy”; also spelled “pozolli” or “posole”. It is a traditional stew originally from Mexico, which once had ritual significance due to its use of maize, called hominy. The word “hominy” comes from the Powhatan language word for prepared maize. (Maize is corn).

Hominy is a very interesting thing. To make it, you take regular corn kernels, dry it, and then treat it with an alkaline agent to break down the cellulose in the corn. The result is puffy, chewy, soft kernels that look a little bit like corn-shaped popcorn.

Well, this tomato-pork-hominy stew was unlike anything I’d ever had, so of course I had to ask for the recipe. She had gotten it from the Denver Post a few years back, and was more than happy to share it with me.

red posole with pork

The red pozole with pork is the recipe I used and show here, but there is also one for Green Pozole with Chicken. I’ll save that for another day.

IMG_1883

I wanted to try this right away, but I forced myself to be patient. Normally I just center my grocery shopping around sales, but this time I kept an eye out for the ingredients I needed. Anytime I want to make something with a unique or expensive ingredient I try to wait to maximize my food dollars. As soon as I saw hominy on sale at the local Save-A-Lot I snagged a can.

As is my way, I took the recipe, tweaked it a bit to what I like and what I had in the house, and it turned out wonderful! I don’t like spicy foods, so I left out the peppers, but I did throw in a pinch of dried chipotle pepper to keep the Native American feel of the recipe. If you want to go all the way and buy the exact spices called for, be my guest. But I omitted the Mexican oregano, and used regular paprika, not Spanish. I also added a can of red beans for extra fiber and filling power.

Slow cooker red pozole with pork:

  • 1.4 pound pork roast
  • 2-3 tbsp garlic powder
  • 1/2 tbsp cumin
  • Pinch chipotle pepper
  • 1 tbsp chili powder
  • 2 tbsp paprika
  • 1 whole white onion, diced
  • 1 can diced tomatoes, with liquid
  • 1 can red beans, drained
  • 1 29oz can hominy
  • 6 chicken bouillon cubes and ~24 oz water
  • 3 tbsp flour
  • 1 bottle beer (Colorado native)

IMG_2048

Step 1: In slow cooker, mix flour, beer, spices, diced onion, and tomato.

IMG_2049

Step 2: Heat water in the microwave for 2-3 minutes, dissolve the bouillon cubes and add to crock pot. Or just use chicken stock.

IMG_2050

Step 3: Dice the pork roast into bite-sized cubes. I had a 1.4-pound roast defrosted, so I used that. But you could use chops also.

IMG_2052

Peel or cut off fatty pieces to make it more lean.

IMG_2053

Step 4: Add the pork and hominy to the slow cooker. Cook on low 6-8 hours, or high 2-4 hours.

IMG_2062

The finished product is a complex but light stew, with an amazing depth of flavor. You can obviously add more spice to your taste, but I loved it the way it was. I also didn’t have ground cumin, so the little pieces were annoying at the bottom, but the flavor they added was worth it.

IMG_2066

I made some biscuits to serve with the posole, and my s.o. loved it too. The recipe suggests shredded cabbage, radish, cilantro, cheese, or sour cream as garnishes. If you add extra flour or cornstarch you can make it thicker, add more stock to make it more soup-like.


What’s your favorite slow cooker meal?


Chocolate Shortcake with Balsamic Honey Strawberries and Patrón Cafe Whipped Cream


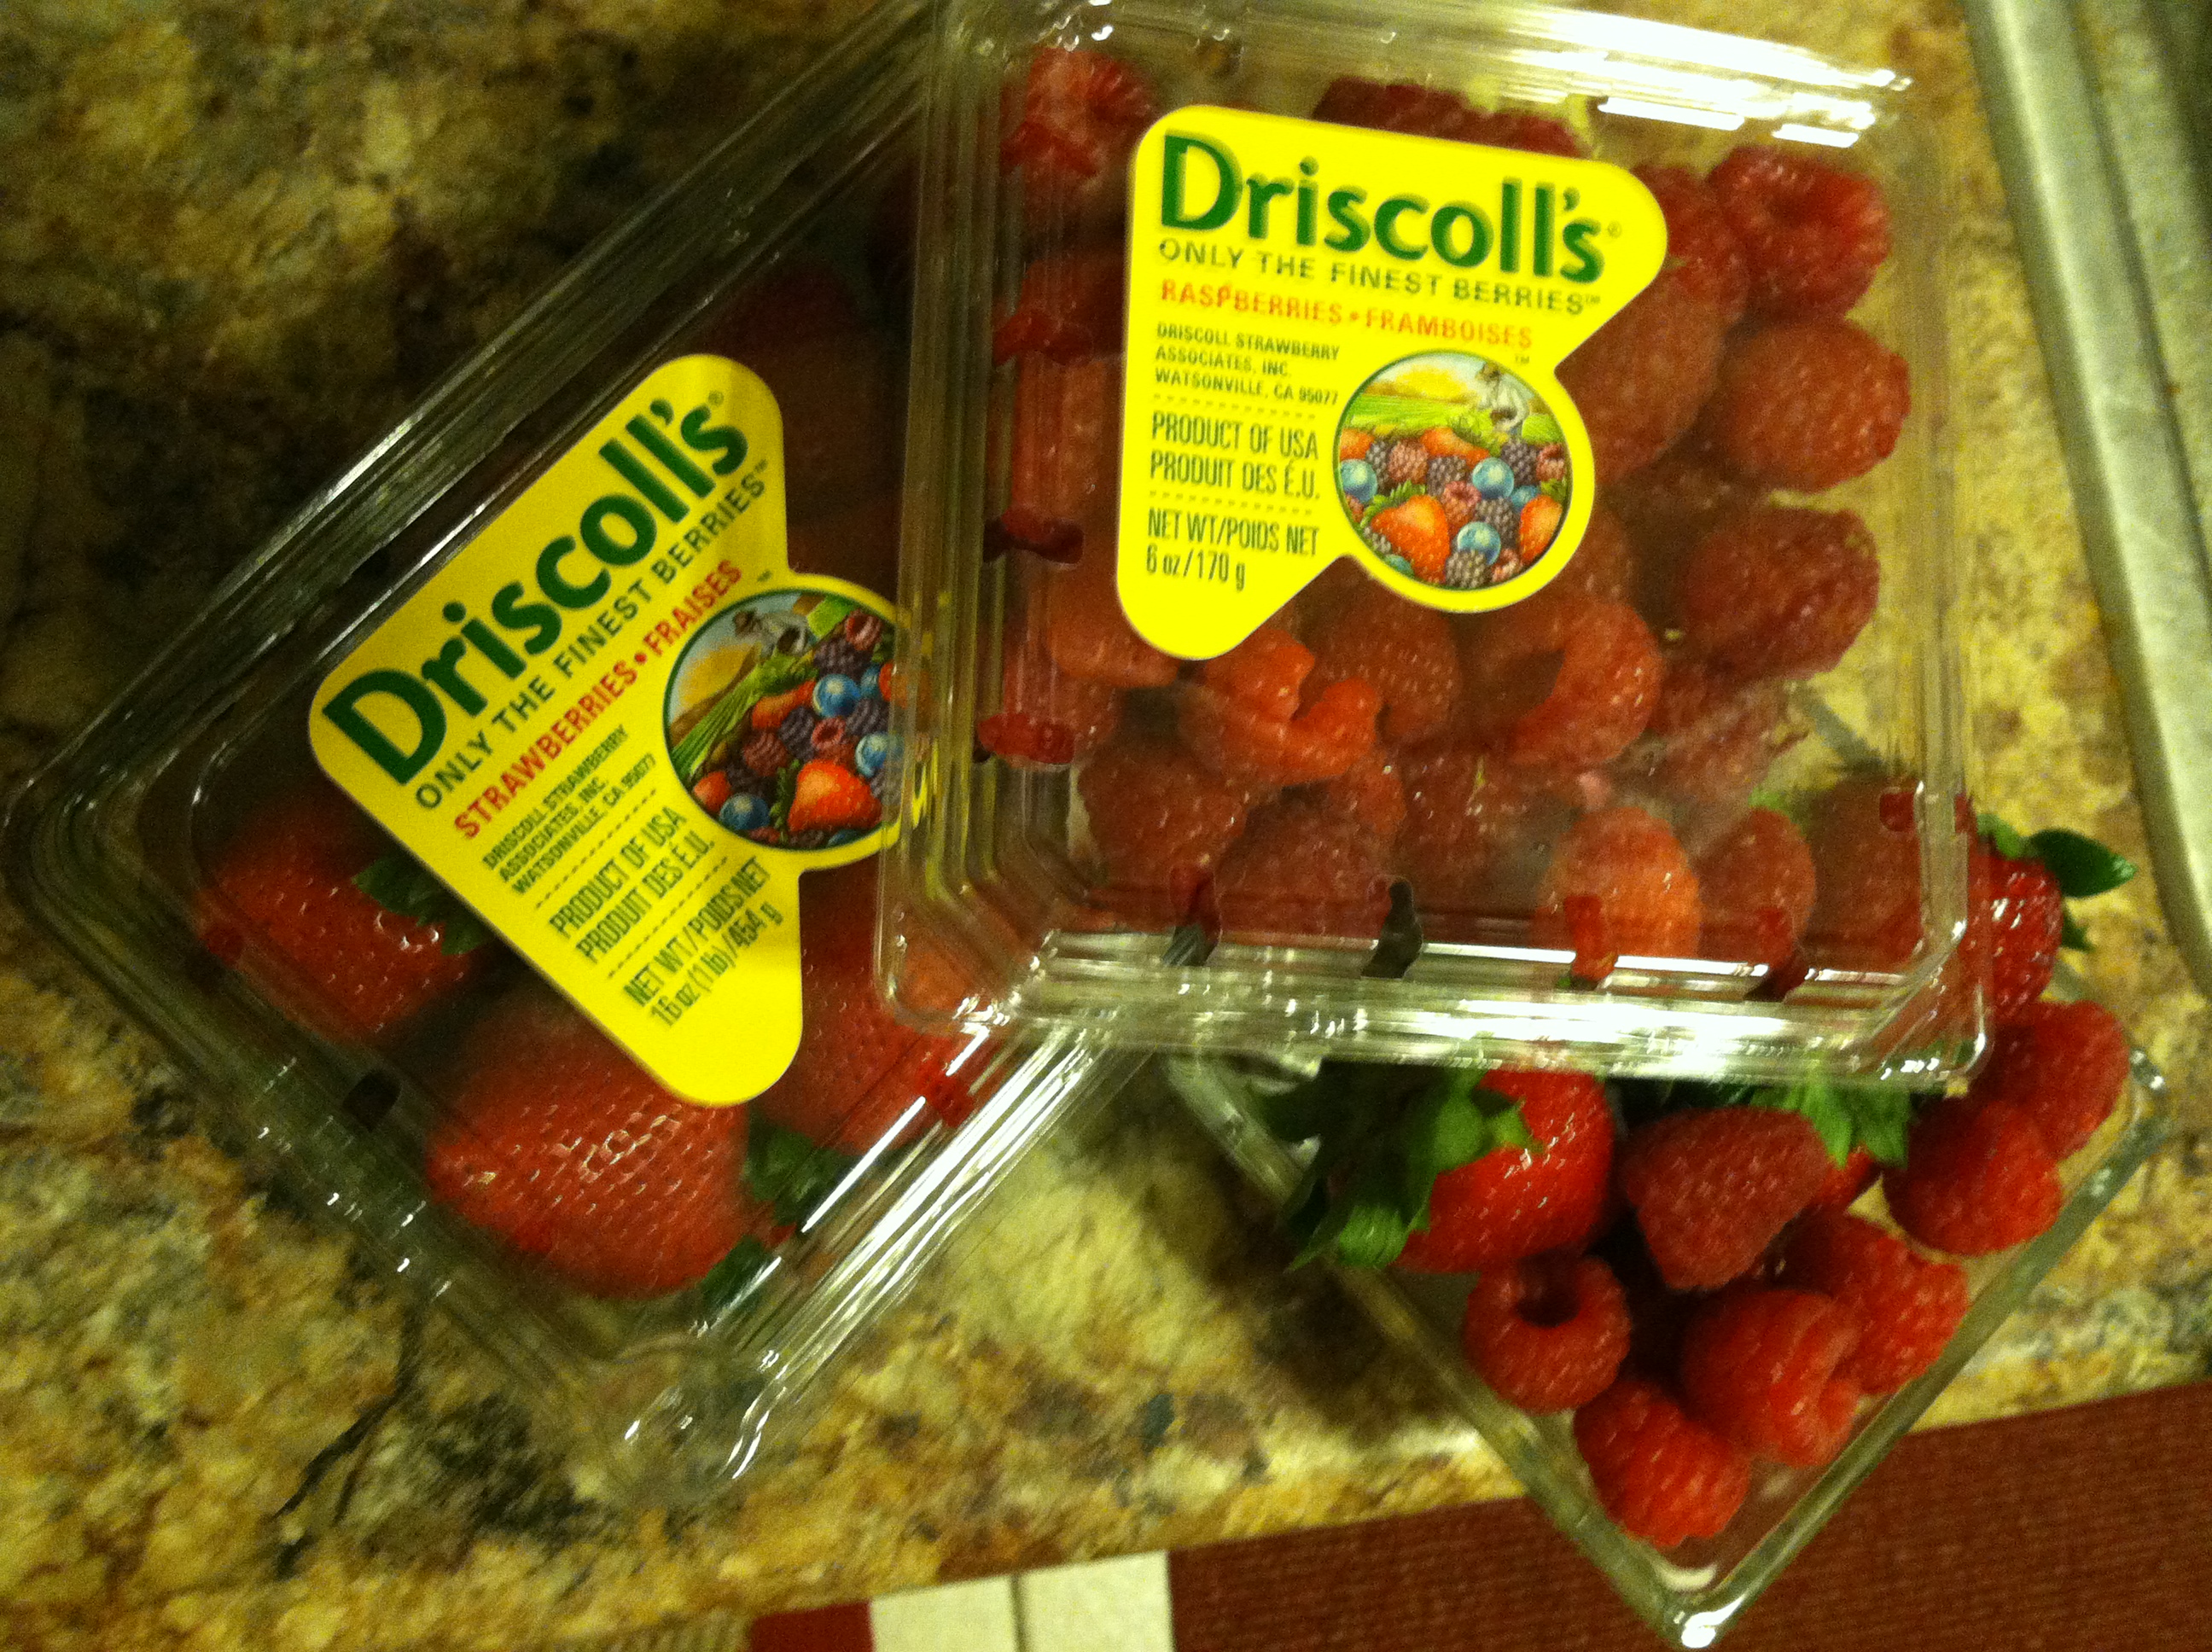
This post was developed in association with The Daily Meal and Driscoll’s in honor of National Strawberry Shortcake Day this June 14th!  #Driscollsberry @strawshort

Driscoll

As the days grow longer and hotter, we crave fresh, juicy fruits and light, refreshing desserts.  Every foodie’s favorite thing about summer is the abundance of fresh produce rolling in. From farmer’s market kale to home-grown lettuce to ripe berries, summer is a fresh food paradise.

Driscoll’s has been committed to growing strawberries for over 100 years. Each berry is loaded with vitamin C, folate, fiber, potassium and antioxidants. Driscoll’s ensures year-round availability by growing strawberries in multiple locations. However, the summertime strawberries carry with them the warmth of the sun and long days to ripen, and are best used at the peak of the season.

strawberry bowl

Therefore, in celebration of summer, fresh berries, and sweet deliciousness, I decided to make the world’s finest Strawberry Shortcake. This was to be no ordinary biscuit with berries sprinkled on top. I searched the world wide web for inspiration, considered all kinds of crazy flavors, and took apart each element of the classic cake to come up with this recipe.

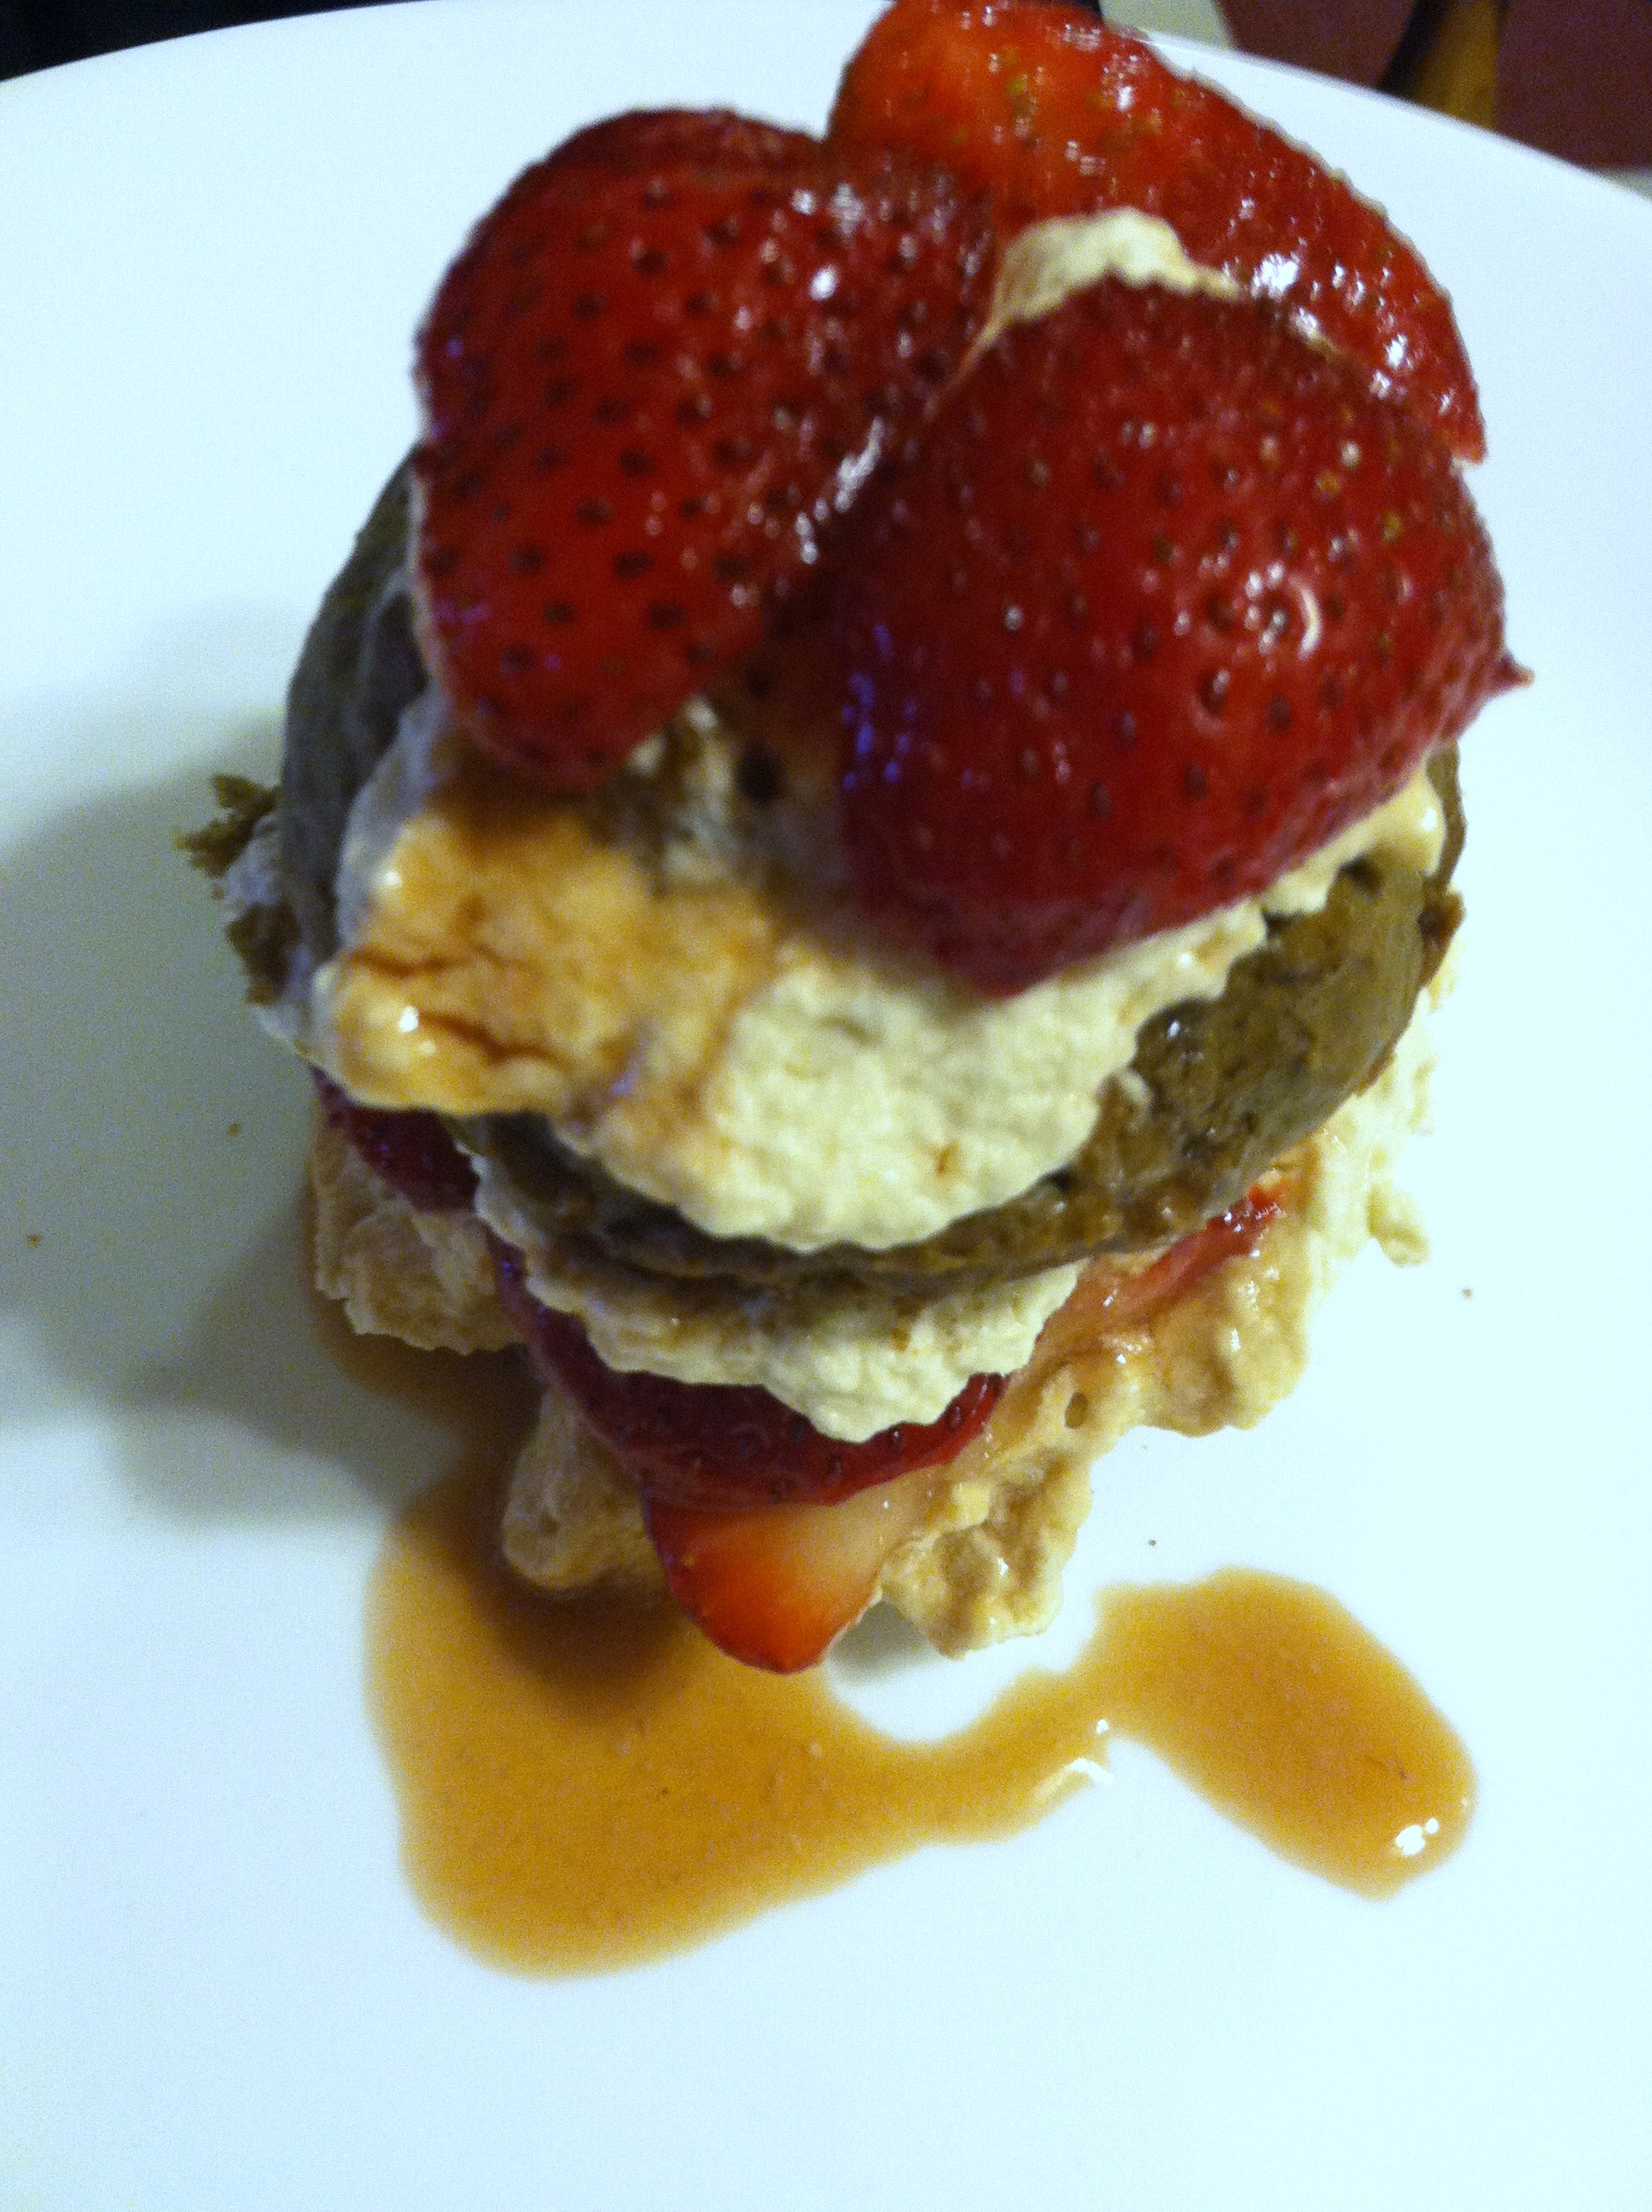
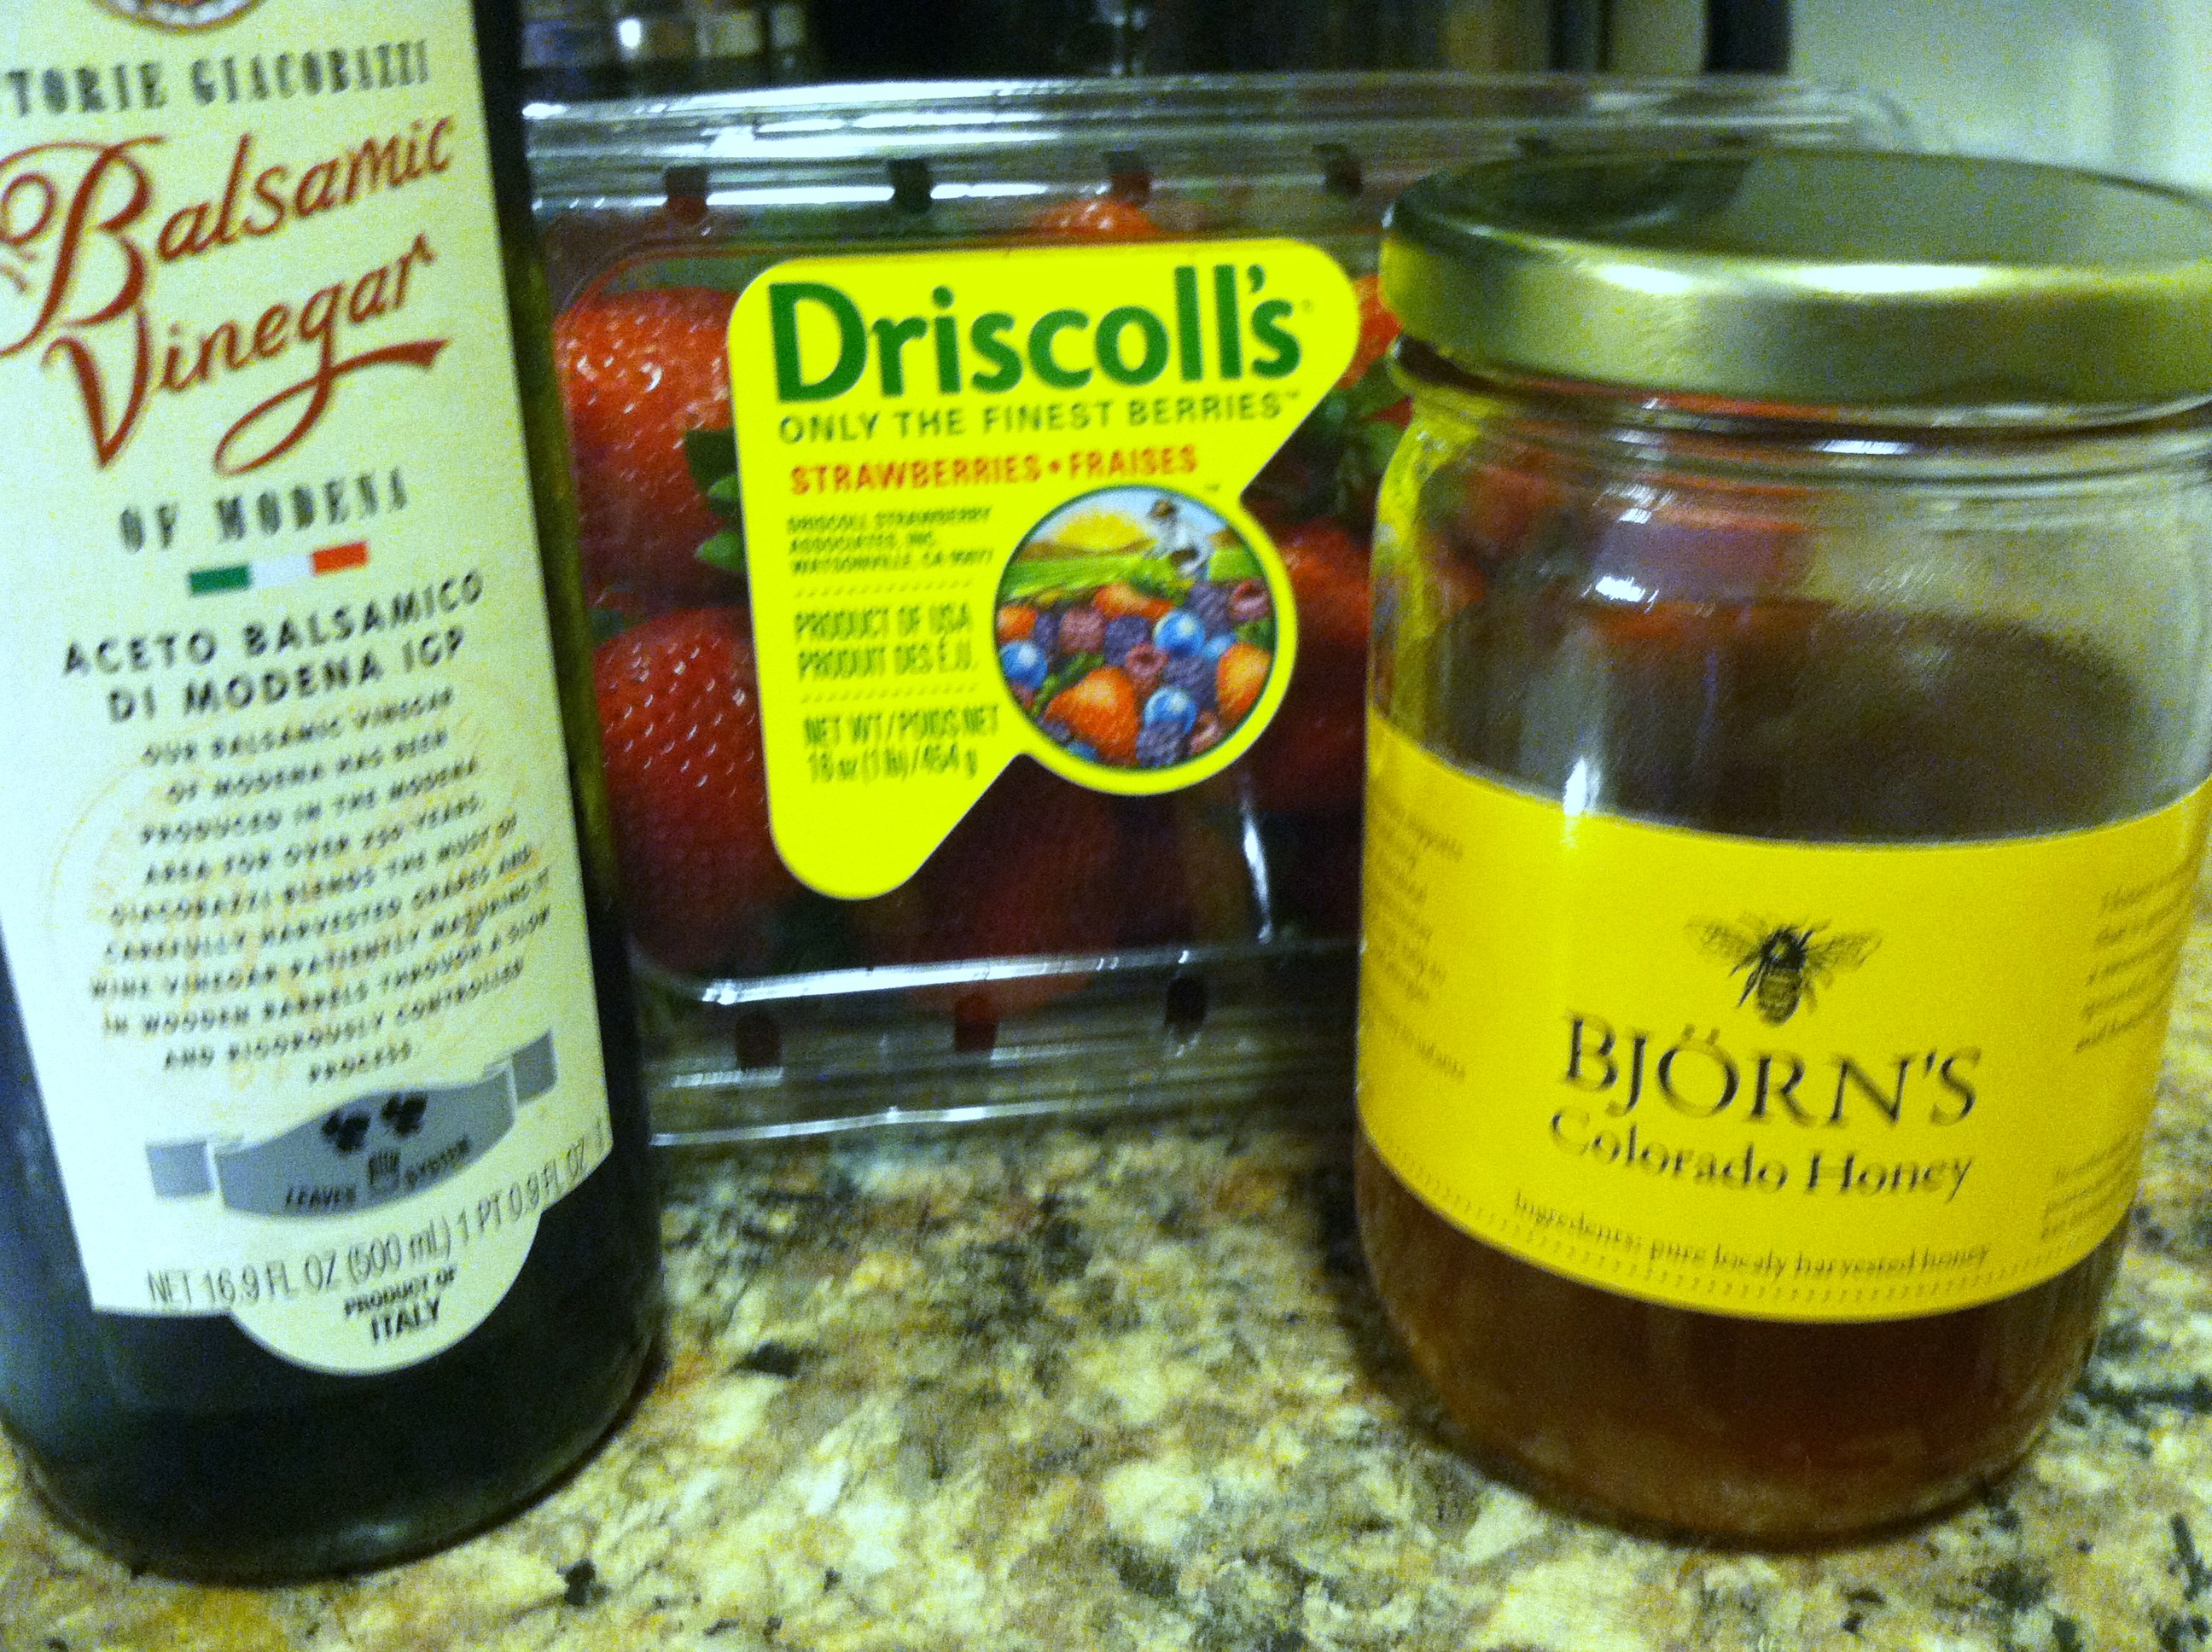
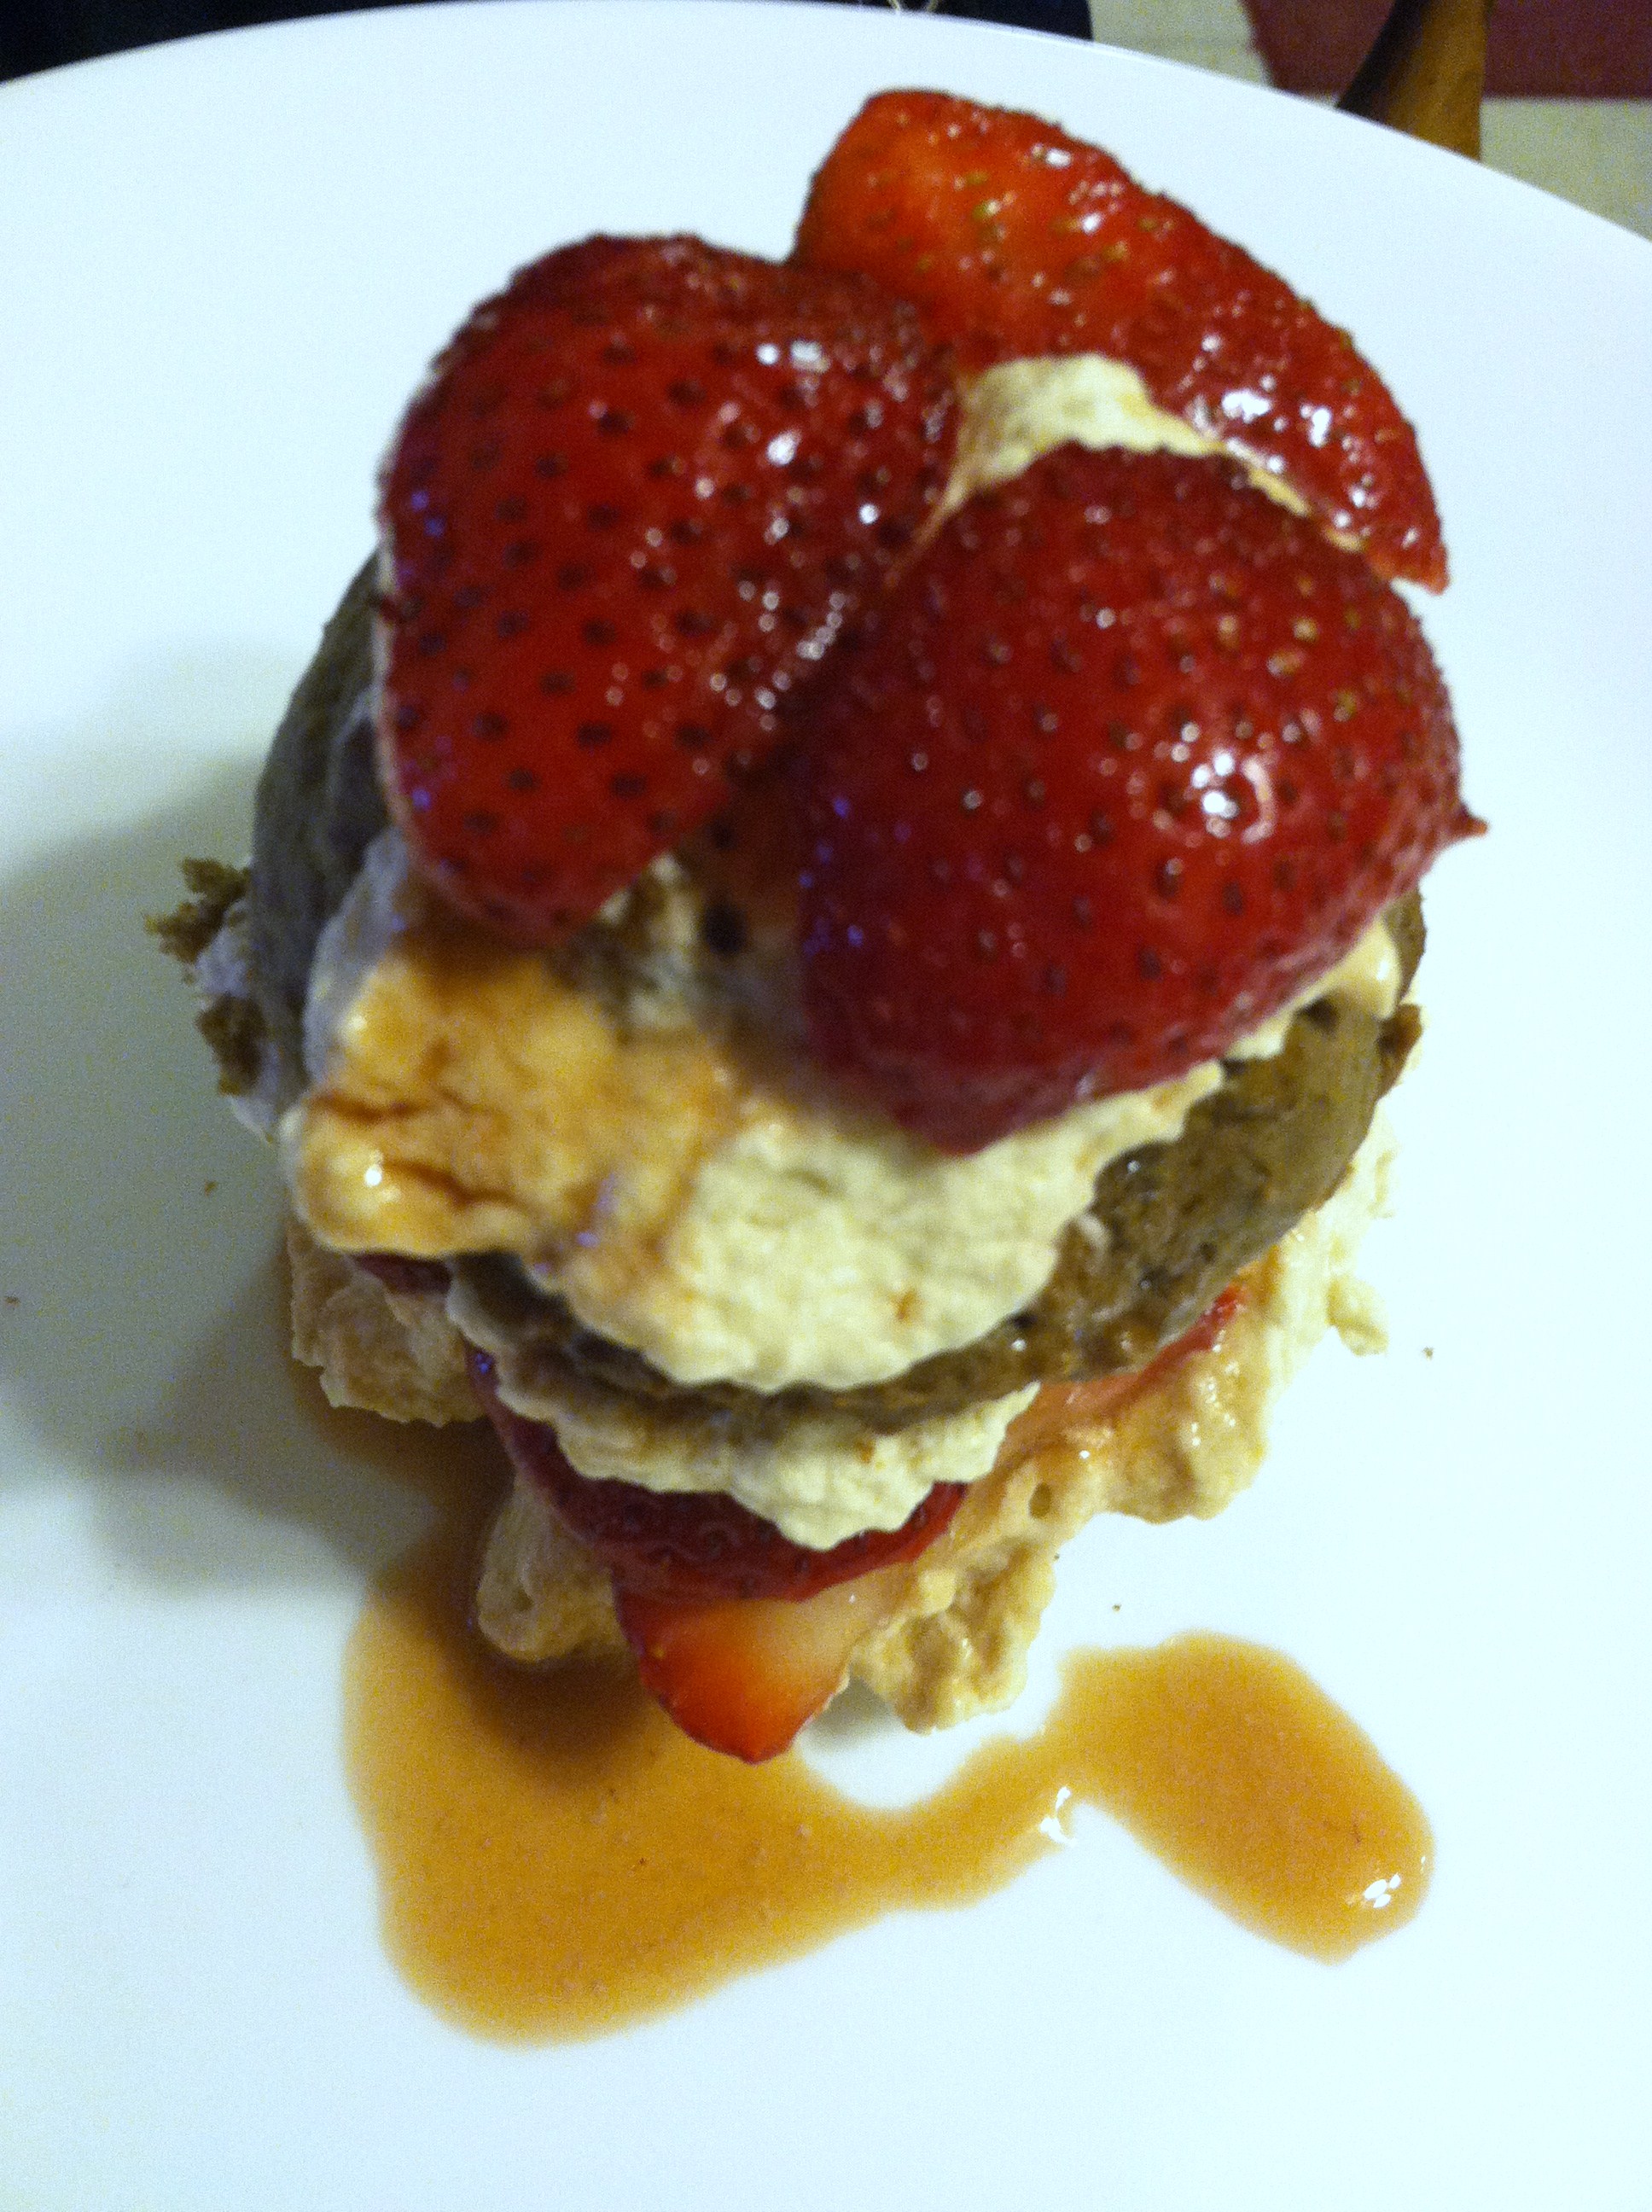
Dense, moist, and decadent chocolate shortcake. Thinly sliced plump Driscoll strawberries bathed in sweet and tangy balsamic vinegar and local Colorado honey, and the tour-de-force, a homemade French Vanilla whipped cream spiked with Patron Cafe.

choc shortcake

If you aren’t salivating by now, just keep scrolling for the pictures…

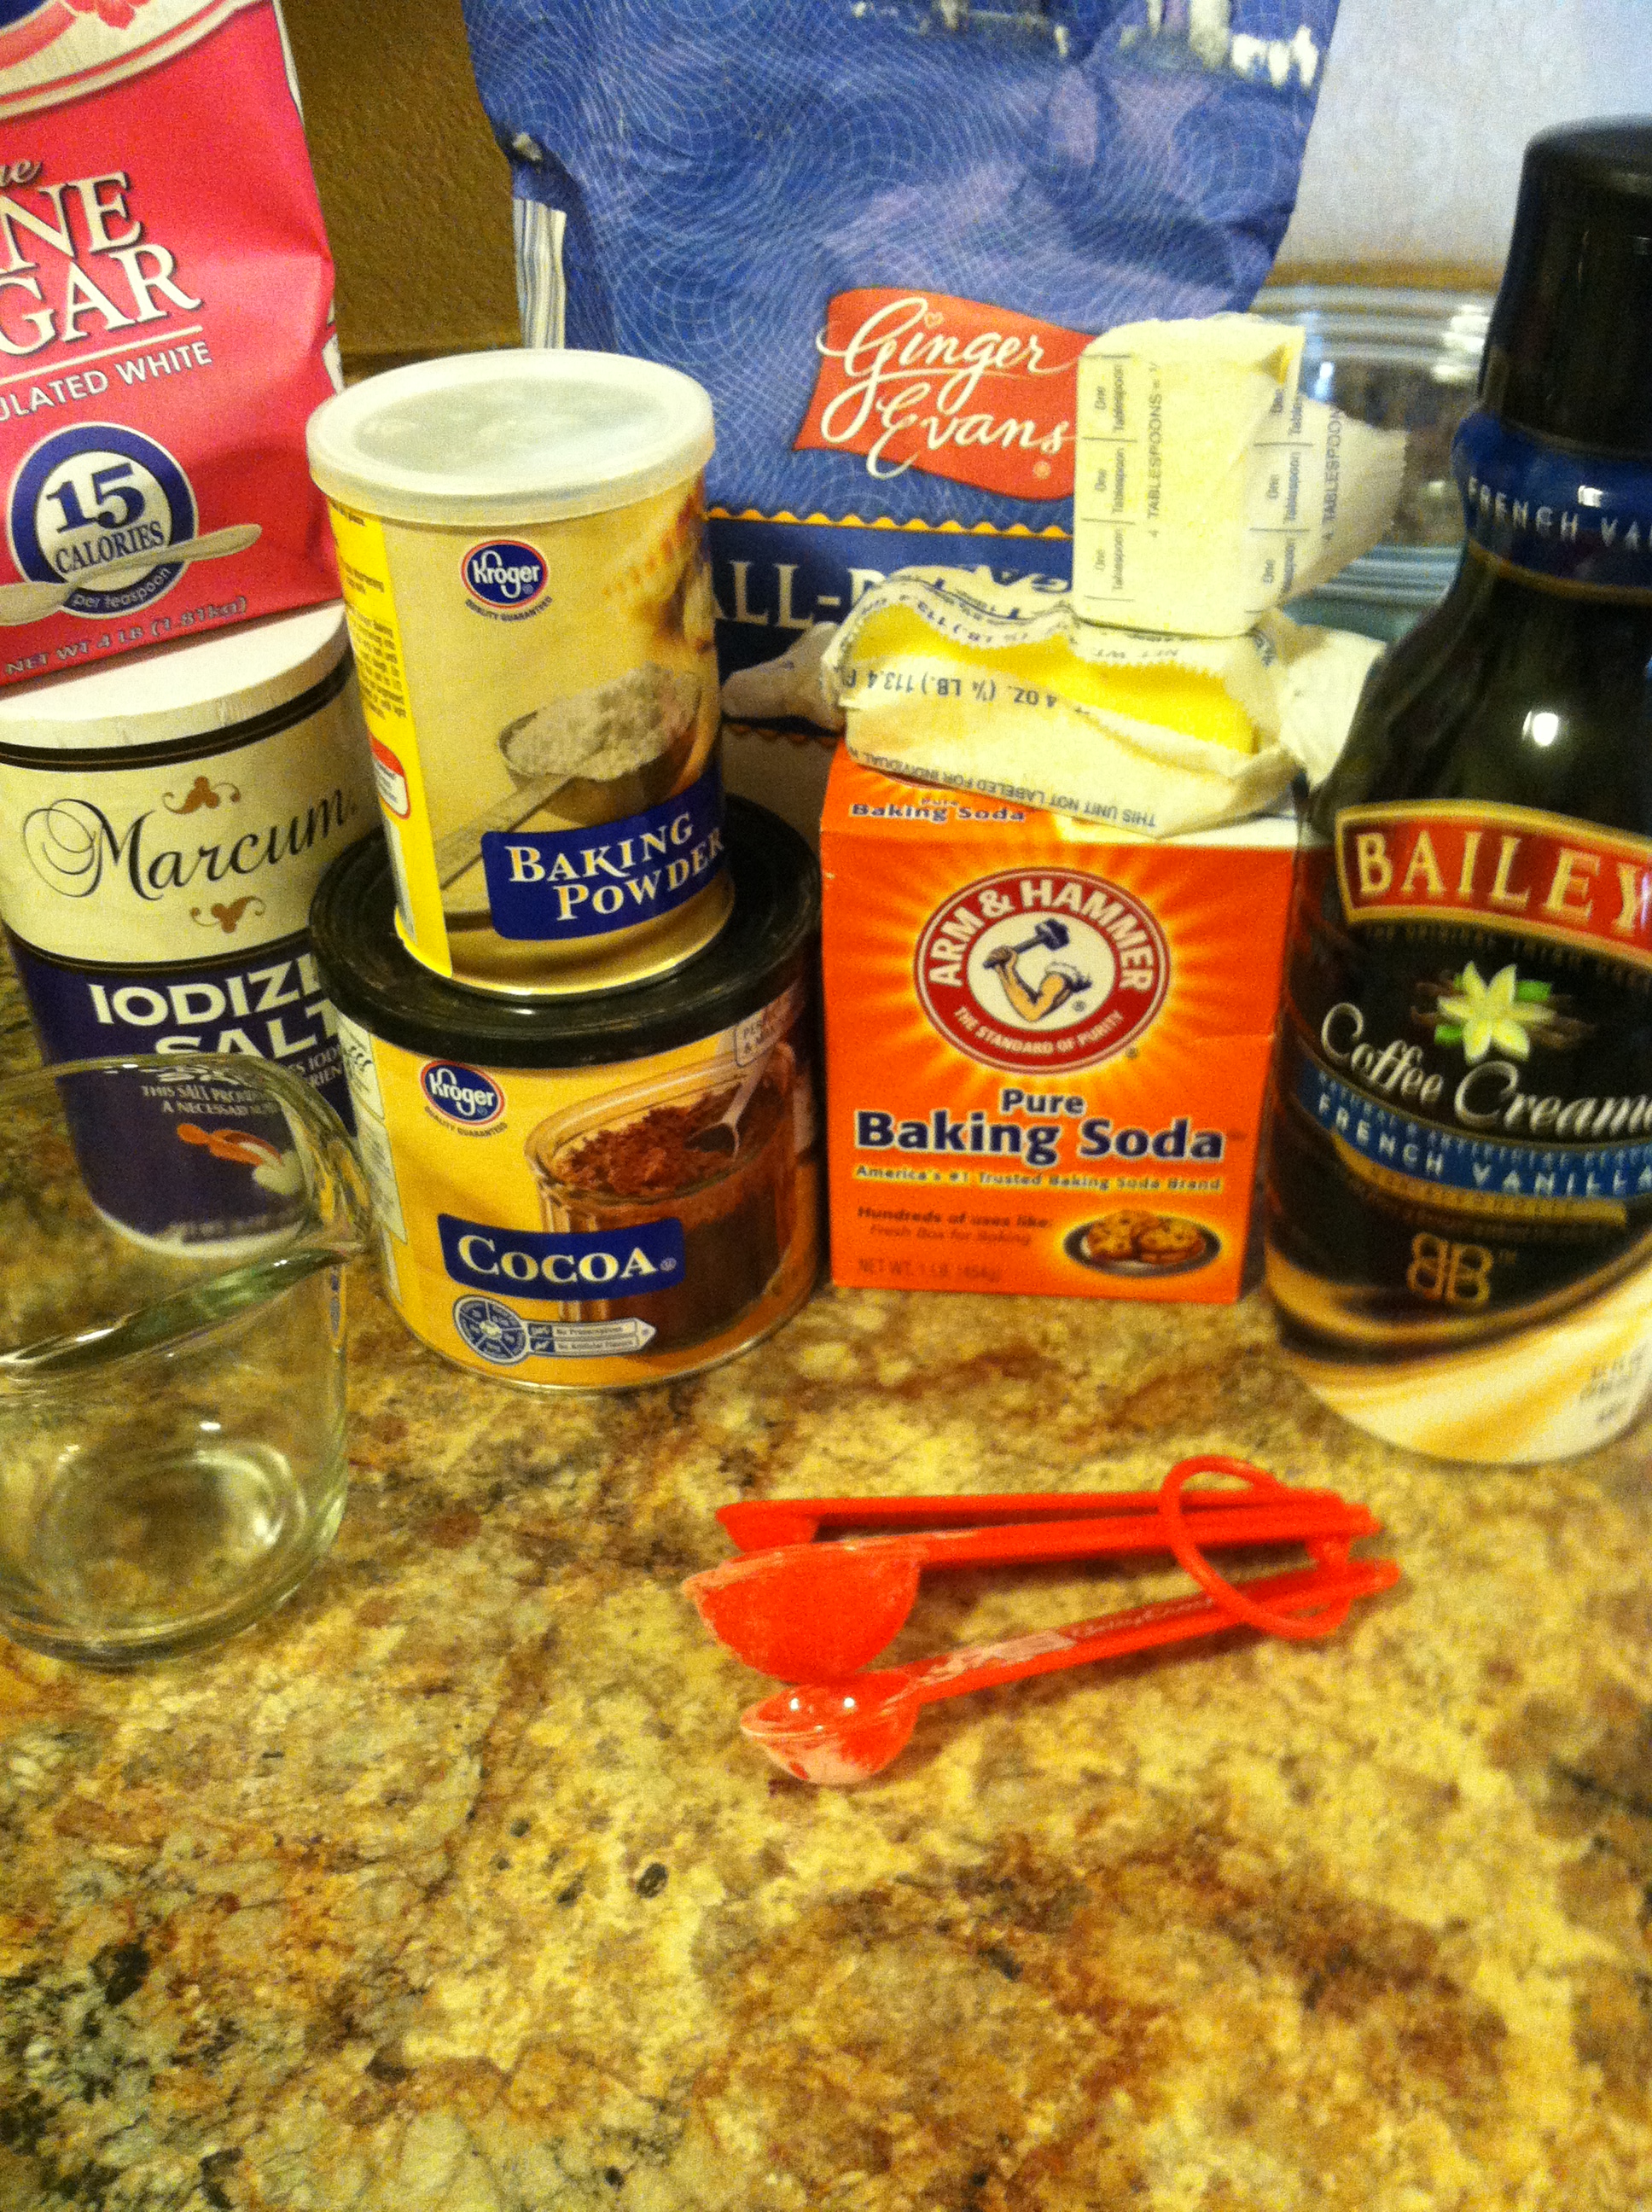
Shortcake Ingredients:

  • 1 1/2 cup flour
  • 3 tbsp granulated sugar
  • 2 tbsp cocoa powder
  • 1 1/2 tsp baking powder
  • 1/2 tsp baking soda
  • 1/4 tsp salt
  • 1/4 cup cold butter (4 tbsp)
  • 1/2 cup milk

choc cake ingredients

For the strawberries:

  • 2 cups strawberries
  • 1/4 cup balsamic vinegar
  • 1/4 cup honey

IMG_2193

For the whipped cream:

  • 1 cup heavy whipping cream
  • 2 oz French Vanilla coffee creamer
  • 2 oz Patron cafe (or other coffee-flavored liquor)
  • 3 tbsp powdered sugar

Patron creamThis may seem intimidating, but trust me, it takes less than 30 minutes altogether. And the only ingredient I had to specifically go buy was the heavy cream. You can omit the Patron if you don’t like the taste or the alcohol content as well. Let’s jump in.

Step 1: Preheat your oven to 400 degrees F. In a large bowl, mix your dry ingredients. Flour, baking powder, baking soda, cocoa powder, salt, sugar. Sift together if you do things that way.

IMG_2206

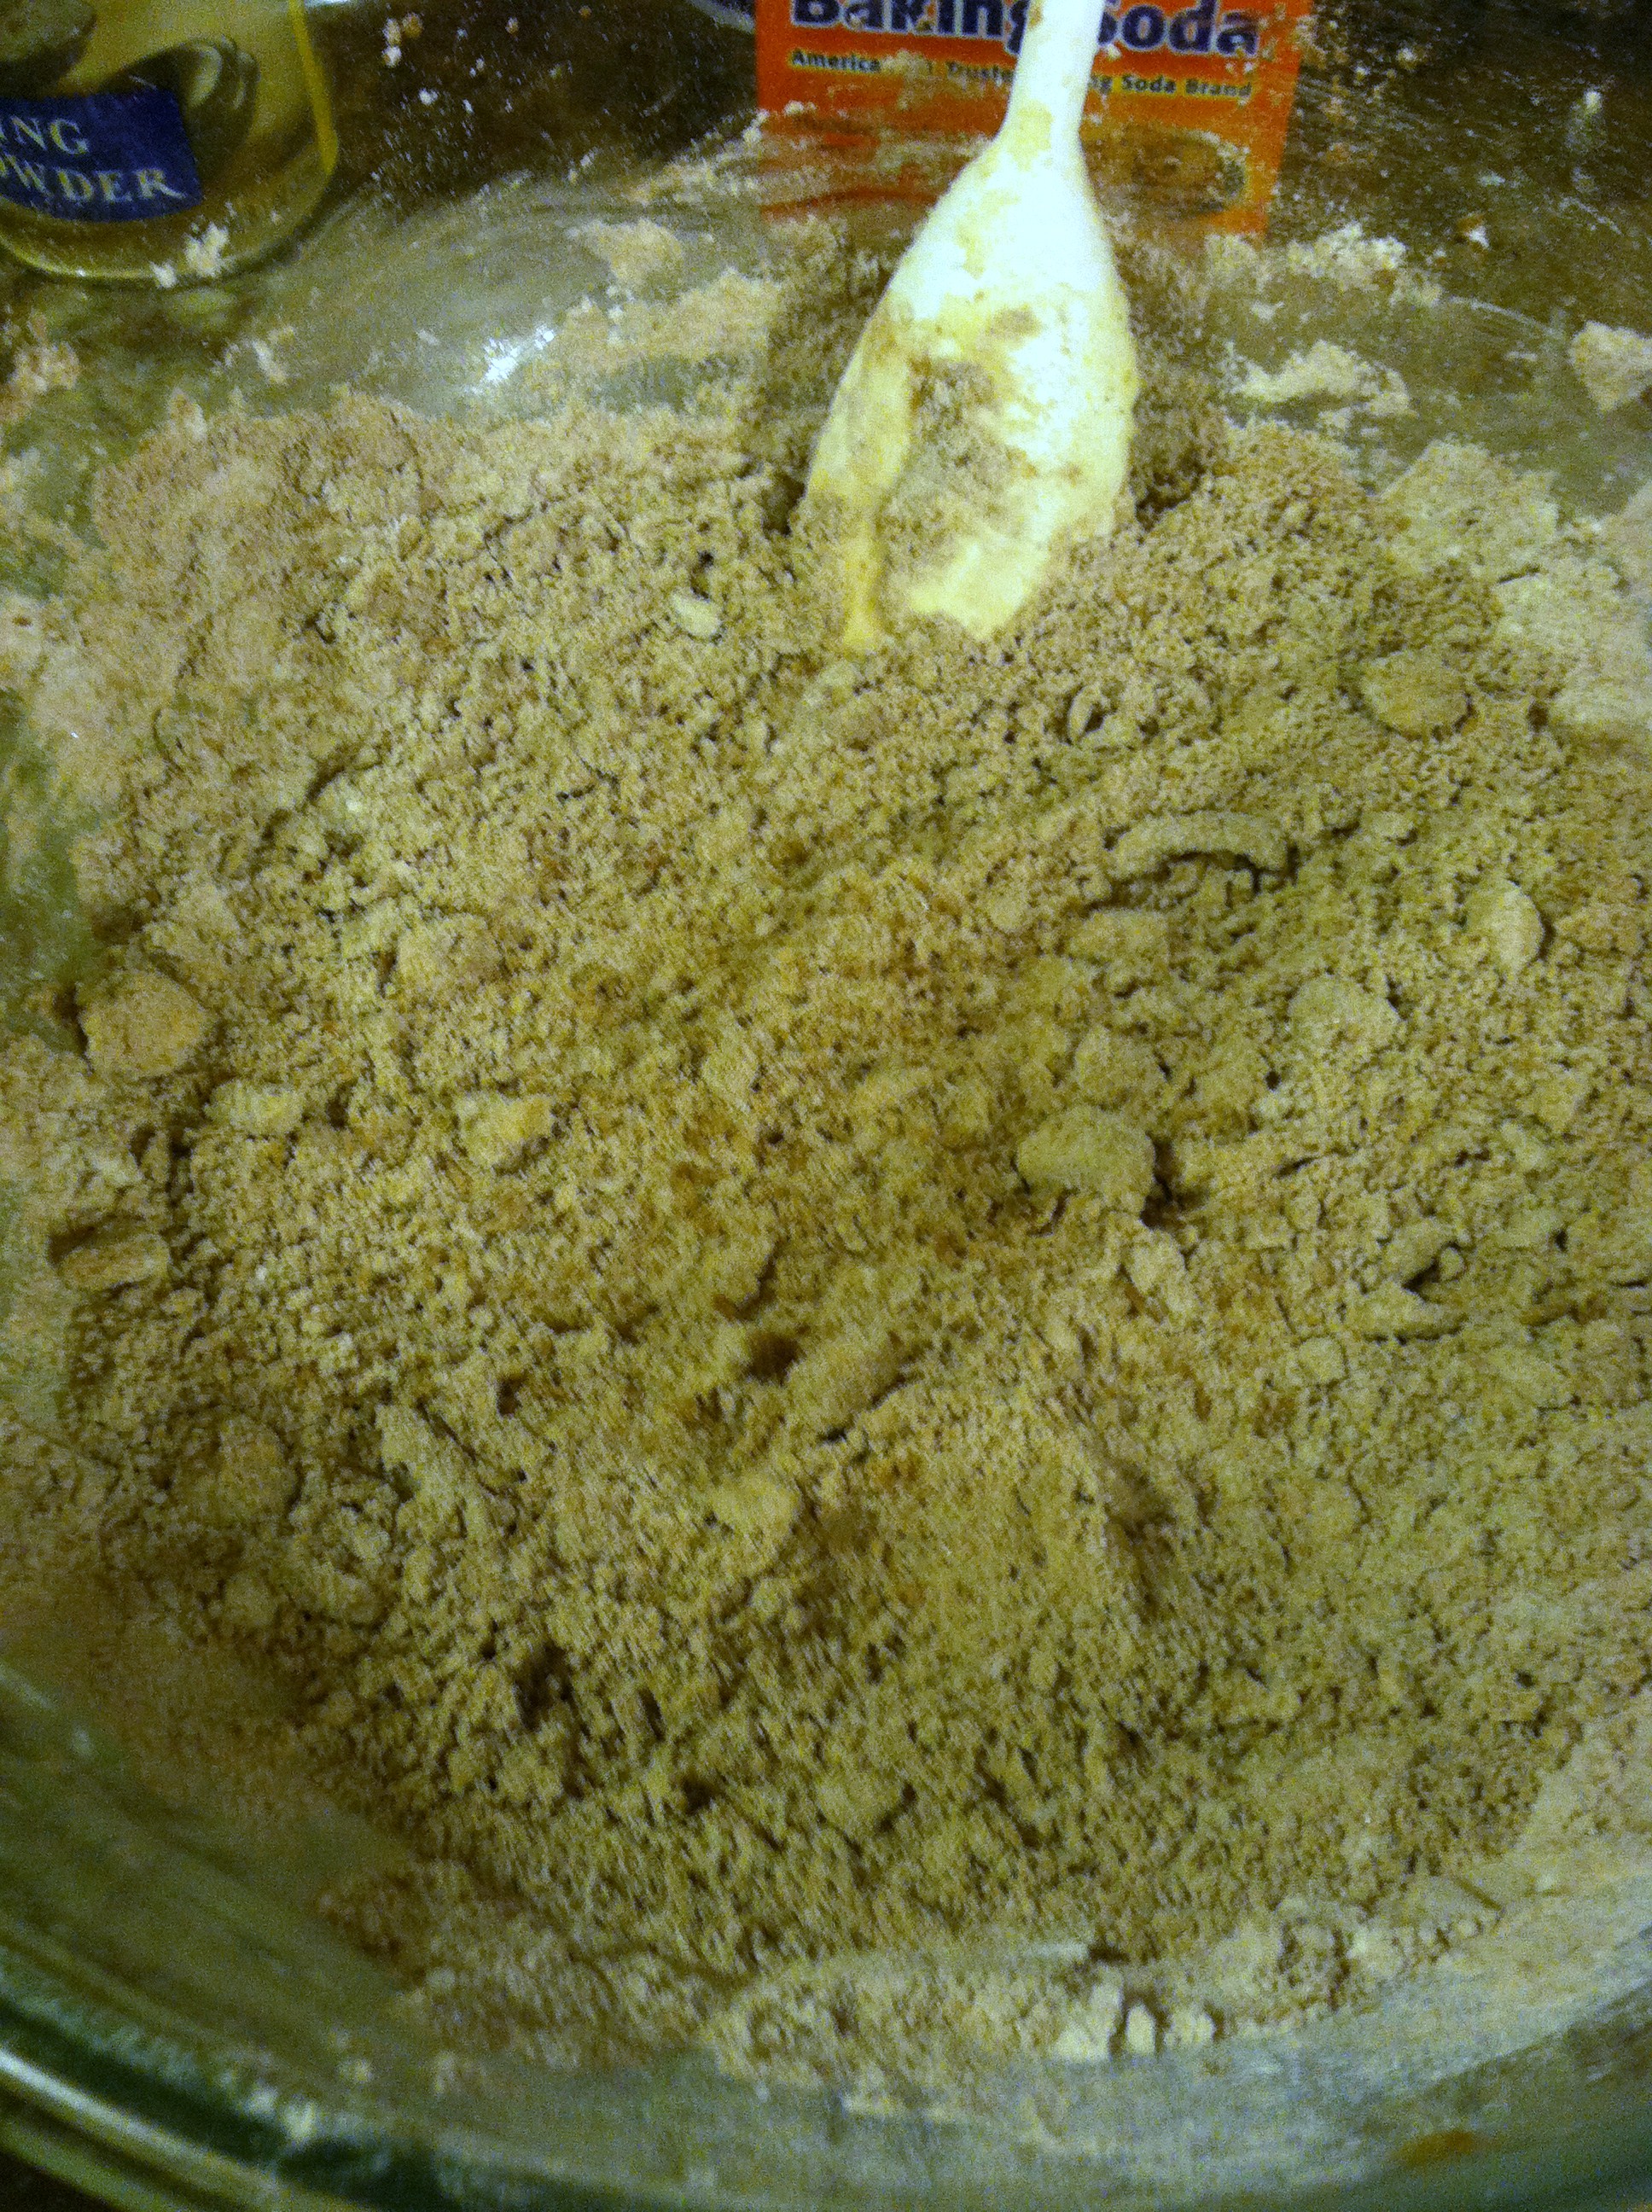
Step 2: Cut in the cold butter or use a pastry cutter, until it resembles coarse crumbs.

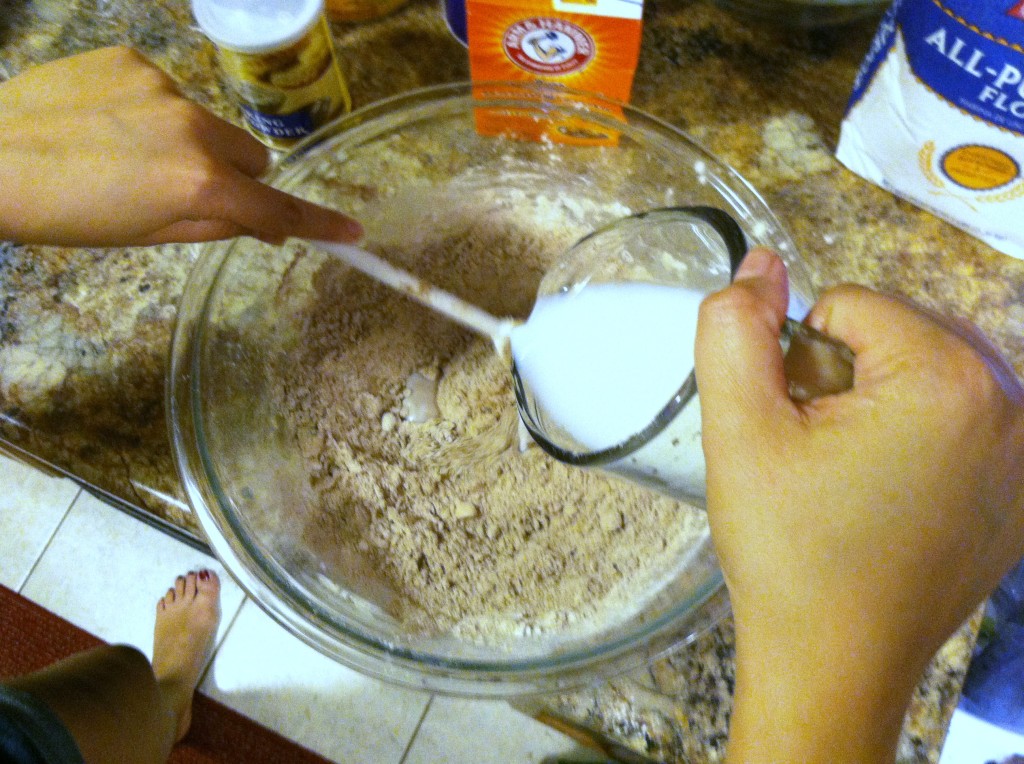
Step 3: Stir as you pour in the milk. Batter should be just wet, and a bit sticky.

IMG_2207

Step 4: You can just drop the batter onto a wax-paper-covered cookie sheet, but I chose to bake mine in cupcake pans for shape. Pour about 1/4 cup into each well.

IMG_2213

Step 5: Bake at 400 for 15-17 minutes, until beginning to brown on top. Remove from the oven and cool.

Meanwhile, chill a bowl and whisk in the refrigerator or freezer to make the whipped cream.

Step 6: Cut the tops off the strawberries, then stand them on end and cut into thin slices.

IMG_2194

I will totally not tell if you sneak a few as you’re cutting. Fresh strawberries are hard to resist! I know I had a few…

IMG_2215

Step 7: In a bowl, mix the balsamic vinegar and honey. You may need to microwave for 15-20 seconds to get the honey and vinegar to mix well. Dump the sliced berries in, and mix well to coat. Set aside.

honey vinegar berries

Step 8: The home stretch, whipped cream time! Take out your cold bowl and whisk. Pour in 1 cup heavy whipping cream, and then whip the crap outta the cream.

whipping

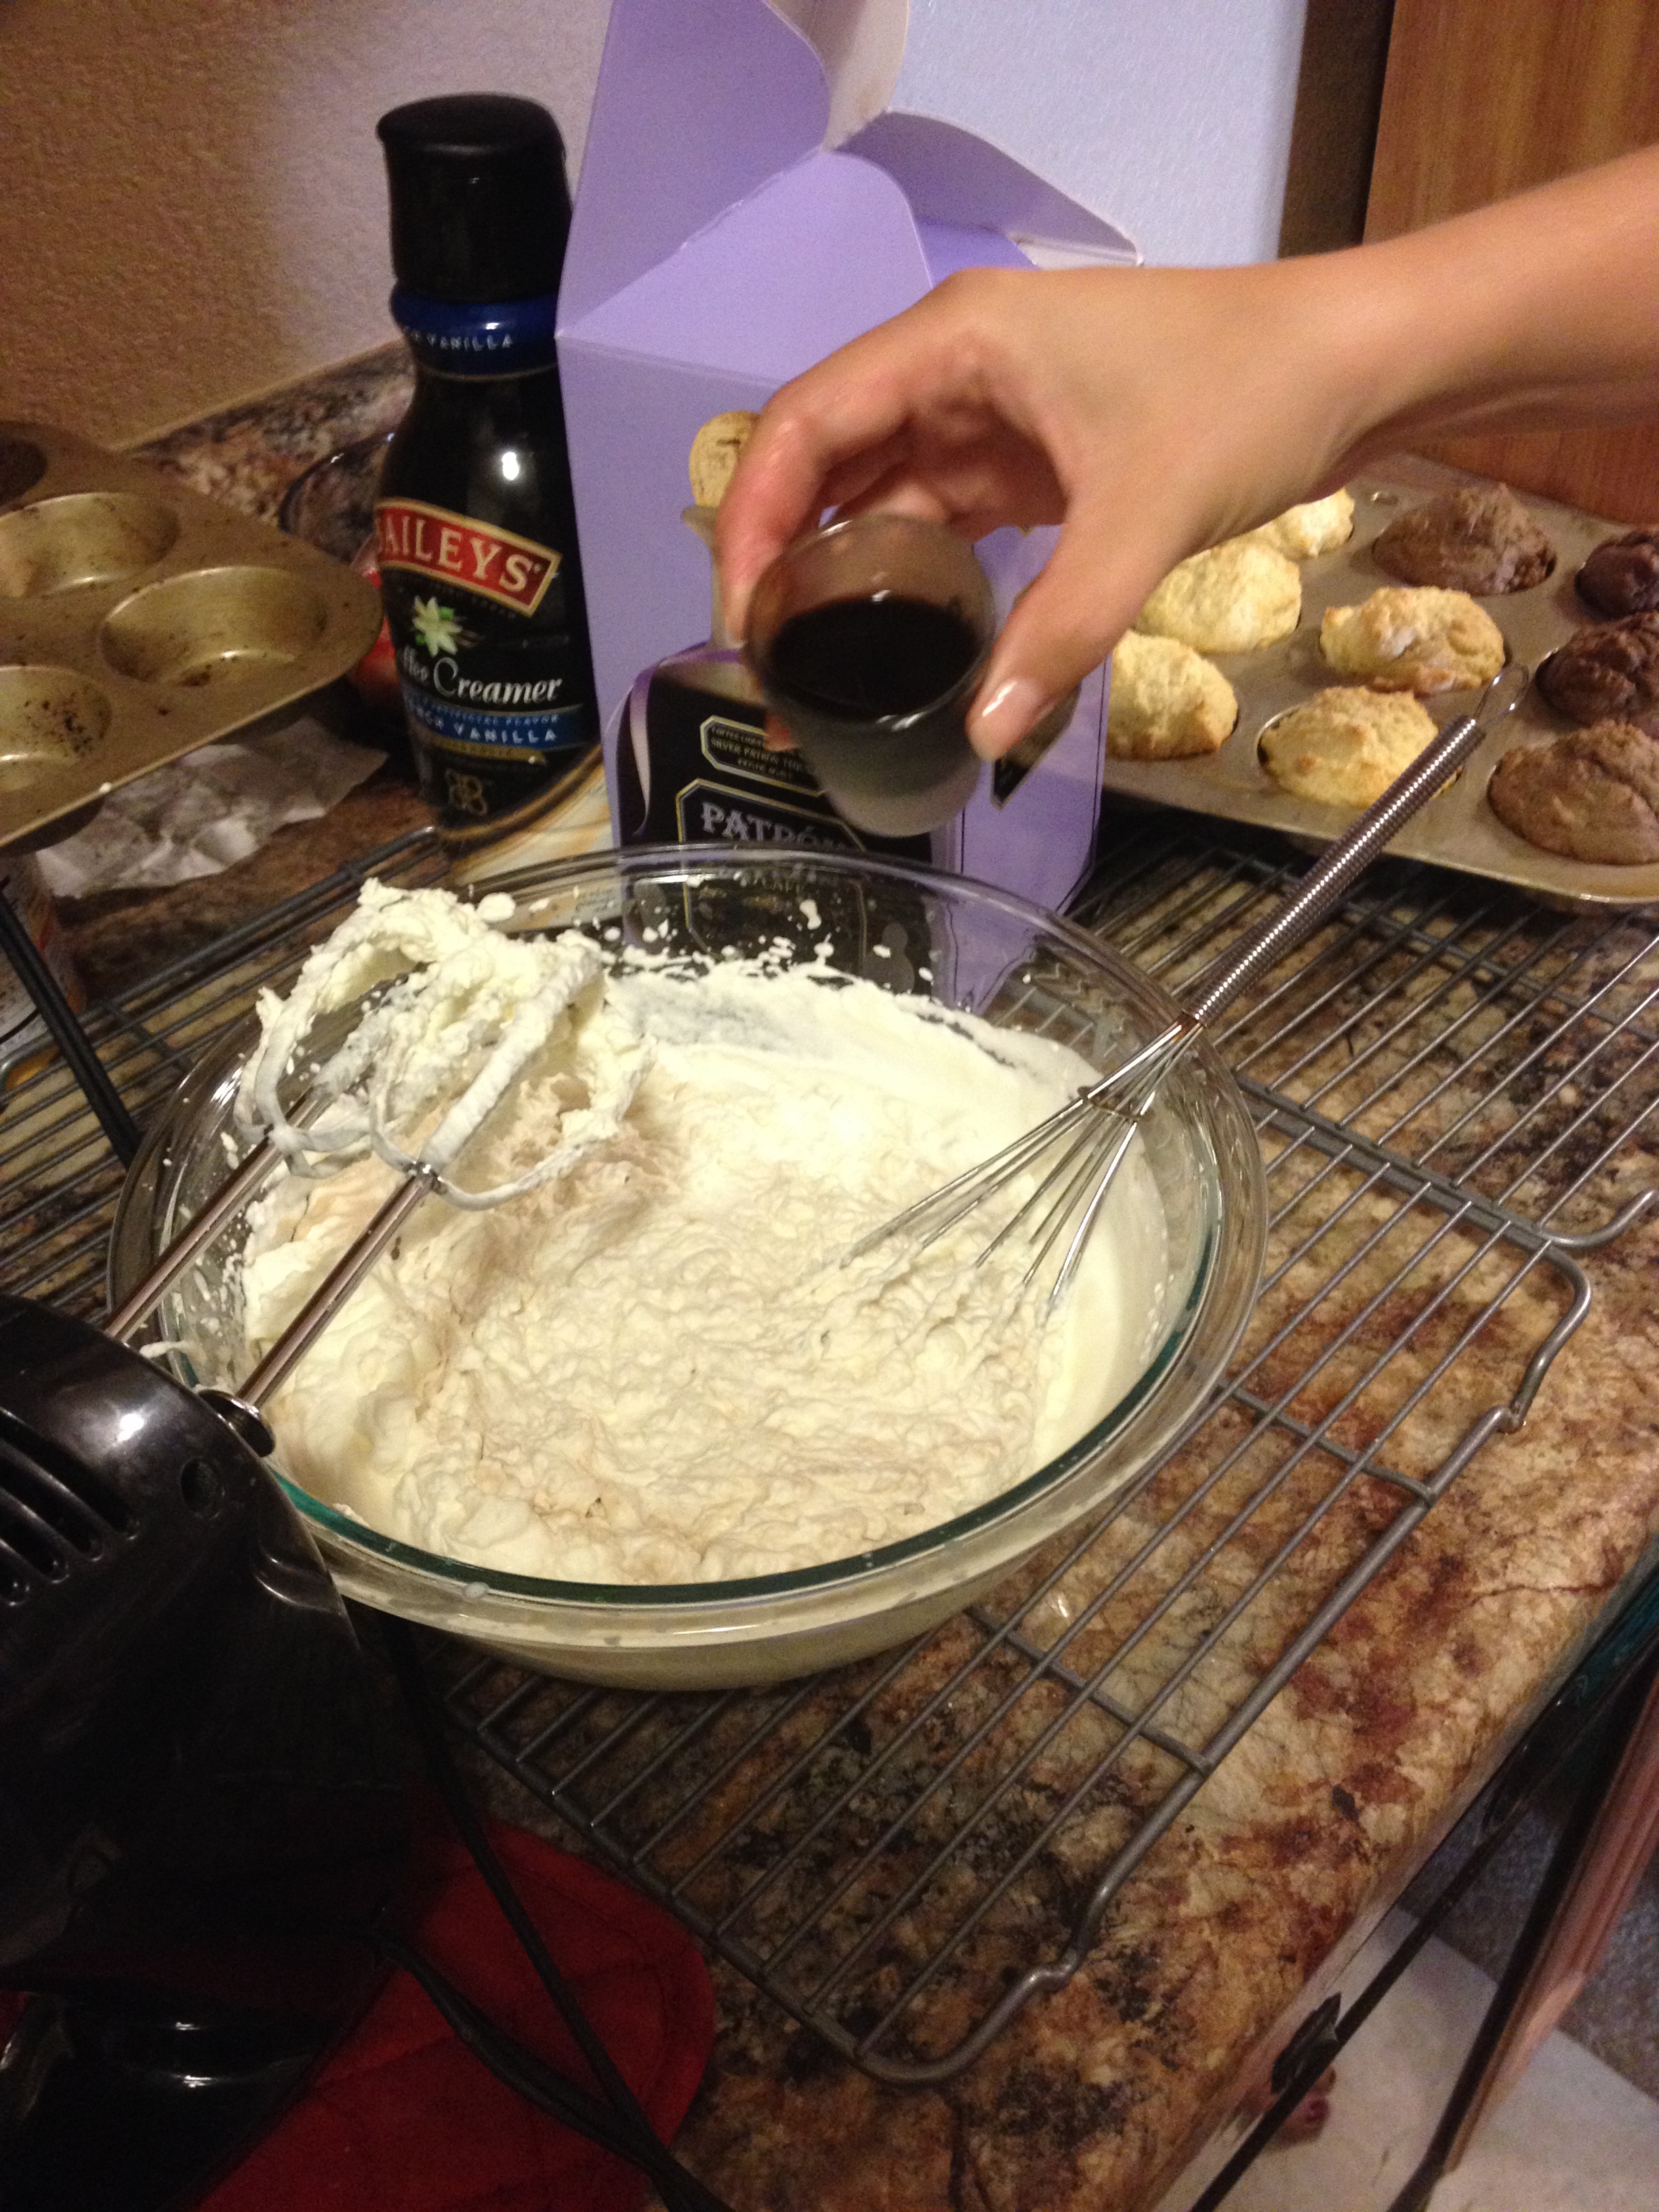
The cream will start to thicken, and form stiff peaks. Add the 2 oz of creamer, powdered sugar, and Patron. Mix well again. Be sure to not over-beat it though, you don’t want alcoholic butter. Or maybe you do…

Patron
As you can see, my arm got tired and I resorted to a hand mixer. =)

Step 9: Now you have all three ingredients to assemble your masterpiece. Cut the cooled shortcupcakes in half, and smear on some cafe cream. Add a few slices of berries, and a drizzle of the extra juice.

IMG_2243

Put the top layer on, smear on some more cream, and top with berry slices.

IMG_2248

And there you have it! A delicious, fresh, unique dessert to wow a crowd or make a summertime picnic extra special. This recipe makes enough for 8 small cakes, you can easily double it to make a larger 9 inch round pan.

IMG_2252

The cake is flaky on the outside, yet moist on the inside, with just a hint of cocoa flavor. The whipped cream adds a mysterious bite, with a chocolate-complementing essence of coffee. Likewise, the balsamic vinegar is a unique, yet balancing tang to the coffee-chocolate notes, and the honey is just the right amount of sweet without being overwhelming. The longer you let the berries soak, the more they will take on this amazing flavor combination. You might want to make extra to just eat with a spoon!

IMG_2257

Now the next time you have a birthday, office gathering, garden party, or dinner you know where to turn for a uniquely impressive dessert that’s sure to bring compliments for years to come!


Blueberry-Lemon Scones with Devonshire Cream


Scones are a popular breakfast, brunch, or tea-time treat. Linked historically to Scotland, Ireland, and England, it is unclear who really deserves the credit of invention. The original scone was made of oats, shaped into a round, cut into 4 to 6 wedges, and baked over an open fire. Nowadays, scones are similar to biscuits, made with wheat flour and baking soda or powder, producing a hard, dry texture.

Finished scones fresh from the oven

Scones can be plain or “fancy”, with added raisins, orange rind, chocolate bits, honey, or other added flavorings. They are usually served with clotted cream, also called Devonshire cream. It’s quite easy to make with just a few things you likely have in your fridge. Check out TheNibble for a history of both. For a very large list of scones you can try, wander over to The Kitchen Project.

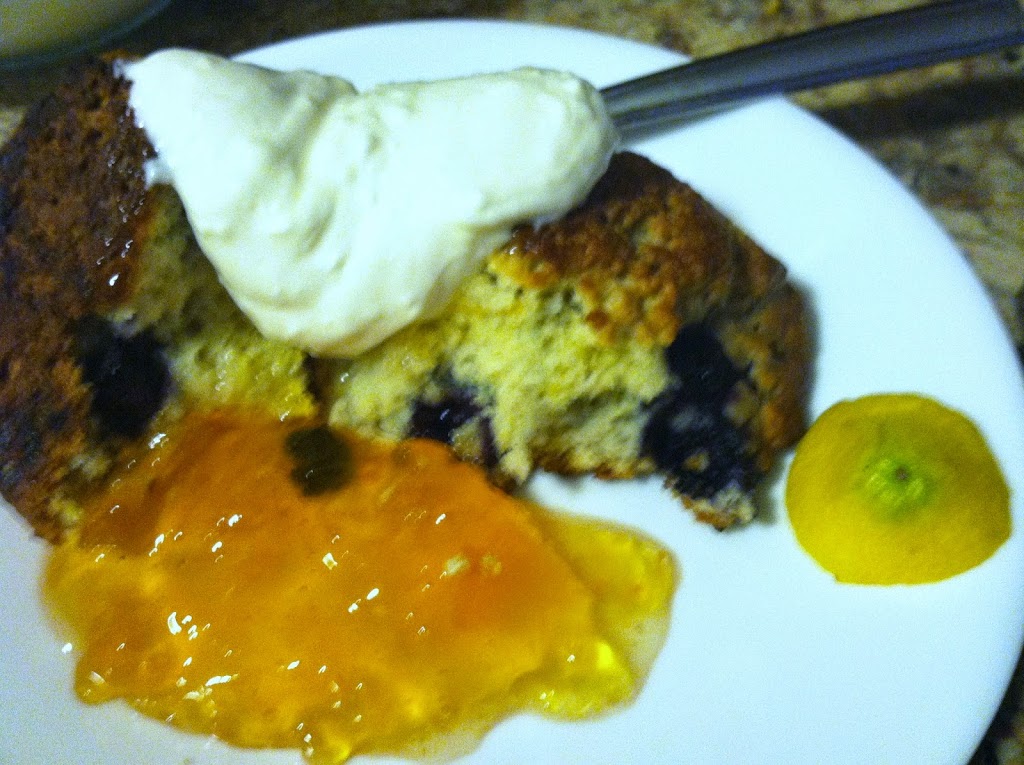
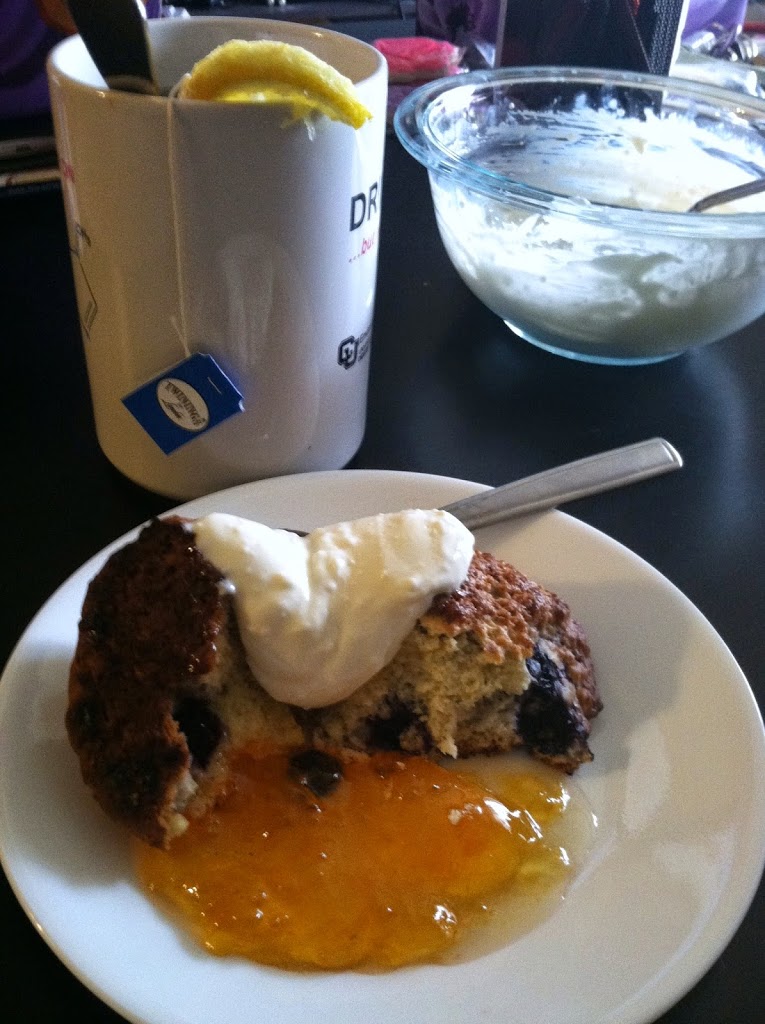
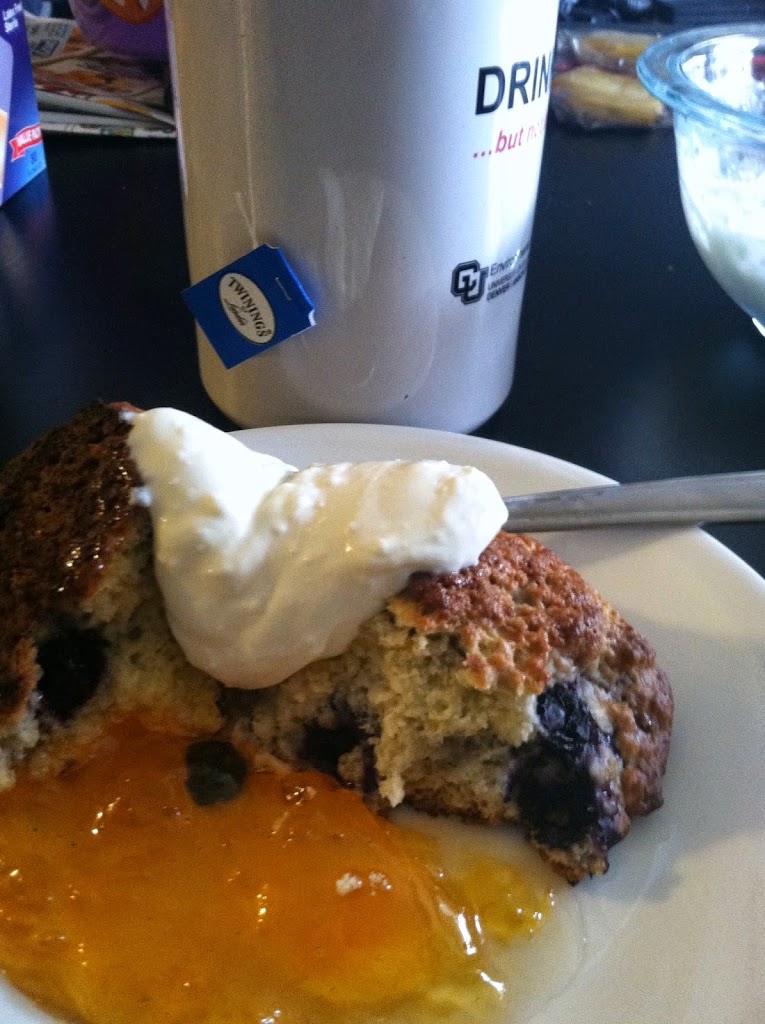
Blueberry-lemon scone with Devonshire cream and apricot preserves. It was just as delicious as it looks!

I had been given a boxed mix for scones some time ago, and when blueberries went on sale, I knew it was time. I also had a few fresh lemons, and so it was destiny. If you are feeling brave, feel free to try making your own scones, perhaps using the Pioneer Woman’s recipe.

Ingredients:
1 box scone mix (or your own)
1 egg
1 cup milk
1 cup blueberries, fresh or frozen
1 fresh lemon (juice + rind)
2 tbsp melted butter or margarine

Devonshire cream:
1 package cream cheese
1/2 cup sour cream
4 tbsp sugar
1 tsp vanilla
1/4 cup milk

 
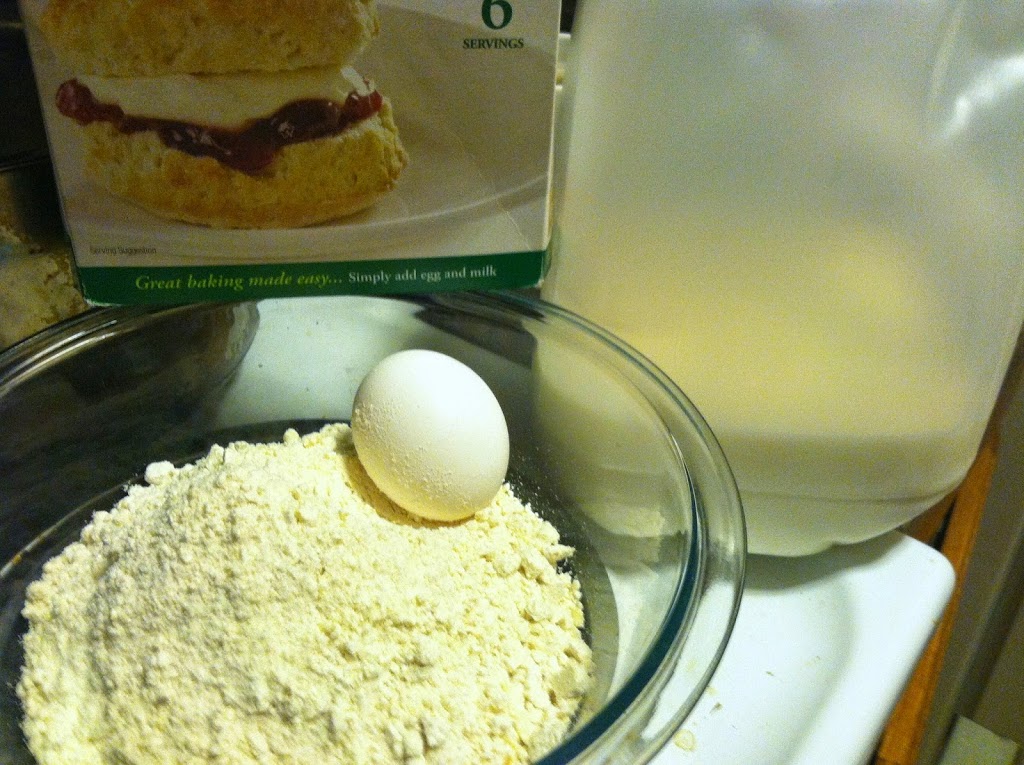
Step 1: Pour dry mix into a large bowl. Add the milk and eggs, and stir until it becomes smooth.
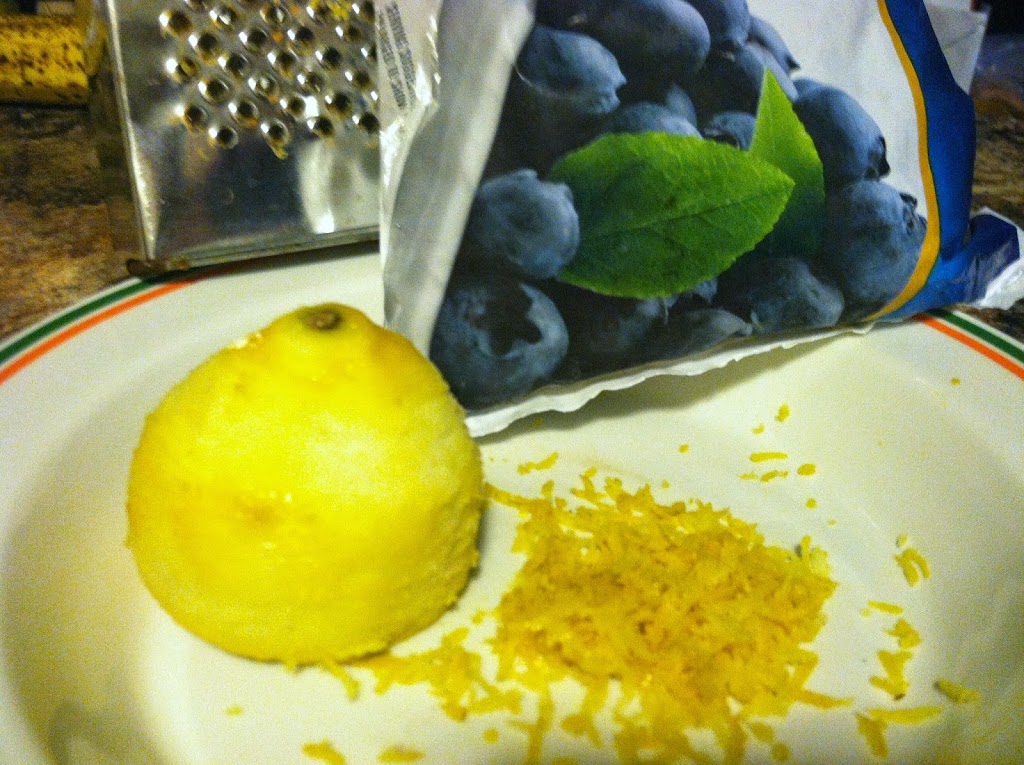
Step 2: Grate the lemon rind onto a plate, save the lemon as well. Add the blueberries, lemon juice, and rind to the dough and mix well. (Feel free to add a splash of vanilla or almond flavoring here for an extra dose of yummy)
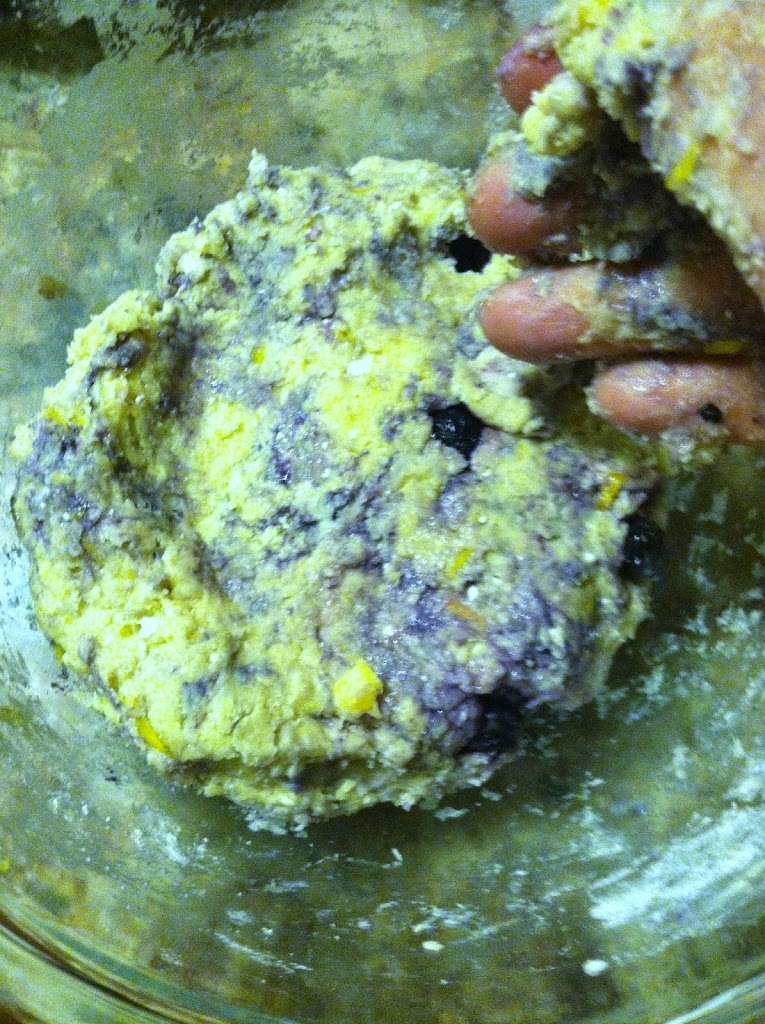
The blueberries marbled the dough with their juices.
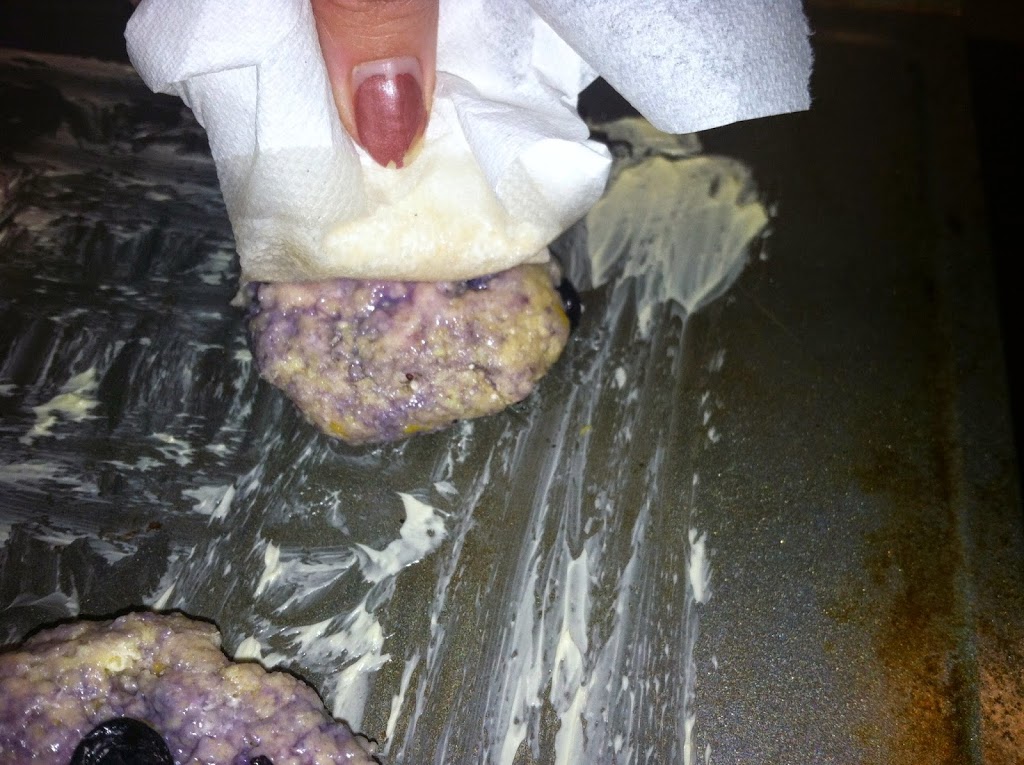
Step 3: Take 1/4 cup of dough at a time, and shape into small rolls on a buttered cookie sheet. (You can also do the classic whole round, then cut into triangles. Or make whatever shape you want). Brush the melted butter onto the scones.
Step 4: Bake at 350 for 12-15 minutes, until browned all over and solid. They smell delicious!
Now you have fresh, warm scones! You can eat them naked, add some butter and/or honey, or make some cream and serve with jam. Clearly, I’m all for sugar-shock when it comes to breakfast treats. I made these over the weekend, so calories don’t count. 😉
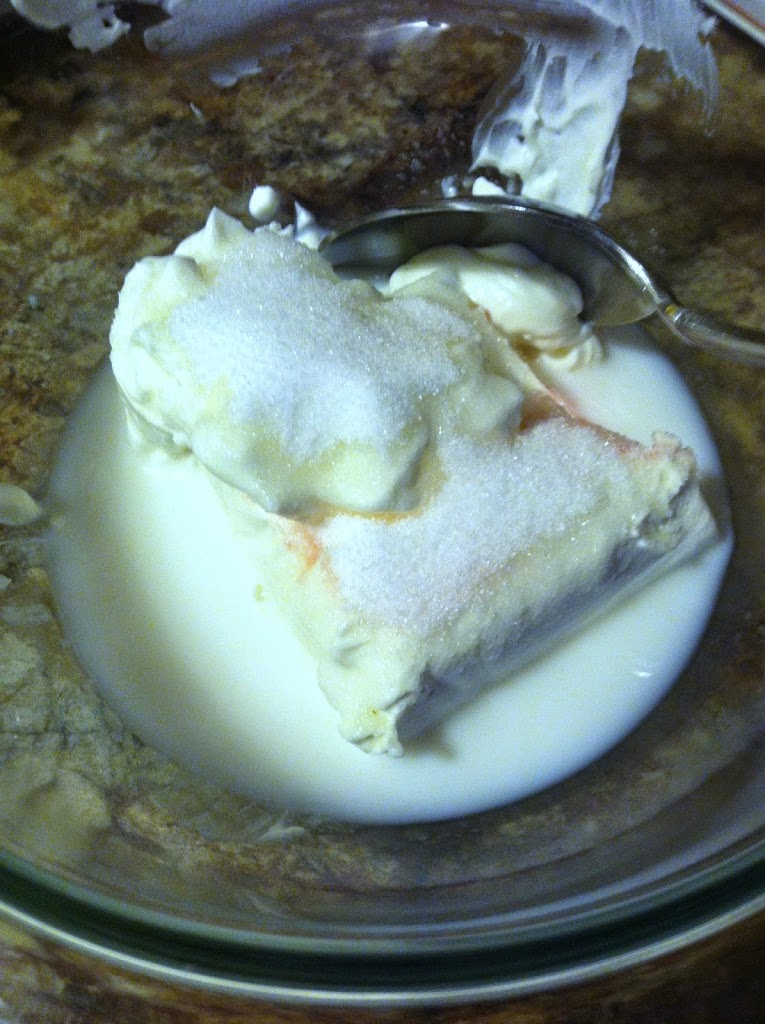
To remind you, here is what you need for your very own clotted cream. It’s best to let it all come to room temperature to mix, then refrigerate for an hour or so. Don’t fret too much if you can’t do so.
Devonshire cream:
1 package cream cheese
1/2 cup sour cream
4 tbsp sugar
1 tsp vanilla
1/4 cup milk
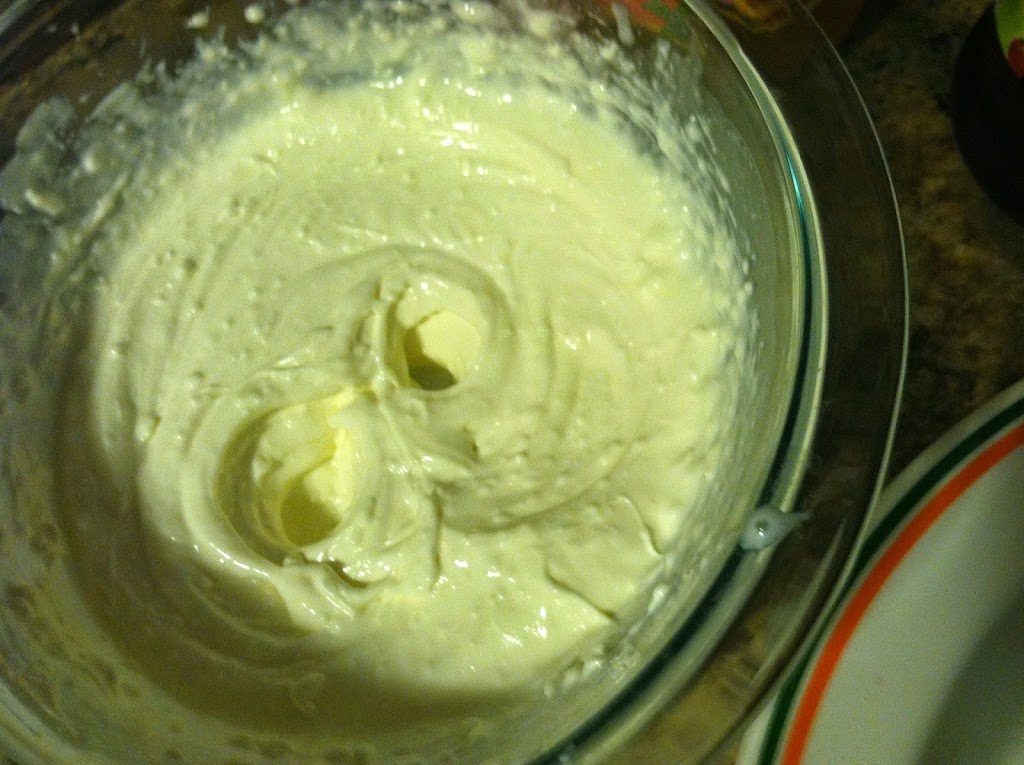
Step 1: Add all ingredients to a bowl, and use a hand mixer to beat together. It should take about 2-3 minutes to become thick and smooth. Add a little more milk if you want it thinner, don’t add as much or beat for a longer period of time if you like thick cream.
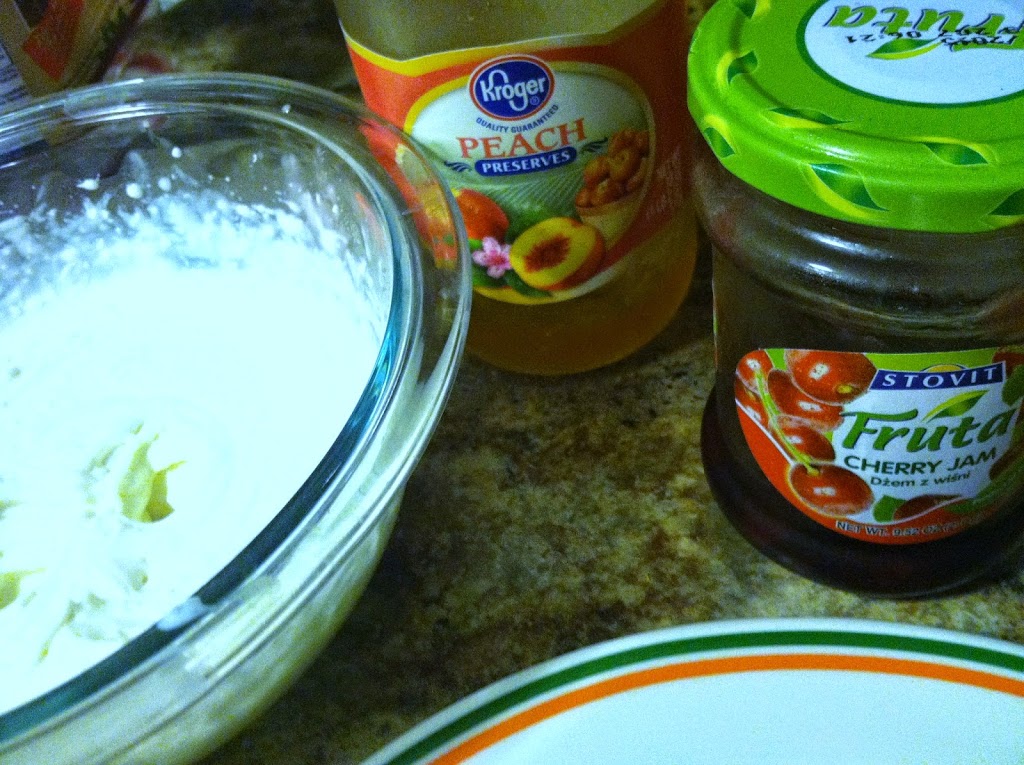
These are the jams I had, which were totally perfect for this. Peach preserves and cherry jam. Both were equally delicious. Good together too!
The finished cream, nice and thick. I could seriously just eat this stuff with a spoon it’s so good!
You can add extra sugar if you want it sweeter, or forget it if you like the tang. Try unflavored Greek yogurt in place of the sour cream if you dare.
Blueberry-lemon scone with Devonshire cream and cherry jam. Simply divine!
More photos, just to make you drool a bit.
If you aren’t convinced to make these on a weekend, there’s nothing more I can do here. Just enjoy pining for them I guess.
Of course, I had to have my scone with a strong cup of English breakfast tea. It’s only right.
You can see the bowl of cream is nearly empty… oops.

And this is the cherry scone my s.o. demolished. I think we both had about 4 each. The box recipe made 8-10, depending on how large you make your scones. I need to have a brunch party so I can make these again.

What’s your favorite scone topping?