Track Your Finances: Mint.com


Everyone wants to have healthy finances. We all want to feel the freedom to spend our money however we please, to not have to worry about bills or making ends meet. And we probably all know a budget is the best way to make that happen.

The simplest way is to just sit down yourself and draw up a budget. You can use plain paper and pen, or fancy Excel spreadsheets. The most important thing is to be realistic and thorough. You need to know exactly how much money you bring in each month, from your job or business and investments, and how much money you spend each month.

Then, you need to make The Gap as large as possible. This means when you subtract your spending from your income, you have a positive number. The more positive the number, the more you can save for big goals like retirement, college, a vacation, or starting a business. You should also budget in some “discretionary spending” each month, so you do not feel deprived and unable to buy yourself small treats. Just make sure you keep it small.

Make sure you have an idea of how much you actually spend in various categories.

Consider the following categories of spending:

  • Housing (mortgage, HOA, insurance, taxes, rent)
  • Utilities (water, trash, sewer, gas, electricity, phone, internet)
  • Food (groceries, dining out, fast food, convenience foods, lunches at work, kids school lunches)
  • Health care (premiuims, copays, medicines)
  • Travel (gas, car maintenance and repairs, insurance, auto loans, bus passes, air fare, cabs or uber rides)
  • Gifts (birthday, Christmas, graduations)
  • Clothing (work clothing, uniforms, replacement or updates to you wardrobe)
  • Pets (vet bills, food, toys, leashes/collar, tags, shots, spay/neuter)
  • and even more categories if you’re a parent (diapers, formula, school expenses, doctors, child care, babysitter, activities, etc.)

The best way to get an idea of what you spend is to keep all your receipts for a month, or better yet a year. But who has the time and patience to collect all the receipts, keep them safe in one place, then add them all up by category?

Mint.com, that’s who!

Mint.com is my personal favorite finance tracking website and app. They have a super secure site, and amazing features. It enables you to link all you financial accounts: loans, direct deposits, credit cards, checking, savings, 401k, IRAs, and more.

Now Mint has three separate products:

  • Mint
  • Mint Bills
  • Mint Credit Score

mint product

I use the classic Mint, because I signed up with the site many years ago. The Bills feature allows you to link all your bills in one place, and set a date each month to pay them off. This automates all your payments, so you are never late on a bill again, avoiding costly late fees and dings to your credit.

The Credit Score feature helps you get your free credit score, and see ways you can make it better. There are many factors which go into calculating your credit score, including total available credit, total credit use, length of credit history, and more.

The most widely used credit scores are FICO® Scores, the credit scores created by Fair Isaac Corporation. 90% of top lenders use FICO® Scores to help them make billions of credit-related decisions every year. FICO® Scores are calculated based solely on information in consumer credit reports maintained at the credit reporting agencies.

You have the right to access your credit score for free, once per year, from three separate companies:

It is recommended that you check one site each 4 months, thus enabling you to keep tabs on your credit throughout the year. Set alarms on your phone calendar or write it in your planner to help you remember when it’s time to check.

Back to Mint. There are several features which I love. First of all, they categorize all your spending. You can set up categories if there is something you spend money on regularly, such as “online video games”, “basketball season tickets”, or “Parks pass”.

You are also able to go in and manually change expenditures and put them into categories. If the program does not know what an expense is, it goes into “uncategorized”, like checks.

mint trends

As you can see above, all expenses for the past year are laid out in a pie chart. You can click on any piece of the chart to open that category and view each purchase. For example if you click “home” you would see each month a check or charge for the amount you spend on rent or mortgage.

This is a fantastic feature because if you’ve ever looked at a credit card bill and thought “WHAT the heck am I spending all that money on??” This chart can help. You can click through the “uncategorized” and “bills” and “shopping” and see each and every charge add up. It even adds you spending over time and tells you the categories in order of spending. So if you spent 12000 on housing, and 3000 on utilities, and 1200 on food, it will list those in order.

You can also break it down over time. So you can see how much you spent this month, the past 3 or 6 months, the past year, or over all time you have been part of mint. This helps track longer term spending, if you are trying to get a better hold of your budget, you can see your progress or backsliding.

Another feature, in the regular Mint, not even the Mint Bills, is their bill tracking feature. The software learns which bills come through at the same time each month, and can track the anticipated days you will be charged. Then you can see on a calendar all your upcoming bills for the week or the month.

mint budget

And finally, the budget tracking feature. Super amazing. You can set up as many or few categories as you want, and set your expected spending amounts per category. The program then tracks each expense for you, and shows you how much you have left to spend. This is a nice visual so you can see on the 20th of the month, you have $120 left budgeted for food, so you can keep your spending within budget.

The software can also add up all your expenses and debts, as well as any income and investments, and tell you your net worth. You can track this over time, as it is the greatest indicator of your overall financial health. A steadily increasing net worth is the greatest feeling there is. Link up your car loan, mortgage, student loans, etc. and track your progress paying them down. It is great motivation, and they regularly offer advice and ways to save even more money.

Of course, this only works if you actually check it regularly and stick to it. Luckily, Mint also has an app available for Android and iPhone, so you can track and check yourself on the go.

There are many other tracking softwares and options out there. This is just one, use a few and see what works best for your budgeting style and your life. Ultimately your budget is personal and unique to you, and its up to you how you want to maintain it.


Disclaimer: I am in no way receiving compensation from Mint.com or any other financial entities. This piece is author’s opinion.


Three Bean Vegan Chili


Chili is one of my absolute favorite comfort foods. It couldn’t be easier to put together, just throw all the ingredients in a crock pot and let it do the heavy lifting while you go to work, school, travel, write, hike, shop, whatever you do all day. Then come home to a hot, delicious, healthy meal that makes the whole house smell divine.

This is seriously the most perfect cold-weather dinner of all time.

White Bean Chicken Chili is definitely on my top ten for Crock Pot meals, but since I’ve been on a bit of a vegan kick lately, I wanted to make a chili with no meat or animal products that was equally delicious and satisfying. And that’s exactly what I did, and you can too!

Don’t tell those you serve that it’s vegan, and they likely won’t even know.

Ingredients:

  • 1 can diced tomatoes (with green chilis if you want kick)
  • 1 small can tomato paste
  • 1 can pinto beans
  • 1 can black beans
  • 1 can white cannellini beans
  • 4 tbsp. chili powder
  • 1 tsp paprika
  • 1 tsp ground ginger
  • 1 tsp garlic salt
  • 1 tsp cumin powder

IMG_7580

Step 1: Open all the cans, and pour directly into the crock pot. Leave the tomato juice, but if you want to drain and rinse the beans to cut down on extra sodium, you totally can.

IMG_7583

Step 2: Cook in crock pot on low 6-8 hours, or high 2-4 hours. That’s it! Other addition you could make: chickpeas, really any other type of bean, crushed garlic, diced onion, carrots, celery, bell peppers, hot peppers, tomato juice, tomato sauce, hot sauce…   IMG_7587

IMG_7586

I made a batch of corn bread using Jiffy mix and a can of corn to serve with the chili. Yes, the carnivore had to add a handful of cheese, but progress is progress. Baby steps.

Since this makes a crap-ton of chili, some ideas to use up the remainder include chili cheese dogs, chili mac n cheese, and topping baked potatoes with a scoop for a filling meal or snack.


[amd-zlrecipe-recipe:9]

Recipe Review: Smashed Potatoes with Avocado Garlic Aioli from Oh She Glows


Vegetarianism and Veganism is consistently growing in popularity nationwide as society becomes aware of the health benefits of whole foods and the dangers of processed foods. Along with this awareness comes a rise in health-related blogs and recipes. I’m a big fan, as I’m always in search of new, fun combinations of food. Especially when it’s healthy foods.

Speaking of healthy foods, today the winner of a FREE copy of dietician Sharon Palmer’s book “Plant-Powered For Life” was Katy Dyer!! This book has over a hundred fabulous plant heavy recipes, as well as 52 tips for a year of healthy living habits. Incorporate one tip per week for a total life makeover. Congratulations!

One of my favorite discoveries in terms of new food blogs is the vegan goddess Angela at Oh She Glows. She has oodles of fabulous recipes, almost all of which I am antsy to try myself. Angela has a knack for combinations and substitutions that makes you say “Why didn’t I think of that! Sounds great!”

I reviewed her Chia Fresca last week, and found it to be a very strange beverage. However, it is surprisingly pleasing and a nice change if plain water bores you. In addition, chia seeds have a healthy dose of omega-3 fatty acids, especially useful if you are following a vegan or vegetarian diet and can’t get what you need from fish or eggs.

IMG_7871

This review is my take on her Crispy Smashed Potatoes with Avocado Garlic Aioli.  It is totally vegan, but you would never know it if you weren’t told. Avocado is a fabulous substitute for many dairy products because of its creamy texture, especially when blended. When combined with salsa, it made a satisfying and healthy meal. You could also top with black beans, grilled onions and mushrooms, or steamed broccoli.

IMG_7862

Ingredients:

  • 4 medium potatoes
  • 1 avocado
  • 2 cloves of garlic
  • 1 tbsp lemon juice
  •  1 tbsp veganaise or plain yogurt
  • 1/2 cup salsa
  • Sea salt
  • Diced garnish: green onion, parsley, etc

IMG_7863

Step 1: Rinse the potatoes and poke a few holes with a fork. Bake at 350 for 25-30 minutes. Take them out and let cool a little, then smash them with a spoon or bottom of a glass.

IMG_7865

Step 2: In a blender, combine the veganaise, peeled and pitted avocado, lemon juice, and a sprinkle of sea salt. Blend well. If it is not smooth enough, add some  warm water, lemon juice, or olive oil to thin.

IMG_7870

Step 3: Pour 2 tbsp salsa and 2 tbsp avocado aioli over top, and sprinkle with garnish.

This combination is absolutely delightful. The avocado aioli is delicious on its own, and could probably be used anywhere aioli can be used. I loved the salsa, and think adding heated beans as well would perfectly round this out. This would also make a great side dish for many other main courses. Even the meat eater declared this a winner!

Vegan Dark Chocolate Peppermint Cocoa


As I continue to read and learn more about food and nutrition, I become more convinced that the closer to vegan one eats, the better for one’s health.

Many people think that being vegan is restrictive and boring, that you can only eat raw vegetables forever. That is definitely not the case. As veganism becomes more mainstream, tons of websites and blogs pop up with brilliant recipes and ways to add more vegetables grains fruits and nuts to your life. Though you may have more nuts in your life than you want right now…

Anywho. I believe in moderation, and though you should always strive for a healthy diet, any diet that includes no treats is bound to fail over time.

IMG_7717

This recipe is an amalgamation of several I browsed online mixed with what was in my cabinets. Read labels to ensure it truly is vegan, if you choose.

Ingredients:

  • 2 cups almond (or other plant-based) milk
  • 2 tbsp peppermint candies
  • 2 tbsp coconut oil
  • 1 large bar organic dark chocolate
  • 1 tbsp vanilla
  • Sprinkle of sea salt

IMG_7715

Step 1: In a sauce pan, slowly heat the milk until just below a simmer.

IMG_7718

Step 2: Add the coconut oil and dark chocolate, broke into pieces. Mix constantly until dissolved, not letting it boil. Add the peppermint candies and continue mixing until melted.

IMG_7721

Step 3: Pour into mugs, optionally with a peppermint stir stick. Also optional include marshmallows, whipped cream, and/or cinnamon.

IMG_7723

This is a fabulous beverage to enjoy on a chilly winter evening! Not to mention absolutely delicious.

IMG_7727


[amd-zlrecipe-recipe:8]

Power Greens & Beans Salad


If you’re looking to fill up, super-charge your cells, up your fiber intake, and feel AWESOME for around 300 calories a plate, look no further!

This phenomenal salad uses a strong base of mixed greens (romaine & spinach) combined with the vegan four-bean salad from a previous post, and topped with fresh green onion to create a super heart-healthy, cholesterol-reducing, vitality-restoring super salad!

(Claims not investigated by the FDA. I made all this up so far.)

But seriously folks, this is delicious, and there is so much gorgeous color and fiber here, it might be a challenge to finish the whole plate! And with the vinaigrette from the four bean salad, you don’t even need dressing, which is where a lot of salad calories tend to come from.

So you can feel really super awesome about eating this.

Ingredients:

  • 4-5 romaine leaves, chopped or torn
  • 1 cup fresh spinach
  • 1 cup vegan four bean salad
  • 2 green onions, chopped

IMG_7099

Step 1: Create a giant bed of greens on your plate. The more the merrier!

“Oh no, not more green leafy vegetables!” — Said no one’s internal organs ever.

IMG_7100

Step 2: Smother the greens in the bean salad. Chop the green onions on top and that’s all there is to it. Enjoy your phenomenally healthy and tasty lunch/dinner/whatever.

Optional substitutions: Use any kind of leafy green here, kale would also work, even iceberg if you must. If you don’t like green onion, use any other fresh herbs. You can also add other toppings like raw nuts or seeds, croutons, olives, sliced peppers, etc.


[amd-zlrecipe-recipe:6]

Balsamic Brussels Sprouts – Less Than 5


Brussels sprouts tend to be a polarizing vegetable. Love it or hate it.

I love it. Bet you didn’t see that coming. =)

That hasn’t always been the case. Tastes change over time, as most children don’t enjoy the taste of many vegetables, but as we grow and our palates expand, things we once found revolting become favorites.

Brussels sprouts are in the Brassicacea family, along with broccoli, cabbage, kale, and collard greens. They may have originated in Brussels, Belgium, where they may have earned their name. They contain high levels of vitamin C and K, B vitamins, trace minerals, phytochemicals, and fiber. They, along with other brassicas, contain a chemical called indole-3-carbinol, under study for its effects on DNA repair and apparent ability to block growth of cancer cells.

IMG_6547

Boiling used to be the only way brussels sprouts were prepared, and gave these beauties a bad name by boiling all the taste and life out of them . Better options for cooking to maximize texture and taste include steaming, frying, and my personal favorite, oven roasting.

Brussels sprouts are healthy and plentiful in the fall, making them an affordable option for side and main dishes. They tend to feature in Thanksgiving and Christmas meals. Umami and salty flavors tend to go well with the slightly bitter taste of these sprouts.

This side dish is simple and quick, as well as healthy for you. It is hearty enough to be a main dish as well if you please.

Ingredients:

  • 1 1/2 cups fresh Brussels sprouts
  • 3 tbsp balsamic vinegar
  • 1/4 red onion, sliced thinly
  • 1 tbsp olive or coconut oil

IMG_6545

Step 1: Cut the ends off the Brussels sprouts and slice large ones in half. Thinly slice the red onion. Heat the oil in a frying pan.

IMG_6546

Step 2: Add the sprouts to the pan, and cook 4-5 minutes. Add the balsamic vinegar and red onion, and cover. Let cook 5-7 minutes, until the onion and sprouts are tender.

IMG_6548

That’s all there is to it! Serve warm, on its own or as a side dish.

IMG_6549

The sprouts are tender yet still with a bit of crunch. The onions add a perfect sweet complement, and the balsamic coats everything in a sweet, slightly salty, and tart flavor.

IMG_6550


[amd-zlrecipe-recipe:7]

Pear & Almond Butter Breakfast Sandwich


Breakfast may be the most important meal of the day, but it is often the most rushed as well. Between snoozing alarms, alarms not going off, or just the fact that you hate mornings, it is often difficult to even think about nourishing yourself in the wee hours of the morning.

That is why I love planning ahead, and when push comes to shove I try to have things on hand that I know I can just grab on my way out the door and create a delicious, nutritious meal once I get where I’m going. Sometimes shoving a few things in a bag is all I have time for.

But I do try to always make or bring my own breakfast. Even a $1 coffee and $1.50 bagel adds up over time.

This is one option I have recently fallen completely in love with. I have had this for breakfast at least once a week for a month or so. Pears seem to be in season, or at least regularly on sale, so that is the fruit of choice at the moment. However, other fruits such as bananas, apples, peaches, or plums could be used as well.

Ingredients:

Step 1: Smear one half the bread or sandwich with nut butter. If using cookie butter, spread that on the other half.

IMG_7584

Step 2: Use a sharp knife to cut the pear or other fruit into round slices. Remove seeds. Place on the sandwich, and cover with the other slice.

One large pear makes enough for two sandwich slims, as well as a few pieces on the side. The cookie butter will make this much sweeter. For a vegan breakfast option, make sure that the butters do not contain any animal products.

Regardless of dietary preference, this is a super tasty, super quick breakfast option. You can just toss the nut butter, fruit, and bread in a bag and assemble later.

Turmeric Ginger Juice


Juices are a great way to add in extra vitamins and minerals from fruits and vegetables if you feel you don’t get enough in your regular diet. They are not a substitute for real, whole fruits and vegetables, because you miss out on the peels, flesh, seeds, and fibers. However, they are tasty and a good option for a little extra boost.

Some fruits and vegetables are already well-known for their juicing abilities, such as apples, carrots, celery, or spinach. However, there are many herbs and spices which would also be beneficial to add to your morning or afternoon pick-me-ups.

Two of my favorites currently are both roots, turmeric and ginger. Turmeric is beginning to gain more fame in the cooking community for its gorgeous yellow coloring, delicious flavor, and many health-promoting capabilities. Turmeric has long been used in medicine. It is thought to help ease arthritis, heartburn, stomach aches, diarrhea, intestinal distress, bloating, as well as increase appetite, and decrease liver and gallbladder disorders.

Turmeric does contain compounds which may reduce inflammation and swelling, contributing to its ascribed powers of easing the above-named illnesses. Traditional Eastern medicine claims even more potential benefits, ranging from curing headaches and bronchitis to more serious diseases such as fibromyalgia, depression, and Alzheimer’s disease.

Ginger, meanwhile, is an herb with an underground rhizome which is the most-often used part of the plant in both medicine and cooking. Most often ginger is ascribed powers of curing any “stomach problems” such as motion sickness, colic, diarrhea, nausea, and stomach aches. Other potential benefits include its use as a gentle, natural laxative and relief from muscle soreness, back pain, or stomach pain.

Whether or not you want potential relief from any of these symptoms, it is great for your heart and cardiovascular health to include these two roots in your cooking routine. Ginger is a delicious flavoring agent in stir fry and tea, and turmeric gives rice and curries a pungent smell and vibrant yellow color.

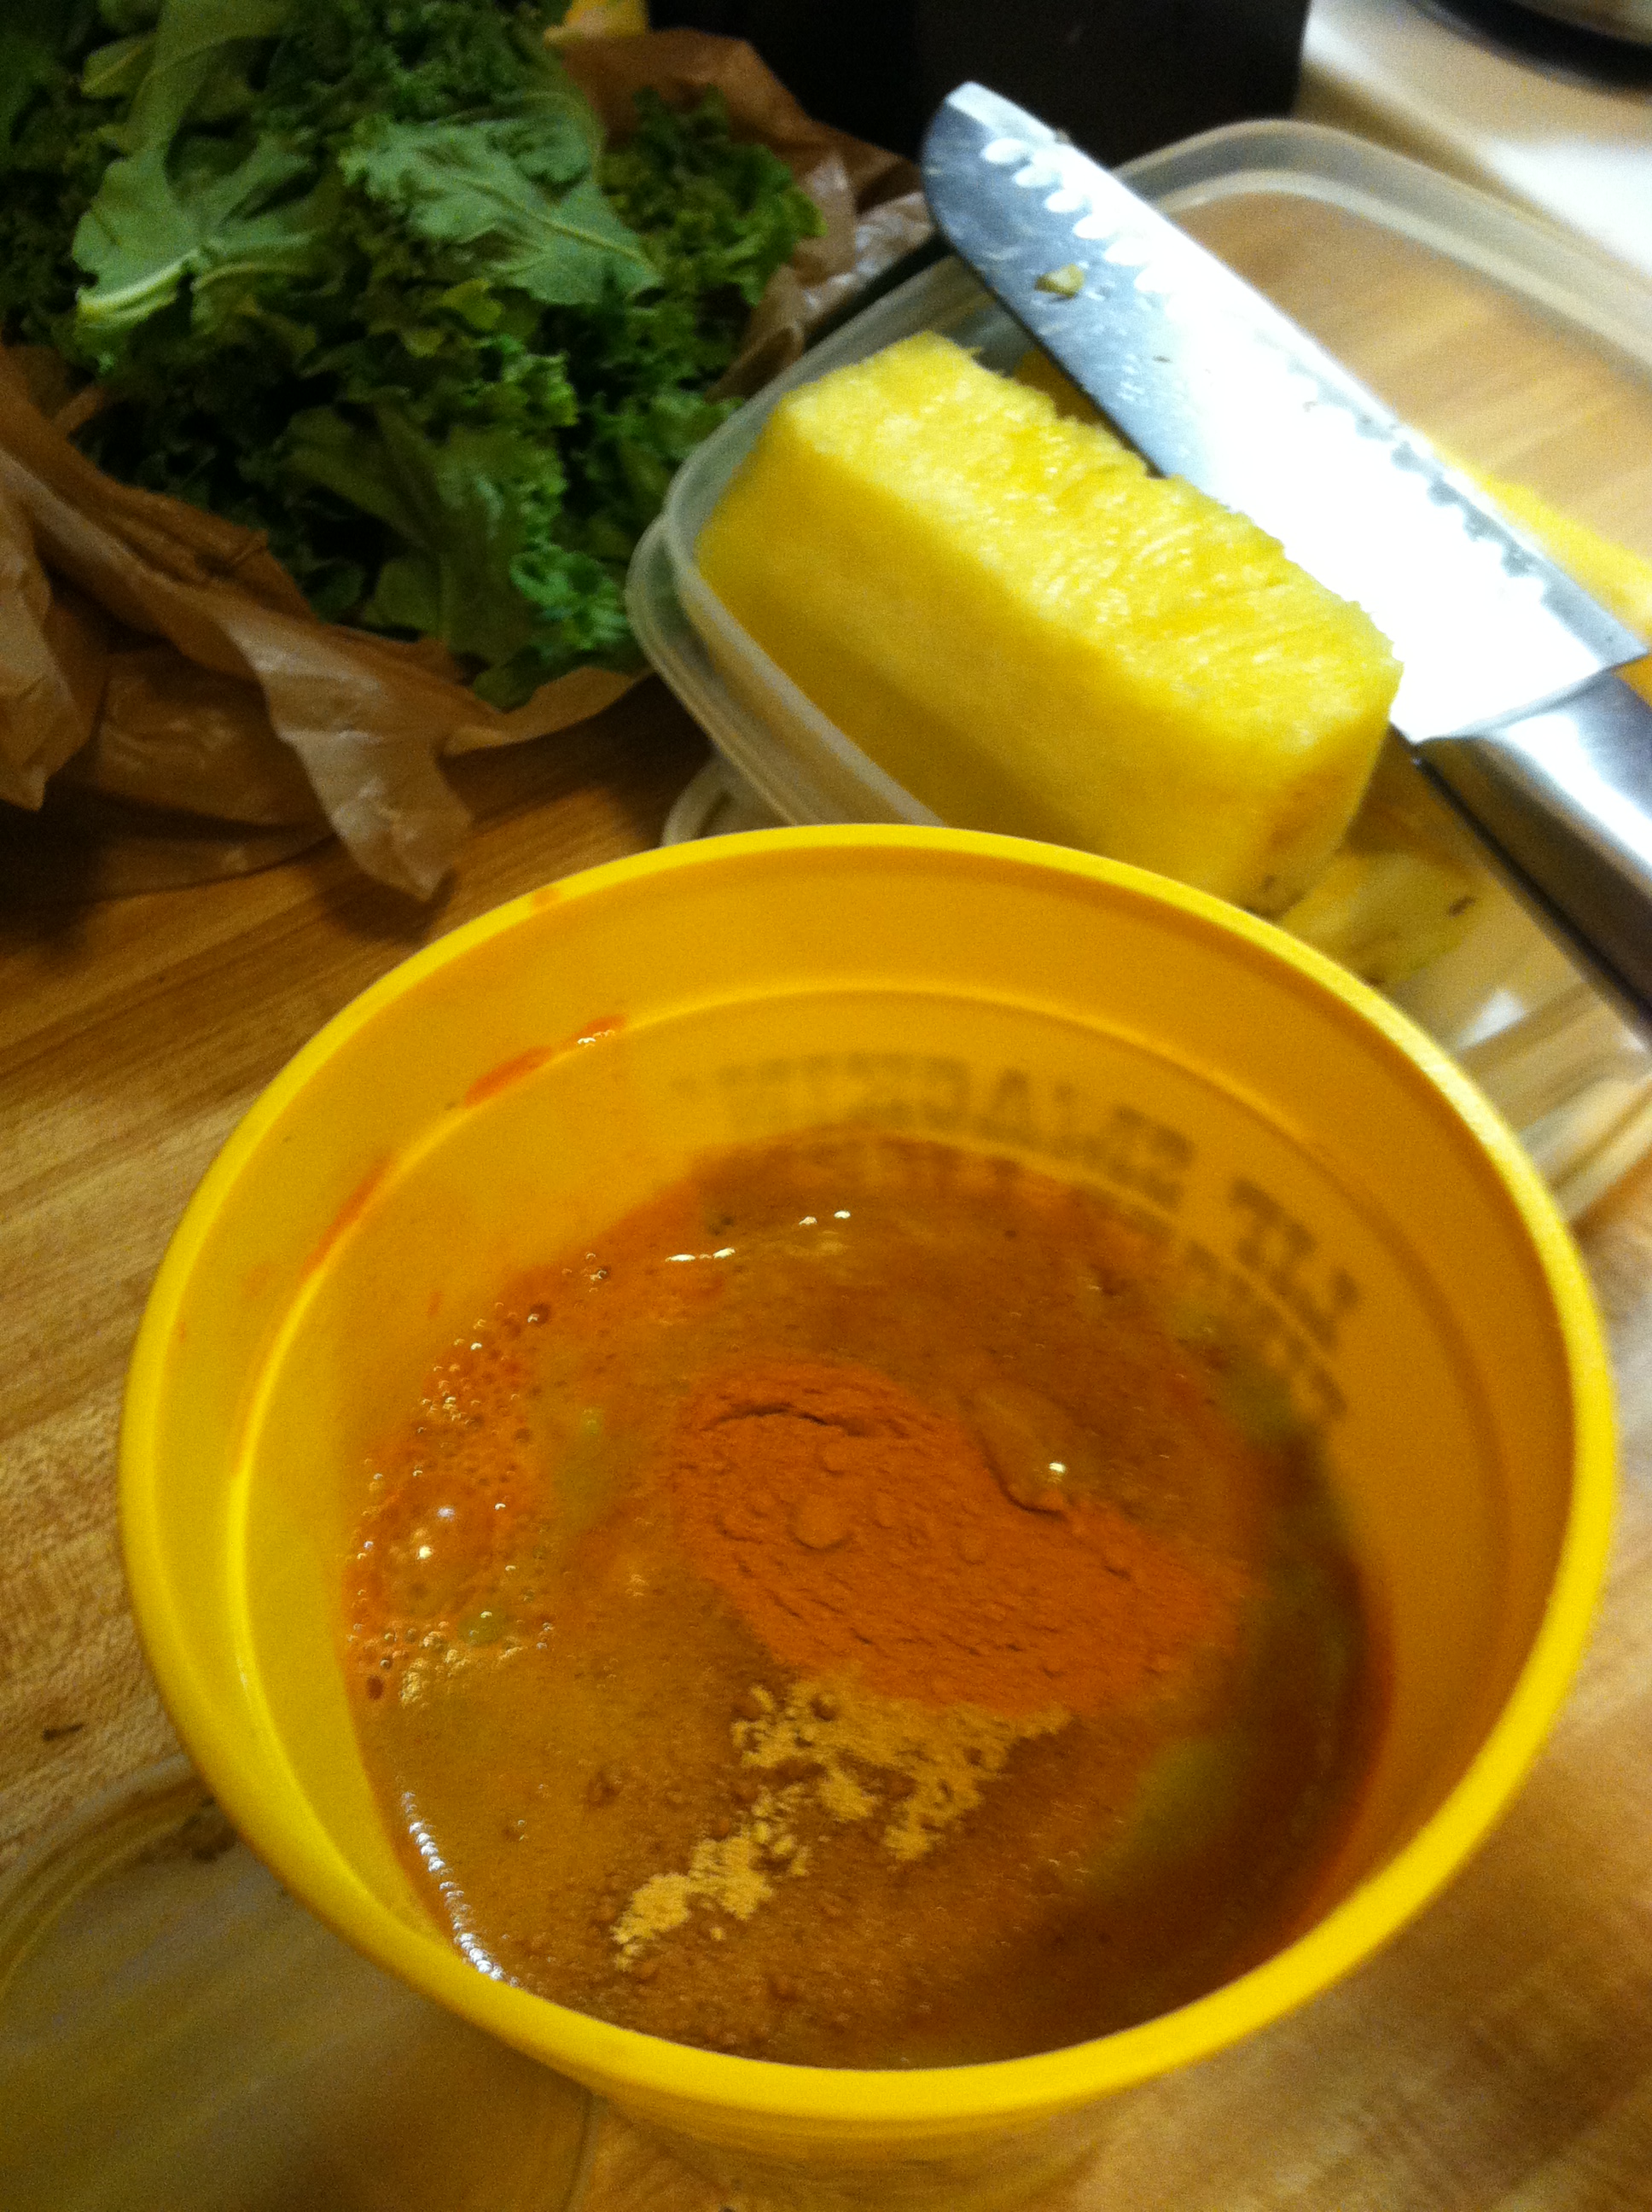
One simple way to get these benefits and more is to juice your roots! That’s right, simply add small pieces of these fresh, or a tsp or two powdered right into your liquid concoctions. This recipe was adapted from Jim over at Be Mindful Be Human’s Turmeric and Ginger Milk.

Ingredients:

  • 1/4 fresh pineapple (or 1/2 can chunks)
  • 1 large carrot
  • 1-2 sticks celery
  • 2 apples
  • 1/2 fresh lemon
  • 1 tsp ginger (or 1″ piece root)
  • 2 tsp turmeric powder (or 1″ root)
  • 1/3 cup greens (spinach, kale)

IMG_7527

Step 1: Slice all your fruits and veg into a size your juicer can handle. Juice them all, alternating soft (greens) and harder (carrot, apple) pieces.

IMG_7525

Step 2: Add the ginger and turmeric, and stir well to mix. Fresh juices will often settle, and the micronutrients begin breaking down almost immediately, so try to enjoy within 20 minutes of juicing.


Cinnamon Ginger Candied Carrots


Carrots are a fantastic powerhouse of vitamins and minerals, including the one for which it is most famous, beta-carotene. This precursor to Vitamin A is what gives carrots their characteristic orange color. Along with other yellow, red, and green vegetables, carrots are a great dietary source of this vitamin which is critical for growth and development, a healthy immune system, and of course good vision.

The problem is that many people, including children and picky partners, do not enjoy carrots. Whether sliced, shaved, or cooked, some cannot handle carrots crunch or soft delicate flavor. One easy way to hide more in your usual cuisine is to puree into soups, chili, and sauces. But another way to ease loved ones into loving this healthy, humble root veg is to season and sweeten them into a soft, delightful side dish all will enjoy.

Candied carrots have always been a dish I am fond of, since childhood where three main veg sides reigned supreme: green beans, canned corn, and candied carrots.

This updated version has much less fat than the typical butter-smothered version, as well as less sugar. However, we amp up the overall flavor with the subtle spices of cinnamon, nutmeg, and ginger, combined with just a touch of brown sugar and honey, to create the perfect accompaniment to whatever you put on the table tonight.

I guarantee kids and grown-ups alike will gobble them up, and maybe even ask for seconds!

Ingredients:

  • 3-4 large carrots
  • 1 tsp nutmeg
  • 1 tsp cinnamon
  • 1 tsp ground ginger (or 1 tbsp grated fresh)
  • 1 tbsp brown sugar
  • 1 tbsp honey

IMG_7729

Step 1: Slice the carrots into thin rings. I simply wash my carrots, I do not peel them. However, you can peel them if you want.

IMG_7731

Step 2: Put the carrots in a pot with enough water to cover, and bring to a boil. Simmer for about 20 minutes, until carrots are soft when poked with a fork.

IMG_7733

Step 3: If any water remains, drain all but a few tbsp. Add the spices, brown sugar, and honey. Continue to simmer another 10-15 minutes, until reduced to a thick, caramel-y sauce and carrots are tender.

IMG_7734

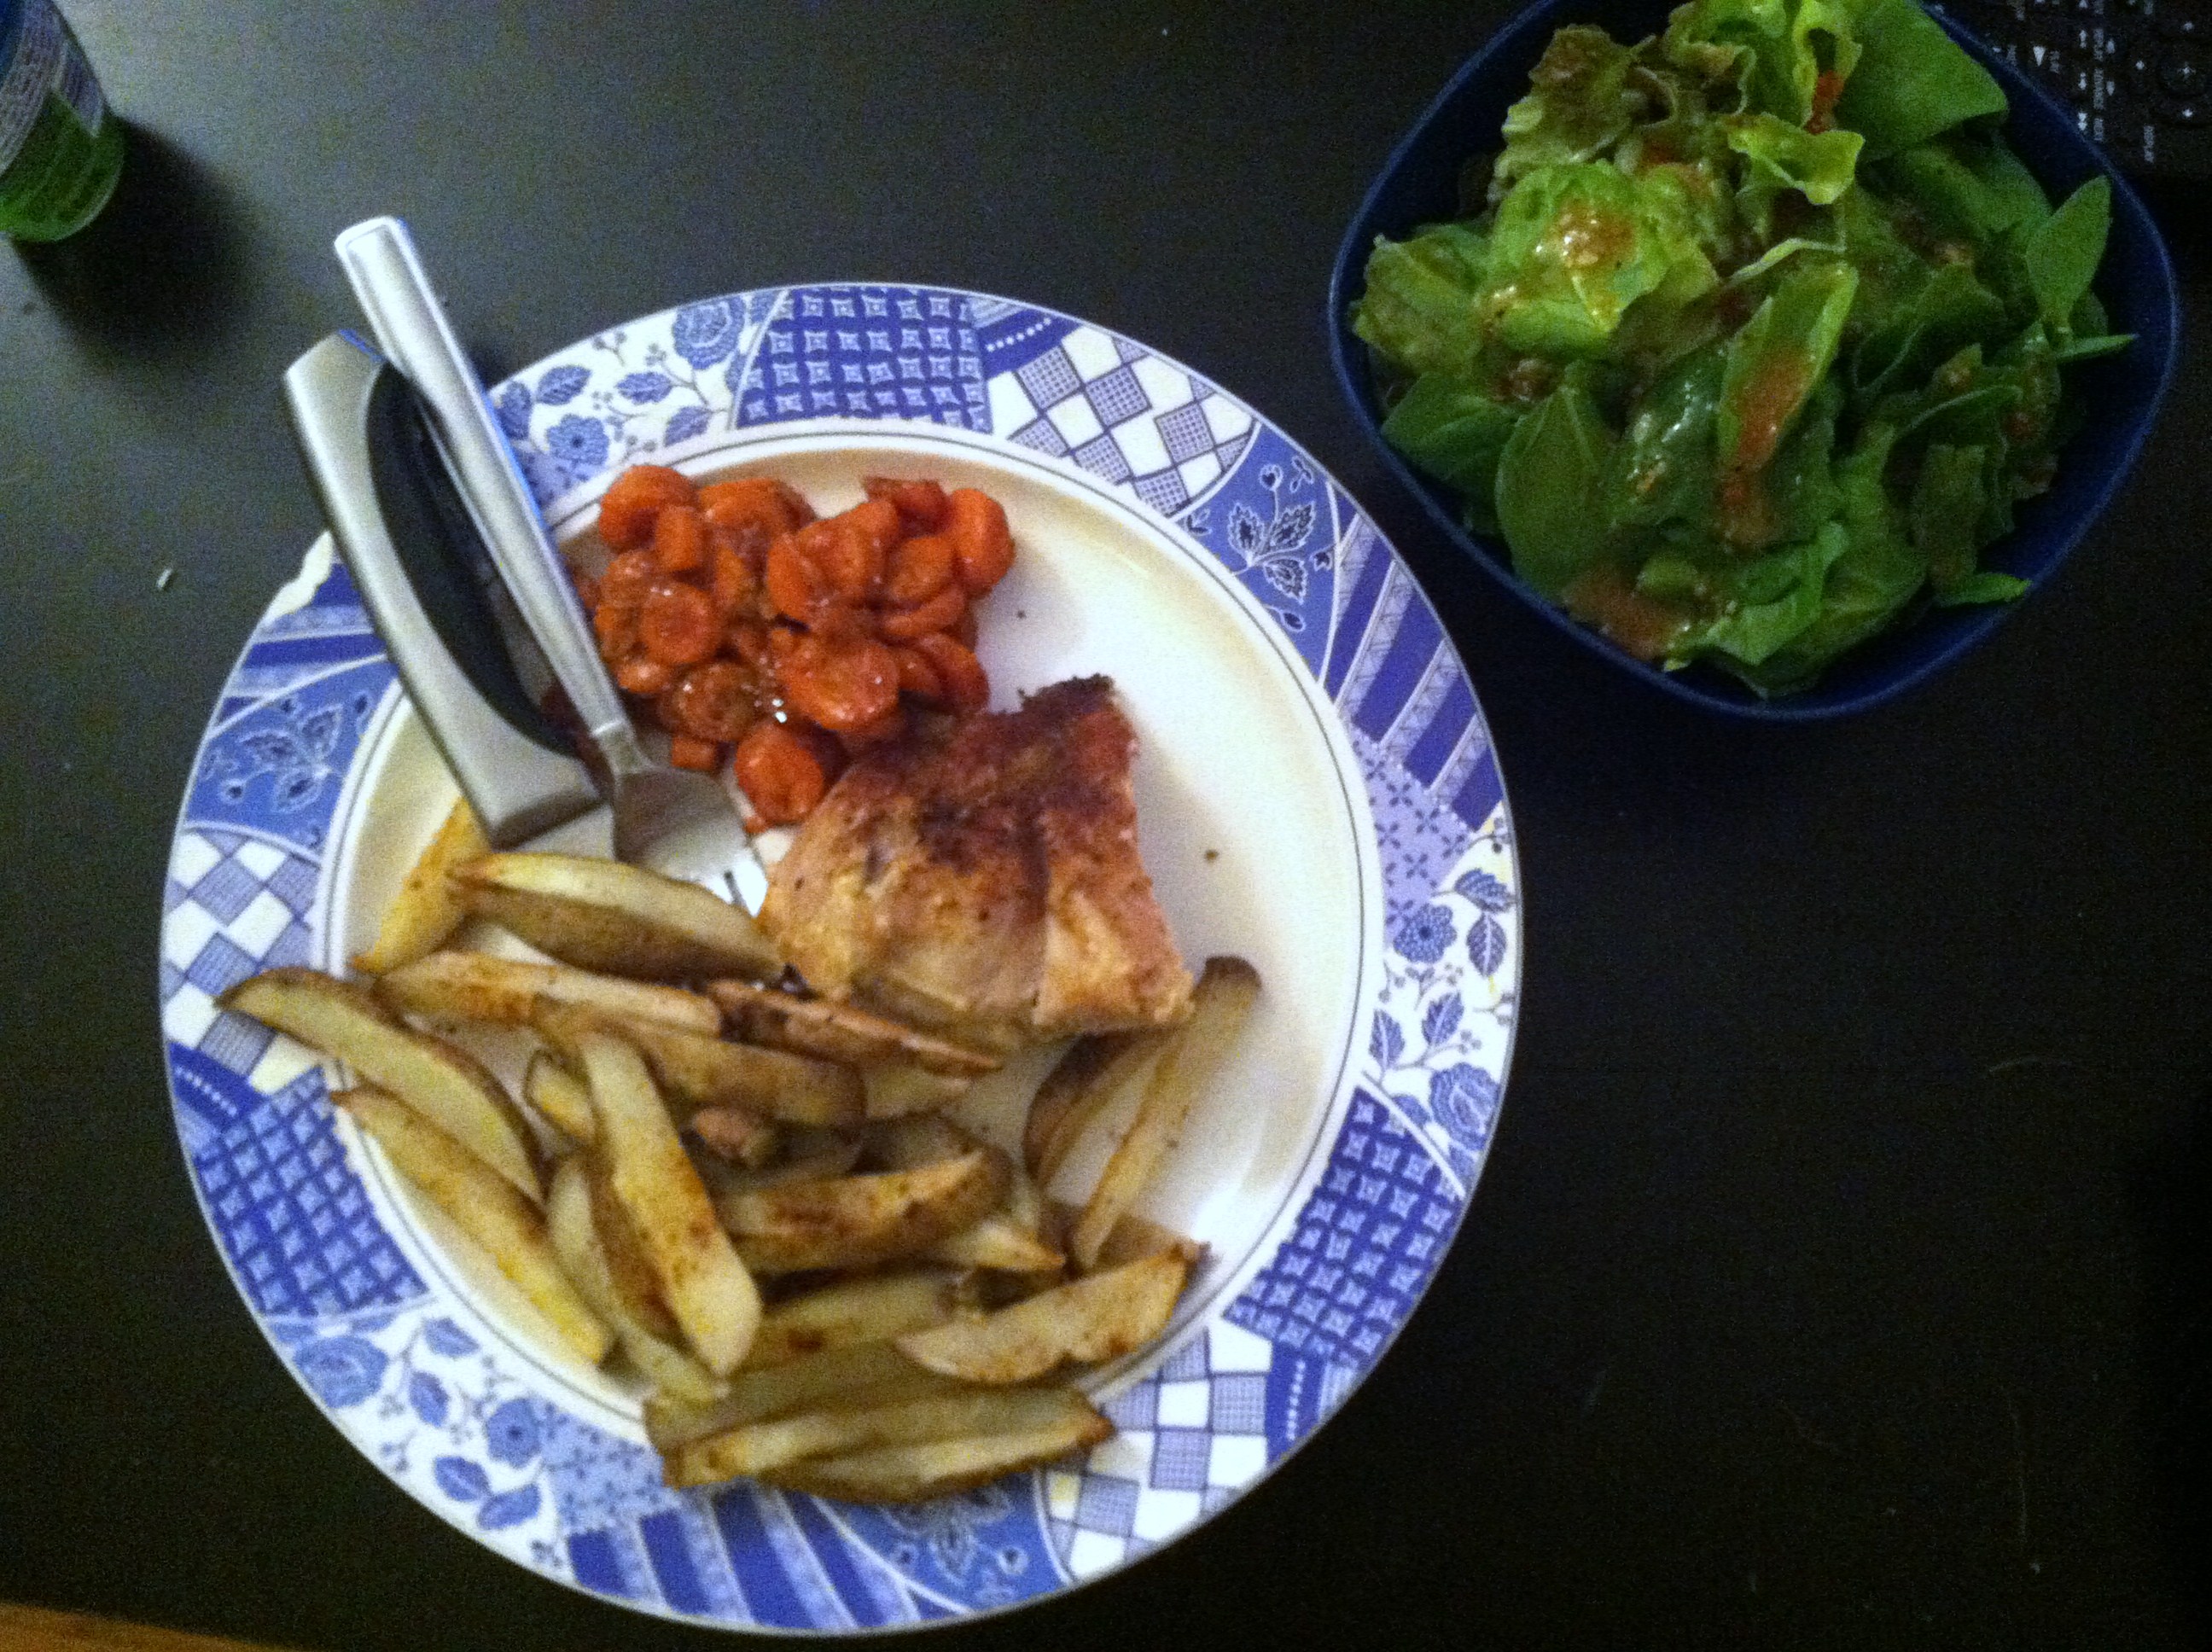
Serve your candied carrots alongside a lean meat like this spice-rubbed pork roast with other veggie sides, or with your favorite vegetarian or vegan salads or mains. See if they don’t disappear.

Stovetop Popcorn


As a certified popcorn addict, I can tell you that this stuff is like crack, only a hundred million times better and healthier. Bagged microwave popcorn can’t hold a candle to this. Just try it once, and you are likely hooked for life. Fair warning.

Popcorn is also a healthy snack option. As a whole grain, it is after all just a kernel of corn, it delivers about 2 g fiber per 3 cups popped, and contains more antioxidants than some kinds of vegetables. You do have to watch the amount of extras though, have a light hand with the oil or use an air popper, and don’t drown the popcorn in salt (like I do) if you’re watching your sodium.

You will need a large metal pot that you are okay with becoming “the popcorn pot”. I kid you not, my mother and I both have one, and popcorn is the only thing allowed to be cooked in this pot. It is that special, people.

To watch the video on my stovetop popcorn step-by-step how to, click HERE or scroll to the bottom of the page.

Ingredients:

IMG_7853

Step 1: Put the oil, kernels, and salt in the popcorn pot. Swirl it around so that the kernels are evenly distributed in a thin layer.

IMG_7854

Step 2: Put the stove to medium heat, and try hard to wait patiently. When you begin to hear the “plink” of corn popping, you can occasionally swirl the pot around to keep popped kernels from burning and mix it all up.

IMG_7860

Once you don’t hear any popping for a count of 5-10, your popcorn is ready! Be careful when you remove the lid, there will be steam. Pour into a large bowl and dive in. Best piping hot from the stove.

IMG_6873

You can then dress up your popcorn (not that it needs it, I can eat my weight in this stuff) with a whole slew of toppings. Try adding spices like Cajun spice mix, nuts or dried fruits, topping with a sprinkle of Parmesan cheese, or tossing with some candies and melted chocolate (very cute as a Christmas gift in a tin).