Fresh Caprese Salad


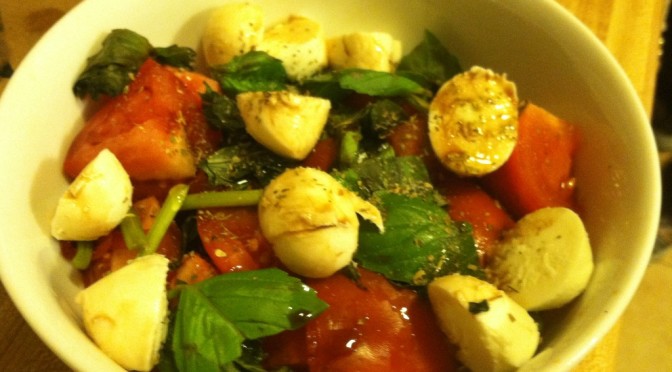
Ahhh the Caprese Salad. Trending for years in America, but traditionally know as “insalata caprese” for centuries in Italy. Typically served as an “antipasti” or appetizer, rather than a salad, the caprese salad all Italian home cooks know and love consists of homegrown or local tomatoes at the peak of freshness, young garden-grown basil, thick chunks of buffalo mozzarella, and the finest olive oil you can afford.

Be warned, the recipe I am about to share violates some of the Caprese purist rules, including using baby mozzarella and balsamic vinegar. My apologies. For a true, simple, Italian recipe, try In Italy.

But as they have pointed out, Americans rarely will accept a very simple dish as-is. Our culture demands experimentation, ostentation, and exaggeration. We want to feel special, trendy, unique. We want validation for spending ten times on a meal what the ingredients to make it at home would have cost.

Enough of my soap box. Here is my at-home version of insalata caprese, enough for one light lunch portion or an appetizer for two.

Best in late summer, when tomatoes are at their peak of season and basil is cheap (or flourishing on your window sill)

Ingredients:

  • 4 oz fresh mozzarella
  • 4 oz cubes fresh tomato
  • 1 oz fresh basil leaves
  • 1/2 oz olive oil
  • 1 oz balsamic vinegar
  • Garlic salt & Italian seasoning

IMG_5743

Better yet, grow your own basil! It’s an easy plant to tend, in a garden or a container, and is usually quite prolific. Then you can enjoy the fresh scent and taste of basil in sauces, pastas, and pesto year-round.

IMG_5744

Step 1: Put a large handful of basil leaves into a bowl. Slice the mozzarella on top. Cut the tomatoes into chunks and add those. If you’re going for a nice presentation, use a larger ball of mozzarella and larger tomatoes, and slice into thick rounds. Layer these on a dish, alternating red-white-green. Like the Italian flag.

IMG_5746

Step 2: For the purists, at this point you should add some salt and pepper to taste, and just a drizzle of pure, high-grade olive oil. I also sprinkled on Italian seasoning (a little redundant to add dried basil to my fresh basil but hey, I love herbs!), garlic salt (because there isn’t anything that doesn’t taste better with garlic salt on it), and some balsamic vinegar.

IMG_5747

Dig in! That’s all there is to it. This flavor combination is absolutely heavenly. The classic is of course classic for a reason. However, if this isn’t enough to satisfy your curious taste buds, try one of these variations:

  • Caprese Pizza – use the same ingredients, just slice onto a pizza crust, drizzle with olive oil, and bake
  • Caprese Pasta – dice the mozzarella and tomatoes into cooked pasta, warm or cold, sprinkle slivered basil on top
  • Caprese Bruchetta – put the cheese, tomato, and basil on toasted bread or crostini, sprinkle with oil & vinegar & serve immediately
  • Zucchini slices in addition to tomato
  • Heirloom tomato slices in rainbow colors
  • Pesto, parsley, or mint leaves instead of basil


Ham & Barley Soup


I don’t know about wherever you were in the world for April 20th, but happy first day of Spring! FINALLY! And… we got snow. About four inches of fluffy, wet snow. Eff you too Connecticut.

So rumor has it some big holiday thing is happening next week. As in, Easter is one week from today. WHO SAID IT COULD BE APRIL? Time needs to calm itself down, have a cup of tea, and stay awhile. Moving and starting new jobs doesn’t help, because you are insanely busy non-stop. Or so it feels like.

And once the weather remembers that it’s Spring now, it will just be crazier. Because I’ve got a window-full of happy sprouts just waiting for fresh tilled Earth! And so many new farmers markets to explore, restaurants to try, and seafood to enjoy!

Whether you celebrate the religious meanings behind Easter or just get excited about peeps and edible bunnies, it is just around the corner. And that means you are likely going to have the typical Easter ham. Even if not, you can take advantage of post-Easter sales and snap one up.

Ham & Barley Soup is a classic “dad recipe”. My dad is the expert, and has been making this for as far back as I can remember. As a kid I didn’t like it very much, but now that my tastes have matured it is one of my absolute favorite cold-weather dishes. Or anytime really. It’s so easy, and so flavorful! It is the perfect use for leftover ham and ham bones, will keep money in your wallet, and fill you up.

Ingredients:

  • Bones from one large ham shank
  • 12 oz pearled barley
  • 4-5 large carrots, cut into coins
  • 2-3 stalks celery, diced
  • 1 1/2 gallons water or stock
  • Optional: bunch fresh kale, torn, extra ham meat
  • Salt & pepper

IMG_6551

Step 1: For this simple dish, the magic is in the time. Simmering the ham bones in the water all day long brings out the depth of flavor. Put the water or stock in a large soup pot with any bones, and simmer for at least 1 hour, up to 12.

IMG_6553

Step 2: Add the carrots, celery, and barley. Simmer for another 30-40 minutes or longer, until everything is softened.

IMG_6555

Step 3: Season to your liking, add extra meat if you have it, or some spinach or kale.

IMG_6557

This soup is deceptively simple but addicting. It makes an awful lot, so be sure you will eat it over several days, are feeding a lot of people, or have some extra freezer space.

IMG_6586

This is the batch I added some kale to once it was cooked. I liked the extra greens, it gave some great color, extra nutrients, and tasted awesome all together. Give it a try, maybe next week!


[amd-zlrecipe-recipe:14]


This post contains links from the Amazon Affiliates program. By clicking on the links and making purchases from Amazon, a small portion of the profits goes to support this blog. Thank you!

Recipe Review: Overnight Oatmeal from Oh She Glows


We all know by now that eating breakfast is a good idea. It gets your metabolism going, and should help keep you from eating everything in sight by 11am. Now, in an ideal world we would all love cooking, be world-class chefs, have a kitchen and pantry stocked with nutritious foods, be able to dedicate an hour every morning to whipping up filling, healthy delicacies, and have a personal dish-washer and house cleaner afterwards.

This is not how the real world works.

Many of you are decidedly *not* morning people, and the thought of heating up a frying pan or dicing veggies before three cups of coffee is repulsive. Many of you have children, and the idea that you will have more than ten free seconds to yourself is laughable. And many just don’t enjoy cooking, don’t want to wake up 20 minutes early to make time to cook, or for whatever reason just don’t want to cook a hot breakfast.

That is totally fine. I have a solution that is far healthier and easier on your wallet than running through a drive through and wasting $8 on a carb-heavy bagel, fatty cream cheese, and overpriced coffee that will just leave you with a mid-morning slump.

At the risk of giving away the secret, I’ll tell you: oatmeal.

Ok, cat’s out of the bag. For those of you who just thought “ugh, I refuse to eat gruel for breakfast”, stay with me.

Oats are a powerhouse food, containing the highest amounts of beta-glucan, a beneficial type of fiber, in any known grain. Beta glucan helps slow digestion, and lowers levels of the ‘bad’ cholesterol. This fiber also helps you feel full longer, by eating fewer calories. They also contain a bundle of trace minerals our bodies need for all sorts of functions.

The FDA claims oats can help lower risk of heart disease, and many publications back up that claim. The only caution against oats is that, although they do not contain gluten, they are often grown in the same fields or near other crops such as wheat or barley. Thus those who truly are gluten-intolerant should be cautious.

Anywhoodles, in order to up your oat consumption without feeling like the little kid from Charles Dickens eating his gruel, there are so many things you can do to spruce up a bowl of oatmeal. And making it yourself at home can also save you tons of money and loads of added calories, sweeteners, preservatives, thickeners, etc. over pre-packaged microwave oatmeal options.

The time-saving factor comes in when you try the recommendation of “Oh She Glows” blogger: overnight oatmeal.

Anyone who has tried using real, raw oats rather than the “instant” or “minute” stuff knows, it takes a looooooong time to cook. So by soaking the oats overnight in the refrigerator, problem solved! The oats are soft and ready to go, you just need to give it a quick blast of heat, then add toppings as desired.

My first go, I followed the recipe exactly. Since then, I’ve experimented with oodles of different toppings. I’ll tell you my current fave at the end of the post!

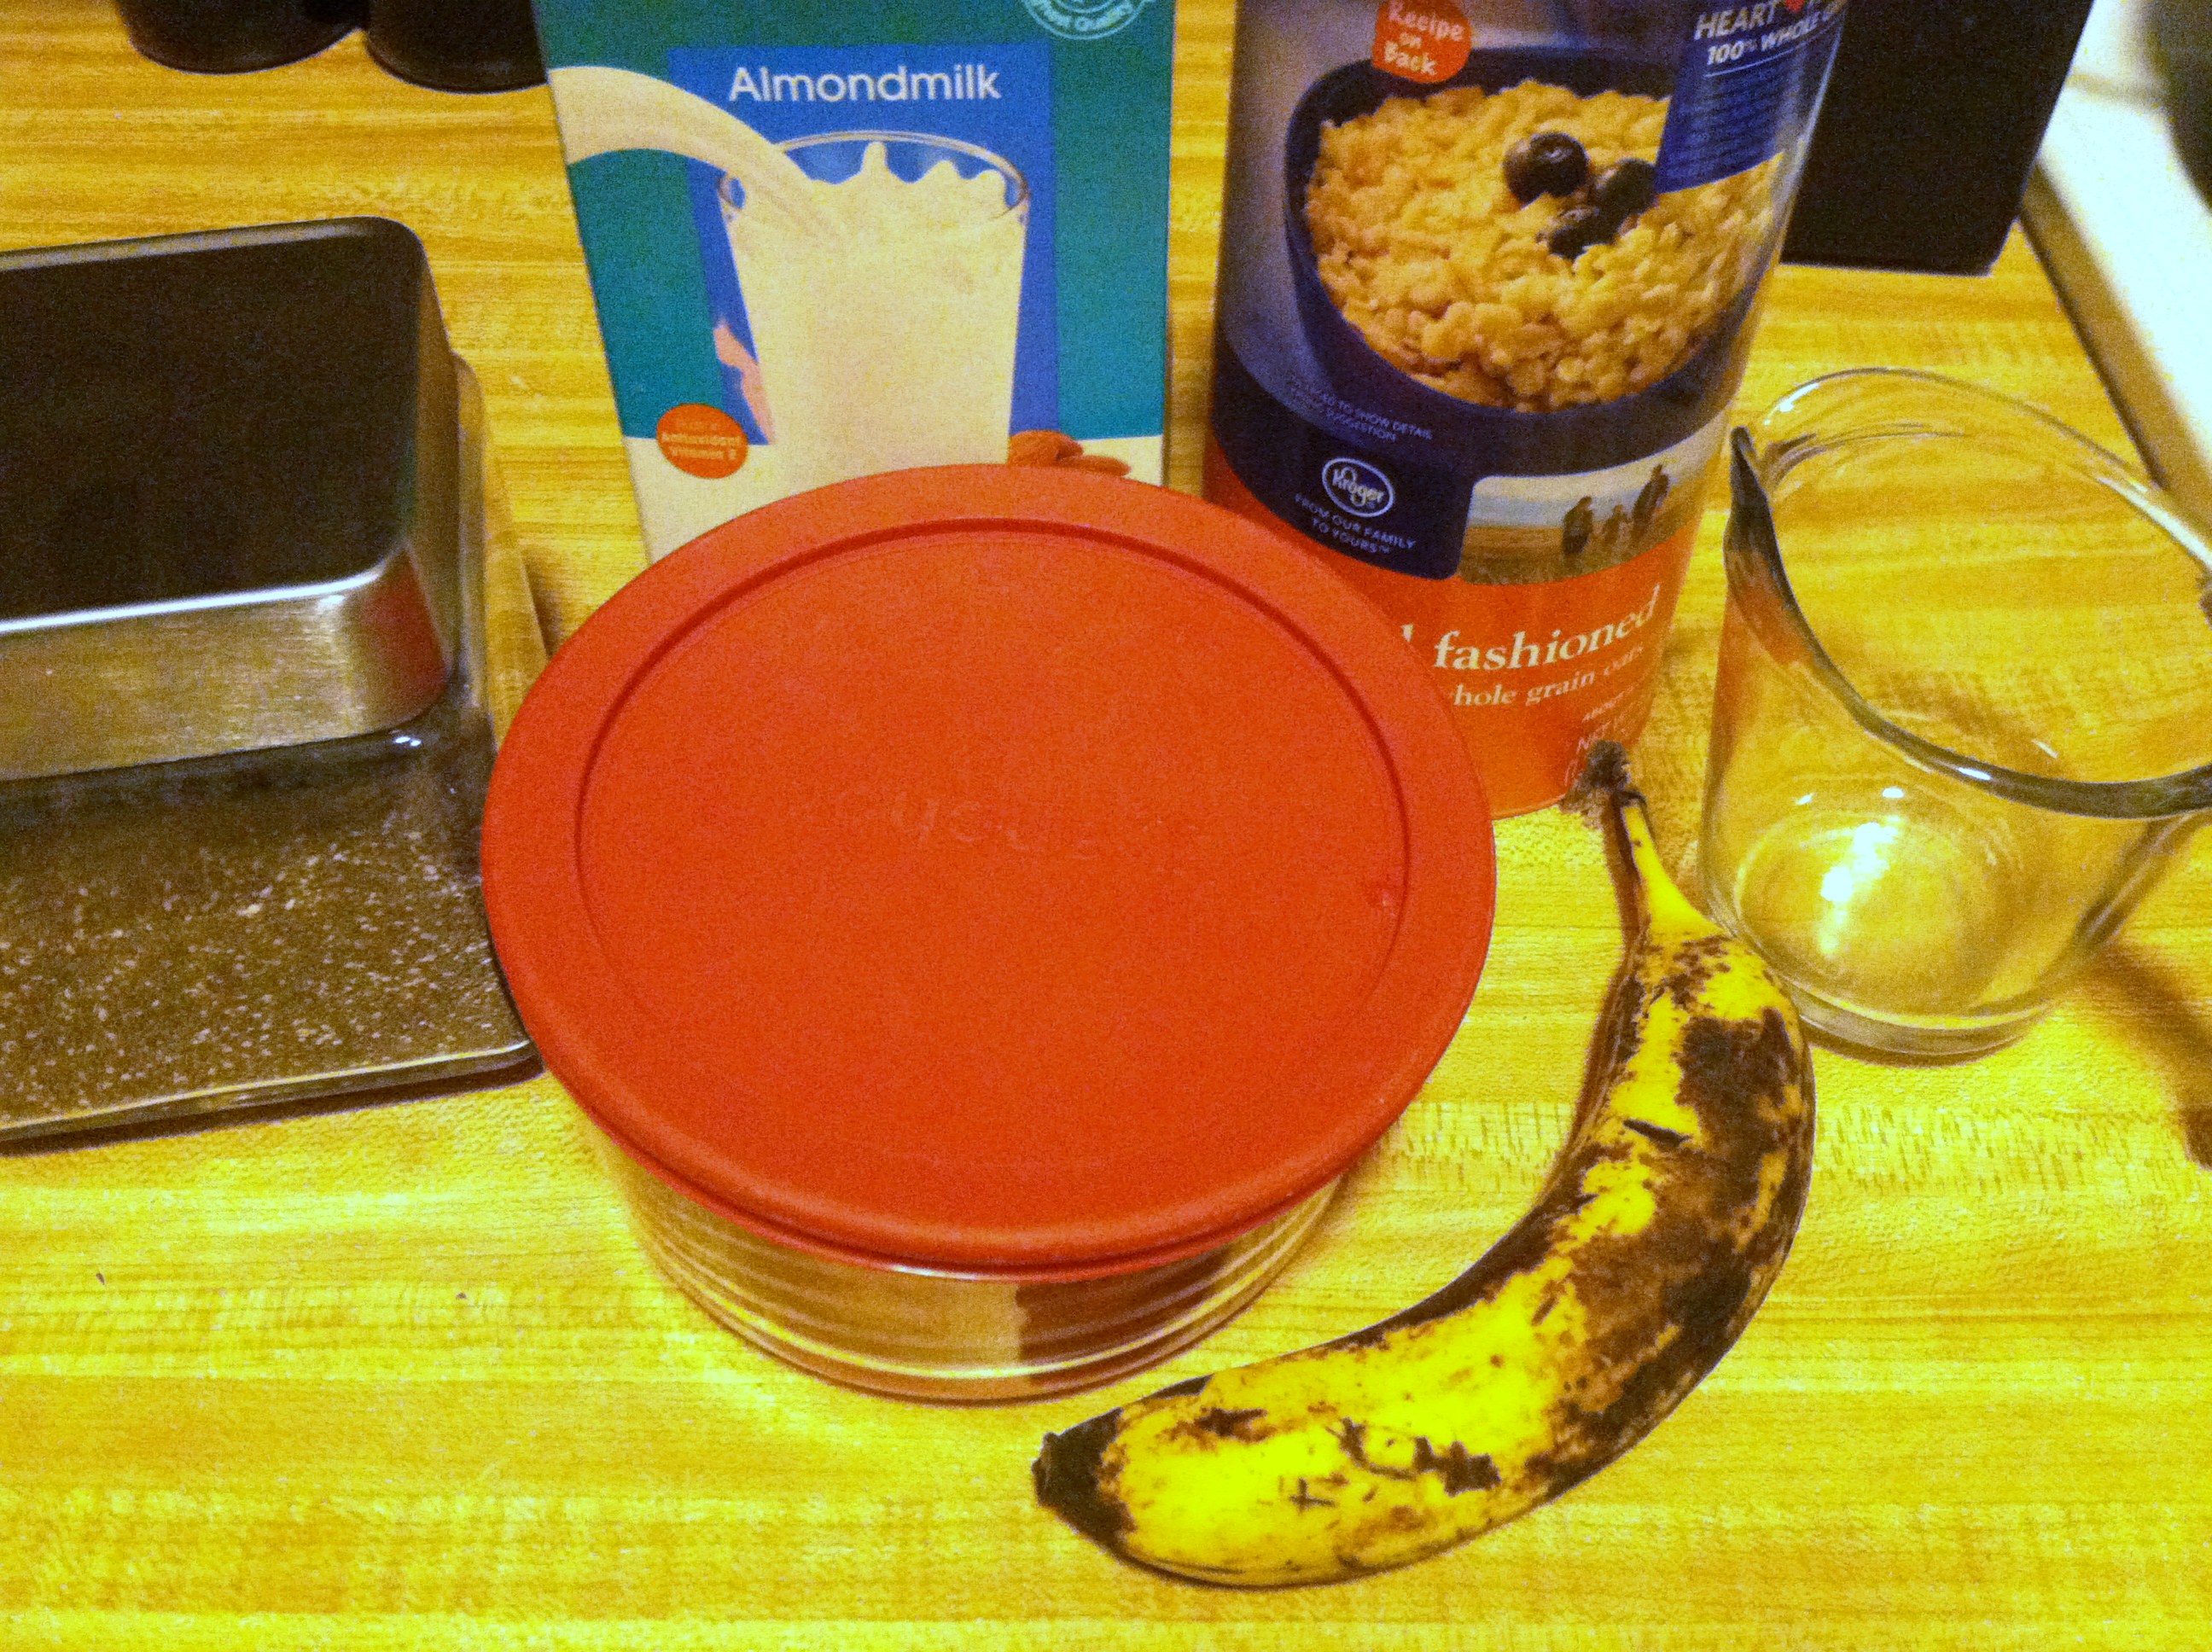
Ingredients:

  • 1 ripe banana
  • 1-2 tbsp chia seeds
  • 1/3-1/2 cup rolled oats
  • 2/3 cup almond/soy milk
  • 1/2 cup water
  • 1 tbsp ground flax seed
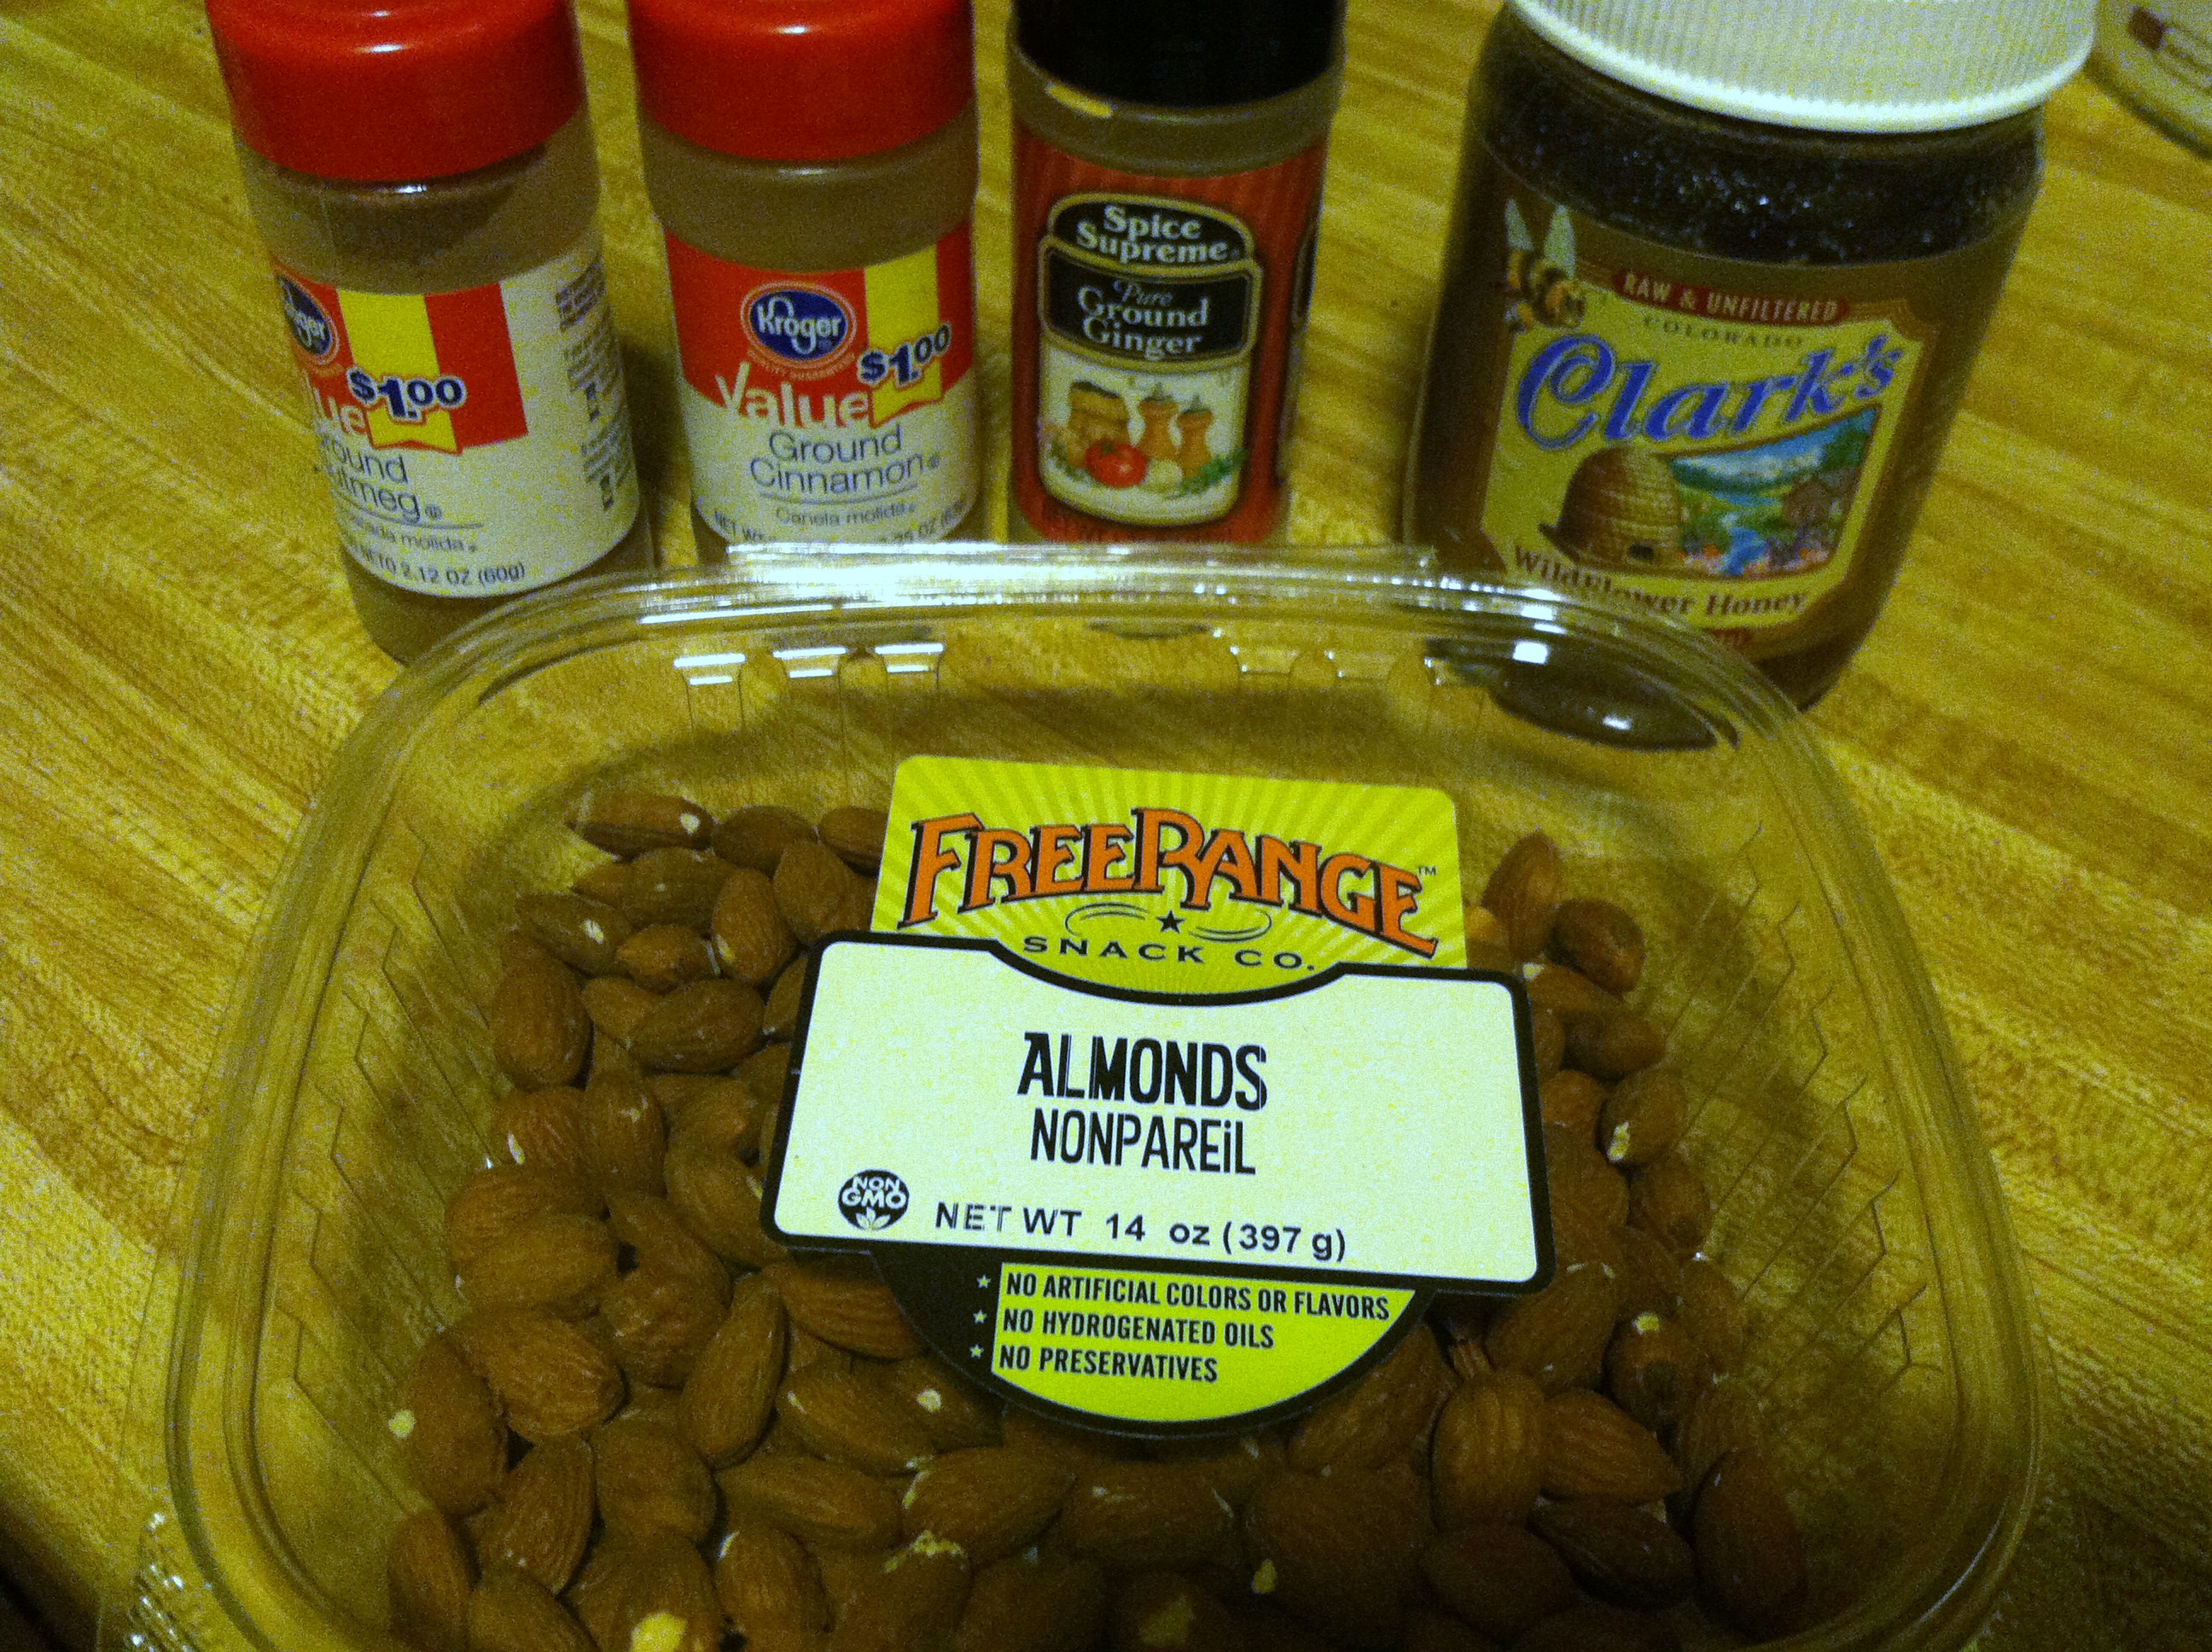
  • Optional: cinnamon, nutmeg, sugar, sea salt, nuts/seeds/dried fruit

IMG_7211

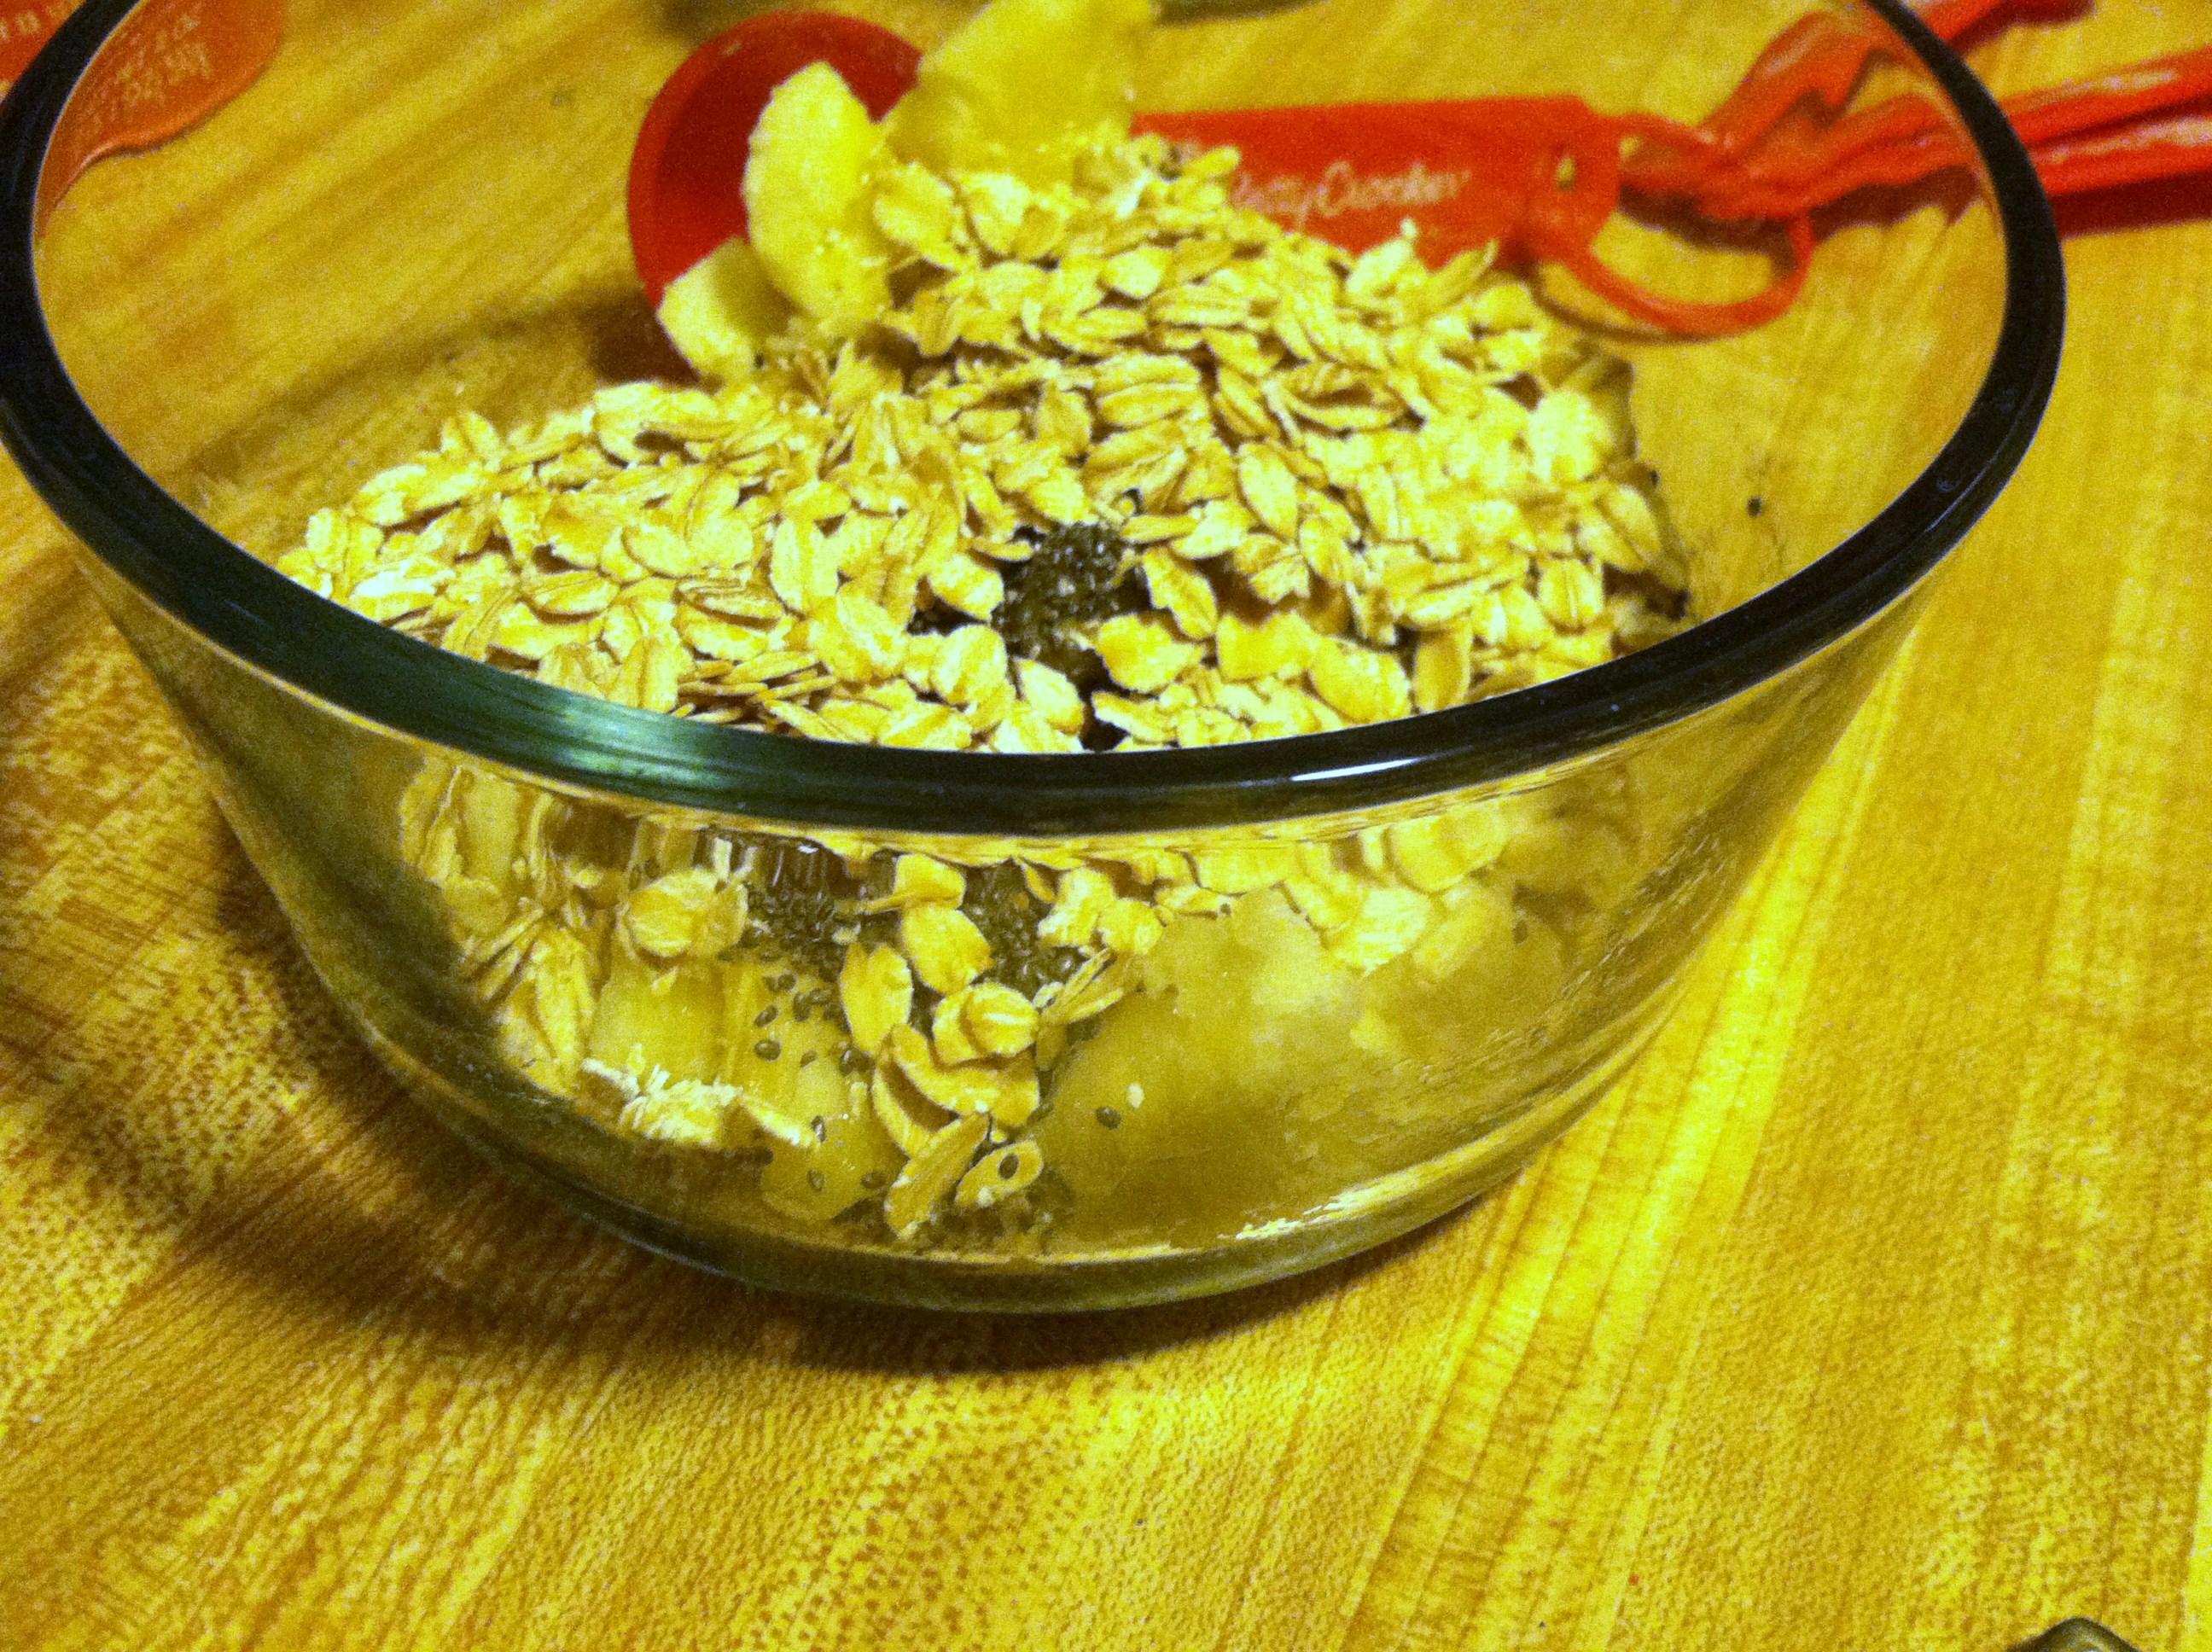
Step 1: Mash your banana into a glass bowl. Add the oats, flax, and chia. Sprinkle on whatever spices you’re using: I added some cinnamon, nutmeg, and ginger.

IMG_7212

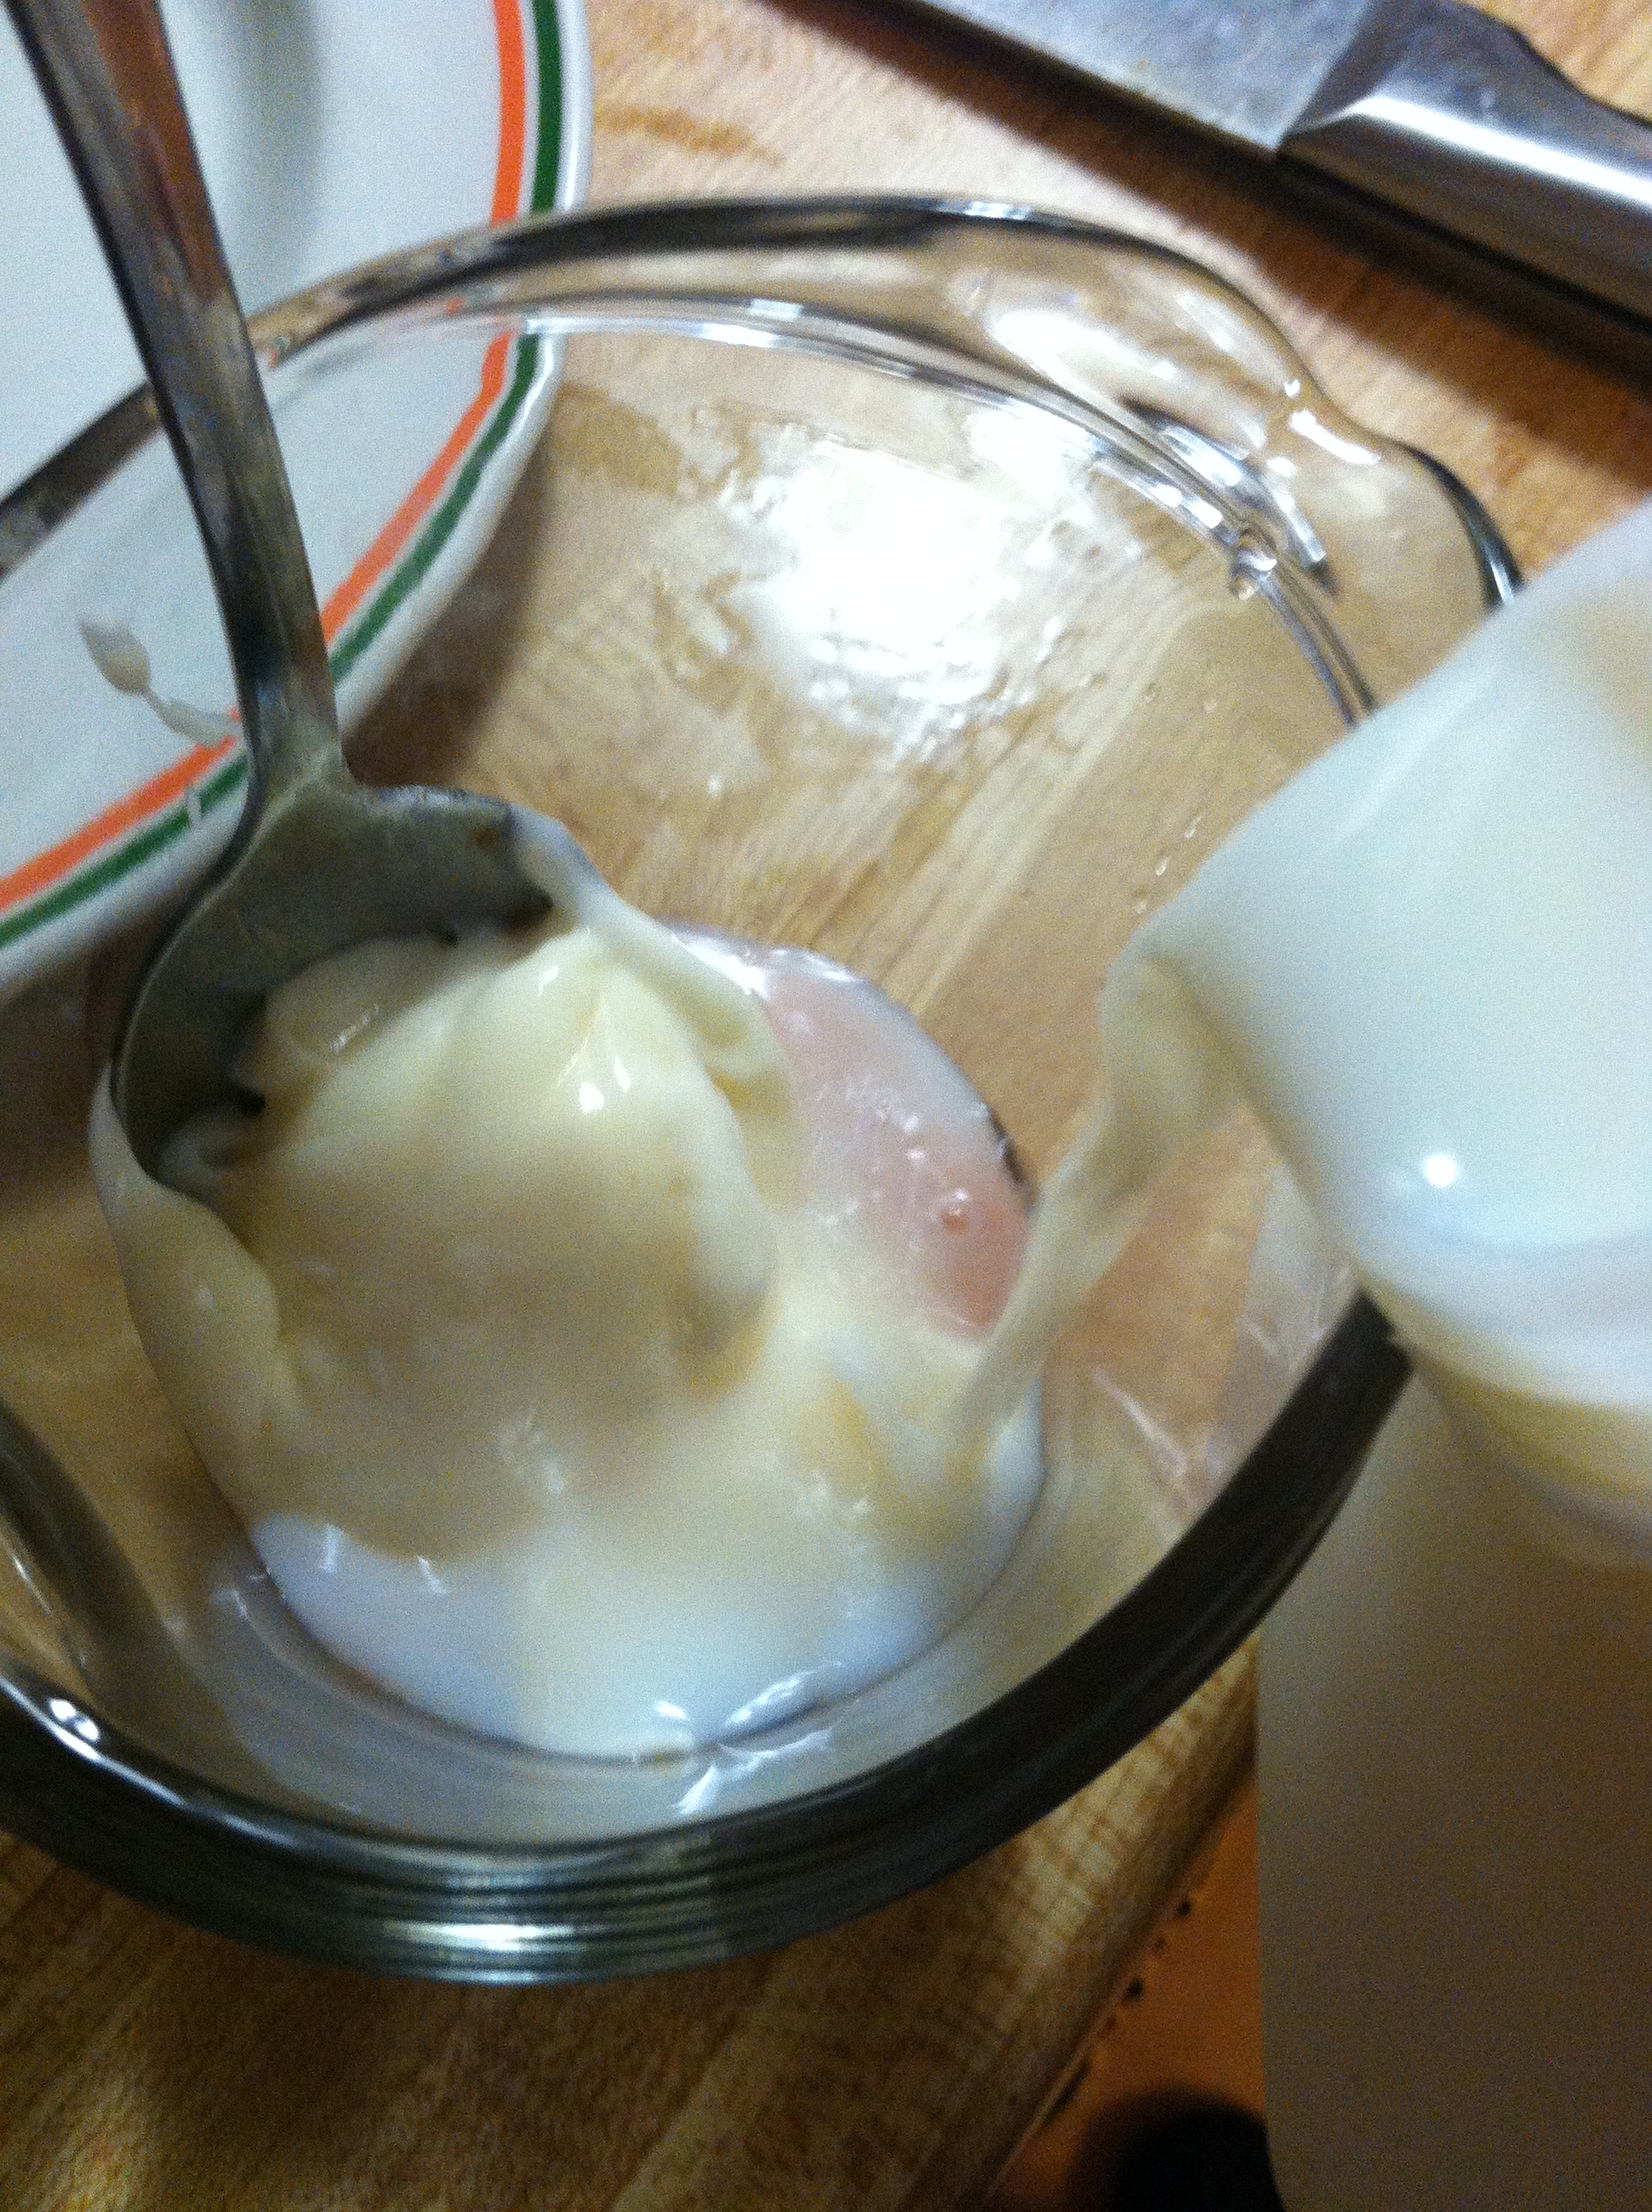
Step 2: Add the milk and water, and put it in the fridge overnight.

IMG_7213

Step 3: Now, while you sleep, the oats and chia are soaking up the moisture and getting nice and soft.

IMG_7214

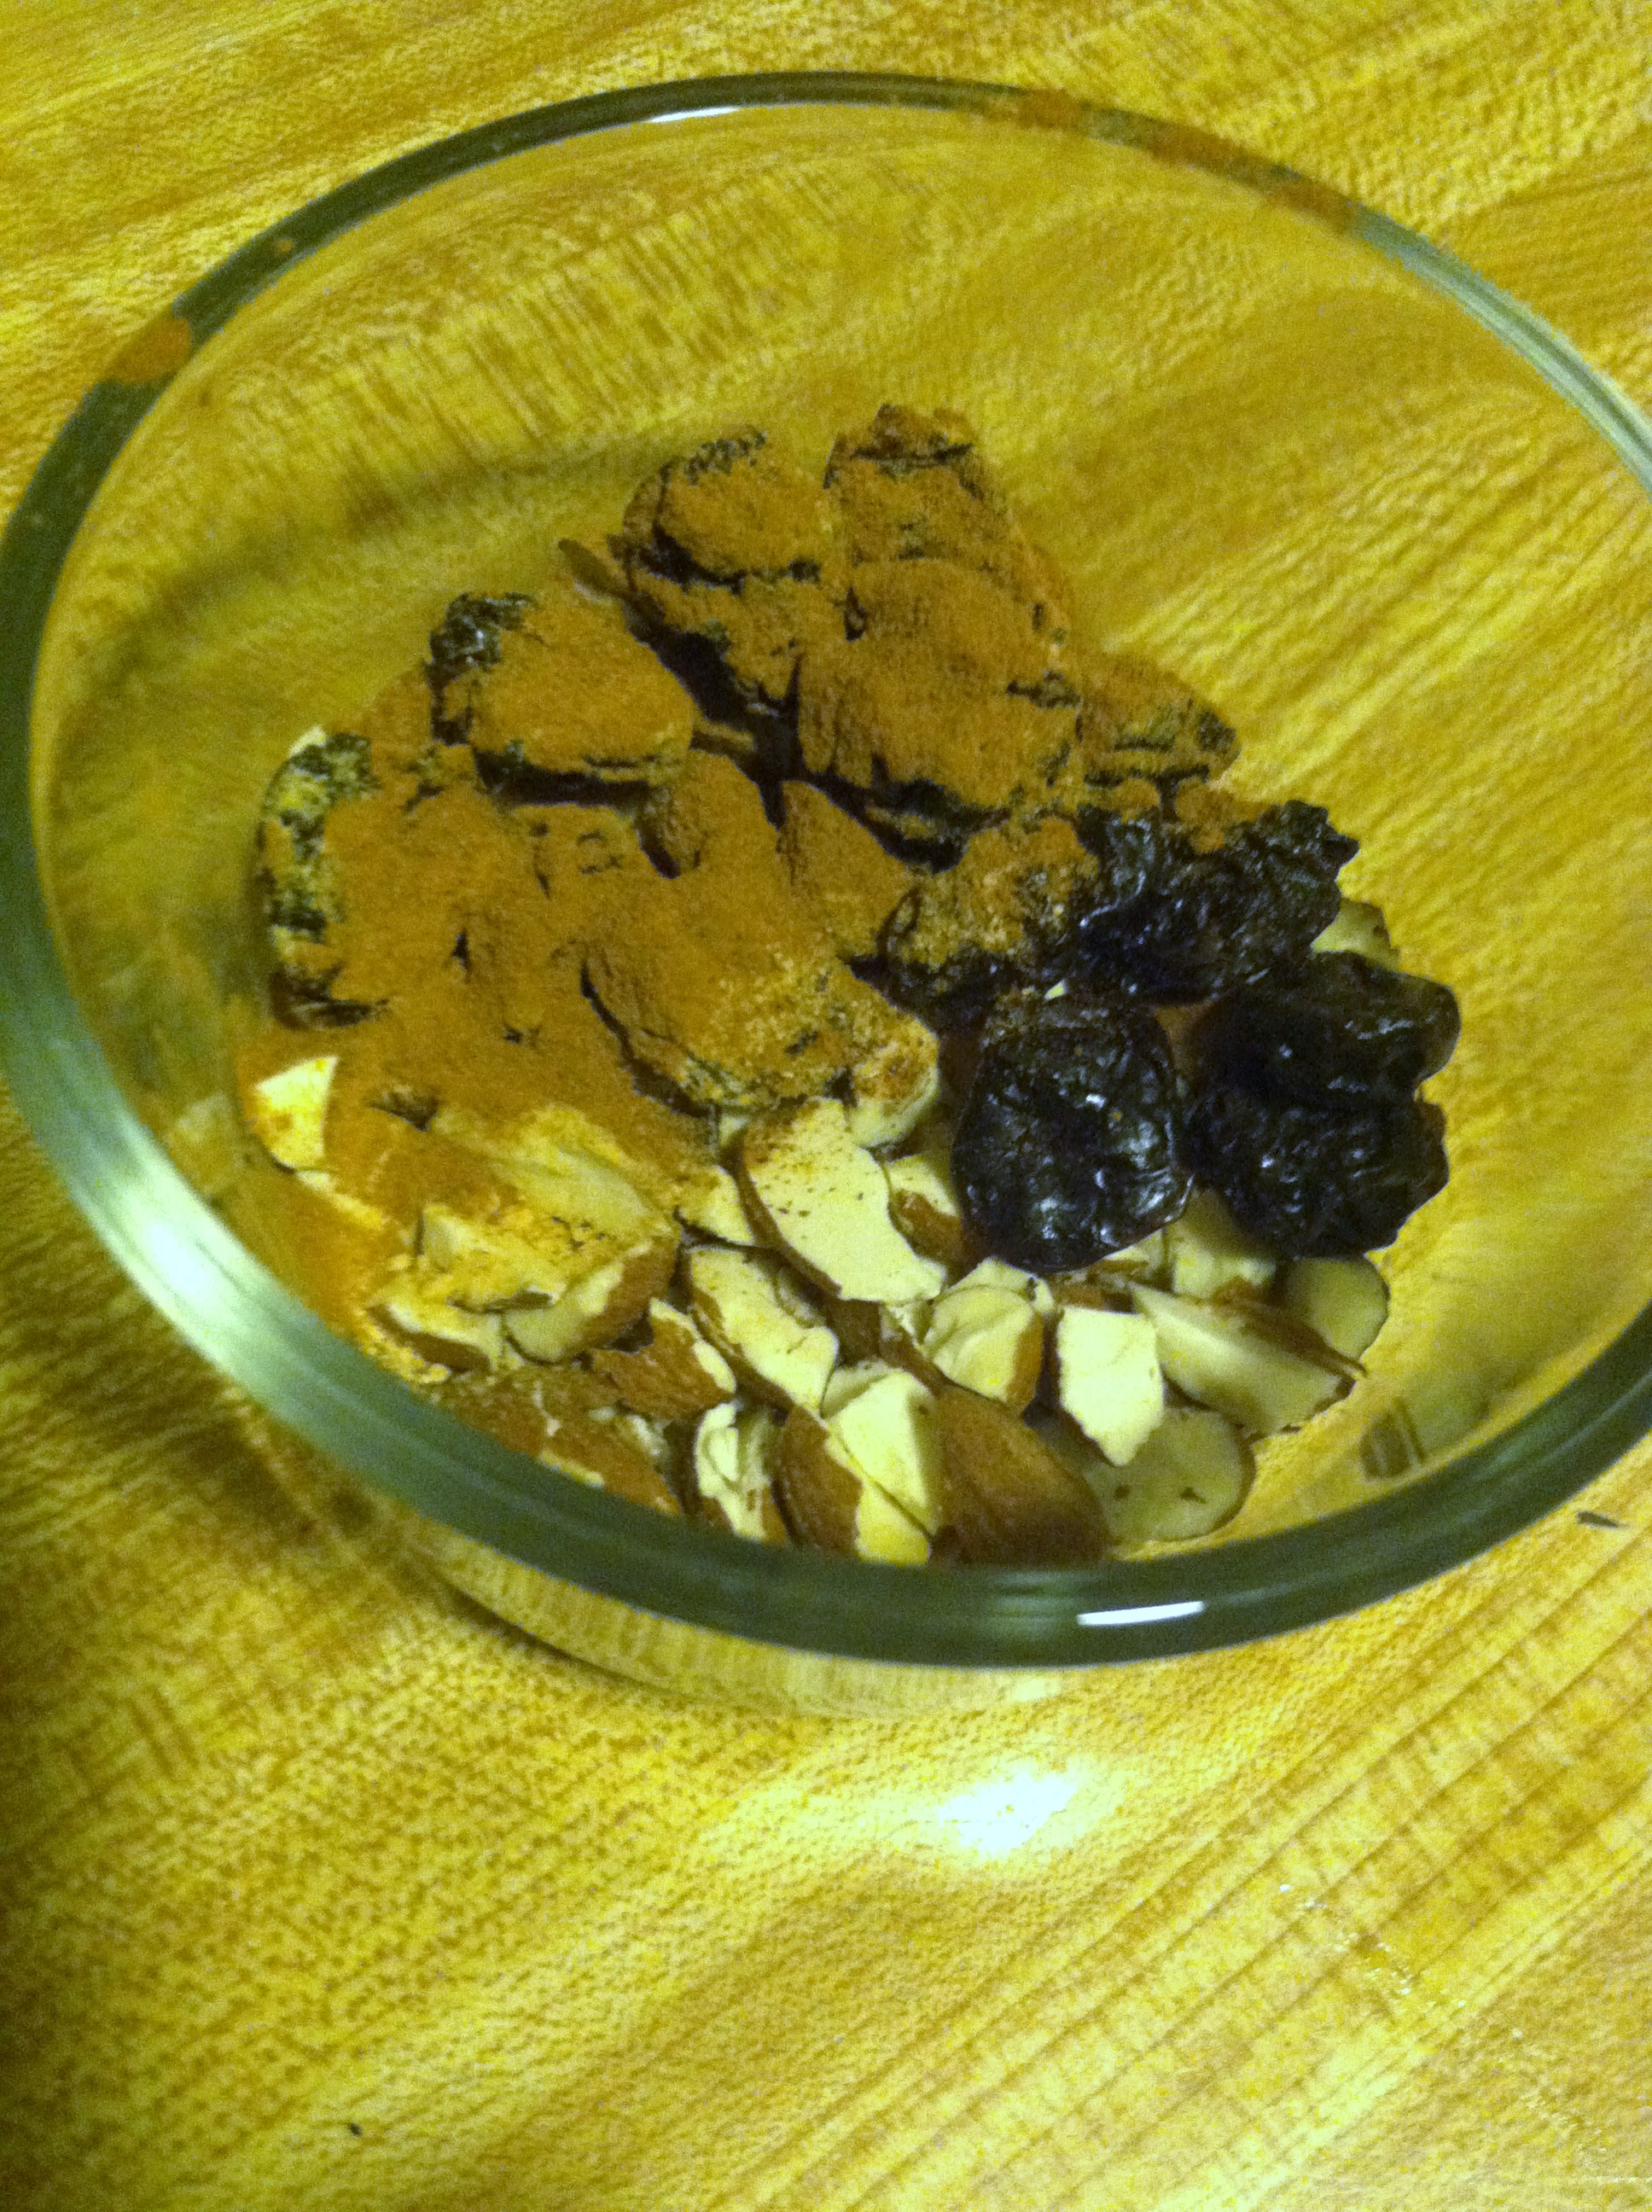
Step 4: In the morning, add any other toppings you didn’t want to get too mushy, like dried fruits, nuts, or honey.

IMG_7215

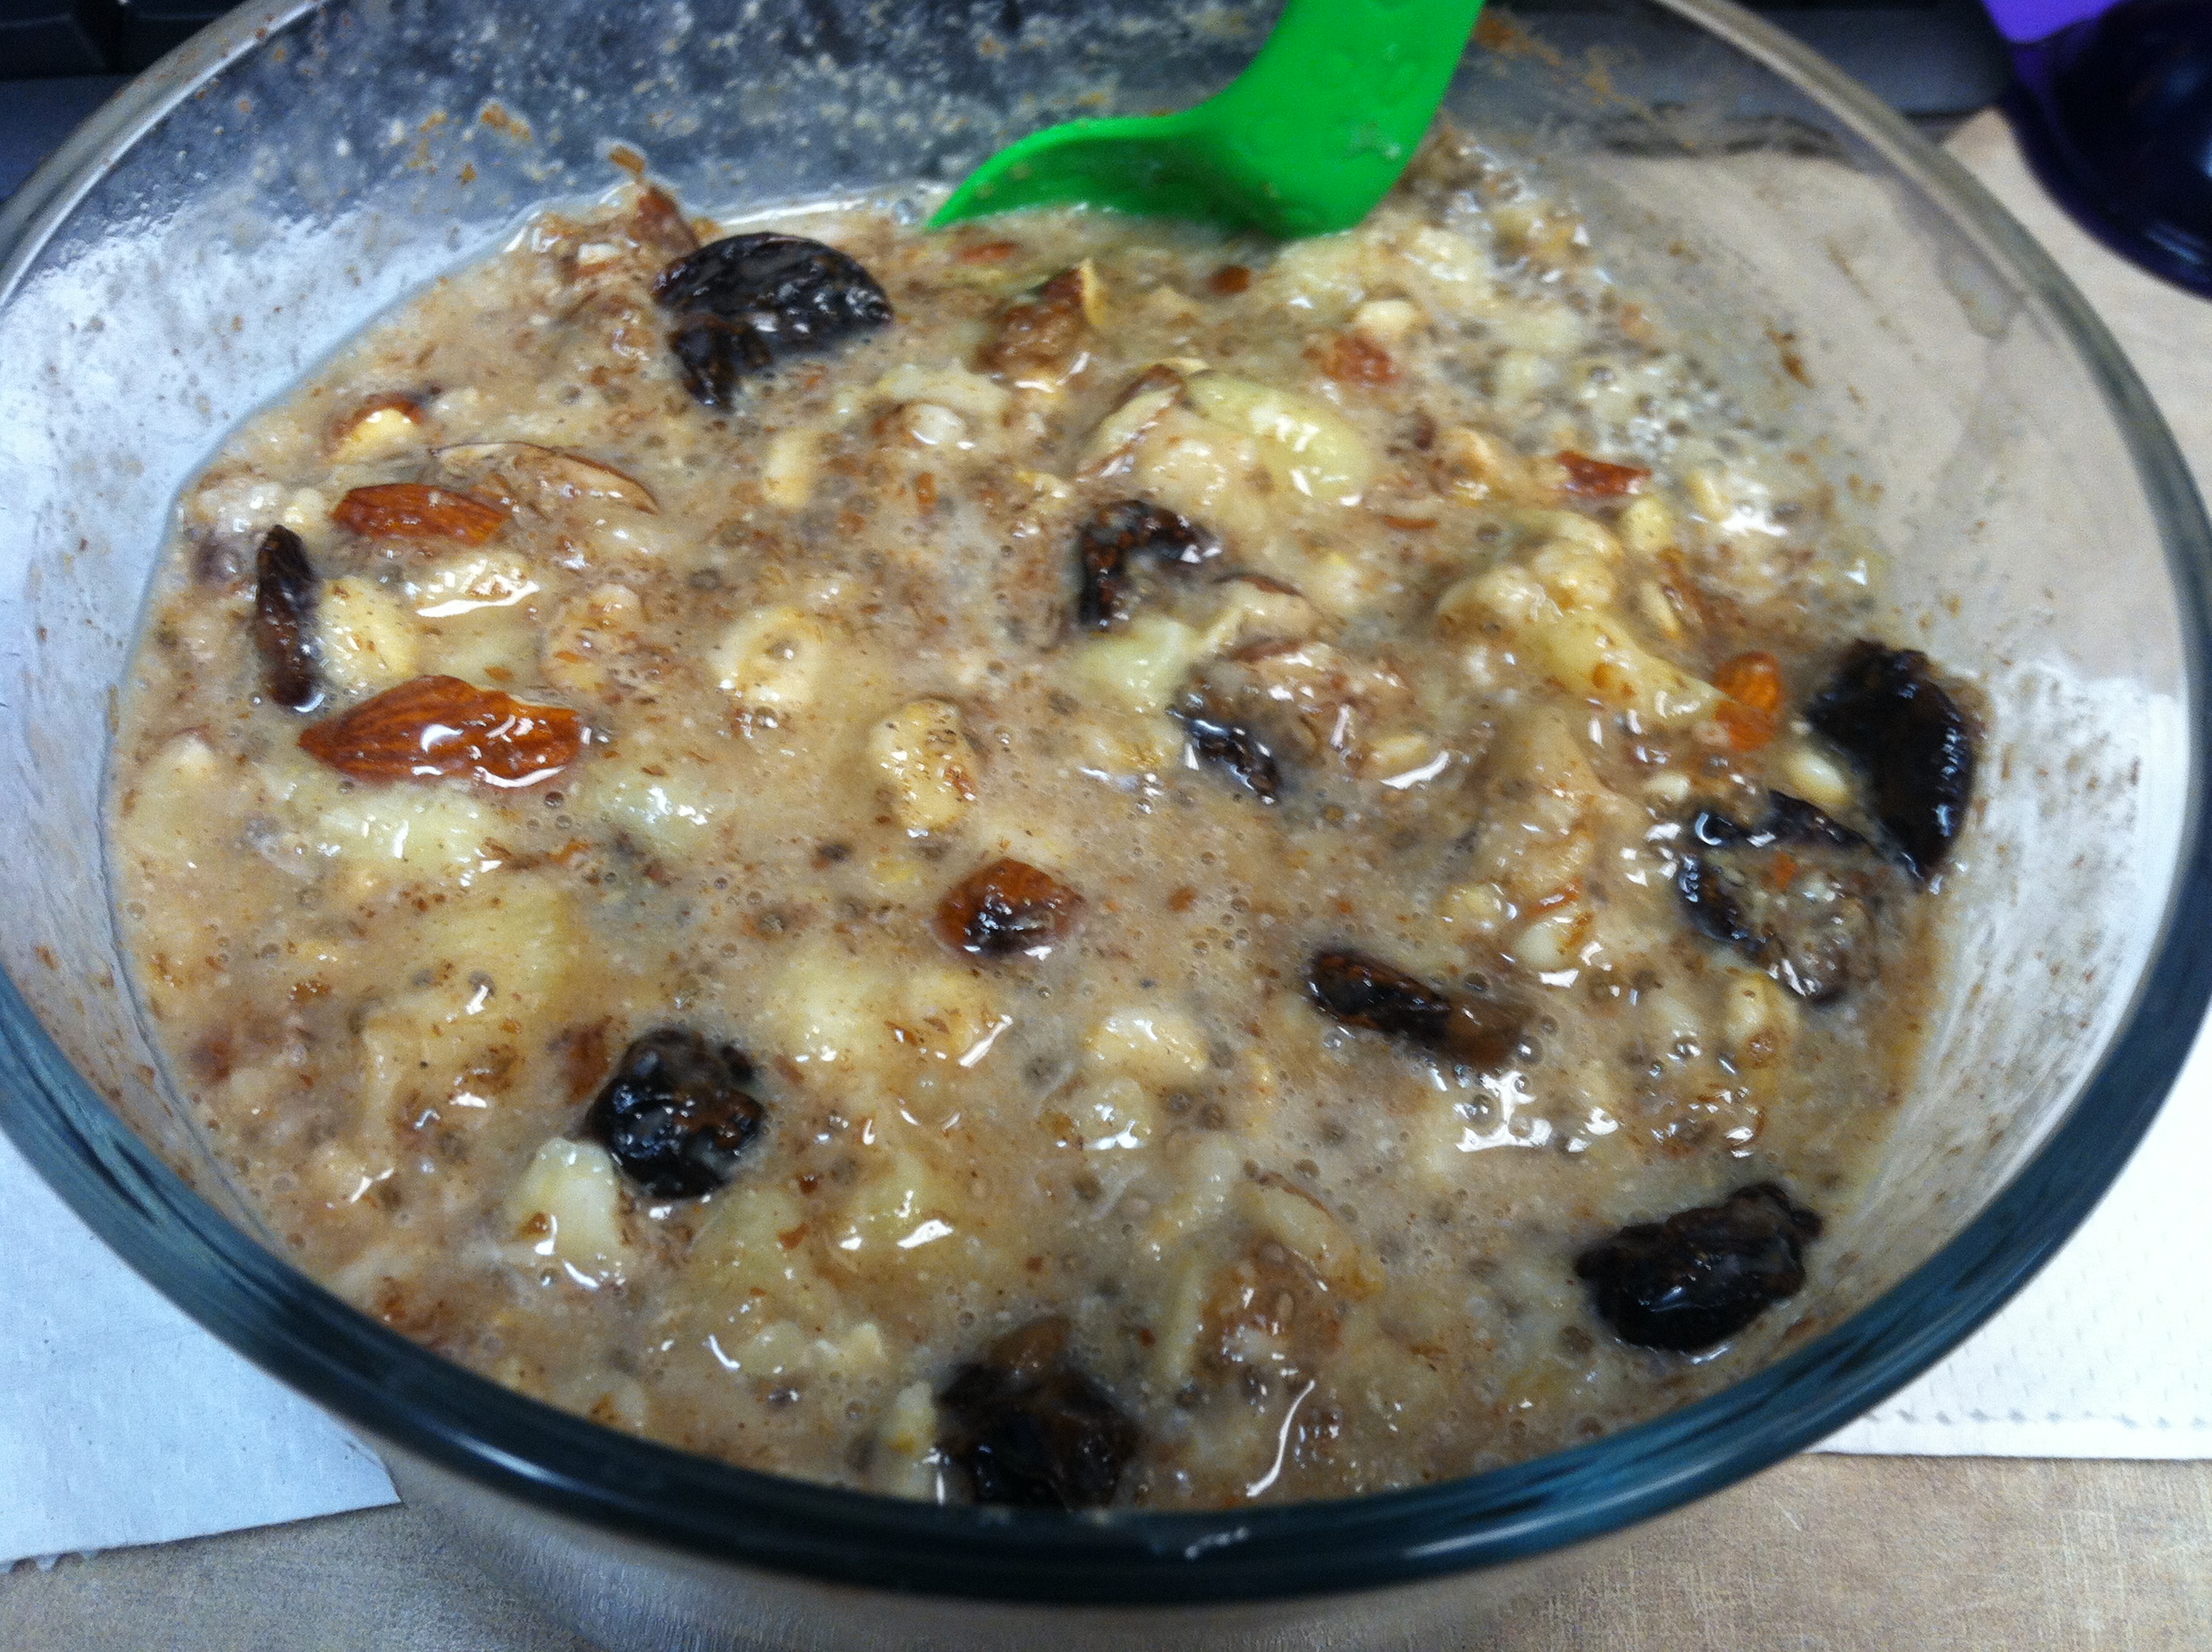
I added about 1/2 tbsp cocoa powder, dried prunes, and chopped up almonds for a chocolate-banana feel and a little crunch.

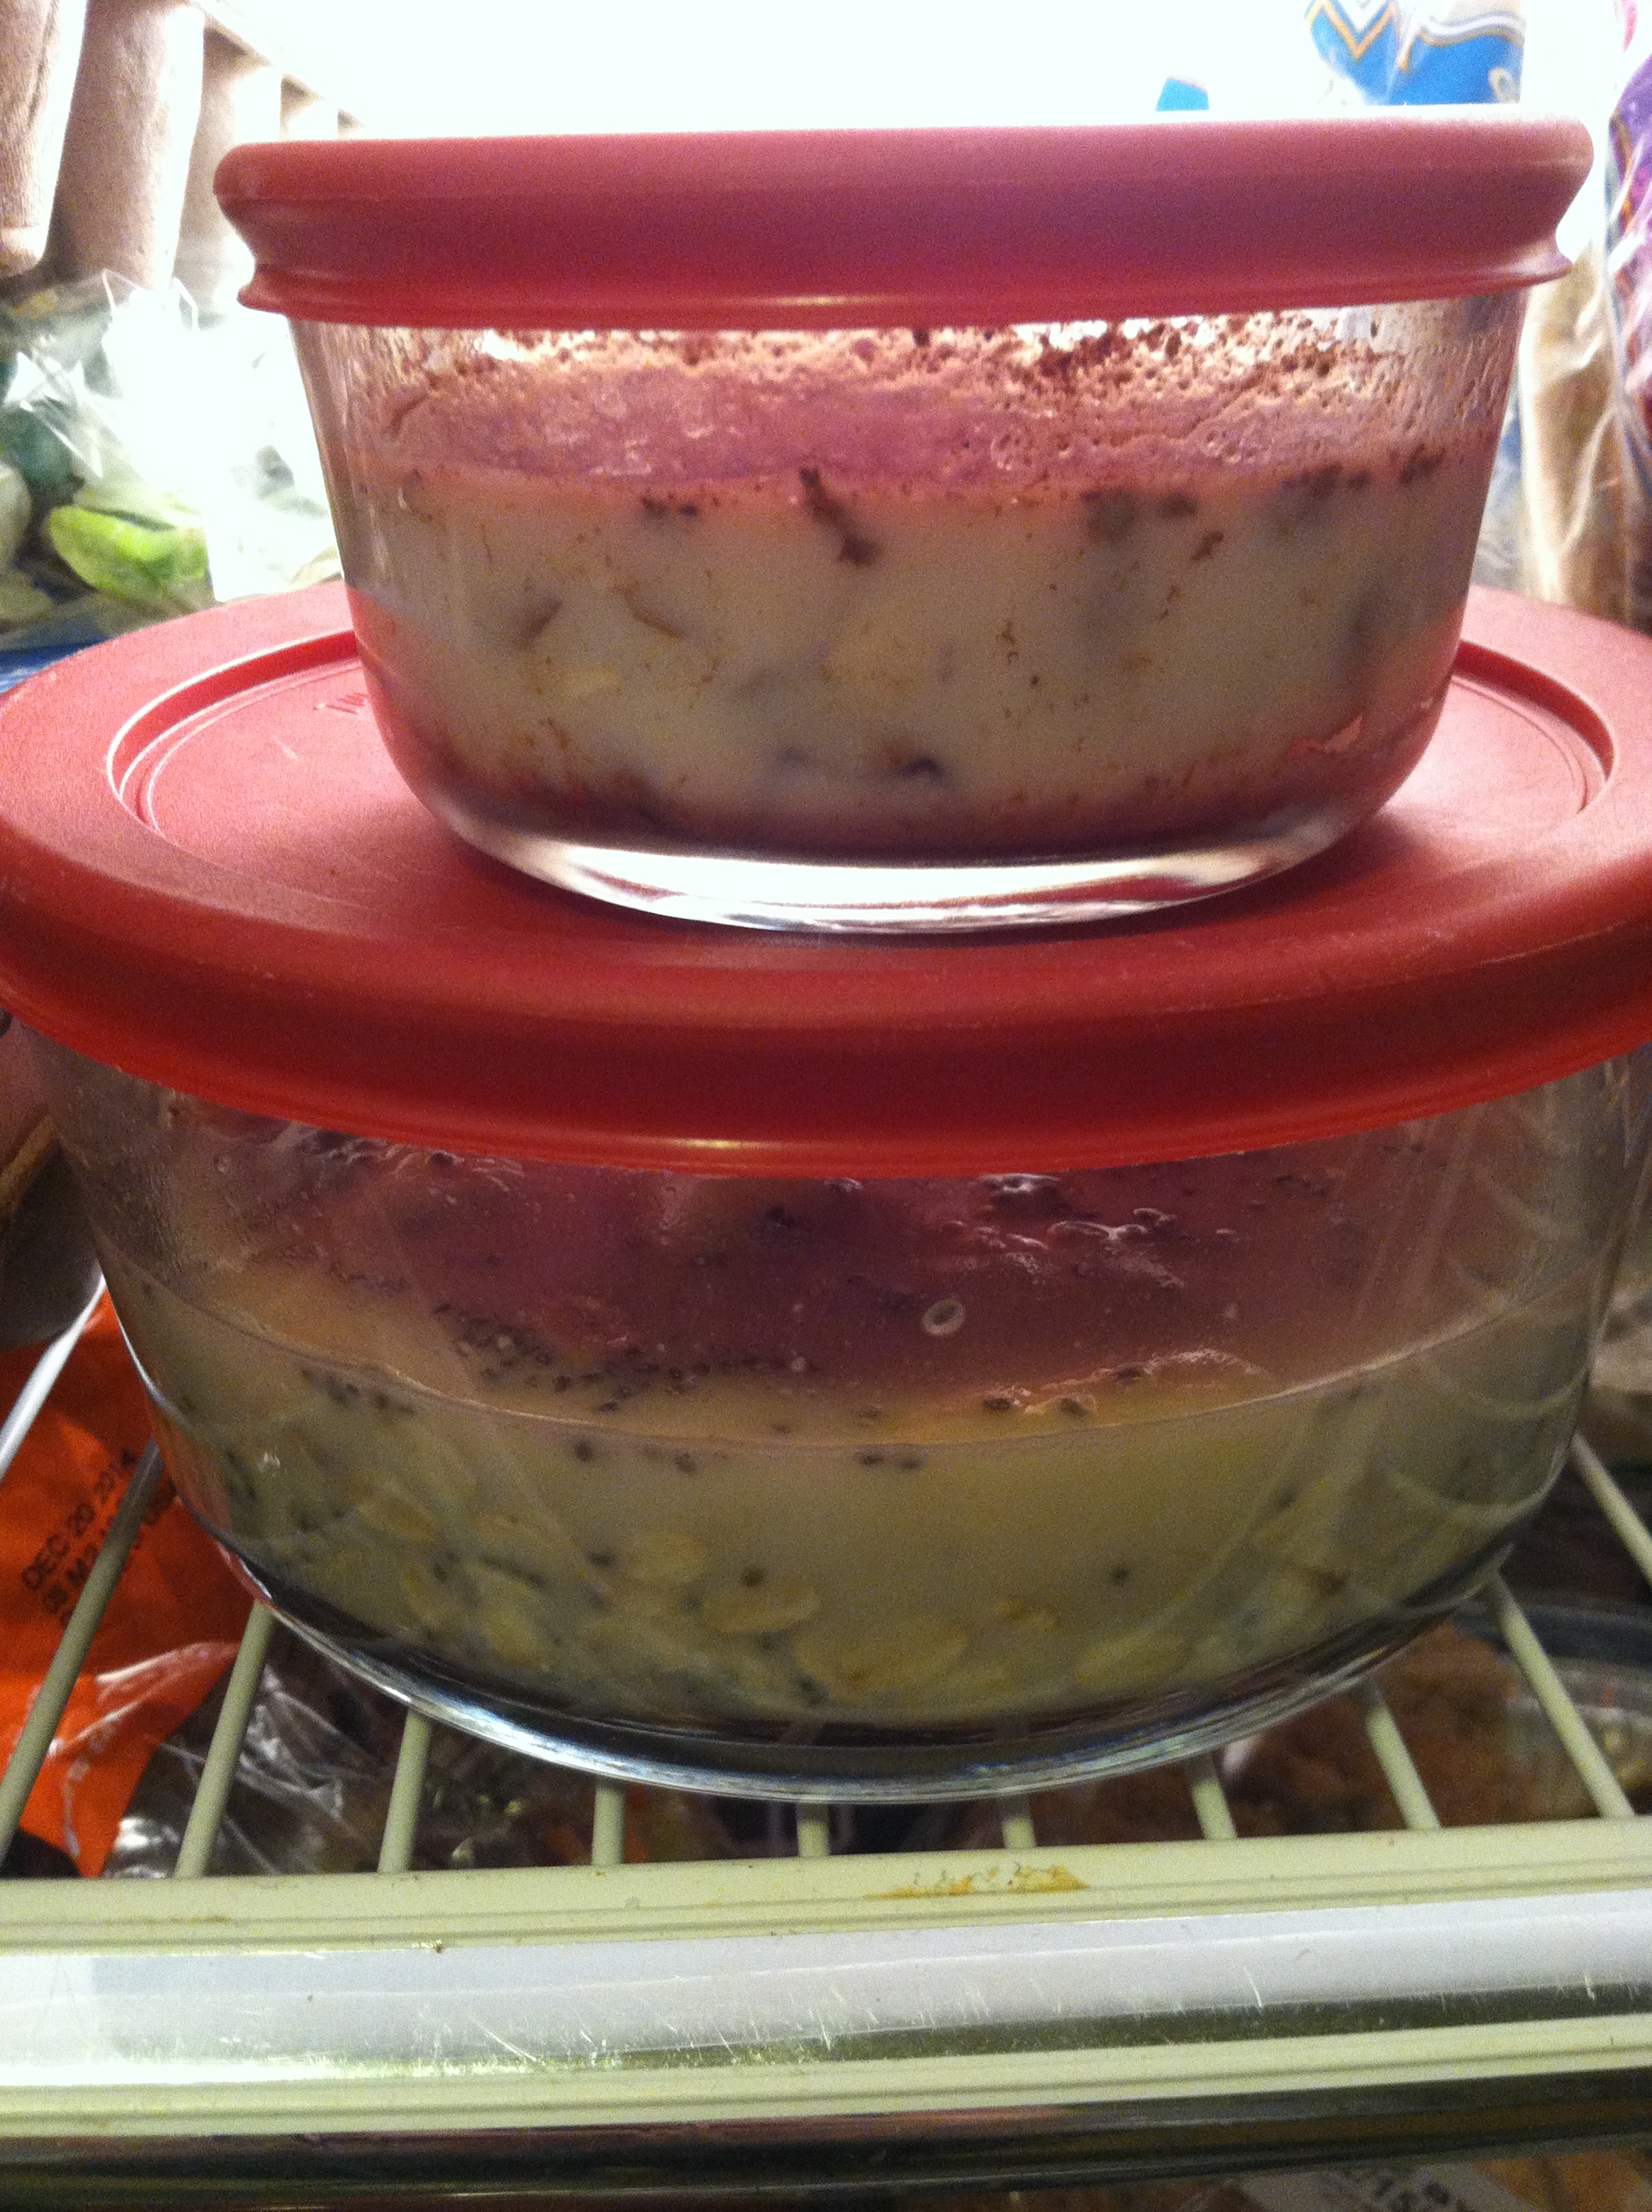
IMG_7216

This is my oatmeal in the refrigerator, working its magic.

IMG_7217

All toppings added and mixed, ready to heat!

IMG_7218

Step 5: Just pop your bowl in the microwave for 2-3 minutes, or an oven set to 350 for 8-10 minutes, and enjoy!


Since I’ve tried every nut, fruit, and spice I could get my hands on, my favorite combo so far is:

  • 1/3 c oats
  • 1 tsp chia seeds
  • 4-5 dried prunes
  • 4-5 dried dates
  • 1 tbsp golden raisins
  • 1 tbsp almond butter
  • Sprinkle of cinnamon

The dates have such a unique flavor, and the combination of dried fruits lends such a sweetness to the finished product. The almond butter gives it a nice burst of flavor too. I cut back on chia and got rid of the flax, because the original recipe was a little too… chewy for my taste. After all, people use flax or chia and water as an egg substitute, so they do make a bit of a gel-like texture.

Your ideal bowl may be something different, mix it up depending on your tastes, what you have available, and any allergies/sensitivities. But this is a quick, super easy, and economical way to start any day off right!


Creamy Tuna Potato Salad


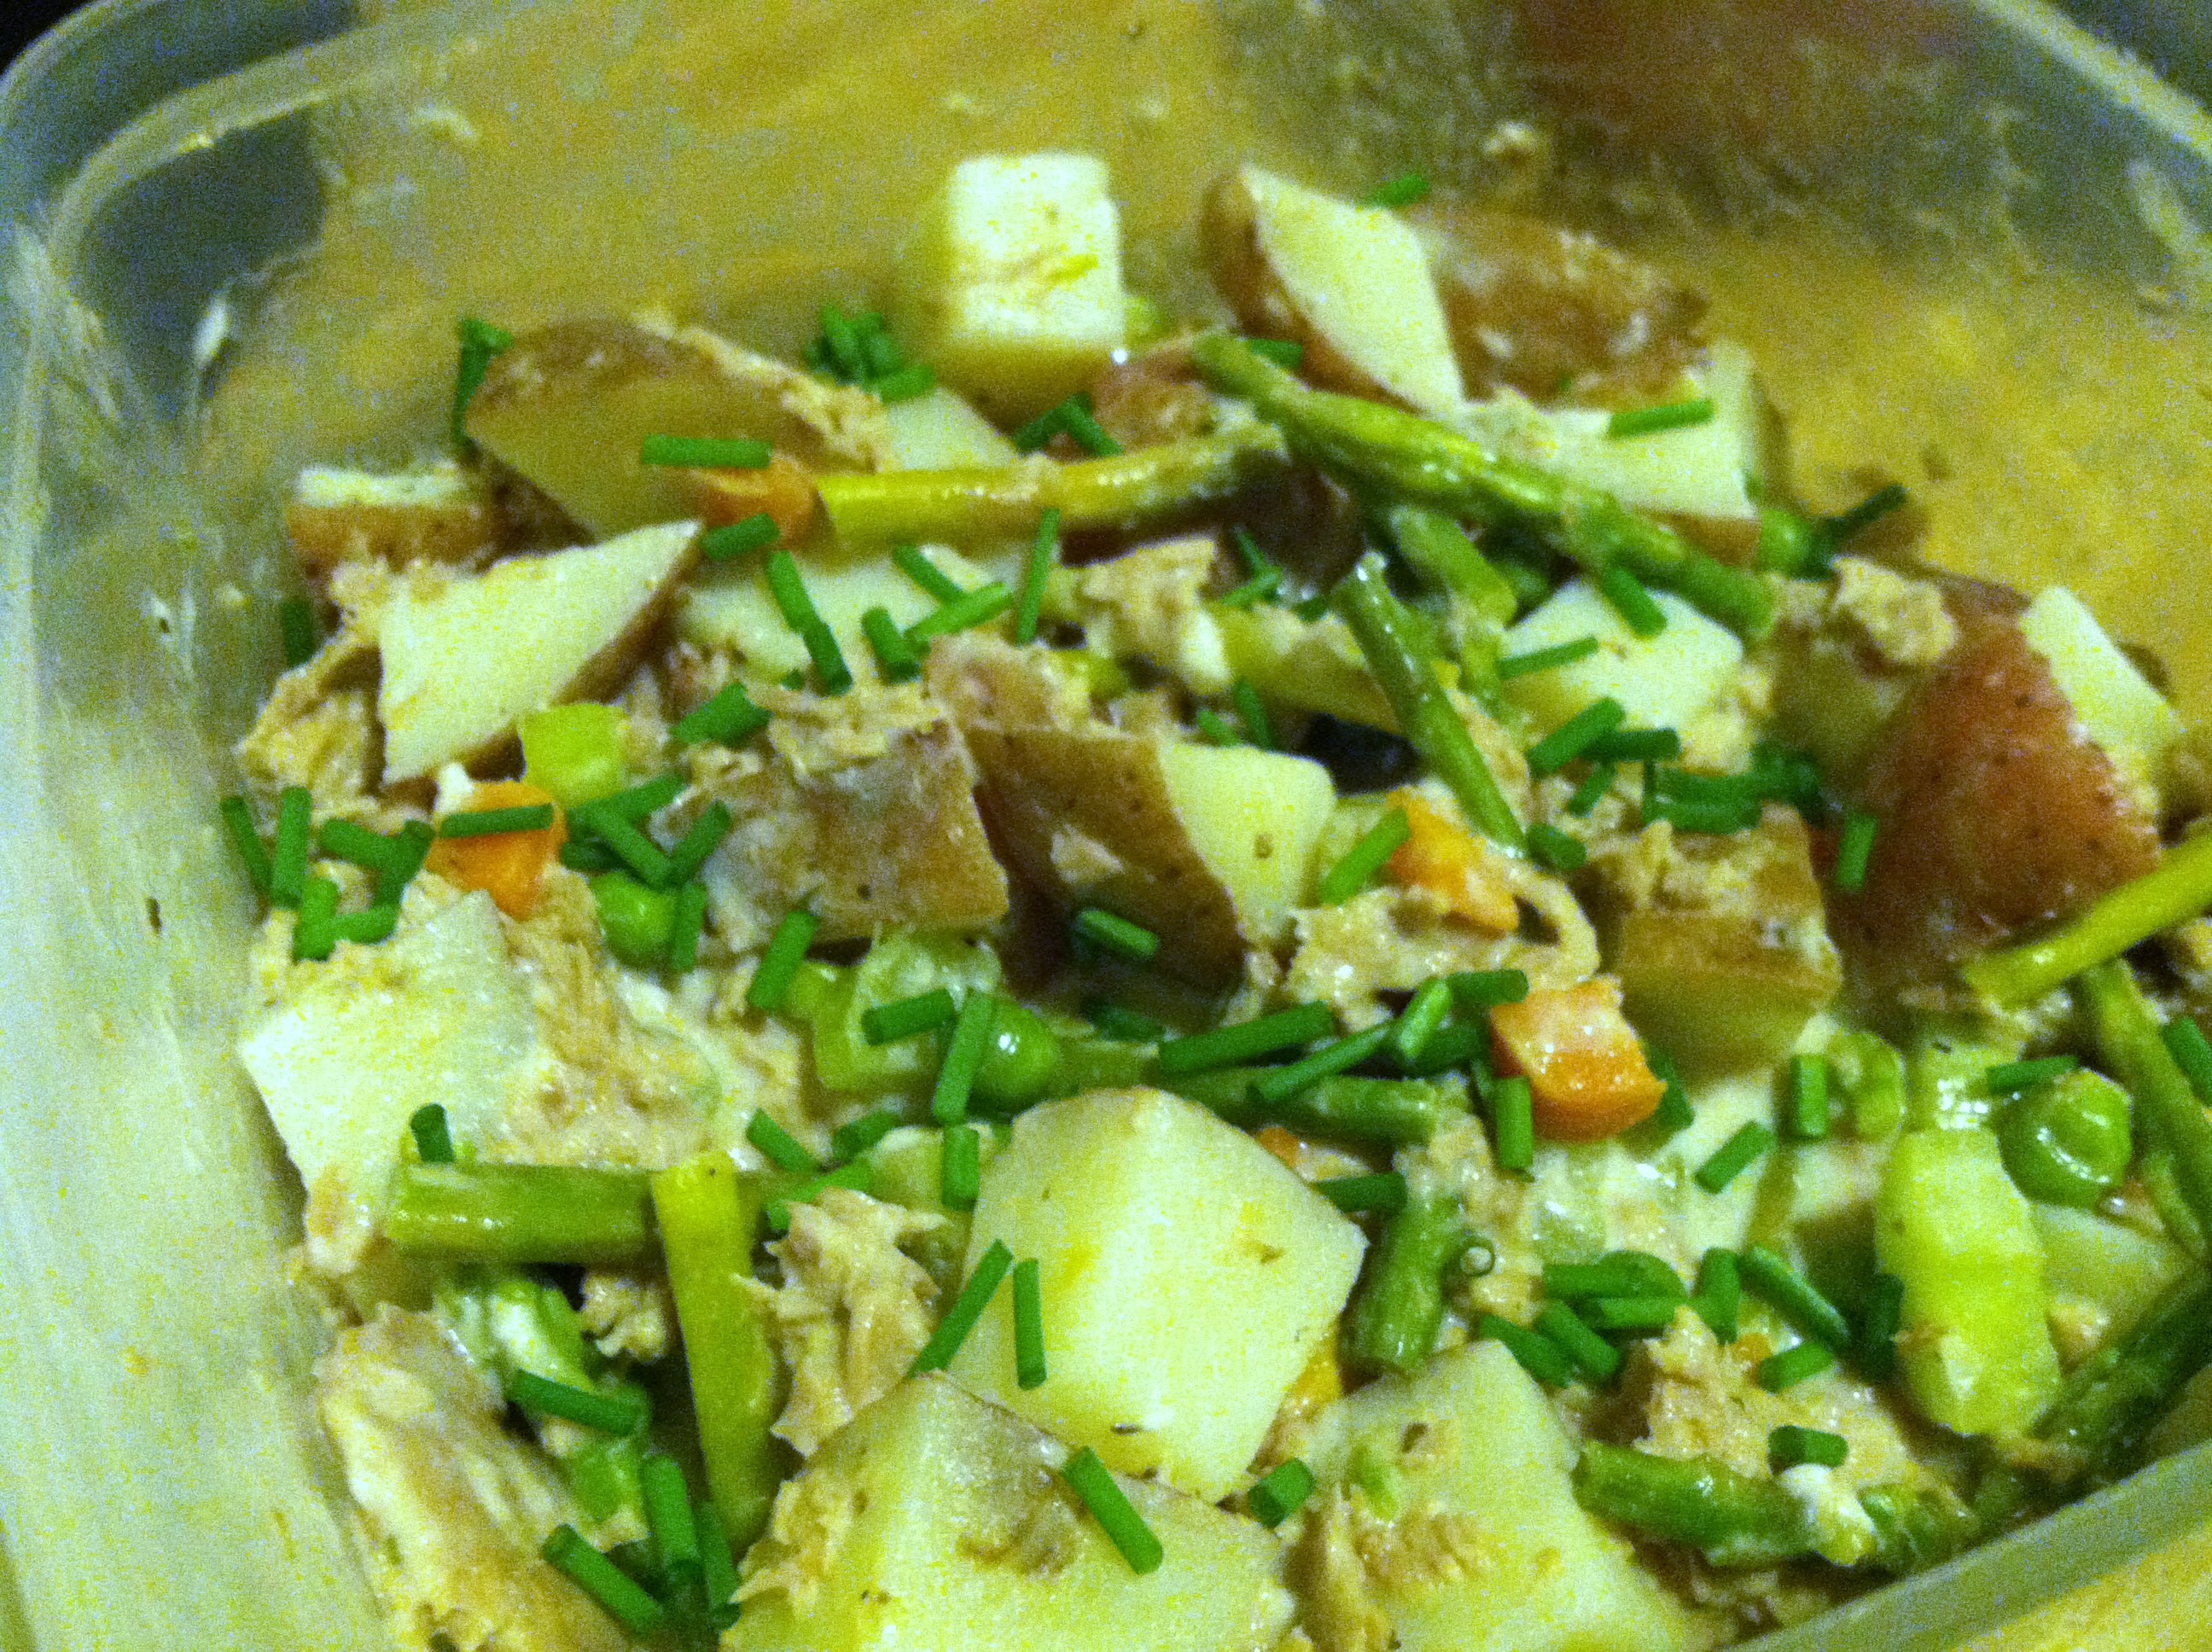
I’ve never been a huge fan of potato salads. They are usually overly-fatty-creamy, with cold mushy potatoes and bits of who-knows-what. Just not appetizing. But then I read this in some magazine once, and since I had asparagus and red potatoes already, decided to give it a whirl.

With a bit of a twist and crossover of tuna salad and potato salad, and easy on the saucy things, it sounded much more delicious than your usual potato salad rotting in the picnic sun. And by substituting in Greek yogurt for some of the heavier dairy per usual it becomes slightly healthier.

Ingredients:

  • 2 pounds redskin potatoes
  • 1/2 cup frozen mixed vegetables (or just peas)
  • 10-12 spears asparagus
  • 2 tbsp plain Greek yogurt
  • 2 tbsp mayonnaise
  • 1 can tuna, drained
  • 1/2 cup skim milk
  • Salt, pepper, dill, oregano, etc.

IMG_6891

Step 1: Dice your potatoes, and bring a pot of water to a boil. Add the potatoes and cook 5-7 minutes. Add the chopped asparagus and frozen veggies and cook another 3-5 minutes.

IMG_6892

Step 2: Mix the yogurt, mayo, and milk in a small bowl. Use more or less milk to make it your desired consistency.

IMG_6893

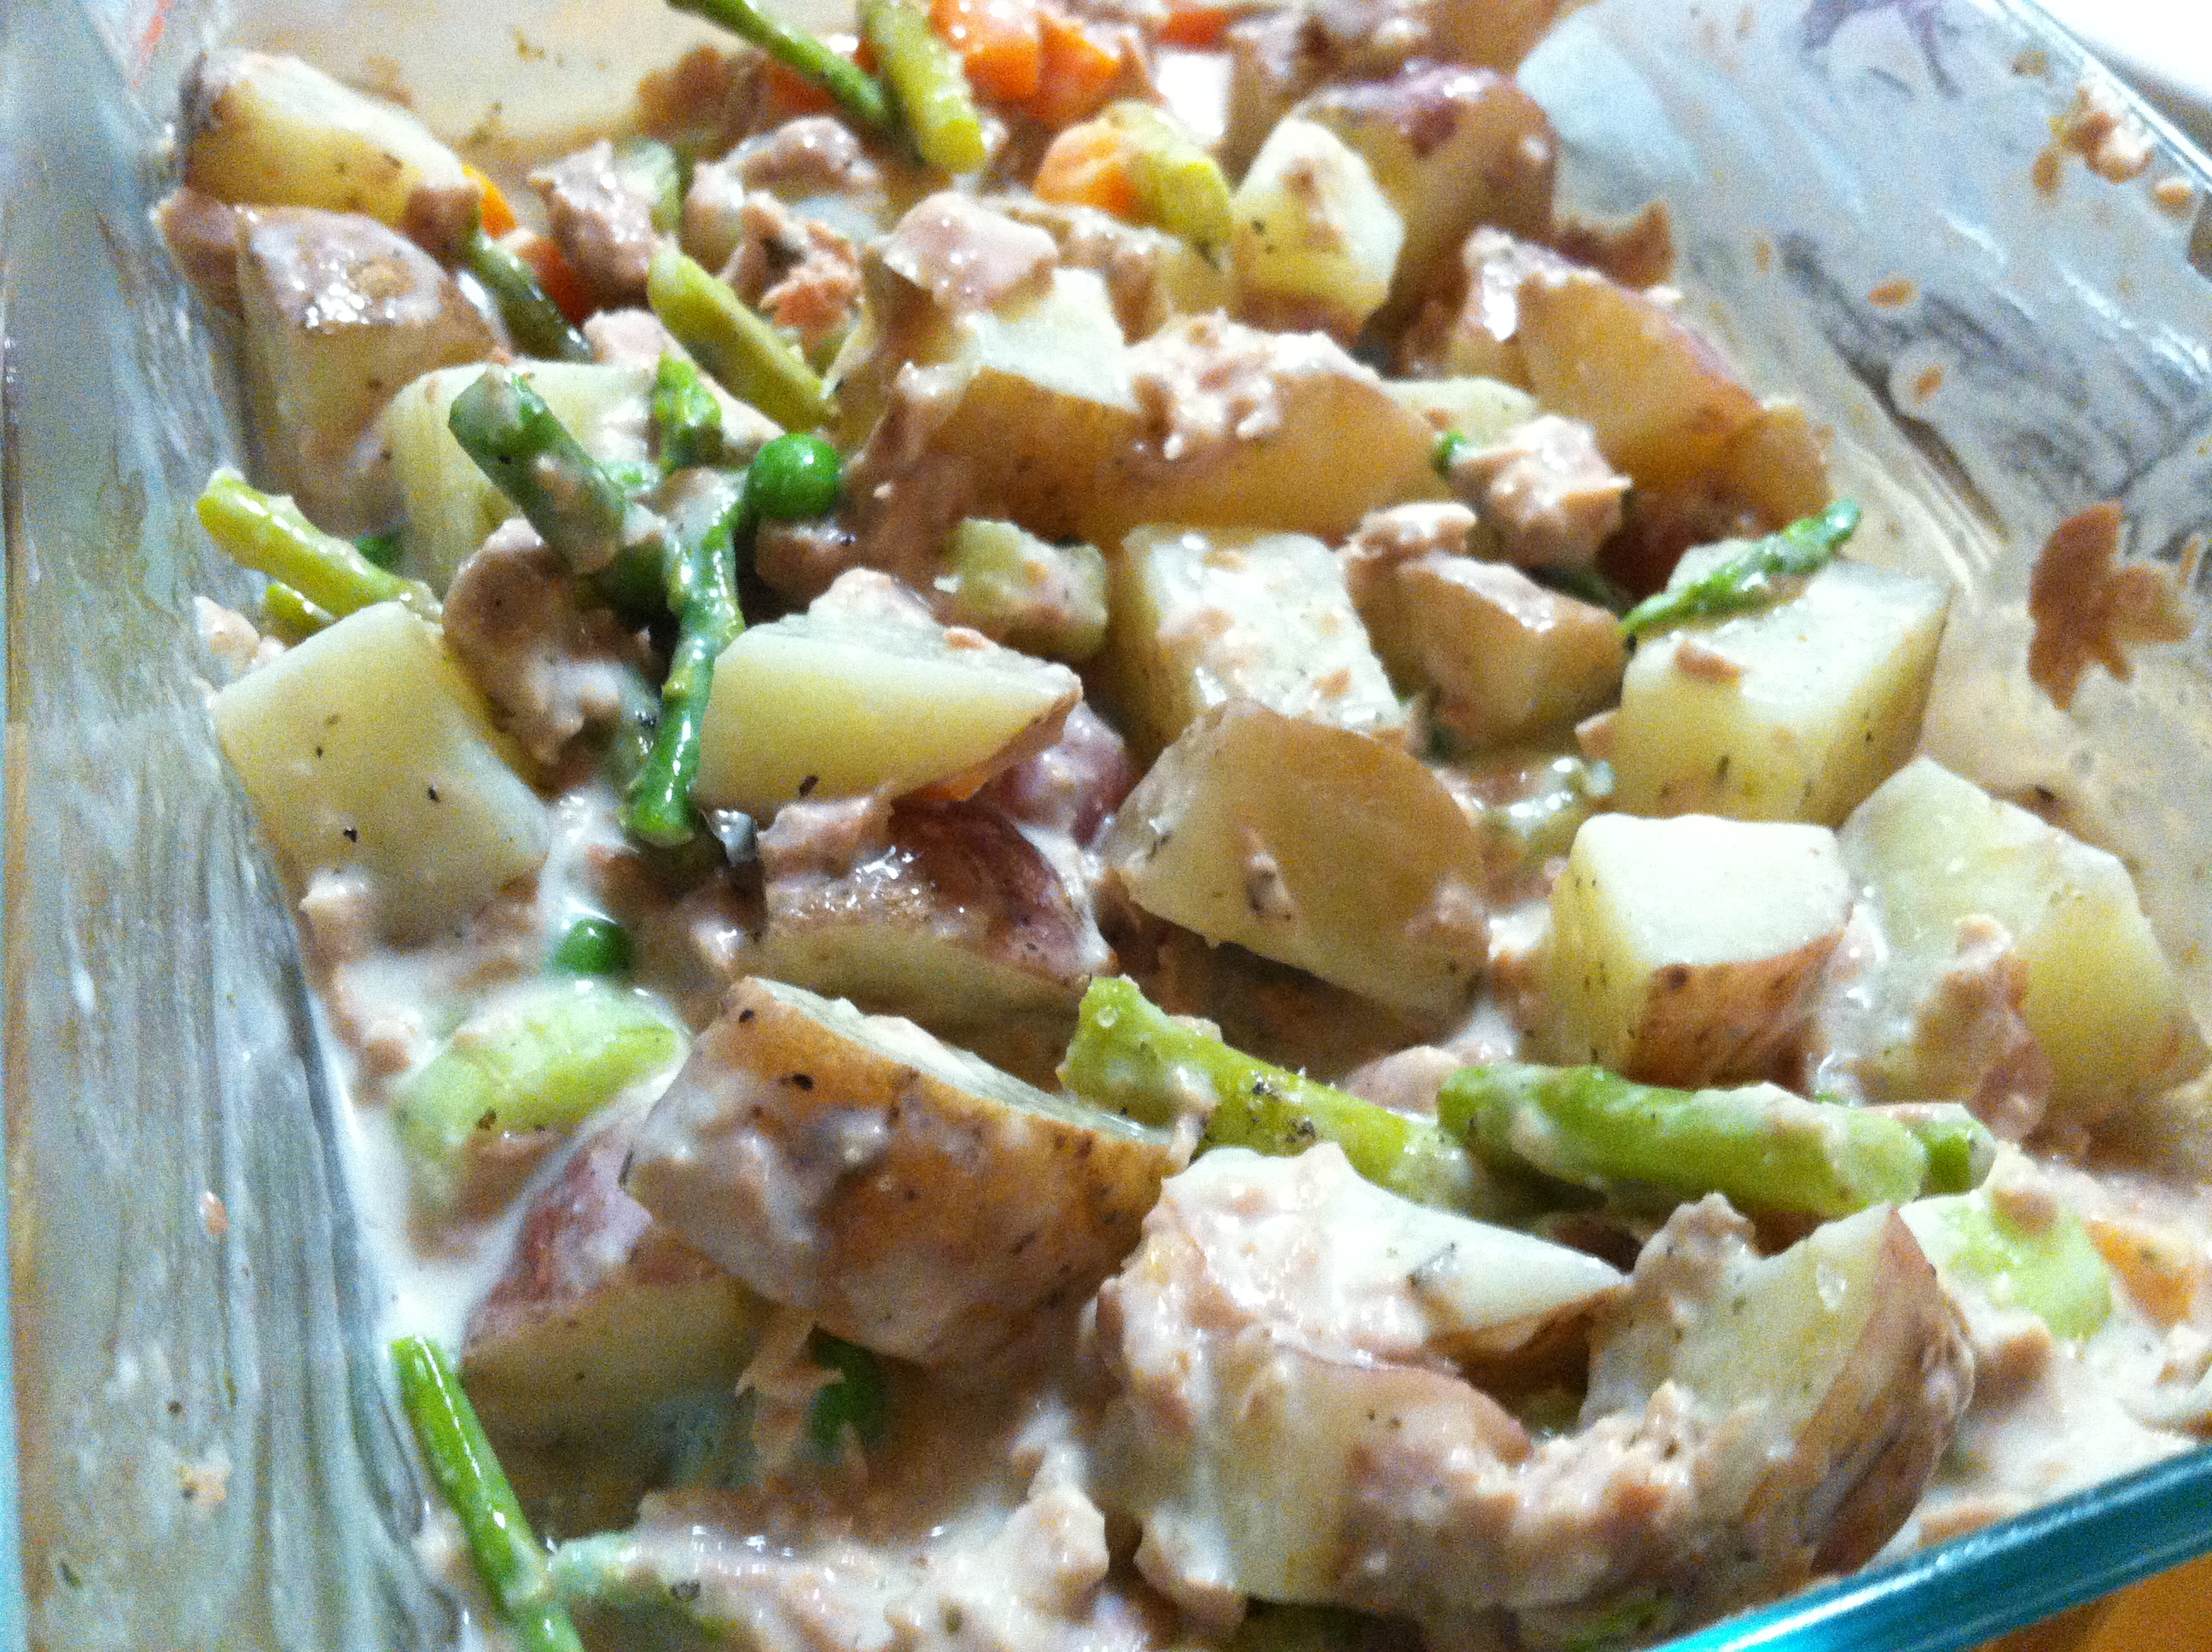
Step 3: Drain the potatoes and vegetables. In a large bowl, combine the tuna, potatoes, and cream dressing. Season as desired, mix well.

IMG_6895

This recipe makes enough for three good-sized servings. The SO and I each had some for dinner, then I packed up the rest for lunch the following day.

IMG_6918

This is tasty warm right after combining, or cold right out of the refrigerator, making it a great dish for leftovers.

Vegan Tofu-Sauerkraut Lettuce Wraps


As I’ve been diving into the world of vegan food options, it has made me more creative with my meals, how they are cooked, what is in them, and what I can mix together.

One meal option I have fallen in love with is lettuce wraps. It is just like a taco, only completely gluten-free (depending on what you put inside), no added carbs, and very healthy. You get a dose of greens de facto because of the lettuce leaves, and skip the extra calories and added who-knows-what in the typical tortilla (refined & bleached white flour, leaveners, softeners, added sugar, GMOs, etc etc).

And, like a regular taco, you can put just about anything inside! Wraps are a great catch-all for veggies you need to use up, leftover half-batches of grains, and anything else you can think of. Here I use some of my homemade sauerkraut (which is so mind-blowingly easy to make, and delicious!), fried tofu, and mushrooms as my umami base, then load on top of it cooked rice & black beans, diced avocado & fresh salsa. Ah-maz-ing.

IMG_7578

And the best part is, you can’t really over-eat these! There is so much veggie goodness and nutrition packed into every wrap, you can have three or four, no problem. This recipe makes enough for 4 large wraps.

Ingredients:

  • 4 large outer leaves of romaine (plus more shredded)
  • 1/2 block firm tofu, drained
  • 4 oz fresh mushrooms, sliced
  • 1/2 cup sauerkraut or raw cabbage
  • 1/2 cup cooked rice
  • 1/2 cup black beans
  • 1 large avocado
  • 4 tbsp salsa of choice

IMG_7572

Step 1: I made my black beans from dried (much cheaper than canned!) by taking 1 cup of beans per 2 cups water and putting them in a slow cooker on low for 6-8 hours. This makes the beans nice and tender and ready to eat. Cook the rice according to package directions.

IMG_7570

Step 2: Drain and press the tofu by placing it on a folded paper towel with another on top. Press firmly, or place a heavy object on top, for a few minutes. Then add the tofu, mushrooms, and sauerkraut to a medium-hot frying pan, and cook, stirring often, until the mushrooms are moist and browned. Add a tbsp of water or vegetable stock if it dries out at any time.

IMG_7574

Step 3: Assemble the lettuce wraps. Take a large leaf of Romaine or other head lettuce and hold it in the palm of one hand. Add a tbsp or two of rice and cooked beans, then a heap of the cooked tofu-mushroom-sauerkraut mixture.

IMG_7576

Step 4: Add optional toppings like the diced avocado and salsa, or try sliced olives, juilenned carrot, zucchini, or radish, or shredded cheese. You could add nutritional yeast, soy sauce, sriracha, refried beans, or any other taco topping your heart desires.

IMG_7579

Above all, make it your own and enjoy!


[amd-zlrecipe-recipe:13]

Swiss & Lox on Toast


As you may know, I am a huge fan of salmon, especially smoked salmon in the form of lox. Lox is amazing on bagels and toast, or crackers, or pasta. Salmon is known as a great source of lean protein, and omega-3 fatty acids.

This is a great, quick breakfast or snack, or even light lunch option. Look for sales especially, as I got this 4 oz pack of salmon for only $1.50, and the cheese for less than $1.  The salmon I bought was pre-seasoned with black pepper and dill and who know what other goodies, but you can use whatever kind you like. You can also use any kind of spreadable cheese here, and fresh herbs if you have em.

Ingredients:

  • 1 ounce lox
  • 1 tbsp swiss cheese
  • 1 slice wheat bread
  • Optional: squeeze of lemon juice

IMG_7751

Step 1: Spread 1 tbsp of your cheese on the bread, toasted or not.

IMG_7753

Step 2: Top with a heap of lox. If desired, squirt on some lemon or lime juice, a sprinkle of sea salt, or fresh diced herbs. Enjoy!


I can’t believe it’s healthy baked potato soup


As winter slowly and painfully winds to a close, here is a recipe sure to warm you as you dream of spring. Everyone loves a nice hot baked potato, and even more so when it is in soup form. I love baked potato soup because it is a great use of a cheap yet healthy staple food, and it is so darn tasty.

The problem lies in the cream. Most baked potato soups either at a restaurant or in grandma’s kitchen rely on heavy creams, dairy, and lots of salt. This creates a dish which delights the taste buds, but not so much the waistline. Excess sodium and fats are terrible for heart health as well as overall health.

So how do you get the creamy taste and filling nature of potato soup without the extra day’s worth of calories? Simple, sneak extra fiber in place of the cream to thicken and add layers of flavor. If you must add in some dairy, try using skim or 1% rather than whole milk or cream. But this recipe makes a soup so thick and tasty you may not even notice it isn’t there.

Ingredients:

  • 1 cup cooked mashed acorn squash
  • 1 pound potatoes, diced (peeled if desired)
  • 1 cup red lentils (or brown)
  • 2 cups chicken stock
  • 1 tbsp nutritional yeast
  • 2-3 strips bacon (optional)
  • Cheddar cheese & green onion for garnish (optional)

IMG_7608

Step 1: If you haven’t already, cook the acorn squash. Cook the lentils by adding 1 cup to 2 cups water, and simmer for 20-30 minutes. Dice the potatoes and add to a pot of boiling water. Boil for 8-10 minutes, until soft when poked with a fork. Drain.

IMG_7610

Step 2: In a large bowl, combine the potato, cooked lentils and squash. Add the stock, and bring to a boil. Pour into a blender, and blend on high until combined.

IMG_7622

Step 3: Mix in the nutritional yeast, and pour into bowls. If you wish, season with salt & pepper, or add bacon bits, cheddar cheese, and or chives as garnish.

IMG_7621

This soup is super satisfying, and tastes just like a baked potato. No one will suspect you’ve given it a huge boost of fiber and vitamins while simultaneously removing the biggest source of fats. The blended lentils and squash keeps the thick, creamy base of the soup which previously the dairy caused.

IMG_7619


[amd-zlrecipe-recipe:12]

Another chapter in my life


To all the readers who are in the New England praying fervently for spring to finally be here, so the snow mountains can begin melting and we can reclaim half the roads, I am one of you now!

Yes, that’s right, the Budget Epicurean has physically relocated across the country from Denver, Colorado to New Haven, Connecticut.

I question my sanity too, join the club.

Jobs brought us out here, but I already have a sneaking suspicion the beauty and ocean may make us happy about the change. Of course, driving a UHaul with a car being trailered behind it and two dogs in the cab for 32 hours, the final 12 of which are a force-you-to-do-20-on-the-highway blizzard isn’t exactly a picnic. But we made it!

I am quite excited to try all that the New Haven area has to offer, and it seems there is so much here! Of course, you may experience an uptick in seafood-related reviews and recipes. Cannot tell you how excited I am that the ocean is only 30 minutes away! And NYC only 2 hours by train. Lots of exploring to be done this year.

So dear readers, that’s the scoop. Hope you stick around for whatever comes next.


I’ll leave you with some ideas for St. Patrick’s Day this Tuesday. These recipes also work great for St. Patrick’s Day leftovers like leftover mashed potatoes, or leftover cabbage.

Final round of Walmart Grocery To Go


For my third and final test of Walmart Grocery To Go service, I decided I would go with ways to preserve meals and plan ahead. Because everyone is busy and convenience is king in today’s over-stimulated and demanding world, being able to plan ahead and cook meals in advance can save you on a hectic week night.

In preparation, I ordered several different sizes of Zip-Lock baggies, quarts, gallons, sandwich size, and snack bags.I got zip-and-steam bags, which you can put fresh veggies into, seal, then steam them in the microwave, and Crock Pot liners, for easier clean up. I ordered a few foil roaster pans with lids, for lasagna and casseroles to freeze.

I got many items which can be stored long-term and used in a variety of dishes, including black beans, pinto beans, Jasmine rice, chickpeas, split peas, black-eyed peas, barley, quinoa, and lentils. These will become soups, stews, curries, and chili. Dried fruits such as dates and apricots and raisins, and cashews and mixed nuts for trail mixes and granola bars.

I also ordered a few games, SkipBo and Phase 10, because it is always nice to have cards on handy when bored during a cold winter night or when friends come to call.

This order came around noon on Valentine’s Day, which I was spending alone. Because the S.O. had already moved to Connecticut to start a new job! Super exciting I know. More on that later.

The delivery guys were very sweet, and made sure to ask if I was okay with a substitution they had to make. If something you ordered is out of stock, they notify you by email, and then you have to verbally agree to it before you can accept the order. You have the option to send it all back and wait until what you wanted is in stock again, which is nice if you had your heart set on something.

So, one weekend or weeknight, when you have a few hours to cook, pick 2 or 3 recipes which store frozen well. Take stock of your refrigerator and cabinets for ideas. Almost all vegetables lend themselves well to soups and stews. Rice or potatoes are easily made into many dishes.

Be flexible; if you don’t have ground beef but have leftover chicken breast, you can still make a mean white bean chicken chili. And don’t be afraid to experiment!

Ideas include:

Now that you’ve chosen your recipes, gather all your ingredients. Spend some time chopping and peeling, feeling the texture of the vegetables, the lovely colors, the smells and tastes. Cooking is the best way to get back in touch with what we eat, and thus are putting into our bodies.

Once you have two or three pots happily simmering, you can entertain yourself elsewhere. Taste as you go, remembering that you will need to re-season when you reheat the dishes, as flavors may dull over time.

Now you can portion out your home-cooked goodies into individual or family-sized portions. Soups and stews can be spooned into freezer bags and laid flat to freeze. Lasagnas and casseroles can be assembled and baked in the roaster pans and then frozen to be thawed and re-heated in the oven later.

Now that is convenience food I can get behind!

Restaurant Review: Pho Lee


Until I moved to Colorado, I didn’t know what “pho” (pronounced “f-ooo” or “ph-uh”) was. The closest thing I’d ever had was ramen noodles out of a bag with that obviously fake chicken flavor but deliciously salty spice packet.

Well, pho is definitely not just ramen noodles. It is so much more. Typically a rich, flavorful broth made by simmering all manners of vegetables and meats for hours, filled with noodles, veggies, and paper-thin slices of beef. Then topped with crunchy sprouts, Thai basil, and jalapeno slices. Pho is a whole taste experience.

You can of course have non-soup dishes as well, including rice bowls and noodle bowls. Depends on the place you go, but you should definitely try authentic pho soup at least once. Be sure to ask to see the size of the bowl before you order for the first time. Even a “small” can be a staggeringly huge amount of food.

By far my favorite find for pho in the Denver area has been Pho Lee.  A small, unassuming store in a tucked-away plaza off of Arapahoe Road just off I-25, you wouldn’t know it to look at it but this cozy diner is ragingly popular with the locals. And for good reason.

I’ve had both a noodle bowl and the pho soup, and both have been crazy tasty. For a very affordable price ($8-$12) you can have a gigantic bowl of top-notch Asian cuisine, likely with enough left over for dinner or to store in the work fridge until tomorrow. If it even lasts that long.

I went with several people from work, and we waited about 5 minutes for a table. Be sure to get there well before the noon rush crowd, or you will definitely be there longer than an hour. Like I said, this place is popular.

IMG_7176

My co-worker got a rice bowl with sweet and sour shrimp, and said it was delightful. The sauce was flavorful and tasty, not too thick and not too watery. The veggies were steamed to perfection.

I chose the brisket noodle bowl, and boy am I glad I did! This monster of a meal had heaps of fresh hot meat, sliced more thinly than my pinky nail and covered in a slightly sweet almost BBQ like marinade. The hot rice noodles went perfectly with the brown sauce, and the cold diced cucumber and shaved carrots were a great combination and contrast. Topped with scallions and crushed peanuts, and with a cup of kimchi poured on top, it was absolute bliss.

IMG_7175

I had more than enough to satiate me, and more than half I took home in a box for dinner. Not bad for $9. I went back a few weeks later with another work friend, and had the pho soup bowl. This time we had a 10 minute wait for a table, and ended up sharing a 4-top with one stranger. But at Pho Lee, everyone is family.

The bowl was bigger than my head and filled to the top with hot, complex, spicy broth, heaps of ribbons of meat, fresh vegetables, and rice noodles. The plate they bring as toppings was piled with handfuls of fresh Thai basil, other greens, jalapenos, and bean sprouts. Several types of hot sauces and spices are also provided, so you can customize your heat content to taste.

Overall, Pho Lee provides some amazing food for a very affordable price, especially in the I-25/Arapahoe area. The service was great too, the owner himself came to give us a quick apology for the delay in getting a table, and to thank us for being willing to share a table when they are clearly busy. Everyone was pleasant, and seemed very happy to be working there. I would highly recommend this place, for lunch or dinner, any time.


Pho lee

6860 South Clinton Street
Greenwood Village, CO 80112