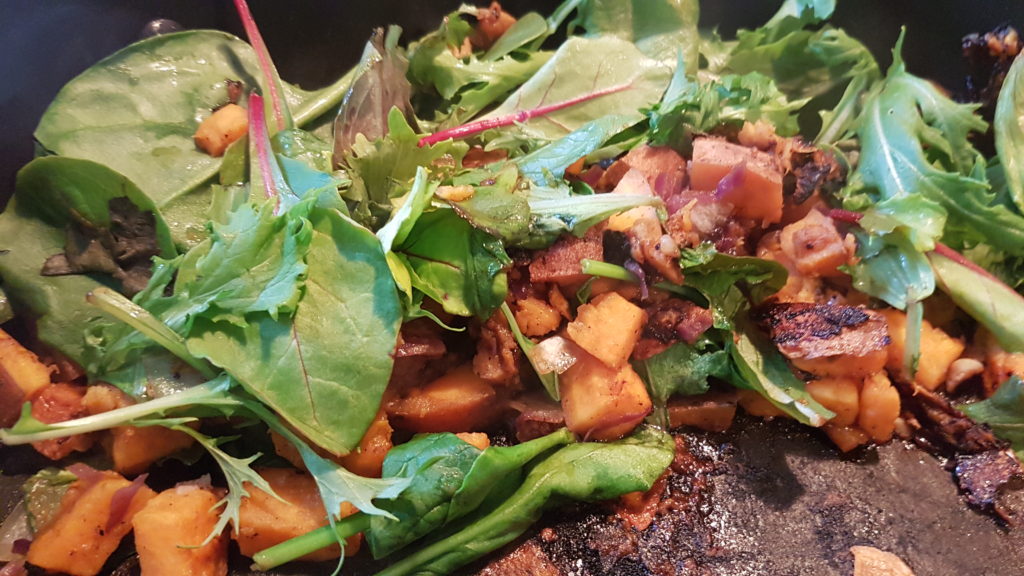
Weekly Eating – 7/24

Hey y’all! Welcome to the series Weekly Eating.

Here is where I’ll talk about the week’s meal plan versus reality, what we ate for the week, and how we did budget-wise. I hope it gives readers a behind-the-scenes look into our life through the lens of food, and it’s also a way to keep us on track with meal planning and grocery budgeting.

Feel free to share your wins and lessons in the comments below!

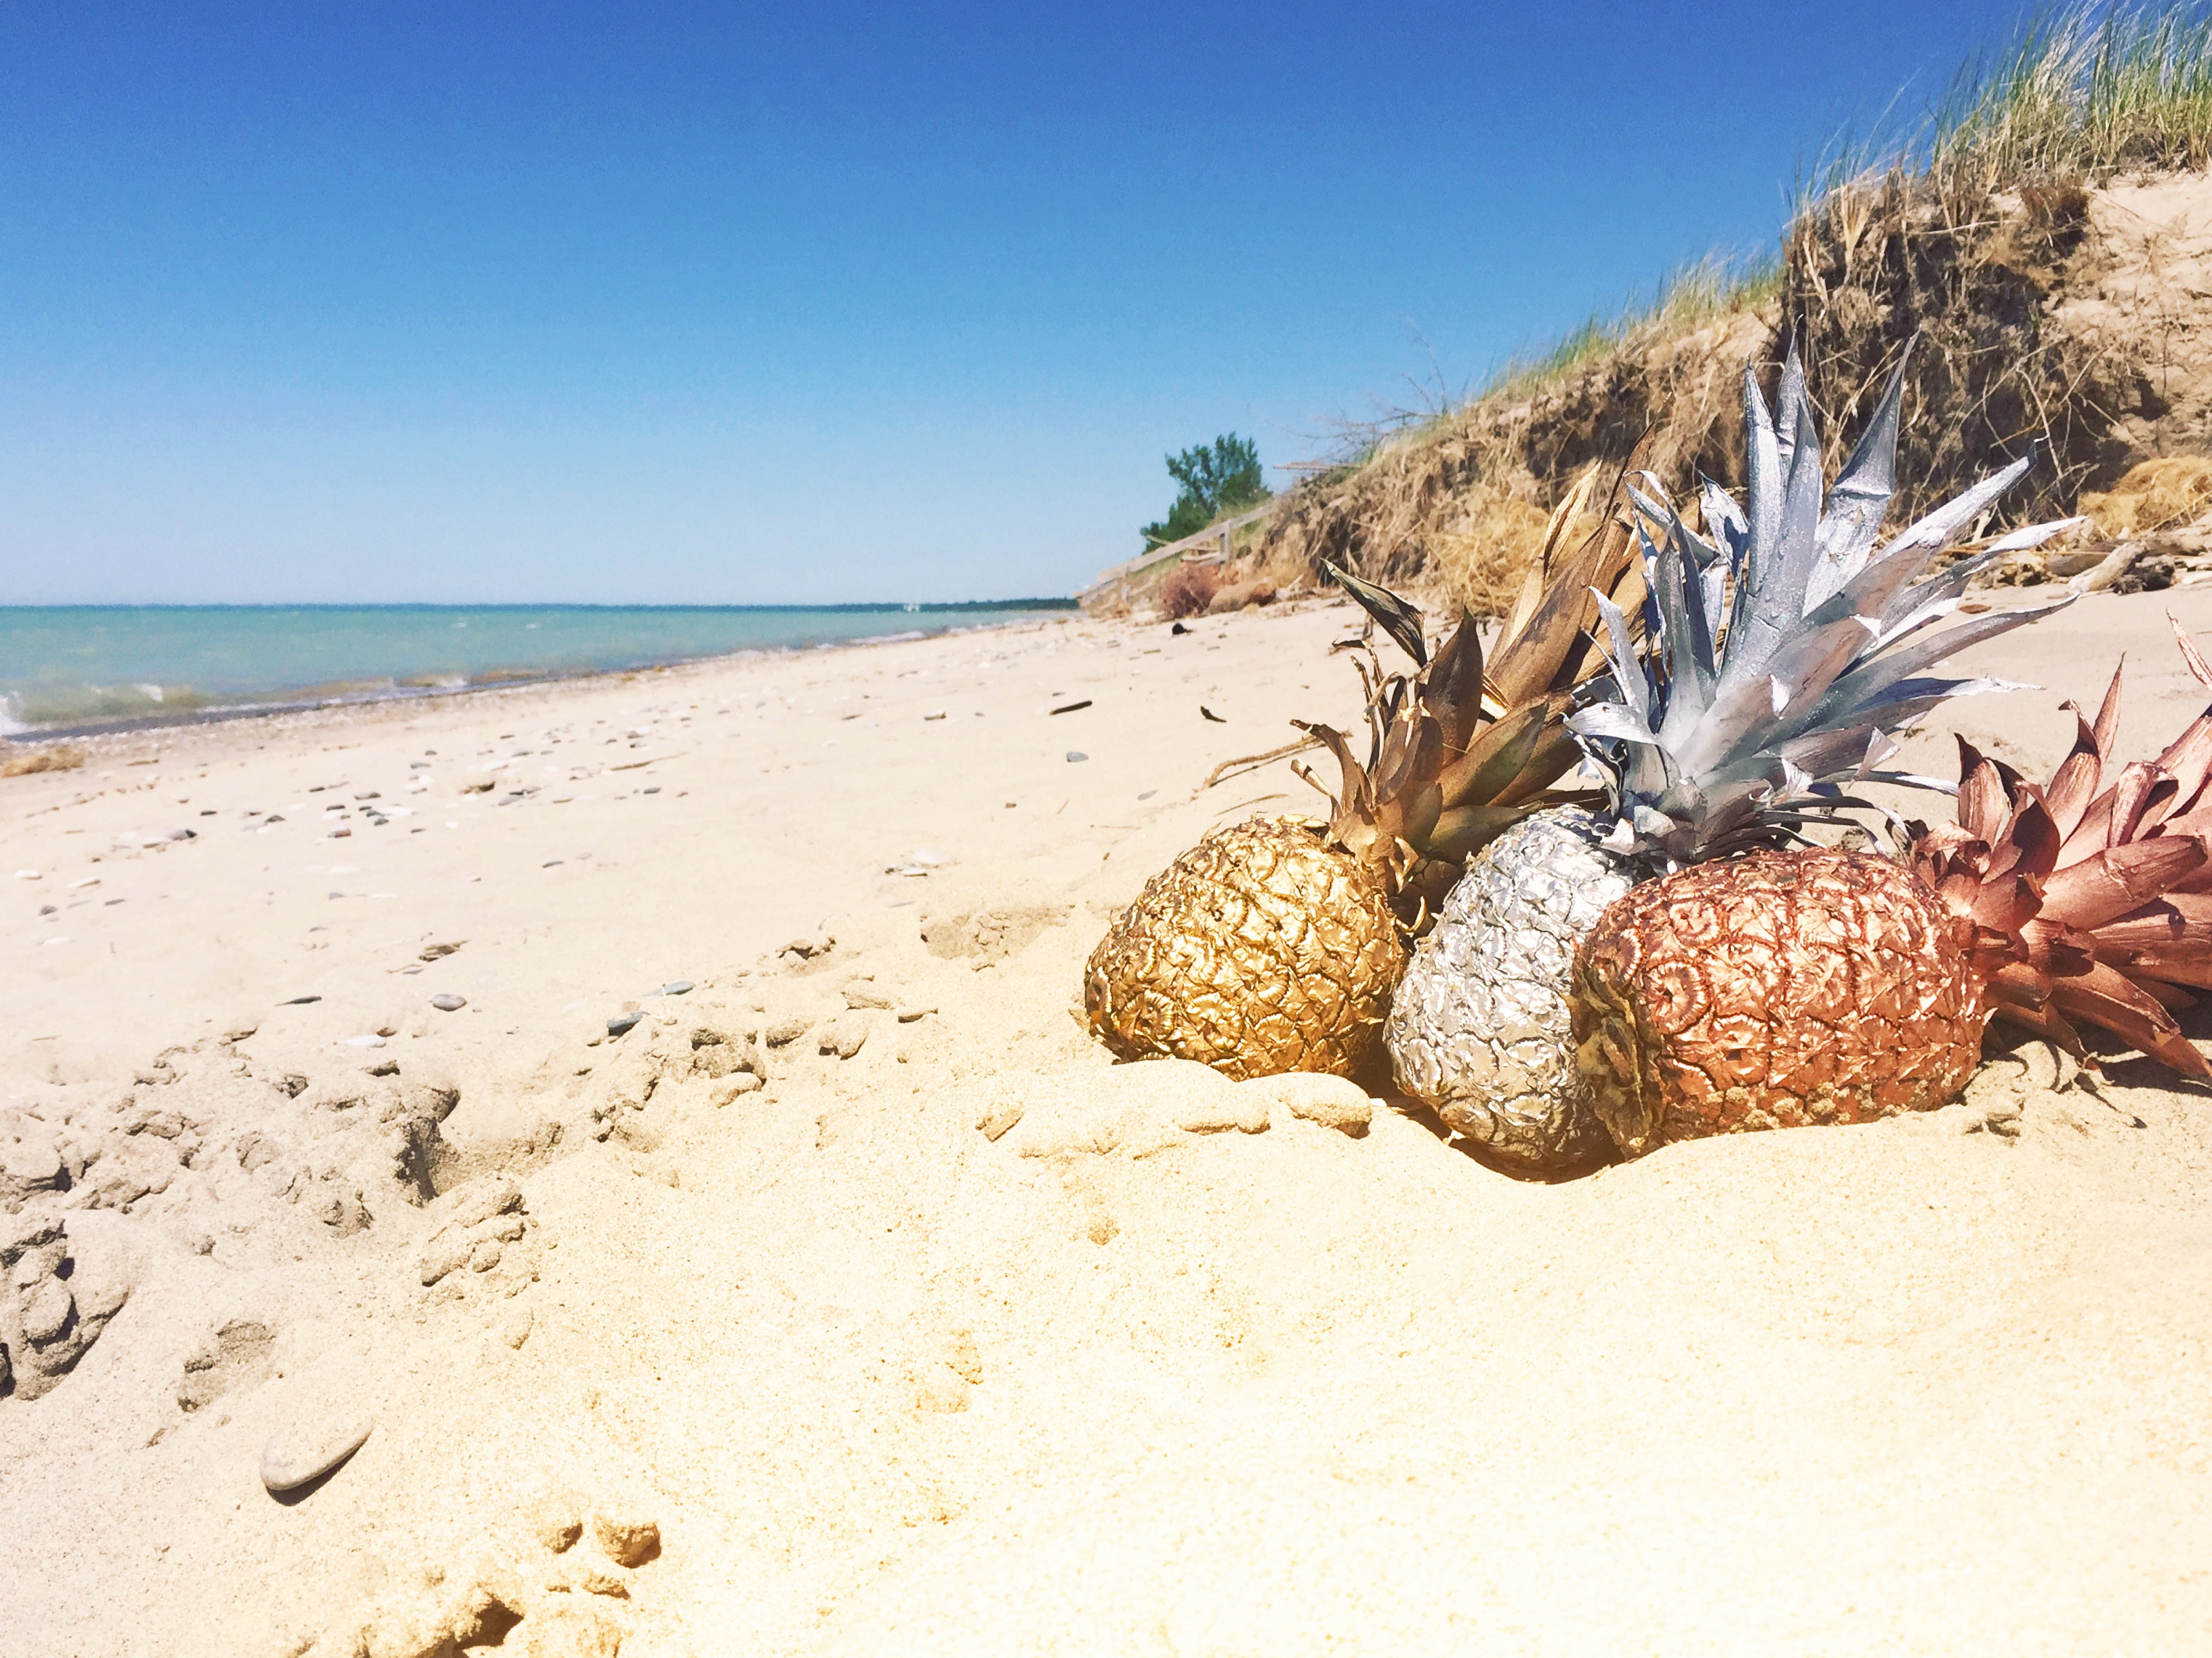
Well, mommy dearest and I had a WONDERFUL time at the beach this past week! It is so good to get away and stick your toes in the sand. And I came home with a case of really delicious and unique wines from Unique Pairings! (Expense included in Travel budget, not food budget, thank goodness)

Monday:

Breakfast – corn tortilla (maseca + water) 1 scrambled egg +  tbsp black beans + shredded cheese

Lunch – boring turkey sandwich

Dinner – burgers from the freezer, plus pasta salad using some peppers from the food swap!

OH MY GOSH GUYS, so there’s this thing called the Bull City Food Swap in Durham. It’s all homemade, home grown, fermented, canned, baked, or foraged, no grocery store purchases. And it is all barter, no cash, checks or credit. You bring your goodies, and everyone else brings theirs. And then there is a sort of bidding system, where you offer your goods for others you want. Then you swap!

And holy cow was it fun! It was at a cool local bar, and I met some awesome folks who produce some delicious goods. I made about 2 dozen soft pretzels and some extra homemade yogurt for the occasion.

In return, I came home with banana pudding, pickles, 3 different types of jam and jelly, salsa, a half dozen eggs, homemade pasta, a bucket of tomatoes and 2 big brown bags FULL of peppers / eggplant / okra! This was so awesome, and gave me oodles of “free” stuff to plan my week’s meals.

Tuesday:

Breakfast – frugal fail oatmeal

Lunch – Caprese sandwich using a tomato from the food swap, mozzarella, and home grown basil!

Dinner – Jambalaya using frozen sausage and tomatoes, peppers, and okra from the food swap!

Wednesday:

Breakfast – yogurt with almonds & chocolate

Lunch – brought to us for a work meeting: Salmon salad

Dinner – stuffed cabbage casserole in the crock pot

Snack – grape tomatoes & cucumbers, Peach Basil Jam (from the food swap!) & crackers

Thursday 

Breakfast – smoothie with homemade yogurt, blueberries from ALDI and spinach

Lunch – stuffed poblanos from the Food Swap. I stuffed them with quinoa and black beans, cooked them in the rice cooker (yes for real, it is small so it fits 4 peppers perfectly!), and then split into 2 containers and added pepper jack cheese on top!

Dinner – Fajitas! I got a nice chuck roast at ALDI, and sliced it thinly. I fried up a bunch of strips of onion and bell pepper (from the swap of course) and added the steak. We ate it in wraps, with the hubs adding pinto beans and rice to make it a burrito of course 🙂

Friday

Breakfast – 2 scrambled eggs with spinach

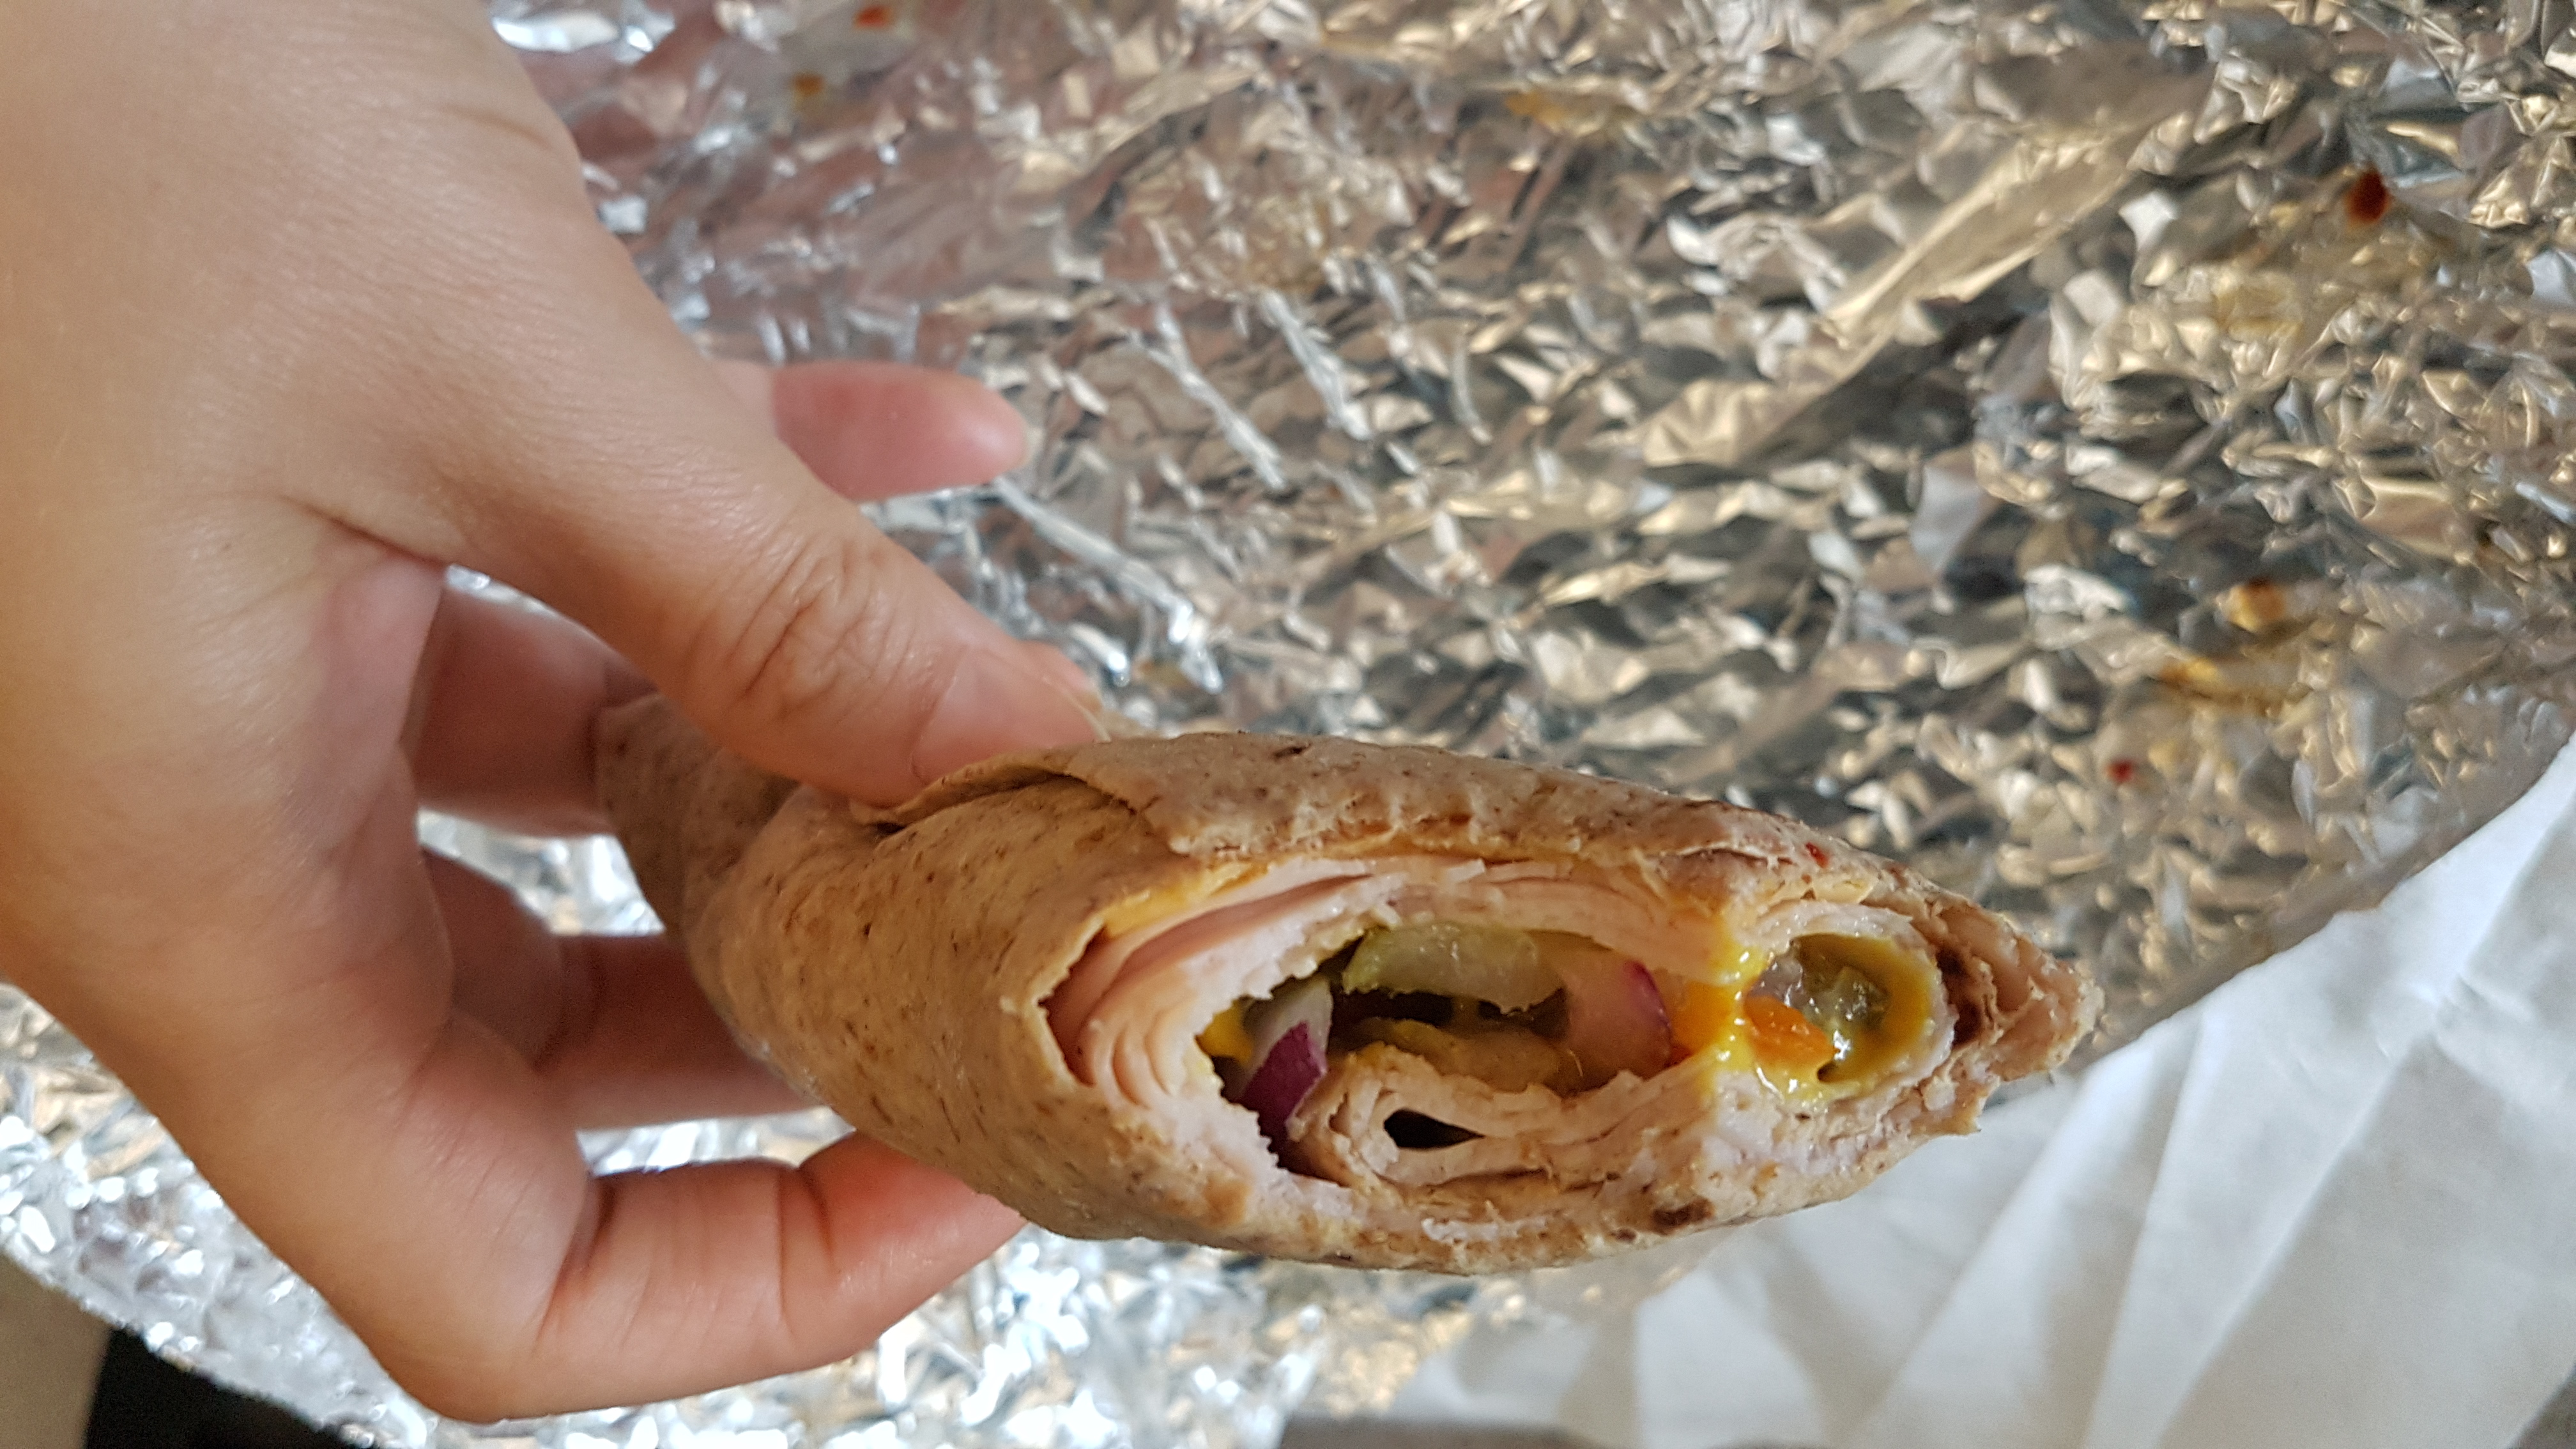
Lunch – turkey wrap & berries

Dinner – stir friday! Steak & pepper stir fry

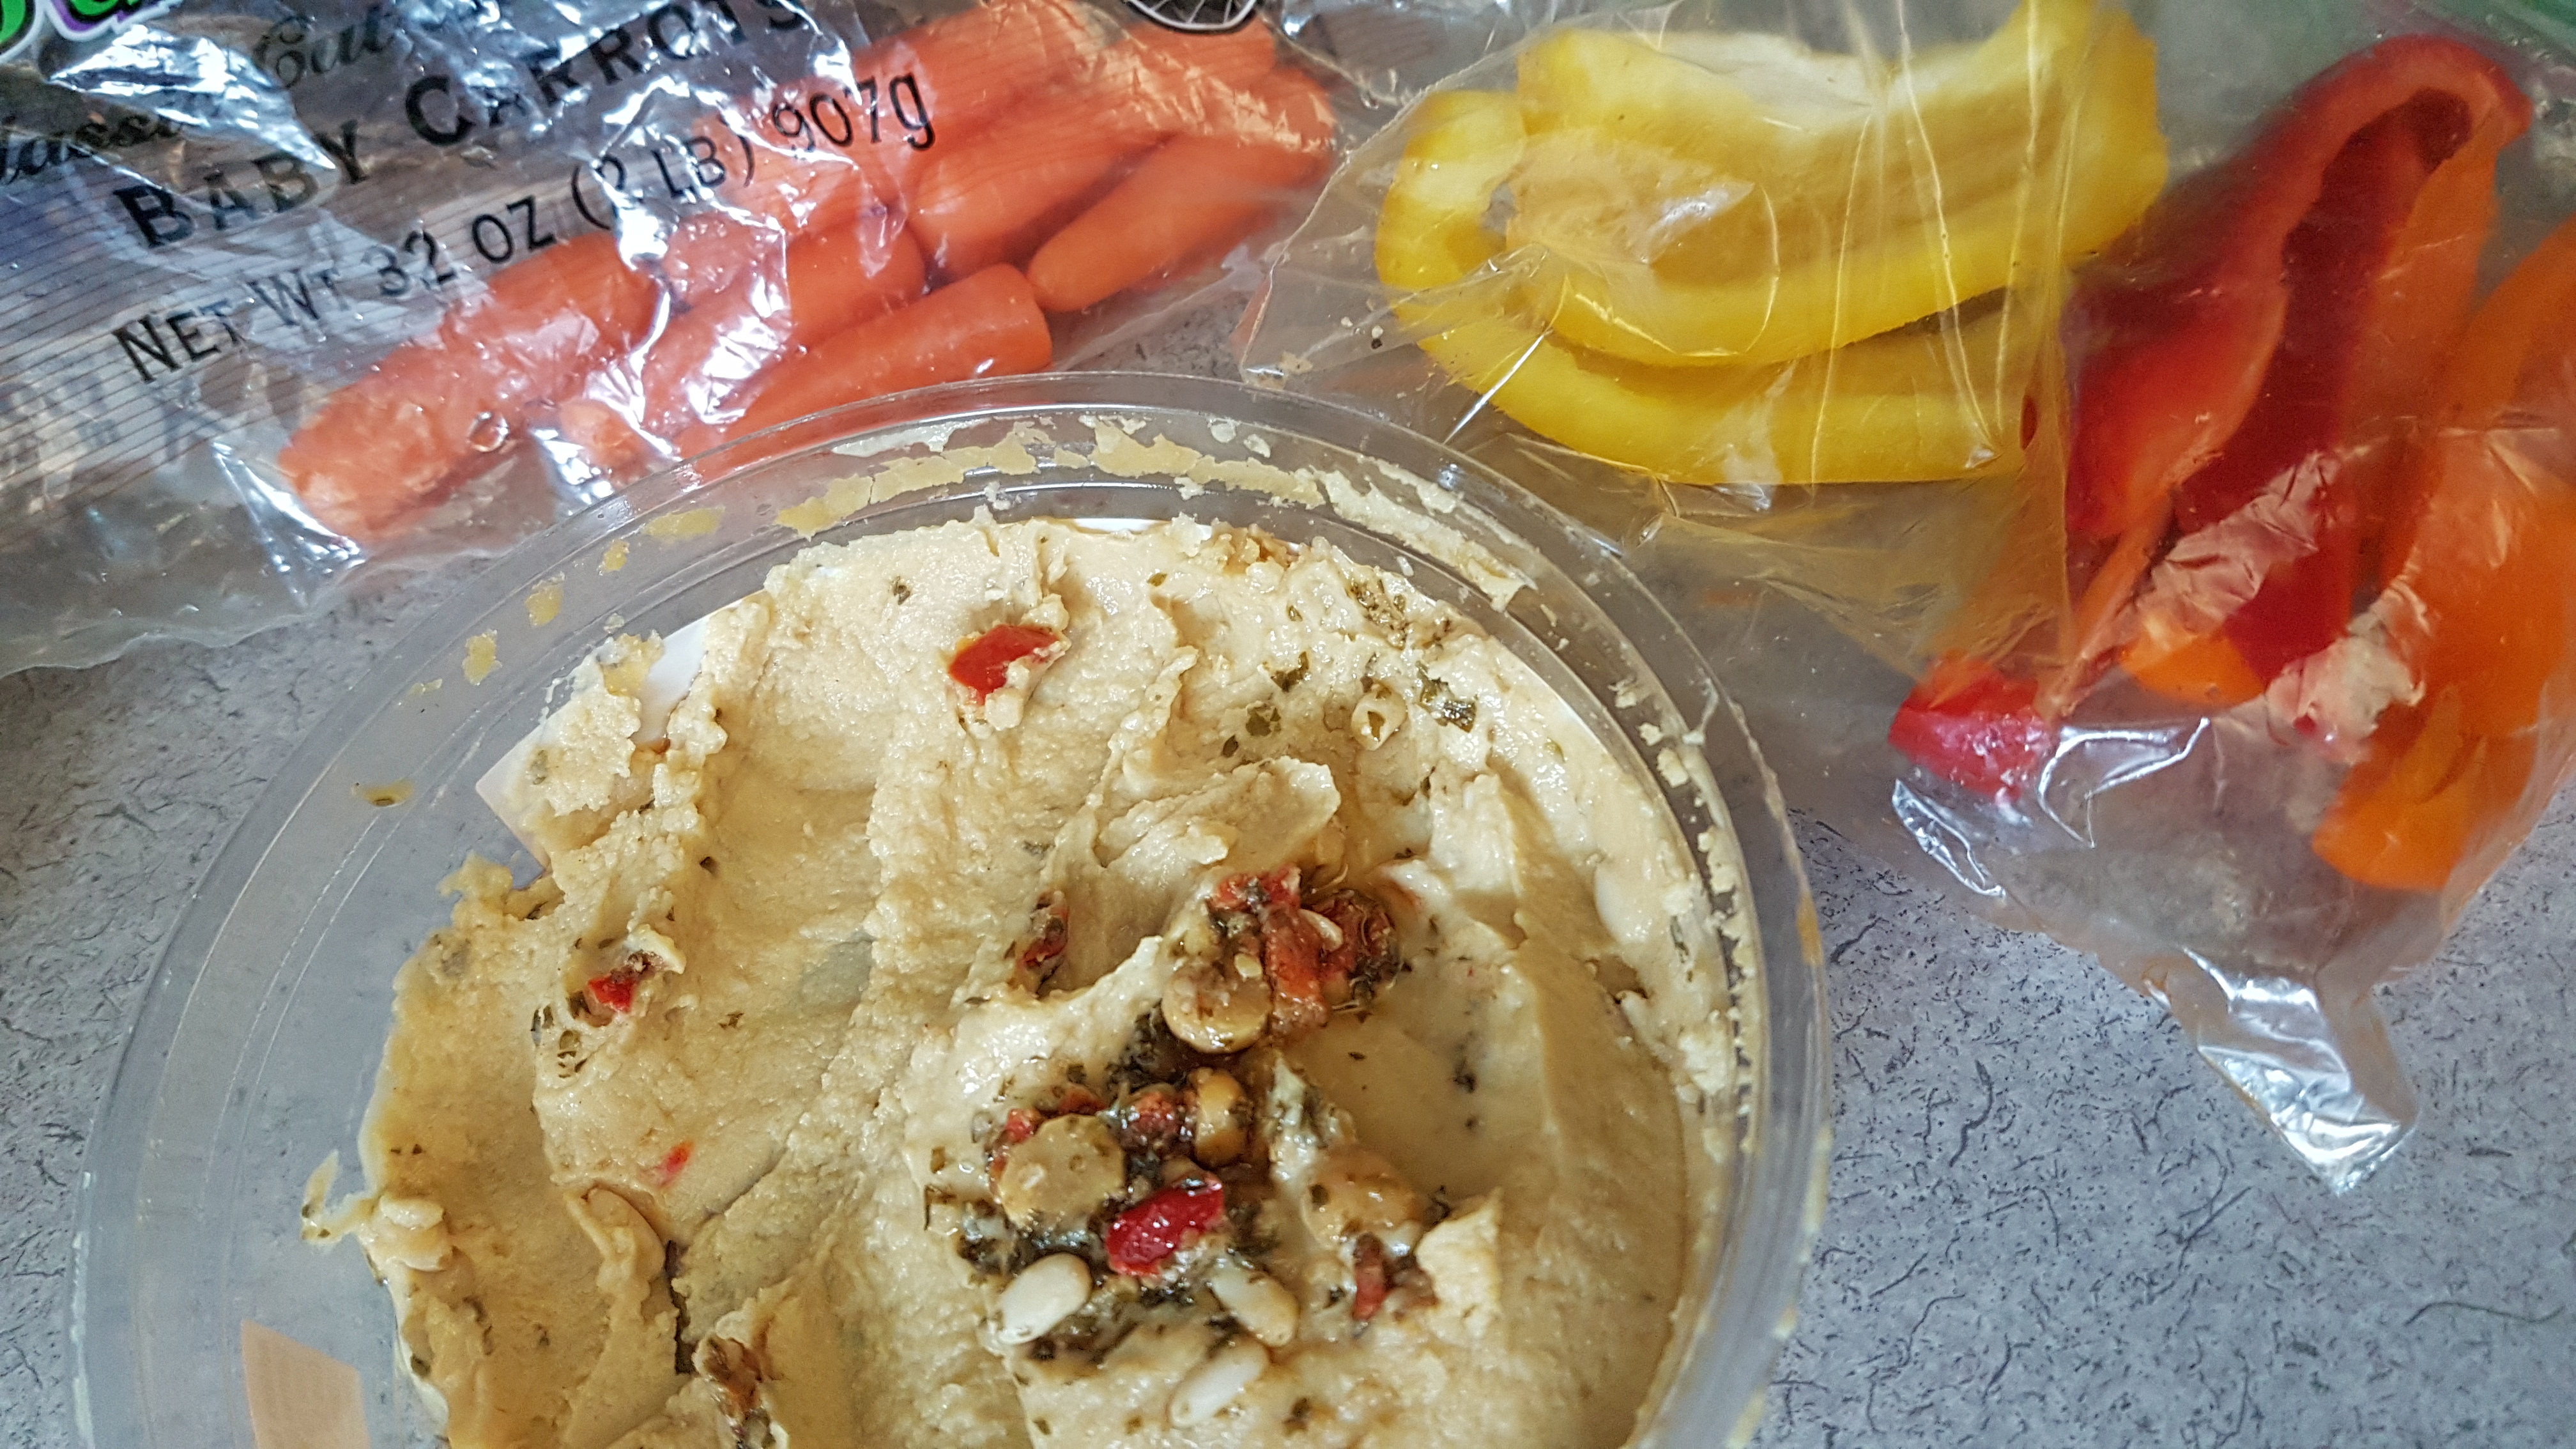
Snack – grape tomatoes & cucumbers with white bean hummus

Guys, this white bean hummus was SO STINKIN GOOD! I promise the recipe is coming soon!

Total:  $8+58.51 = 73.51

My goal is to keep this number under $100 all the time, and eventually get down to $75/week for food.

I spent a few dollars at the farmers market for a gorgeous cucumber and heirloom cherry tomatoes, and got a windfall of ‘free’ veggies from the Food Swap. I could calculate out the costs associated with making the pretzels and add that, but honestly I had all the ingredients in the house already. Let’s just say it was about $5, and took me roughly 1 hour of hands-on time to make them. In return, I got maybe 2 dozen pounds of produce (that I cannot grow, due to lack of sun in my yard) and several canned goods. That is a trade I’d make any day!

Lessons Learned

Being part of a community is a HUGE bonus in life, for so many reasons. The Food Swap was a really great experience, and I can’t wait for the next one! Benefits include:

  1. Cheap entertainment: this was only 10 minutes from my house, and for one $4 glass of beer, which was not even mandatory, I got to be entertained for almost 2 hours
  2. Networking: I met several people from the area who have similar lifestyles and hobbies. This is a great way to start making friends, or even business associates. Who knows when it will be beneficial to know someone with a backyard flock of chickens, or with canning knowledge, or a fermentation expert?
  3. Financial benefits: Being able to trade with like-minded people is a win for everyone. Society became civilized and we grow together when we all share our talents and passions. We cannot all be good at everything, but everyone is good at something. When we trade, we both get something of value that we cannot or do not want to do for ourselves. Plus no pesky Uncle Sam’s hands in our pockets…

Another lesson from this week is that adaptability is a big financial benefit! If a large amount of a specific type of food falls into your lap, whether from the garden, a generous neighbor or family member, or a really good sale, it helps to be able to make use of it! This is where flexible recipes like lasagna, pastas, soups, and casseroles come in handy. Or knowing how to preserve the bounty, like making salsas, sauerkraut, canning, freezing, or dehydrating. All these small steps help save you dollars.

How about you guys, did you have a great week or a learning week?

That which doesn’t kill you…


You know the phrase, that which doesn’t kill you makes you stronger? I’ve always wondered where that came from, and why it was so popular.

I’m guessing it’s because no one knows what else to say.

When you’re upset, depressed, wallowing in the realization that something has gone terribly, horribly, and irrevocably wrong, all you can do is resort to clichés.

Someday you’ll laugh about this… Life is what happens while you’re busy making plans… The sun’ll come out tomorrow/tomorrow’s another day… (I kinda like this one, but that’s because Annie and Gone With the Wind are personal favorites…)

We all make mistakes, and we all have regrets. Some of us have tiny regrets, like that one time we had three too many margaritas and may or may not have made out with some stranger in a dark corner of the bar. We will never know, because no one remembers for sure, but just maybe…

For others, the regret is a bit more serious… maybe we shouldn’t have done that drug deal that landed us with a rap sheet. Or maybe we shouldn’t have trusted that business partner that fleeced you and nearly (or actually) bankrupted you.  Maybe you should have taken that risk, that year abroad, said “I love you“, dropped that finance class so it didn’t ruin your GPA.

For some of us in the FIRE community, we made smart choices from a young age. Many early retirees realized at their first job at 21 years old that they could live another way. They worked hard, lived lean, got promotions, and socked away 50-90% of their income. And retired before/by/around thirty.

And that’s amazing!!! <insert applause>

But, then, many of us have made mistakes. Mistakes that we admit to and regret now, but know that they happened and now our life is a certain way because of those choices.

For example, I have always lived pretty frugally. I chose apartments with roommates, or weird tiny spaces. I kid you not when I say I have lived in both a converted attic, which had zero insulation such that I put a fitted mattress cover over the door to keep the Ohio winter chill out, and a remodeled garage where there was no bathroom door, the toilet & shower were right next to the itty bitty kitchen, and it was so tiny you could literally pee, shave your leg, and flip a pancake all at the same time.

I have never not had a job, since I was allowed to work one, and most of the time I held down at least two. I worked in our campus library and as a waitress all throughout undergraduate and my masters degree, during which I also was a teaching assistant. Even though our stipend was a luxurious $10,000 per year… (I know, I know, the sciences are at least blessed enough that we get a stipend, unlike our sad humanities friends.)

I always drove a used car, purchased outright or from my dad with a set payback schedule (no interest! Thanks Bank of Dad!), never carried a credit card balance, and cooked at home. In fact, this blog began in 2008 as a record for posterity of my journey to learning to cook. I’ve come pretty far but still have much to learn.

Somehow I managed to emerge, after approximately 23 years of school (depends how soon you start counting…) with only $8K in loan debt, and no consumer debt at all. Halle-frickin-lujah!

On the flip side, I had a total of about $2K in savings, and zero tax-advantaged accounts… how did this happen?!?

Well, while making, saving, and not spending money in my day to day life, I didn’t really know a darn thing about money and retirement other than what my fabulous parents had taught me. I knew the basics of checking and savings accounts and credit cards, and how to not spend more than I made. But I knew exactly nothing about IRAs, Roth, 401Ks, investing, etc. I also developed a pretty fanatic love of cruises (which will never die, oh cruises how I love thee), travel in general, and moving.

So. much. moving.

By the time I was married last year, brace yourselves, I had lived in no fewer than 21 different dorm rooms, apartments, and houses, in three different states.

I had 3 month leases in the summer to avoid going home (boo, bad financial decision) so I could keep working my two jobs (yay, good financial decision!). Then I moved way the heck across the country to Colorado to pursue a PhD in neuroscience, which ended up not working out.

On the bright side, that was 4 of the best years of my life and I met my husband… so there’s that. #totallyworth

Hubby was lucky and had no school debt at all, but also nearly no savings. Luckily we both had pretty decent jobs, and together we lived very comfortably for a year or so. We built up savings and began considering a house.

But then his job took us on yet another cross-country move to New England. Which was a grand experience, we loved the people and places and food and travel and the nearby ocean… but hot damn is it expensive!

Between the cost of living and taxes, no way were we going to achieve our home ownership dreams anytime soon. The rent on our 3 bedroom house was a soul-crushing sixteen fifty, that was $1,650 every month! And taxes took away nearly 35% of every paycheck.

Between that and the god-awful winter, we agreed the time had come to move yet again, to my fourth and (hopefully) final state, to the land of Dixie, and we said Howdy y’all to North Carolina.

Phew!

So, anyways, here we are, finally living the dream, knocking on the doors of 30. Think we can retire in the next 5 months, on 10 grand?

Go ahead, I’ll wait for you to stop laughing.

So, our dreams of retiring by 30 are dashed, thanks to a wanderlust and general lack of knowing FIRE was a thing until now. But. All that aside, now we know. We are armed with knowledge, and a fantastic array of like-minded peeps on the internet to share stories and lessons and encouragement.

Can we retire by 40?

Step 1: believe.
Step 2: create a budget & investments plan, stick the heck to it, and save like mad.
Step 3: profits.

Our 20’s did not kill us, but in the end I think it did make us stronger.

We are determined to live life on our own terms, and not according to popular culture or what “Everyone” says is normal and right. We are strong in our marriage, committed to making and achieving our joint goals for our future. And we are set on a path to financial freedom, and all the other freedoms that come with it.

I can’t wait to see what this journey will teach us!


What about you, what’s your story? Did you dig yourself out of a small mountain of debt? Put a trust fund to good use? Are you just taking the first baby steps or about to cross the finish line? Any and all advice is welcome here!

Venison Penne Alfredo


Oh man, of all the venison recipes I’ve tried so far, the pot pie and the breakfast hash, this one has to be my favorite! And honestly it is probably the easiest too, so double win!

Of course, this is an easily adjustable recipe. If you don’t like or don’t have venison, just sub ground beef, chicken, pork, or turkey. I used frozen vegetables because I always have some mixes around, but obviously if it is summer time and you have a medley of produce, use that instead.

Ingredients:

  • 1 pound ground venison sausage
  • 1 package frozen veggies (or any fresh, about 2 cups)
  • 1 white onion, diced
  • 2-3 garlic cloves (optional)
  • 1 jar alfredo sauce (or make your own!)
  • 1 pound pasta, shape of your choice

Step 1: Cook the onion and garlic in a tbsp of oil until fragrant, and the onion becomes transparent, about 4 minutes. Add the venison, and cook until fully browned, breaking up any chunks. Add the vegetables and cook until warm and softened. (This will depend upon fresh vs. frozen, and what types of veg you use)

Step 2: Meanwhile, boil the pasta 8-9 minutes, and drain. In the pan you boiled your pasta, put the drained pasta back in, and add the venison and vegetables. Pour the alfredo sauce on top, and mix it all together well. Add salt and pepper to taste.

And that’s it! You could add some Parmesan cheese on top too, for extra salty deliciousness. Enjoy your creamy bowl of yum!

[amd-zlrecipe-recipe:73]

Weekly Eating – 7/17


Hey y’all! Welcome to the series Weekly Eating.

Here is where I’ll talk about the week’s meal plan versus reality, what we ate for the week, and how we did budget-wise. I hope it gives readers a behind-the-scenes look into our life through the lens of food, and it’s also a way to keep us on track with meal planning and grocery budgeting.

Feel free to share your wins and lessons in the comments below!

Monday:

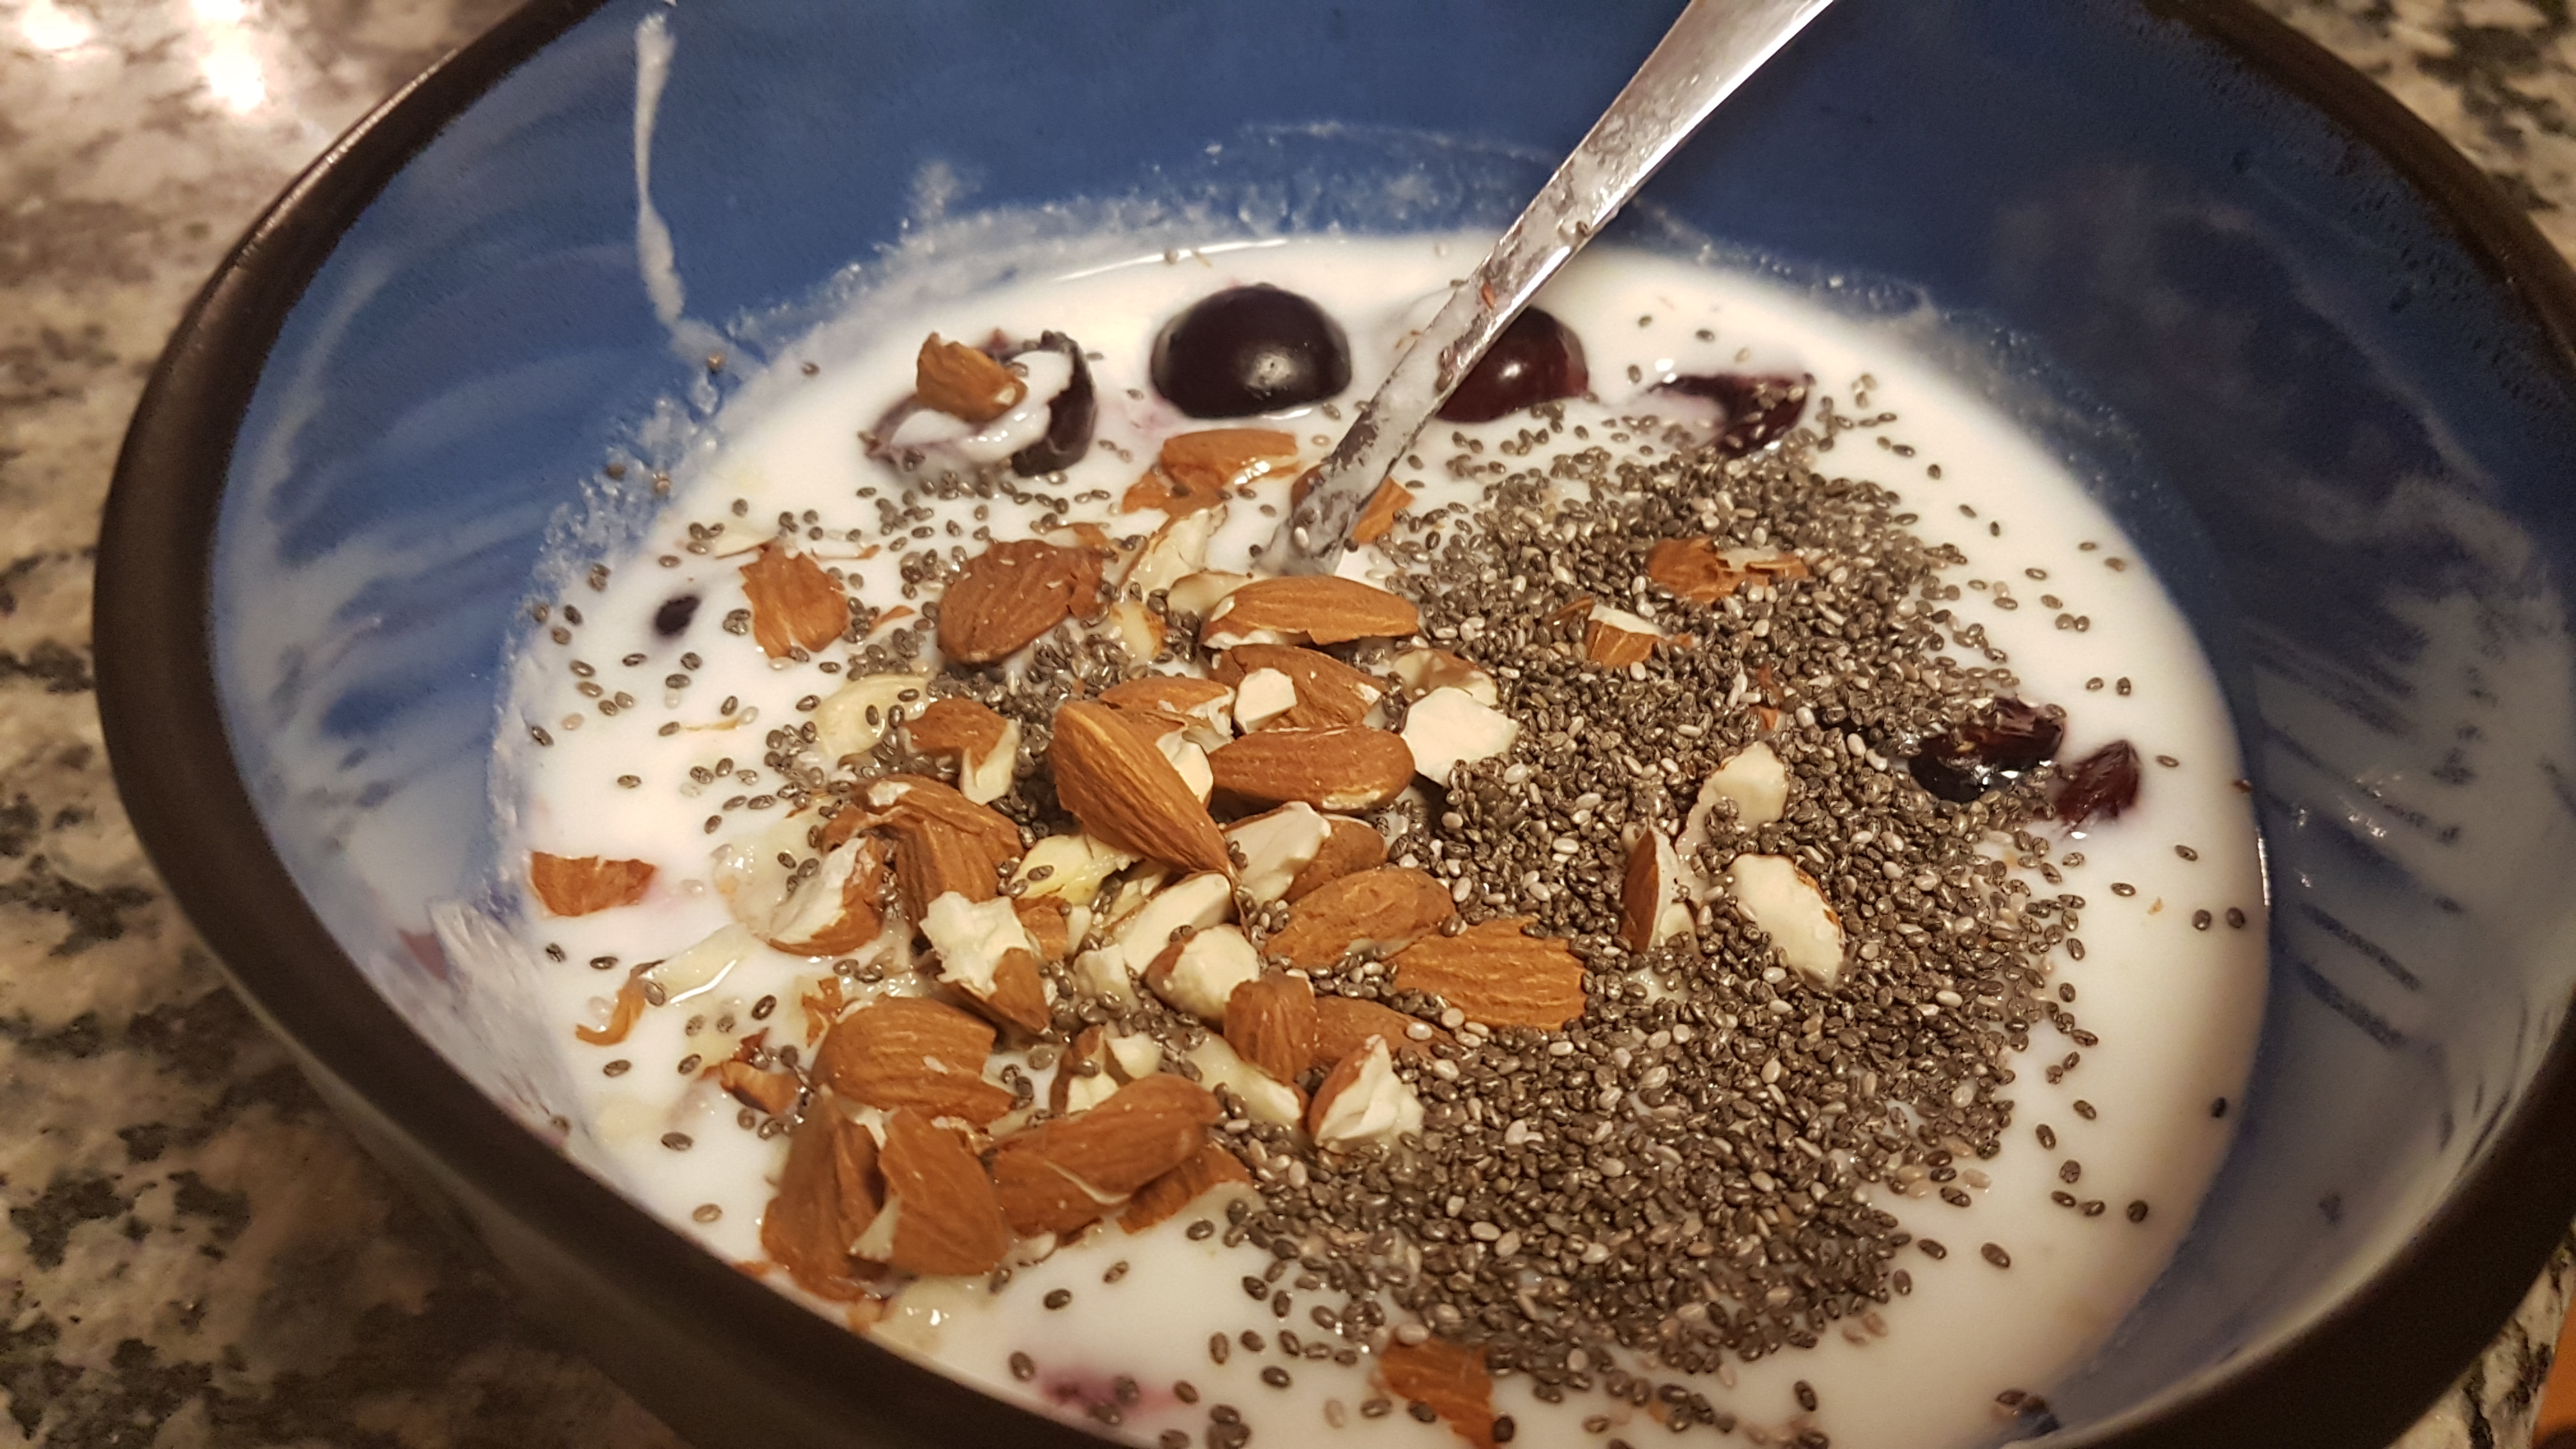
Breakfast – yogurt bowl with fresh cherries, crushed almonds, and chia seeds. Let me tell you, there is nothing quite so delicious as fresh bing cherries in the summer! But boy are they a pain to cut up and remove the pits, plus my finger tips are red for hours… almost as bad as beets…

Lunch – can of Progresso soup in my desk drawer. This is why you should always have some “backup” lunches, in case you forget yours. This can I got on sale for $1 saved me $5-10 at the cafeteria.

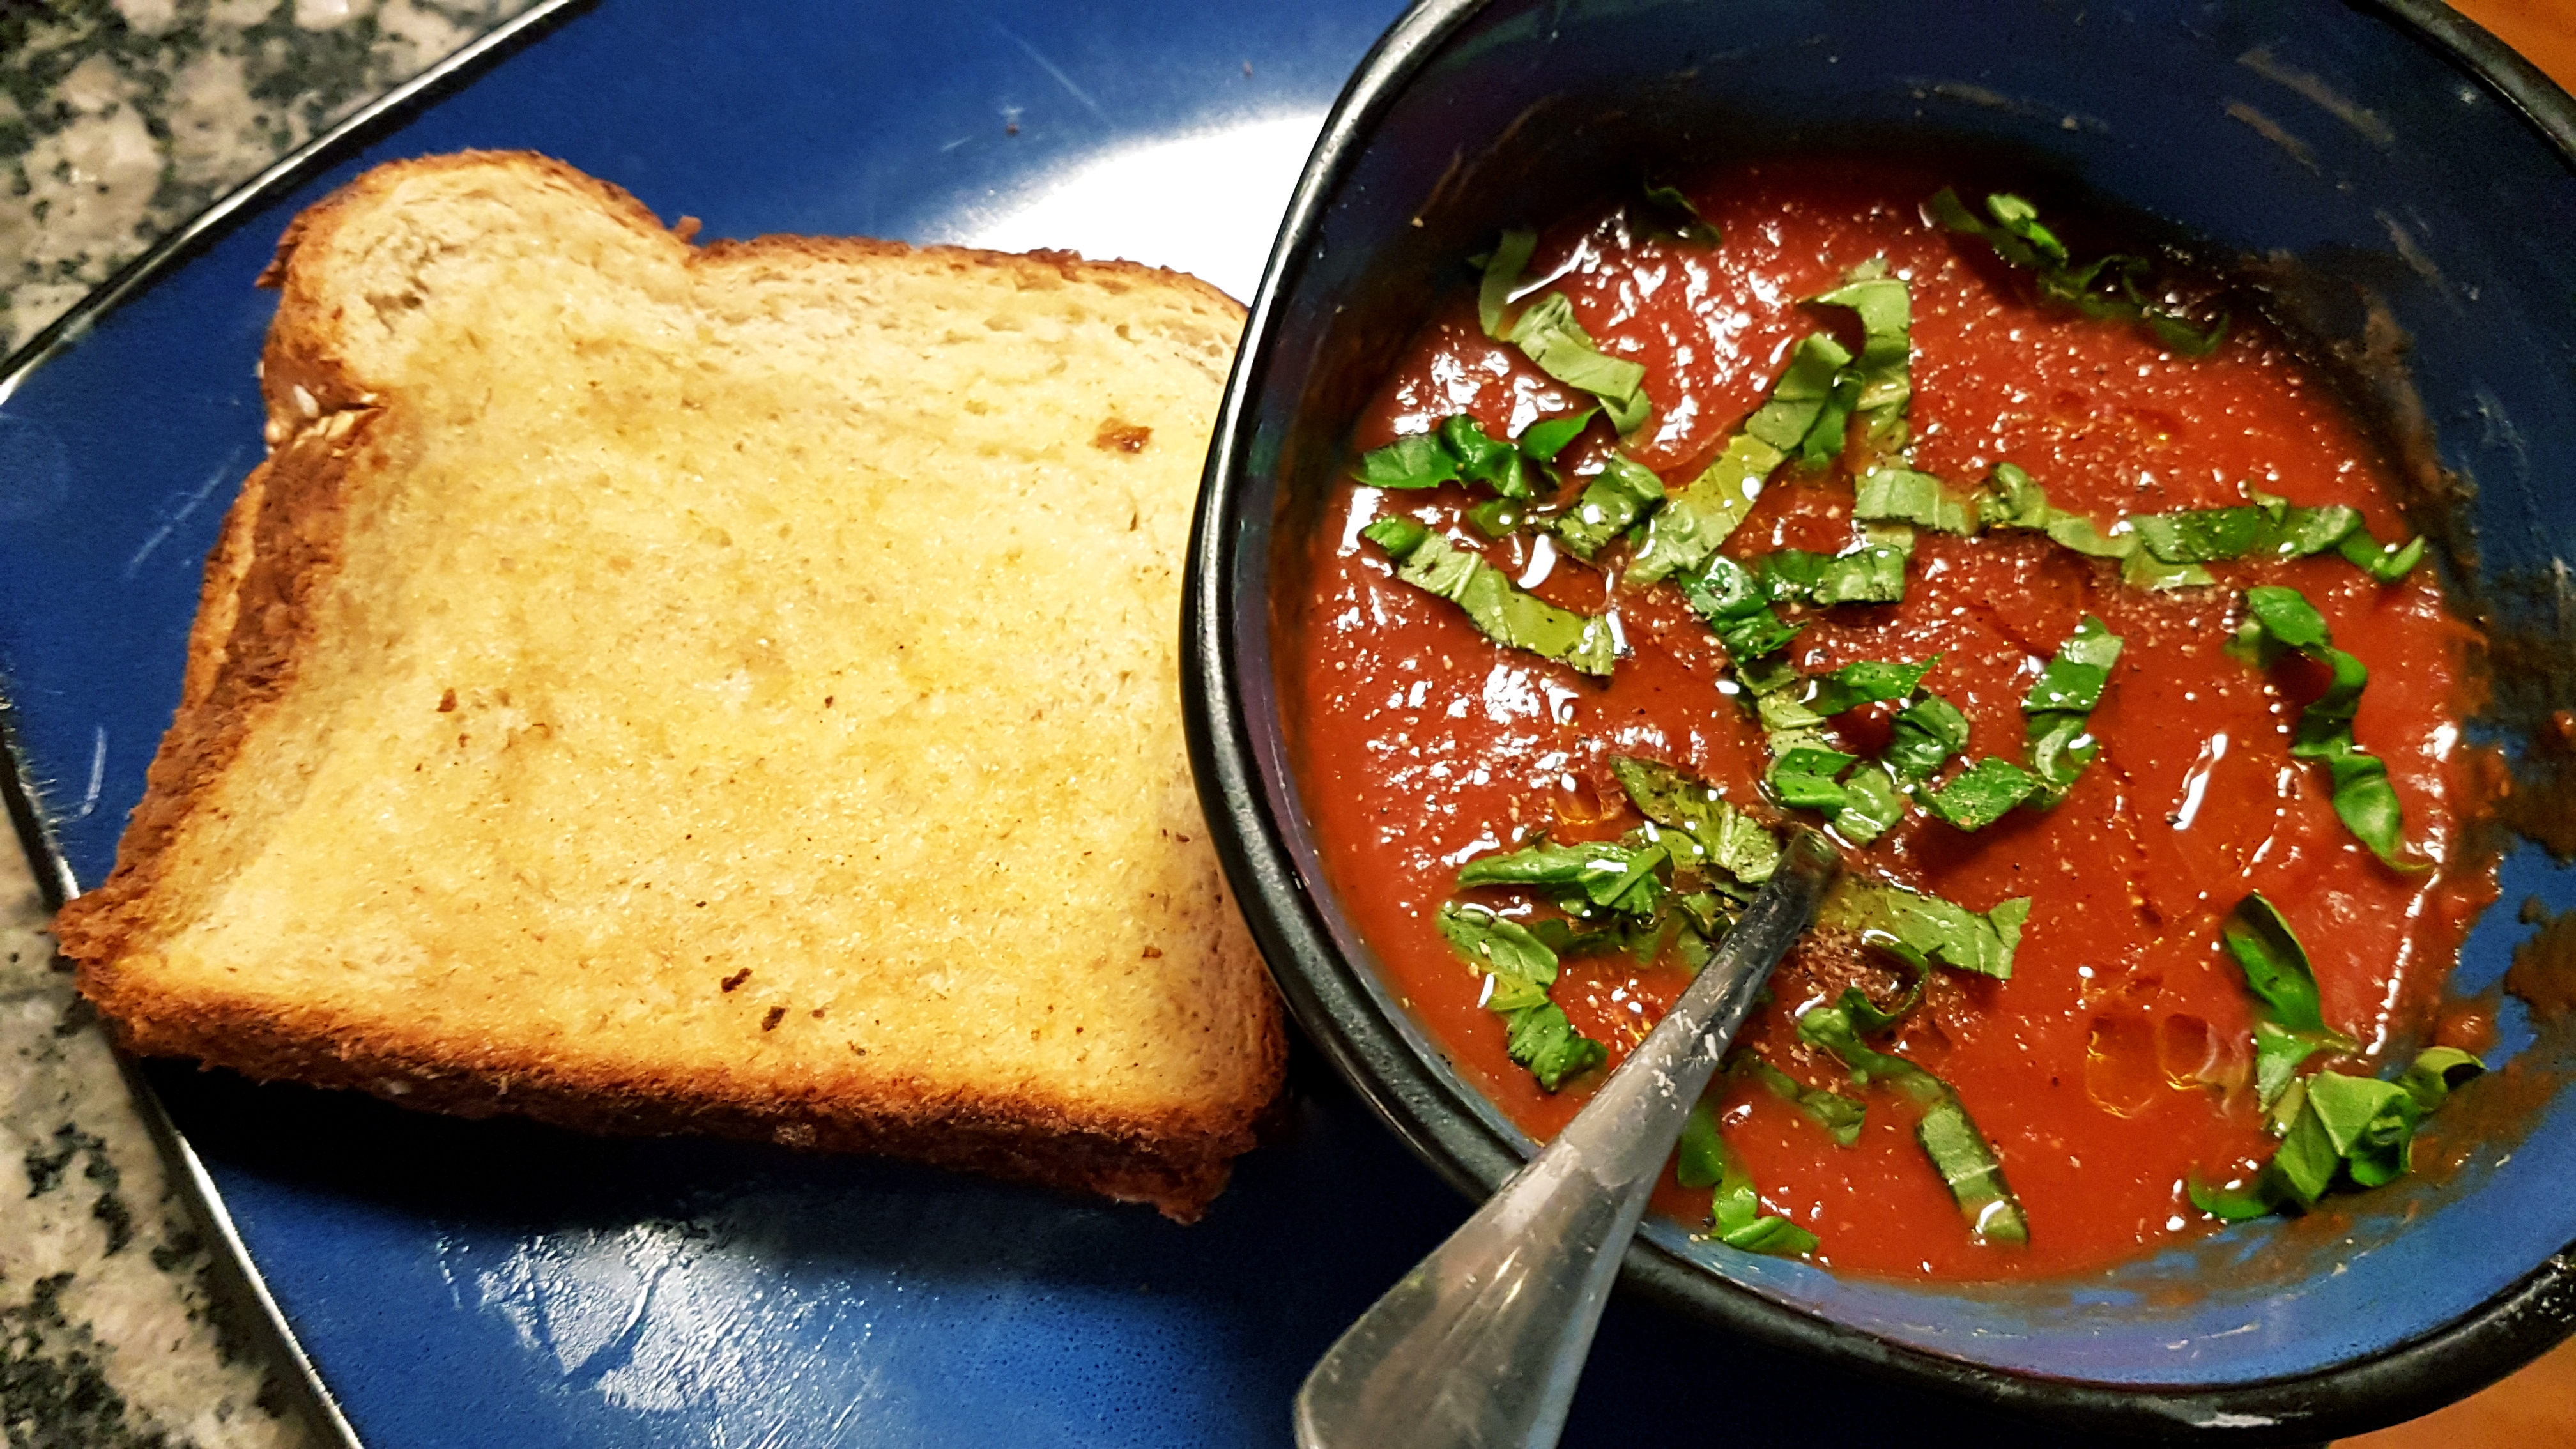
Dinner – the world’s most amazing tomato soup & grilled cheese! You’ll just have to check BE’s Facebook for the recipe…

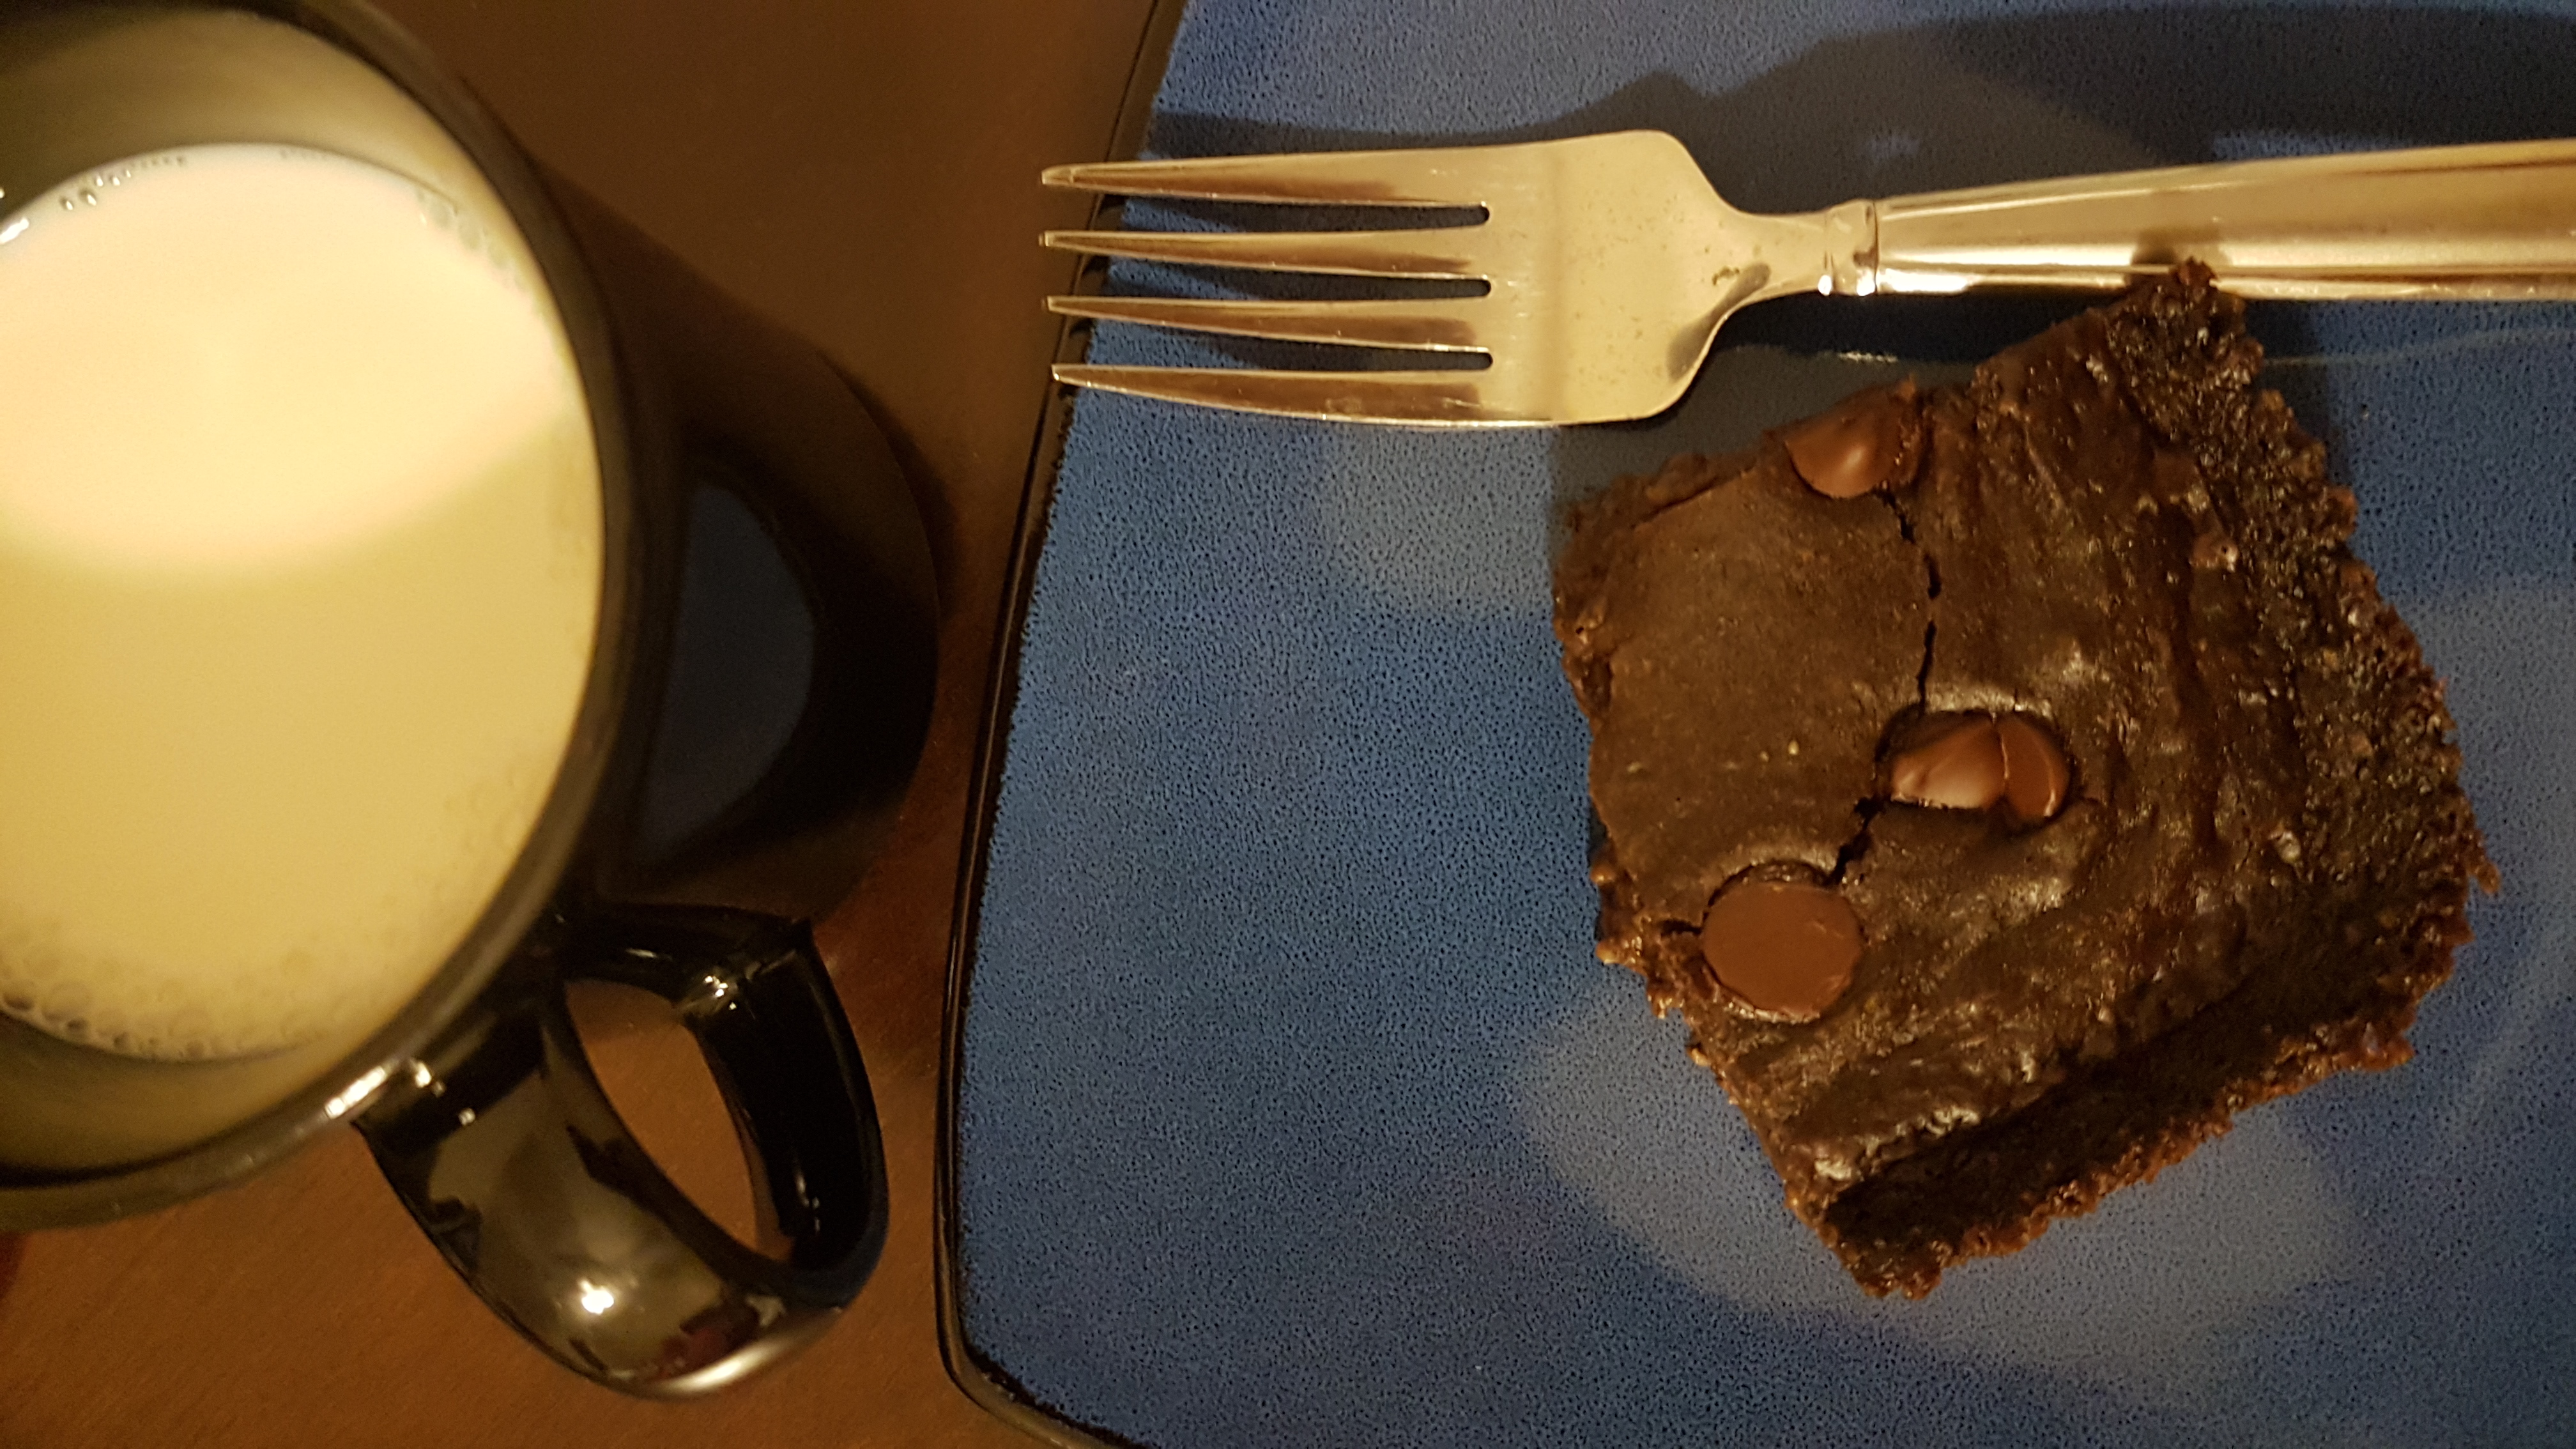
Snack – these delicious brownies, with a healthy secret!  😉

Tuesday:

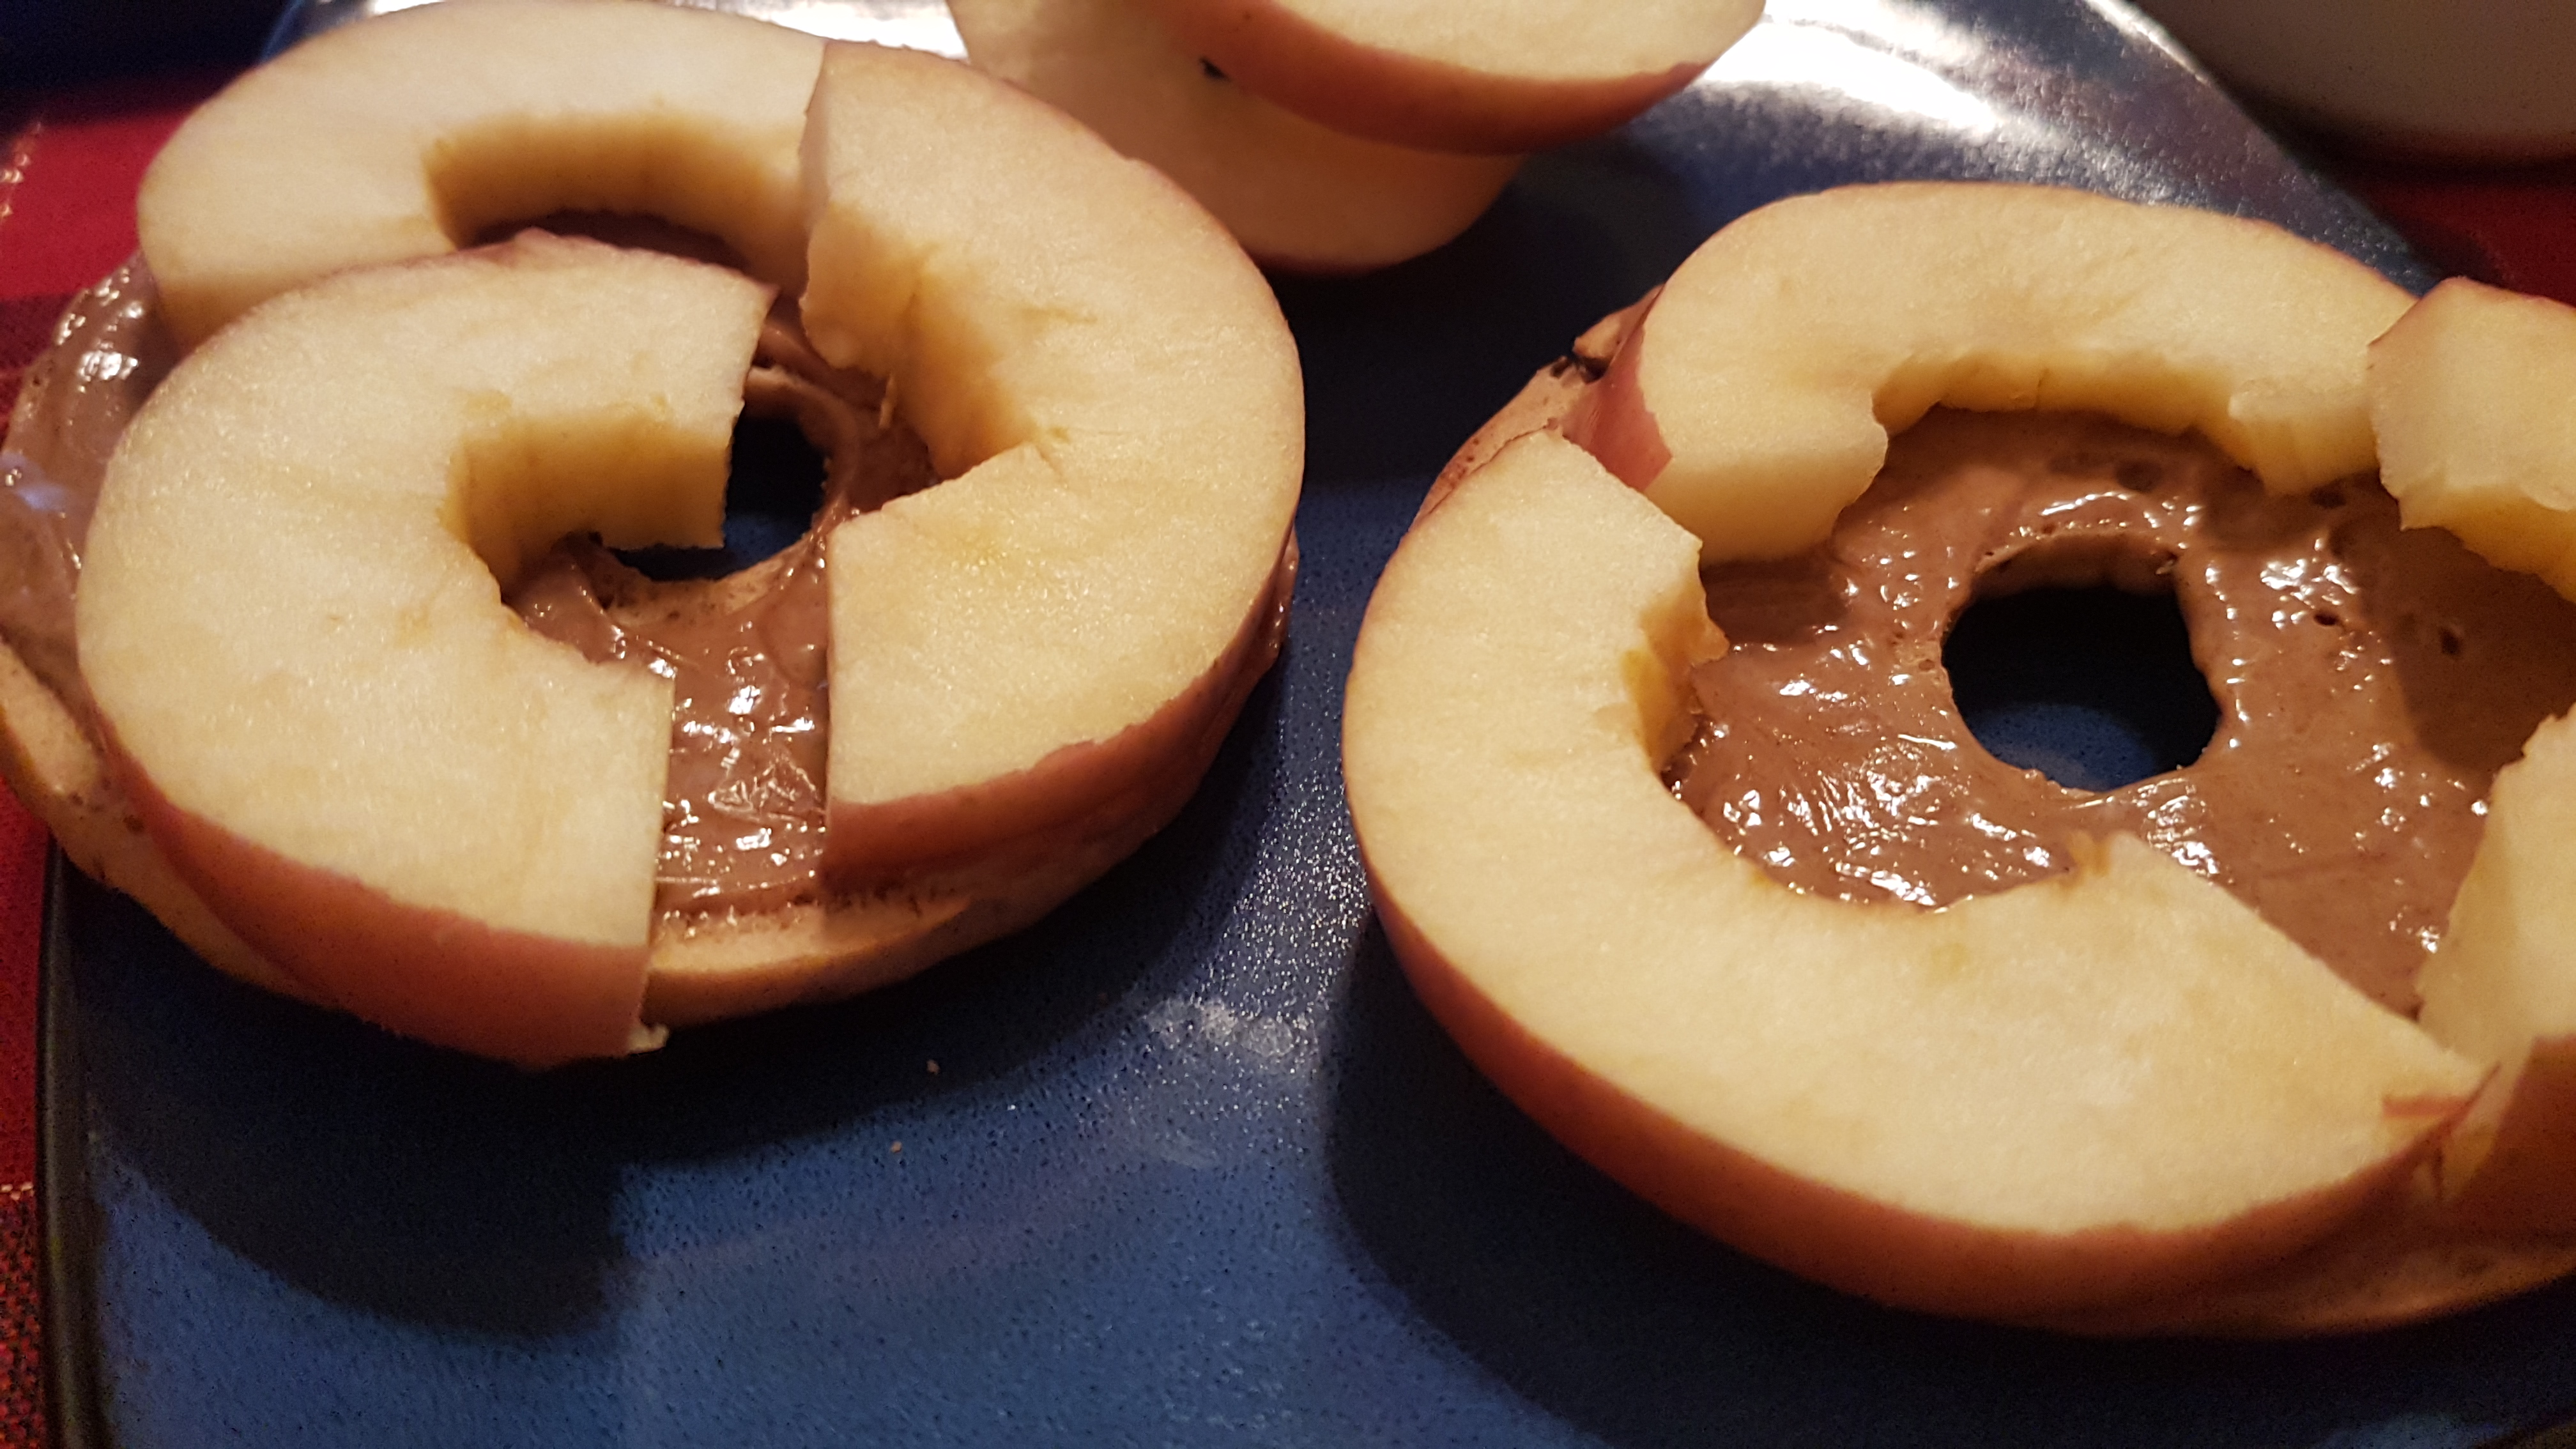
Breakfast – Cinnamon raisin bagel thin with almond butter & cut up apples. Easy, filling breakfast on the go.

Lunch – whole wheat turkey cheddar wrap with homemade refrigerator pickles & mustard

Dinner – chicken enchiladas

Snack – hummus with raw veg, cottage cheese

Wednesday:

Breakfast – cinnamon raisin bagel with almond butter

Lunch – turkey wrap with cheddar & pickles

Dinner – Crock pot chili

This was a low-key and boring day, because I worked late (to make up extra hours) and it was our last night together. I wanted something stress free so we could maximize the few hours we had before early bedtime. I have to be up and out the door early because…

Thursday – The Weekend:

I will be at the beach, celebrating mommy dearest’s birthday!

We have been planning and looking forward to this for a long time, I’m super stoked it’s finally here. We will be staying at the home of a friend of hers too, so super double bonus savings!

Don’t worry, I’m not going to leave hubby to starve or blow tons of cash on takeout and pizza… keep reading below.

Total:  $70.44

My goal is to keep this number under $100 all the time, and eventually get down to $75/week for food.

This was a great week for not spending! I went to ALDI and stocked up on tons of staples and fresh produce and even cheese, all for about seventy bucks. I love that store so much. And much of it hasn’t even been used this week (due to me going out of town) so that homemade pizza with fresh mozzarella will have to wait until next week, hopefully bringing down next week’s total!

Lessons Learned

It’s always a good idea to plan ahead! Since I will be gone for a while, and don’t want hubby to starve to death, I made sure to have foods I know he likes to make and eat in the house. We have all the fixings for burritos, I made extra-large batches of dinners I know he will love for leftovers, plus a few freezer meals. Hopefully he remembers to feed both the dogs and himself while I’m gone  🙂

Double batch of enchiladas to survive the weekend

Also, it is a great idea to plan ahead for vacation foods! I intend to pack a small cooler full of travel snacks, like string cheese, homemade KIND bars, and raw fruit and vegetables. My breakfast will be ready to go along with a cold brew coffee, so I can just grab them on the way out the door, and not waste time and money on a drive through.

Anything I don’t eat on the way will be safe in the house we are staying at for snacking throughout the week. We will also probably go to a local grocery store as one of the first items of business to get some staples to have around the house. We don’t want to impose on our gracious hosts too much!

Finally, plan for vacations financially. I am fully expecting to eat several great meals out, and get some splurge items on the beach (pineapple drinks anyone??). Thus, I made sure to eat a little lighter this week, and will next week too in order to make up for the calorie splurge, and have a budget which I am not allowed to go over for food and drinks. That way, I can relax and not stress at all! I know that the money I’m spending is planned for and guilt free.


How about you guys, did you have a great week or a learning week?

My Frugal Beauty Manifesto


Everyone likes to look good. Whether you are a top-paid model spending 80 hours per week on your looks or a mom of seven who has never owned a lipstick, we all want to look and feel our best.

And we pay dearly for the things we want.

The beauty industry is well versed in how to play on people’s dreams and fears in order to make a buck. An ad may ostensibly be about blush, but what they really hope to evoke is thoughts like: Am I pretty enough? What would my life be like if I looked like her? Can this product make me happy?

The entire beauty industry is worth an astounding $382 billion globally. And we are handing them our money as fast as we can in the hopes of looking like the hopelessly unrealistic, and in fact totally faked, models we see all over magazines, TV, and billboards.

Connecticut and New York actually tie for the most expense per person on makeup, with an average of $11 per day over a lady’s lifetime. ELEVEN DOLLARS PER DAY ON AVERAGE. The same study showed that the average woman in America puts on SIXTEEN products before leaving the house.

Think about that.

Sixteen different lotions, potions, and powders containing all kinds of chemicals and costing you an average of $8/day over your lifetime slathered all over your face. Every day.

Cleaner, soap, toner, foundation, bronzer, blush, highlighter, lotion, concealer, acne cream, eye shadow, eye liner, lip liner, lipstick, lip balm, moisturizer, mascara… And that’s just your face, don’t get me started on the rest of the body!

Enough already.

I have never been a big fan of makeup or beauty products in general, and the more I learn about them the more thankful I am.

These products are terrible for the environment with their aerosols and propellants and literal tons of waste generated per year.

They are terrible for your long-term skin and organ health and endocrine system, containing things like petroleum, mercury, pthalates, formaldehyde, paraphenylenediamine, and vague terms like “fragrance” which means who knows what.

Check the labels on your shampoo, lipstick, or lotion. You might be surprised by how many ingredients there are, and how many you can’t pronounce.

In better news, it is so awesome and wonderful and about. dang. time. that we are seeing things like the Body Image Movement, Dove’s “Every body is Beautiful” campaign, and Jessamyn Stanley’s “Every Body Yoga” empowering people of all races and shapes to believe they are beautiful and capable.

It is a beautiful thing to see initiatives like L’Oreal’s commitment to reducing waste by 60% by 2020, the EU outlining Good Sustainability Practices for the cosmetics industry, and waste management and reduction and sustainability becoming more of a priority to the beauty industry as a whole.

You can do your part for the world, your health, and your wallet, by simply buying less stuff. By believing your natural beauty is all you need, you are taking a huge step towards reducing landfill waste, reducing the amount of toxins and chemicals in our water and air and your own body, and keeping dollars in your bank account rather than the industry’s pockets.

But, girl, c’mon we still wanna look good!

I know, I know, and honestly I do care a little. I don’t want to look like a neglected ragamuffin either.

My solution? Use the most natural products I can, the majority of the time and as sparingly as possible. To DIY as much as possible, to re-use or use smart packaging and storage to get the most out of my products. And to maintain a generally healthy diet and regular exercise, with tons of water daily, to nourish my skin and body’s natural glow as long as possible!

Below are my favorite beauty tips and tricks. Hopefully some will be useful to you too.

Natural Beauty Ideas

Makeup

If you MUST wear makeup…

  • Make mascara last longer by adding a few drops of saline into a dry tube
  • Vaseline is great at keeping eyebrows in check. Just a tiny dab is all you need, swipe it along your brow from the middle of your forehead to the ends. It is also a wonderful lip balm to keep chapped lips at bay.
  • Coconut oil is a great makeup remover. Just rub in a dollop, and wipe clean with a towel. You can use a q-tip for lips or eyes or small spaces. If you can’t handle the smell, try Vitamin E oil.
  • Rather than use oily lipstick full of chemicals and petroleum, try beet juice! Use it from an open can of beets, or fresh by roasting some beets in the oven and rubbing the root on your lips. Same goes for rosy red cheeks, just blend gently afterwards.
  • You can also give yourself a little color by rubbing or pinching your cheeks, or biting your lips a little bit. This gets the blood flowing to the surface, but is short lived. Useful for pictures or when you are about to meet someone for the first time.
  • Use toilet seat covers to absorb face oil. Why pay for packs of face blotters when you can snag a few for free??
  • Make your own totally natural, delicious smelling powdered foundation using ingredients from your kitchen!
  • Clean your brushes with a 2-ingredient DIY makeup brush cleaner

Hair

My favorite hair tip is to plan for a 2-day-‘do; this only works for medium-long hair. Shower as usual, and let your hair dry halfway. Then, braid into two French braids. Wear that style all day, and enjoy having your hair out of your face. Sleep in it too. The next day, undo the braids, and tussle. You can add a bit of mousse, hairspray, or gel if you need it. Then enjoy your second-day waves!

  • Use coconut oil as a treatment for dry scalp or excess frizz. Coconut oil is super hydrating. All you need to do is massage 1-2 tbsp into your hair from tips to top and let sit 5-10 minutes. Then shampoo & wash as normal.
  • Tame oily second-day-hair with baby powder or cornstarch. It works pretty much like dry shampoo, by soaking up excess oil near your scalp, leaving you looking fresh.
  • Sleep with your hair in a top knot/bun to give it more volume
  • Plain apple cider vinegar is a great rinse for your hair. It can help restore the pH balance of your scalp, and remove product buildup, perfect for after a big event like a prom or wedding, that requires a can of hair spray to keep your do in place. (Not that you should do that in the first place…) Use 1/4 cup cider to 2 cups water.
  • Herbal hair rinses claim a whole host of benefits. Just google it, you’ll see. Try making a nice cup of plain herbal tea, and rinsing your scalp with it, to see what works for you.

Nails

Do your own! Duh. Set aside an hour or two, and get to it. This will only cost you the total of: 1 top coat + 1 color you like

  1. Apply a bottom or clear coat.
  2. Apply 1 coat of your color. Wait patiently 15-20 minutes, read a book or watch some Netflix. If you touch it and it is not tacky and is fully dry, you’re ready for step 3.
  3. Apply a second coat if it is a thin color, or apply top coat.
  4. Optional if you did 2 coats, now apply top coat. Done.
  5. Enjoy your fabulous, frugal nails!

Some more frugal nail tips:

  • If you run out of nail polish, or just want to create a custom color, you can mix eye shadow crumbles with clear top coat! A great use for broken or almost-used-up palettes.
  • Don’t shake polish, that creates bubbles. Instead, roll it rapidly between your hands to mix it up.
  • Put vaseline around your cuticles before painting. Then you can just wipe off any paint outside the lines!
  • Use tape or a rubber band for perfect French tips. Just make sure the bottom coat is dry first.
  • Make your polish last longer: If your polish is dried out or too thick to use, add a few drops of polish remover and roll it around to loosen it up.
  • Use coconut oil or Vitamin E oil on cuticles for silky smooth hands

If you require professional nails, or don’t have the time/ patience / steady hand to do it yourself…

  • Look for a Groupon. Maybe there’s a new salon opening nearby that needs new customers and is offering half off. You can also try calling the place offering the Groupon, and asking if you can get the Groupon price in the store. They have to pay almost half in order for Groupon to run their special, so they may be more than happy to make you that deal and keep the whole profit! Win-win.
  • Try to barter. You never know when a nail salon employee would be happy to give you a mani/pedi in exchange for a massage, doing her taxes, helping move…
  • Ask a friend, or multiple friends! Have a spa day where you do each other’s nails, put on face masks* (see below) pop some corn and watch a girly film. Everyone will leave feeling pampered and loved and looking fine.

Grooming / Whole Body

  • Coconut oil is marvelous as a moisturizer and/or lotion
  • Make your own body scrubs! You can use a whole range of natural ingredients and scents to fit your fancy, like peppermint or vanilla or even coffee
  • Never buy shaving cream again! Any old conditioner works just fine, I promise. Buy an 89 cent bottle, or a bigger container of your normal conditioner (props for more savings by buying in bulk!) and rub a dollop on your wet leg. You can do the same thing with (you guessed it) all-purpose coconut oil.
  • *Create a hydrating face mask at home: mix 1/4 cup plain yogurt, 2 tbsp honey, and 1 small mashed banana. Smooth all over and leave on face for about 20 minutes, then rinse off. The honey is an antiseptic to help clear or prevent acne, the yogurt is a great hydrator, and the banana helps smooth and tighten your skin.
  • To make your razors last longer, shake them dry after each use and let them soak in some baby oil to keep them sharper longer
  • Witch hazel is a great natural skin toner / cleanser
  • Tweeze your own brows! It is so easy and takes only a few minutes every few weeks, there is no excuse not to. If you already have them done by a professional, it is even easier because you just have to maintain the shape they already have


If you are afraid to go totally “naked”, just try dropping or changing one product in your routine per week. Eventually, you may realize you never needed that second layer of cover-up, or hated the smell of toner or the cakey feel of eyeshadow anyway! Plus, as you wean yourself off of products, you may notice your skin is even healthier, as it has fewer things to smother it and fewer chemicals to absorb.

And don’t forget to drink WATER! Keep a reuseable bottle or cup at your desk, in your purse or backpack, in your car, in your refrigerator. Wherever you are going to remember to keep on drinking it all day long.

The best beauty weapon in your arsenal is your smile!

You. Are. Beautiful.

Look in the mirror, every day, and smile. We only get one body to live in, we should love and take care of it. Be kind to yourself, and to others, and let your naturally beauty shine, inside and out.


Do you guys have any great frugal beauty tips?

Weekly Eating #4 – 7/10


Hey y’all! Welcome to the series Weekly Eating.

Here is where I’ll talk about the week’s meal plan versus reality, what we ate for the week, and how we did budget-wise. I hope it gives readers a behind-the-scenes look into our life through the lens of food, and it’s also a way to keep us on track with meal planning and grocery budgeting.

Feel free to share your wins and lessons in the comments below!

Monday:

Breakfast – yogurt parfait with frozen strawberries & cherries & a crushed up Nature Valley Oats & Honey bar

Lunch – leftover stirfry

Dinner – BBQ pork ribs & leftover mashed potatoes. I grab boneless ribs anytime I see them on clearance, and keep some in the freezer as a special treat, these are one of hubby’s absolute favorite things. I defrost them overnight, then boil in some chicken stock, then sear them in the pan. We then eat them slathered in BBQ sauce, and ended up so messy by the end that I didn’t get a photo.  🙂

Tuesday:

Breakfast – KIND bar

Lunch – leftover salmon summer salad from the weekend’s dinner party. This stuff is so darn good I swear I could eat it almost daily.

Dinner – Pork & White Bean Soup in the slow cooker using the broth from yesterday’s ribs. It was so simple, but so tasty! Served with biscuits from the freezer.

Wednesday:

Breakfast – chocolate PB oatmeal: funny story. This was actually a rescued “Frugal Fail” to borrow a term from Mrs. Picky Pincher. I meant to try a recipe for no-bake energy bites. It called for oats, and PB and honey. But I only had honey PB (twofer, awesome!) and steel cut oats (They’re the same thing, right? Wrong.)

So I happily measure and mix, convinced this is a perfect quick breakfast choice. Oh, by the way, this is at 7am, and I need to leave at 7:30… Well, first, it wouldn’t all stick together. I tried using more PB, and got it wet enough to stick. But it still won’t form a ball, it was like, wet sand. Steel cut oats are cut into teeny tiny pieces, and evidently, do not make no-bake balls well.

So I tried baking it. I know, that defeats the purpose of a “no-bake” recipe. But I figured, maybe I could at least turn them into bars and salvage this. Now it is 7:20… And I try to cut a bar… and it falls apart instantly. Okay, clearly, this is not working. Do I throw out a whole 8×8 pan of oats and peanut butter and flax?

No way!

I think… well… it’s still oatmeal. May as well throw it in a jar, and pour some milk over it. Still warm from the oven, the chocolate was melty and quickly turned it into chocolate milk, with a slight peanutty flavor. Turns out, this was pretty great! Hooray!

Frugal fail turned into something edible.

Ahhhh, the sweet taste of success.

Lunch – out with a work colleague, pesto chicken panini

Dinner – tortellini with pesto and frozen mixed veggies

Snacks – brown rice cakes

Thursday:

Breakfast – chocolate oatmeal creation

Lunch – black beans & rice with salsa

Snack –  These Amazing Date Cookies!

Picture courtesy of Hip Fit Foodie

Dinner – baked potato soup. I used some leftover mashed potatoes with frozen chicken stock and we stirred in a tbsp plain Greek yogurt to make it creamy, with bacon and cheddar cheese on top. We ate it on the front porch while watching a heck of a thunderstorm.

Friday:

Breakfast – 1 egg, colby jack cheese, Bagel Thin sandwich

Lunch – last of my salmon & couscous salad. I used a small salad container and a leftover ranch dipper to be all cute too!

Dinner – leftover buffet!

The Weekend:

My plans for the weekend include rooftop yoga followed by the Farmers Market, then a quick healthy lunch of some kind of salad, and figuring out what to make for dinner. I’m sure we will have loads of fresh produce by then, so I’m thinking a vegetable lasagna, summer veggie pasta, or kebabs are imminent.

Then I will start a new batch of homemade yogurt, and homemade kombucha. I also think I will try to make ahead some mason jar meals like yogurt parfaits, overnight oatmeal, and salads in a jar too. I’m going to the beach next week to celebrate my mom’s birthday (SO EXCITED!) so I want easy meals to give me more time to pack and plan, and then I need to plan ahead some freezer meals for the hubble bubble so he doesn’t starve.

Total:  $77.60

My goal is to keep this number under $100 all the time, and eventually get down to $75/week for food.

2 trips to the store (Kroger & Harris Teeter) plus the local farmers market. The weekend Farmer Market trip will be included in next week’s total.

Lessons Learned

I did a great job at the store this week! Nearly to my $75/week goal, and that included all our staples, plus a few last-second items I asked the mister to grab prior to our dinner party last week, plus the farmers market splurge on Wednesday. Aw yeah!

And I learned that sometimes, recipe experiments don’t turn out the best. But that’s okay, we all make mistakes sometimes. Luckily, it wasn’t so bad of a fail, I could still eat the oatmeal. It was just… less than pleasing in texture, shall we say?  😉

How about you guys, did you have a great week or a learning week?

Chocolatey Banana Coffee Milkshake


Who loves a meal solution that is easy, healthy, and super fast??

I know my hand is raised. While I do love the occasional intricate breakfast (after all, what are weekends for if not a strata, homemade crepes, cinnamon rolls, or banana pancakes?) that is just not feasible for every day. Most mornings have between 2 and 10 minutes to devote to making sure I’m fed.

Now I know breakfast is the most important meal of the day, trust me. That’s why I simply cannot go with having nothing at all. But man, it is just really hard sometimes to make a hot, solid food at 7 am! And I hate to admit the number of time I’ve eaten pop-tarts this year is not zero…

C’mon people, I know I’m not alone here.

Why do you think there’s a Starbucks on every corner, along with Dunkin Donnuts, Tim Hortons, and all the local coffee and donut joints nationwide? And they all always seem to have a line.

Boy, have I found the perfect solution! I like a healthy breakfast, which includes protein, fiber, and nutrients. And I need coffee. Why not combine them into one easily drinkable drink!

I find it’s hard to get solid food down sometimes when it’s so early my stomach hasn’t woken up yet. But a shake or smoothie is always possible. Now I finally understand protein shakes; for so many years I was mystified how people could replace solid food with liquids. Now I know.

This shake is chocolatey because of the flavored protein powder, but you could also use non-flavored protein and simply add a tbsp of cocoa powder for the same effect. Use a plant-based milk instead of regular milk, and a plant-based protein instead of whey for a vegetarian option.

The banana is also optional, but I like knowing that I got a serving of fruit with my caffeinated milkshake (which is what this tastes like).

Ingredients:

  • 1 sm-med banana
  • 8-10 oz coffee
  • 1 scoop chocolate protein powder
  • 1/4 cup milk (optional)
  • Handful of ice cubes (optional)

Step 1: Blend everything well, until smooth. The longer you blend it, the creamier and ‘fluffier’ it becomes because of the whey. Other protein blends may not cause this, experiment until you find the type and amount you like best.

Now go conquer your day, caffeinated and protein-powered!

Weekly Eating #3 – 7/2


Hey y’all! Welcome to the series Weekly Eating.

Here is where I’ll talk about the week’s meal plan versus reality, what we ate for the week, and how we did budget-wise. I hope it gives readers a behind-the-scenes look into our life through the lens of food, and it’s also a way to keep us on track with meal planning and grocery budgeting.

Feel free to share your wins and lessons in the comments below!

Monday:

Breakfast – microwaved 2 scrambled eggs on top of an everything Bagel Thin and slice of cheddar cheese. Homemade “mocha latte” (coffee + hot cocoa mix + milk, blended)

Lunch – leftover stir fry

Dinner – BBQ pulled pork mac-n-chili (?) This was a weird idea I had to use up several leftovers. 1/2 lb cooked penne, 1 cup bbq pulled pork, 1 cup pinto beans, 1 whole shredded yellow squash, 1 cup shredded cheddar, 2 tbsp butter and a splash of milk. Luckily for us, it turned out really delicious!

Snack – fresh cherries, hummus + cucumber/carrots

Tuesday: Fourth of July!

Breakfast – kind of slept in and skipped this part, mostly just had coffee, and then early lunch

Lunch – chicken, broccoli, rice casserole: this is ridiculously simple, and came out amazingly delicious! Layer chopped broccoli, mushrooms, 1/2 cup rice, and shredded chicken. Add 1/2 cup stock and 1/2 cup milk, and cheddar cheese. Top with some more broccoli, cover in foil and bake at 350 for 45-50 minutes. Done!

Dinner – leftover buffet

The holiday was nice and relaxing, we got some laundry done, played some games and I finished a book. I did also bake up some red velvet cupcakes with blueberry cream cheese frosting! I made way too many, so I took a few plates to our neighbors  🙂

Wednesday:

Breakfast – peach smoothie: 2 peaches, 2 bananas, 1 cup yogurt, 1 cup orange juice

Lunch – out with a work colleague; rosemary chicken panini

Dinner – chicken and dumplings with some of my homemade foccacia

Snacks – brown rice cakes

Thursday:

Breakfast – homemade yogurt with peaches and granola

Lunch – slow cooker “refrigerator soup”. Basically I chopped up all the veggies about to spoil, added some lentils & quinoa, salsa and homemade chicken stock in a small slow cooker on high all day in my cube. By noon, the whole office smells AMAZING and I get a nice hot, filling, super healthy and super frugal lunch.

Dinner – ravioli per hubby’s request

Friday:

Breakfast – parfait with fresh peaches, yogurt, and 1 smashed up Nature Valley Oats & Honey bar

Lunch – pasta salad

Dinner – stir friday: pork! You may wonder, why stir-Friday every week? Doesn’t that get boring? Well, no definitely not because there are so many options! And the reason is simple: it’s delicious and super frugal. It gives me the chance to use up whatever bits of veggies are in the fridge, so that I don’t throw them out.

The Weekend:

On Saturday we just hung out, cleaned inside and outside a bit, and then hosted a dinner party.

I made a recipe from my sister-in-law for a knock-your-socks-off delicious summer salad with arugula, cheese, macademia nuts (from a friend’s family farm in S America!), corn, craisins, and baked salmon. I’m drooling just thinking about it! I made some lime-ade for the drivers, and some tropical rum punch for whoever wanted it.  🙂

Total:  $116.91

My goal is to keep this number under $100 all the time, and eventually get down to $75/week for food.

Oops… This is why I’m not allowed to go to grocery stores by myself anymore…

In my defense, I did stock up on several staples I will not use this week alone, like pasta, lentils, pearled couscous, 3 loaves of multigrain bread for 0.99 that I will freeze, brown rice, sliced cheese. We also were running low on doggy teeth-cleaning treats for the pups, and that is included in the total.

Lessons Learned

I did a pretty good job of using up weird bits of leftovers and creating new meals, so that was a definite plus! But, I also let the grocery gremlin get me, and tell me that “these sales are way too good, you definitely need to stock up on 5 kinds of pasta, more salad than you can actually eat in one week, $10 of beer, and the pups are so cute they totally deserve $20 worth of treats!” All we can do is learn from it, and do better next week.

How about you guys, did you have a great week or a learning week?

Venison Breakfast Hash


It is no secret that as a culture, we are now so far removed from where “food” comes from. Many millions of people, in America especially, but all over the world, grow up never seeing food grown or processed with their own eyes. The only way they ever interact with edibles is at the very end of a long chain. At a restaurant, or as packaged, refrigerated, cling-wrap, boxed up “food like product”.

Seven percent may not seem large, until you realize that is how many American adults think chocolate milk comes from brown cows. Yup, the Innovation Center of American Dairy did an actual survey on it. Let us just hope the vast majority of these people were kidding… after all, what about strawberry milk?

As the number of people who live on farms or identify as farmers shrinks, and the average size of a “farm” balloons with huge corporations, it is healthy to get back to the roots (literally) of food production. Google a local farm, and just go visit. I guarantee the farmer will be glad to tell you all about his chickens, corn crops, the weather, and government subsidies. Or try out a local farmers market or CSA, to support those in your community supplying you with fresh, local, healthful edibles.

I am lucky enough to have at least 2 friends now to whom I can turn for fresh venison whenever my stash runs low! Ideally some day I want to try hunting, so that I can see the whole process. I’ve gardened a lot in the past, and am still working on convincing hubby that chickens and/or goats are a good idea…

I’ve already tried a venison pot pie, which was amazing. This breakfast hash used the other 1/2 pound I had in the refrigerator. It was well-seasoned, the hubby couldn’t even tell it was venison. And he does not like gamey meats, so I consider that a success!

Makes enough for 2 servings, or 1 really hearty breakfast
Ingredients:

  • 1/2 pound venison ground
  • 2 eggs
  • 1 sm-med sweet potato
  • 1 cup spinach or mixed greens

Step 1: Cook the venison in a frying pan with some cooking spray until no longer pink. Dice up the sweet potato. You can either microwave the pieces for 5-8 minutes to speed the cooking process, or cook them in a frying pan on medium heat with a lid for 15-17 minutes.

Step 2: Once the potatoes are soft when poked with a fork, add the spinach and a tbsp of water, cover to let it steam for a minute. Stir it around, add the venison, then add the eggs and cover again. Cook for 5-6 minutes.

And that’s it! Serve alone, or with toast for dipping. The longer you cook, the harder the yolk will become. I like just a little bit of runny yellow left, that takes about 4 minutes. You can also make this with scrambled eggs or poached eggs instead.


Tell me! Have you ever been hunting? Kept chickens? Gardened?

How to: Make Homemade Yogurt in Mason Jars


Have you ever had the Greek yogurt flips? They are so delicious, and I’ve recently fallen in love with them, as a quick breakfast or anytime snack or treat. But…

  1. They can do some damage to your budget, at about $4 per 4-pack
  2. They cause a lot of plastic waste with their cute individual serving size square plastic covered to-go-ness
  3. They contain a pretty big dose of sugar

In my first Weekly Eating post, I promised that I would try to find a more frugal alternative. Turns out, making your own yogurt at home is quite easy, if tons of bloggers are to be believed! Special thanks to Mrs. Picky Pincher, whose blog finally convinced me to give it a go.

There are so many ways to do so, from fancy temperature-controlled and timer-activated yogurt making machines to crock pots to stovetop.

But who has time for that?

Not me! I’m all about the easiest, most frugal solution that satisfies a need. Therefore when I read that making yogurt in a mason jar was a thing, my eyes lit up! Conveniently, I read this on my go-to-the-store day, so I picked up a half gallon of milk to experiment with. Even if it went horribly wrong, I would only be out $1.18.

Turns out, it truly is SO SIMPLE!

I turned on a show on Netflix after dinner, and while hubby and I enjoyed bonding time the yogurt was doing its thing. We even left it overnight to do the incubation part, and I woke up to 2 fresh quarts of delicious, additive and sugar free homemade yogurt! Talk about feeling like a badass homesteader.

This recipe makes 2 quarts of yogurt from one half gallon of milk.

You can easily scale it up for a whole gallon and make 4 quarts, or even down to make as small as one pint of yogurt. Now that I know how well this works and how easy it is, I will probably make at least one gallon each week.

For starter culture, just pick a plain yogurt that you enjoy the taste of, and use about 2 tbsp per half gallon. It can be plain or Greek yogurt, organic or not, you decide. That’s the beauty of making your own homemade staples! You can also find freeze dried or powdered yogurt starter cultures online.


You will need:

  • 1/2 gallon whole or 2% milk
  • 2 large quart mason jars & lids
  • 2 tablespoons plain yogurt to start the culture
  • A big pot to boil water
  • Optional but helpful: A thermometer, a crock pot

Step 1: Make sure your jars are washed and clean. If you really are paranoid about germs (silly, since you’re about to purposefully grow jars of bacteria, but whatever…) you can boil them or run them through a dishwasher cycle first.

Fill the 2 jars with milk, leaving 1-2 inches of space at the top. Place them in a pot of water that covers them at least 2/3 of the way. I added extra jars around them so they do not tip over or rattle as the water boils. Bring the water to a gentle simmer.

Step 2: Go do something else while you wait for the milk to reach about 180 degrees. If you have a thermometer, great, you can check it every half hour or so. They took about an hour to reach 180 for me. If you don’t have a thermometer, the milk will be ready when a thick “skin” forms on top of the milk. Throw this skin away, and remove the jars from the water.

Step 3: Preheat a slow cooker on high, this will be your incubator later*. You can be lazy like me and just leave the hot jars on a surface to cool, this will take about an hour also. Or you can put them in a pot of lukewarm to cold water, to cool them faster. I didn’t want to chance breaking the jars, so I just put them on the stovetop and we went for a walk.

You want the jar to reach 110-120 degrees before adding the starter culture. If you don’t have a thermometer, just go by feel. When the jars are cool enough that you can wrap your hand around it and hold on for a minute or so, they are ready. You want it cool enough that the good bacteria you are about to add don’t get immediately scorched, but to grow they like a nice cozy temp.

Step 4: Take about 2 tbsp of plain yogurt, pour 1/2 cup of the warm milk into it, and mix well. Then pour half of this mix back into each jar. Give it a nice stir to distribute the good guys all around the milk, but not too violent. Unplug your slow cooker, put the jars in the warm crock, cover, and wrap in a few towels.

That’s it! Let your jars sit, undisturbed, for at least 8 hours up to overnight. You can start this in the morning and let it go all day, or start it at night and let it cook while you sleep. This is a great hands-off activity that leaves you feeling so accomplished!

*If you do not have a crock pot, you can also use a small cooler for the incubation period. Just take a small, waterproof container and fill it with warm to hot water. Put  your mason jars with starter culture in there, cover well, and wrap it in some towels. Let it sit for at least 8 hours up to overnight.

[amd-zlrecipe-recipe:74]


Disclaimer: I am not a health professional, no content on this blog is intended to diagnose, treat, or cure and ailment or condition. I am also a member of Amazon Affiliate program, some links will lead you to products which, if you choose to buy, will give the blog a portion of profits without affecting your experience. It helps keep this great content coming for you!