All posts by BudgetEpicurean

Long-time student turned young adult with varied interests, mostly food and frugality. Pursuing wealth so I can help others pursue health.

Home-canned peaches


When I was a kid growing up, I remember all-day-long canning sessions at my grandmother’s house. We would get the whole family together for steamy, tomato-scented days of carrying bushels of fresh tomatoes down from the giant overgrown garden, slicing and dicing, pushing them through the enormous, older-than-my-mom tabletop canning device, squeezing out seeds, stems, juice, skins, pulp.

Pouring thick red liquid into piping-hot Bell canning jars, just out of the rolling, boiling water, screwing on the lids and popping them back into that steamy water bath. Placing them in rows upon rows along the kitchen table, and listening for the “pop” “pop” “pop” of lids being sealed.

Lining those jars, still warm from the boiling water, along the shelves of the basement pantry. Knowing that meant months later, in the dead of winter, we could have huge platters of pasta with sauce that taste like summertime, and know that I helped make that happen.
IMG_5104

That may sound quaint and overly-dramatic, but canning has always stuck with me and is something I desperately hope to continue into my adult life. I think our American lives of over-abundance and convenience takes a lot of the charm, knowledge, and wisdom out of feeding ourselves. We know nothing of how “food” is created, we just go to the grocery, pick out the boxes and cans, put them in the microwave and sit down in front of the TV to “eat” it.

I love the feeling of looking at something I personally created, start-to-finish, especially if it involves food I myself grew, picked, or somehow preserved. There is nothing like it. Sometime when your store has a sale on produce you like, give it a try and see for yourself.

Not only is home preserving fun and good for the soul, it is also good for the waist and pocketbook! Canning or freezing your own food lets you control what is put into it and avoid massive amounts of sodium, preservatives, colorants, etc. in commercially preserved foods. And though canning supplies may be a healthy chunk of change to begin with, you can re-use jars and rings nearly forever, with only new lids to buy each season.

Now, there are some dangers to home canning. Always read up on proper methods on how to can or otherwise preserve food so you and yours don’t end up sick. Take a look at the CDC article on avoiding botulism,  the USDA Complete Guide to Home Canning article with tips and tricks, or Foodsafety.gov Home Canning advice.

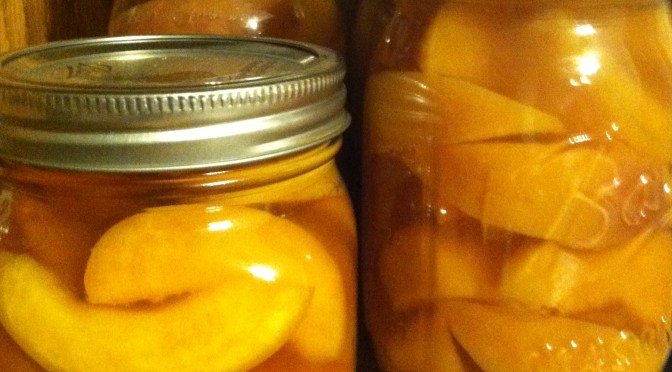
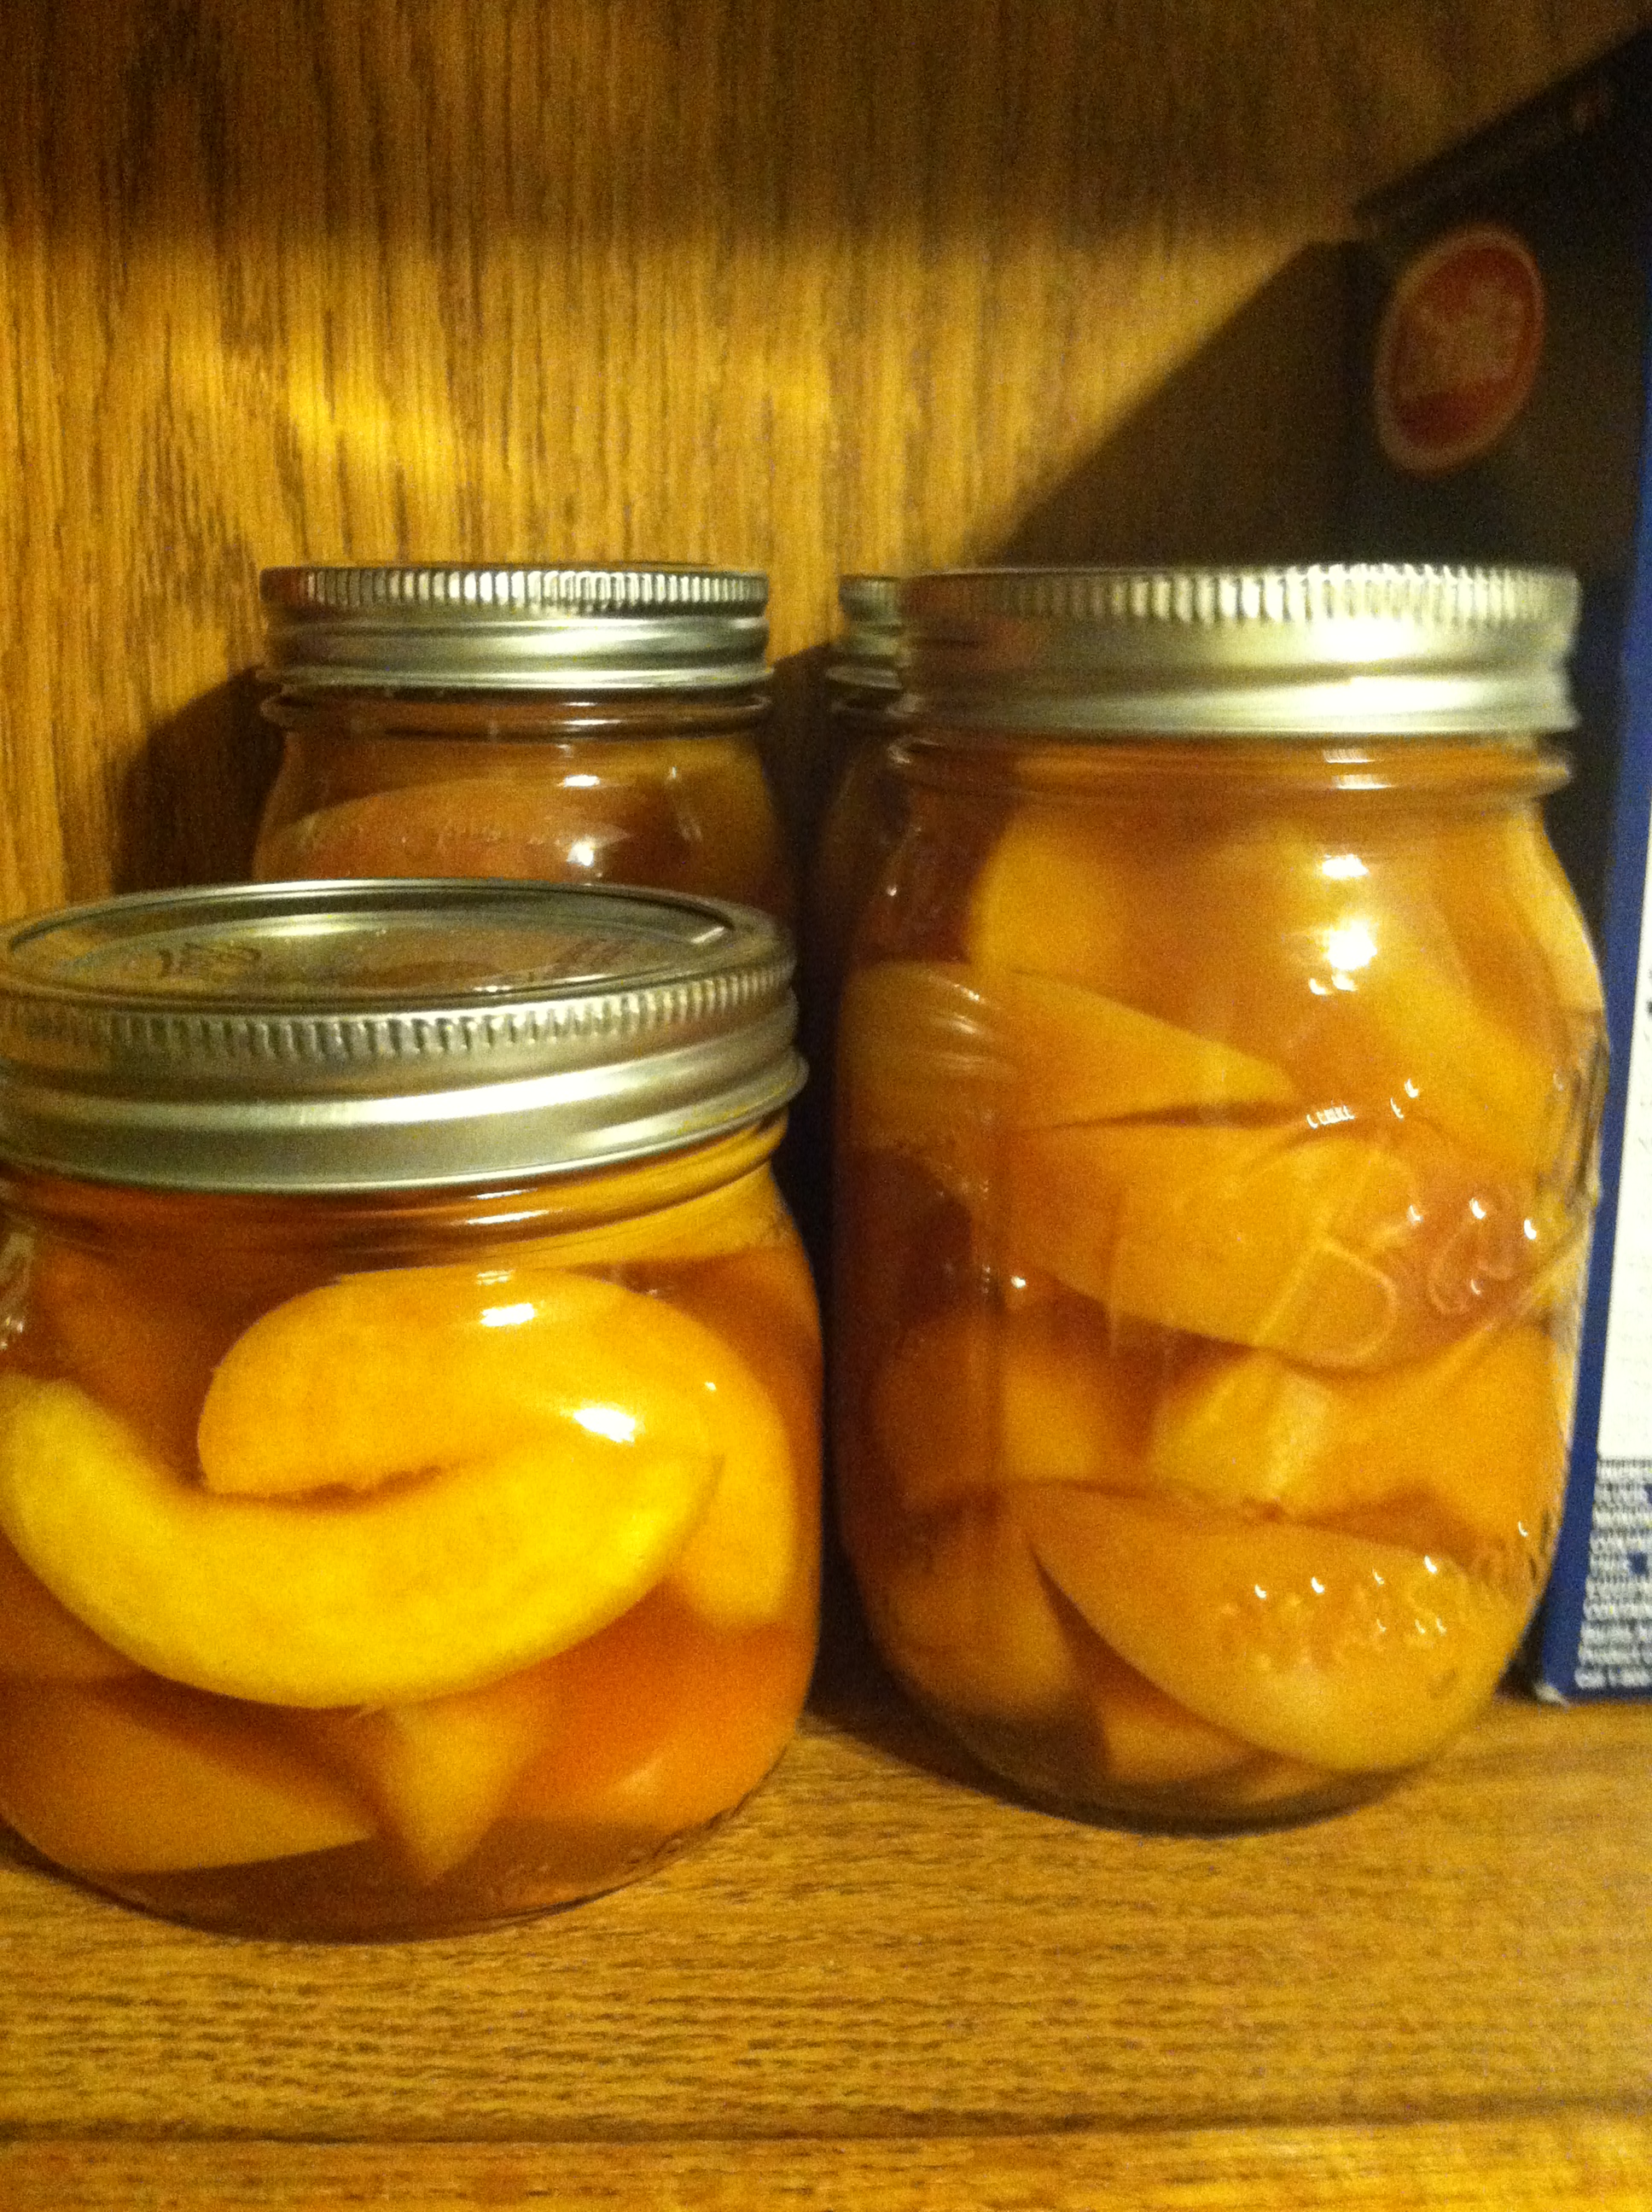
This is my most recent adventure, when Colorado Palisade Peaches were at their prime. They are legendary for good reason, with such perfectly firm yet soft flesh and oodles of juice to drip down your chin. I of course ended up over-buying, and rather than commit the mortal sin of wasting produce, decided to can the excess.

You can use the outline of this recipe for just about any fruit, homemade salsa, or pre-cooked vegetables (like carrots, green beans, or beets). For more recipes specific to fruit types, head over to PickYourOwn.com, a wealth of home preservation tips. For tips on individual types of veggies, SimplyCanning.com has a whole library.
IMG_5110

Ingredients:

  • About 2 pounds peaches
  • 1 cup sugar
  • 2 cups water
  • 3-5 canning jars, lids, and rings
  • Large pot
  • Optional: Tongs, Funnel, Pressure canner

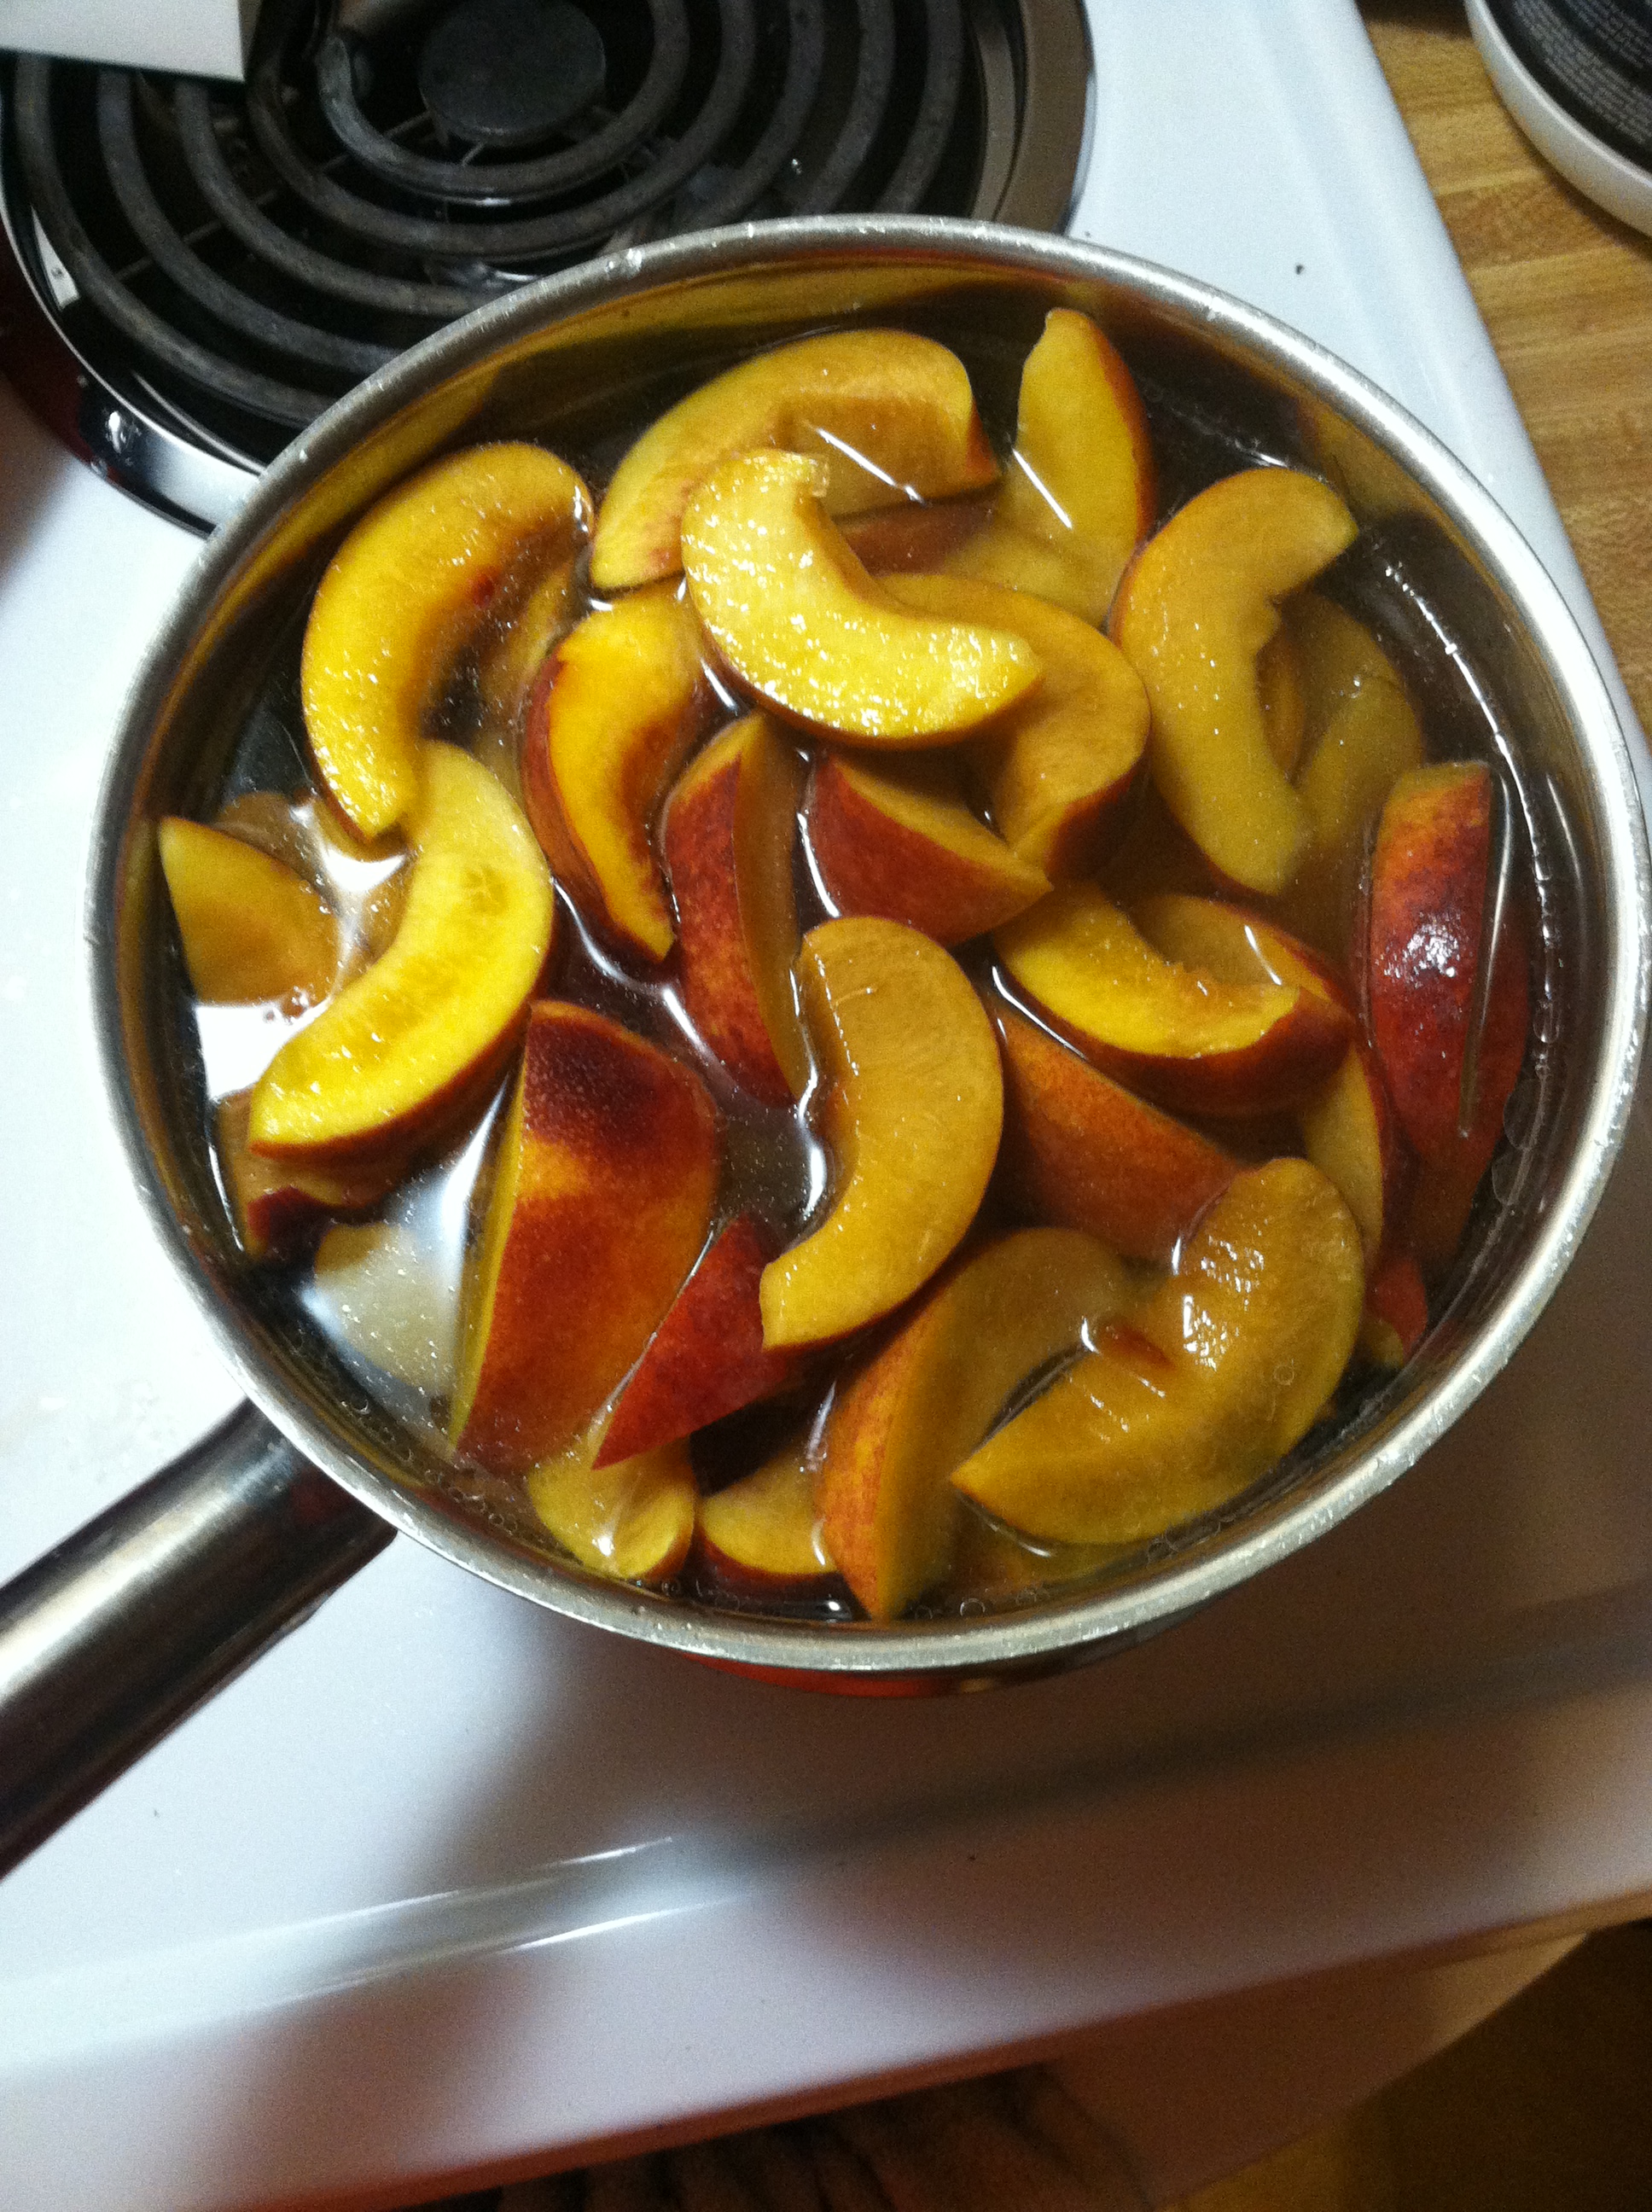
Step 1: Cut the peaches into slices. It is up to you if you want to peel them or can with peels on. To peel them, boil for 5 minutes, then submerge in ice water. The peels should slide off. I left the peels on cause I’m lazy and I like the extra nutrition.
IMG_5105

Step 2: Mix the sugar and water and bring to a boil. Stir in the peach slices, and simmer 5-10 minutes.
IMG_5106

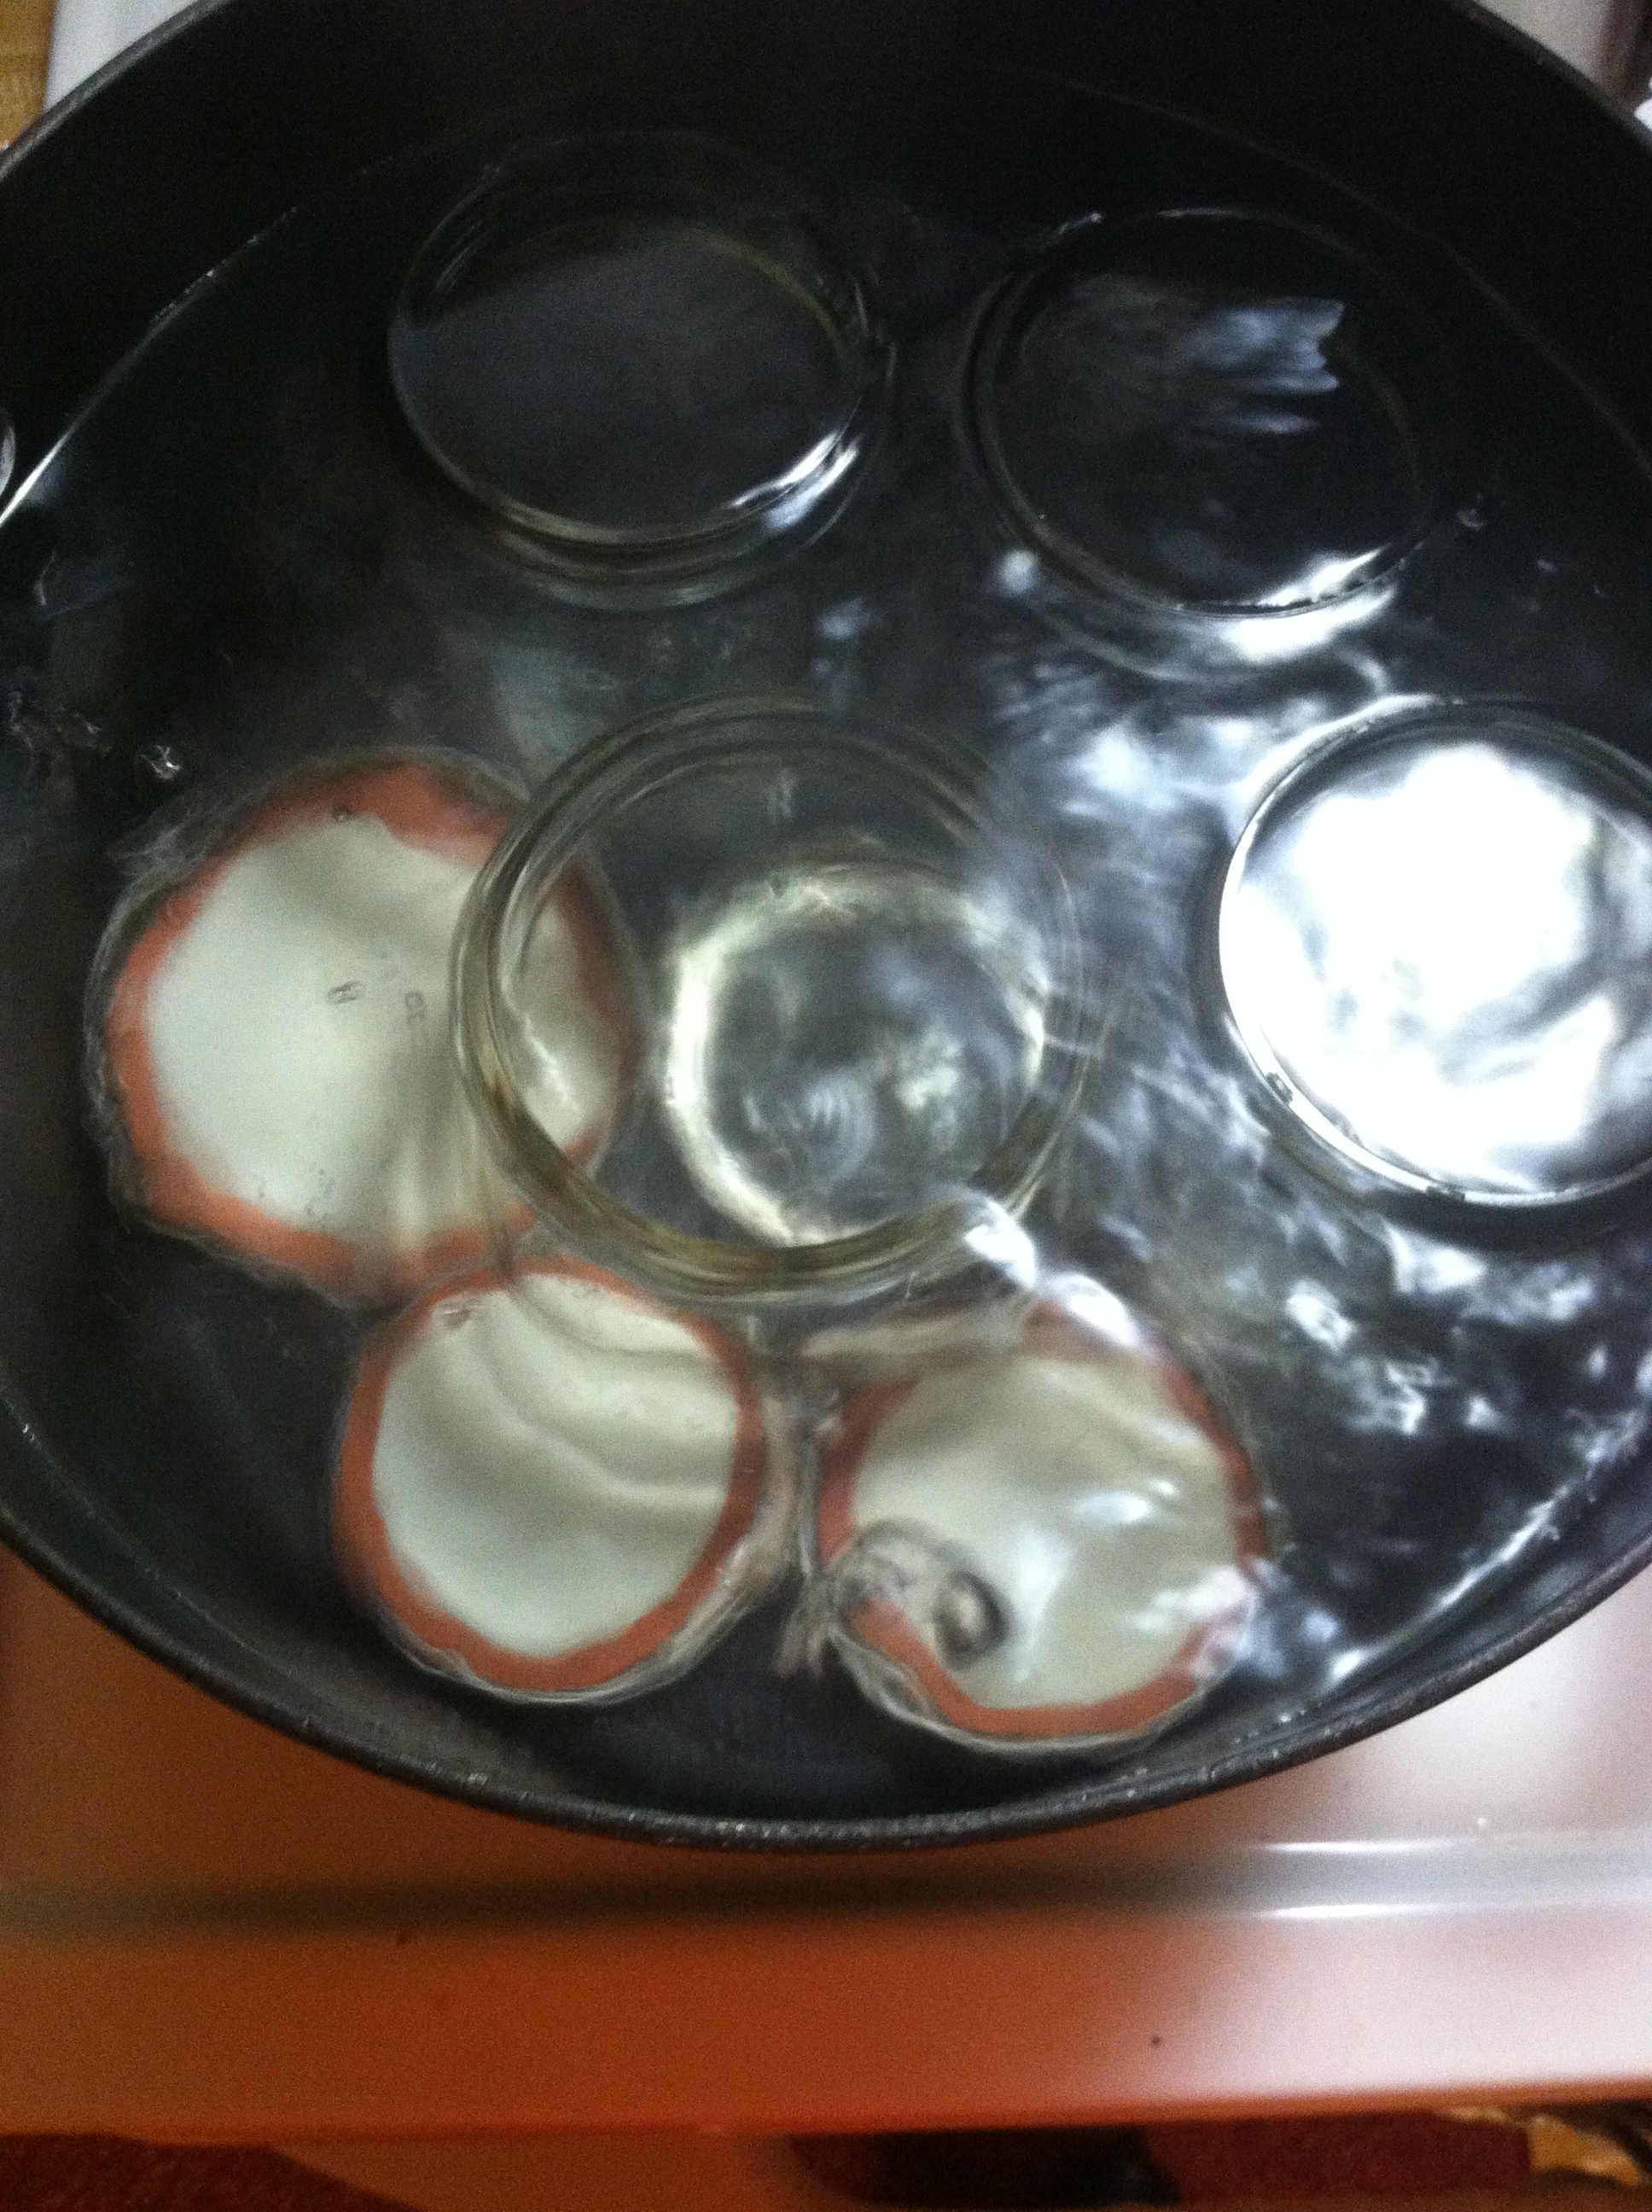
Step 3: While peaches are cooking, bring a huge pot of water to a boil with your jars, lids and rings inside. This sterilizes the jars. You can also run them through the dishwasher.

Step 4: After boiling the jars, use the tongs to pour the water out of them. Fill the jars with the peaches, using a spatula to press them down and squish in the edges. Leave 1/4-1/2 inch space, and put the lids on.

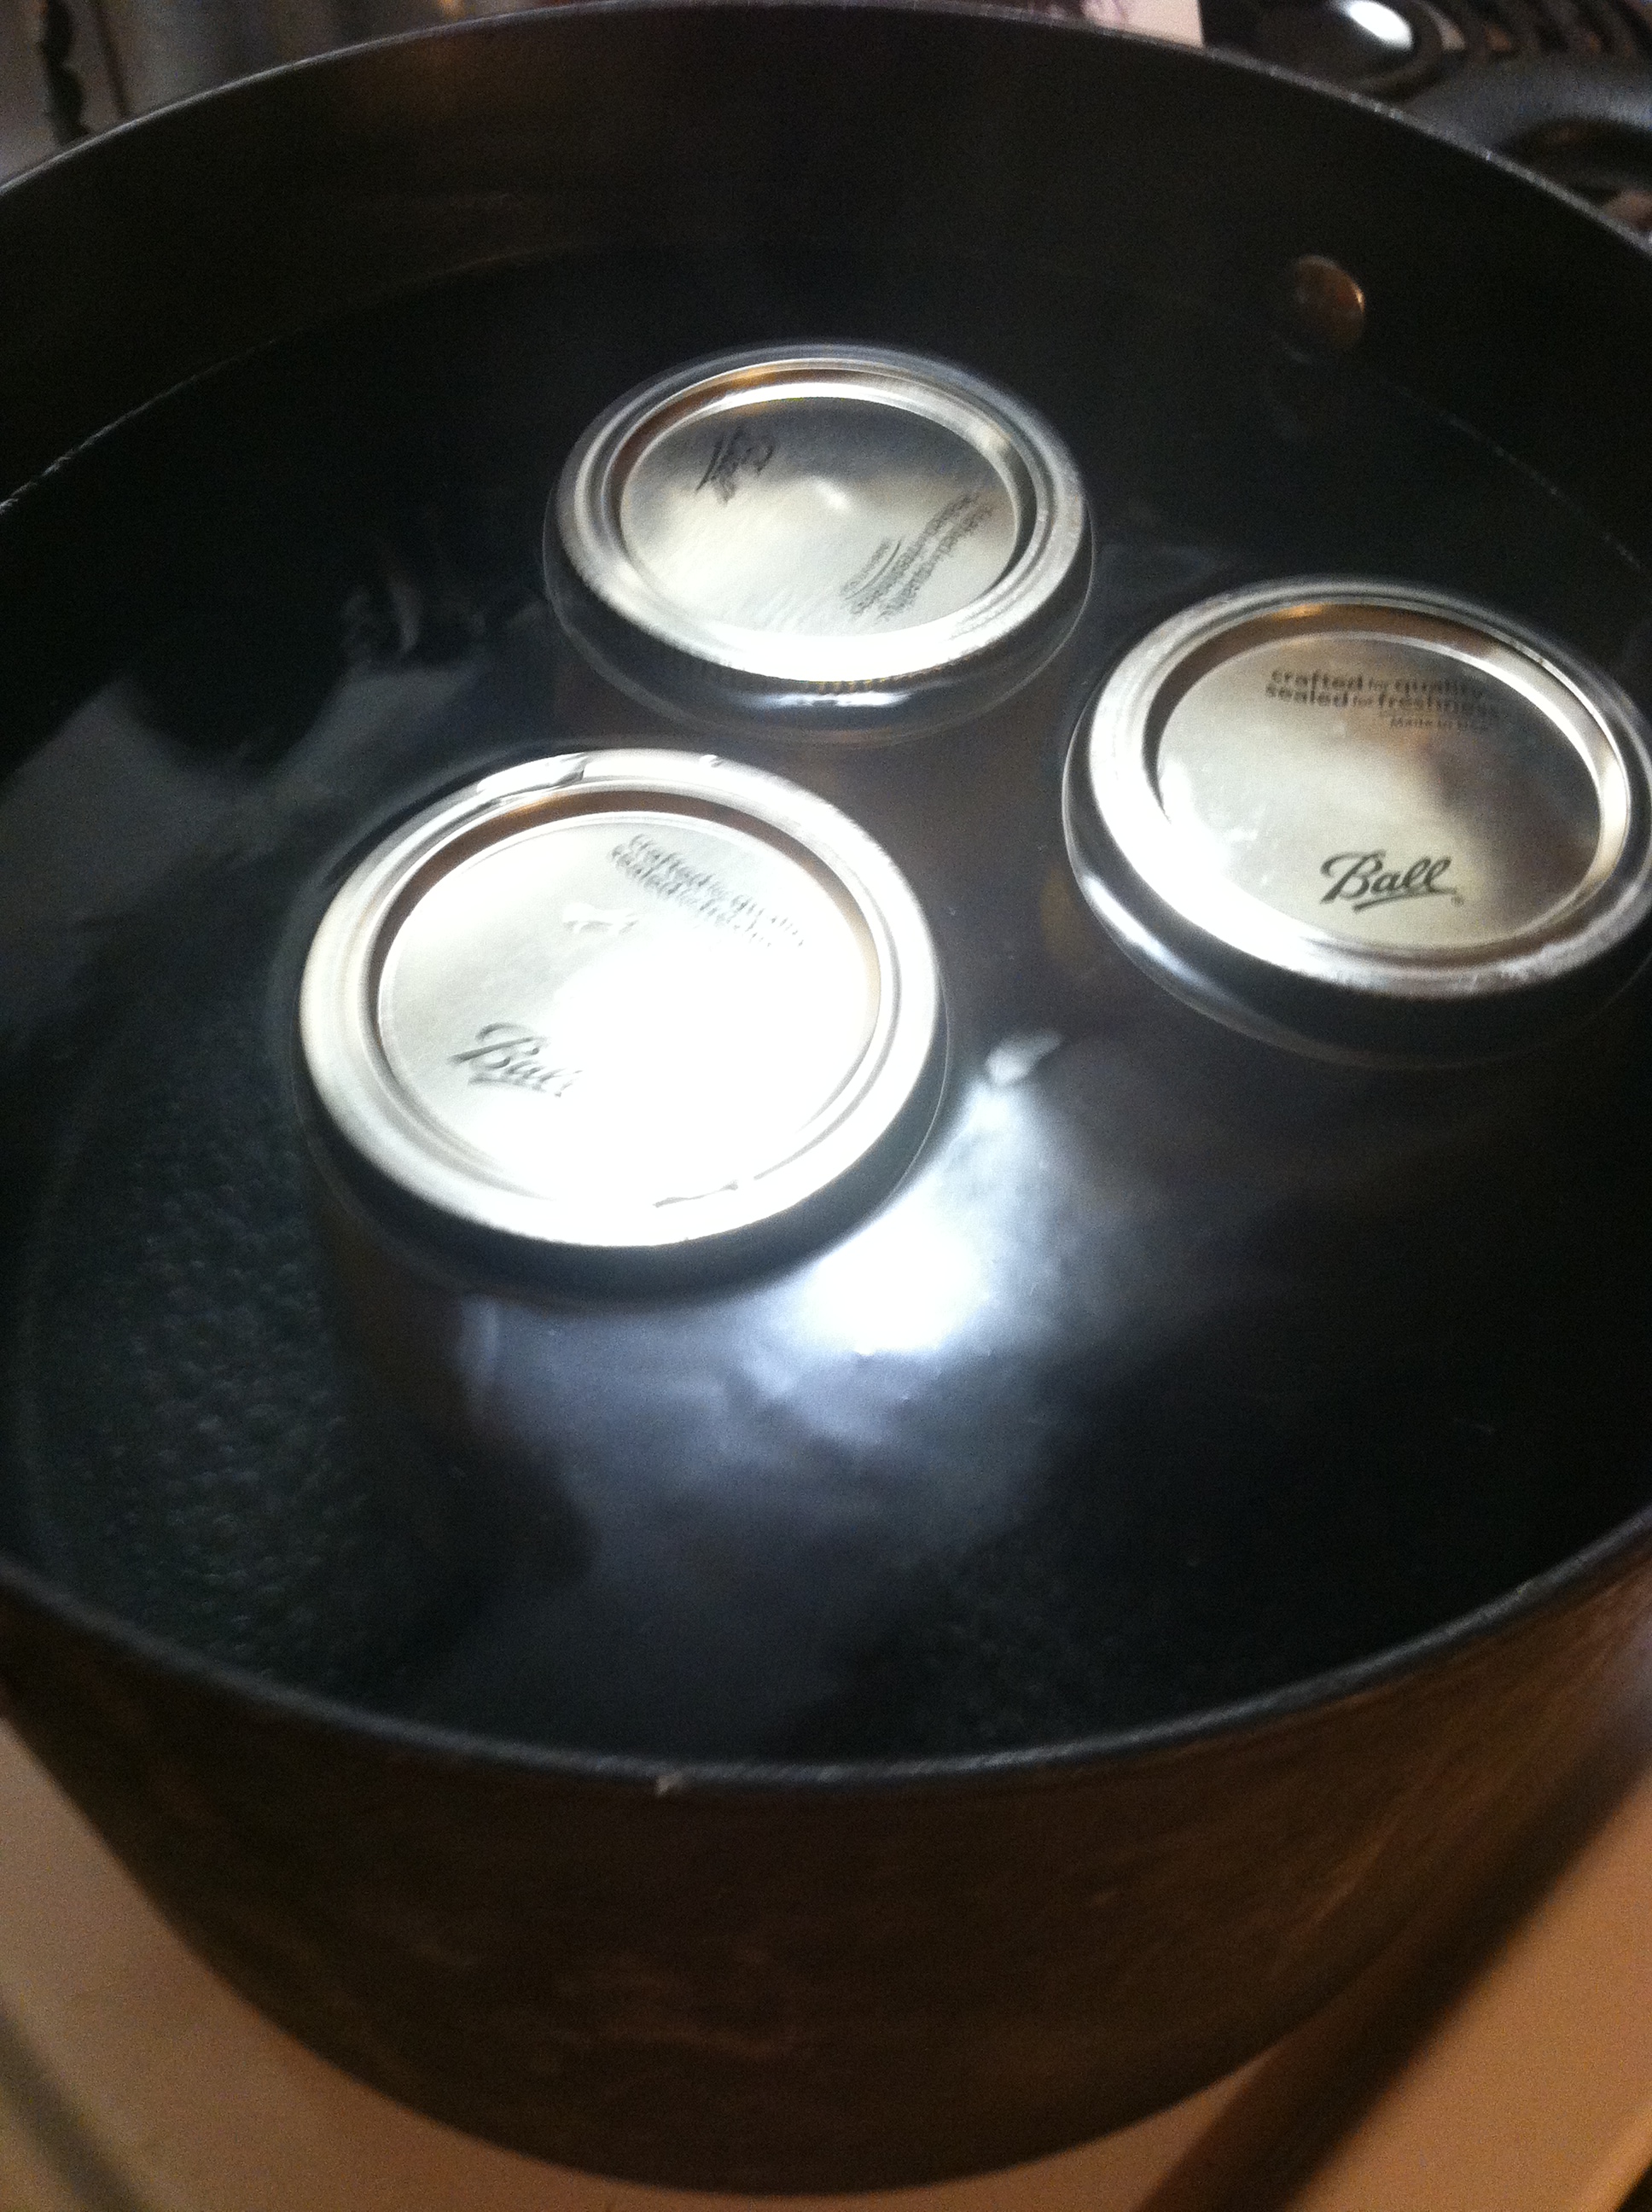
Step 5: Put the jars back into the boiling water, and process for 15-20 minutes. Make sure the jars are fully submerged. This will help kill any microbes, and seal the jars.
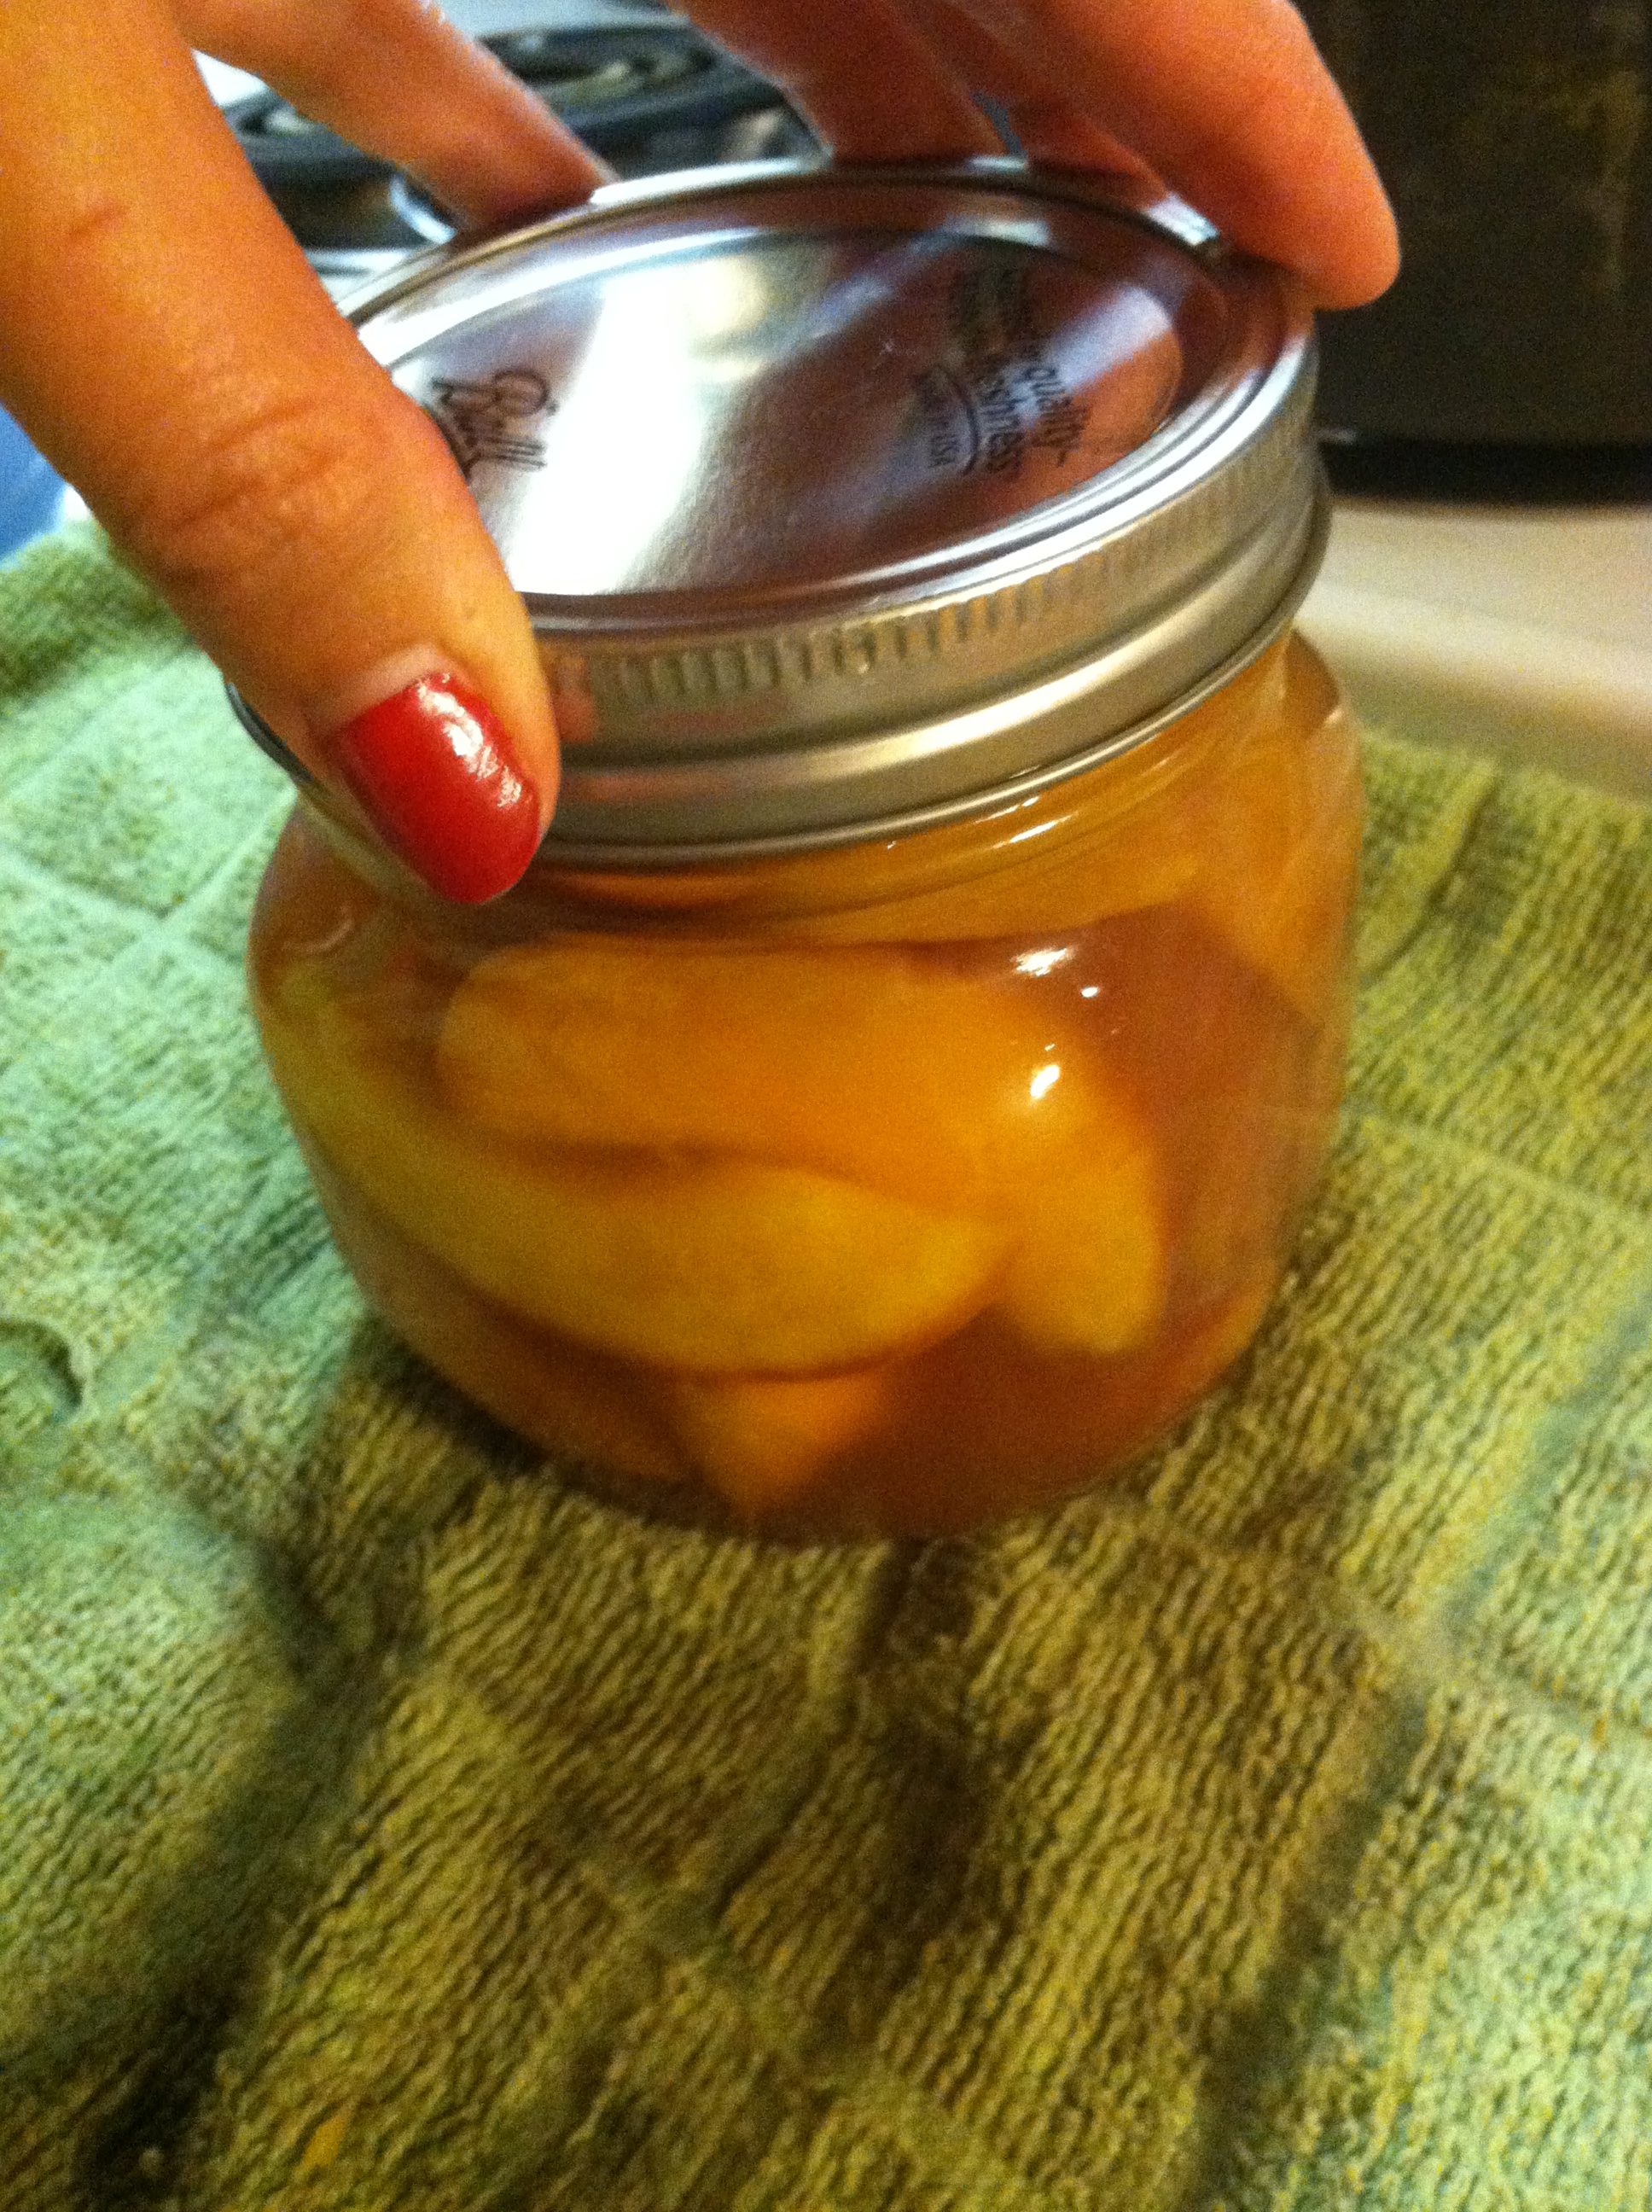
IMG_5108

Step 6: Use the tongs to remove the jars, and place on a towel or hard surface to cool. Don’t disturb the jars for 6-12 hours, or until you hear the “pop” sound of the lid sealing. If after overnight cooling any jars have not sealed (the lid won’t be sucked in, and sort of springy when you push on it) put those jars in the refrigerator and use within one month.

It is normal for some canned fruit to change color slightly over time. But if you notice extreme discoloration, a bright red, or green color, get rid of that food immediately!

Jars processed this way should be stored in cool, dark, dry areas and are good for quite a long time. If properly processed, they are theoretically good forever. But I doubt they will last that long! 😉

Happy canning!

One pot chicken pasta


As any home cook knows, the best recipes are the ones that combine as many of the following characteristics as possible:

  • Delicious – the family will eat it
  • Fast – not too much prep or cook time
  • Cheap – won’t break the budget
  • Easy cleanup – because who likes dishes?
  • Healthy – because duh

Luckily for you, this recipe combines all those things! In one pan, in under 30 minutes, using frozen, canned, and pantry items, you can have a family-pleasing, heart-healthy, budget and waistline friendly meal on the table.
Ingredients:

  • 2 large frozen chicken breasts (or thawed)
  • 2/3 cup lentils (or other bean if canned)
  • 1 can diced tomatoes
  • 1 cup water or stock
  • 1 pound pasta
  • 1 cup chopped veggies and/or fresh spinach
  • Seasonings of choice – I used garlic salt and some dried onion

IMG_4820

Step 1: In a pan, combine the lentils, water, tomatoes, and chicken. Bring to a boil, then simmer covered. Cook for 10-15 minutes and turn chicken.

IMG_4821

Step 2: Add the pasta (and more water if you need it) and bring back to a boil. Simmer covered another 7-8 minutes.

IMG_4822

Step 3: Add in any fresh chopped veggies for the final 5 minutes or so of cooking.

IMG_4823

The spinach I threw in last. You could also make this in a crock pot on low for several hours. Make sure the chicken is fully cooked (cut into it and be sure there is no pink) before serving.

If you want to turn this into a soup, you could do so easily by adding more water. If you want a thicker sauce, let boil uncovered a few minutes to thicken.

Less than 5: Quick Miso Soup


I am a huge fan of most all Japanese foods, especially sushi. As evidenced from my ill-fated attempts at Salmon Nigiri and Lazy Won-Ton Soup, I am by no means a Japanese chef. But I do try, so I feel like I get some credit for that.

This is my super fast and easy imitation miso soup. Keep in mind I had no miso paste, which kinda makes the soup… so if you do, add that! If not, this is sort of close. You will need some specialized ingredients, but honestly most common grocery stores like King Soopers are now carrying similar items in their “ethnic” section.

Ingredients:

  • 1 bunch scallions
  • 1 tbsp duck paste (you can use chicken bouillon too)
  • 2-3 sheets seaweed
  • 1/2 block tofu
  • Optional: 1 pack ramen noodles

IMG_4837

Step 1: Slice the tofu into small squares. Cut the seaweed into strips. Slice all the green part of the scallions diagonally.

IMG_4838

Step 2: Bring the water to a boil and stir in the duck paste or chicken bouillon. Add the scallions, seaweed, and tofu. And that’s it!

IMG_4839

This soup is delightfully salty and packs a heavy umami punch.

IMG_4840

Add some glass or ramen noodles for extra filling power. You can have this soup as an appetizer, part of a light lunch, or as a whole meal. Quite healthy, if you’re ok with a high-ish sodium content… you can omit the bouillon but the taste will suffer.

Easy Apple Crumble


This is one of my all-time favorite desserts! Apples are in abundance in the fall, but readily available all year round. So there is no excuse not to make this often.

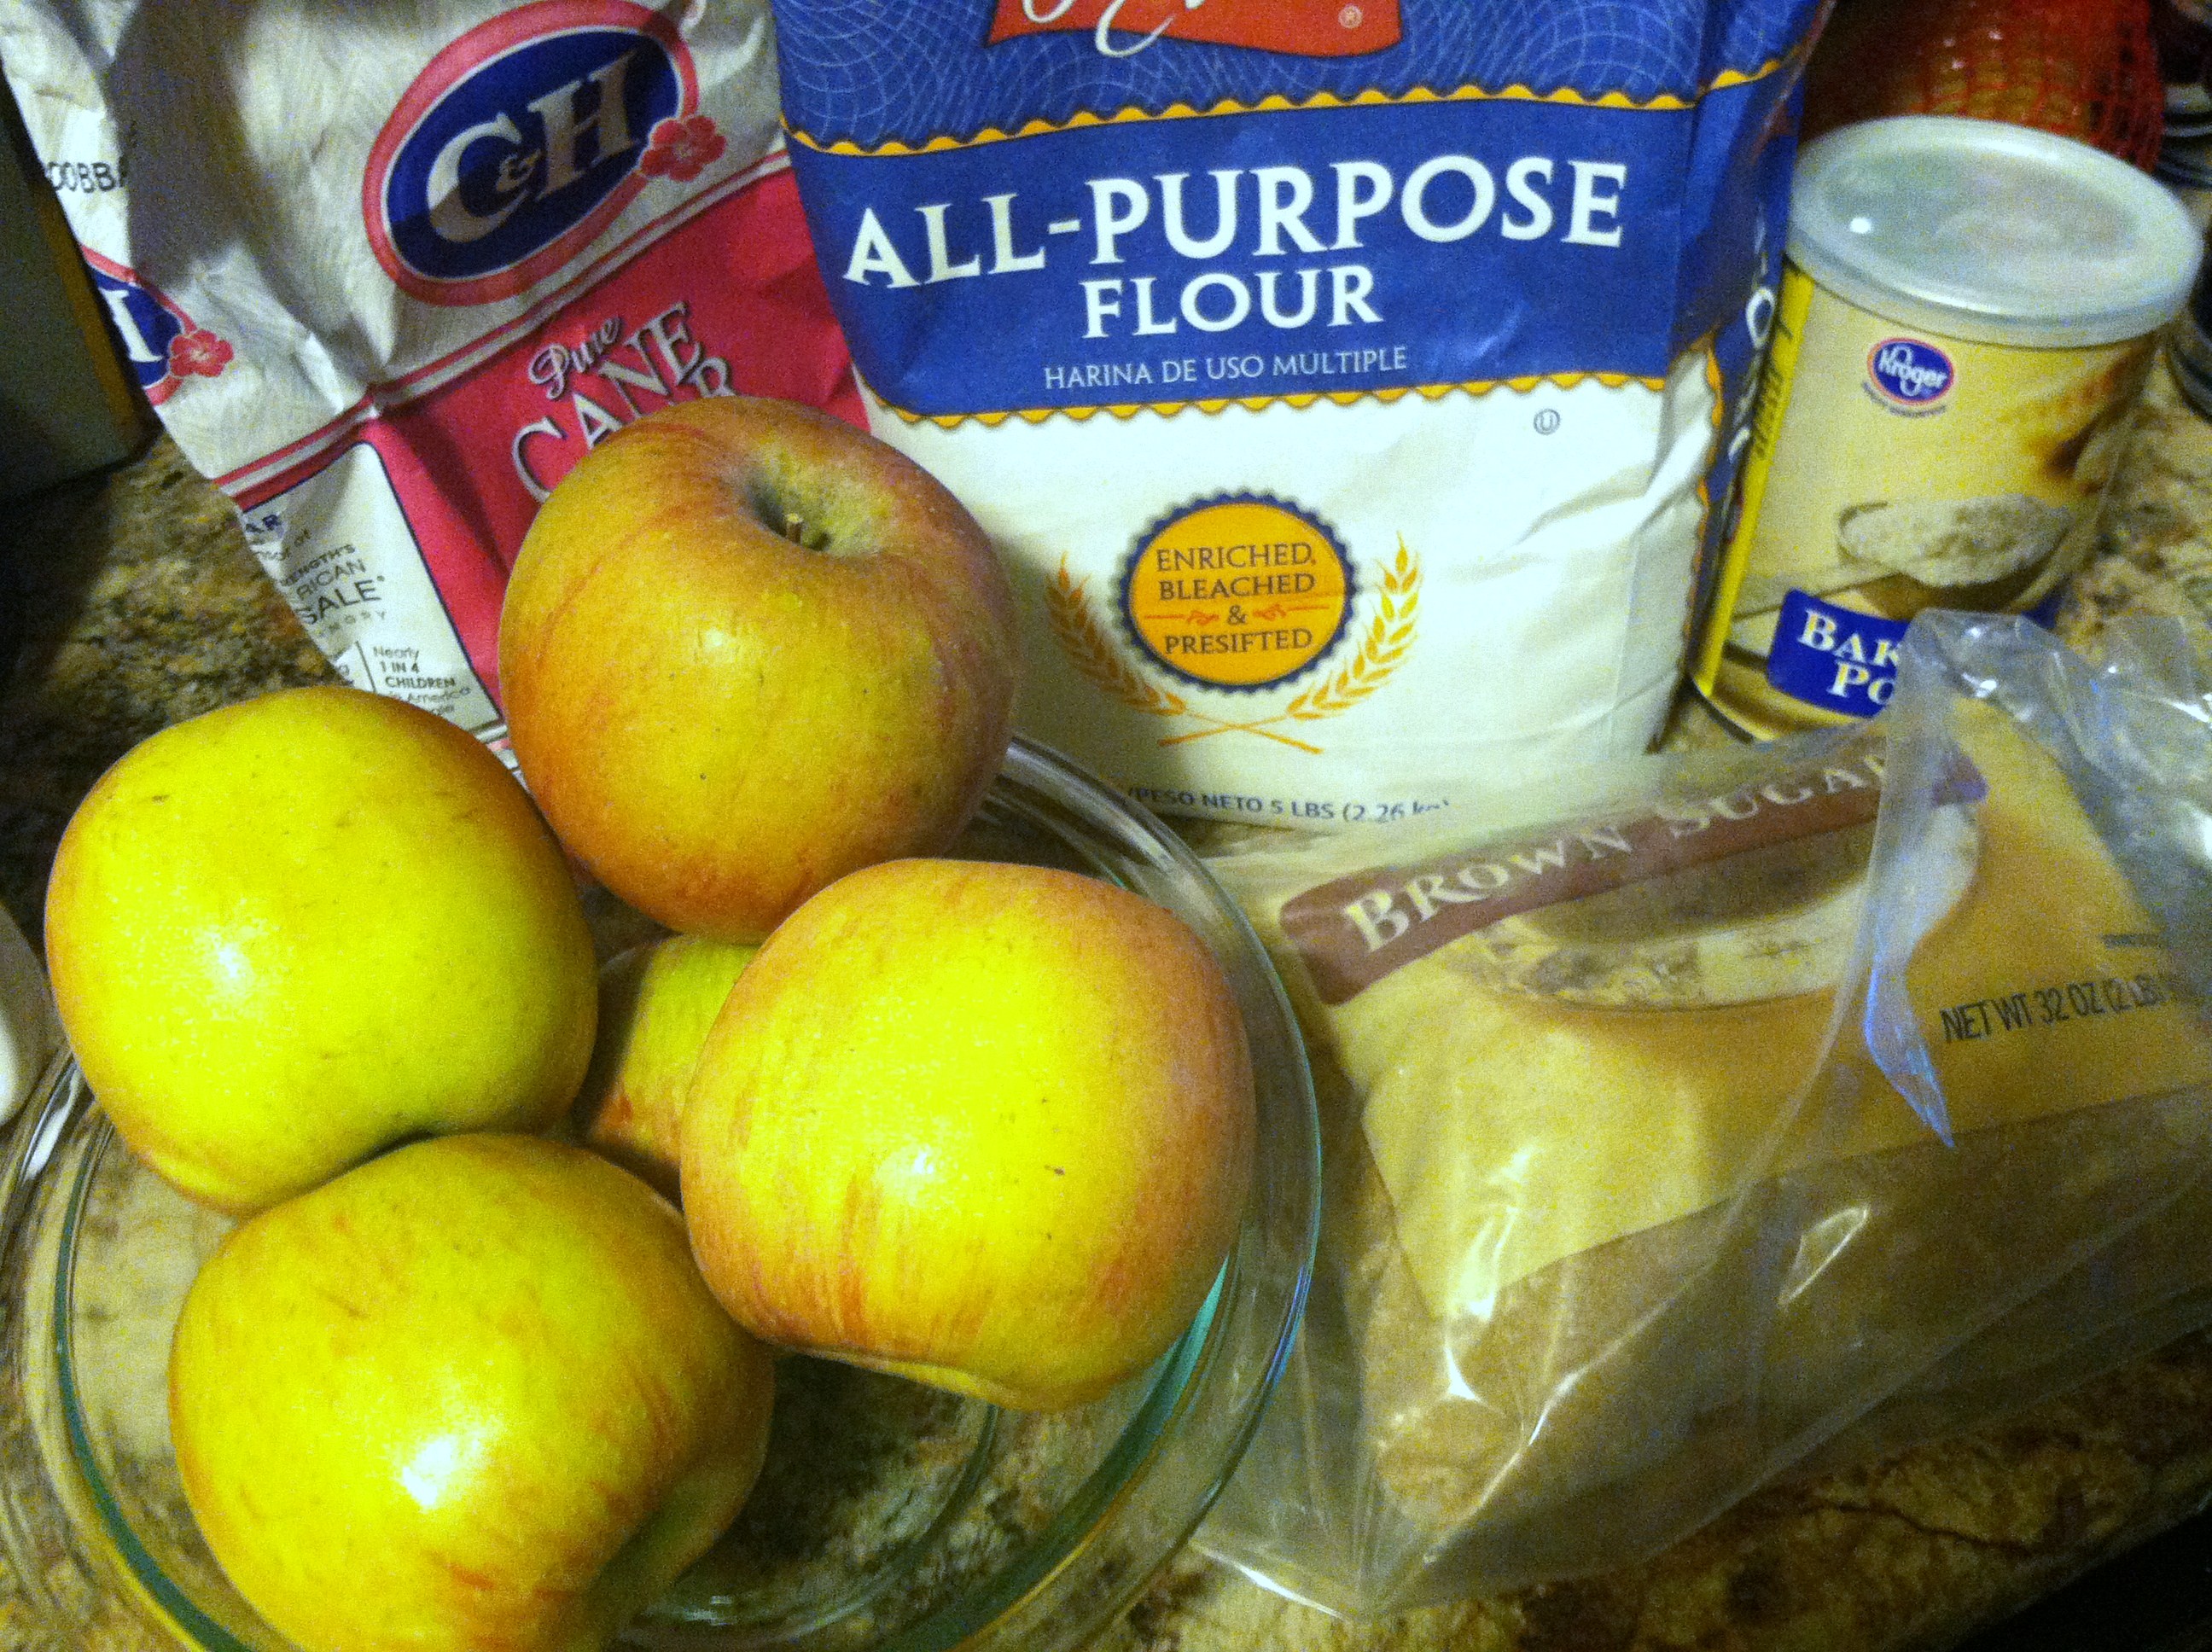
Ingredients:

  • 2-3 pounds apples
  • 1 cup flour
  • 1/3 cup sugar
  • 1/3 cup brown sugar
  • 1 tbsp baking powder
  • 1 cup oats
  • 1 stick butter
  • 1 tbsp vanilla
  • 1/2 tbsp cinnamon
  • 1/2 tbsp nutmeg

IMG_4517

Step 1: In a large bowl, mix the oats, flour, sugar, baking powder, and half the cinnamon and nutmeg.

IMG_4518

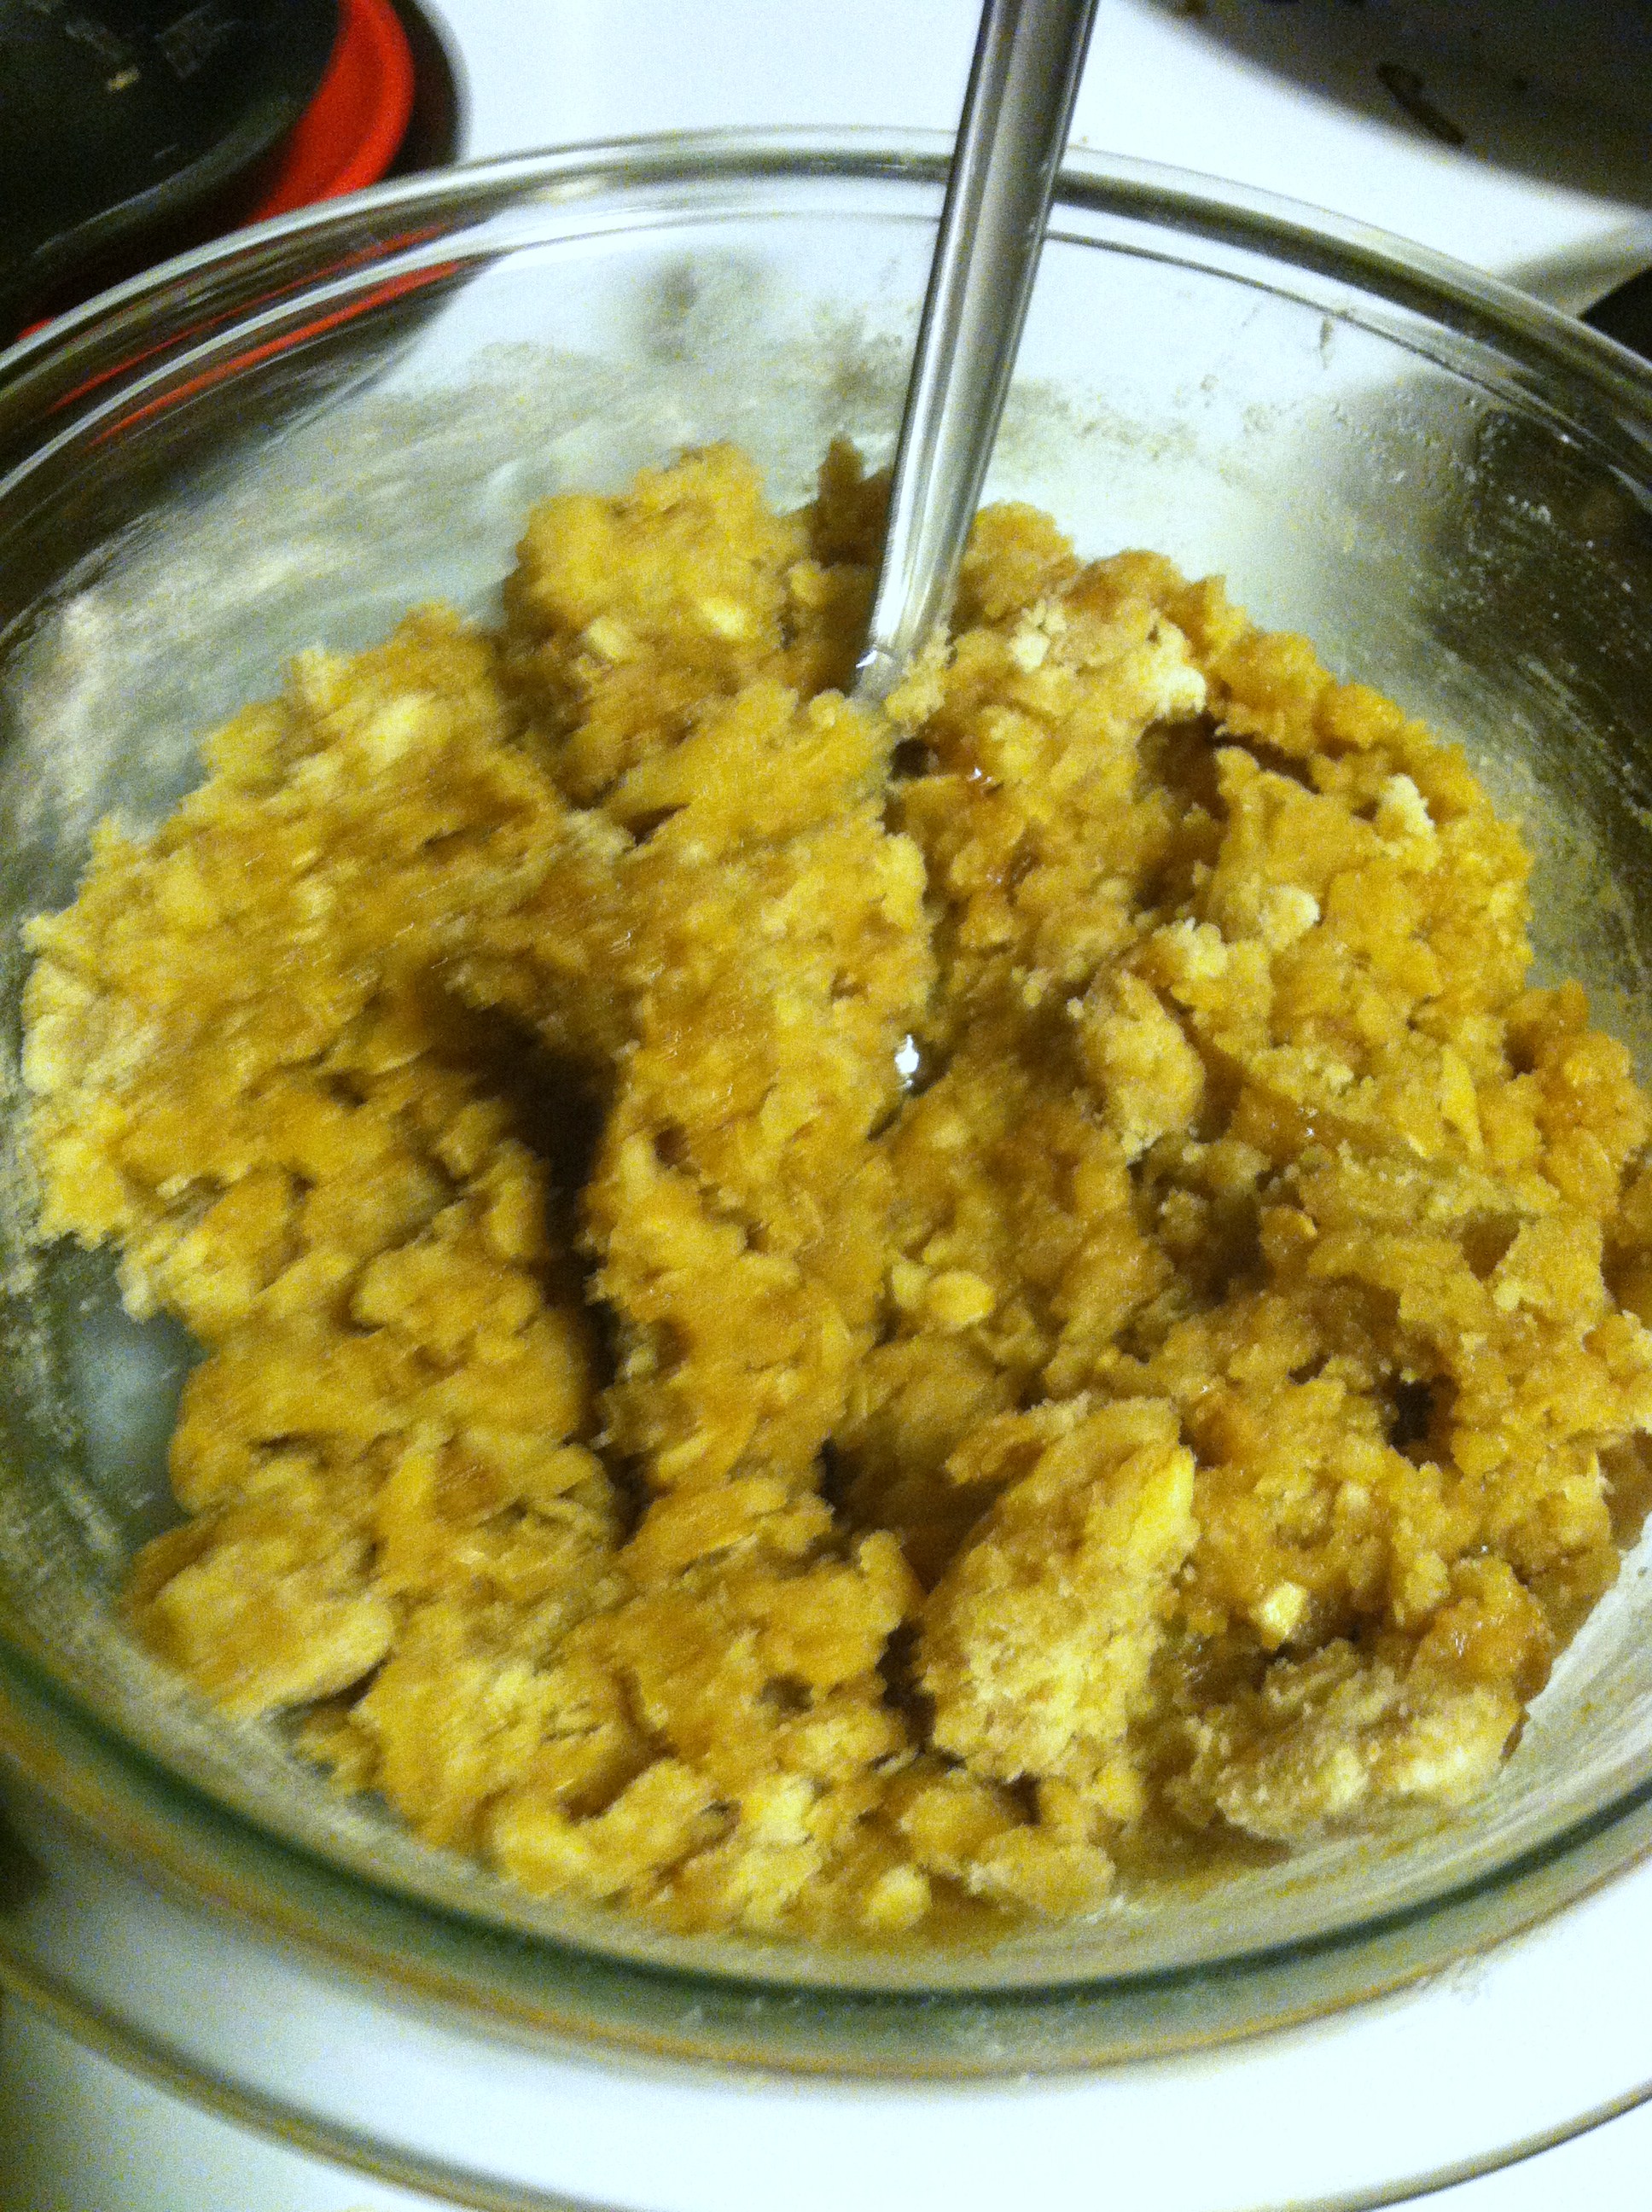
Step 2: Melt the butter, and mix that in to form a crumbly dough.

IMG_4521

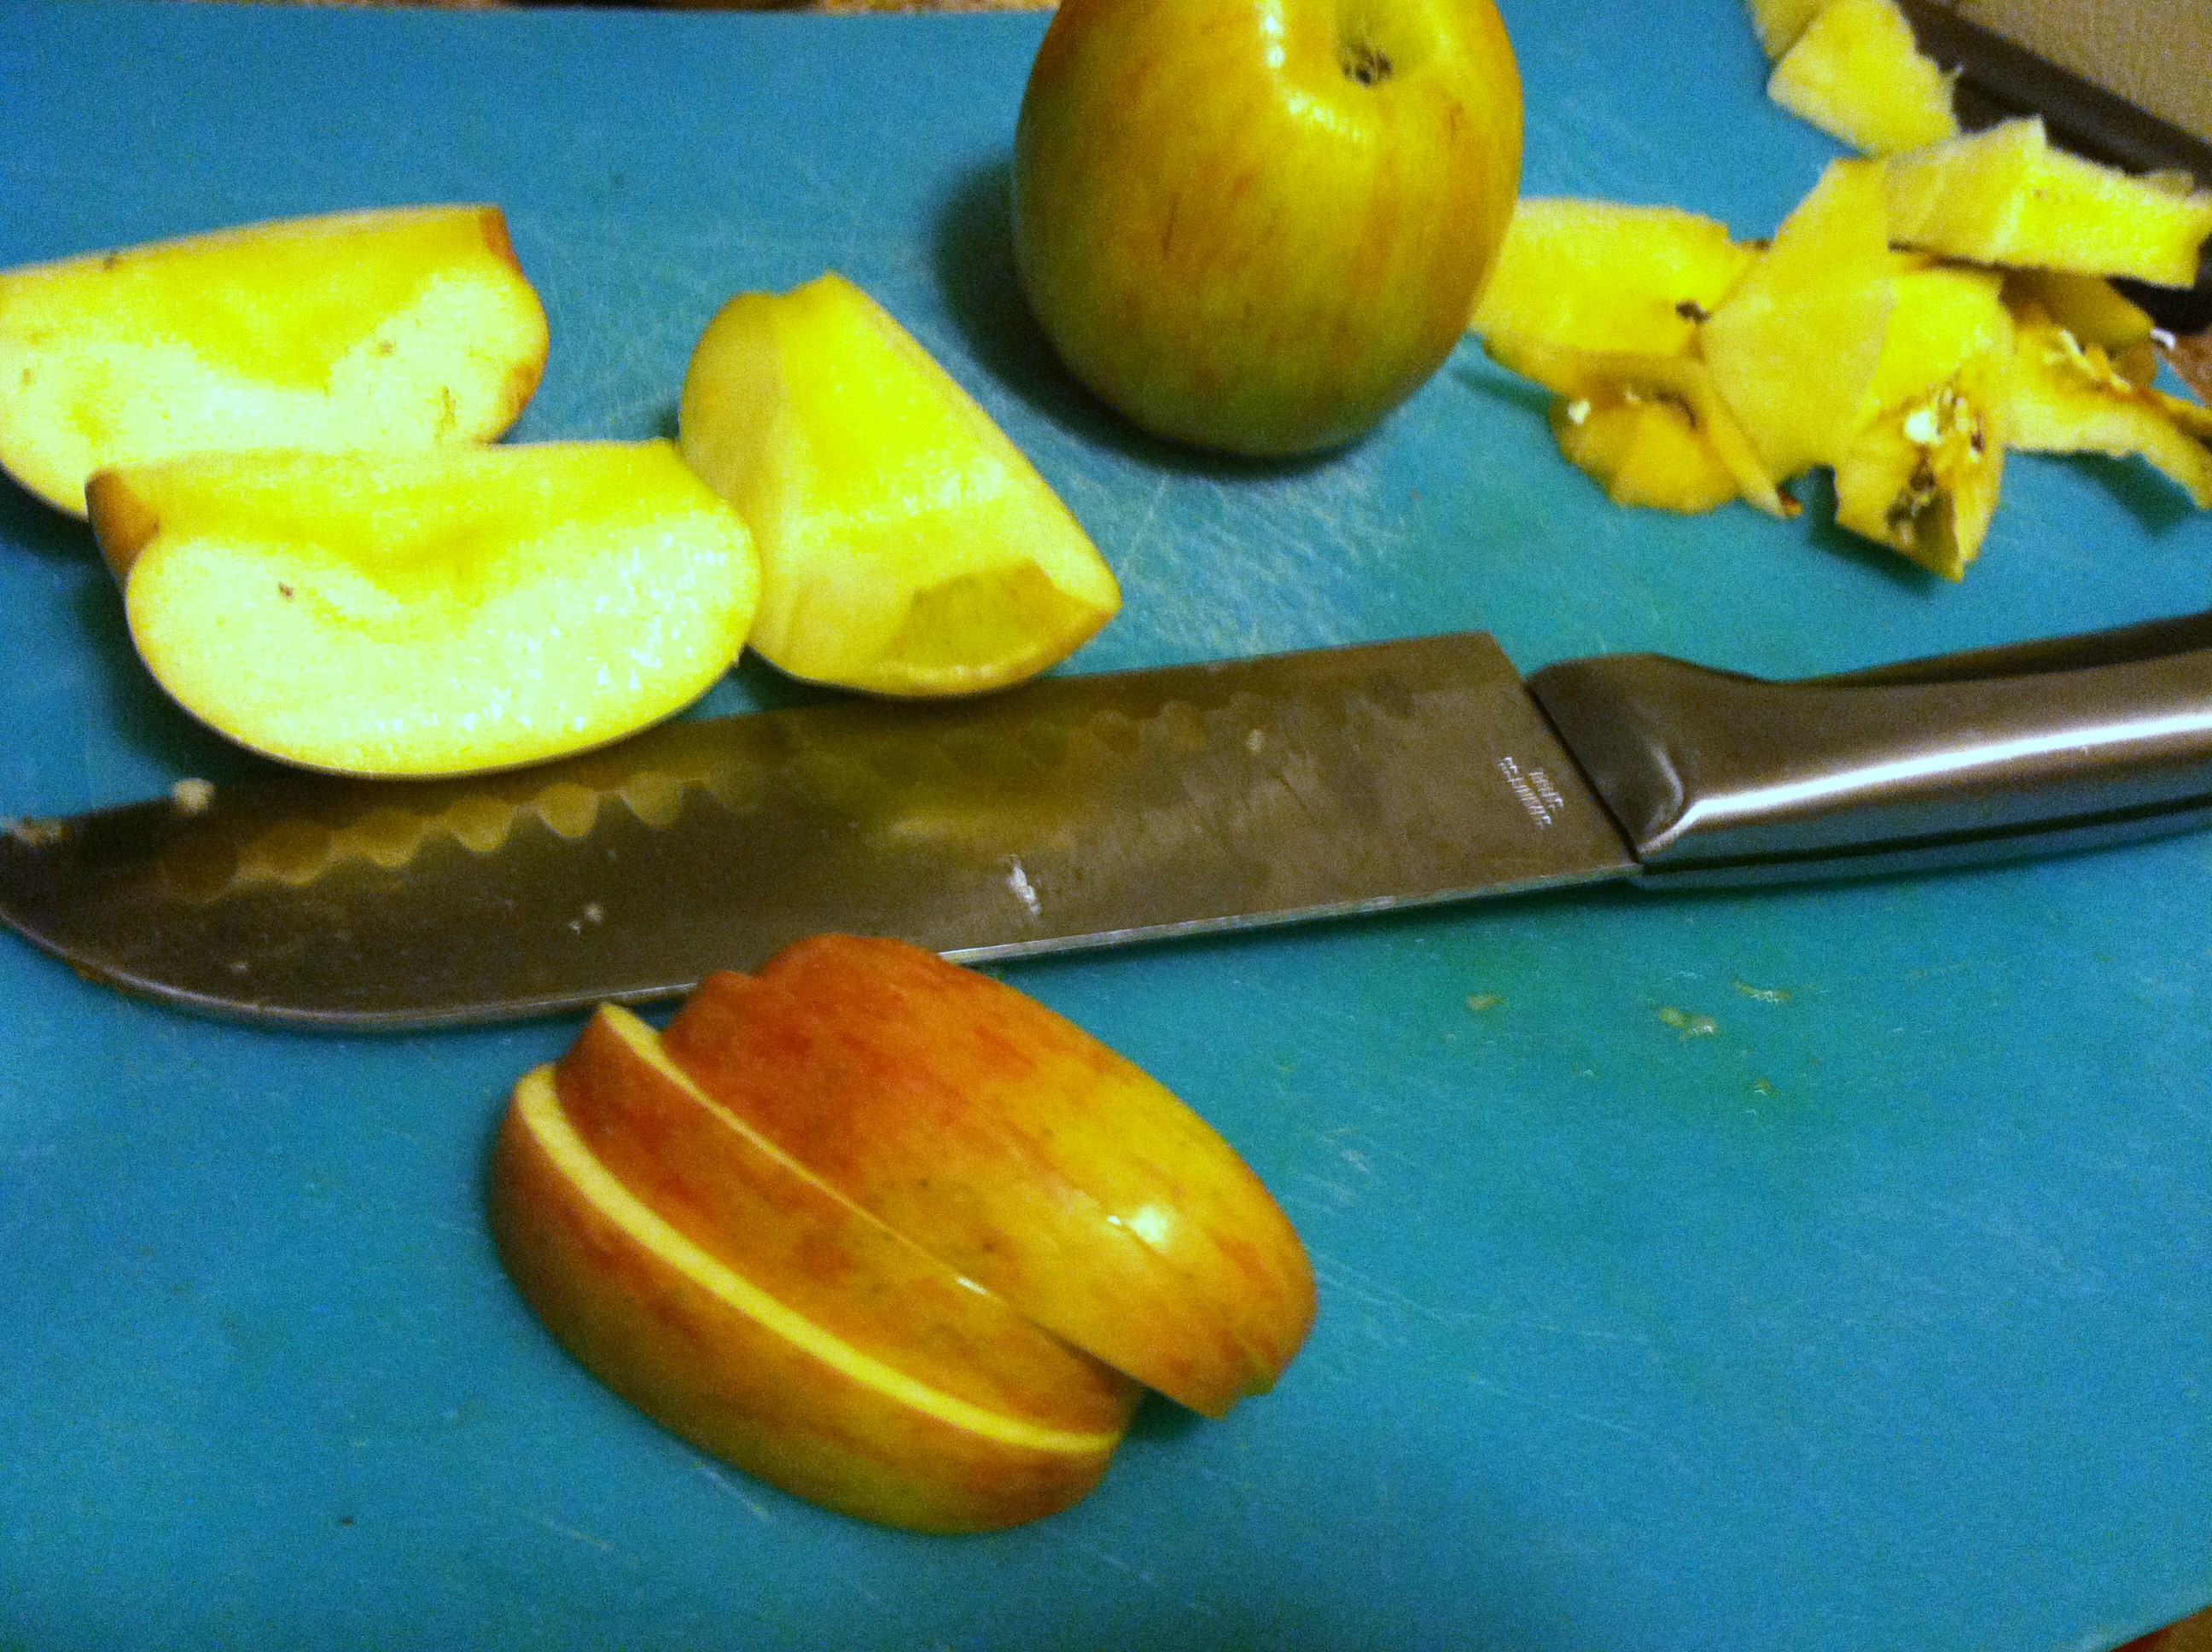
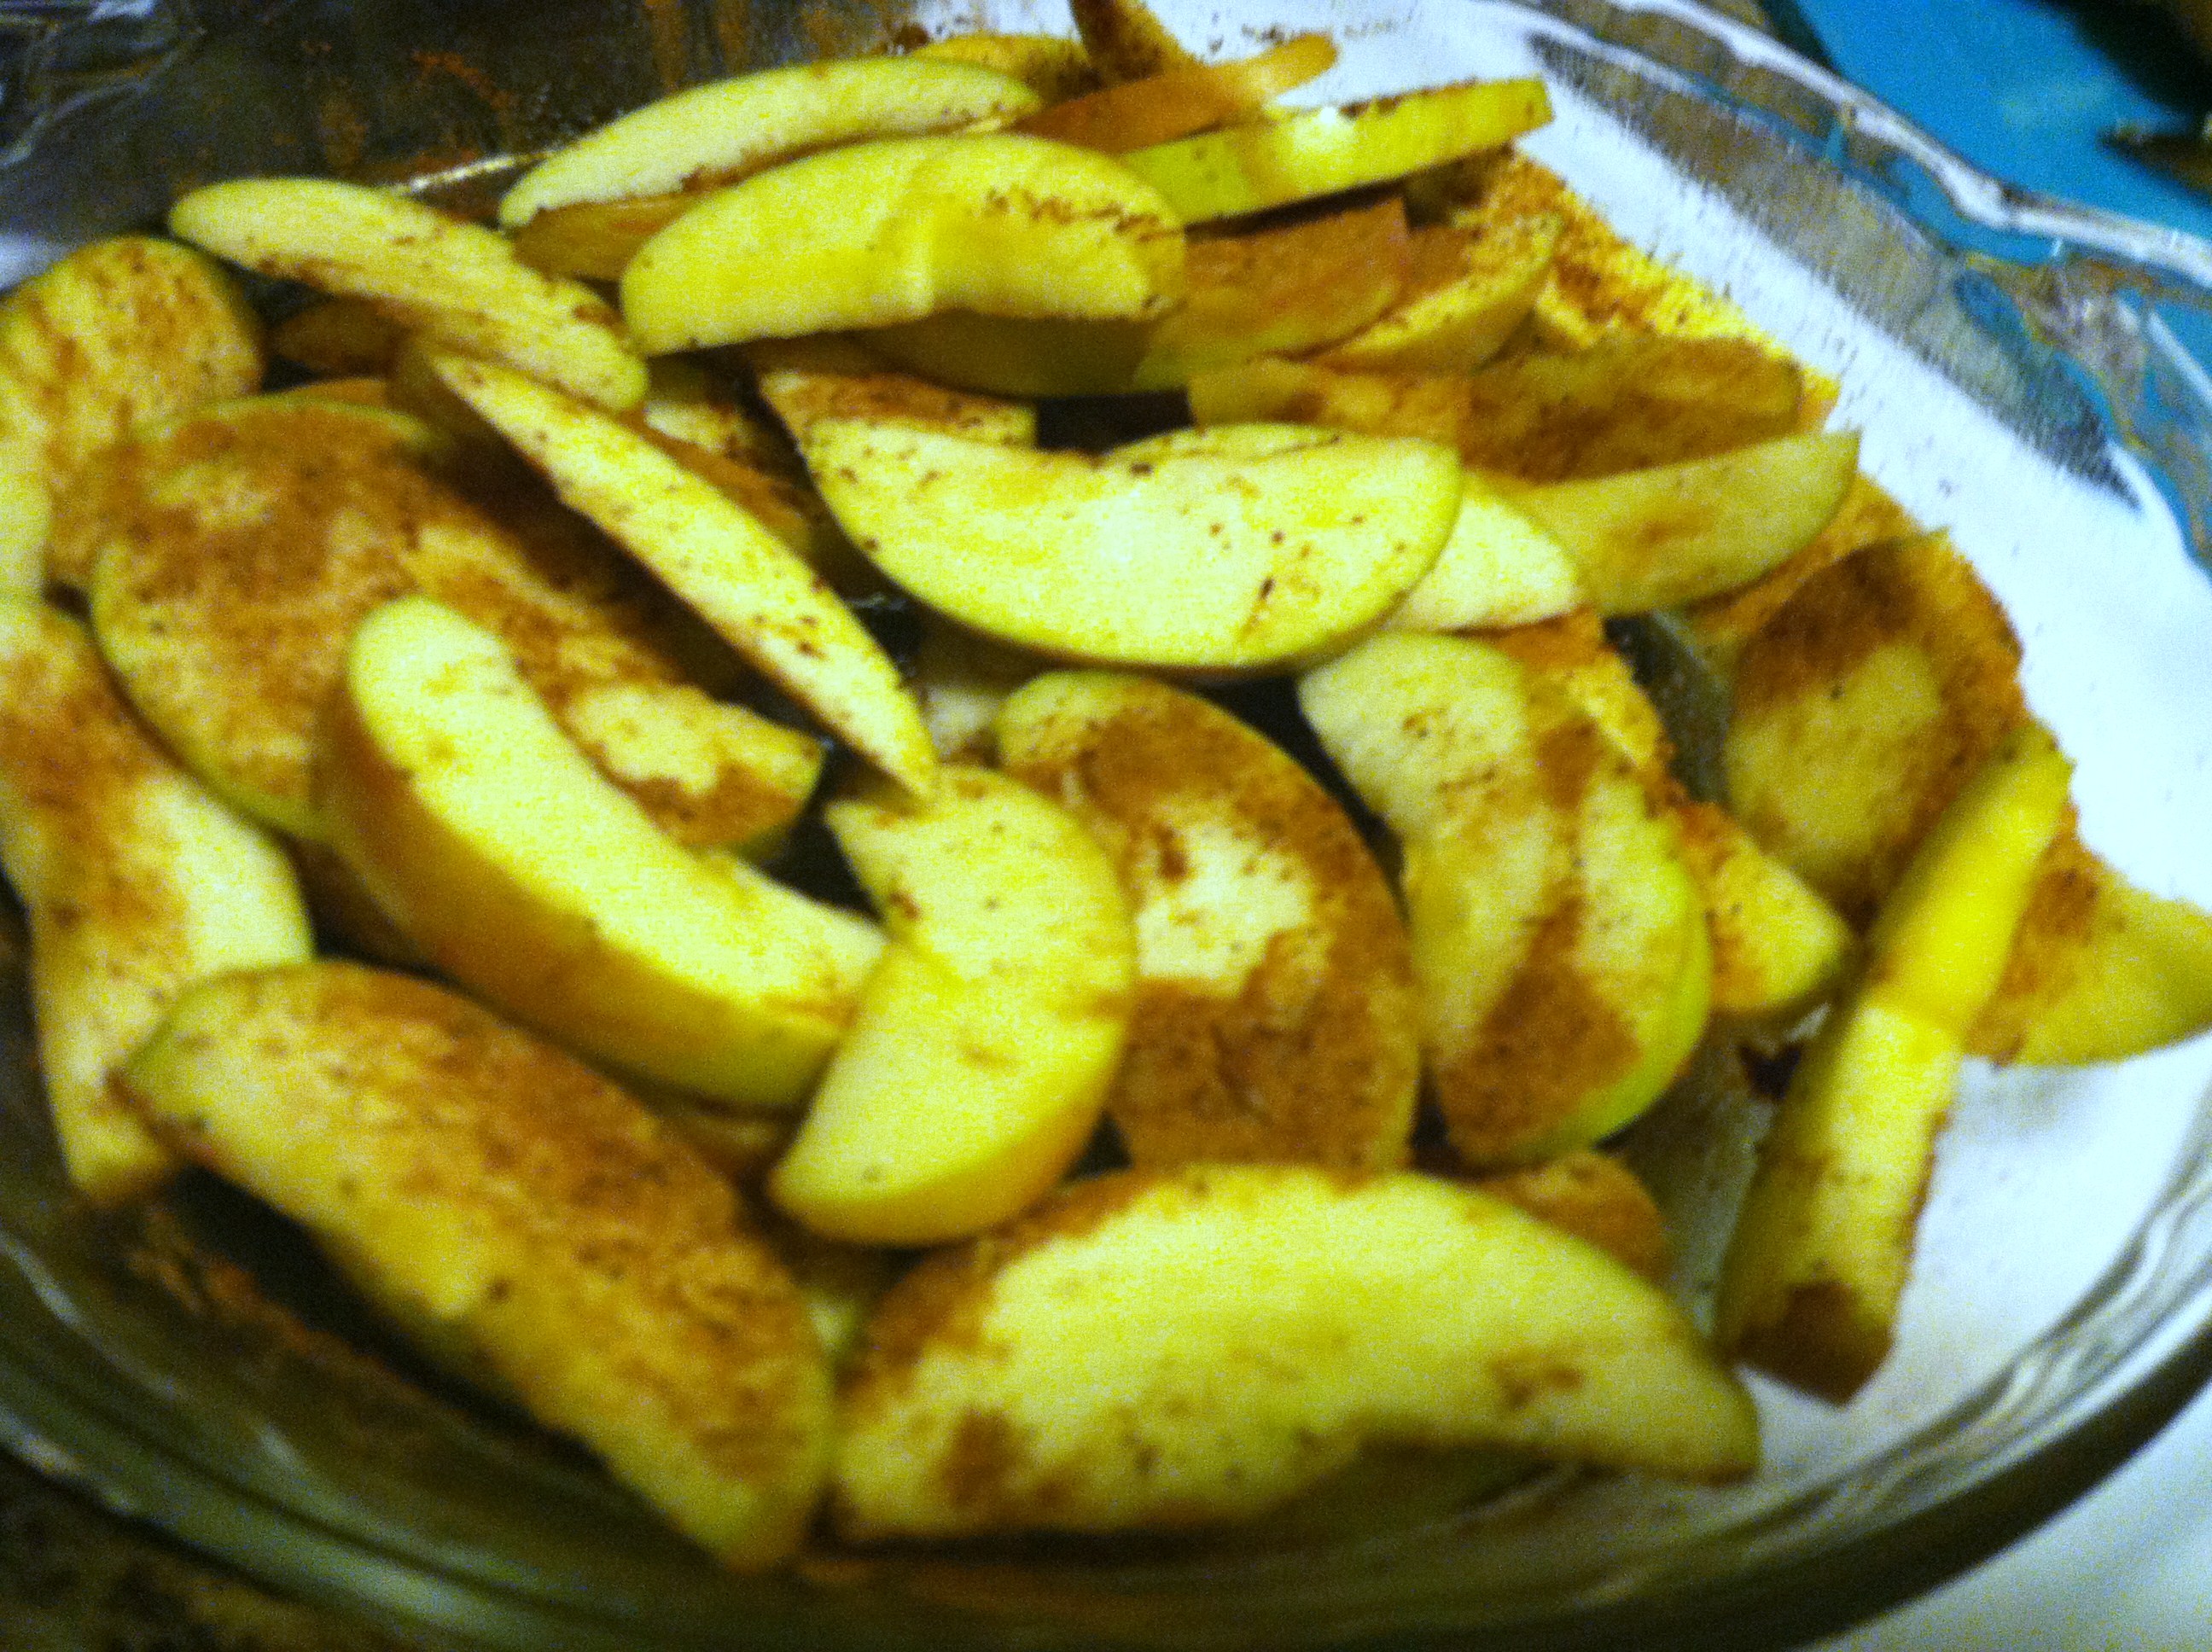
Step 3: Slice up all the apples. You can peel them first, or leave the peel on. I like leaving the peel on for extra nutrients and texture.

IMG_4519

Step 4: Sprinkle the rest of the cinnamon & nutmeg and a little sugar over the apple slices. Layer them in a sprayed pie pan or 8×8 pan.

IMG_4528

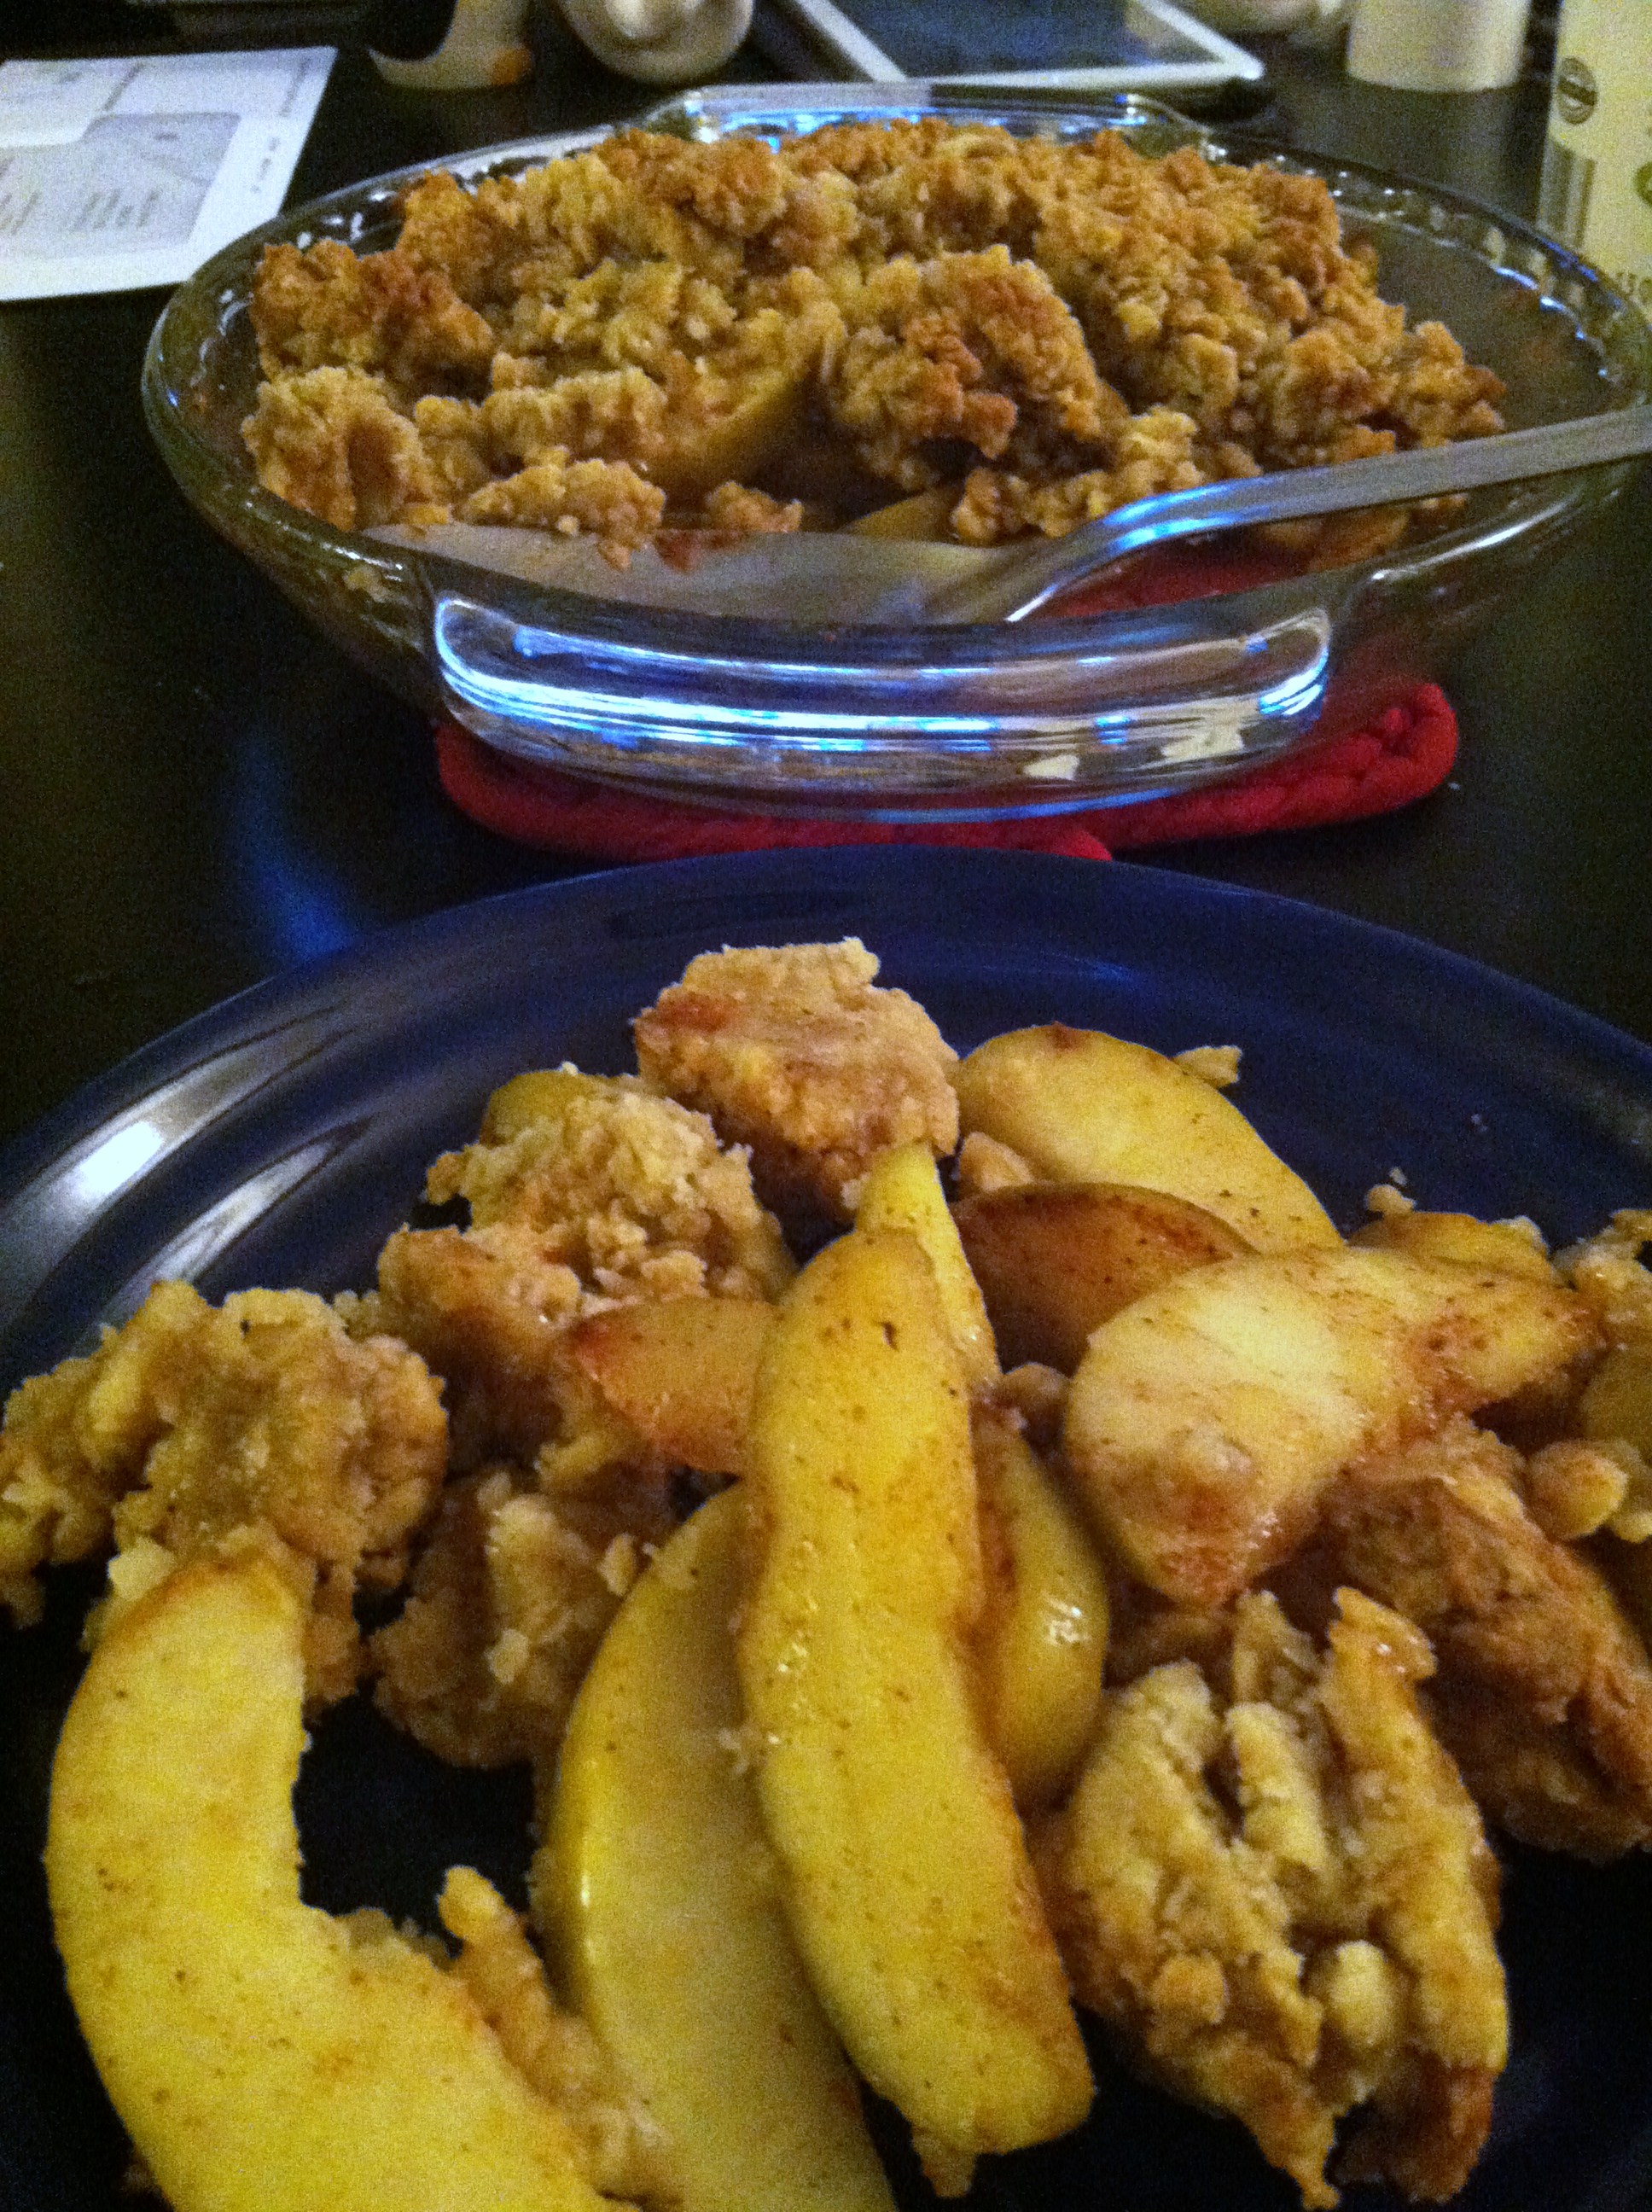
Step 5: Bake at 350 for 45-60 minutes, until top is nicely browned and apples are soft and bubbly.

IMG_4531

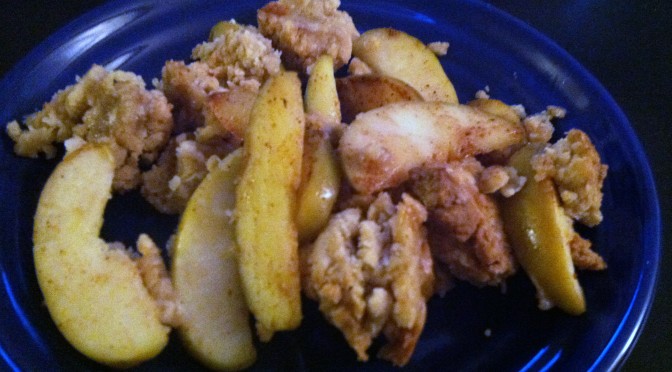
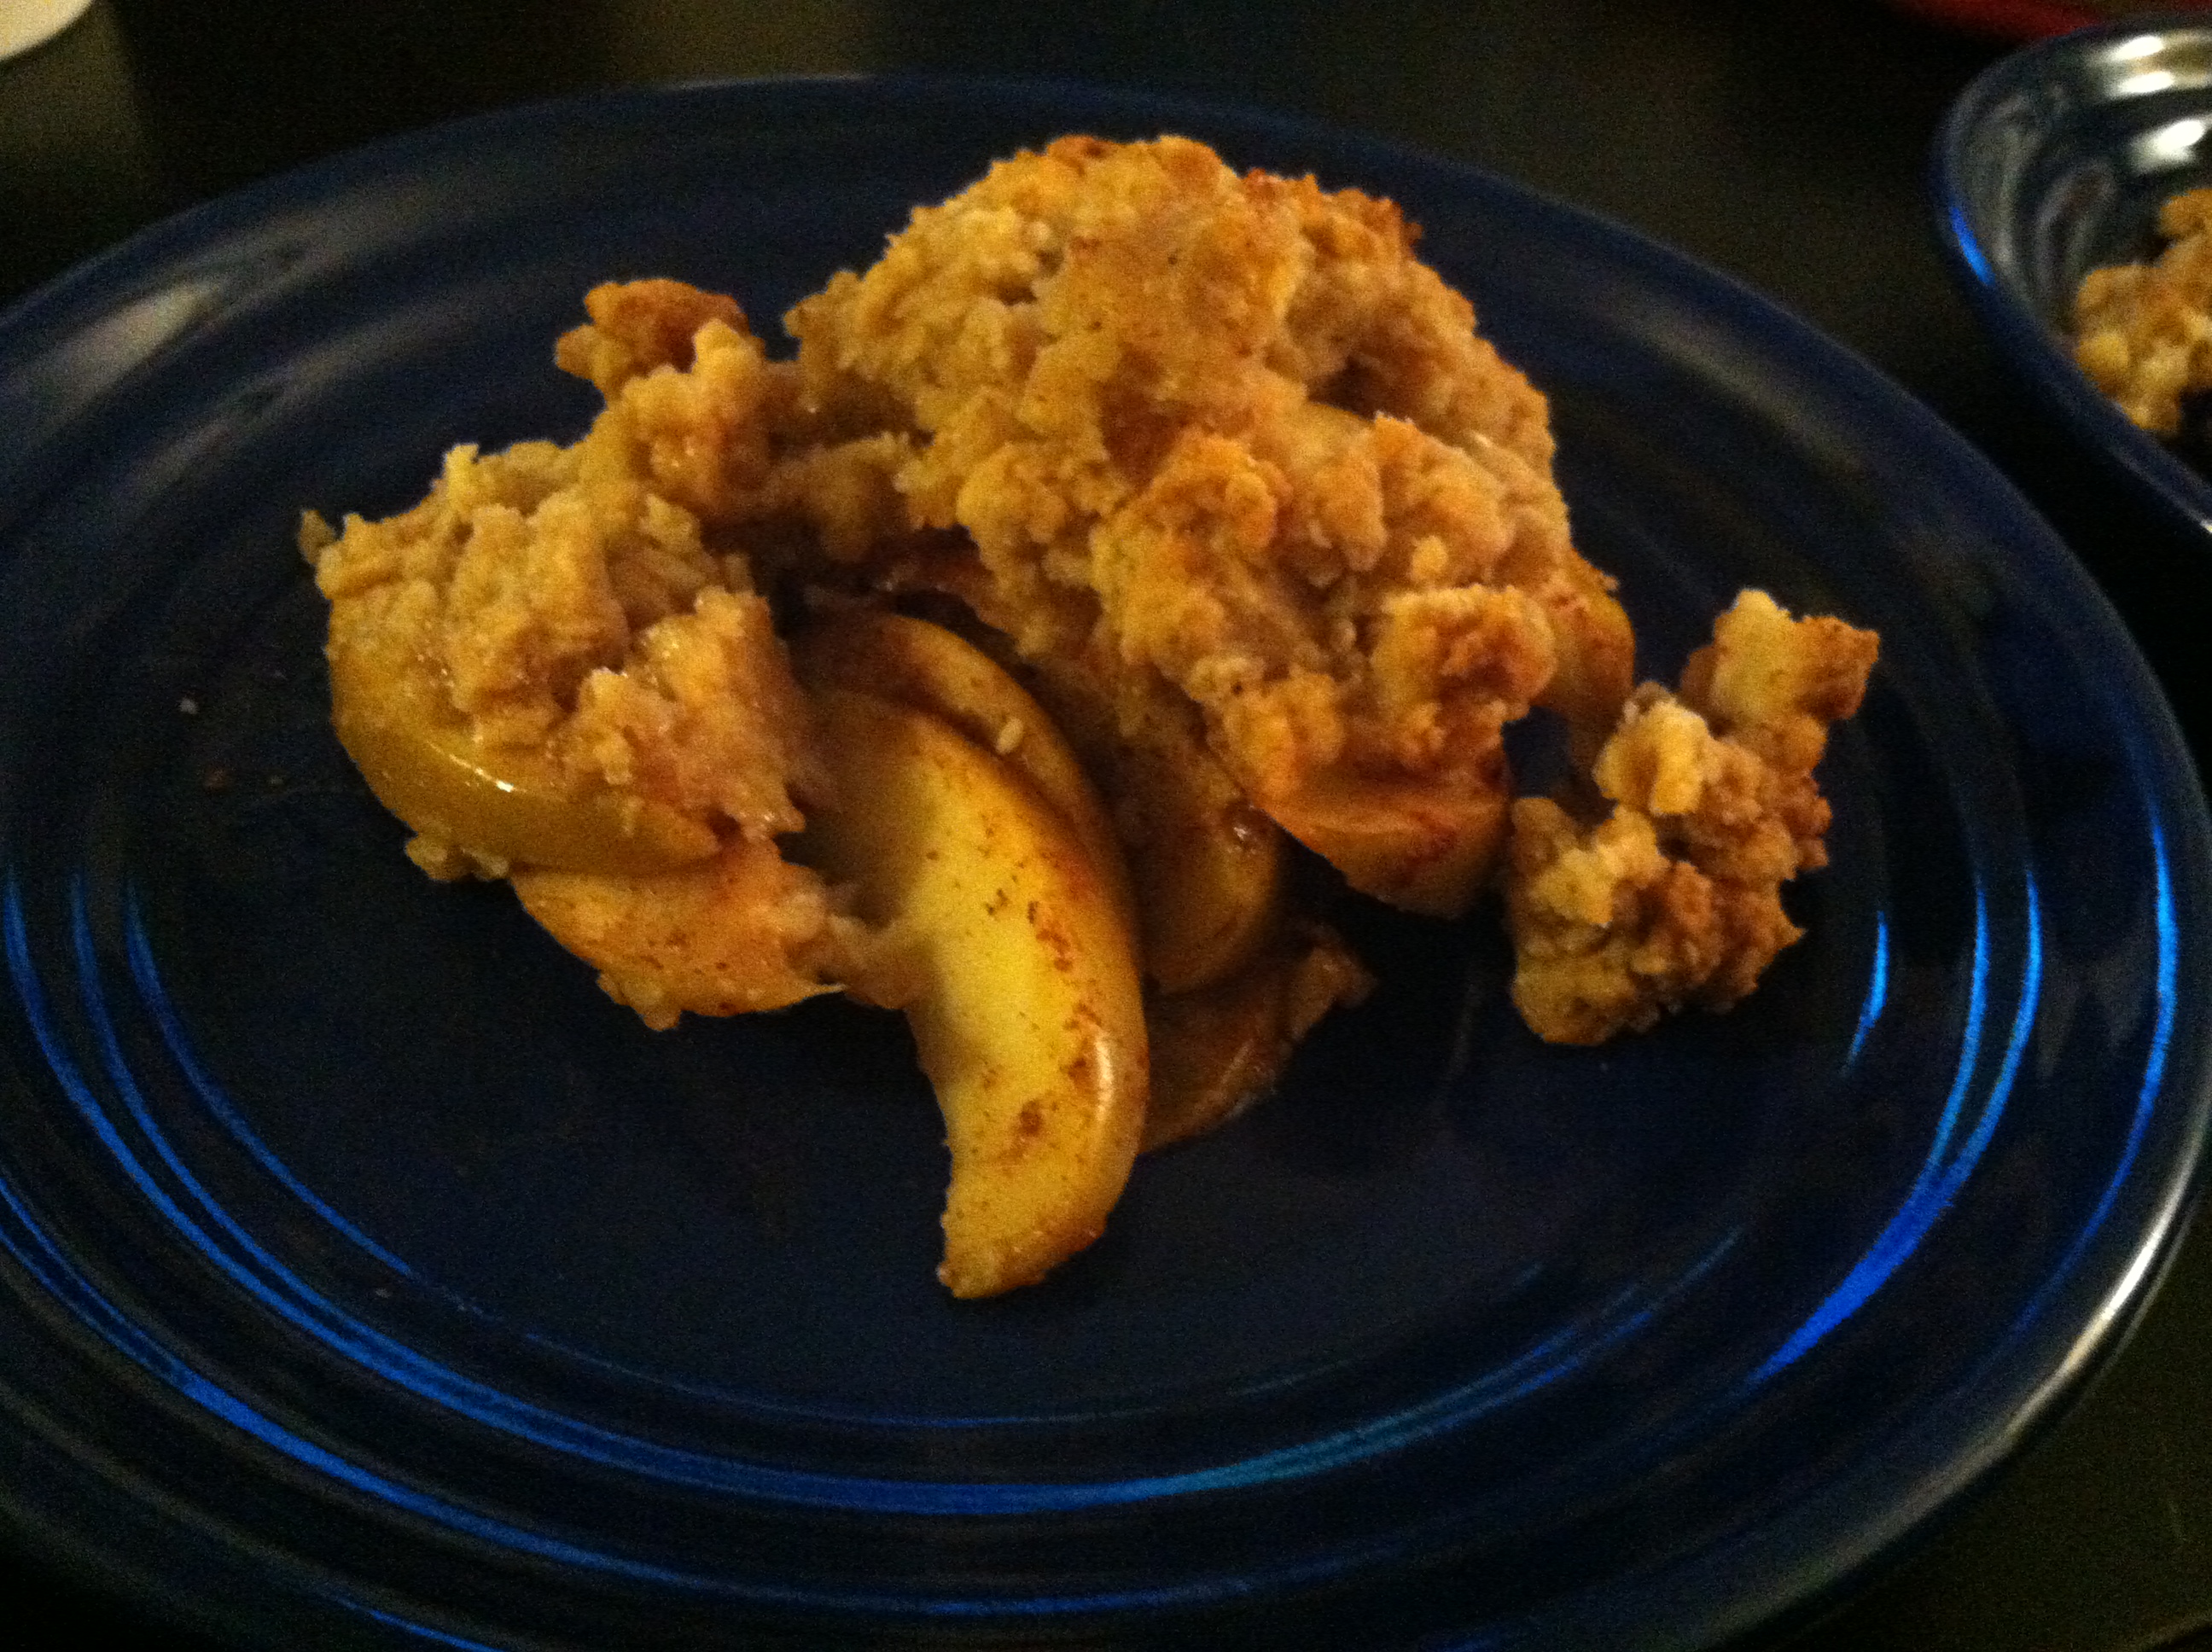
This makes your whole house smell amazing, and it just delicious! Make one today for yourself, your family, friends, a dinner party… and watch everyone fall all over themselves telling you how delicious it was and asking for the recipe.

IMG_4534

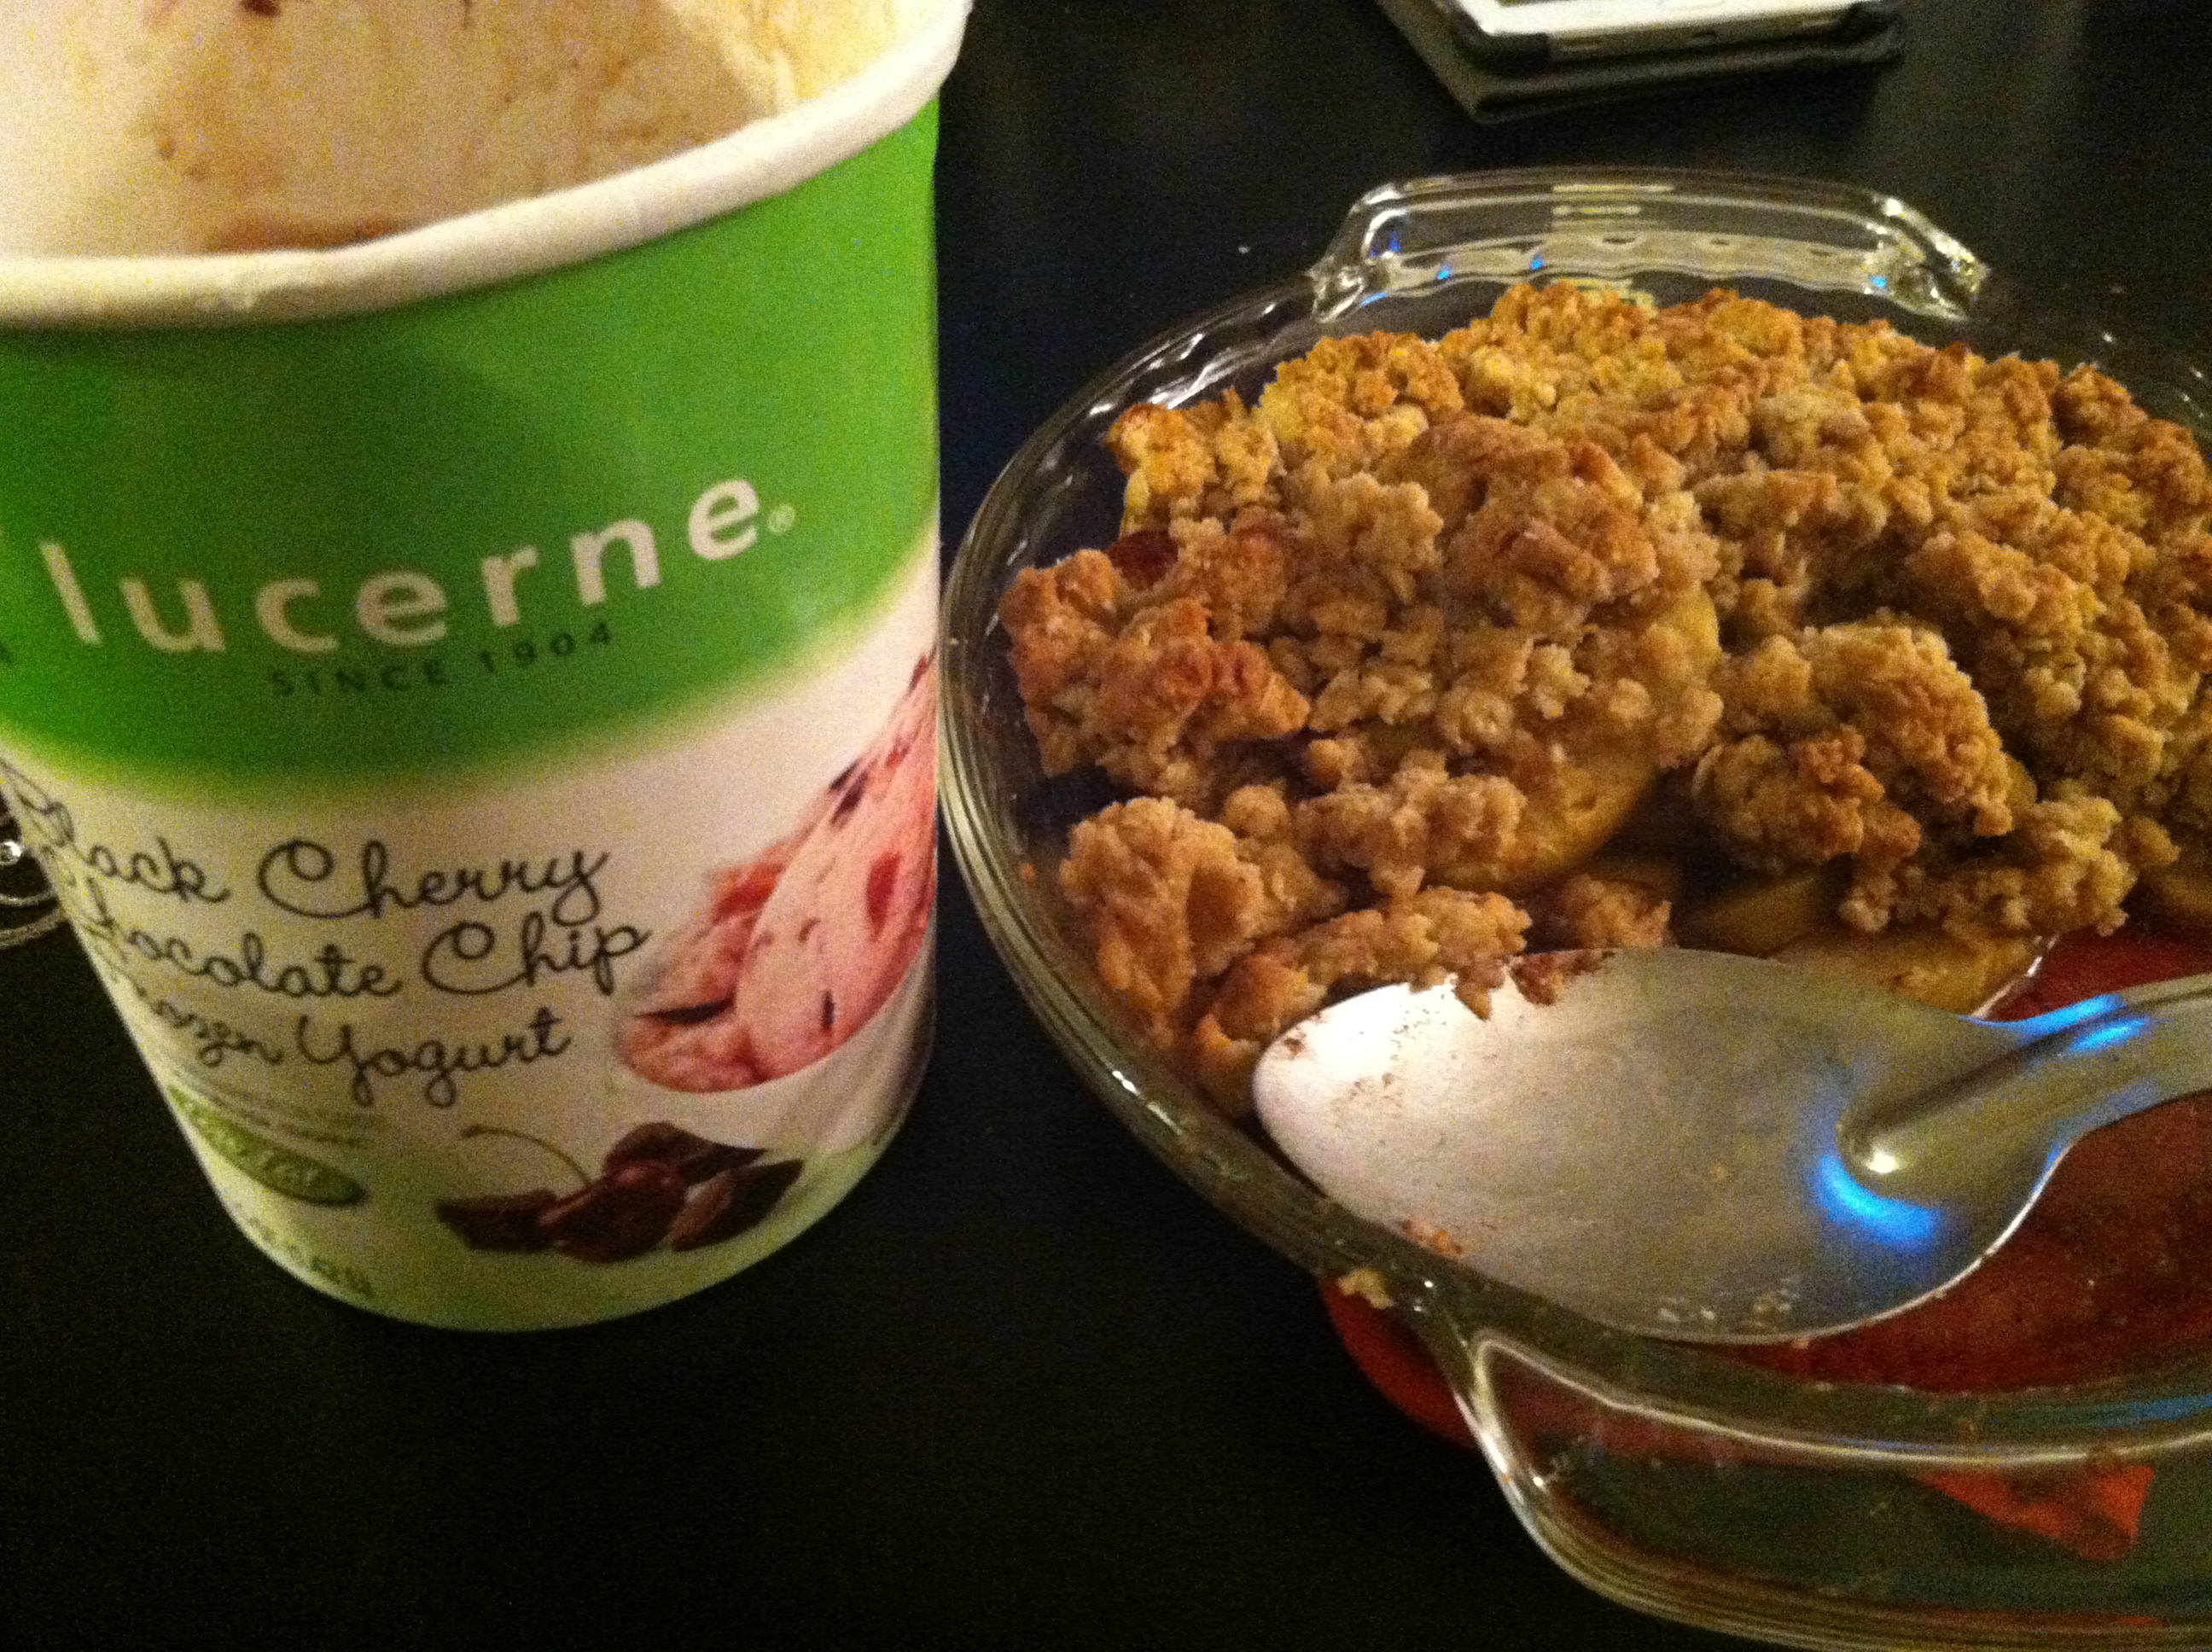
It is also even better served hot with ice cream on top!

IMG_4535

Share some apple-cinnamon love this holiday season. Enjoy!

IMG_4536

Fried Pickles with Sriracha Ranch Dip


For those who have not tried fried pickles, let me tell you something. They are awesome.

Can’t say something is gross until you try it, that was always my mom’s rule. Just try these, and then see if you can tell me “ew”. Frying makes anything better, so even if you don’t like pickles you will probably like these; and if you do like pickles you are in for a real treat!

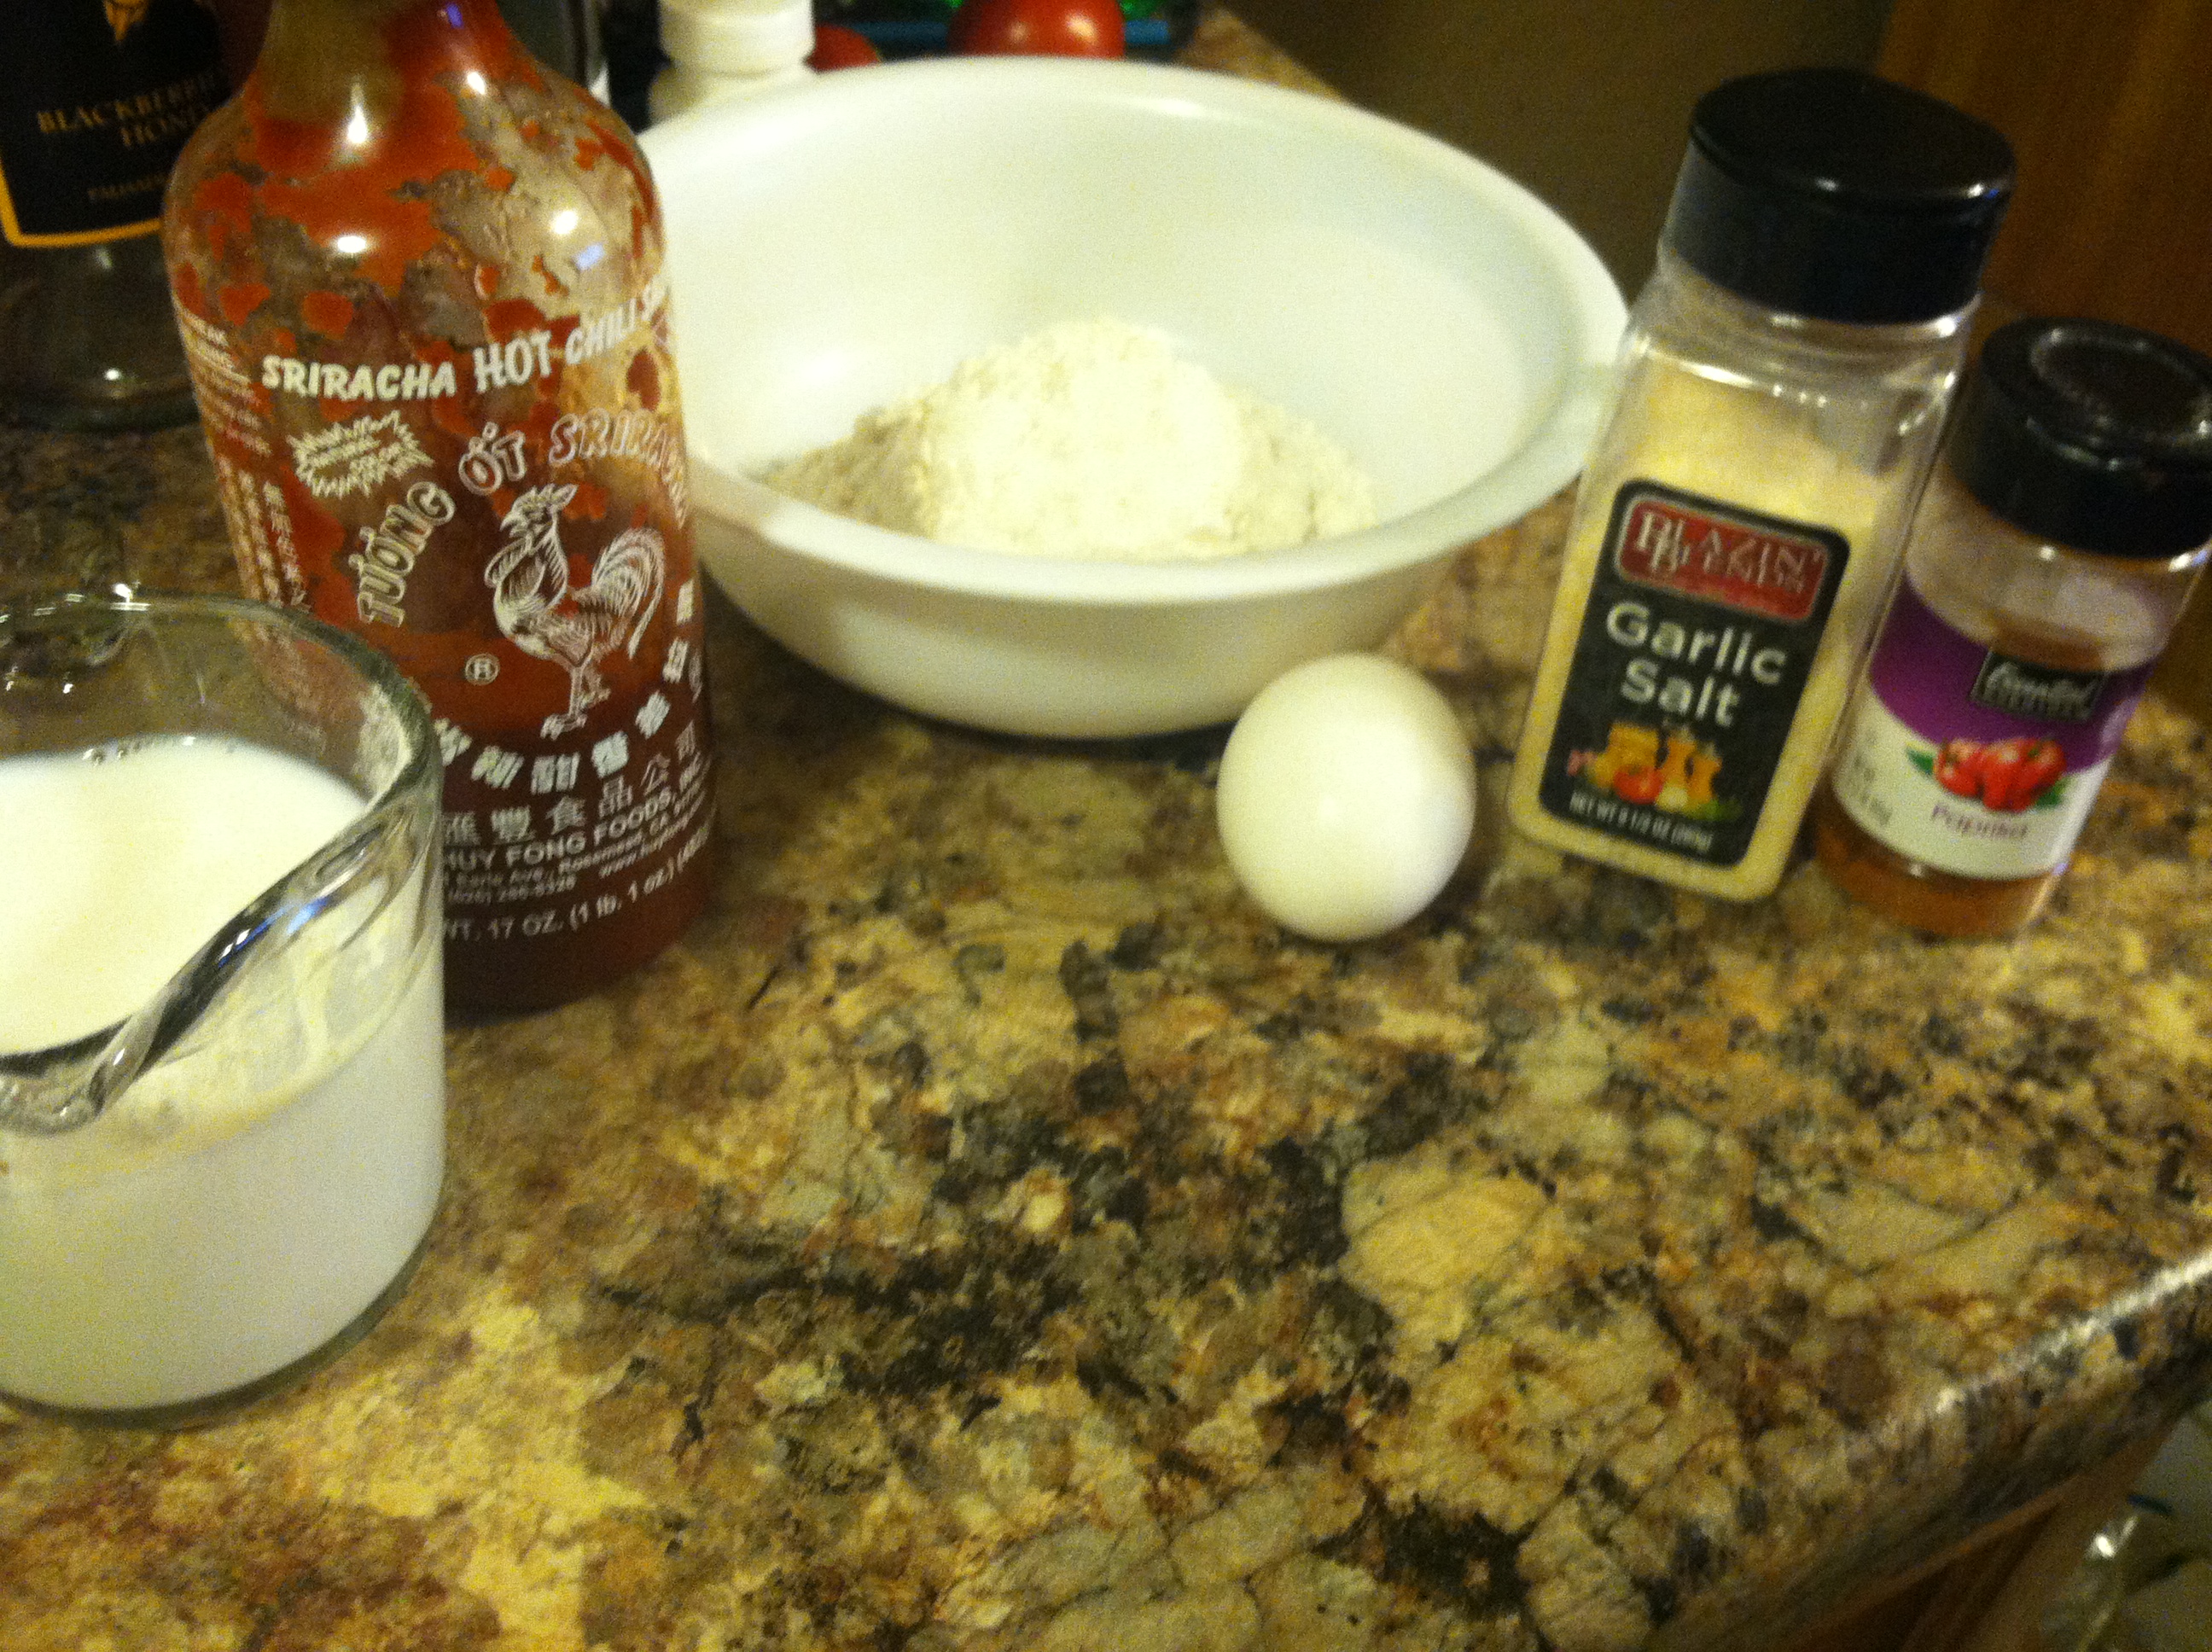
IMG_4857

Ingredients:

  • Pickles (as many as you’re willing to cut up and fry)
  • 1 cup milk
  • 1 1/2 cups flour
  • 1 egg
  • 1/2 tbsp paprika
  • 1/2 tbsp garlic salt
  • 2-4 tbsp sriracha
  • 1/2 cup ranch dressing
  • 1-2 cups frying oil

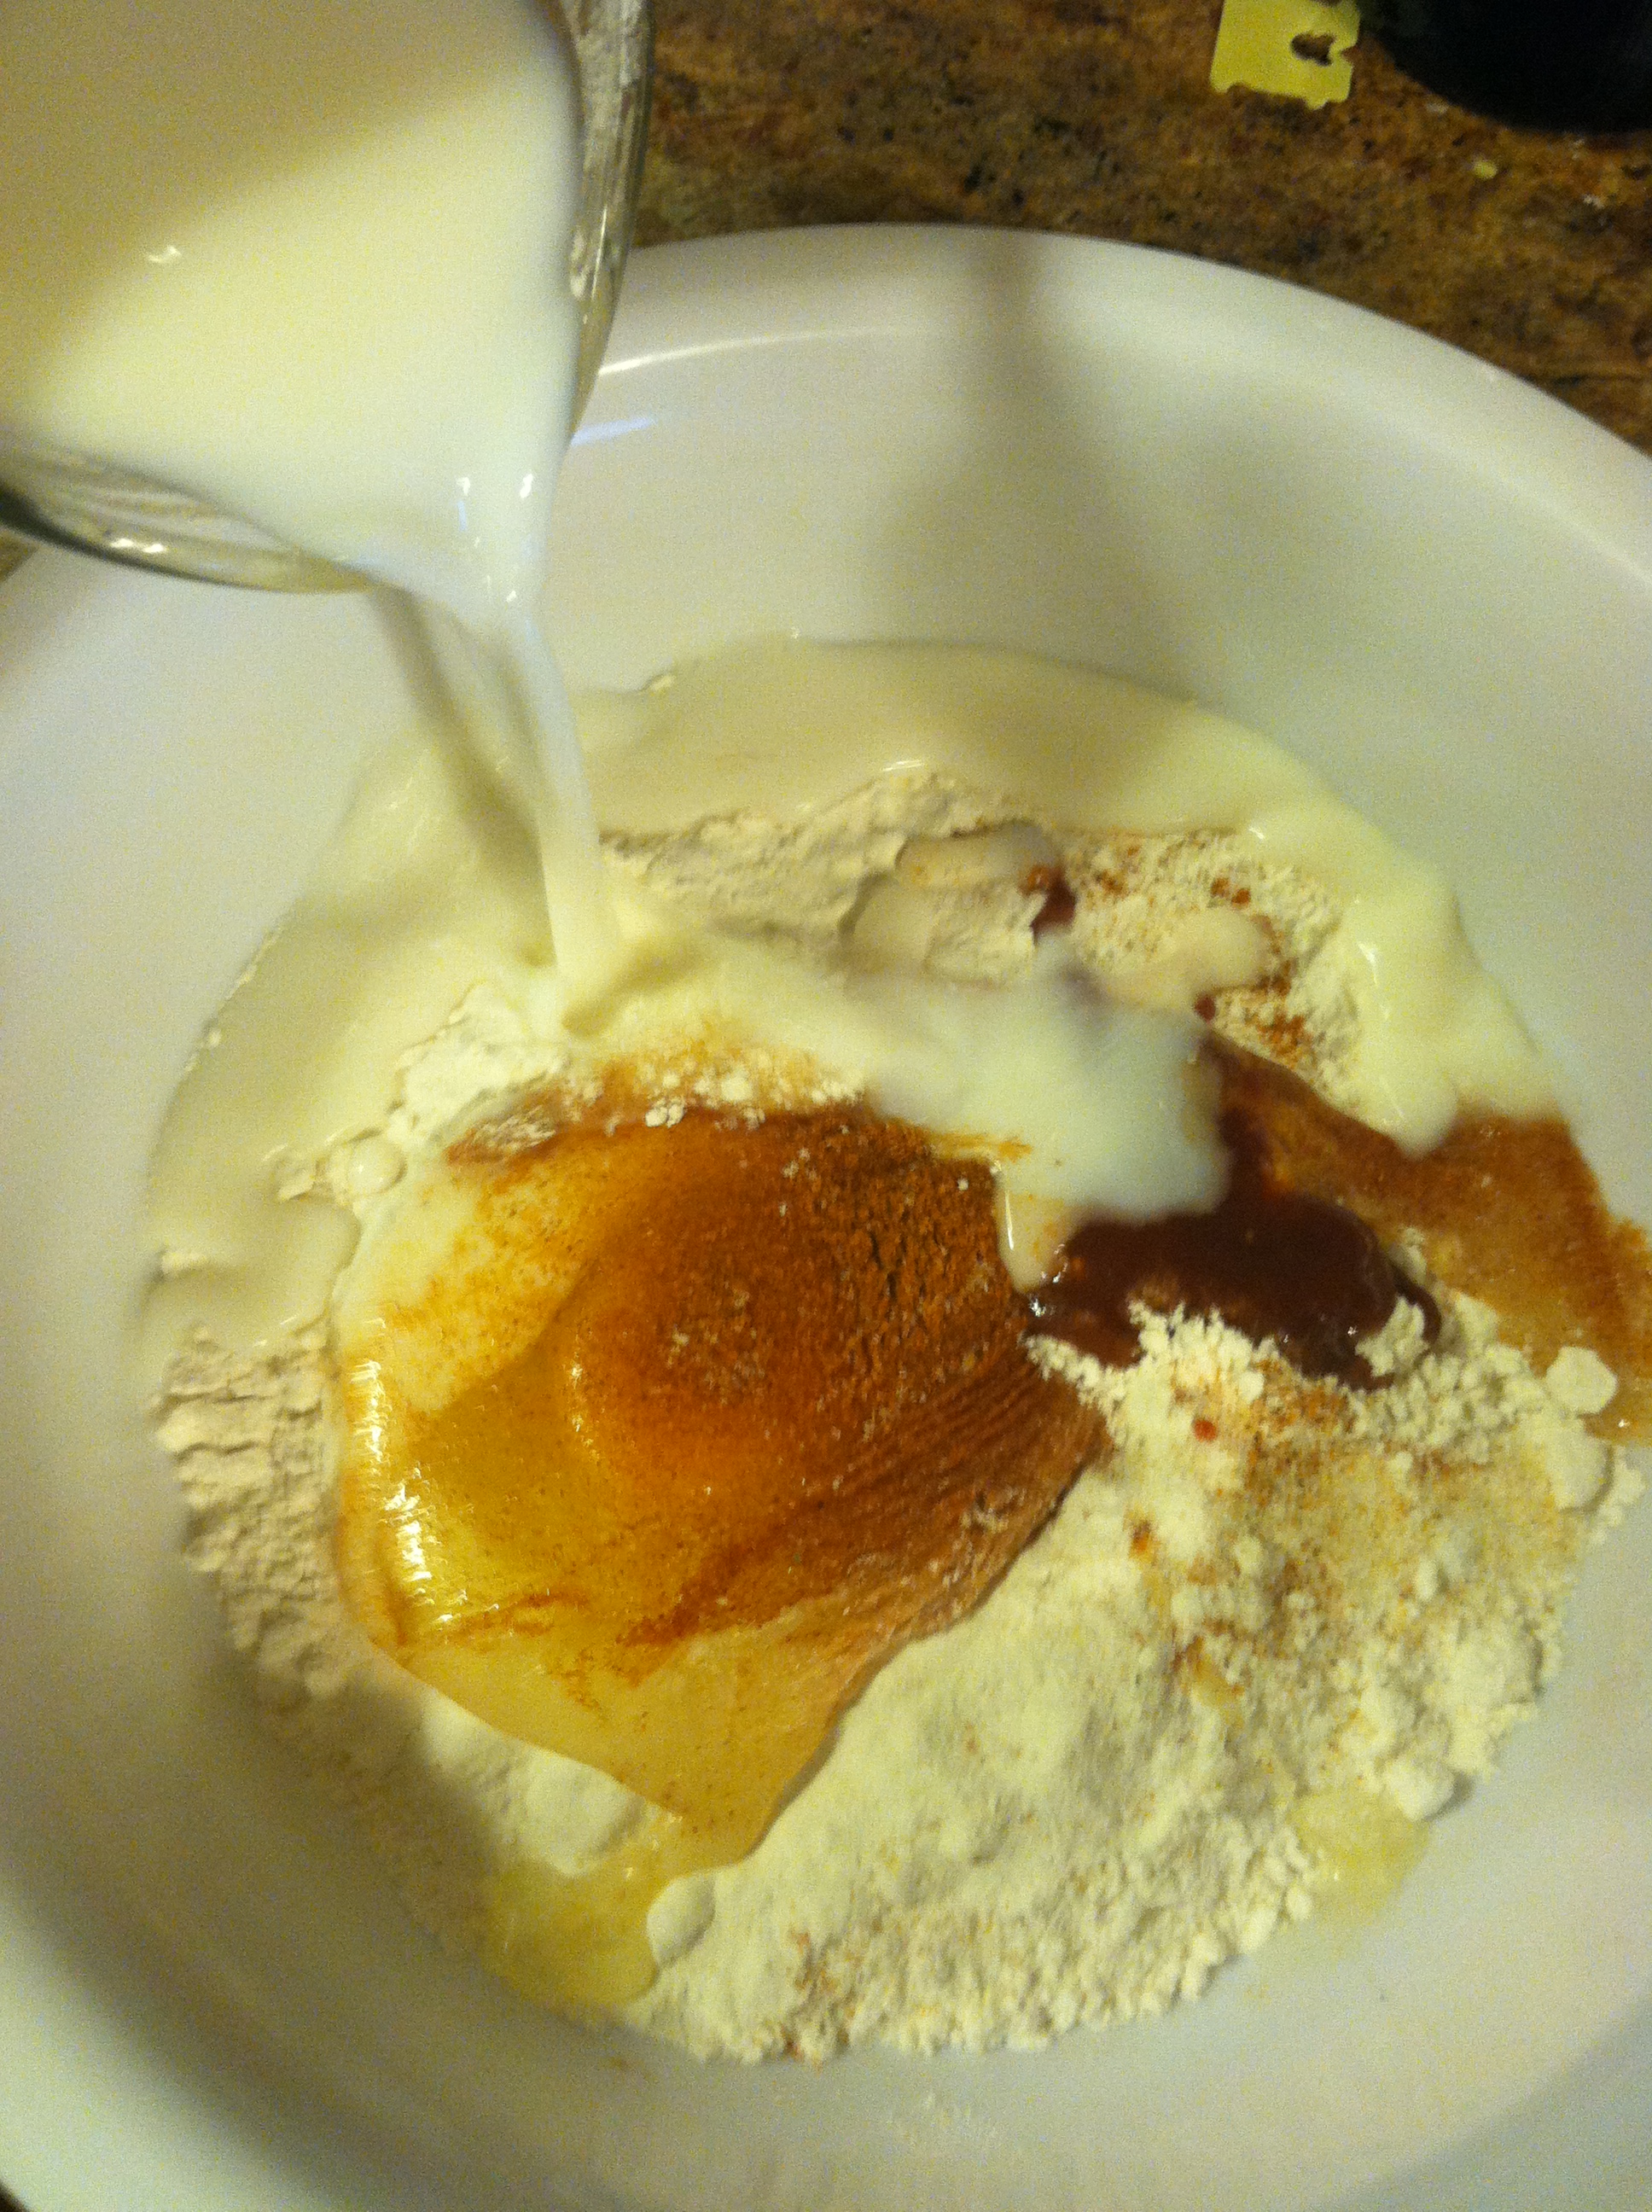
IMG_4849

Step 1: In a bowl, whisk together the flour, milk, and egg. This is the base of the batter. Add the spices and mix well. You can even throw in some extra sriracha here if you want. Set the oil in a pan to medium-high.

IMG_4852

Step 2: Take the pickles, and either chop into circles, slices, or use a veggie peeler to make them really thin.

IMG_4850


Step 3: Dredge the pickles in the batter, making sure all sides are well coated. Lay in a pan with about 2 inches of hot oil. You want it hot enough that it immediately starts bubbling and hissing when you put the pickles in, but turn it down immediately if it start smoking.

IMG_4853

Step 4: Fry 2-5 minutes, then flip with a spatula or slotted spoon to fry on the other side. Remove the pickles to a plate covered in paper towels or a cooling rack to drain some of the oil and cool.

IMG_4854

Step 5: Take the ranch dressing, and mix in 1-2 tbsp sriracha (or other hot sauce).

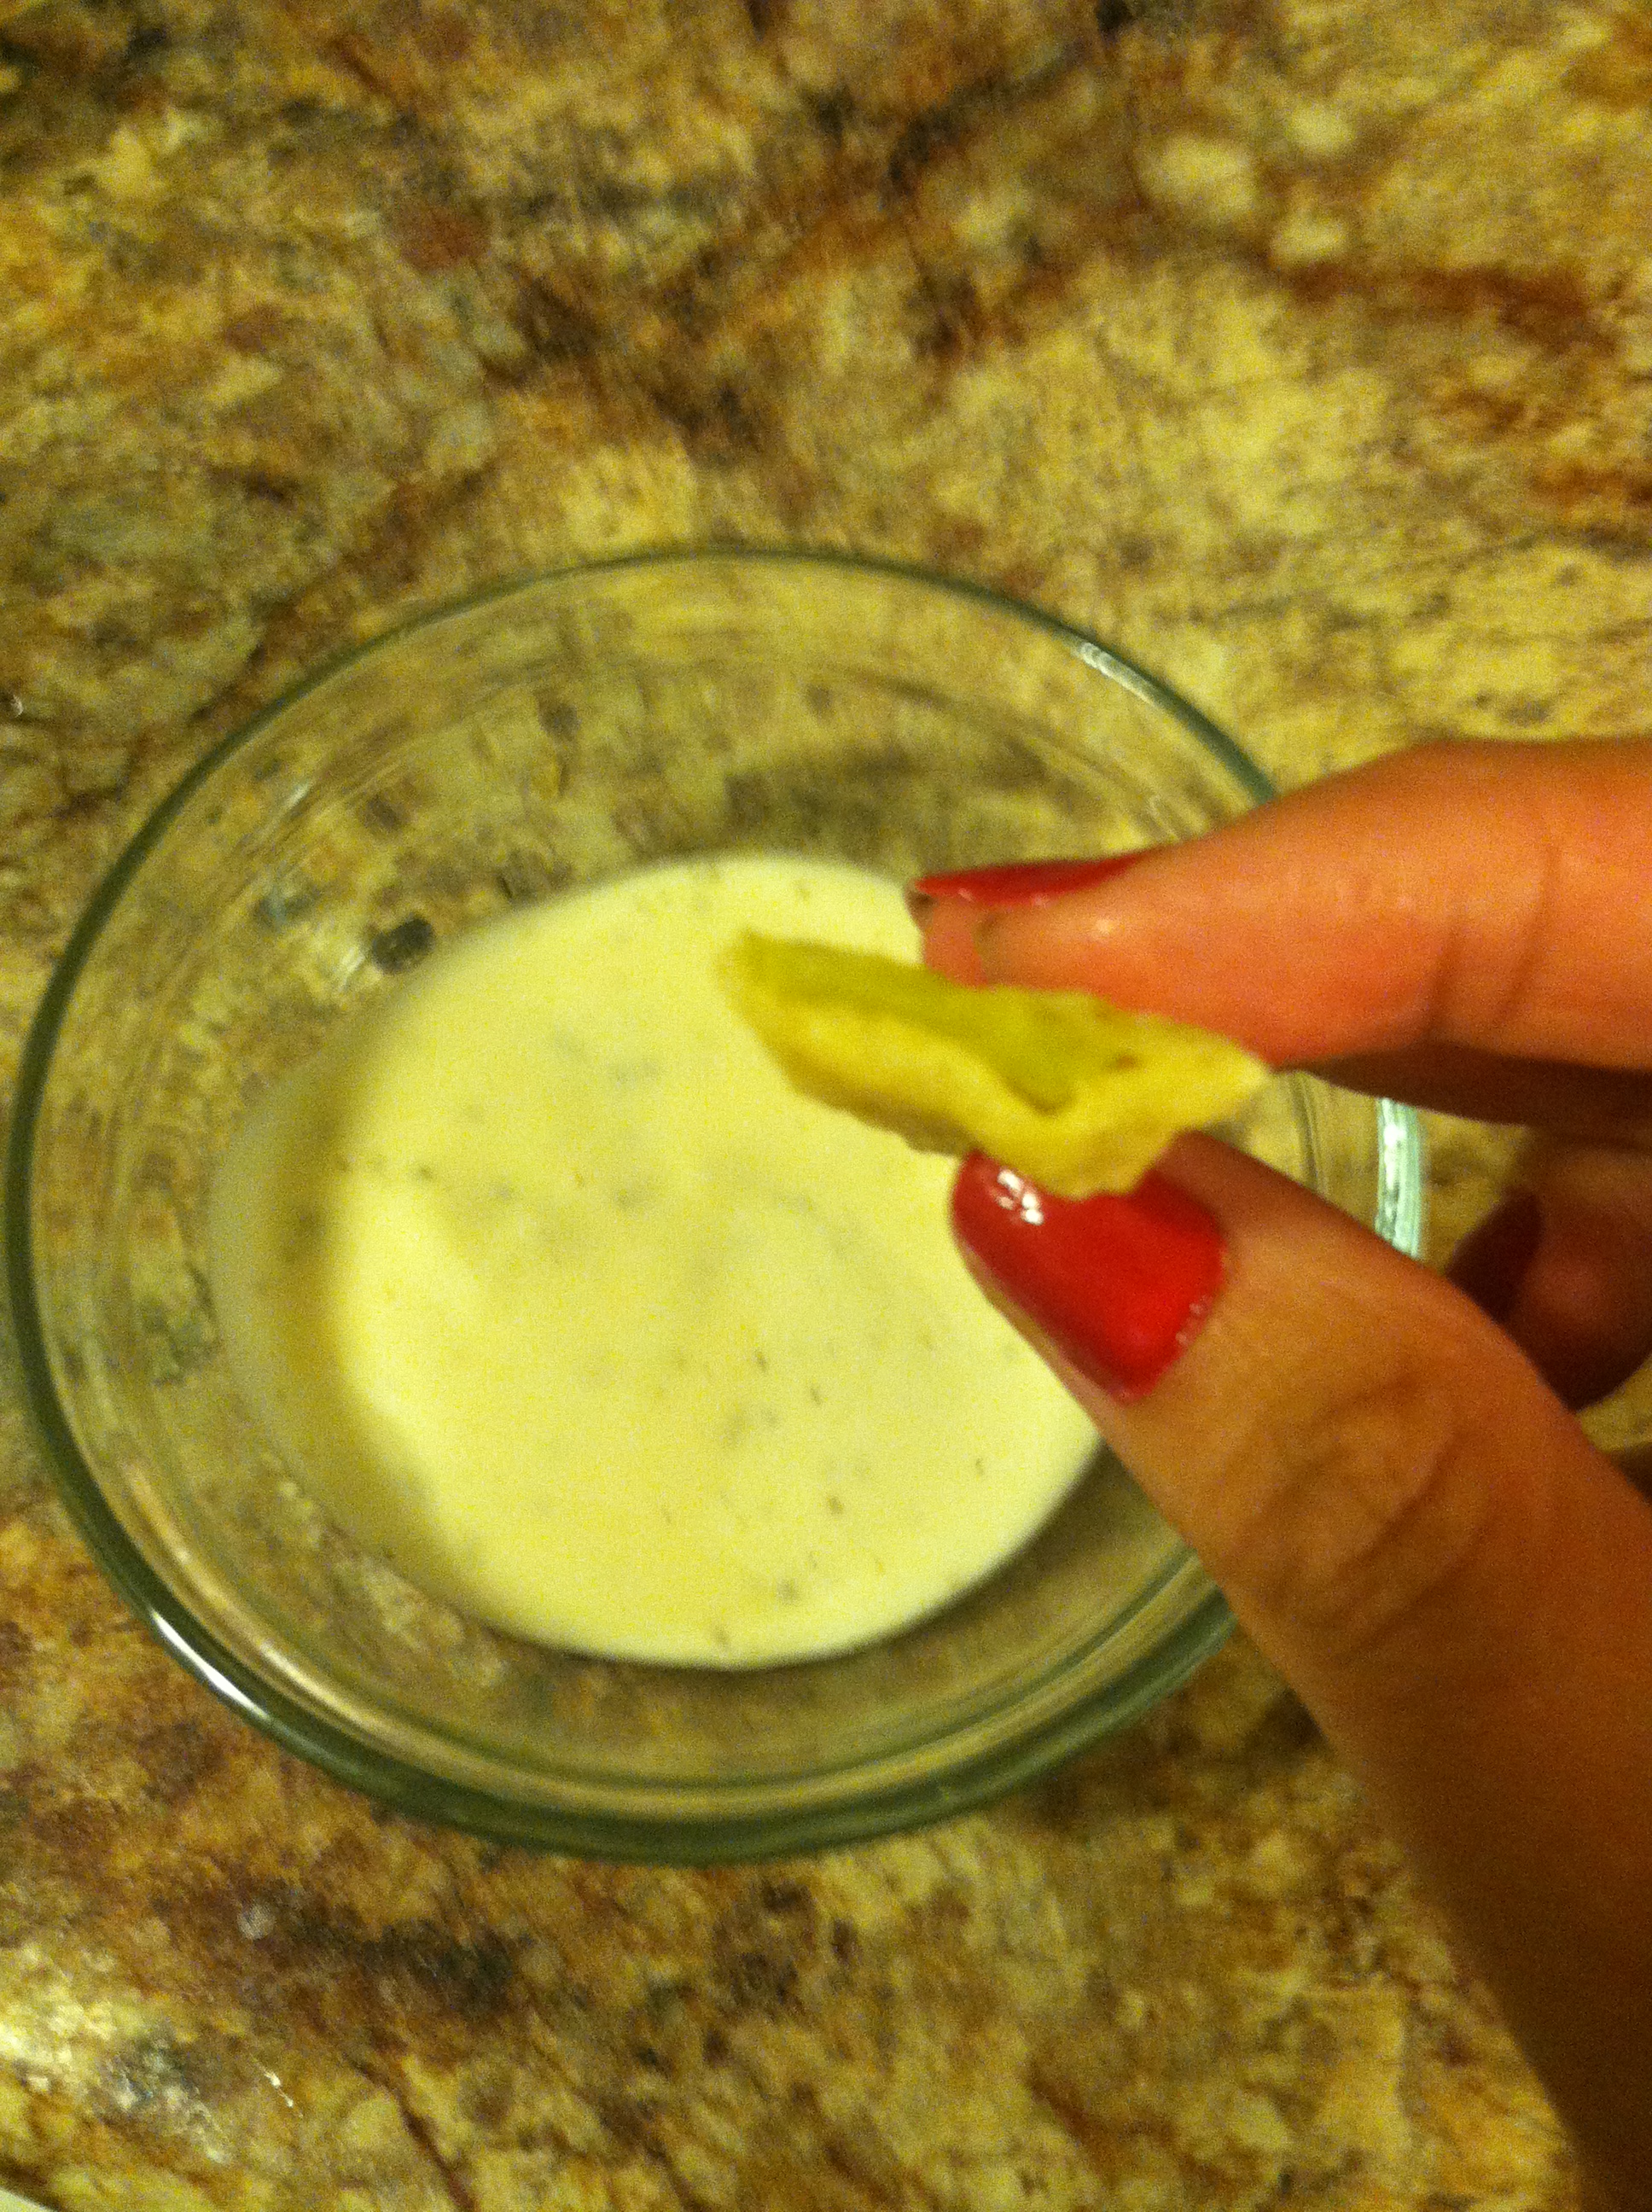
IMG_4856

Step 6: Dip. Eat. Smile. Repeat.

IMG_4858

These are so good you might not want to share, but they are a great party appetizer. They are best served fresh and hot from the pan.

Cranberry Wassail


As the weather cools off, we crave warm hearty meals and hot beverages to keep warm and for comfort. Wassail is a traditional holiday drink of mulled cider, usually drunk as part of wassailing, an old English drinking ritual to bring about a bountiful apple harvest the next year.

While we no longer follow this tradition of singing and drinking in apple orchards (though it sounds pretty fun…) you can make your own low-key version of wassail at home any time. Traditional wassail is made with a base of wine or hard cider, or even brandy or sherry, to which you add spices like cinnamon, nutmeg, or ginger, and add apples or orange slices and simmer it for hours.

This version requires a microwave and five minutes.

Ingredients (per cup):

  • 1 tbsp wassail spices
    • (if you don’t have this, make your own by combining 1 tbsp cinnamon, 1 tbsp nutmeg, 1 tbsp ginger, and 1 tbsp cloves)
  • 1 1/2 cups any juice (I used cranberry pomegranate)

That’s it if you want it virgin, or add:

  • 1/2 cup rum, vodka, or brandy
  • or 1/2 cup red or white wine

IMG_5080

Step 1: Mix the spices into the juice, and microwave or heat on a stove until warm. Serve with a cinnamon stick stirrer to be fancy.

IMG_5081

Step 2: Optionally, add some red wine or hard liquor to really amp up the warming capability of the drink. A guaranteed holiday party pleaser.

Barley & Kale Veggie Salad


Fall is the time for bumper crops of kale. As the current “It” vegetable, we know all about how healthy kale is for you. But even though kale chips are amazing, sauteed kale in greens makes a great side dish, and Zuppa Toscana is a definite crowd-pleasing soup, sometimes you need a new way to enjoy this power green. If you like light, fresh, great-cold-or-room-temp dishes, this baby’s a winner!

I’ve been meaning to try more grain and veggie salads, and this seemed like the perfect opportunity to do so. Kale is on sale for 0.99 per bunch, organic! You can’t pass up that kind of deal. So with a fridge full of kale and a hankering for something new, I made up this recipe. It turned out fabulous! The combination of tomato and cucumber and onion crunch with the soft cooked barley and fresh kale leaves is really addicting.

The best part about it? It makes a crap-ton, and per 2 cups is under 100 calories! So you can stuff yourself on this all you like and feel good about it. Have it for lunch, as an afternoon snack, before dinner to dull the appetite. There really isn’t a bad time for this.

Ingredients:

  • 1 bunch kale, rinsed, torn and stems removed
  • 1/4 red onion, sliced thinly
  • 1 cucumber, rinsed, skin-on, diced
  • 2-3 large tomatoes, diced
  • 2-3 green onions, chopped
  • 1 cup barley
  • 1/3 cup olive oil
  • 1/4 cup red wine vinegar
  • 1/4 cup apple cider vinegar
  • Salt & pepper to taste


Step 1: Cook the barley in 1 1/2 cups water by bringing to a boil, then lowering to a simmer. Cover, and cook 20-30 minutes, until all water is absorbed and barley is soft. Add more water if needed during cooking. Let cool.


IMG_5441

Step 2: Chop all your veggies and place in a large bowl. Mix the oil and vinegars, and salt & pepper if using. Pour over the veggies.

IMG_5443

Step 3: Combine the cooled barley with the veggies and mix well. Now you have a giant side dish, snacks all week, or a super healthy and vegetarian main course.


Fresh garden salsa


Salsa is a beloved condiment in many cultures. The ingredients can vary widely, but basically always contains tomatoes and chilies of some sort. “Salsa” is the Spanish word for sauce, and may come in many forms such as pureed until smooth, a combination of smooth and chunky, or the uniformly diced pico de gallo.

Salsa can be wickedly spicy to light and fruity. See Wikipedia for a long list of salsa types. Basically any fresh fruit and/or vegetable, diced or blended, with or without fresh herbs, can be called a salsa.

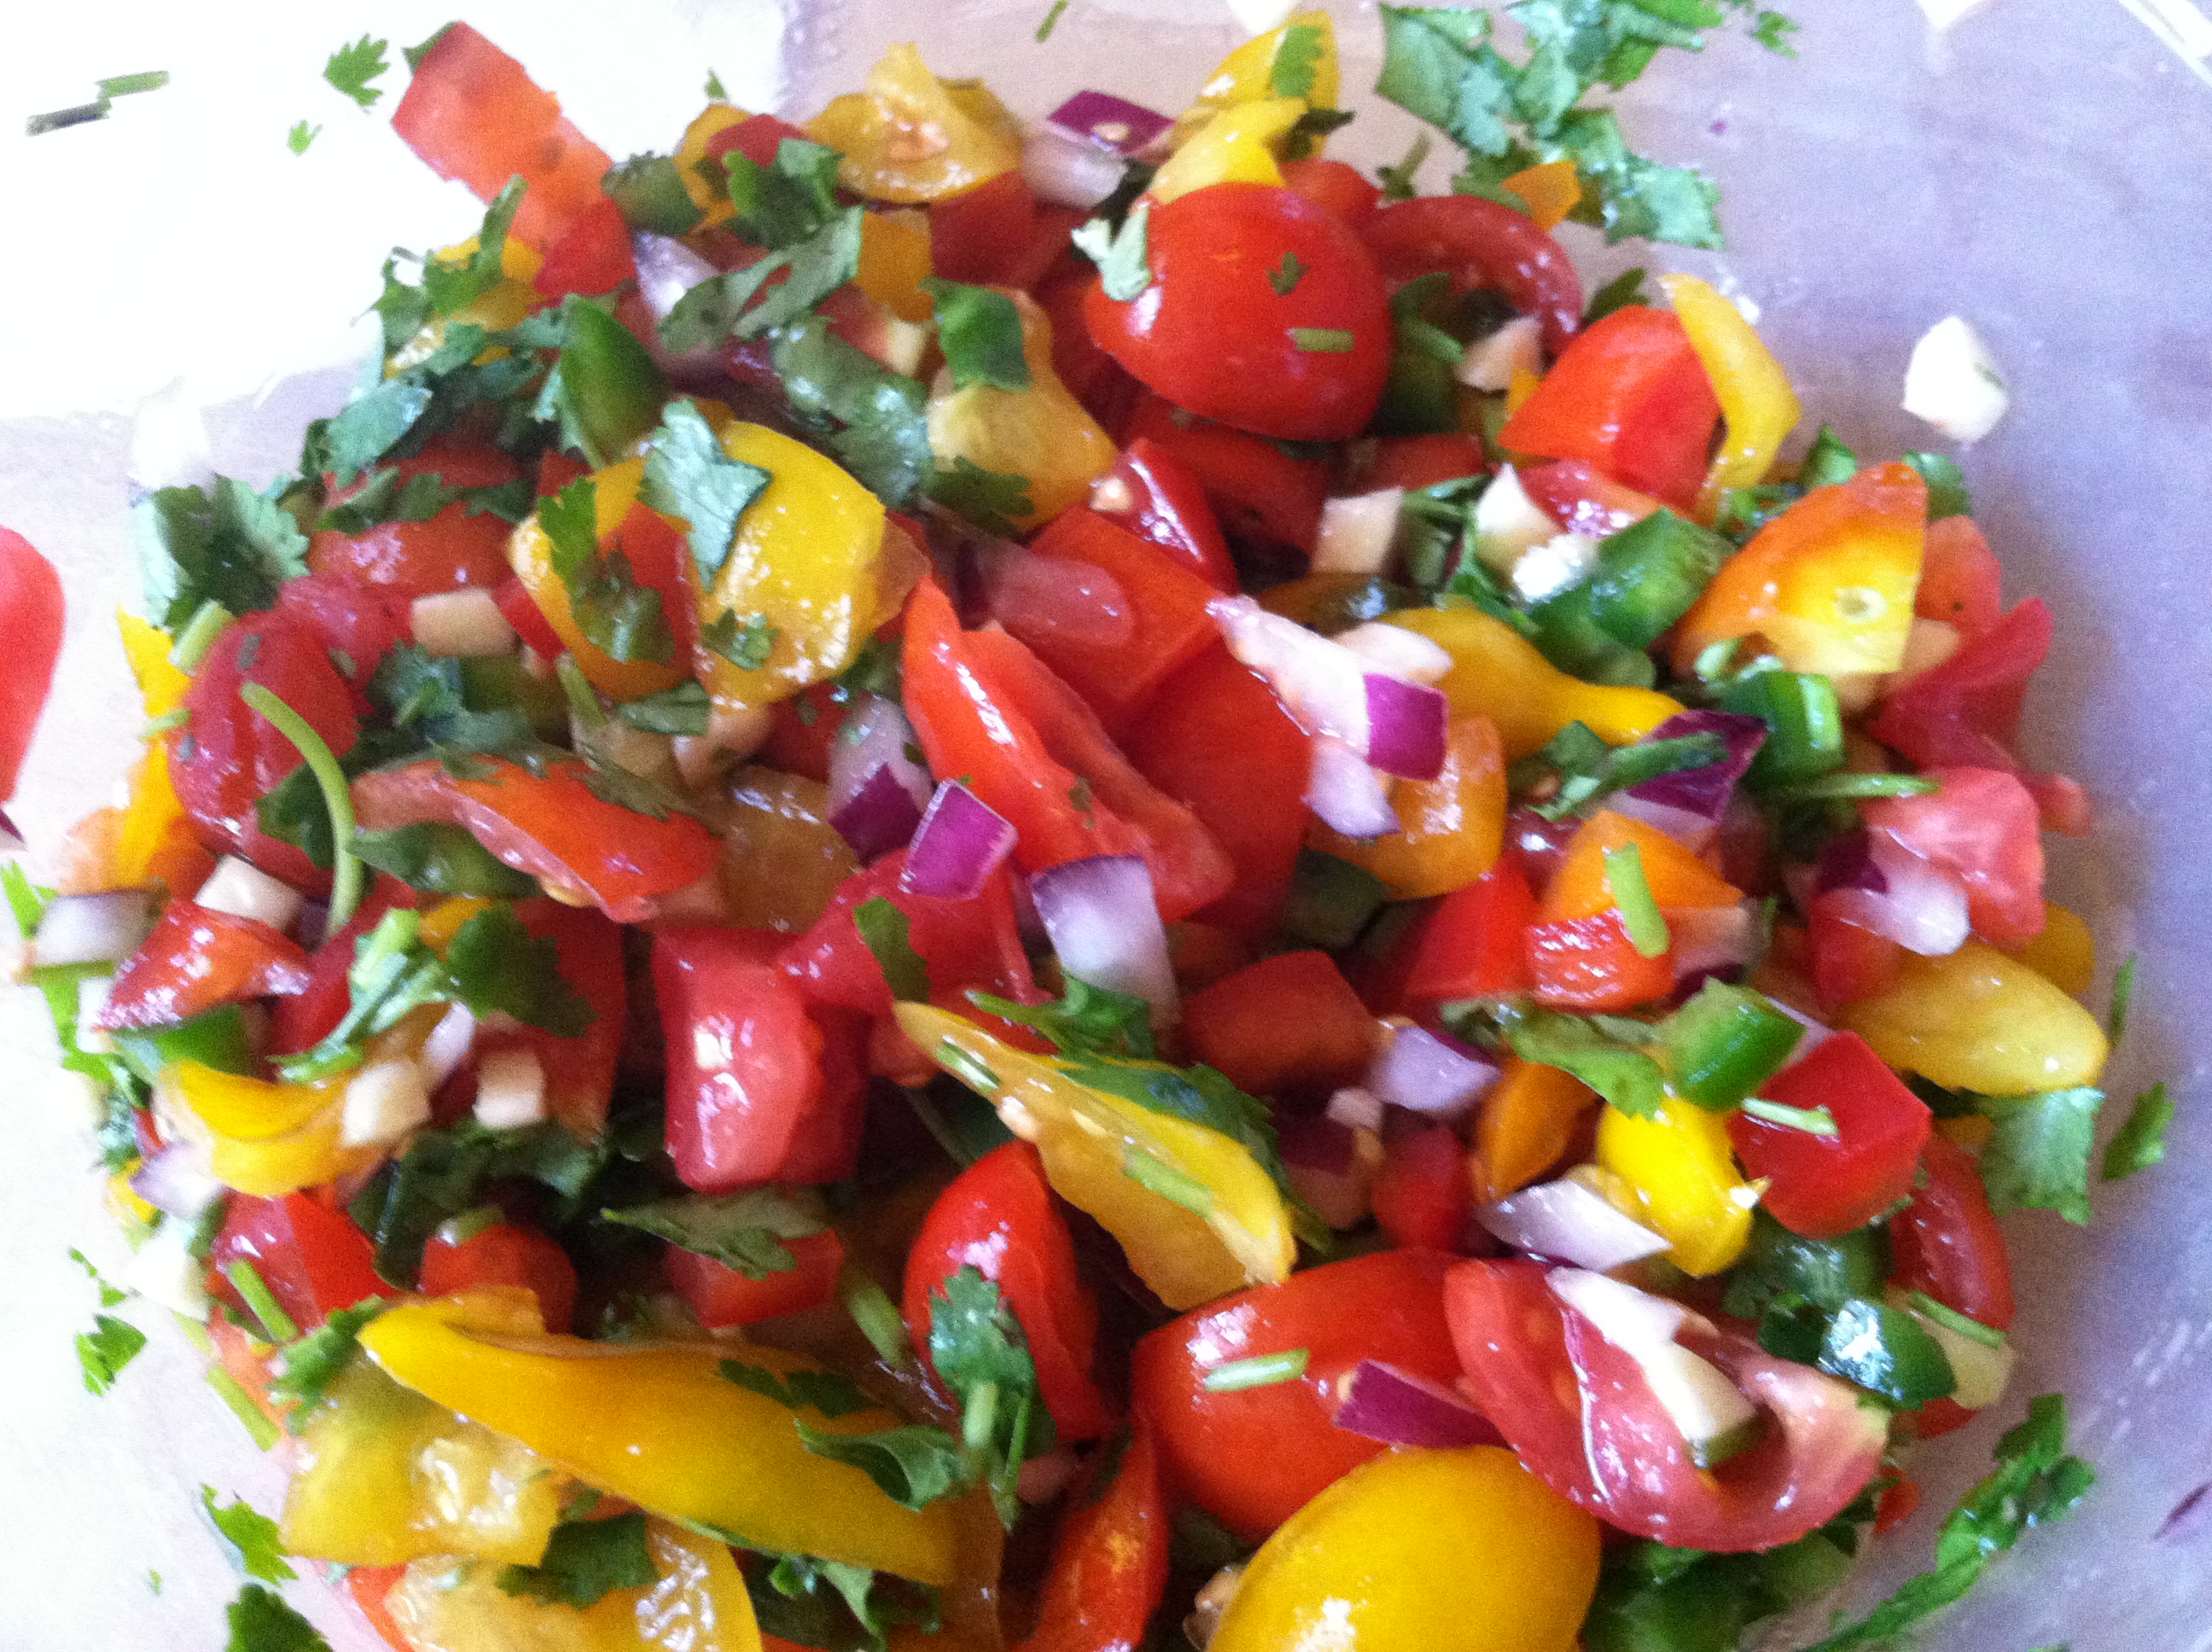
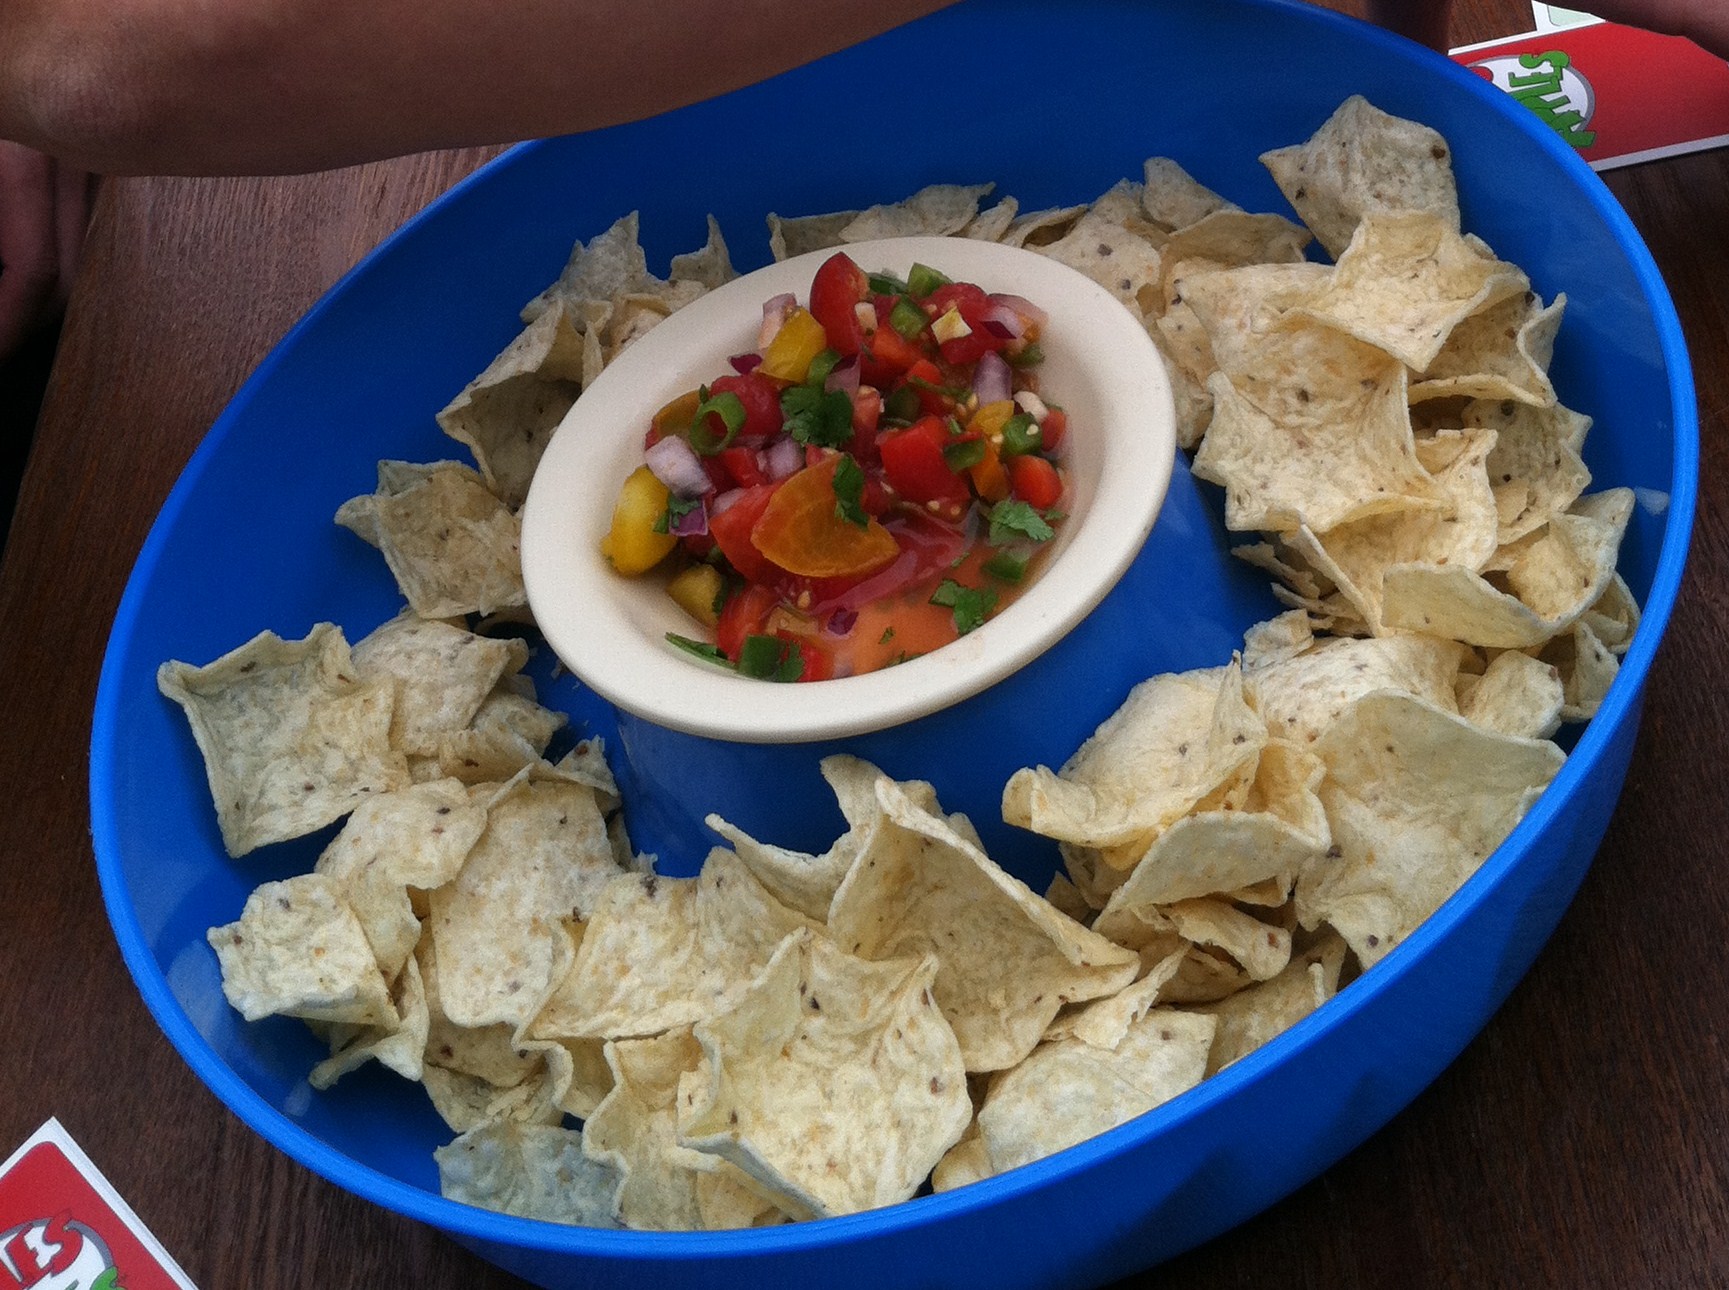
Fresh salsa right out of the garden, just lightly diced, is my favorite kind. I like to see the chunks of what I’m eating in bright technicolor on my tortilla chip. This salsa is amazing on its own, or you could spoon it over fresh white fish fillets, onto tacos, or into a soup with rice, beans & diced chicken.

Ingredients:

  • 2 cups cherry or pear tomatoes
  • 2-10 large tomatoes, diced small
  • 1/4 red onion, diced
  • 3-5 garlic cloves, diced
  • 2 jalapenos, diced
  • 1/2 cup bell pepper, diced
  • Handful fresh cilantro, chopped
  • Handful fresh chives, chopped
  • 4-5 tbsp lime juice, or juice of 2 fresh limes
  • Sea salt to taste

IMG_5158

Step 1: Dice up all your tomatoes and onions. This part takes a little time, but is well worth it. It is up to you how big to dice, or you can puree part of the tomatoes or all of them. Totally up to you.

IMG_5284

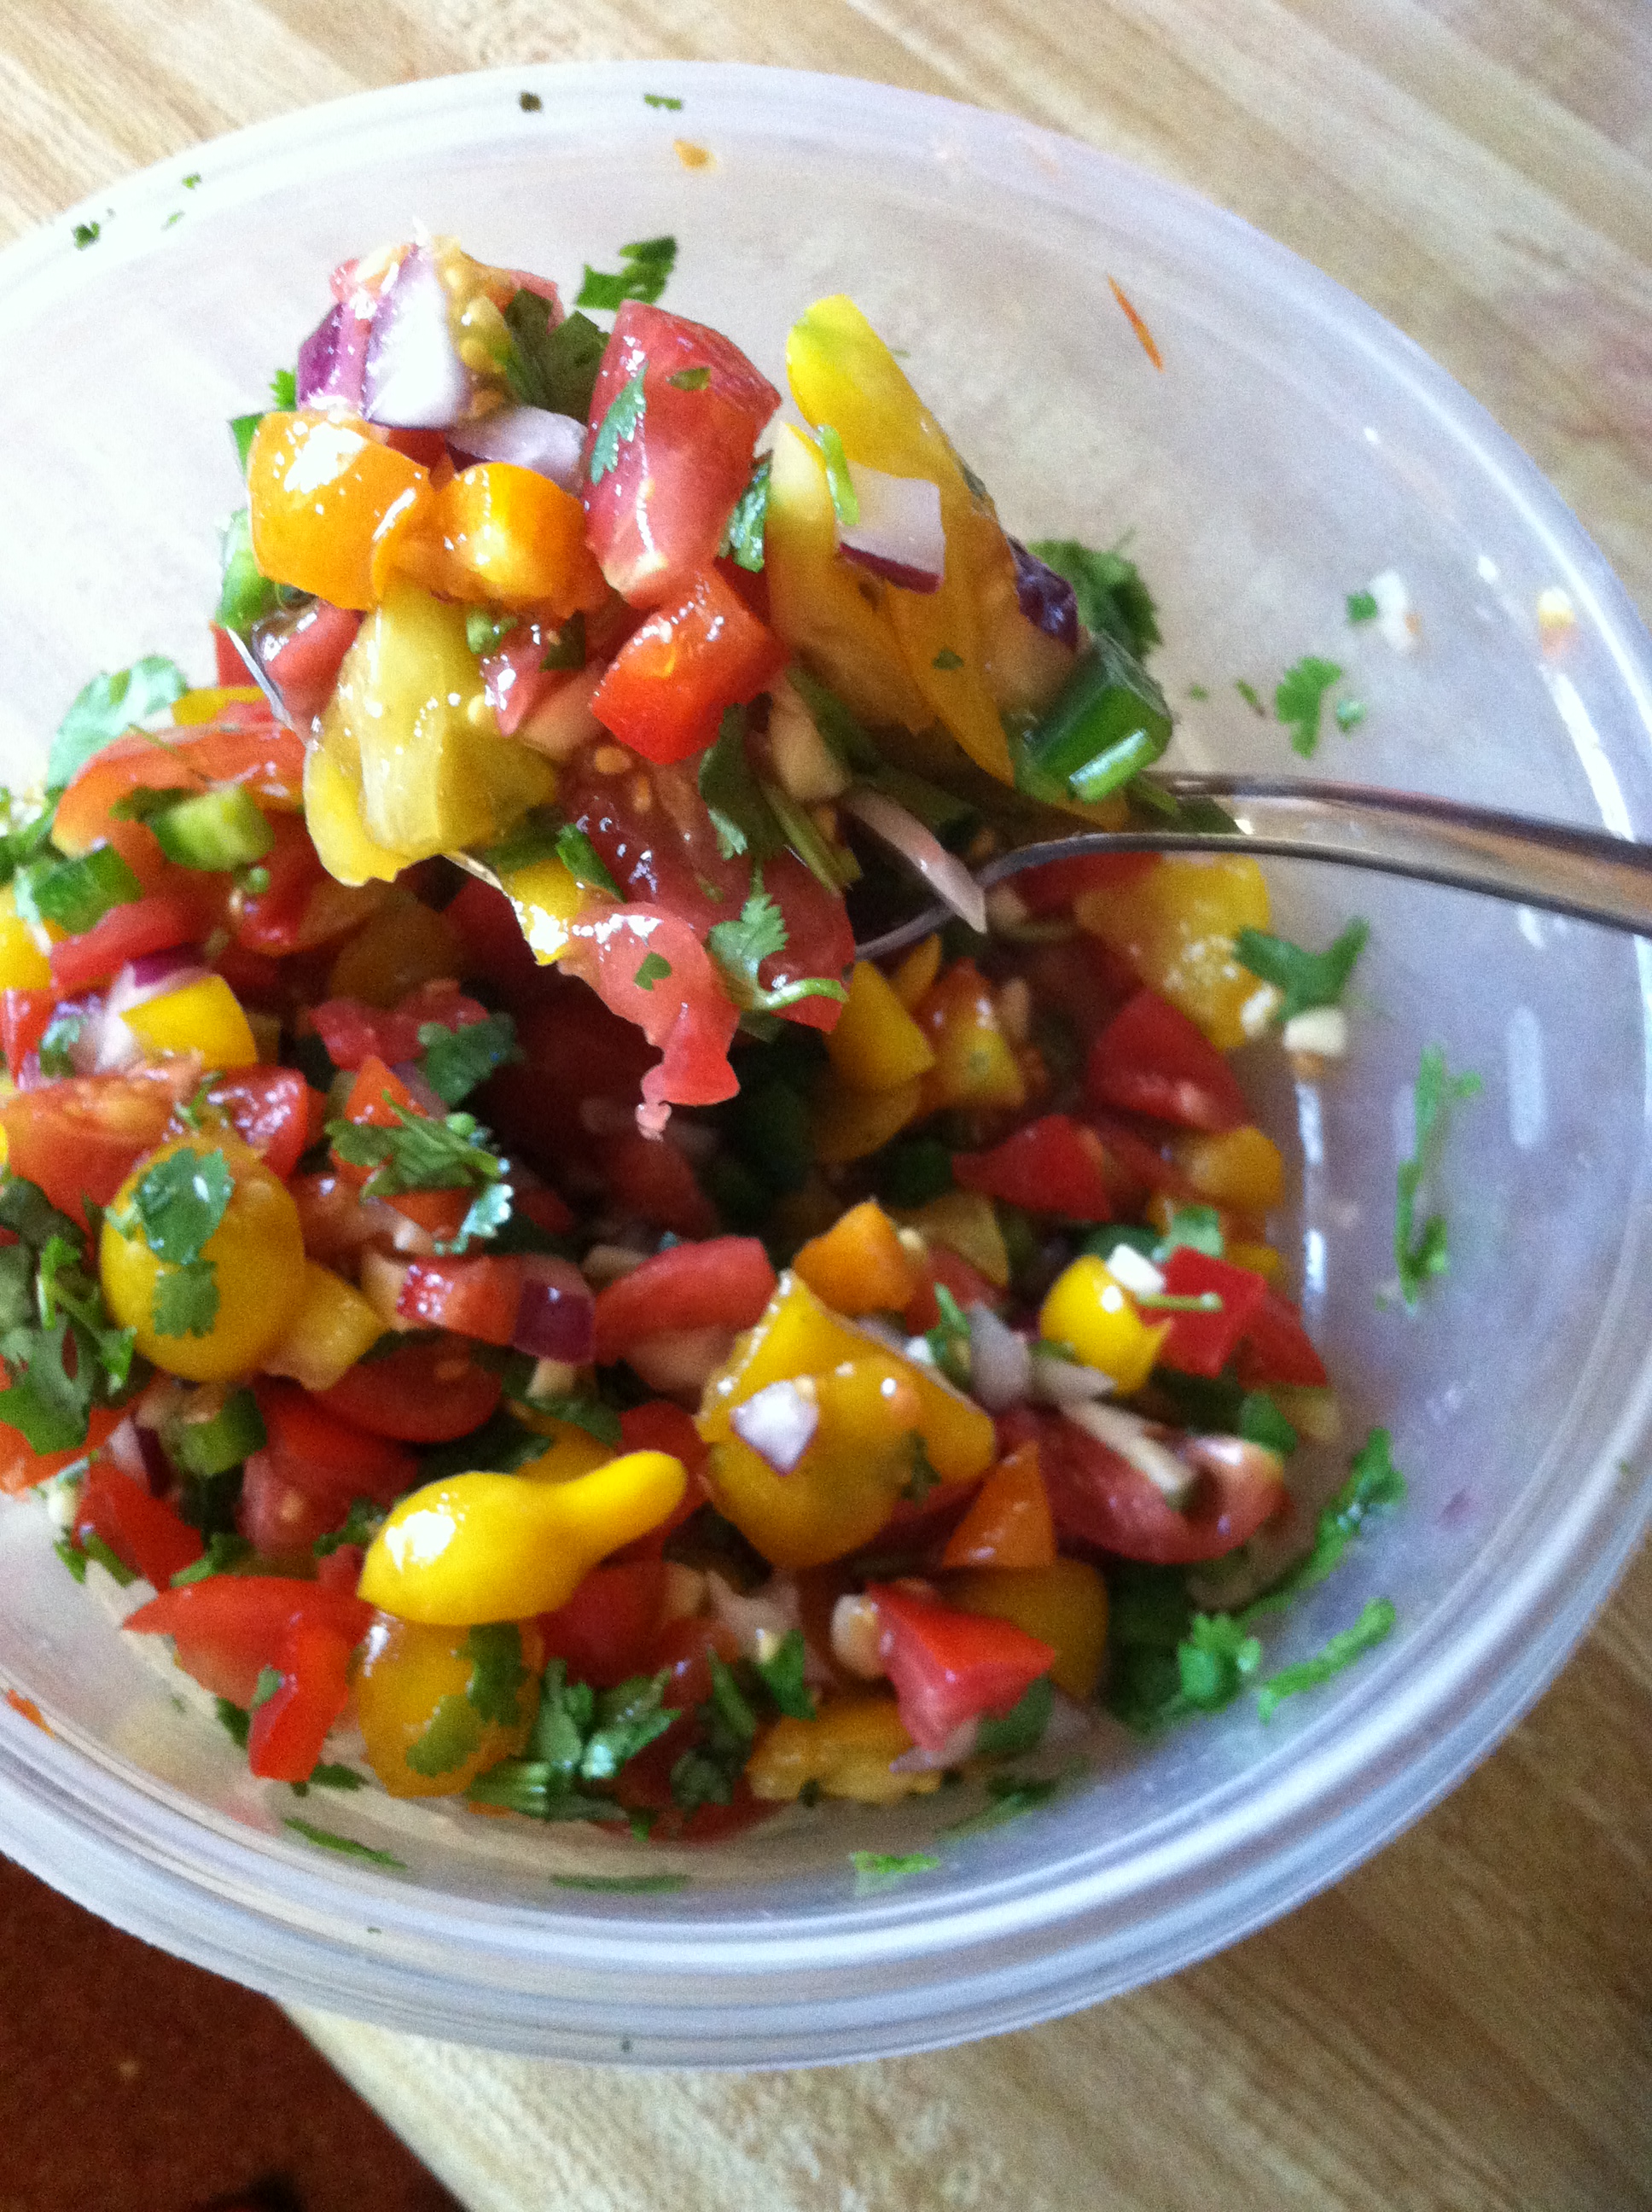
Step 2: In a large bowl, mix the tomatoes, onion, garlic, peppers, herbs, and lime juice. That’s really all there is to it!

IMG_5160

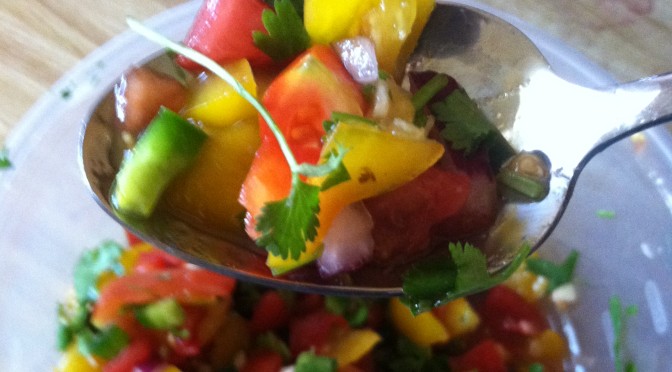
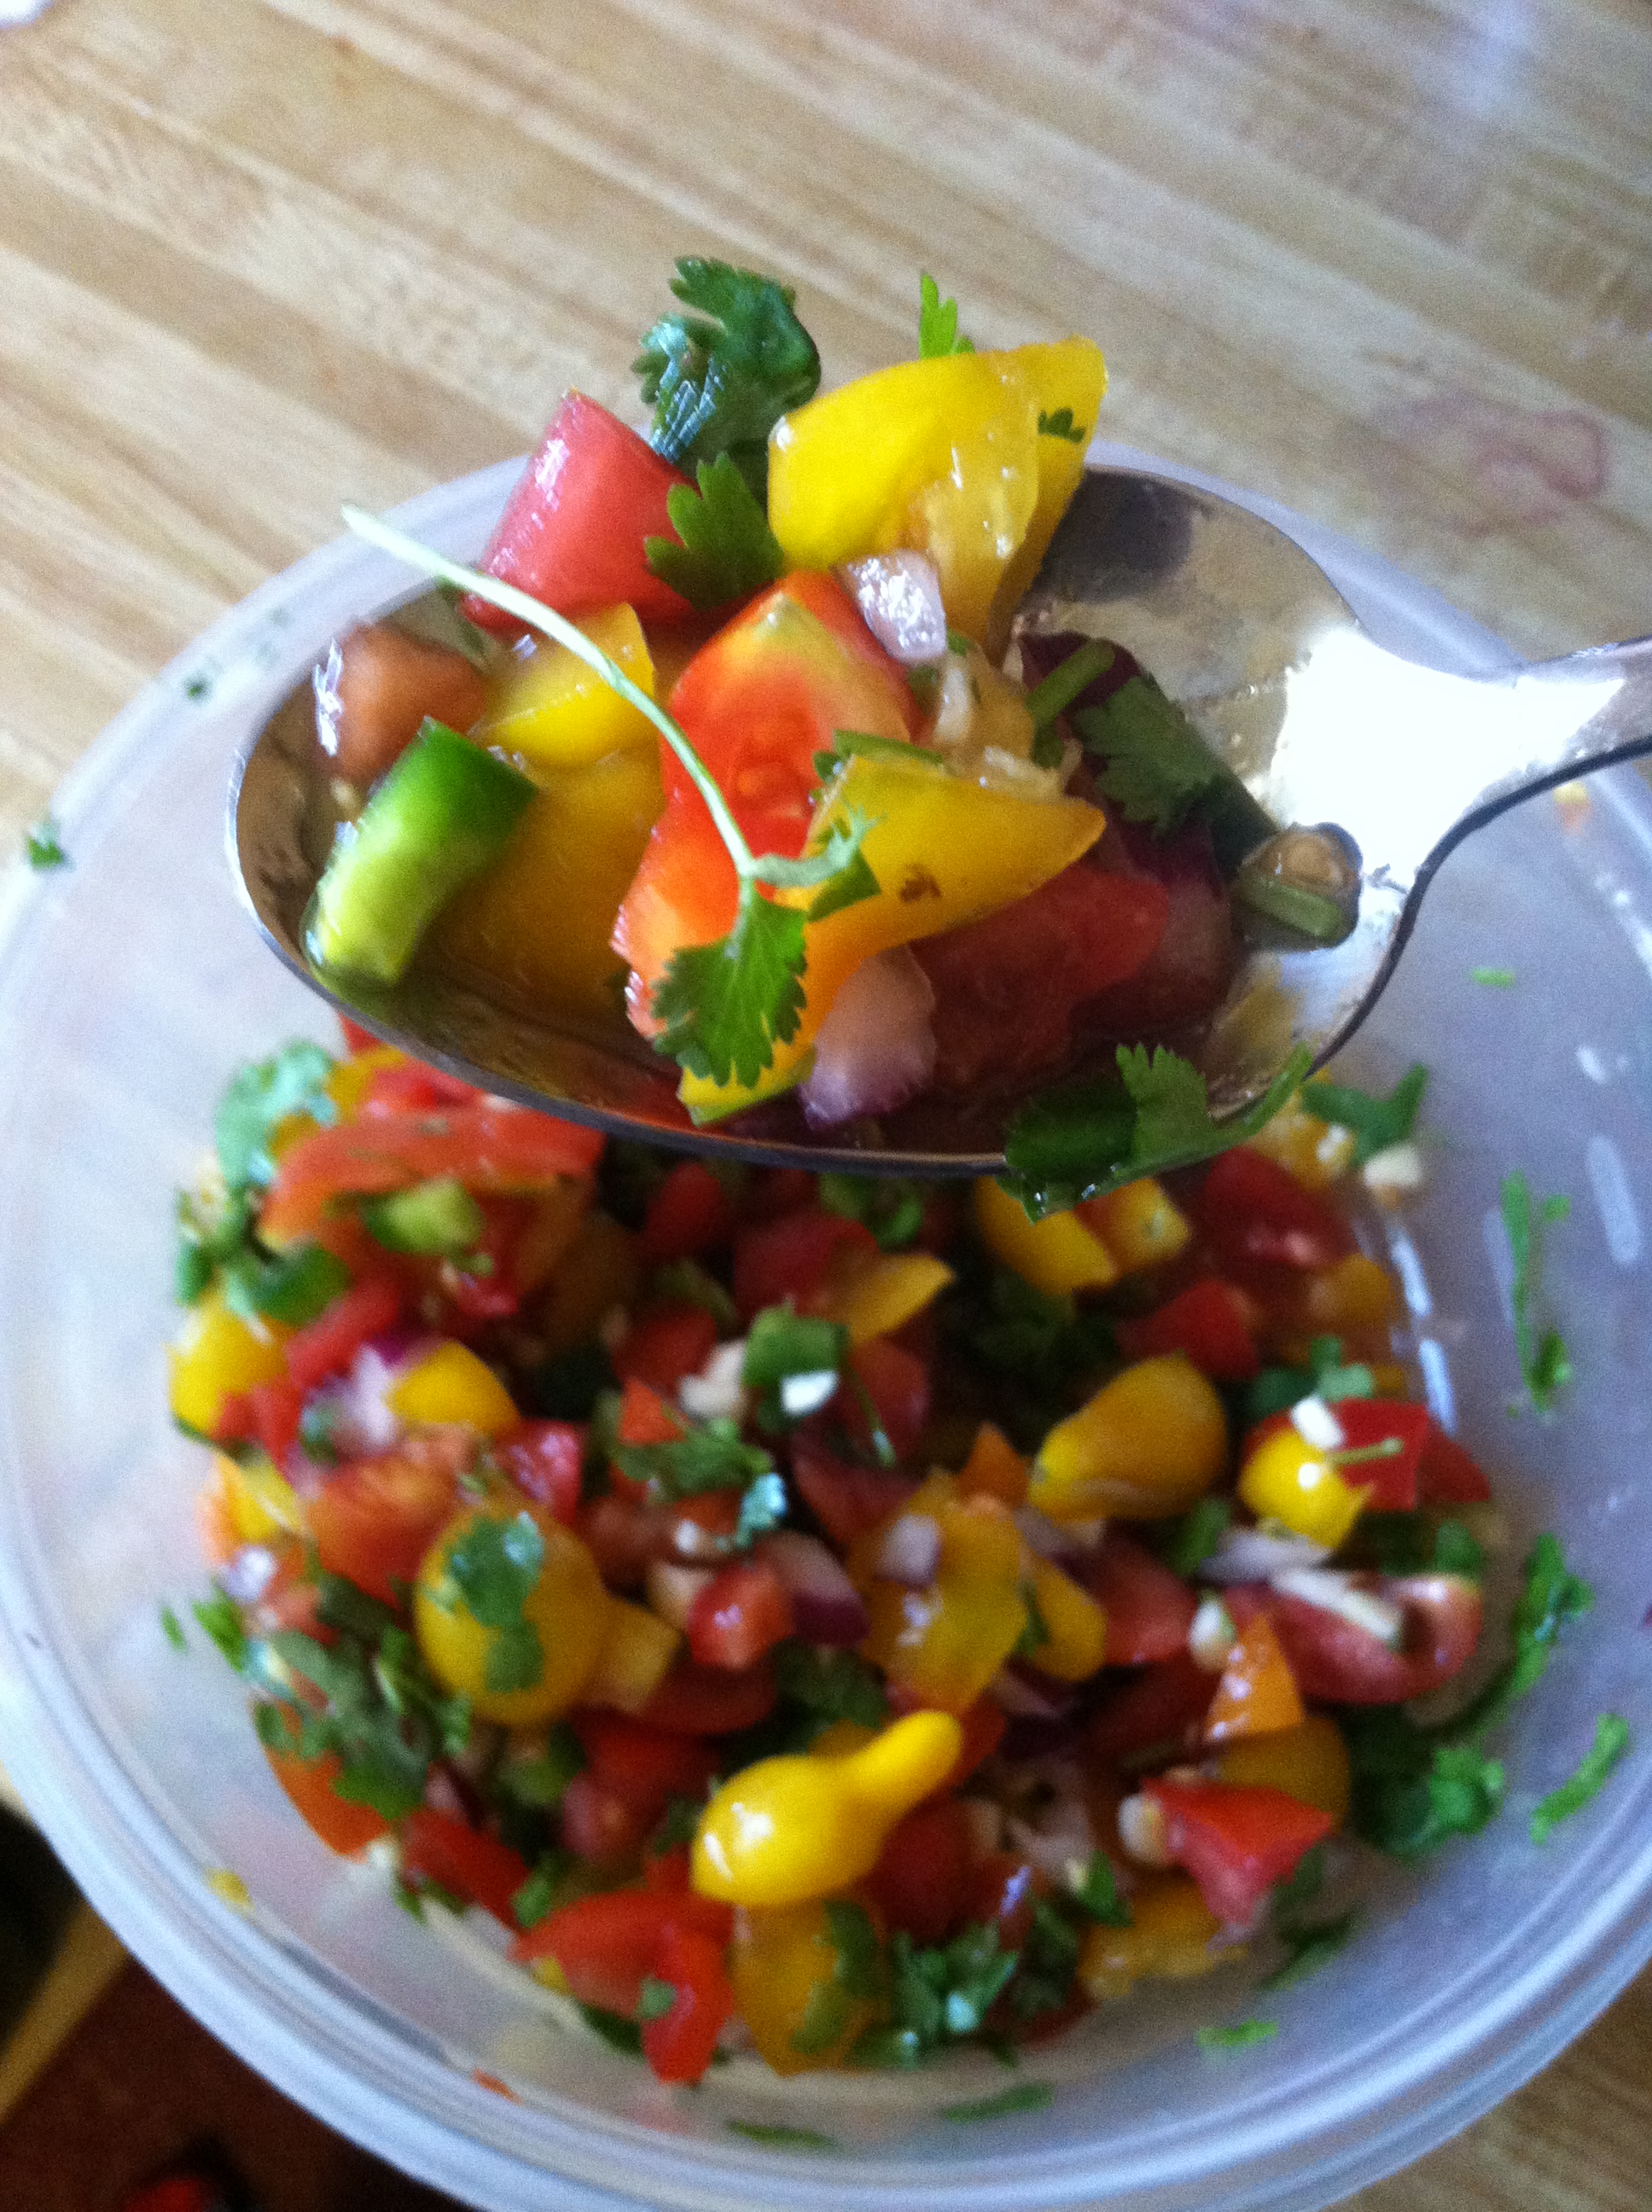
This salsa is wonderfully fresh and vibrantly colored. It is super healthy for you, so throw it into everything, or just eat spoonfuls!

IMG_5159

Rainbow burrito


Burritos are one of my favorite ways to sneak in extra vegetables. Because you can’t really see them, you can put all kinds of rainbow goodies in there and help your heart and health with little effort.

Obviously, sub in 1 cup of whatever veggies you have on hand. This is what I had, and it made a pretty breakfast.

Ingredients:

  • 1-2 strips red bell pepper
  • 1 slice turkey bacon
  • 1-2 strips orange bell pepper
  • 2 eggs, scrambled
  • 1-2 strips green bell pepper
  • 2 med purple cauliflower florets
  • 1 10 inch tortilla

IMG_5307

Step 1: In a frying pan, saute the veggies until soft when poked with a fork.

Step 2: Add the eggs, and cook 5-7 minutes, stirring every so often, until everything is cooked.

IMG_5308

Step 3: Pour it onto a warm tortilla and wrap it up, tucking in the ends. You can add in sriracha or other sauces if you like. Enjoy!

Banana muffin bites


Banana bread and banana muffins are my favorite way to use up leftover past-prime fruit. (The second-best way is to freeze bananas and add them to smoothies!) These little banana bites are a great portion-controlled breakfast, treat, or on the go snack.

If you don’t have mini muffin tins, feel free to portion it into regular sized muffins, or even a bread pan.

Ingredients:

  • 3 bananas (best if slightly over-ripe)
  • 1 1/2 cups flour
  • 3/4 cup sugar
  • 1 tbsp baking soda
  • 3/4 cup milk
  • 4 tbsp melted butter
  • 1 egg
  • 1 tsp salt
  • 1 tbsp vanilla

IMG_4729

Step 1: Mash up the bananas, and mix all wet ingredients in one bowl. Milk, butter, egg, vanilla, and banana.

IMG_4730

Step 2: Mix all the dry ingredients in a large bowl – flour, sugar, baking soda, and salt. If you have a stand mixer, use that. Otherwise mix with a spoon. Slowly pour the wet ingredients into the dry ingredients. Don’t over-mix but make sure to break up any lumps.

IMG_4731

Step 3: Spray 2 muffin tins, and add about 2 tbsp muffin mix. Bake at 350 for 15-20 minutes, until muffins are brown on top and fluffy. Let cool on a wire rack.

These are delicious, relatively healthy, and also freeze well. Use ratios of wheat flour, almond flour, or ground flax for extra nutrition.