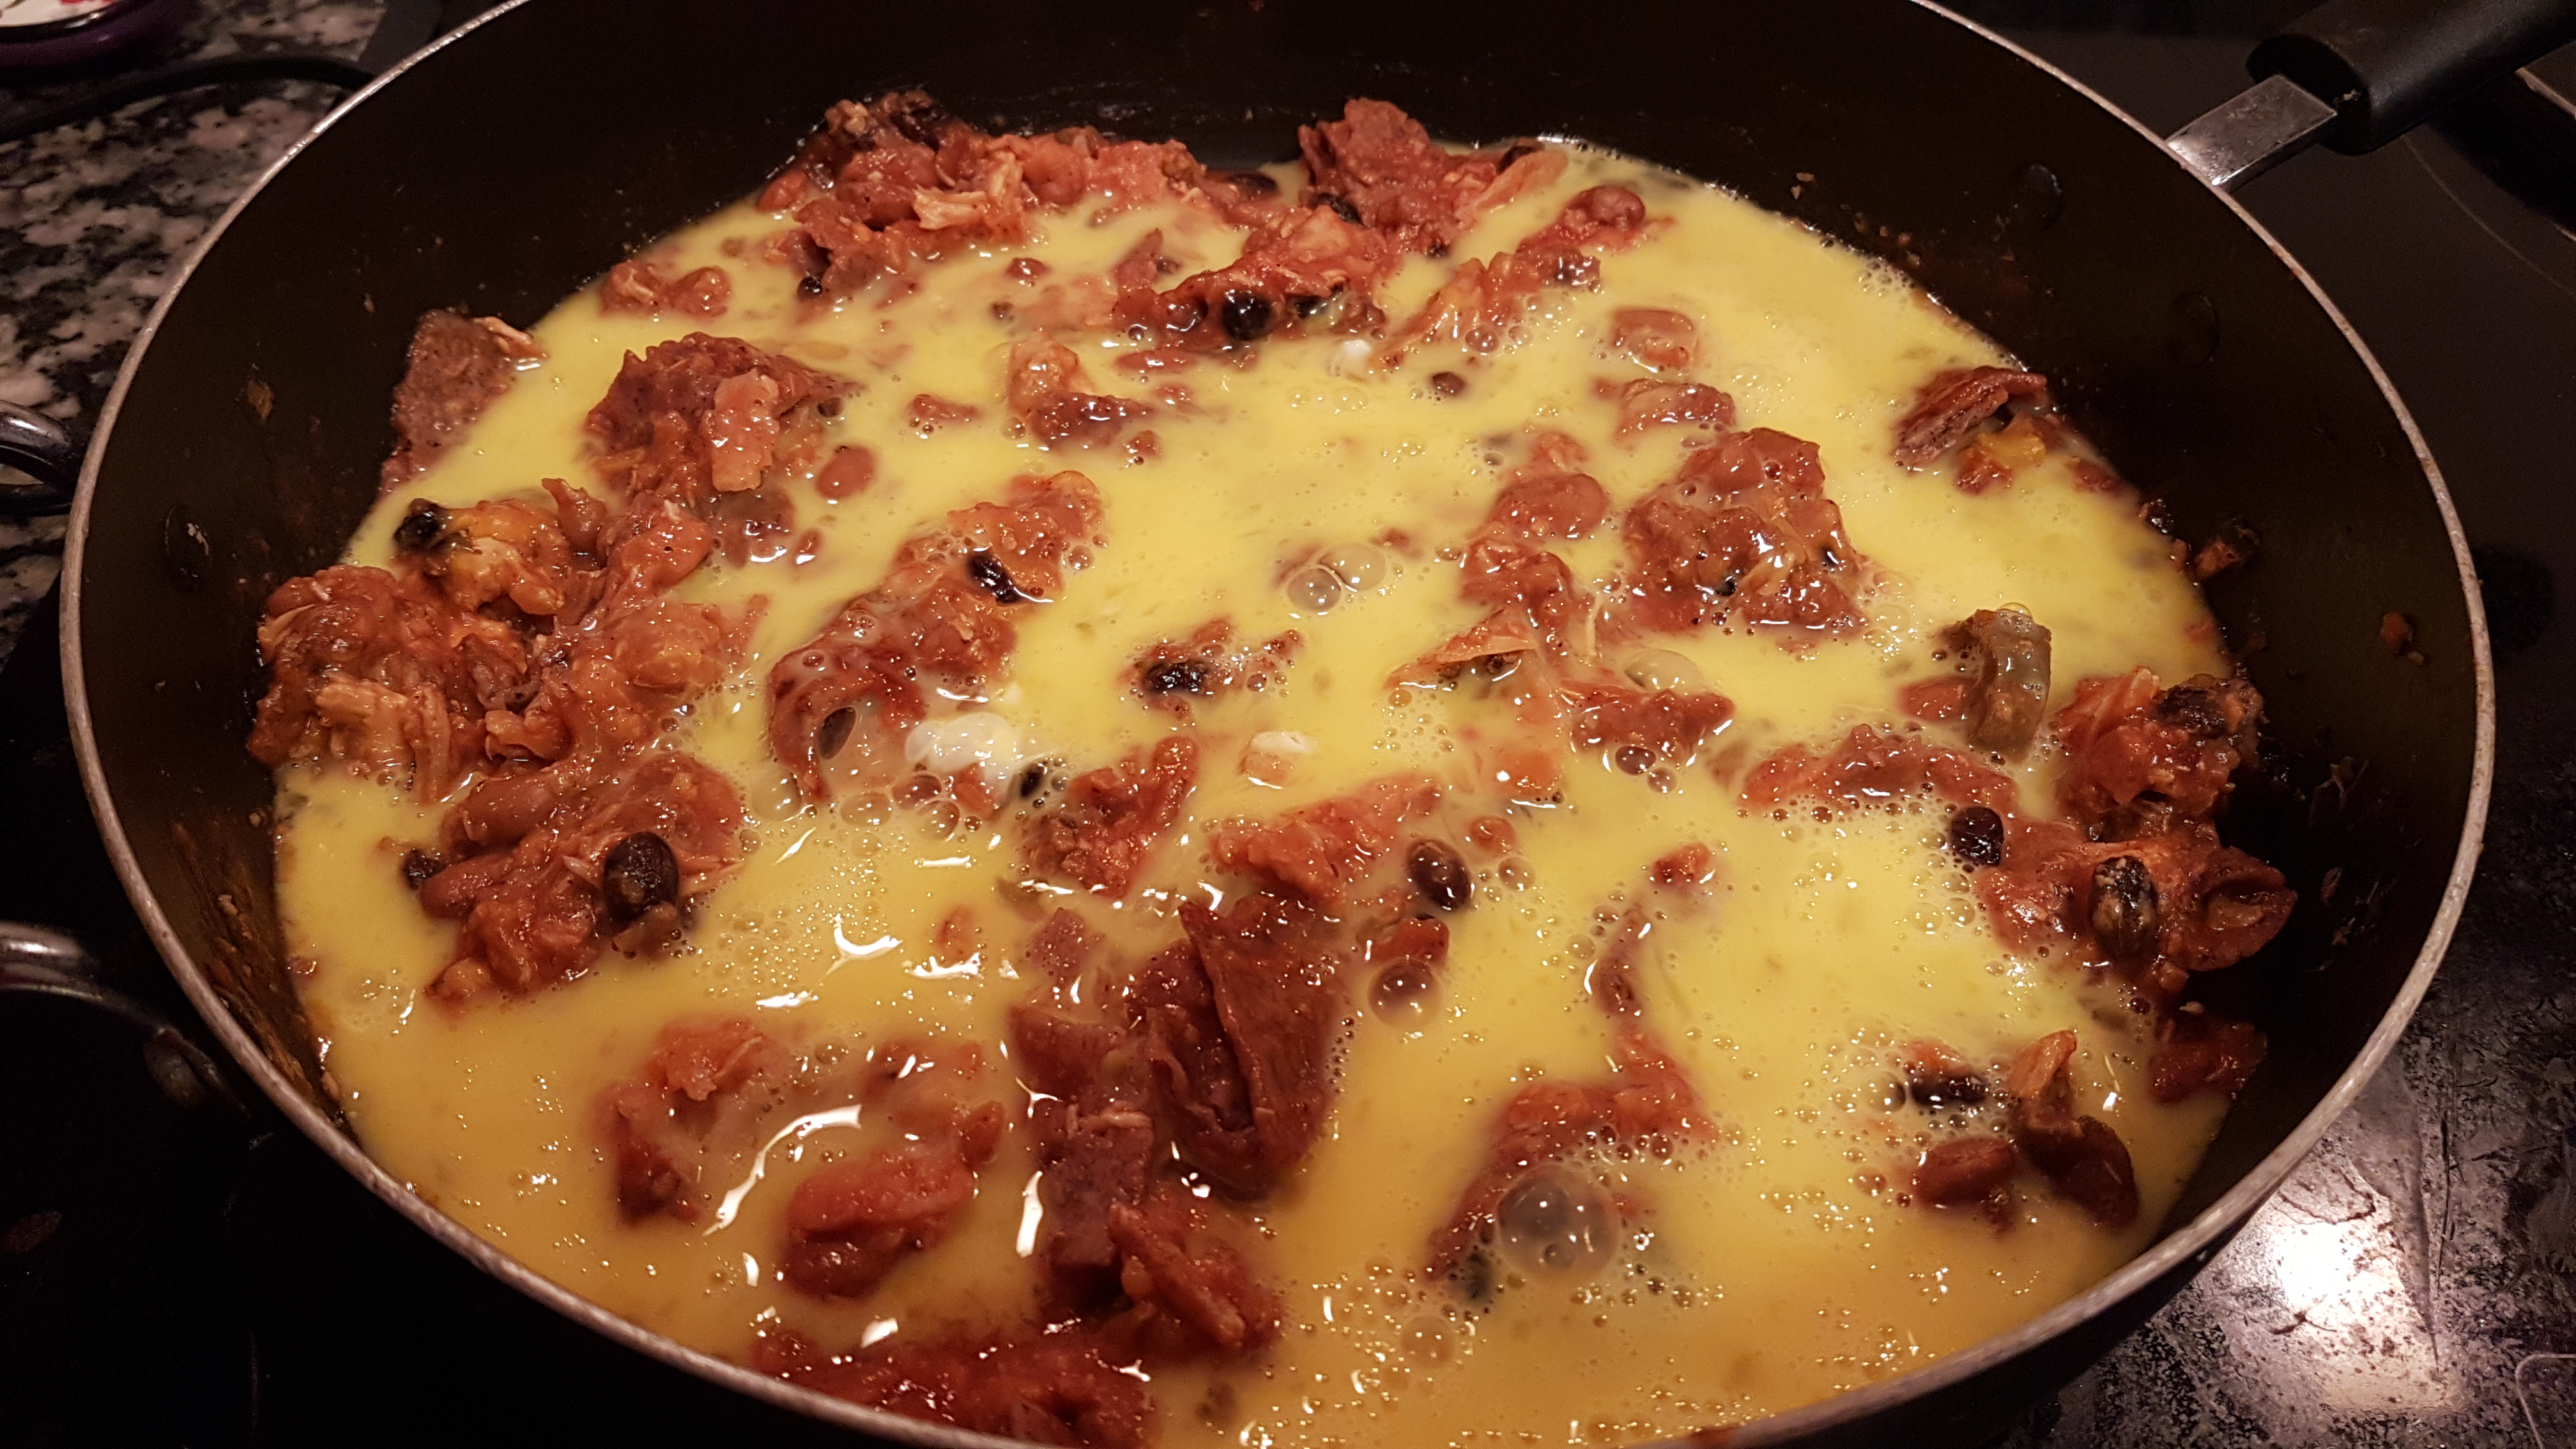
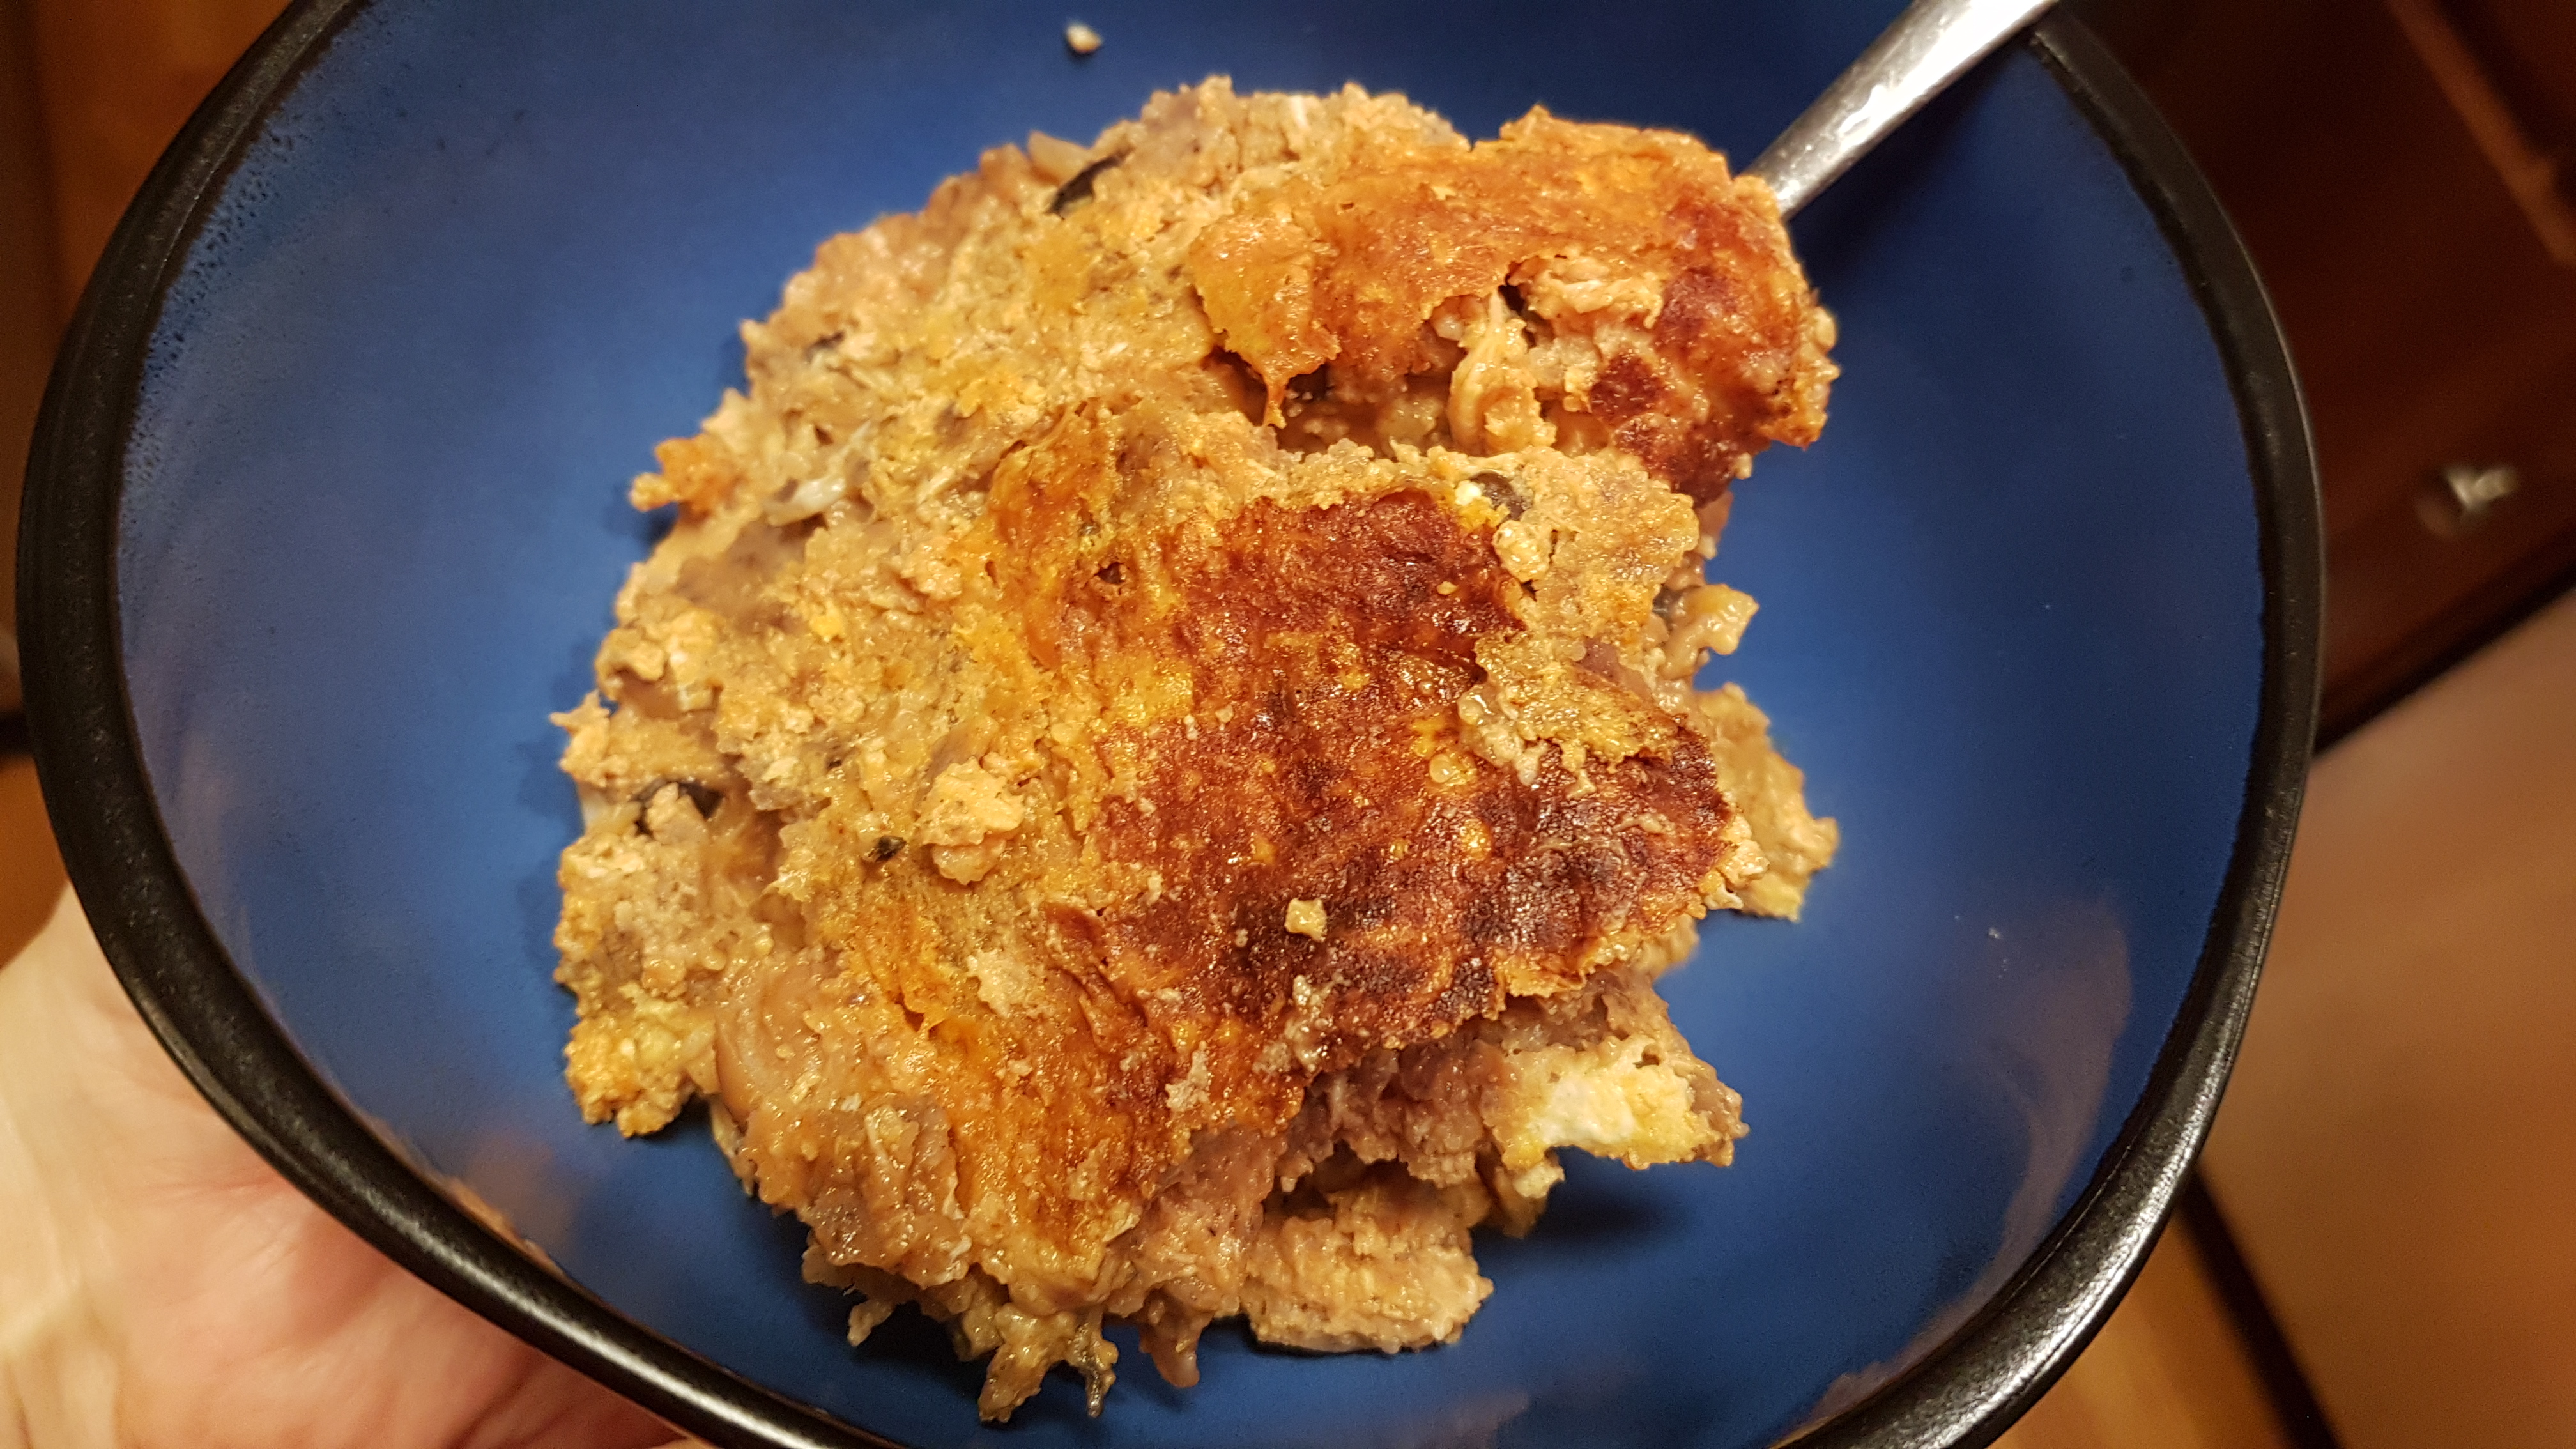
Venison pot pie


You guys want to know a little secret about the Budget Epicurean?

I can’t believe I lived over 2 decades in Ohio, and never tried venison. It’s true.

I’ve had elk, and bison, and goat, and pheasant, and a whole bunch of other more exotic meats. But still no venison.

Until now.

I’m lucky enough to have a friend who knows a guy who hunts regularly. Turns out, excess deer population is a problem shared in North Carolina too. This seems to be a problem just about everywhere, as they now have almost no native predators to worry about. Their only concern is a too-fast passing car.

why we should eat deer

Deer will eat just about anything when they are hungry, and a rough winter or over-population means more infiltration into neighborhoods. We live between two big patches of forest, and they are well known to stroll through around dusk. They have decimated my pansies more than once, and I’ve already seen evidence of browsing on my brand new ivy and hostas as well.

So really, I’m doing us all, and myself a favor by eating deer meat!

Do us all a favor too, and make this recipe soon. If you or someone in the household doesn’t think they’ll like deer because it is “gamey”, you need to find a new supplier. Deer, when ground and spiced right, is totally delicious and almost indistinguishable from ground beef. If your store doesn’t carry venison, try a specialty meat market, or ask around. You never know who you know that might know a guy…

venison pie with biscuits

Ingredients:

  • 1 pound venison (you could use any ground meat though)
  • 1 cup mixed frozen vegetables
  • 1/2 cup milk
  • 2-3 tbsp flour
  • 1 container biscuits (you could use mashed potatoes instead)
  • Garlic salt to taste

Venison pot pie

Step 1: Microwave the milk for 1 minute, whisk in the flour and let sit. Meanwhile brown the venison in a skillet. Add the frozen vegetables and let cook until just thawed.

venison pot pie with biscuits

Step 2: Spray the bottom of a round pie plate or 8×8 casserole dish. Pour in the meat mixture, and cover with the milk and flour mixture. Pop open the biscuits, and line the top with the dough.

baked biscuit venison pot pie

Step 3: Bake at 350 on the bottom rack of the oven for 8-10 minutes, until the biscuits are nice and browned on top. Let cool for a minute, and enjoy.


[amd-zlrecipe-recipe:71]

Save

Save

Jalapeno Margaritas


Happy Memorial Day weekend!

A sincere thank you to all our members of the armed forces, for doing what they do in order for us to do our things too.

And Memorial Day weekend also means, it is officially summer!

School is out, and so is the sun. (Maybe…we have had some ridiculous amount of thunderstorms here in NC lately! Oh well, that’s why everything here is so green and lush.)

Time to plan vacations to the beach, to the park, to the mountains, and everywhere in between. Time for picnics and cookouts and potlucks and parties.

Time for cocktails!

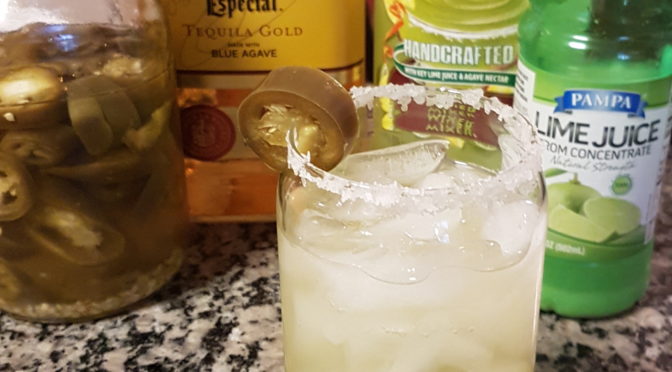
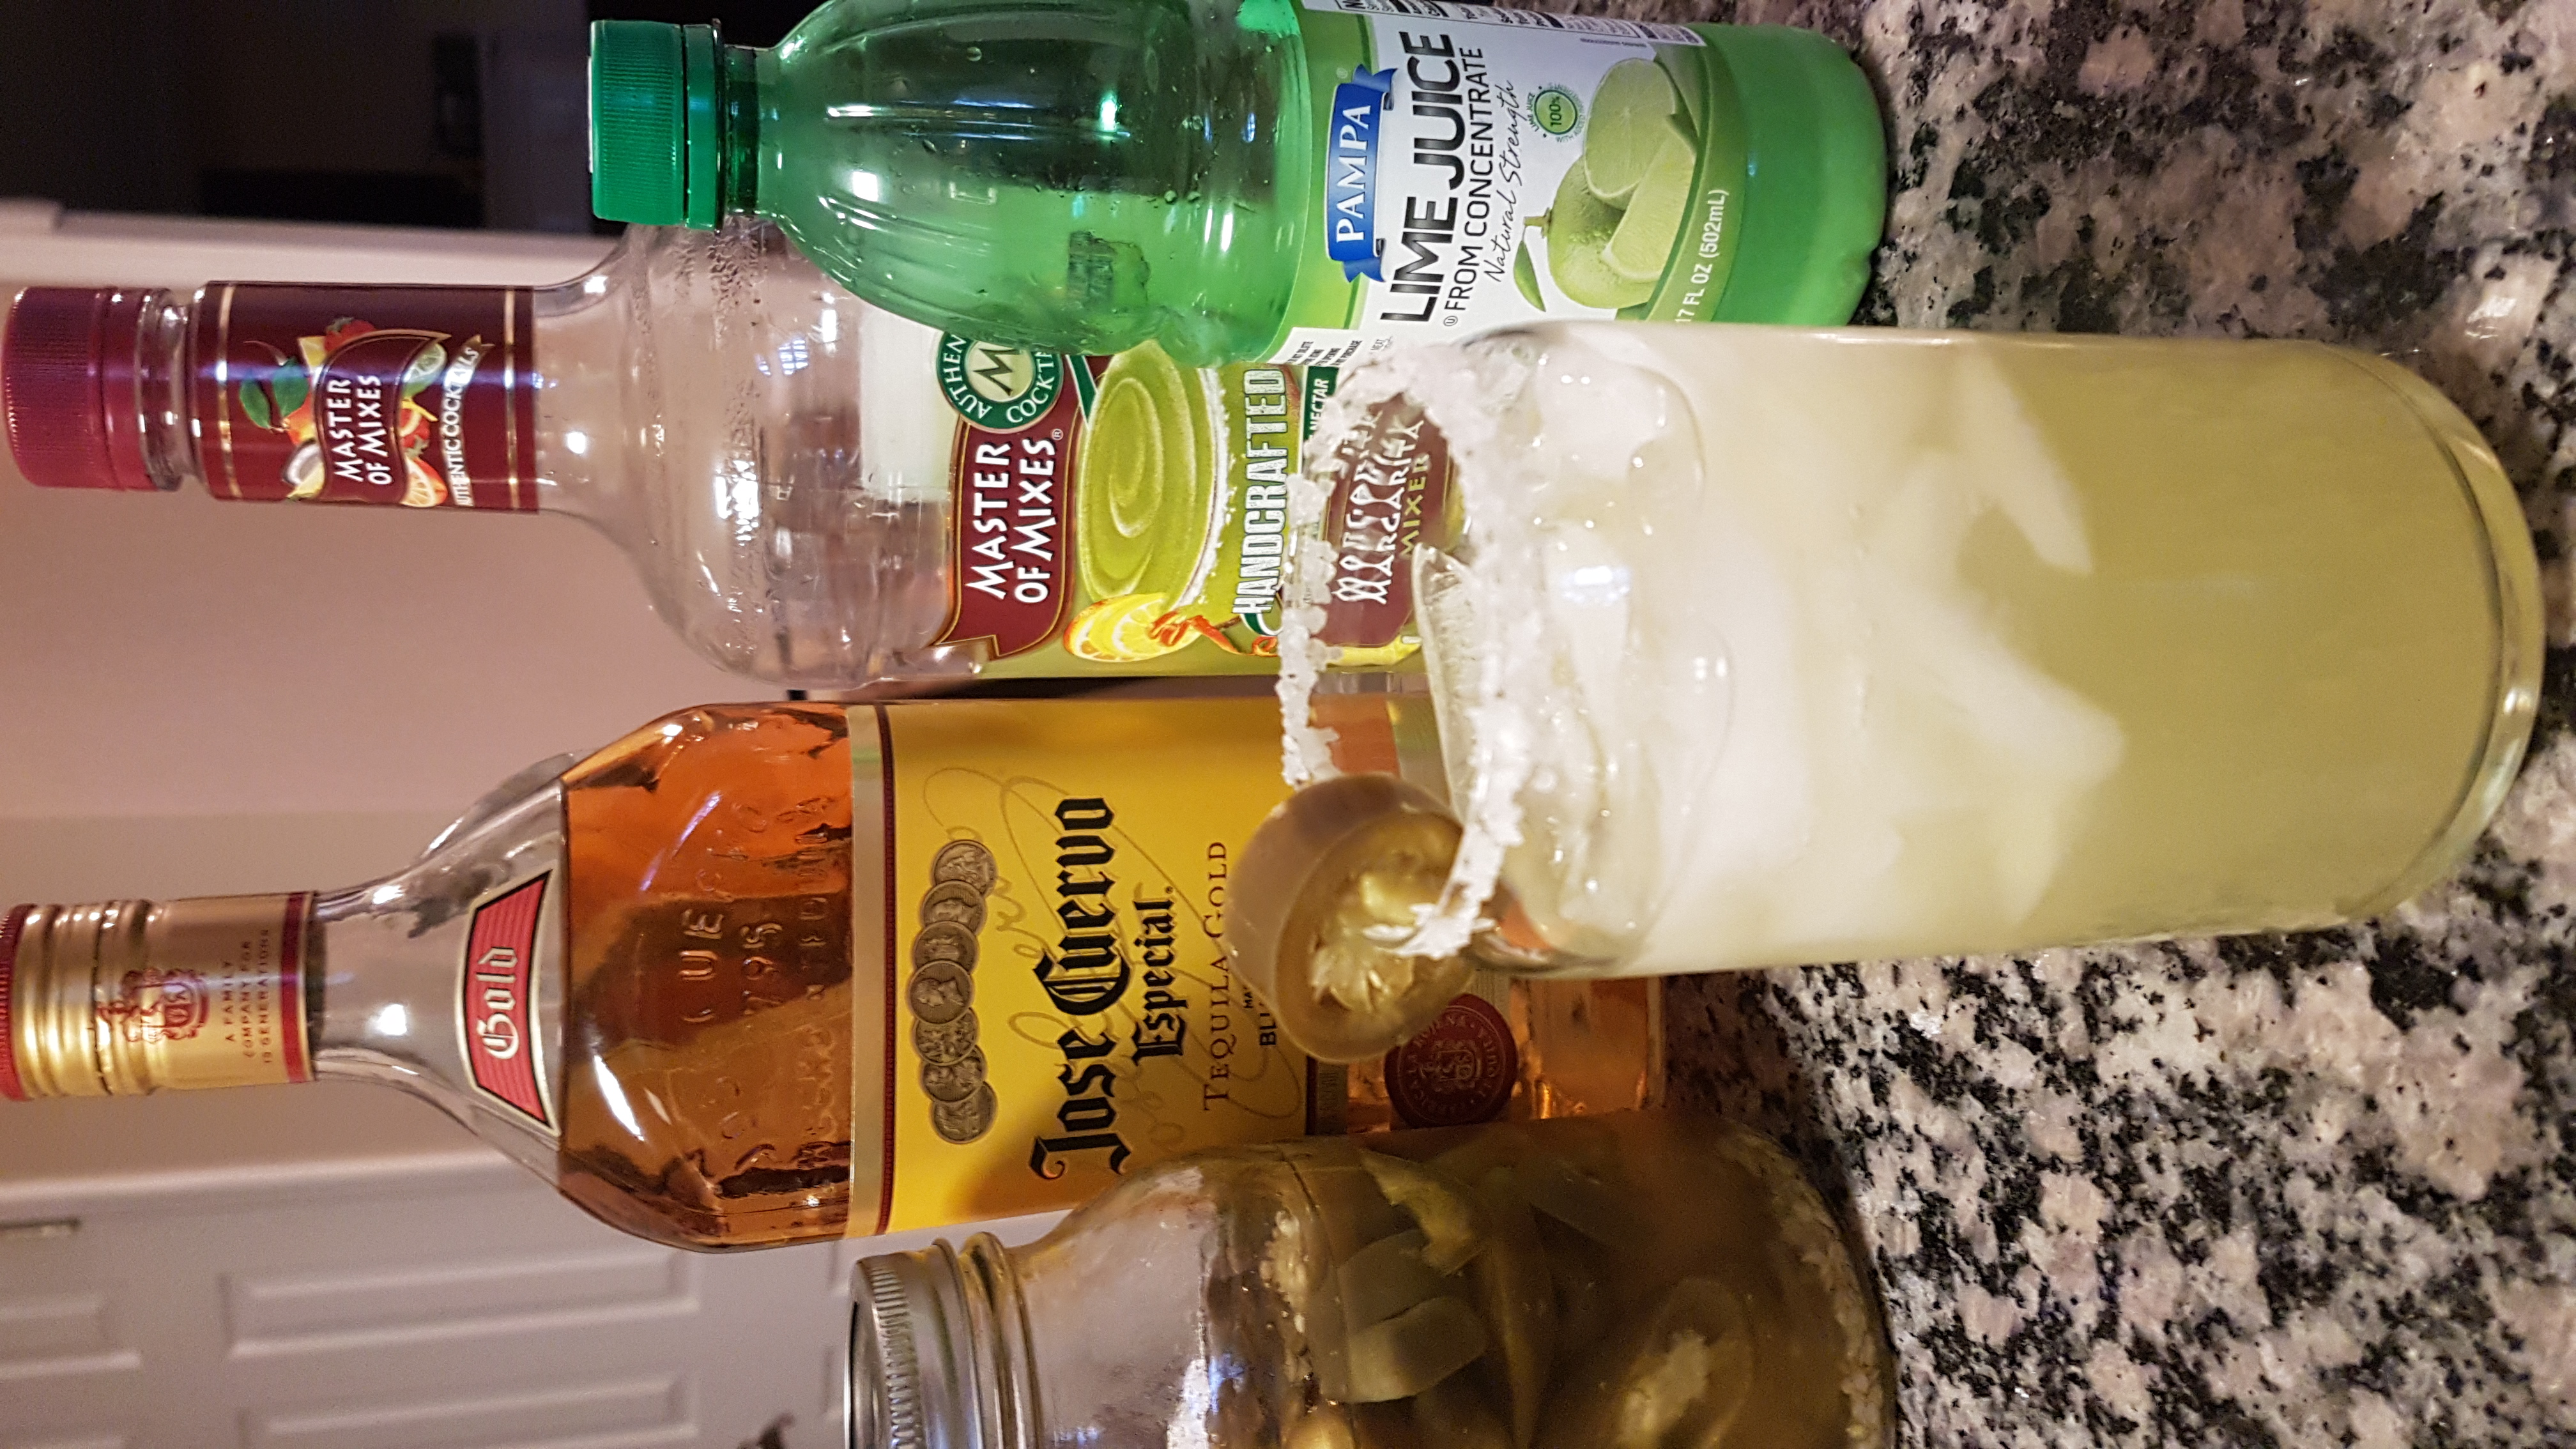
We all know I love margaritas. This here recipe is taking it to the next level. It is the classic combo of tangy lime, salt, sugar, and liquor, now with the delicious slow burn of jalapeno peppers.

I was introduced to these by my sister in law (I can’t believe it’s been just barely a year, and it’s still weird to use phrases like that!) and have had sporadic cravings for them ever since. I’ll be having a garden party in a few weeks, this recipe might have to make an appearance.

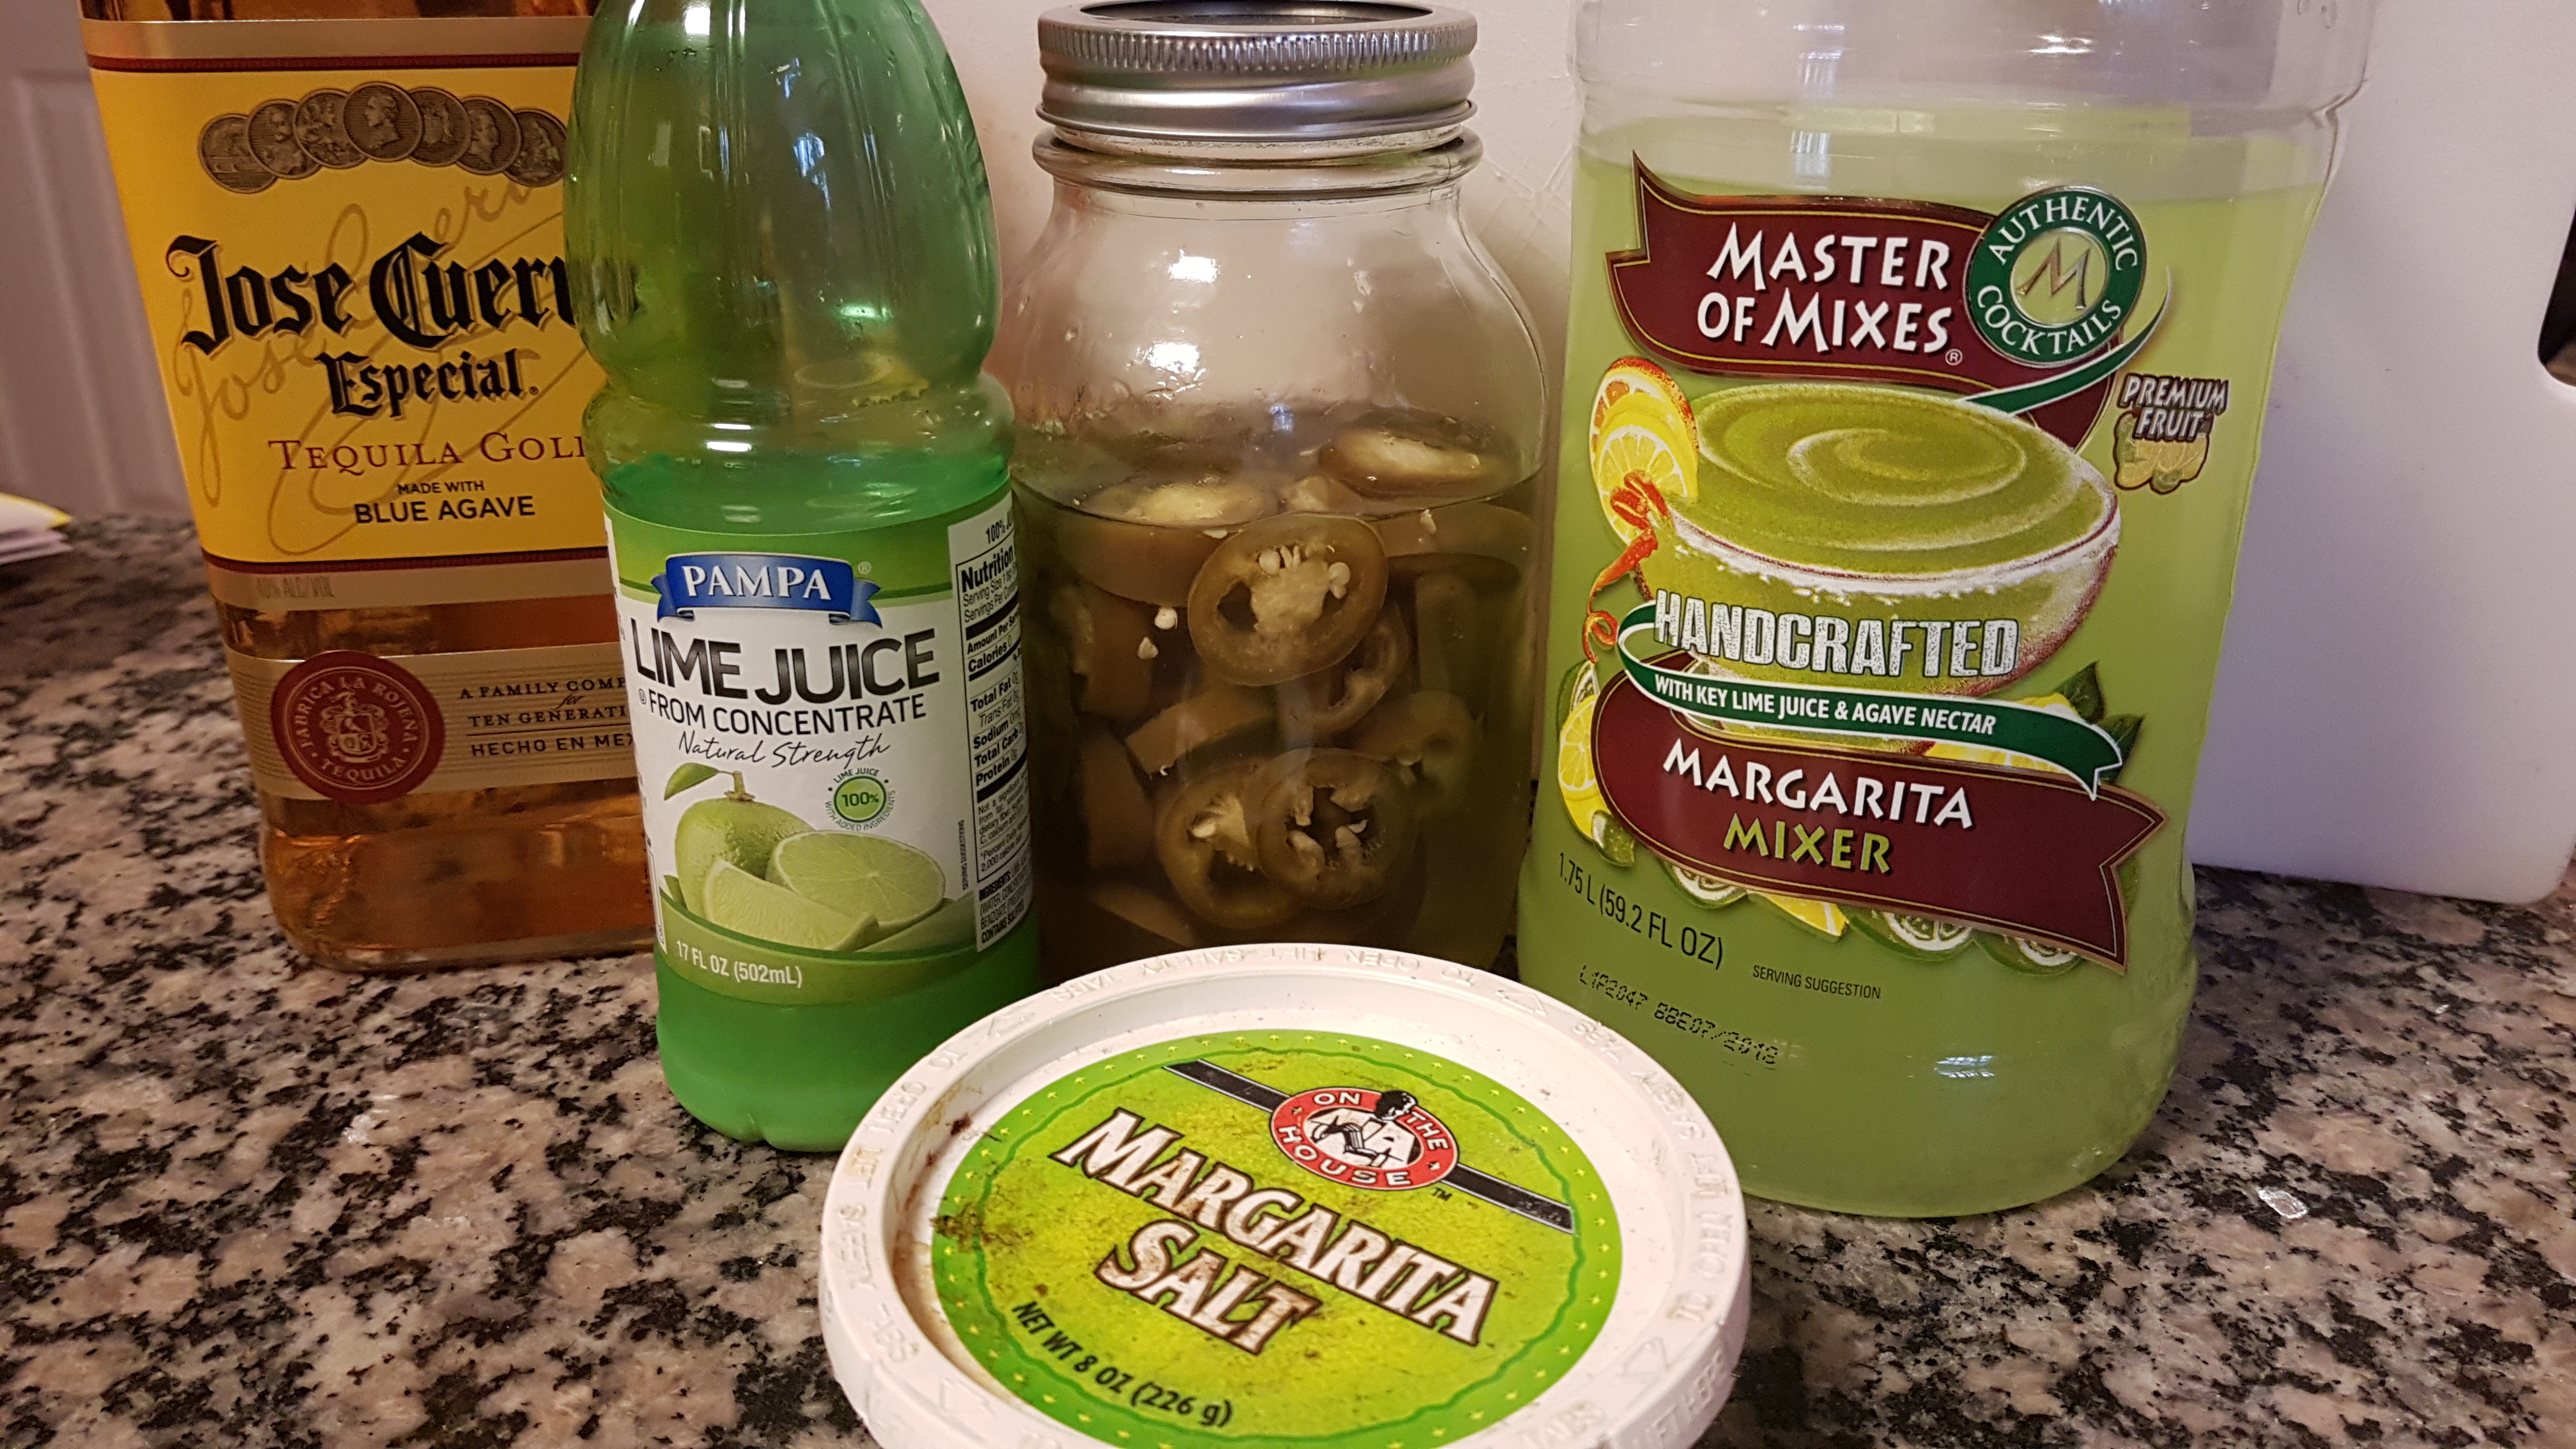
jalapeno margarita ingredients

This recipe makes enough for a large pitcher, about 6 glasses. Feel free to scale up or down as needed, just keep the ratio of tequila to mixer about 1:2, and you can also experiment with more or less jalapeno, depending on how much of a bite you like!

Ingredients:

  • 1 1/2 cups tequila
  • 3 cups margarita mix
  • 1/2 cup lime juice
  • Either 4-5 fresh jalapenos sliced, or 1/2 cup pickled jalapenos

Step 1: Mix all ingredients in a large pitcher full of ice and refrigerate for an hour to overnight. Dip a glass in lime juice, and then salt. Add ice, add margarita, sip… and smile. Then cough, and maybe turn red, and maybe need some ice water to wash it down. Just kidding, you will be fine! And then go back for more.


Save

Save

Pan fried chillaquiles


You know how sometimes (always) you have a party, and at the end of the night, there’s like, 10 chips left in the bag? Or you clean out the pantry and realize there’s a who-knows-how-old quarter bag of tostitos still sitting on the top shelf, using up your favorite chip-clip?

Turns out, there’s a way to use up leftover or old tortilla chips to make them into something new and delicious!

Chillaquiles (chee-la-kee-lays) is a home-style Mexican recipe, with tons of flavor and stick to your ribs goodness. It is in no way a healthy recipe, which is a slight deviation from my normal attempts to healthify everything. But we all need a little indulgent comfort food now and then, and I’m always a big fan of not wasting food. Even the 8 chips left in the bottom of the bag.

pan fried tortilla chips and salsa

Makes one enormous pan full! Serves about 8.

Ingredients:

  • 2 cups crushed tortilla chips
  • 1 cup salsa
  • 1 large can tomato sauce
  • 5-6 eggs, scrambled
  • 1/2 cup shredded cheddar cheese

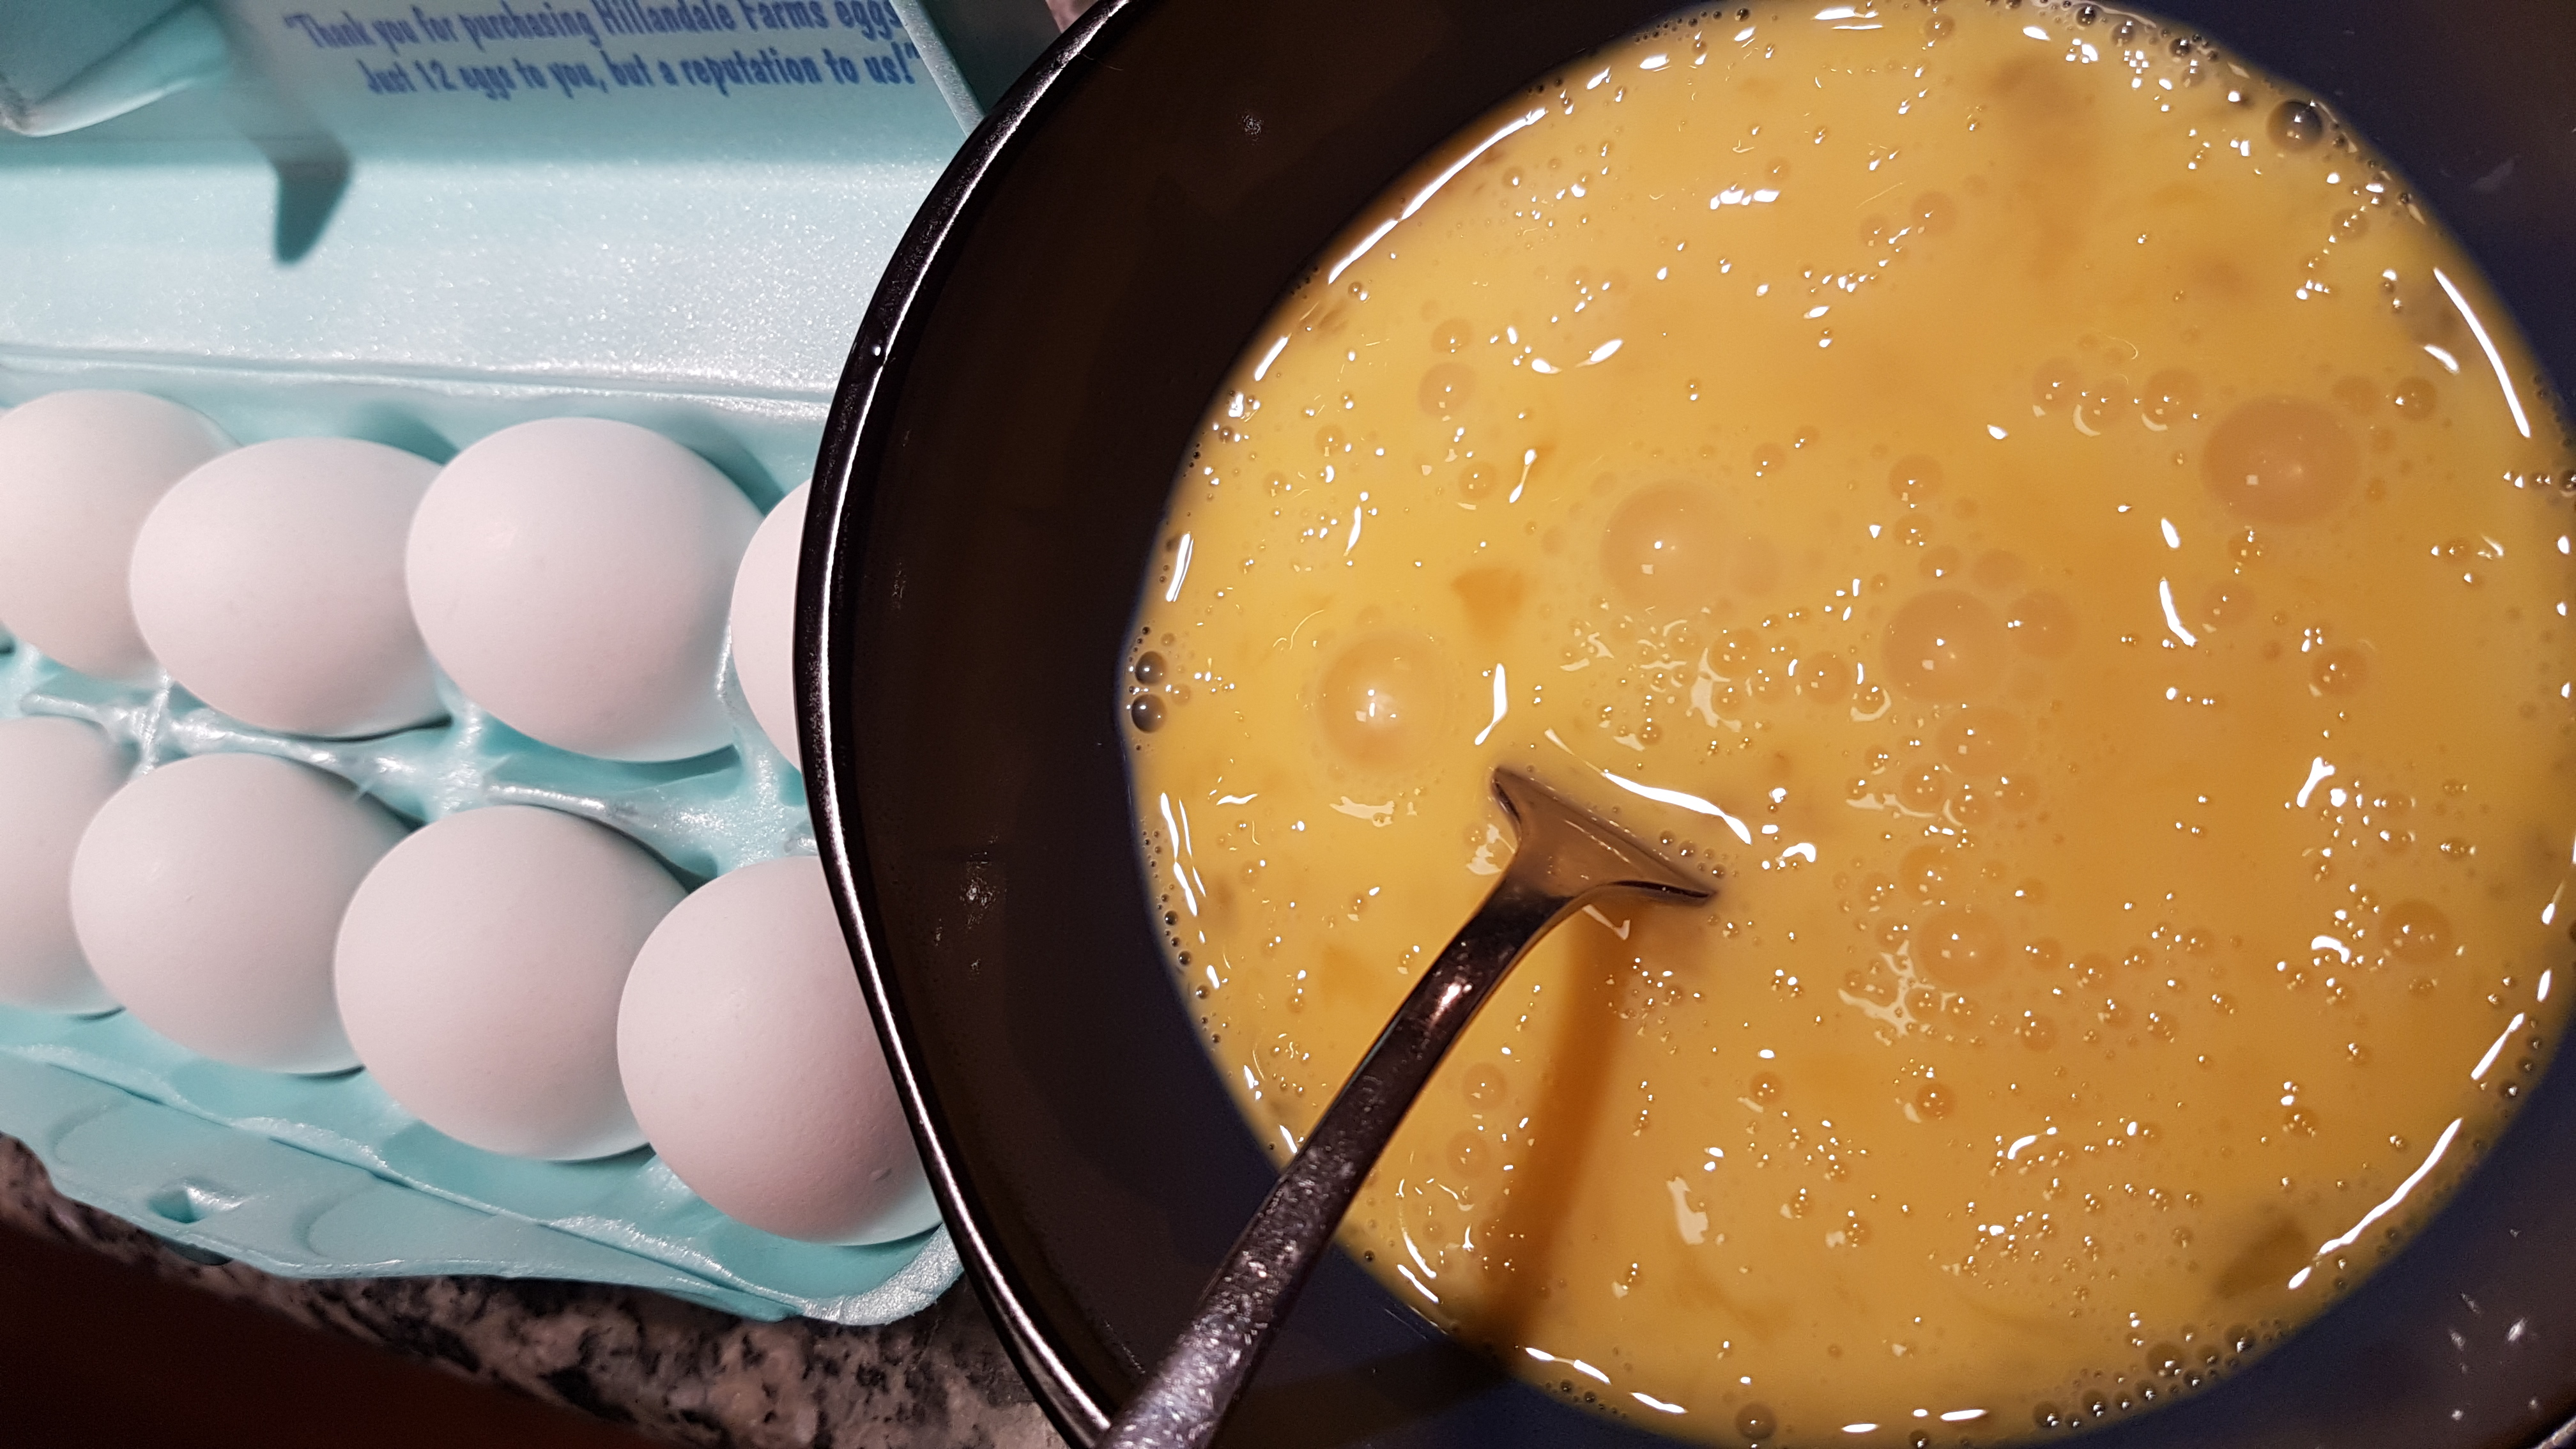
eggs, whisked

Step 1: In a large frying pan, pour the chips, salsa, and tomato sauce. Cook over medium low heat, until the chips have begun to soften.

pouring the egg into the chillaquiles

Step 2: Scramble the eggs in a bowl. If you want extra fluffiness, add a splash of milk. Pour into the frying pan, add the cheddar, and mix well.

Step 3: Cook over medium-high heat, mixing occasionally, until the egg is cooked through. If you like, sprinkle with a little extra cheddar.

Optional add-ins include: diced peppers and onions, sour cream, black or pinto beans, chorizo, sausage, other types of cheese like pepper jack, jalapenos…


Save

Save

Save

Save

Save

Save

Cherry Berry Fizz


I know I’ve talked before many times about how drinking enough water is such a crucial aspect of being healthy. I’m pretty sure I’ve also talked about how much I struggle with this! For all my good habits and self-control, drinking enough water is just. so. difficult.

It’s not that I mind the taste, or dislike it. I just forget.

I’ve begun leaving water cups with straws all over the house and at work and in my car… I find that a straw really helps! For some reason, I can drink more at once and keep drinking more water when there’s a straw involved versus just a cup. It’s funny, because hubby has the exact opposite preference, he hates straws and drinks much faster in gulps.

But I digress.

The other way I’ve found to trick myself into my 8-to-10 daily glasses is fizzy water! I used to think that seltzer was so gross, and why would anyone want fizzy water when they could just have a pop? (NOT that drinking pop regularly is ever a good idea, please don’t. But still.) I just didn’t get it.

Well, fast forward to last year, a coworker of mine had cans of fizzy water regularly. There were all kinds of different flavors, setlzer and not. (I’d recommend ones without added sugars, even the fake kinds, but beggars can’t be choosers and if it gets you into the water habit to start with, do what you must). I reluctantly tried one… and liked it. And so I bought another. And then a case.

And then I had a new habit! Which is great… ish. Fizzy water is still water and is so good for me. But it is not so great for my bank account, or my planet. All those cans and bottles, just going to waste. Even if I recycled, I still felt that twinge of guilt each time I tossed a can or bottle and heard it hit the inside of the bin.

Berry cherry fizz

Since then, I’ve also gotten hubby onto the fizzy water bandwagon. It’s a perfect beverage with dinner, while watching TV, or a great alternative to alcoholic beverages for just any random weeknight when you want something fun and different. So now we were going through twice the aluminum and plastic!

After some research and discussion with many friends, we decided it might be time for a fizzy water machine. There would be a larger up-front cost, with small ongoing fees (CO2 replacements mostly) but the perks included: cheaper overall, no more bottle/can waste, we know where the water is coming from and what flavorings are added.

We crunched the numbers, and decided on a SodaStream Fountain Jet. And then my wonderful inlaws surprised us with it for Christmas! So that saved us the initial investment as well. (THANK YOU!). The 60L tank claims to make something like 50L of fizzy water, so by the time we finish our first refill (i.e. 2 tanks) even at the cheapest I’ve ever seen a liter on sale at a store we will be ahead financially. And we intend to use this bad boy for many years to come too.

You don’t have to have a SodaStream for this recipe, you can use bottled fizzy water of course. Or even regular tap water. But if you buy it bottled, try buying a 2L at a time, for less waste. This is refreshing, light and fruity, and perfect for summertime or after a hot and sweaty run. Enjoy!

Ingredients:

  • 1 1/2 cups fizzy water
  • 1/2 cup pure cherry juice
  • Handful frozen berries (I used blueberries)

Step 1: Pour the frozen berries into a cup, these will be your ice cubes. They won’t water down your drink, and you get a healthy snack at the end!

Step 2: Pour in the cherry juice (you can use any kind of juice here, try for no sugar added organic kinds if possible) and the bubble water.

Step 3: Hydrate!

This also looks very pretty, the bubbles lift the berries around the glass like a lava lamp. And with the red and blue colors, this would be an ideal beverage to serve for a Fourth of July party! You could even add a shot of a little somethin somethin, I won’t tell… 😉

Save

Save

Restaurant Review: The Cowfish, Raleigh NC


How often do you have the “what do you want for dinner?” conversation? Whether with friends or a significant other, it can be fraught with peril. Someone wants pizza, someone else is in the mood for burgers, I desperately want sushi, meanwhile this other guy is gluten-free and she’s vegetarian.

What to do?!

The Cowfish in Raleigh has struck a whimsical compromise: they offer not only both burgers and sushi, but also a menu full of confusing, creative fusion they call “burgooshi”. Now the fish eaters and the cow eaters can all be happy and fed together.

Obviously, as a sushi-aholic married to a die-hard beef lover, I knew as soon as I heard of this magical place that we must go there. I could literally eat sushi every other day and be happy about it, but my Mr tolerates it just often enough so that I don’t die from sushi deprivation. This seemed like a perfect compromise.

And The Cowfish did not disappoint! We went to the Raleigh location, one of four current locations (Charlotte, NC, Atlanta, GA, and Orlando, FL are the other two, with plans for future expansion. If you’re lucky enough to be near one do stop by and let me know what you think!). They had a nice outdoor seating space decorated with lights that I’m sure add a nice touch at night, as well as cornhole boards to occupy yourself while waiting to be seated.

We were smart, and showed up around 4pm, missing the lunch crowd and long before the Saturday dinner rush. Though as soon as we walked in, we noticed it was still pretty full with couples and groups sitting about, enjoying the wide array of music and goofy decor.

Impossible to miss, a gigantic fish tank shaped like a cocktail glass dominates the center of the spacious open dining room. All manner of brightly colored fish swim around, oblivious to their cousins being devoured nearby. And the walls are lined with cartoony paintings that riff off of many well-known pop culture icons & symbols.

You have your choice of seating, an outdoor covered patio, inside in the open floor, at the bar, or at the sushi bar. The sushi bar comes equipped with mounted in-table touch screens, which I can only assume are for ordering another round of Cheeseburgooshi. We sat elsewhere, but maybe next time.

The menu spans a wide range of tastes. They have typical Asian appetizers like gyoza and edamame, as well as classic American options like onion rings & nachos. They also have salads and sandwiches if someone in your party is not feeling very adventurous yet. There is definitely a seafood emphasis throughout.

The burgers range from lamb and bison, to mushroom and swiss, to an Elvis inspired peanut butter/banana/bacon concoction. Sushi rolls include classics like the California and Spicy Tuna roll, as well as some specialty rolls you won’t find anywhere else. And then the crowning achievement, the “Burgushi” menu, which is a unique fusion that involves bison sushi, southern style BBQshi,  the Turfin Surfer roll, and several types of sushi sandwiches.

Possibly their most famous fusion is the “All-American Bacon Double Cheeseburgooshi”. This little gem is like a bacon double cheeseburger, but with a twist: “Seasoned Certified Angus Beef, yellow cheddar cheese, white cheddar cheese, applewood bacon, and red onion, wrapped in soy paper and potato strings then flash fried. Topped with ketchup, mustard, dill pickle and Roma tomato. Served atop Cowfish sauce. Served with house seasoned fries”

But for your first culinary journey in this magical place, the staff recommends the “Fusion specialty bento box”, because it includes a little taste of it all. You get a mini slider, your choice of a 4-piece Fusion specialty roll, and sides: spicy cucumber, edamame, and the world’s most amazing sweet potato fries.

Yeah, I said it. In a place known for burgers and sushi, the sweet potato fries were the surprise sweep, both of us absolutely inhaled them. I loved the edamame, and the cucumber, though hubby pushed both my way. I wasn’t complaining one bit.

We chose the blackened tuna roll in our bento box, which was an awesome decision if I do say so myself. Crabcake and cream cheese inside, coated in tempura and topped with seared tuna, avocado salsa, and jalapeño slices, this was probably my second favorite part of the box. I could eat a dozen of these rolls!

We also got one Fusion specialty roll to split, the Doug’s Filet Roll. It boasts avocado, kani, and cream cheese filling, but the topping is what sold it. Thin slices of seared filet mignon, with spicy mayo, scallions, and masago (fish eggs).

The steak was delicious, and a very strange taste juxtaposed with the sushi to be sure. But very satisfying.

And of course, let’s not forget the restaurant’s namesake: the Cowfish. Yep, that’s an actual thing: an adorably weird fish of which each restaurant location boasts one.

Overall, I’d rate The Cowfish:

  • Taste: 10
  • Atmosphere: 10
  • Value: 9


Save

Save

Save

Nuts and Dark Chocolate Sea Salt “KIND” Bar Recipe


Sometimes, you don’t have time for breakfast or lunch and need something quick and portable. Maybe you need a before- or after-workout snack with protein. Or the kids are hungry and want a snack, but you don’t want them eating sugary fatty junk or ruining their appetite for dinner.

You’re at work, at 11am or 2pm, and hunger hits, but you can’t leave to get something and your next meal feels like hours away. Or you or your partner is hungry and staring into the refrigerator like a roast chicken may magically appear, but you can’t or don’t want to cook something right now.

This sounds like a job for the granola bar.

Granola has long been a popular breakfast food, differentiated from the similar muesli because it was sweetened and usually baked. To make granola, rolled oats, nuts, spices, honey or other sweeteners, and sometimes puffed rice are mixed together and baked into clusters of wholesome cereal.

The names Granula and Granola were trademarked in the 19th century in America by the Jackson Sanitarium, a prominent health spa near Danville, and John Harvey Kellogg (yes, that Kellogg). And then someone had the bright idea to take this loose granola, which is kind of messy, and press it into a bar shape. These can then be individually wrapped, and stuck in a purse, pocket, or backpack for later consumption.

Granola bar popularity took off, and continues to rise. According to theglobeandmail.com, “Granola bars, breakfast bars and cereal bars, which are referred to collectively as “snack bars,” are part of a food category that’s grown 5 per cent a year since 2005 and is worth an estimated $720-million in Canada, according to figures provided by PepsiCo Foods Canada, which owns the Quaker brand.” All across the Americas, New Zealand and Australia, Europe and China, people love the portability and growing options snack bars offer.

One of the many reasons people love snack bars so much is their perceived healthfulness. After all, they have oats in them, which are full of fiber, beneficial to heart and digestive health. Unfortunately, today’s granola bars’ nutrition facts don’t often match their health claims.

For example, Special K chocolaty crunch bars claim that each bar only contains 90 calories and that they can help reach and maintain a healthy weight. But the bars, which themselves weigh only 22 grams, contain eight grams (nearly two teaspoons) of sugar. Sugar is also listed as the first ingredient. Another popular All-Bran bar claims to be high in fiber, yet each bar contains only 4 grams of the daily recommended 25g (for women) or 38g (for men).

So what’s a health conscious adult looking for a perfect portable food to do? Make your own of course!

It is much easier than you may think. You could get very serious about it, purchase a candy thermometer, meticulously source and weigh ingredients in the pursuit of the perfect bar. But that’s not how we roll here. Soon you will see how simple making your own healthy homemade snack bars can be!

KIND bars have become a favorite of mine lately, because they have ingredients you can see and pronounce, with no preservatives, fillers, artificial flavorings, and each bar is held to high standards for a low calorie count and sugar content. I had no idea there were so many options now though! There are KIND fruit & nut bars, KIND Plus, KIND nuts & spices, KIND & STRONG… you get the idea.

And the best part is, this is a WAY healthier bar than a typical granola bar. There are no oats, just puffed rice, whole raw or roasted nuts, and some sweeteners that also keep everything sticking together. These are inherently gluten free. Obviously, if you or someone you know is allergic to nuts, please don’t make these. But if not, then dive on in!

I based my recipe loosely off of Kelly’s recipe from Eat Yourself Skinny. I personally most love the dark chocolate sea salt bar, so that’s what this recipe mimics. But you are free to add whatever you enjoy to create your own copycat, or a brand new kind of bar!

The general rule I follow is 1 cup nuts/dry fruit : 1 cup cereal : 1/4 cup sweetener. I would use organic plain puffed rice if I had it, but when I wanted to make these and went to the store, Kashi Go Lean puffed cereal was the closest thing I could find. It works.

I’ve tried peanuts, walnuts, almonds, and cashews so far. I’m sure you could use just about any type of nuts in these, but I would recommend always including almonds. And I have not tried any with dried fruits yet, but that is the next experiment in line.

This recipe makes enough for a 9×13 pan, for approximately 30 of the delicious 1 inch x 3 inch bars.

Ingredients:

  • 3 cups puffed rice cereal
  • 3 cups whole nuts (almonds + peanuts/cashews + walnuts)
  • 1/2 cup brown rice syrup
  • 2 tbsp honey
  • 4 tbsp ground flax seed
  • 1 tbsp vanilla flavoring

The dark chocolate drizzle is of course optional, but highly recommended. For that you will need:

  • 1/2 cup dark chocolate pieces
  • 1 tbsp coconut oil
  • Sea Salt

mixed nuts in a bowl

Step 1: In a large bowl, mix all your nuts, cereal, and ground flax.

Step 2: In a sauce pot, mix the brown rice syrup, honey, and vanilla. Bring to a boil, and then reduce to a simmer. Simmer for about 2 minutes. It is a balancing act, too short and you will get a syrupy bar, but the longer you boil, the more likely you will create a crunchy bark rather than pliant bars. But regardless, it will taste great in the end, I promise.

Step 3: Pour your syrup over the nuts and cereal, and mix well to combine.

Step 4: Line a pan with foil, and press the mixture into the pan. You can use a spatula, your hand, or a cup sprayed with cooking oil if you want to make it extra flat and compact. Put it in the refrigerator for about an hour to chill and harden.

If you don’t want to add the chocolate drizzle, you can stop here and cut the bars to the desired size. I cut it into 10 strips, then cut each strip into 3 bars so they are about 1x2ish inches. I then wrapped each bar individually in wax paper.

But if you’re a chocolate lover like me, I definitely recommend continuing on to steps 5 & 6 below…

Dark chocolate drizzle for KIND bars

Step 5: In a microwave safe bowl, combine the dark chocolate chips, coconut oil, and a sprinkle of sea salt. Microwave 30 seconds at a time, stirring each time, until melted.

Step 6: Drizzle the melted chocolate all over the granola. You could dip the bottoms in chocolate too, but I found the drizzle on top was the perfect amount. Chill in the refrigerator again for about an hour to harden. Cut into desired bar size.

These will keep well in the refrigerator for about 2 weeks, or you can freeze for handy snacks for months. I doubt they will last that long though…

According to MyFitnessPal.com, these bars only have about 100 calories each, and 8 grams of sugar*. Not too shabby!

Recipe Nutrition Calculator

: 30

Total: 3,119 334 176 107 580 227
Per Serving: 104 11 6 4 19 8

*This calculation is for the bar without adding the chocolate.

[amd-zlrecipe-recipe:70]

Save

Save

Save

Save

Spring Green Creamy Gnocchi


This recipe was inspired by one I saw on Hello Fresh (look for a review coming soon!). If you haven’t heard of Hello Fresh, it is a meal kit delivery company. There are many others, like Blue Apron, Plated, Home Chef, Sun Basket, and oodles more.

The whole idea is they deliver the ingredients, perfectly portioned, with a step by step recipe page. All you have to do is pull out a box of ingredients and some cookware and enjoy the process. A friend of mine gave me one of the “free trial” 3-meal deals, so of course I tested them out.

Overall, I enjoyed the experience, but would not purchase it again because of how food and cooking works in my house. But I can definitely see the appeal for many people. One of the best things about the trial run is that I have access to their recipes now though, and there are some great ideas there!

As I was just browsing through the vegetarian section, this recipe caught my eye, because I had just bought asparagus and happened to have half a pound left. I also had some gnocchi in the pantry (from the Dollar Tree no less!). Thus, this recipe seemed perfect.

I switched up the seasonings a bit and swapped plain Greek yogurt for sour cream (one of my many sneaky healthy food swaps!) and it came out so delicious, the meat-eater loved it and even asked for seconds!

If you don’t have or don’t like a specific herb, that’s fine, try a different one. Use basil instead of rosemary, or try thyme, tarragon, or parsley. If you don’t like walnuts, what about almonds, or cashews, or pecans? Not a fan of asparagus? Well, you’re wrong, but that’s okay try bell peppers, kale, or zucchini.

Spring Green Gnocchi Ingredients

Makes 4 ~1 cup servings.

Ingredients:

  • 1 tsp olive or coconut oil
  • 1/2 pound asparagus
  • 1 cup peas (fresh or frozen)
  • 1 tbsp crushed walnuts
  • 1 pound gnocchi
  • 1/3 cup chicken stock
  • 2 tbsp plain Greek yogurt
  • 2 garlic cloves, diced
  • Pinch of chopped rosemary
  • 1 green onion, diced

Step 1: Boil the gnocchi for 5-7 minutes, until they begin to float in the water. Meanwhile, dice the asparagus, garlic, and herbs. Add the asparagus and peas to the boiling pot about 2 minutes before draining.

Step 2: Add the oil, garlic and onion to a pan and fry for 1-2 minutes, until fragrant. Drain the gnocchi and vegetables, add to the pan. Add the stock and mix 1 minute, and then turn off the heat and add the yogurt and walnuts. Mix well to form a creamy sauce.

That’s all there is to it! You don’t need much to create a creamy, tasty sauce that clings to the noodles and vegetables. The walnuts add just a bit of crunch and texture, and you can sprinkle some sea salt on top if you like. (I like).


[amd-zlrecipe-recipe:69]

Save

Save

Save

Peanut Butter Banana Power Smoothie


This has quickly become one of my absolute favorite breakfast recipes! Just one ‘dish’ to wash when you’re done. Smoothies are amazing because they are so versatile, so quick, and so healthy! Of course, that last part does depend on what you put into it.

Many stores and fast food options that claim they have “healthy smoothies” are really not so healthy. They are calorie and sugar packed health bombs masquerading as health food. Just because it has a teaspoon of spinach powder or banana puree does not excuse a smoothie with 118 grams of sugar and over 500 calories!

Peanut butter banana oat smoothie ingredients

So why not blend one up at home? Far healthier, super fast and easy, and way healthier for you.

This recipe takes your typical banana base, and adds several other super health foods such as peanut butter powder (for all the flavor with a tiny percentage of the fat!), gut-helping yogurt, healthy fats from coconut milk, fiber packed oats, and the ultimate tiny nutrition powerhouse: chia!

Ingredients:

  • 1 banana
  • 2/3 cup yogurt or Greek yogurt
  • 2 tbsp PB2 or PBFit
  • 1/4 cup oats
  • 1 cup coconut milk
  • 1 tbsp chia seeds

Step 1: Combine all ingredients in a blender, and blend on high until well combined.

You could optionally add in a scoop of protein powder if you need it, or a cup of ice cubes if you want a different texture.

This recipe makes enough for 2 good sized glasses of about 16 oz each, so share with a friend or save the second serving for later, maybe after a good workout!

Healthy PB Banana Smoothie


[amd-zlrecipe-recipe:68]

Save

Save

Save

Chocolate Chia Pudding


I can’t believe it’s taken me this long to jump on the chia pudding band wagon! I’d read about so many uses for chia seeds, and how they are an amazing vegan source of omega-3s and fiber along with a host of other micronutrients, added chia to salads, smoothies, crackers, and bread recipes, and have made chia fresca and enjoyed it. But it took forever to try this!

Don’t make my mistakes people. Make this tonight!

Chocolate chia pudding ingredients

Chia seeds may seem expensive, but a little goes a LONG way! They absorb water and can swell up many times their size, creating a gel-like coating around the seed. It is a strange texture at first, but give it a try. The health benefits are worth it!

Chocolate chia pudding ingredients in bowl

Ingredients:

  • 1/4 c chia seeds
  • 1 cup almond or coconut milk
  • 2-3 tbsp brown sugar
  • 1/3 cup cocoa powder

Chocolate chia pudding mixing

Step 1: Mix all ingredients in a large bowl with a whisk, or you can put it in a mason jar with a lid and shake it like you mean it!

Chocolate chia pudding ready to eat

Step 2: Refrigerate one hour or overnight. It will thicken as it sits. If you want it thicker, add more chia, if you want it thinner add more milk. It makes about 4 1/2 cup servings and should last a week in the refrigerator.

Chocolate chia pudding with strawberries

Top with granola and fresh berries for an amazing breakfast or anytime snack! The thick gel consistency of the seeds makes it almost exactly like pudding. And if you really love chocolate, use chocolate almond milk, or double the cocoa powder. It’s the healthiest treat that tastes like dessert I’ve ever had!


The fusion of food, fun, frugality, and curiosity.