Category Archives: Finances

Articles concerning finances. This is the “budget” Epicurean after all.

Weekly Eating #3 – 7/2


Hey y’all! Welcome to the series Weekly Eating.

Here is where I’ll talk about the week’s meal plan versus reality, what we ate for the week, and how we did budget-wise. I hope it gives readers a behind-the-scenes look into our life through the lens of food, and it’s also a way to keep us on track with meal planning and grocery budgeting.

Feel free to share your wins and lessons in the comments below!

Monday:

Breakfast – microwaved 2 scrambled eggs on top of an everything Bagel Thin and slice of cheddar cheese. Homemade “mocha latte” (coffee + hot cocoa mix + milk, blended)

Lunch – leftover stir fry

Dinner – BBQ pulled pork mac-n-chili (?) This was a weird idea I had to use up several leftovers. 1/2 lb cooked penne, 1 cup bbq pulled pork, 1 cup pinto beans, 1 whole shredded yellow squash, 1 cup shredded cheddar, 2 tbsp butter and a splash of milk. Luckily for us, it turned out really delicious!

Snack – fresh cherries, hummus + cucumber/carrots

Tuesday: Fourth of July!

Breakfast – kind of slept in and skipped this part, mostly just had coffee, and then early lunch

Lunch – chicken, broccoli, rice casserole: this is ridiculously simple, and came out amazingly delicious! Layer chopped broccoli, mushrooms, 1/2 cup rice, and shredded chicken. Add 1/2 cup stock and 1/2 cup milk, and cheddar cheese. Top with some more broccoli, cover in foil and bake at 350 for 45-50 minutes. Done!

Dinner – leftover buffet

The holiday was nice and relaxing, we got some laundry done, played some games and I finished a book. I did also bake up some red velvet cupcakes with blueberry cream cheese frosting! I made way too many, so I took a few plates to our neighbors  🙂

Wednesday:

Breakfast – peach smoothie: 2 peaches, 2 bananas, 1 cup yogurt, 1 cup orange juice

Lunch – out with a work colleague; rosemary chicken panini

Dinner – chicken and dumplings with some of my homemade foccacia

Snacks – brown rice cakes

Thursday:

Breakfast – homemade yogurt with peaches and granola

Lunch – slow cooker “refrigerator soup”. Basically I chopped up all the veggies about to spoil, added some lentils & quinoa, salsa and homemade chicken stock in a small slow cooker on high all day in my cube. By noon, the whole office smells AMAZING and I get a nice hot, filling, super healthy and super frugal lunch.

Dinner – ravioli per hubby’s request

Friday:

Breakfast – parfait with fresh peaches, yogurt, and 1 smashed up Nature Valley Oats & Honey bar

Lunch – pasta salad

Dinner – stir friday: pork! You may wonder, why stir-Friday every week? Doesn’t that get boring? Well, no definitely not because there are so many options! And the reason is simple: it’s delicious and super frugal. It gives me the chance to use up whatever bits of veggies are in the fridge, so that I don’t throw them out.

The Weekend:

On Saturday we just hung out, cleaned inside and outside a bit, and then hosted a dinner party.

I made a recipe from my sister-in-law for a knock-your-socks-off delicious summer salad with arugula, cheese, macademia nuts (from a friend’s family farm in S America!), corn, craisins, and baked salmon. I’m drooling just thinking about it! I made some lime-ade for the drivers, and some tropical rum punch for whoever wanted it.  🙂

Total:  $116.91

My goal is to keep this number under $100 all the time, and eventually get down to $75/week for food.

Oops… This is why I’m not allowed to go to grocery stores by myself anymore…

In my defense, I did stock up on several staples I will not use this week alone, like pasta, lentils, pearled couscous, 3 loaves of multigrain bread for 0.99 that I will freeze, brown rice, sliced cheese. We also were running low on doggy teeth-cleaning treats for the pups, and that is included in the total.

Lessons Learned

I did a pretty good job of using up weird bits of leftovers and creating new meals, so that was a definite plus! But, I also let the grocery gremlin get me, and tell me that “these sales are way too good, you definitely need to stock up on 5 kinds of pasta, more salad than you can actually eat in one week, $10 of beer, and the pups are so cute they totally deserve $20 worth of treats!” All we can do is learn from it, and do better next week.

How about you guys, did you have a great week or a learning week?

How to: Make Homemade Yogurt in Mason Jars


Have you ever had the Greek yogurt flips? They are so delicious, and I’ve recently fallen in love with them, as a quick breakfast or anytime snack or treat. But…

  1. They can do some damage to your budget, at about $4 per 4-pack
  2. They cause a lot of plastic waste with their cute individual serving size square plastic covered to-go-ness
  3. They contain a pretty big dose of sugar

In my first Weekly Eating post, I promised that I would try to find a more frugal alternative. Turns out, making your own yogurt at home is quite easy, if tons of bloggers are to be believed! Special thanks to Mrs. Picky Pincher, whose blog finally convinced me to give it a go.

There are so many ways to do so, from fancy temperature-controlled and timer-activated yogurt making machines to crock pots to stovetop.

But who has time for that?

Not me! I’m all about the easiest, most frugal solution that satisfies a need. Therefore when I read that making yogurt in a mason jar was a thing, my eyes lit up! Conveniently, I read this on my go-to-the-store day, so I picked up a half gallon of milk to experiment with. Even if it went horribly wrong, I would only be out $1.18.

Turns out, it truly is SO SIMPLE!

I turned on a show on Netflix after dinner, and while hubby and I enjoyed bonding time the yogurt was doing its thing. We even left it overnight to do the incubation part, and I woke up to 2 fresh quarts of delicious, additive and sugar free homemade yogurt! Talk about feeling like a badass homesteader.

This recipe makes 2 quarts of yogurt from one half gallon of milk.

You can easily scale it up for a whole gallon and make 4 quarts, or even down to make as small as one pint of yogurt. Now that I know how well this works and how easy it is, I will probably make at least one gallon each week.

For starter culture, just pick a plain yogurt that you enjoy the taste of, and use about 2 tbsp per half gallon. It can be plain or Greek yogurt, organic or not, you decide. That’s the beauty of making your own homemade staples! You can also find freeze dried or powdered yogurt starter cultures online.


You will need:

  • 1/2 gallon whole or 2% milk
  • 2 large quart mason jars & lids
  • 2 tablespoons plain yogurt to start the culture
  • A big pot to boil water
  • Optional but helpful: A thermometer, a crock pot

Step 1: Make sure your jars are washed and clean. If you really are paranoid about germs (silly, since you’re about to purposefully grow jars of bacteria, but whatever…) you can boil them or run them through a dishwasher cycle first.

Fill the 2 jars with milk, leaving 1-2 inches of space at the top. Place them in a pot of water that covers them at least 2/3 of the way. I added extra jars around them so they do not tip over or rattle as the water boils. Bring the water to a gentle simmer.

Step 2: Go do something else while you wait for the milk to reach about 180 degrees. If you have a thermometer, great, you can check it every half hour or so. They took about an hour to reach 180 for me. If you don’t have a thermometer, the milk will be ready when a thick “skin” forms on top of the milk. Throw this skin away, and remove the jars from the water.

Step 3: Preheat a slow cooker on high, this will be your incubator later*. You can be lazy like me and just leave the hot jars on a surface to cool, this will take about an hour also. Or you can put them in a pot of lukewarm to cold water, to cool them faster. I didn’t want to chance breaking the jars, so I just put them on the stovetop and we went for a walk.

You want the jar to reach 110-120 degrees before adding the starter culture. If you don’t have a thermometer, just go by feel. When the jars are cool enough that you can wrap your hand around it and hold on for a minute or so, they are ready. You want it cool enough that the good bacteria you are about to add don’t get immediately scorched, but to grow they like a nice cozy temp.

Step 4: Take about 2 tbsp of plain yogurt, pour 1/2 cup of the warm milk into it, and mix well. Then pour half of this mix back into each jar. Give it a nice stir to distribute the good guys all around the milk, but not too violent. Unplug your slow cooker, put the jars in the warm crock, cover, and wrap in a few towels.

That’s it! Let your jars sit, undisturbed, for at least 8 hours up to overnight. You can start this in the morning and let it go all day, or start it at night and let it cook while you sleep. This is a great hands-off activity that leaves you feeling so accomplished!

*If you do not have a crock pot, you can also use a small cooler for the incubation period. Just take a small, waterproof container and fill it with warm to hot water. Put  your mason jars with starter culture in there, cover well, and wrap it in some towels. Let it sit for at least 8 hours up to overnight.

[amd-zlrecipe-recipe:74]


Disclaimer: I am not a health professional, no content on this blog is intended to diagnose, treat, or cure and ailment or condition. I am also a member of Amazon Affiliate program, some links will lead you to products which, if you choose to buy, will give the blog a portion of profits without affecting your experience. It helps keep this great content coming for you! 

Super simple lemon garlic chicken


You know how some days you are very excited about cooking, buy two dozen different ingredients, and spend hours in the kitchen creating the perfect culinary masterpiece? This recipe is not for that day. This recipe is for a day when you have no idea what to make, no energy to make something fancy, but still want a hot, healthy, filling dinner that also tastes great.

Oh, that’s every night? Good news, this is great for every night!

This recipe can work with fresh or frozen chicken; if using frozen just microwave for 3-4 minutes before putting it in the oven, and add about 15 minutes to the cooking time. You can also use thighs, or chicken leg quarters, but again add about 10 minutes to account for the bone. Cutting the breasts thinly into cutlets as I did means the cook time is the shortest, but you can also leave the breasts whole.

This recipe is super easy, requiring really only 3 ingredients. You can add on and be creative from there, especially with the flavorings. It is also very versatile in terms of a complete meal. It would go well with pasta, potatoes, a nice salad, steamed veggies, rice, quinoa, or couscous.

Whatever you have in the fridge to go along, they will probably be friends. I also use these easy and versatile recipes to stock up on sales on the good stuff when I see it, because I know I can always pull this recipe out when needed.

Ingredients:

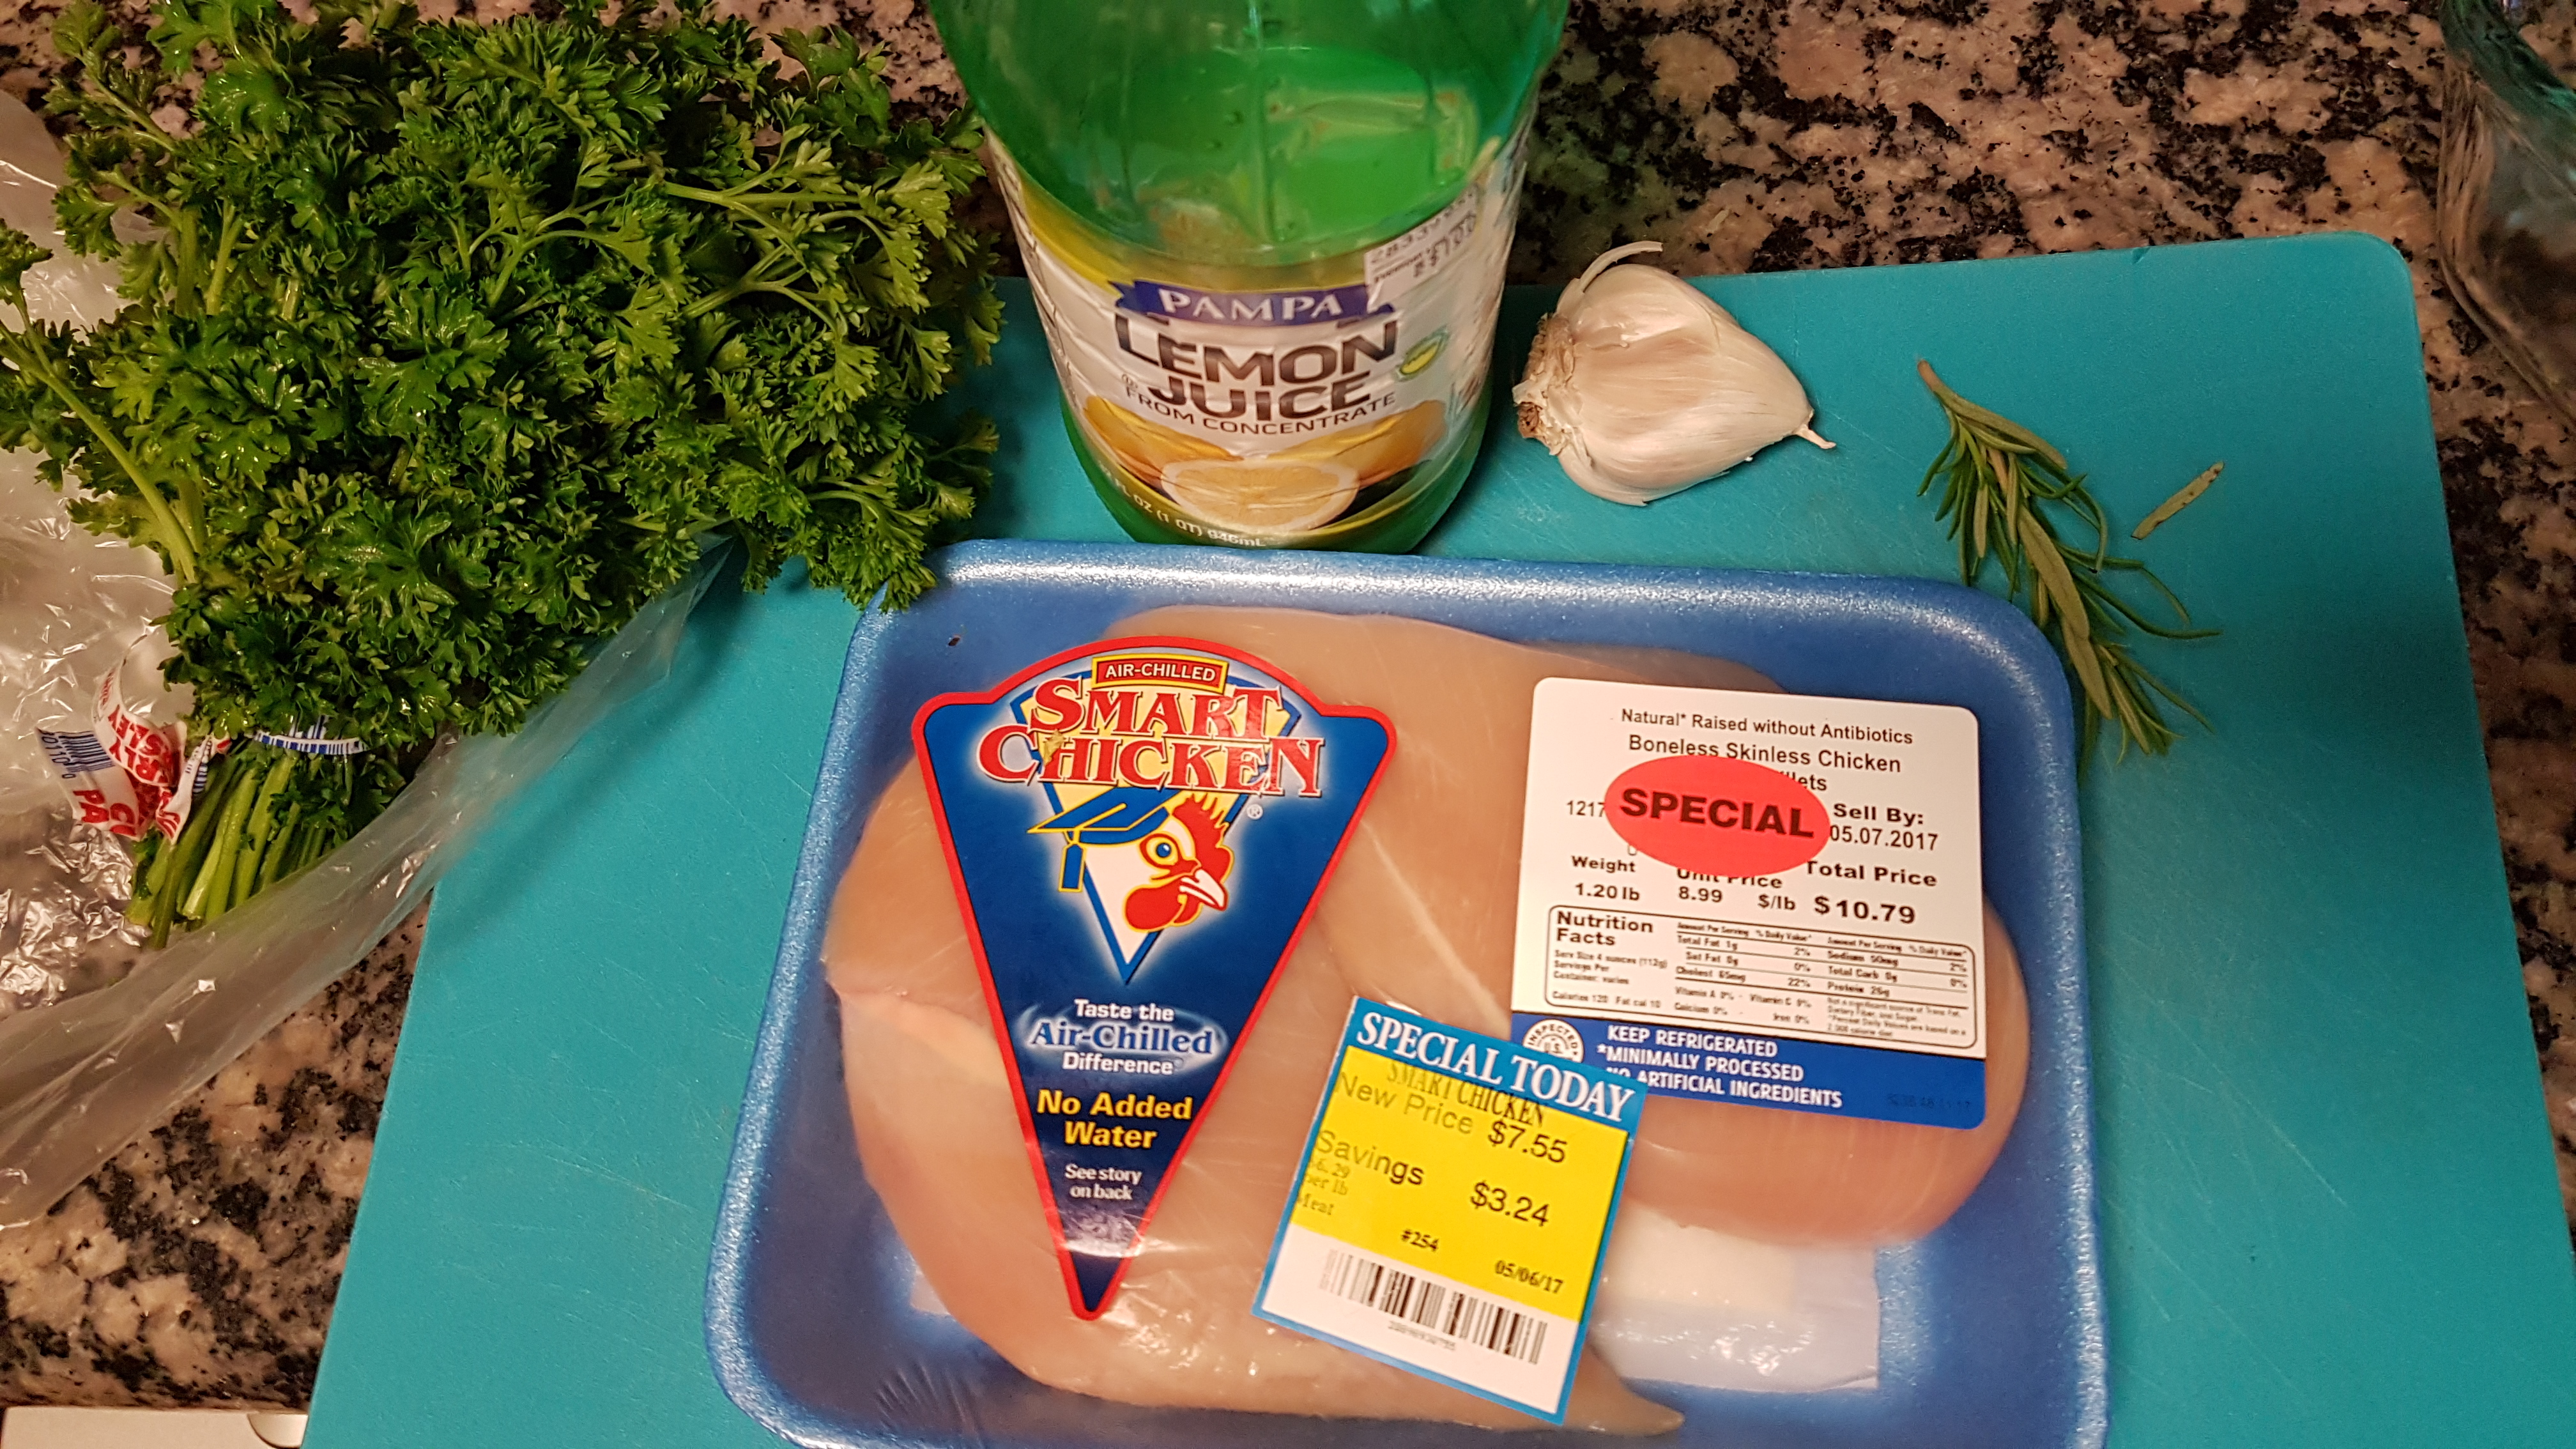
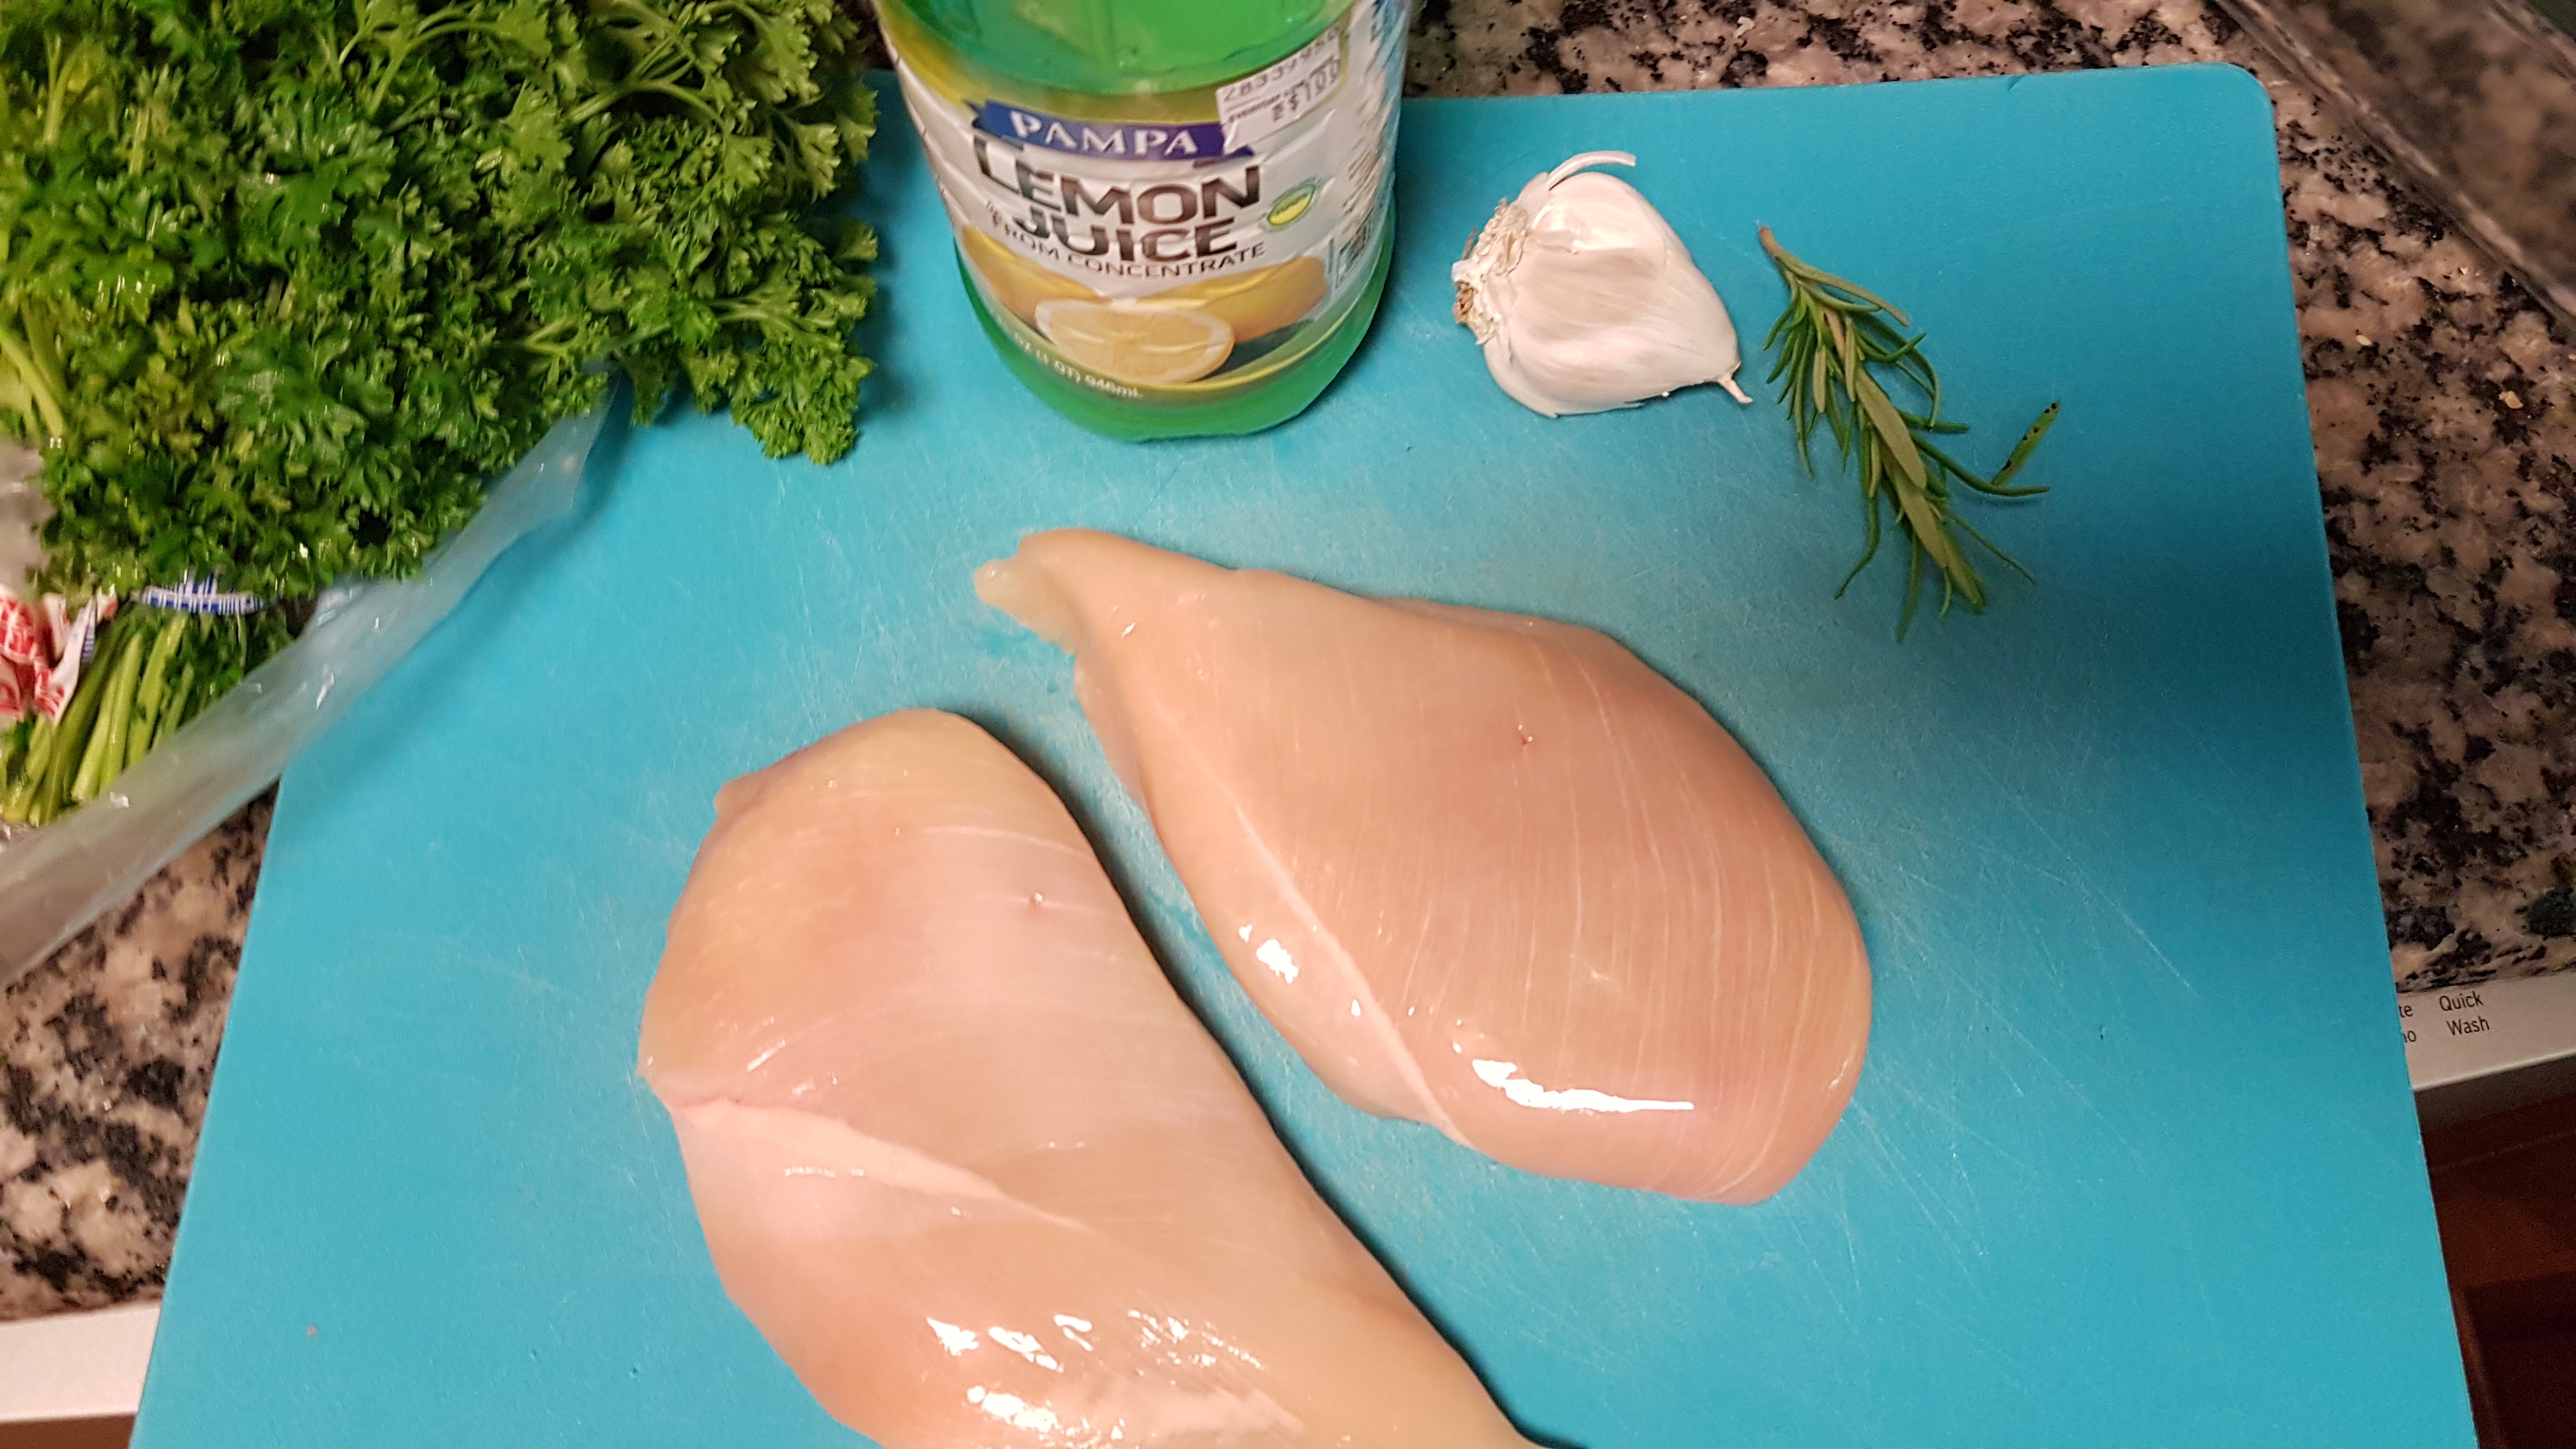
  • 2 chicken breasts
  • 3-5 garlic cloves, diced
  • Juice of 2 lemons (about 4 tbsp)
  • Optional: fresh or dried herbs, I used parsley and rosemary

Step 1: Using a sharp knife, filet the breasts into thin pieces, about 1/2 – 1 inch thick. Layer in an oven-safe pan, and sprinkle on the garlic, lemon juice, and herbs, if using. Bake at 350 for 15-20 minutes, until there is no pink inside the chicken.

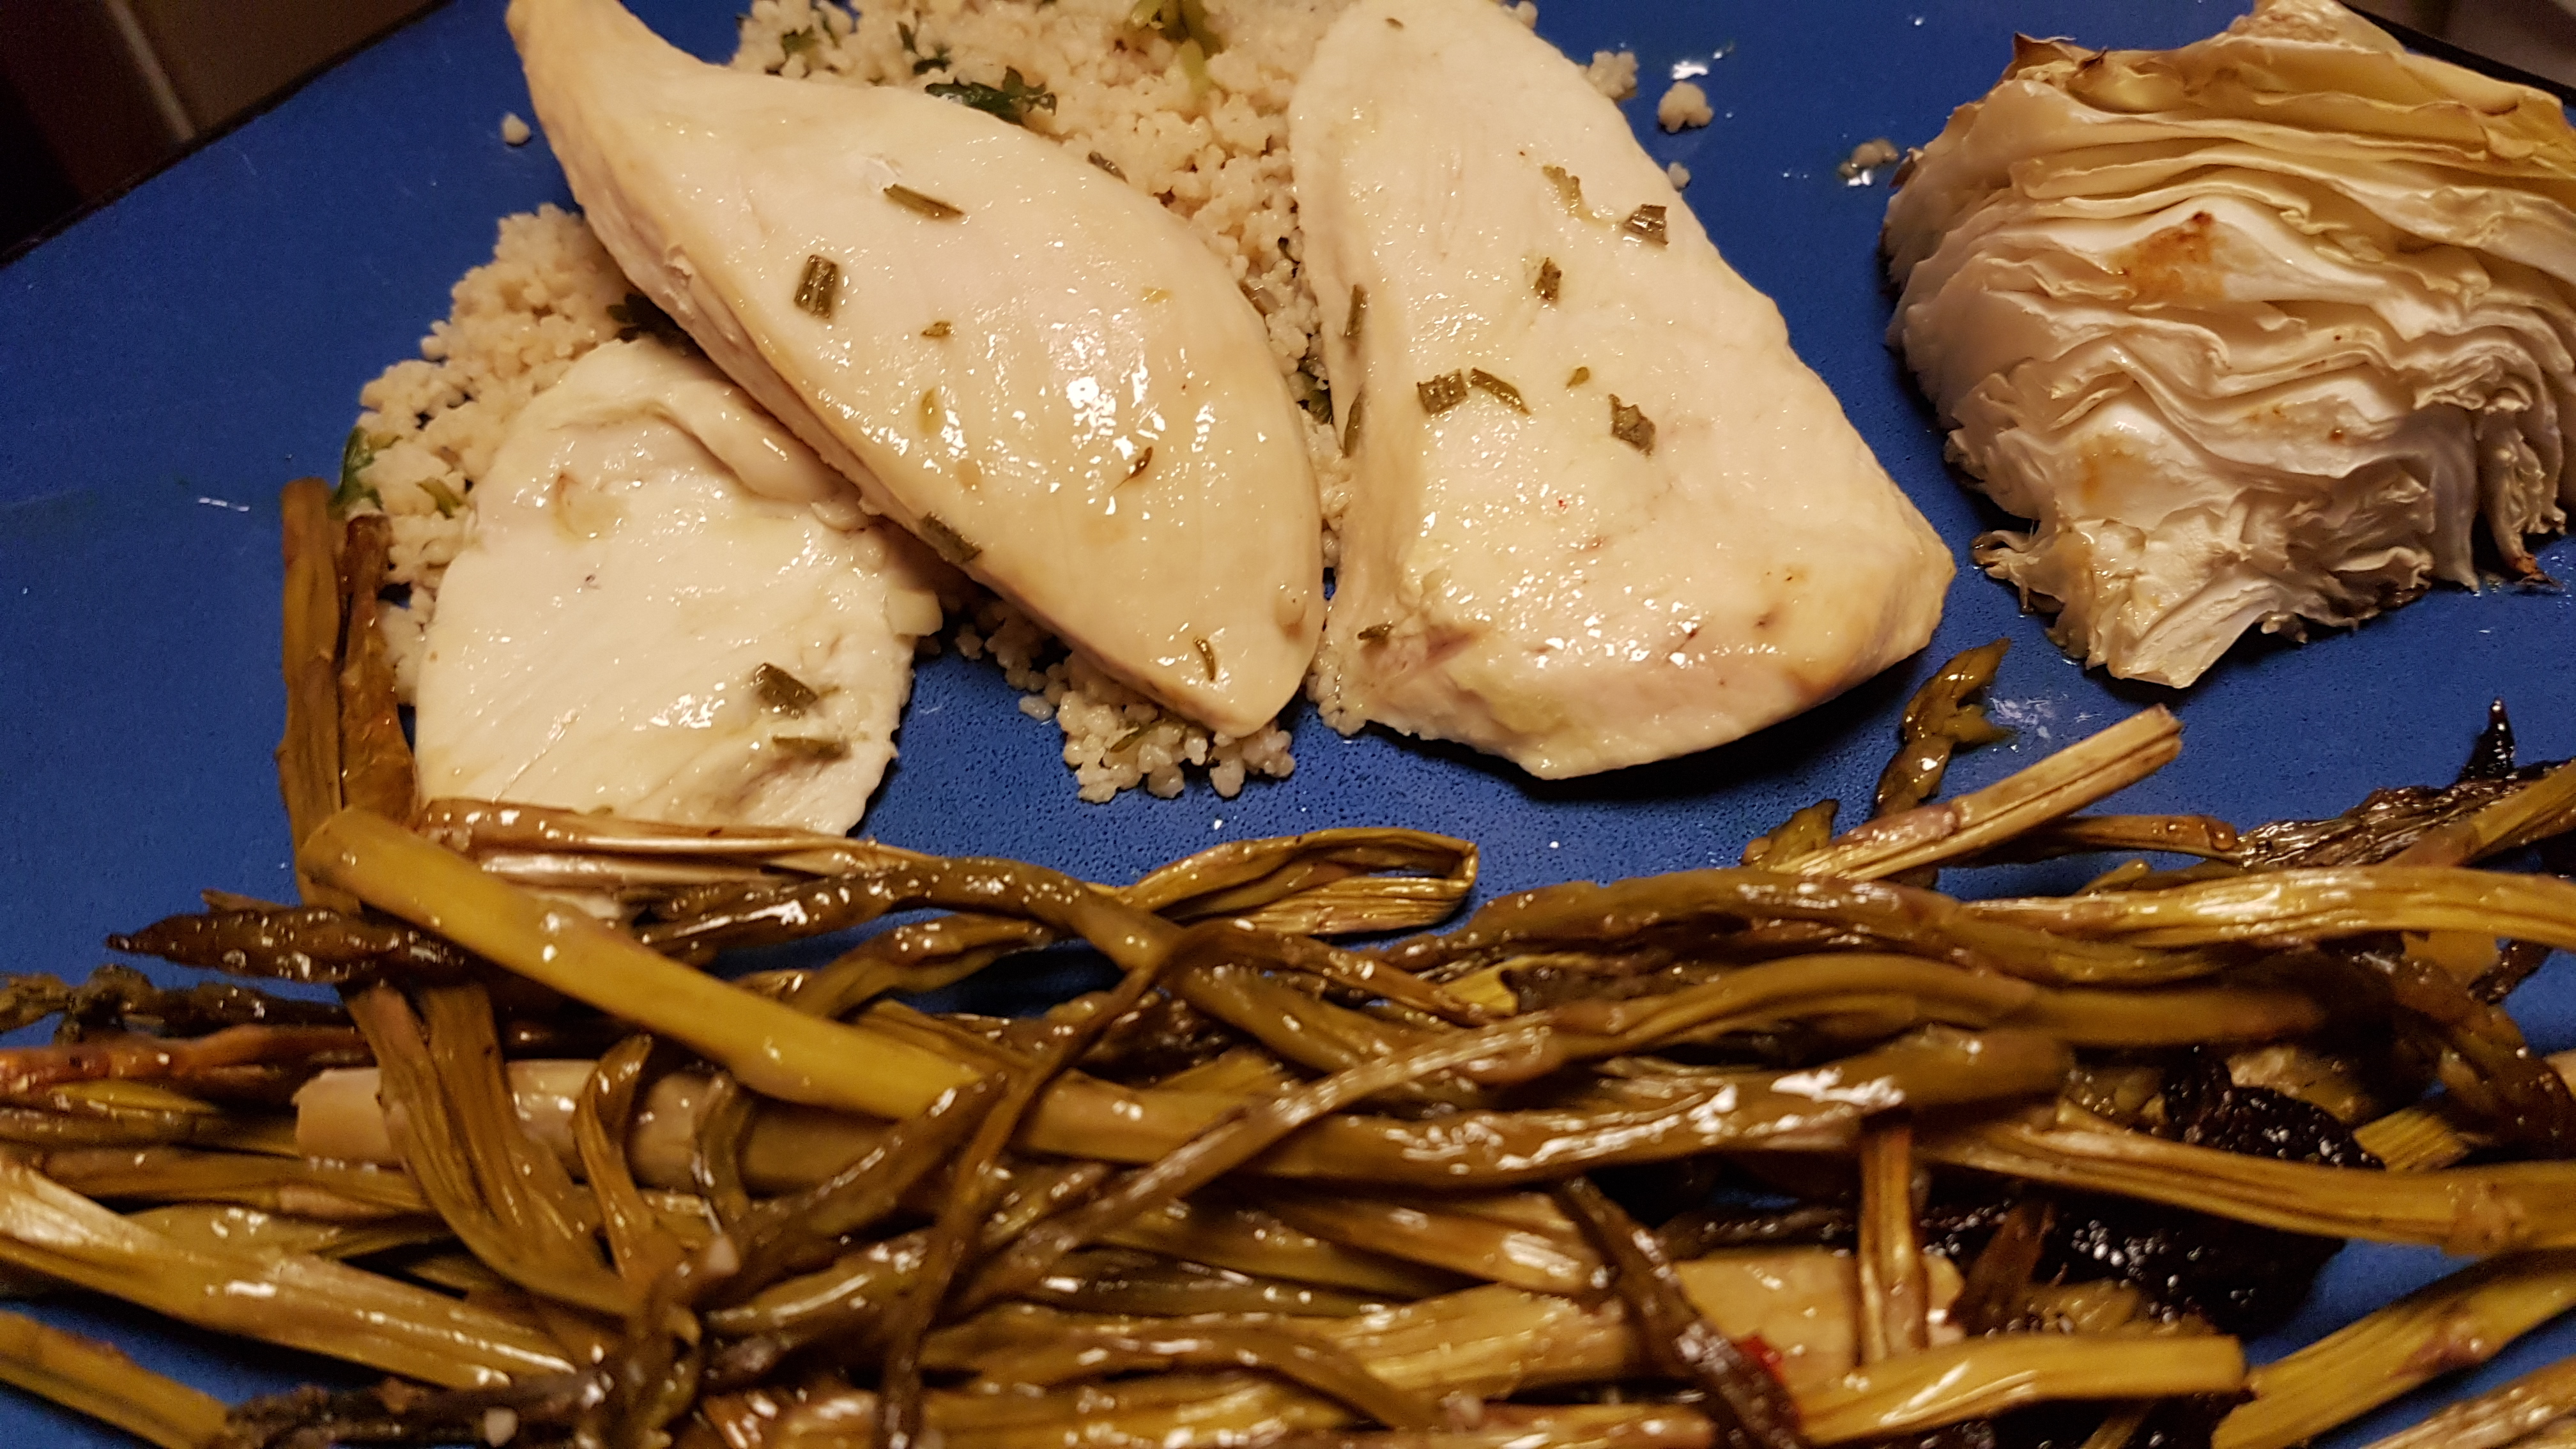
I used the same pan, and baked a pound of asparagus and quartered cabbage at the same time. Couscous takes just boiled water (in the microwave) and 5 minutes, so this whole meal was done and on the table in under 30 minutes!

Save

Save

Save

How to: Cook Dried Beans in a Slow Cooker


One of my all-time-favorite money-saving appliances is the handy dandy slow cooker. It is amazing at taking tough (cheap) cuts of meats and slow cooking them to tasty perfection. It is great for making wicked frugal soups and stews. It makes dinner a breeze on crazy weeknights, keeping me from just ordering a pizza or take out. And it allows me to make staple items, like beans, for literally pennies per serving.

Beans aren’t usually listed on “top 10s” of superfoods, but I think they should be. There are so many kinds, black, pinto, navy, chickpea, green… And they are a fantastic source of protein for a very pocketbook-friendly price, I can usually find them about $1 per pound. And since beans plump when you cook them, you get much more than one pound out of that bag. If you find a good sale or buy in bulk, that price drops even lower. You can’t beat that in a can!

However, you also can’t beat the convenience of canned beans. Just sitting on a shelf, ready and waiting for a taco Tuesday or a last-minute decision to make minestrone. All you need is a can opener and you’re in business.

But you’re paying a premium for that convenience.

Someone else took the time to soak and cook dried beans ahead of time, and stick them in that can. They also may have chemicals or preservatives or flavorings or way too much sodium in the can. When you cook your own, you are in control of all these things.

So here’s the big secret: You can cook your own dried beans at home, with just a few minutes of effort, and have delicious beans ready to toss into whatever any time! For, like, a dollar!

Enter the slow cooker.

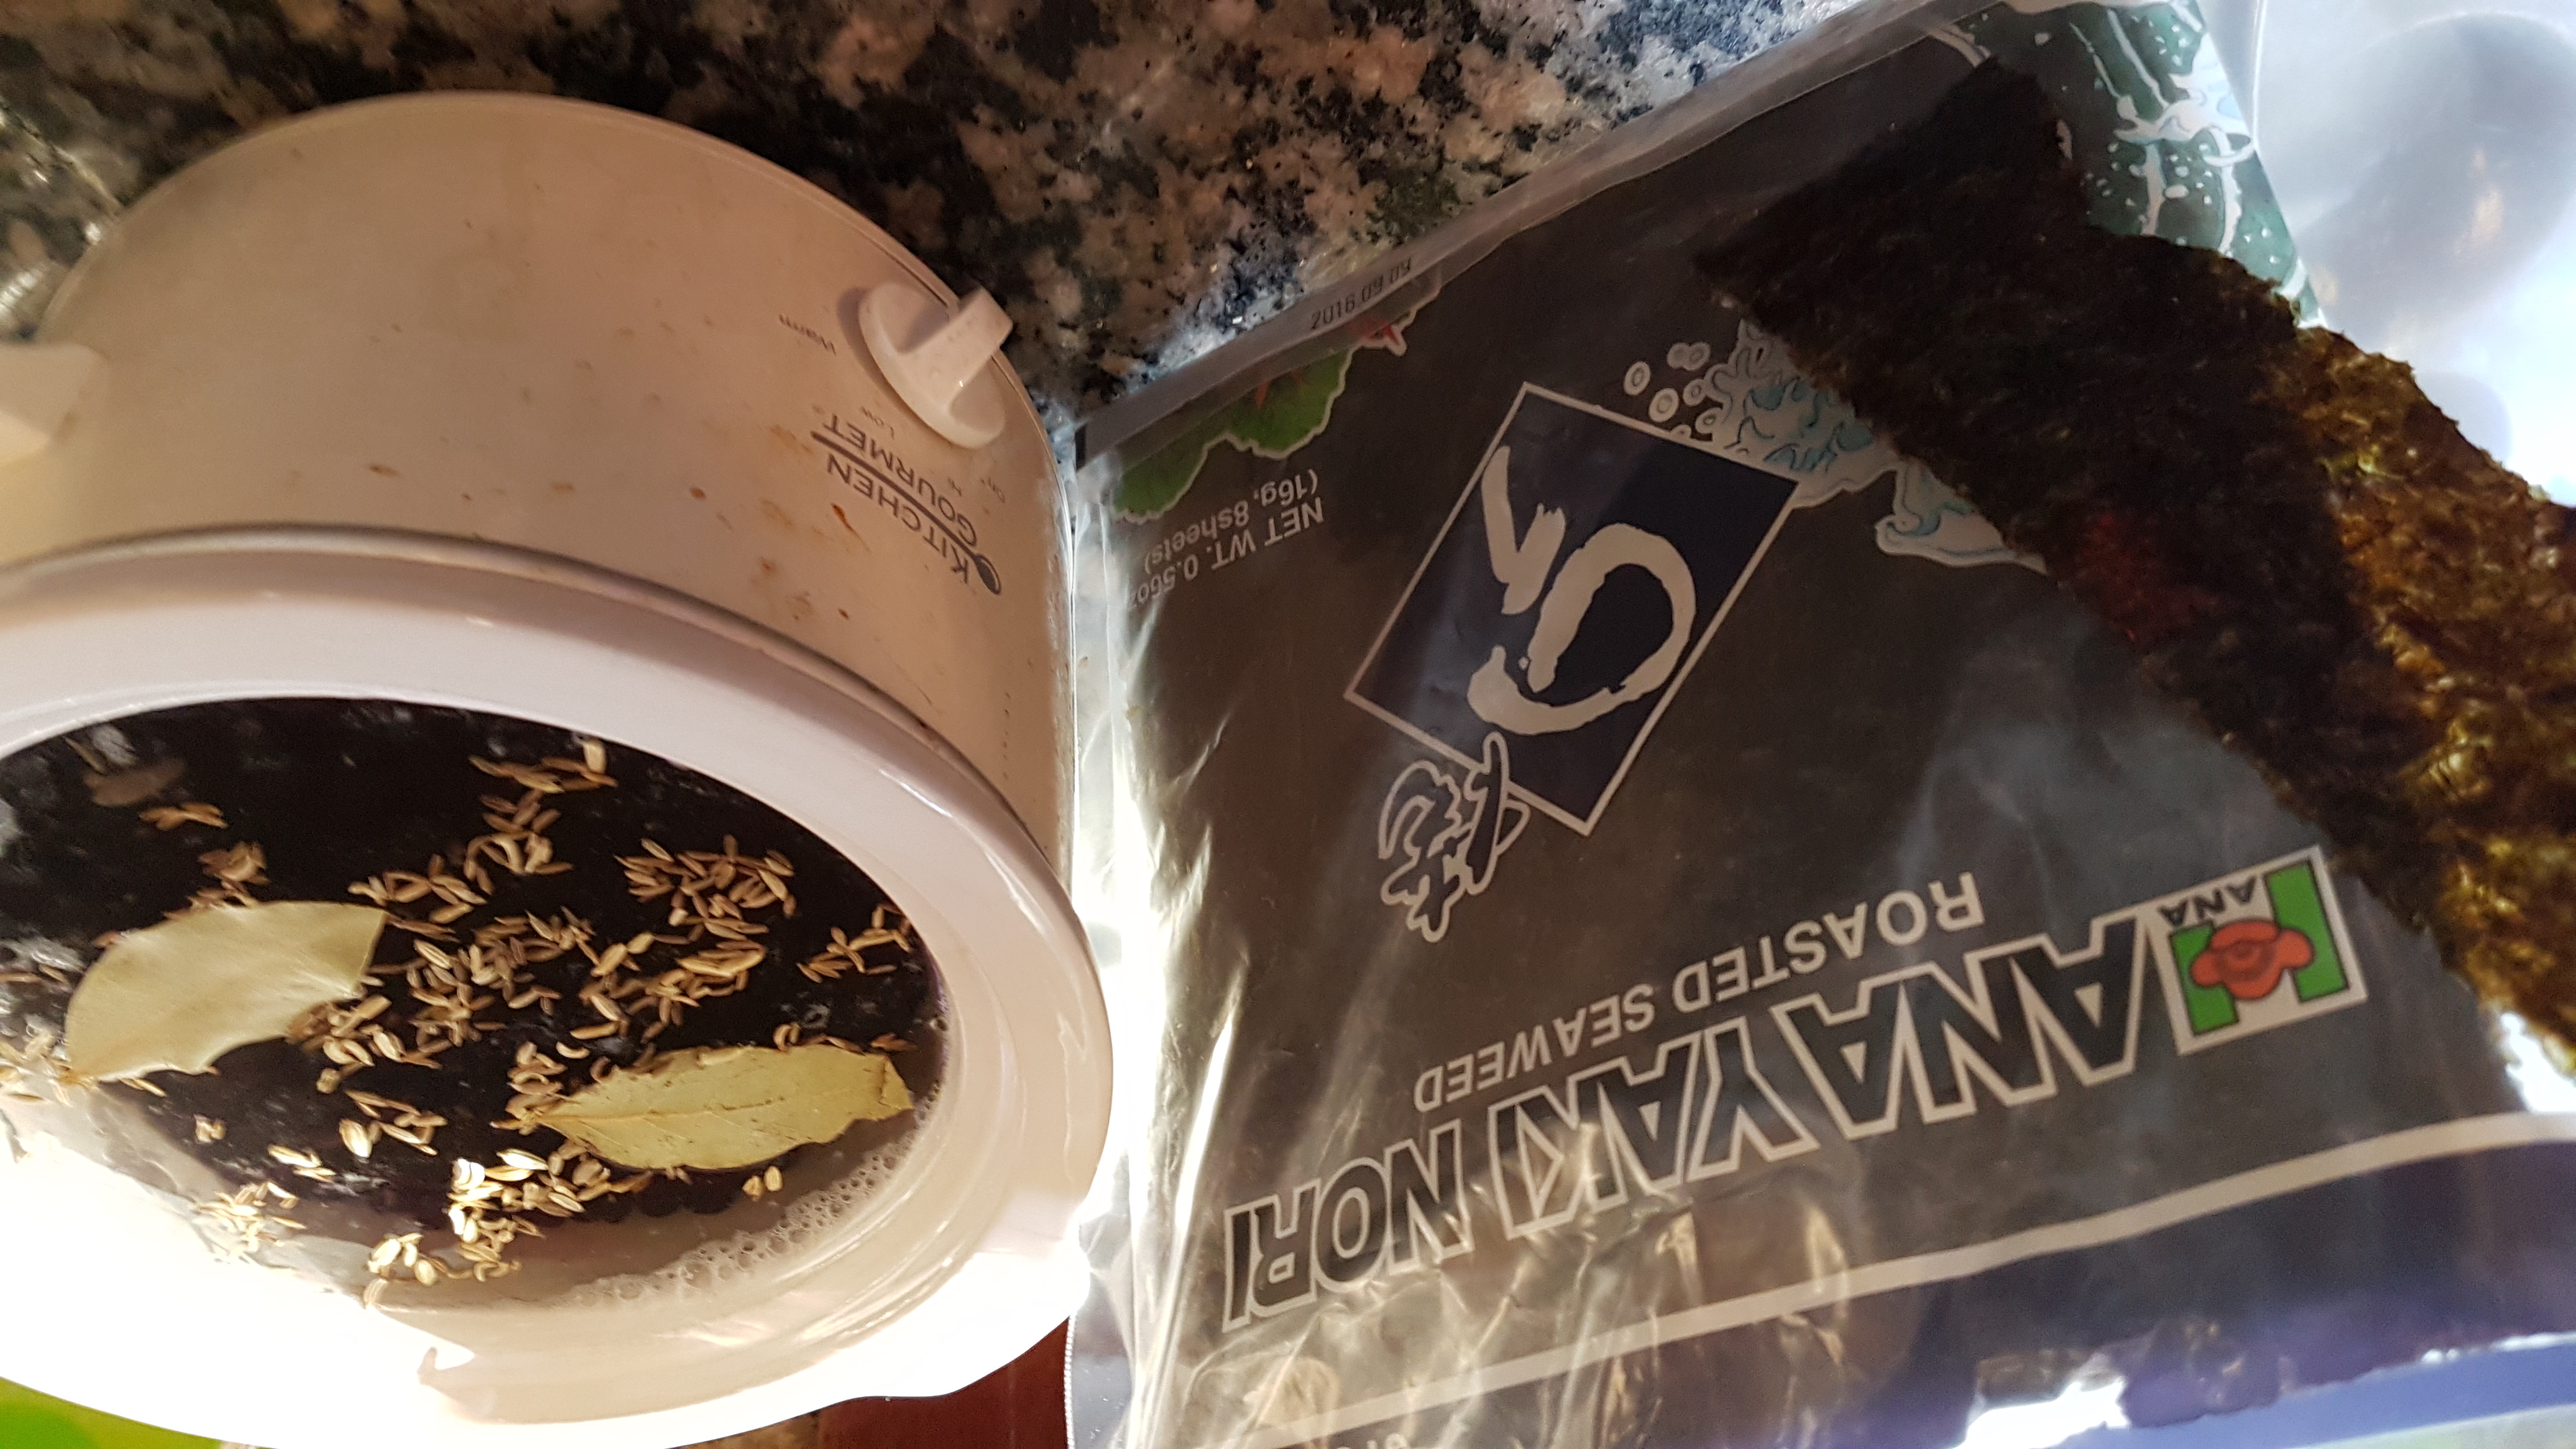
crock pot black beans with nori

Almost every Saturday, I toss a half pound or a pound of either black, navy, chickpeas, or pintos into a slow cooker with water to cover them, and let them soak overnight. Then on Sunday, I change the water and add some spices and let it simmer all day. The finished product gets canned, separated by cup into individual bags and frozen, or put in the refrigerator for use that week.

That way I have a stock of frozen beans ready at a moment’s notice, and fresh beans for recipes whenever I want! Hello, black bean and egg burritos, white chicken chili, tortilla soup, or red beans and rice anytime.

Ingredients:

  • 1 pound beans
  • Water to cover
  • ~2tbsp vinegar (any kind)
  • Spices recommended: 2 bay leaves, 1 tsp fennel seed, onion, chili powder, or oregano. Choose 1-2 you like and see what happens
  • Optional: 1 strip of seaweed

Step 1: Cover your beans with water, and let soak 6 hours or overnight. Drain, and cover again. Cook on high for about 4-6 hours, or low for 8-10.

Slow cooker pinto beans canned

Step 2: You can keep the cooking liquid, or discard, up to you. I usually keep it, especially when canning or freezing the beans, and then drain just before using in recipes.

The beautiful thing is that now you have this super-cheap base to use to make your own refried beans, hummus, (did you know you can make hummus with black beans too!), vegetarian burger patties, or you can can them for later. (By the way, do use a pressure canner, or keep them in the refrigerator. We don’t want botulism now do we?)


[amd-zlrecipe-recipe:65]

Save

Save

Save

Save

Save

Make Ahead Egg Muffins


Usually, my morning routine looks something like this:

6:10 – hit snooze
6:17 – hit snooze
6:24 – finally get up, go make coffee
6:25-7:15 – enter a black hole in space and time
7:16 – realize I’m gonna be late if I don’t move it
7:17-7:20 – pack lunch, maybe breakfast
7:21-7:30 – run out the door and pray for light traffic

Now, I don’t know what your mornings are like. But if you’re anything like me, you like your sleep and don’t have time for a long and leisurely brekkie every day. And if you do, good for you! You can still use this quick-and-easy make ahead recipe and then have more time for you in the AM.

Make ahead egg muffins in muffin tin

These egg muffins are so simple, and you make a dozen at once. That way you can put 2-3 in baggies and refrigerate or freeze. Then breakfast all week is only a push of the microwave button away! You can scale up to feed a big family, or even make just one serving by mixing 2 eggs and desired ingredients in a coffee mug and microwaving. (Didn’t know that little trick? Oh yeah, it’s the best.)

You can also customize it to your taste preferences. Anything you would normally eat with or in scrambled eggs you can probably adapt to this recipe. Try sausage, or bacon, or ham. Vegetarians, this is a blank canvas! Add zucchini, shredded carrots, sweet potato, broccoli or cauliflower. And cheese is optional, but highly recommended!

Butter mushrooms and onion

Ingredients (makes 12 egg muffins):

  • baker’s dozen (13) eggs
  • 1 med onion, diced
  • 1 pint mushrooms
  • 1/2 stick butter
  • 1 cup raw spinach
  • Optional: shredded cheese, breakfast meats, other veggies

butter and onions in pan

Step 1: In a pan over medium heat, add the butter and diced onion. Cook 10-12 minutes, stirring occasionally, until onion becomes soft and see-through. Pre-heat the oven to 350, and spray a muffin tin really well with cooking oil. (Stuck, baked-on egg is the worst.)

scrambled egg and greased muffin tin

Step 2: Add the diced mushrooms, and cook another 5-7 minutes, until softened. You can add a few tbsp water or chicken stock if they seem to be sticking or burning. Just before pouring into the muffin tin, add the spinach to wilt.

scrambled egg in muffin tin and eggs

Step 3: Break all the eggs into a bowl, and whisk violently for a minute or two. Mix in the cooked onion, mushroom, and spinach. Pour into the muffin tins until 2/3 full; leave a little room because the egg will puff up as it cooks.

make ahead egg muffins with cheddar cheese

Step 4: If desired, sprinkle with shredded sharp cheddar or whatever cheese you like. Bake at 350 for 25-30 minutes, until egg is fully cooked. Watch carefully at the end so that it doesn’t brown or burn.

I’d recommend letting these cool for a few minutes, then removing to a different plate or container quickly. You don’t want the egg to set and harden in the tin. It’s so easy to whip up a batch of these on the weekend, and you can even mix up the mix ins to have tons of options every day.

As for the cost? A dozen eggs is .99 – 1.29, or 4.50 for organic cage-free. Depends greatly on what you use to mix in, but the cost for an onion (~.50), mushrooms (.99 on sale), butter (maybe .50), and spinach (~.25 for 1 cup) for me comes to about 2.25. This makes 12 muffins, and I generally eat 2 for breakfast, so 6 servings. Let’s estimate high:

4.5 + 2.25 = 6.75 / 6 = basically just barely over a dollar per day, and that’s if I use the fancy eggs! For plain jane eggs, the cost drops to maybe 50 cents for an awesome breakfast that includes protein, fats, and a serving of vegetables! I can get behind that. I hope you can too!


Last-minute Valentine’s Day meal ideas


So, you want to have a romantic dinner but don’t want to shell out $20 and up? Me too!

With Valentine’s Day only 2 days away, you may be thinking about having a special meal with a special someone. It doesn’t matter if you’re cooking for yourself, some of your girlfriends or bros, your significant other, your parents, your dog, whatever, cooking a meal is always an act of love. An act of survival too, sure, but also you’re taking the trouble to turn raw ingredients into something edible.

Even if it’s a box of easy mac, or as fancy as a seven course meal, the person enjoying the finished product knows a little dash of love went into it.

And while a romantic dinner out on the town is nice every now and then, there are several advantages to cooking at home. One, you get to control the ingredients that go into your food. Restaurants use all kinds of ingredients you might not want to know about: stabilizers, emulsifiers, preservatives, MSG, salt and sugar by the tablespoon. At home, you know what is going into your food, and thus into your body.

Two, you can control portion sizes. There is a ton of research out there, not to mention if you’ve been around 2-3 decades or more you can see it for yourself, pointing fingers at ballooning portion sizes as a contributor to the obesity epidemic. When you eat out, you want to “get your money’s worth”, and restaurants know that giving you more food but with cheaper, less healthy ingredients, is good for their bottom lines. Terrible for your bottom, however, which will expand along with the size of the plate.

And finally, it is far cheaper per meal to cook at home. If you go out to a moderately priced chain, you are hard-pressed to find a full meal for less than $15 for dinner. Then add in tip, time, and gas money to get there. If you go out to a nicer restaurant or a place with a prixe-fixe menu, you are probably looking more into the $50 per person range. Restaurants know people want a special experience for Valentine’s Day, and take advantage by making fancy looking and sounding menus and tripling the prices.

Why not have just as special a meal, in a quiet place where you can actually hear each other talk, with no rush because the place wants to turn over your table? That’s right, I’m talking about your home!

Oh, and yes, you do have to do your dishes unlike at a restaurant. But you know what? That can be part of the experience if you know your dining partner well. Make it into an assembly line as you wash and dry together, laughing and maybe splashing each other throughout. Or tag-team dishwasher loading, then curl up on the couch with a good movie while it runs. You can make even chores fun if you try!


And now for the potential menu!

Below are a wide range of recipes, each will take you less than an hour, and I specialize in recipes that are affordable and simple. You won’t find more than 10 ingredients, and most of them you likely already have on hand.

Choose a few things that you know how to make, or know you will enjoy eating, and make some magic happen.


Appetizers – having multiple courses helps spread the meal out, giving you time to talk to your dining partner and bond. Appetizers don’t have to be complicated, give one of these a try.

Main course – even if you think you can’t cook, you should give it a try! Start with something very simple, and give it a test run today. Then you may find some ways to tweak it or make it better or easier. Or just jump in with both feet, what’s the worst that can happen, you order a pizza later?

Dessert – everyone loves dessert! You could even make your entire meal just a dessert buffet! But I’d recommend choosing just one thing you feel you can make, then sprinkle in an extra cup or two of love, and enjoy it.

Drinks – for adults and under-agers alike, a special drink makes a memorable addition to a special meal. You don’t have to get crazy with dozens of ingredients and multiple steps. Even something as simple as adding thinly sliced citrus to a glass of water can elevate the everyday to the special day.


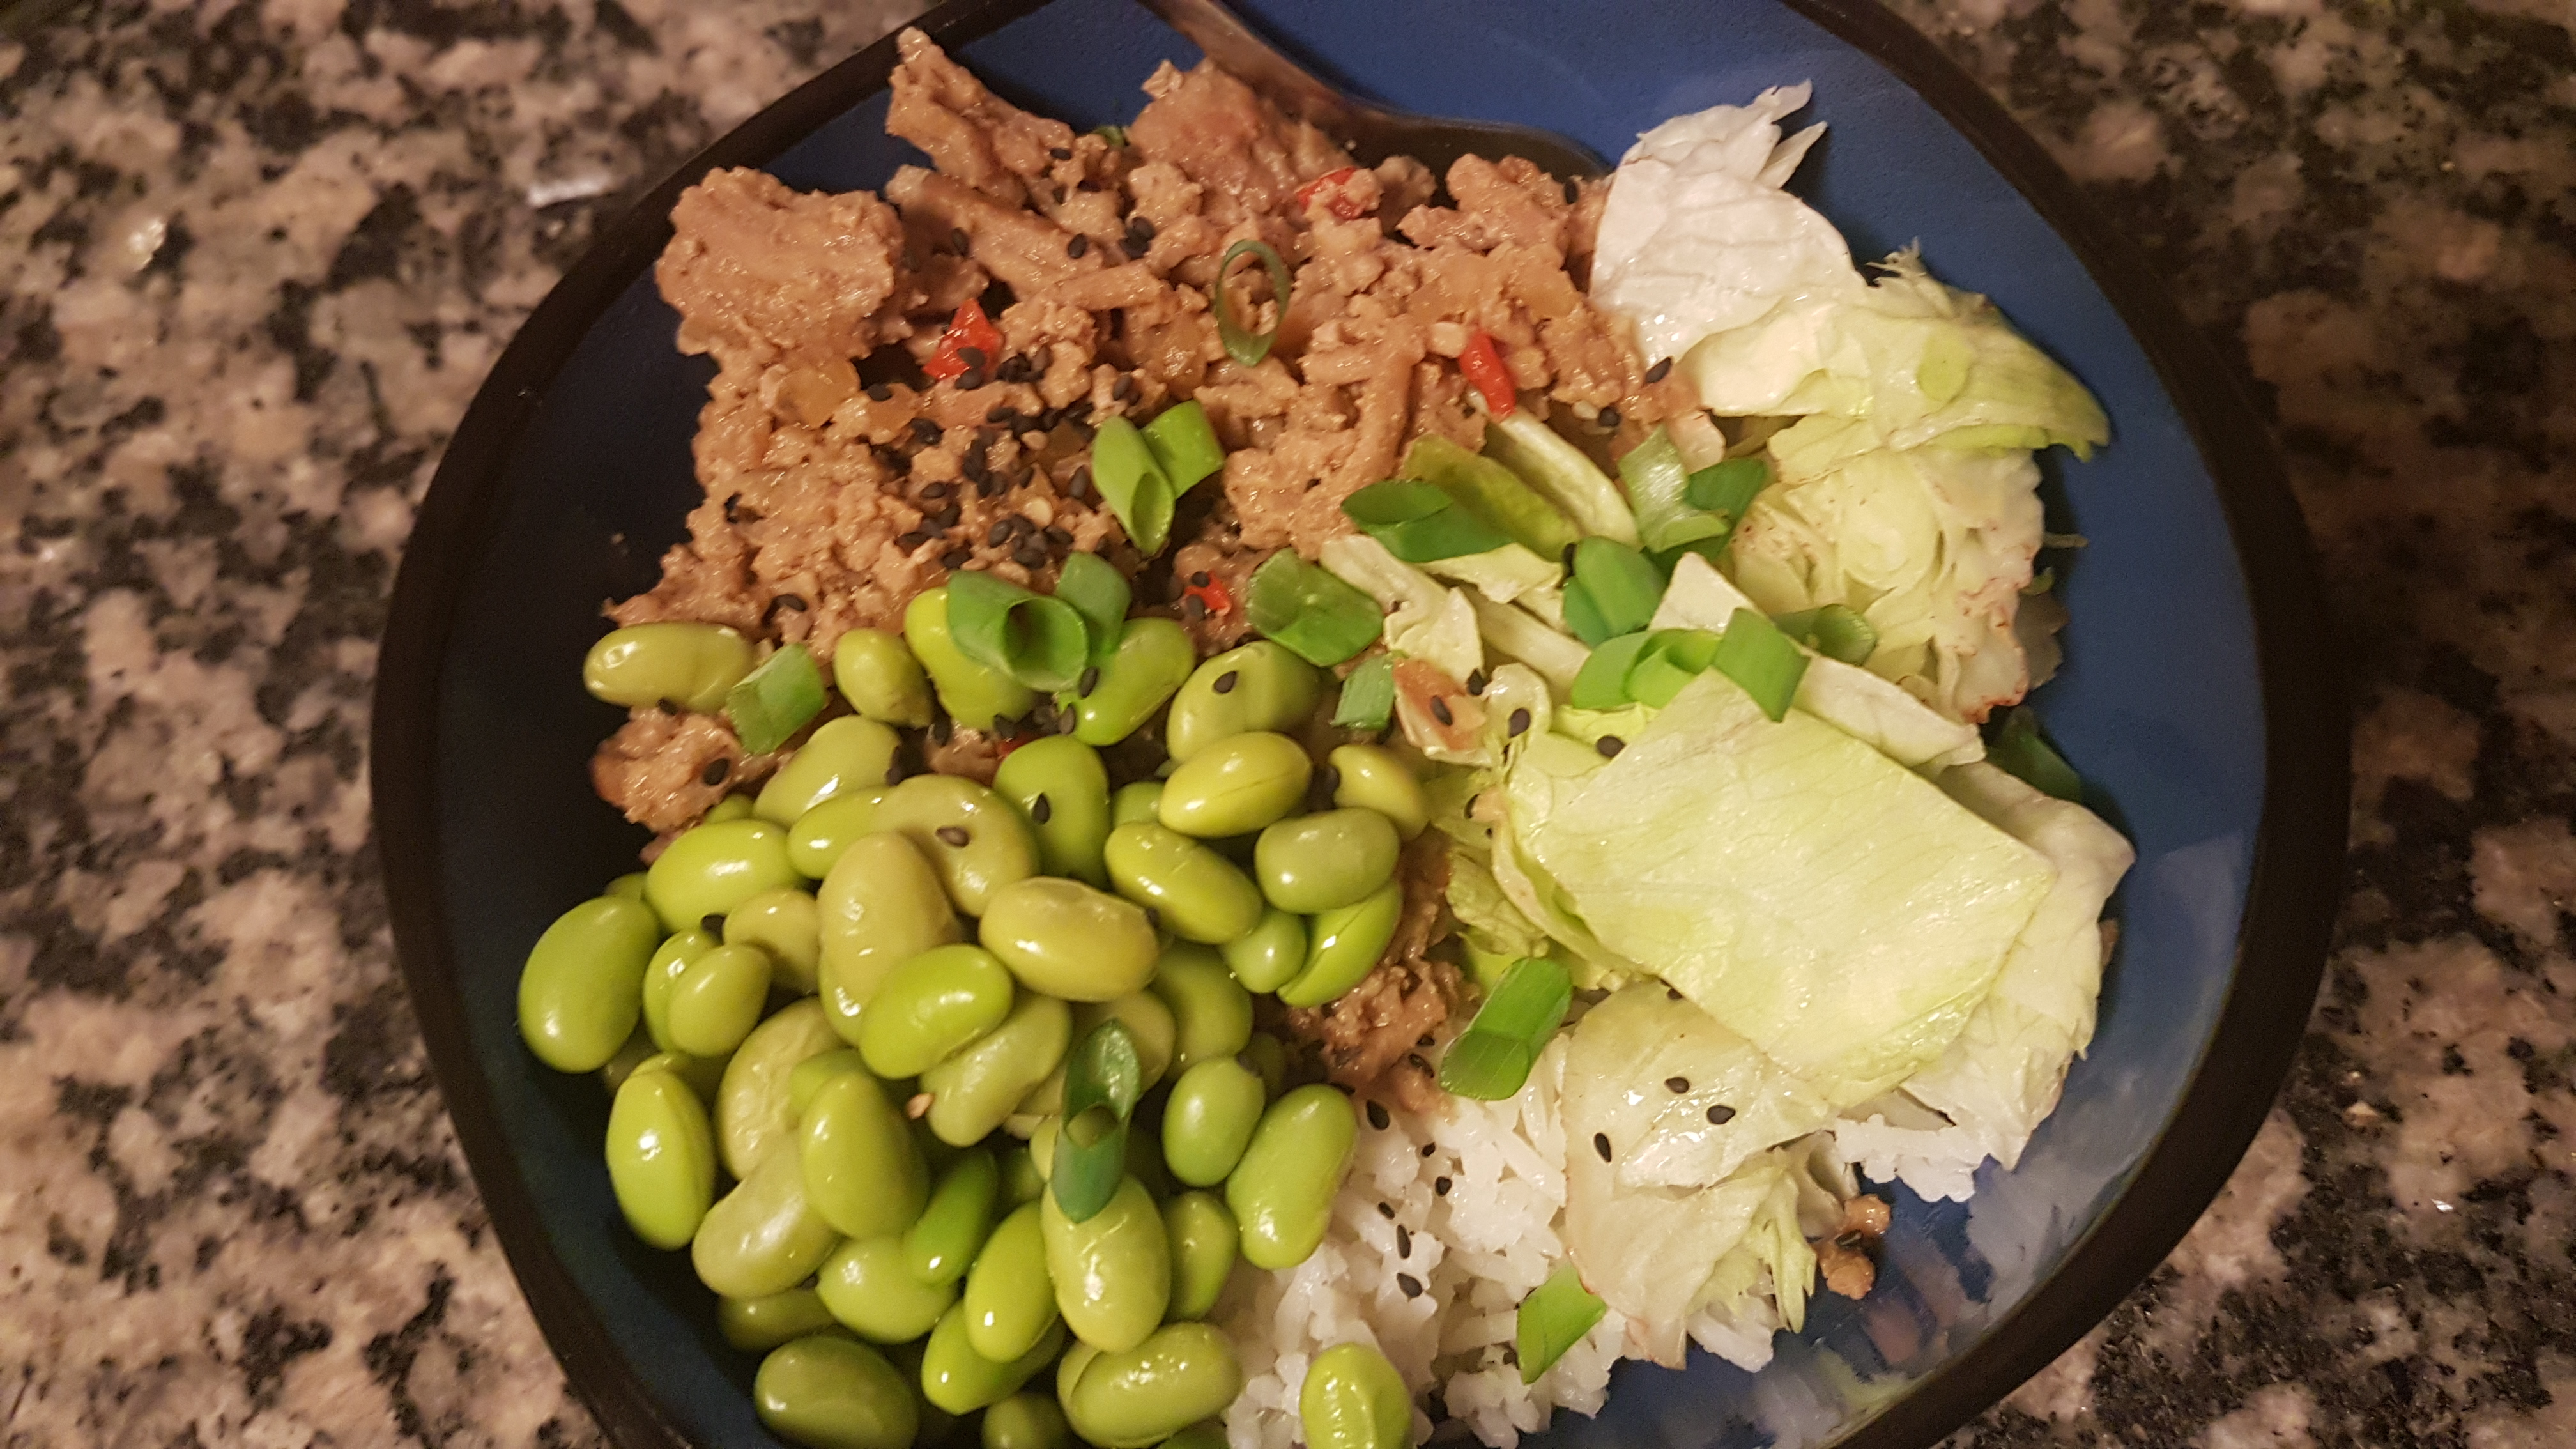
Sweet & Spicy Asian Beef Bowl

Do you love Asian inspired foods, but think they are too difficult to make? Do you find yourself reaching for the take-out menu every time you crave something sweet, spicy, and salty?

No more!

This Asian inspired sweet and spicy rice bowl can be on your table before the delivery guy even shows up! And for barely the cost of a tip you can have dinner for the whole family.

With several pantry staples (nothing crazy, exotic, or over the top expensive here) you can create a complex sauce that would be great on beef, turkey, chicken, pork, or tofu.

Ingredients:

  • 1 pound ground turkey, beef, or tofu
  • 2 tbsp mustard
  • 1/4 c soy sauce
  • 1-inch piece of ginger, grated
  • 1 tbsp minced garlic
  • 1 tbsp brown sugar
  • Optional: sprinkle of cayenne, fresh diced hot pepper

Step 1: In a frying pan, combine all ingredients and cook, covered, until fully browned. Break up the meat into small pieces.

Step 2: Take the lid off, and continue to simmer until the sauce cooks down and thickens a bit. You can also add 1/2 tbsp cornstarch or flour if you’d like it thicker.

Step 3: Serve over rice or noodles, optional garnishes include green onion, sesame seeds, fresh chopped lettuce, etc.

This makes a great meal prep meal too, as you can pack it up with a side of whatever veg you like, and it reheats like a dream. This goes great with peppers & onions, green beans, broccoli, or my personal favorite, edamame. You may think microwaved lettuce would be weird, but I promise, in this bowl it just works.


[amd-zlrecipe-recipe:79]

Freezer Smoothie Packs


We all know mom always said breakfast is the most important meal of the day.  But we all know that sometimes it is the hardest meal of the day. It’s too early, we don’t have time, we can’t think of anything that sounds good, you don’t want to cook… the list of excuses goes on and on.

It’s hard to come up with something that is tasty, healthy, and also can be made in the 5 minutes you have before you rush out the door for the day.

Don’t worry dear reader, I’ve got your back.

Smoothie packs ready for the freezer

Enter: the freezer smoothie pack.

Just a few minutes of prep ahead of time on a weekend and you can have a whole week’s worth of healthy, on-the-go breakfasts ready and waiting in your freezer. These little bags are such a simple yet brilliant answer to the morning breakfast rush. And boy, are they customizable! All you really need is a good handful of greens, a fruit or two or three, and some baggies.

In the morning, just grab one bag, toss it in the blender with enough liquid (milk, almond milk, coconut water, tea, juice, whatever you like), blend and go. And if you have the kind of blender that makes single servings and you drink right out of it, your morning could not BE any simpler!

20160827_125944

For each smoothie pack, you will need:

  • 1 medium zip-top baggie
  • 1/2 – 1 cup greens (spinach, beet greens, kale, collards, etc)
  • 1/2 – 1 banana
  • 1/2 – 1 cup chopped other fruits

You can try just about anything in these freezer bags. It makes a great answer to almost-mushy fruits in the fridge, halves of things left over, and whatever fruits are in season and on sale. I used peaches, pears, bananas, local blueberries, and avocado. I also had half a pineapple and some beet greens from my garden, so I tossed those into a few bags as well.

20160827_130559

Step 1: Wash, peel, and cut up your fruits as needed. You can also slice your greens into smaller pieces to make blending easier.

Smoothie pack and blender

Step 2: Toss your baggies into the freezer. That’s it! When you are ready for a super quick healthy breakfast (or lunch, or snack, or dessert…) pour the contents of the bag into a blender, and add your liquid of choice. I like green tea for a gentle caffeine kick, or almond milk for some creamy smoothness.

Enjoy!

Save

One Week of Meals from One Pork Roast


Do you ever wish you had more time?  Do you feel like you spend too much time at the grocery store, or in the kitchen, or waiting for delivery? Does you bank account look emptier because of all the ordering out you do?  Do you want an easy way to make a week’s worth of homemade meals, for less than $100, with minimal prep and cook time from one grocery trip?

I thought so. Here is your answer!

This post is created to show you how to get a week’s worth of dinners (with some leftovers for lunches too) from a single 4 pound pork roast.  All recipes easily feed 2 adults, with many recipes making much more food for leftovers and re-make meals.

By planning ahead to use one main dish all throughout the week, you can get creative and ensure that none of your food dollars get wasted by literally throwing them away. You will save time throughout the week by not having to go to the grocery store to pick up “just one or two things” and not having to worry what to make for dinner, it’s already planned out. And you can eat healthy, whole food, home cooked meals all week long!

Here is the list of recipes you will be making if you follow this plan:

As far as cooking equipment, you will need at least a frying pan, and preferably a slow cooker. You can slow cook the pork in the oven, and make the casserole in the oven as well, but that requires slightly more hands-on time from you. The full grocery list can be found at the bottom of the post, and you can go to individual recipes by clicking on the links throughout.

The first thing you’re going to need to do is assess your pantry and freezer situation.  If you have plenty of Italian dressing, some frozen mixed veggies, noodles, and plenty of spices, you’re already halfway there on this week’s grocery list. Then make your list of what you still need to make the recipes, and head to the store.

20160911_154751

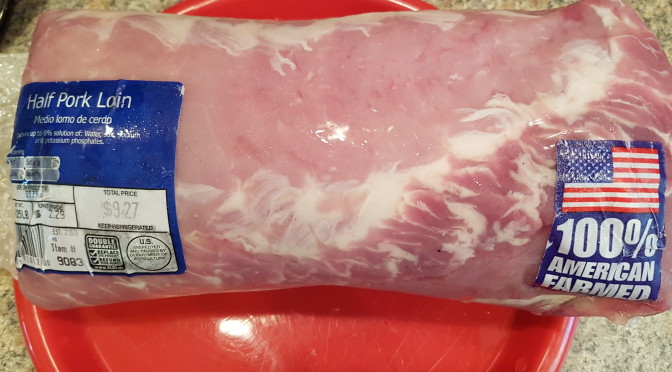
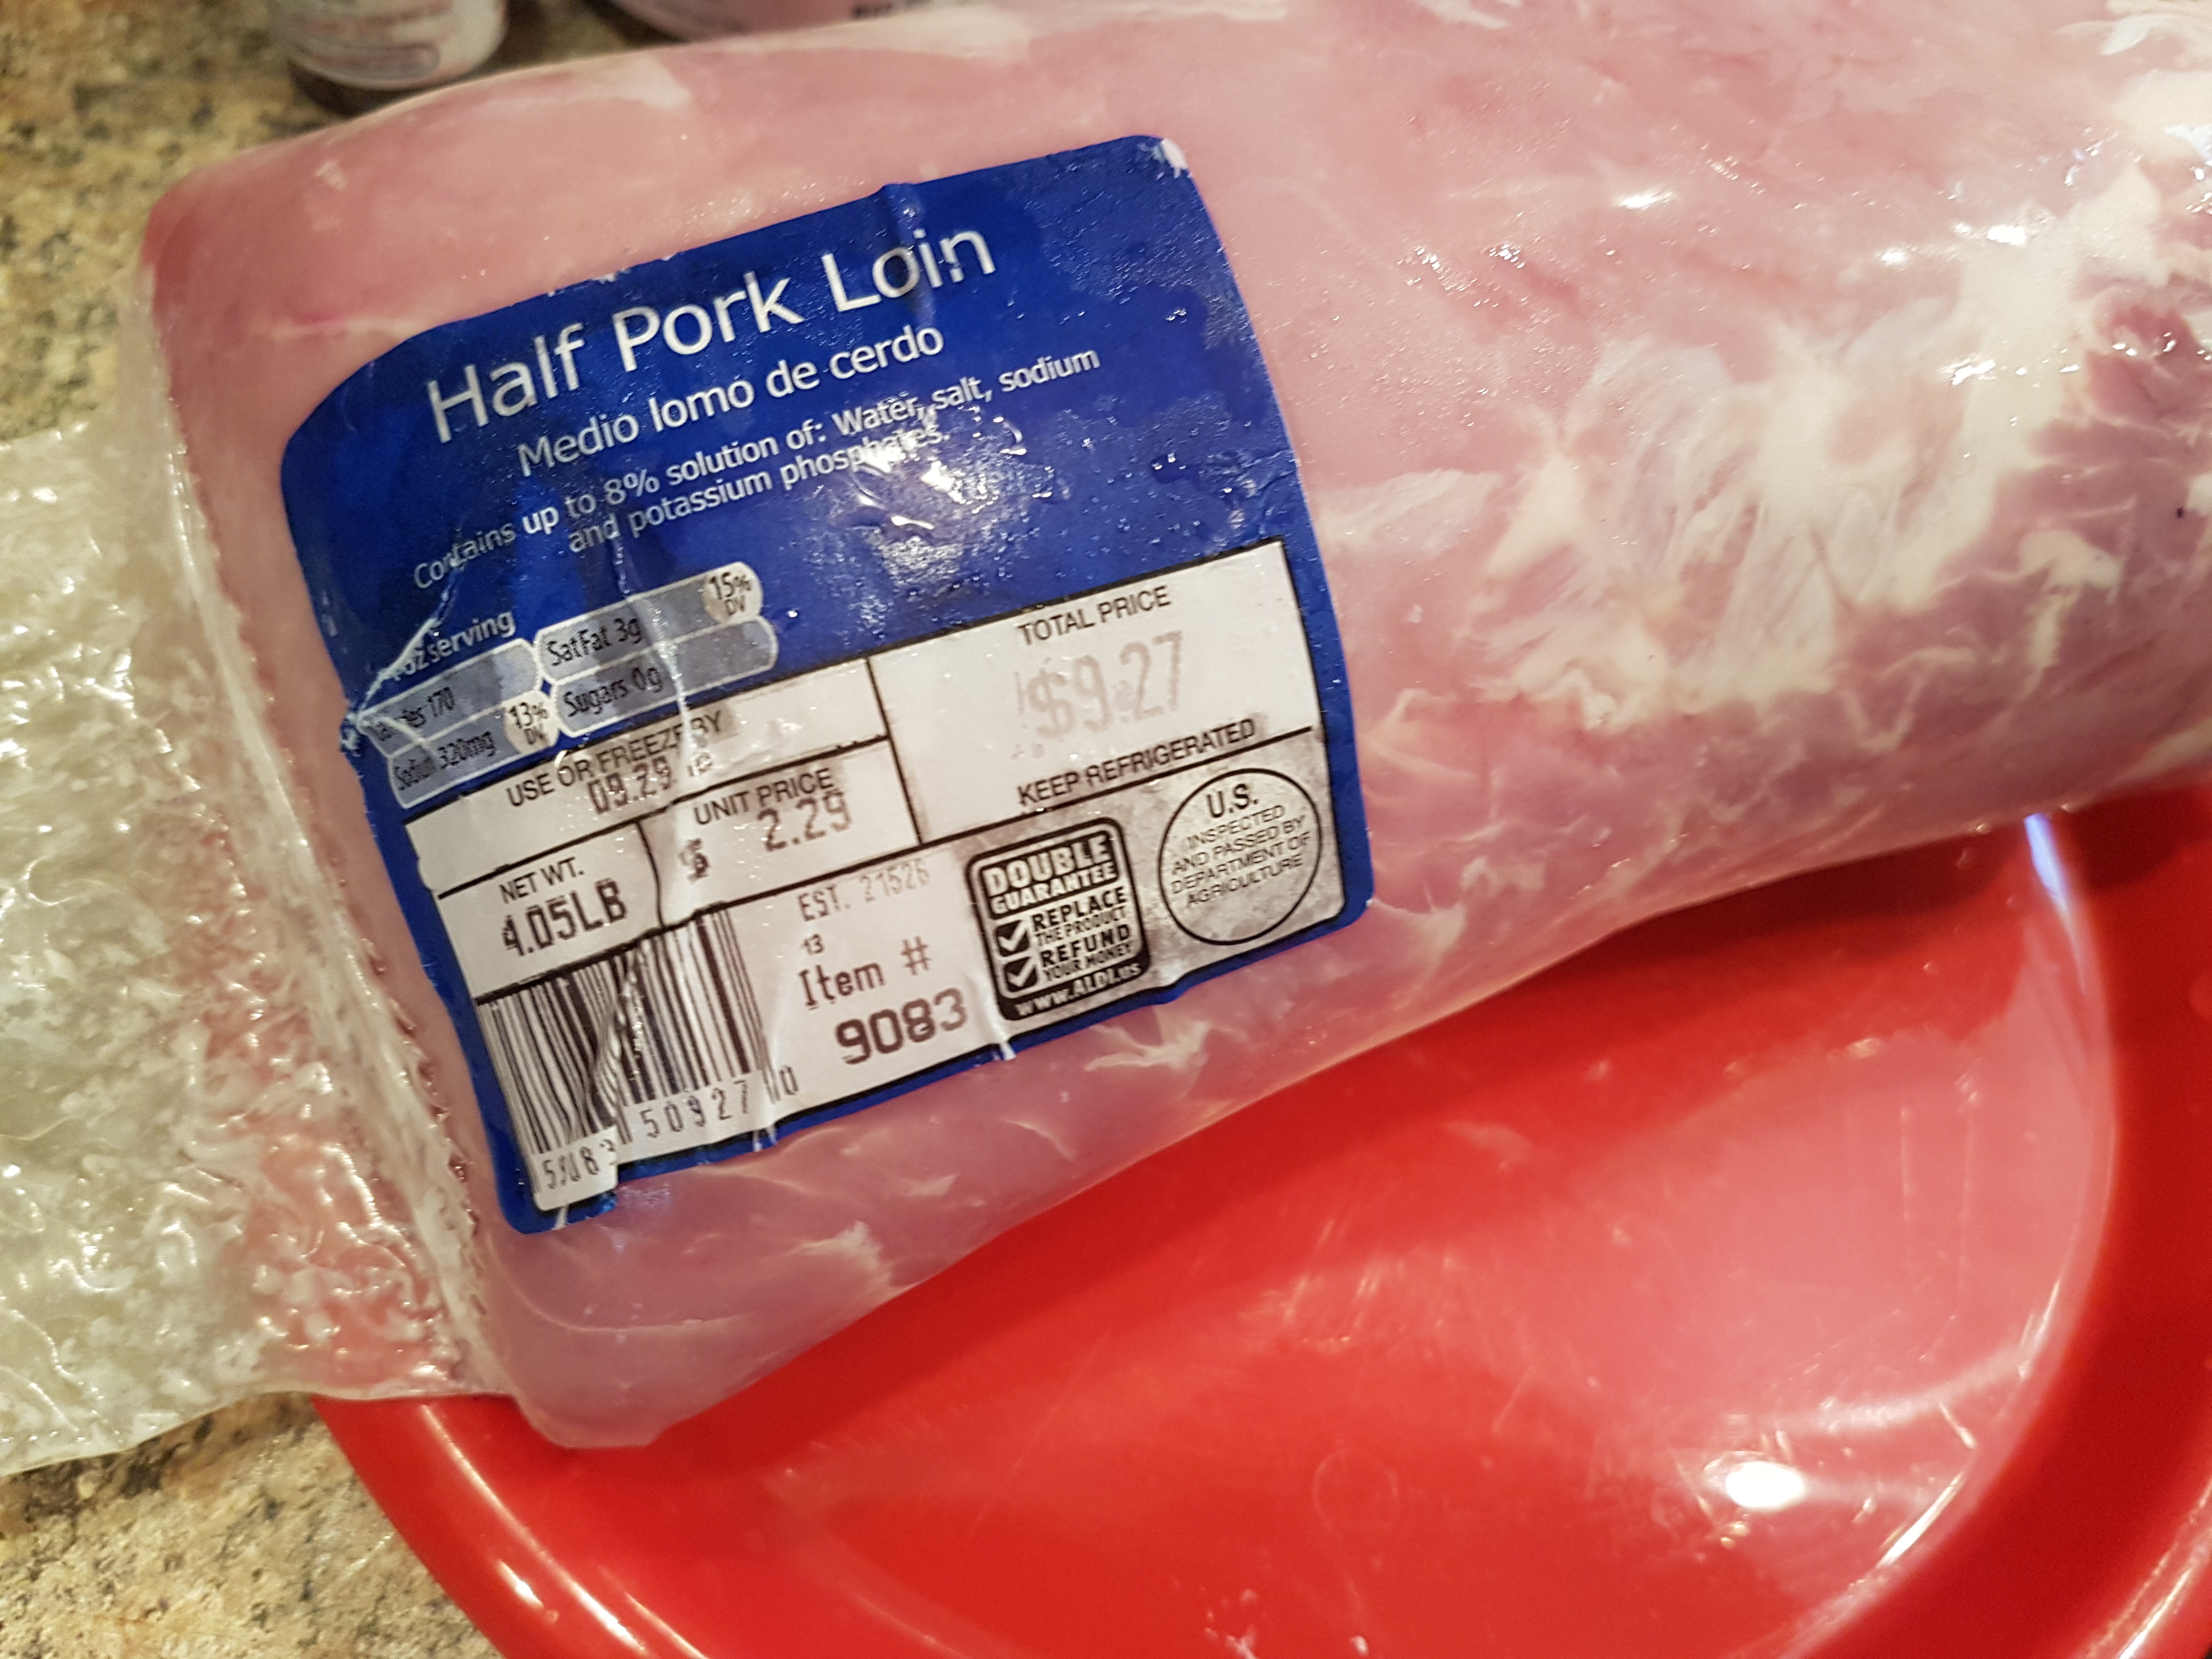
You will need to pick up a nice pork loin roast, or other pork roast. I recommend 3-5 pounds for 2 adults for one week’s worth of meals.  You can adjust to larger or smaller sizes if feeding a larger crowd, or just one, or if you wish to double recipes or omit certain recipes this week.

20160911_155223

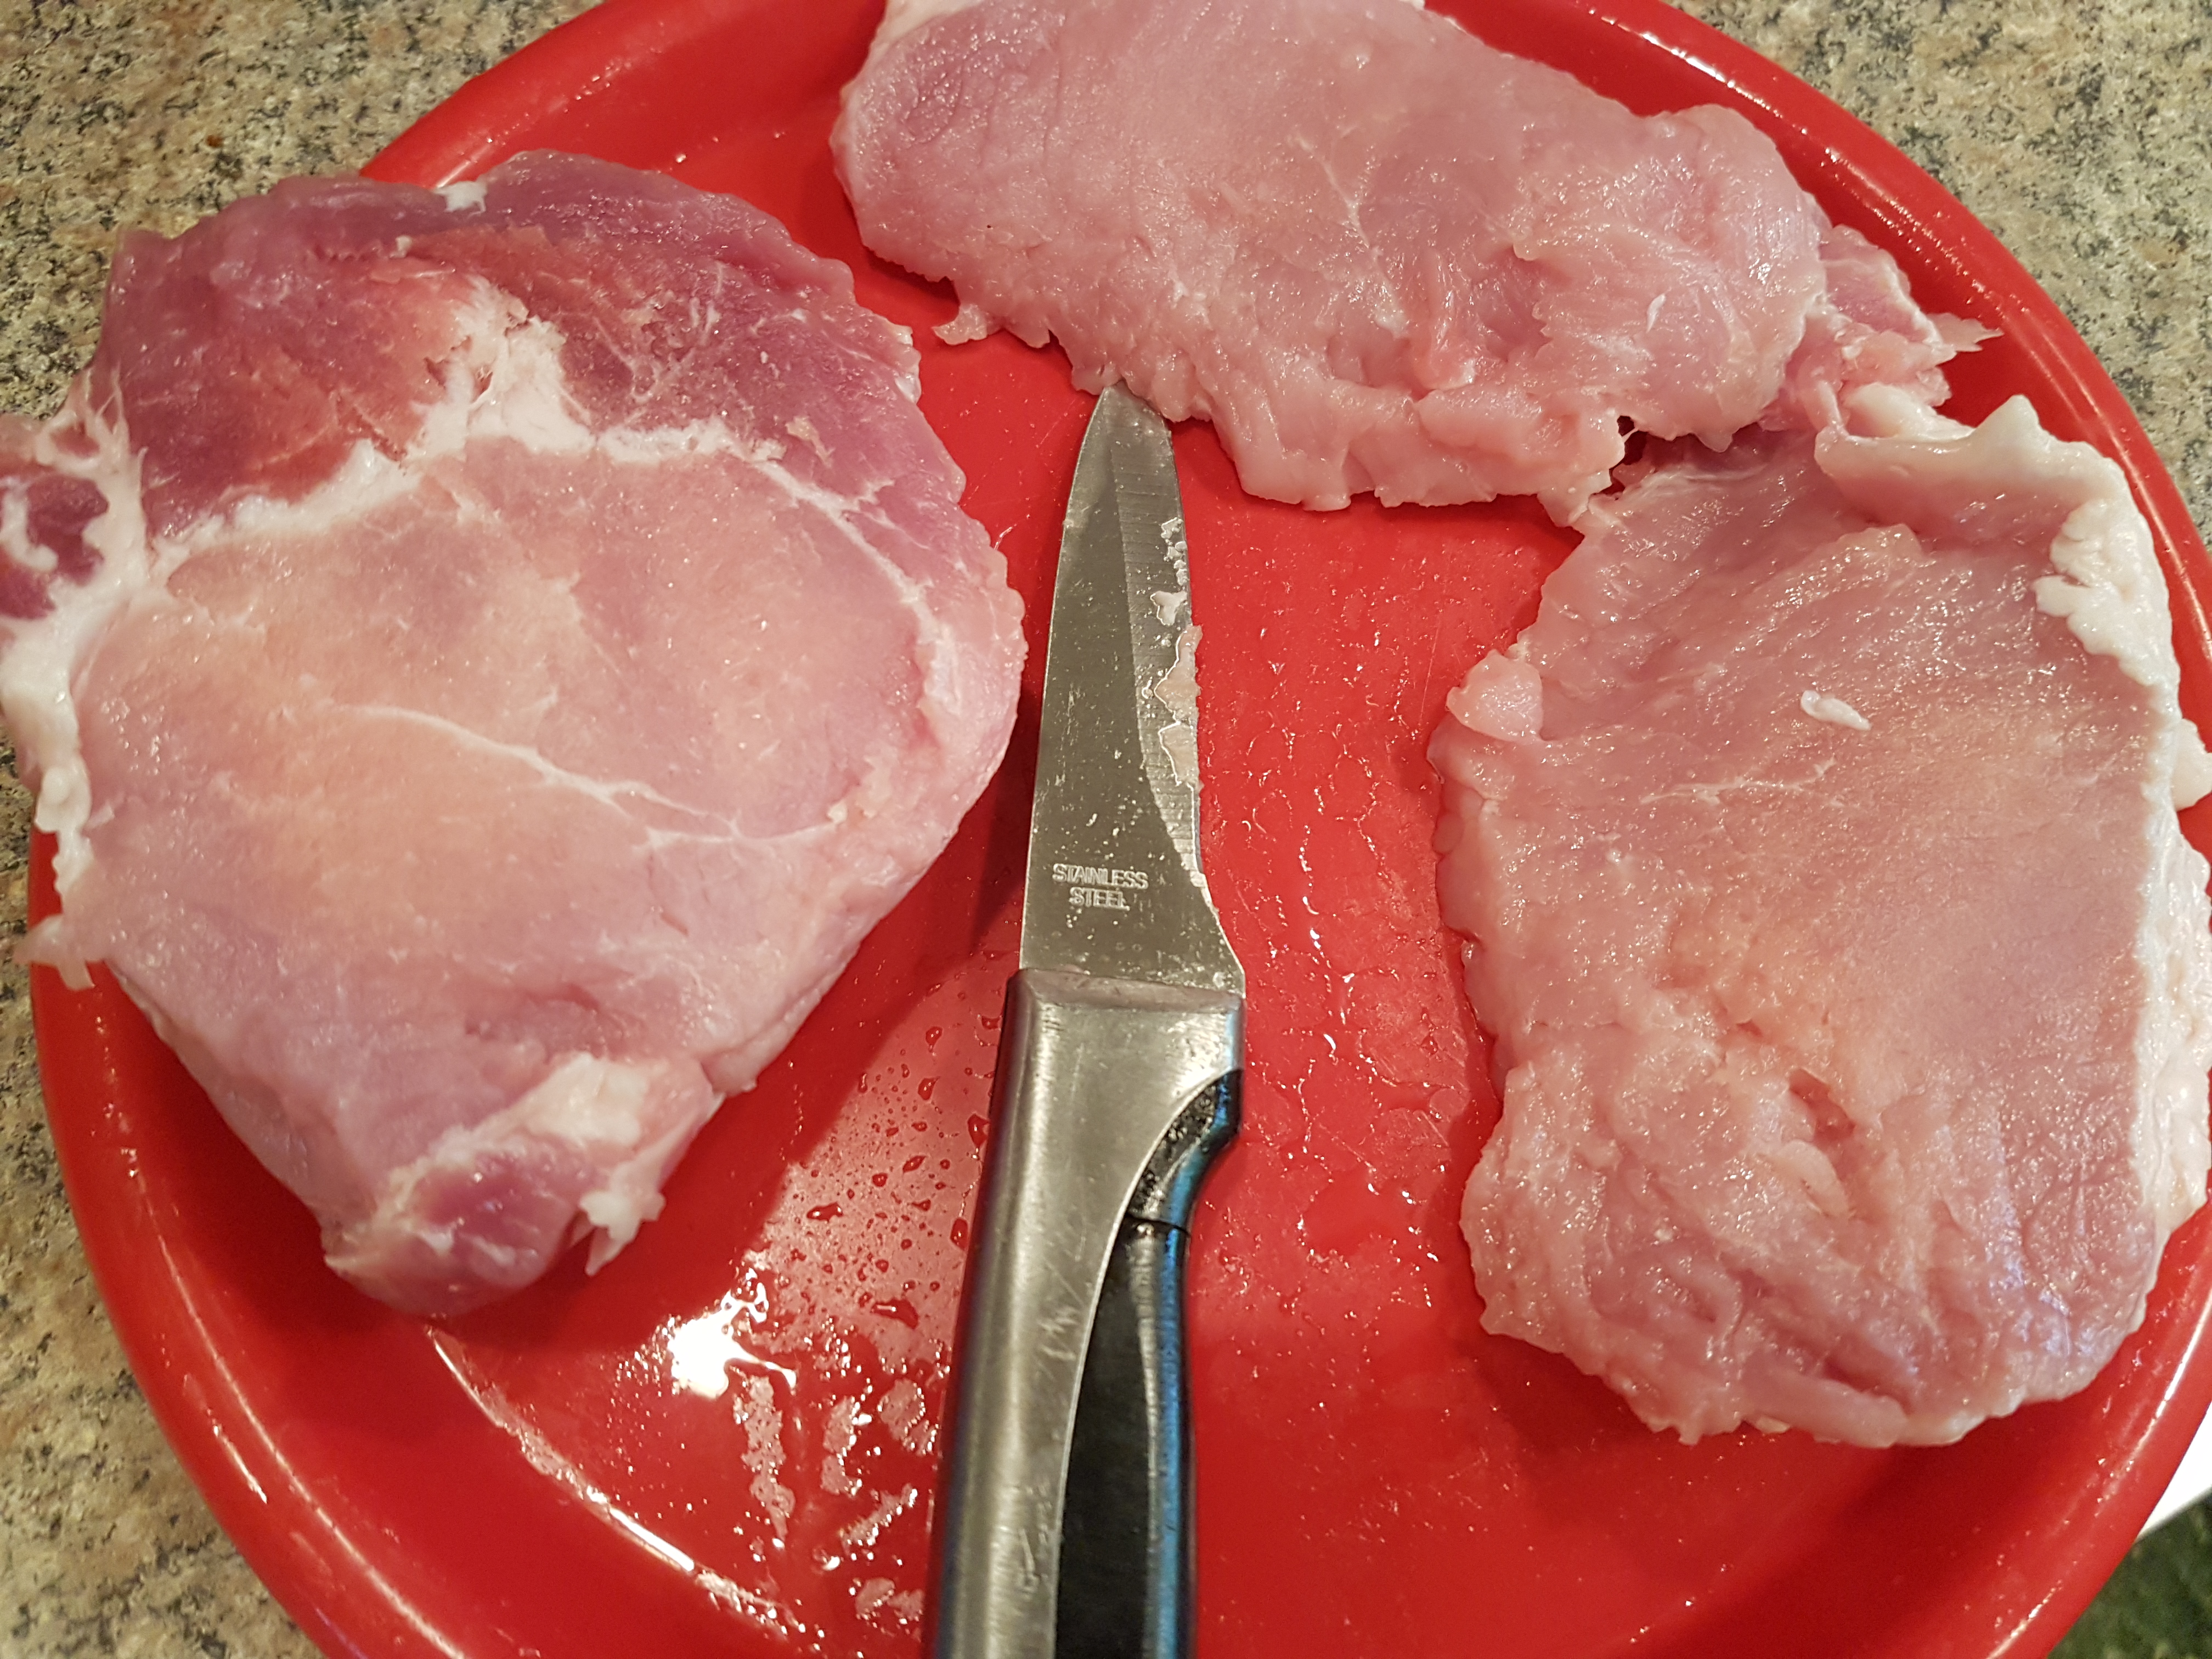
Once you have your pork roast, use a sharp knife to cut 2-4 pork chops off the end. You can also ask your butcher to do so if you go to a regular grocery store. These pork chops can be frozen for later depending on when you want to make the Italian Pork Chops.

20161003_183836

Once you have your chops cut, take about 1 pound off the remaining roast. This will be diced up into cubes.  You can also freeze these chunks for later, depending on when you want to make the Pork Lo Mein Stir Fry.

20160911_155226

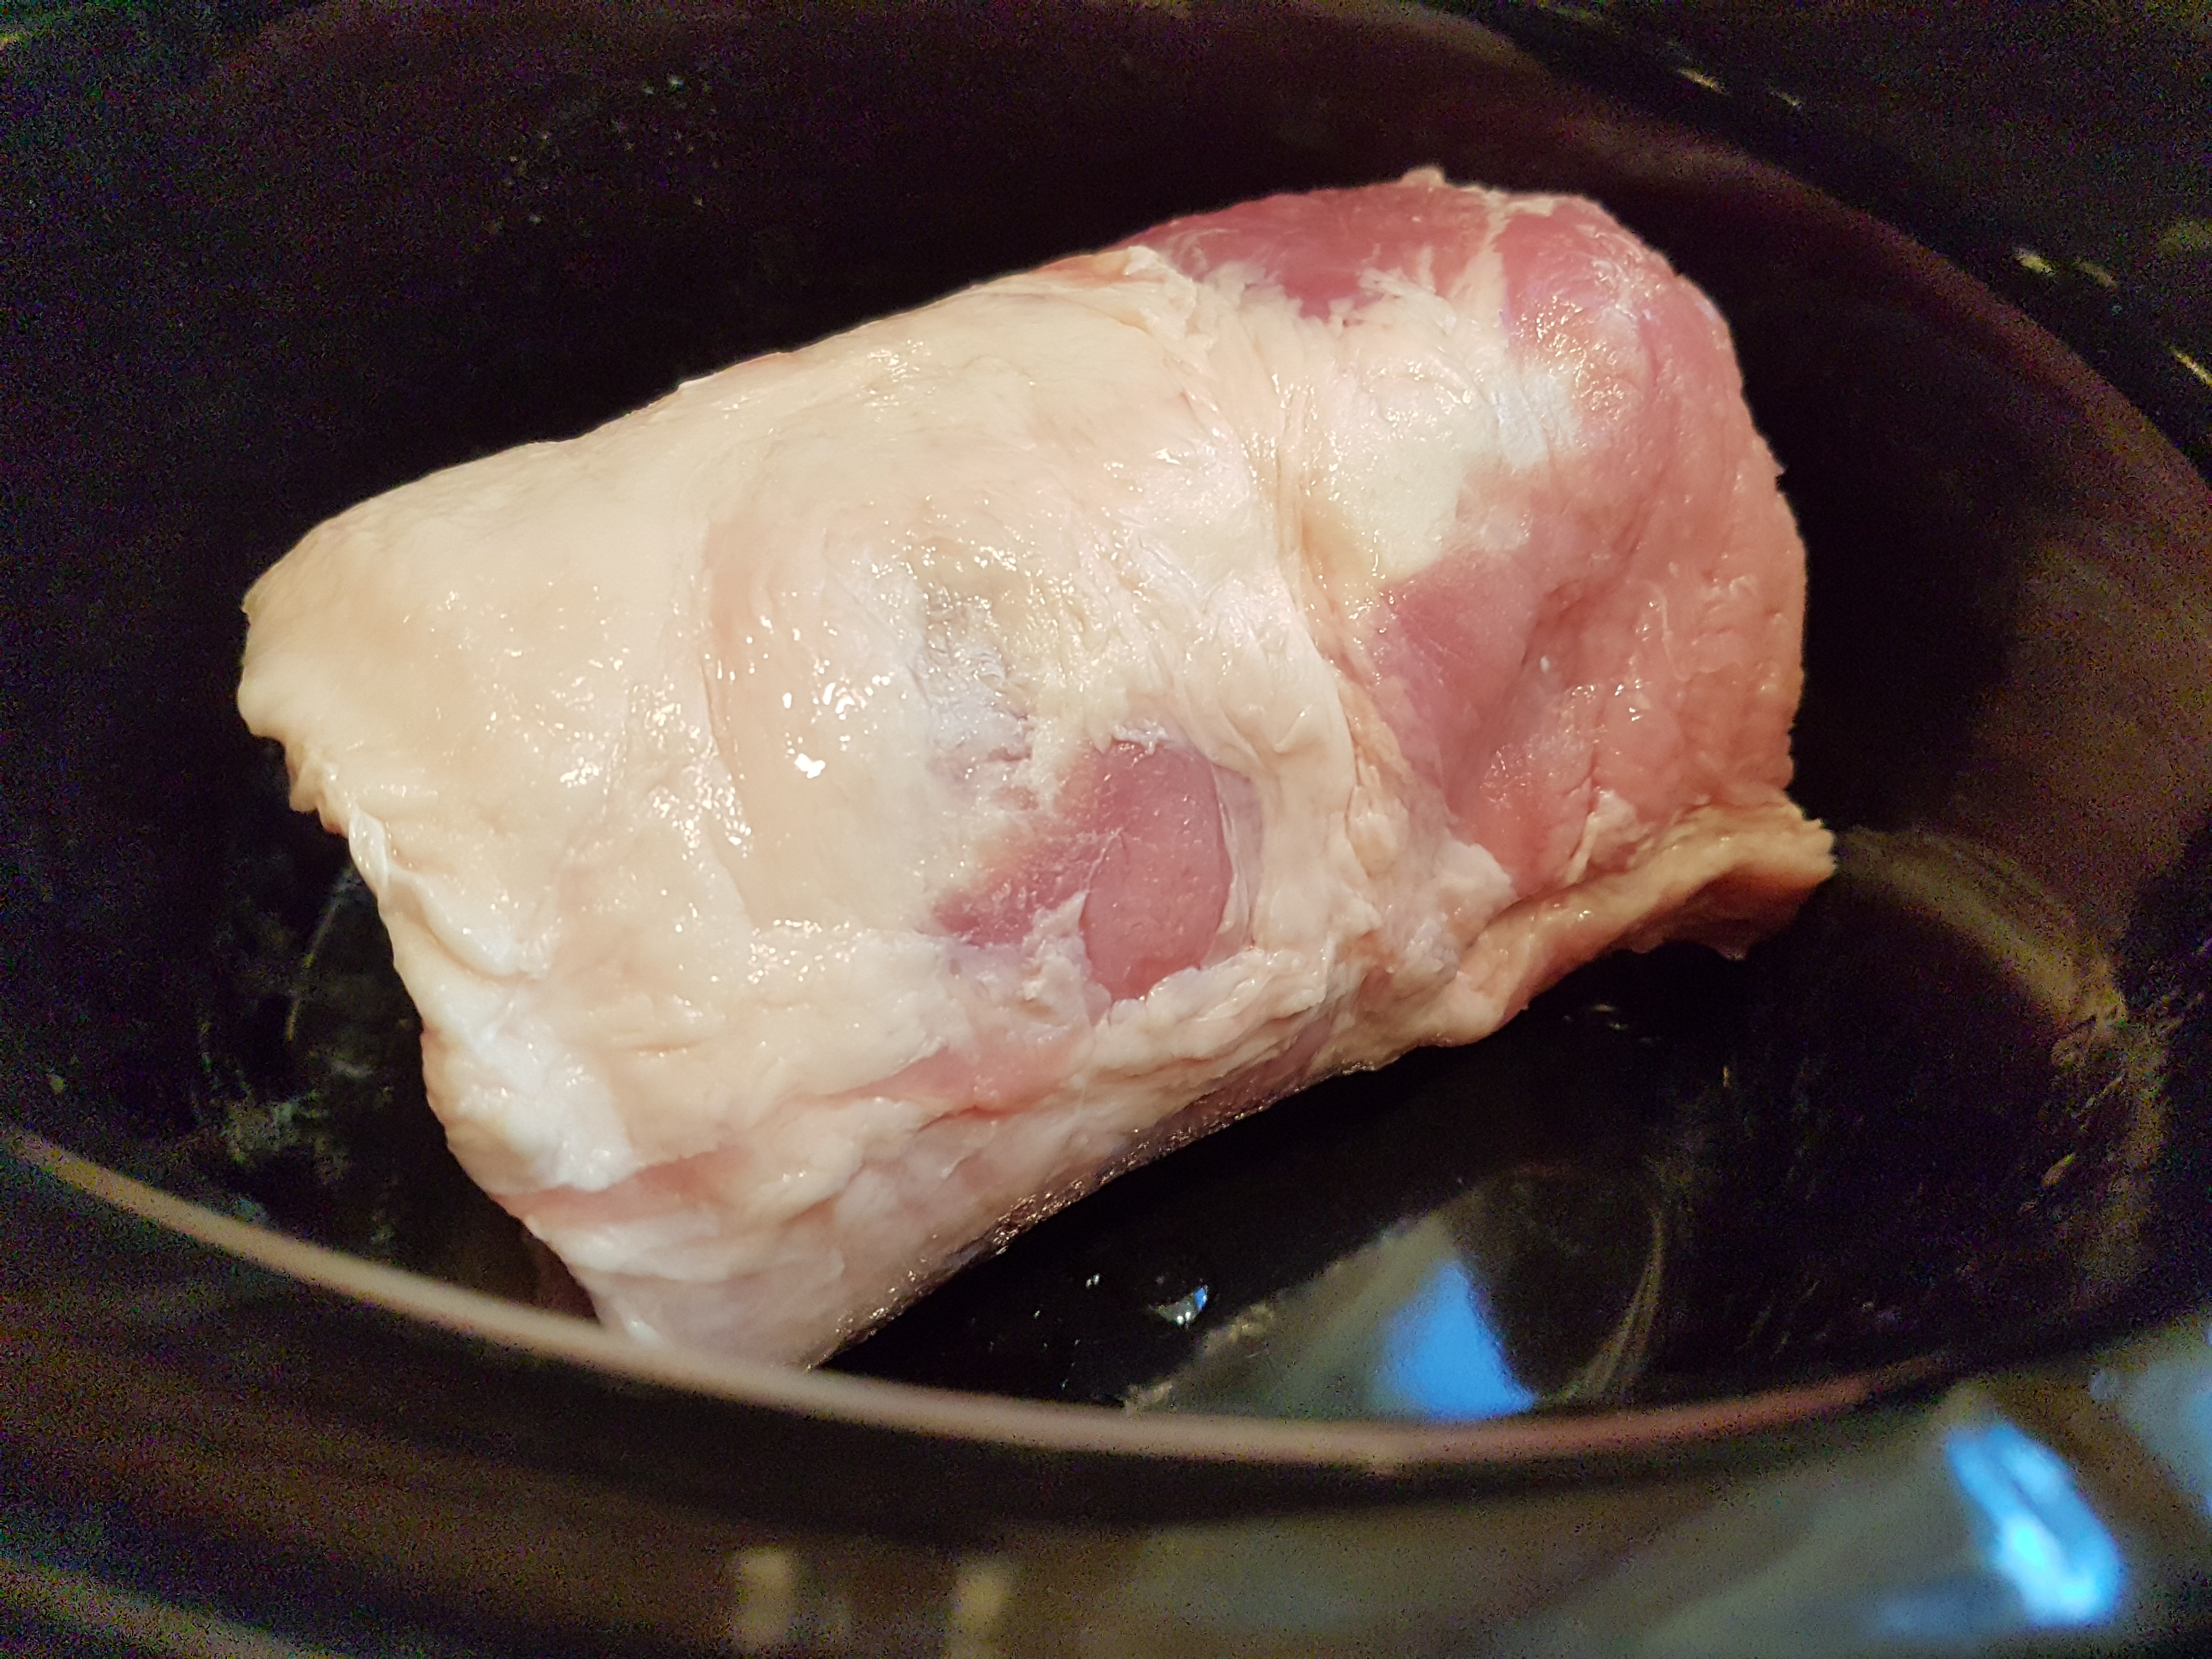
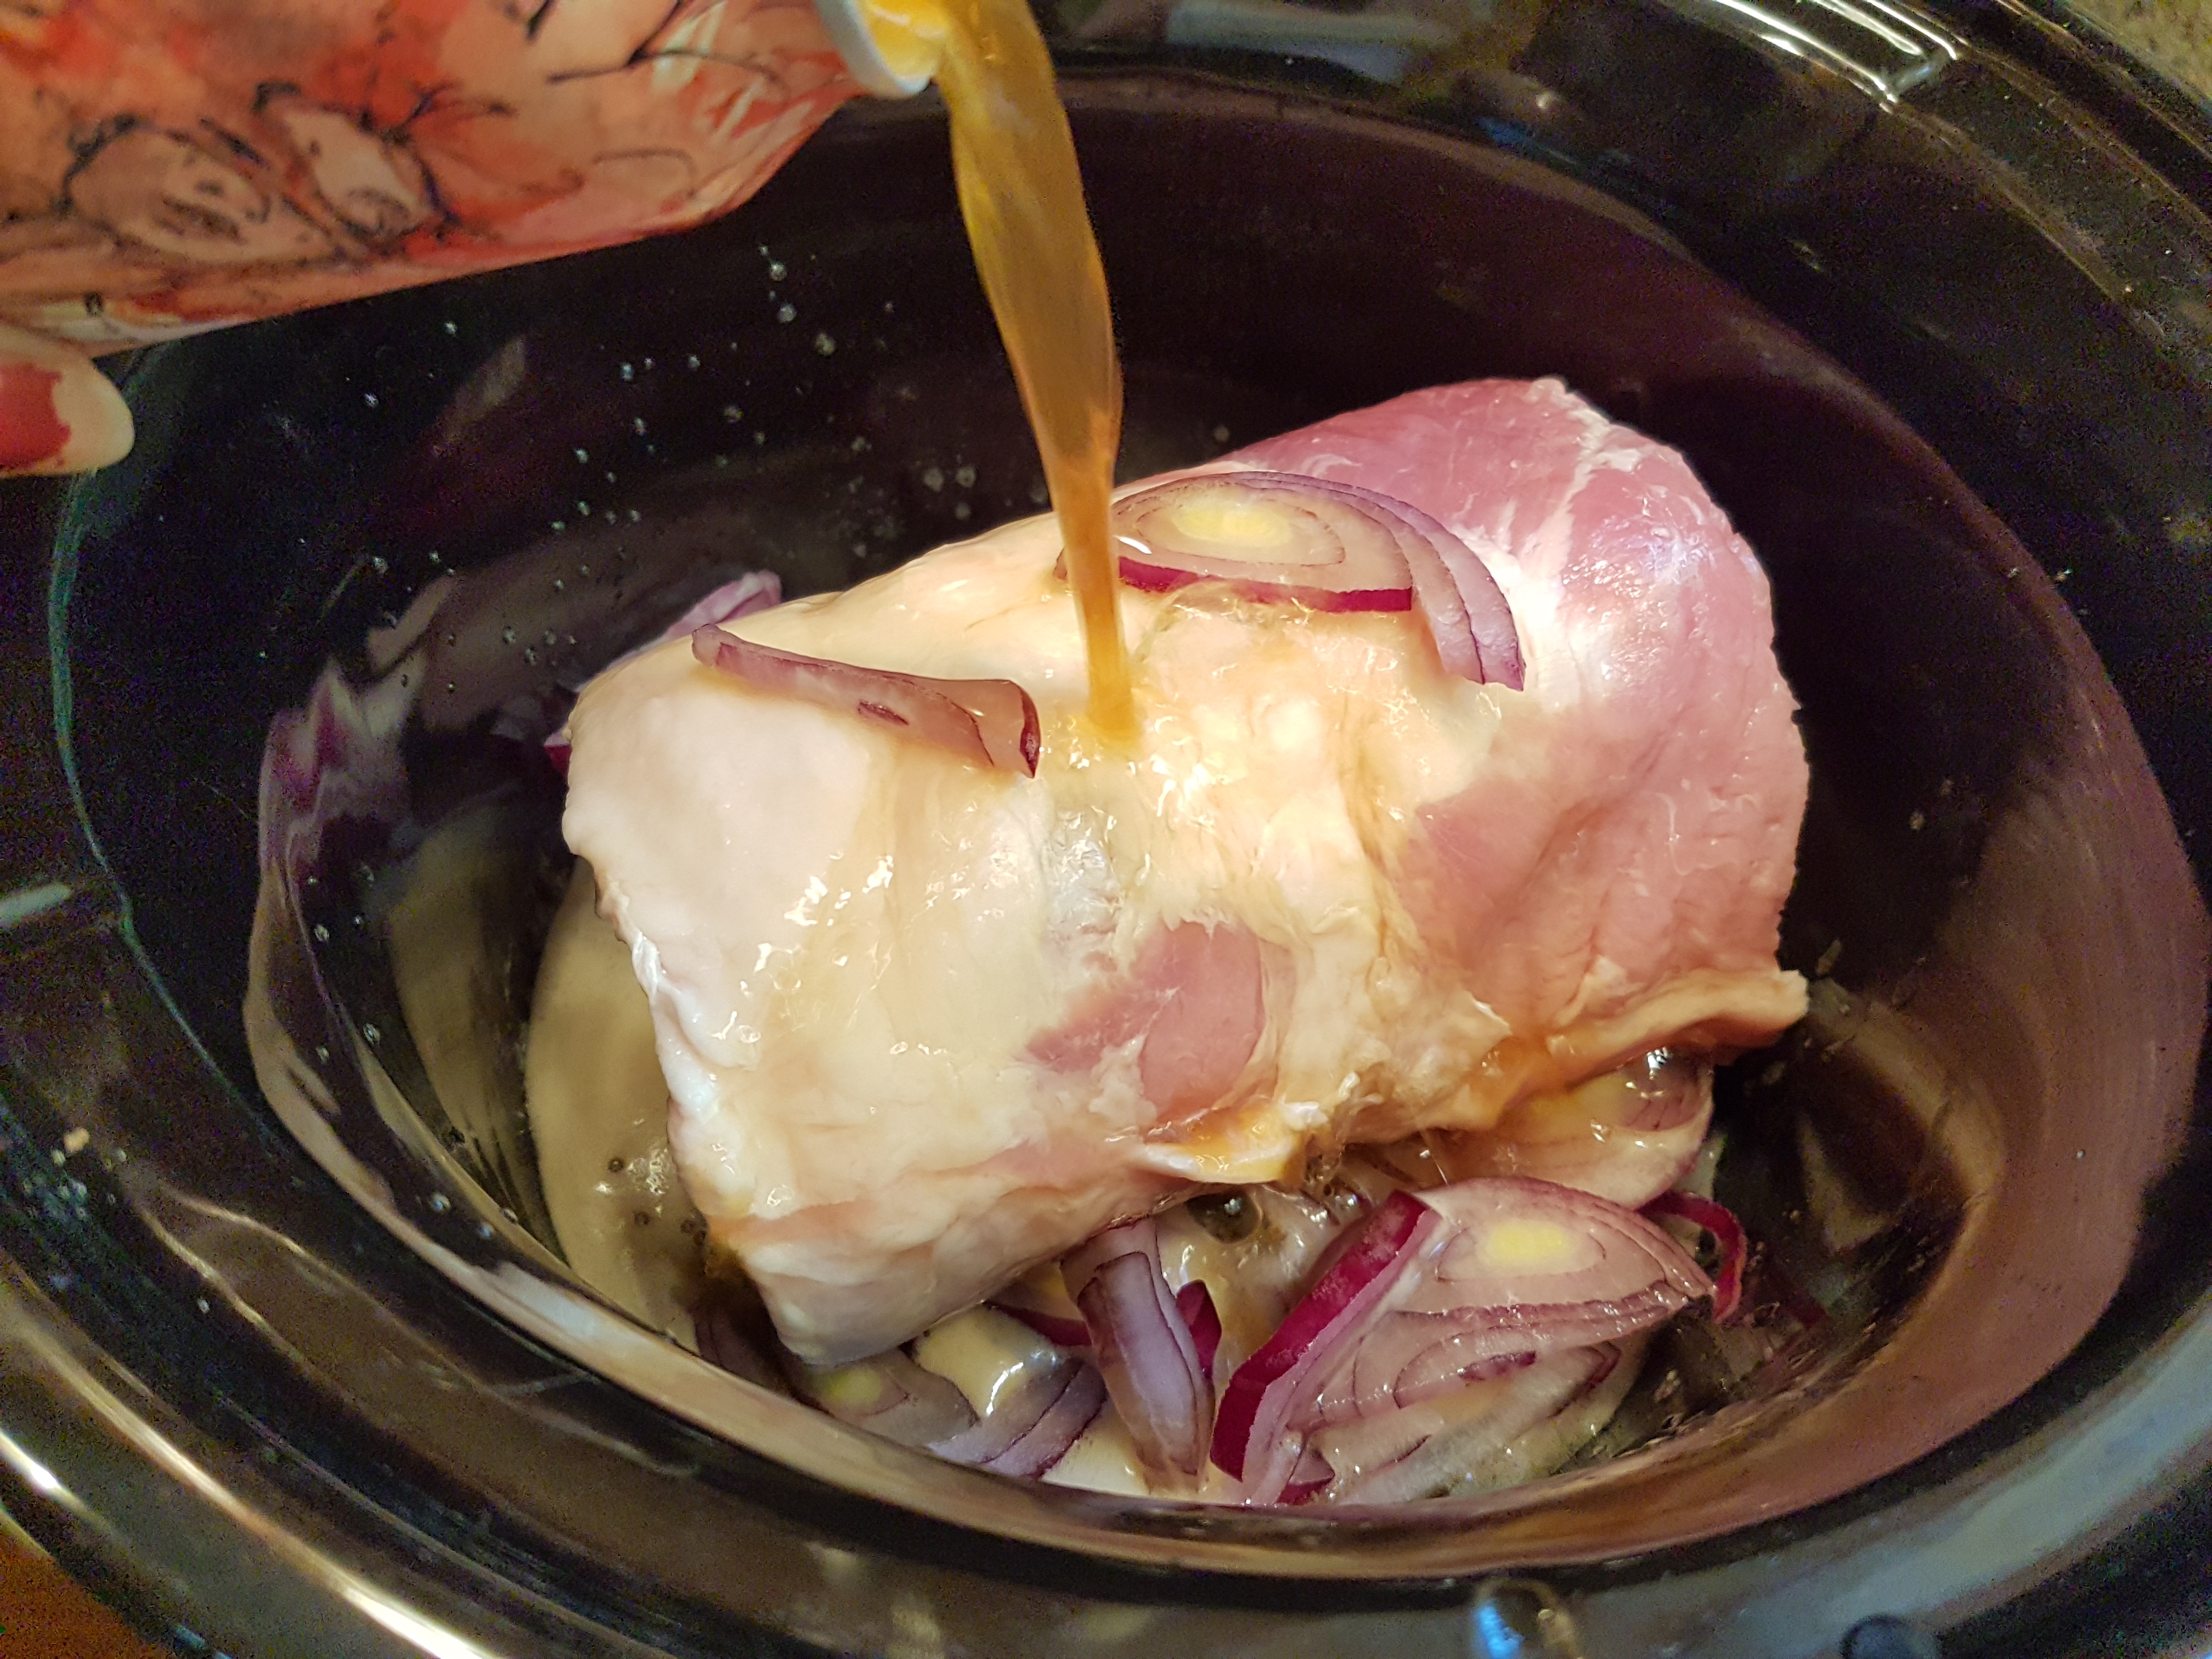
As for the remainder of the roast, put that guy into your crock pot.  This is gonna become one delicious, fall-apart pot of BBQ Pulled Pork. If you’re game, add a sliced onion and a can of beer, then cook on low for 8-10 hours or high at least 4 hours.

20160911_155547

Shred the pork roast with two forks.  I recommend removing half of the meat to a container in the refrigerator, and adding 1 cup BBQ sauce to the rest and cooking another hour on low.

20160911_212450

Now you have about a pound each of plain pulled pork and BBQ pulled pork! Plus 2-4 chops, and a pound of diced pork in the freezer. And that’s after less than an hour total of hands-on prep time.

Now you can use the shredded plain or BBQ pork for:

20160912_183938

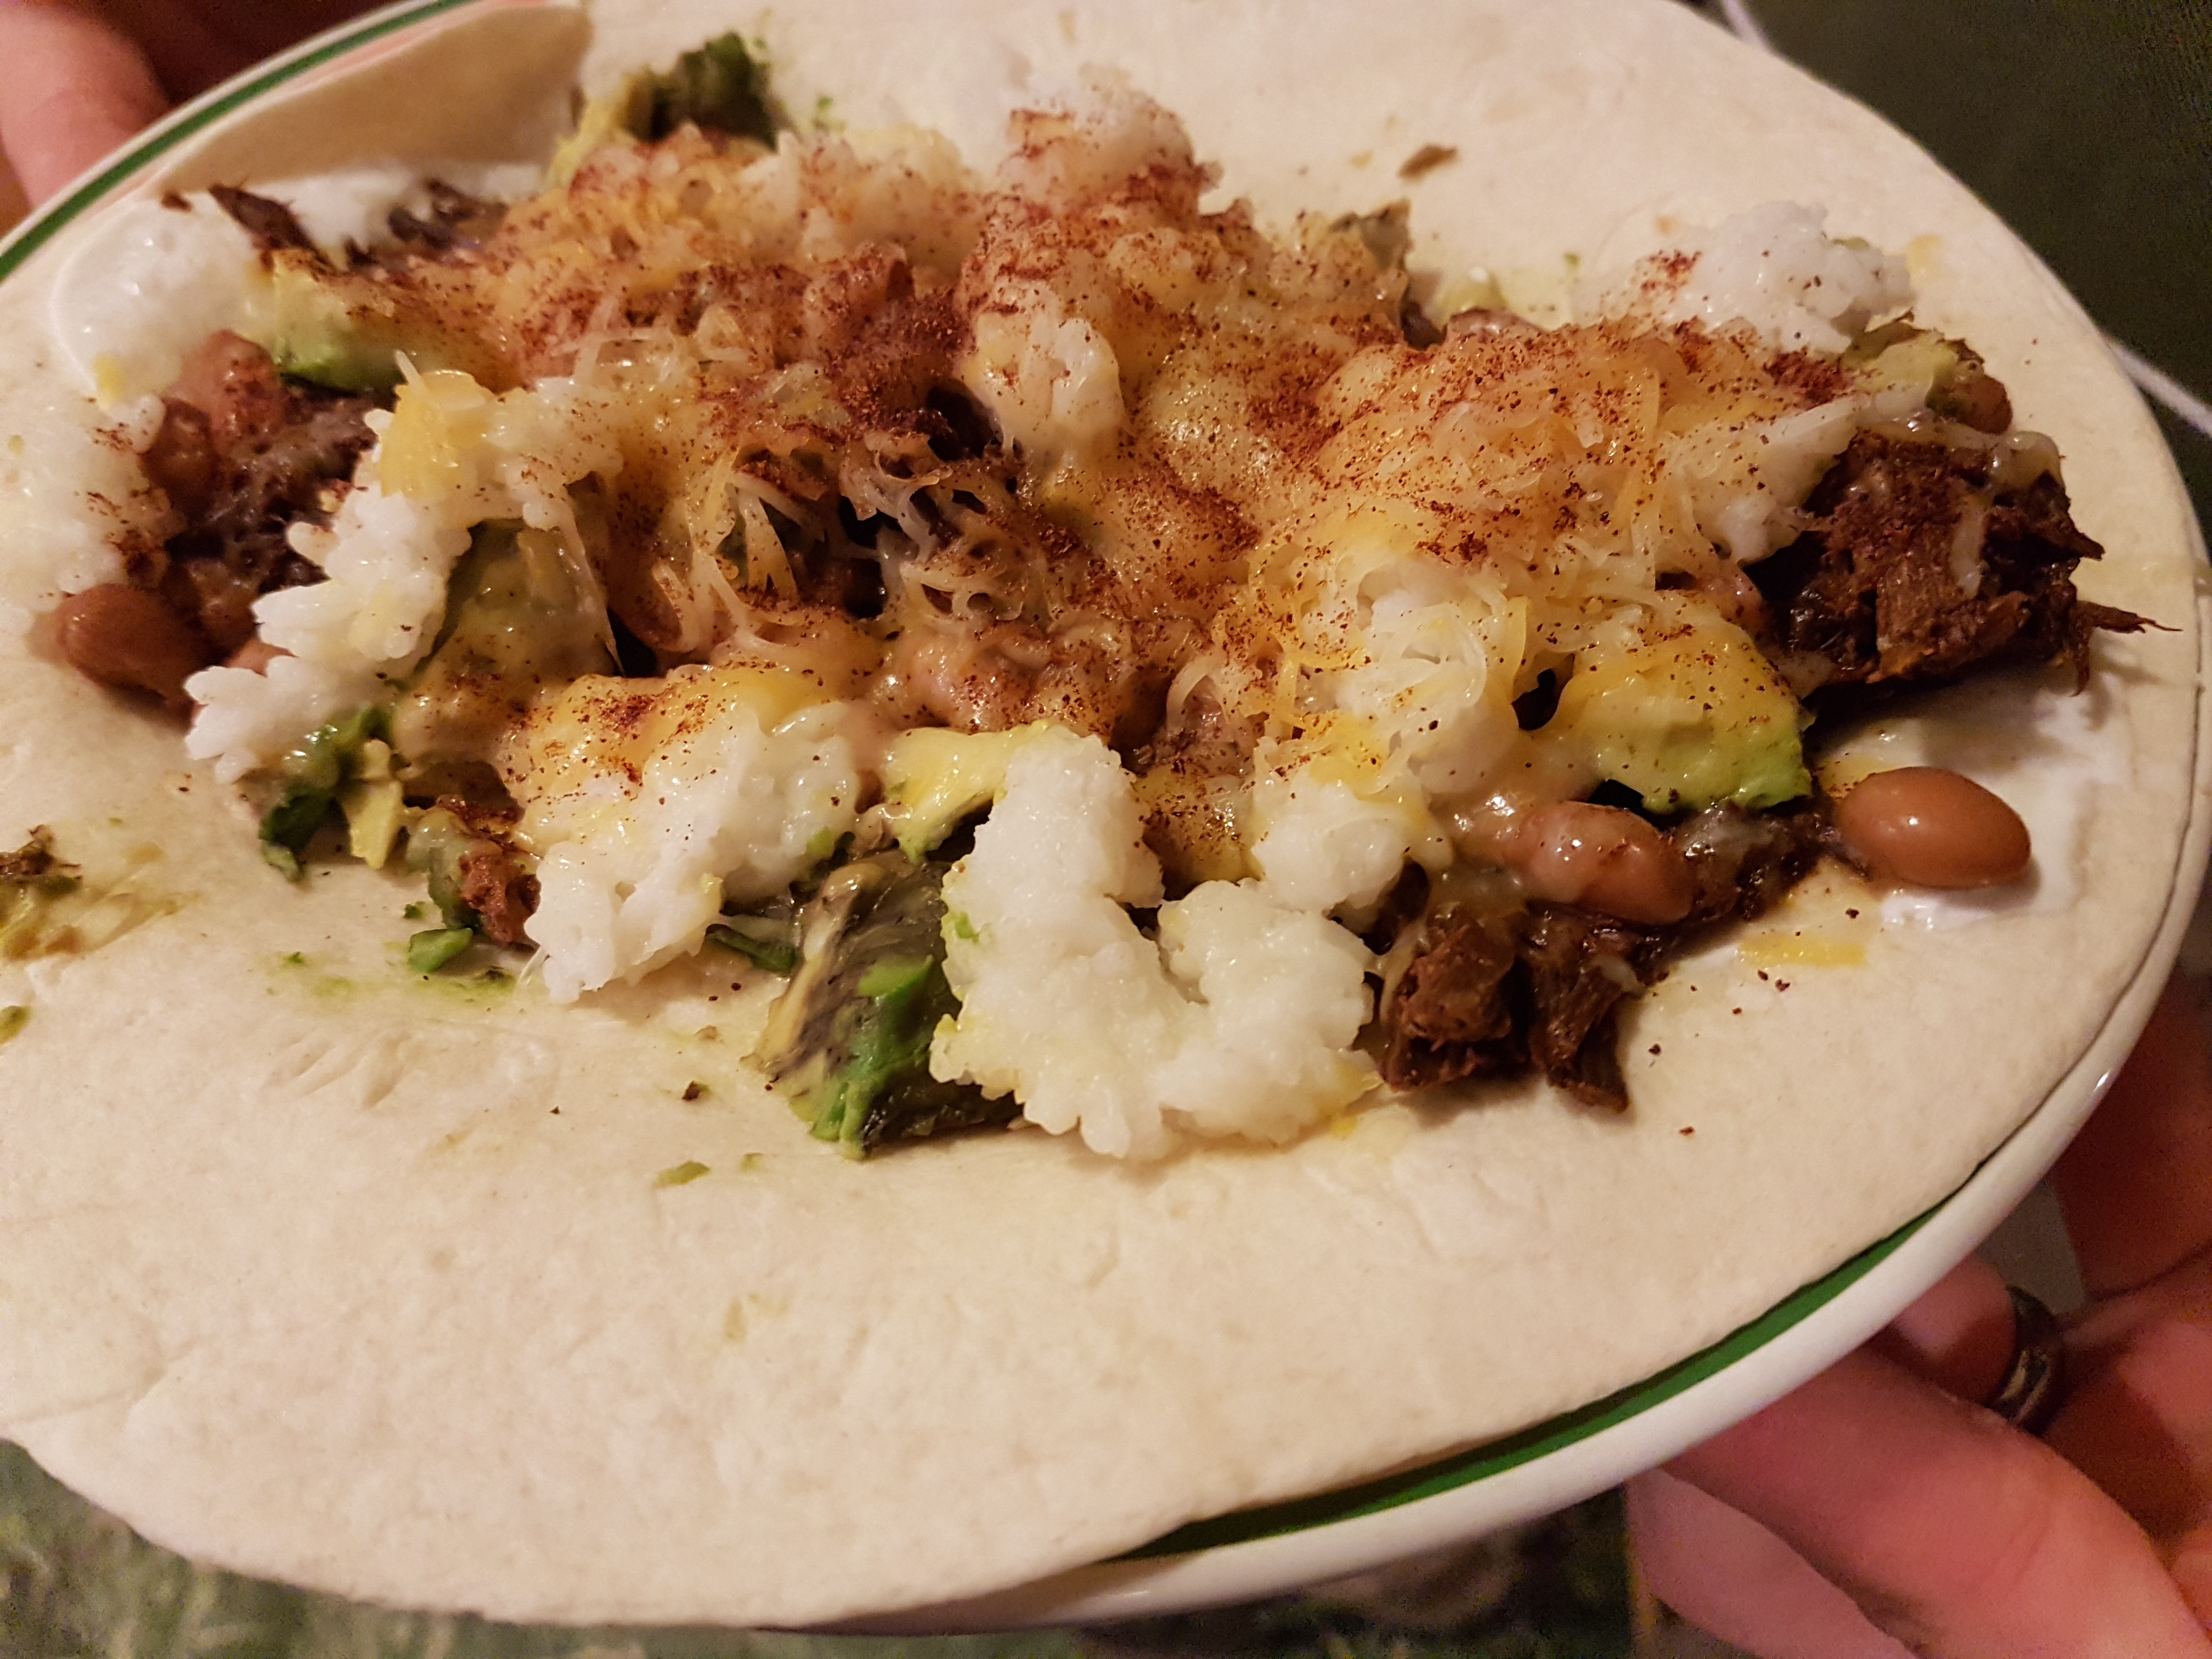
Pulled Pork Burritoes (above) or Quesadillas:

20160912_184046

And slow cooker pork and rice and broccoli casserole:

20160913_093426

And the diced pork chunks for a delicious homemade lo mein:

20160911_173300

And the best part is, you can choose when to make these recipes and in what order, because the pork chops, diced pork, and shredded cooked pork all freeze very well. You can turn these into breakfast and lunch too, pulled pork omelettes are great, as are BBQ pulled pork sandwiches on nice thick buns.  Enjoy!


Full Grocery List

  • 1 4-5 pound pork roast
  • 1 cup Italian dressing
  • 1 can diced tomatoes
  • Frozen or fresh vegetables of your choice
  • 1 cup BBQ sauce (or more, to taste)
  • 1 package tortillas
  • ~1 cup white or brown rice
  • 1 can beans (black or pinto)
  • 1 package lo mein noodles
  • Soy sauce
  • Shredded cheese
  • Fresh or frozen broccoli
  • 1 cup milk (optional)
  • Burrito toppings – sour cream, guac, salsa, etc.

And seriously, that’s it! I guarantee you can buy all of these items for under $100 (at least everywhere I’ve lived from Colorado to Connecticut).


Also, if you’ve read this far and you’re curious, I also have a post explaining all the cuts of a pig. So next time you go to the store, you can know the difference between a rump roast, shoulder roast, and a loin. 🙂

Save

Save

Save

Save

Save

Save

Save

Save

Save

Save

Save

Save

Save

Save

Slow Cooker Pork and Broccoli Rice Casserole


Sometimes, you just can’t. Can’t even. Can’t even think about running to the store, slaving over a hot stove, balancing a meal or a checkbook.

But your tummy is growling, your spouse is complaining, your kids are whining, your friends are coming over for dinner.

Enter the slow cooker.

It is a savior for anyone rushed for time (and who isn’t??) or tight on cash (can I get an AMEN!) or doesn’t love to cook (can’t say I feel it all the time, but there are days…) or lives alone, or feeds a family of ten, or… you get my point. I flipping love the things.

You can get a tiny 2 or 3 quart slow cooker for single or double cooking. You can get a giant 8 or 10 quart workhorse for crowds and big appetites, you can get multiple crocks in one base for buffet style hands off cooking. I kinda want one of those now… The point is, if you don’t have one you should get one!

This recipe is super simple, a classic favorite I pull out time and again.  I used pulled pork here because that is what I built into this week’s meal plan, but you could just as easily use shredded chicken, steak, tofu, etc.

Slow Cooker Pork and Broccoli Rice Casserole

It involves items I nearly always have around the house, including frozen veggies and brown rice.  Feel free to use white rice, or wild rice, or even crazy things like quinoa or couscous instead. You can also substitute any other frozen veggie you are partial to if broccoli just doesn’t do it for ya.  And if you’re feeling extra crazy and decadent, use milk instead of water, and toss on some shredded cheese at the end, just before serving.

Slow Cooker Pork and Broccoli Rice Casserole

Ingredients:

  • 1 cup shredded cooked pork
  • 1 cup brown rice
  • 1 1/2 cups milk / water / broth
  • 2 cups frozen broccoli (or veggie of choice)

Optional: shredded cheese

Slow Cooker Pork and Broccoli Rice Casserole

Step 1: Put all the ingredients in the slow cooker.  Cook on low for 6-8 hours or more, or high for at least 2 hours (to thaw the veggies).  Alternatively, you could put this in a baking pan and bake at 350 for 2 hours (1 if you use fresh and not frozen veg).


What are your favorite slow cooker meals??

Save